David G.
-
Posts
11,324 -
Joined
-
Last visited
Content Type
Profiles
Forums
Events
Gallery
Everything posted by David G.
-
Beautiful work! David G.
-
Excellent weathering! Great Grunge-Custom sleeper. David G.
-
Thank you Scott. That color is a bit outside of my comfort zone but I'm glad I chose it. Thanks Curtis, I hope to finish it up this weekend. David G.
-
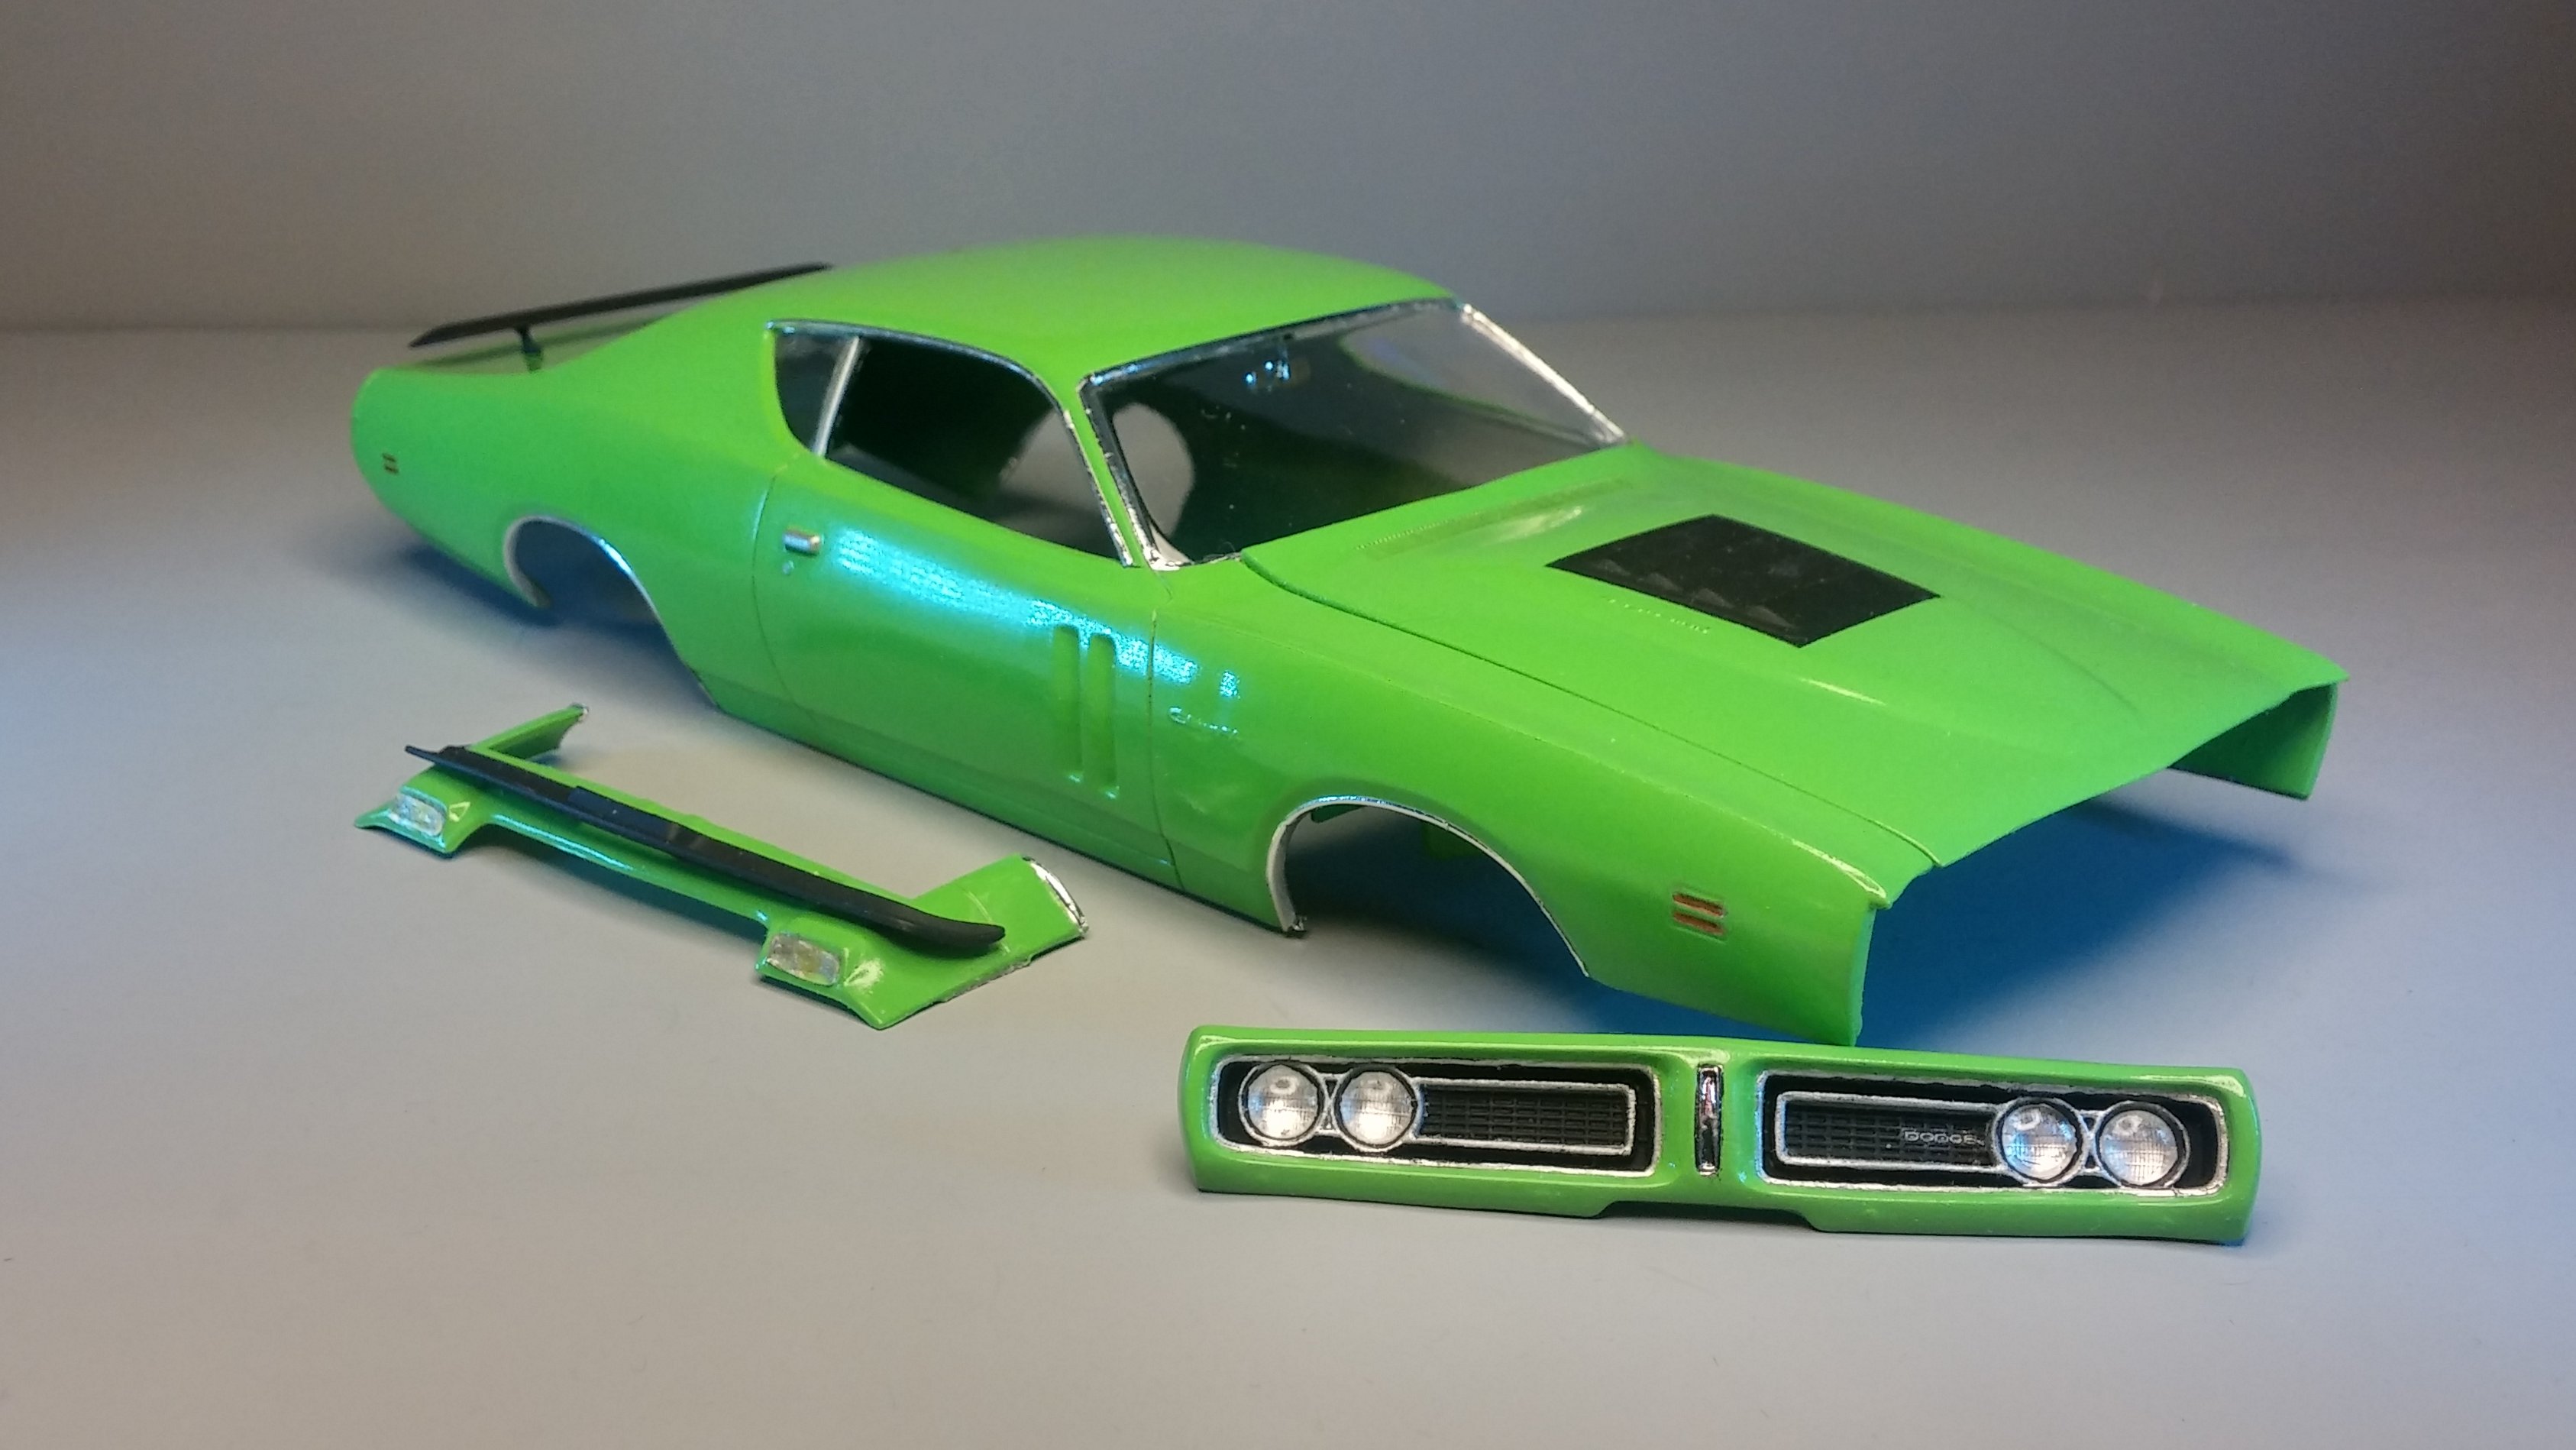
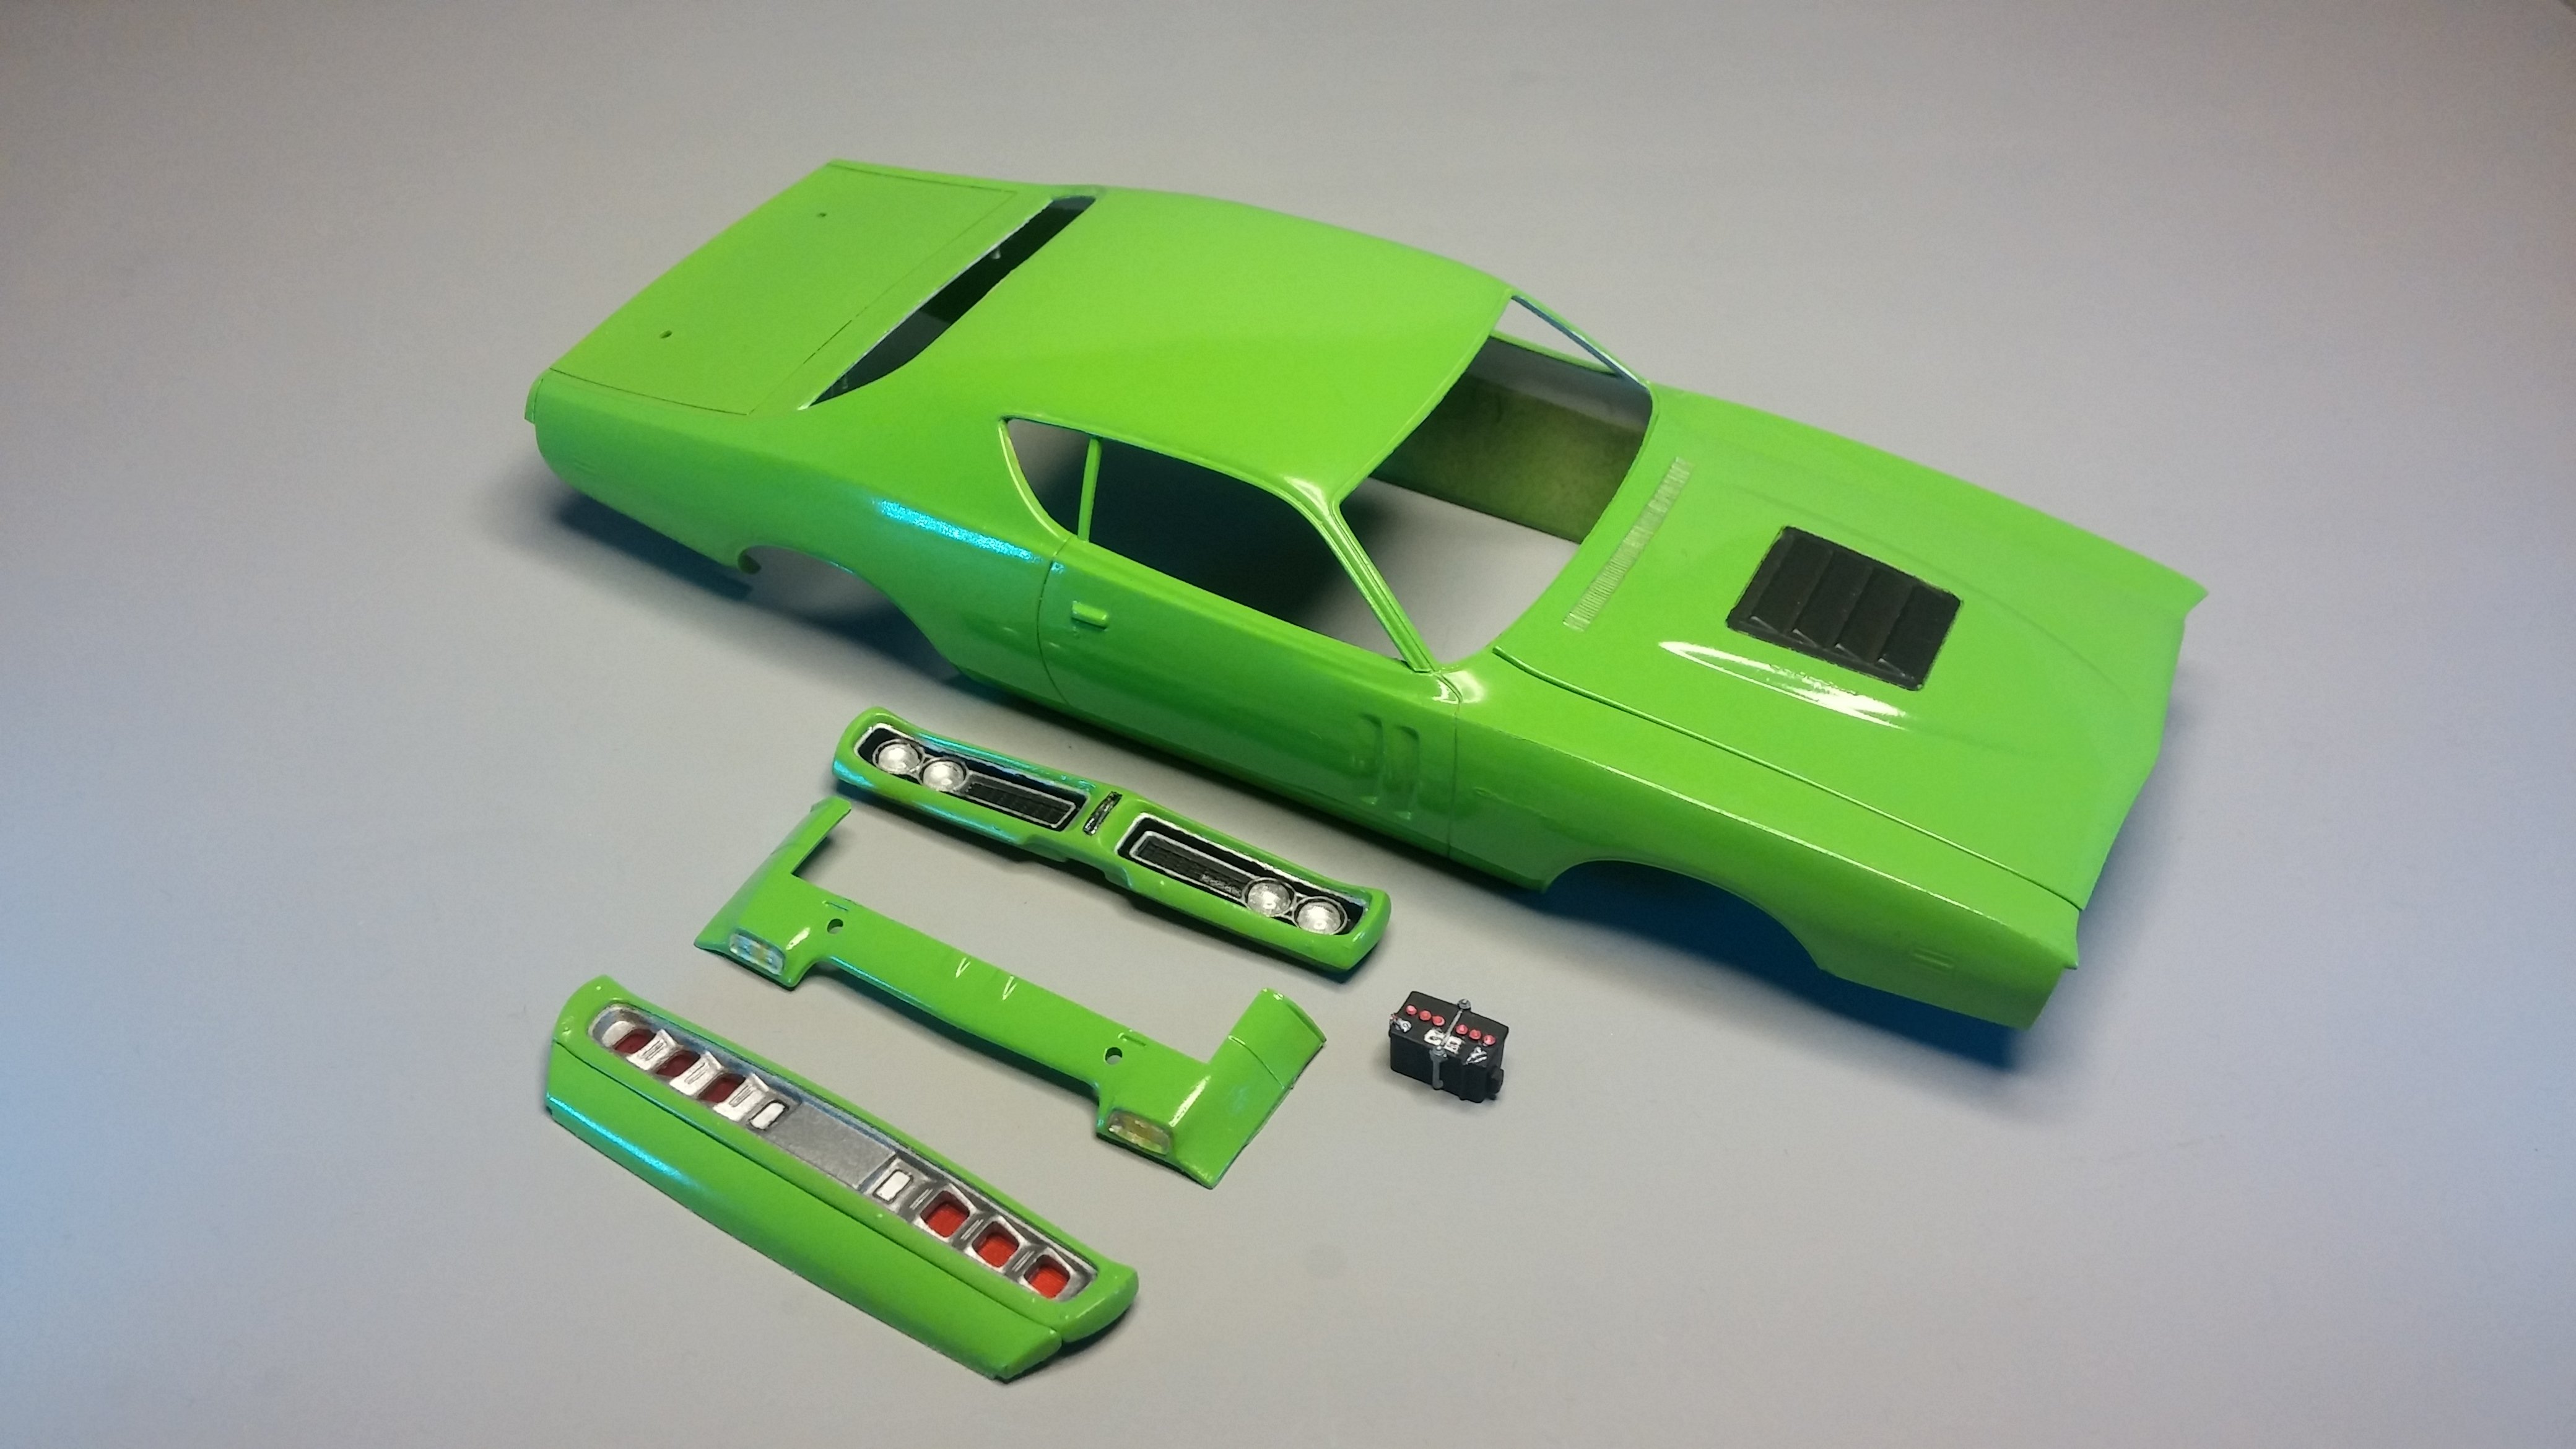
I know it's been a while since the last update. I've had a lot of other things going on in my life which have severely curtained my bench time. Things have settled enough this week to allow some much needed styrene therapy. The glass is in and the firewall and spoilers are attached. I've also finished the foil trim... ...and attached the rear clip and license plate. We're ready for decals and final assembly! As always, thanks for taking the time to look and please feel free to comment. David G.

-
That's a good looking set! David G.
-

1962 Bel Air final assembly
David G. replied to minkos's topic in Model Building Questions and Answers
Hello Mark, A few years ago I had a similar problem with the assembly of the Revell 1960 Chevy. I eventually discovered a conflict between the windshield glass and the door panels. There was a cut-out on the front of each door panel that was supposed to accommodate corner of the windshield. The windshield, however was too thick for the space allowed preventing the interior from sliding up far enough into the body. I tried a number of adjustments and modifications before I discovered this issue. Here's a photo of the problem and a link to the build page. Same company, similar models, there may be a similar problem. Hope this helps, David G.
-
Looks great so far! This is one of those kits I'd like to build and have on my shelf some day David G.
-
Wow! What can I say that hasn't already been said? Your detail work is beyond amazing, thanks for sharing it with us. David G.
-
76 Dodge long bed
David G. replied to mchook's topic in WIP: Model Trucks: Pickups, Vans, SUVs, Light Commercial
Nice Rescue! David G. -
Scratch Building an Aussie Ford Falcon **New update,15/1/18**
David G. replied to ShawnS's topic in WIP: Model Cars
It looks great! I'm glad to see this one back up on the board. David G. -
Looks fantastic! Paintwork and detail are great. David G.
-
Nicely Done! David G.
-
Thanks Justin, what a great idea! I probably won't make a diorama for it, but I may try making a sign. Thank you Tony. I agree with you, this is a great kit, it builds nicely and has excellent detail. David G.
-
Paintwork is finally finished. Now on to a final polish, foil work, decals and assembly. As always, thanks for taking the time to look and please feel free to share any thoughts. David G.
-
Wow, February must be Mopar Month at MCM Forum. This is like the 4th or 5th Charger I've in the past few weeks. I'm even working on one myself. Yours is great! Excellent detailing and foil work. Solid work all around. David G.
-
Nice to see it completed, it came out really good. That blue reminds me of the Sapphire Blue that Testors had in those little 1/4oz bottles back in the 70's. One of my favorite colors from "back in the day". David G.
-
Lookin' Sweet! David G.
-
Nicely Done! I'll have mine ready soon. David G.
-
Aurora Dracula
David G. replied to cpspoogie's topic in WIP: All The Rest: Motorcycles, Aviation, Military, Sci-Fi, Figures
You're off to a great start! Excellent paint effects. David G. -
Looks Great! David G.
-
First finished build of the year, 1970 Hemi Cuda
David G. replied to Furiousgeorge's topic in Model Cars
Nicely Done! David G. -
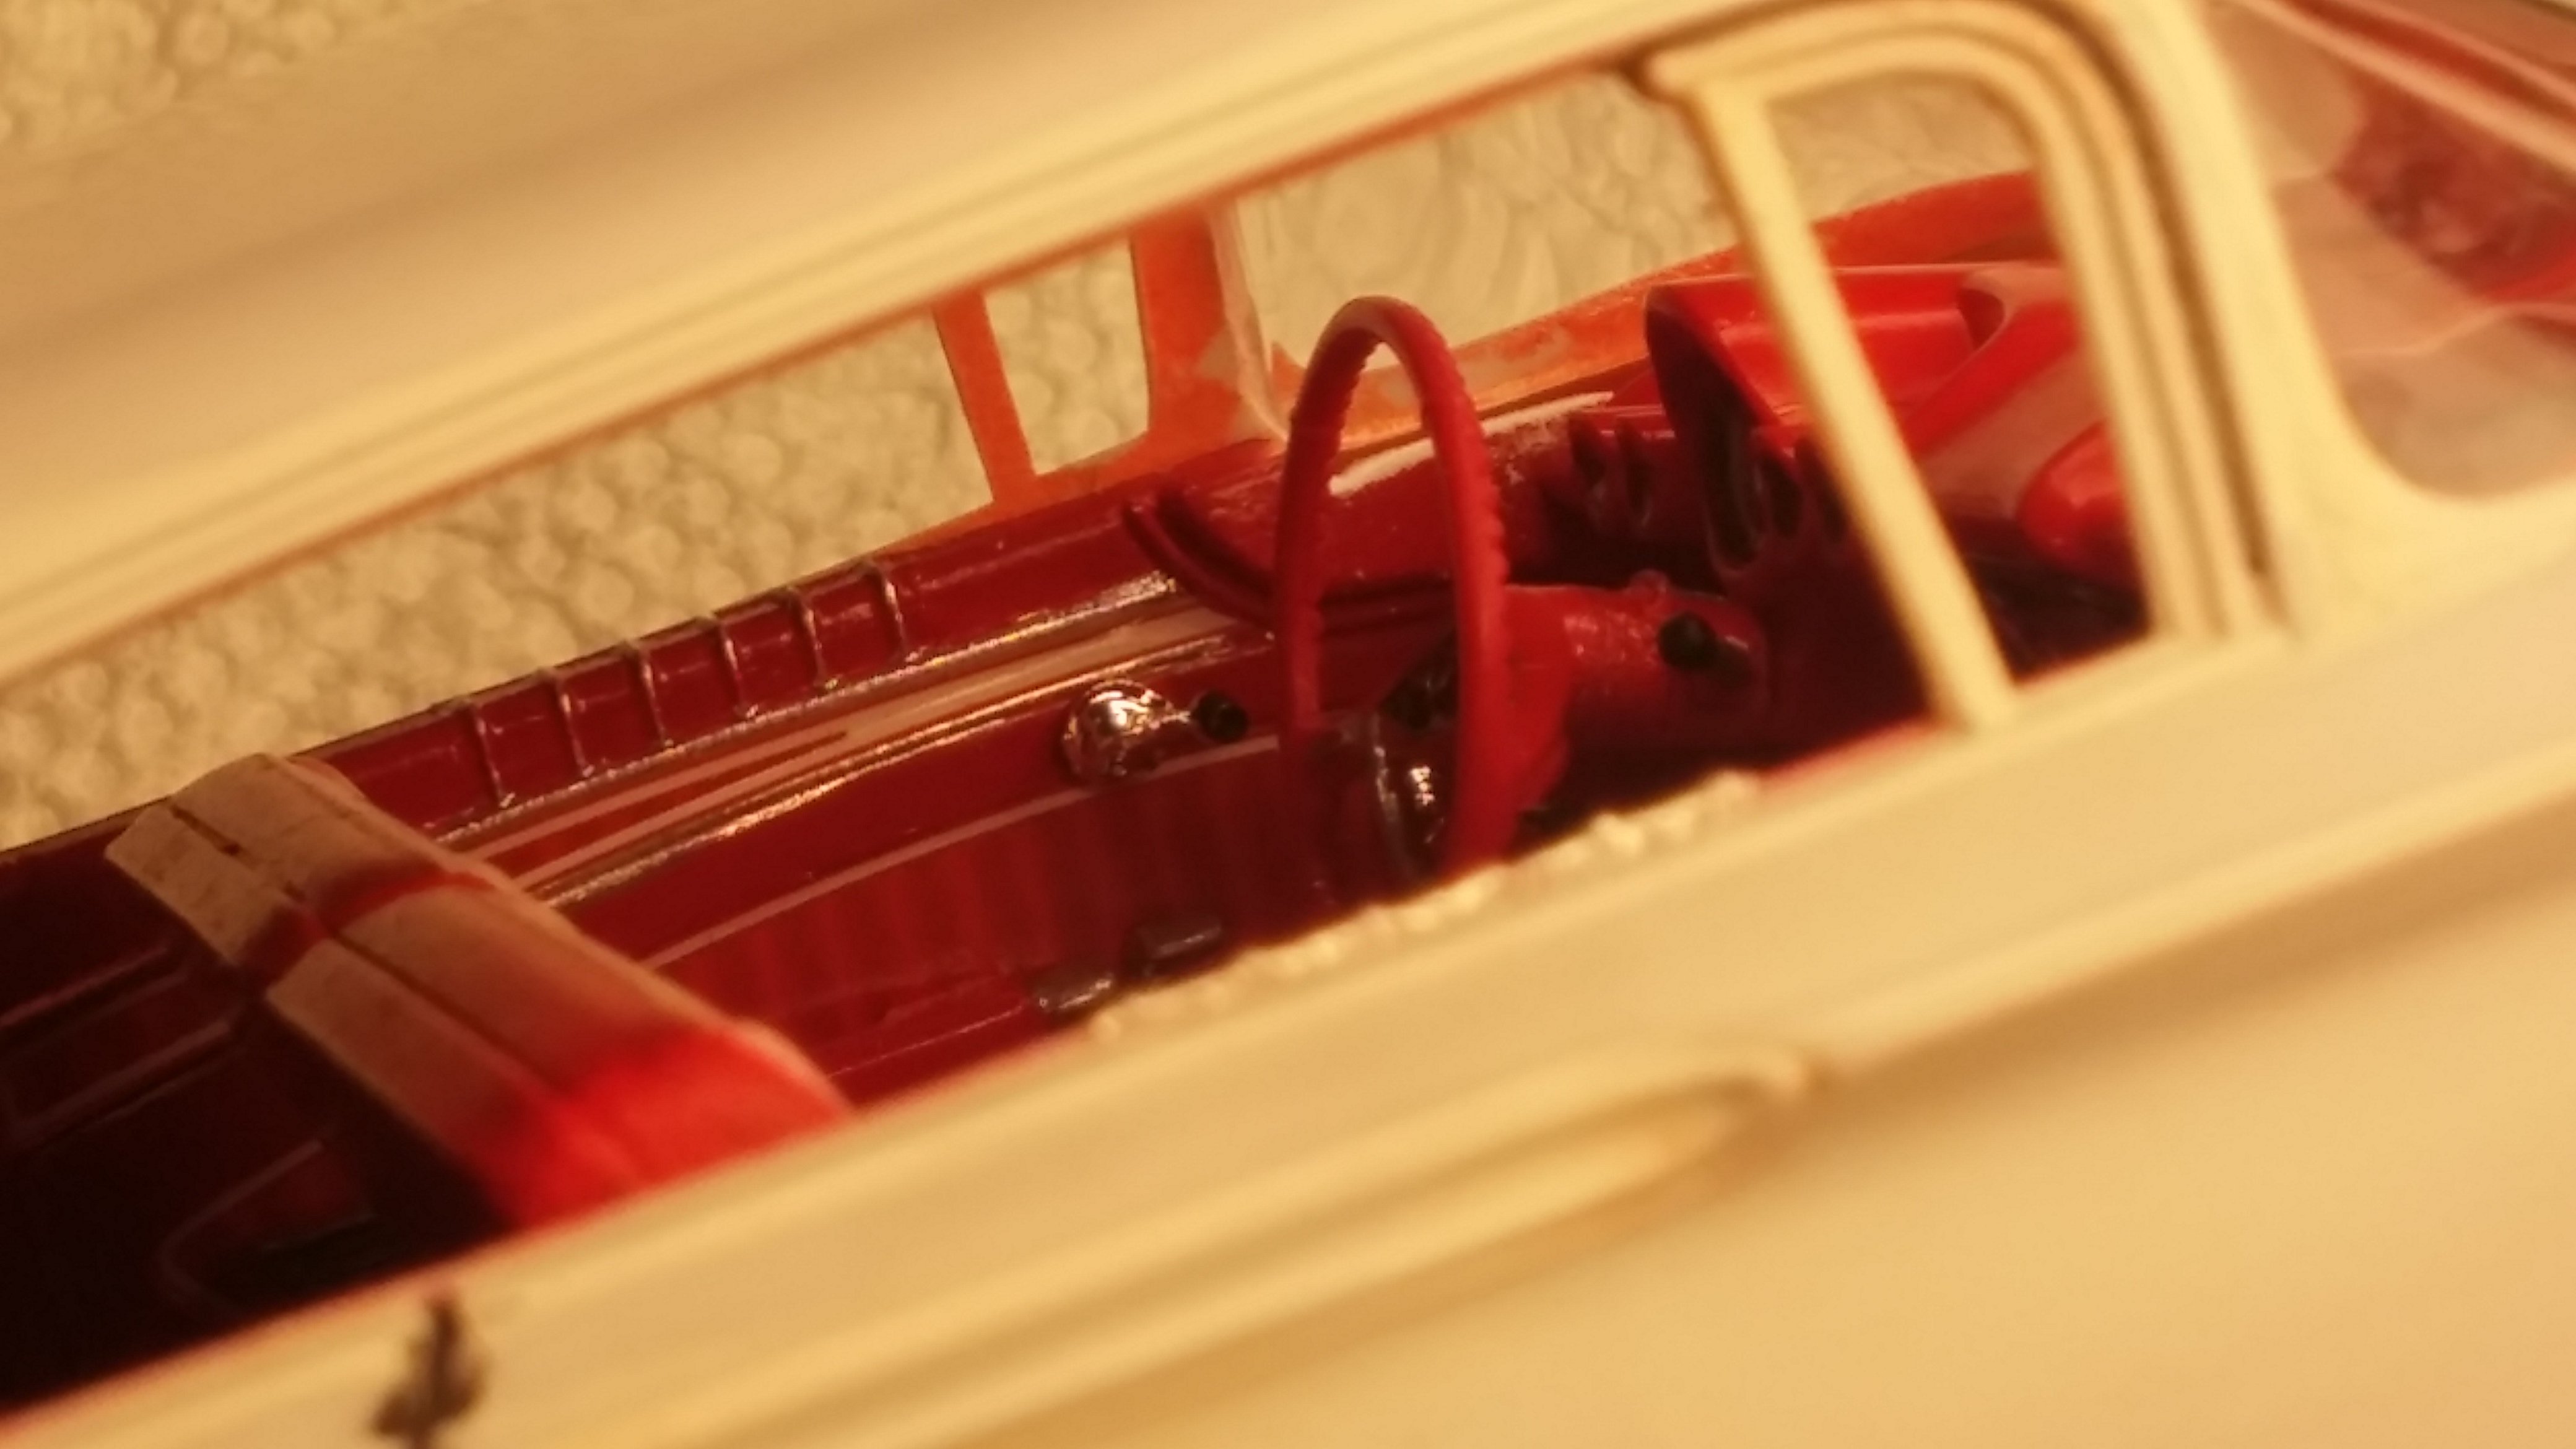
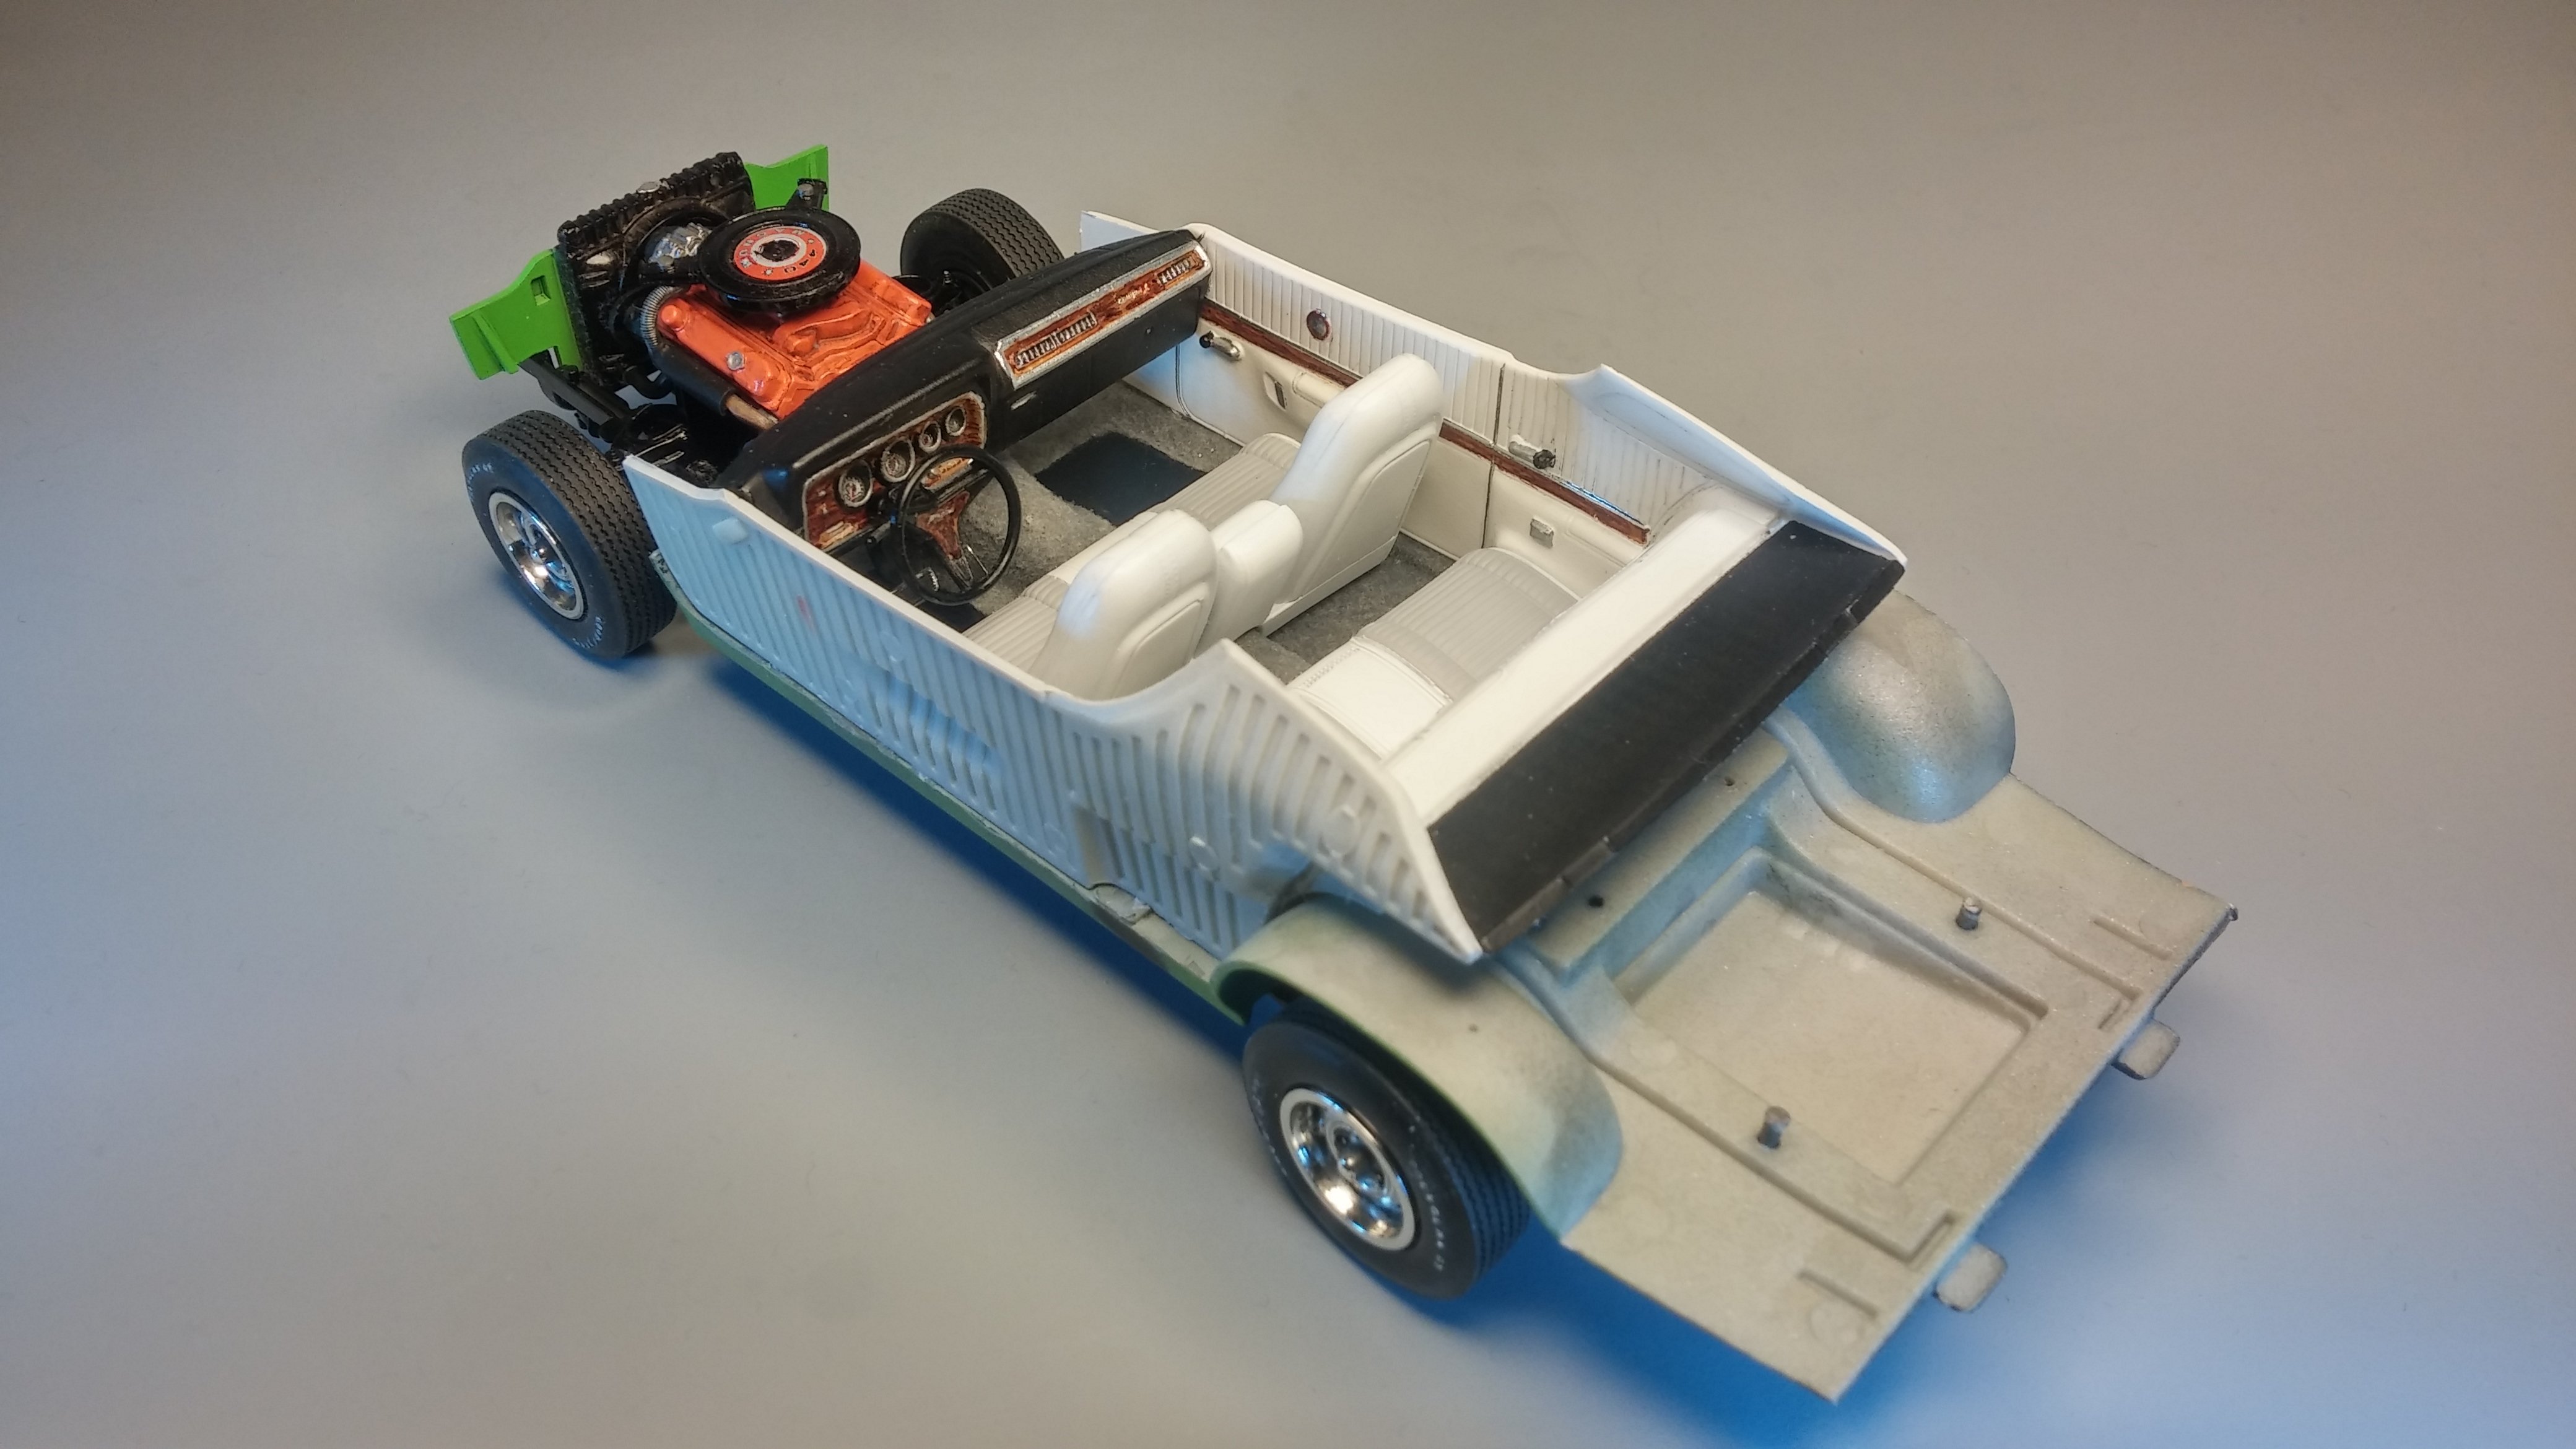
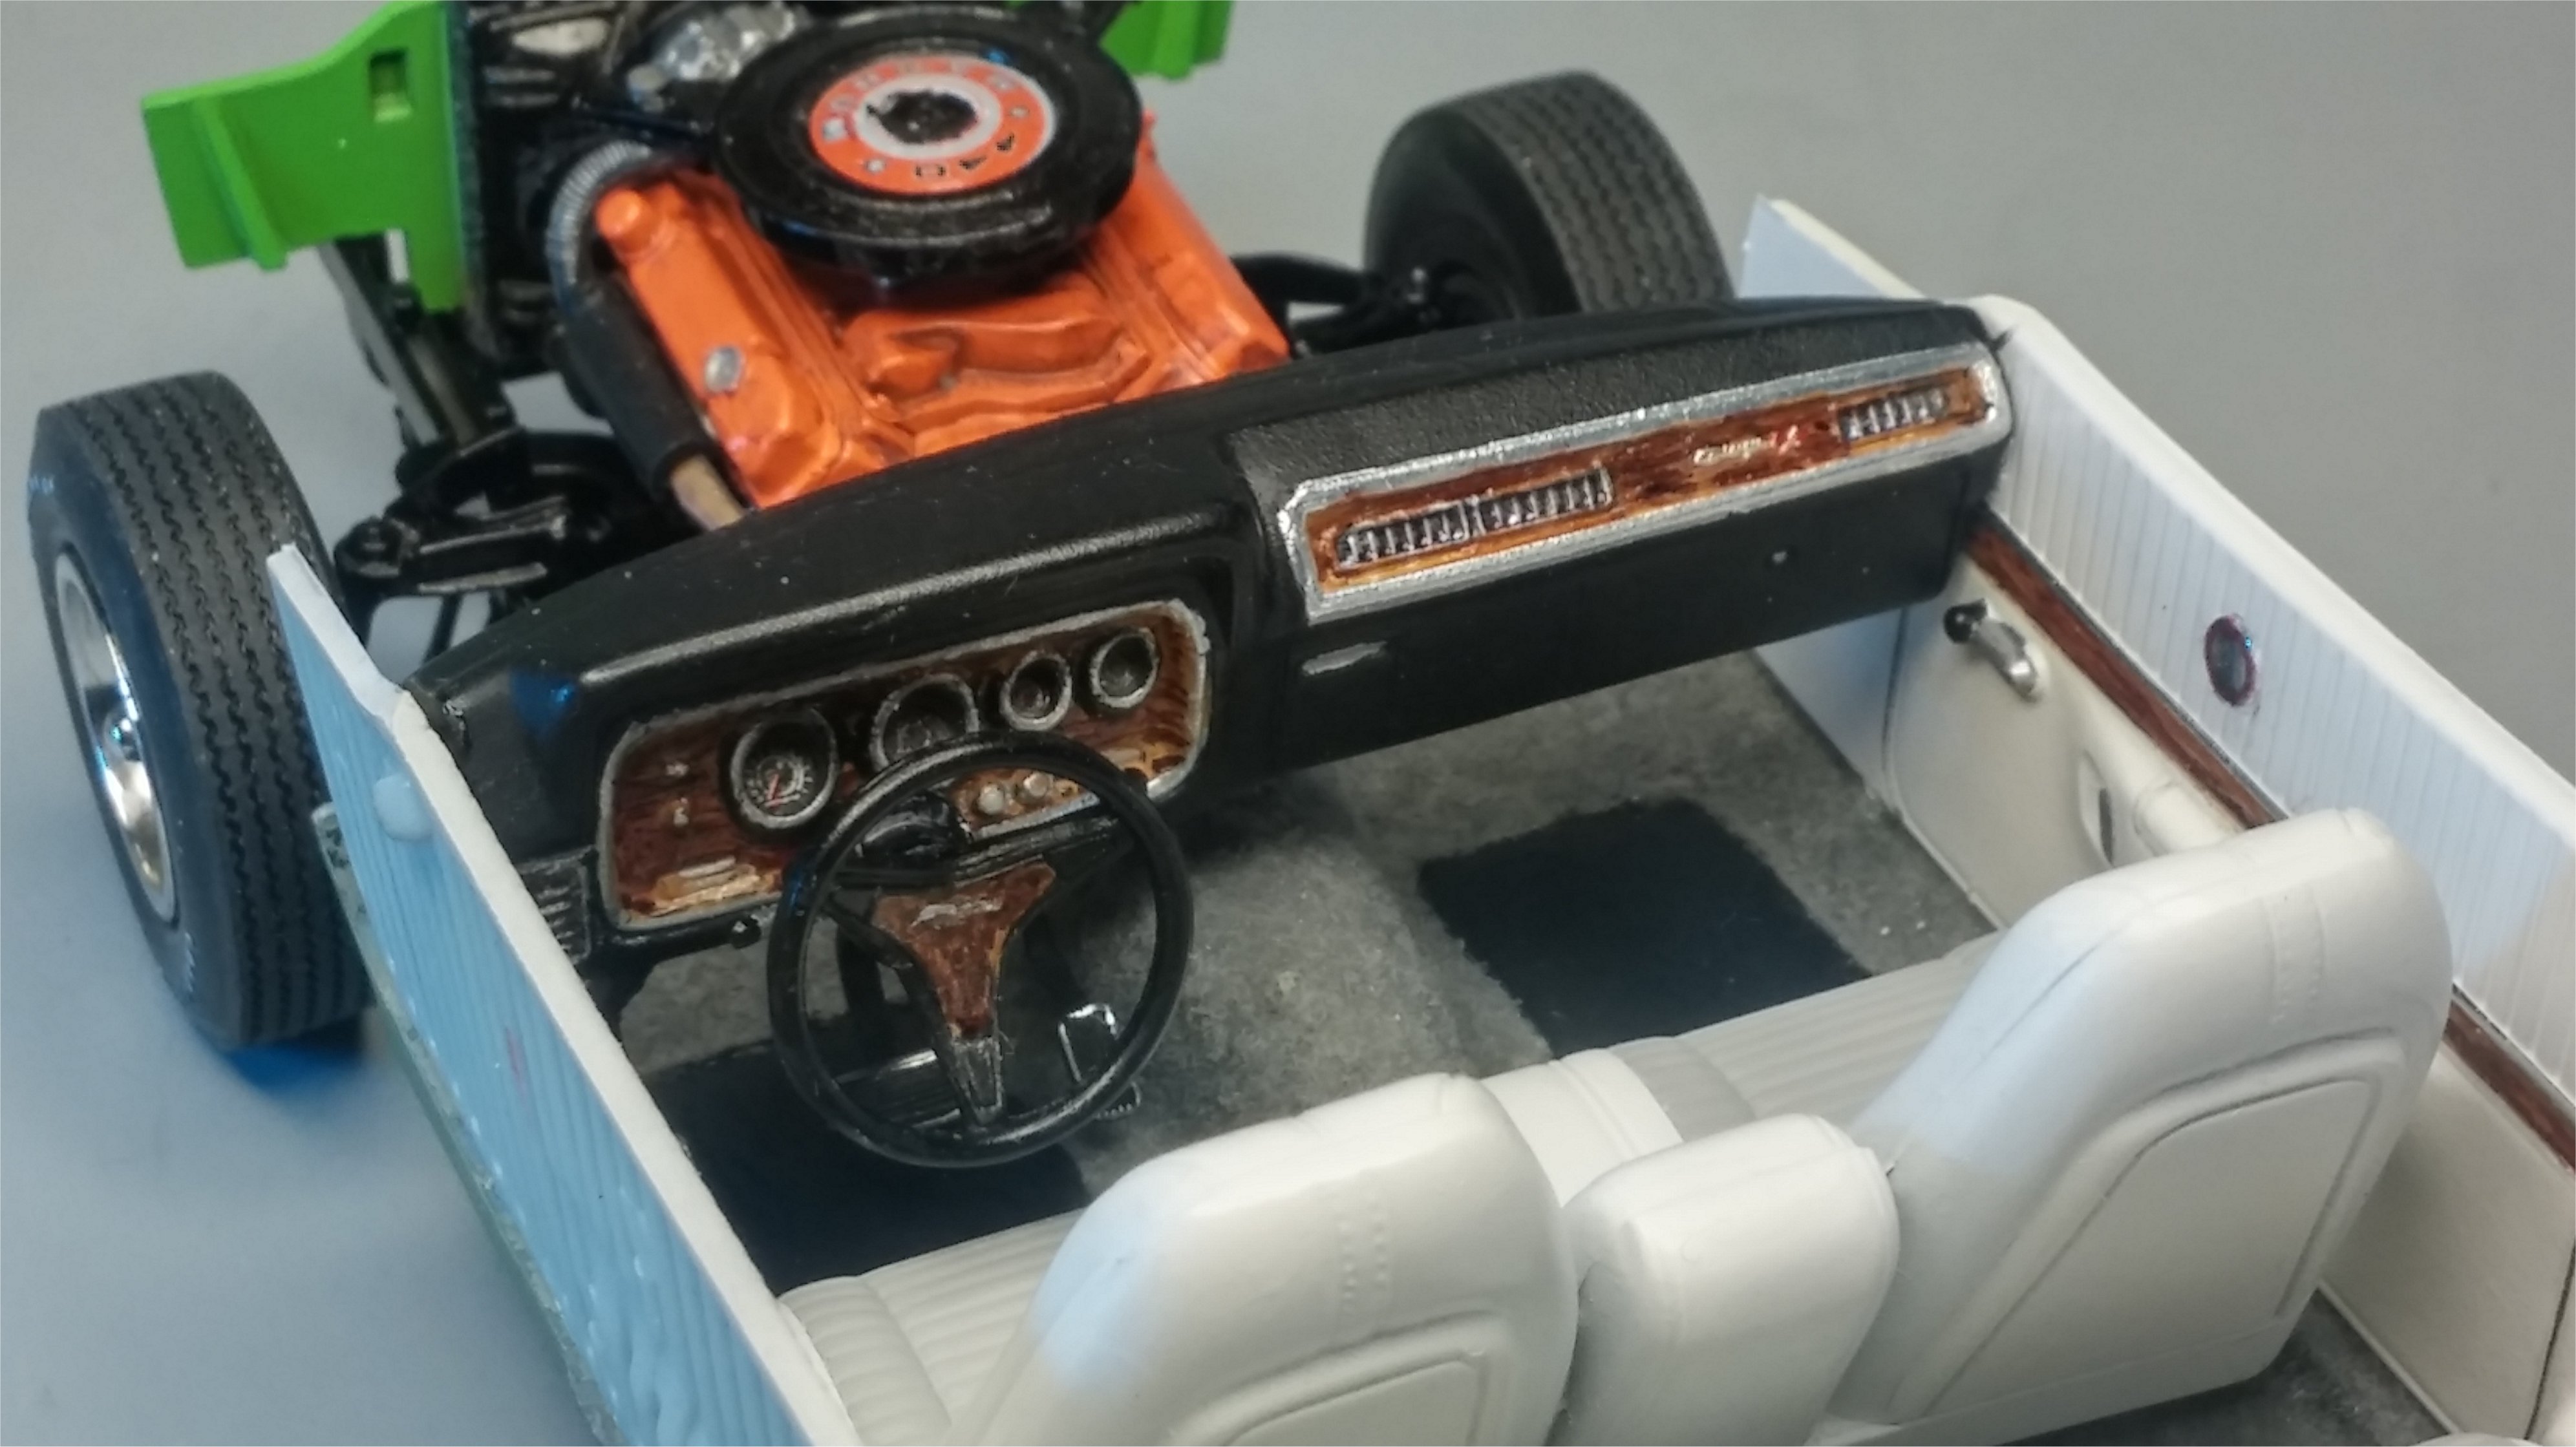
As promised, here are some snaps of the completed interior. ...and a close-up of some of the dash detail. Thanks everybody! David G.
-
Only one I've actually finished in a fairly long while.
David G. replied to BobC's topic in WIP: Drag Racing Models
Very Cool! David G. -
Thanks Dave! David G.
-
Thanks Rusty. I can't say that I've painted any cars but I have spent more than my share of time under them. David G.