David G.
-
Posts
11,324 -
Joined
-
Last visited
Content Type
Profiles
Forums
Events
Gallery
Everything posted by David G.
-
Looks great! David G.
-
A change for the better. A tremendous improvement to the profile. David G.
-
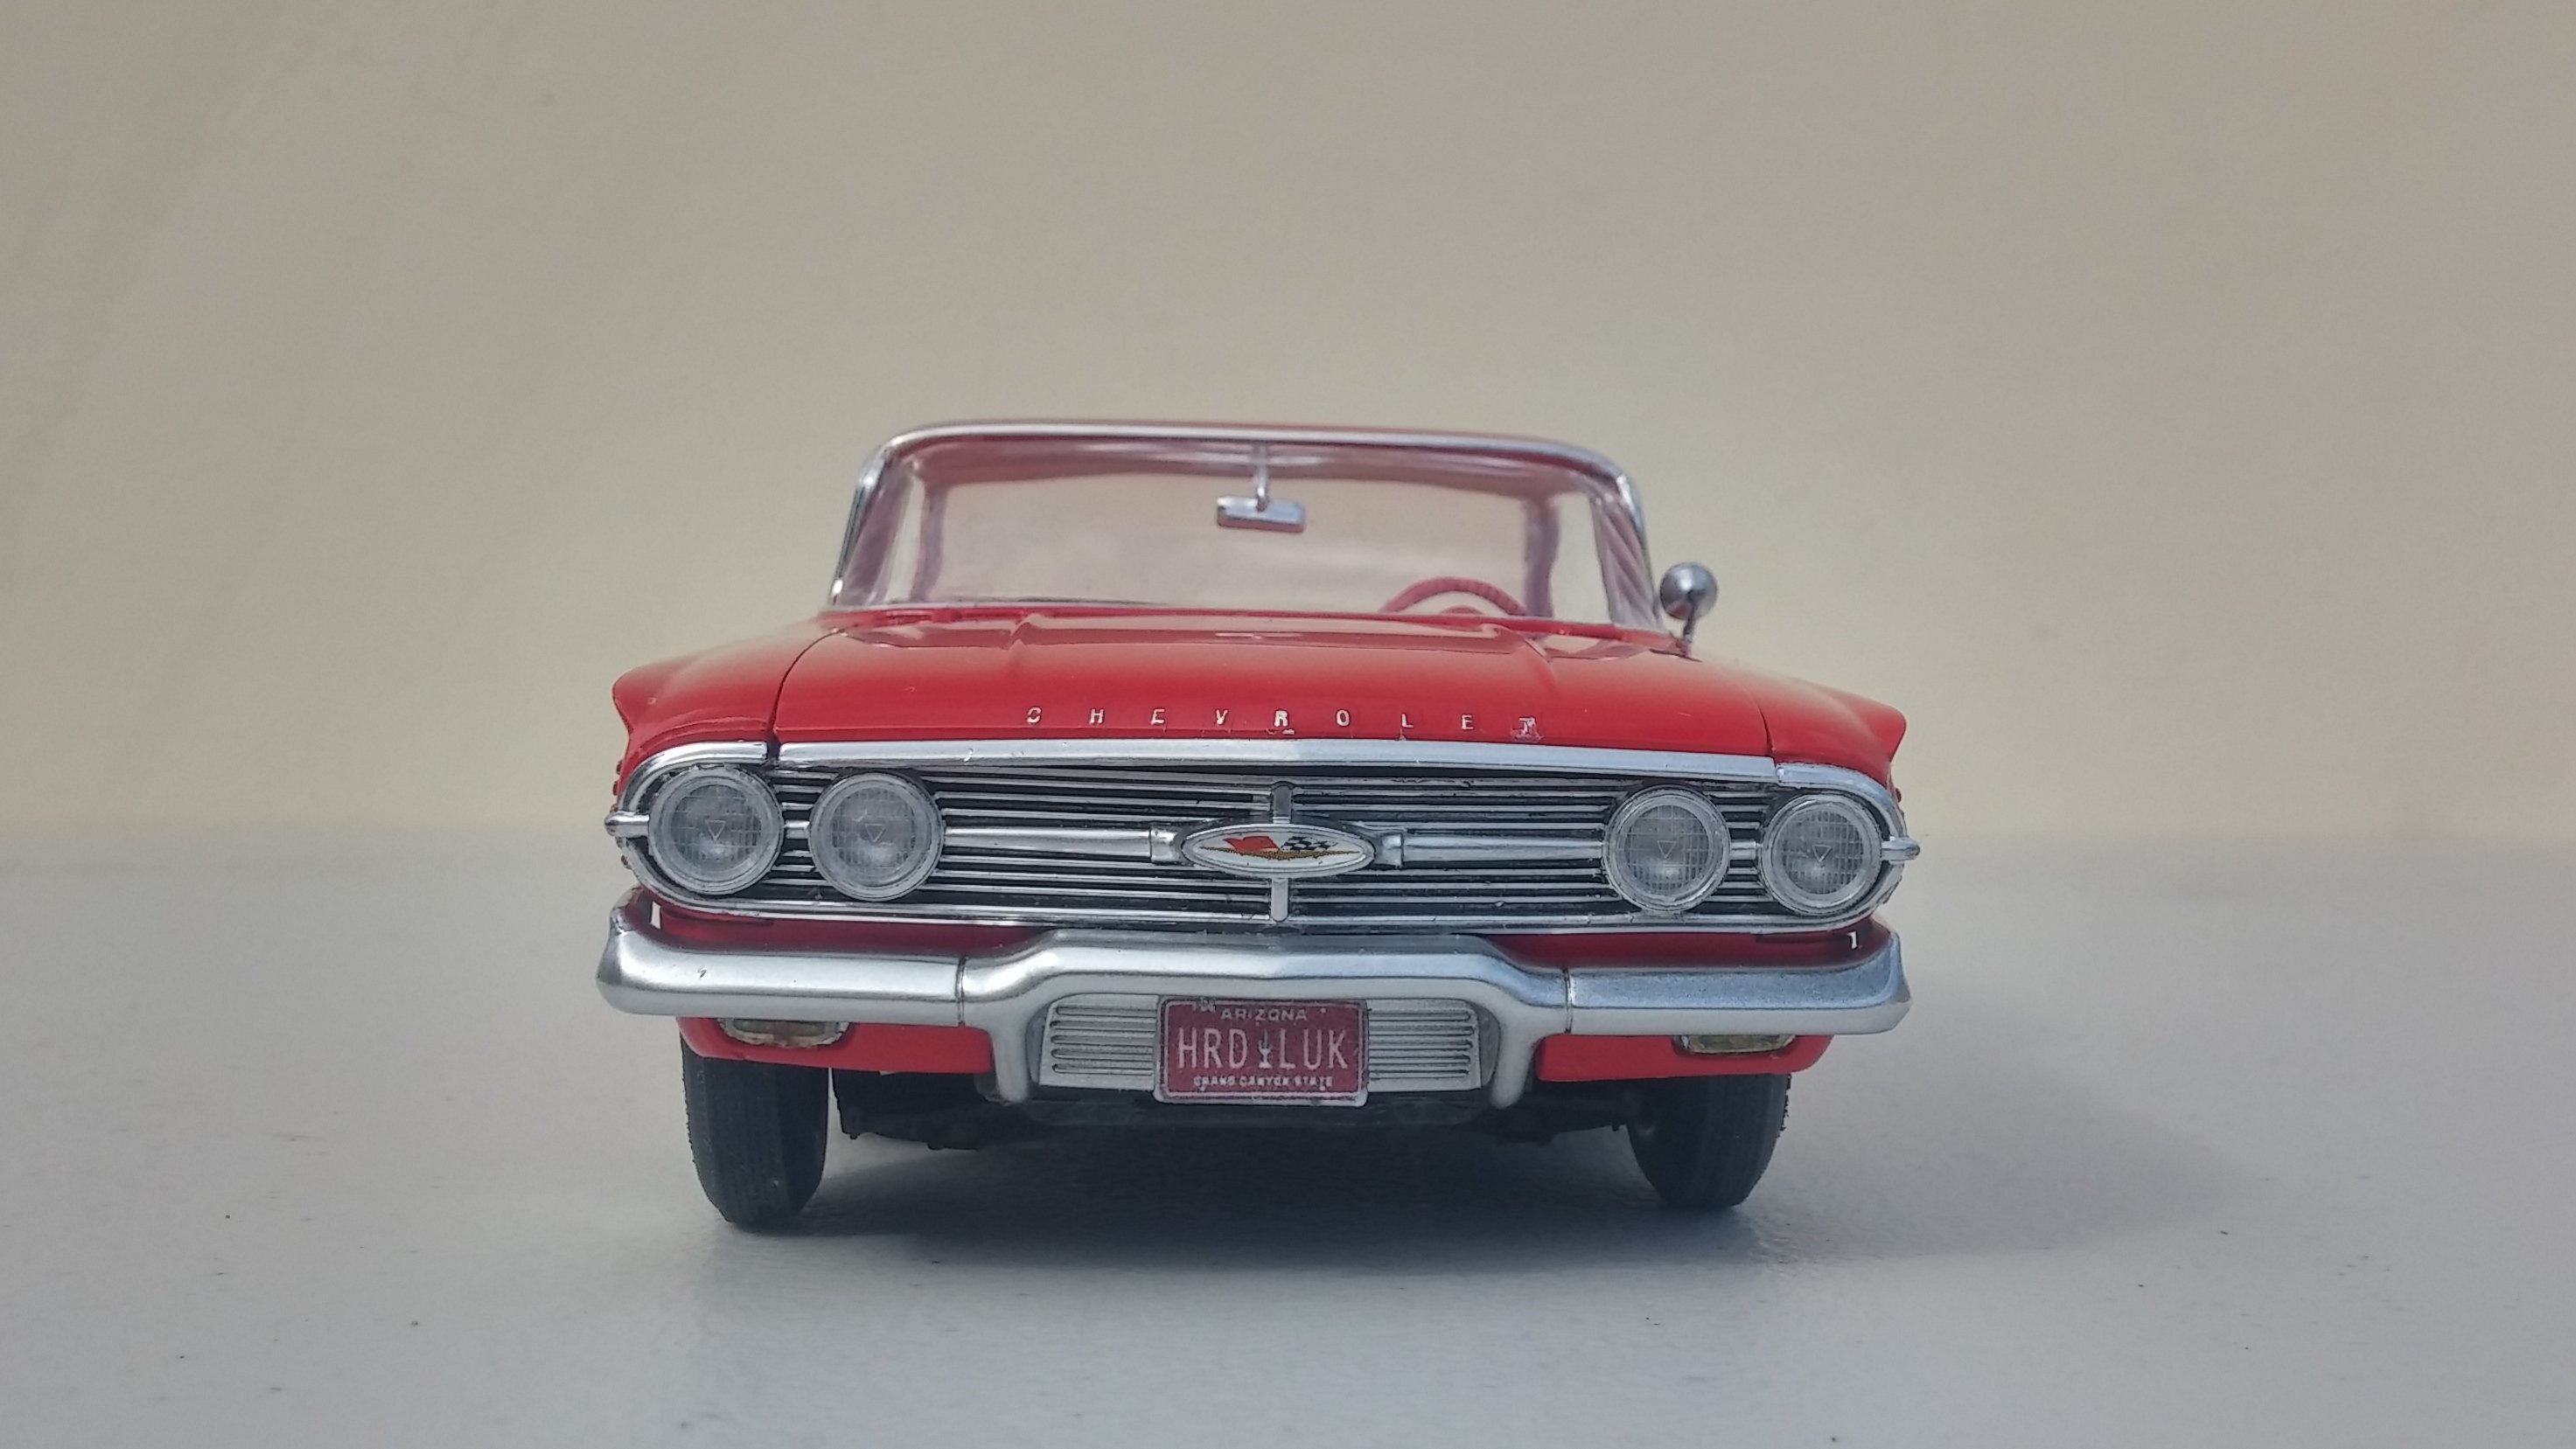
Cool color combination, sort gives it a Rolls Royce feel. David G.
-
Off to a good start! David G.
-
Thank you David, I like to build stock whenever I can. Customs are great but it was the stock vehicle that inspired the customs Thanks Mark, I'm glad you like it. Thank you Doug. Based on your avatar photo, you seem to be a fab of vintage Fords. Thank you Peter. Thanks Chris. Thank you Bob. I couldn't help but notice that your avatar photo. It reminds me of a model that I built a couple of years ago. Thanks All, David G.

-
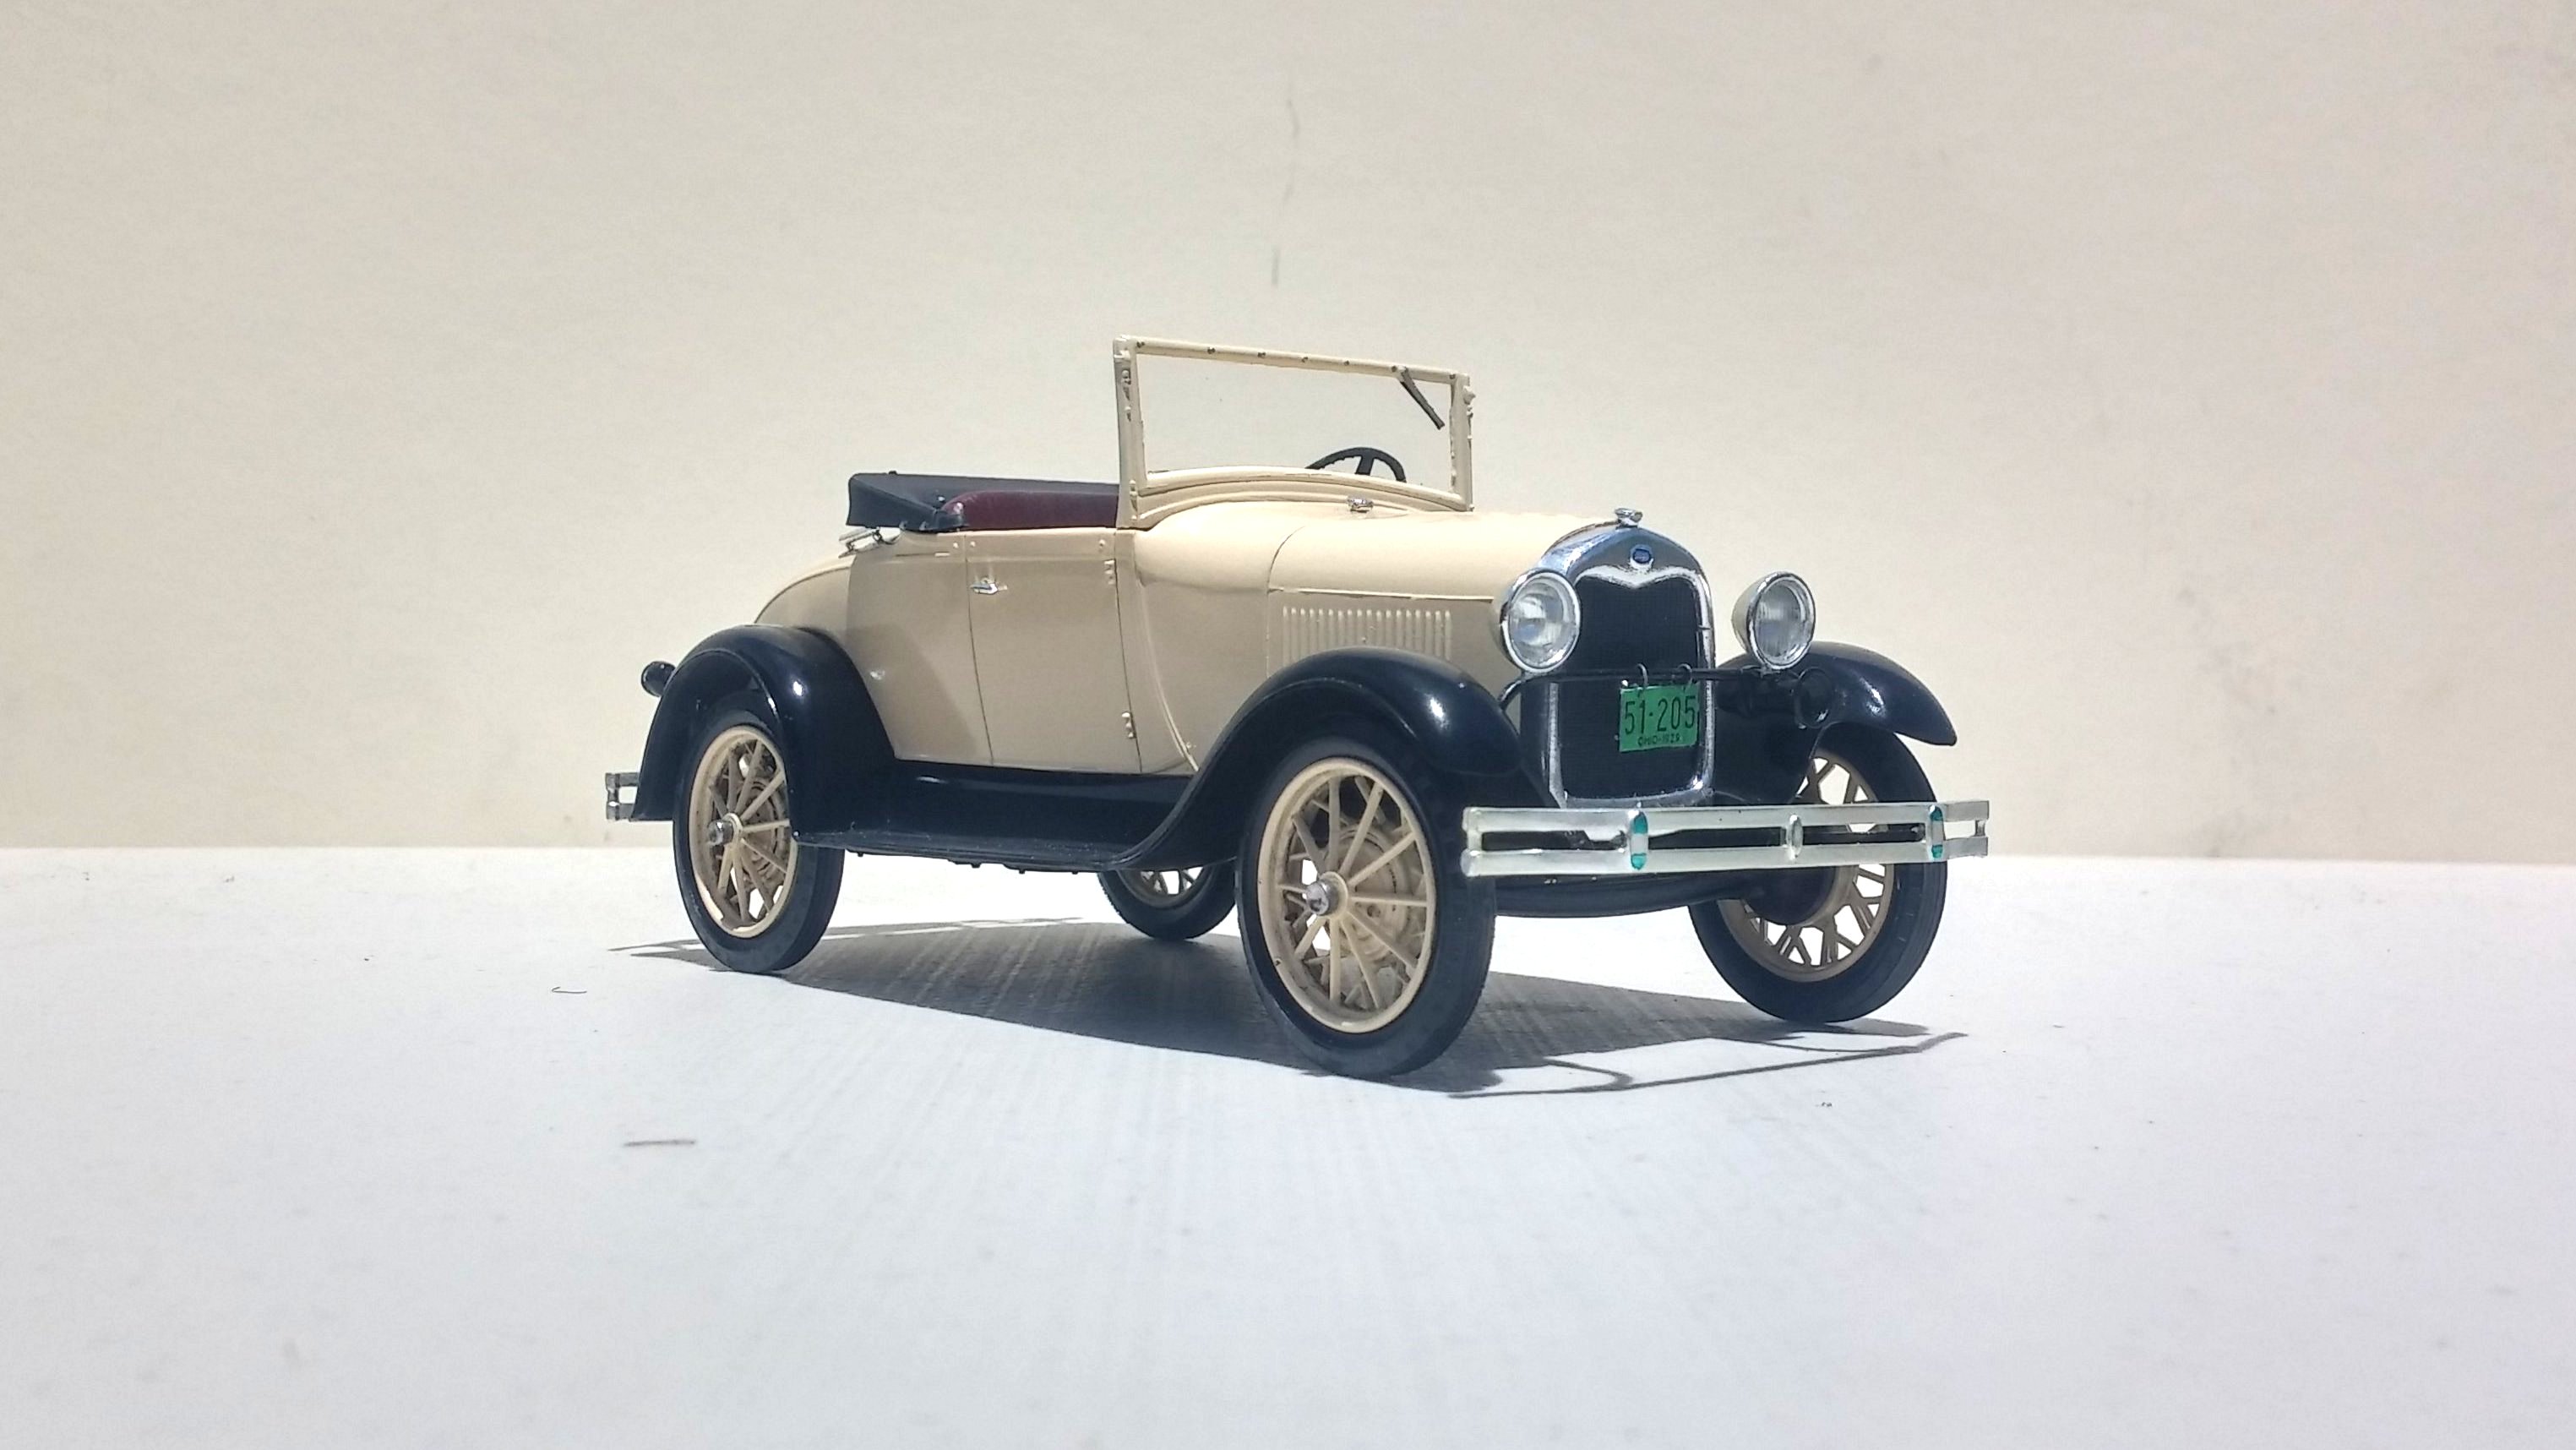
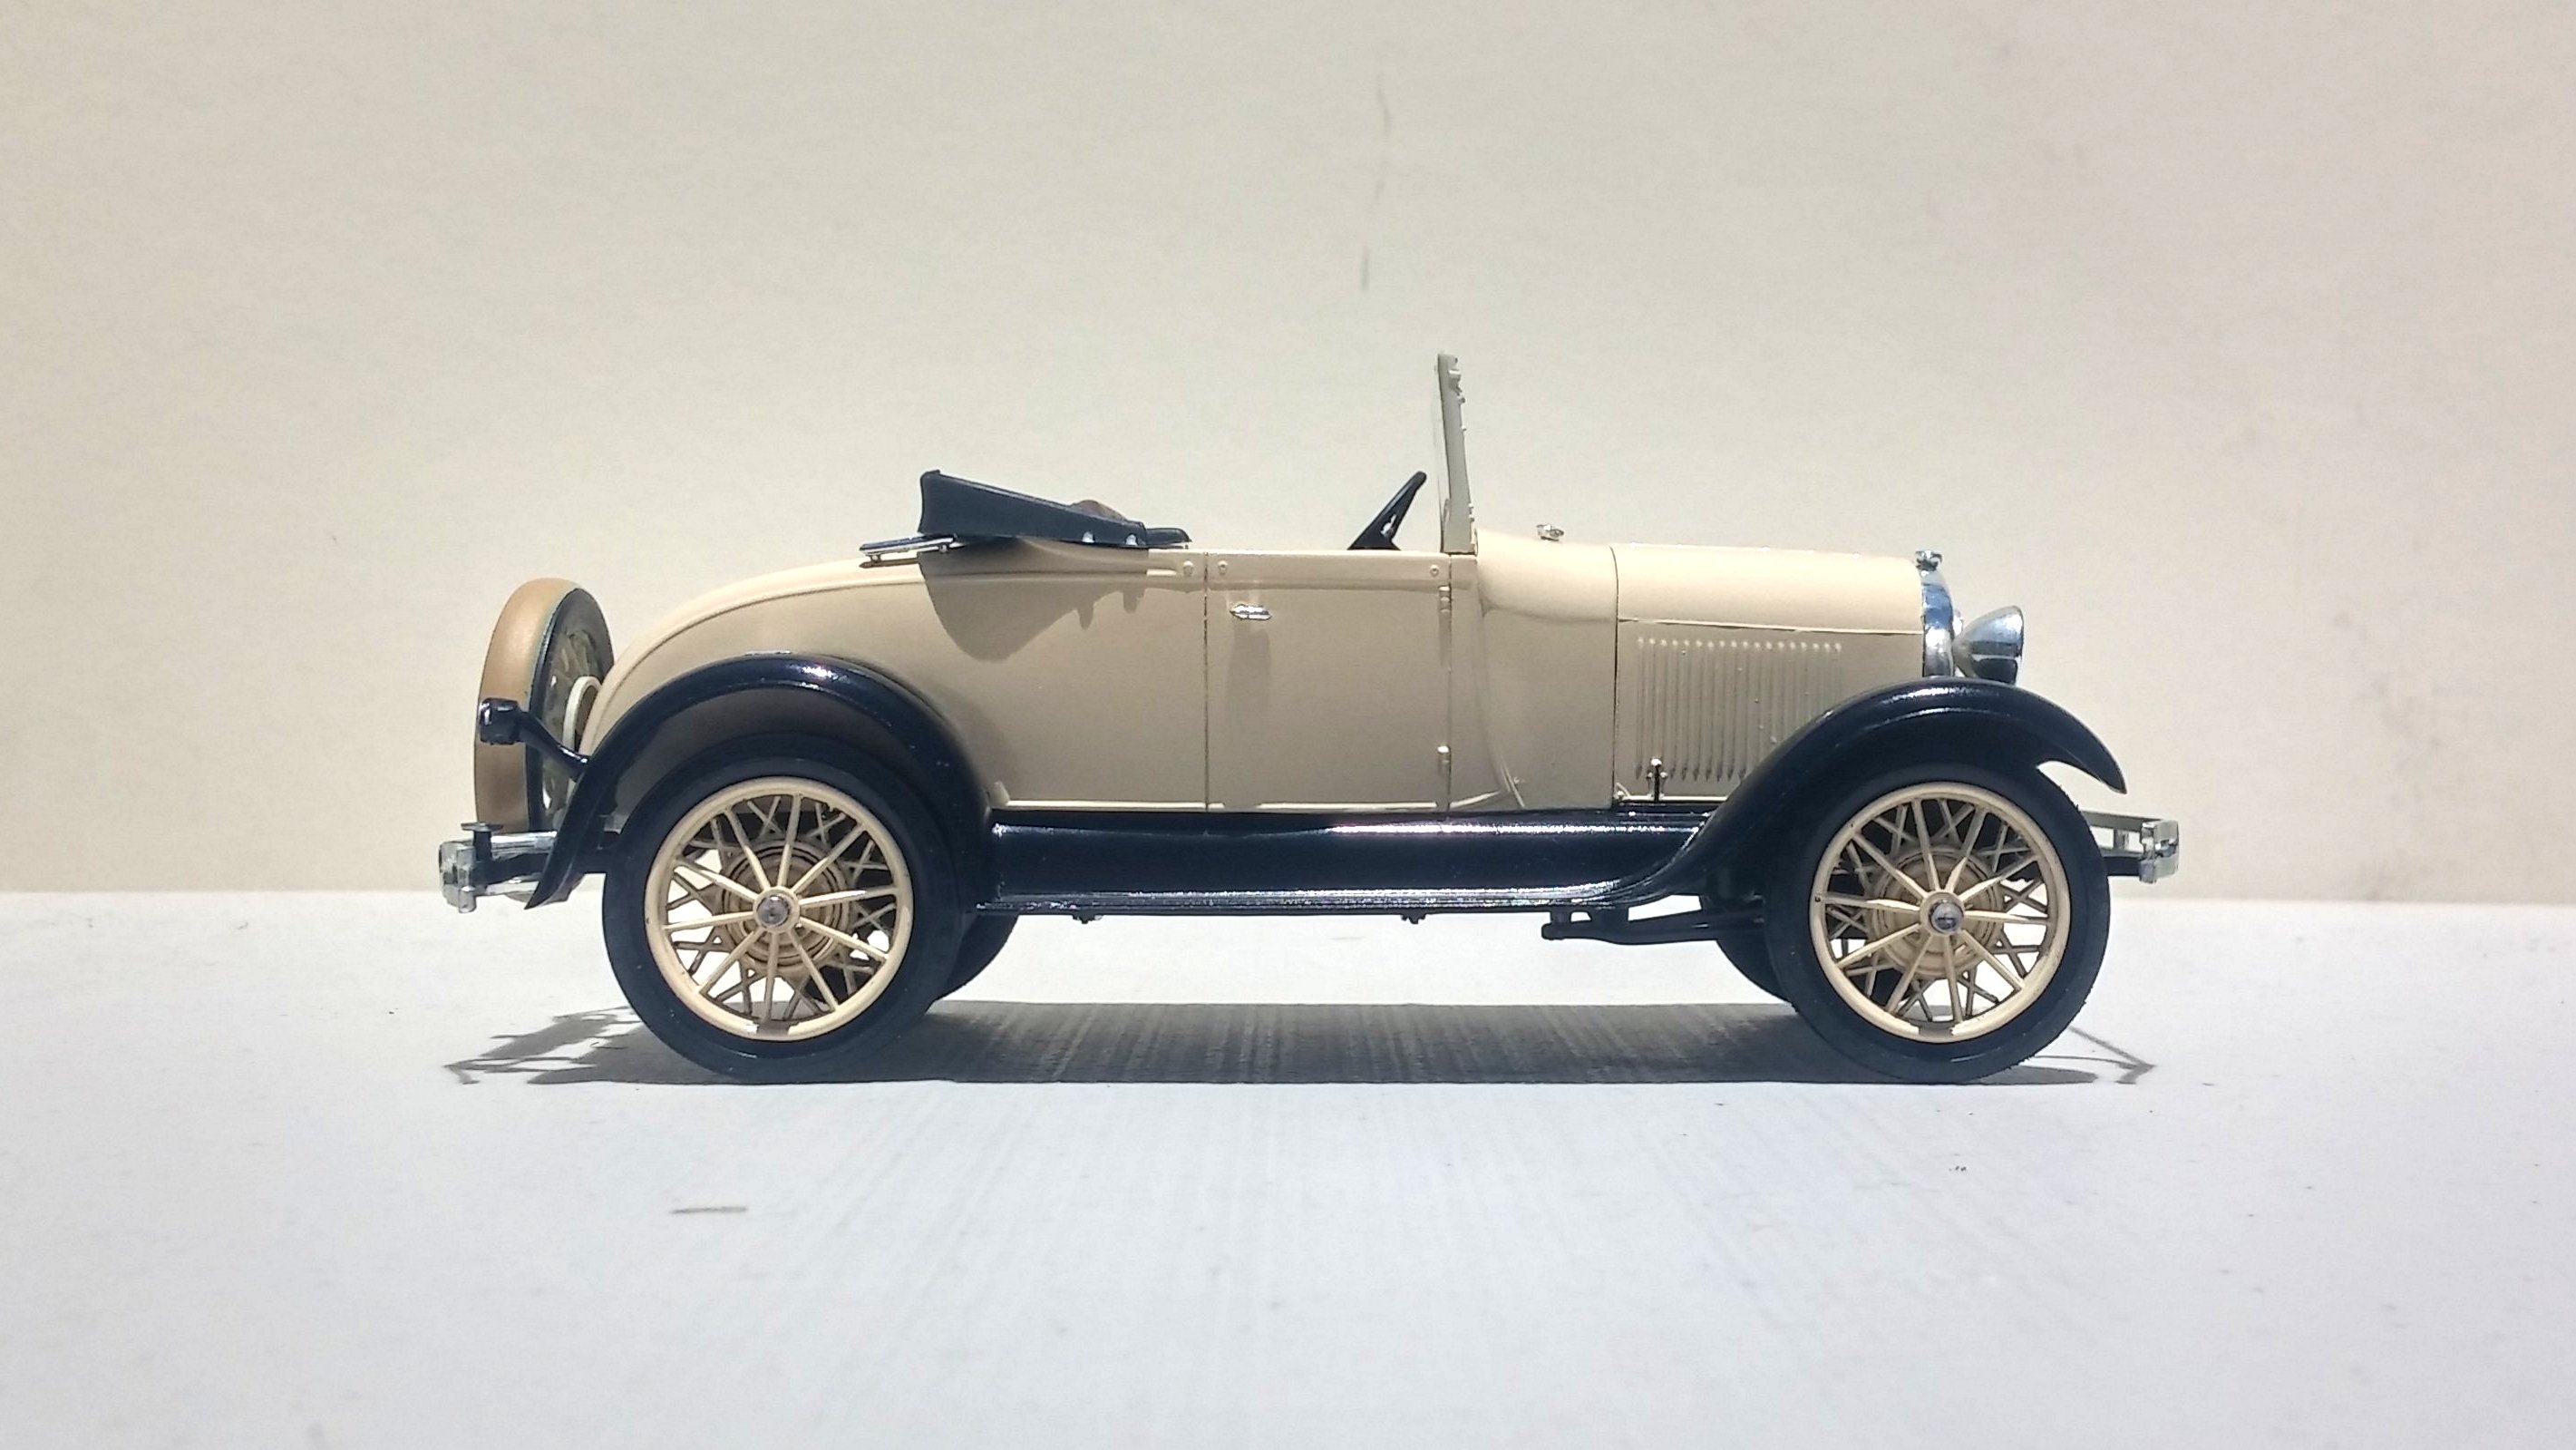
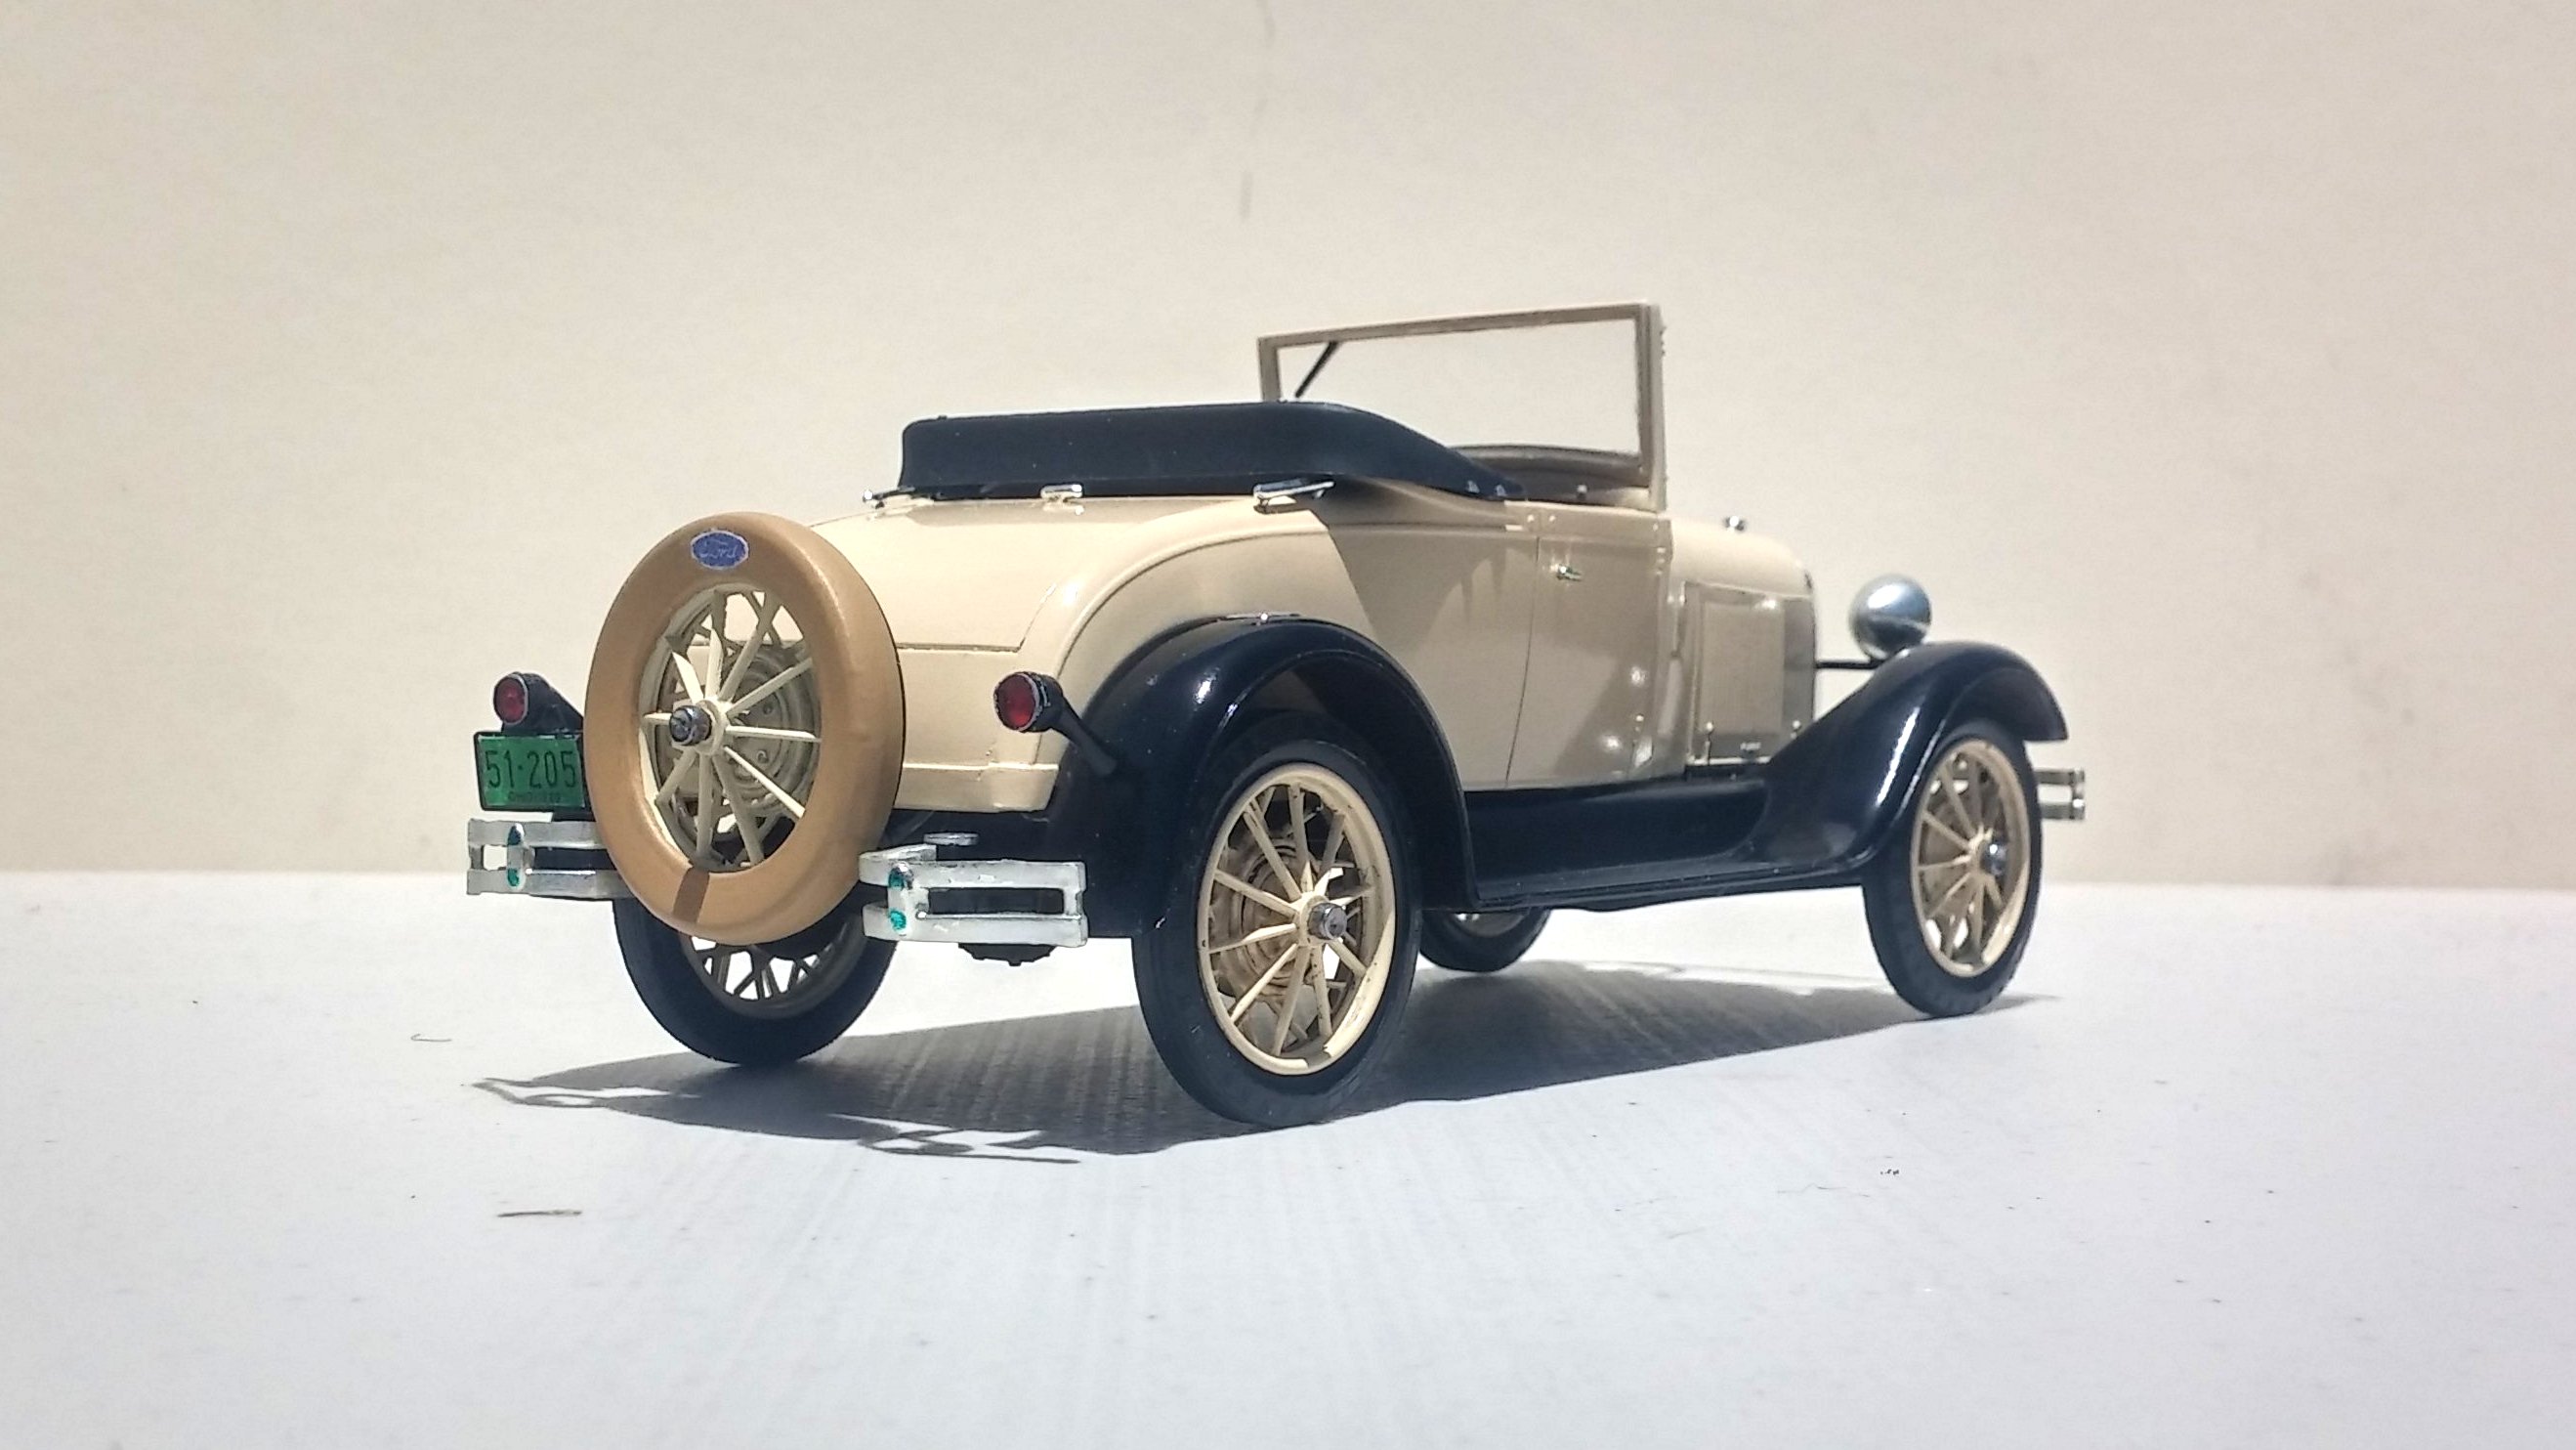
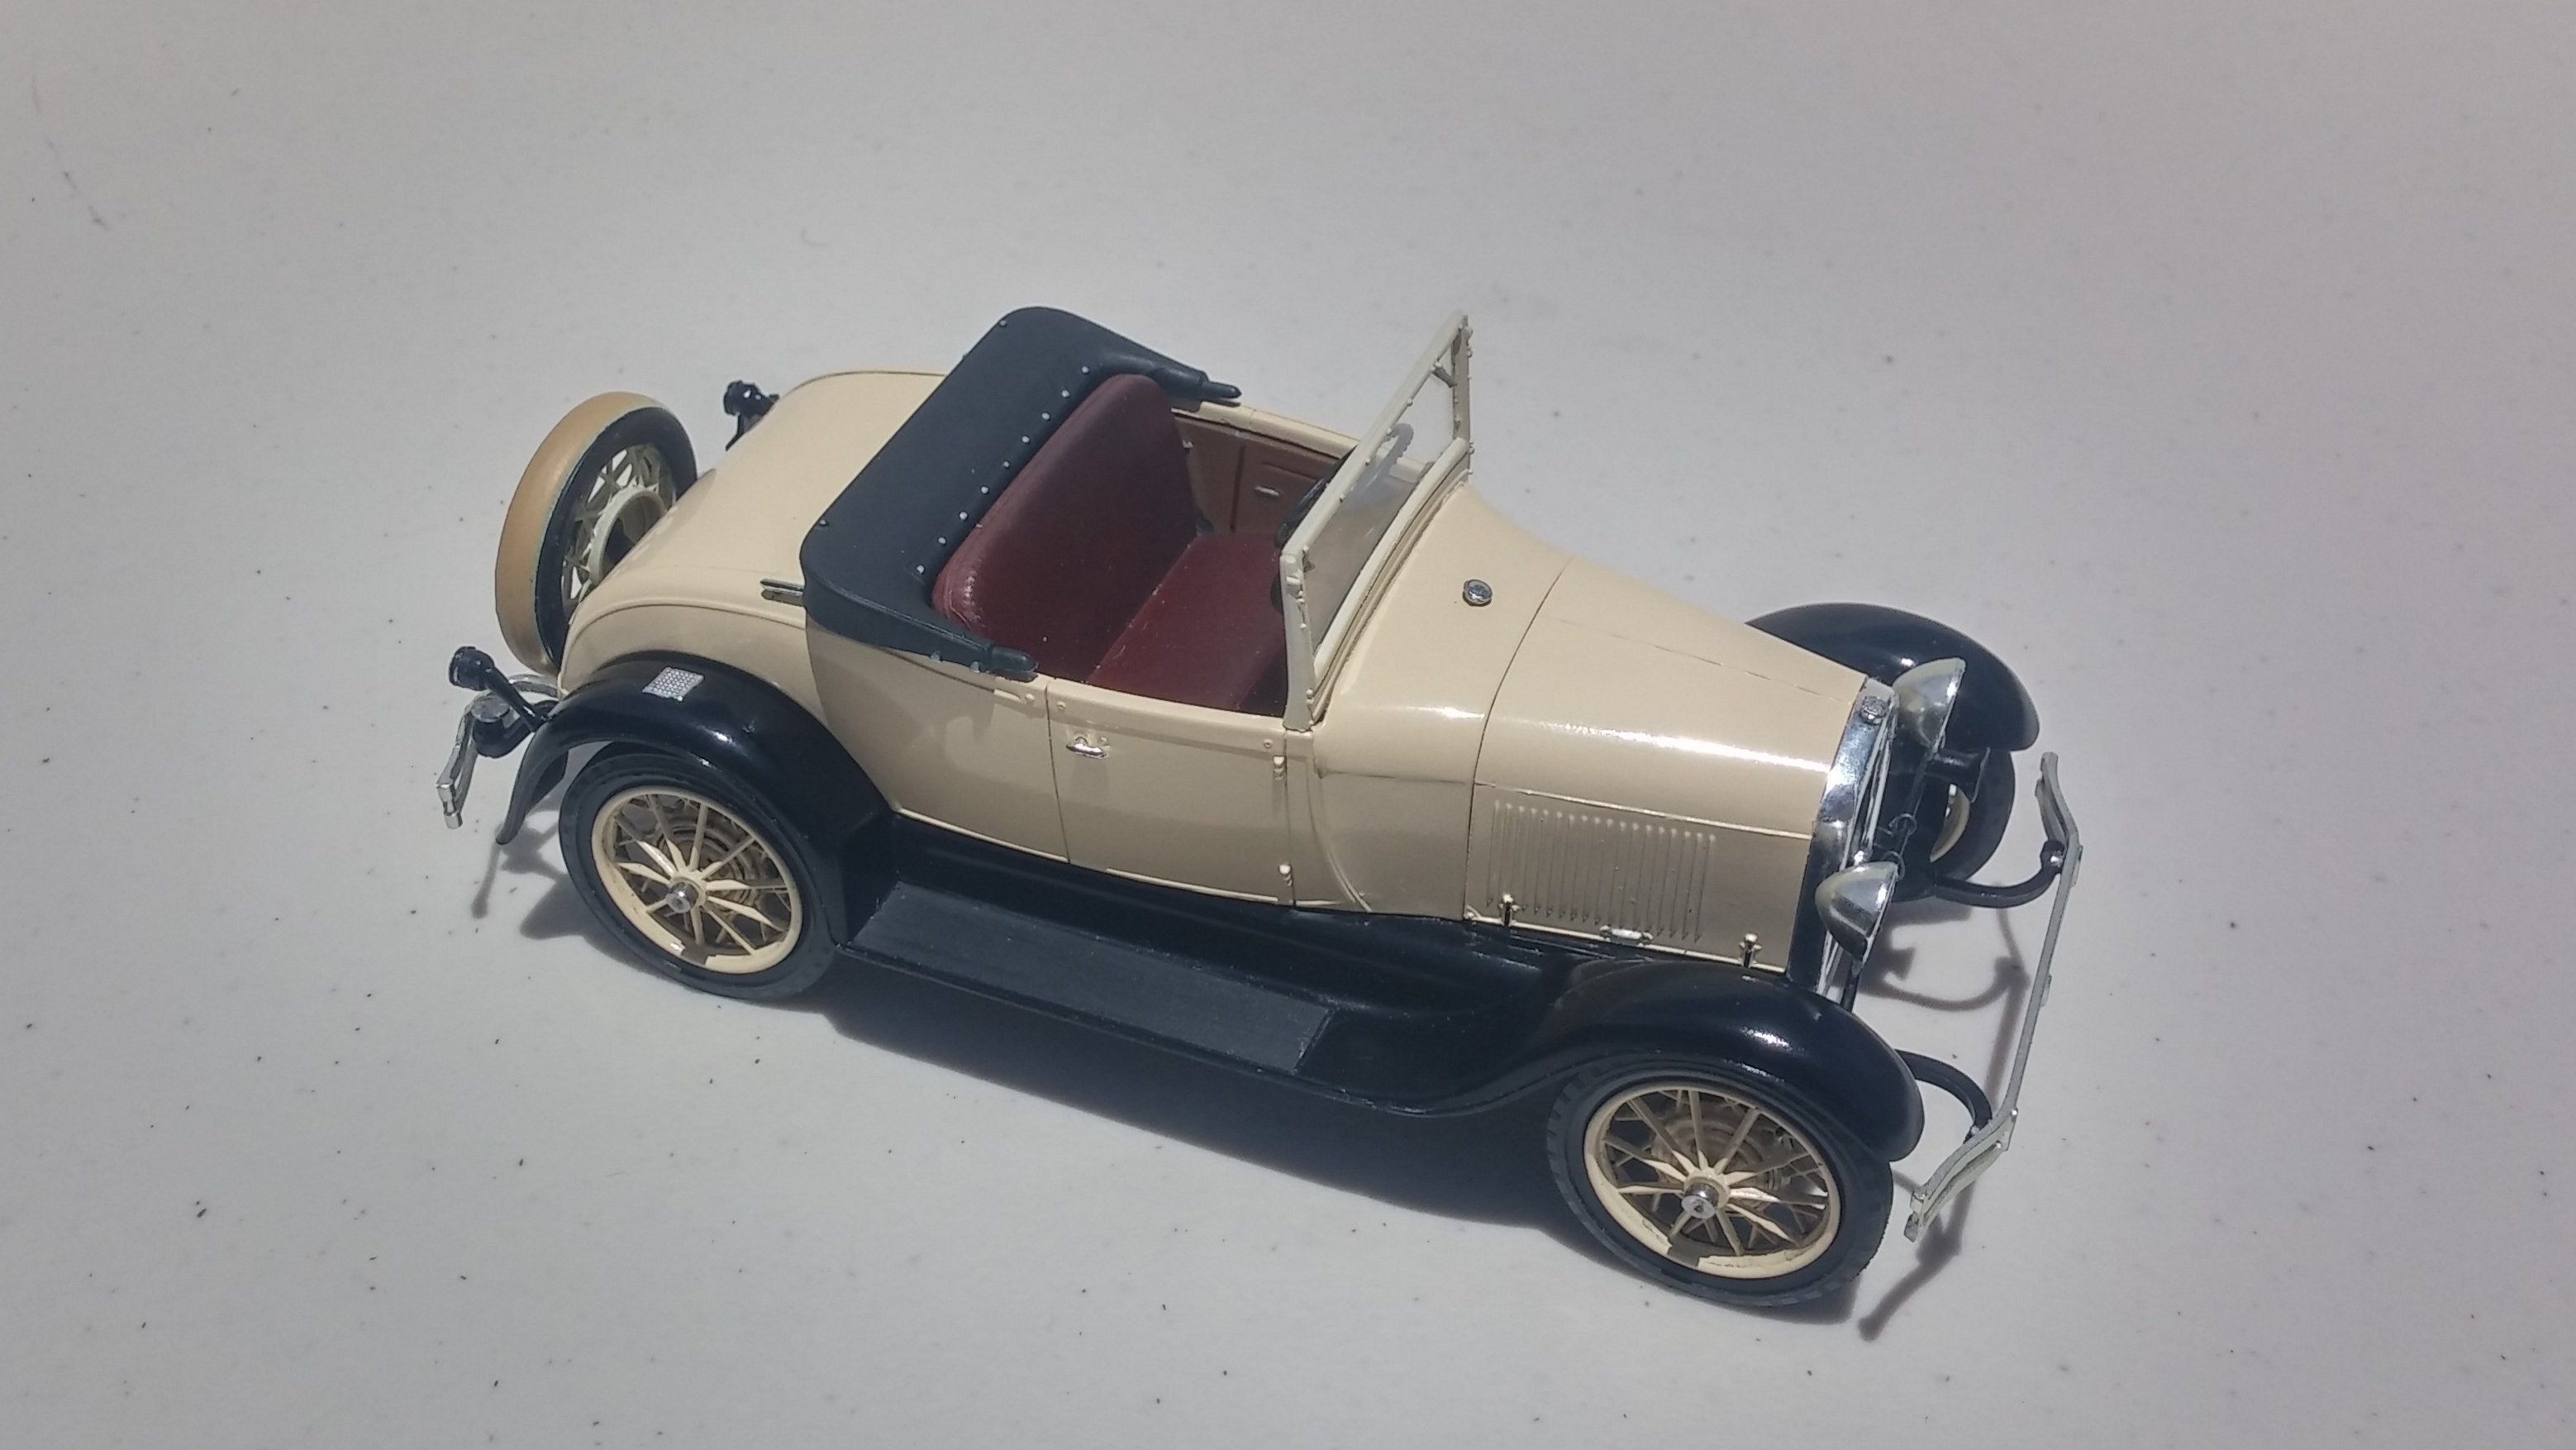
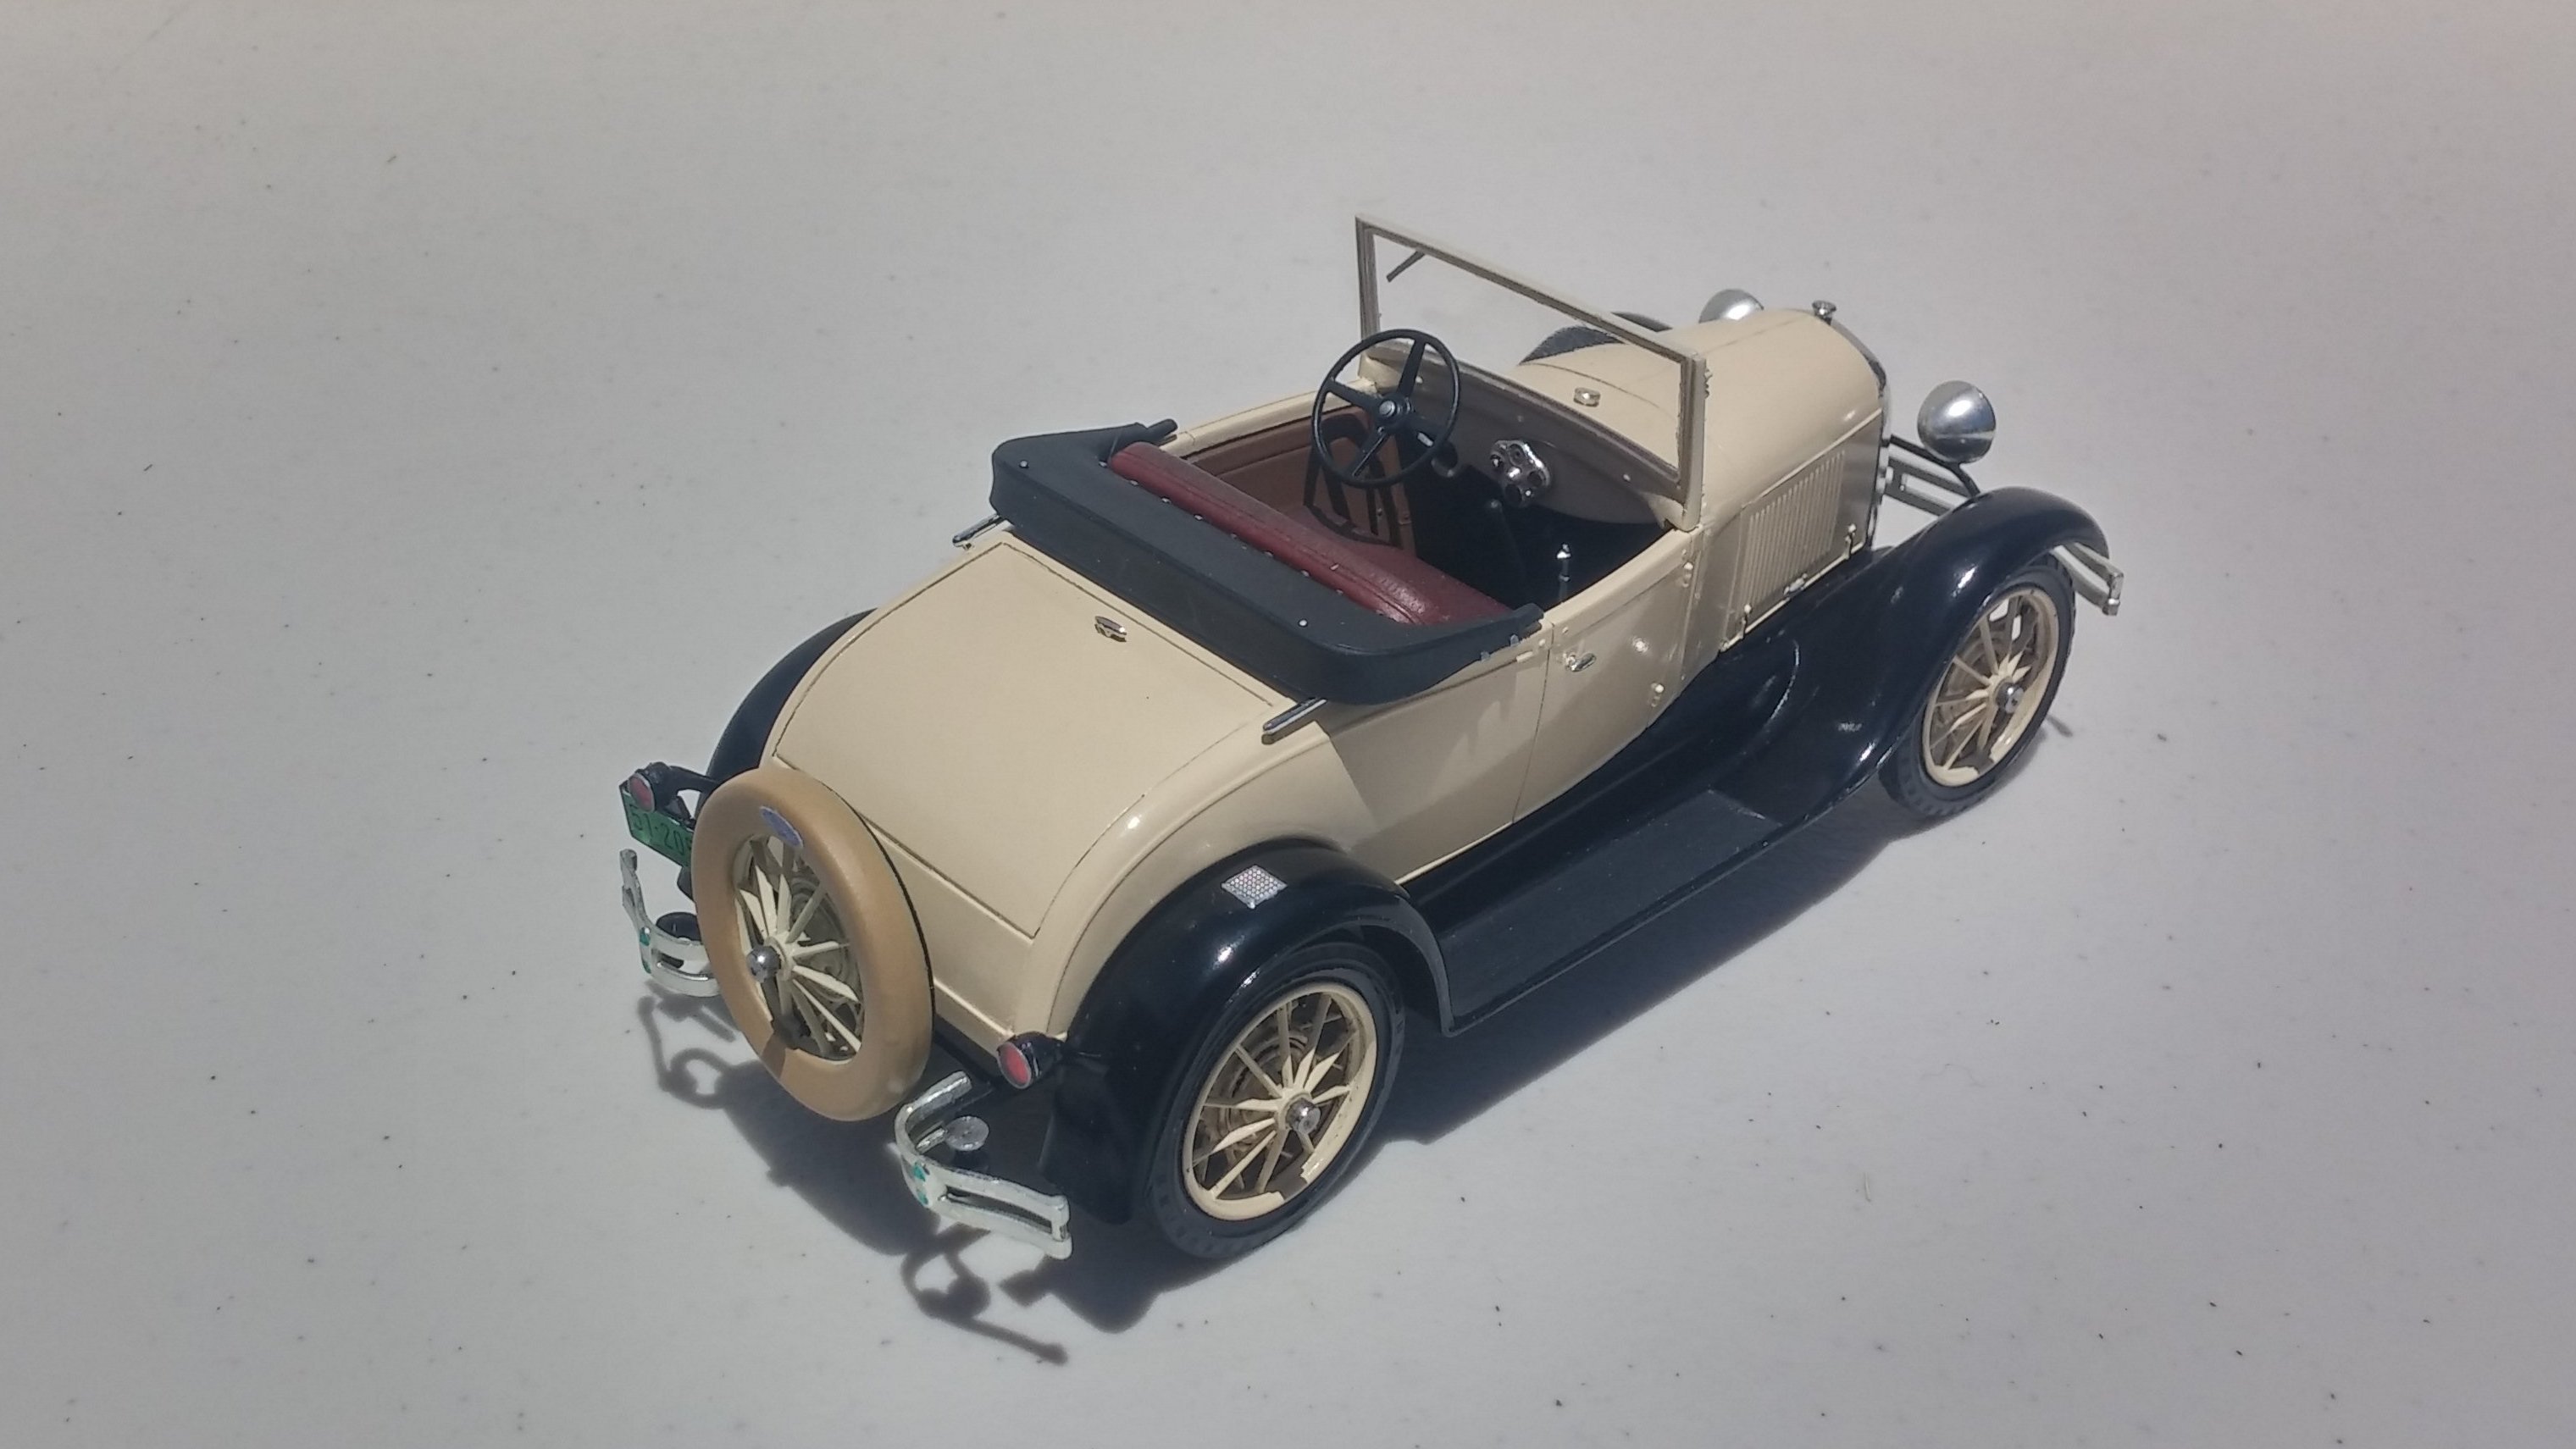
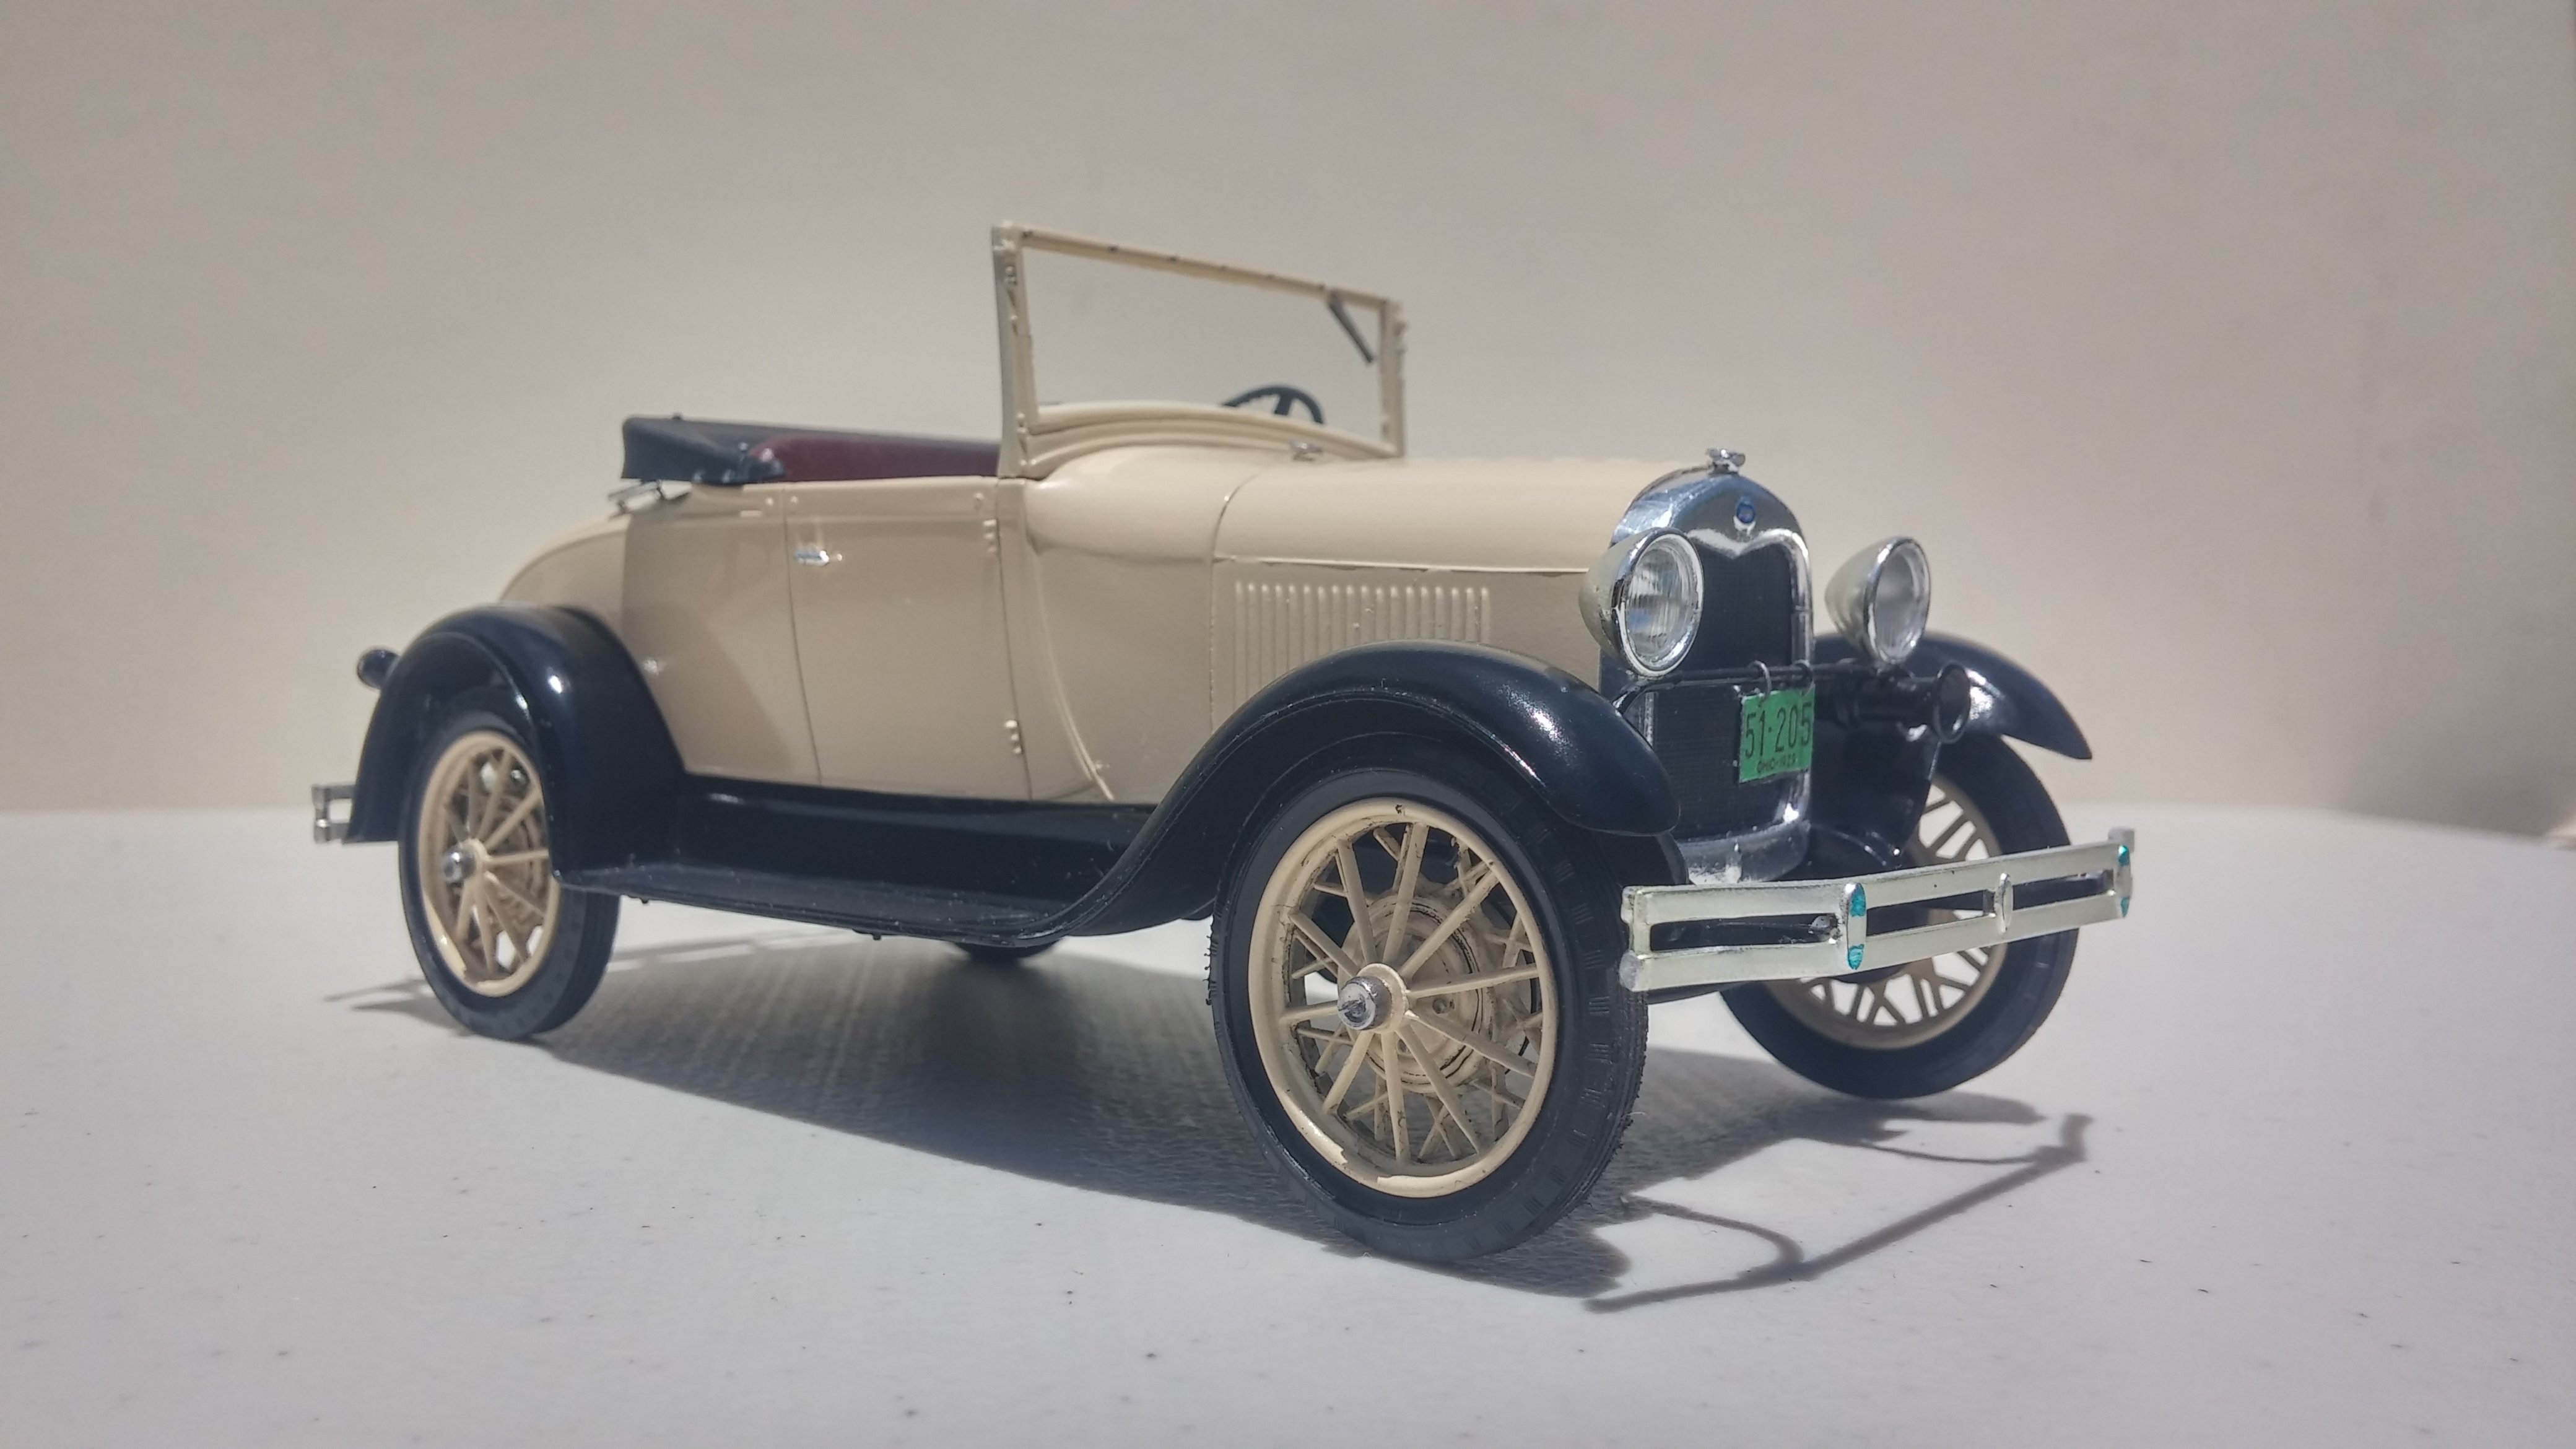
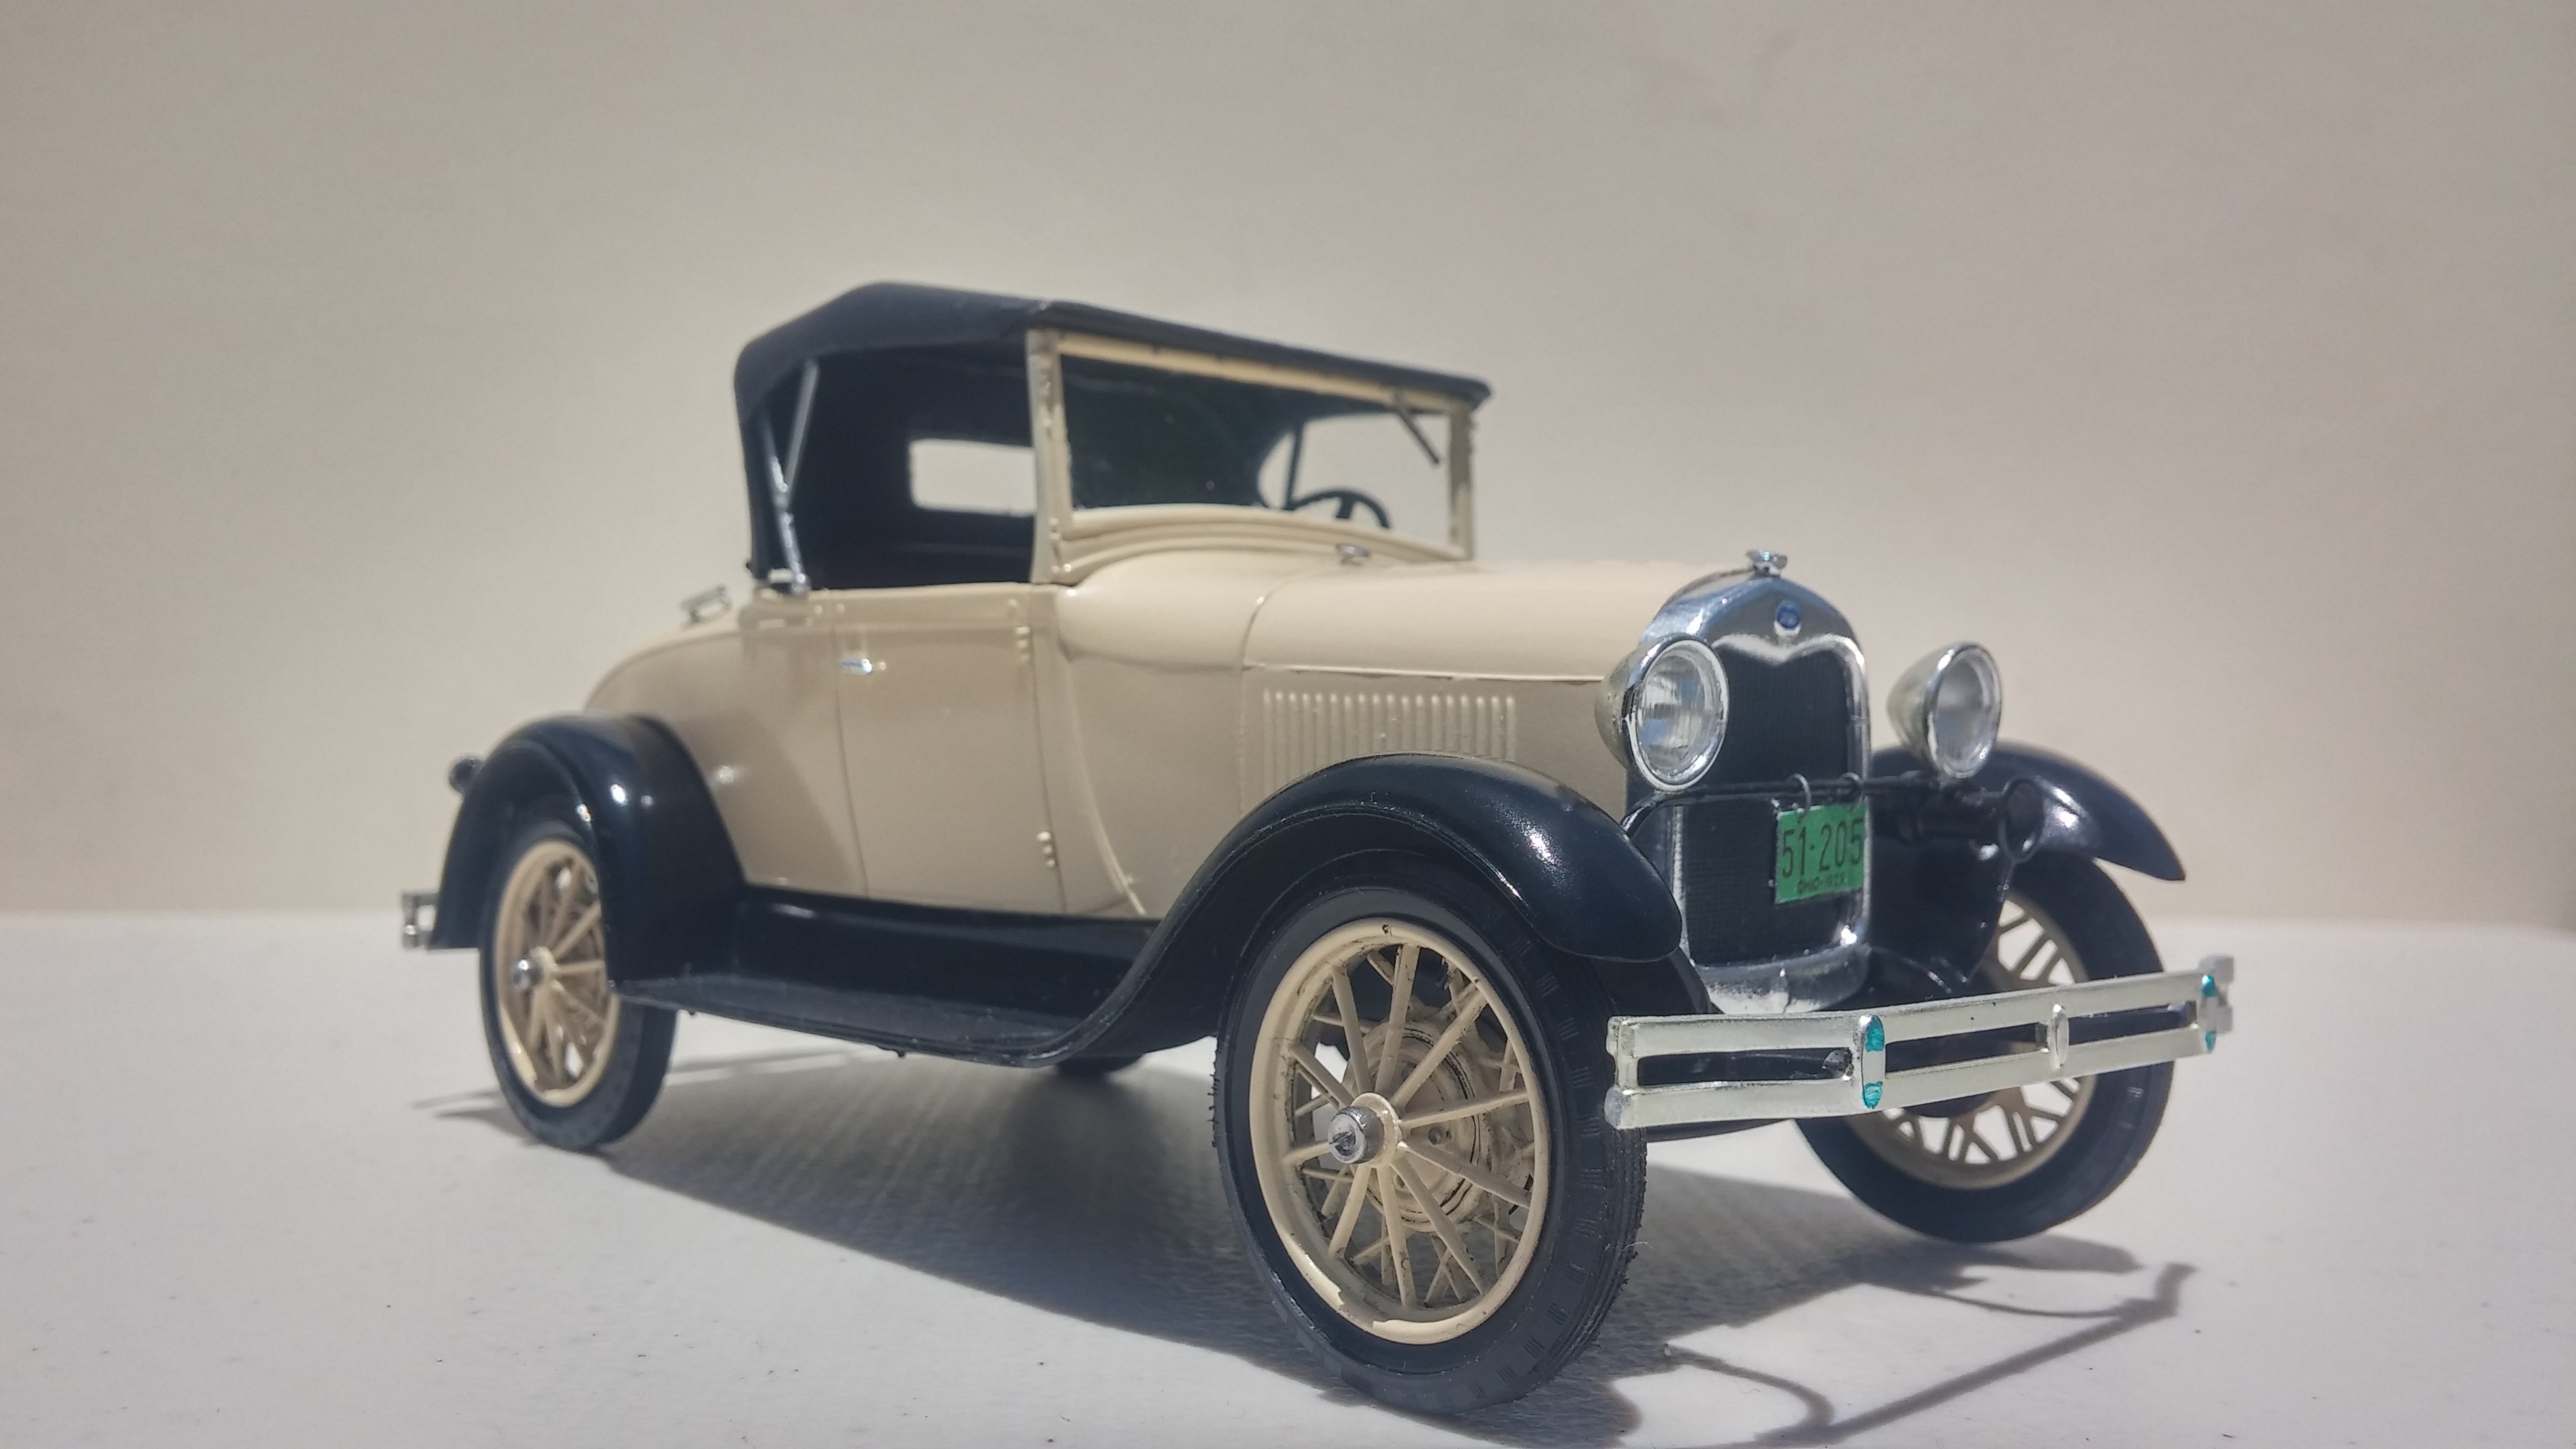
I finished this one last week and finally found the proper combination of time and energy to get some photos posted. While building this kit, I noticed that the left front bumper bracket was higher than the right so I heated it with hot tap water and bent it fairly close to where it should be. I found out during final assembly that the misaligned bumper bracket was a symptom of a more complicated situation. The one piece fender assembly was not exactly warped. The issue was caused by what seemed to be a misalignment of the die. The fender assembly seemed to sit squarely on the table but the left front corner was higher than the right and the right rear was very slightly than the left. If I pushed the left corner of the frame up to meet the fender assembly then the left front tire came up off the table. I ended up finding a kind of sweet spot in the middle and shimmed the right side of the bumper up to more closely match the height of the left. It ain't poifekt but iddle doo. And here we see the classic roadster profile. In researching this project, every 1929 Ford Model A Roadster I saw had a step pad attached to the right rear bumper bracket. The model kit didn't provide one so I made my own- from a nail head. The color scheme on this one is taken almost directly from the box art, right down to the dark red leather seat. Here's a better view of that step I cobbled together. Here's a photo for the promotional brochure. If cars had faces, this face would be that of a friendly, dependable dog waiting patiently and happily for whatever comes next. As always, thanks for taking the time to look and please feel free to comment. David G.
-

What are you doing during the upgrade?
David G. replied to Dave Ambrose's topic in General Automotive Talk (Trucks and Cars)
Roger that! Thanks for all the work you do for the rest of us Dave. David G. -
Fantastic mod work, paint looks great and even the bit of interior I can see looks excellent. In "The Biz" we would call this an Executive or Business Limo. David G.
-
Nicely done! David G.
-
Lifetime subscription
David G. replied to dartman's topic in General Automotive Talk (Trucks and Cars)
Same here except that I took the PayPal route. I have learned more about building models from this forum and its accompanying magazine than I have from all other sources combined. I truly enjoy coming to this forum and reading the posts and seeing all the photos that community members upload. It would be sad if all that went away. That's why I offer my support, not derision, pessimism and skepticism. Support- for something that I very much wish to see continue. Thanks, David G. -
Great color choice, excellent work on the interior with that decal technique, very solid looking build. David G.
-
Spectacular work! David G.
-
Hope your model shows have good security
David G. replied to Earl Marischal's topic in The Off-Topic Lounge
The words I have cannot be shared here. David G. -
I finished this kit the other day so this is the final update for this one. As soon as I get some final photos I'll post them in the "Under Glass" section. I have all the itty bits attached to the body except the spare wheel. The kit directions instructed me to glue the front license plate holder directly to the headlight crossbar. I could not see that working out very well, so I made a plate backing of my own, drilled it out and attached it with a couple of home made wire hangers. Drilled out the holes in the fenders, built and mounted the taillights. Here's this photo just because I like it. Thanks to all of you who provided your thoughts and comments. Everybody else, thanks for taking the time to stop and look. I hope you all enjoyed the show David G.
-
Well built! Nice color- has kind of a 70's vibe. David G.
-
"Coolest car ever, or over the top toy." Is there a difference? David G.
-
Ok, still working on the Ford. I'm nearly done with it, just snapping up the little fiddly bits. I should be able to get the final glue-up done tomorrow afternoon. In the mean time, here are the photos of the left overs from the nearly double kit. There's no editing or cropping, they're just snapped and uploaded. I'm sure that most everybody is aware of the issues that some of us have been having with uploading photos. I've been trying to upload these directly since Sunday with no luck, so today I decided to fire up my ol' PB account just so I get these posted. I hope it works. Enjoy. I'll post more of the "work in progress" photos later. Thanks, David G.
-
This message I get when I try to upload a picture......
David G. replied to mrmike's topic in How To Use This Board
I get the exact same error no matter the size of the photos. I've been getting it since Sunday. David G. -
Very cool pick up, thanks for sharing it. David G.
-
Thanks Randy, I hope to finish it in the next couple of days. Thank you David. I agree the people who design the box art for these kits do have a good eye for color and composition. I just seem to remember from years ago that there was an opinion in the modeling community where I grew up that if you painted a model car the same color as the box art, you lacked imagination and were "lame". It's probably something that one person said to me during my formative years that has stuck with me ever since. Thanks Steve. True, this kit is not as detailed as some others may be but for me that's not the bigger concern. My issue, though it is a minor one, is that the kit molds are showing their age. Two of the more prominent points I'm dealing with are misalignment of the front bumper mounting brackets and hubcaps that are little more than chrome plated blobs. I'm also having a little trouble getting the body to sit flush on the chassis but this is probably due to kit design issues or my assembly issues. Thanks for the comment and the information Bill. When I get the stock build done, I'll lay out the remaining parts and upload some photos of them. I'm sure there are some folks would like to know what's all in this issue of the kit. Thanks, David G.
-
Picked up this kit at the most recent Desert Scale Classic. Turns out that it's actually two complete kits in one box. There's the one pictured on the cover and a complete second body, chassis and interior for a T-Bucket / Pick-Up style roadster! There may be a few bits and bobs missing that weren't duplicated between the two kits but I have plenty of spare bits and more than a few extra bobs. This is a rather simple kit of a rather simple car which makes it the kind of quick build that I feel the need for right now. The nearly completed chassis. Yes, I know. I'm once again painting a model in the same color as the box illustration, but it's a good color for this car and I don't have a model car in this color yet. So there! As always, thanks for taking the time to look and please feel free to comment. David G.
-
'71 Plymouth Satellite - restoration WIP images added!
David G. replied to Tommy124's topic in Model Cars
Looks great, nice refurbishment! David G. -
Looks fantastic, love all the added detail. David G.
-
Nicely done, excellent color choice. David G.
-
Smoooooth an' Deadly! David G.