Exotics_Builder
-
Posts
3,635 -
Joined
-
Last visited
Content Type
Profiles
Forums
Events
Gallery
Everything posted by Exotics_Builder
-
I have this original in the stash downstairs that I will check in the morning for what wheels are included

-
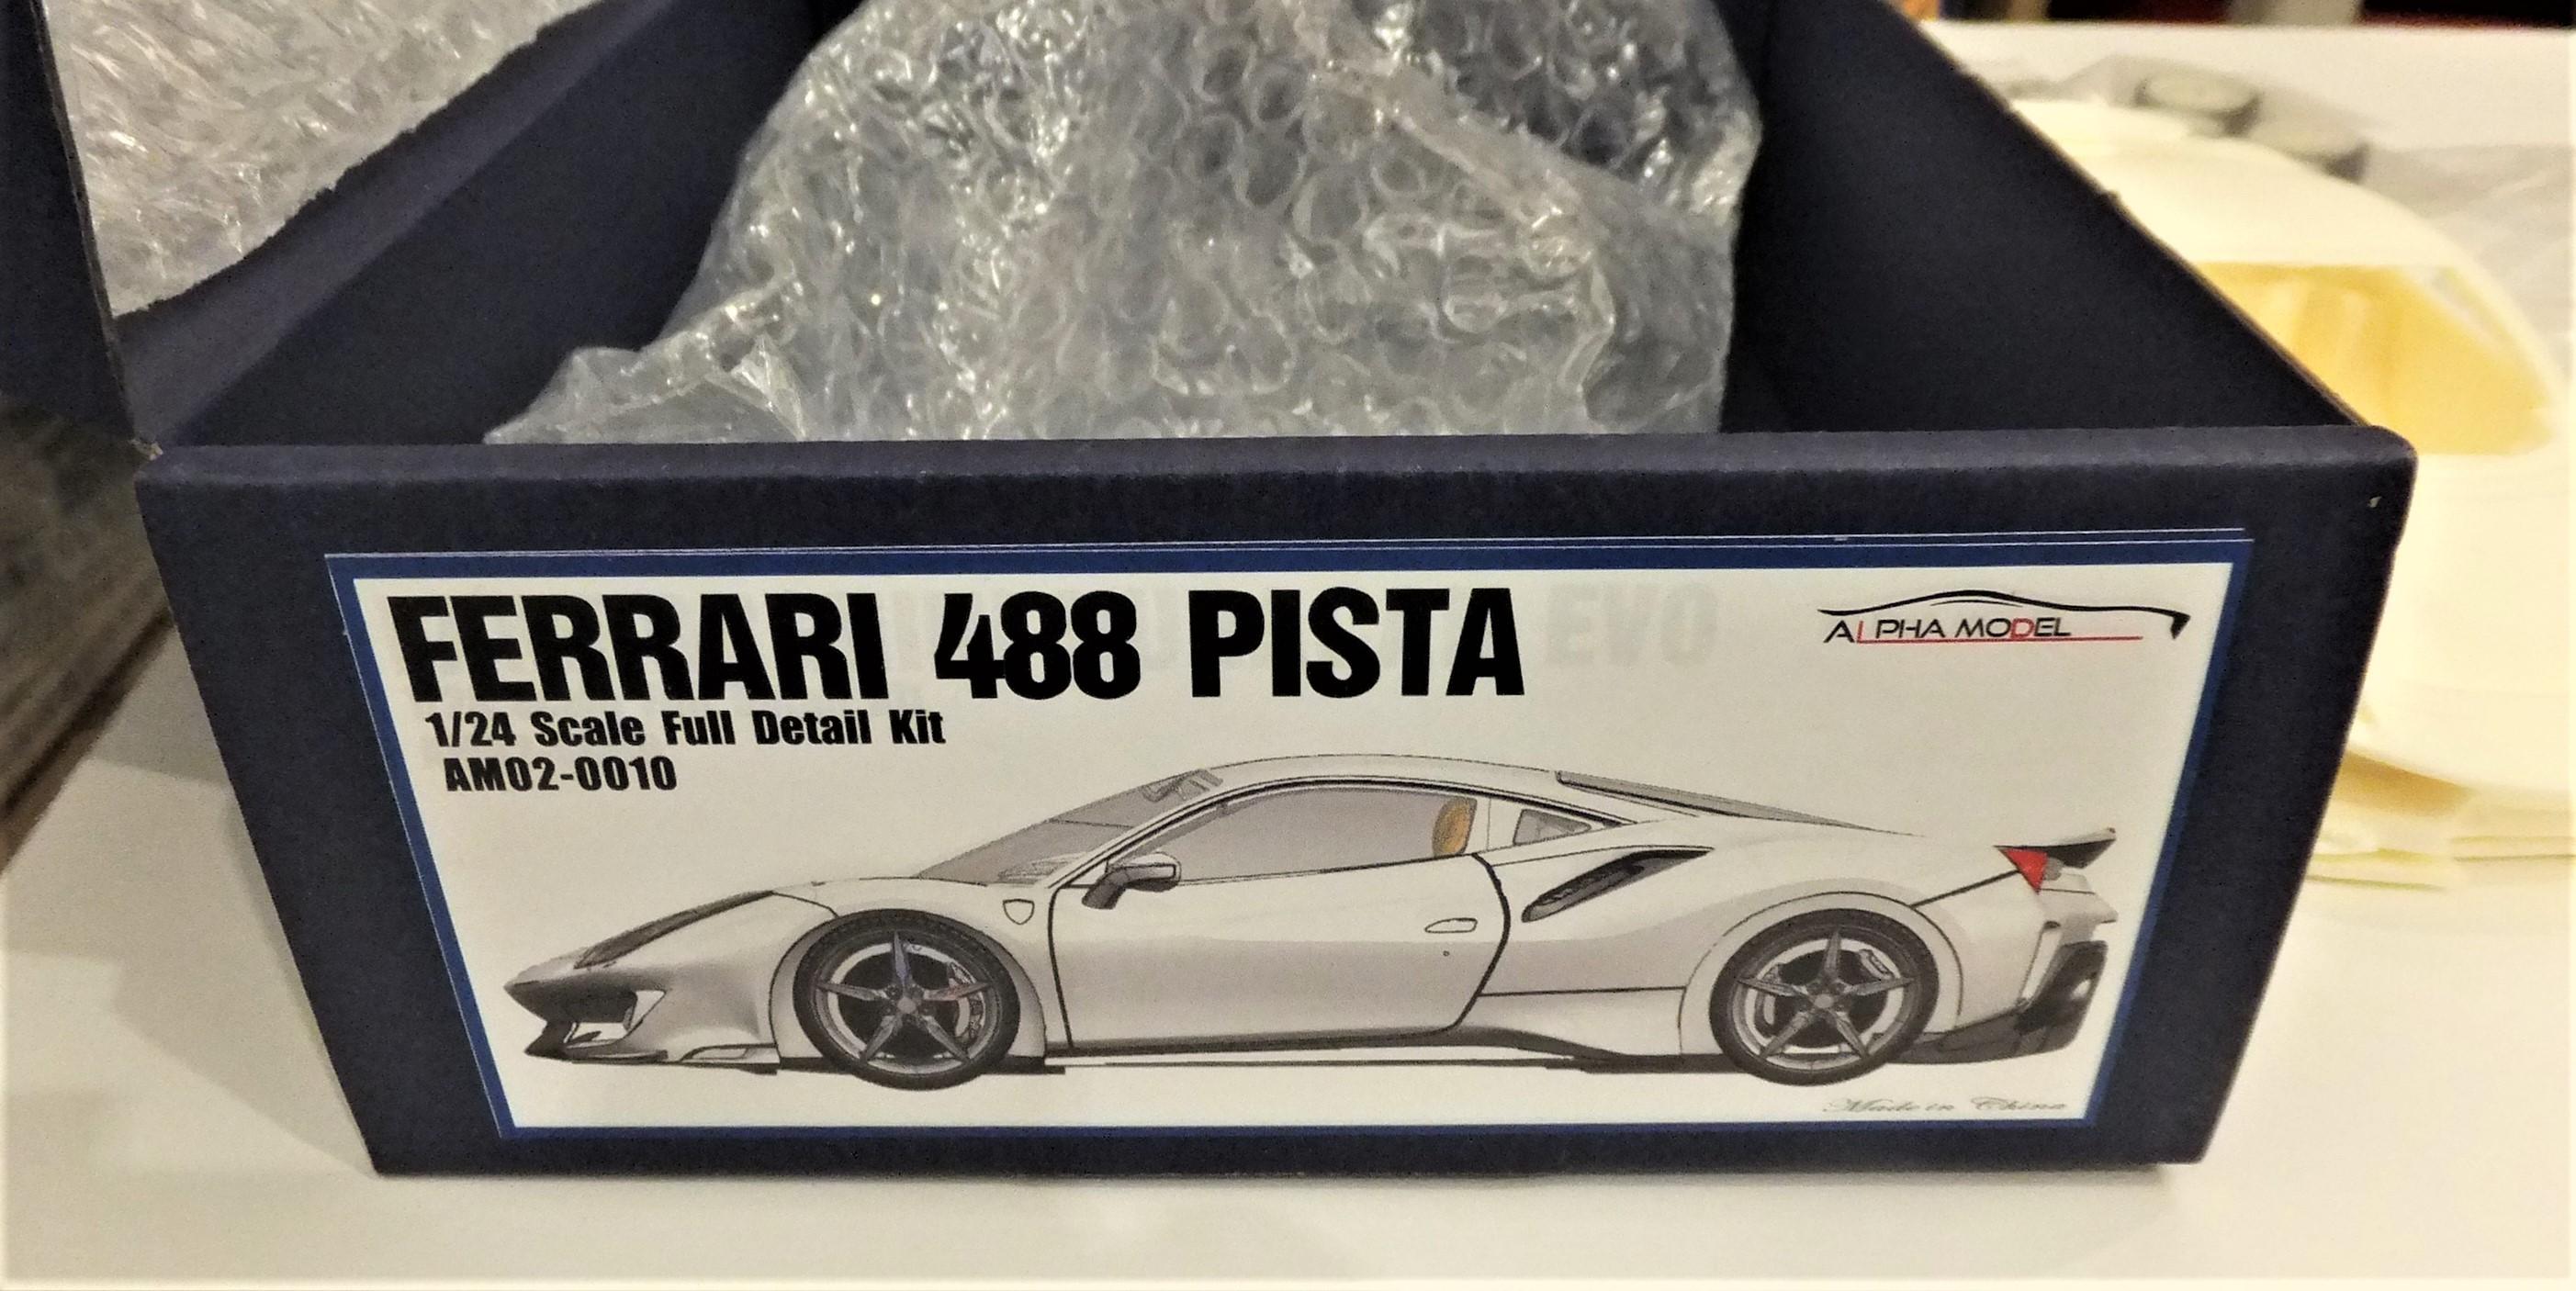
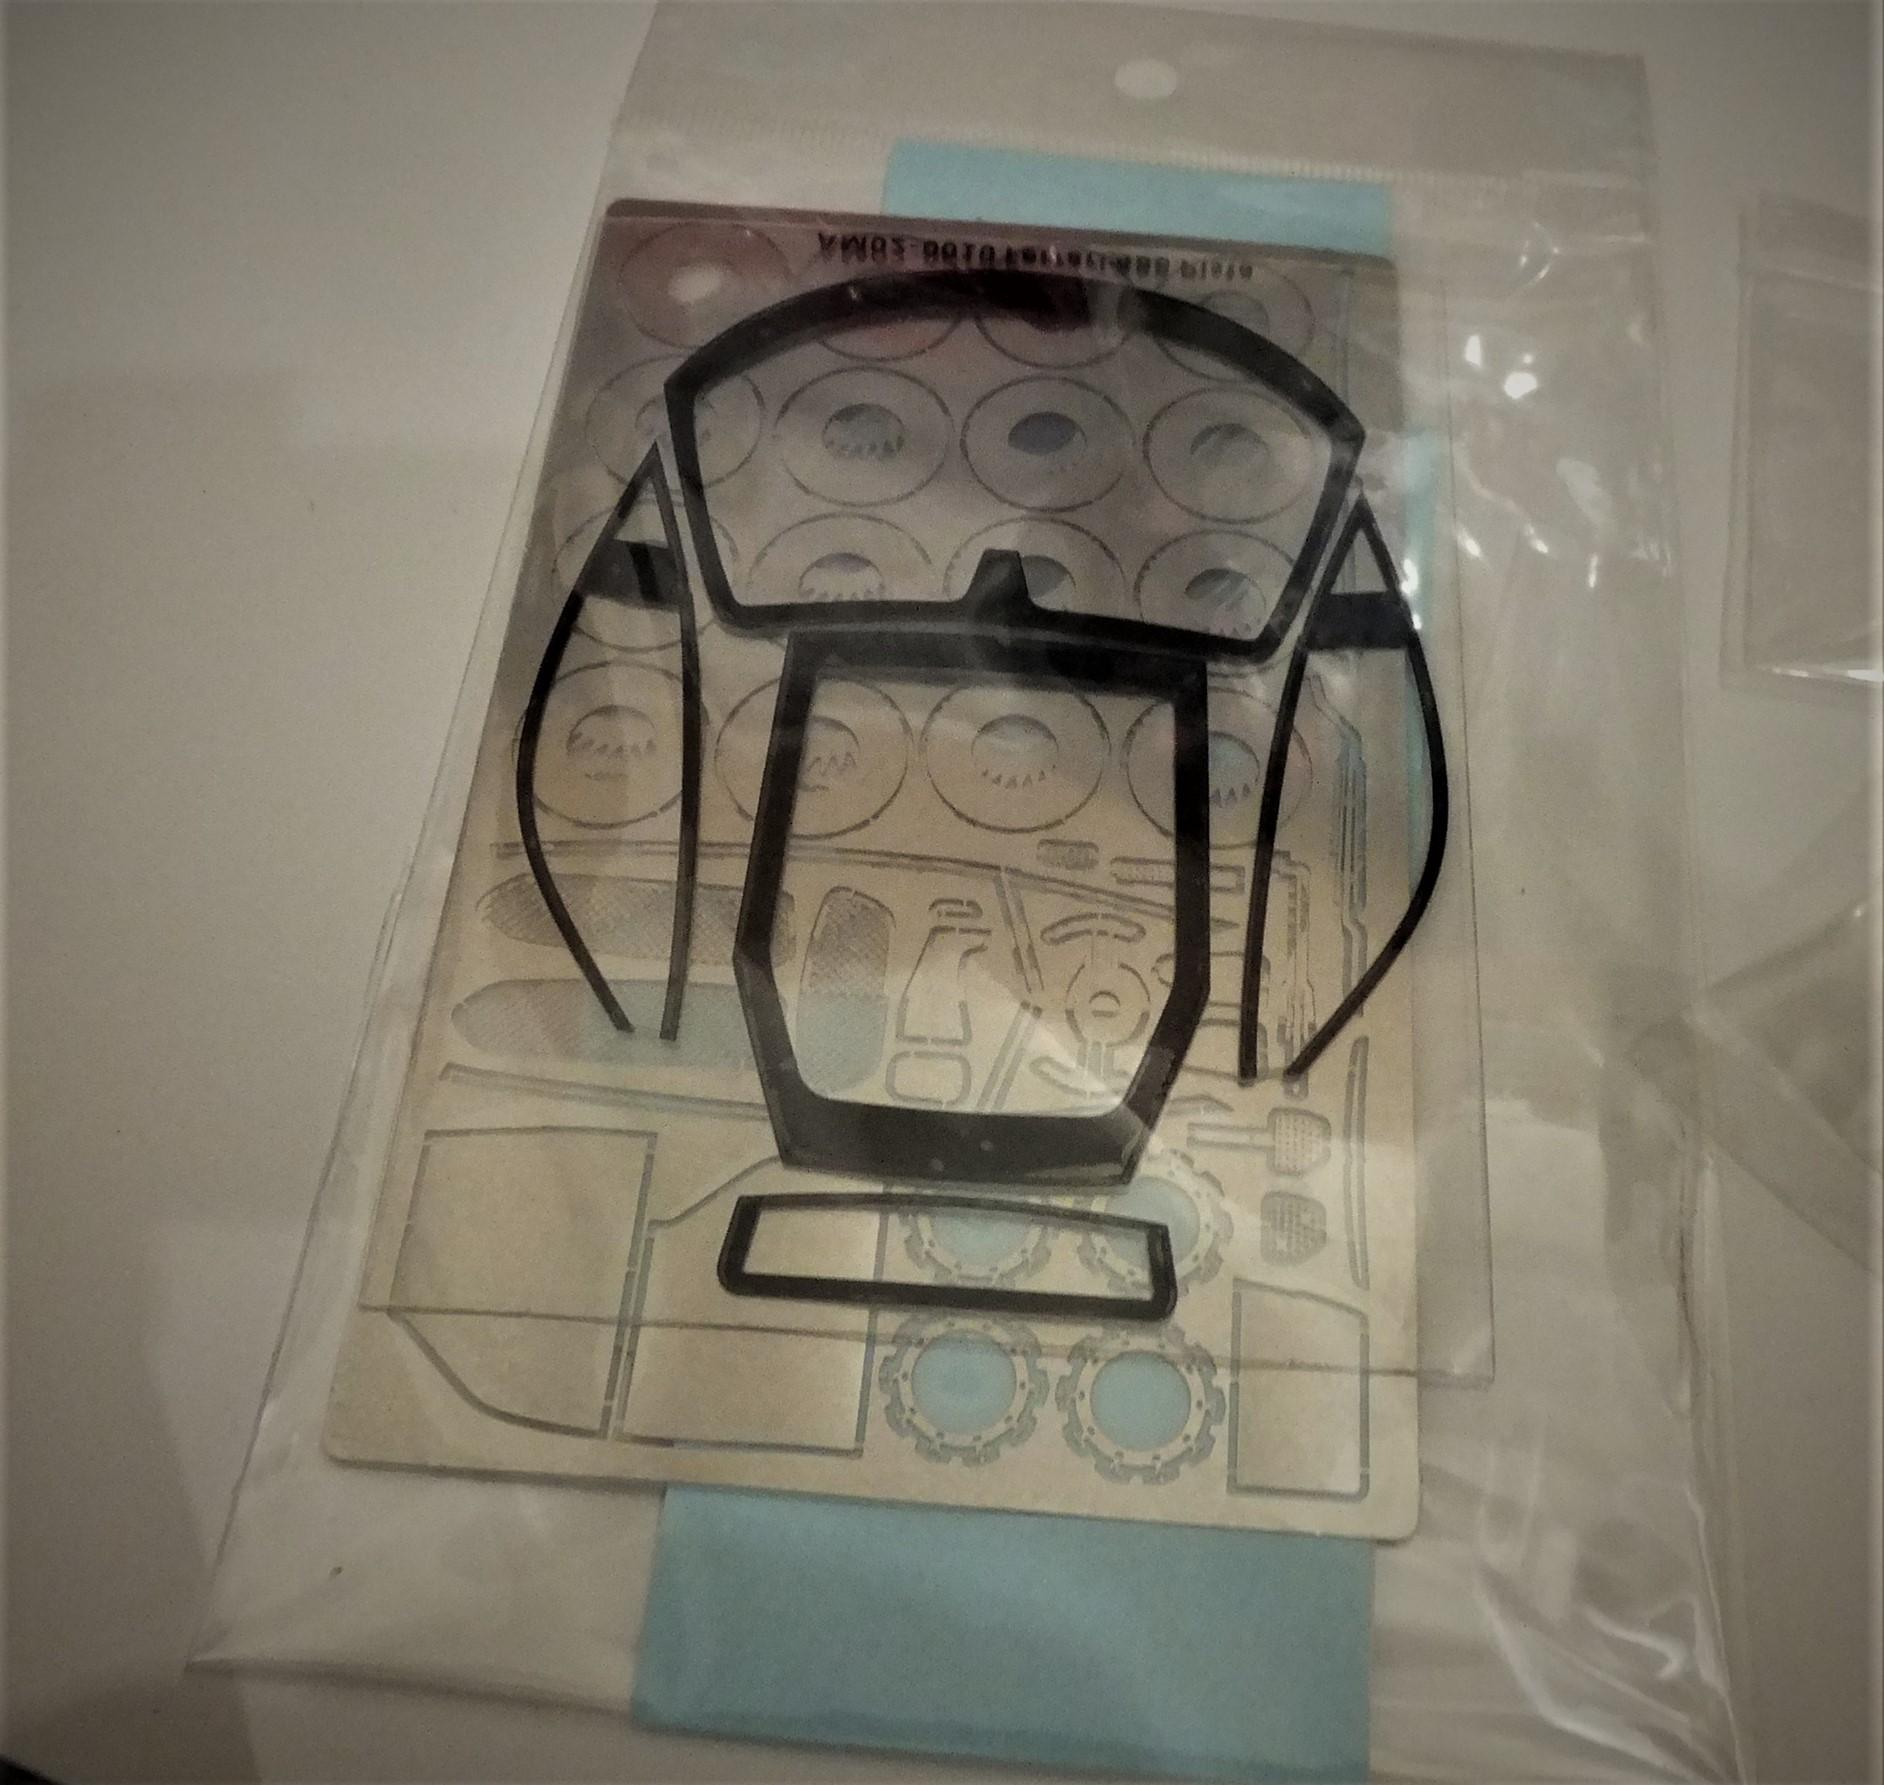
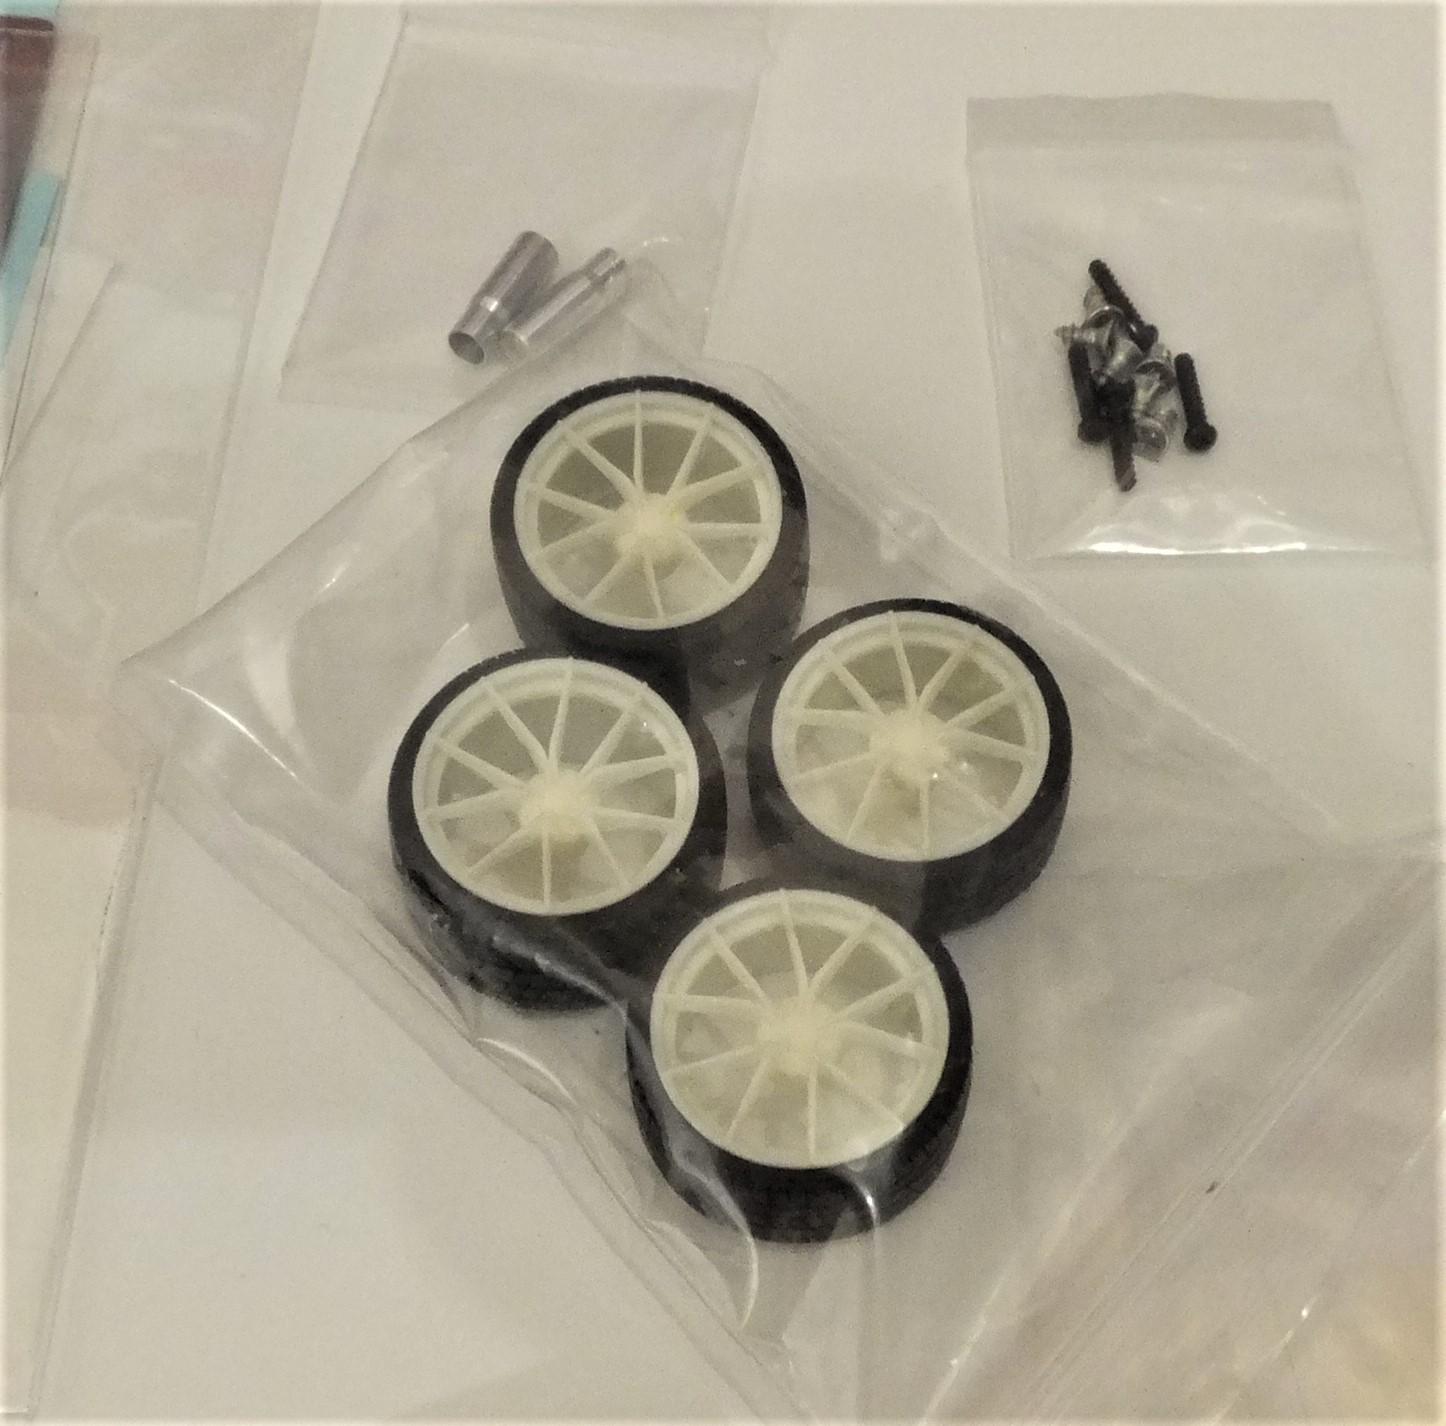
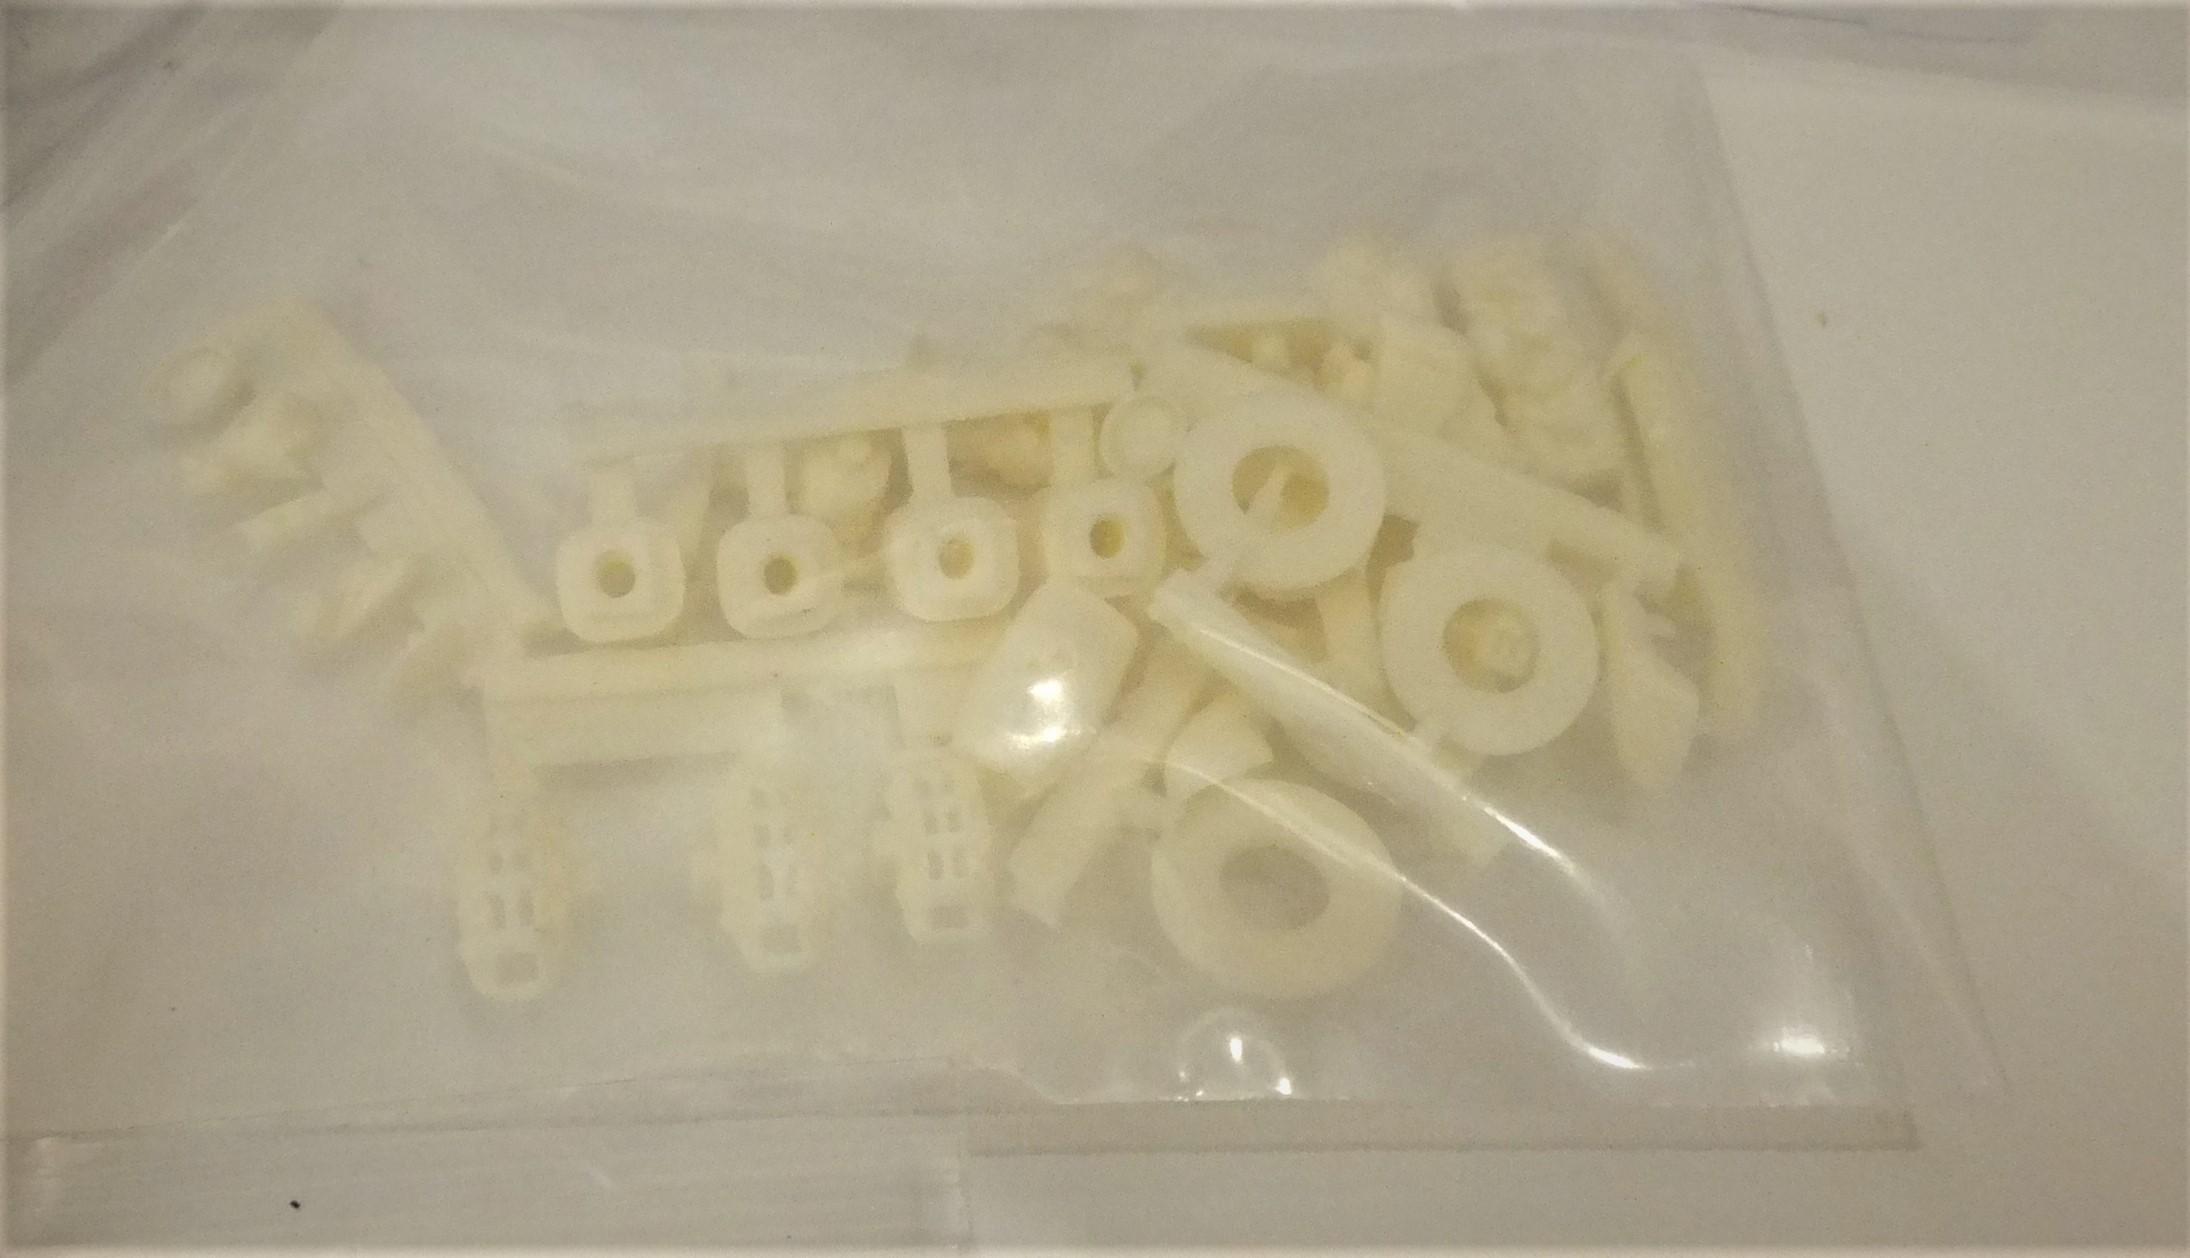
 Arrived Friday, but I let it "stew" in the garage for 2 days since it came from Wuhan China. This is the latest Alpha Models 1/24 Ferrari 488 Pista. As in their other offerings, very well cast, where even the integral front end spoiler is cast in with the opening. I would love for more chassis and engine detail. Alpha is part of Hobby Design.
-
Nice catch. I will be doing the 44 Car plus a street LaFerrari (unless Tamiya gives us an Aperta before I start)
-
Adding flake to clear coat
Exotics_Builder replied to Anthonyf's topic in Model Building Questions and Answers
I used a couple of spoonfuls of a Tamiya paint stirrer to 1/2 ounce of Testor Clear. Don't need much for a pearl effect. -
I had found these two, one of which is not the greatest
-
This one?
-
Adding flake to clear coat
Exotics_Builder replied to Anthonyf's topic in Model Building Questions and Answers
This was done with Pearl-Ex in Testors Clear. Then it was clearcoated over. Doesn't need much
-
Mine says 1969 on the bumpers. Looks like it could be. Definitely not a 67
-
In my experience yes. One of the reasons I clear over decals. I did a BMW M 635 CSi Schnitzer years ago that had layers of decals. I did not clear over and they yellowed over time. Lesson learned
-
As Snake said. it may take a week or a bit longer (depending on weather) to get a full bleach out
-
1/24 tires on a 1/25 scale car.
Exotics_Builder replied to porschercr's topic in Model Building Questions and Answers
I have used them, as on this El Camino. Need to watch the dimensions. A rough rule of thumb is a 1/24 wheel is 1 inch larger in diameter if applied to 1/25. So, an 18" 1/24 wheel would be 19" inch in 1/25. Again, that is a starting point and you need to check dimensions. A lot of the 1/24 aftermarket wheels and tires are quite wide, so clearance problems may occur. Also, wheel mounting points also need to be worked as many are geared to Aoshima, Fujimi or Tamiya.
-
Let's see your geegaws!
Exotics_Builder replied to Lunajammer's topic in General Automotive Talk (Trucks and Cars)
Replicas and Miniatures of Maryland offered it. May still do. -
Mr. Surfacer Question(s)
Exotics_Builder replied to Straightliner59's topic in Model Building Questions and Answers
Just the opposite, if I understood your comment. 500 is thicker than 1000 is thicker than 1200, etc. The smaller the number the more viscous and rougher. -
Drag racers loved it. My Dad bought a 65 Impala SS Coupe with 327/300 HP and it had a Powerglide ?
-
Kits with 3.8 GM motor
Exotics_Builder replied to Ctmodeler's topic in Model Building Questions and Answers
If I recollect correctly, that is 1/24 scale (if that matters). -
When I researched the 1:1 some years back when this Protar kit came out, the info available said that the car was wrecked and badly restored. Have not followed up further as it is not on the build horizon. Each of the 36 were hand built and there are variations in each. Great idea to do a "kit" car
-
Revell instructions required.
Exotics_Builder replied to grant_3250's topic in Model Building Questions and Answers
Or: https://public.fotki.com/drasticplasticsmcc/mkiba-build-under-c/revell-instructions/gift-packs-more-tha/revell-hot-rod-mode/ -
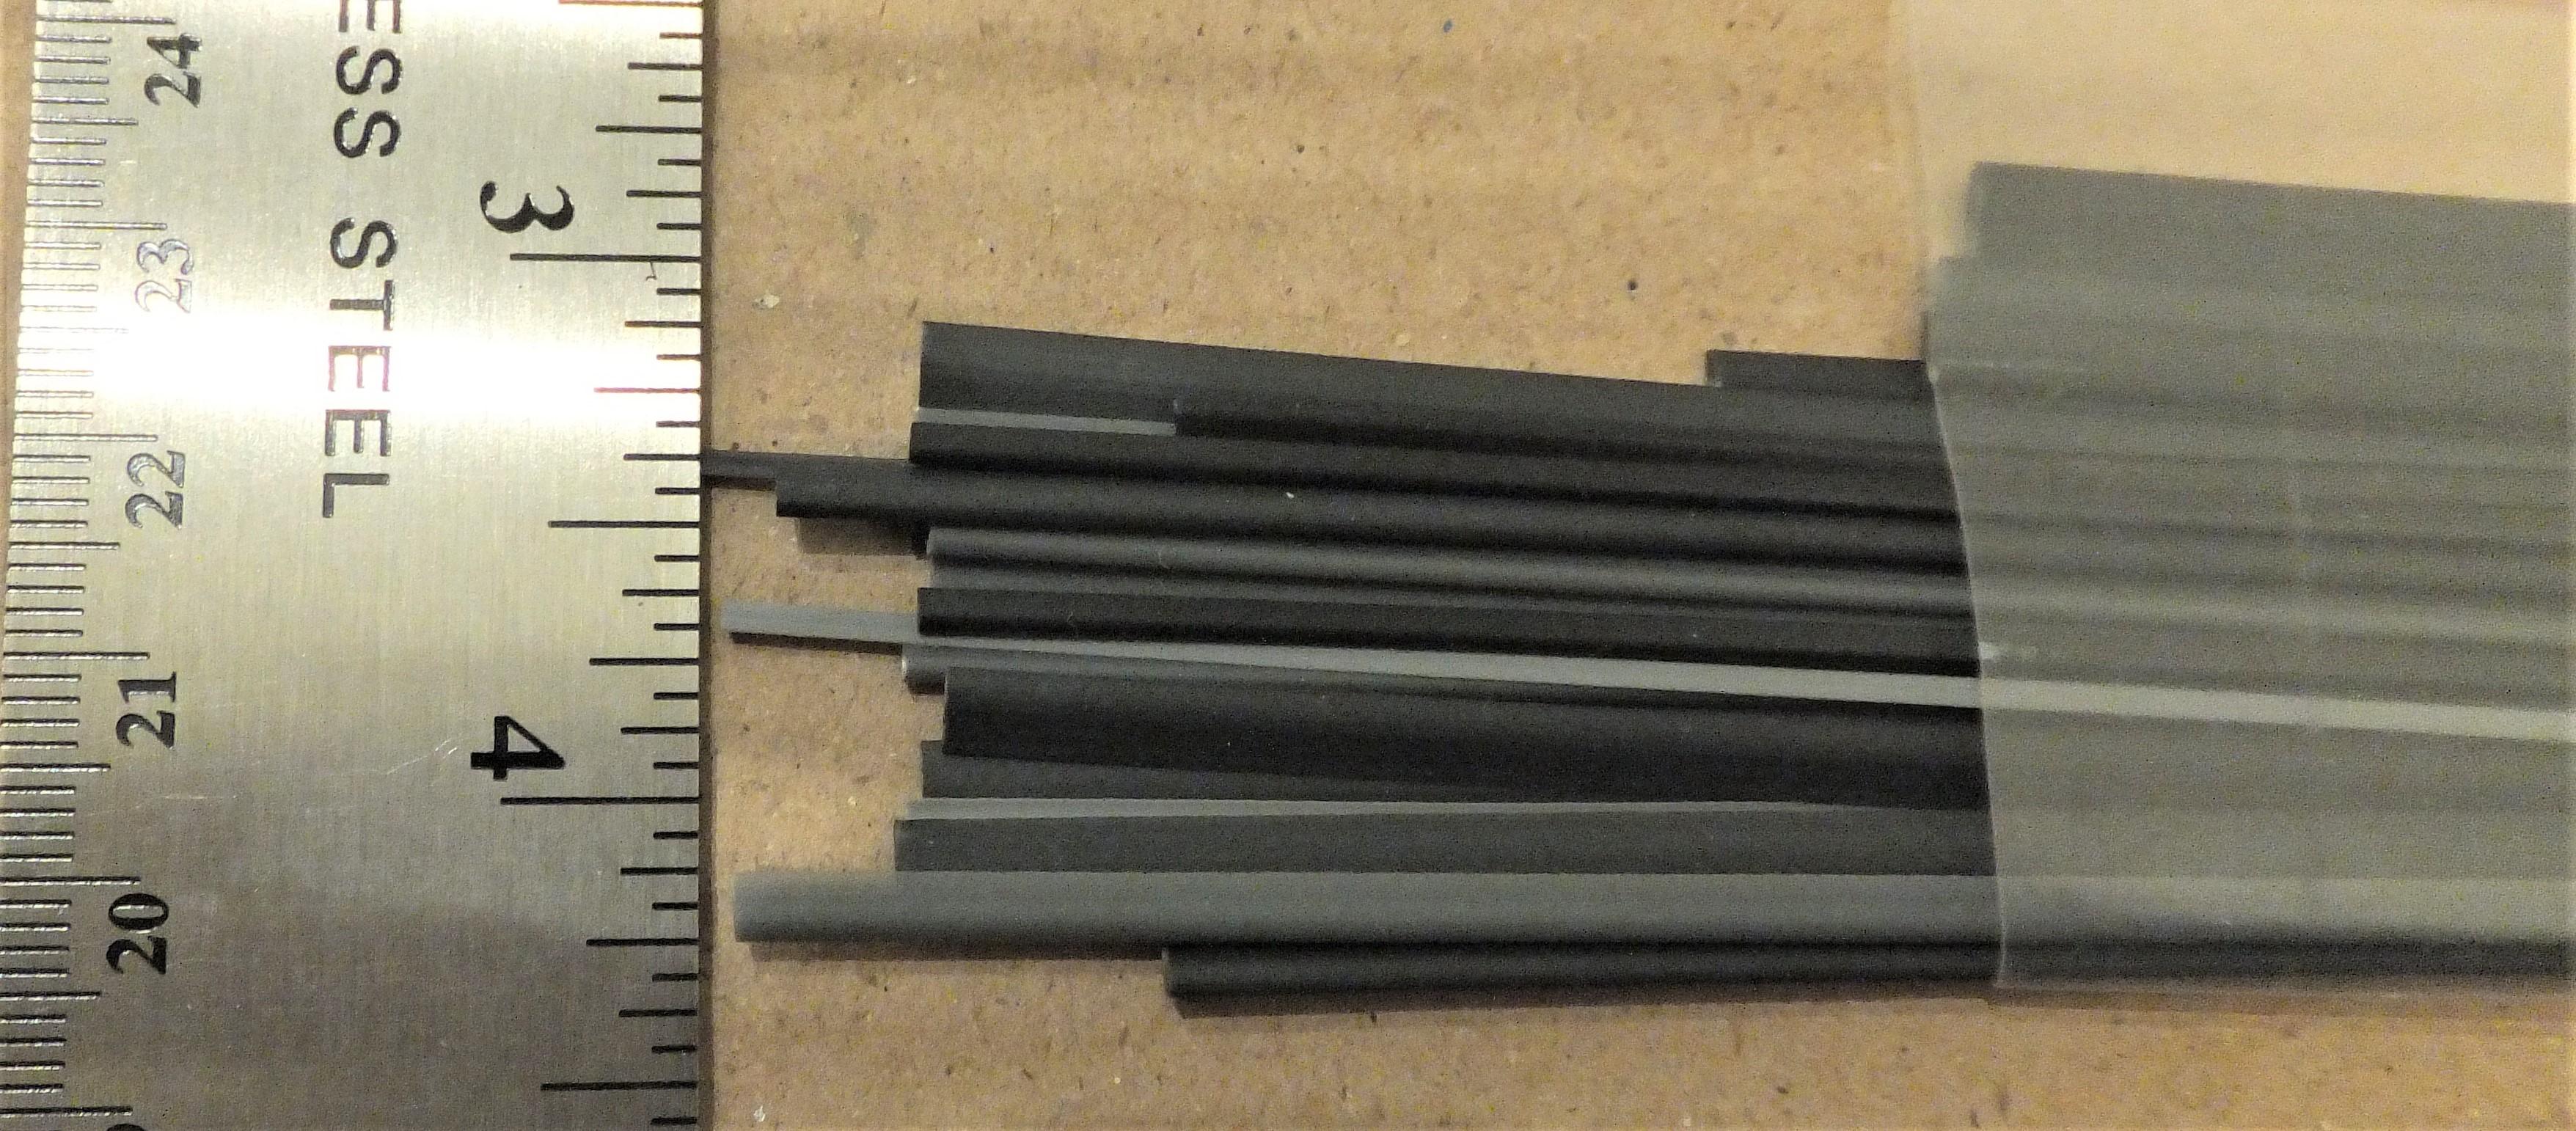
Wing or foil shaped styrene rod
Exotics_Builder replied to Scott Colmer's topic in Model Building Questions and Answers
It frequently happens. I see the dimensions, but not sure how that fits the pieces. Let me get some dimensions for you -
Wing or foil shaped styrene rod
Exotics_Builder replied to Scott Colmer's topic in Model Building Questions and Answers
What specific dimensions are you seeking? If it is in the stack we talk further. -
Wing or foil shaped styrene rod
Exotics_Builder replied to Scott Colmer's topic in Model Building Questions and Answers
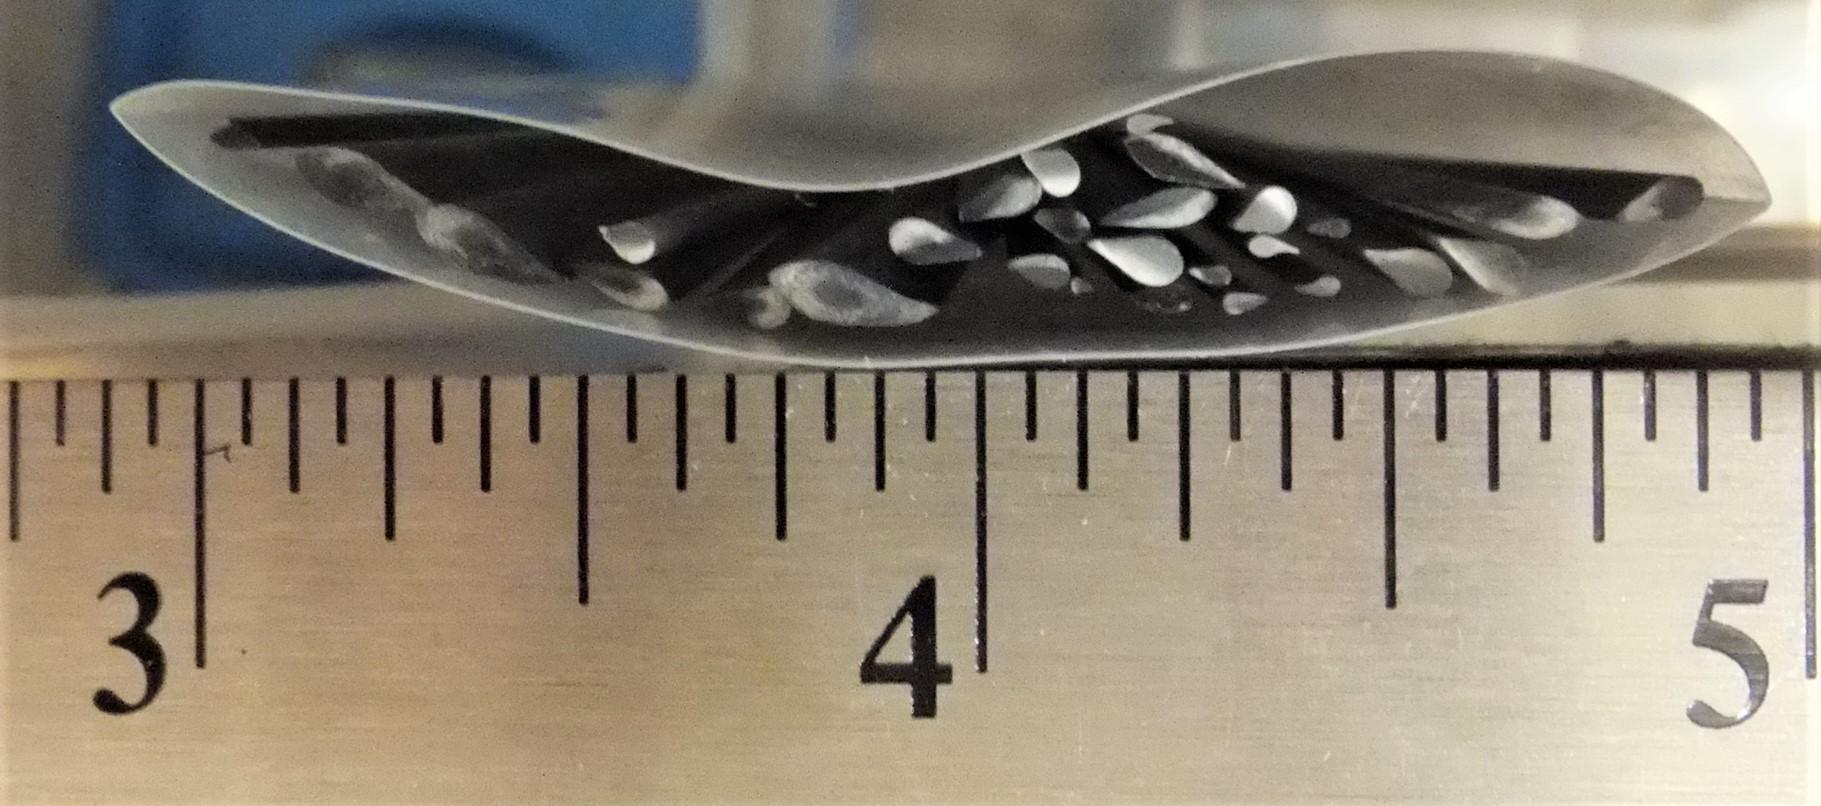
I got these some years back at an LHS. Don't have the maker tag anymore.
-
Using 1/24 scale Bonnet/Hood Pins
Exotics_Builder replied to DiscoRover007's topic in Model Building Questions and Answers
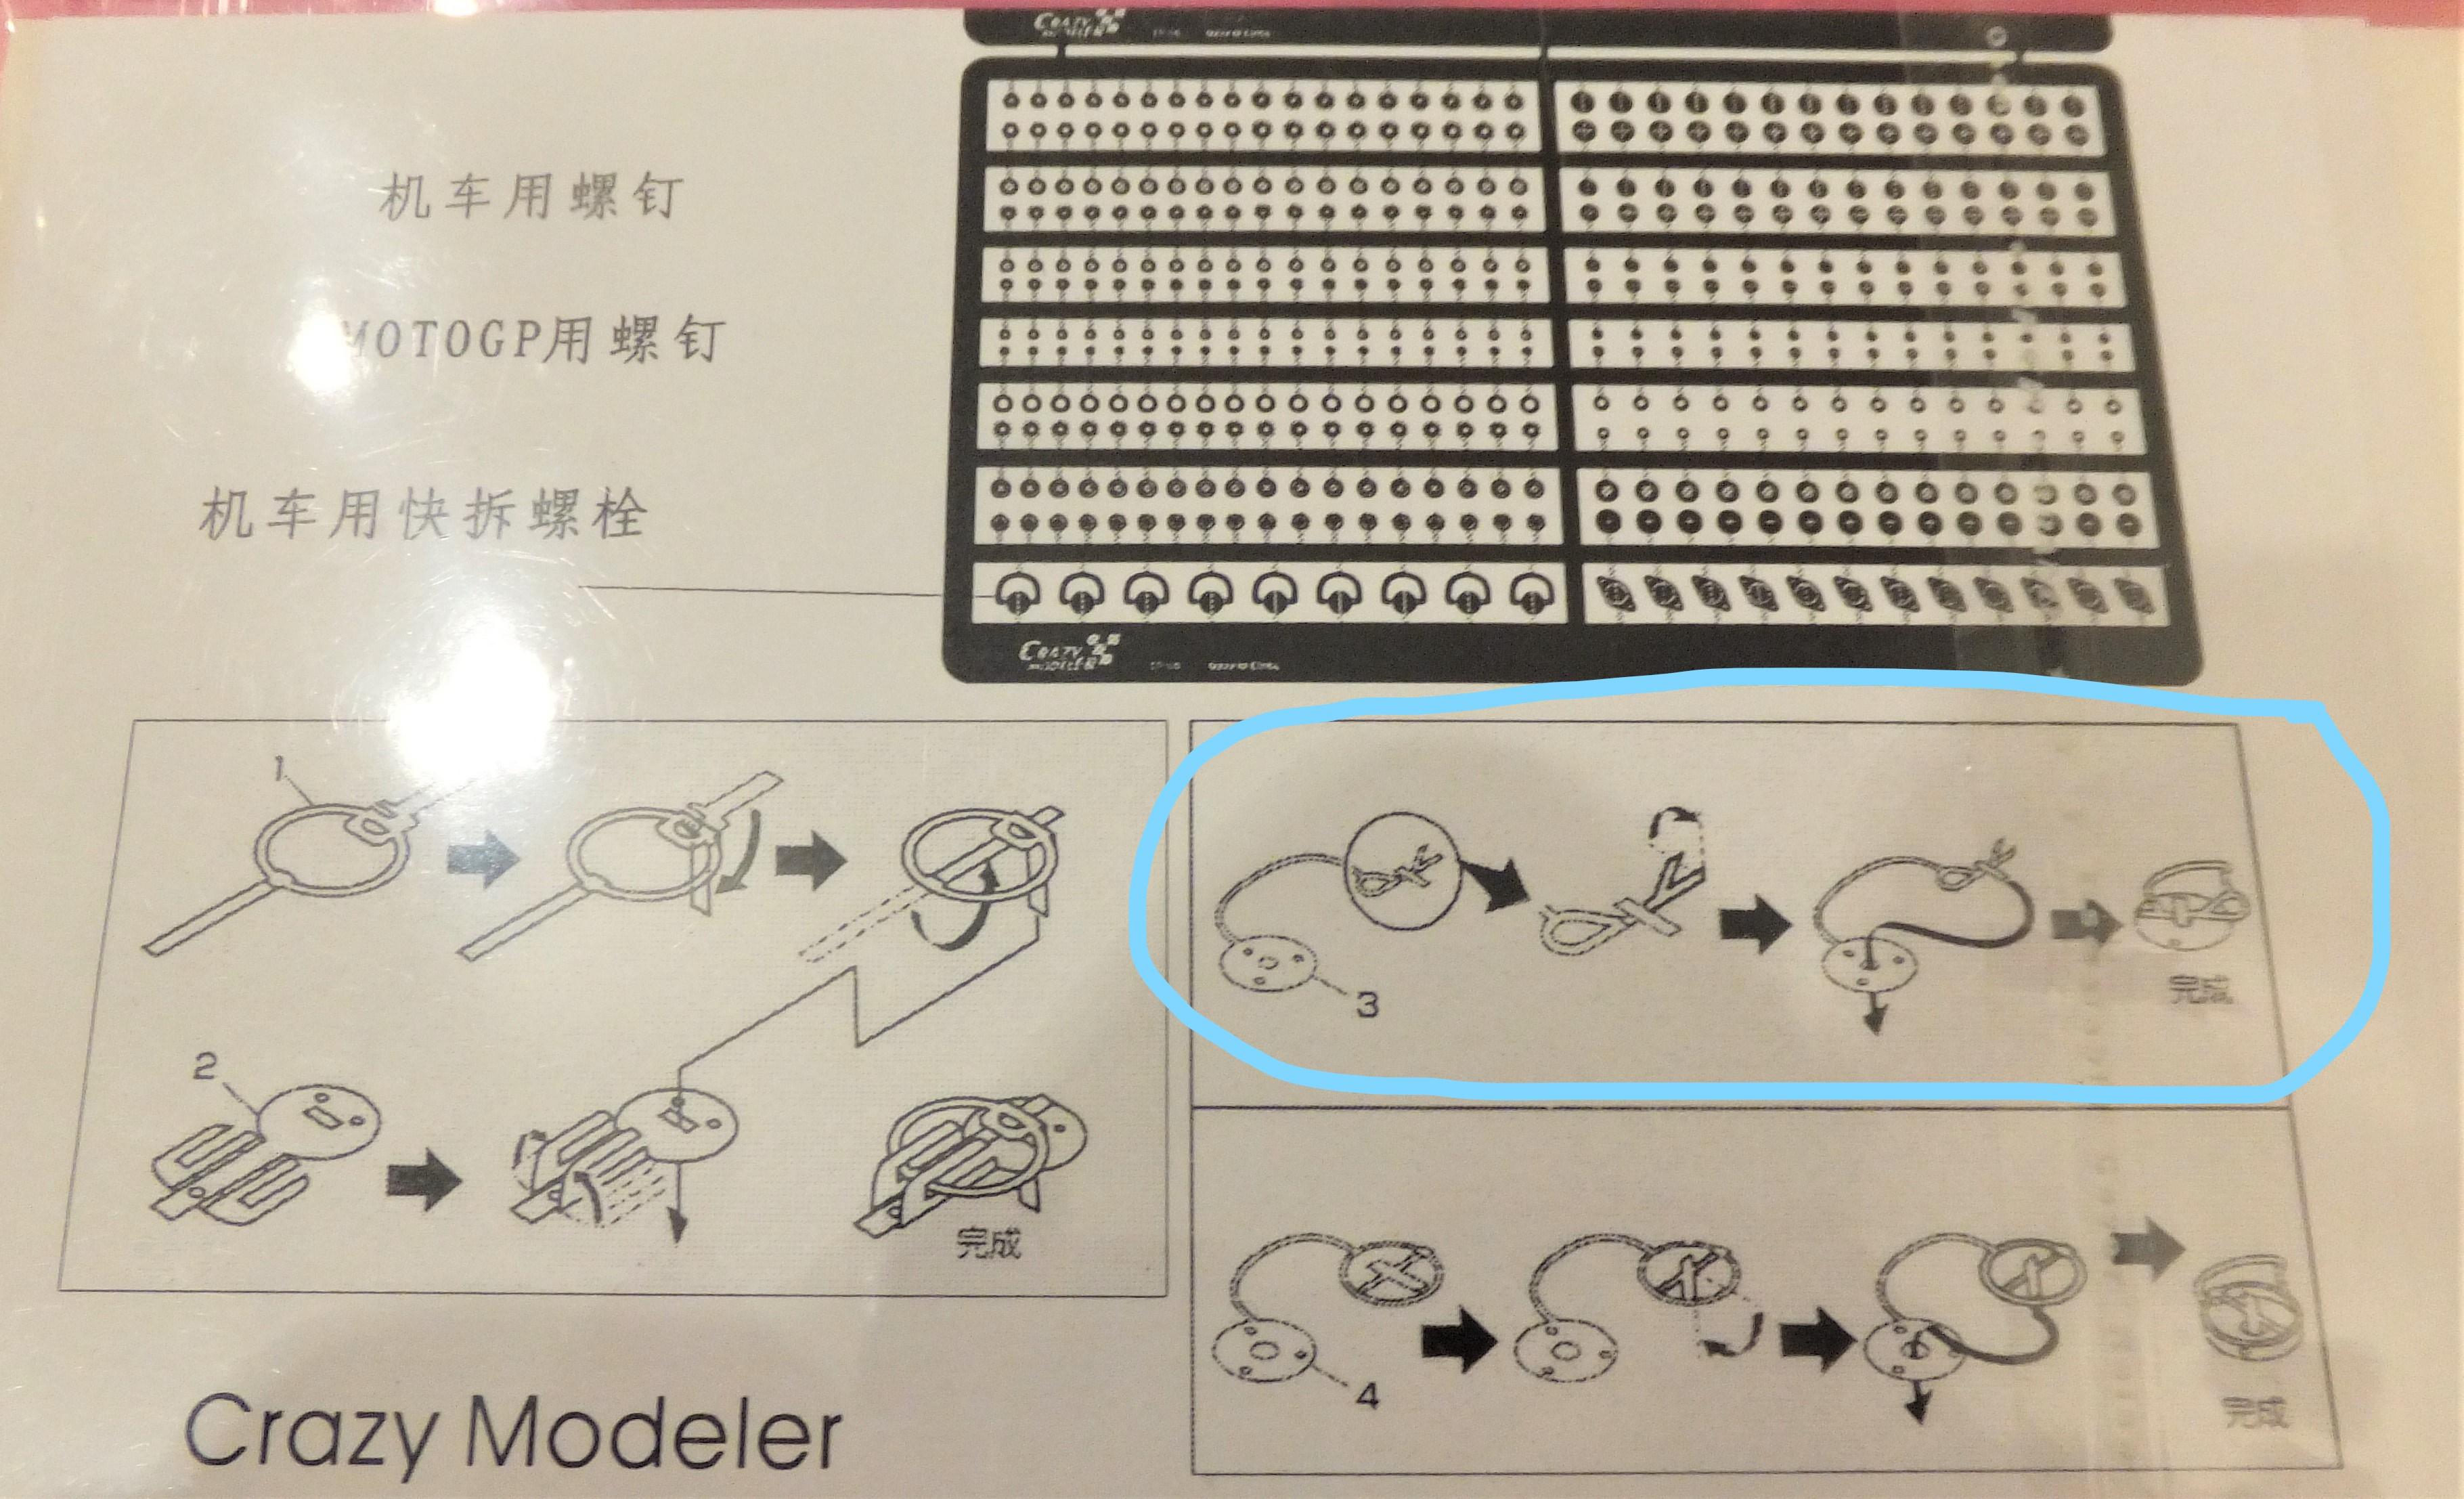
This is the Crazy Modeler set. but the KA and Aber sets are similar. The one I circled could be an option to not drill in. You could flatten the through tab enough to or trim it to get it to lay flat.
-
Using 1/24 scale Bonnet/Hood Pins
Exotics_Builder replied to DiscoRover007's topic in Model Building Questions and Answers
Aber and KA Models have sets that can possibly get you by. Then there is the option of looking for the chromed ones from something like a Revell Hemi Dart, if someone did not use them. -
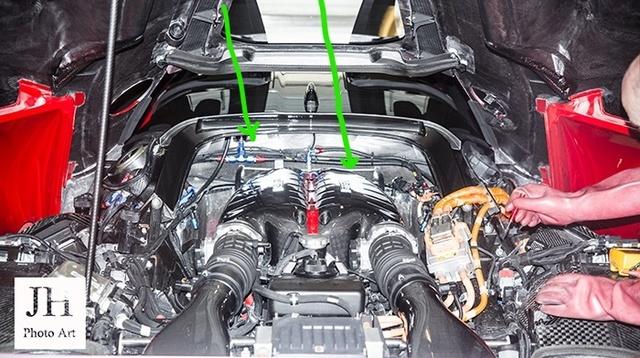
The 2013 Revell Camaro ZL1 has a representation of the LSA engine.
-
Using 1/24 scale Bonnet/Hood Pins
Exotics_Builder replied to DiscoRover007's topic in Model Building Questions and Answers
As Kurt mentioned. There are different hood pin sets, especially for foreign cars. Some require no hole. The other point is that if the body part on the model is not to be opened, there are options to simply glue on a hood pin without drilling. -
Yenko Corvair Stinger
Exotics_Builder replied to pjacobs's topic in Car Aftermarket / Resin / 3D Printed
Fred did do them. Sheet #27. He may still have some left. You'd need to send him a letter checking on it and reserving one. DOn't see one in Keith's listing. There are some Of Fred's sheets being sold o EBAY
.JPG.5c0d5c8c6110b0278585a81e9b09ee08.JPG)