Codi
-
Posts
2,675 -
Joined
-
Last visited
Content Type
Profiles
Forums
Events
Gallery
Everything posted by Codi
-
Gorgeous Clay. I swear it looks just like a 1:1 pic of the in the photo booth. Cheers!
-
LOVE the car and especially the PAINT!!! Holy cow is that nice. cheers, tim
-
Nicely done sir, sorry to hear about the issues with the hood fitment. Irregardless, a nicely executed build for sure! Congrats!
-
Beautiful build..........love the paint! cheers, tim
-
What a fun build to watch as it comes together. Kudos to you sir!
-
I applaud your ambition AND achievement on this one Pico. Fantastic scratch building for sure and looking forward to more! cheers, tim
-

Side by side by side Dragster builds...Kemp-Teresi-Sobak
Codi replied to ClayK's topic in WIP: Drag Racing Models
This thread has become the Forrest Gump of the forum in that it's like a box of chocolates and until you open it you just don't know what you're going to get. Always rewarding to stop by and learn from the 3 of you. A hearty congrats to you guys..............heartiest cheers, tim -
Sharp looking Brenden and VERY cleanly executed. One of my favorite cars when I first became interested in drag racing and brings back great memories. cheers, tim
-
Beautiful Jason. I wasn't sure about the color choice at first, but I was certainly wrong about that. It's gorgeous. The interior is very sharp as well. Love the seats btw. cheers, tim
-
Wonderful pics John. Just a truly stunning build and from the guy that paints at an entirely different level. The bottom of the car is as nice as any car I've seen for detail and execution. You're starting to confuse me as to which of your builds I like best. Congratulations on yet ANOTHER stunning car. cheers, tim
-
Twin Turbo Coyote Pro Mod - Turbo Impellers Updated Pics 7-23
Codi replied to Codi's topic in WIP: Drag Racing Models
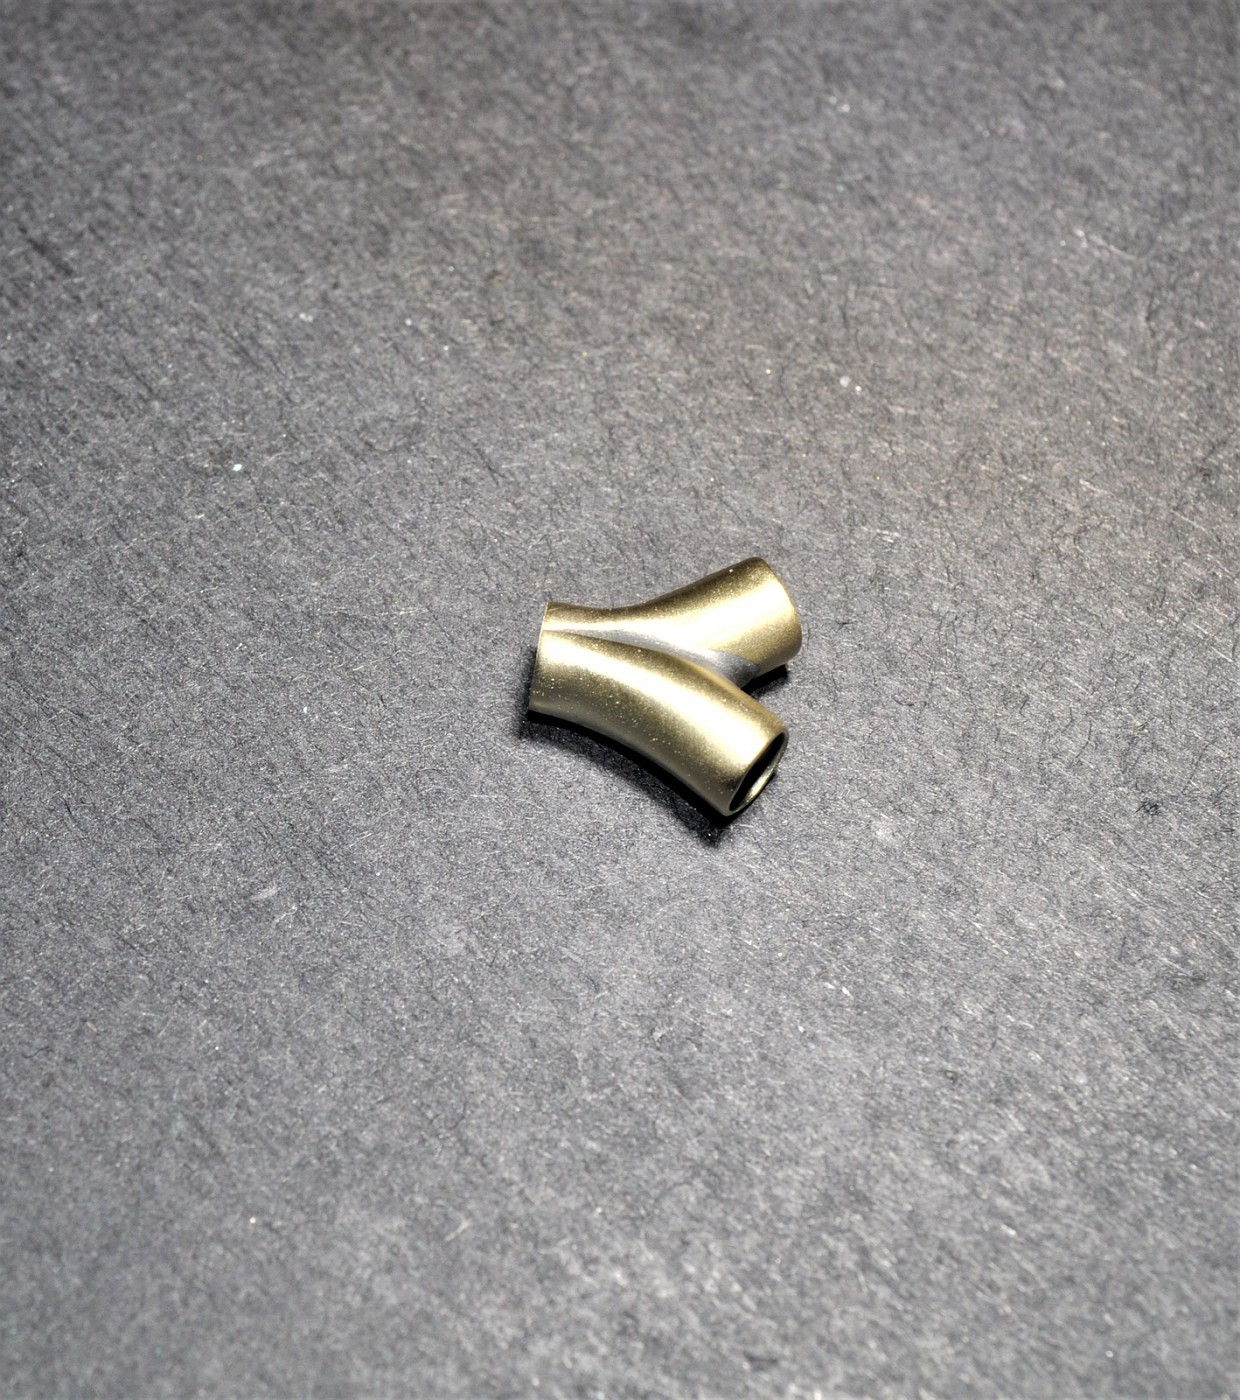
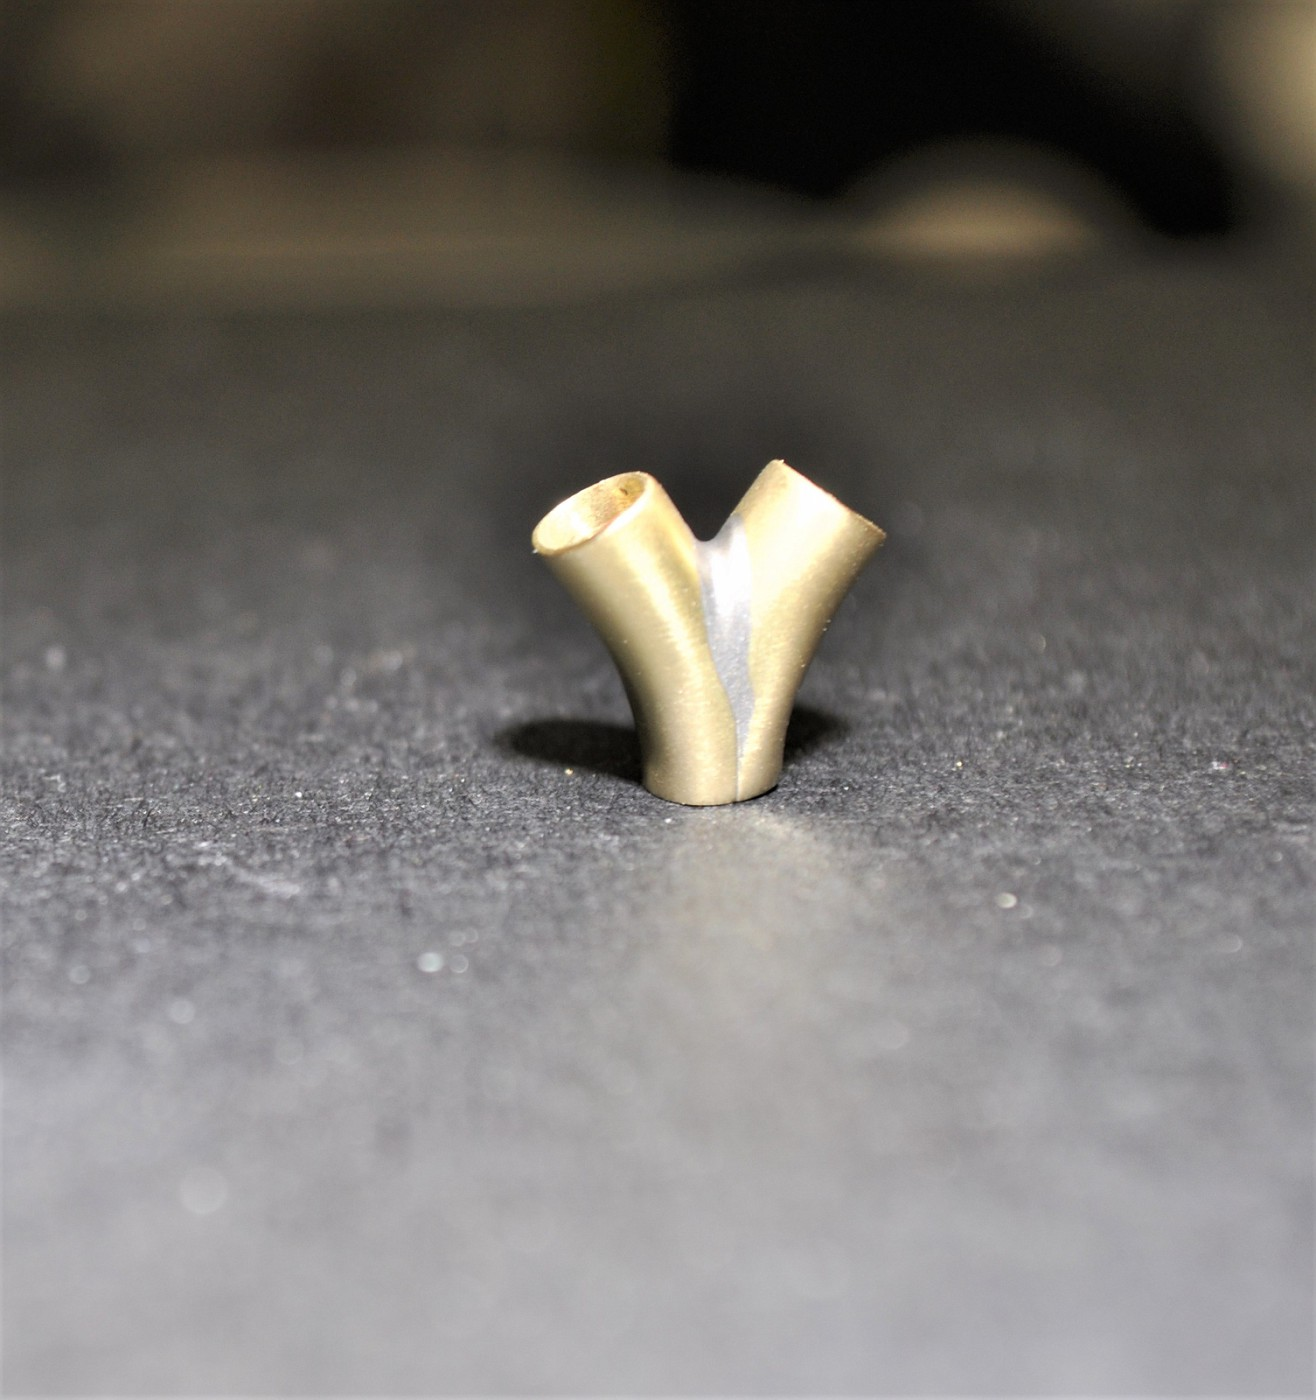
Appreciated guys........after several days of bantam time I wanted to try my hand at making a 4" 2 into 1 "Y" turbo inlet pipe...........first attempt and learned a bunch but I like it for the most part. This would be the induction piece that merges the twin turbo pipes into the throttle body on the plenum. By adding some faux weld lines to it I believe it will really pop. cheers I've not cleaned it up completely btw.......
-
Hey John, thanks for the comment. All is well just slow to get this done. It's hard to tell by looking at my pics but the tolerances are down to 1/64" in too many instances but I'm confident that final assembly will be okay by and large. 1/25th is a challenge that way as you know. I couldn't imagine building like those that do 1/32 or even 1/43rd. Brad, not at this time, I've thrown the calendar out on this one and I'm just slogging through it to get it done without compromising at this point. Today I made some additional supports / brackets for inside the body and a quick mock-up put a smile on my face as I think it'll look pretty sharp upon final assembly. Appreciate your interest still in the car. I've been spending too much time researching and pondering the pro mod which helps to motivate when I need a mental break from the bantam. What have you been working on as of late btw? cheers!
-
Side by side by side Dragster builds...Kemp-Teresi-Sobak
Codi replied to ClayK's topic in WIP: Drag Racing Models
I like those decals Chris, your entire build is really progressing nicely. All 3 of you are off to strong starts..............time for a Clay update soon ? ! ? ! cheers guys! -
You might have lost some time doing that Mark but the result was well worth it. Fantastic fabrication as always. Read your recent article on working with brass which was very cool and informative. Appreciated. cheers, tim
-
Holy cow Bill, that thing is huge. I can't imagine the detail you'll throw onto this one. Hope too that your posting issues are behind you. cheers, tim
-
Man do you work fast Glen. That red paint is just stunning as is the whole build. I have to drop by the Big Boyz more often but I do enjoy seeing your progress even if it's been a little while. cheers, tim
-
Fantastic build Rickard, all the way around. I admire your assembly skills as there is not one thing out of place, glue showing, everything is symmetrical..................just so well done. cheers, tim
-
Wish that were my build Michael. I'd forgotten that particular race car but you nailed it for sure. sweet!
-
WOW Tulio, Like them all and your attention to detail and paint quality and finish is outstanding. Beautiful collection! cheers, tim
-
Love that pic of your work bench. As soon as I saw it I burst out laughing as we've all had them look like that at some point. Nice progress on the car too. cheers, tim
-
Fantastic car that you're truly bringing to life Ian. Love the paint and graphics too. Great job. cheers, tim
-
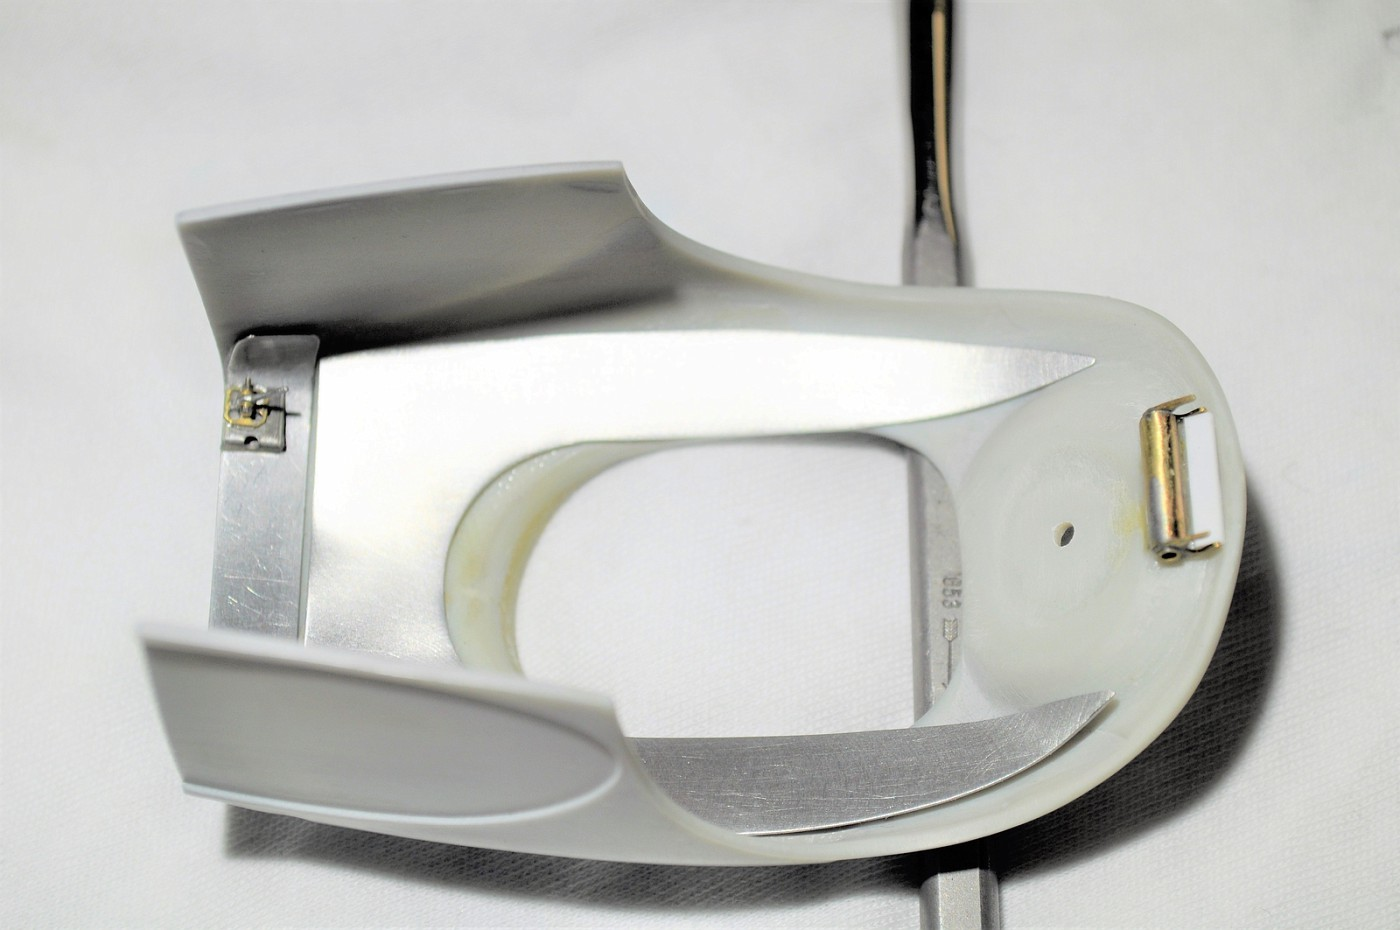
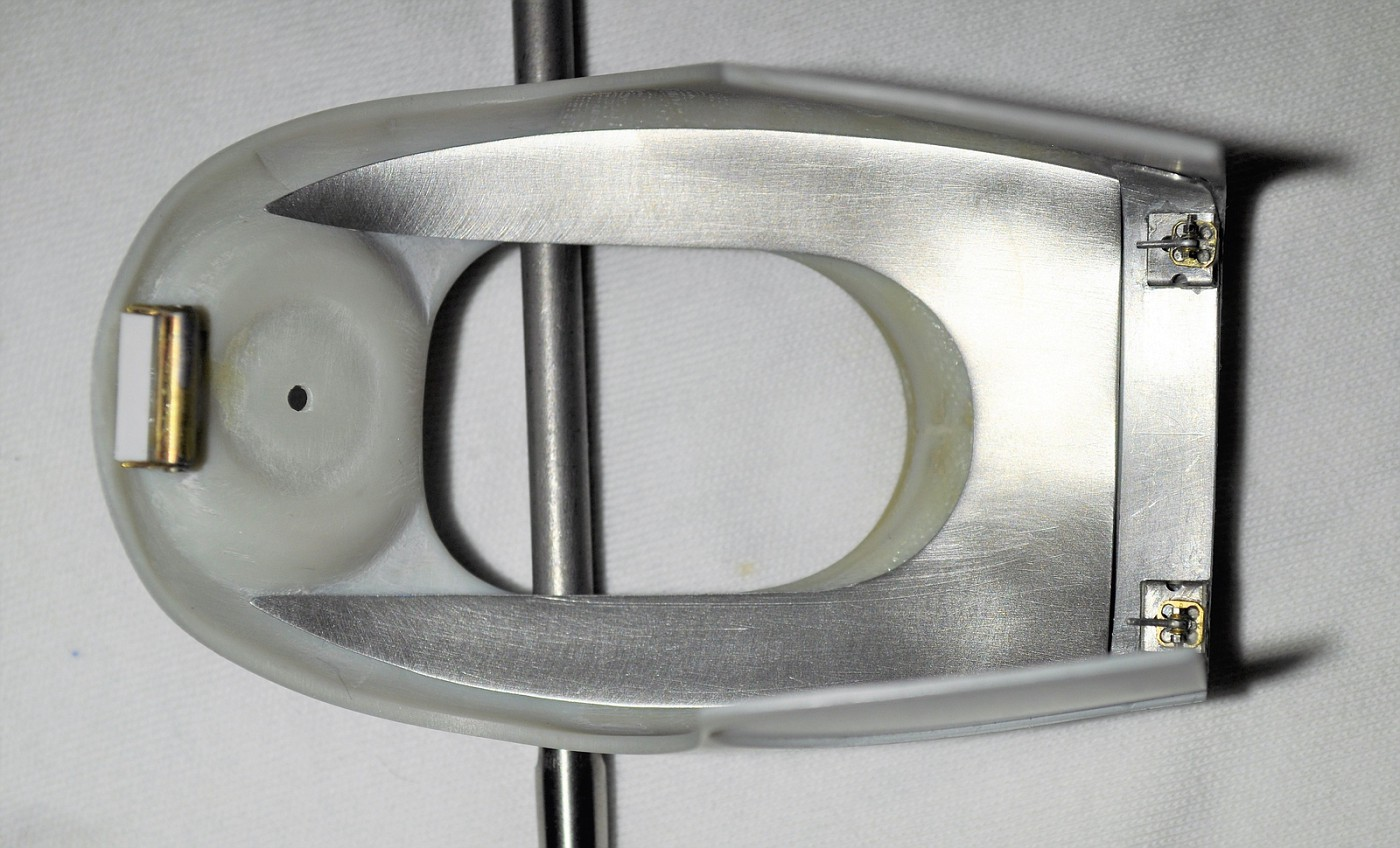
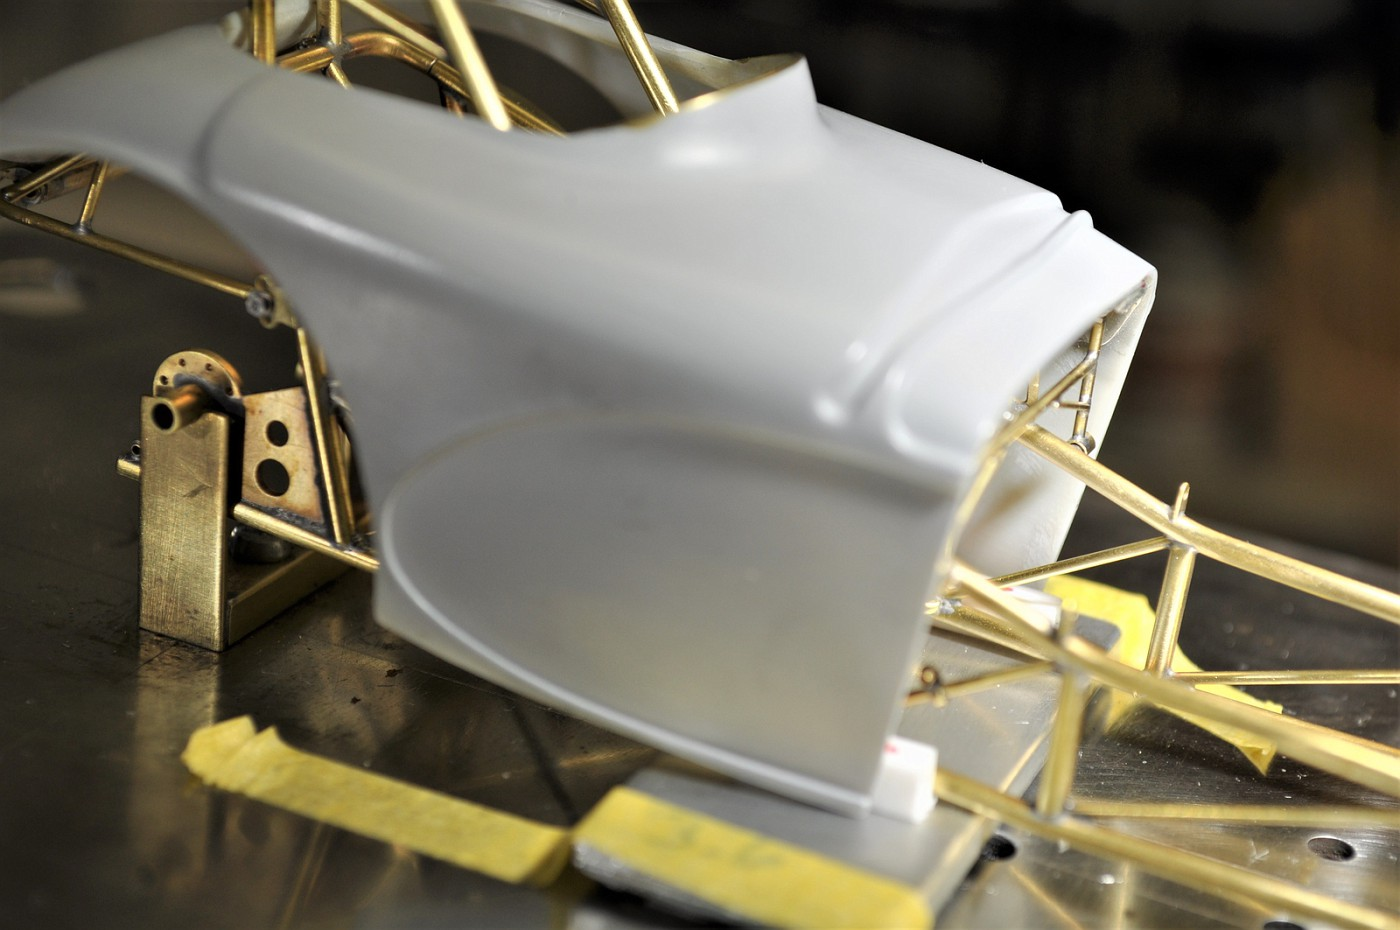
Fantastic pic of your car Dave, please tell me you left 2 very long black streaks on the way out.......... Hey Art, been a while and I know you're busy but hope you find some time to post some updates on what you've been building of late. Always enjoy your work too. Scott & Dave, yeah, wish it was mine and what's really amazing is all of the custom fabrication that Dave did on his car from the engine and throughout. The man has some serious skills. For the record, I hate body brackets, interior tins etc. I was expecting to have all of this done a week or so ago. I've still got several days yet to wrap it up and finally onto paint. The first pics are of an aluminum tin for the underside that is form fitting to the body. When the other brackets/tabs are installed it should be a pretty clean look and functional. The next few pics are of the front body support and how it rests on the chassis. Cheers fellas!
-
I too missed several of your updates John. Nice progress and glad to see this back as well regardless of the sites "glitches" lately. I'm sure they'll get them fixed soon. cheers, tim
-
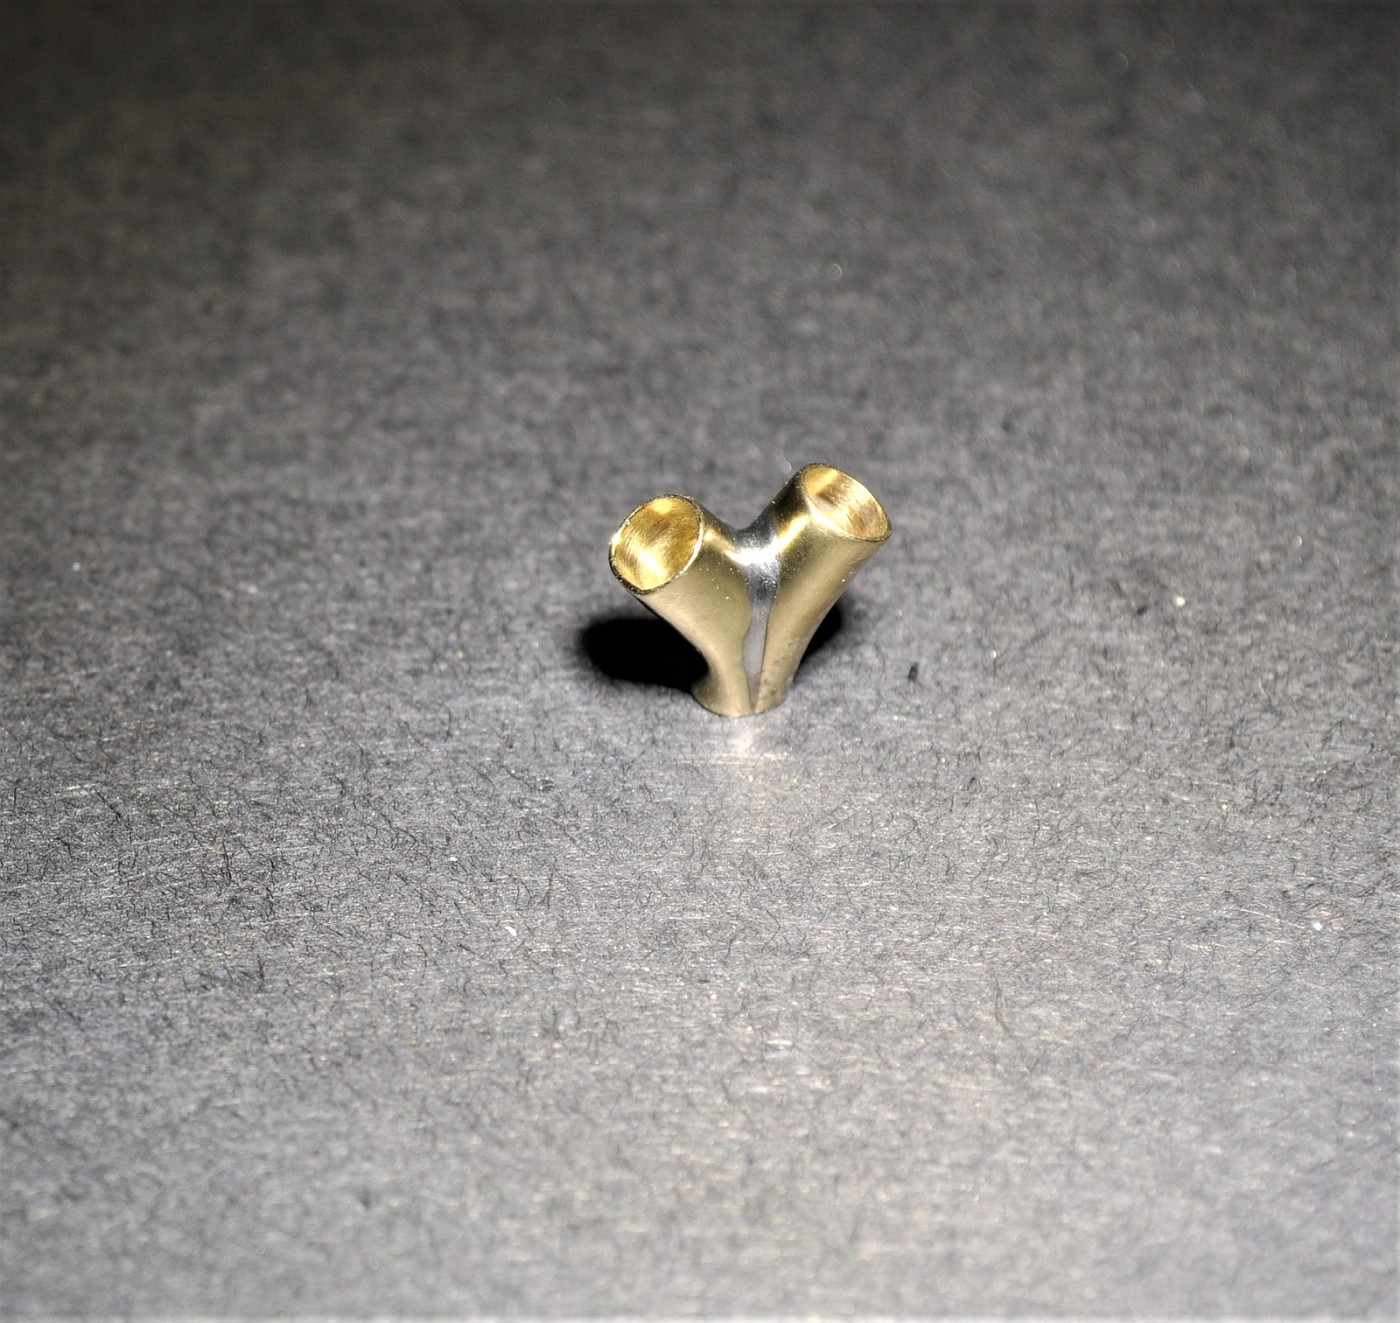
Rick & John, thanks guys.........this is one I truly one to finish, I think when all is done on the car it would look pretty cool. I'm thinking of finishing it "Teresi" style, meaning fast & nice. 4 weeks max. cheers Bill, yeah, it looks short because it was just an exercise on how to fabricate it. As noted above, I mentioned it wasn't the right size but it did proof out for me that I can make it using the method I came up with. btw, I painted it black to show it's flaws so I could see what else might need to be done but it turned out perfectly. Encouraged to do 4 new ones to wrap up this car now. cheers !
-
Love your build and techniques Andrew. Most certainly following and learning along the way. cheers, tim