Randy D
-
Posts
1,917 -
Joined
-
Last visited
Content Type
Profiles
Forums
Events
Gallery
Everything posted by Randy D
-

Late '50s Slingshot Dragster: a little more, Feb. 27
Randy D replied to Ace-Garageguy's topic in WIP: Drag Racing Models
Like the progress here Bill!!! Randy -
Really a neat way to do the doors Scott!!! Randy
-
Hey JT, This is a killer start on the project my friend!!! Randy
-
Hi Ray, I always enjoy your builds! This one is shaping up to really cool. Randy
-
Those brackets appear to be up to your usual standards...which is really freaking good Randy
-
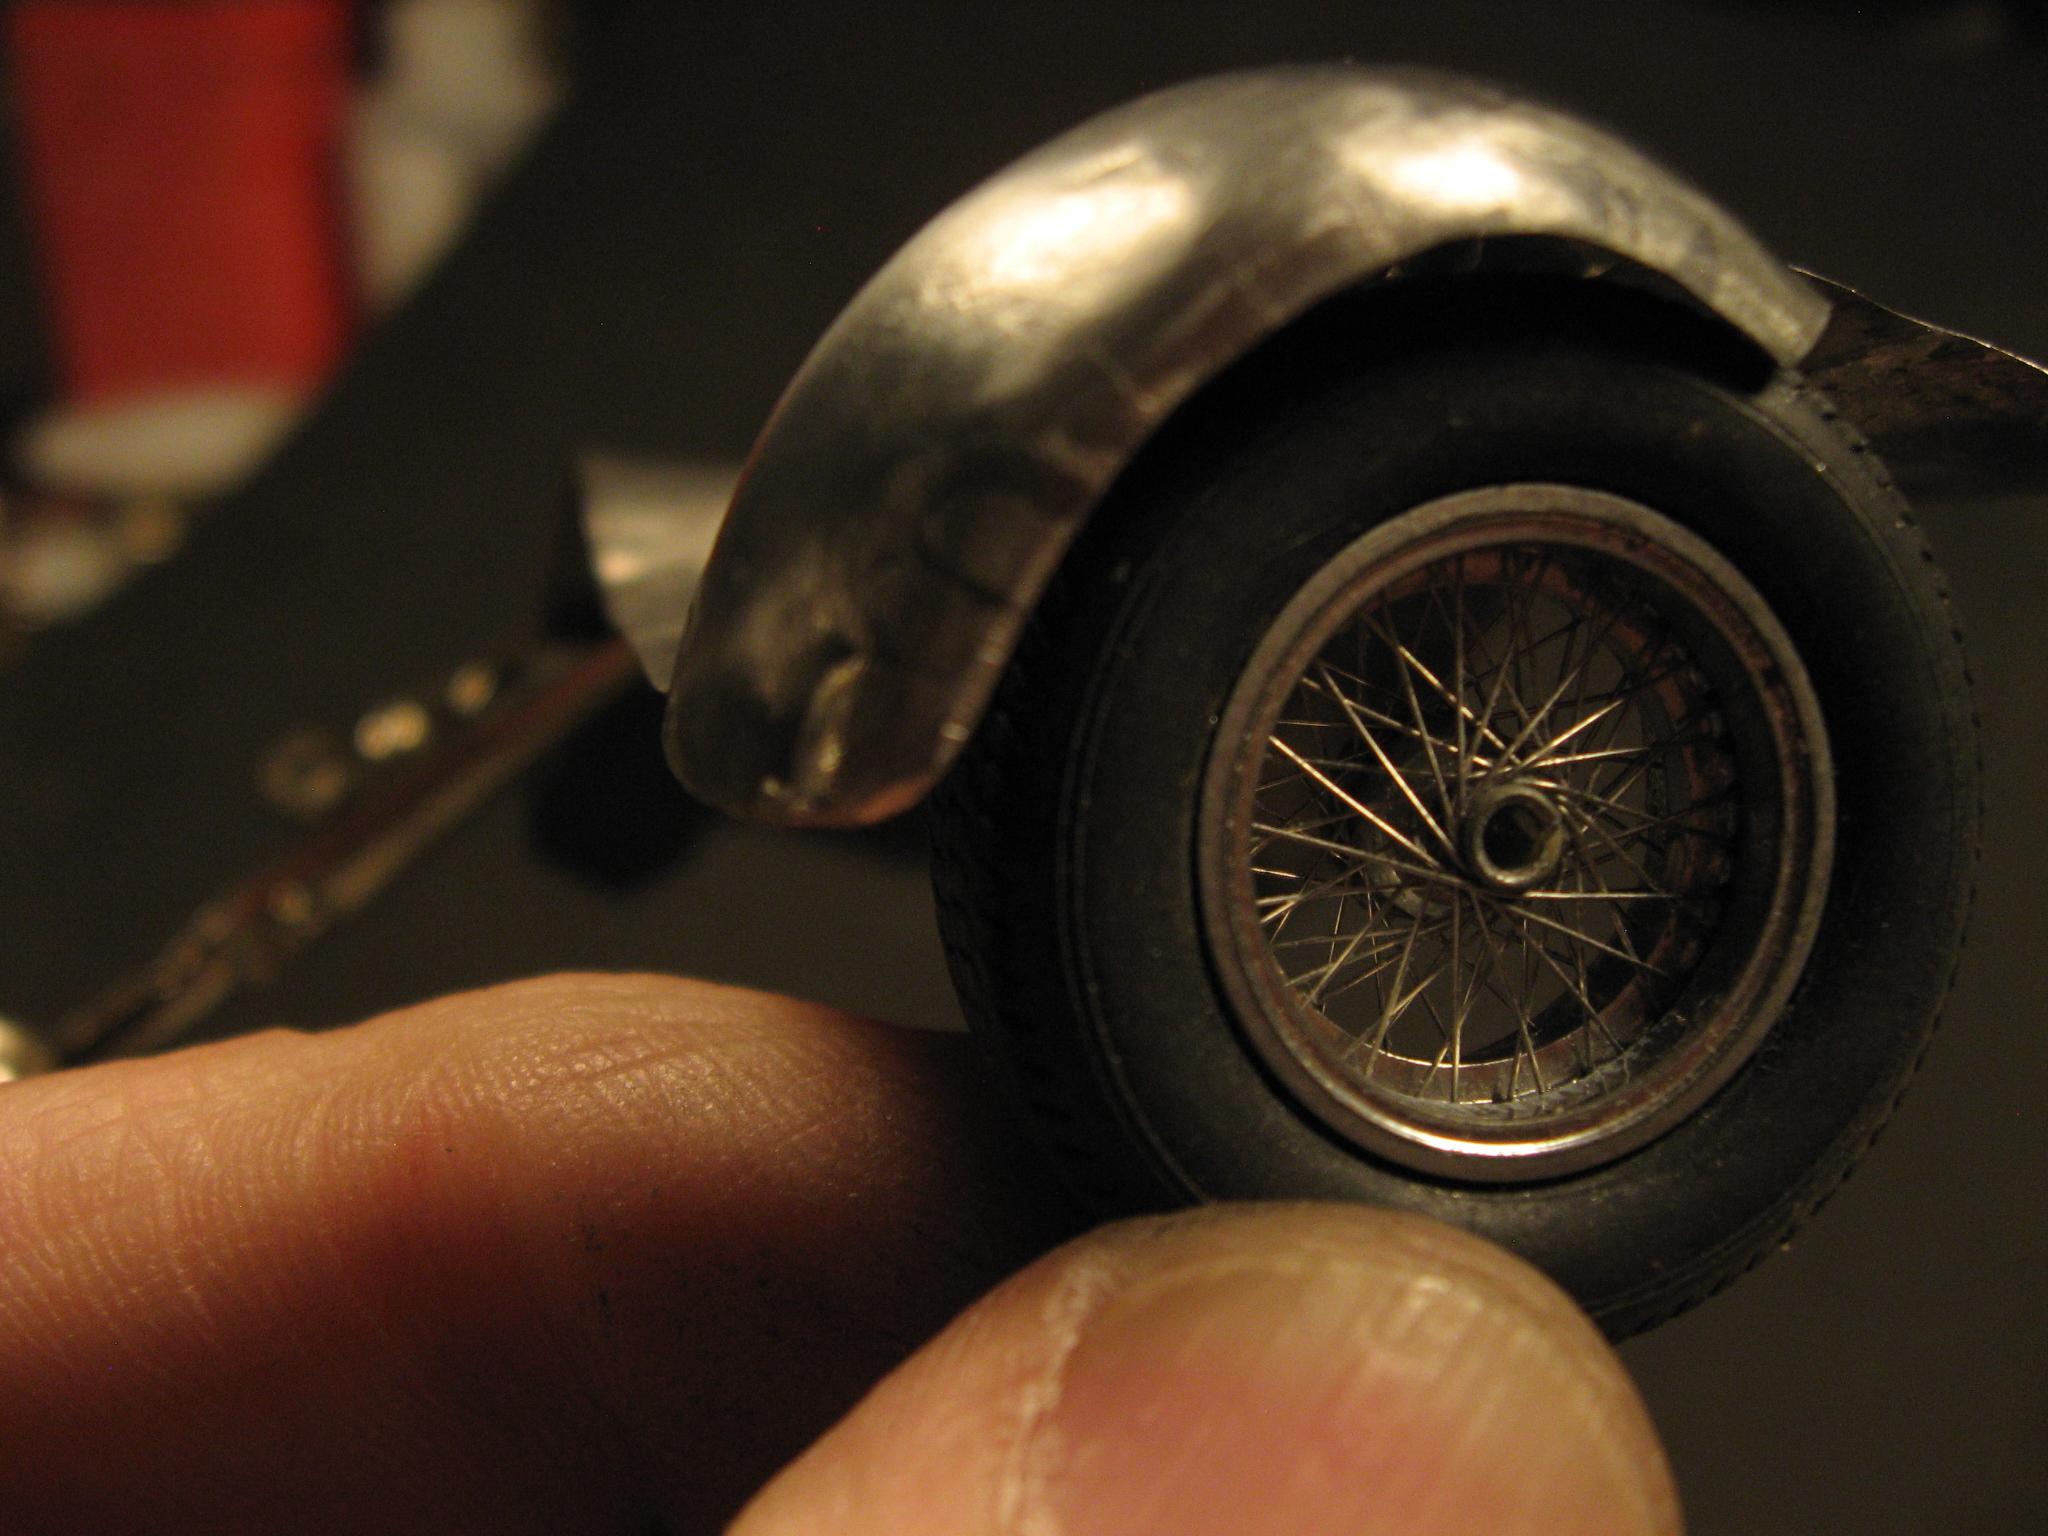
Hi Folks, Thanks to all who took the time to comment !!!!!!! Some progress to report on the chassis alto it is merely adding on some more tubes Michael, Look forward to your metal work on your latest Altered. You sure have casting in nickel silver down to an art! Maxx, I go on the Maserati page of Ultimate Car just about every day looking, leaning towards 2454. The only thing I have ruled out is a model with the 'boat tail' that they used for the higher speed races Pete, I will try to take some film when I attempt some more body work. Tim, I'm using Tix flux and Novak Silver Solder. I am no expert but I do enjoy trying. I keep studying Sir Gerald's methods on bodywork but have not had his results. My meager efforts on bodywork to date consist of the fairly simple shapes on the wrecker... set The fenders were made up using the steel dapping set in combo with a hardwood wheel for a 'buck' Mocking up some more body work. The tough thing on this car is the transition from the hood to the top of the front fenders. Trying to figure out how to break the front end down into multiple pieces that I can handle..... Thanks for looking in! Randy
-
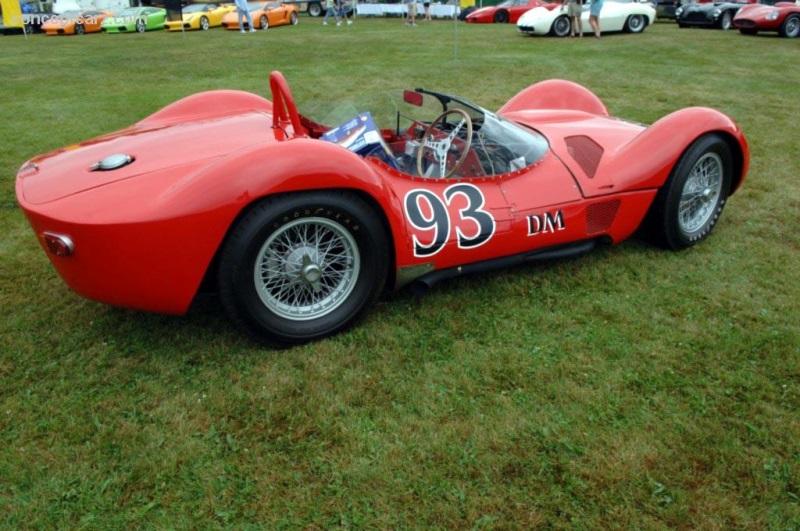
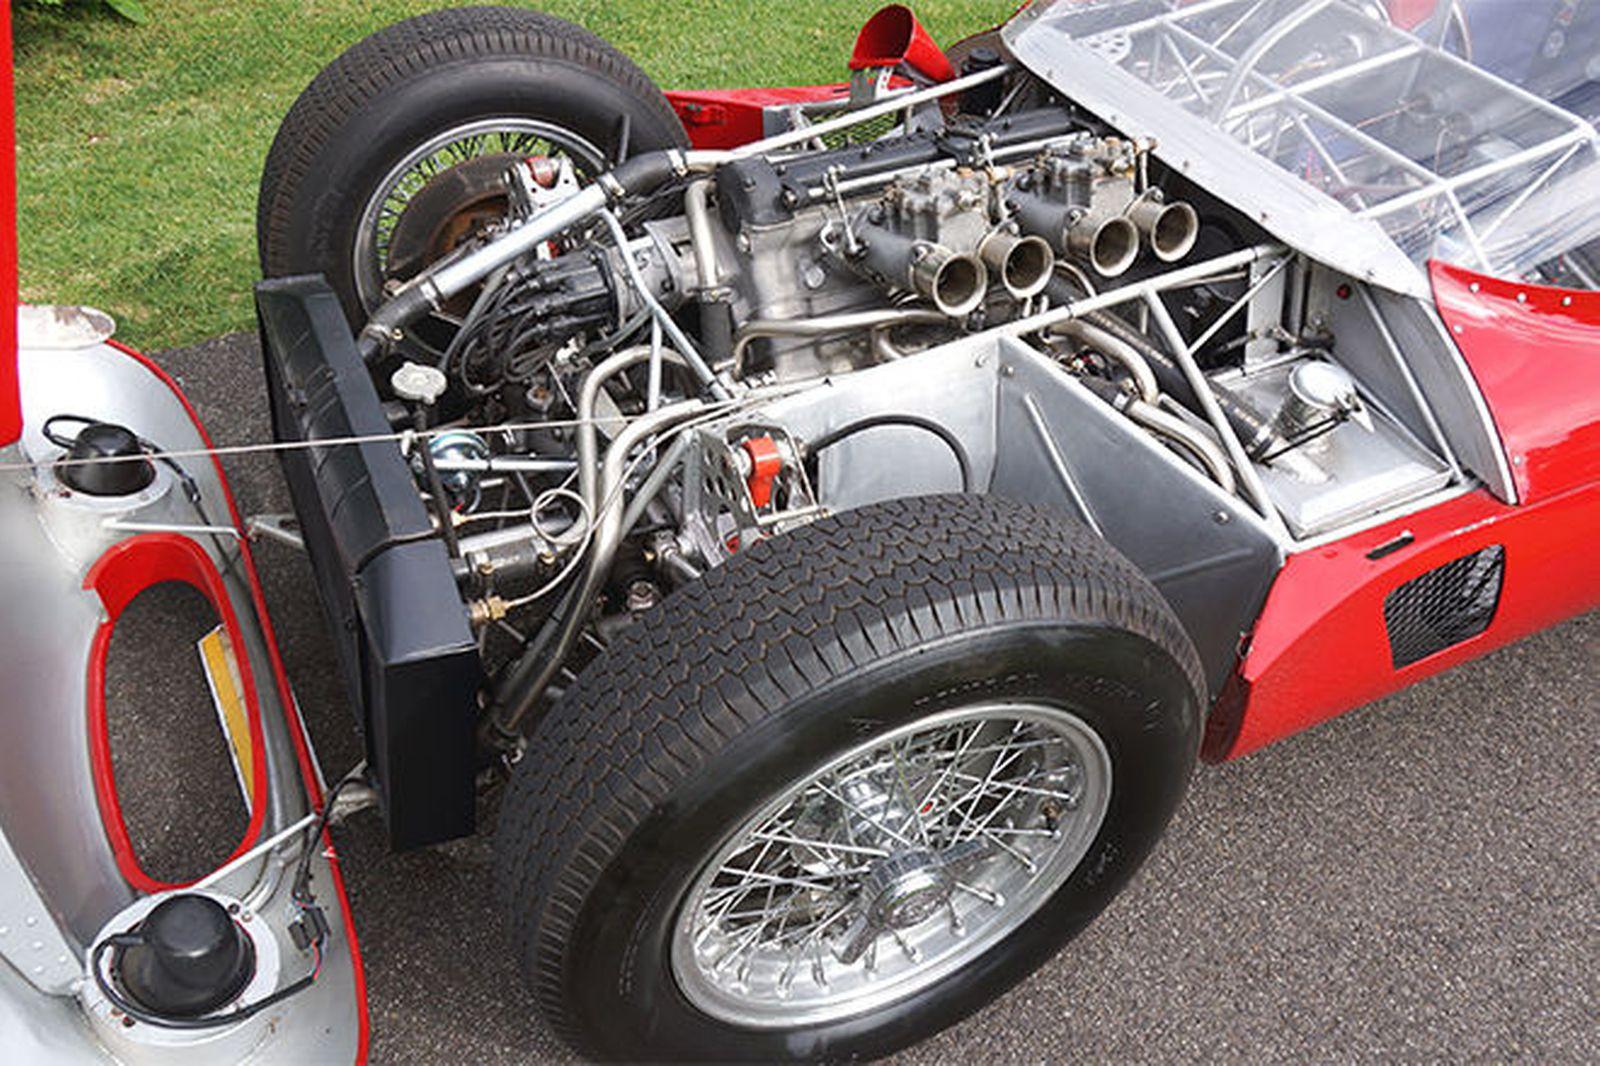
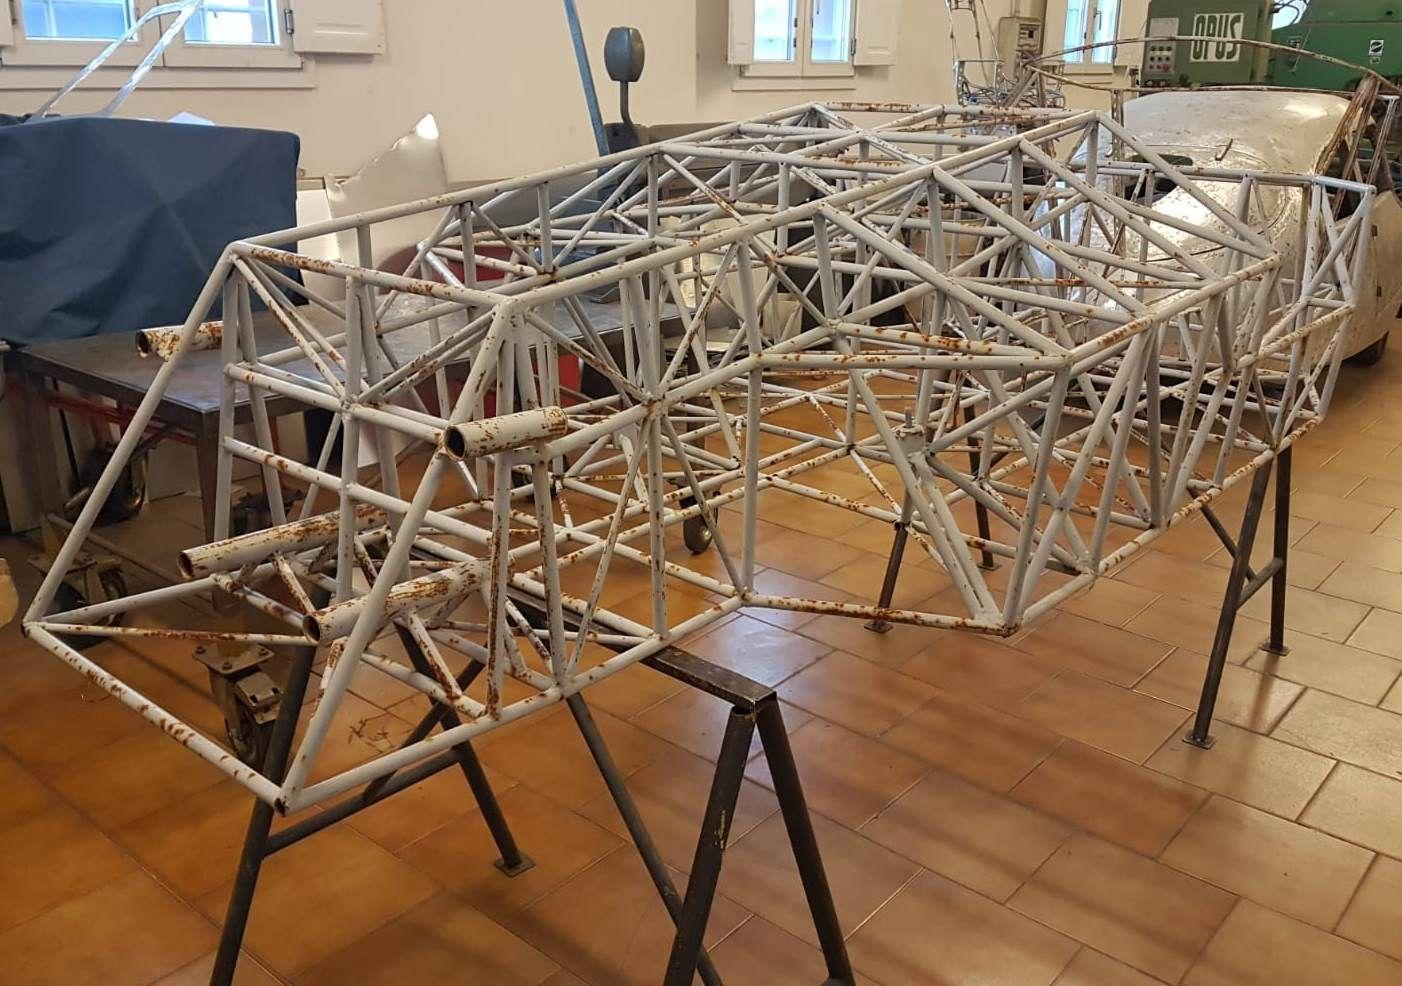
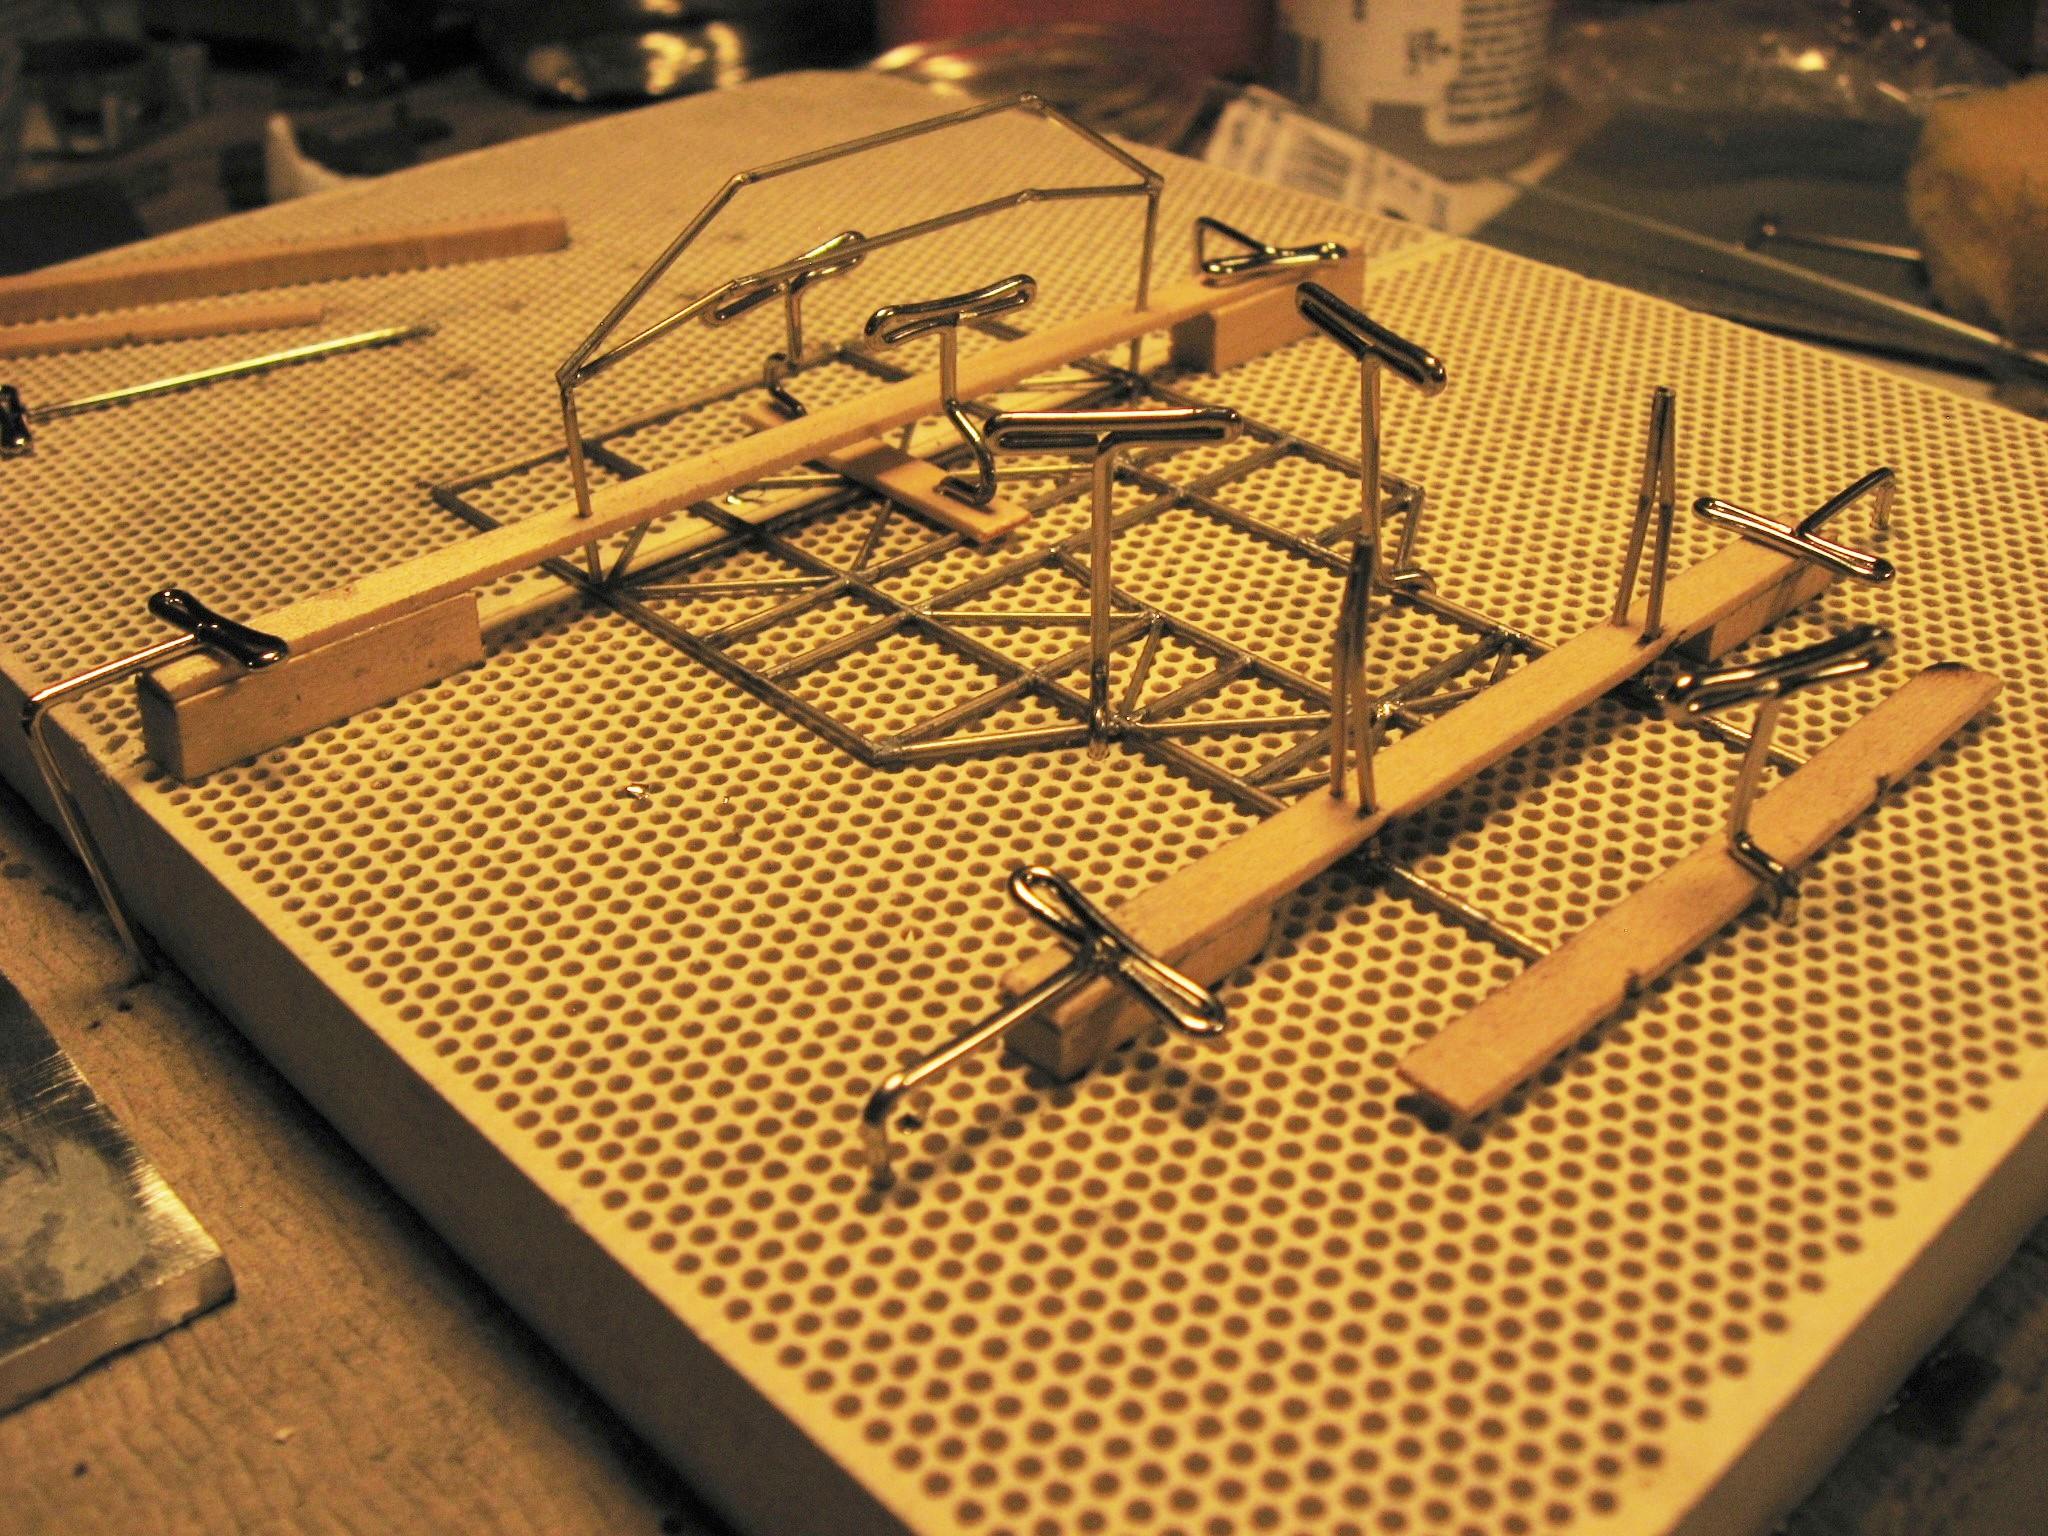
Hi Folks, New project, building a 1/24th scale model of what I feel is one of the prettiest cars ever raced. Four cylinder in-line motor rated at 250 h.p. along with an incredibly light chassis topped with ally body work. The famous 'Birdcage' that weighs less than a hundred lbs. A start on the chassis using 'Albion Alloys' nickel silver thin walled tubing. Sizes range from .9mm down to .3mm. I build the base, then using basswood 'scaffolding' erect the rest of it...... I am going to try to build the body from sheet stock that is soldered together. I did some basic metal forming with the wrecker project and enjoyed it and want to see what I can do with this one. I have started some trial runs making fenders, figuring that if I can do those I will move forward with the rest........ Long ways to go but I'm at the bench and having fun! Randy

-
Tim, Just got done admiring the gear cover you crafted and then you drop that tank on us....speechless my friend Randy
-
My jaw is dropping and I am shaking my head in amazement my brother!!!!!!!!!! Randy
-
69 nova revell > barnfind > fully detailed engine bay
Randy D replied to crazyrichard's topic in WIP: Model Cars
Always fun to check in and see what you are up to Richard The barn is really looking great!!! Randy -
Love that paint scheme Pete Randy
-
Revell '54 Chevy Sedan Delivery-Now in "Under Glass" Section-09/16
Randy D replied to mustang1989's topic in WIP: Model Cars
Joe, The '54 is looking awesome !!! Those bumpers are killer, well done my friend. Randy -
Hi Jim, Welcome to the forum Great to see one of these being built. Your scratch work is really upgrading the weak point of this kit. Love your low cost detail work!!!! Randy
-
Thanks you guys!! Brad, It is just the beginning. Have plans to build a shop similar in size to yours. A long term project for sure but I'm used to that, been building my train layouts for 30 years and still not done Appreciate the recent comments Tom & Brian. Hi Pat, You are too kind, Really enjoy watching you build your engine shop! Did build up a cutting torch for the shop... Thanks for looking in! Randy
-
Hi Brad, The details are just perfect. Nicely cluttered up. Congrats on the award my friend ! You have some cool stuff in your model room but I liked this the best. Like what you have added and look forward to seeing it in person next year. Randy
-
Hi Pat, Wonderful dio you are building!!! Will be stealing ideas from you when I build some more machinery for my shop. You are a talented scratch builder sir. Randy
-
Hi Tim, I like your build so far and that paint job is gorgeous !!!! That color is not one I would have thought of for this car but it really works. Randy
-
Revell '54 Chevy Sedan Delivery-Now in "Under Glass" Section-09/16
Randy D replied to mustang1989's topic in WIP: Model Cars
Progress looks good my friend !! Like the way you overcome those 'little ' issues that always pop up on a build. Randy -
69 nova revell > barnfind > fully detailed engine bay
Randy D replied to crazyrichard's topic in WIP: Model Cars
The Nova is just AWESOME Richard. Really like the barn too! Randy -
1963 Corvette Grand Sport (update 8/16/16)
Randy D replied to RancheroSteve's topic in WIP: Model Cars
Outstanding paint and decal work Steve!!!! Randy -
Love this build Brother !!!! Superb paint as always. Randy
-
Well that is just crazy good !!!!!! The breathers and the water neck are so small and so right on. Thanks for posting more ref. pics lately, really enjoy seeing the real thing and then seeing your renditions which are waaaaay better Randy
-
WOW !!! You just never disappoint my friend. Superb work!!!! Randy
-
Have to echo all the others Jonathan !!! Randy
-
Hobby Shops Near Inglewood/Denver CO?
Randy D replied to Quick GMC's topic in General Automotive Talk (Trucks and Cars)
Hi Cameron, Danno has it right. The Colpar Hobbytown in Aurora is still the best shop in town. Decent selection of kits with a wide range of manufactures and scales. Some aftermarket stuff. Huge selection of paint. The legend that is Caboose Hobbies is in a sad state right now. It has been announced that they are moving. Half empty store that brings a tear to my eye. I hope they can bounce back to what they were before! Randy