Ace-Garageguy
-
Posts
39,253 -
Joined
-
Last visited
Content Type
Profiles
Forums
Events
Gallery
Everything posted by Ace-Garageguy
-
Crusty French bread dipped in garlic olive oil is nice with Italian food.
-
Chicken on pizza always makes me think of Chichen Itza.
-
Appetite suppressants are supposed to suppress your appetite.
-
 I haven't triple-checked to be double-dog certain, but I think you can use the head from the AMT Beverly Hillbillies truck to build one of these...
 -
Long John Silvers had OK fried clams last time I was there.
-
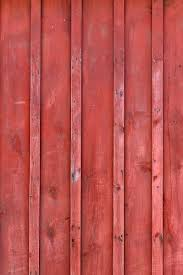
Board-and-batten is an older style of siding that you didn't used to see all that often, but has become trendy.

-
Yup, this is a pretty nice kit. And though everything in the box is retooled, the body parts are not a bad fit on the original kit body. I learned this while prepping to do a custom '63 coupe from a gluebomb (I wanted to do a lightly chopped coupe, and I prefer the '63 side trim and sculpturing). The original bumpers and hood were pretty awfully glooey, and the originals had the molded-in chrome headlights, so I tried the newer-tool '62 parts. Close. Real close. The chassis snuggles up under the early-tool bodies just fine too.
-
Flat paint is flat paint. Polish it and it will get a little glossier, but won't usually equal a gloss paint. And whatever gloss you get probably won't be even. HOWEVER...you CAN shoot gloss clear over a flat paint and polish it if necessary. That's a way to get gloss versions of some of Tamiya's flat military colors, for example.
-
Probably true...but I'm not so hot on the idea of depending on a fusion reactor coming from an "offshore" manufacturing base that often seems hard pressed to deliver a radiator or wheel bearing or brake pads that actually fit and function in any reliable way. Faw down go boom (and before I get another strike for making fun of Asians' speech...IT'S BABY TALK).
-
Another Can Of Testor's Bites The Dust
Ace-Garageguy replied to oldcarfan's topic in Model Building Questions and Answers
What he said. ^^^ -
Pretty much. As Mr. Guthmiller said, as long as there's sufficient material on the model to sand out the orange-peel without going through it, and as long as it's fully dry, you're fine. Modelers develop their favorites over time. I'll use automotive body-shop sandpapers sometimes, because I have ready access. Other times, if the sanding required is minimal, I'll use the sanding pads as shown in the videos. I also usually use automotive rubbing compounds and polishes because I have easy access to them too, and after having tried the tiny tubes of hobby-specific stuff, I don't see any difference. One thing I have found to be true when you're wet-sanding, especially if you use sandpaper rather than the pads, is to discard your water and rinse your container and hands each time before going to a finer grit. Abrasive particles can become dislodged from pads or paper, and if you're up to, say, 3000 grit, and you happen to get a loose particle of 800 under your pad, you may get a scratch that can be the devil to get out...possibly resulting in sanding through your clear and making a real problem. EDIT: A word of warning on coated abrasives (i.e. sandpaper and pads). Grits are not universally all the same from manufacturer to manufacturer, or from country to country. It's probably prudent to stick with the standard hobby-specific pads until you really know what you're doing.
-
Even dictionaries sometimes disagree on exact definitions, and there are often multiple similar usages cited. Then there's the ongoing disagreements about the terms "rat rod", "muscle car", "lakes pipes", etc. My definition of the term "hot rodding" in a contemporary context makes perfectly rational sense, so I'll stick with it. The definition you cite would be more accurate if it was "traditional hot rod", but there's disagreement over that term too. But it's apparent I'll never convince you that my definition is acceptable, nor will you ever convince me that the Rodfathers definition is the be-all-end-all-of-the-entire-universe-period-end-of-discussion-I'm-taking-my-toys-and-going-home. So we'll just have to agree to disagree. Works for me.
-
Buick Invicta via The French Connection
Ace-Garageguy replied to 1972coronet's topic in The Off-Topic Lounge
Ummm...you got me there too. I wasn't much of a movie-goer when they were current, and I just never got around to 'em. I DID catch 7Ups on YT not too long ago though. Good flick. -
Ago-go girls always got my attention. (Yeah, I spelled it wrong, but what else are ya gonna do with "ago"?)
-
Testor's Model Master Metalizers
Ace-Garageguy replied to landman's topic in Model Building Questions and Answers
Yup. I bought every bottle and can I could find before the prices skyrocketed. I wouldn't be surprised if some enterprising hobby-paint manufacturer came out with a line of identical "buffing" products. Not hard to reverse-engineer what was in the Testors stuff, and if the formulas were patented, the patents have surely run out by now. -
Yup. Like maybe a hydrogen-fired diesel driving a generator in the frunk as a maintainer to run wheel-motors at cruising speeds, and big capacitors for the occasional burst of acceleration. Like I said..."significant retrofit engineering"...kinda like hot-rodding. https://www.carmagazine.co.uk/car-news/tech/what-is-supercapacitor-battery-ev-and-hybrid/ https://newsroom.unsw.edu.au/news/science-tech/new-system-retrofits-diesel-engines-run-90-cent-hydrogen
-
Yup. My '65 Mustang's 289 was black, with gold valve covers. The old man bought it new, and it was dead stock when I got it.
-
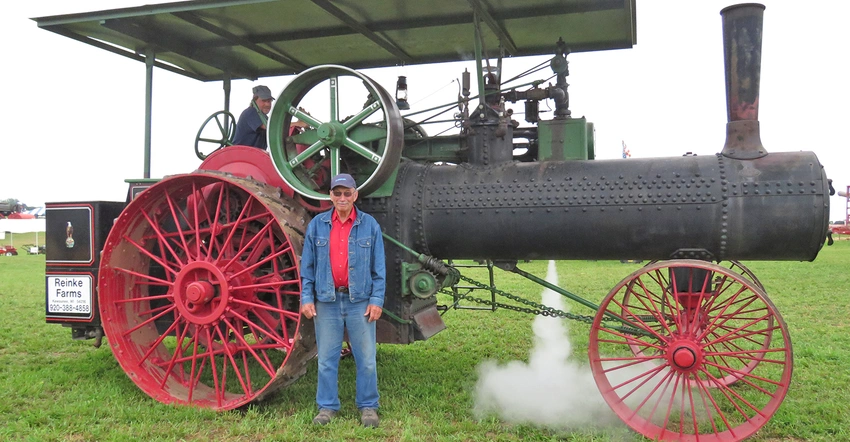
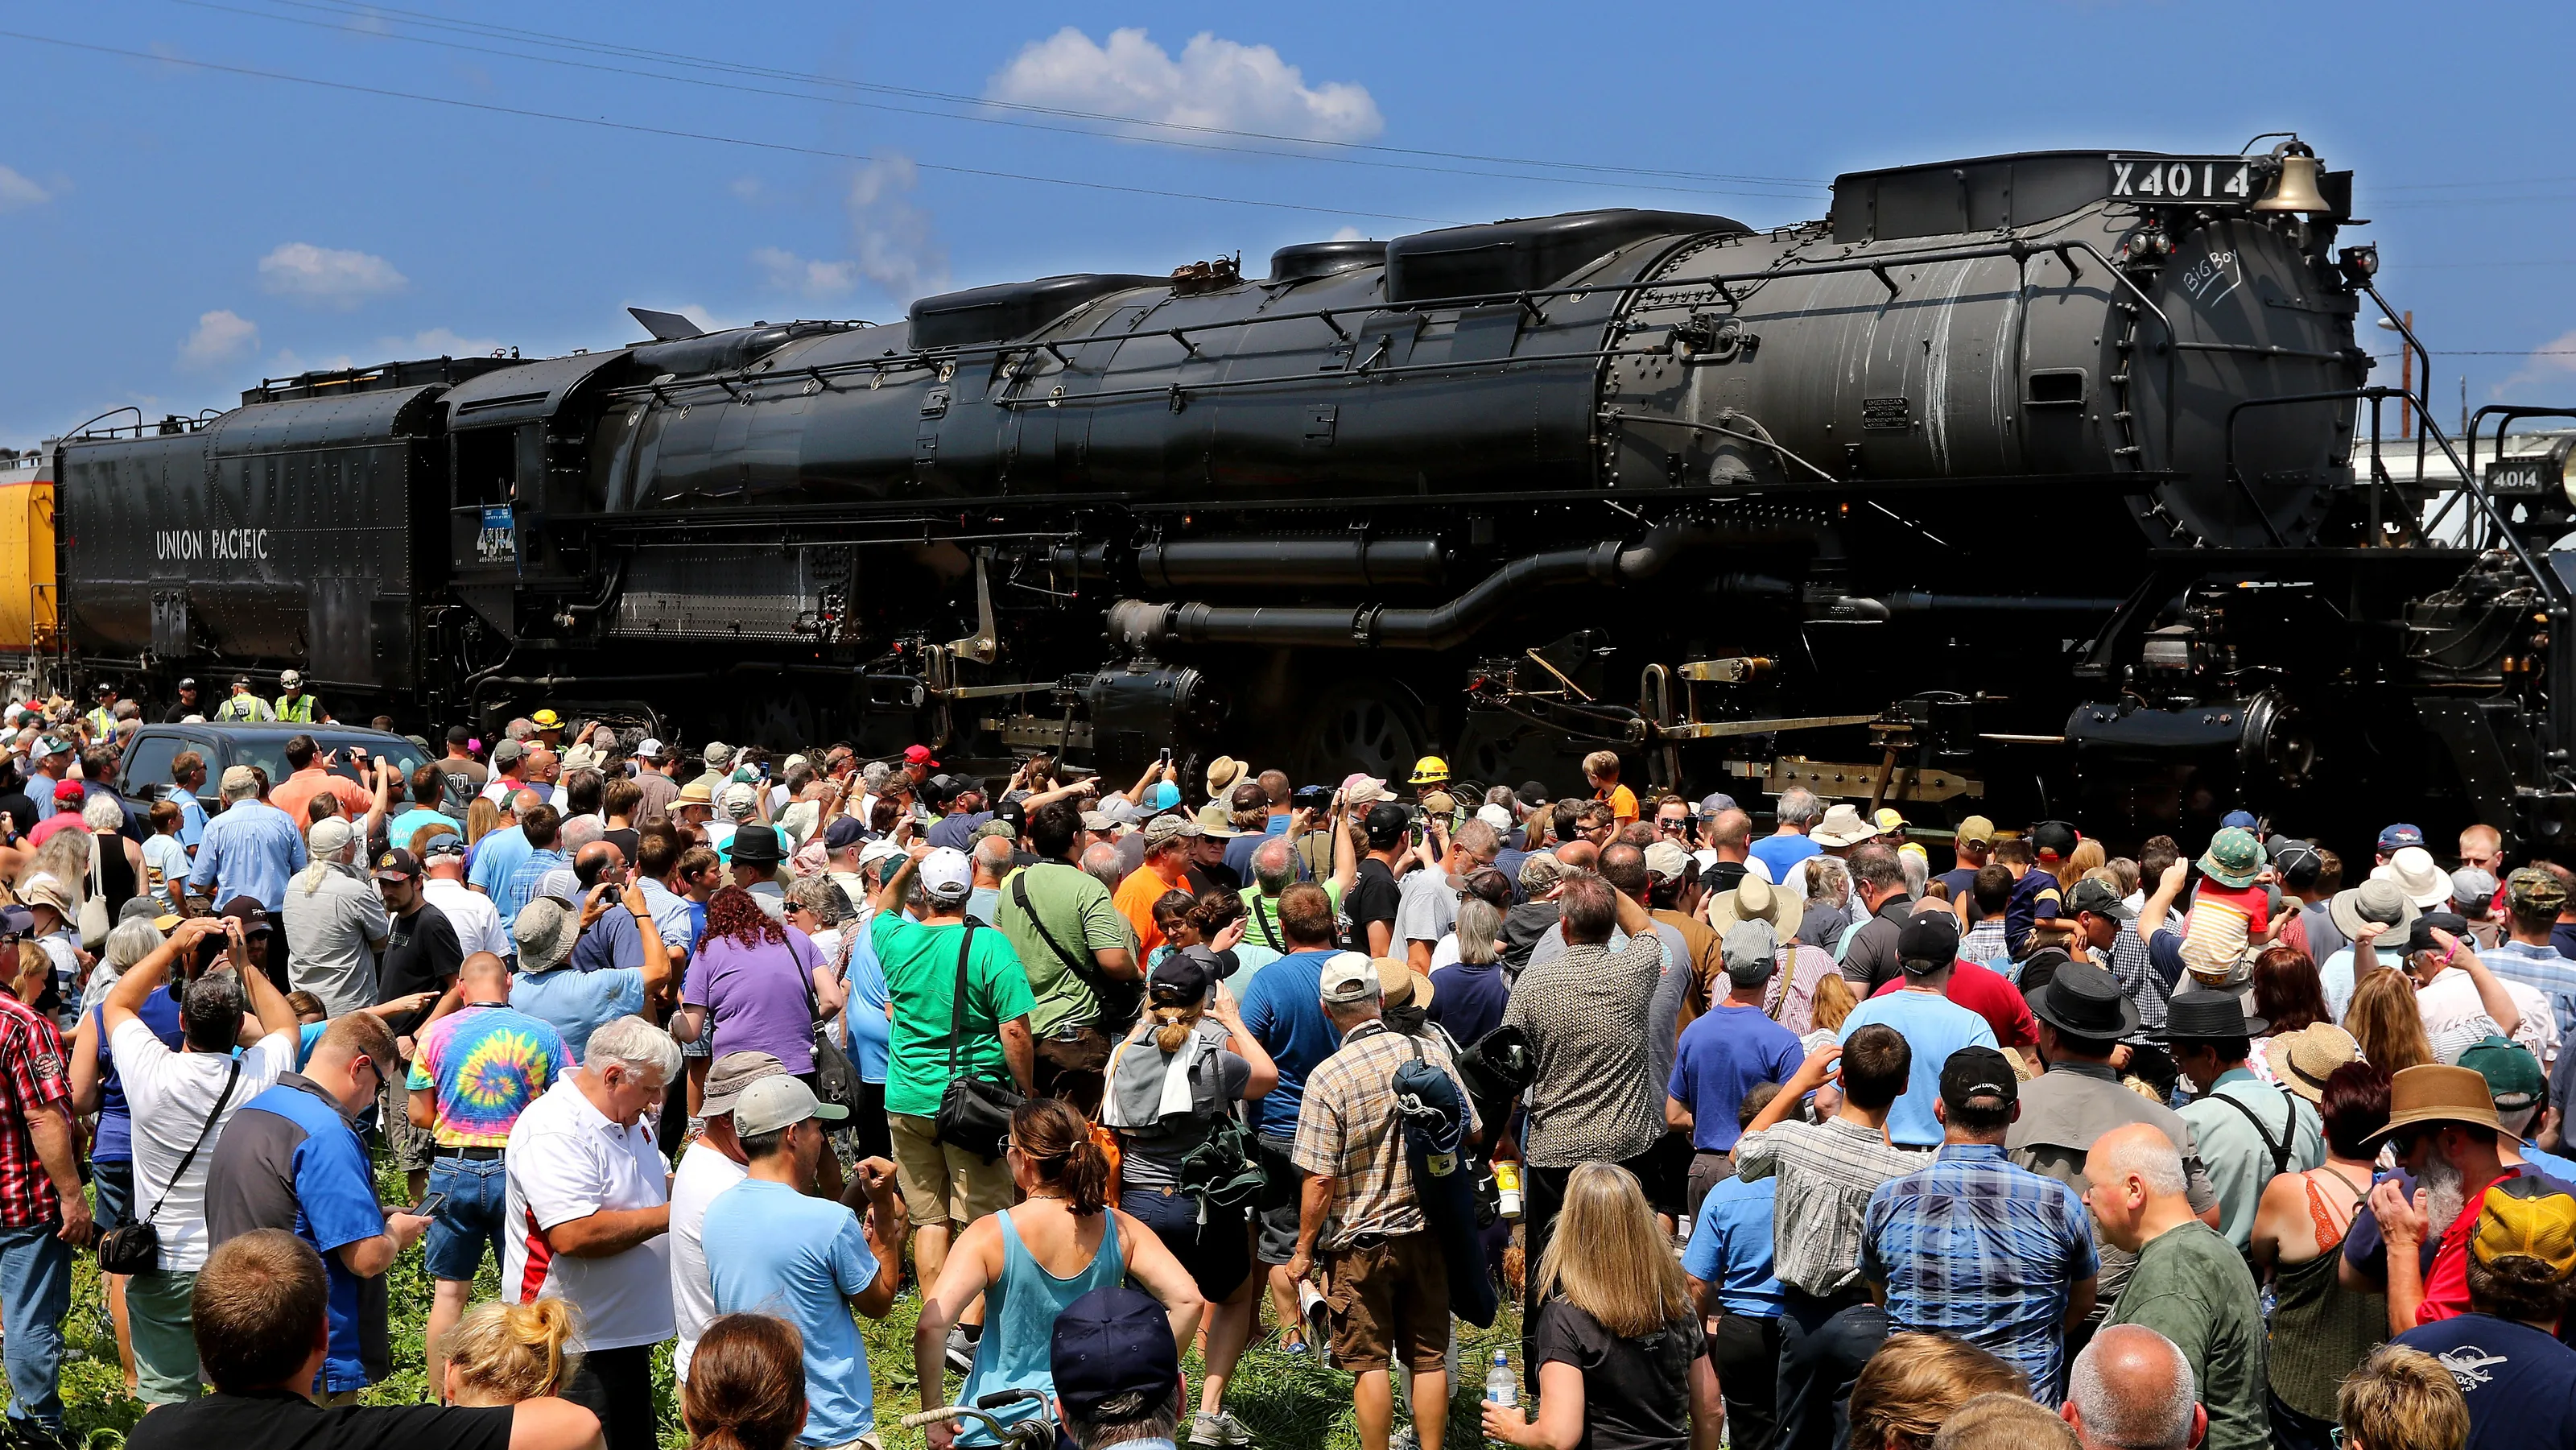
I would tend to disagree, just on citing precedent. While there aren't a whole lot of people who get excited and pour tons of effort and money into these old beasts, there are still enough of 'em on the planet to keep this era of mechanical history alive. And they're always crowd-pleasers. 50+ year-old EV battery packs will be absolutely and totally useless, virtually impossible to restore to operational condition. Much of the electronics will have degraded terminally as well (ALL the electronics in my '89 GMC truck have already failed permanently, and replacements, if they're even available, are usually equally useless offshore junk)...and if vehicles built in the last 50 years are anything to go by, much of the plastic will have turned unusably brittle, or to dust and chunks. Antique EV vehicles themselves could conceivably be made operational with significant amounts of retrofit engineering, but mildly modified spark-ignition IC engines will run quite happily on high-proof moonshine, propane, nat gas, or hydrogen, while steam engines already often run on oil, and used vegetable-based waste oil can work just dandy in steam engines or diesels.
-
Remarkably, so far today no irks. But it's early yet. Just give it time...
-
Love the push-car and the Jag in the background, too. We're not in Kansas anymore, Toto.
-
One-Off Quiz #43 - Finished
Ace-Garageguy replied to carsntrucks4you's topic in Real or Model? / Auto ID Quiz
Even though it was tiny and perhaps terminally "cute", it was also as technically sophisticated as some of its well known contemporaries, like the Porsche 550 Spyder. Tube frame, transverse mid-mounted 3-cylinder aircooled engine, 4-wheel independent suspension, etc., and was intended to be a factory-built competition car, again like the 550, with a larger-engined version planned. -
Somehow, whenever I've referred to something as a "hot-rod Porsche", for example, or referring to something like a Hellcat or early AMG Merc as a "factory hot-rod", there's never seemed to be any lack of comprehension as to what I meant, nor any objection. Of course, I must not have been in the presence of a member of the Rodfathers definition police. I'll probably continue to use the term generally, meaning "innovation, modification, or performance enhancement regarding an automobile by an individual or business entity, including but not limited to factory-built promotional or demonstration vehicles" until there's a torch-bearing mob on my lawn shouting "burn the heretic". Might always makes right...right?
-
Buick Invicta via The French Connection
Ace-Garageguy replied to 1972coronet's topic in The Off-Topic Lounge
I've never seen the film, somehow. Guess I need to remedy that. Kinda lusting after a 2-door kit of that body style too now. -
Mary's taste in clothes was all over the board.
-
Places I go, they don't need no stinkin' manners.