Ace-Garageguy
-
Posts
39,253 -
Joined
-
Last visited
Content Type
Profiles
Forums
Events
Gallery
Everything posted by Ace-Garageguy
-
After eating, I've been known to belch.
-
"Cheers" is a popular toast to make when friends are imbibing.
-
 True to an extent, but those guys (I'm a member there too) are living in the past. Don't get me wrong...that particular past is where I like to spend a lot of time too. But to me, the true spirit of hot-rodding is innovation, and continuing to build cars like they were built decades ago, while I dearly love it, doesn't have much to do with innovation. The guys in the vid are doing things most of today's manufacturers don't want to do, or just can't because of a wide variety of possible factors. Innovation using current hardware, but in the spirit of the groundbreaking hot-rodders way back when is what I'm referring to here. I'm not arguing. I'm clarifying the point I'm trying to make.
 -
Interesting stuff. The cellulose acetate at the top of the list was the self-destructive bane of early promos and some early kits as well. It's almost all toast today.
-
I'm somewhere in between, in spite of "being a body man for 40 years". I have days when I can lay down model paint as slick and pretty as this... And days when the best results I can get as-sprayed aren't much better than the OP's. So I agree with Steve. Even those of us who can consistently go into the big-car booth and lay down slick paint jobs every time can't always do it on models. The materials are similar but different. The procedures are similar but different. And the things we're painting are different. But get your prep right and learn to color-sand and polish right, you can turn out world-class paint jobs every time.

-
"True" is not a real popular concept in a world where thinking what everyone else thinks, whether it's true or not, is pretty much the norm.
-
I don't recall saying there was anything "wrong" with paying someone to do what you can't. That's how I've made my living most of my working life...people paying me to build things they can't. But the hot-rod movement began with guys doing stuff for themselves, and the ones who were really really good at it, guys like the names I listed above, changed the world and created an entire new industry. Far as the video goes, neither IC/electric hybrids or rotary engines are new. But IF the power figures claimed for the little rotary (NOT a Wankel, by the way, but a further development of the concept) are legit, it has the potential to be a game-changer if used to drive a "sustainer" charger in a hybrid that could conceivably be lighter and easier on the environment (from a mining and rare-earth element and battery-recycling standpoint) than a full plug-in EV. EDIT 2: The little rotary has the potential to be smaller and lighter than the typical piston engine we see in hybrids. Yes, "experts", we all know Wankels haven't been the epitome of fuel efficiency in the past, but the jury is WAY out on this new rotary, and the basic concept is very efficient from the standpoint of power produced for its size and weight. Jag did something along those lines with its C-X75 hybrid that used tiny turbines to drive a sustainer charger in a car that had a relatively light battery pack. The performance was staggering and the range was good. But the program cost many millions of dollars and the cars would have cost between 3/4 and 2 mil had they ever been produced. The guys in the video are trying to achieve similar performance...but relatively cheap. And that is the essence of "real" hot-rodding. EDIT: Apparently some folks are offended by some of this or find it funny. I really don't understand, and I probably never will. EDIT 3: Here's a little lesson in hot-rodding history. Neither IC engines nor supercharging were new concepts when Barney Navarro took a junkyard surplus GMC supercharger made for a WWII landing craft diesel engine, modified it, bolted it to his flathead, and started setting speed records on the dry lakes. The rest, as they say... https://www.hemmings.com/stories/article/barney-navarro
-
What would a car modelers Hades be like:
Ace-Garageguy replied to GLMFAA1's topic in The Off-Topic Lounge
You must also write a 2000 word essay on the real-world function of every part you model. -
What would a car modelers Hades be like:
Ace-Garageguy replied to GLMFAA1's topic in The Off-Topic Lounge
And of course, what with it being Hades, you don't have any plastic pop bottles to make them from. -
What would a car modelers Hades be like:
Ace-Garageguy replied to GLMFAA1's topic in The Off-Topic Lounge
Love those diecast kits, and the ones with the printed and/or embossed sides too. -
Teenagers who think they know everything have no use for old geezers who might actually know a few things.
-
By "real hot-rodding", I mean the way it used to was. Not building cars by throwing money at catalogs and shops, but dirty-hands guys making existing stuff better by engineering and making their own parts...and even engines. American backyard ingenuity is far from dead, and at a pretty high level of sophistication to boot. These are a few of today's men like Stu Hilborn, Ted Halibrand, Ed Iskenderian, Mickey Thompson, et al. For the haters...remember that these things are works-in-progress, experimental, still in the prototype/development stage...kinda like the rough cars that ran on the dry lakes and early drag strips, and went faster than all the armchair experts said was possible. EDIT: ...just like the YT comment section is full of people who've never built anything not getting it, finding fault, and telling him he's doing it wrong.
-
Enjoying seeing this one come together.
-
Testor's Model Master Metalizers
Ace-Garageguy replied to landman's topic in Model Building Questions and Answers
There's a lotta stuff out there now for doing different metal finishes (somebody who's much more familiar with them than I am...your input is needed here), but to the best of my knowledge NOTHING that works like the "buffing" metalizers did. And they were wonderful once you understood how to use them. -
What would a car modelers Hades be like:
Ace-Garageguy replied to GLMFAA1's topic in The Off-Topic Lounge
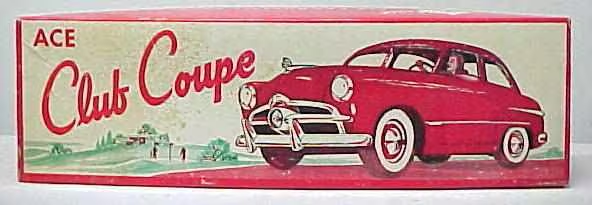
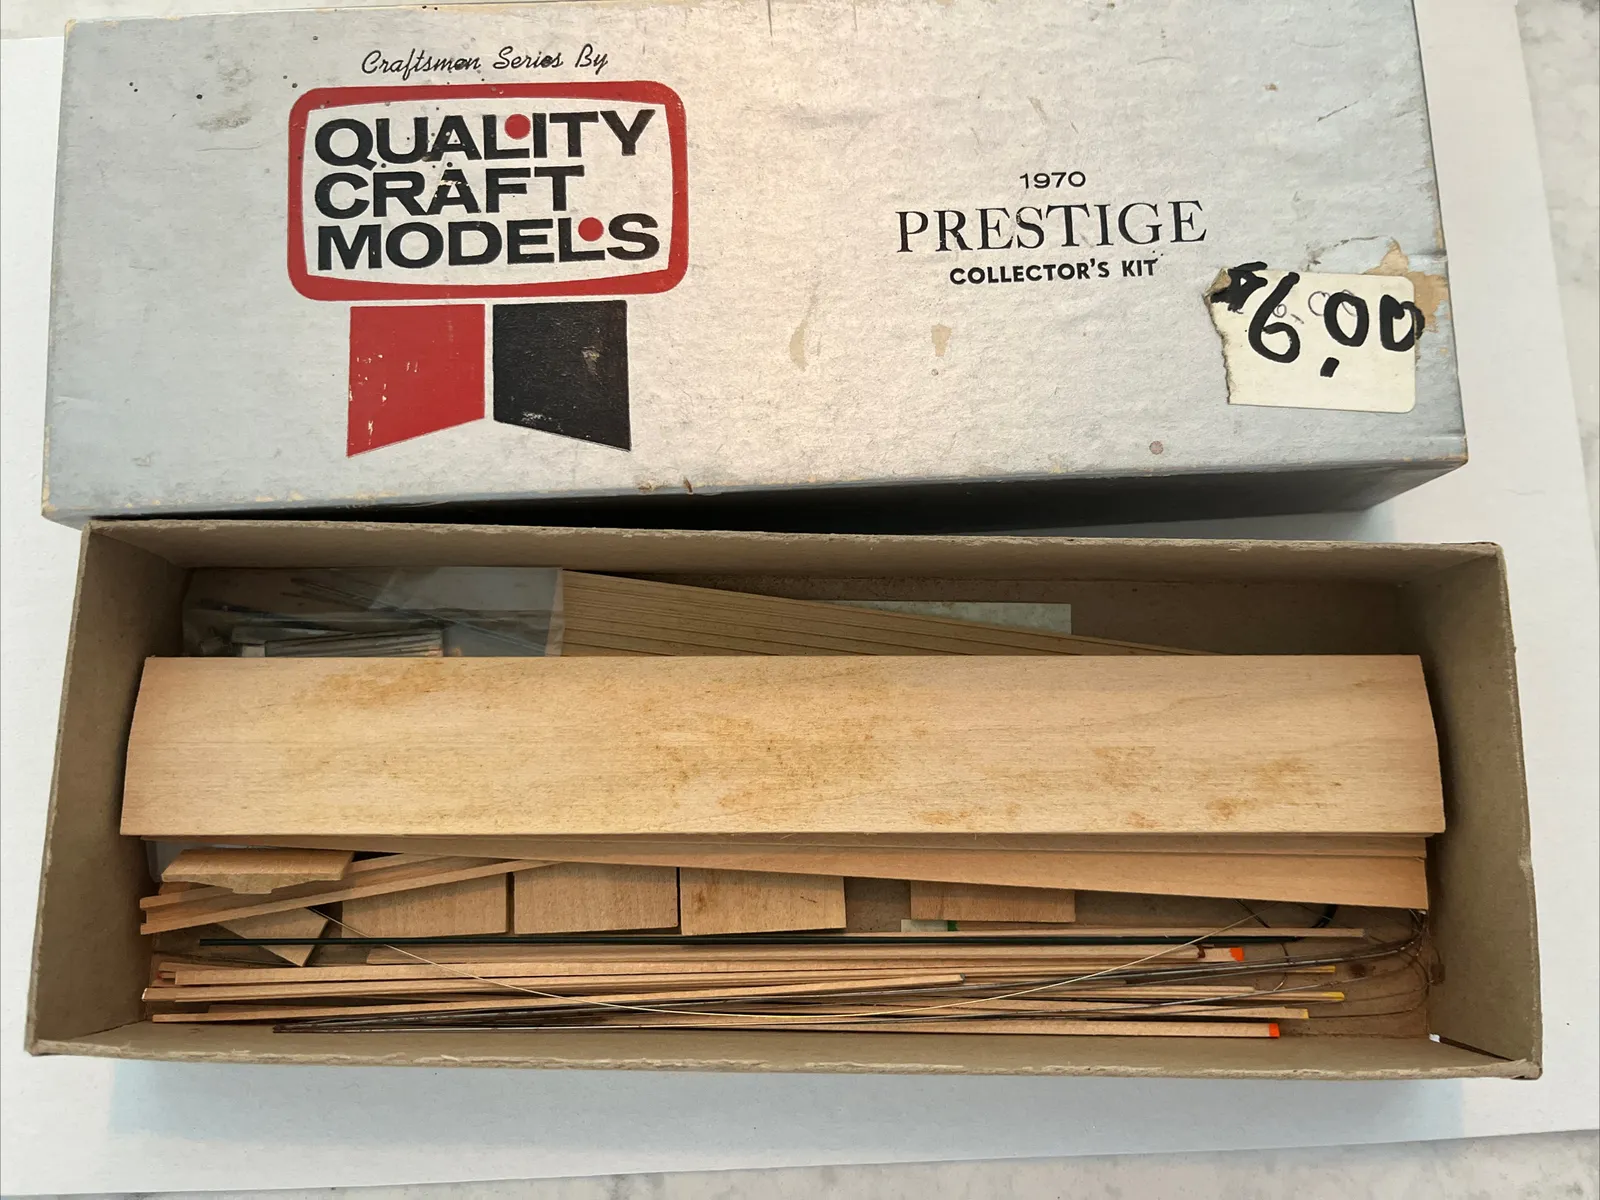
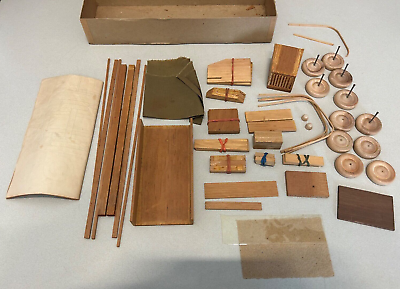
IIRC, this Ford kit was similar, but not quite that bad. circa 1949 Pretty much just a block of wood, profile-cut with a bandsaw, some wire for axles, maybe a molded part or 5, and minimal instructions. This is a WW II 6X6 CCKW. Model railroad kits were often similar too, with the clerestory part of passenger cars, for example, requiring carving, shaping, sanding, and sealing prior to painting. Most of 'em came out pretty awful. I've been collecting wooden RR "craftsman" kits from the '50s through the '70s. They're essentially just a box of sticks and blocks of wood, usually cut to length but not always accurately, sometimes with a few cast metal or plastic detail parts, and it really takes some effort to make a nice model...but it IS possible, and it's very satisfying if you have patience and enjoy a challenge. Below is a 70 foot Missouri Pacific refrigerator car. Modelers today really do have it pretty good.
-
That would be telling.
-
What would a car modelers Hades be like:
Ace-Garageguy replied to GLMFAA1's topic in The Off-Topic Lounge
That's the way it really was when I was a kid, back in the days we had to walk to school barefoot in the snow, uphill both ways... -
You must really like '61 Invictas to put out that much effort to find one.
-
What would a car modelers Hades be like:
Ace-Garageguy replied to GLMFAA1's topic in The Off-Topic Lounge
No matter how stunningly perfect your builds were, some orange-peeled, glue-smeared, poor fitting, rocking-on-three-wheels model that had every conceivable PE and 3D part stuck to it crookedly would win every contest. -
Great grandmothers wink at me these days, instead of running screaming like the young women do.
-
Then why polish it?
-
PM'd
-
One-Off Quiz #43 - Finished
Ace-Garageguy replied to carsntrucks4you's topic in Real or Model? / Auto ID Quiz
Hey...it's not the speed that kills ya. It's the sudden stop if you hit a squirrel. -
Fixin' to go to the doc to see if I have a broken rib, or just a bad owie. Oops. Old man trip on cat on steps, fall down, go boom. Cat OK.
-
For he's a jolly good tuna.