-
Posts
4,439 -
Joined
-
Last visited
Content Type
Profiles
Forums
Events
Gallery
Everything posted by Fat Brian
-

Revell '77 Chevrolet Monte Carlo Opinions
Fat Brian replied to ranma's topic in Model Building Questions and Answers
Which chassis did you use for the Cutlass? I just got one myself for the same conversion and was going to try the AMT 69 and the Revell 71/72 to see which I liked better. -

Revell '77 Chevrolet Monte Carlo Opinions
Fat Brian replied to ranma's topic in Model Building Questions and Answers
Yes, we need more 70s cars from all makes. I know the older guys look down on them but it's what us younger folks can afford and they are gaining some popularity. -

Parts for Revell 29&30 model As
Fat Brian replied to randyc's topic in Model Building Questions and Answers
A member here has a page on Shapeways that sells quick-change rear end kits for the 29-30 frames. http://shpws.me/SXJF -
It's a PSA about you're PSA.
-
Yeah, the Testors lacquers dry really fast. I would only allow that much time for the old enamels. I painted white lightning over white primer, even using the entire can it's very translucent.
-
That looks like there was a raised area over where the cut line is. Once you get it knocked down it should be fine. This is why it's a good idea to block sand the body, especially around body lines and things. There can be weird artifacts from the engraving process.
-
I agree, the grille piece needs to be black. The trim ring that is silver is molded on the headlight itself.
-

Mustang wagon did exist...
Fat Brian replied to BlackSheep214's topic in General Automotive Talk (Trucks and Cars)
Here's a 3d printed body for the Revell shelby kit. https://www.ebay.com/itm/256009224343?mkcid=16&mkevt=1&mkrid=711-127632-2357-0&ssspo=609VLjblRAW&sssrc=4429486&ssuid=CNi_i6G9QKy&var=&widget_ver=artemis&media=COPY -

Question about Gundam tool kits...
Fat Brian replied to JollySipper's topic in Model Building Questions and Answers
The tools aren't the highest quality but they're fine for working with plastic. You'll probably want to get a better xacto knife at some point and some cutters with a hardend jaw if you're ever going to cut anything metal. -

1953 Ford shield shaped blue dot tail light
Fat Brian replied to mark 23's topic in Model Building Questions and Answers
I've thought about getting a small bag of blue sequins and using the little leftover tabs from the center hole for blue dots. -

AMT International Transtar Reissue
Fat Brian replied to Leonidas's topic in Truck Kit News & Reviews
They are in the standard kit with the yellow truck on the box so I would imagine so. -
As long as the Future dries on the tires you should be fine. That should stop the silvering and the flat clear will top coat it over the decals.
-
When I used tire decals I tested putting them directly on the tire and they silvered around the edges. The second time I brushed the sidewall with Tamiya acrylic clear then applied the decal and then hit it with another coat of clear since I wanted a shiny look. I think you're correct about putting the tires on the rims first, anything you put on the sidewall is likely to crack when putting them on the rims.
-

Resin Cast in rubber tires sticky
Fat Brian replied to Len Woodruff's topic in Model Building Questions and Answers
It's probably mold release agent. I would start with soap and water first. Some folks have had success soaking resin in Bleach White white wall tire cleaner. Its unclear whether you've got hard resin or rubber resin from your post. -
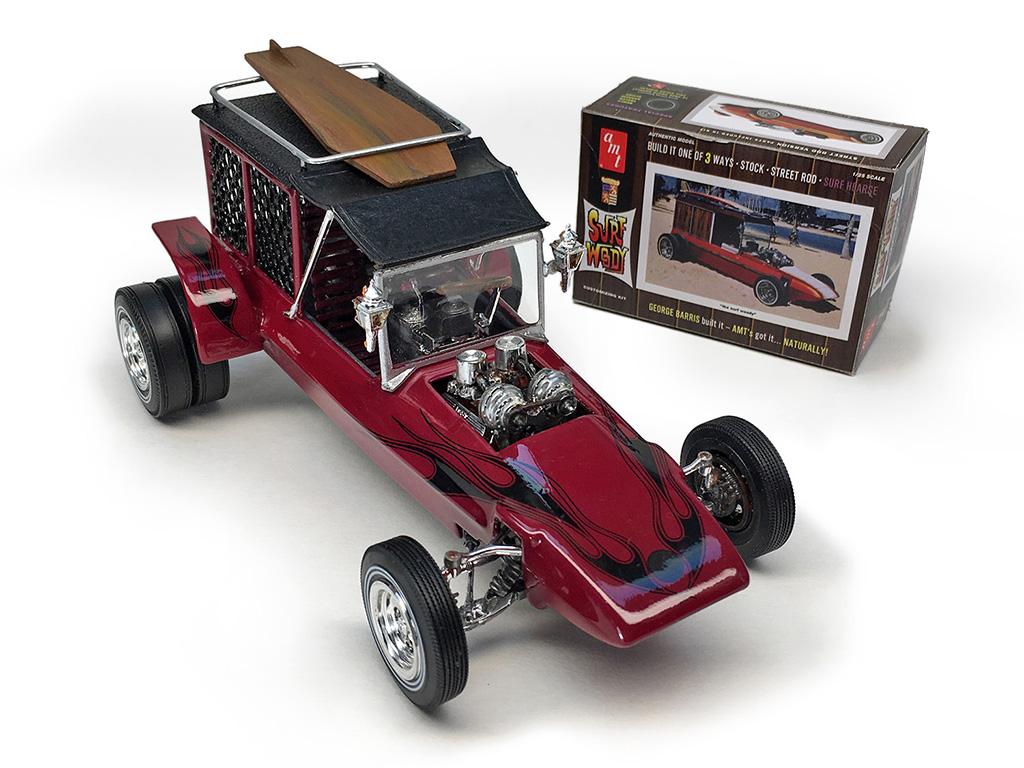
I'm collecting parts for one of these. There are superchargers that are pretty close in the Surf Woody kit. But if Charles wants to make a setup for this I certainly wouldn't turn it down.
-

Cutting Styrene Round
Fat Brian replied to Horrorshow's topic in Model Building Questions and Answers
I start with a square the size I need then clip the corners into an octagon and then just sand it round. This way I can make them whatever size I need without a tool. -

Is Italeri 3859 Freightliner the right kit for me ??
Fat Brian replied to Ulf's topic in Model Building Questions and Answers
The Italeri kit is an earlier version of the blue truck but it's as close as you can get. -
The upcoming 39 Chevy might have the blower parts you want, the engine in it is close to the Malibu engine.
- 168 replies
-
- revell 4520
- malibu ss
-
(and 1 more)
Tagged with:
-

Do I need setting solution for bmf?
Fat Brian replied to Milo's topic in Model Building Questions and Answers
No, bmf has its own adhesive and you rub it down to conform it to shapes. There are several decal setting solutions and most are capable of good results, probably the most widely used are Micro Sol/Micro Set and Tamiya. -

Need some help with a couple Ebay searches
Fat Brian replied to Monty's topic in Model Building Questions and Answers
I found one that might work for you. https://www.ebay.com/itm/275863831978?mkcid=16&mkevt=1&mkrid=711-127632-2357-0&ssspo=YI9MooGrQNi&sssrc=4429486&ssuid=CNi_i6G9QKy&var=&widget_ver=artemis&media=COPY Another one https://www.ebay.com/itm/155589655969?mkcid=16&mkevt=1&mkrid=711-127632-2357-0&ssspo=JR17lyJXTia&sssrc=4429486&ssuid=CNi_i6G9QKy&var=&widget_ver=artemis&media=COPY -
The worst part of the Italeri Superliner is the cab. It should be flat with the sides of the hood but flares out a bit on each side making it too wide. Fixing this would be a huge pain, you'd have to narrow the cab about half an inch. The generic chassis doesn't help but you can find resin copies of a Mack E9 v8 engine to increase the Mackness a bit.
-

Popcorn wagon feasible?
Fat Brian replied to gotnitro?'s topic in General Automotive Talk (Trucks and Cars)
Yeah, the lower pulleys aren't really getting enough contact to drive them correctly but the way a roots blower you can't blow air through it if it's not moving. The whole thing is a mess. -

Popcorn wagon feasible?
Fat Brian replied to gotnitro?'s topic in General Automotive Talk (Trucks and Cars)
The popcorn wagon setup would at least work because both blowers are feeding down, the two upper blowers on the hard hat hauler would explode since they're feeding against each other.


