
64Comet404
-
Posts
991 -
Joined
-
Last visited
Content Type
Profiles
Forums
Events
Gallery
Everything posted by 64Comet404
-

Collectible Automobile Magazine
64Comet404 replied to Tom Geiger's topic in General Automotive Talk (Trucks and Cars)
I've been a reader since the second issue, have always appreciated the content and photos they provide. It's one of the only publications I have found which has (mostly) escaped the curse of using AutoCorrect instead of proof-reading their copy. I gave up subscribing due to damage inflicted by the post office, but I prefer to support my local magazine retailers when I can. -
Spray the part with clear first, and use lots of decal setting solution when laying the decal down. You may need to use heat from a hair dryer to make it settle down in the grooves.
-
Teddy bear wheels? Where did you find those??? I have a Revell Golf Cabrio which I keep picturing as a triple white with Ronal Bears all around. Wish the new releases were more exciting, nothing that I don’t already have in the collection (esp. the ‘71 Mustang; someone please tool a new one and bury the old tooling).
-
Sign me up for new tooling for the 67-72 Chevy and GMC. A few weeks ago, I lucked out and found one of the Rides issues on the shelf at my LHS, but I could use a couple more for donor kits.
-
KA Models Mazda K360 Review( Whats In The Box)
64Comet404 replied to martinfan5's topic in Truck Kit News & Reviews
Have one in transit, hoping they plan to do more of these vehicles. I was disappointed that Arii made all those neat ‘50s and early ‘60s Japanese vehicles in 1:32 scale, so hopefully KA will be looking at those cars and trucks for inspiration. -
I did some research on this boat when it was first reissued, and found it was a reasonable copy of a Chris-Craft runabout, but never found a pic with the wrap-around windshield (most had a two-piece need windshield). The closest match I could find for the stock shield was the glass from the Revell '48 Ford convertible-trim away the gluing surface from the glass and add a reinforcing strap on each side, and it looks the part.
-
I will be watching this build. I also built one of these BMWs back when they were new, and still have most of it in a box. Really nice kit.
-
Nice looking build! Even without the 'toon treatment, the Somua looks pretty silly.
-
What engine is under all those Webers?
-
Favorite method for decanting spray cans?
64Comet404 replied to 2zwudz's topic in Model Building Questions and Answers
This is the method I use. Have never had an issue with removing the paint from the can. I don't bother with the tubing, but use the valve to slowly release the pressure, and pour the paint into a container after opening the can.
-
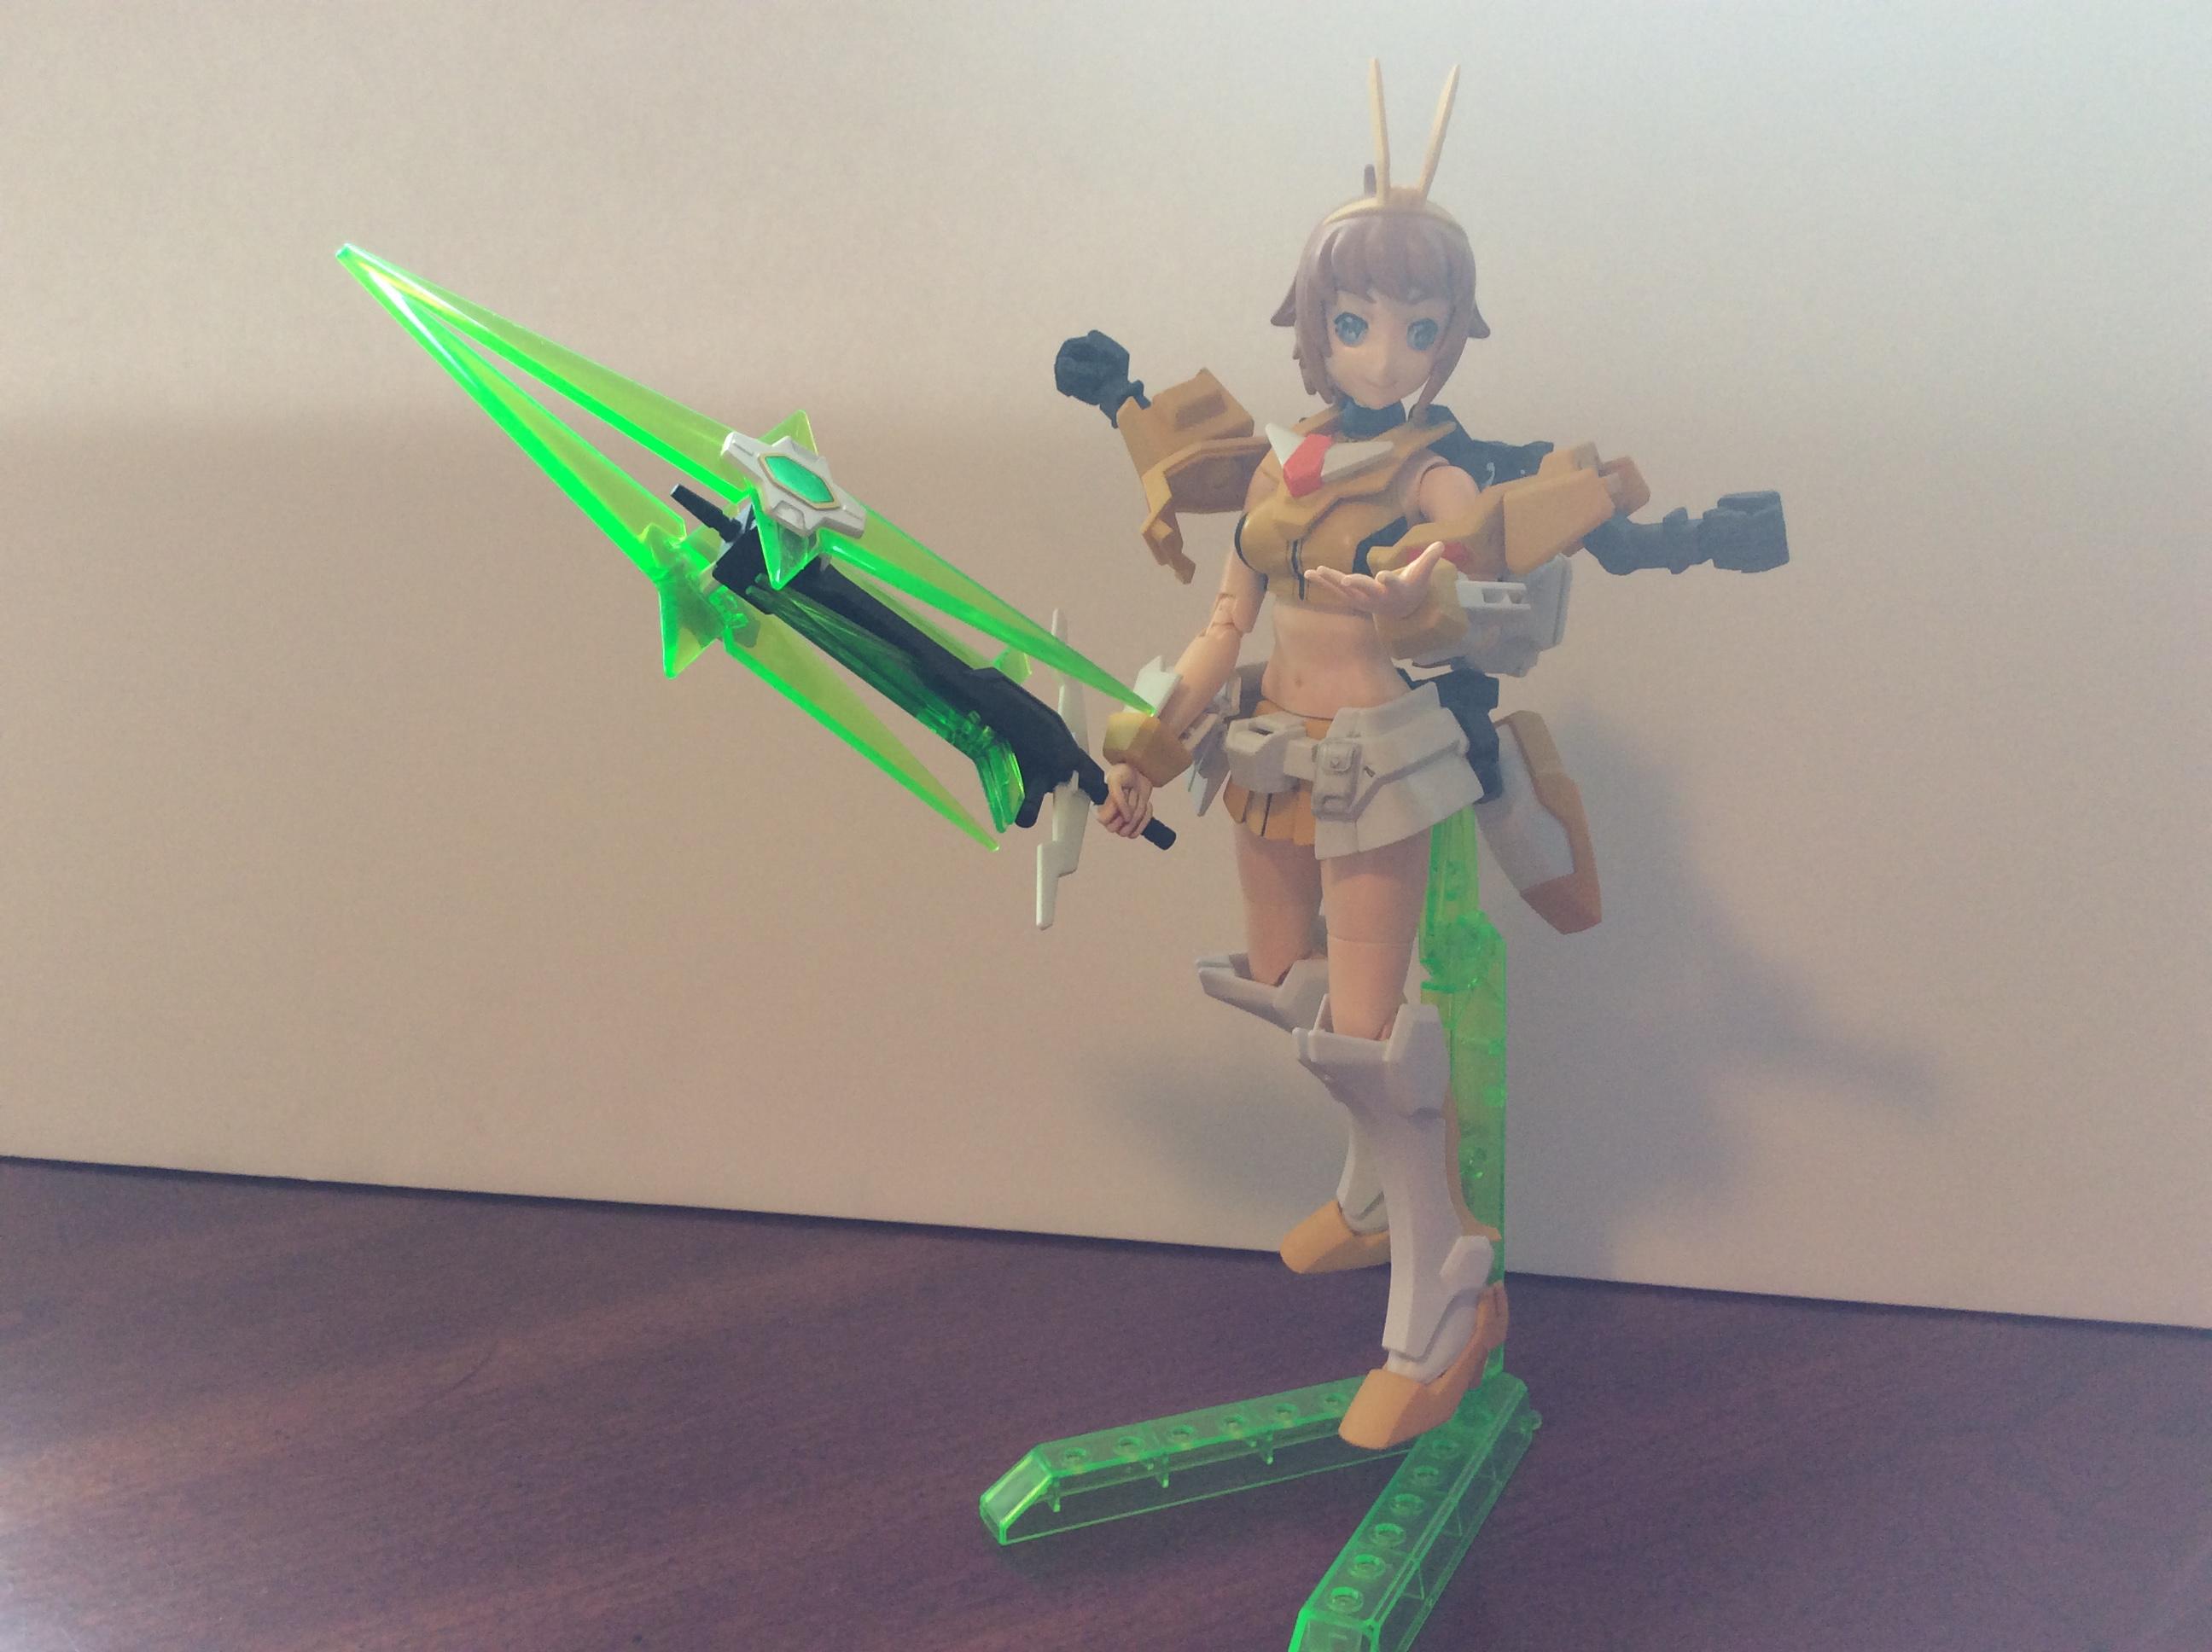
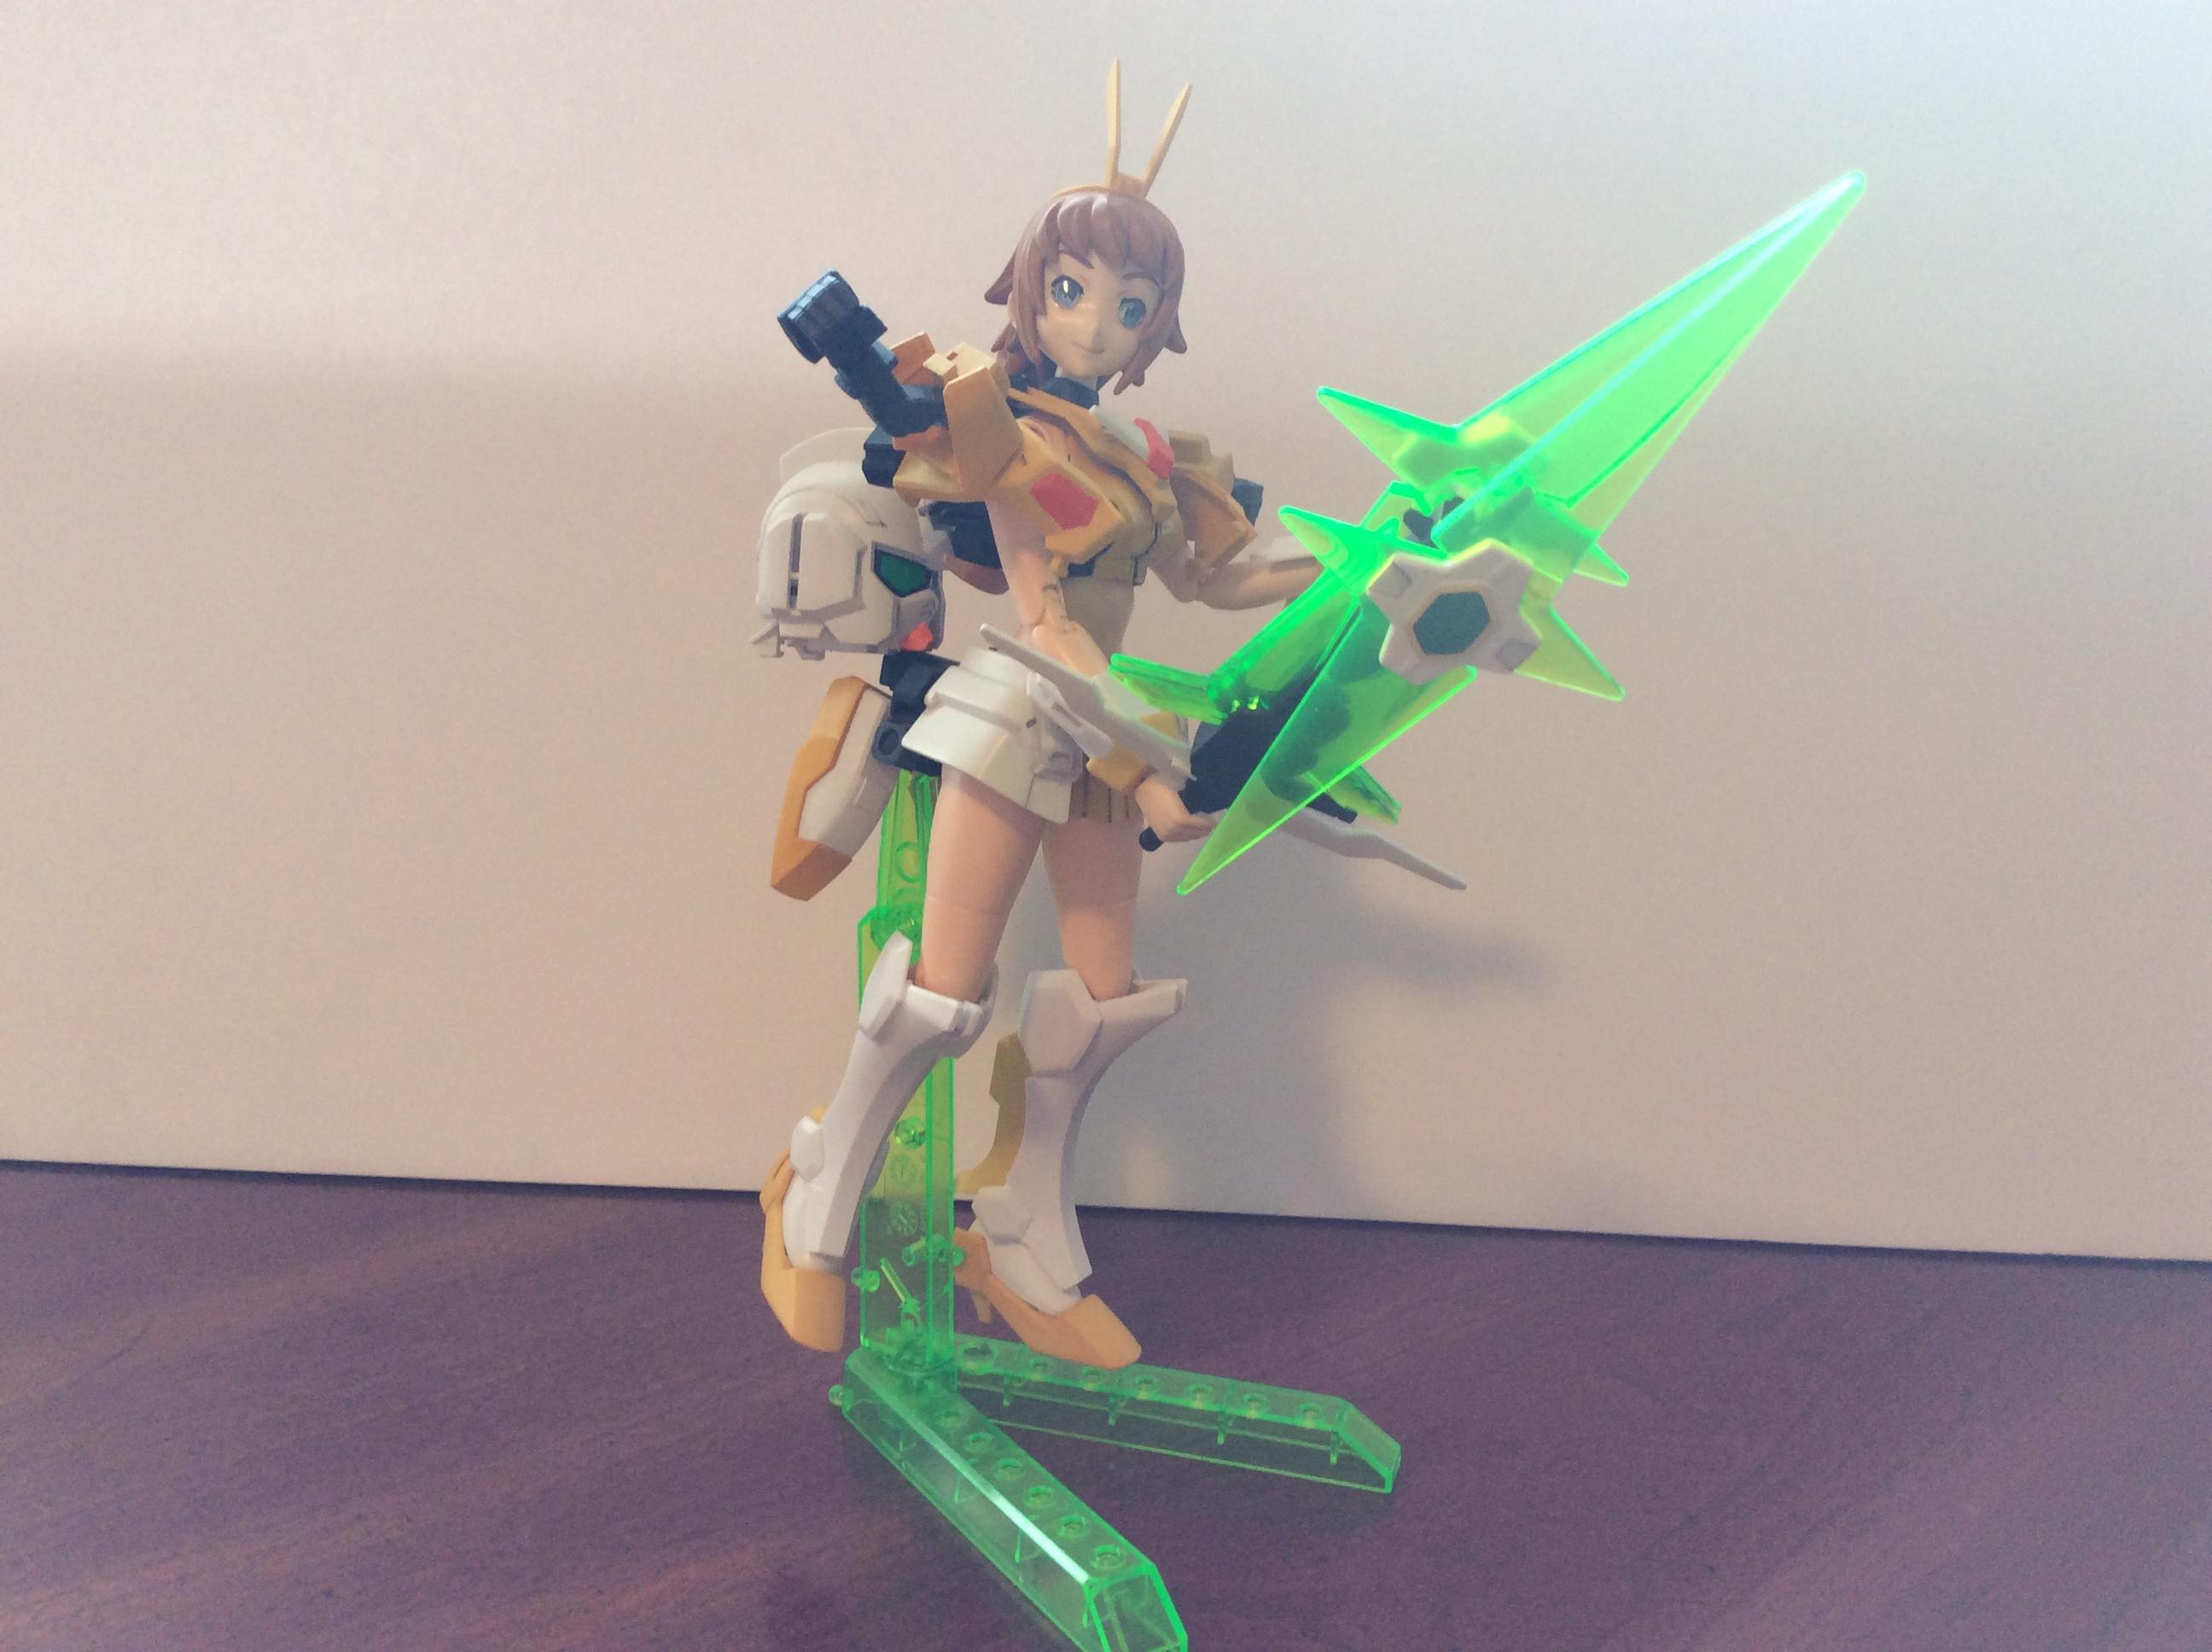
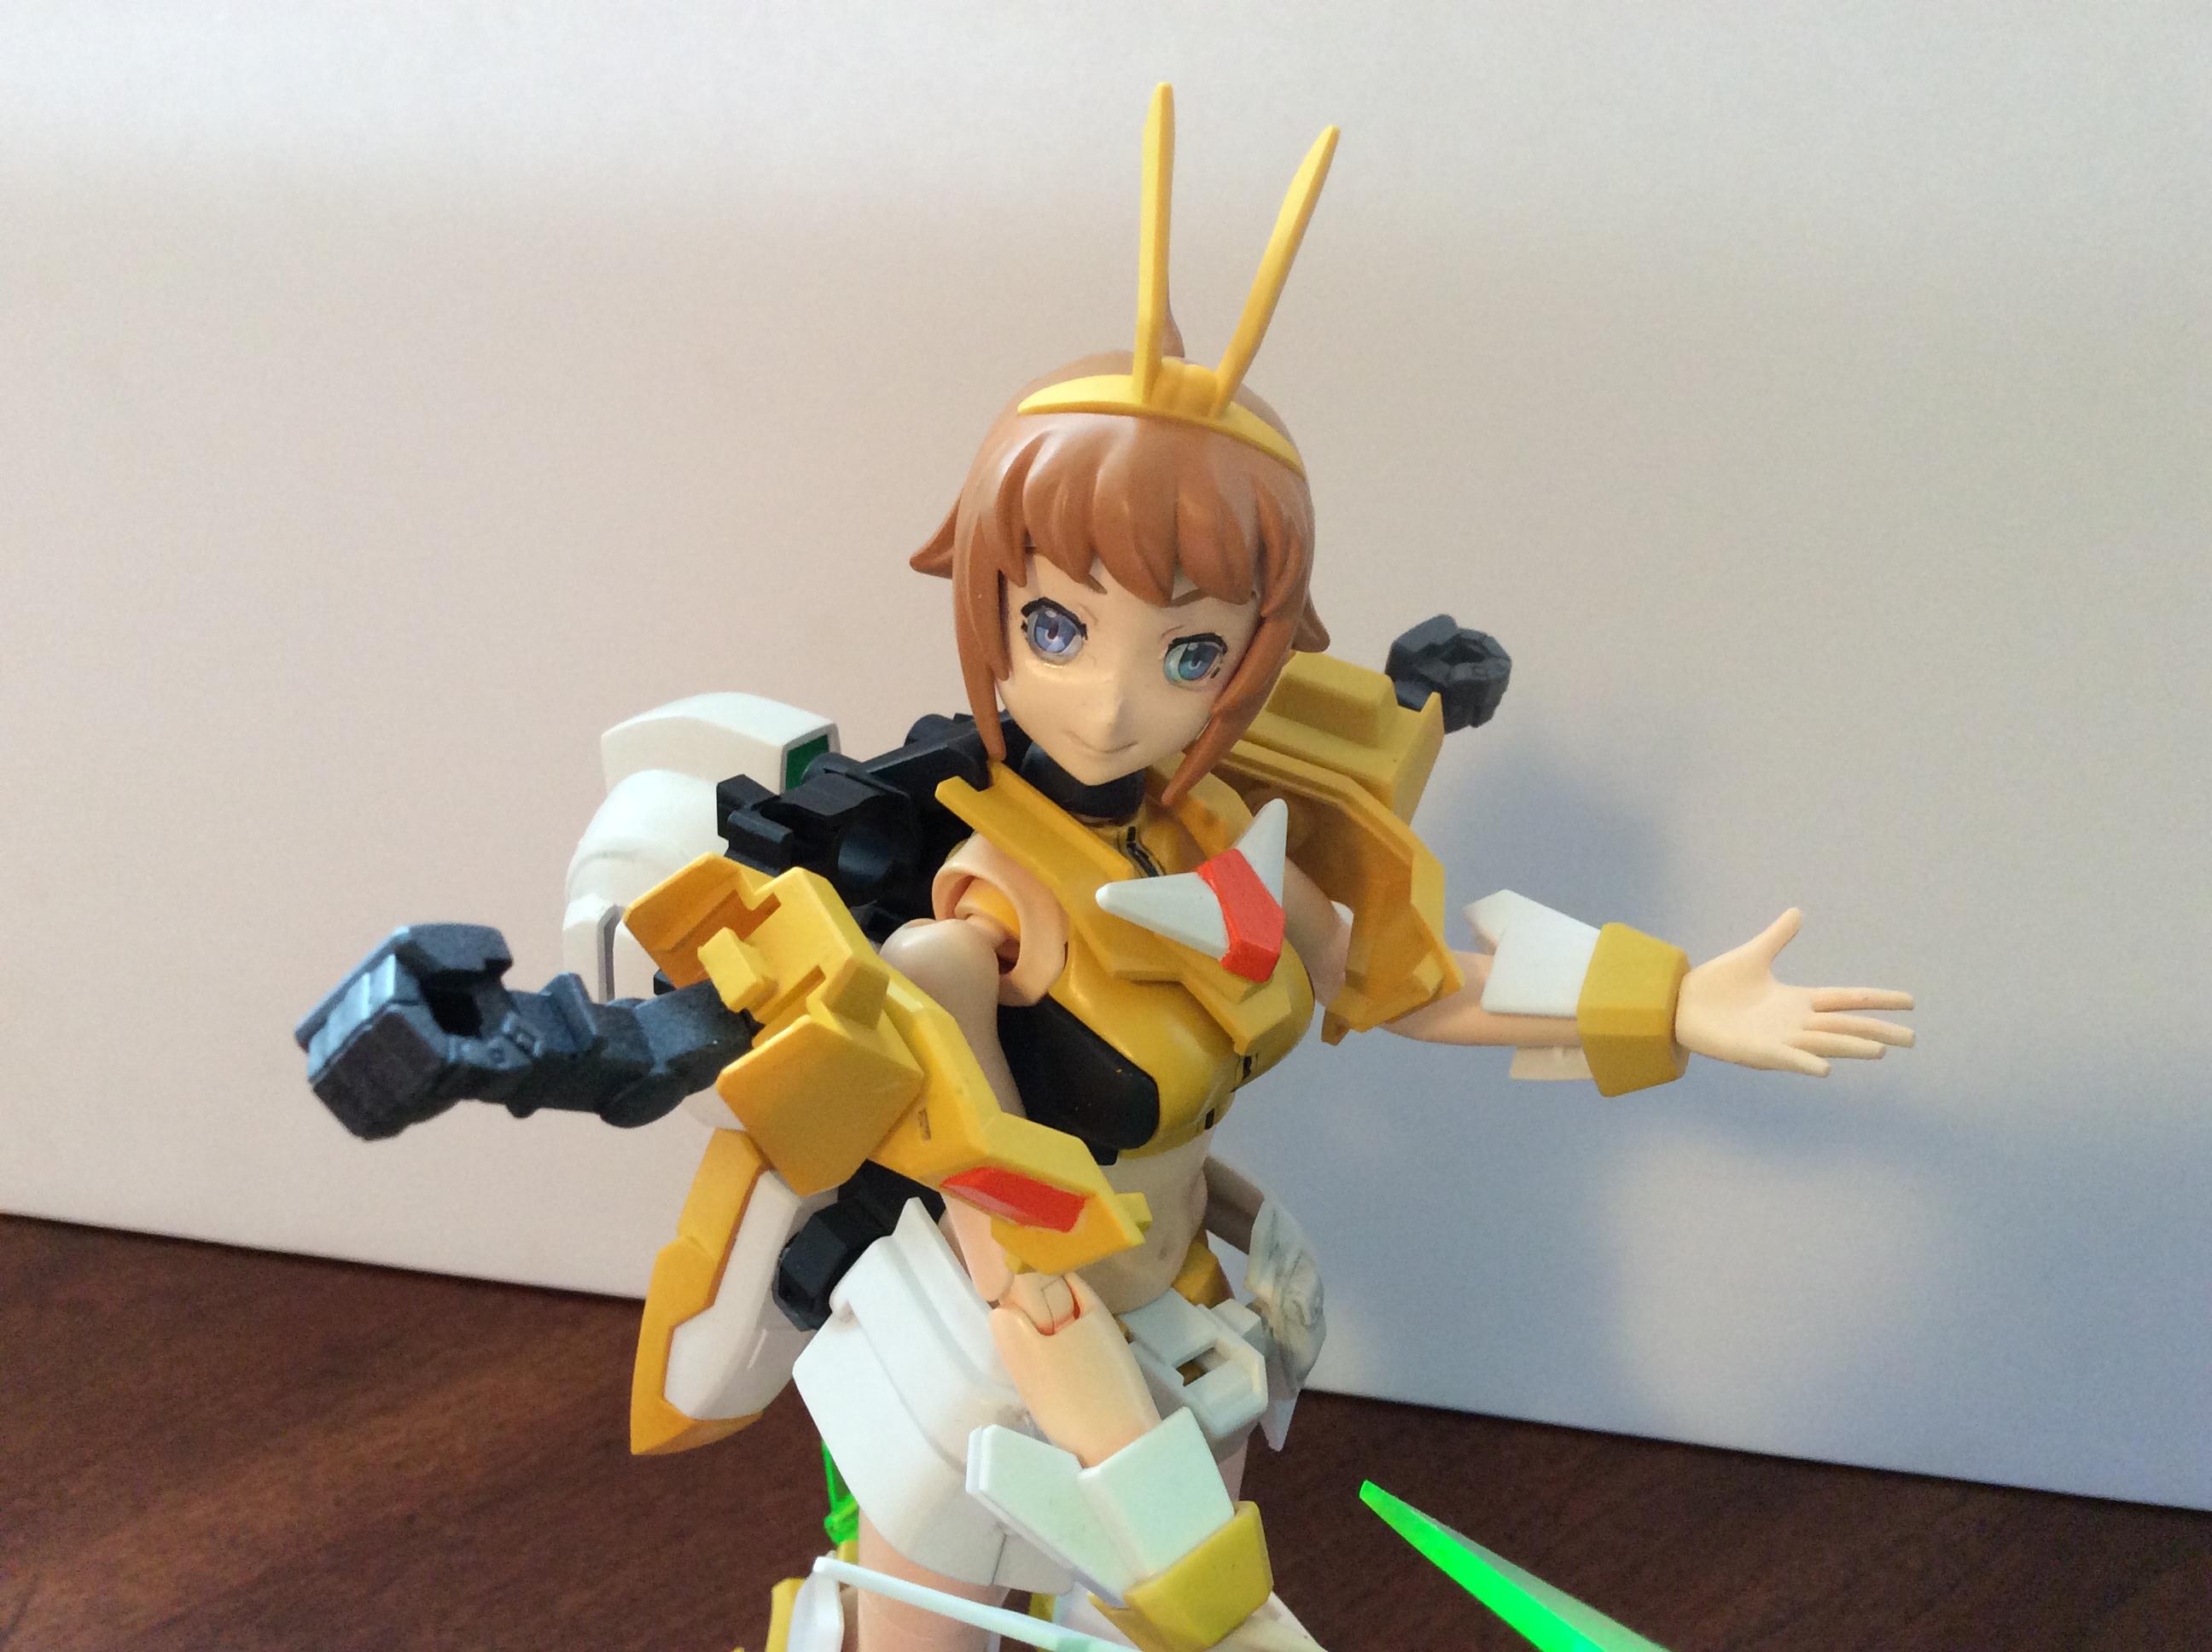
I posted an WIP pic to one of Faust’s Gundam discussions, but here is my completed figure. It’s a 1:144 scale Mobile Suit (giant robot), sculpted to resemble a character from one of the Japanese TV series. Assembly was painless, though it did take some work to eliminate some of the joins in the pieces. Painted using Vallejo acrylics. I have a few more of these set aside as slump busters, because they are fun to build.
-
1/24 or 1/25 '66 Hasegawa Bonneville?
64Comet404 replied to hedotwo's topic in General Automotive Talk (Trucks and Cars)
I have seen them in stores in Ontario, but availability may depend on how well-stocked your local shop is. You may want to contact some of the bigger online shops in the province to see about buying one (Wheels and Wings in Toronto or Hobby Centre in Ottawa are two good choices for online selection). -
1964 Pontiac Auto Transmission
64Comet404 replied to StevenGuthmiller's topic in Model Building Questions and Answers
I remember a Hydromatic in the AMT Parts Pack engines, but I can't remember if it was on the Pontiac or another engine. Beyond that, I think there was an automatic in the '64 Olds Cutlass kits, but can't remember if it was a lighter-duty unit. -
Mystery chrome tree
64Comet404 replied to Maindrian Pace's topic in General Automotive Talk (Trucks and Cars)
I think it may be from a 1/32 Pyro Lincoln from the late '20s/early '30s. -
amt show n go 40 willys 32 ford
64Comet404 replied to ABudz's topic in Model Building Questions and Answers
The engine was a nailhead Buick, which came with some nice custom bits (spark plug covers, for instance). It's never been re-issued in any other kit to my knowledge. -
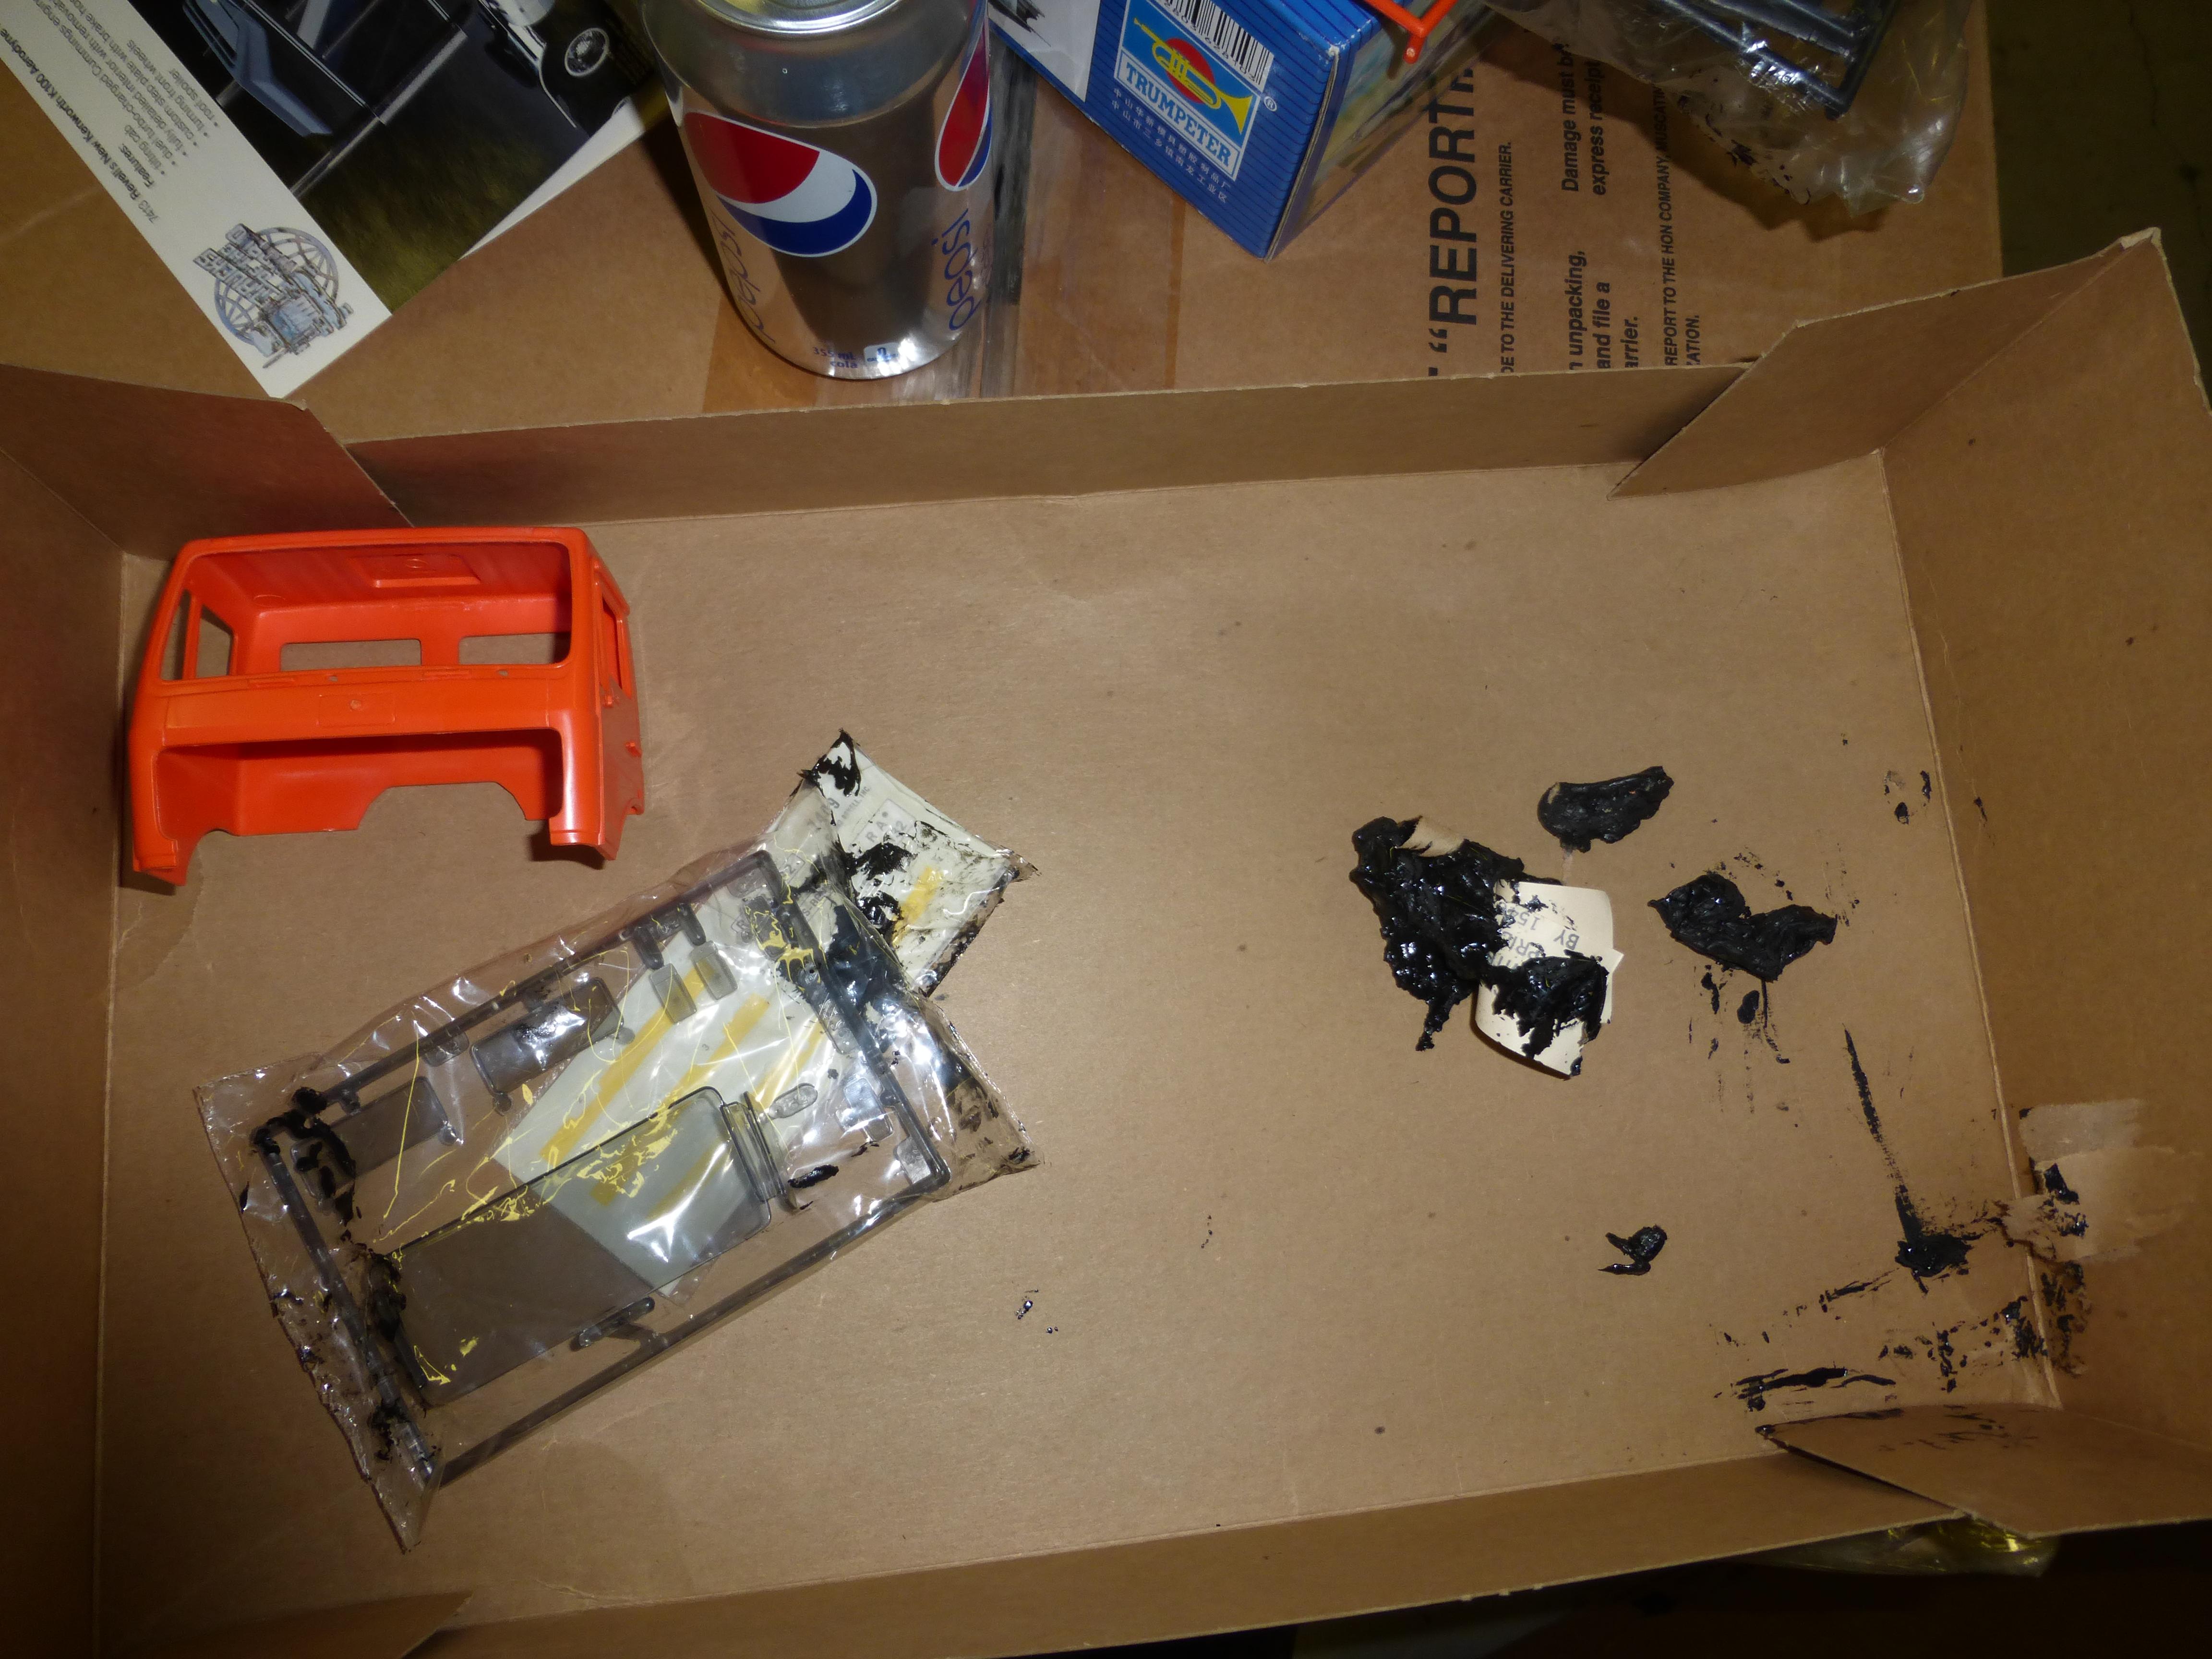
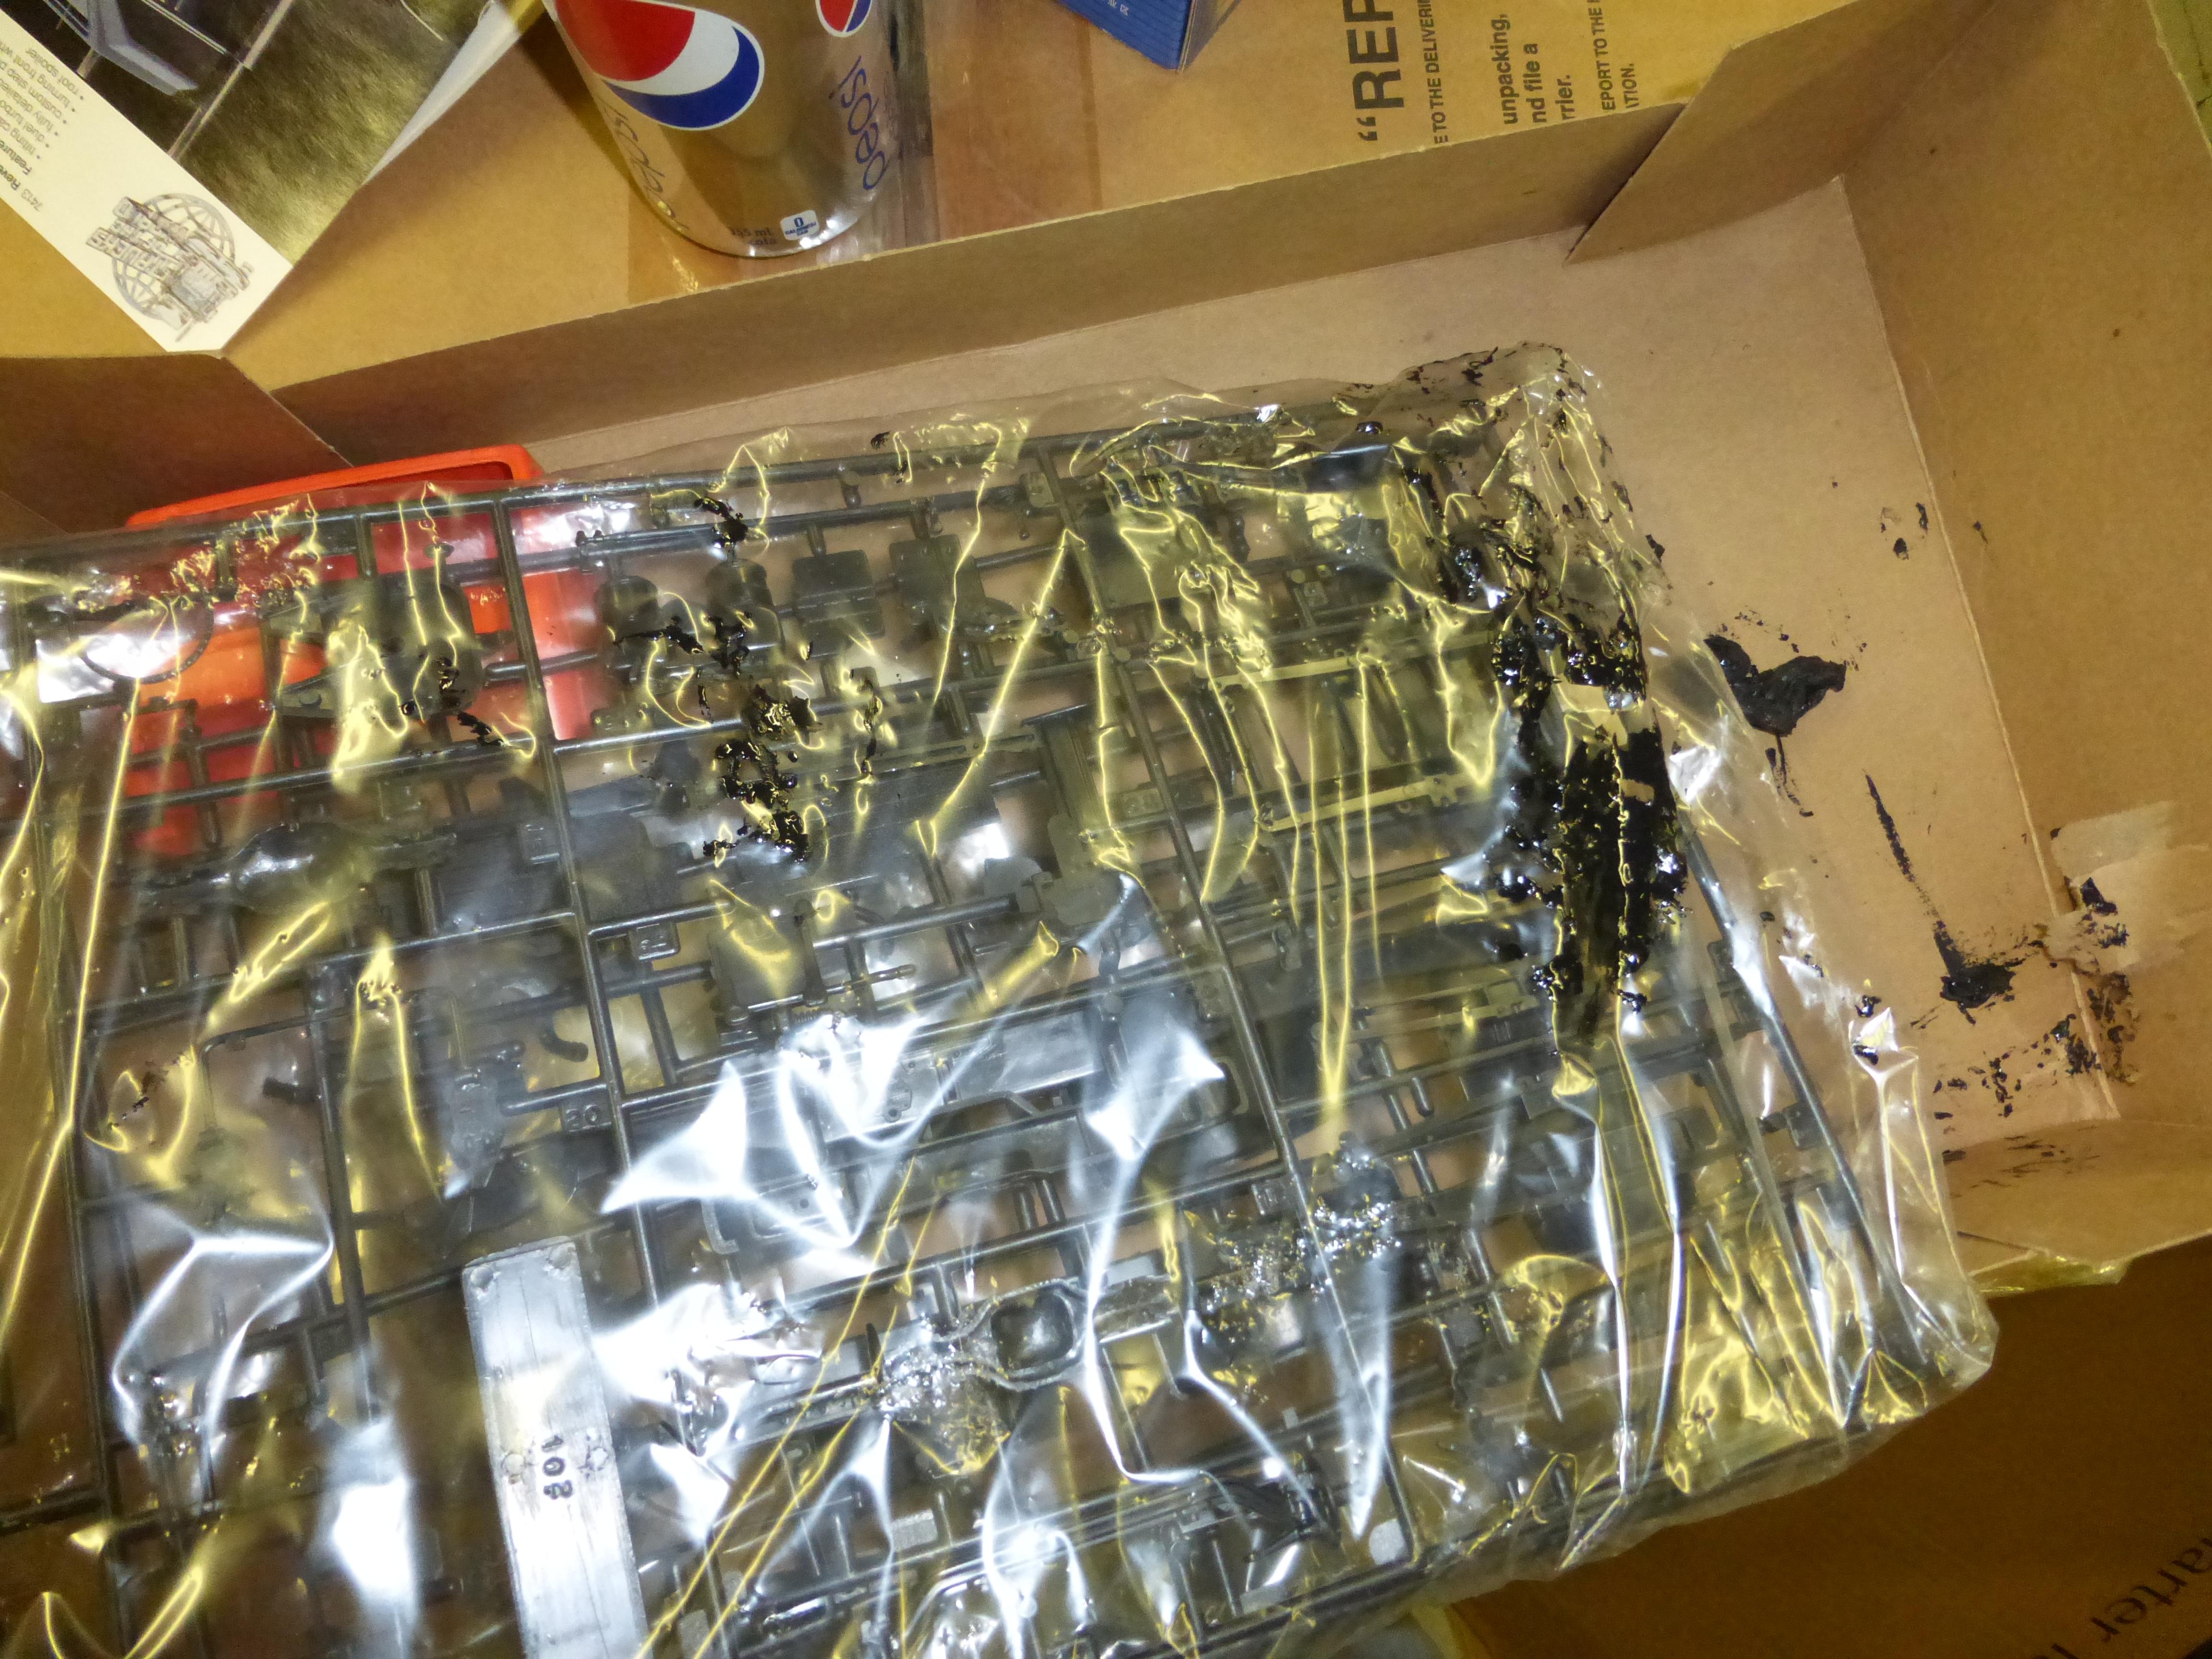
I used to own one of those Revell truck kits (the Mercedes cabover), and the tires were intact at the time of purchase. A couple of years later, when I opened the box, it looked like someone had squirted black RTV silicone into the box. Very glad I had never opened the parts bags, and kept instructions and decals separate.
-
We regret to inform show-goers that the Modelrama has been postponed. The club was willing, but our venue does not know when it will re-open from the pandemic. We will keep everyone posted about new dates when we have the information.
-
Kingston Modelrama NNL (Postponed)
64Comet404 commented on 64Comet404's event in Model Car Shows/Events
-
Met my first Palmer kit today.....
64Comet404 replied to JollySipper's topic in General Automotive Talk (Trucks and Cars)
Lindbergh re-popped a bunch of the ‘70s Palmer stuff back in the mid 1980’s, so it is probably somewhere in the Round 2 tooling shed. John G., if you find any of it, back away slowly, and call in the scrap metal dealer to ‘handle it’. -
I have a good stash of Testor’s lacquers, but some of them have started to suffer from can failure. I know there are a few that are dead, but is the paint still good if there is only a bit of seepage?
-
Anyone use Vallejo Metal Colors
64Comet404 replied to jchrisf's topic in Model Building Questions and Answers
If you can find it, SnJ Copper is probably the best one out there. This is straight out of the bottle, and without using the buffing powders.
-
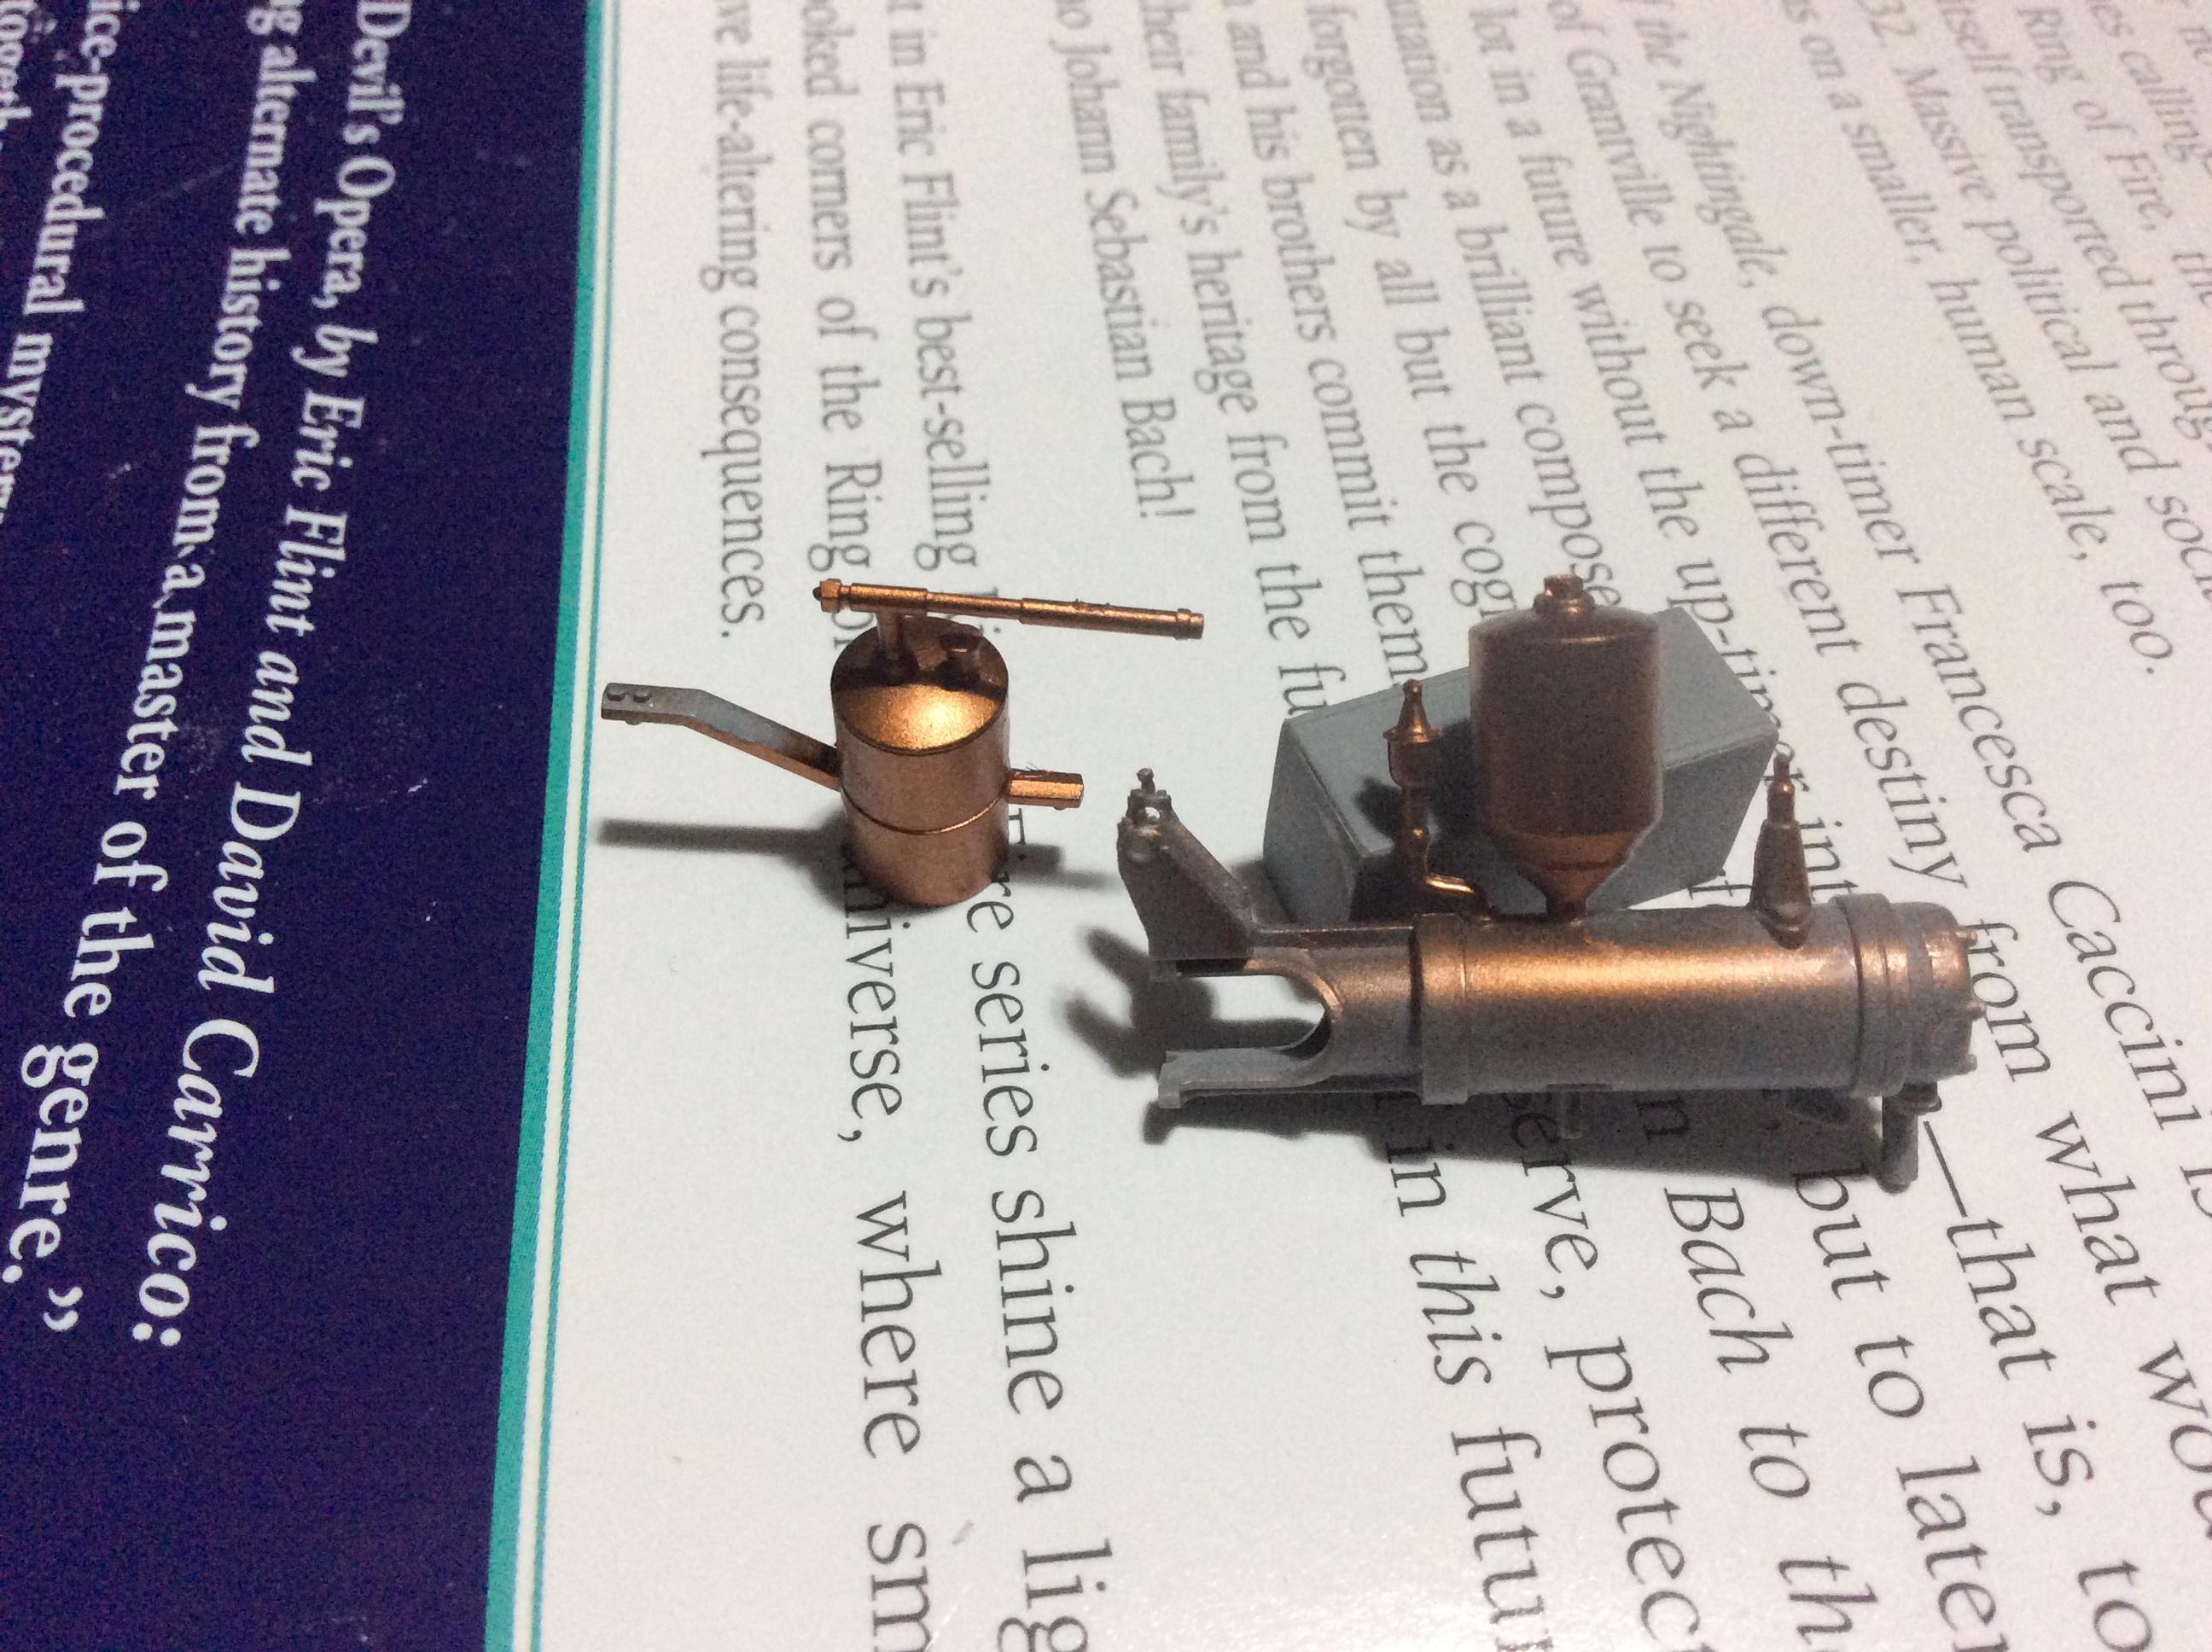
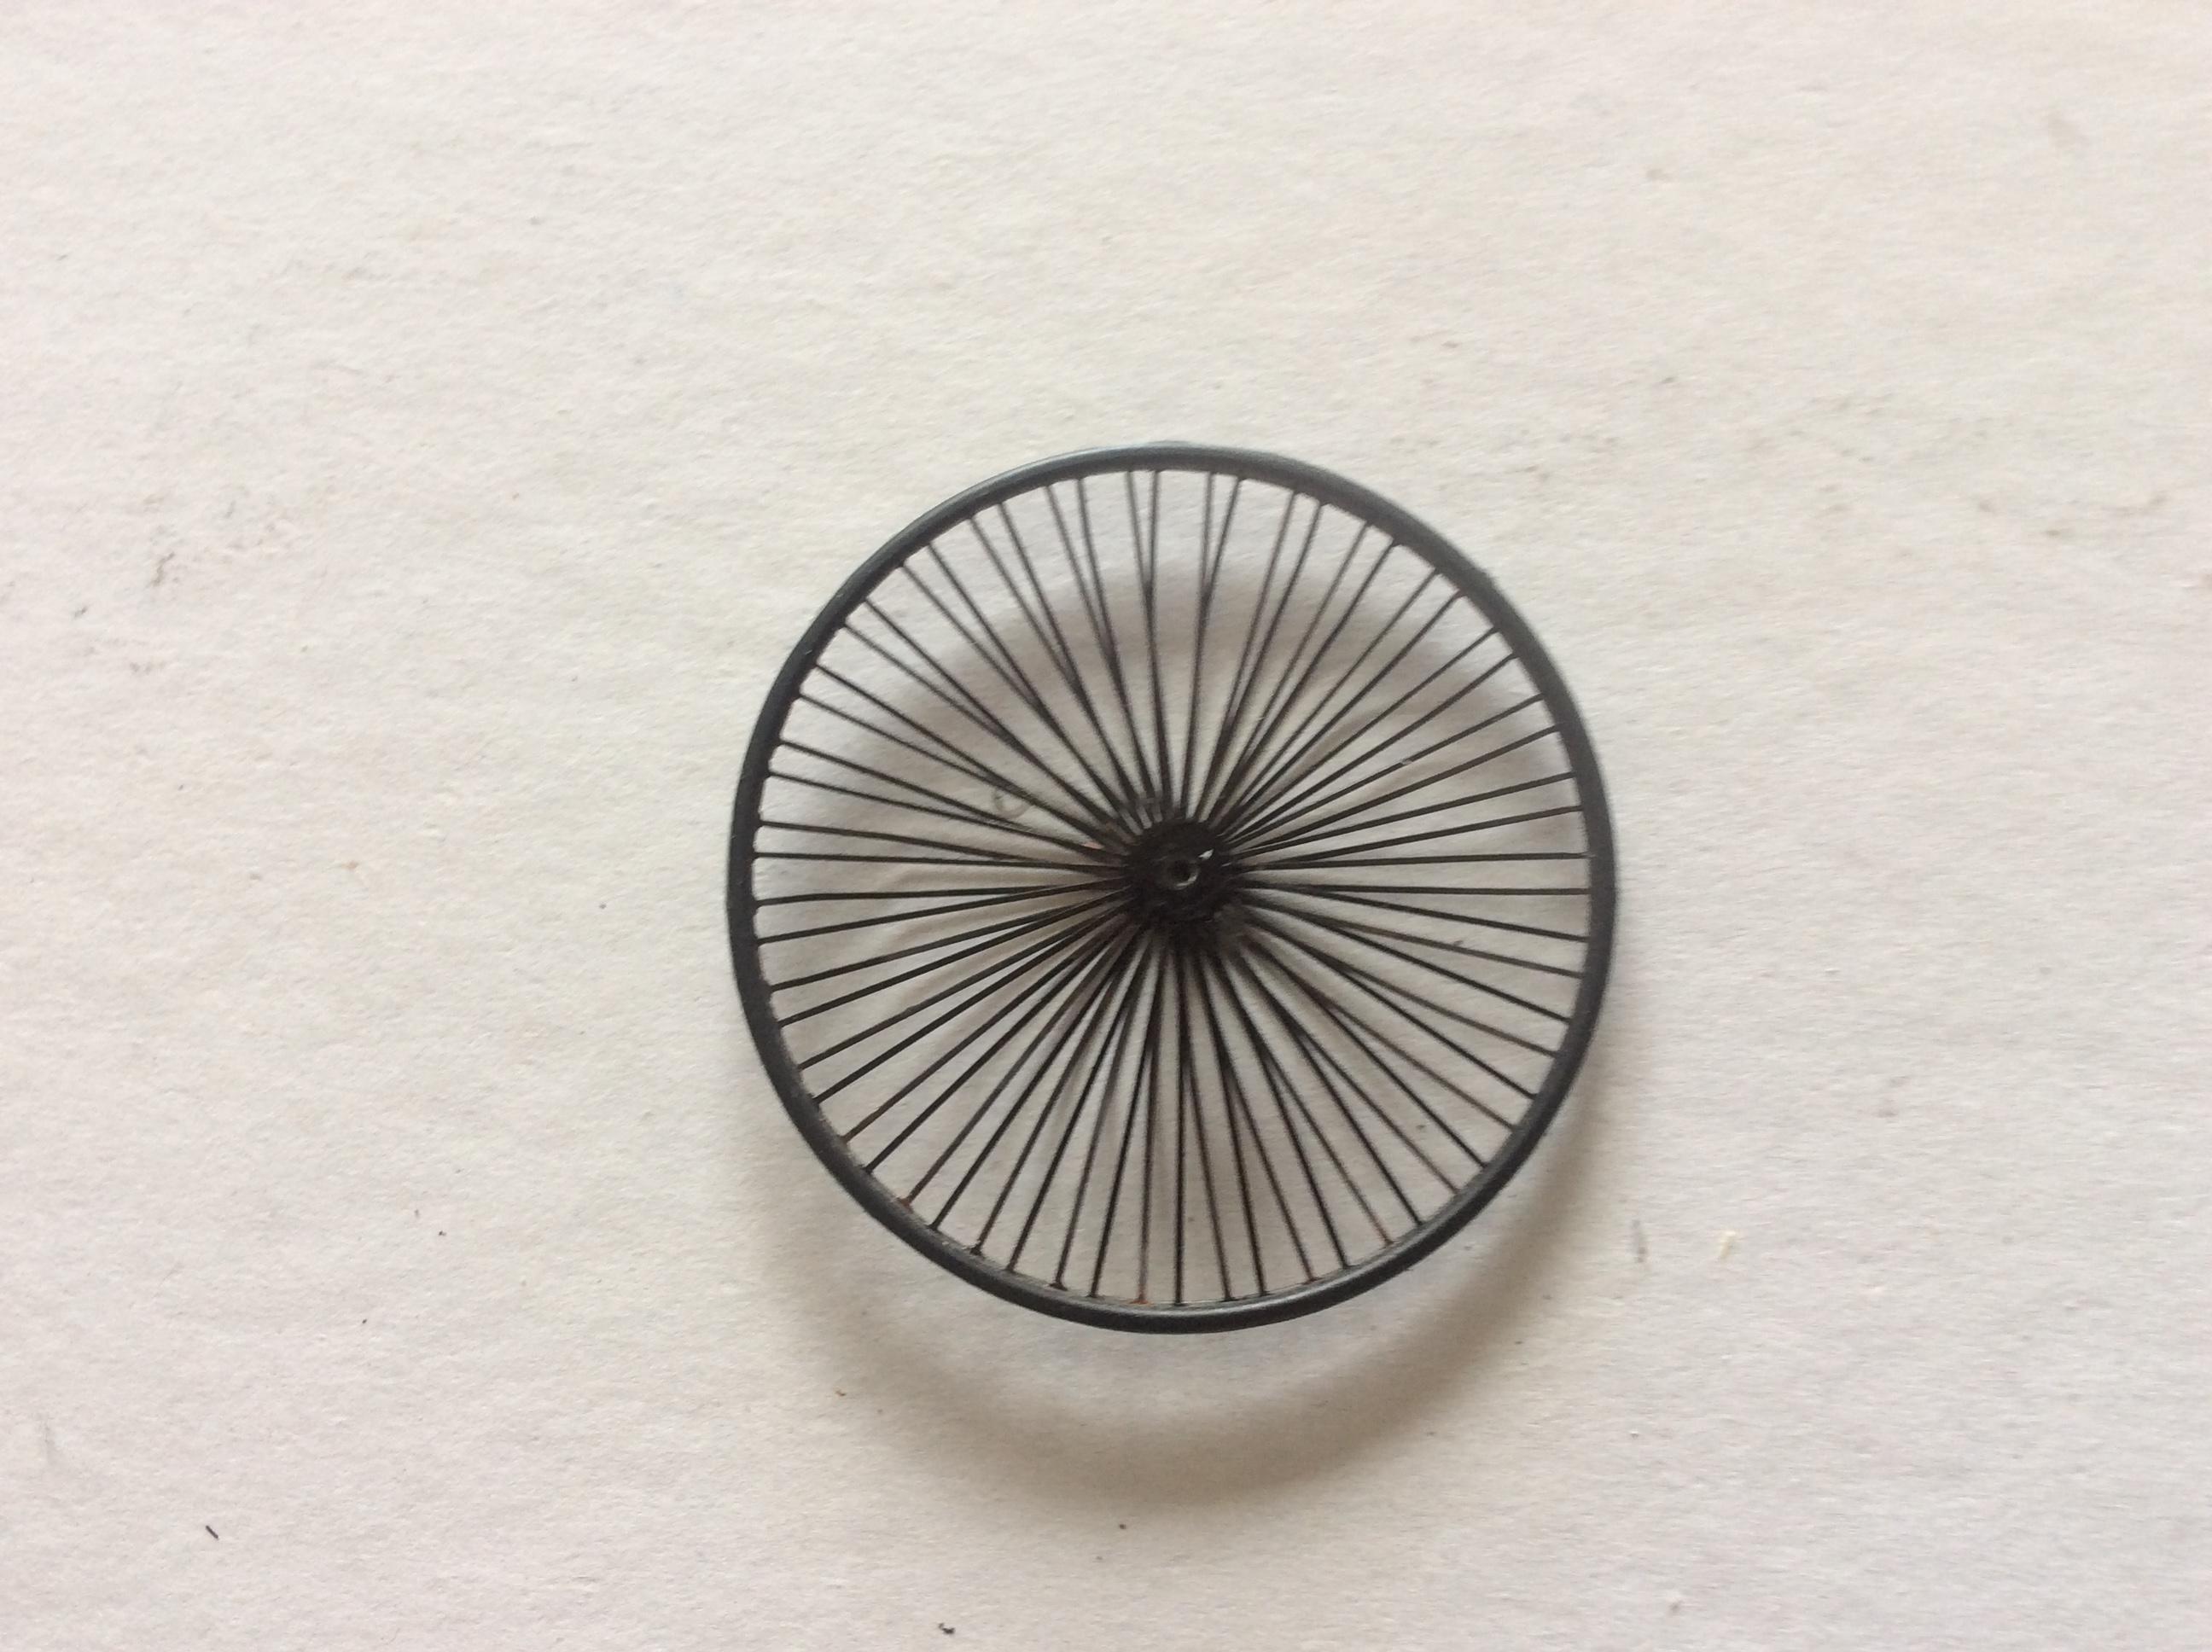
The model nearly met an untimely fate at my hands today, but I am still continuing the build. Even with the preparation of the spokes and wheel, I managed to break a rim, and the resulting fix left a gap between the halves. I definitely know which edge is facing down! I also managed to get some metallizing done today. I shot these pieces with SnJ Copper (old school, but it still works well) and a couple of pieces with Testor’s Buffing Brass. There’s a whole pile of sub-assemblies in the box, but still a long way to go.
-
Mercedes-Benz did offer replicas of the Motorwagen for sale a few years back, but I don’t know how many were eventually built, or if they are still available. I have never seen a green one before, but there are bound to be several colour variations out there.
-
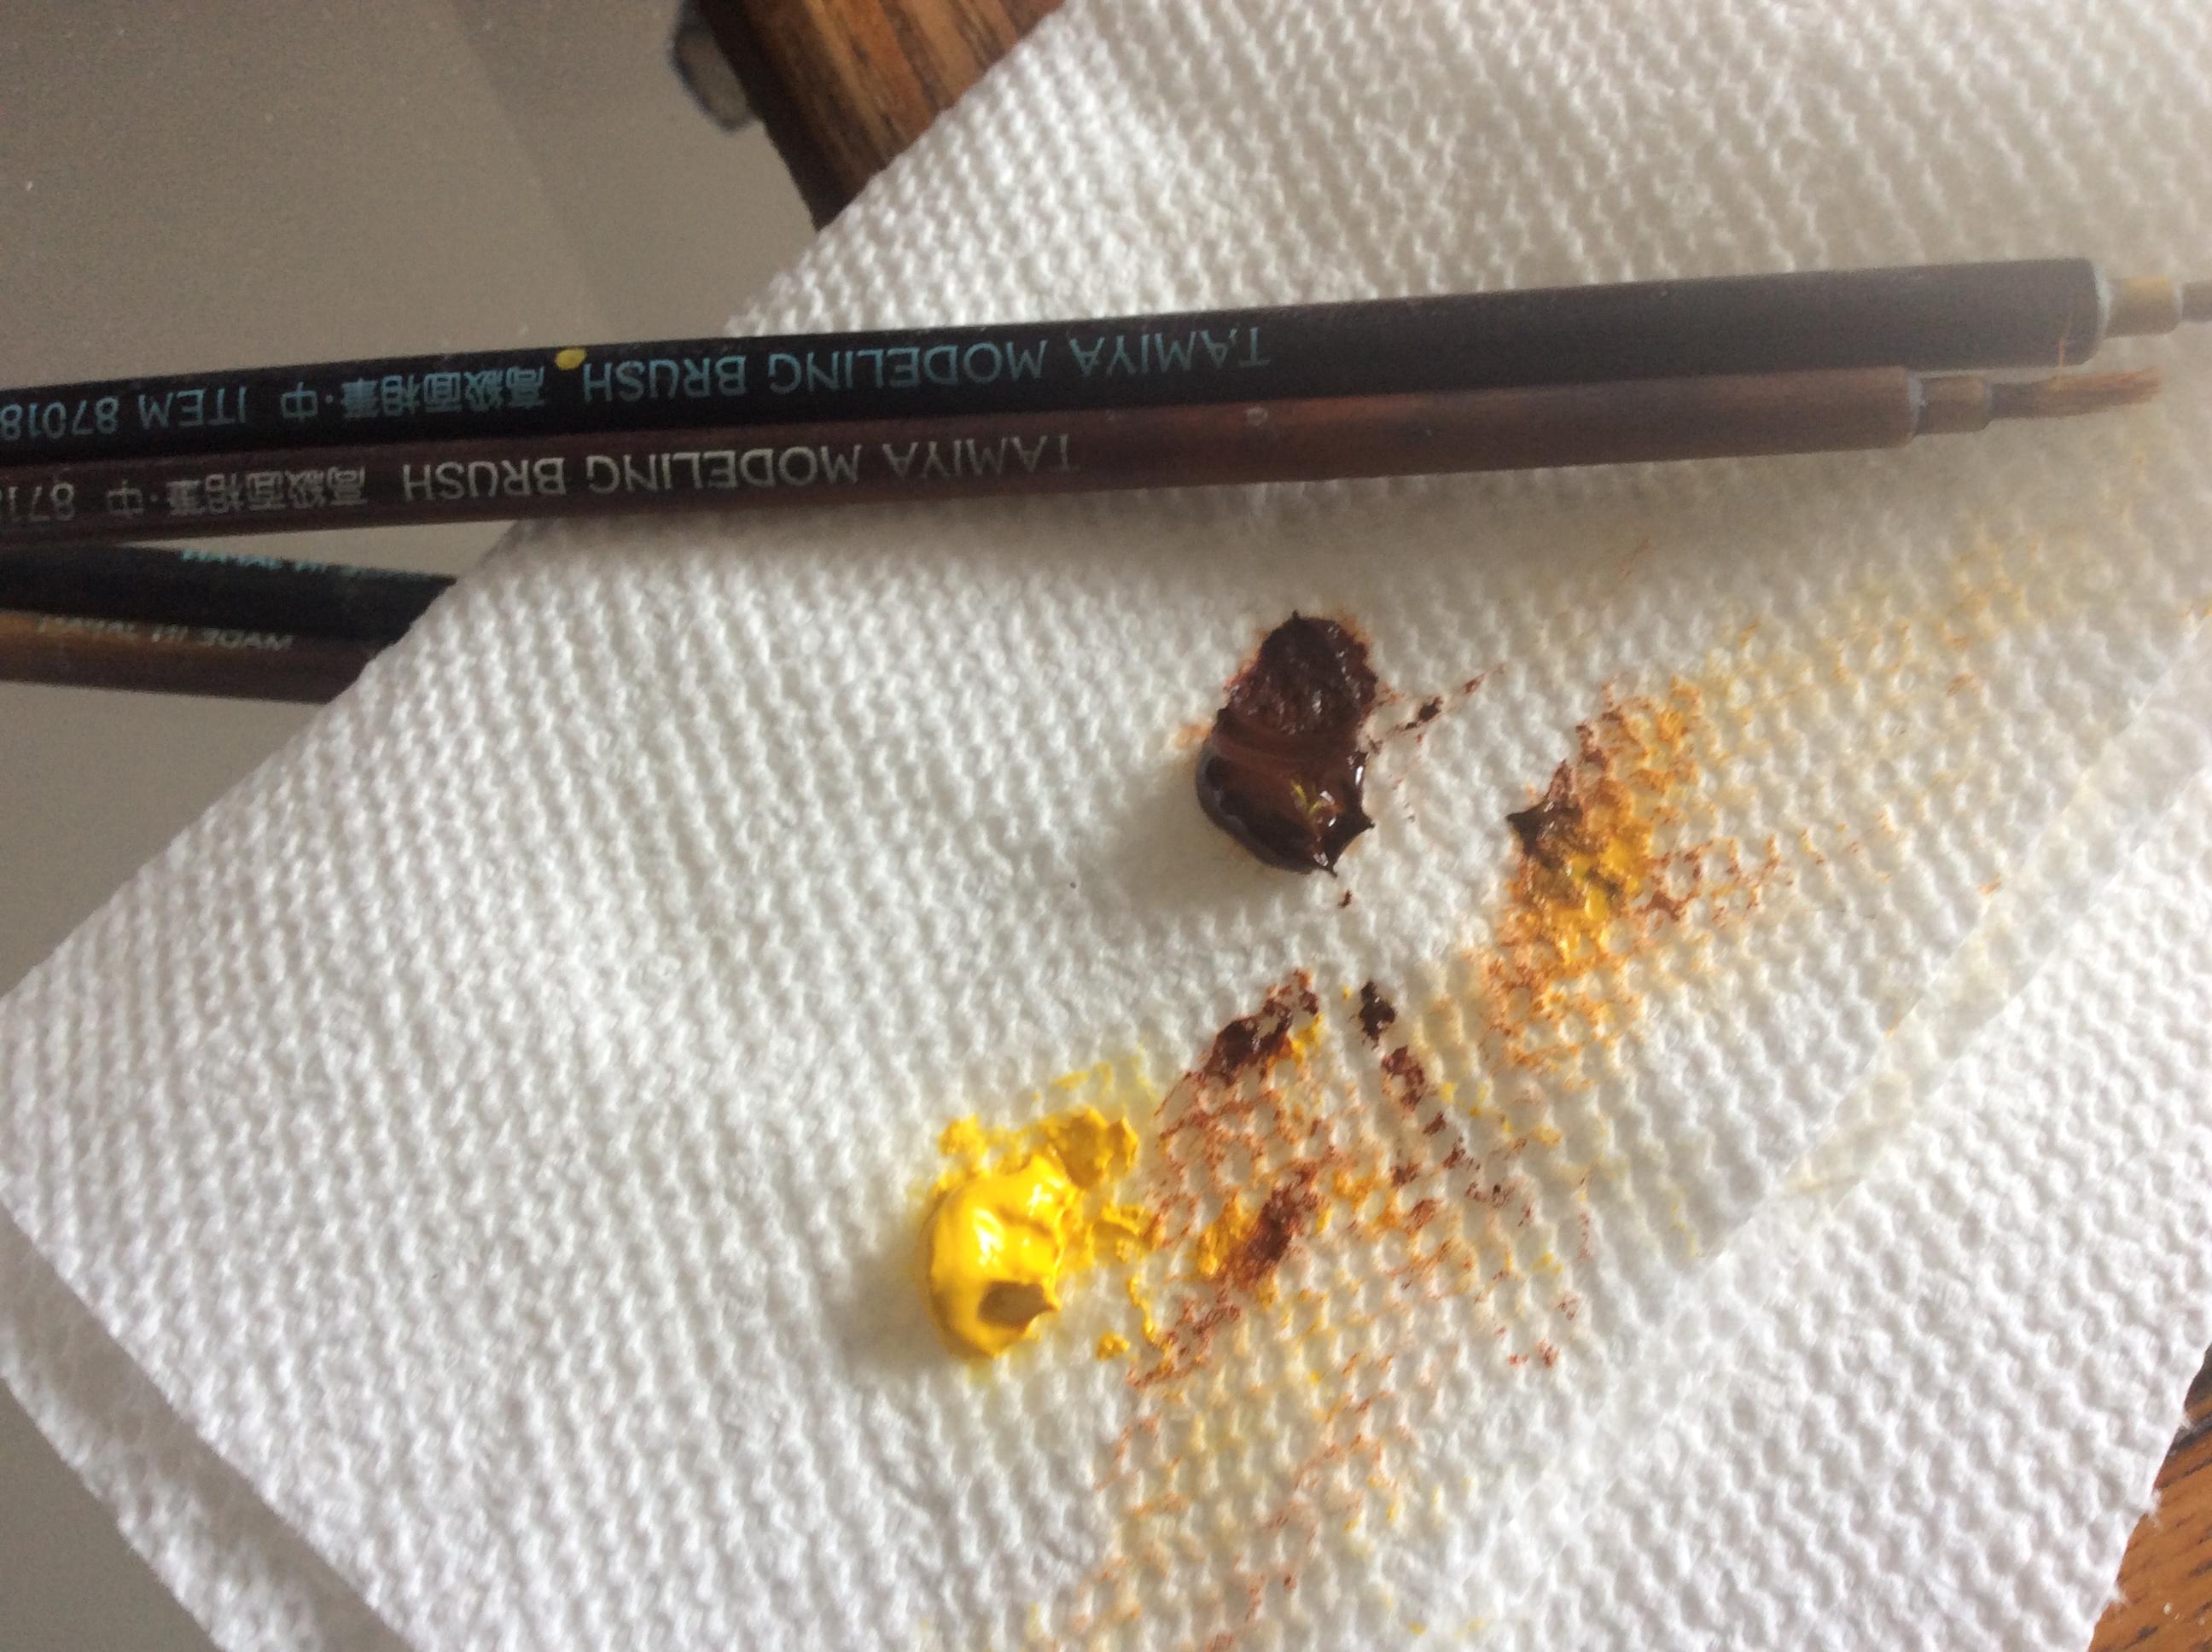
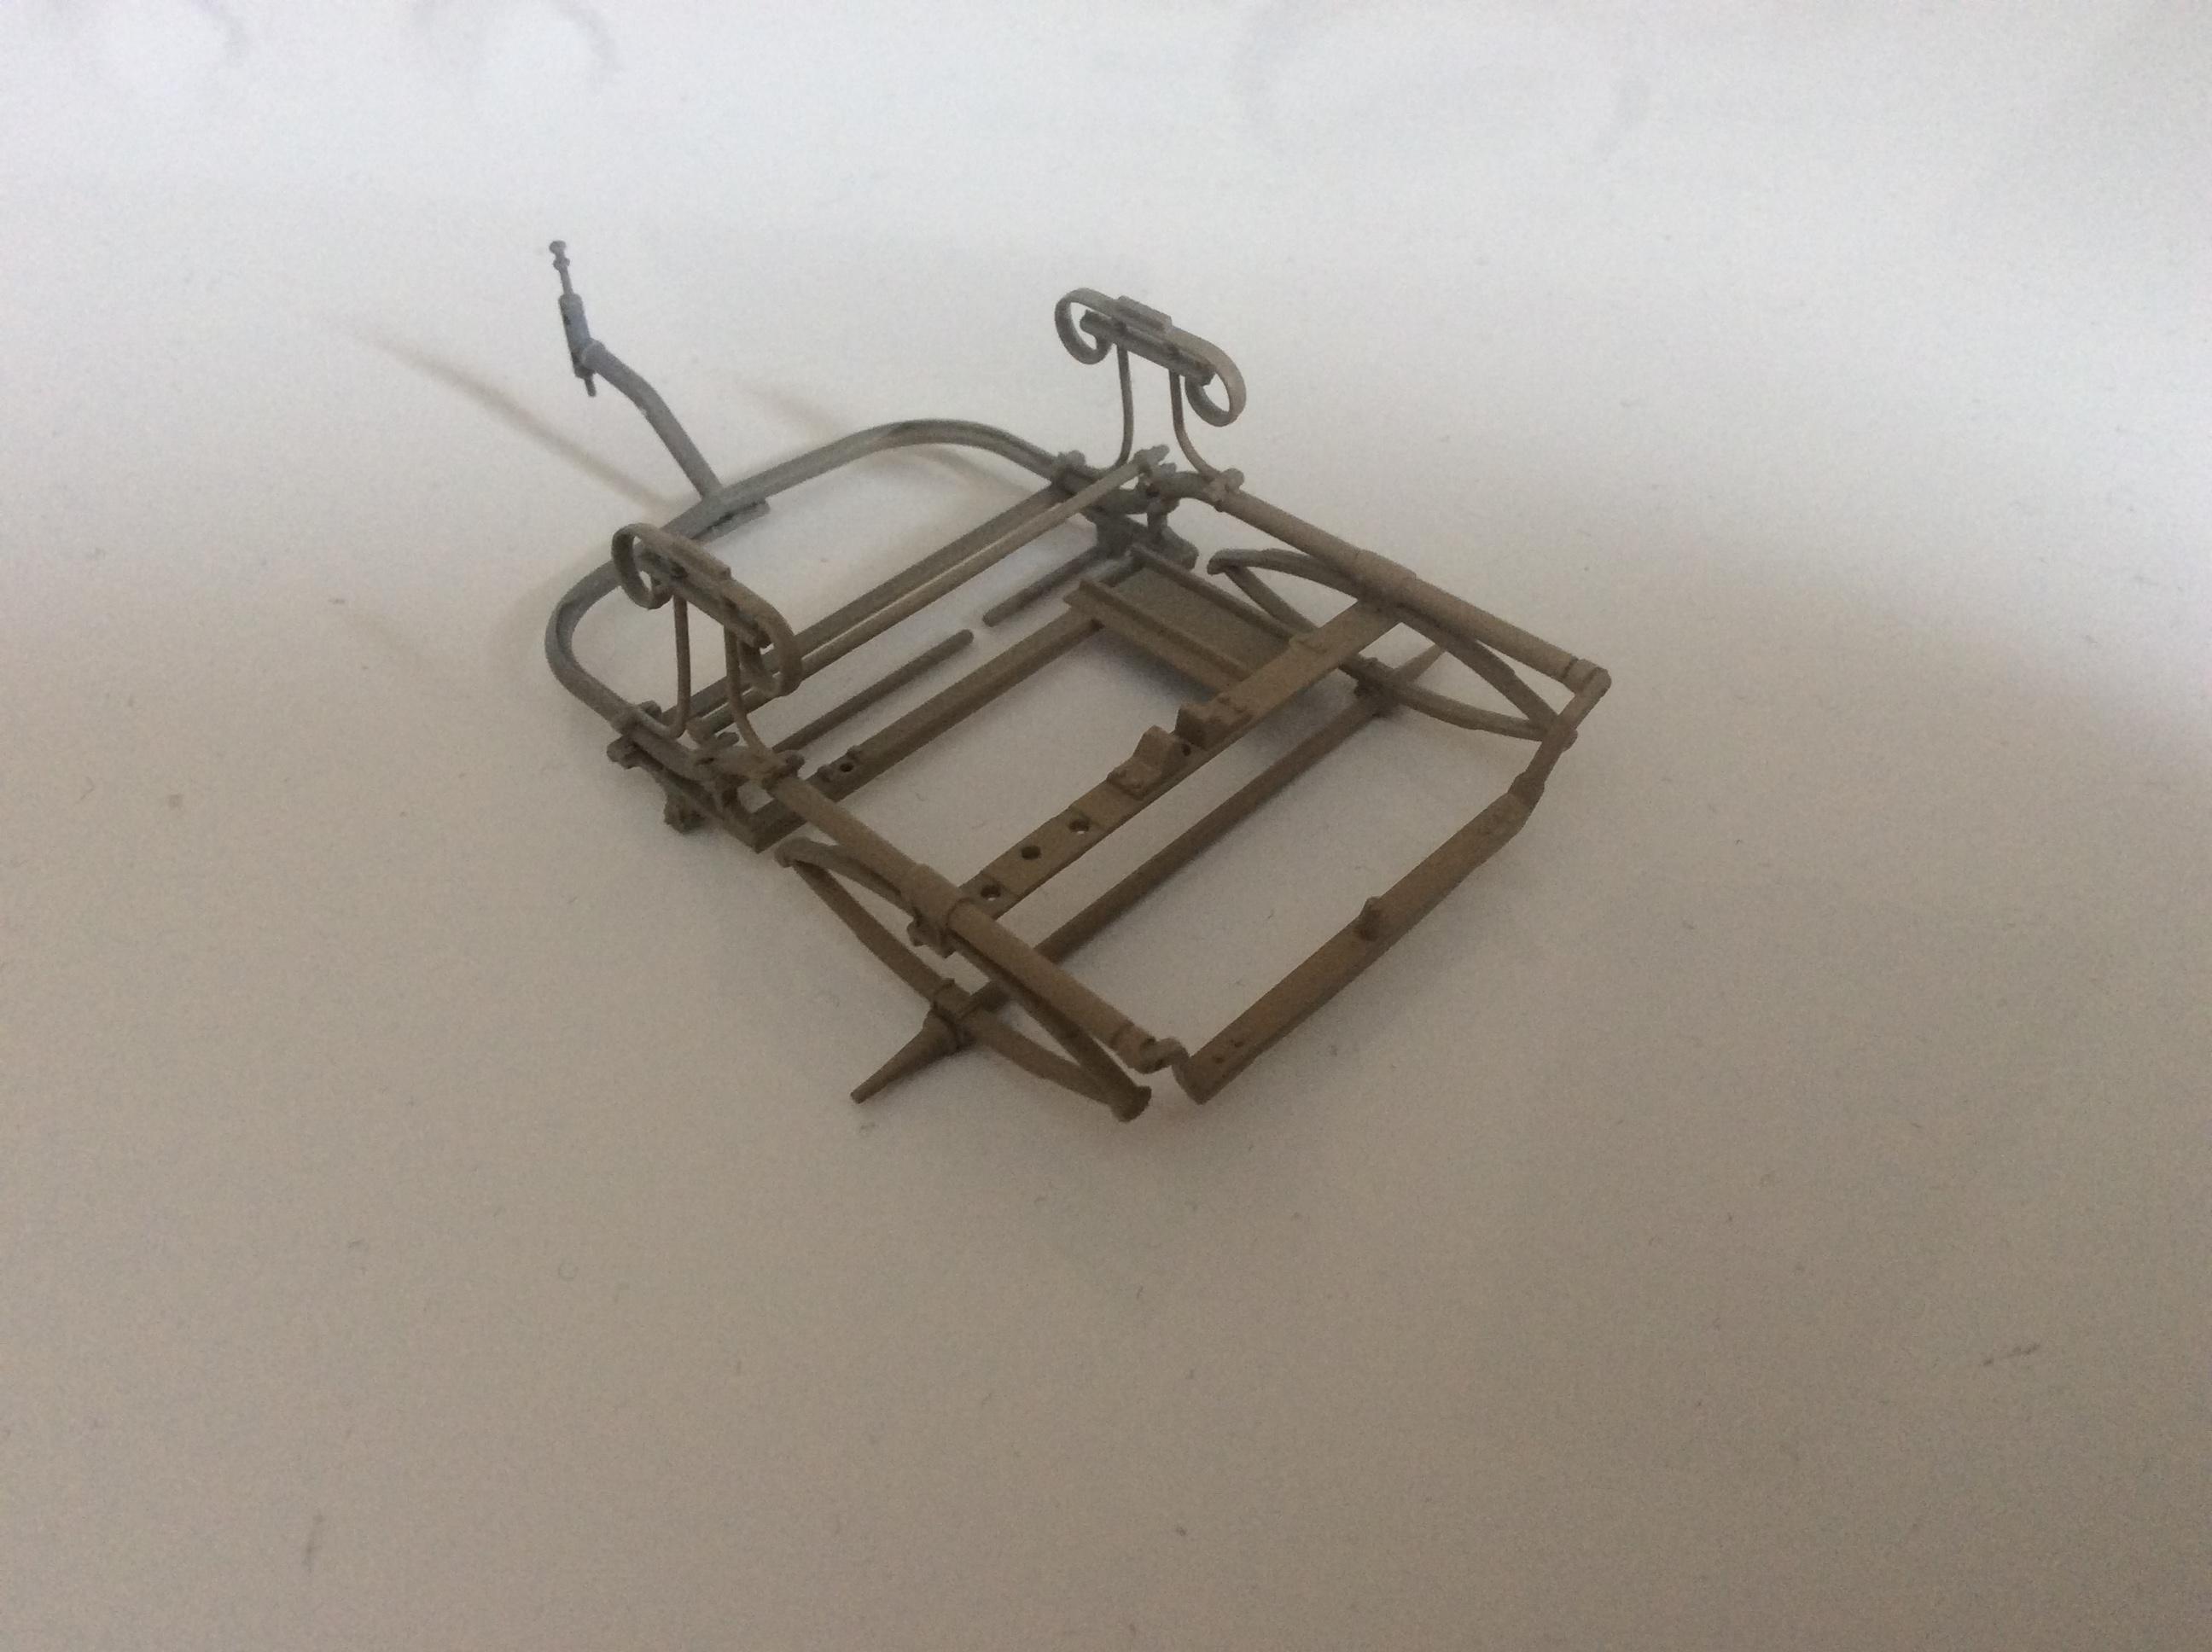
Since I am one step closer to finishing the chassis, I decided to go ahead and work on the wood. Some of the trickiest areas of a model to finish properly is replicating wood. I consider myself lucky in that the wood on this car is a fairly light colour without visible grain, probably maple, birch, or poplar. If you look at the picture that Eric posted earlier, the wood on the 1:1 car is fairly nondescript. I decided to make my woodwork look a bit nicer than what was pictured. I started by spraying the main wooden pieces (floorboards, seat pan, and rear crossmember) with Tamiya TS68 Wooden Deck Tan. After the paint had dried, I pulled a couple of tubes of oil paint out of my art box. I use Cadmium Yellow and Burnt Sienna for this, though I know of other builders who have their own blends. I put a couple of blobs of paint on a paper towel, and leave it in order to soak most of the oil out of the paint (reduces drying time). I start by dry brushing the parts with yellow, and start adding brown when I think it is needed. There is some variation in the wood, but that’s what I wanted. These parts will be set aside to air dry, and then sealed with some clear (acrylic semi-gloss, more than likely). I hope the explanations aren’t too tedious. I know there is some techniques I do which may not be in every car builder’s toolkit, so I like to make sure that everyone gets it.
-
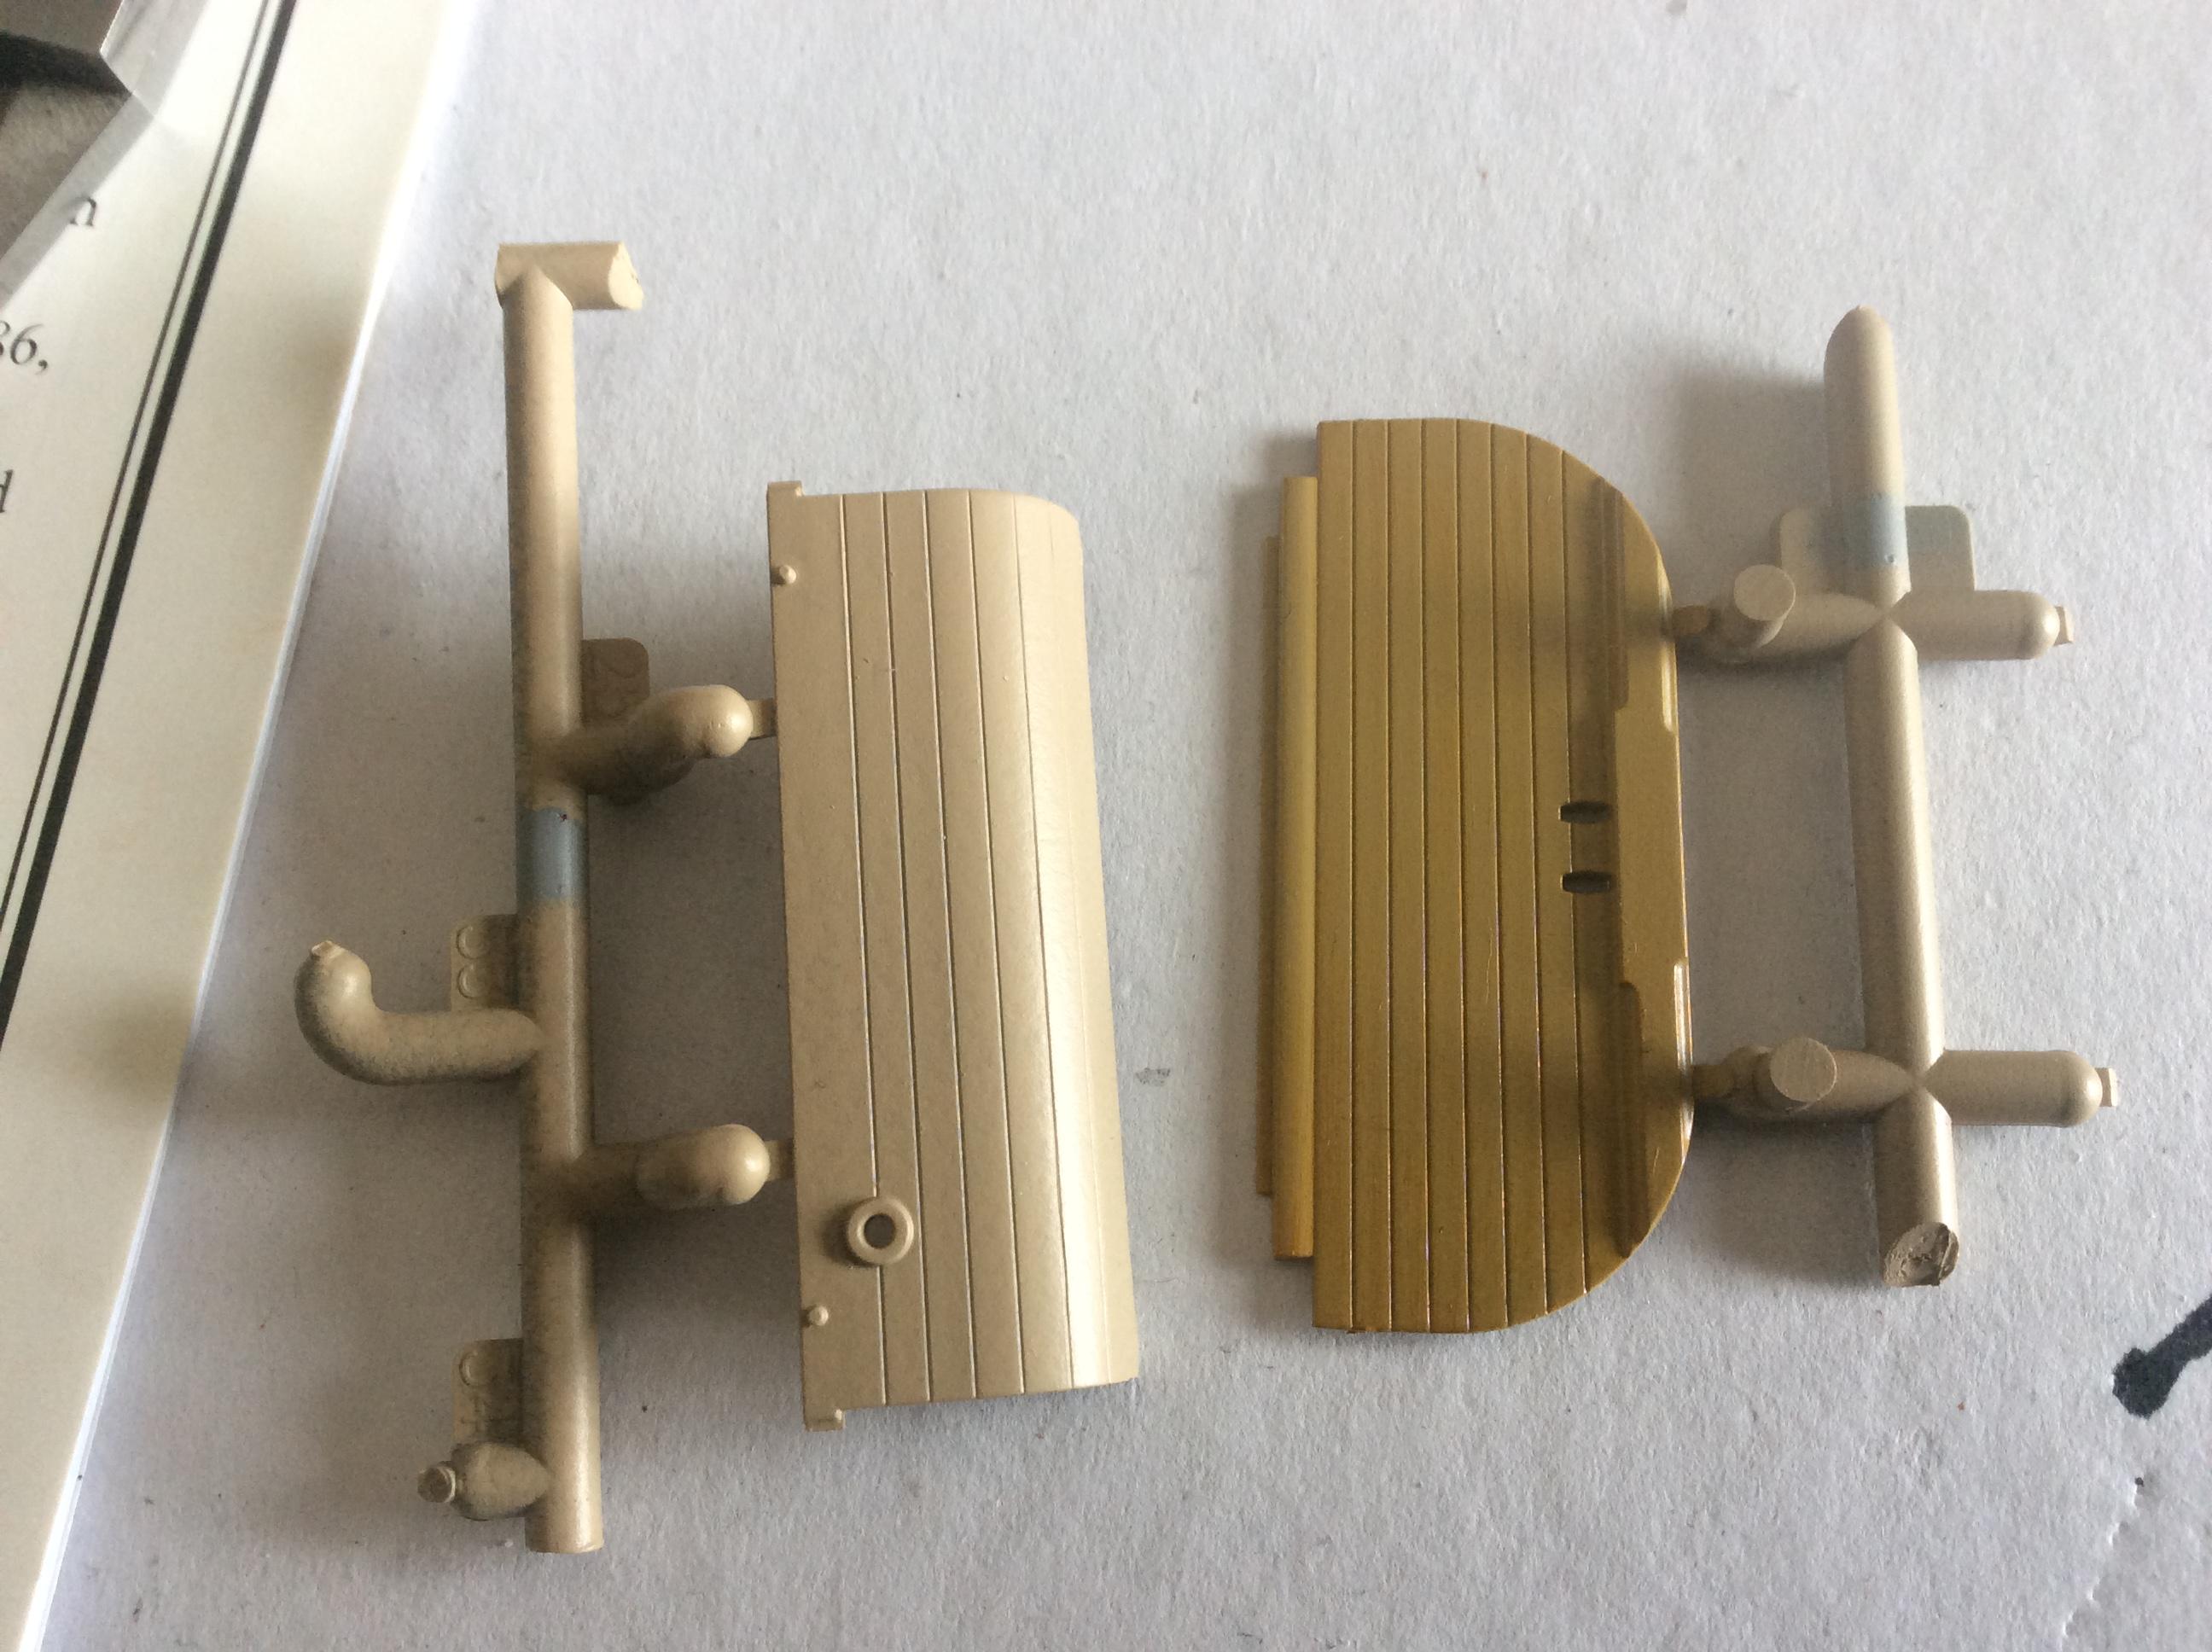
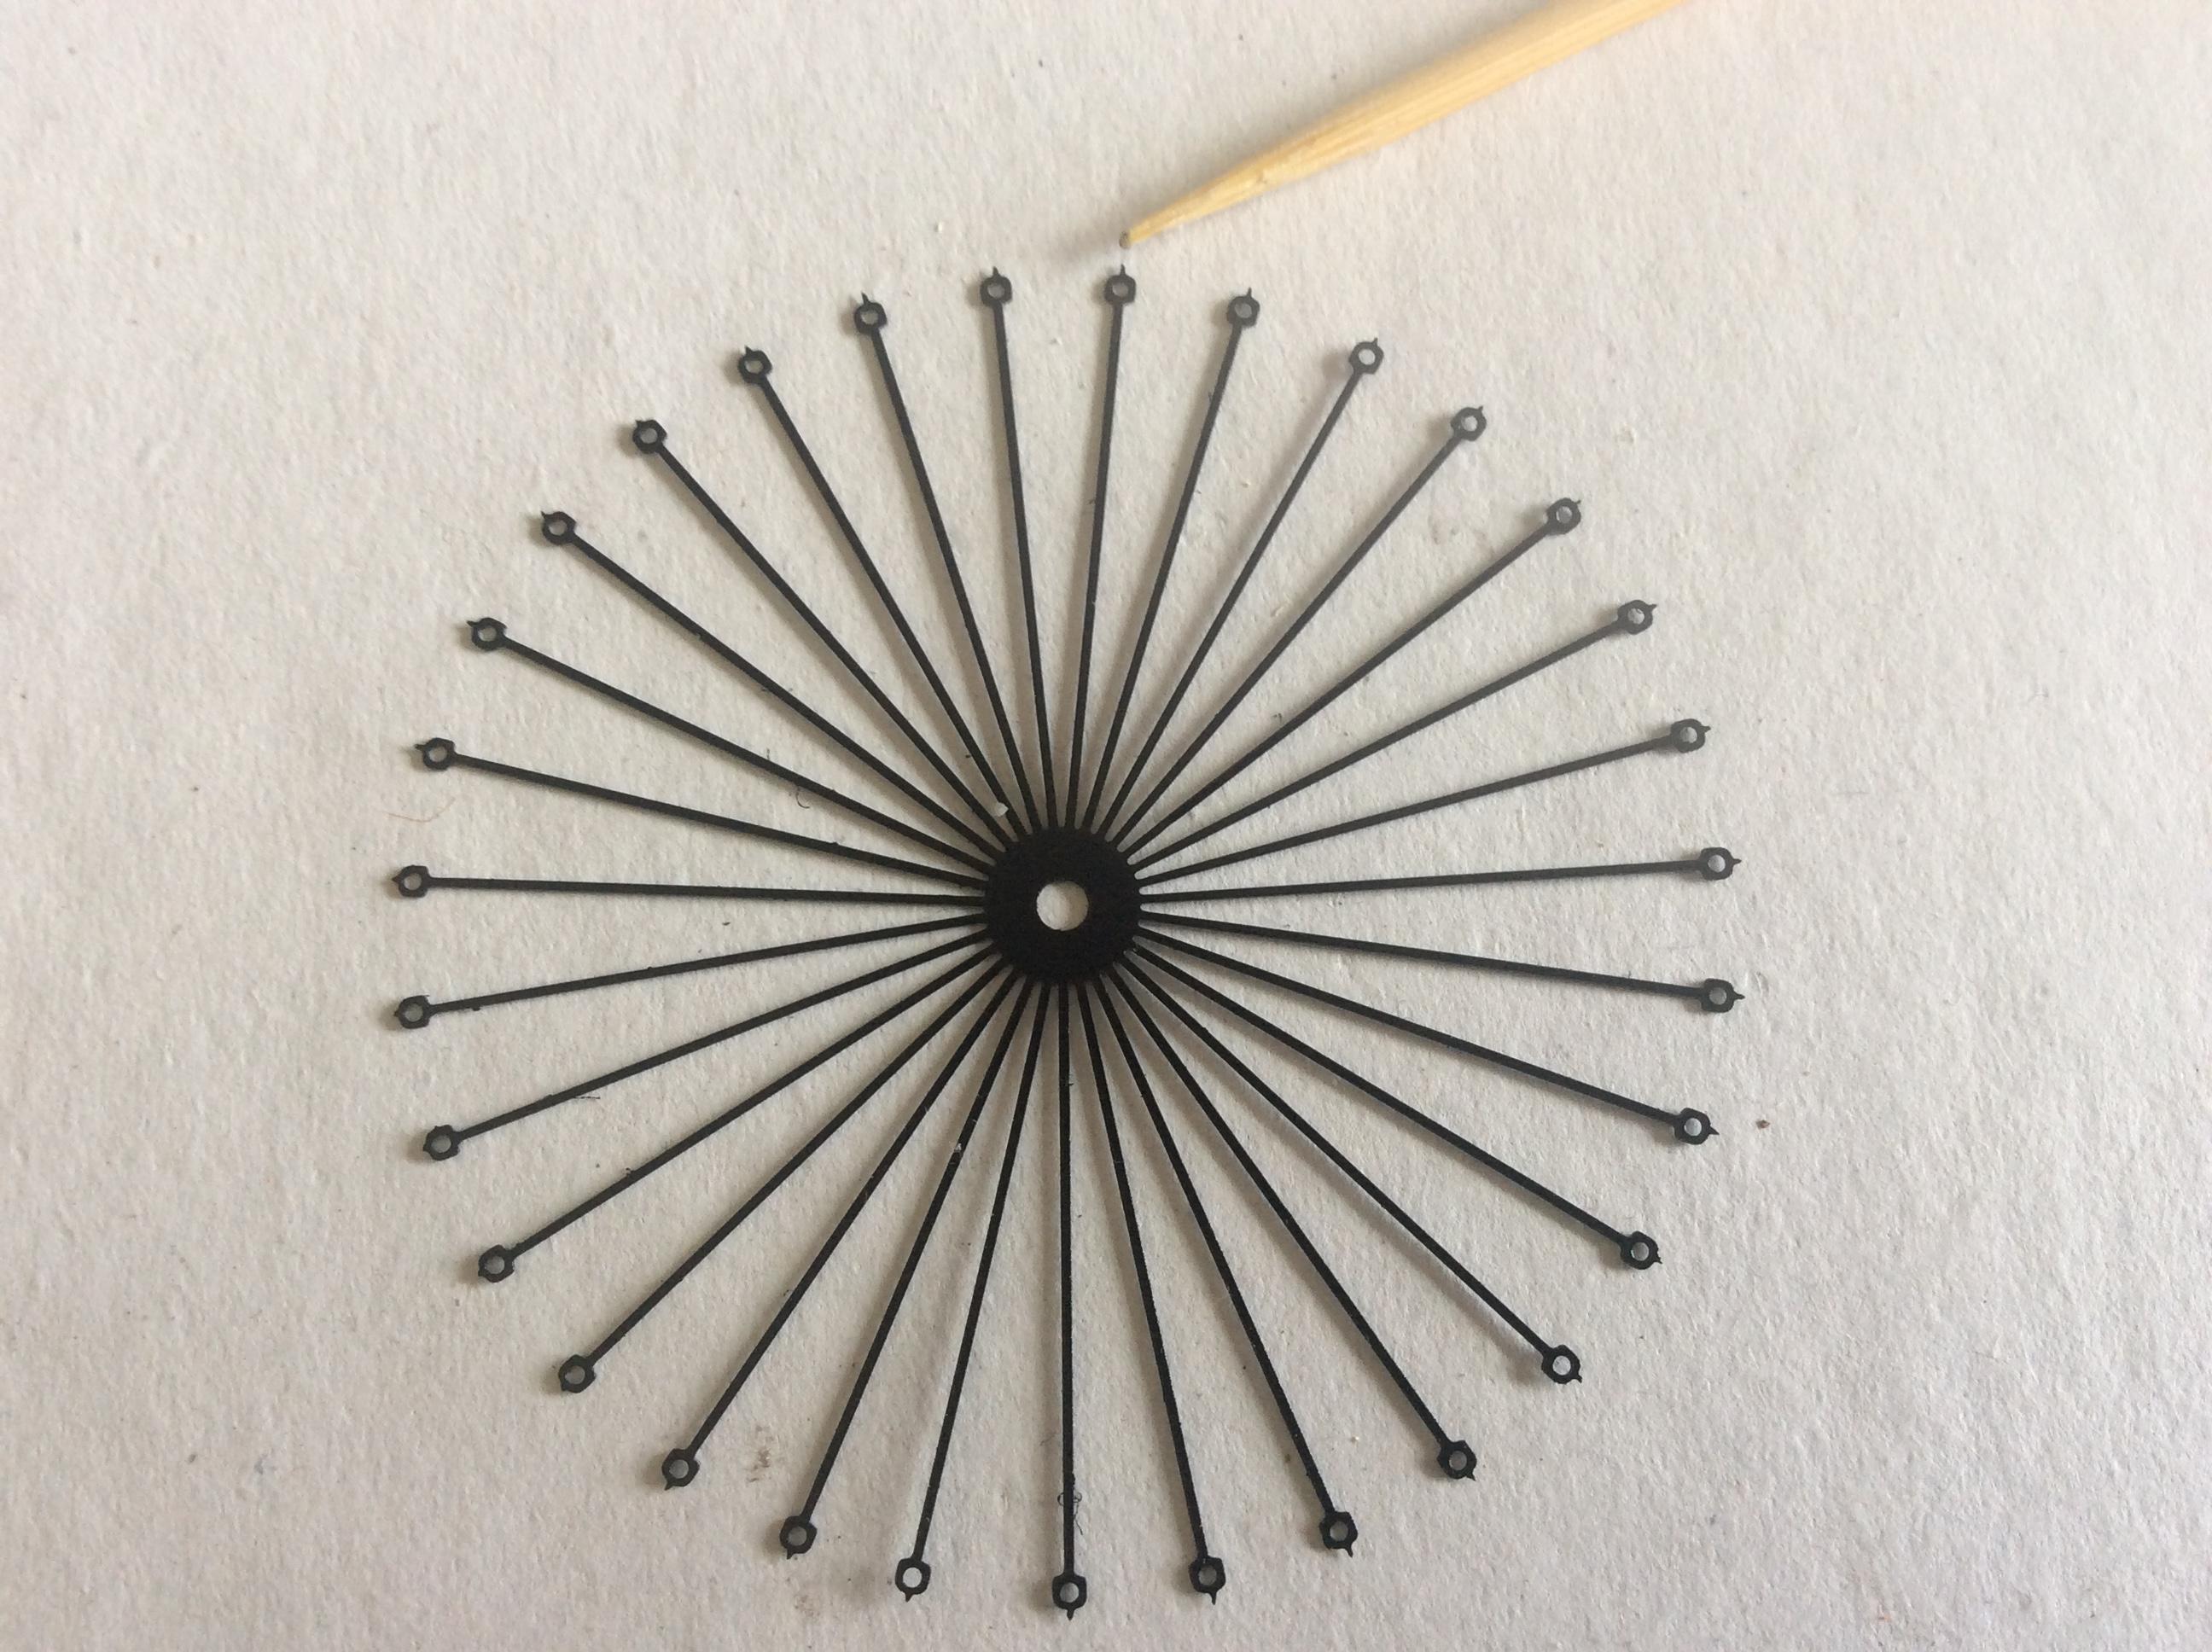
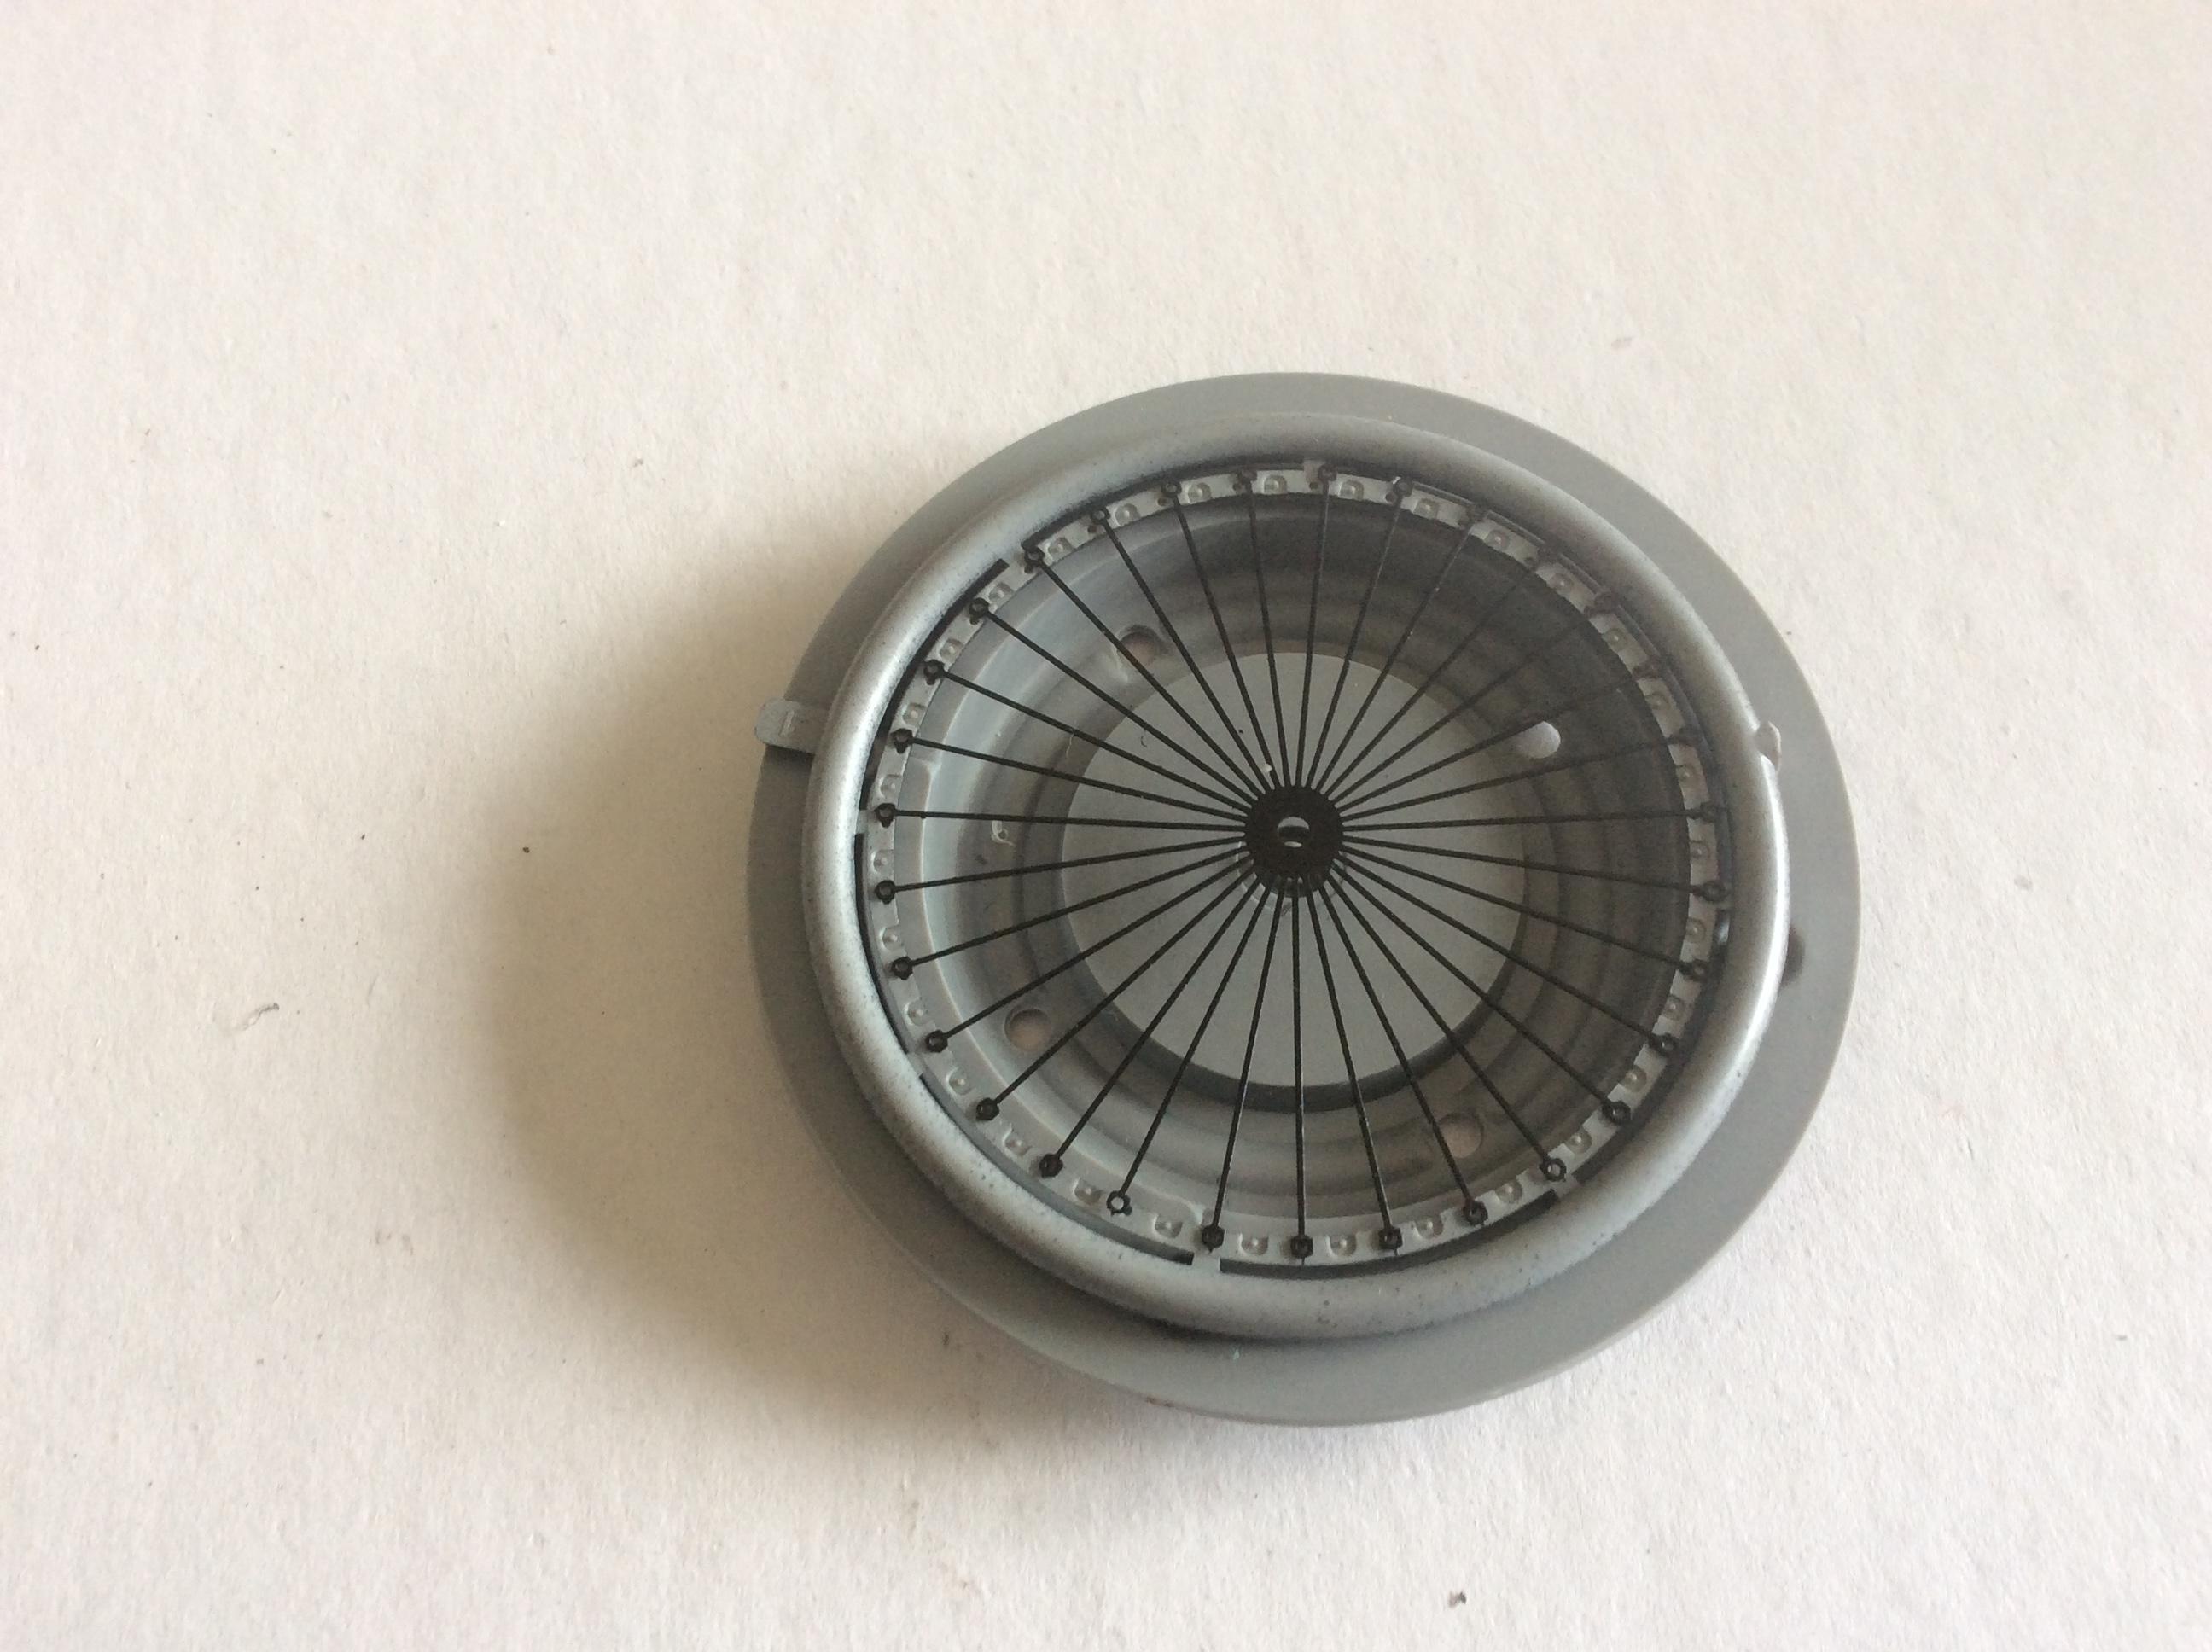
I have started to assemble the wheels on the Benz. There are no pics during the assembly process, because I already needed more hands than I was born with! For the people who asked if annealing was necessary, I can say ‘no’. I did anneal one set of spokes, and it did help a bit, but it made them a bit too malleable during handling. To build up the wheels, I needed a couple of tools. A X-Acto knife with a sharp #11 blade, some round toothpicks, extra-thin CA glue, a diamond file (or other fine file), some sandpaper and a flat surface, and some liquid cement. The first step is to trim the little runners at the end of the photo etched spokes. The fit of the spokes into the slots on the rim is dependent on getting rid of those burrs. Once cleaned, you can mount a tire (B1) onto the supplied jig (C2). You can then fit the spokes on top. If you look at the picture where the spokes are lying on the rim, you can see the slots where the attachment points will fit. A small piece (C1) is supplied to push the spoke hub into the jig. Start installing the spokes by installing them on the pins, and securing after with a bit of CA (someone borrowed my microbrushes, so I used a toothpick). Once all the spokes are attached, detach the rim from the surrounding sprue and place it, attachment side down, onto the sandpaper. With some light sanding, you will see which areas are too high, or where re-gluing is needed. Use the file to knock down the high points, glue if needed, and test fit to the other rim. Repeat if necessary. Touch up any paint chips before gluing. Step 38 shows two parts which make up the rear hubs. I built mine up using a piece of 1/16” rod to help keep them straight, and then painted the parts. These need to be installed before you glue the rim halves together, and will need to be tacked in to keep them square. I used toothpicks for alignment, but ended up having to cut and drill out a toothpick due to some CA seepage. Sand and paint, and a tire is completed!? And now for a break from wheels. A quick shot of paint on the wooden rear crossmember, and I am getting closer to some real painting.


until