Search the Community
Showing results for tags 'GTO'.
-
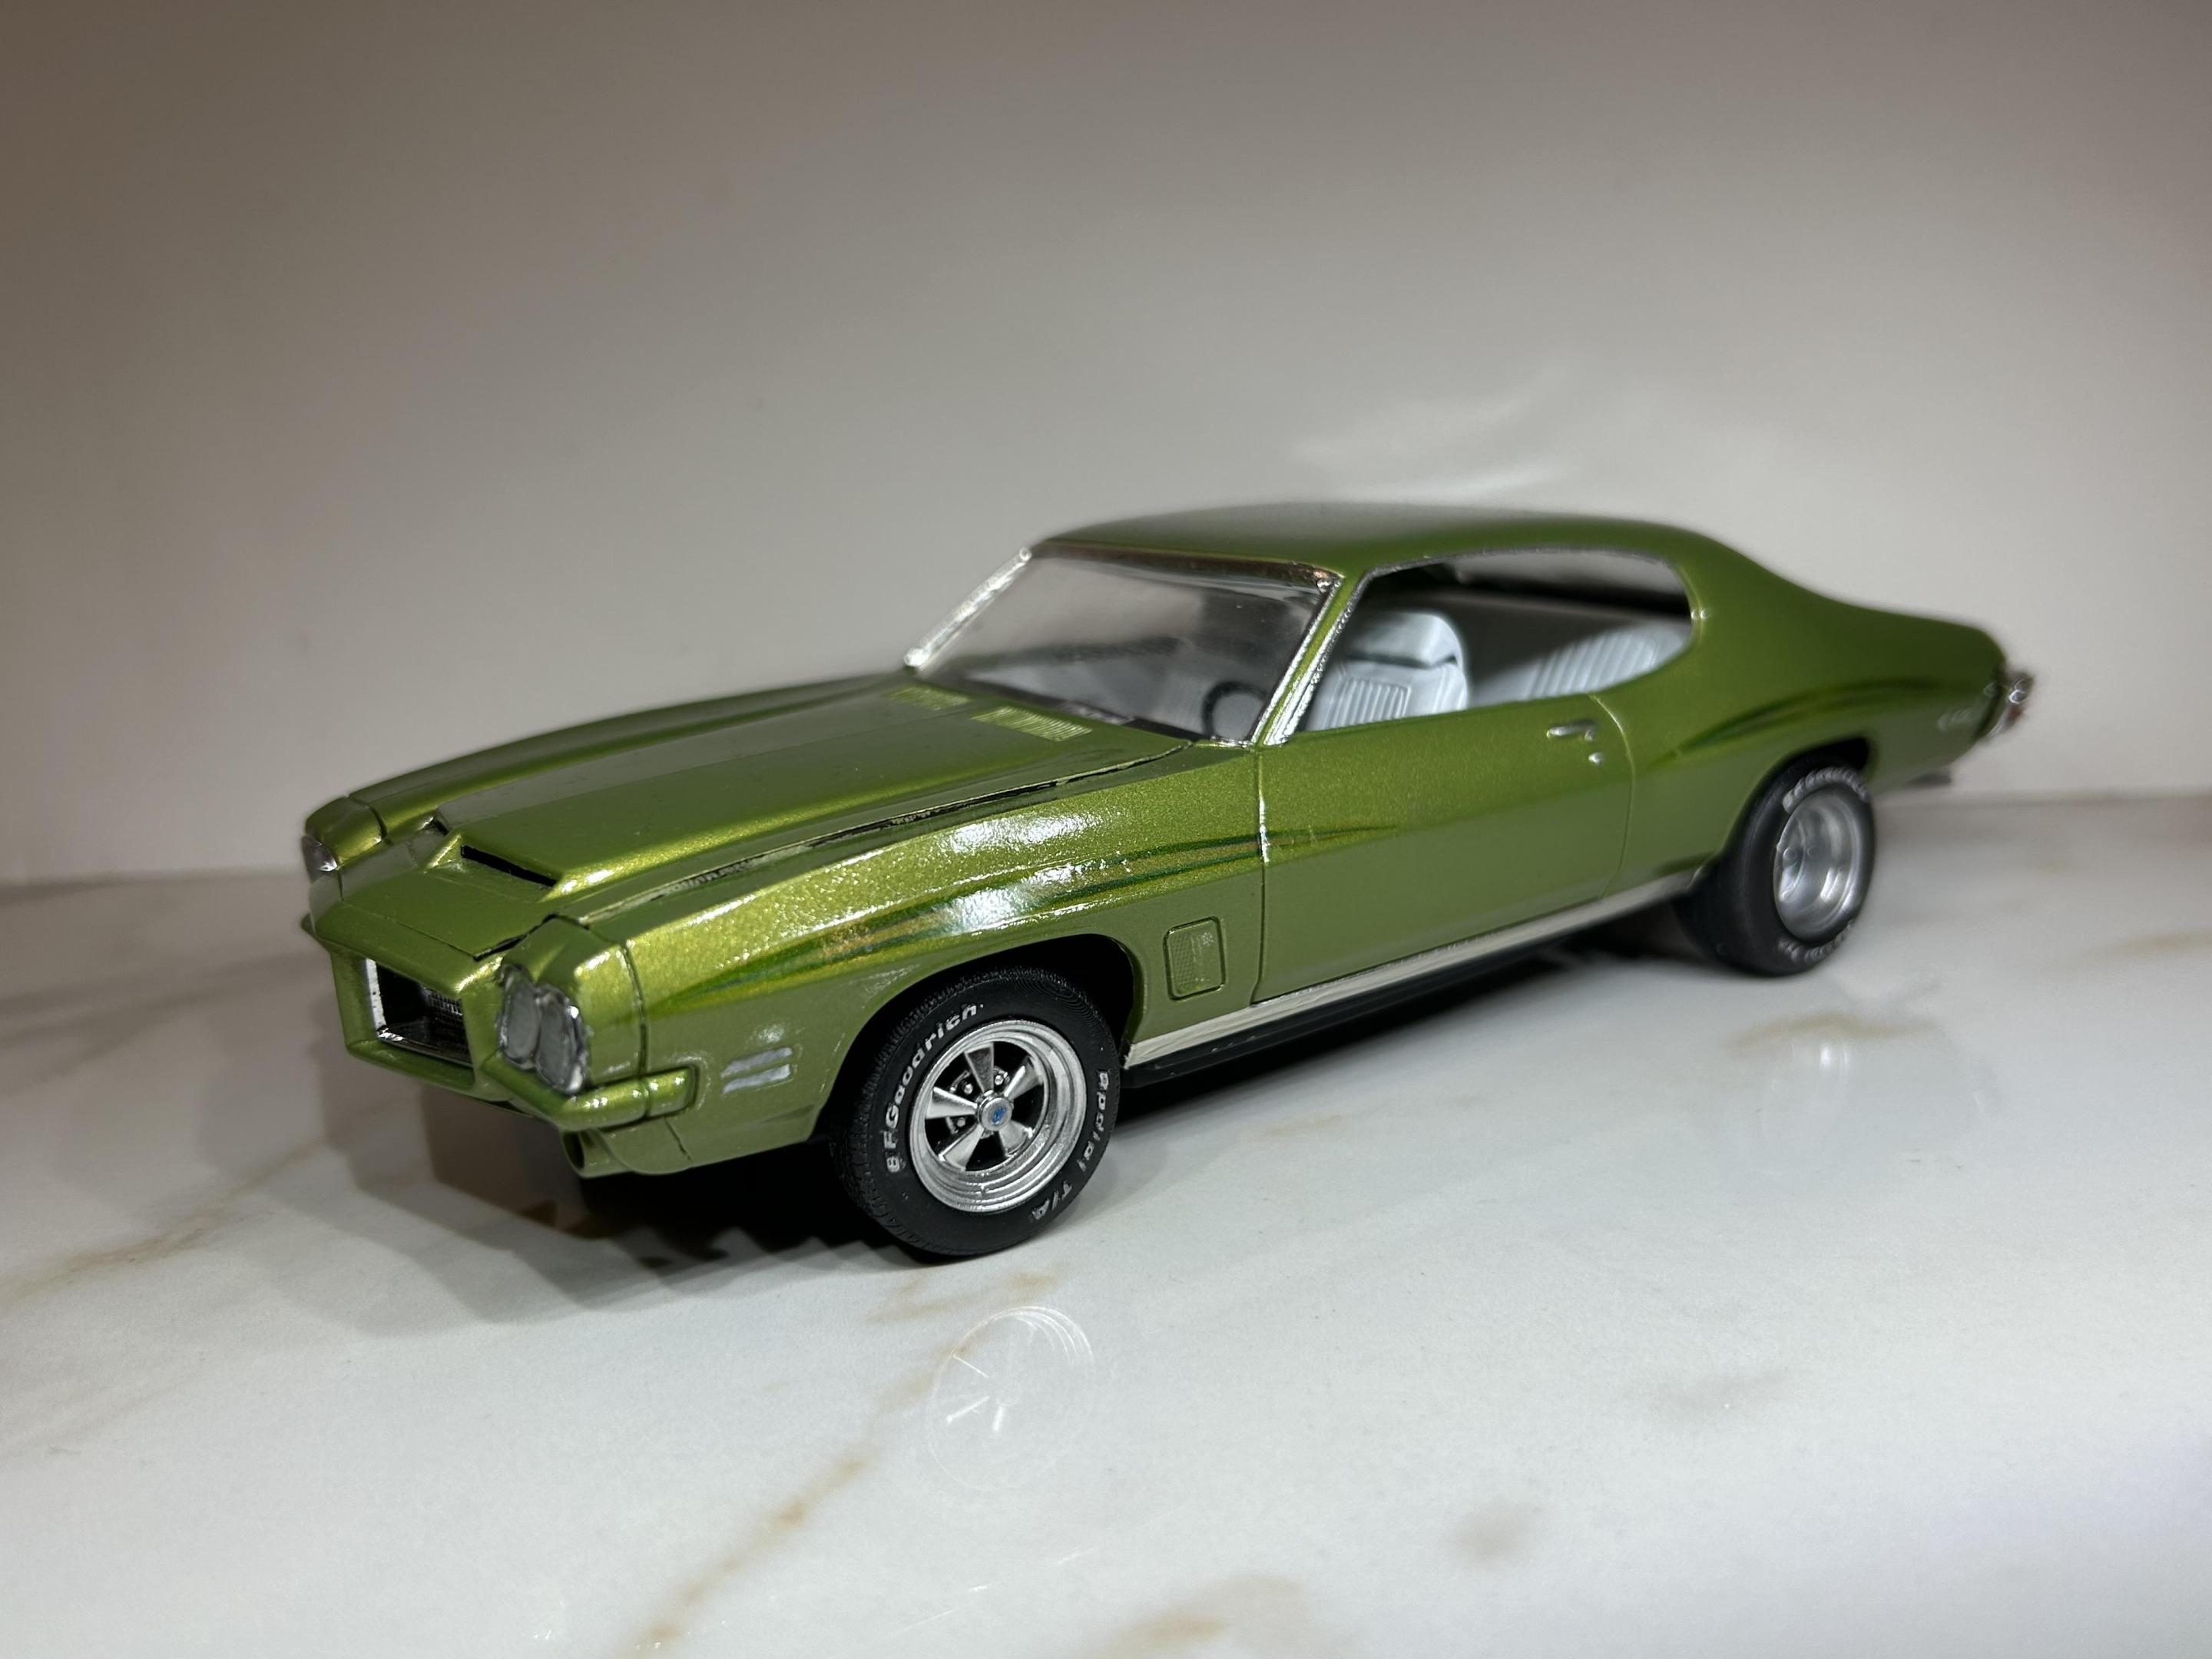
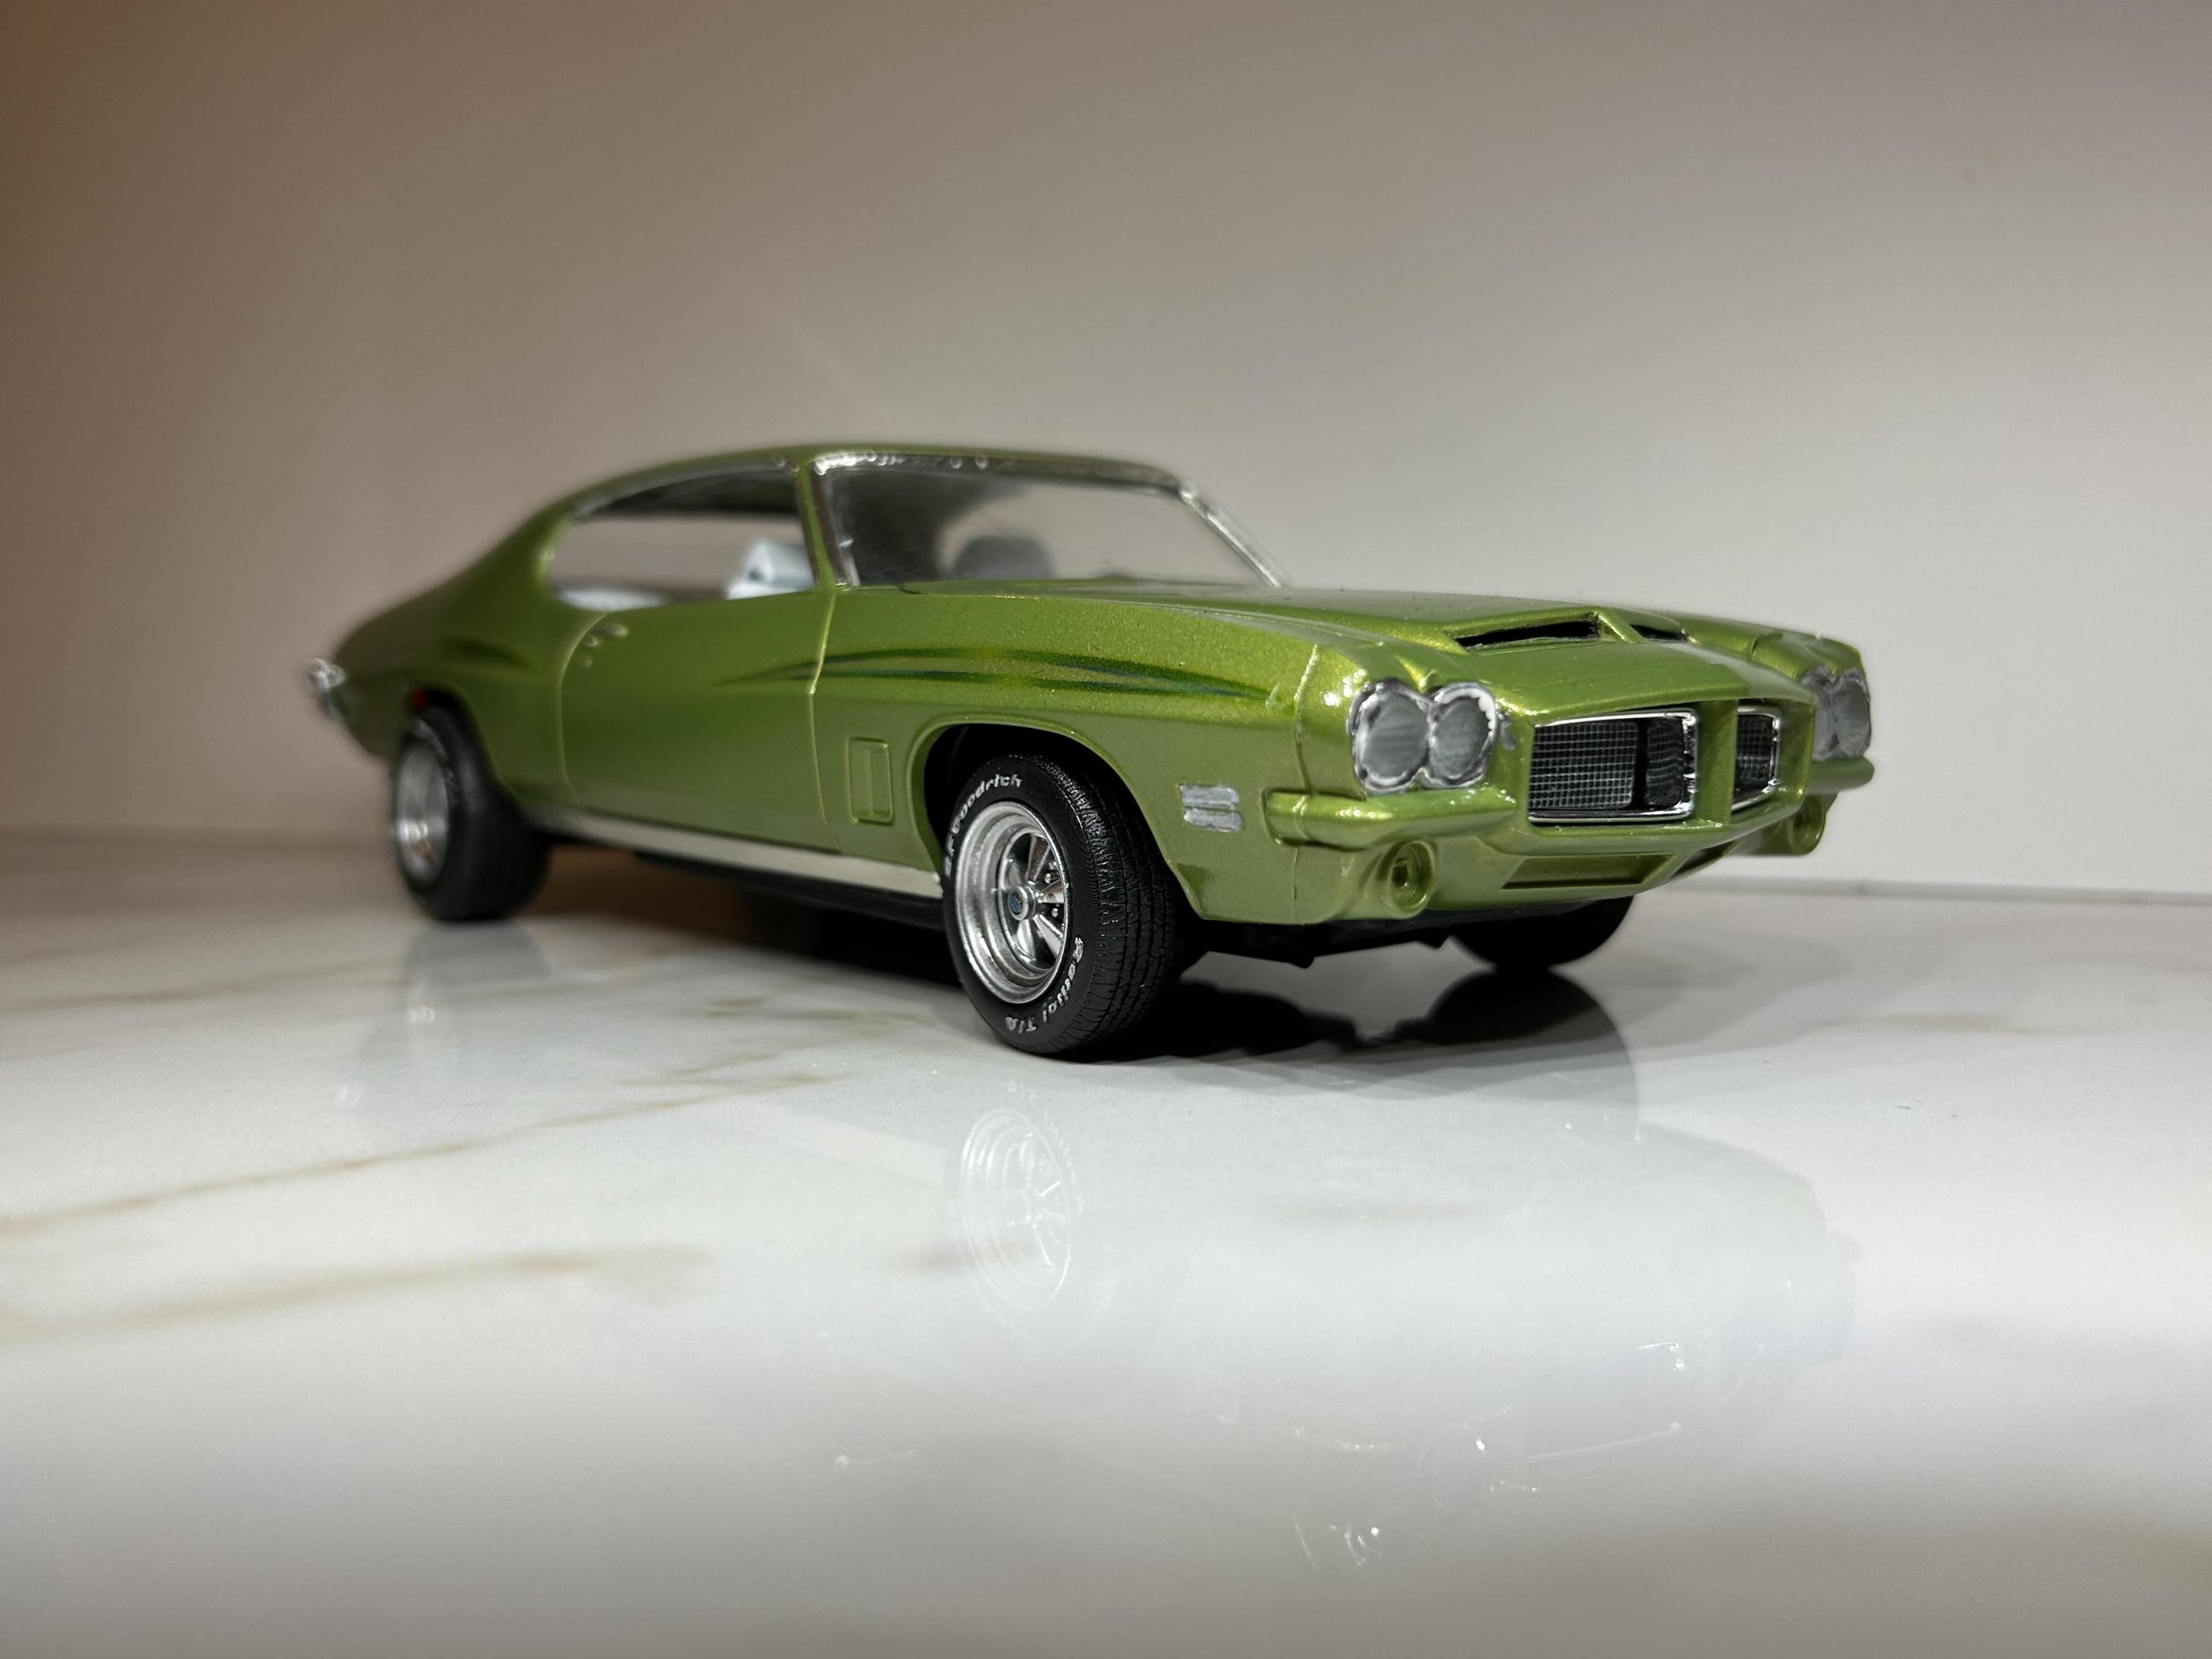
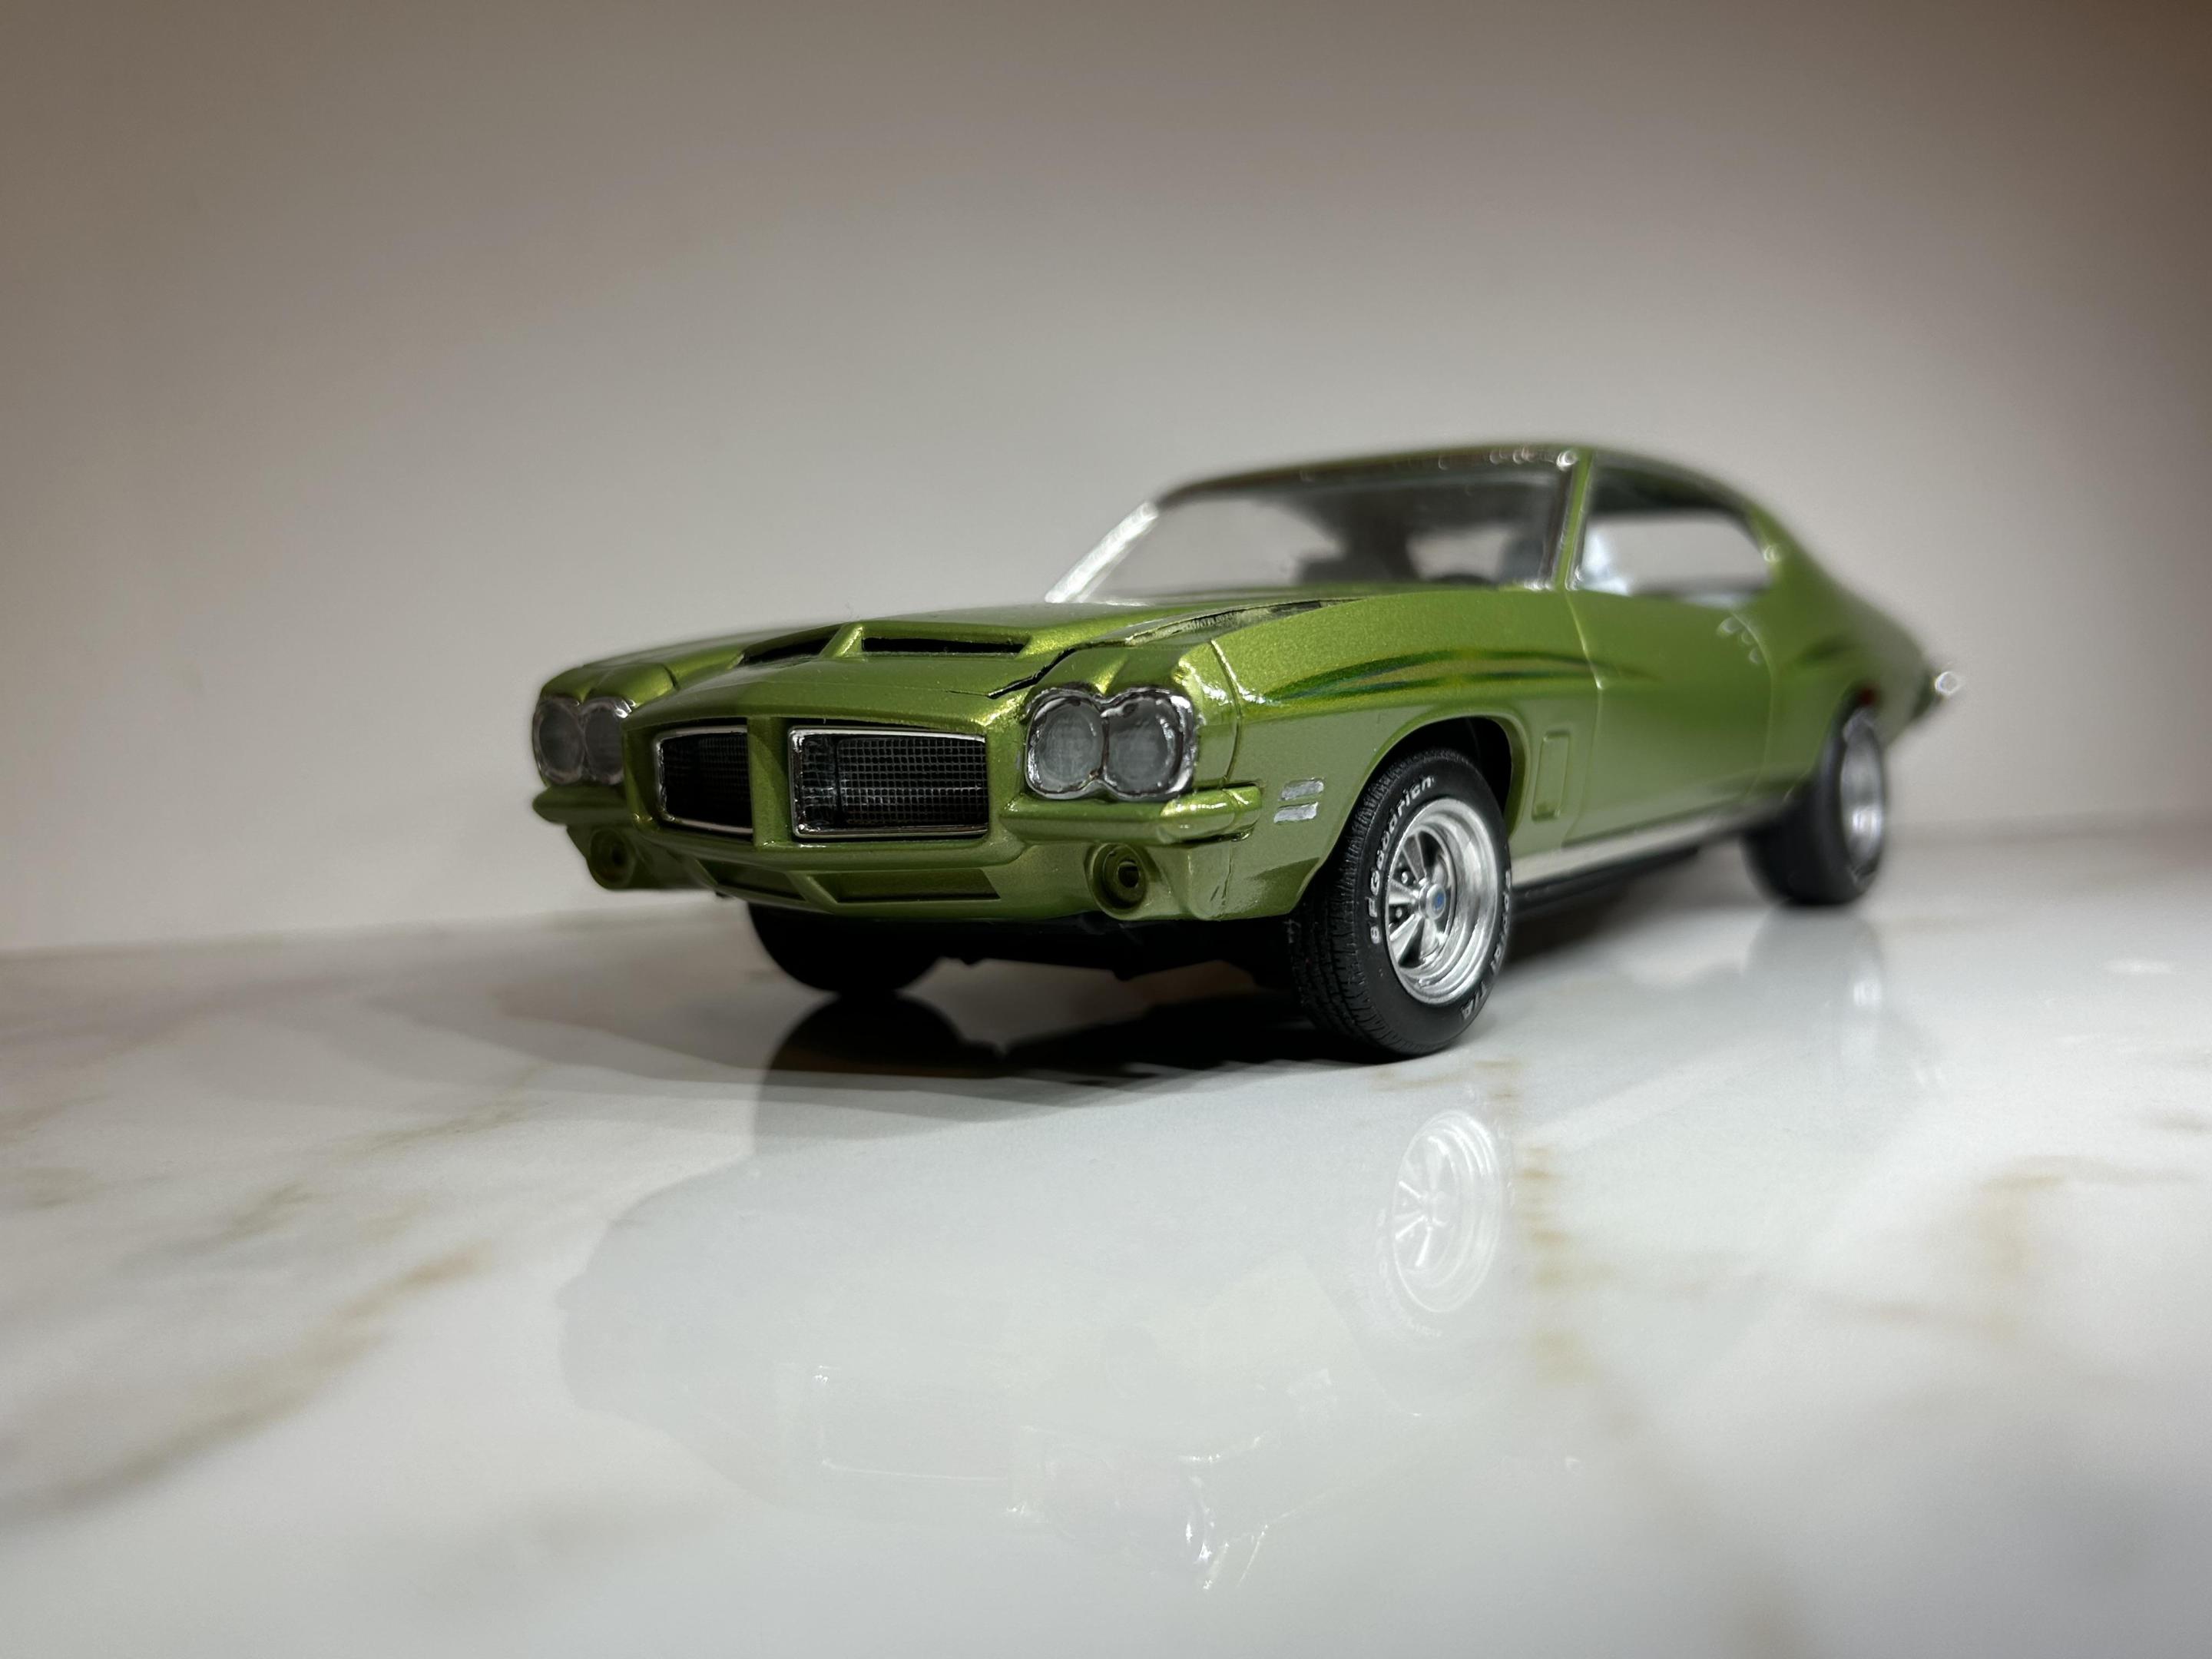
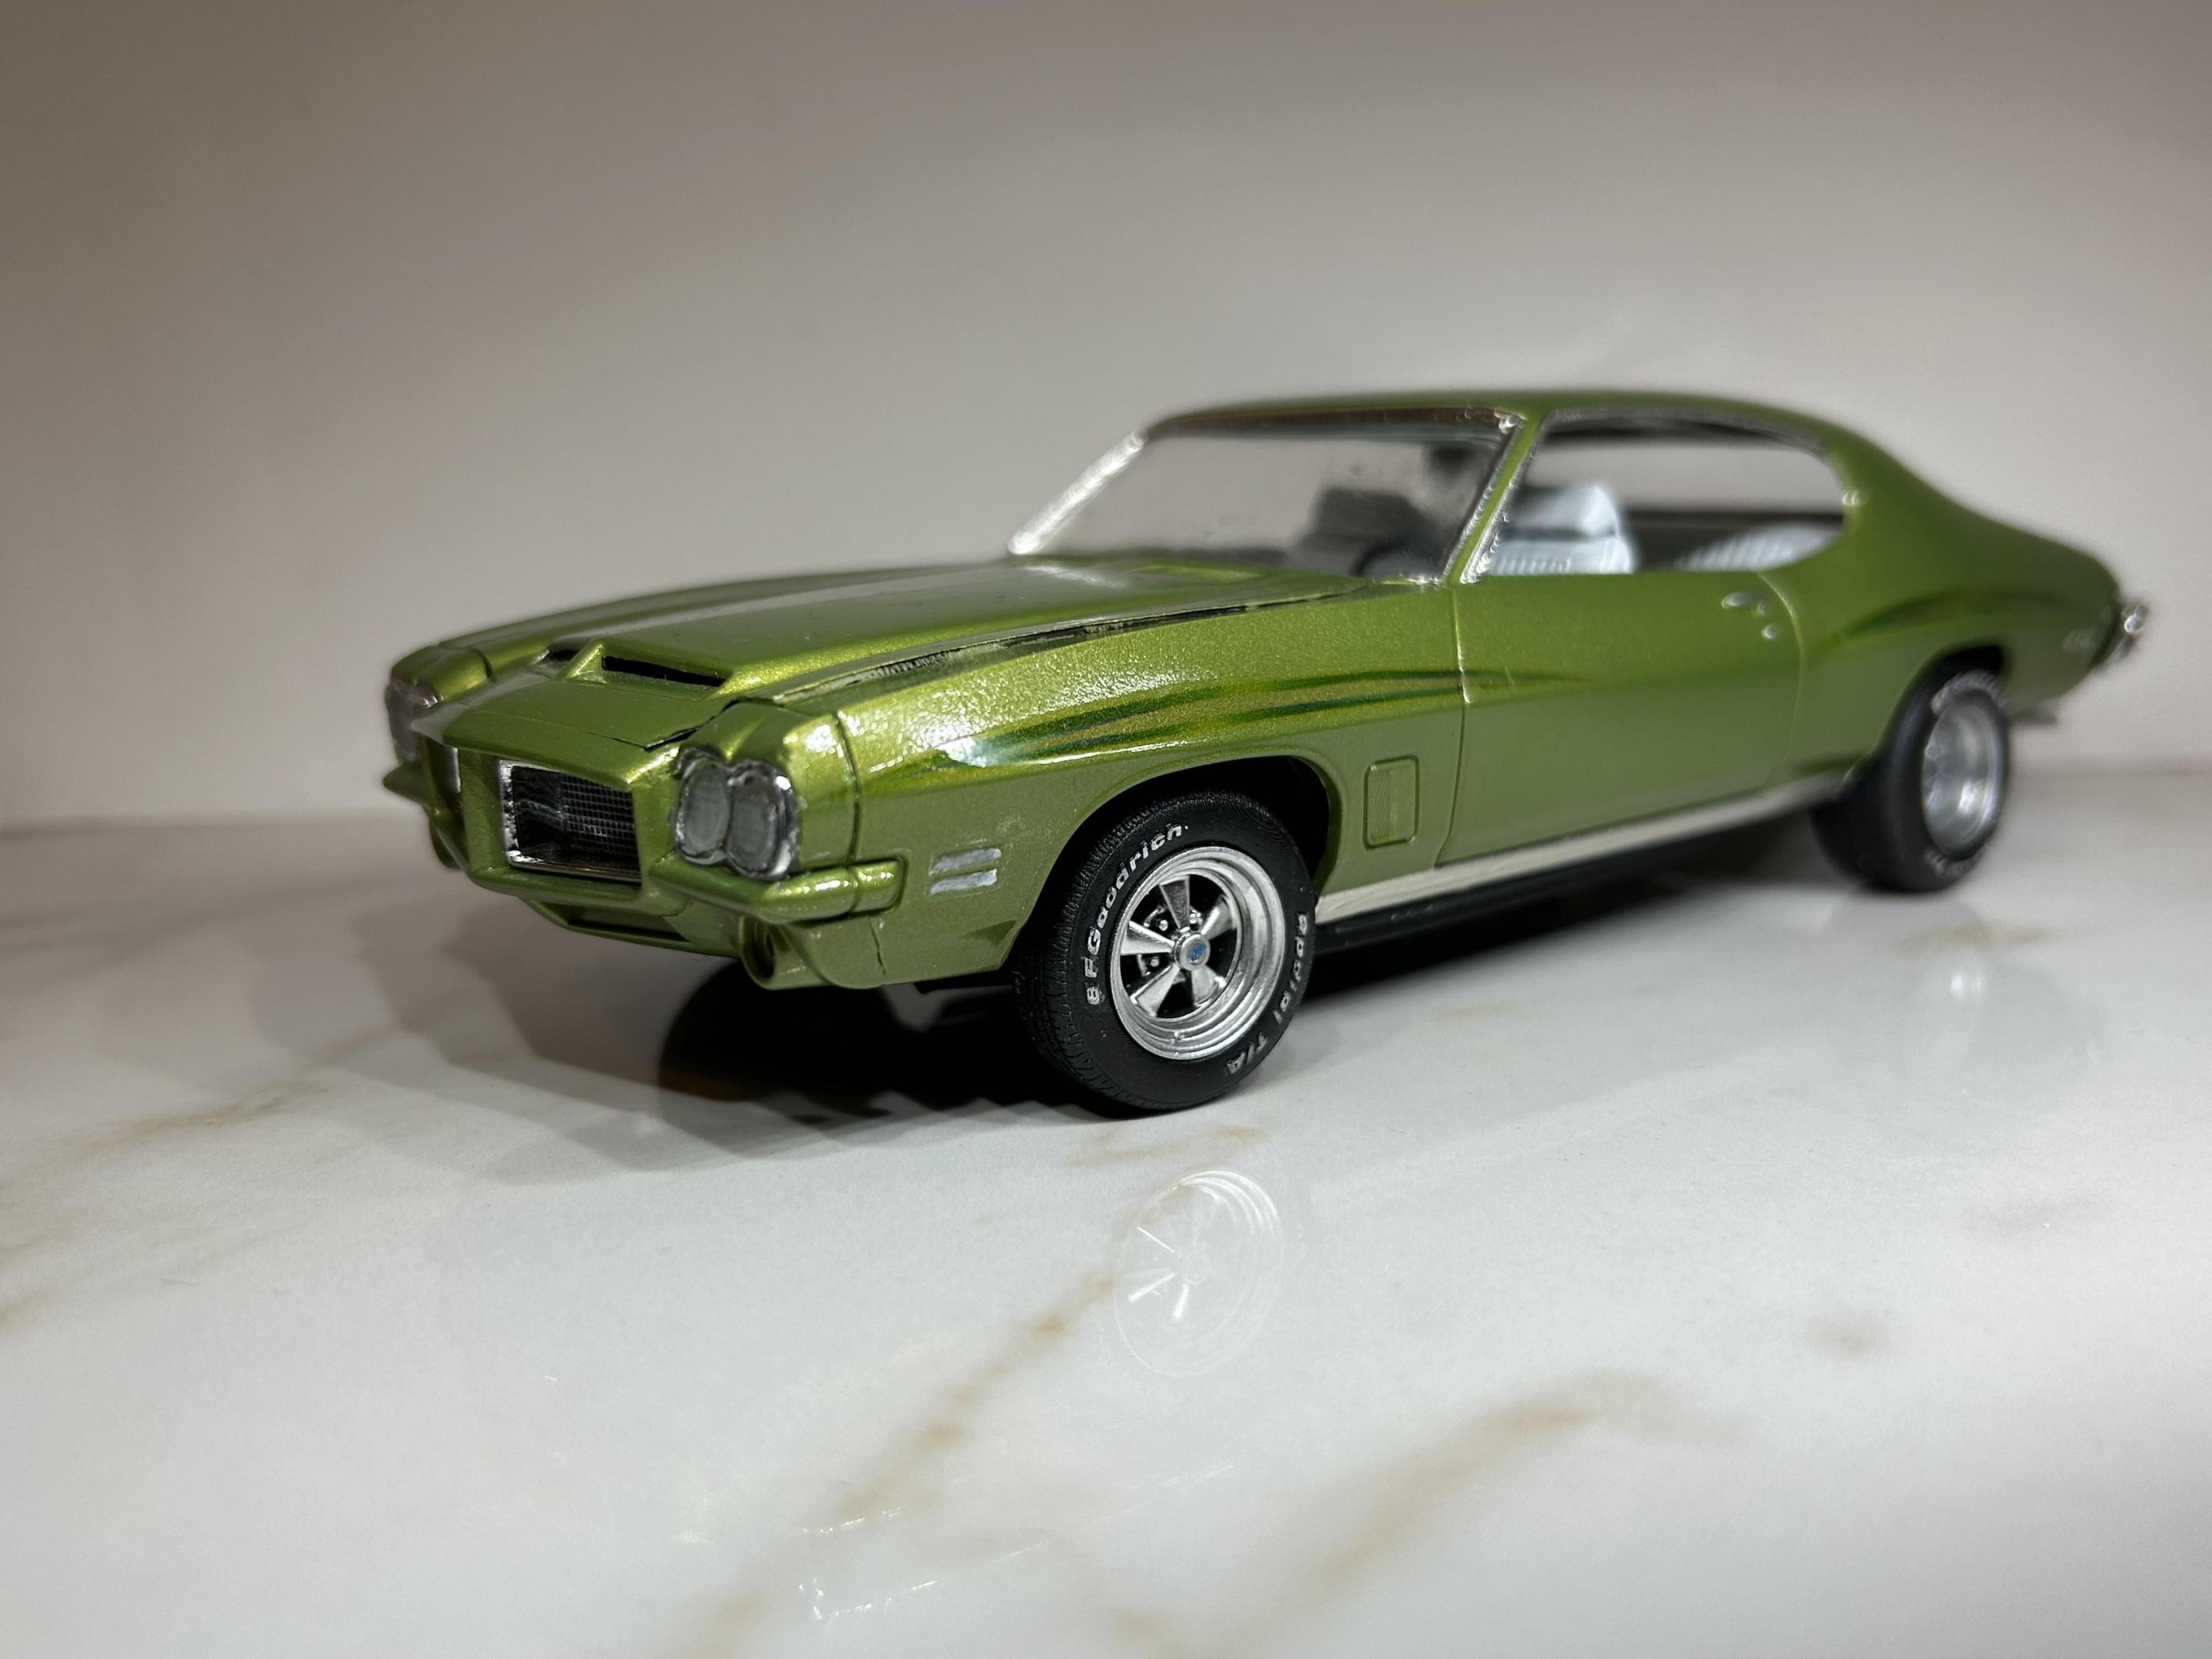
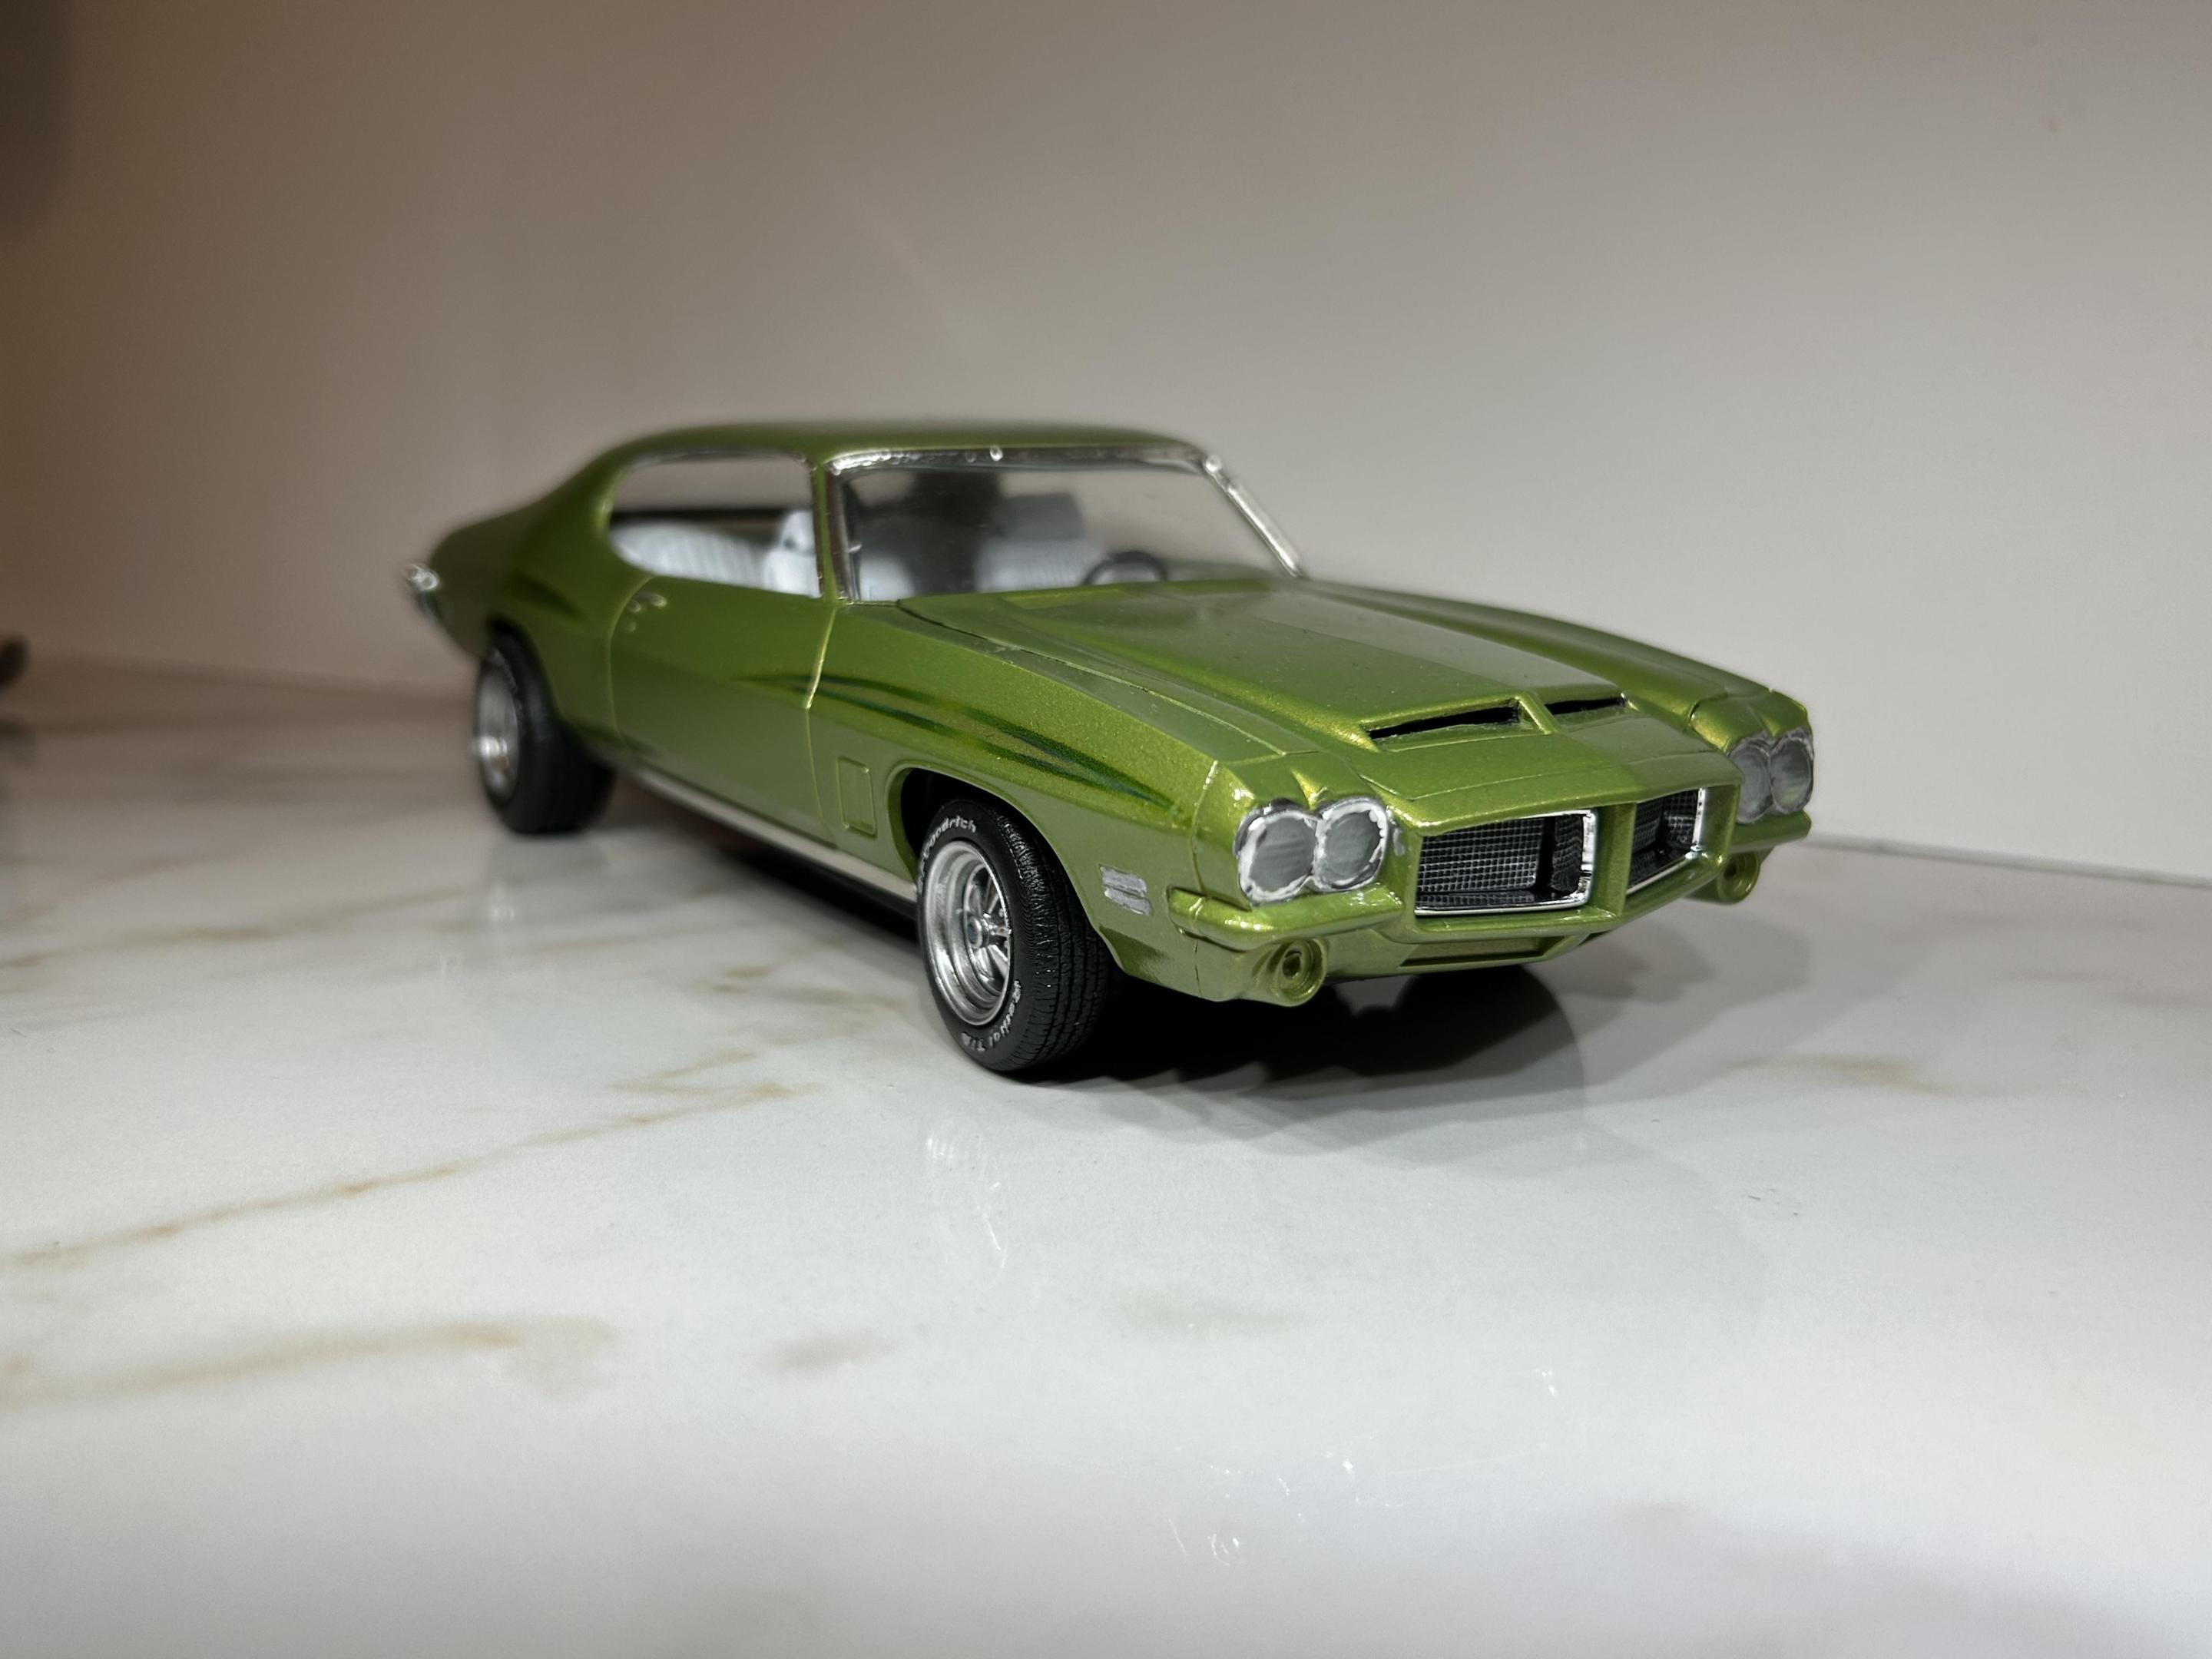
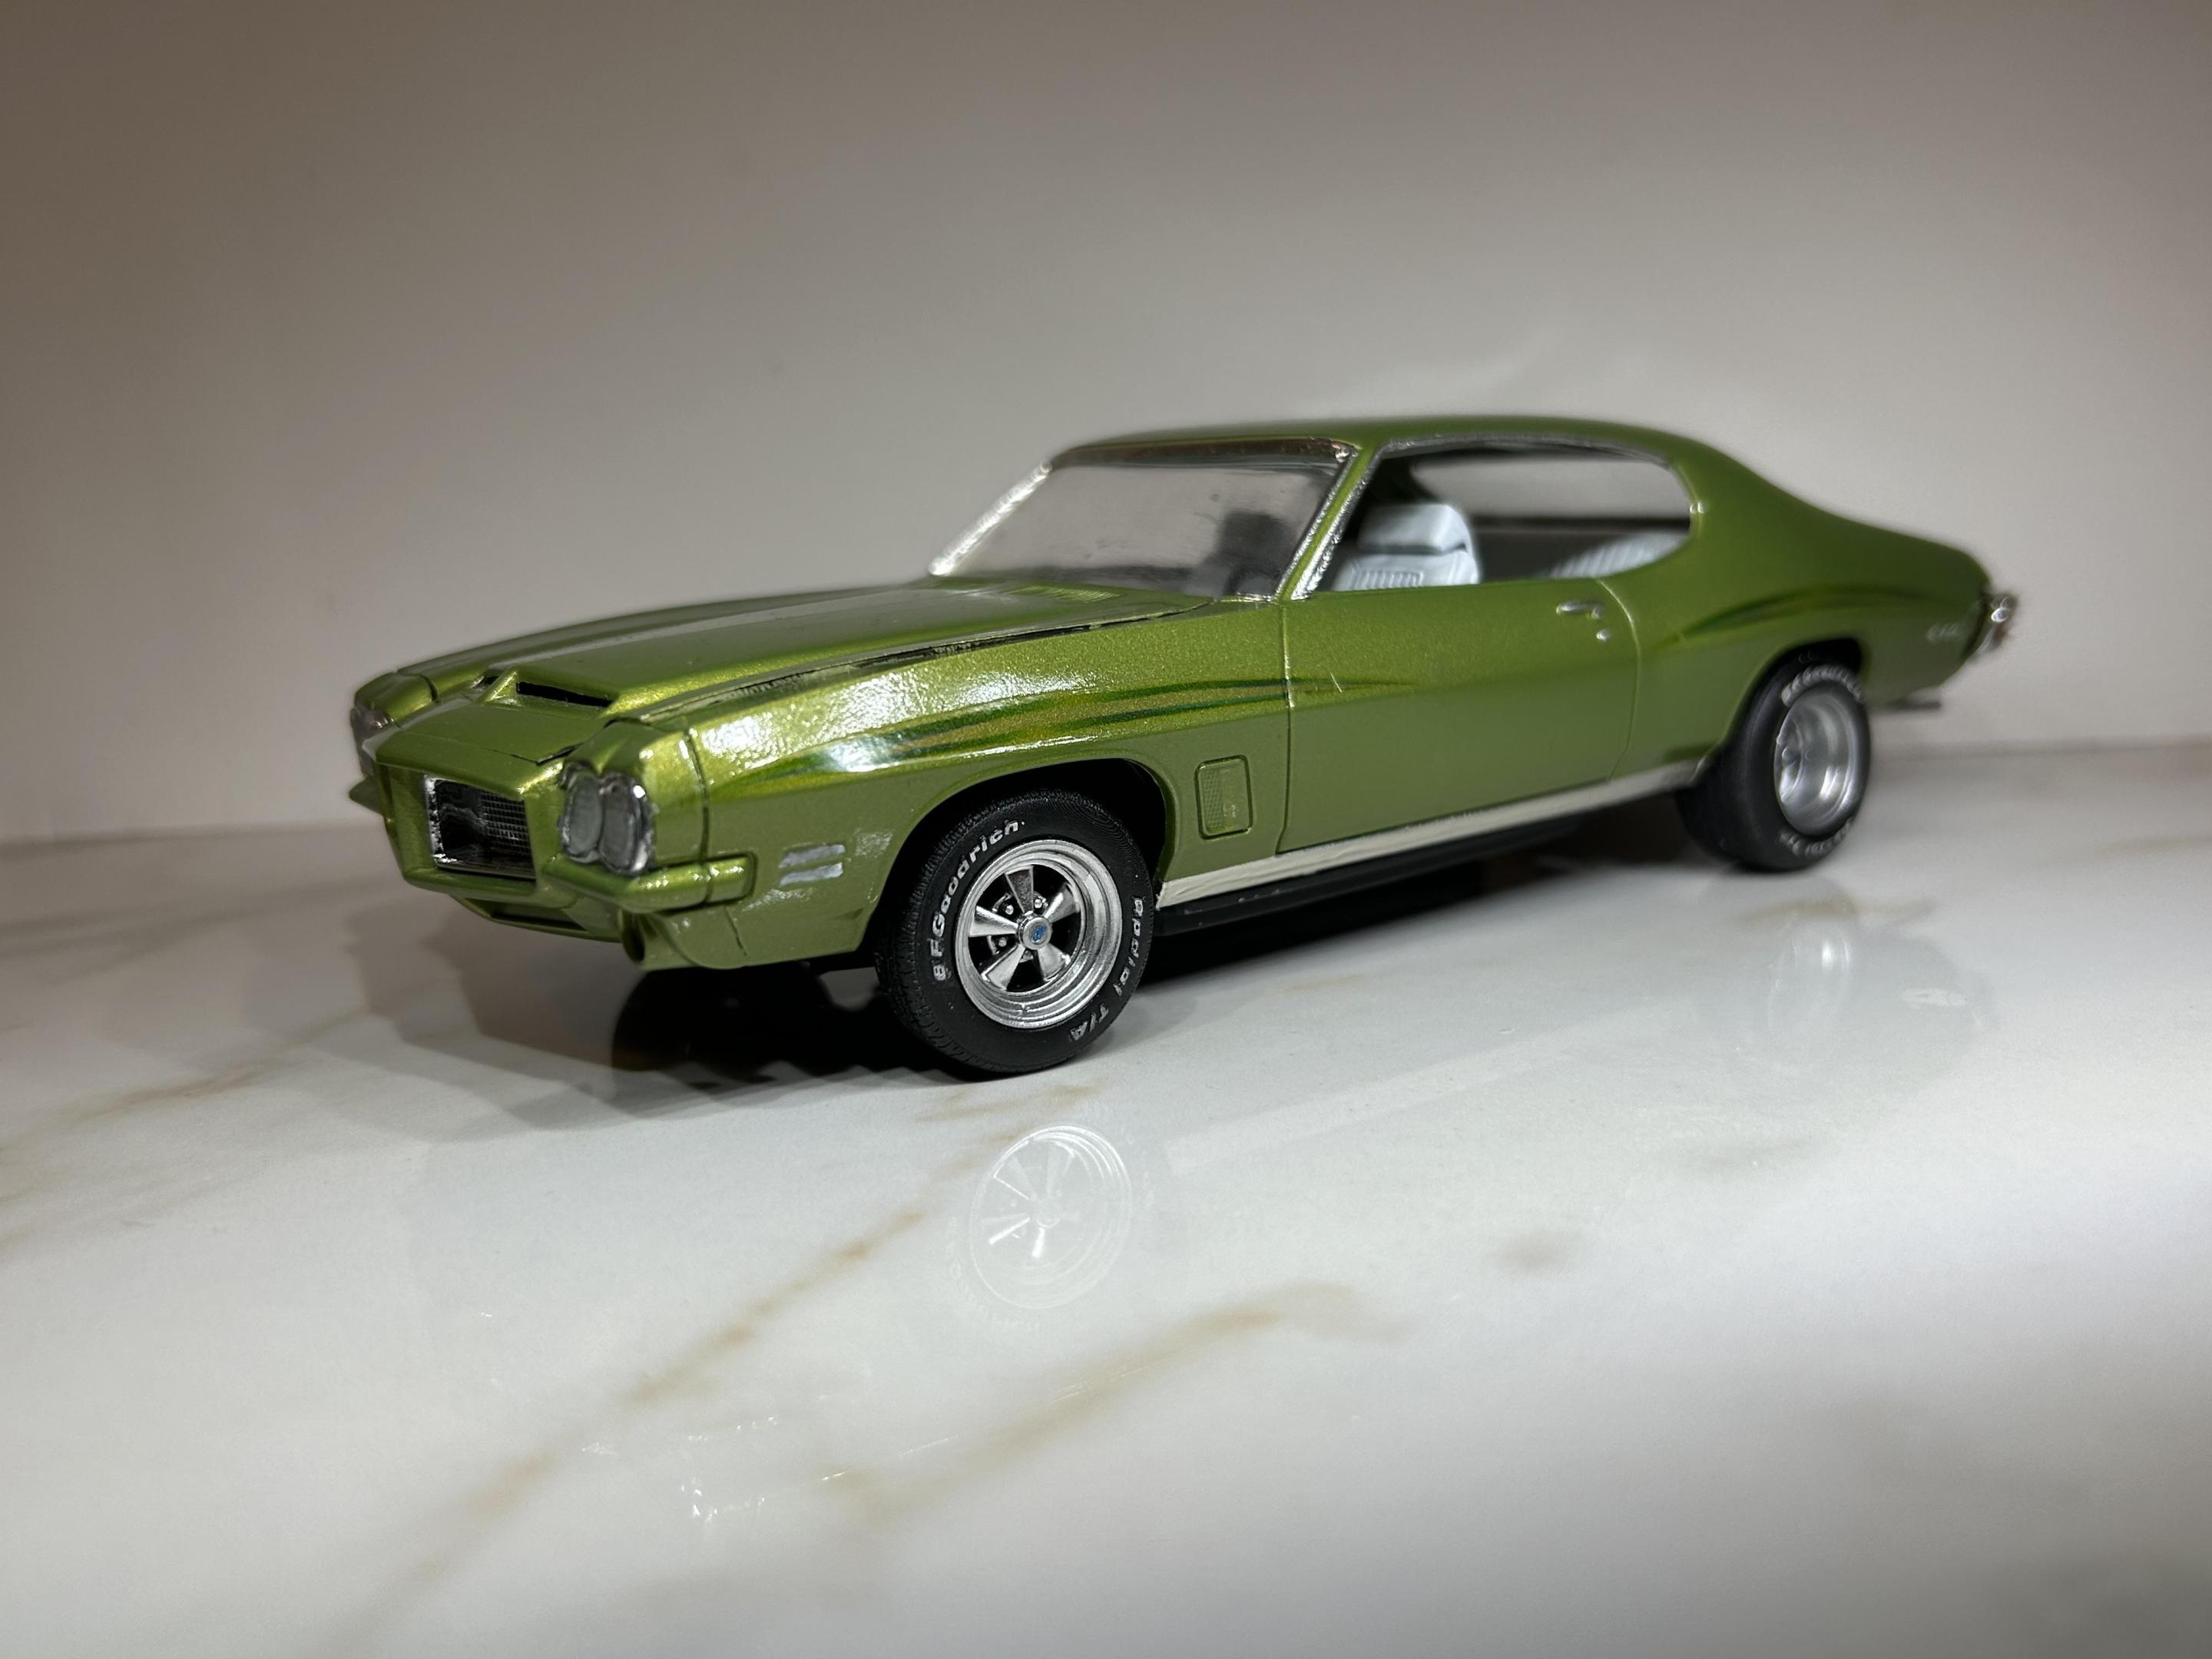
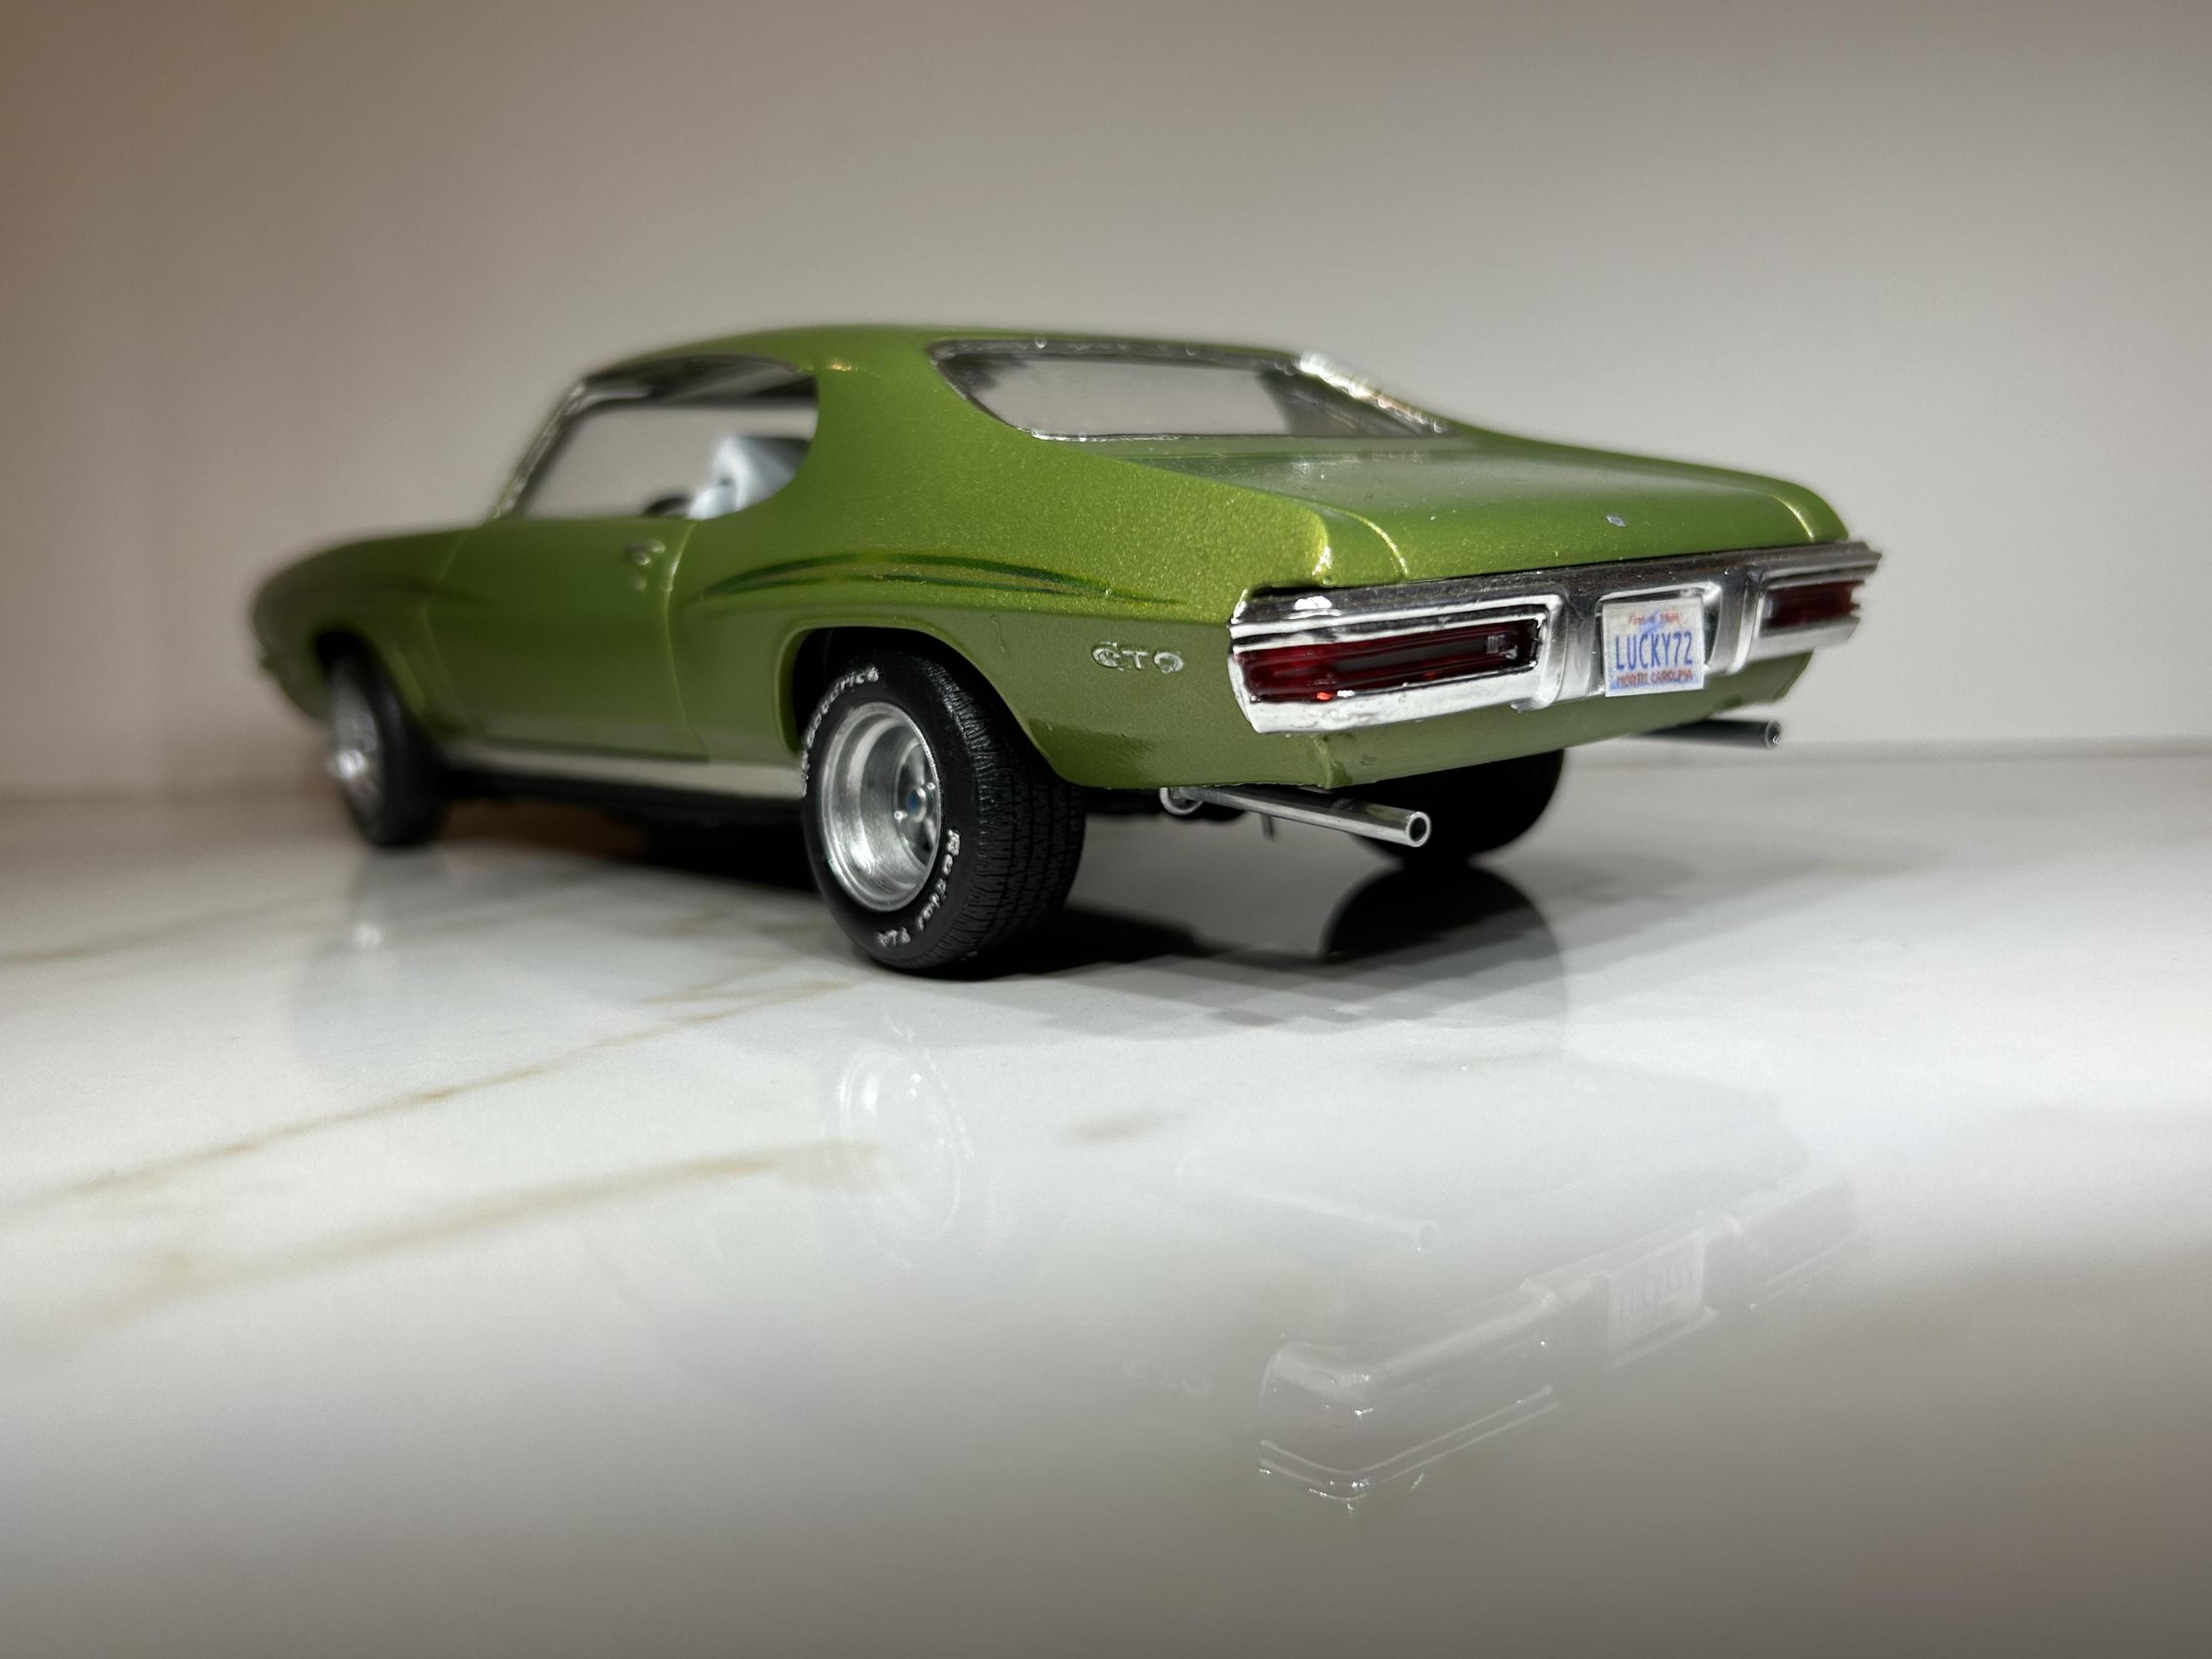
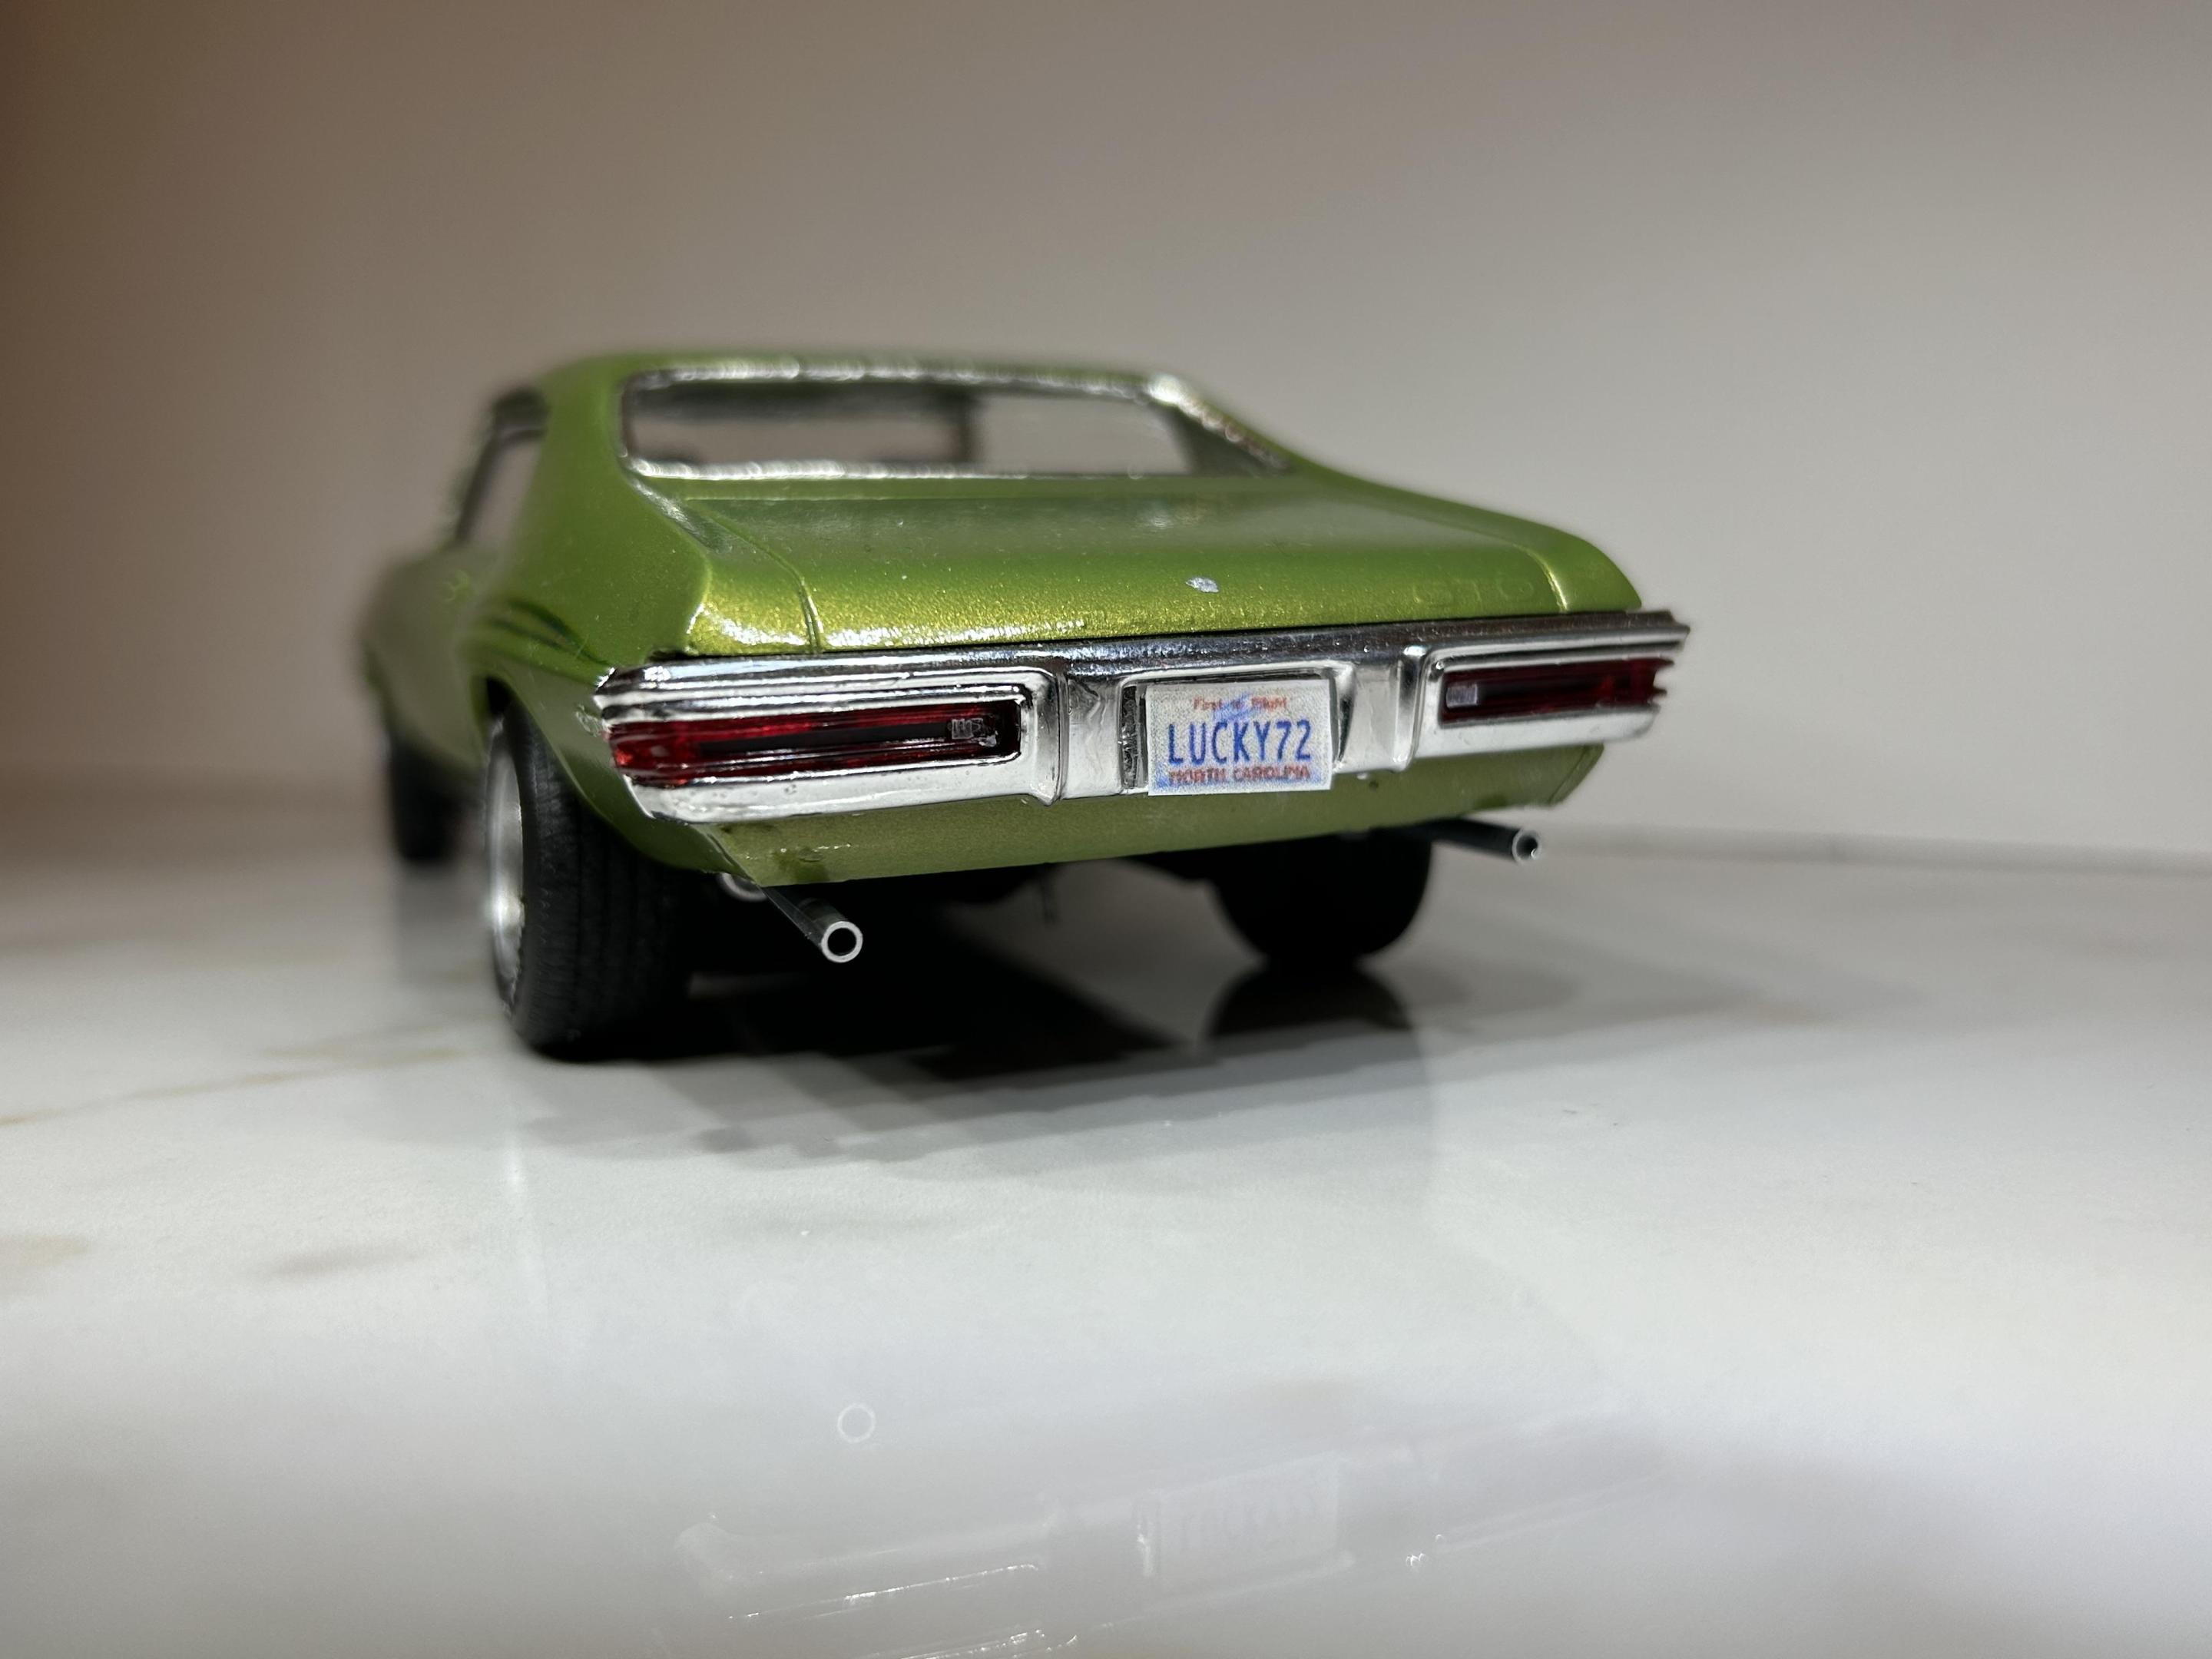
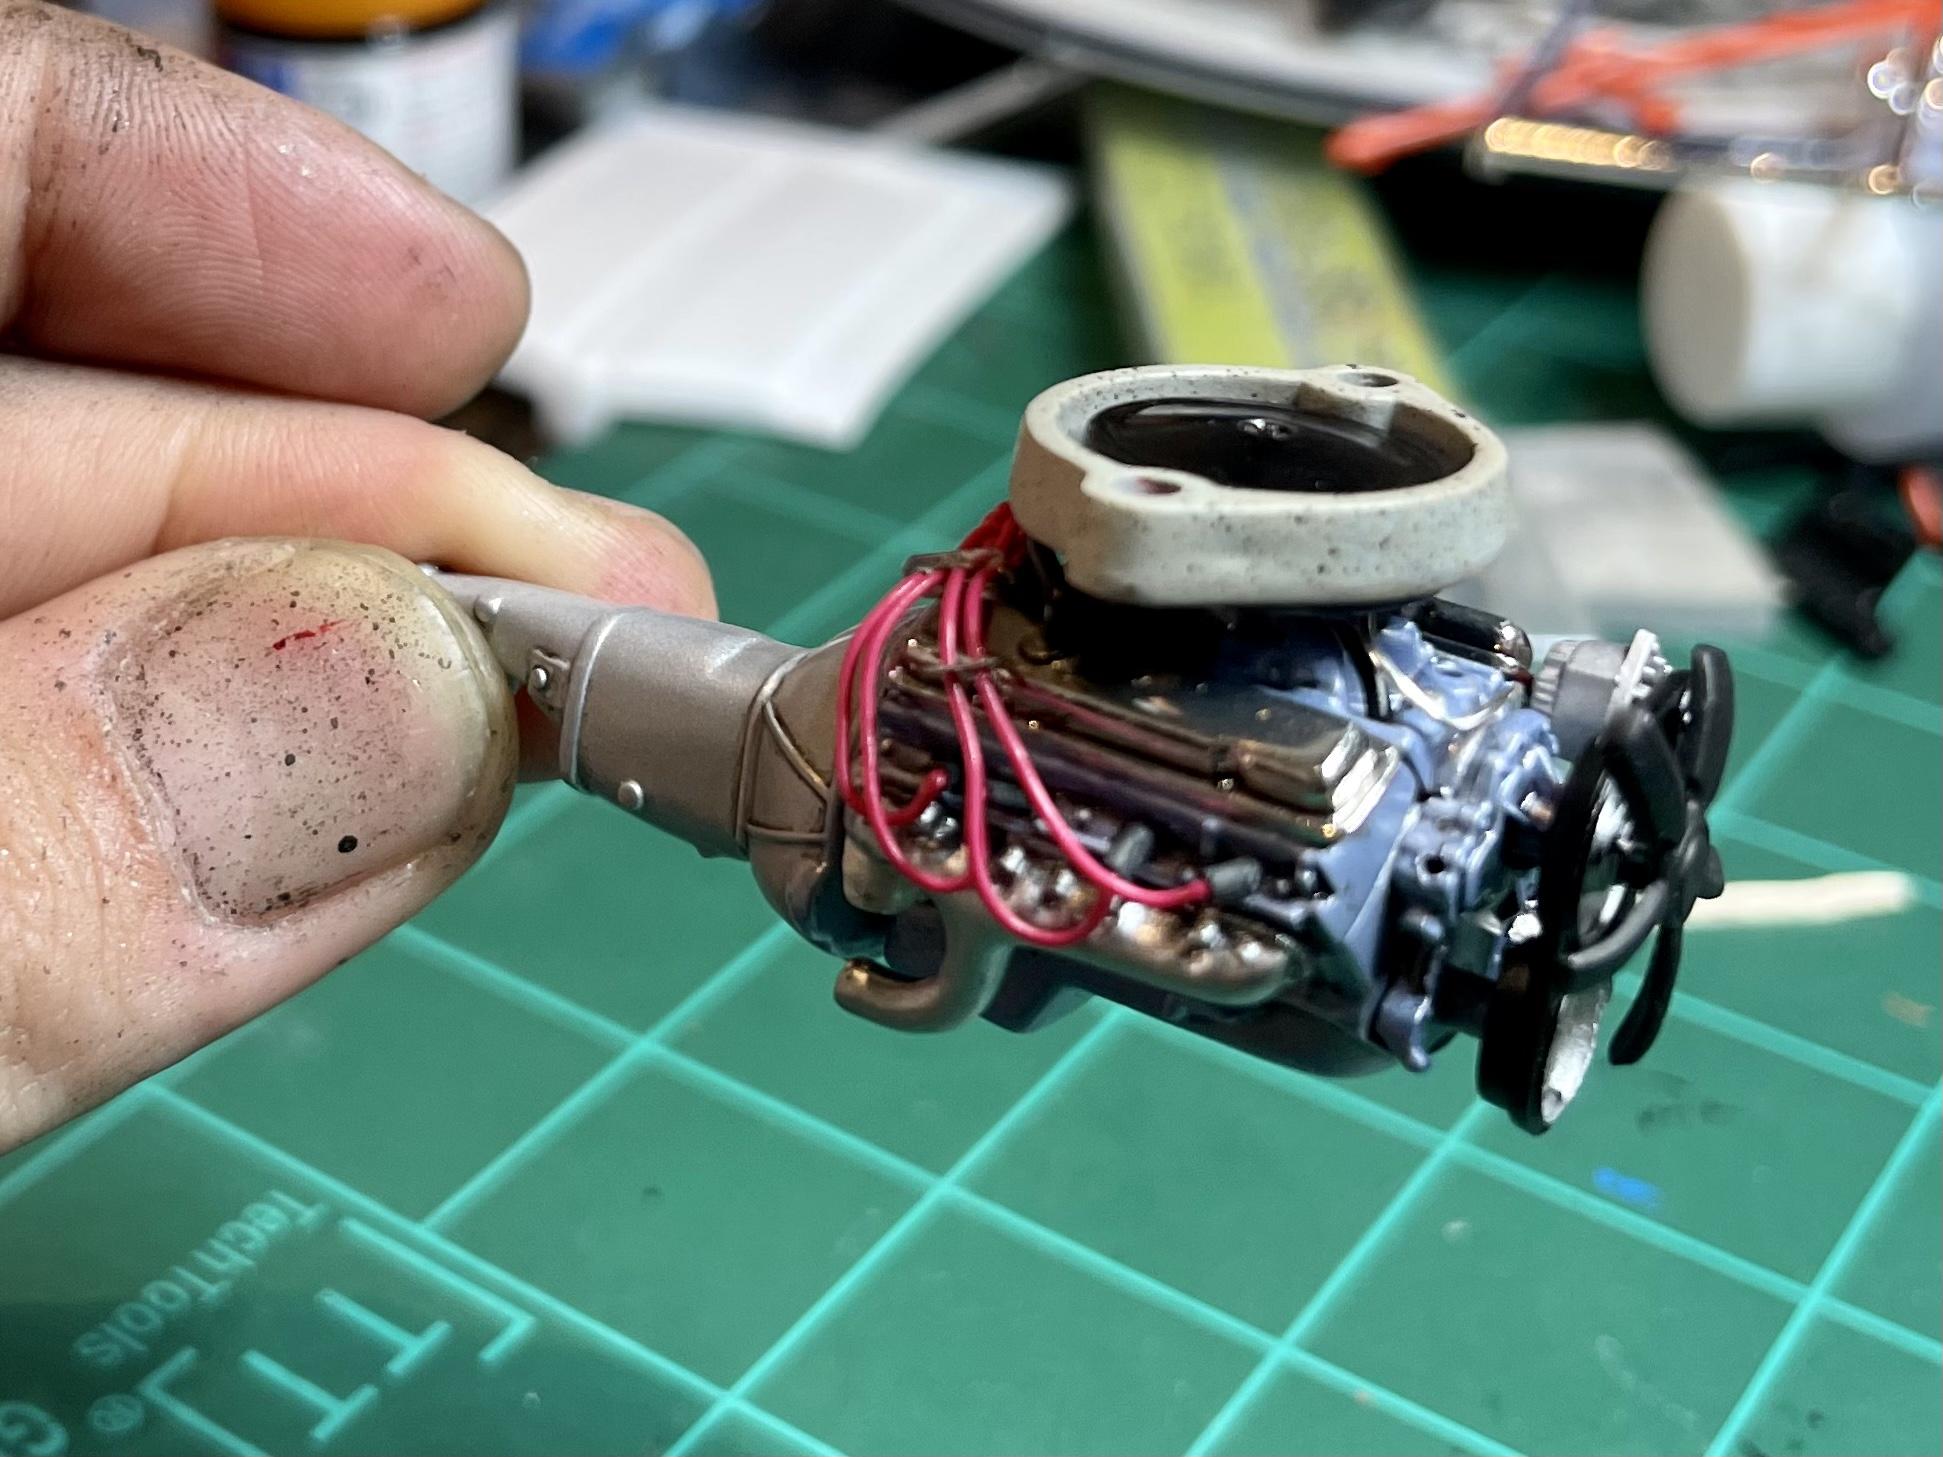
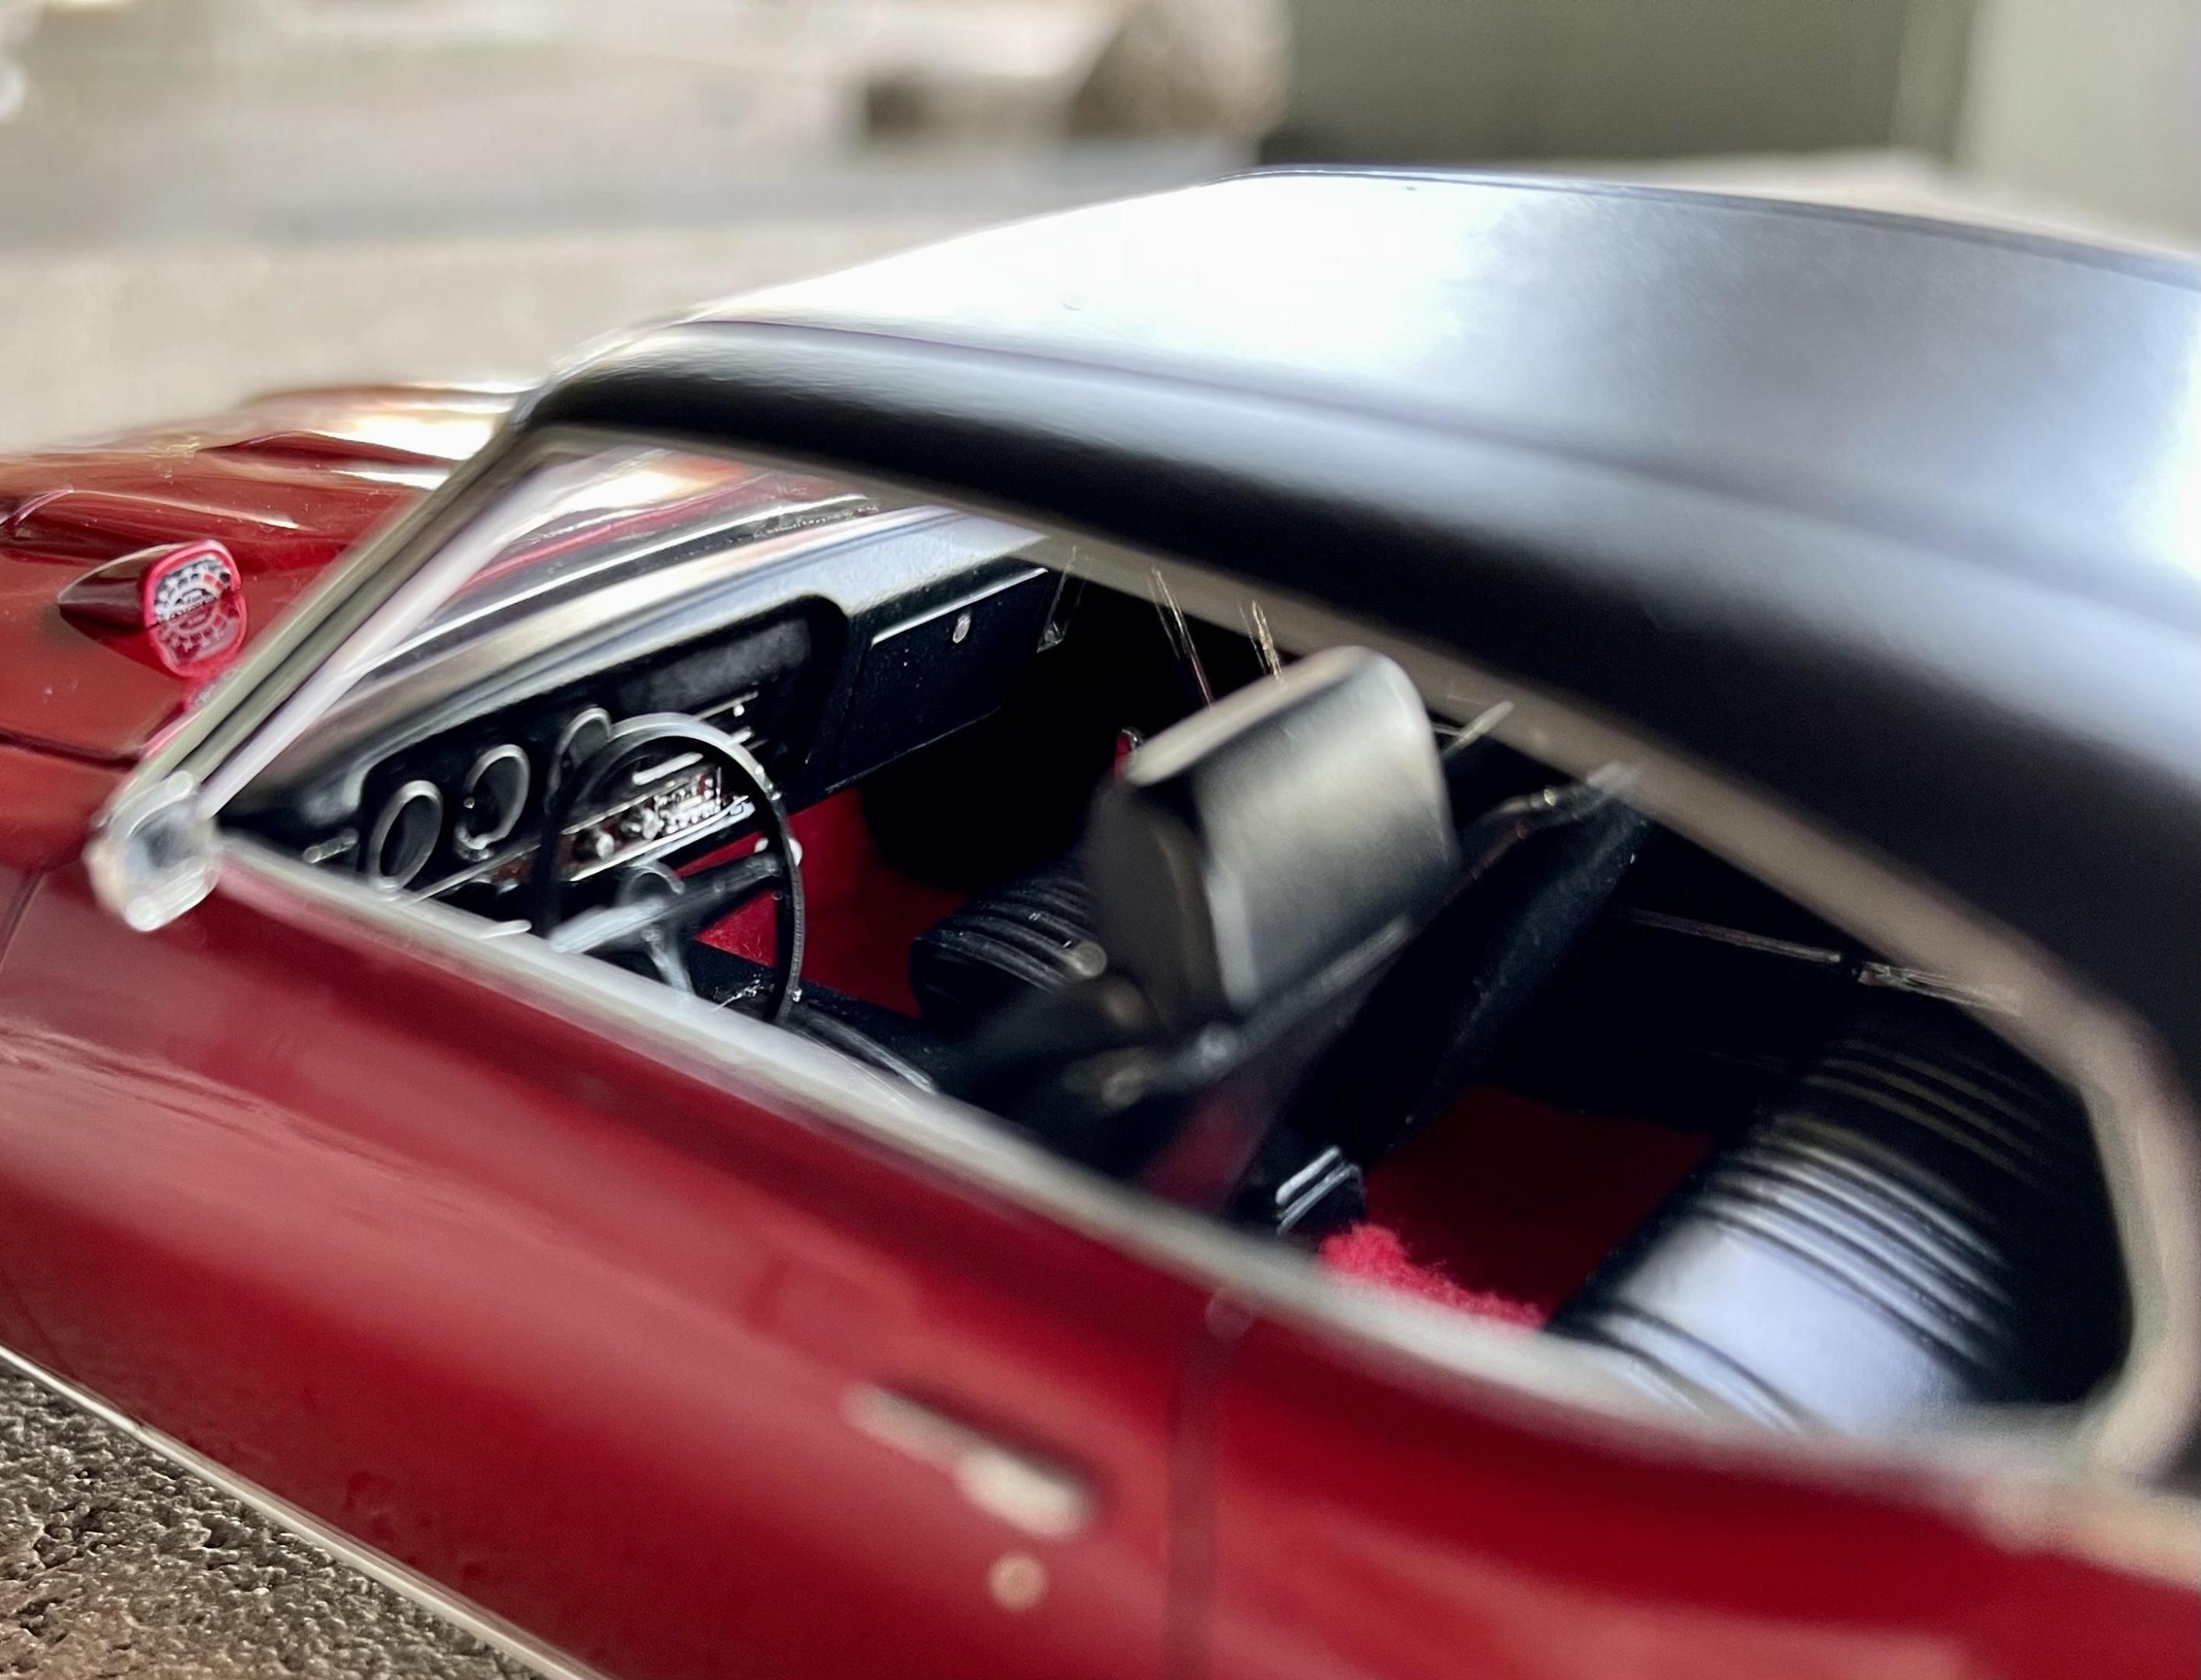
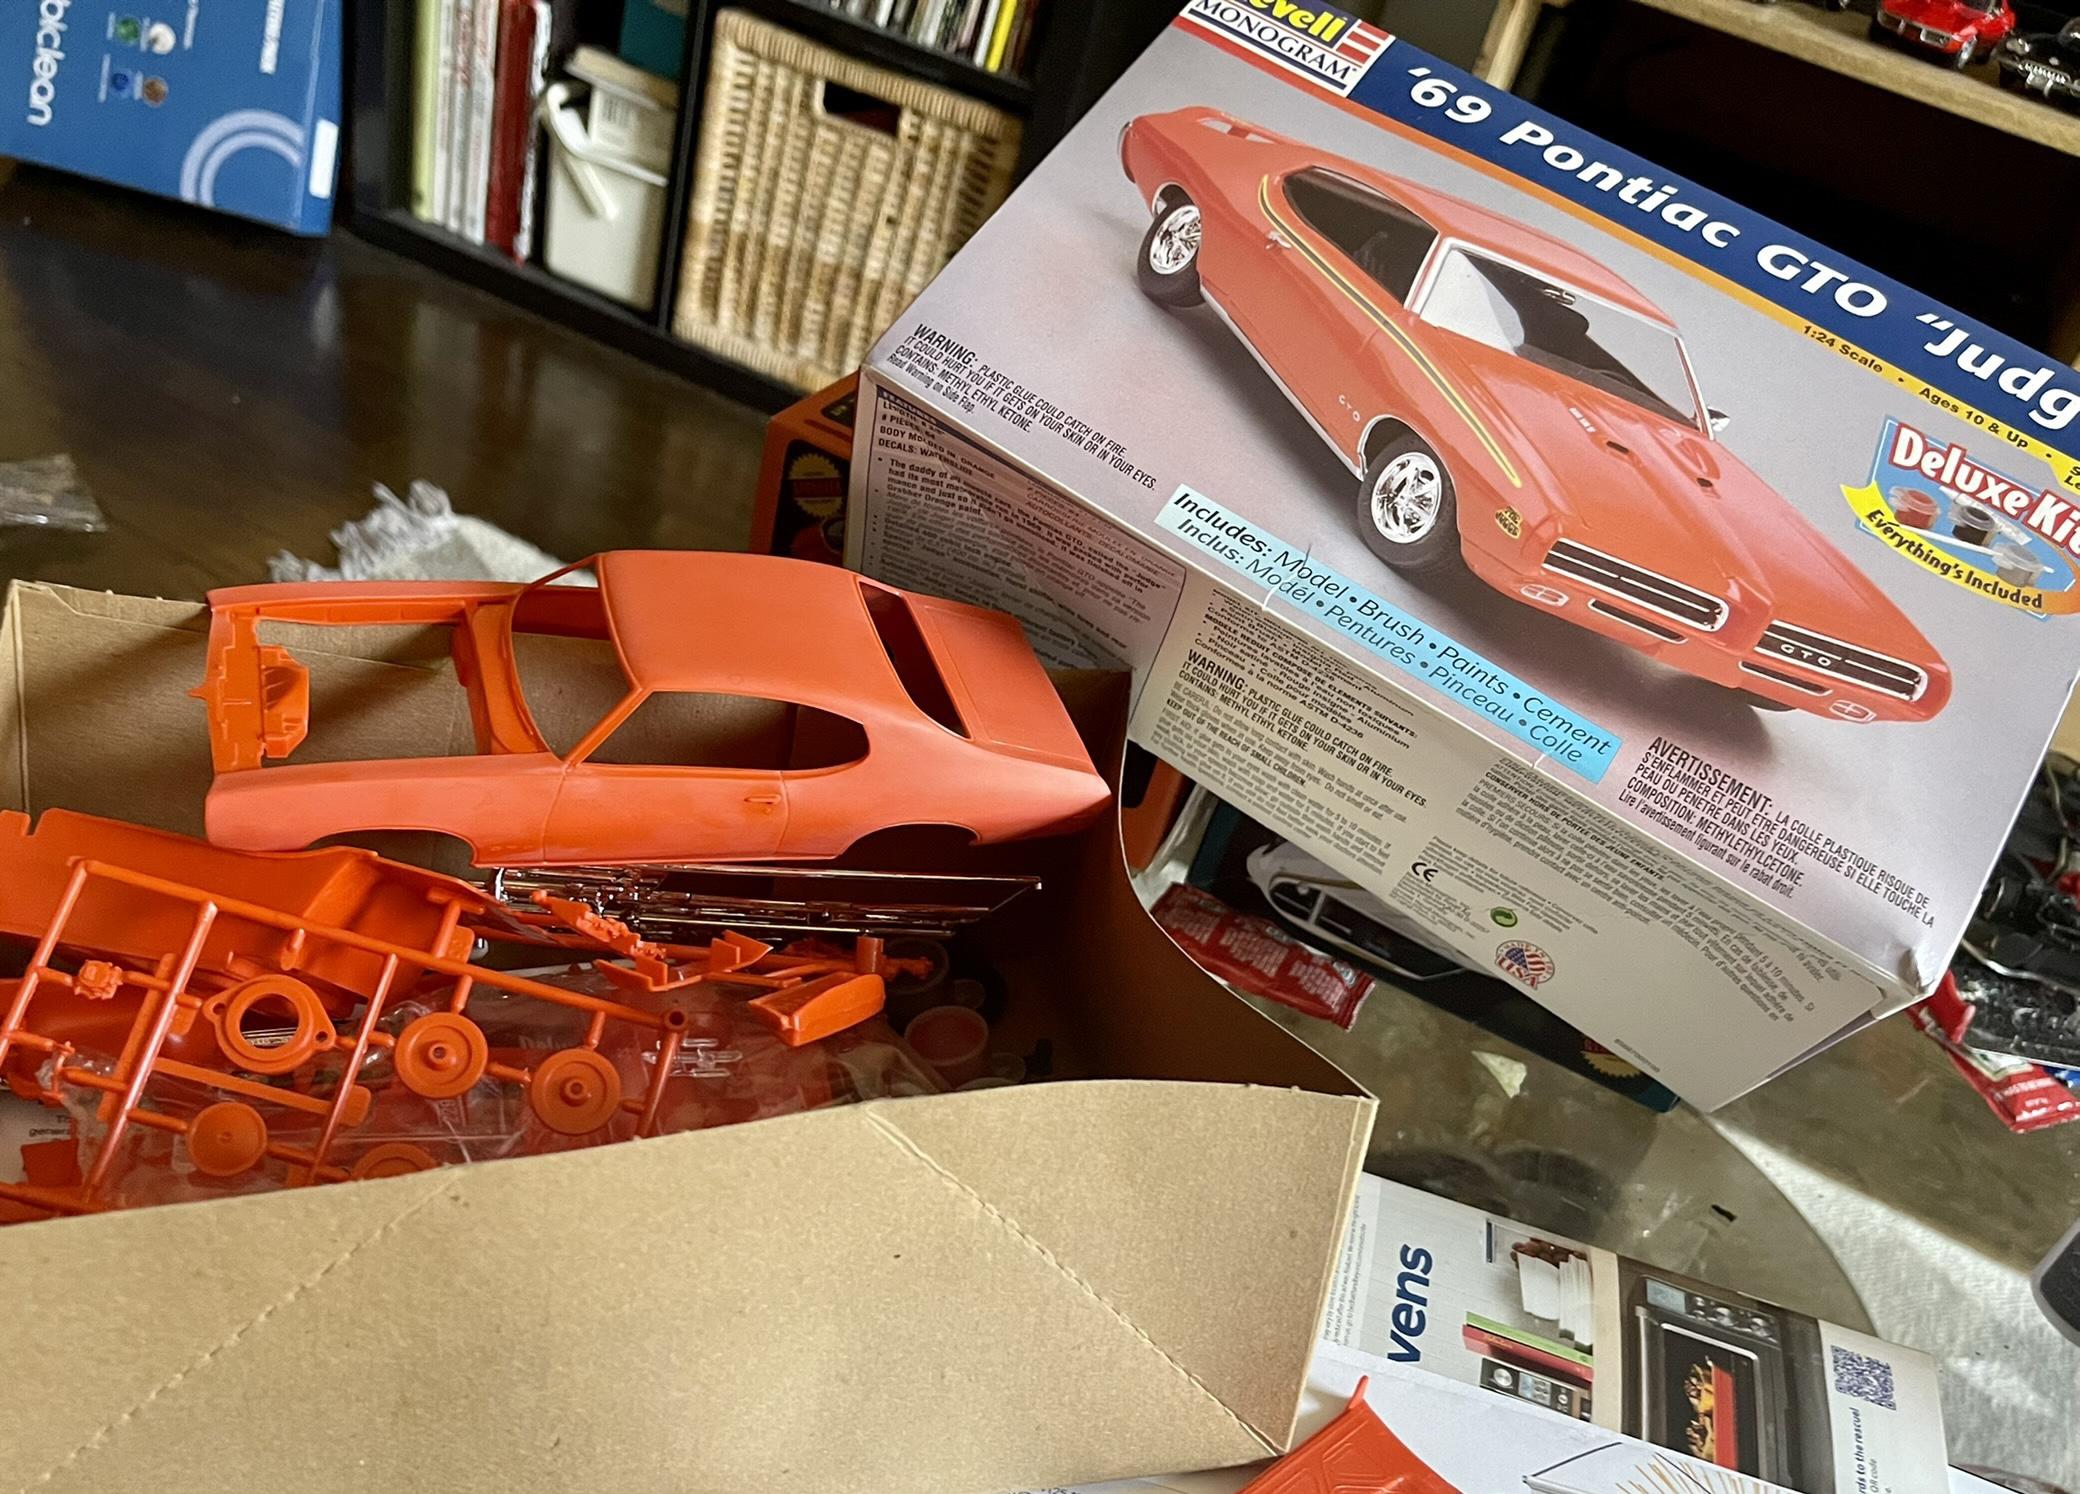
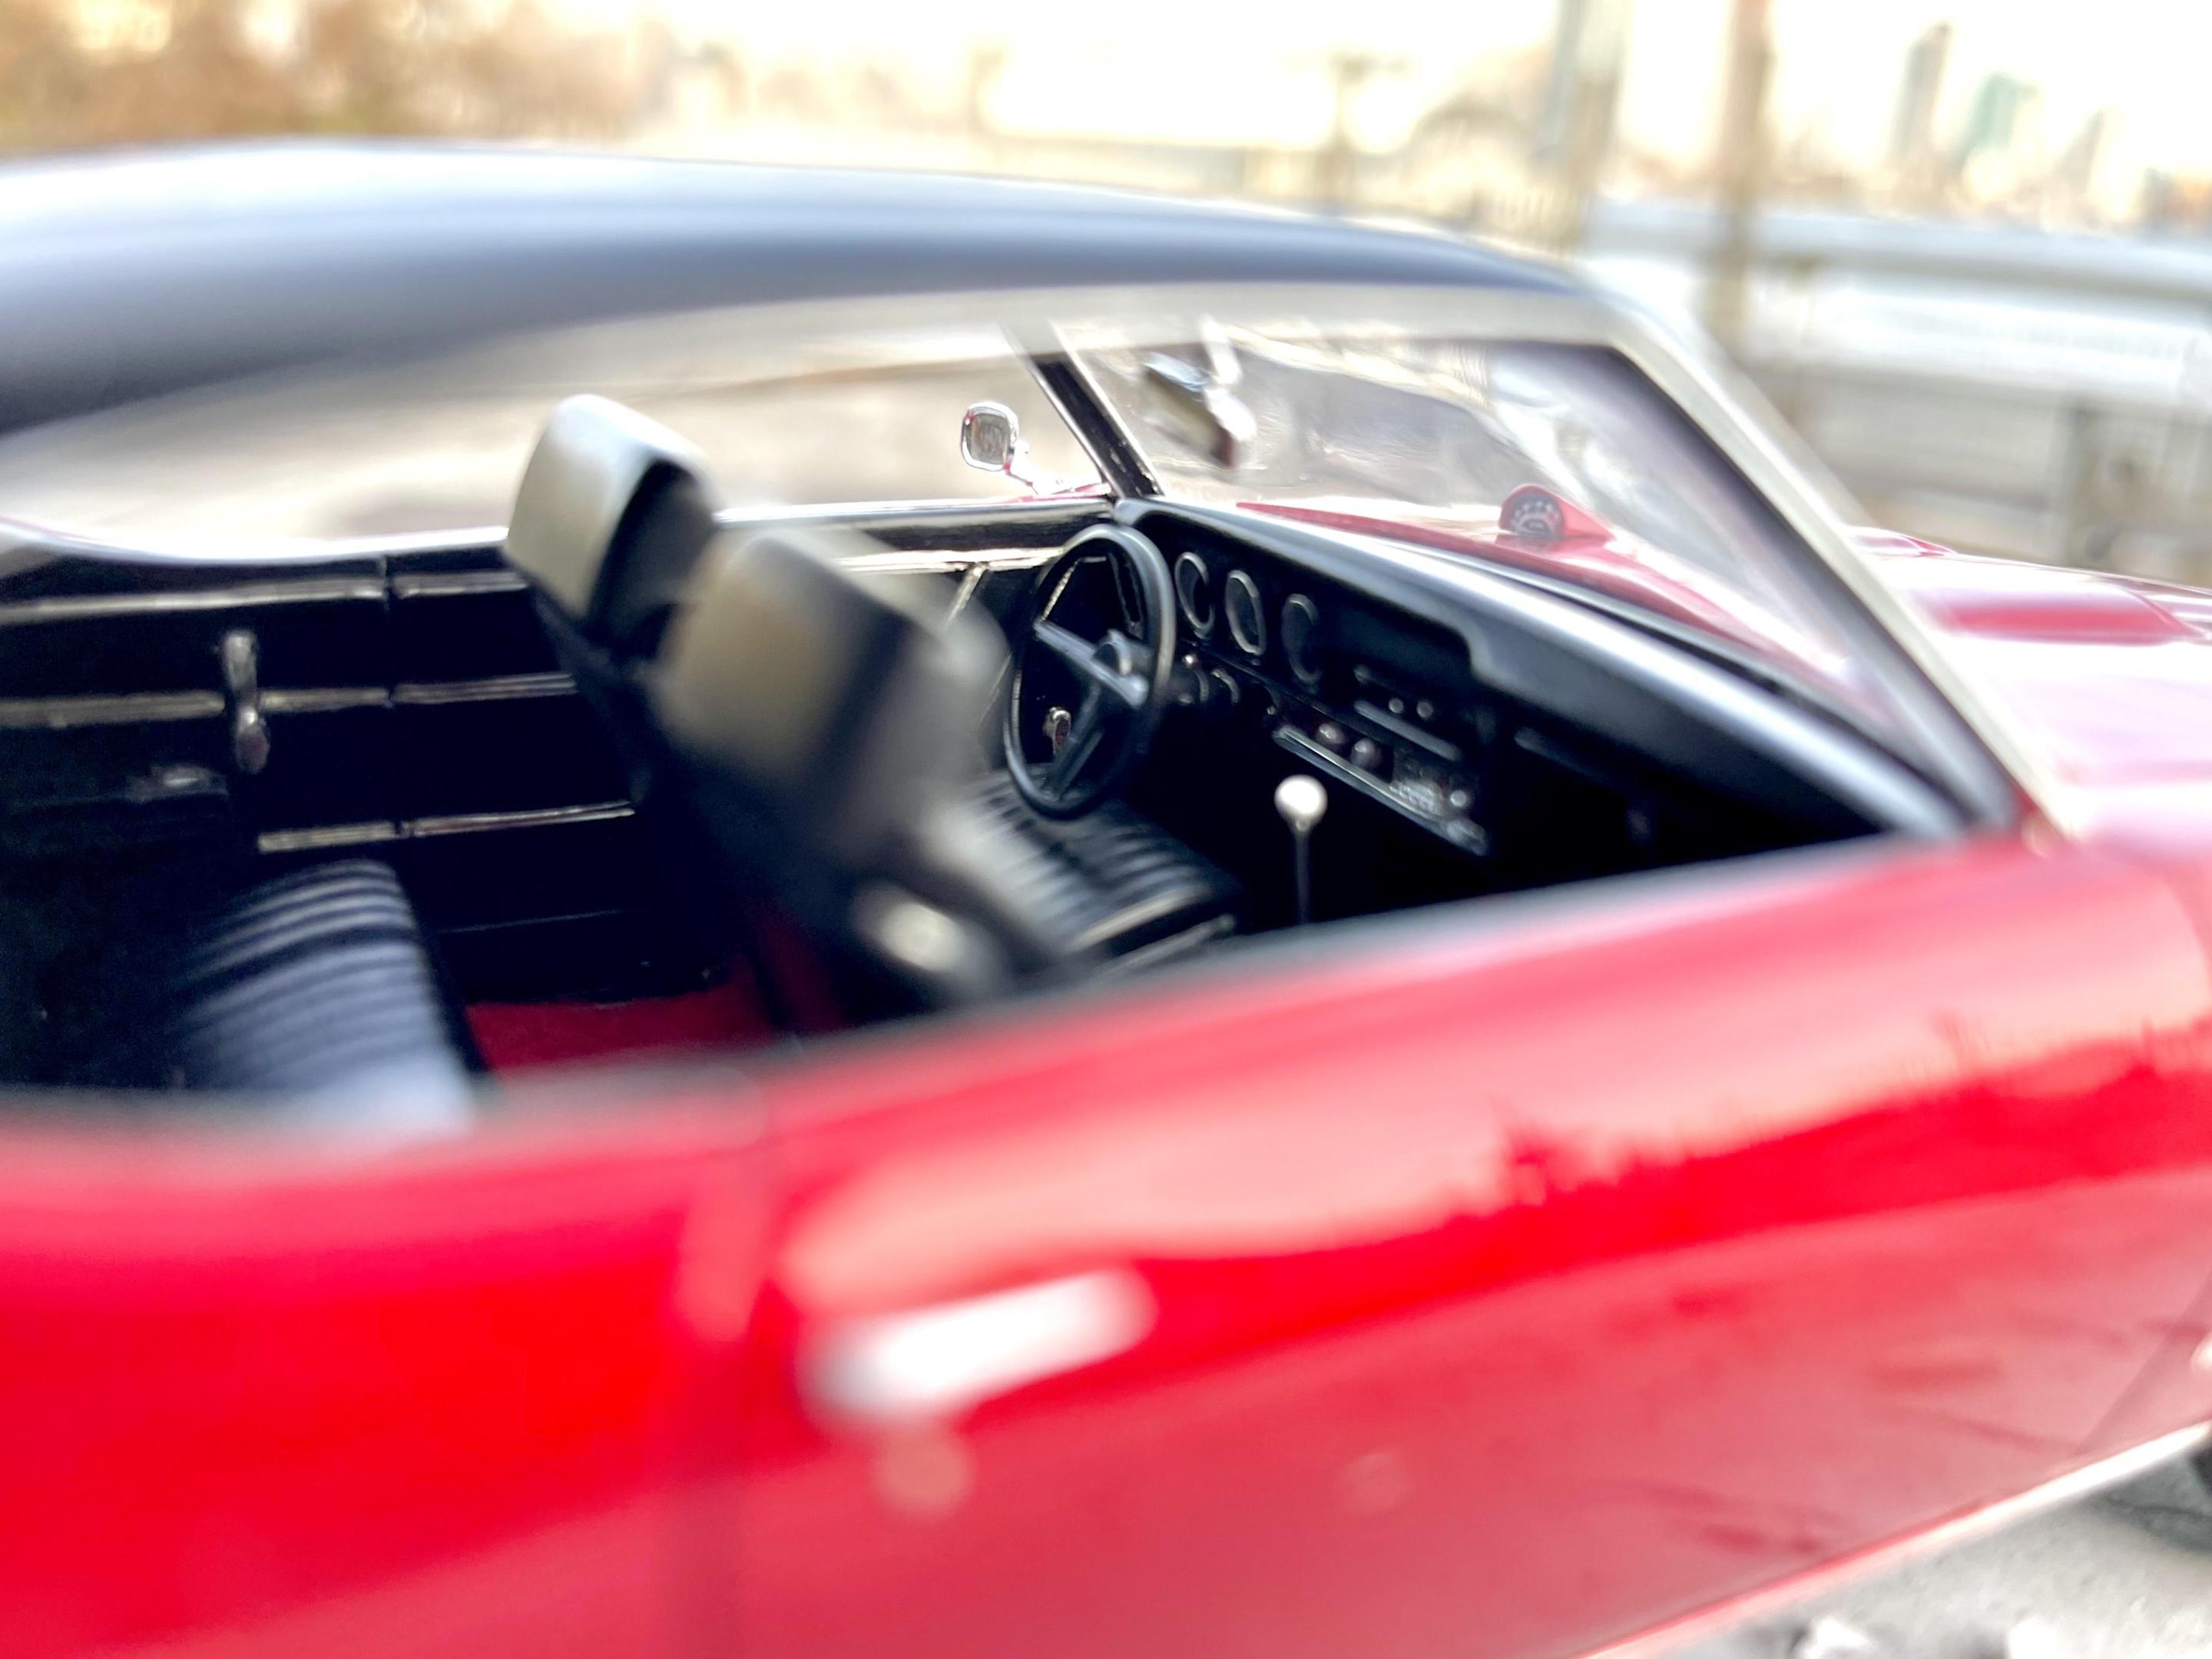
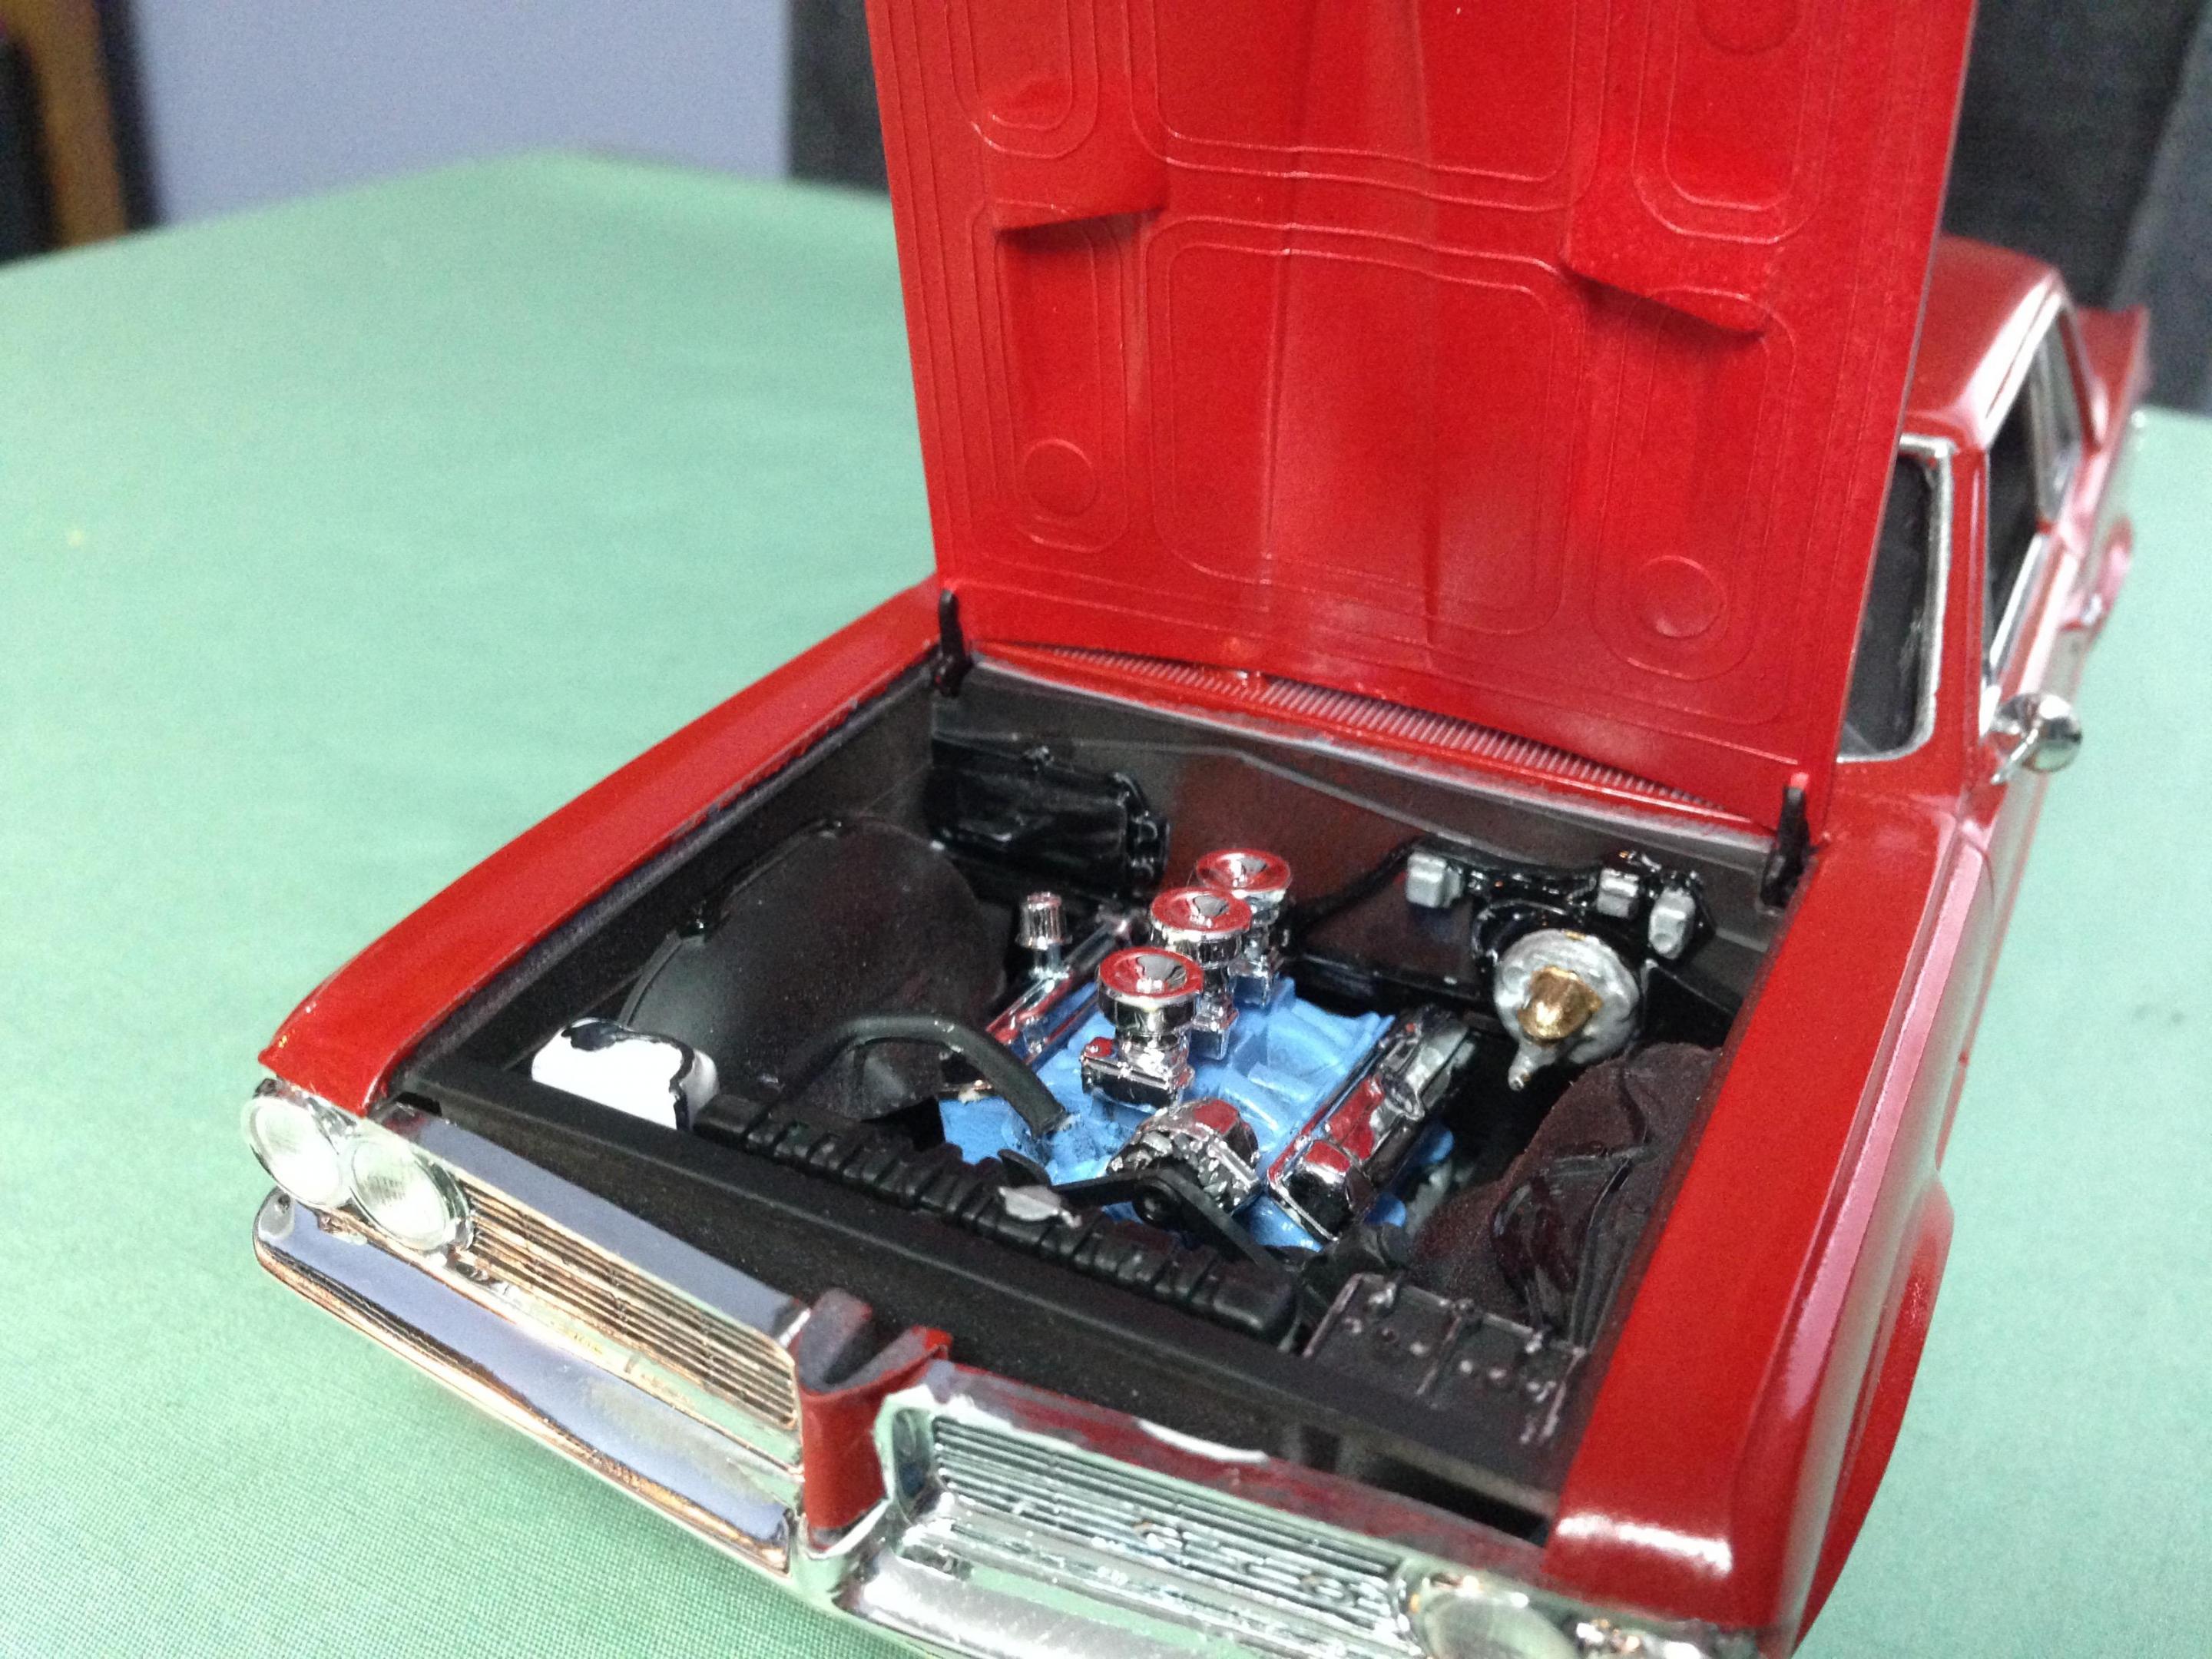
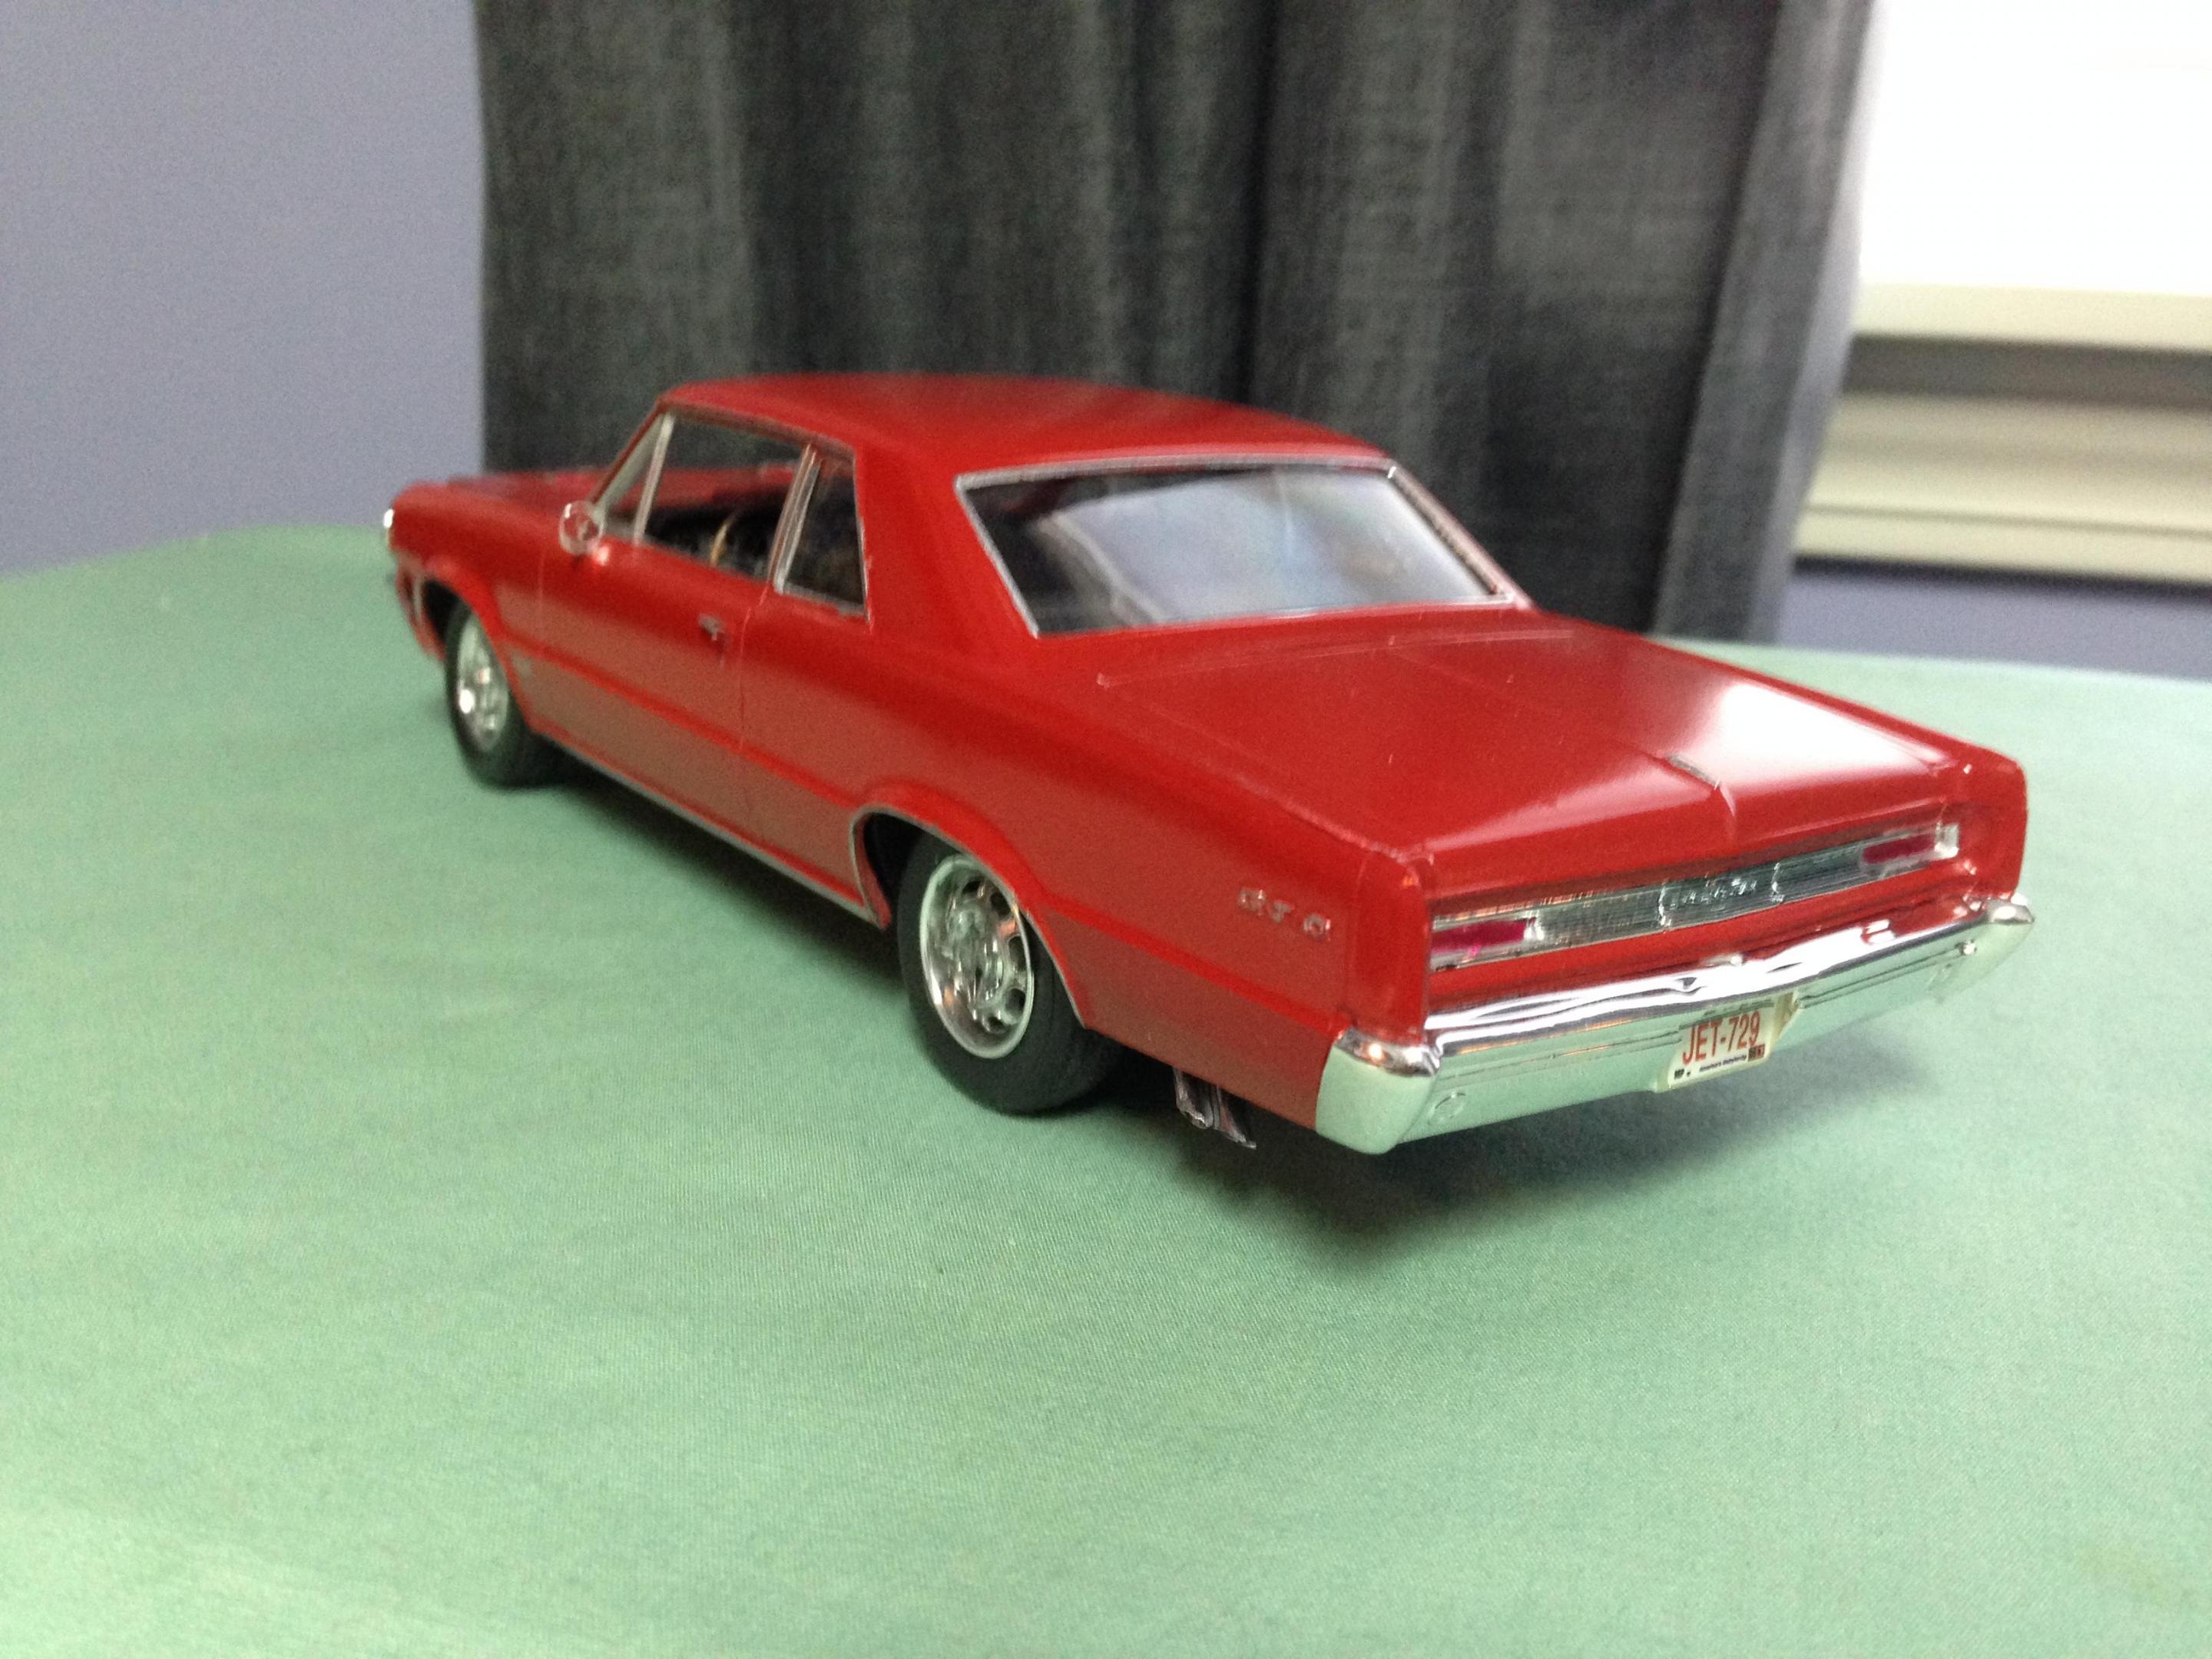
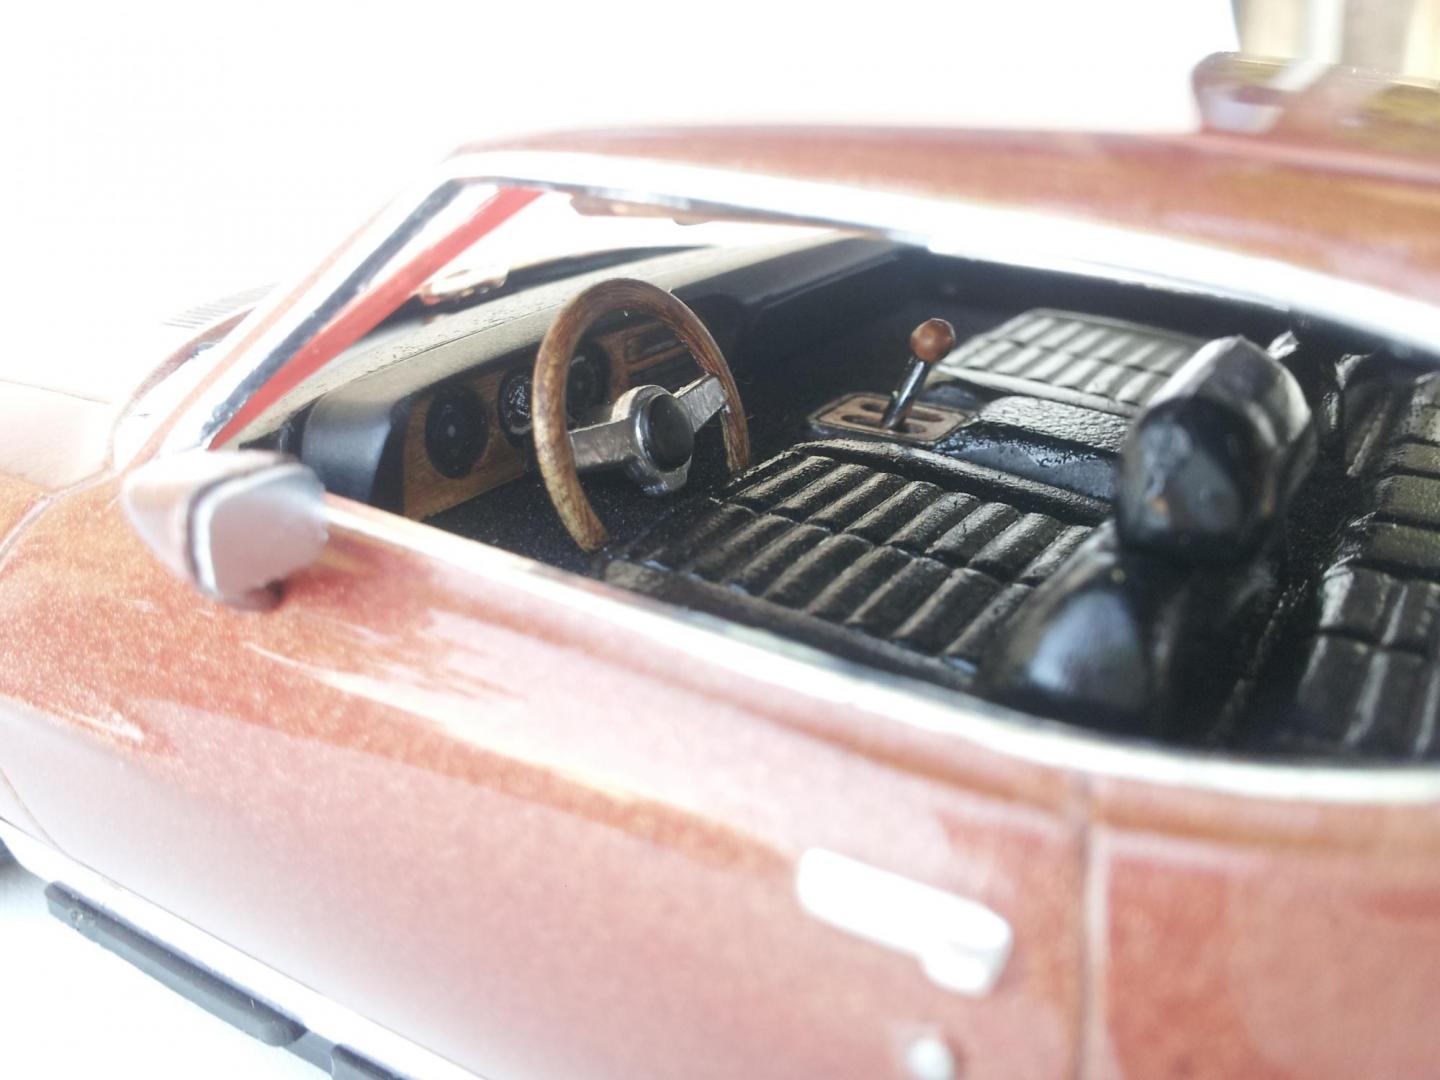
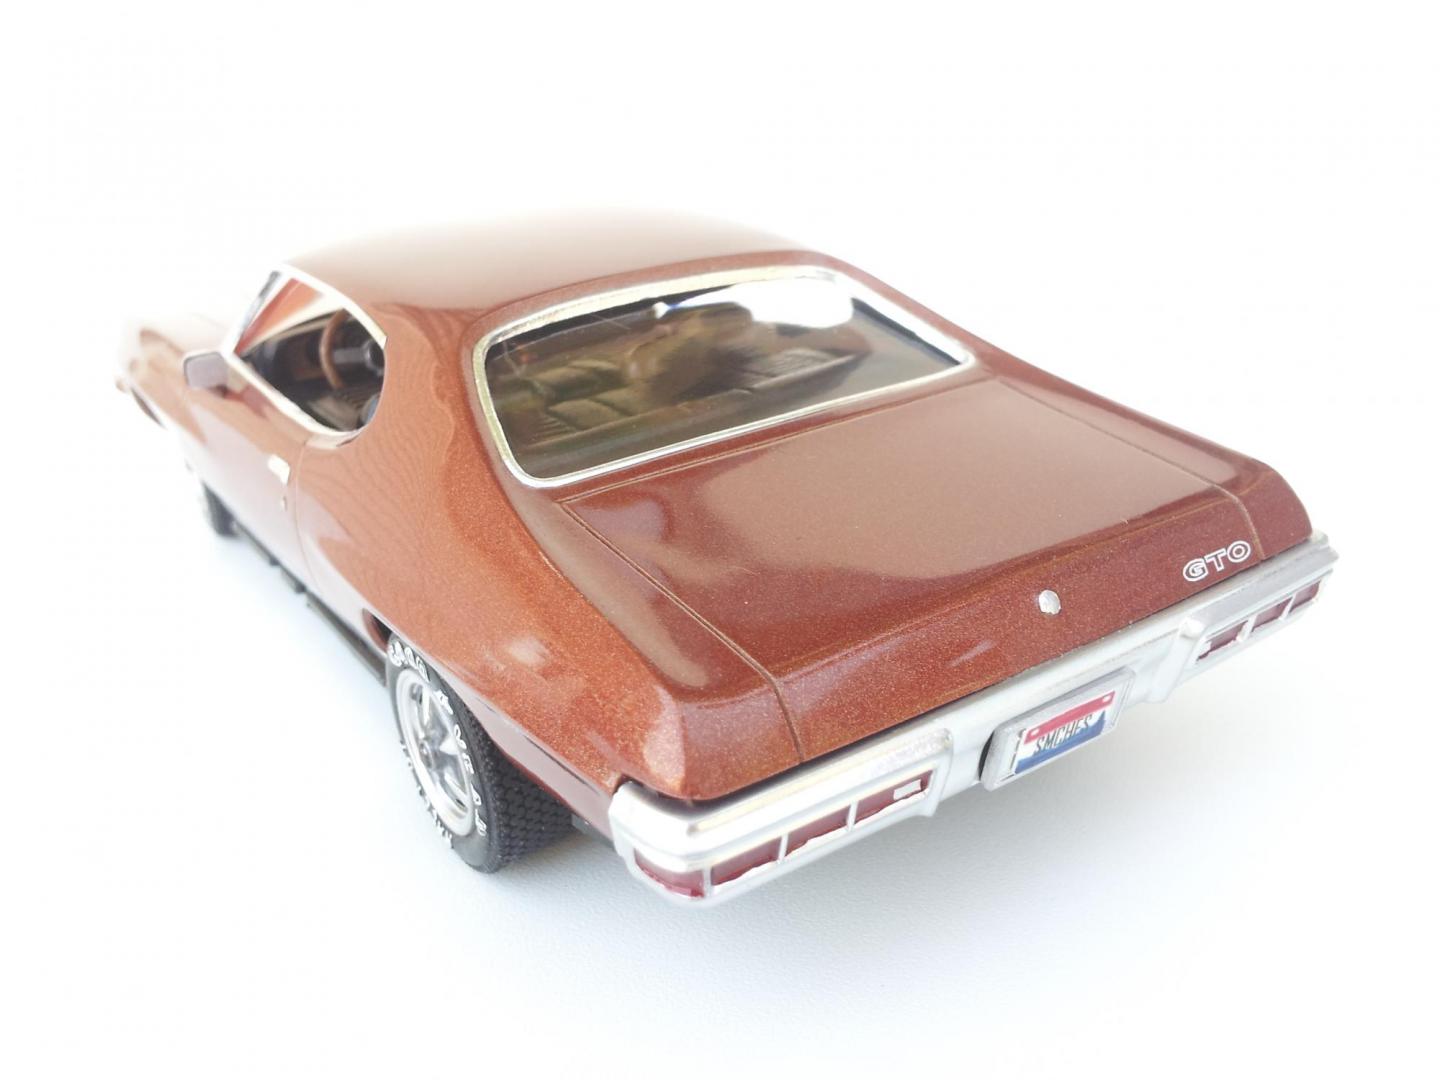
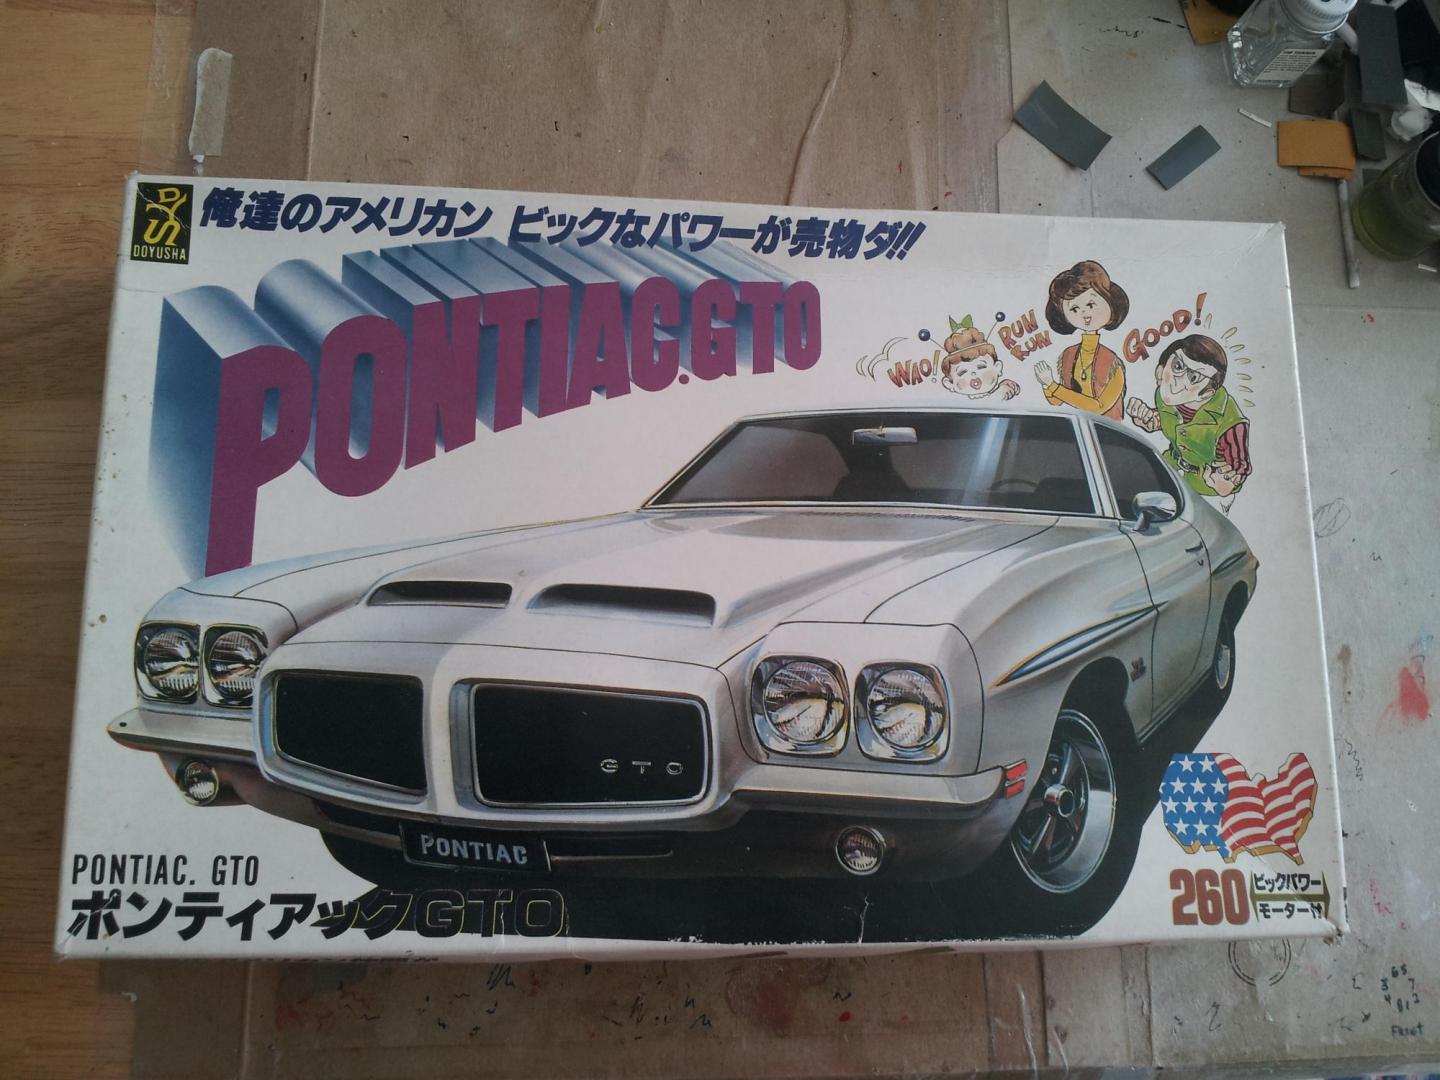
Sometimes you have to challenge yourself. Now, MPC and AMT get a lot of hate, but they have some of THE BEST subjects for builds. Despite some lack of some items needed to complete them easily out of the box, they can be really good fun projects. This was the case for this MPC 1972 GTO. The main issue I had with this kit was lack of a proper detailed chassis. So what did I do? I got a spare 69 Olds 442 chassis out and remedied the ailments of the GTO. I LOVE this build because it reminds me of something my brother would have done in the old days. Iceman Collections Cragars, the Revell 66 GTO 389, and my wife’s “Judge-Like” stripes make it one of my favorites to just look at on my display for long periods of time. Here’s some pictures…
-
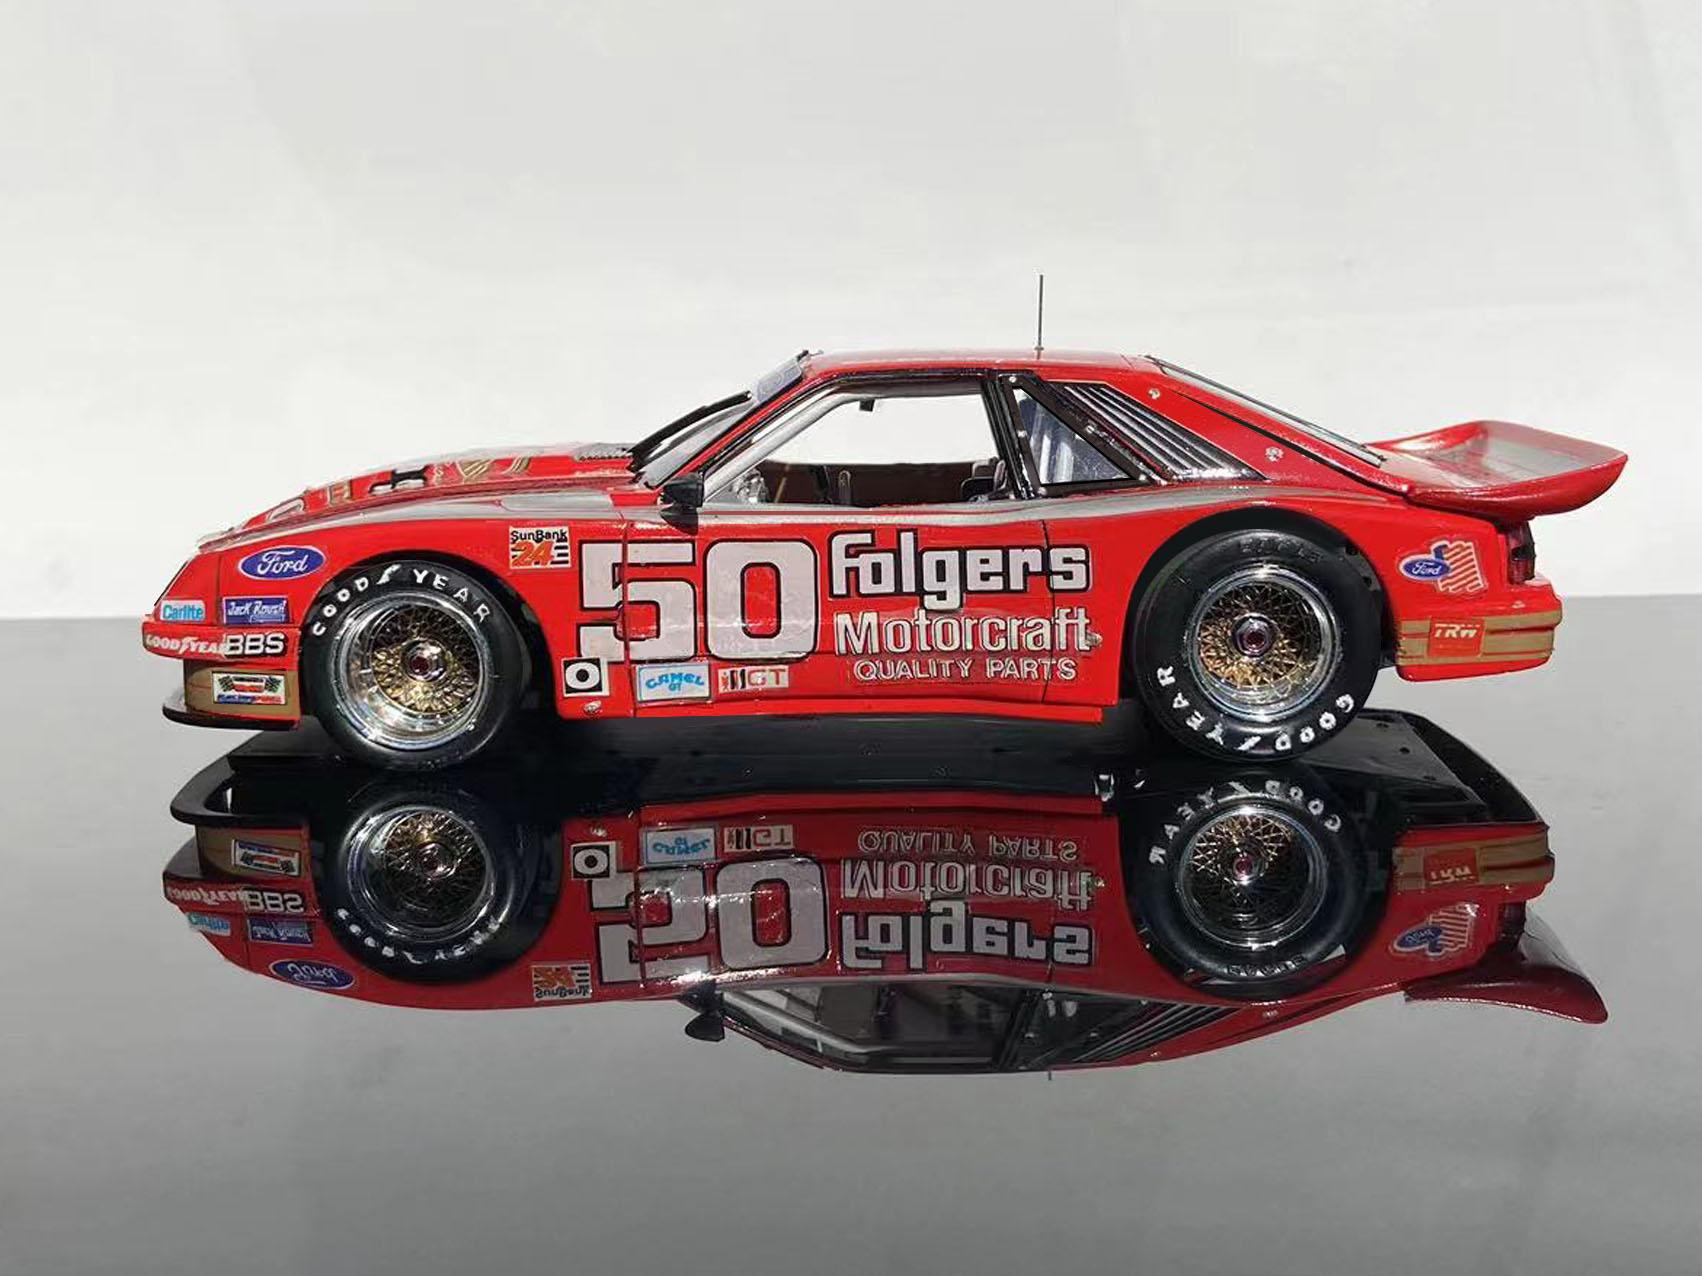
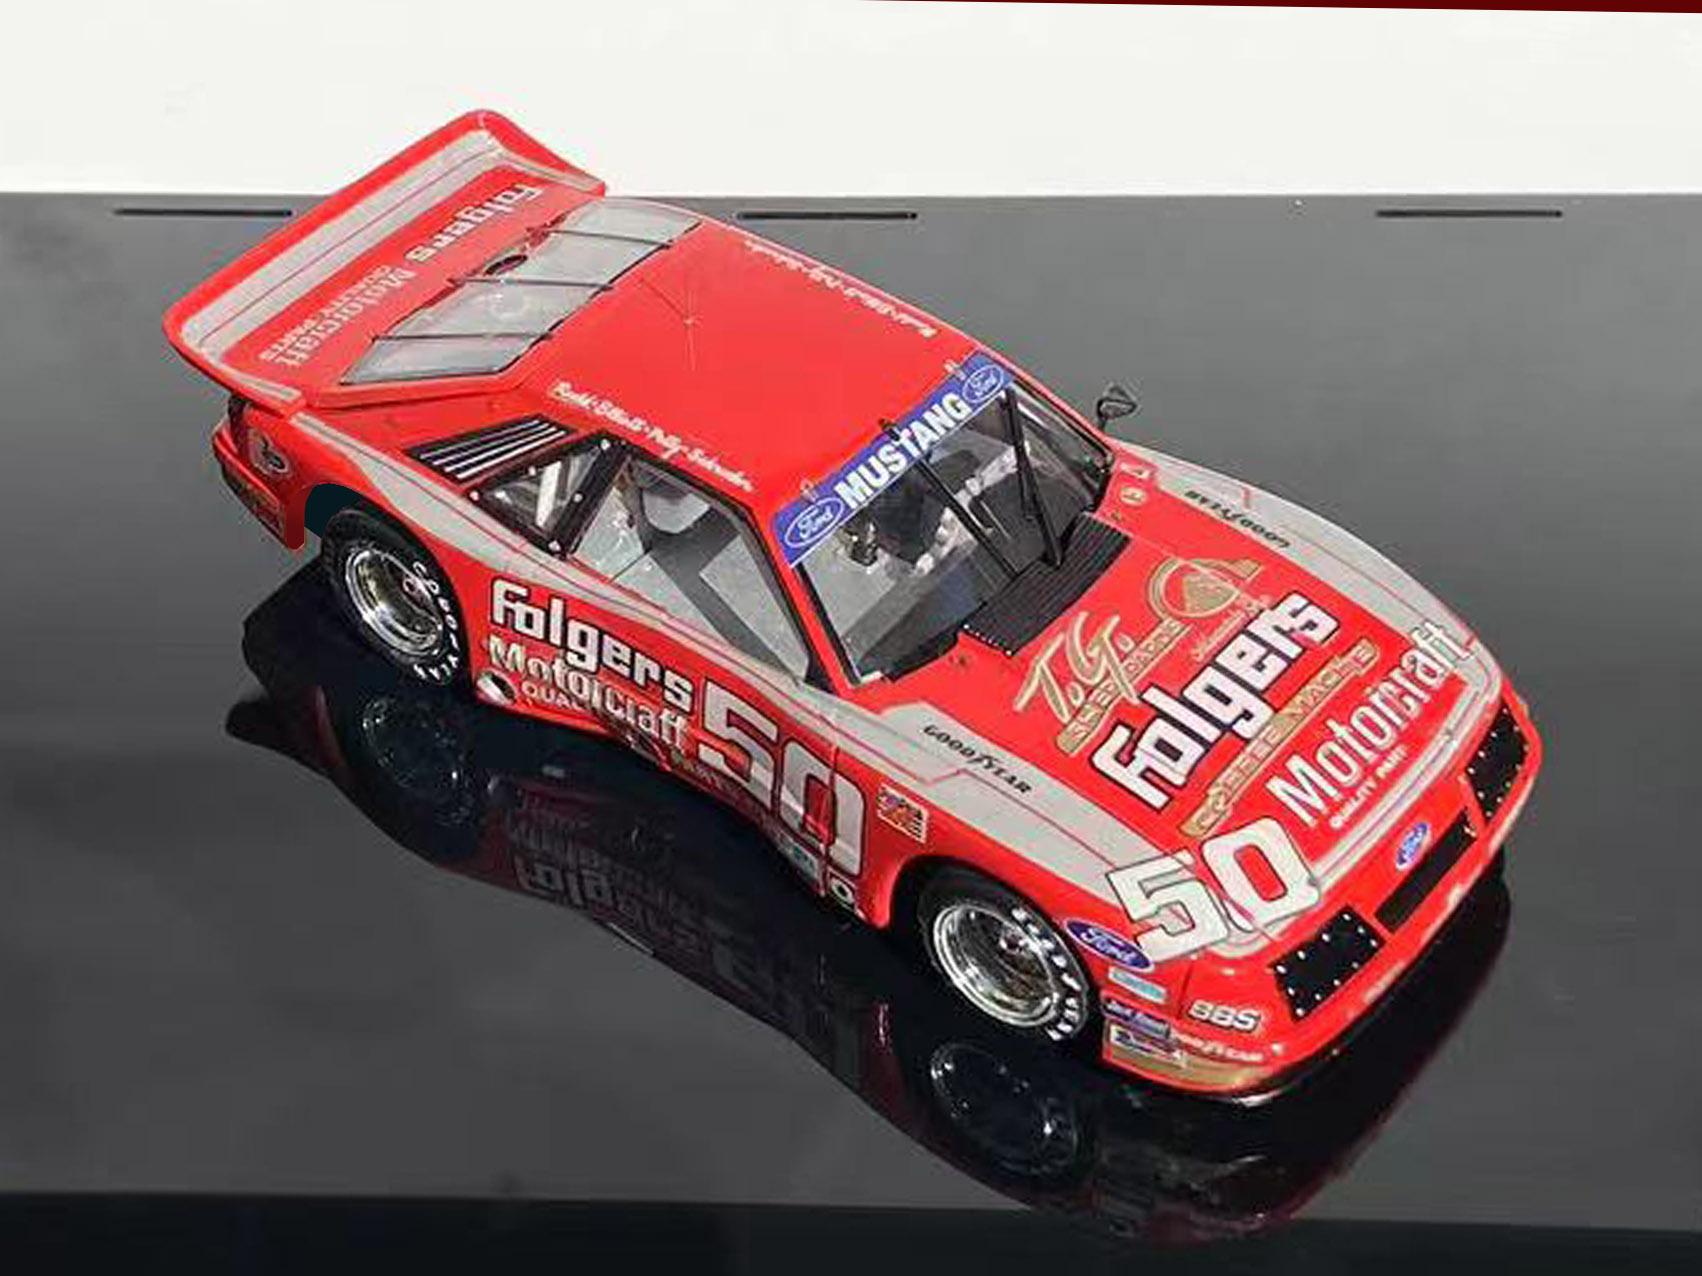
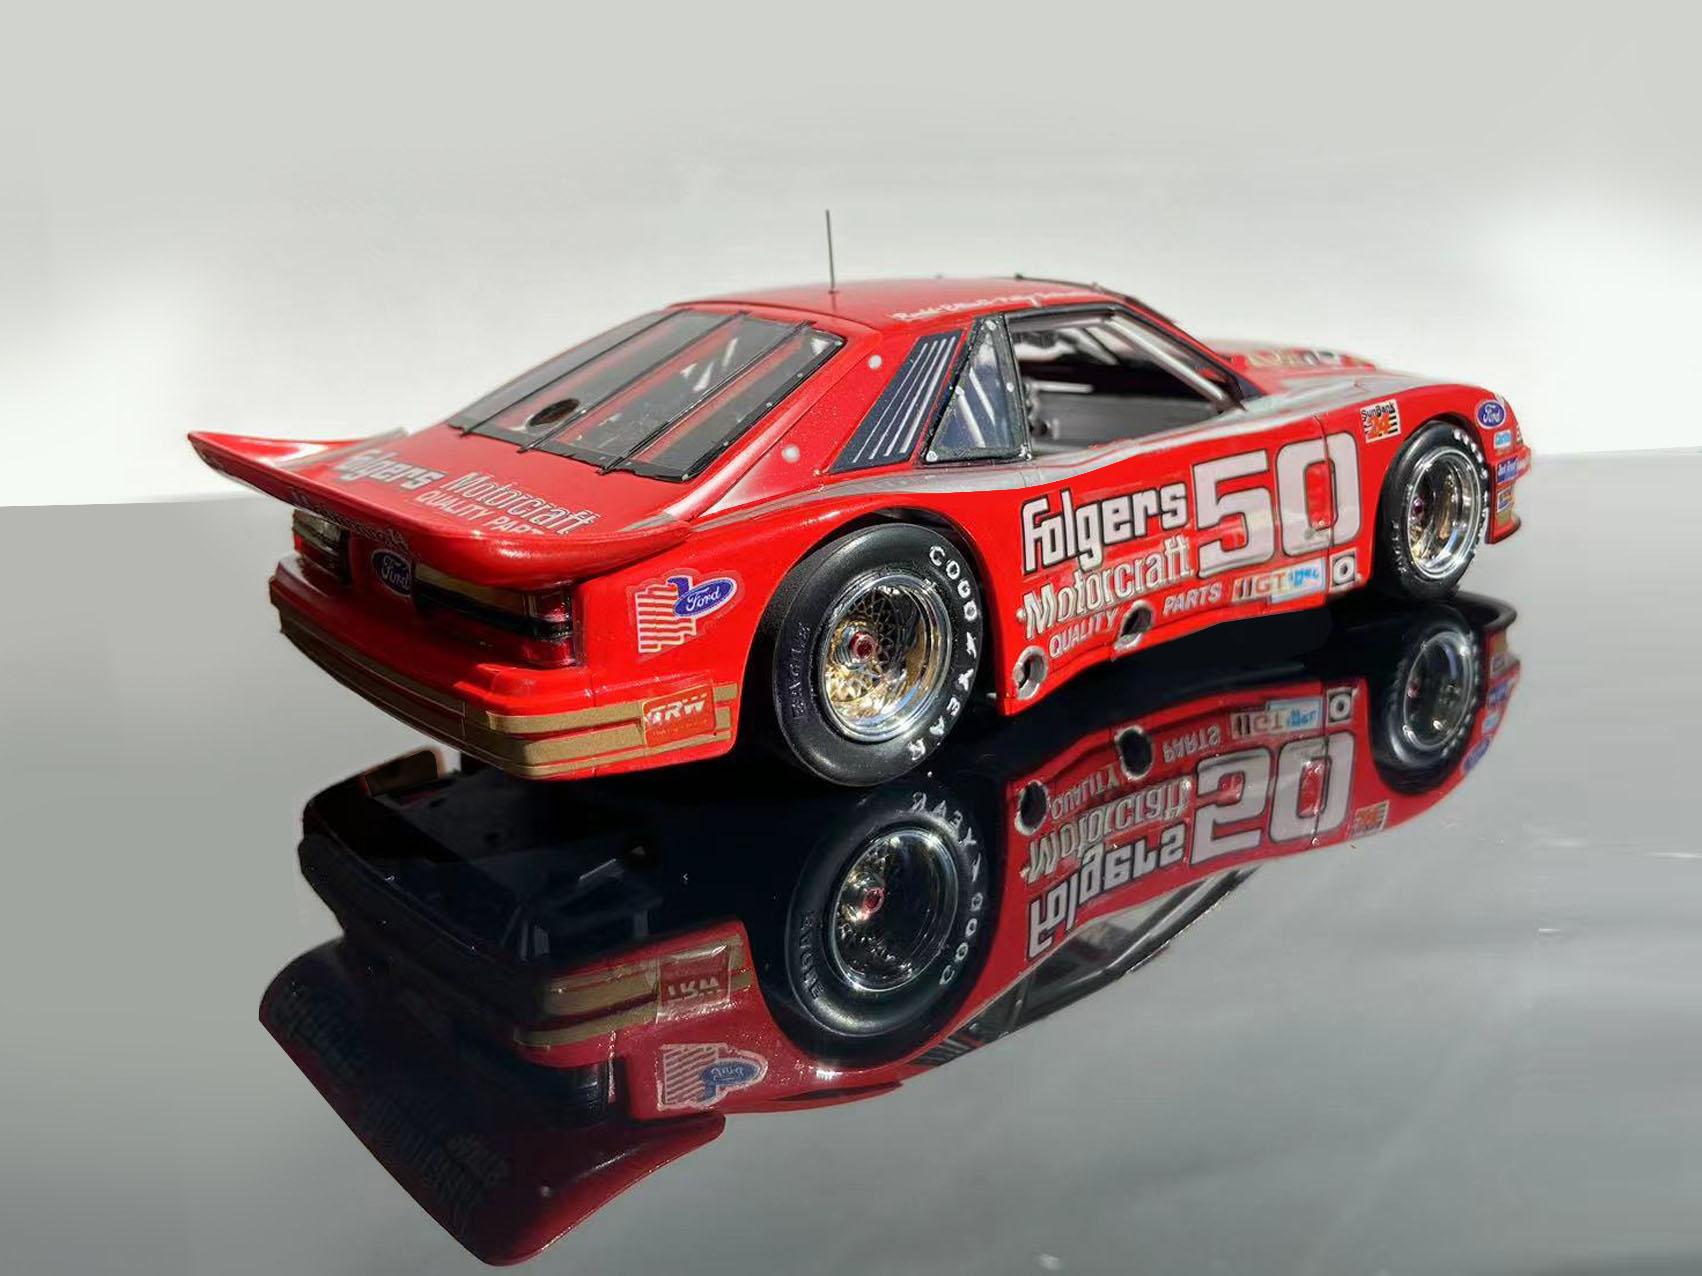
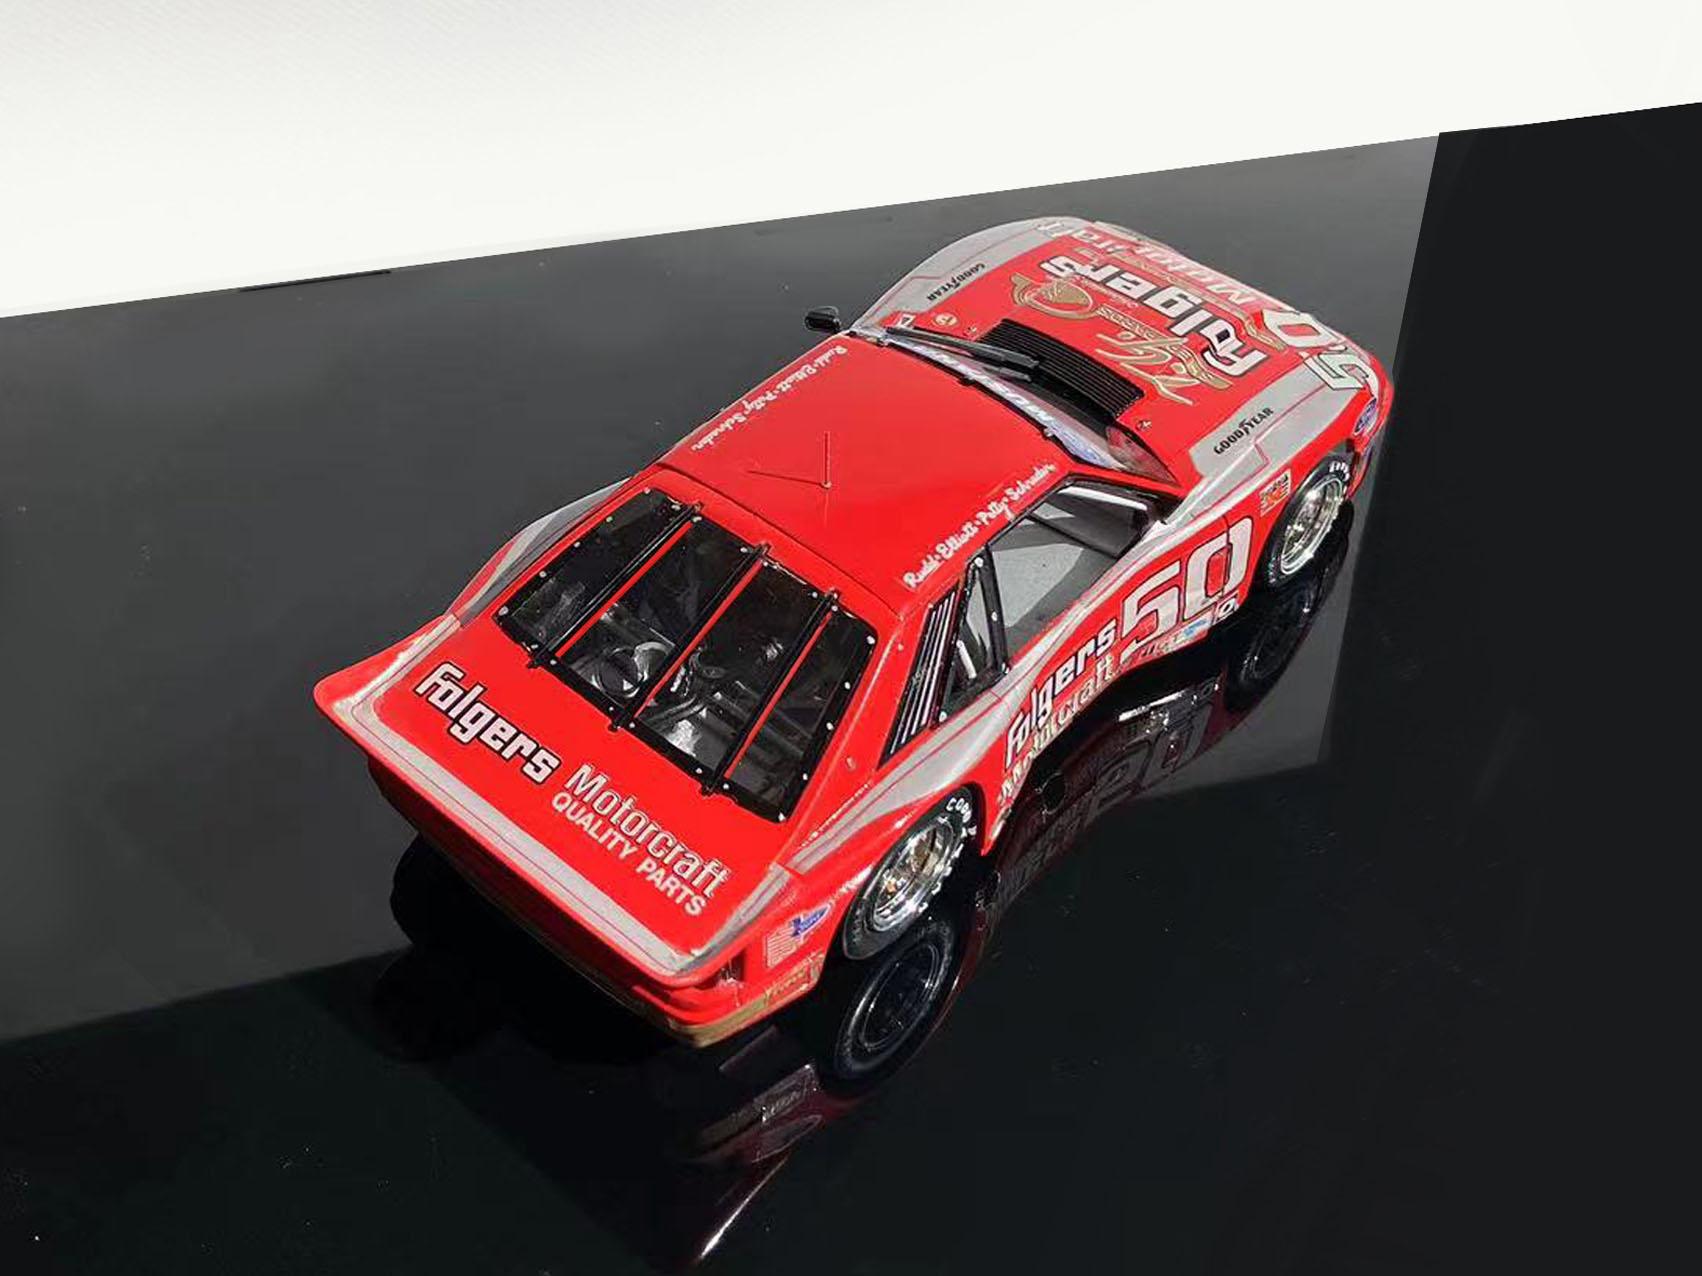
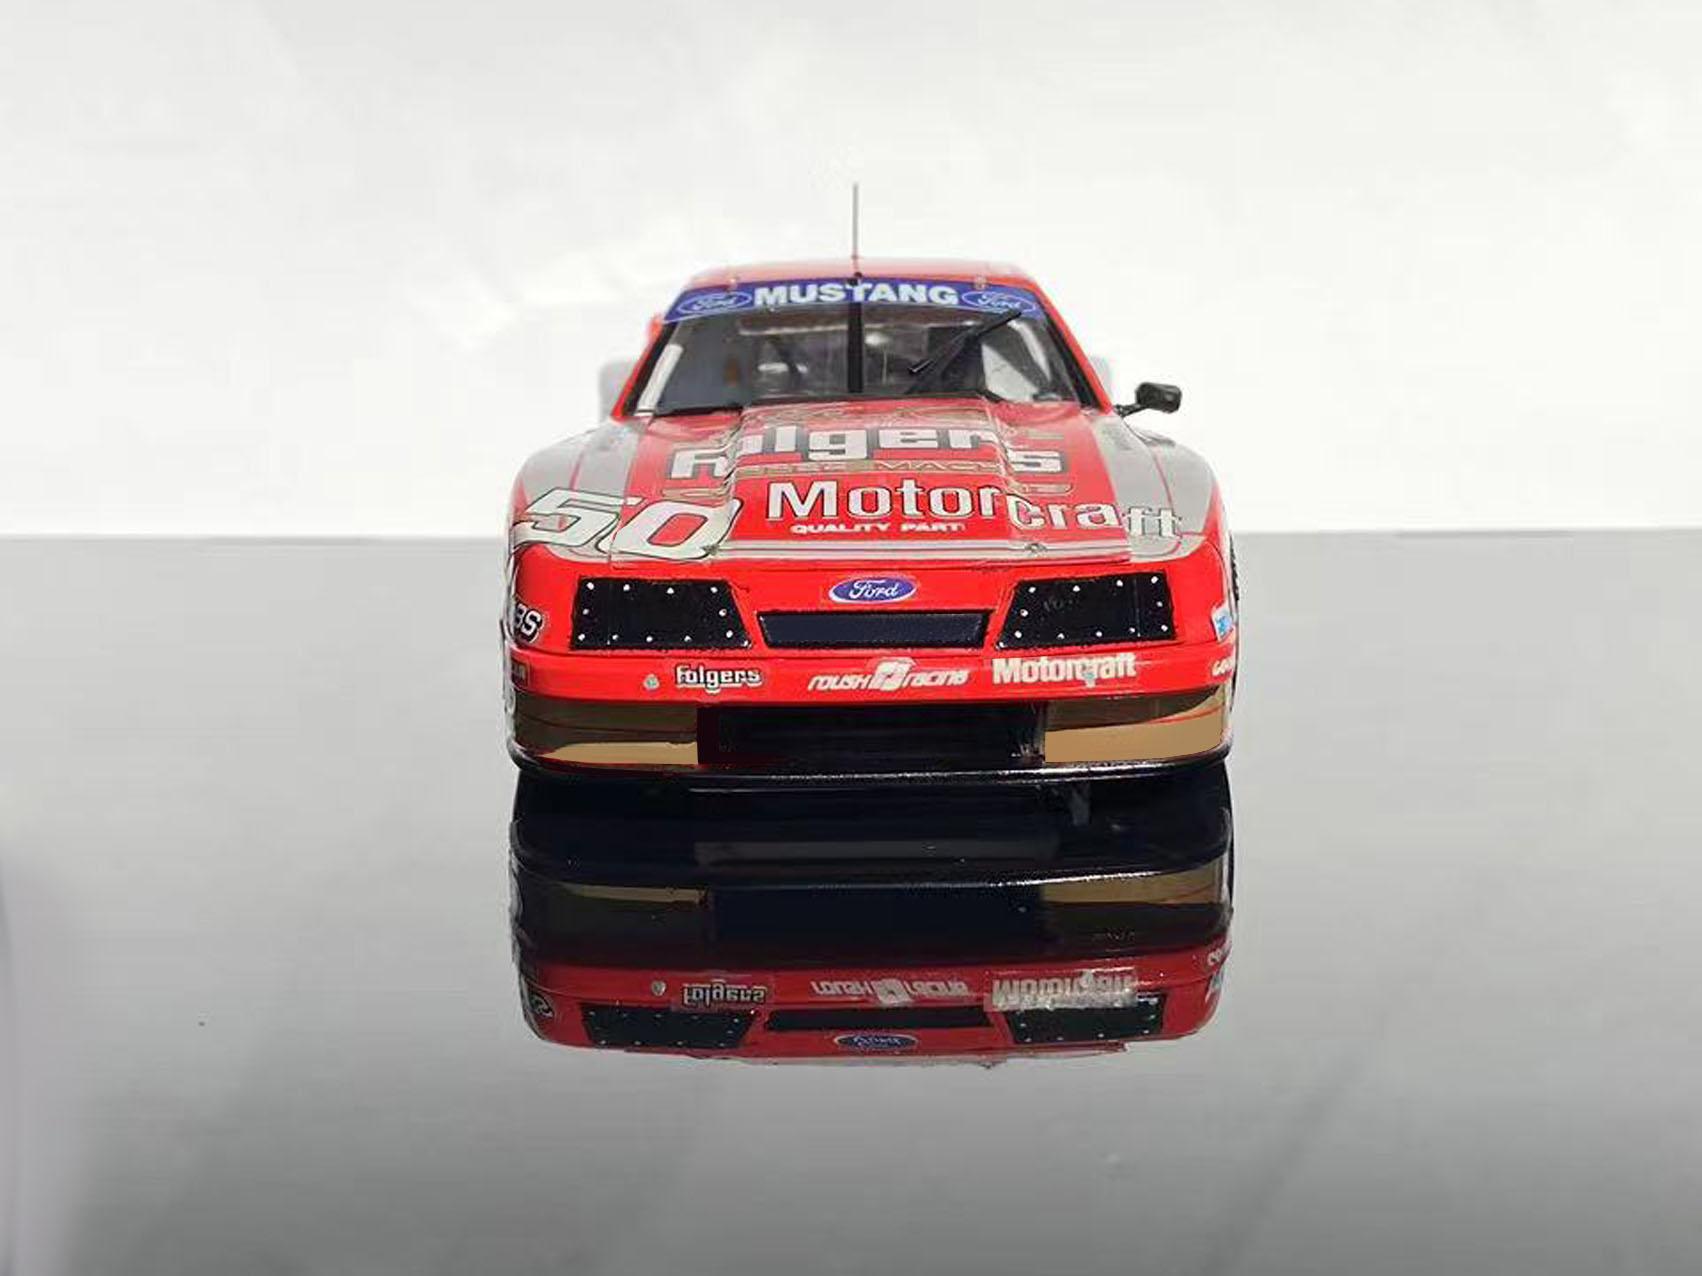
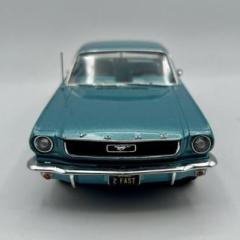
My first completed build of 2024 is Revell's 1985 IMSA Mustang ...Built from the box applying the original, nearly 40 year old decals! Expecting the worst, I was fortunate that Tamiya Decal Set and a lot of lip biting had worked. I used Tamiya and Mr Hobby paints and primers throughout the build. Two coats of Mr Hobby Super Clear applied from a rattle can finished off the body. I also added a thin gauge wire to represent a roof antenna. After the build I came across some reference photos and noticed that the real car had a NASCAR style window net. I think I'll apply one in the future. Enjoy the photos.
- 20 replies
-
- 11
-

-
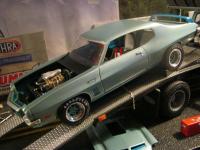
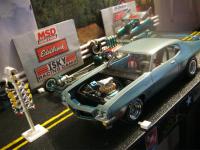
This is the new Revell GTO. I had gotten one of the older kits in the early 2000's, but botched the paint job. Ever since I have wanted a new kit. The body in the new kit is pretty nice........and that's all I have nice to say about the kit. I don't remember the old kit being this bad. I thought I was building an AMT kit. The interior is just a tub with not a lot of detail. The chassis has some detail, but the suspension is not that detailed; and the engine bay? It may as well not even have had one. The fire wall has no detail, the engine has little detail, and the rest of the bay is pretty open. The fit of the front and rear is also bad. I had to trim the chassis to get the front on, and the trunk hangs over the top tail lights. I also don't understand why they would have you paint the marker lights in front. Make a recess there and have a plated piece fit in there that can be translucent painted. Over all though, the kit didn't come out looking too bad. SAM_1471 by Eric Lucas, on Flickr SAM_1472 by Eric Lucas, on Flickr
-
Happy Spring all,,its warming up here in motor City,,getting ready for the Autorama at cobo hall,,one of the best car shows in the nation,,along with the Woodward cruise in August. I just finished the MPC 67 ' GTO,,it turned out ok,,,warning about the front grill set. It dosent fit right. lol. not sure if its just the production lot I got my kit from Hobby lobby or what,,but man ,,had to file ..sand ect to get it this close. And as always I chopped,,cut,,modified quite a bit of it. I put some real tires on the back,,added some headrest to the seats,,added some side dump header pipes,,opened up the rear wheel wells to fit back tires,,installed a 409 mtr from the x-tras bx,,and 671 blower. Installed a replacement rear end from the x-tras bx. Rattle can sprayed red from the hardware store paint. hand painted everything else. Overall its a cool kit,,but it will test your fabrication+ modification skills. maybe if I had just left it stock it would have been easy,,but I hardly ever do that often. Build on!
-
I'm certain that many of me fellow plastic fanatics have seen this psychedelic Judge; but, for those of you who have not seen this far-out Poncho, here's an article with a compliment of images. I'm giving serious consideration to painting my current (and ongoing) project 1970 Baldwin-Motion Chevelle Phase III in these colours (interior is already painted red - my original plan was for Tamiya's Mica Silver Metallic), though I'll likely reserve this option for another '70 Chevelle SS. Without further ado: Color Combo on Psychedelic 1970 Pontiac GTO Judge Never Meant to Be (motortrend.com)
-
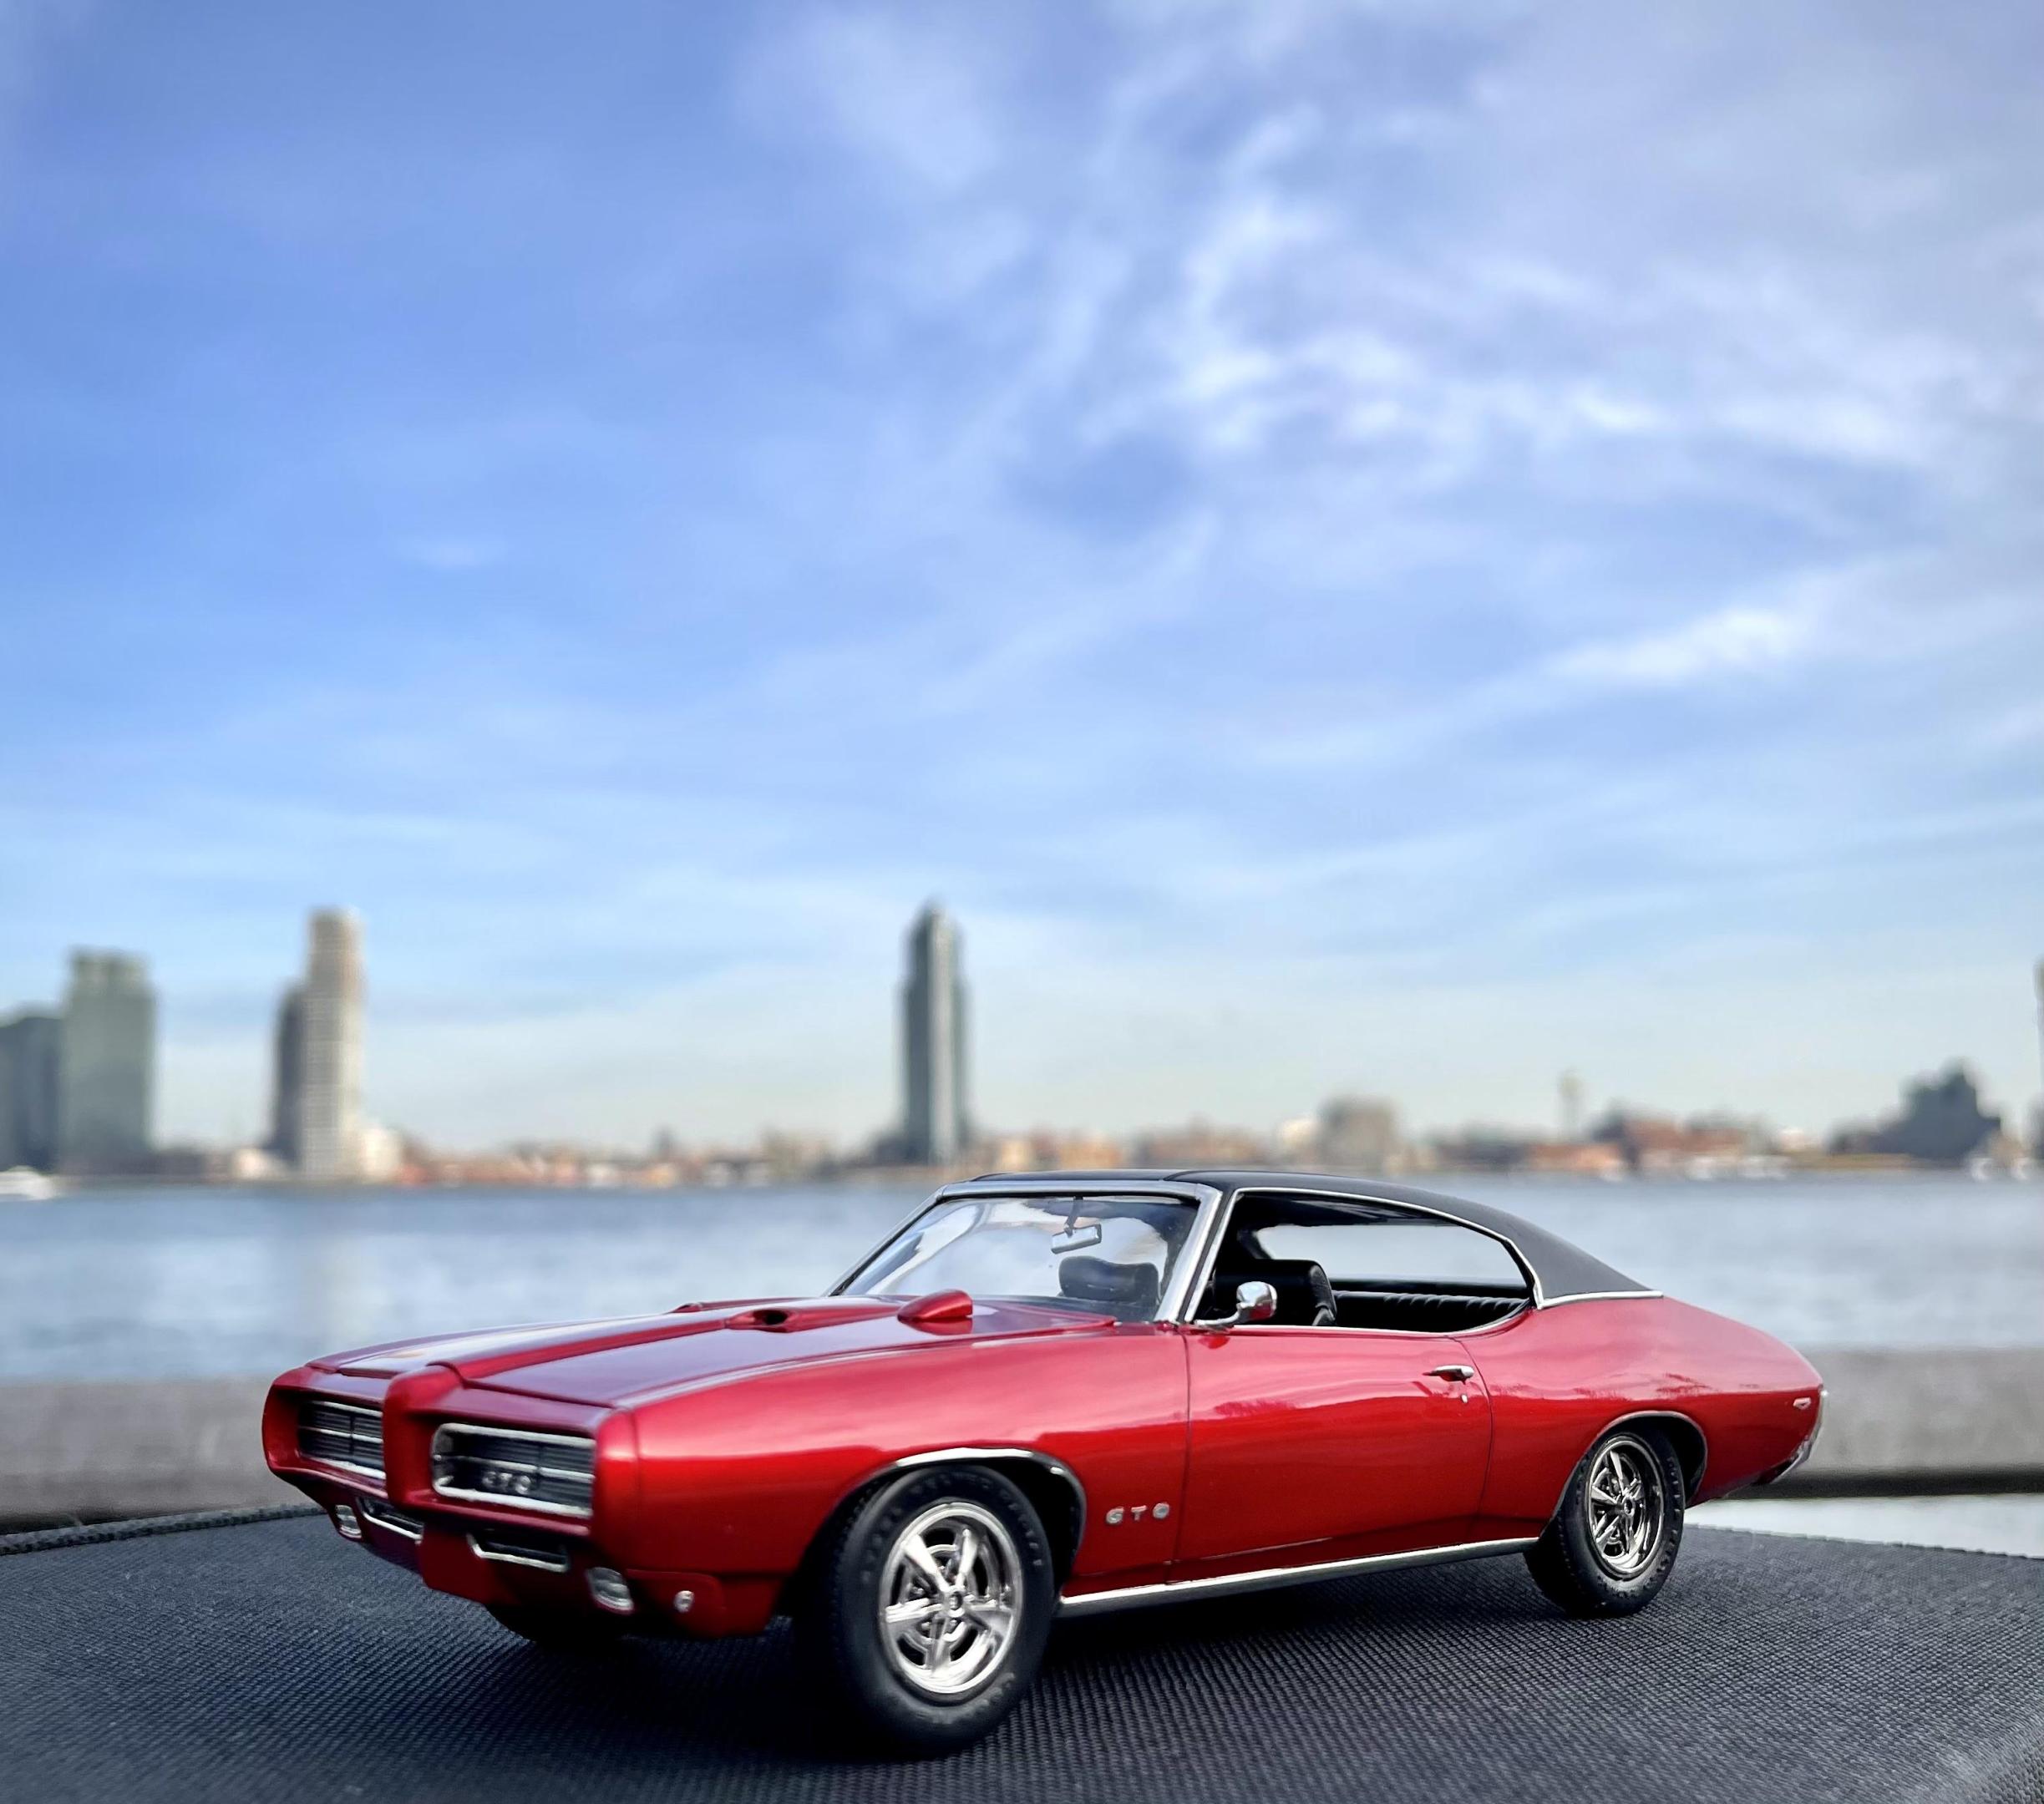
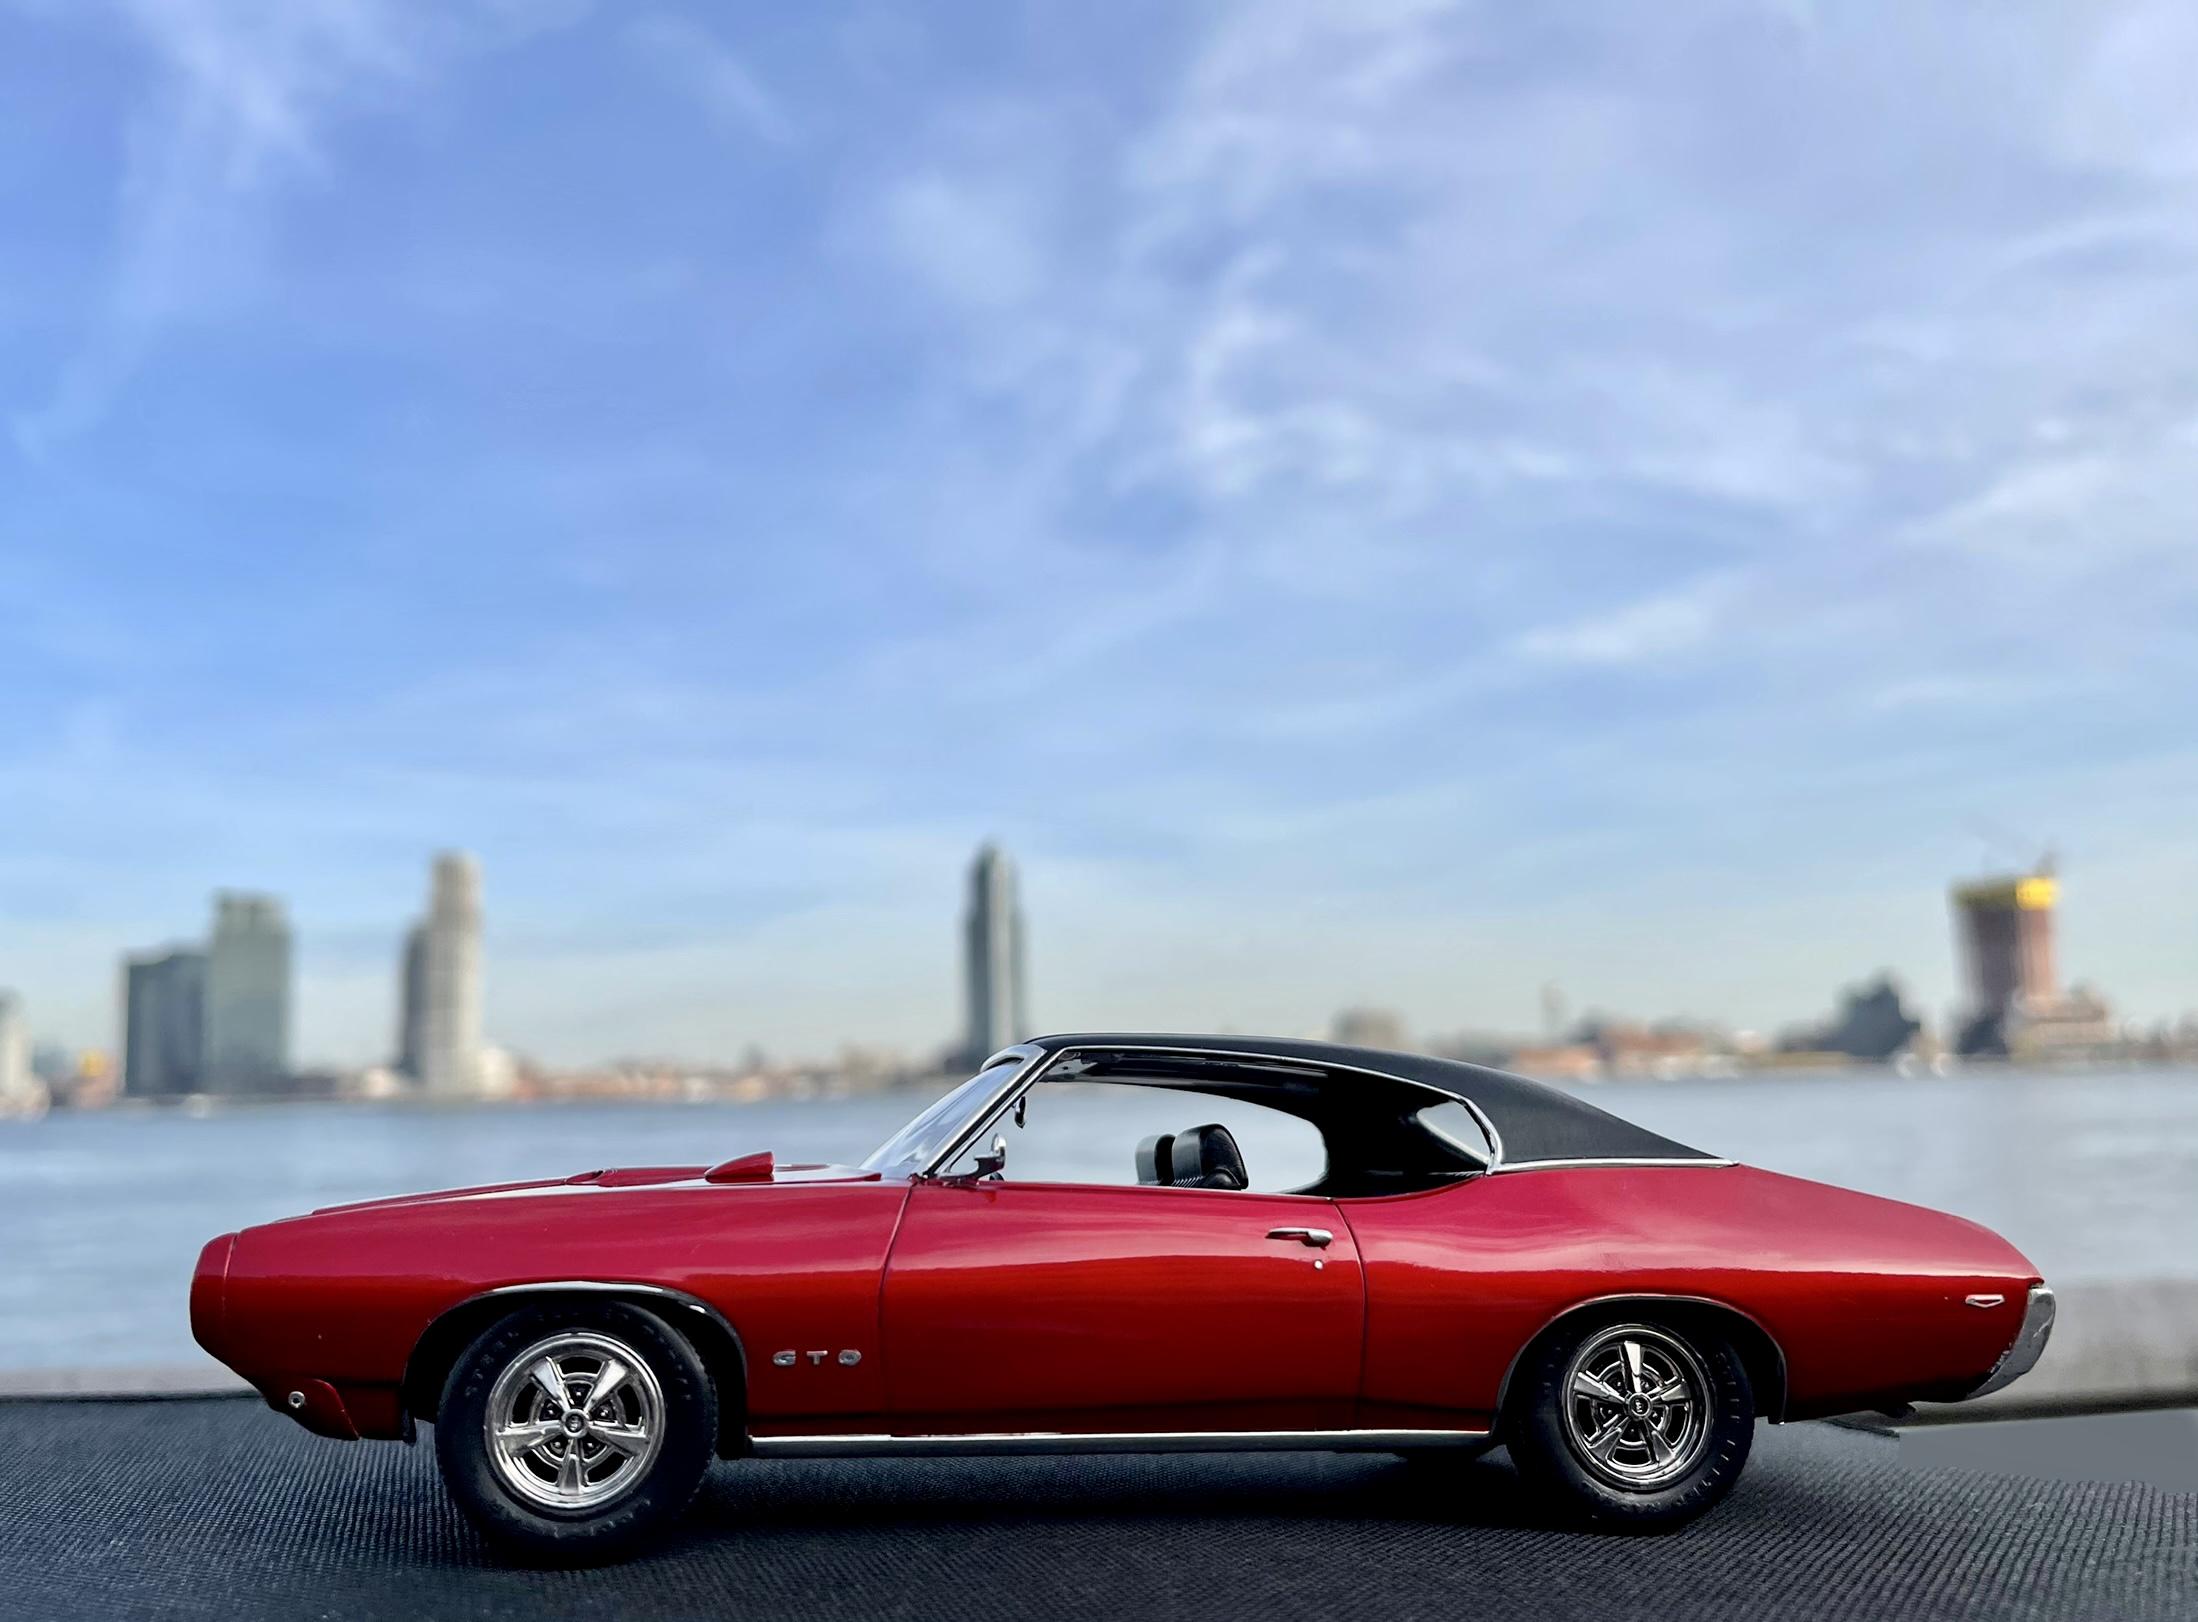
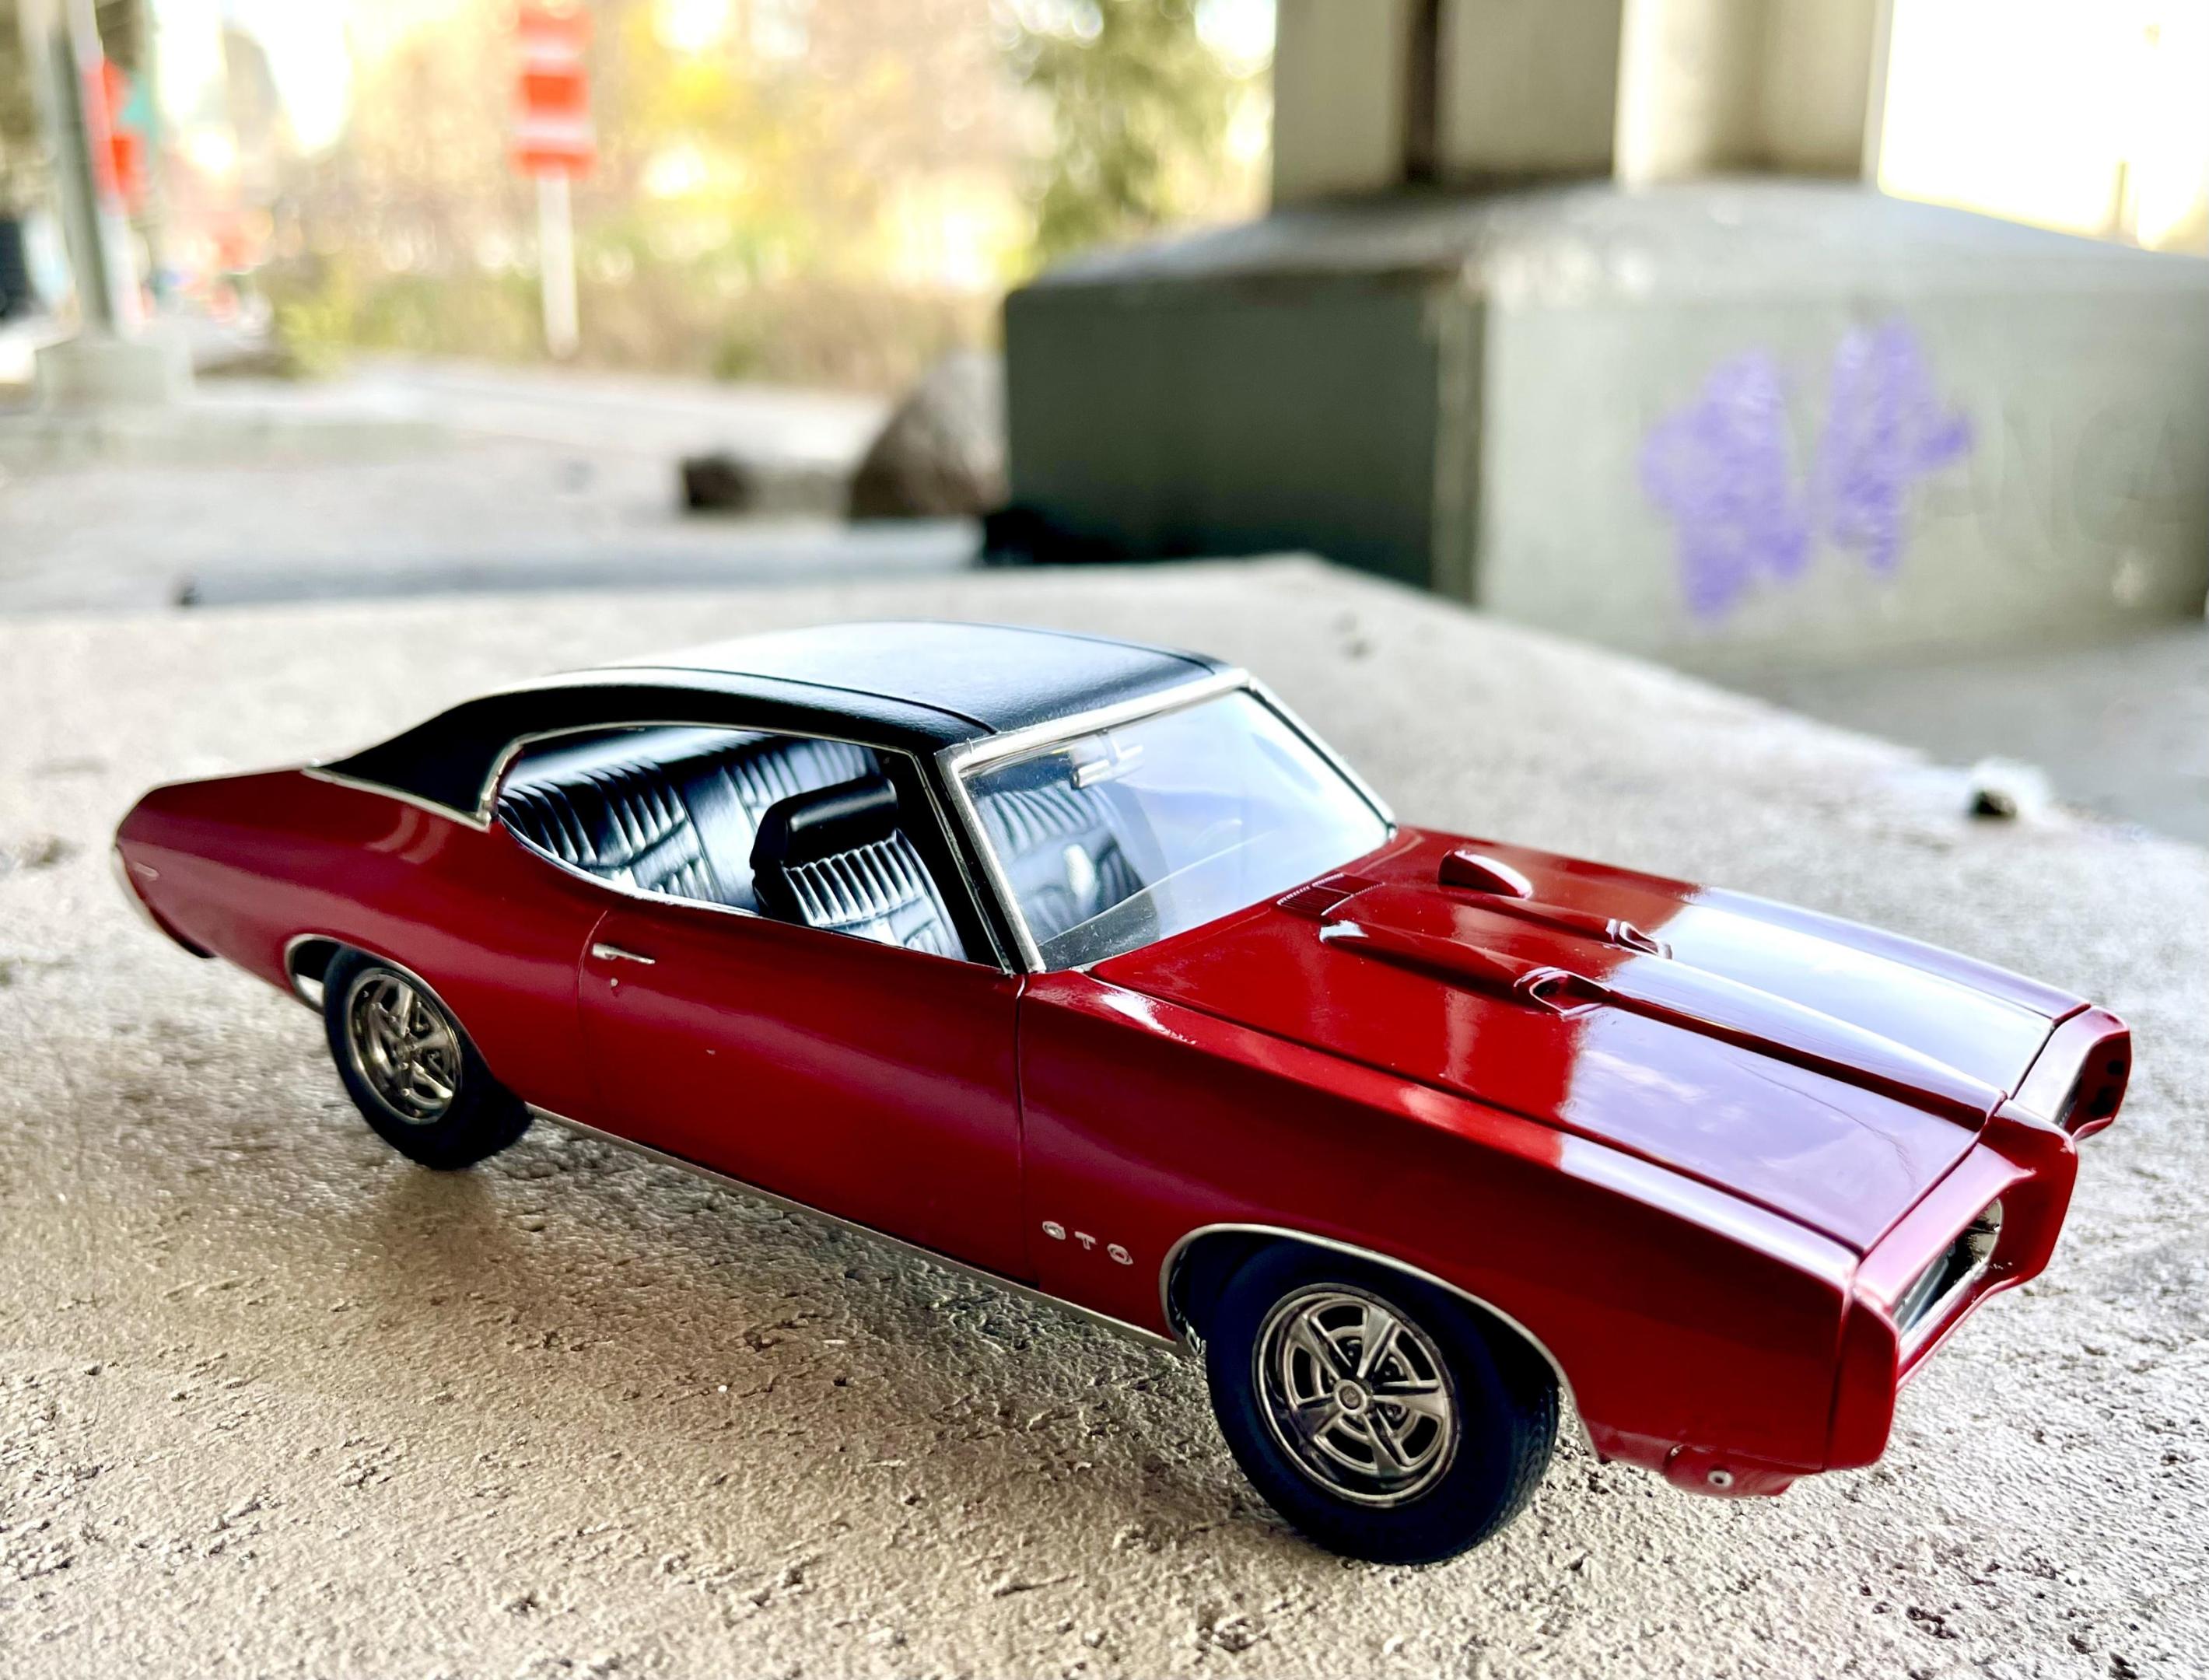
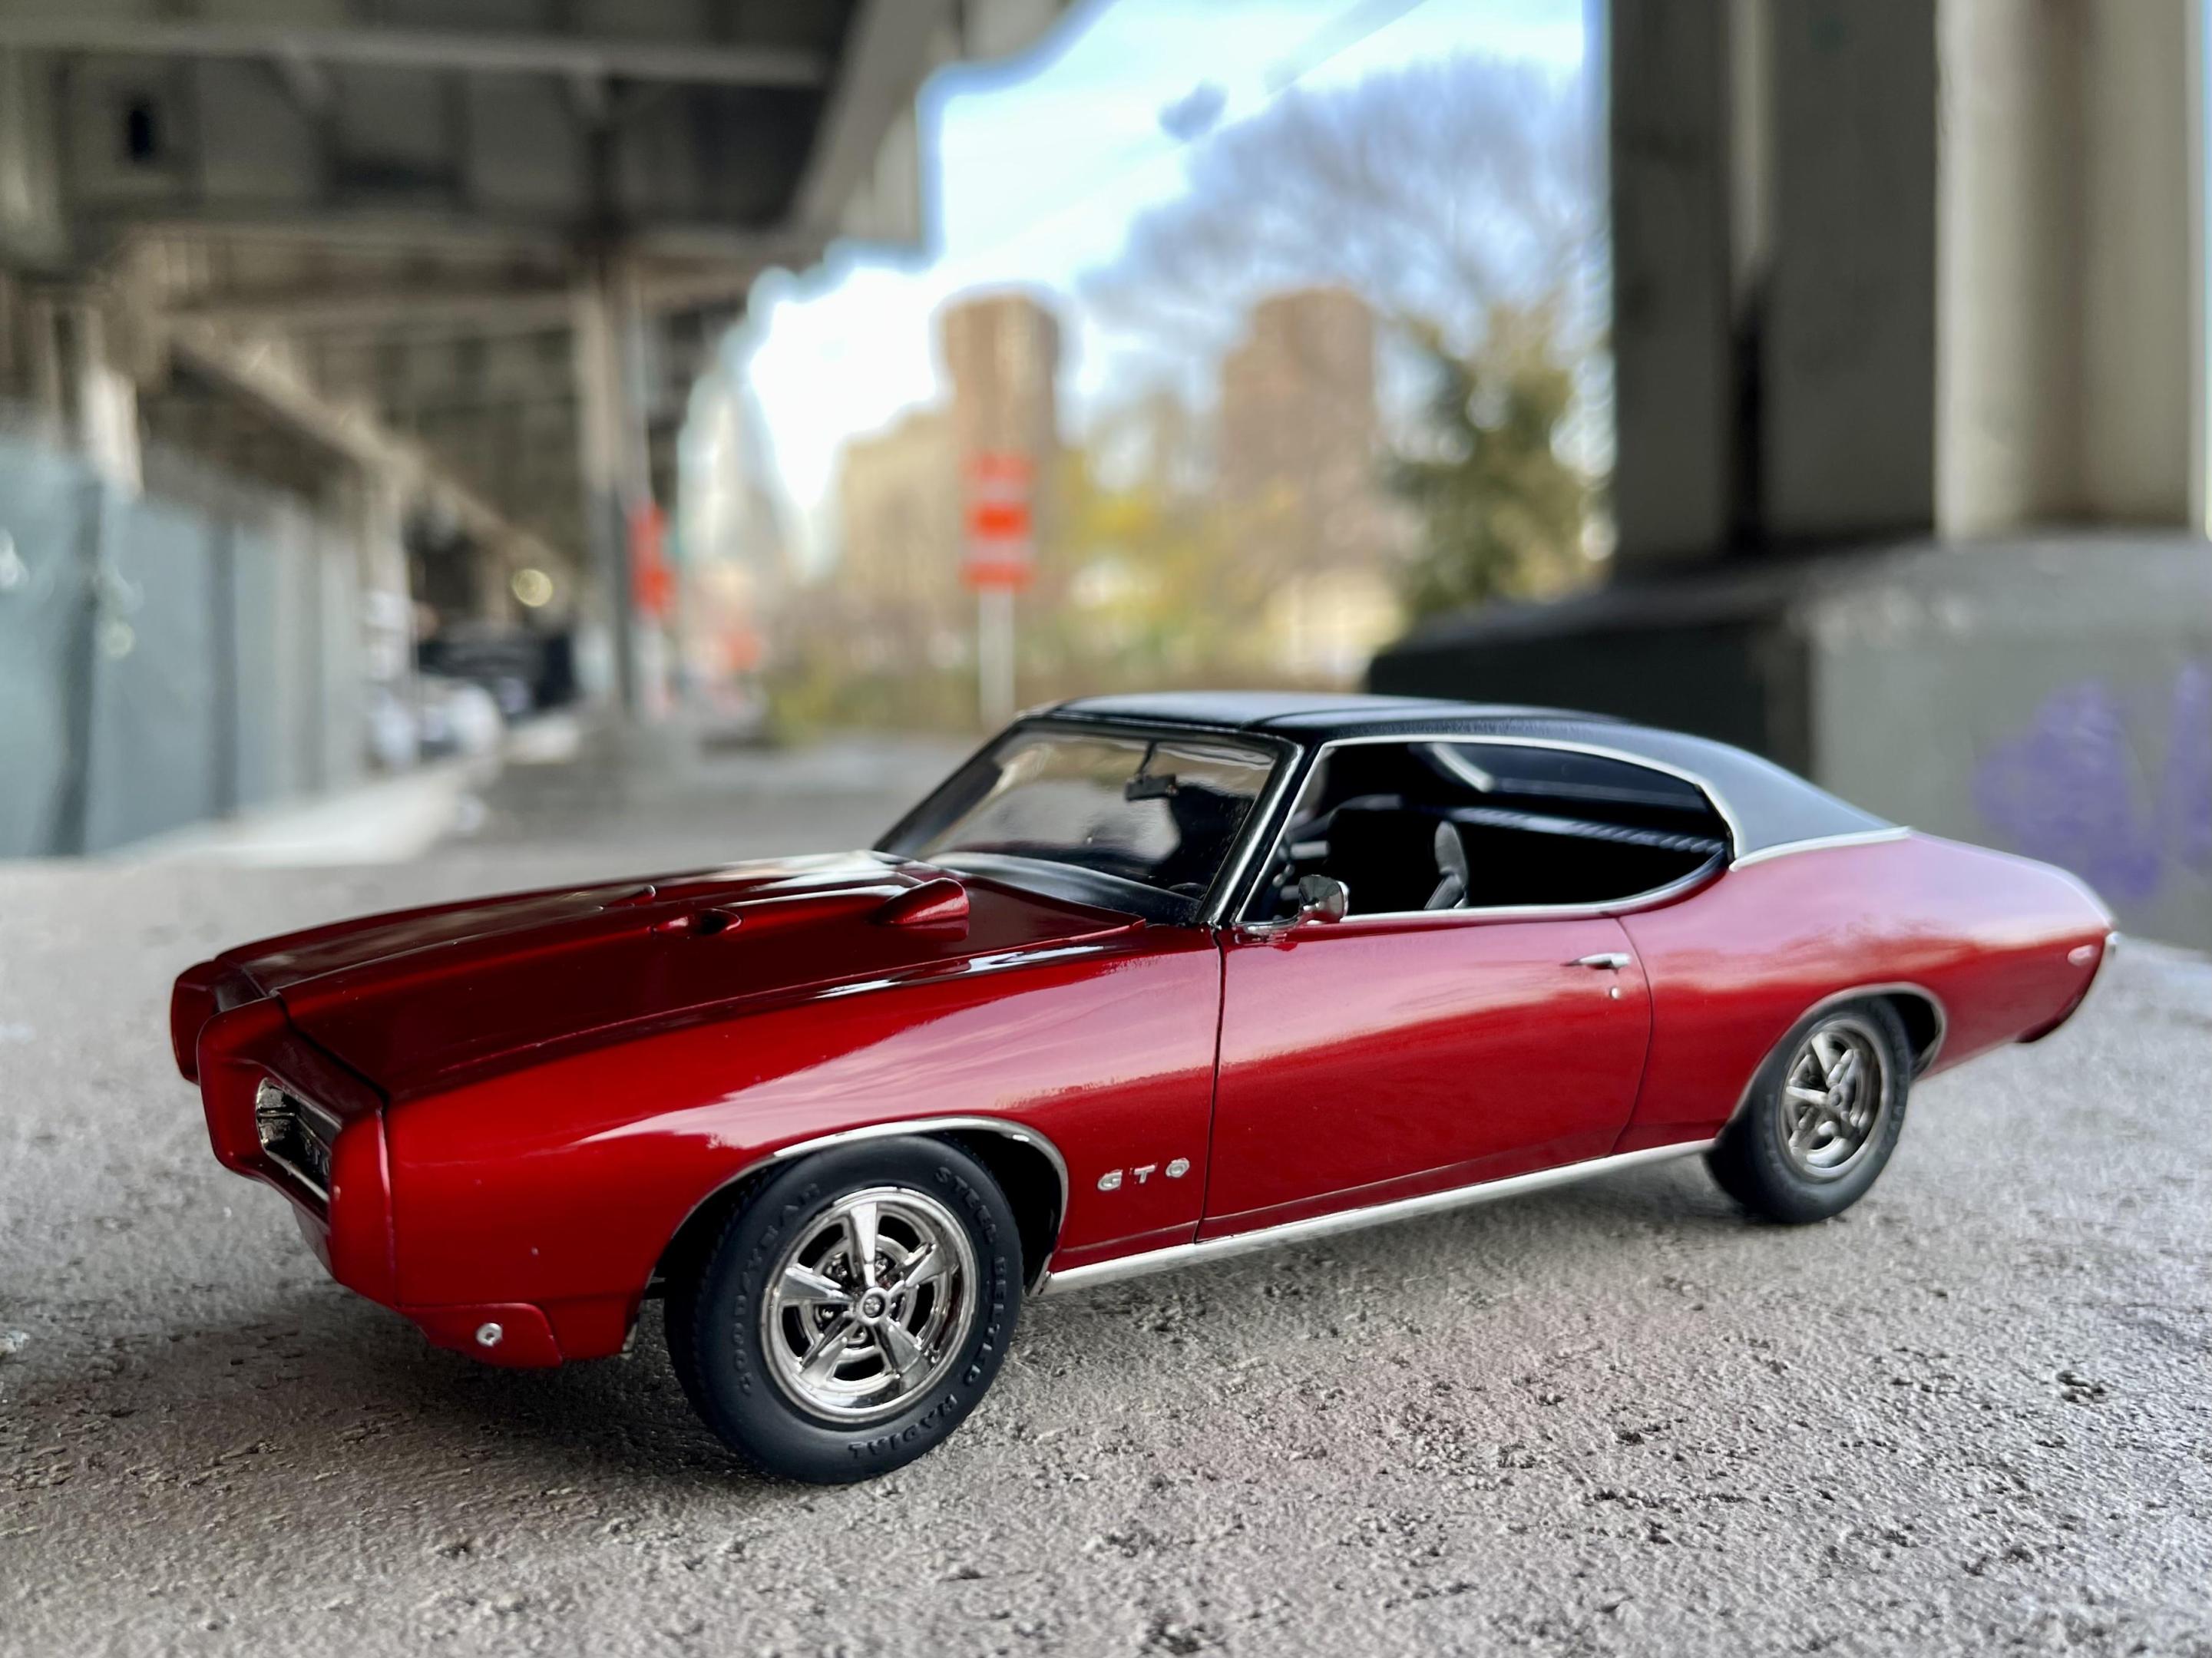
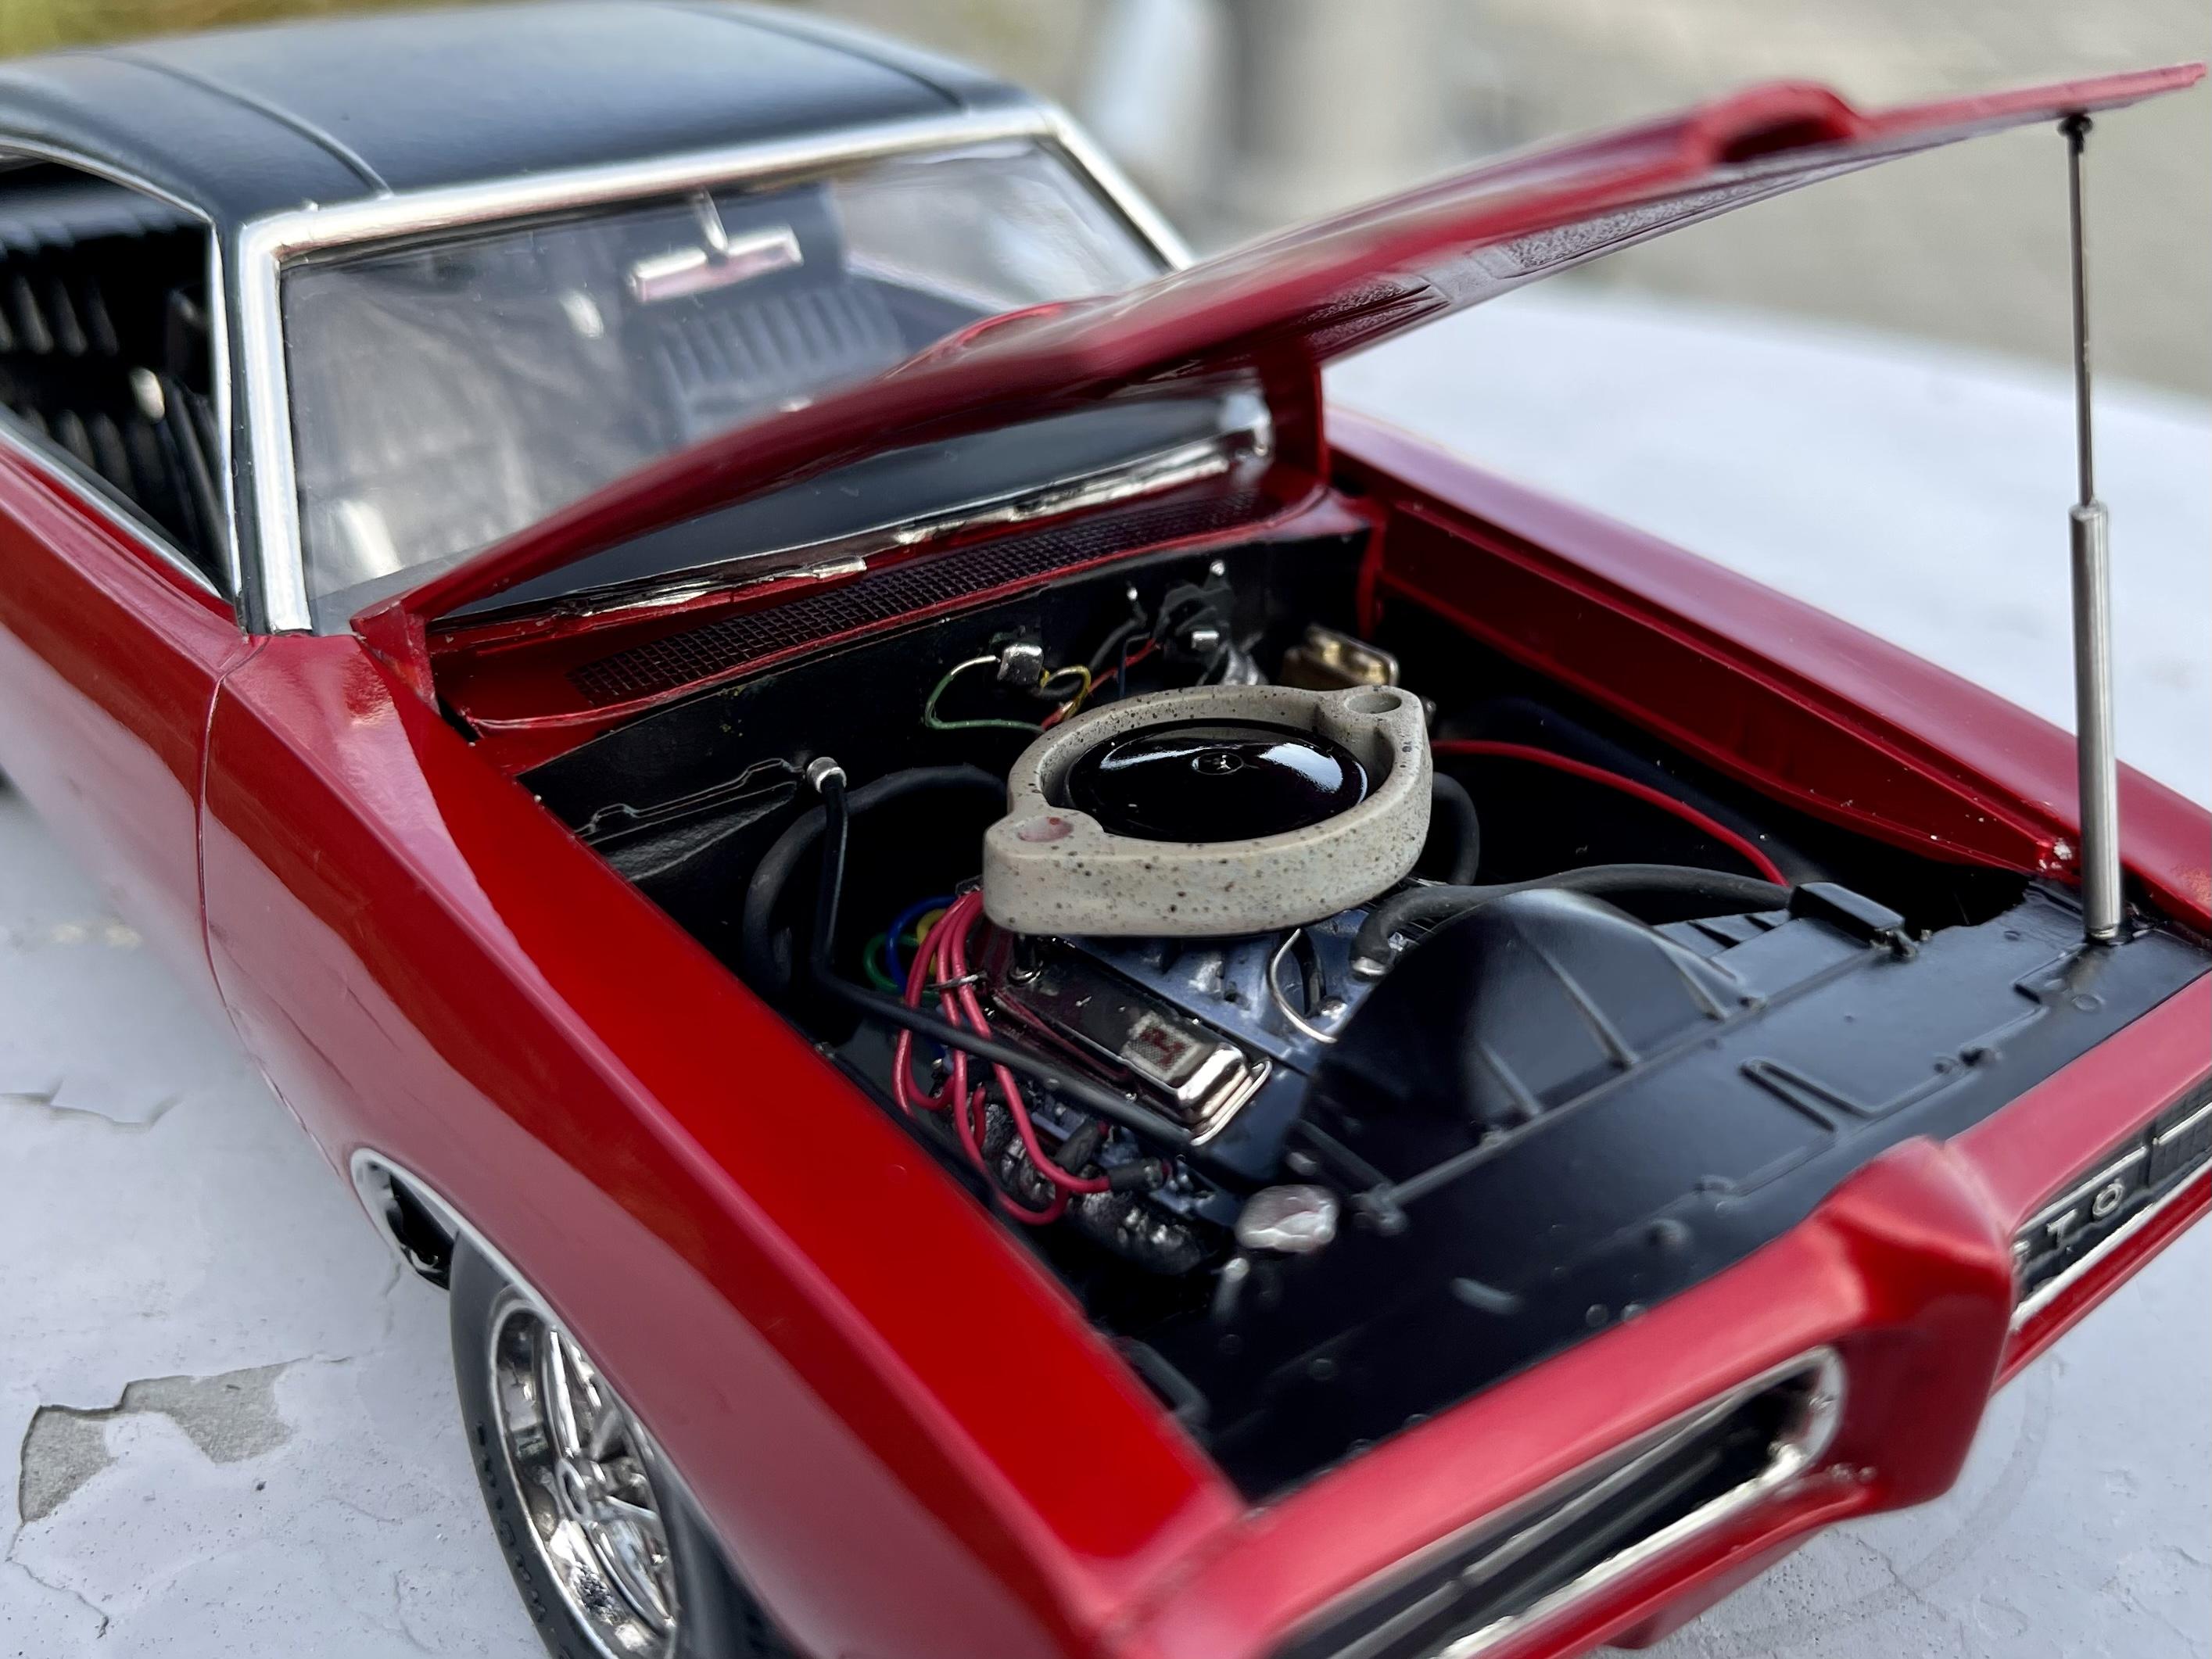
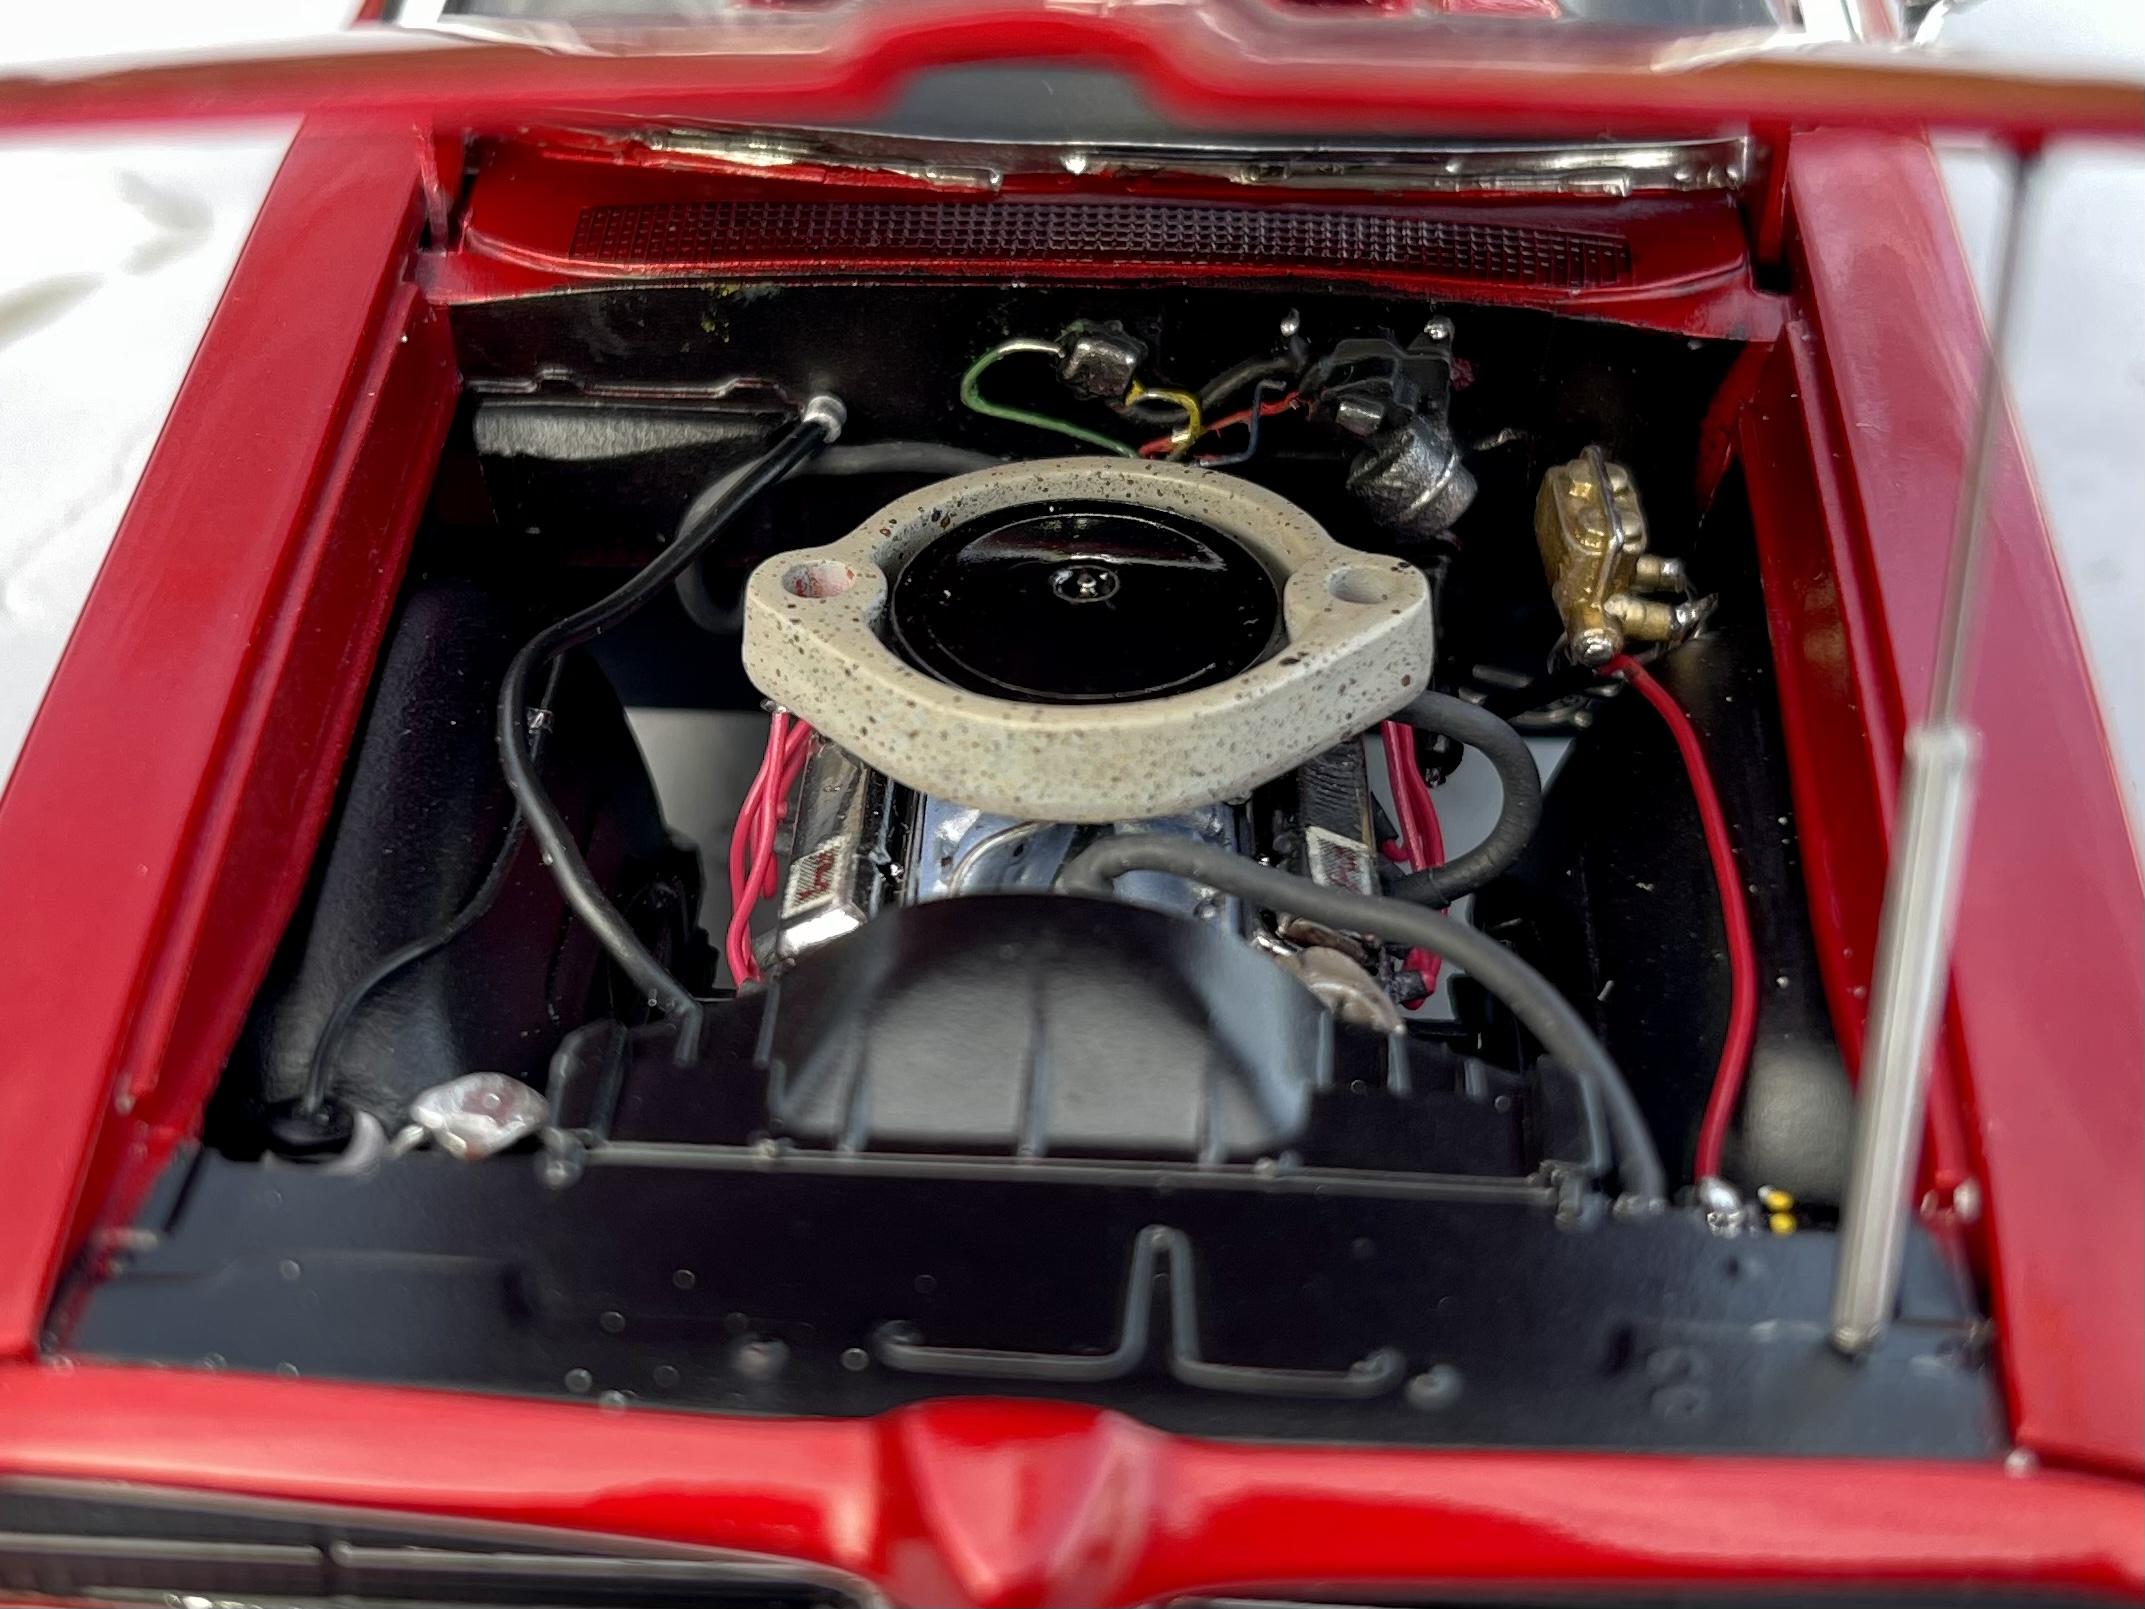
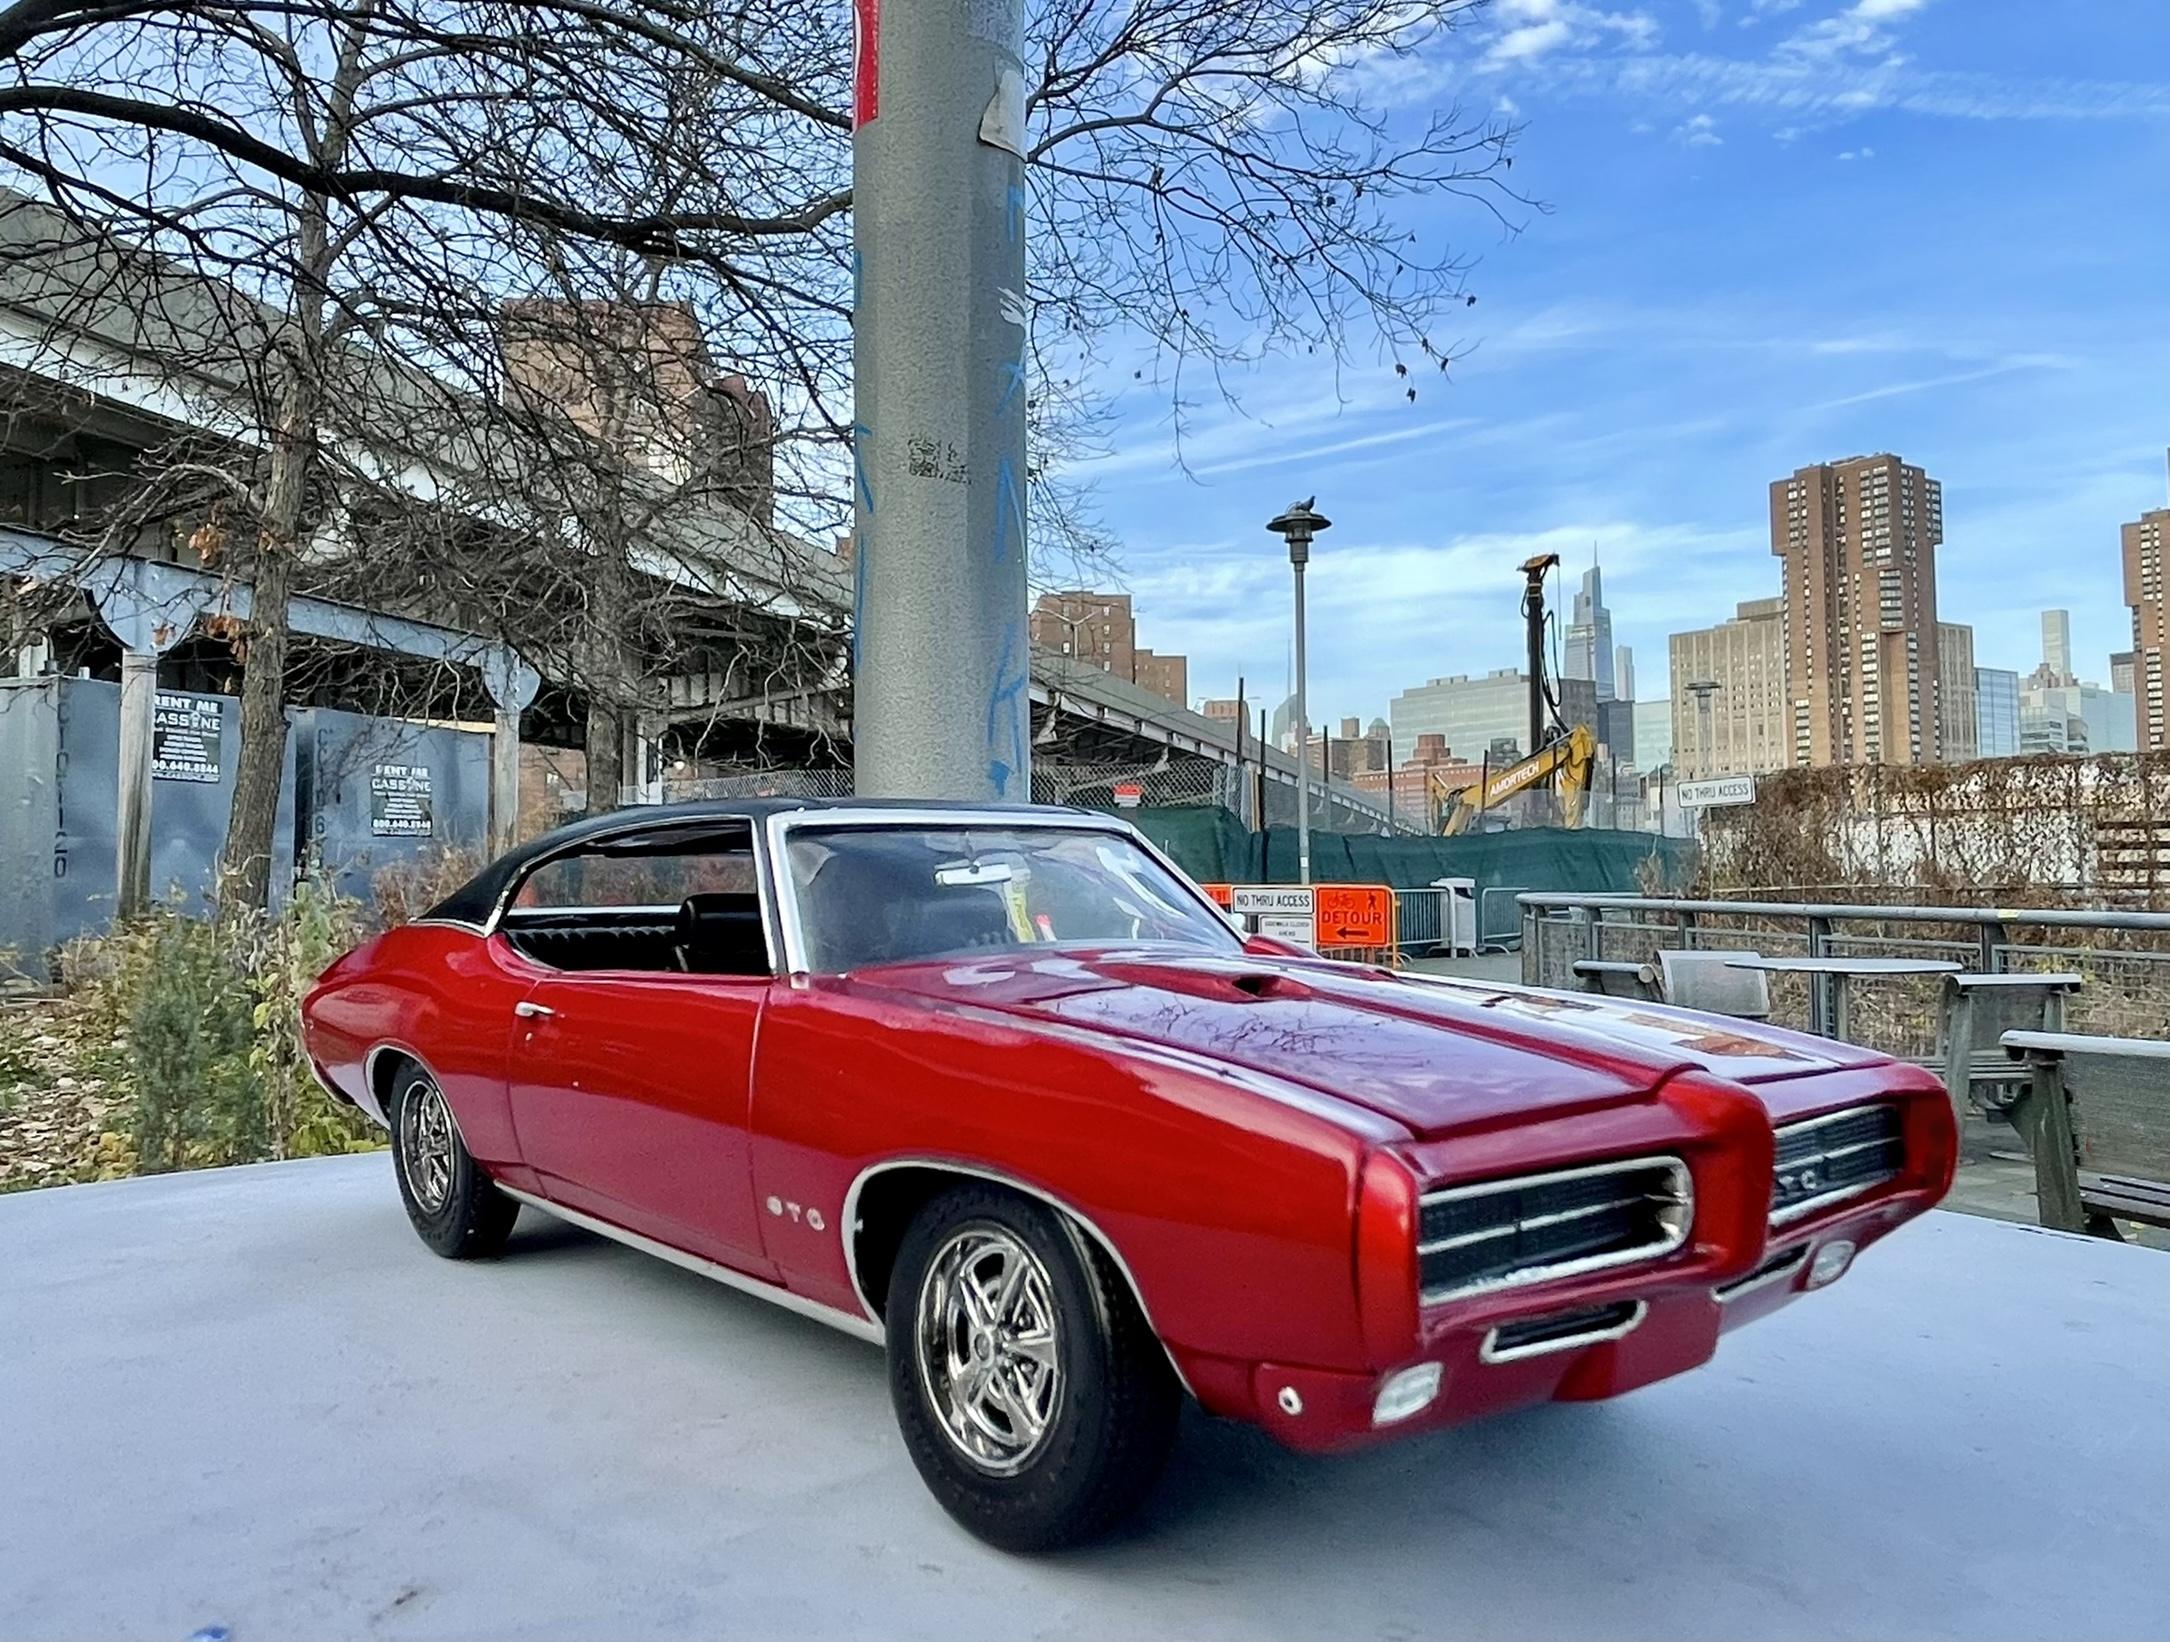
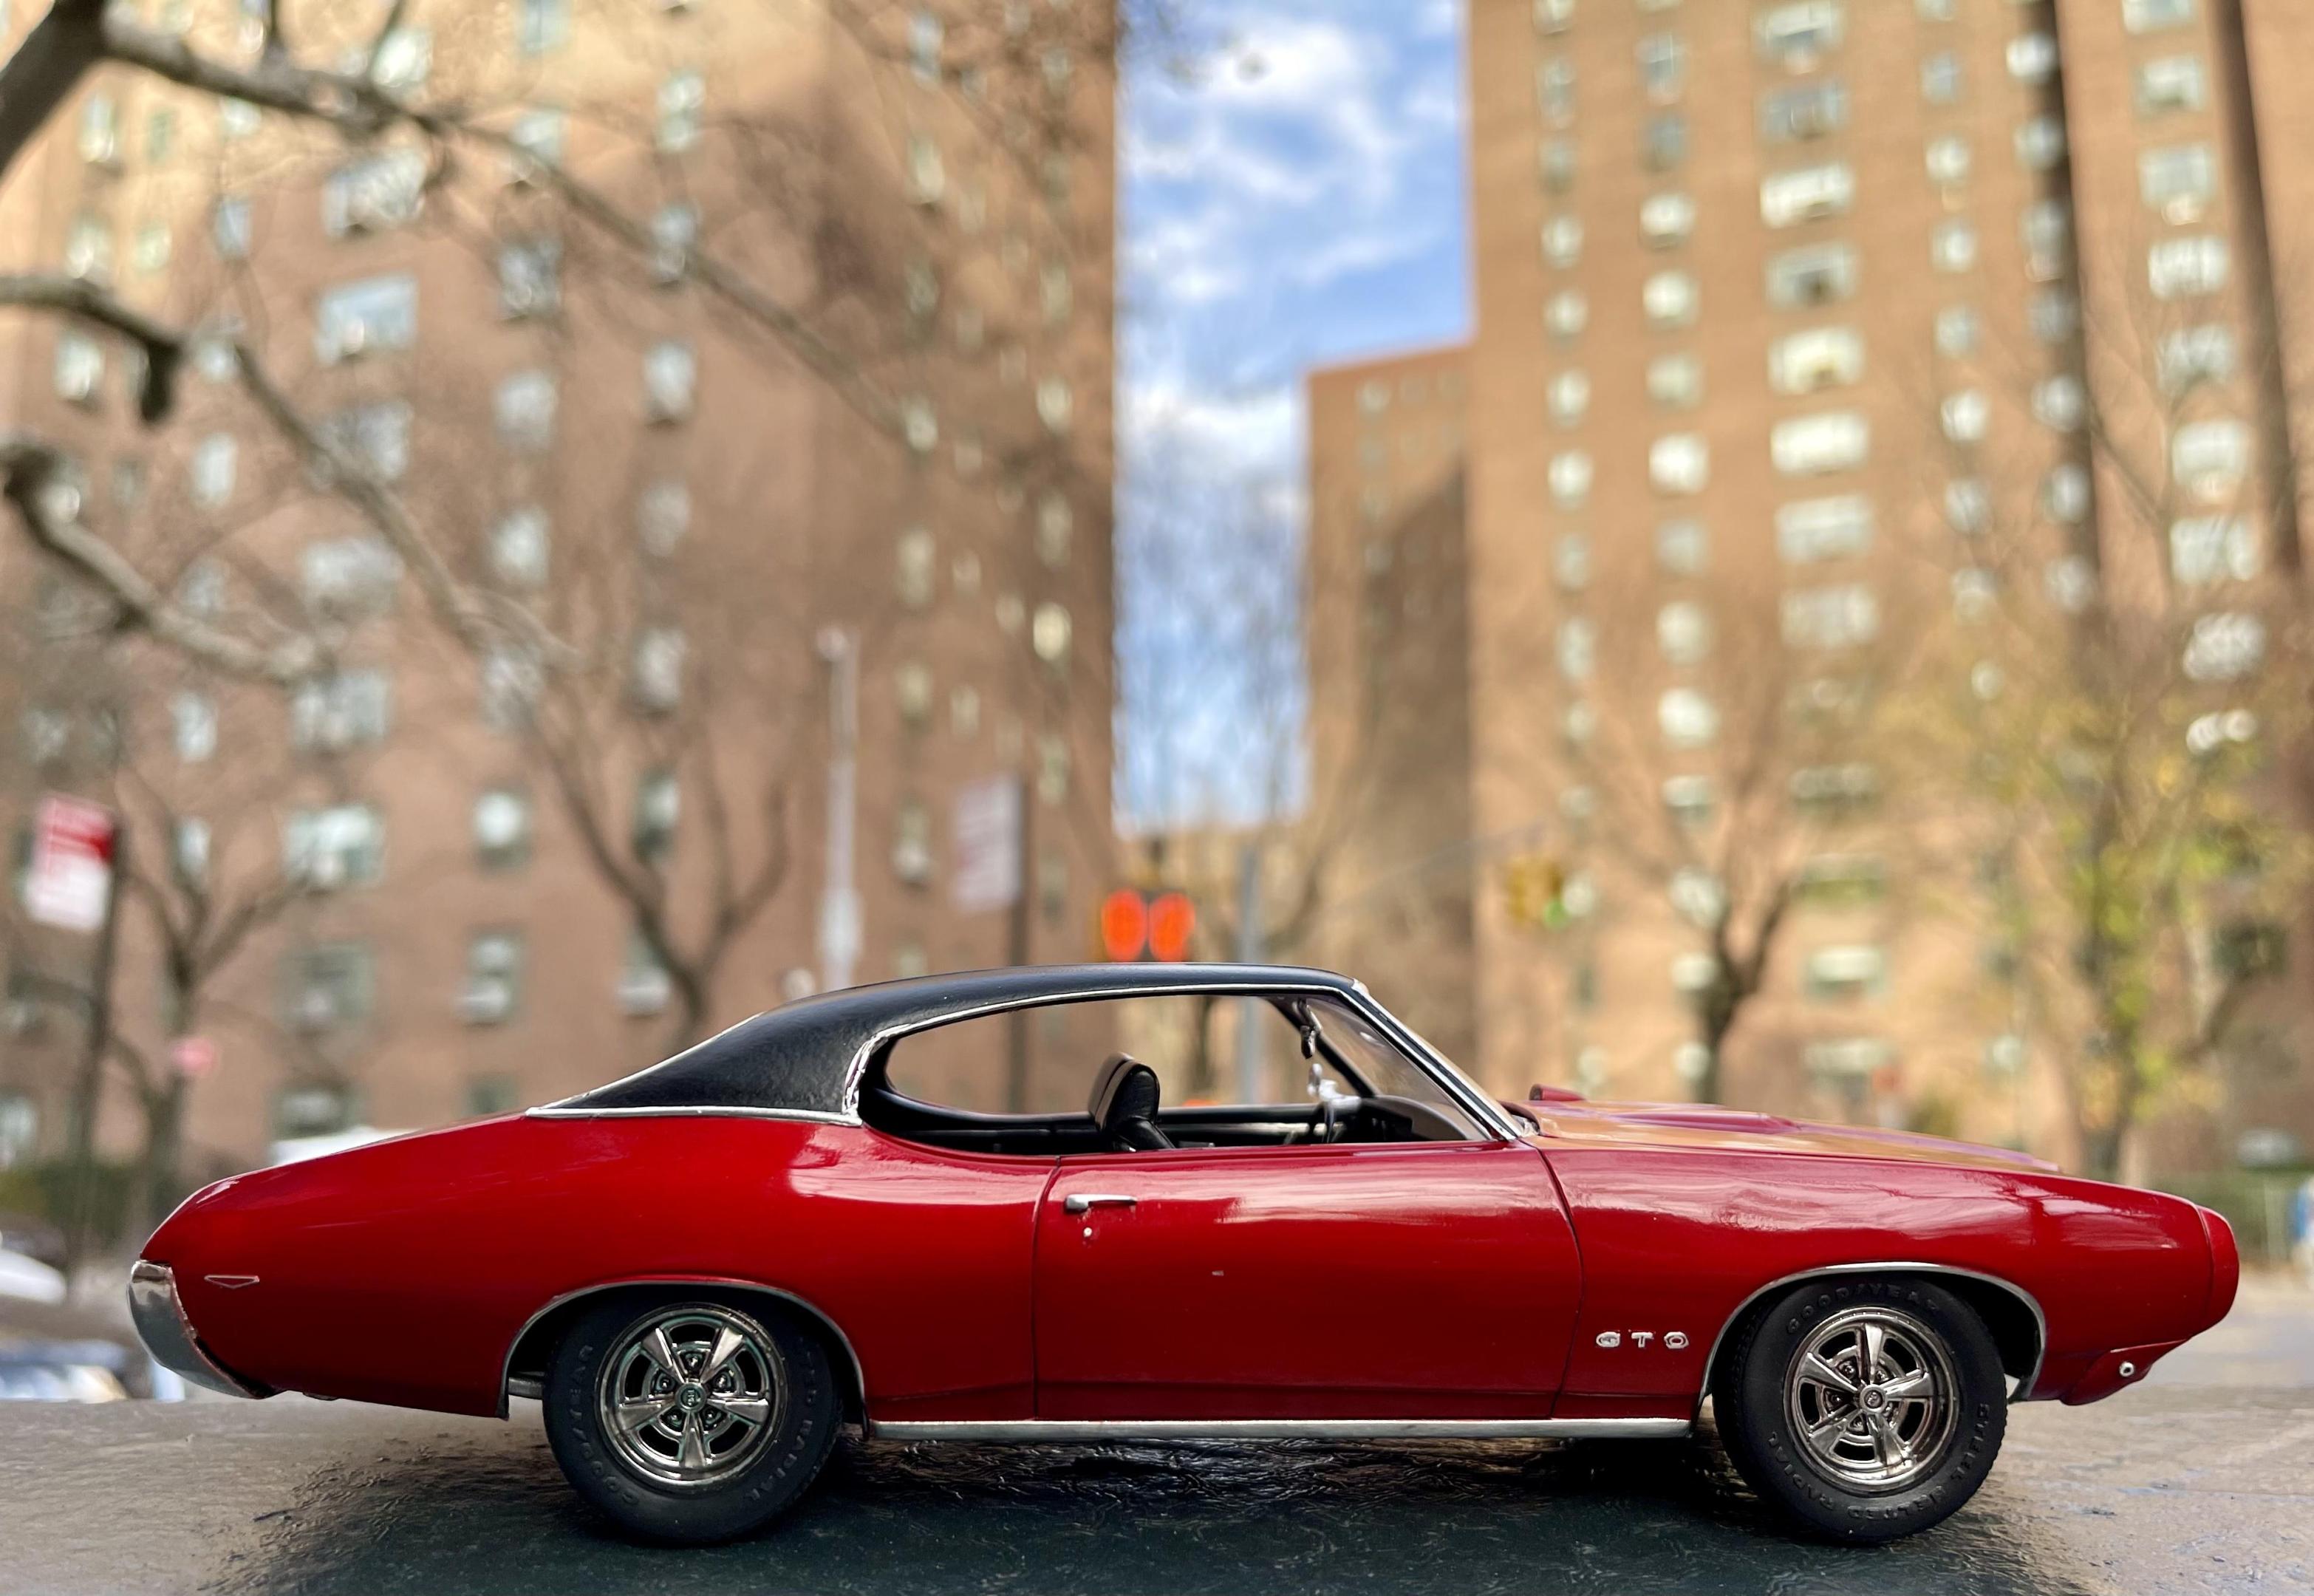
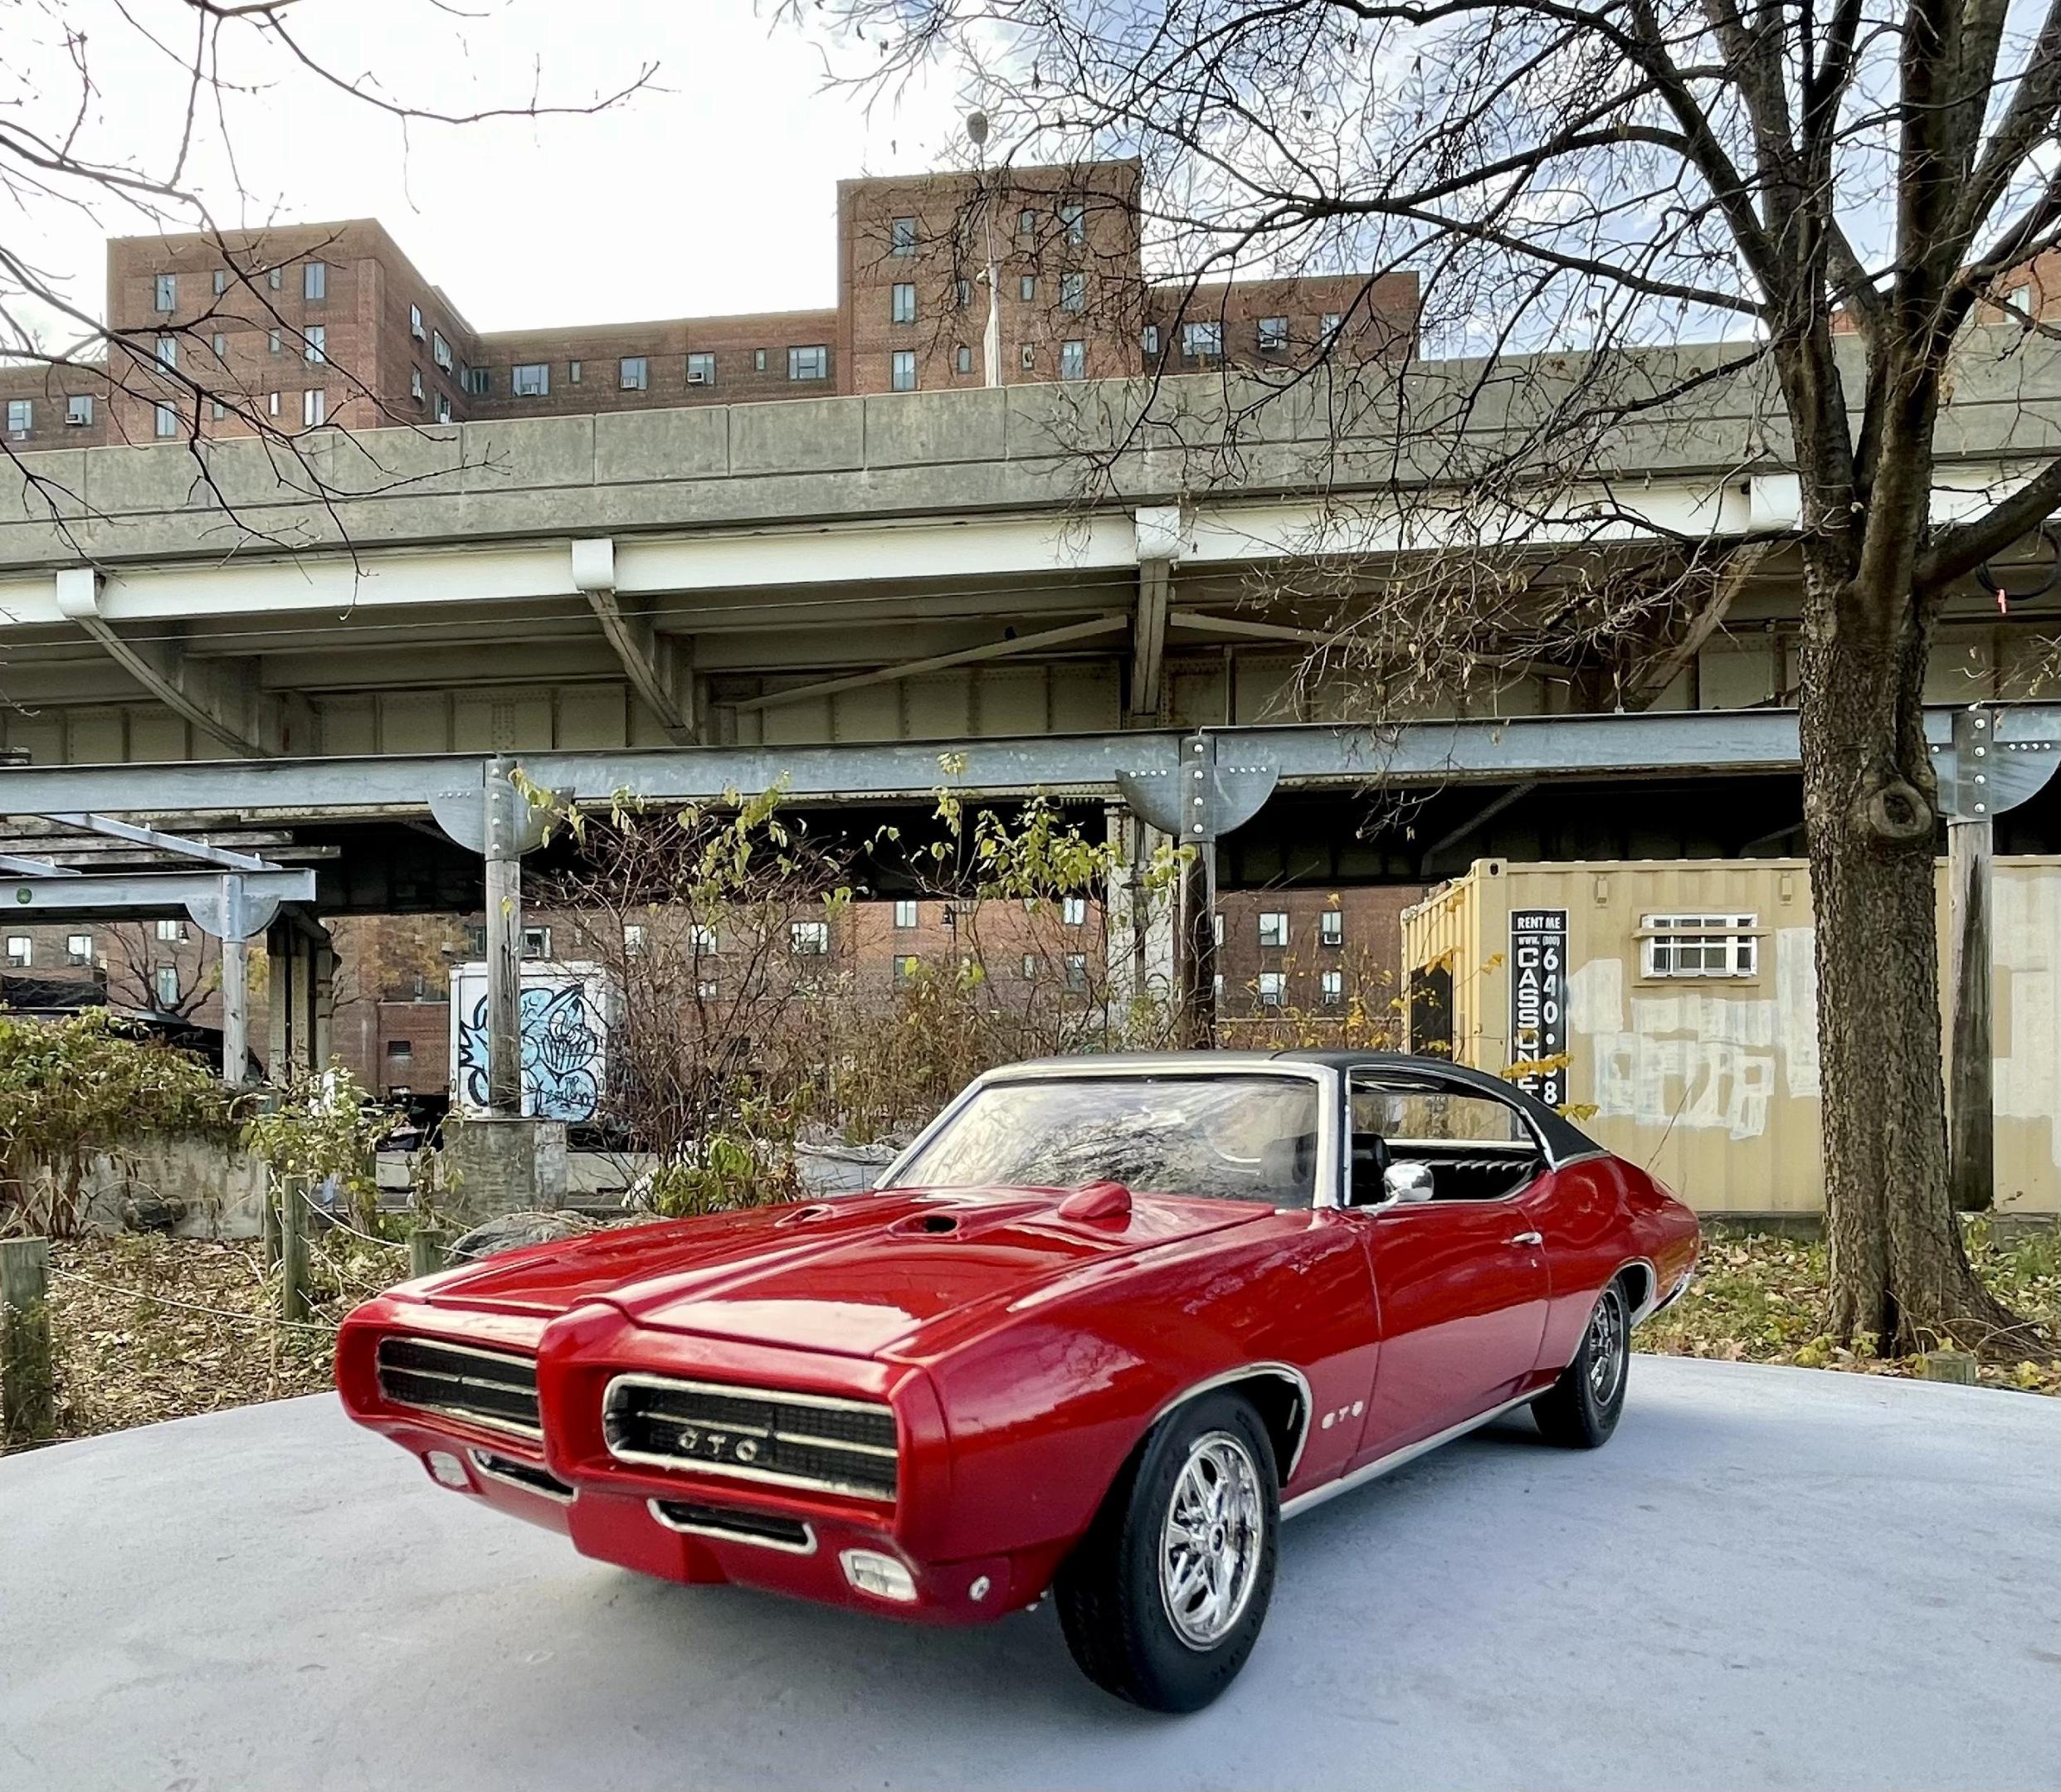
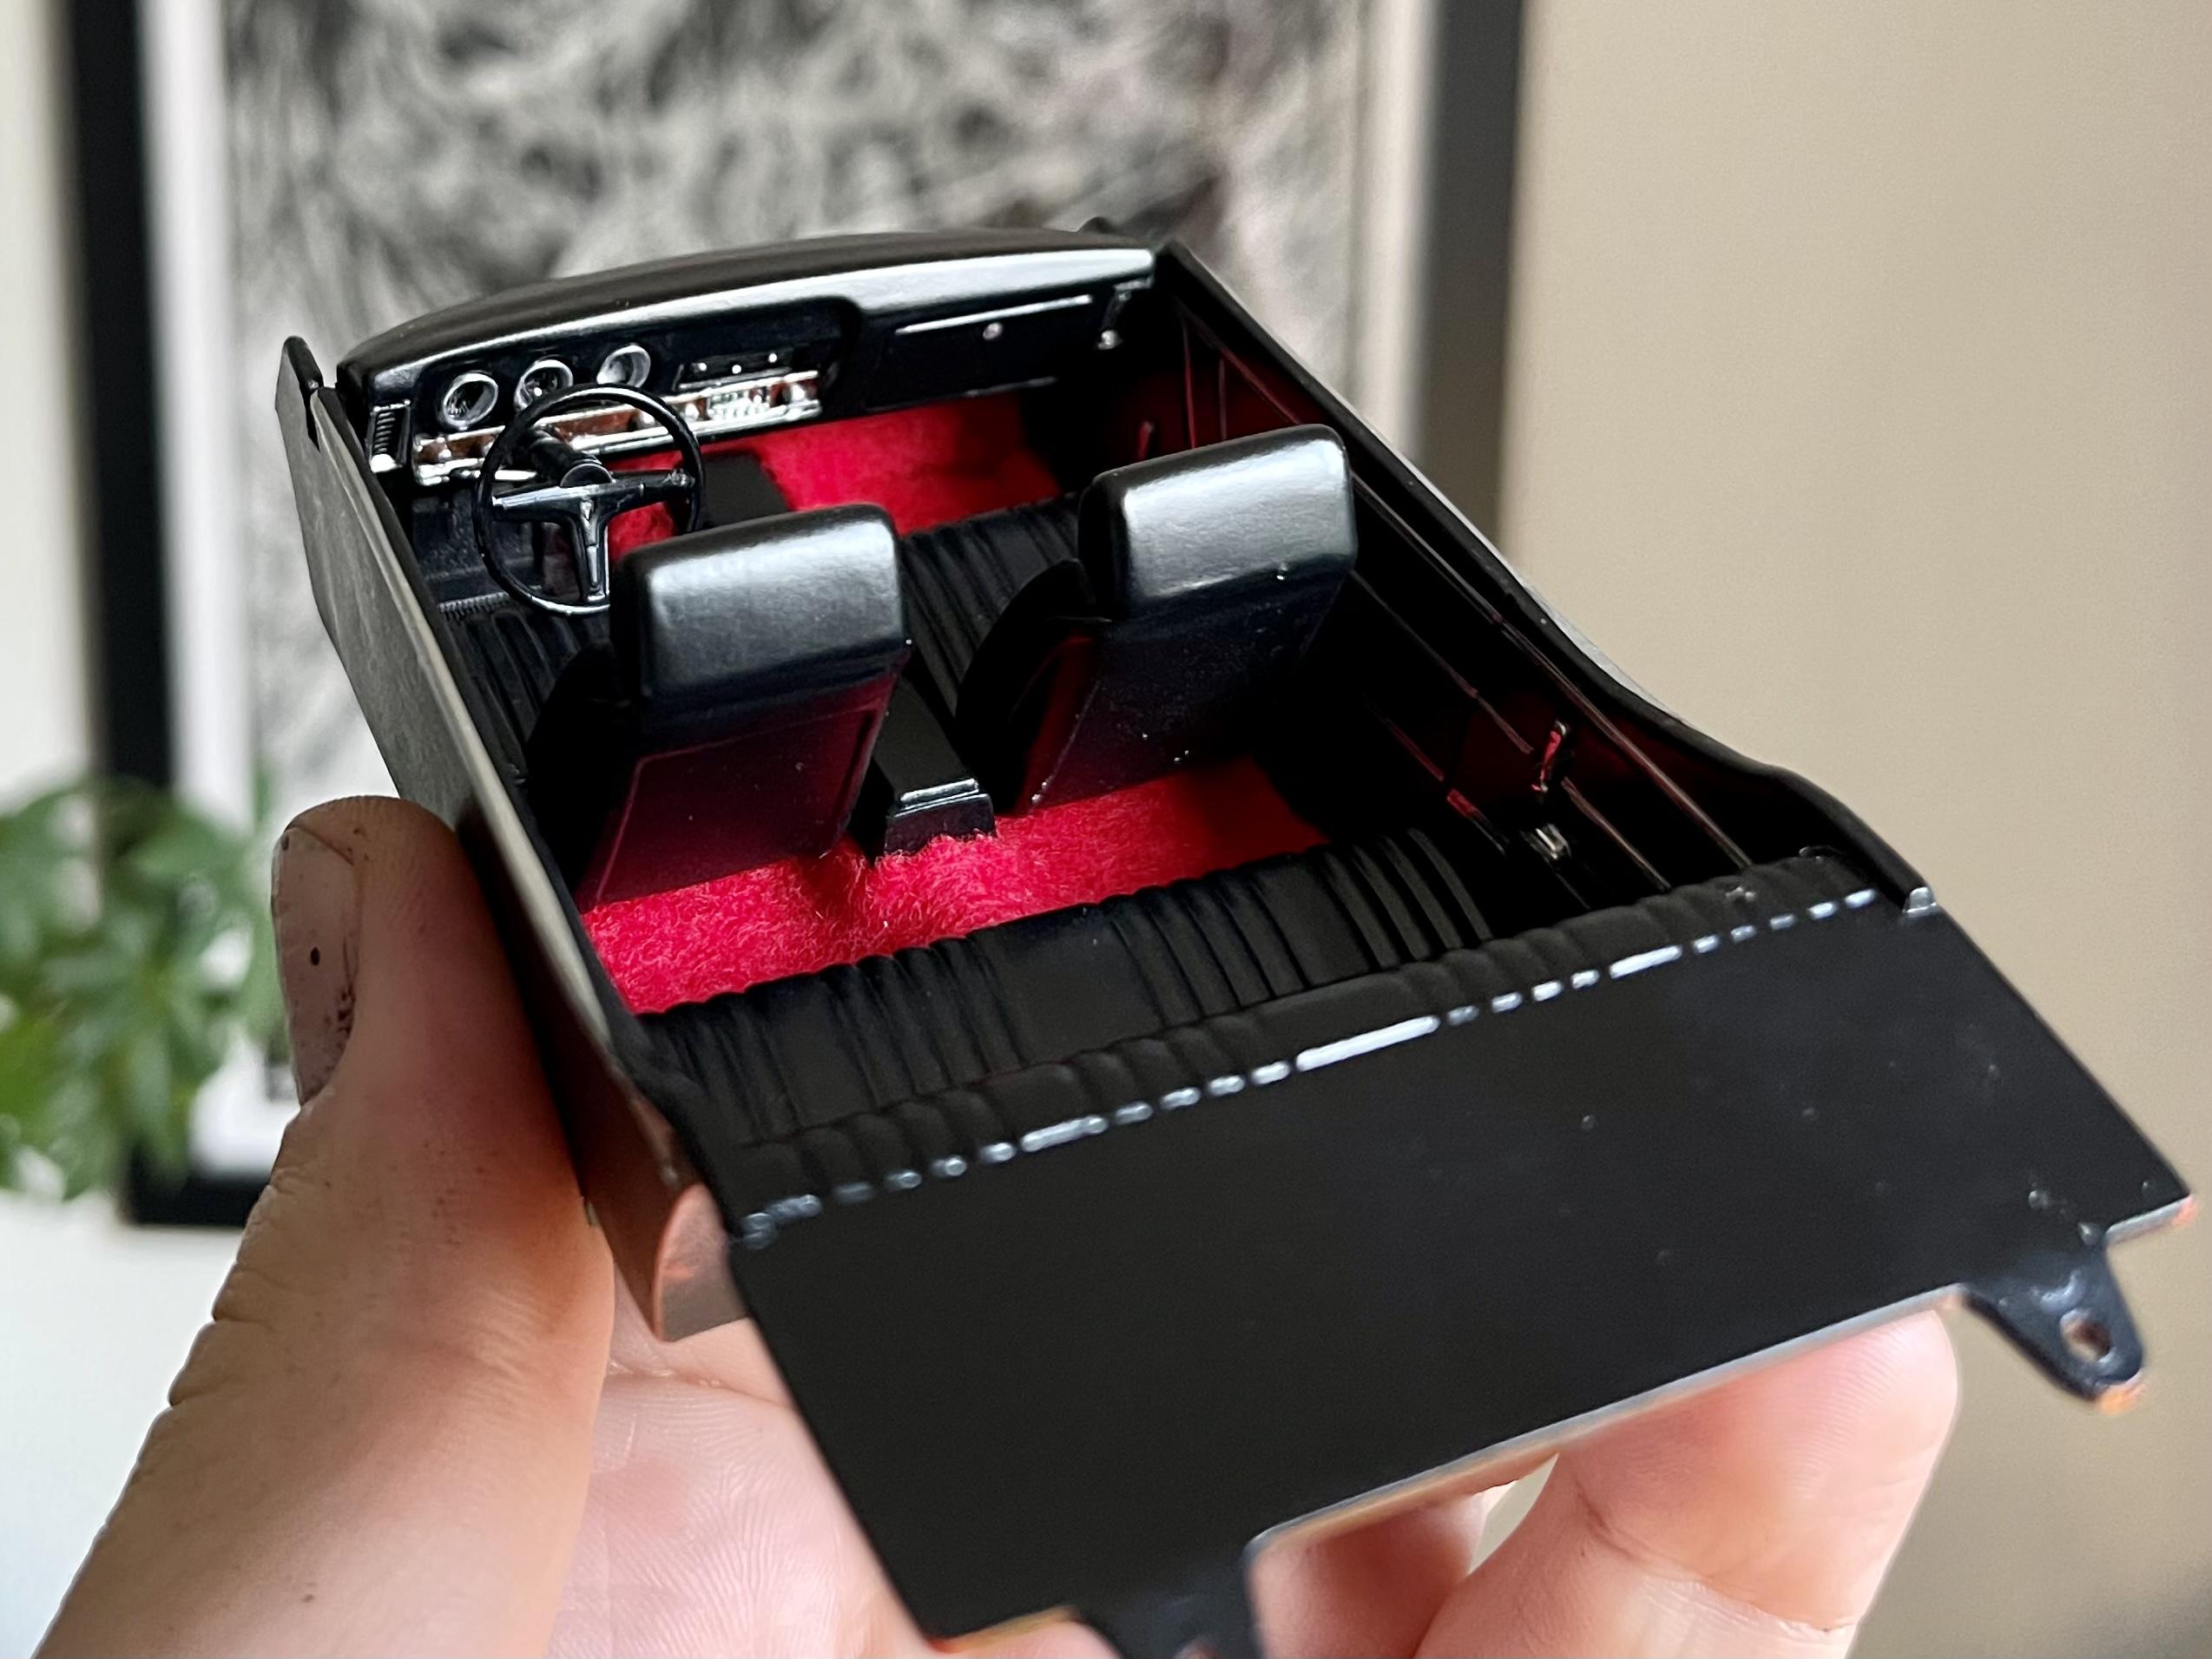
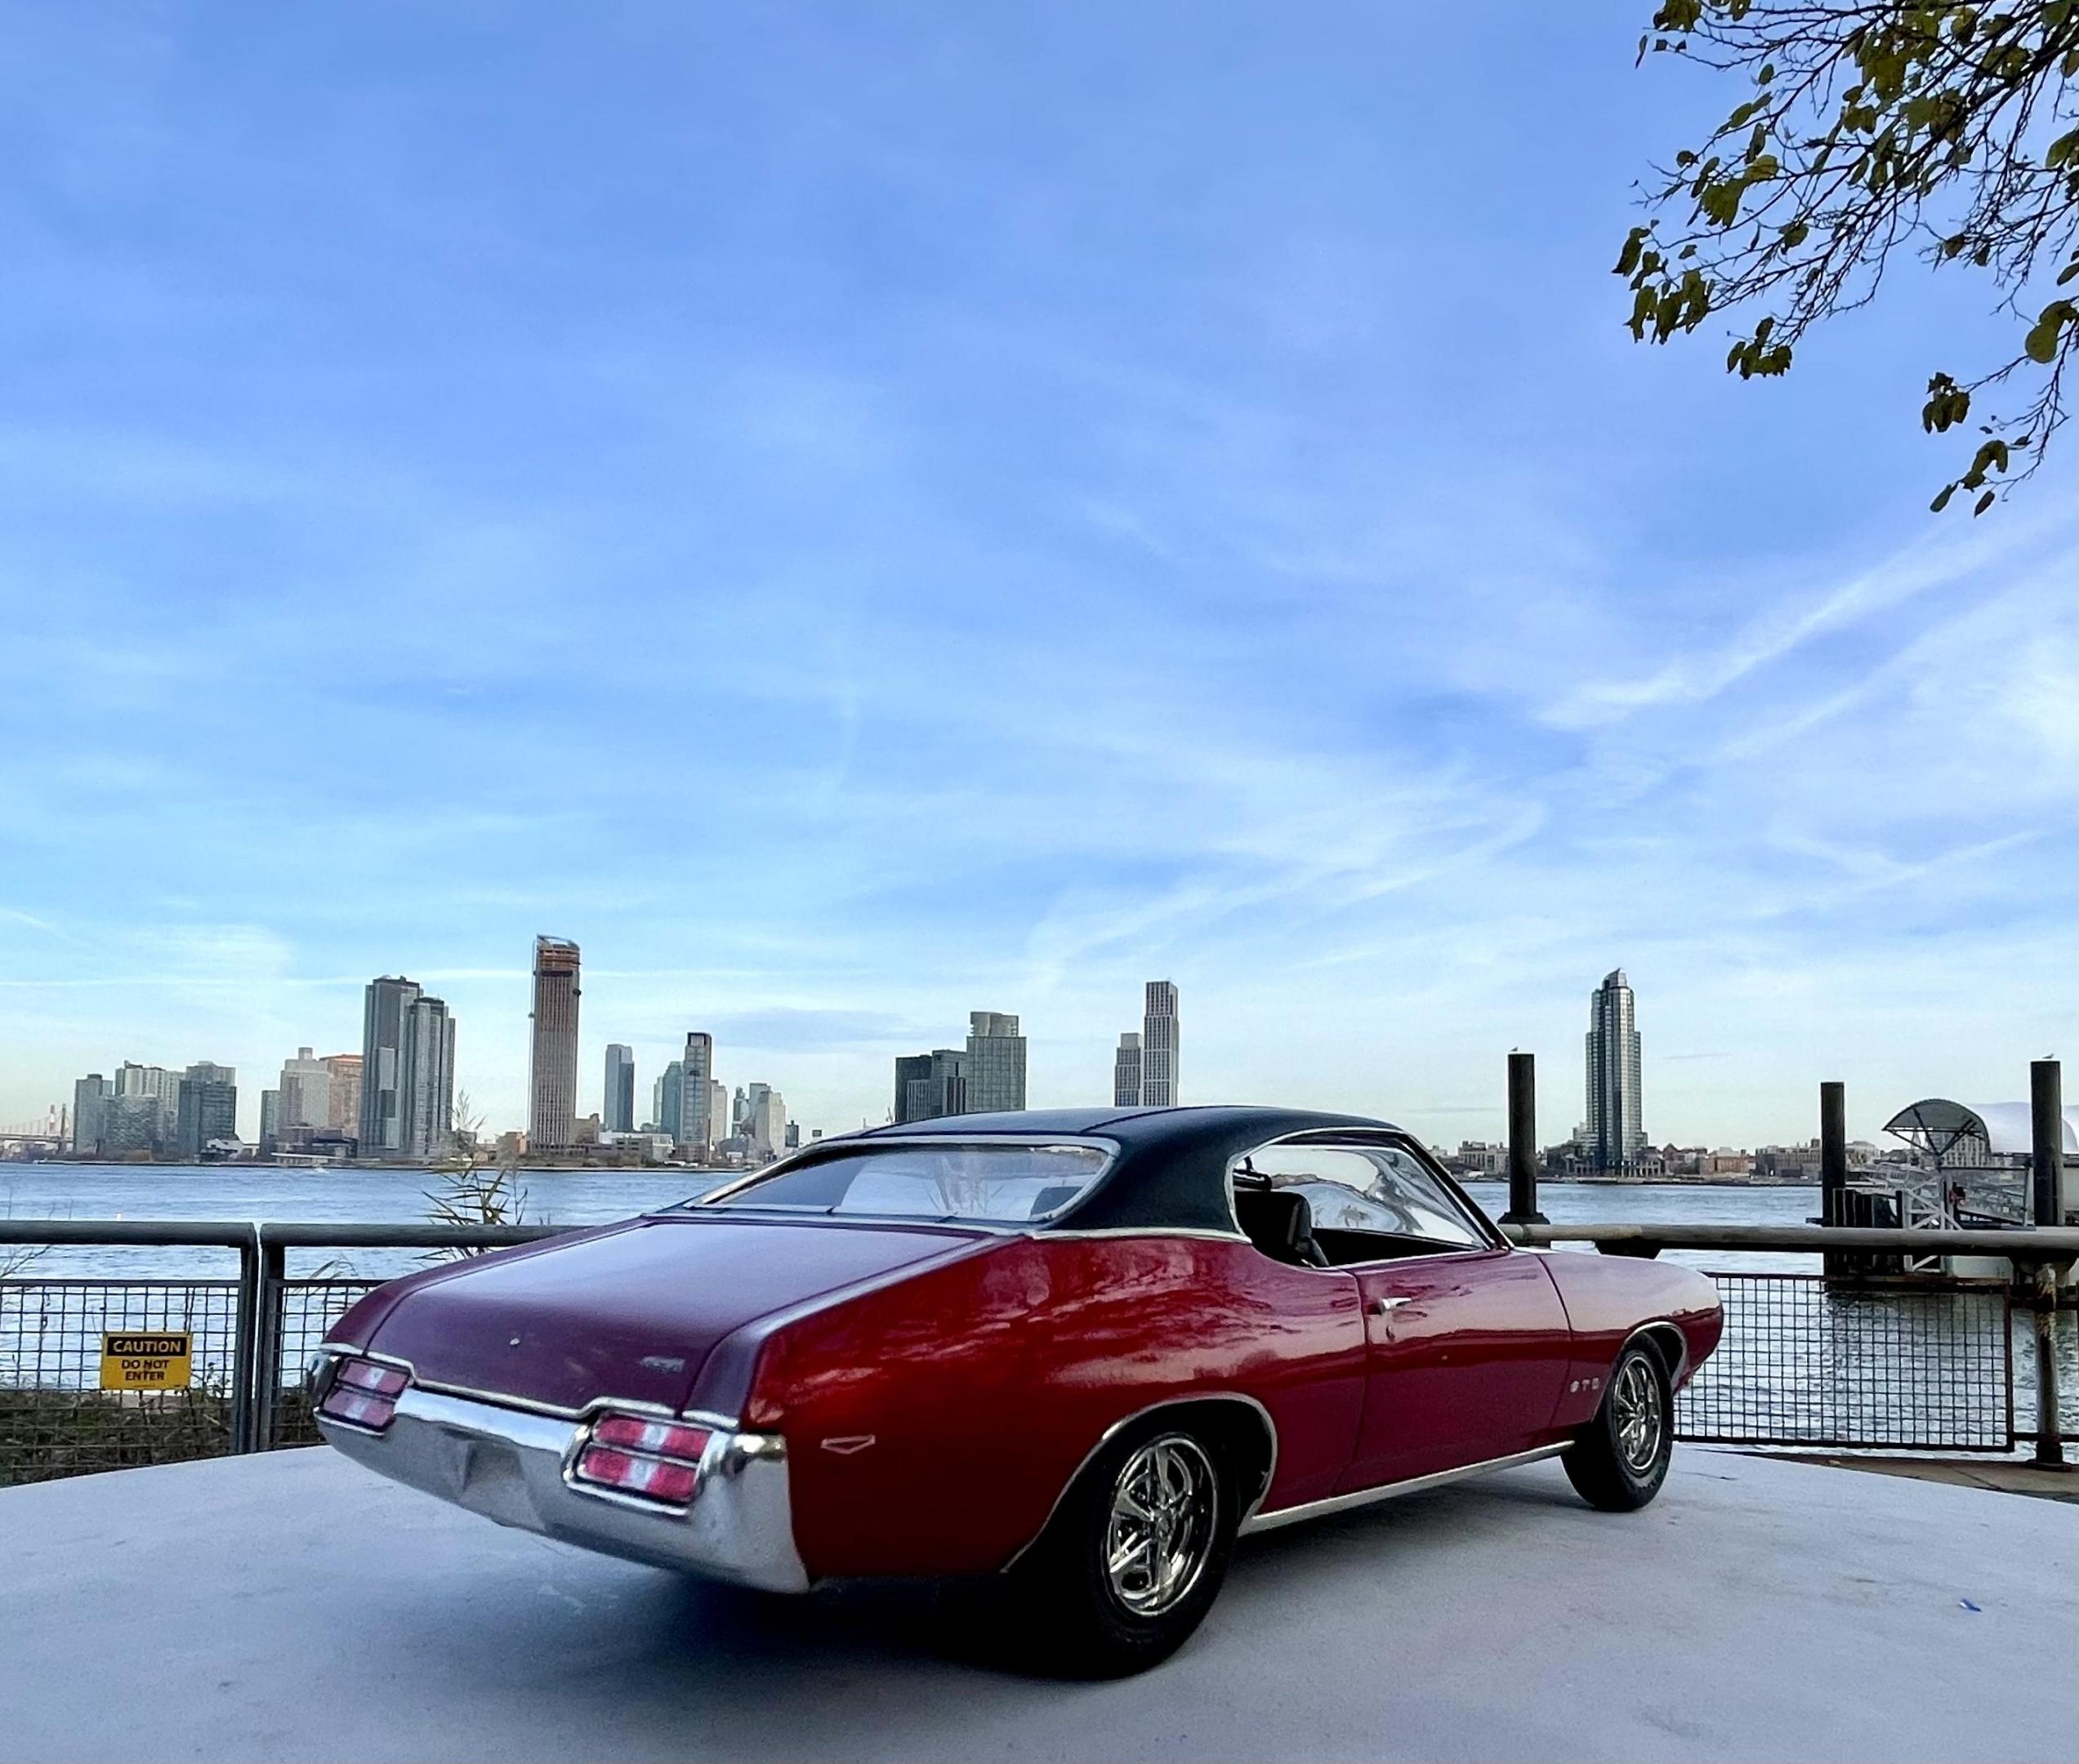
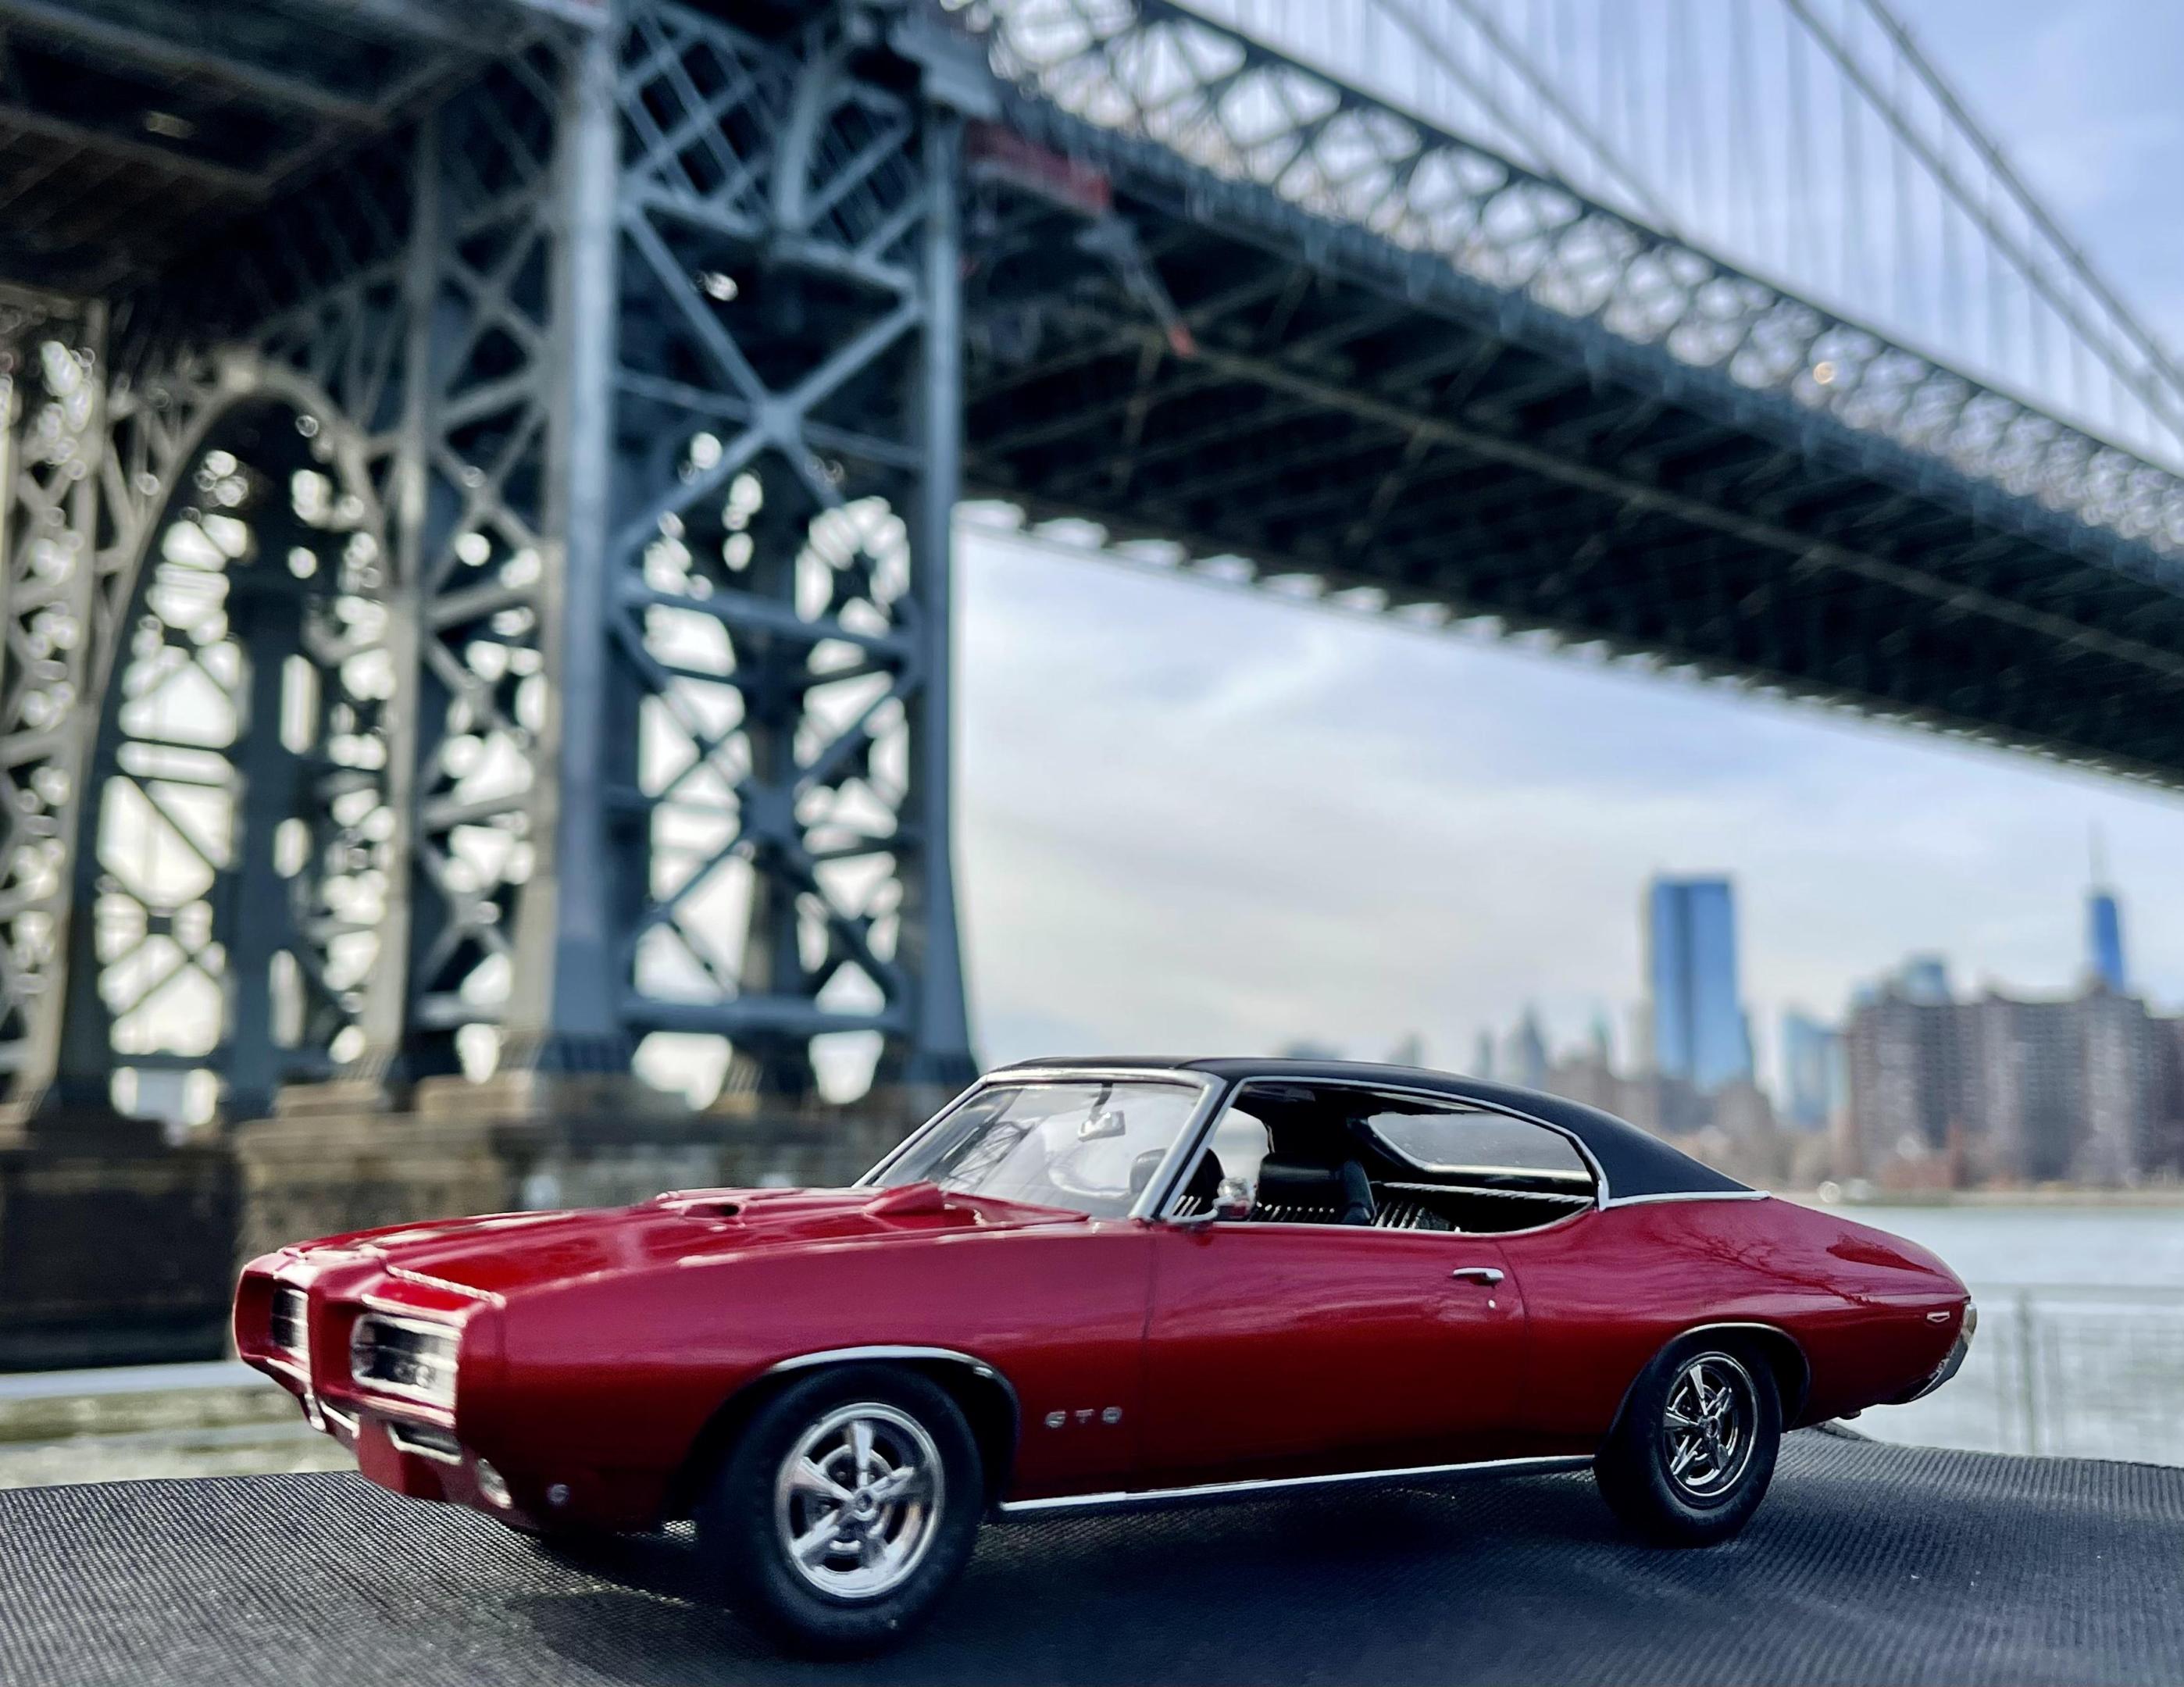
Just finished the ‘69 GTO by Revell/Monogram. I really had fun with this one. It took a lot of work to get the nose to line up flush with the body, but other than that there were no real issues. The kit was pretty basic so I had to make a few small tweaks/additions (engine bay, door handles, mirrors, tail lights, dash bezels, gauge faces, side reflectors, etc.) It was my first “candy” paint job and I really like how it added depth and realism to the little car - it almost changes color depending on the light. Tamiya spray cans - 2 coats grey primer, 3 light coats of clear red over two coats of gloss aluminum, wet sanded then cleared with ts-13 and polished out. Will definitely use that combo again. Gonna try it with clear blue next… Foiling the trim tested my patience more than usual but I eventually calmed down and got it done. Had no choice but to do the window and wheel trim with Hasegawa mirror finish since I simply could not get the bmf to stick (may redo it if/when bmf ever sorts out their product - it’s been brutal and almost ruined the build). Ok enough complaining 😜 I want to drive this car!!
-
I've been wanting a 70 GTO for awhile, but there aren't any modern kits, and the vintage kits are way to pricey. The other day I saw a conversion kit for the 72 MPC GTO and decided to give it a try based on my previous experience with the Challenger conversions. IMPORTANT DISCLAIMER: DO NOT ATTEMPT UNLESS YOU ARE AT PRO LEVEL! So, with that being said; this kit and build was a nightmare. First off the conversion was way over molded. The hood alone was a 1/4 in thick. There was a lot of sanding...........so much sanding. I never did get it sanded down. I ended up doing some cutting and gluing the hood to the body. Irritation number two, the MPC kit front end is attached to the body. So I had to cut the front end off and sand some more, YAY! So, I get it the way I think it would be good. I go to see how the new front end will look once put on and..............The hood is too long. Yay, more sanding, just what I wanted. So, now I get it good, and I go to glue the front end on. There's now a gap because it doesn't want to glue all the way down. Great! A lot of cursing later and I finally get it some what looking....... OK. As a previous poster commented on their build; the rear end on the MPC kit has a fit issue. I tried to get it looking good, but it was pretty hard. I also hate that the MPC kit is molded in orange. It's a pretty bad, basic kit. There's also a problem with the pipes. They hang down way too far. Gotta glue them to the body later. My last problem was the stripes. They are Keith Marks and look good. However, they are not one piece. Yeah, I had to put on a strip, let it set, and put another strip over it. What could go wrong? A lot. Had one double over on itself and it's also hard to line them up.. Over all though, it looks passable for my collection. SAM_0078 by Eric Lucas, on Flickr SAM_0079 by Eric Lucas, on Flickr SAM_0080 by Eric Lucas, on Flickr SAM_0081 by Eric Lucas, on Flickr
-
Heres the kit that everyone loves to bash for the littlest reasons...mostly for the square rear end. I agree its not right, BUT it doesnt look UGLY either. Instead of fixing it, i decided to just call it a kit car, of which are actually a popular subject. I will do it curbside, as a fun, quick build. The body is ready for decals, and clear, and the interior/chassis assembly is now ready for paint! -Photo 2-4; This is all one mass of pre-assembly...
-
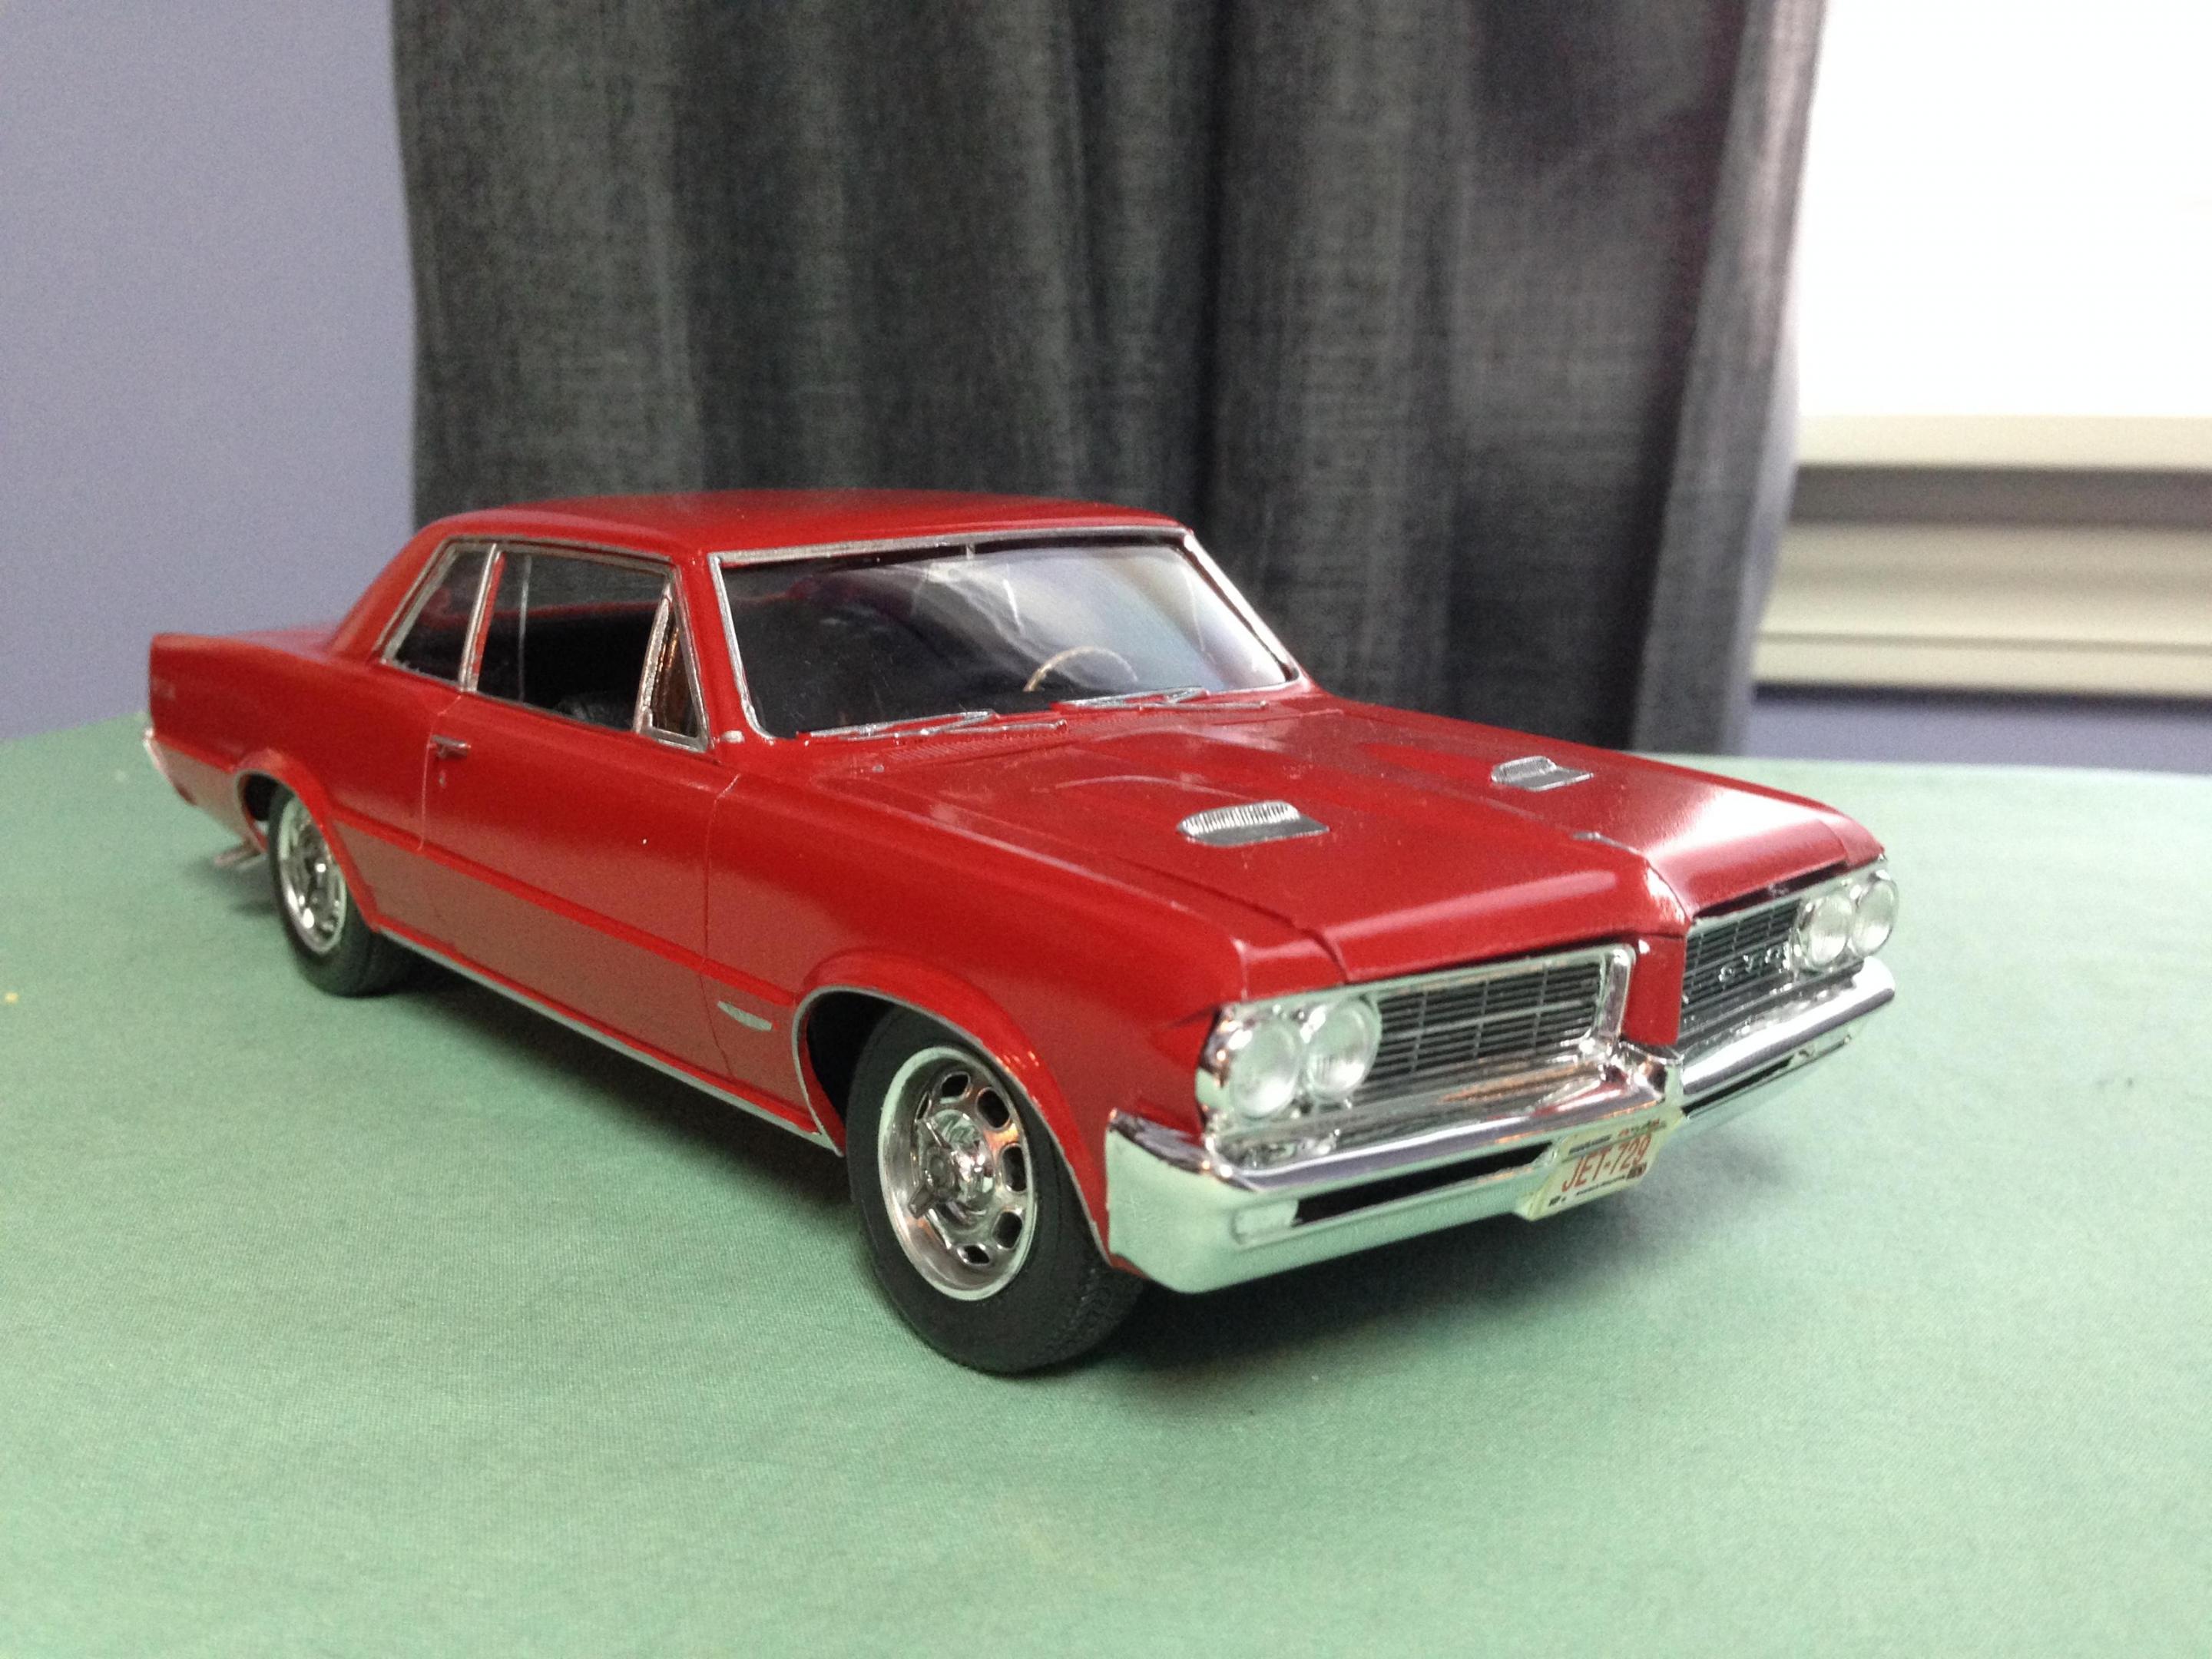
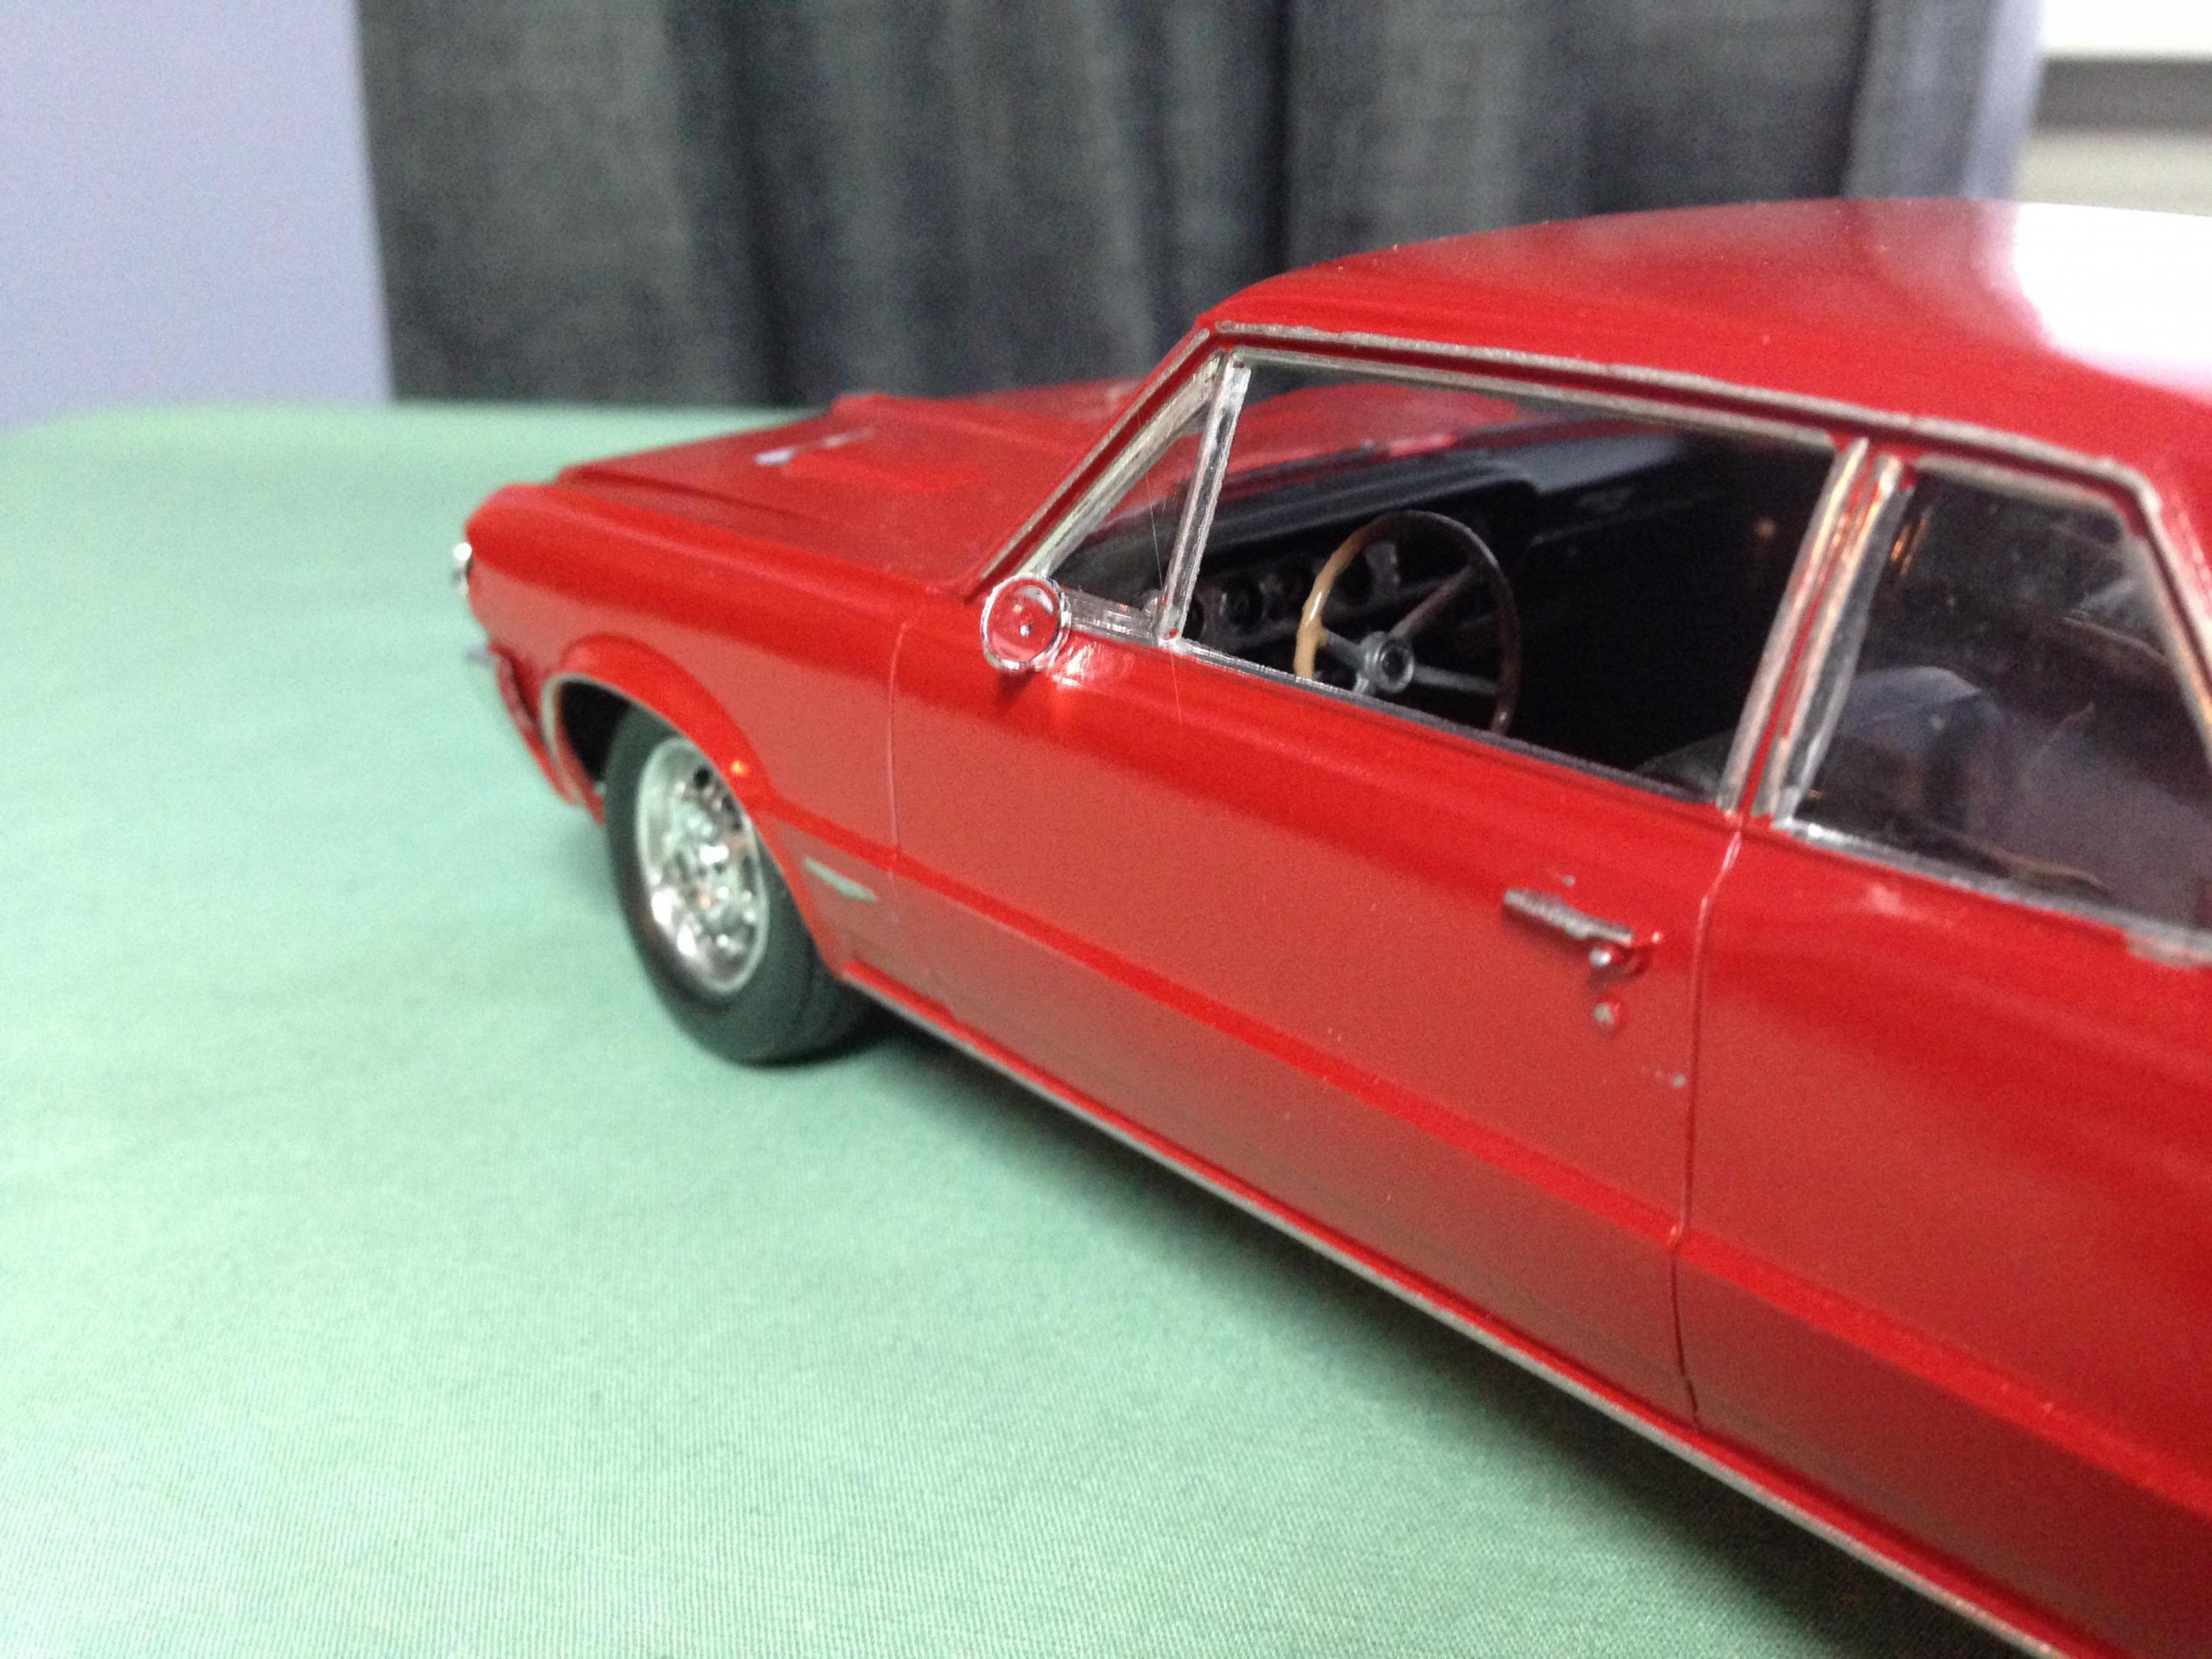
It's been a long time since I've posted anything, but the other day I pulled from my stash Revell's 1964 GTO. This kit is dated 1998, and I really didn't have a lot of interest in it. But I was pleasantly surprised at how well it went together and how solid it feels! I'm not the best builder, but I really like the way it turned out. I guess one good thing about CoronaVirus is that it got me thinking about old kits. I hope you are all staying well and enjoying some extra building time.
-
Kevin lists this as a '71-'72 trans kit. To me, the grille design looks a bit more like a '72. The non-scoop hood has complete underside detail. The chrome headlights will need lenses. I'm nothing to Missing Link except an enthusiastic customer. I'm just passing this info along. That's a '71 GTO promo in my photo. If you have questions, please e-mail Kevin directly at: kevin@missinglinkrc.com or: kawifreek@msn.com John href="https://public.fotki.com/jsharisky/model_cars_and_such/missinglinklemanstr.html"><img src="https://media.fotki.com/2v2HUrkJSxvfat.jpg" border="0"></a><a href="https://www.fotki.com" style="font-size:12px; font-family:Verdana; text-decoration:none;"
-
While waiting for things to dry on my Pagani build, I was thinking about how cool a 288 Roadster would look. Since my special kit No.9 had a screwed-up bonnet vent, I decided to use it as my test model. I discovered that all the kits I've had molded in the red plastic ALL had the same warped bonnet vents, so I decided to try the white plastic kit No.105, since a friend told me his was fine.....so I ordered two white ones, and they were both fine! What I learned here, is that if you don't want to use the PE vents.....which I don't, then you want NOTHING to do with the kits molded in red. Anyway, I will be playing around with this here and there in between builds.
-
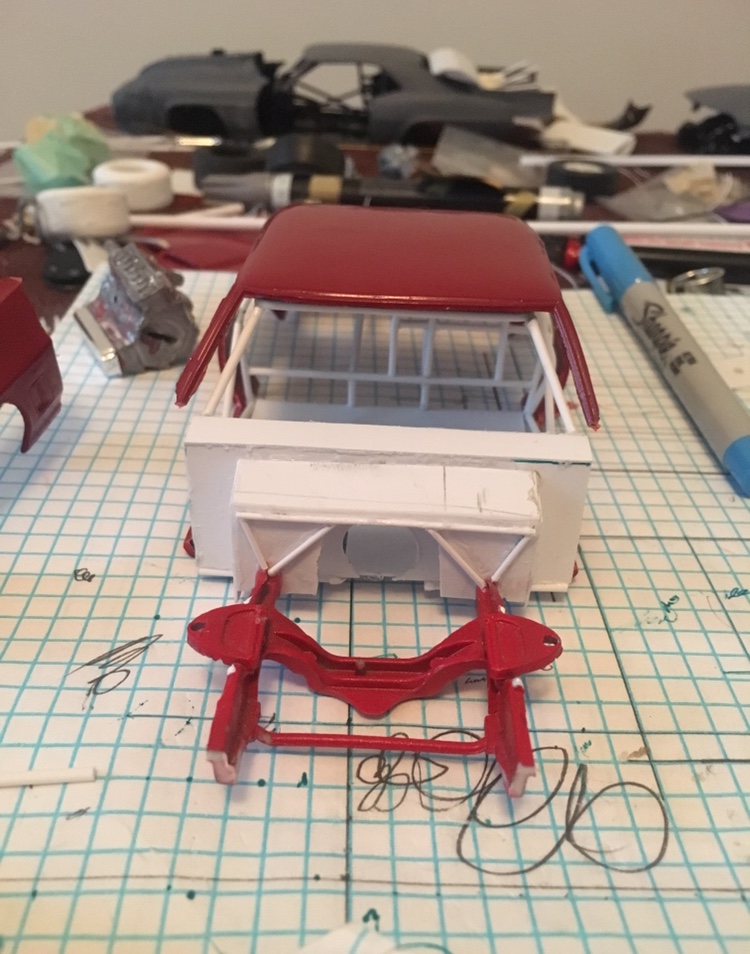
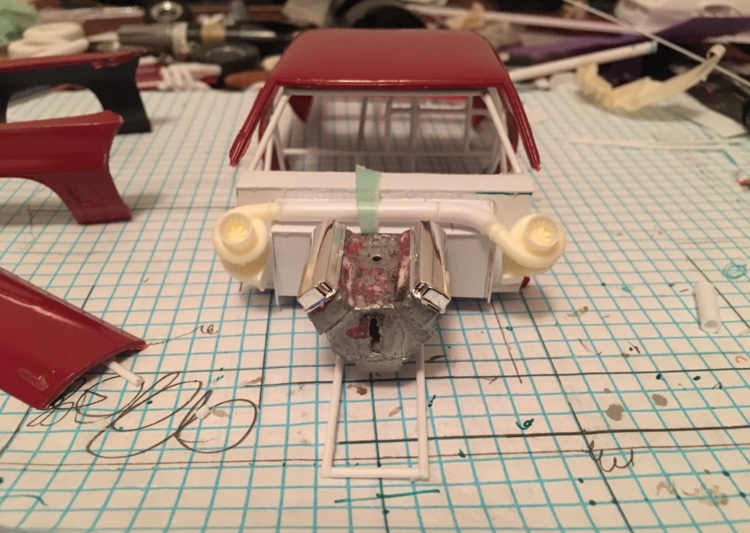
You probably seen my replica of Justin’s new car, but I recently had a customer put in a order for the old one and I might as well share the progress.
- 6 replies
-
- streetoutlaws
- turbo
-
(and 2 more)
Tagged with:
-
-
Is there any catster or aftermarket that is doing the apparent or visual 68 or 69 GTO frontend like this?
-
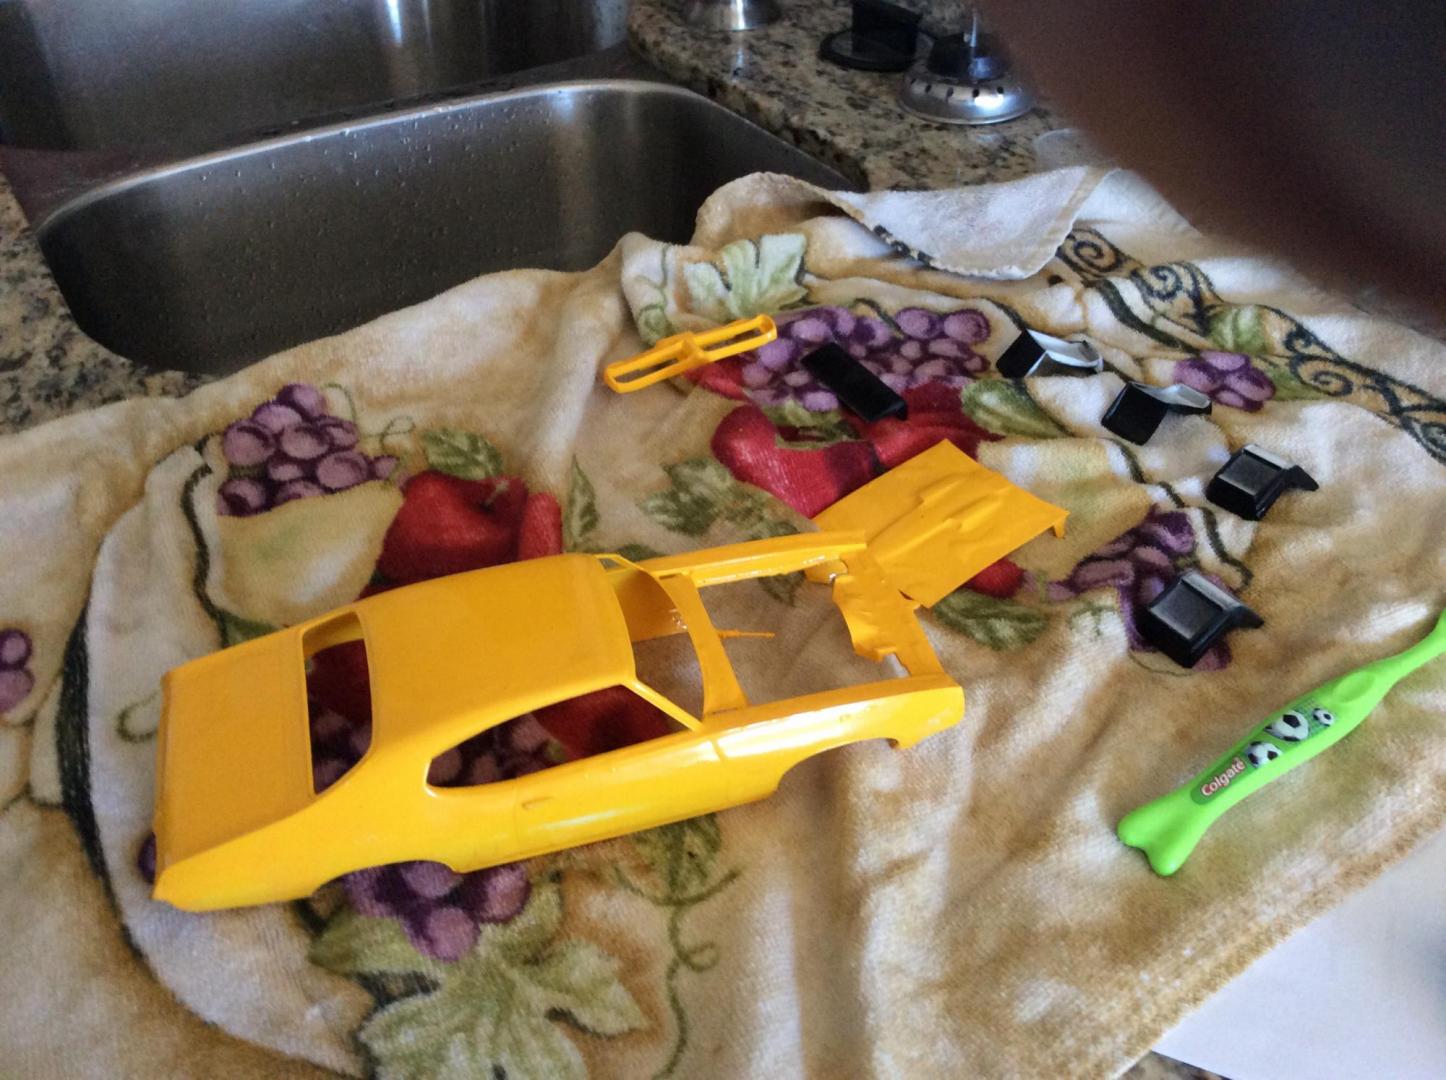
So I recieved this kit in a 6 car deal. Just did inventory and all parts are here. Problem is he painted the hood, body, and bumper yellow. He had a mix of enemal and acrylic paint. How do I go about sanding this down without hurting the parts? I would just prime over it, but some parts are bubbled and has runs in the paint job. Any help would be great.
-
I always seem to putter away with two projects at once. In this shot, I've started in earnest on the infamous snap-GTO kit and the AMT Christine model, which I'm trying to turn into a plain '58 Belvedere. I used the same color paint for both, but as you can see the molded red of the AMT kit changed things just a bit. I'll try to post updates as I get time, but here's links to my reference (1:1) shots: GTO: https://www.pinterest.com/pin/358036239100312140/ Belvedere: http://www.classycars.org/Plymouth.1958.Belvedere.661.html
-
My attempt at giving the old Monogram GTO new life. Sorry about the pic quality. Paint is Tamiya,both base and clear. Engine is 604cid Milodon w auto from VCG Resin. Fujimi wing with carbon,hard to see with the bad quality pics. The same carbon is used on the headlight covers/grill. Added chin spoiler from parts box,same with seats,gear linkage and steeringwheel. Wheels are Aoshima. Brakes are Brembo from "Forward Resin" on Ebay. Instruments,clamps etc are detail master. I could not find any decent mirrors i liked,will add later on. Any thoughts are welcome.
-
Hi. This is an old Monogram The Judge GTO i put together maby 20 years ago. I took it apart and soaked it in grill/oven cleaner for the night,then washed it. I sanded off the GTO emblems,took off the rear spoiler and removed the tack on the hood. Then it`s painted with Tamiya gunmetal and two layers of Tamiya clear. Chassis and tub are just primed. Not sure where i will be going with this,but it`s on the kitchen table for foil right now. Here are some pics of progress.
-
Is there any decals for the 1969 GTO that are not "The Judge" ? Any special editions etc
-
Happy 2014 all,,hope your staying warm in this crazy weather. Heres what Ive been up to recently,,its the AMT 72' GTO,,a decent kit ,,although it had some "issues" as far as fit+ design,,had to modify a few things to get it together. But it turned out ok,,I used different rims+ tires,but other than that,,with some minor wiring/plumbing thats about all I did to it. Fun kit overall,,have fun and stay warm!
-
These are the pre-painted polar lights "snap" kits, i added a little paint on interior and engines and changed the wheels on 2 of them. Each took one afternoon after work to complete, i did these to take a break from my problematic stalled builds. Anyway here they are:
-
- 15 replies
-
- Foose
- 68 firebird
-
(and 2 more)
Tagged with:
-
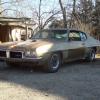
Hey this was my first model i had ever built. I built it about 5 years ago when i was 11. I ran out of the purpleish maroonish color and painted the hood and front bumper blue. It sat like that for about a year or two until i found the purple paint again and finished the paint job. These pics dont show it but after it sat for another 6 months or so and i decided, "It can't get any worse.". So i decided to be stupid and try to lower it! lol it didnt work very well and the wheels are cambered out because i didnt take into affect that the body will hit the tire and slant them. Soo it looks real bad not but ill try and go rebuild it one day. Hopefully i post these pics correctly, I havent been on here for a while. Nothin to write home about, (Still a few things left to re-glue.) but i figured id share my first model with you guys! Mike Still a few things left to re-glue.
-
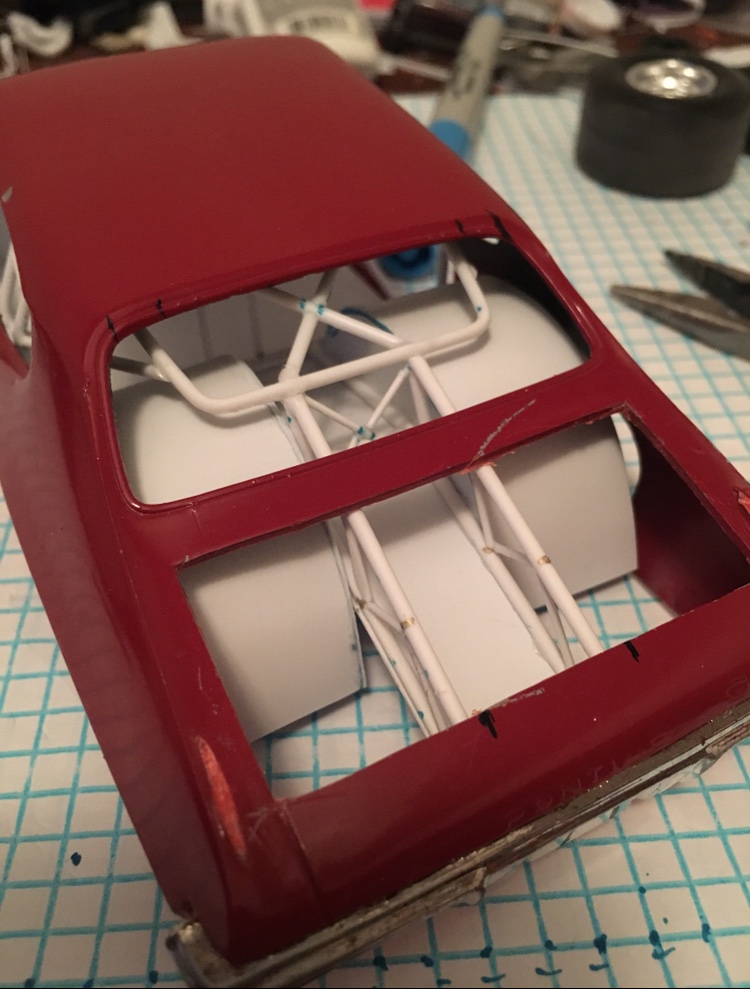
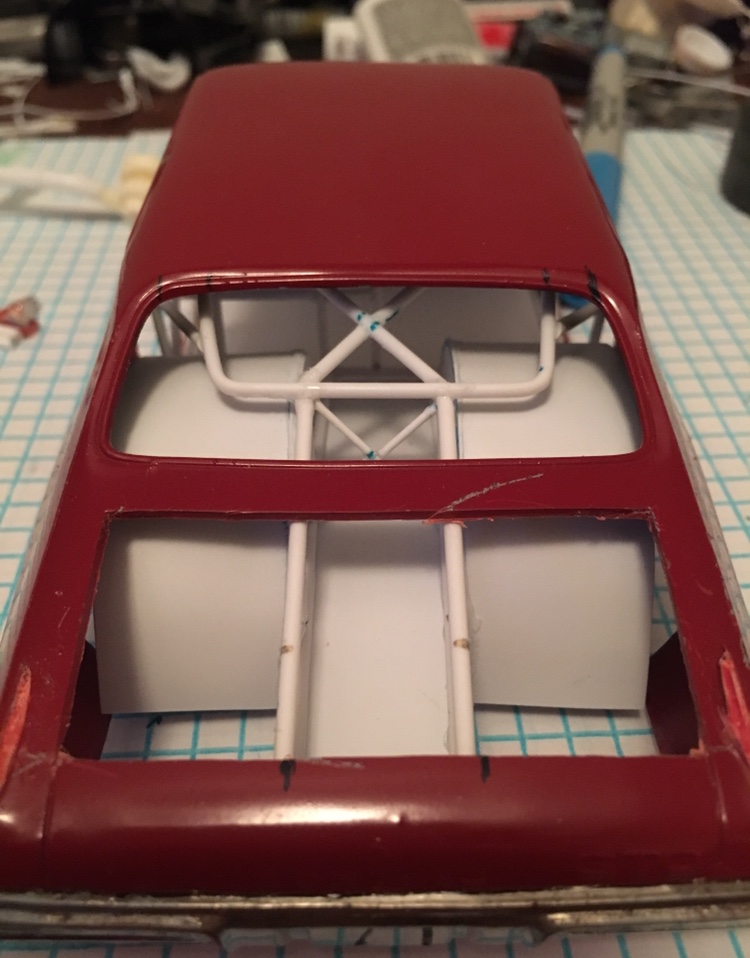
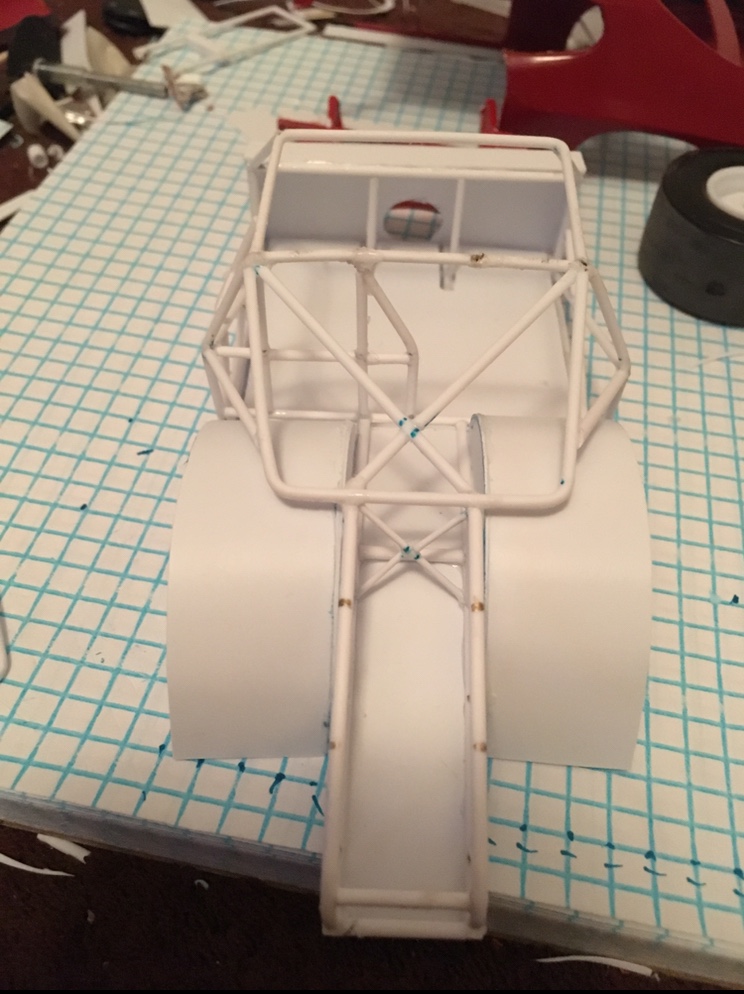
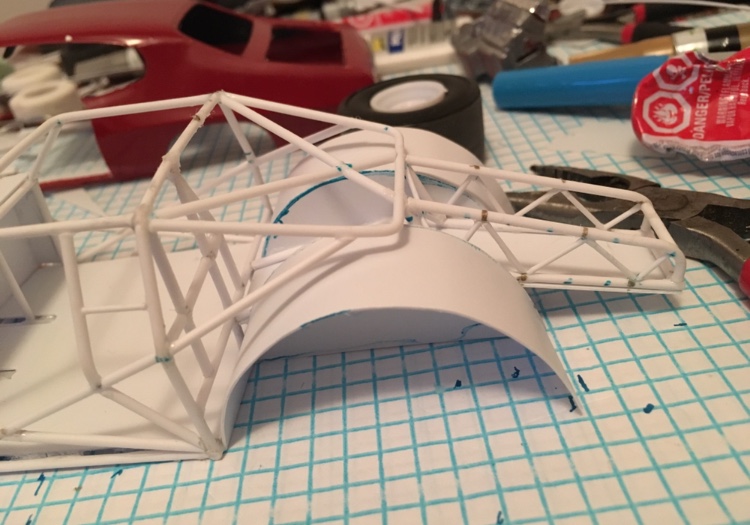
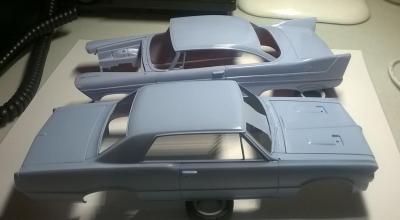
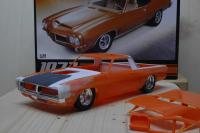
hello to all friends of cut, file and of course fill and sand plastic models ... today i start a new project it will be a 72 gto in guybrushs custom rat rod style with some new bodywork (i have no idea how the way goes i just build) for the base i pick out the 72gto from mpc (its a horrible model bad quality and less details) so i decide to make some unique out of it... at first i cut the roof (make a el camino i love those cars) and the frontmask then i add some sheet i change the hood with one of a 70 challenger and the grille comes from a 69 charger thats it for today regards maik
-
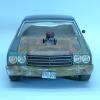
Hey guys, this is my first build of this year. Took me a bit to get back into it. It was my first time using BMF and first time weathering. Let me know what ya'll think!
