Search the Community
Showing results for tags 'Ford'.
-
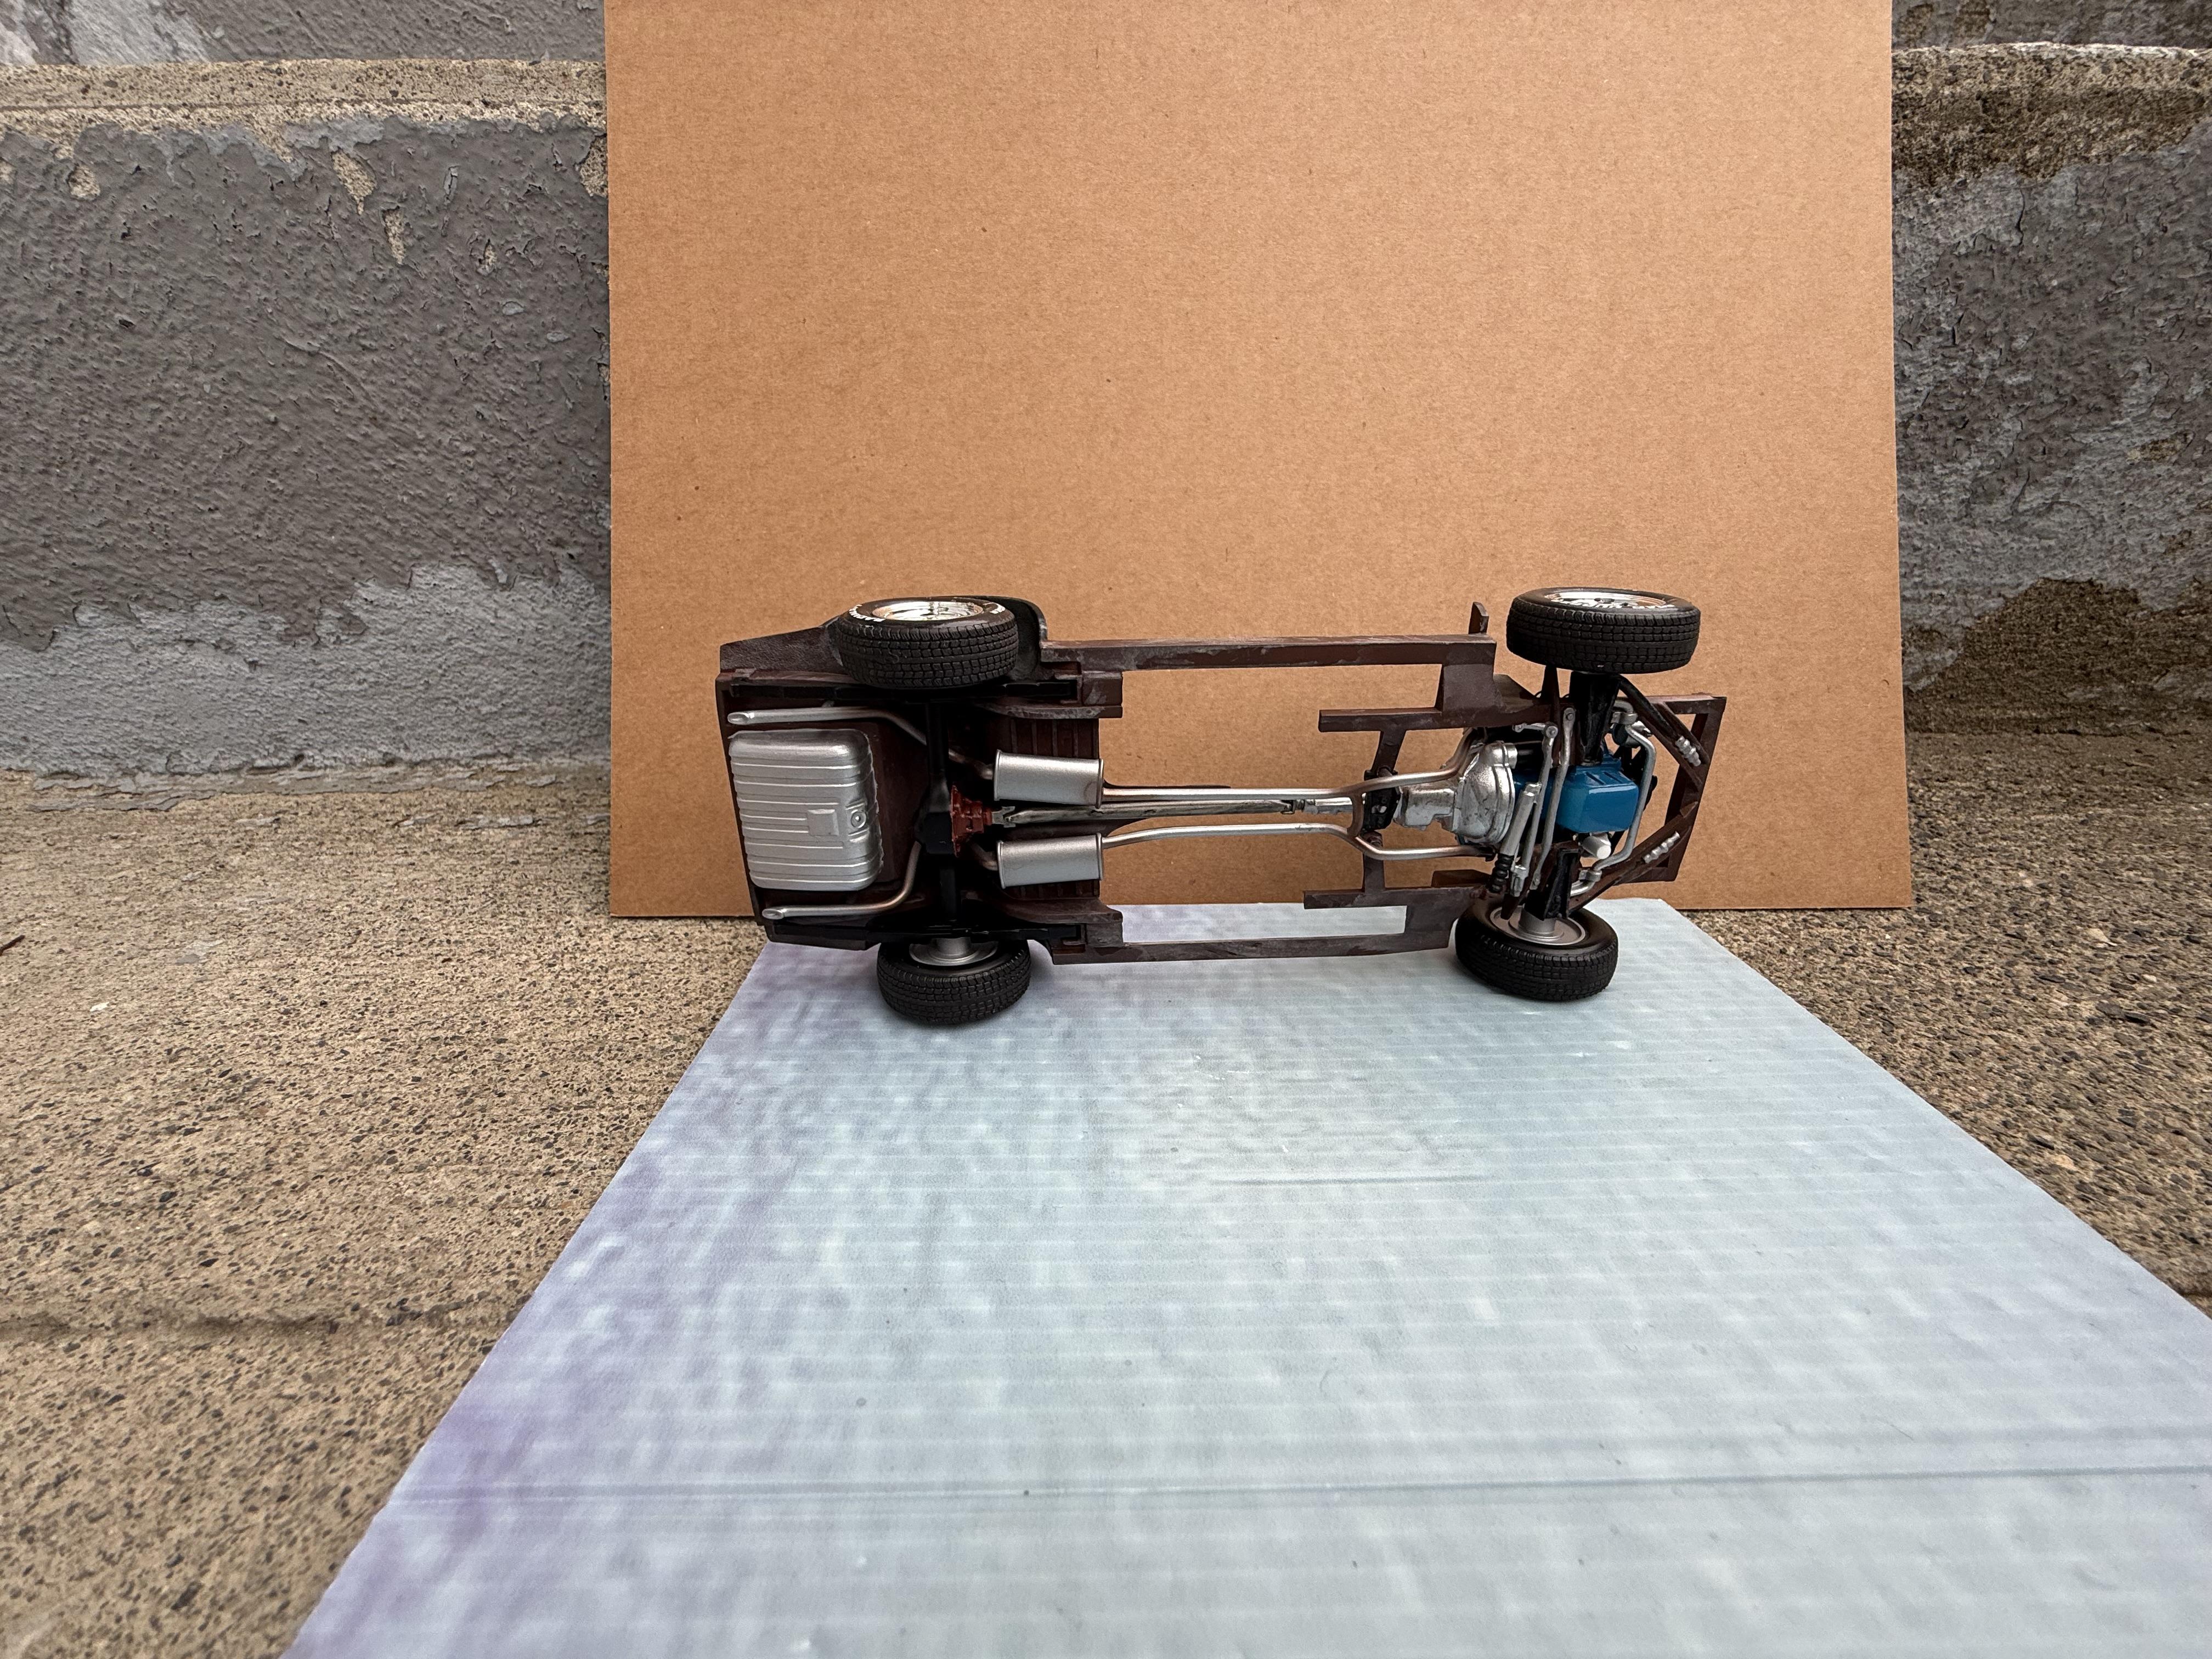
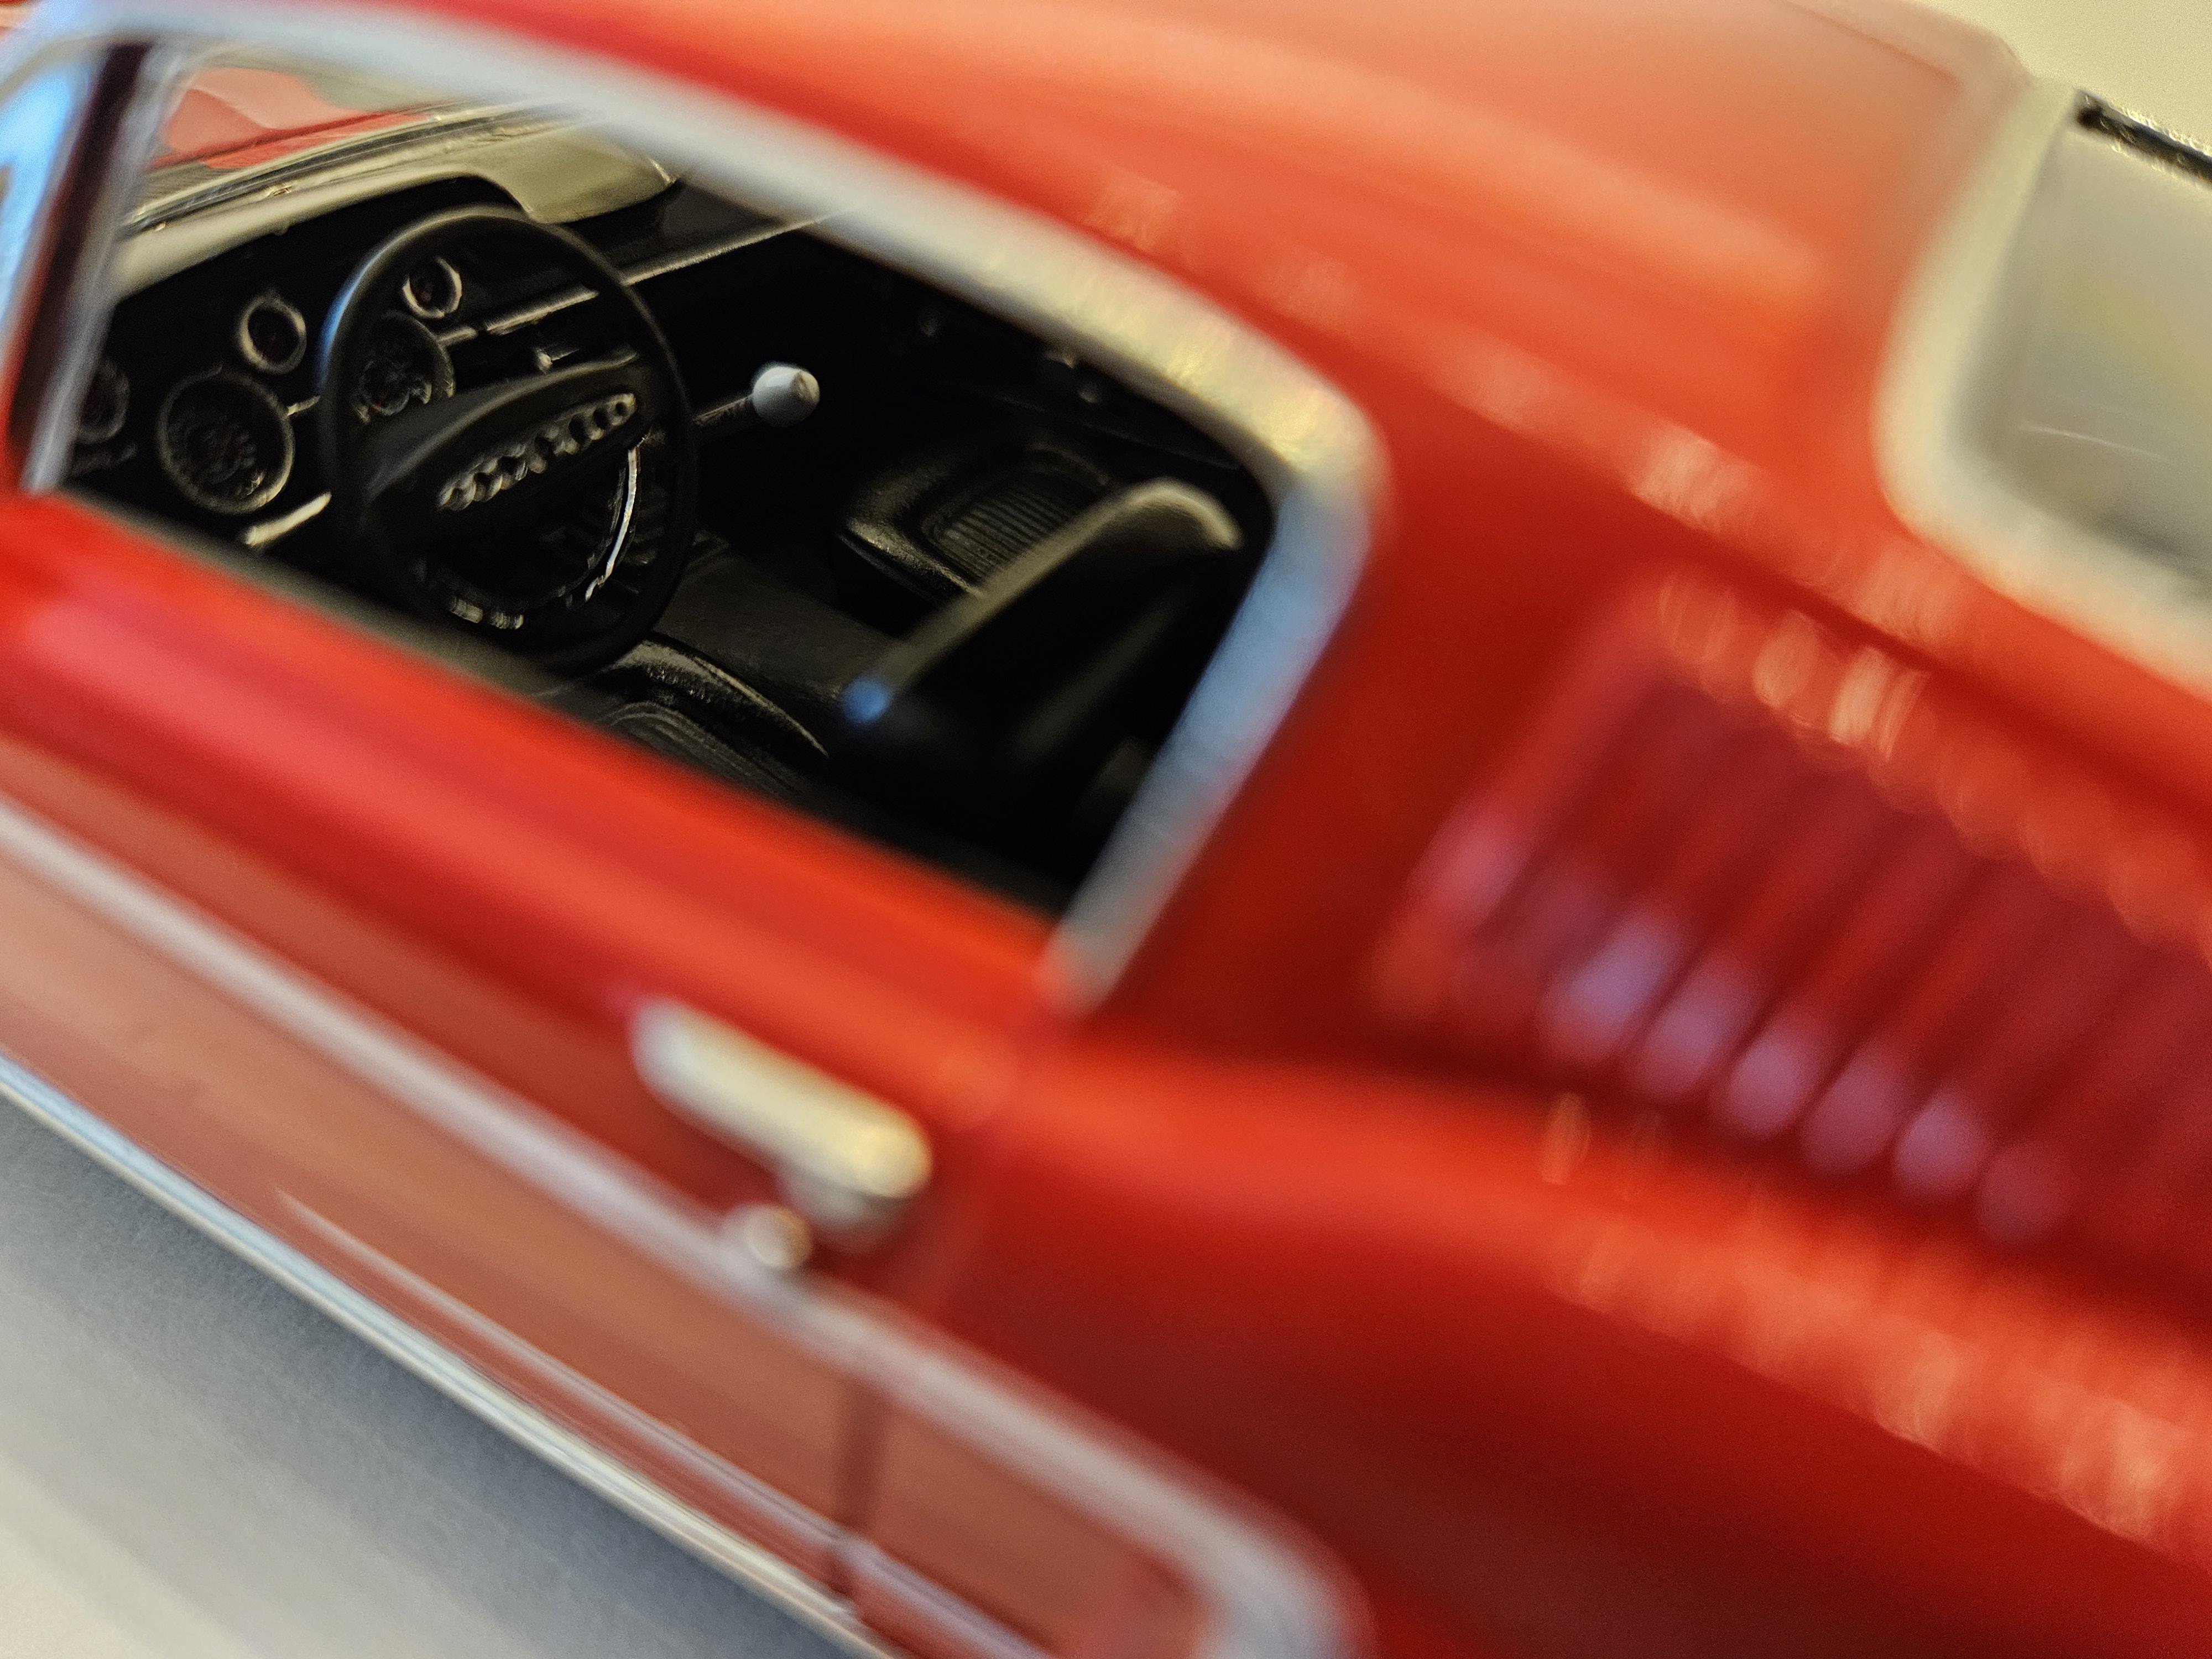
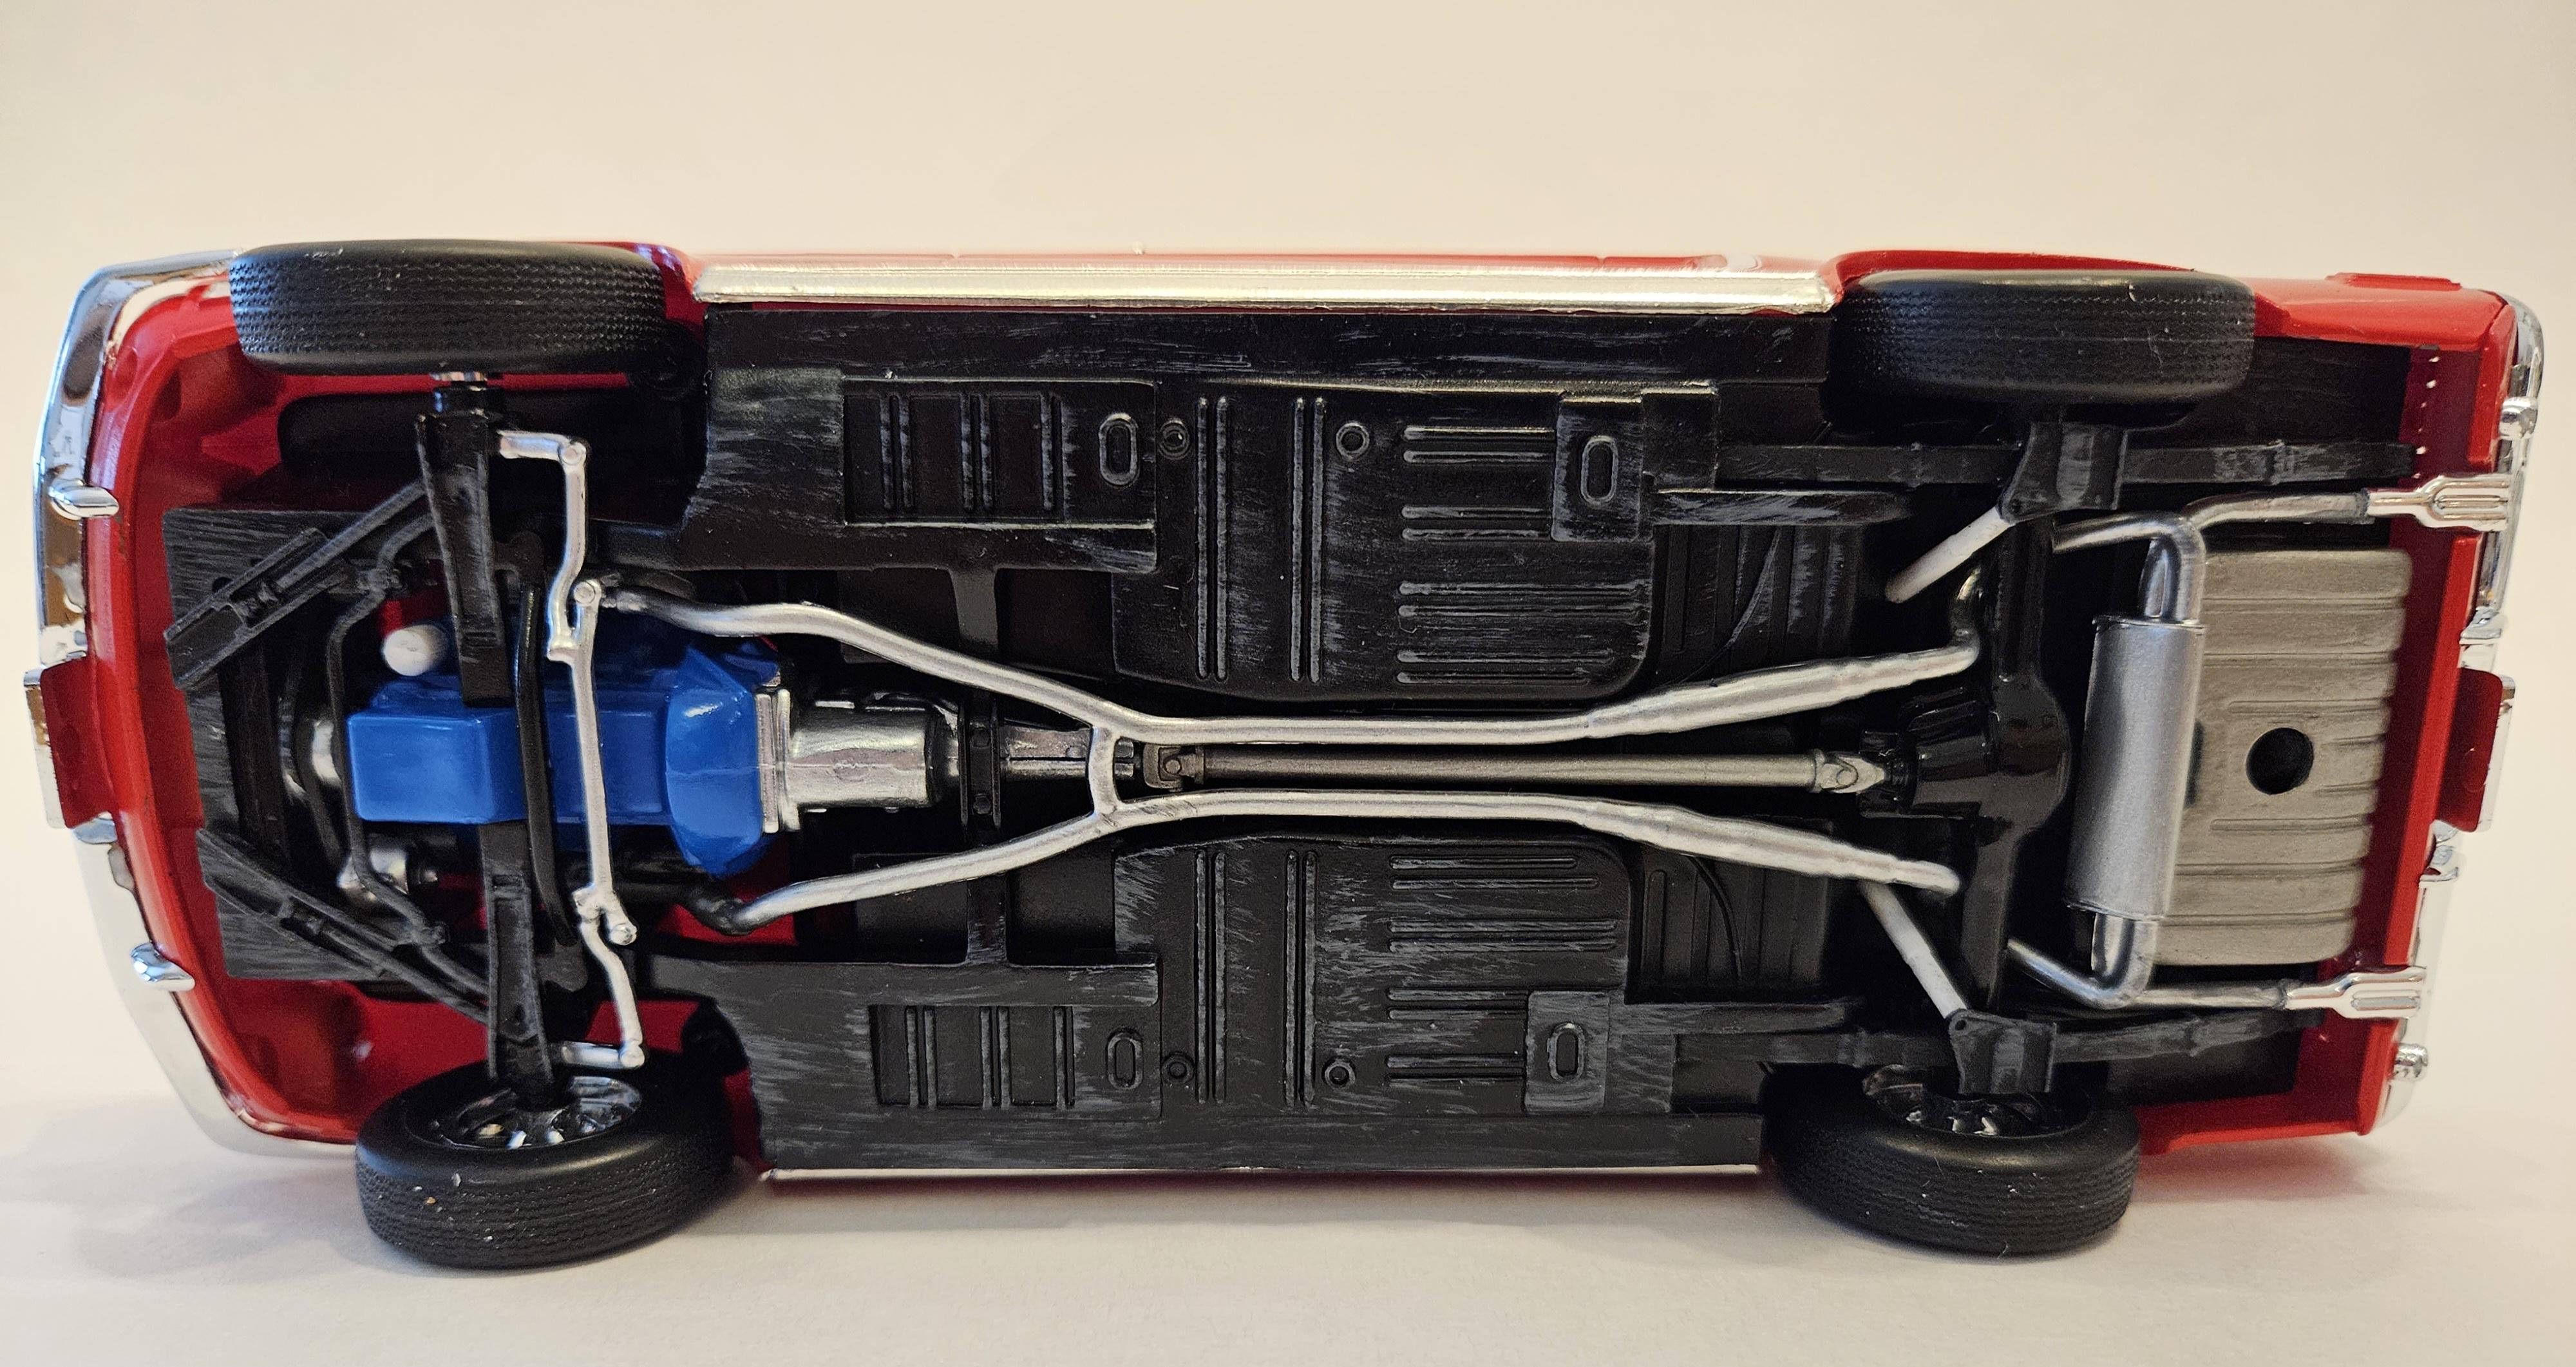
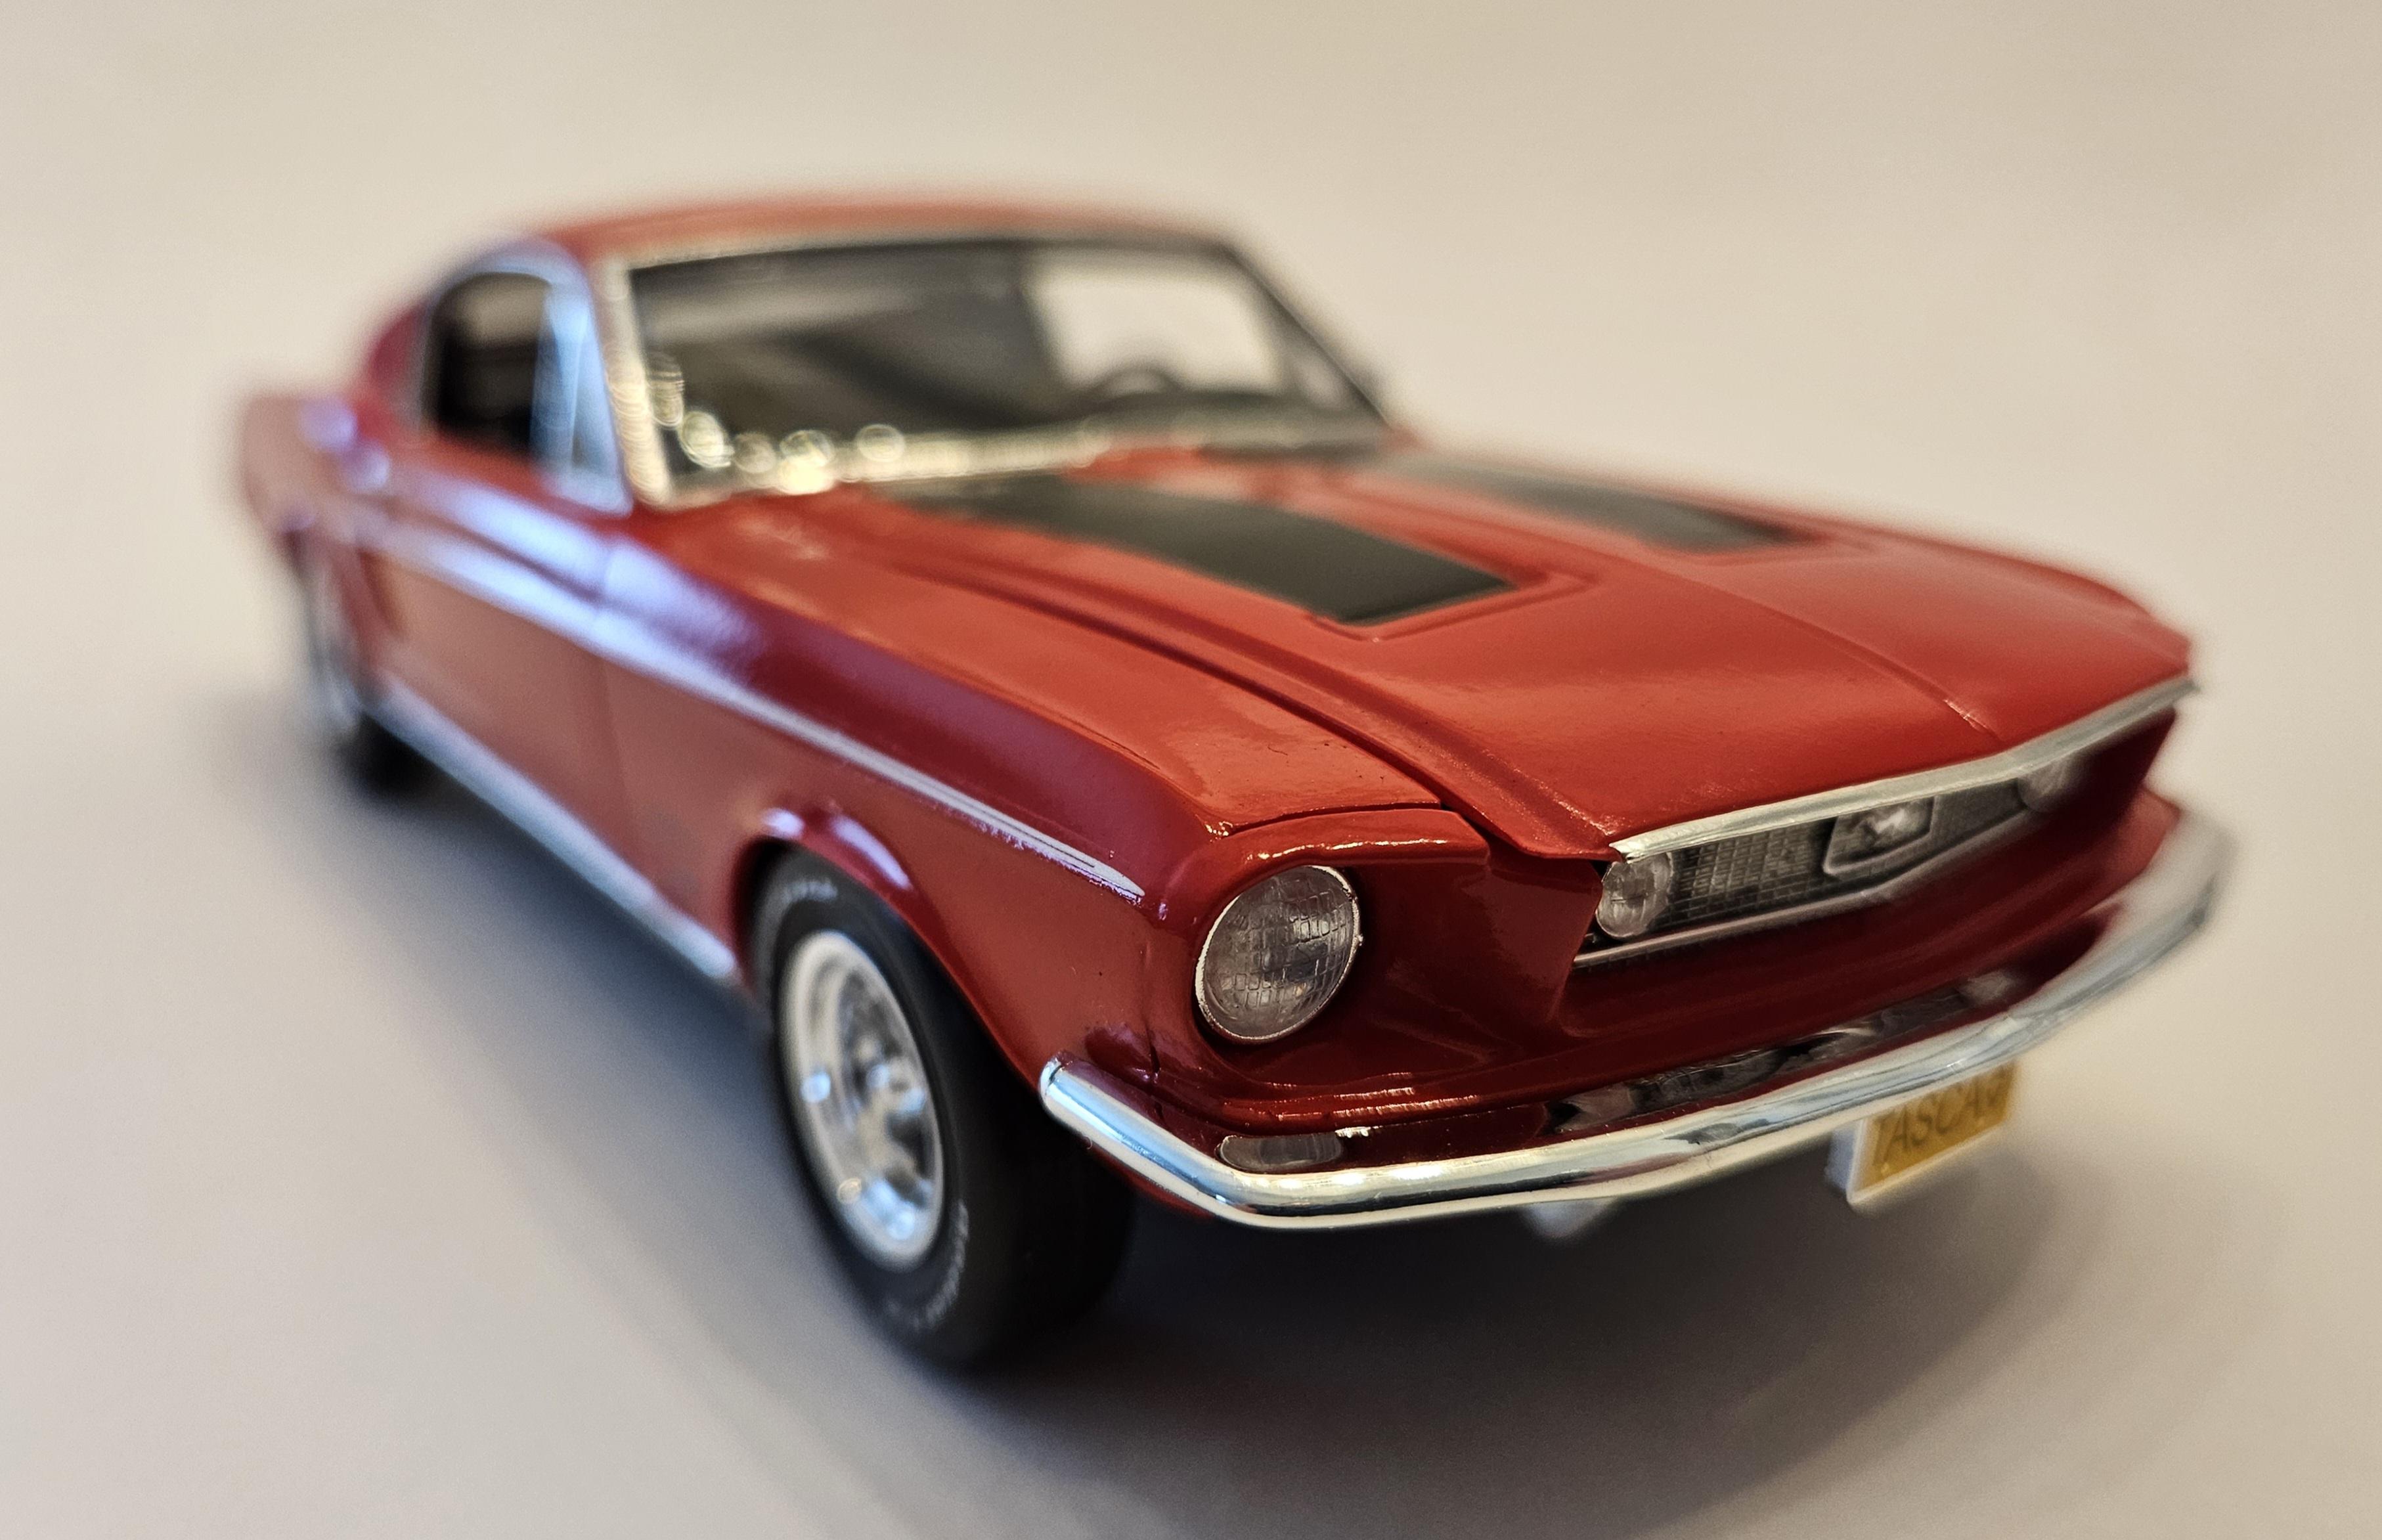
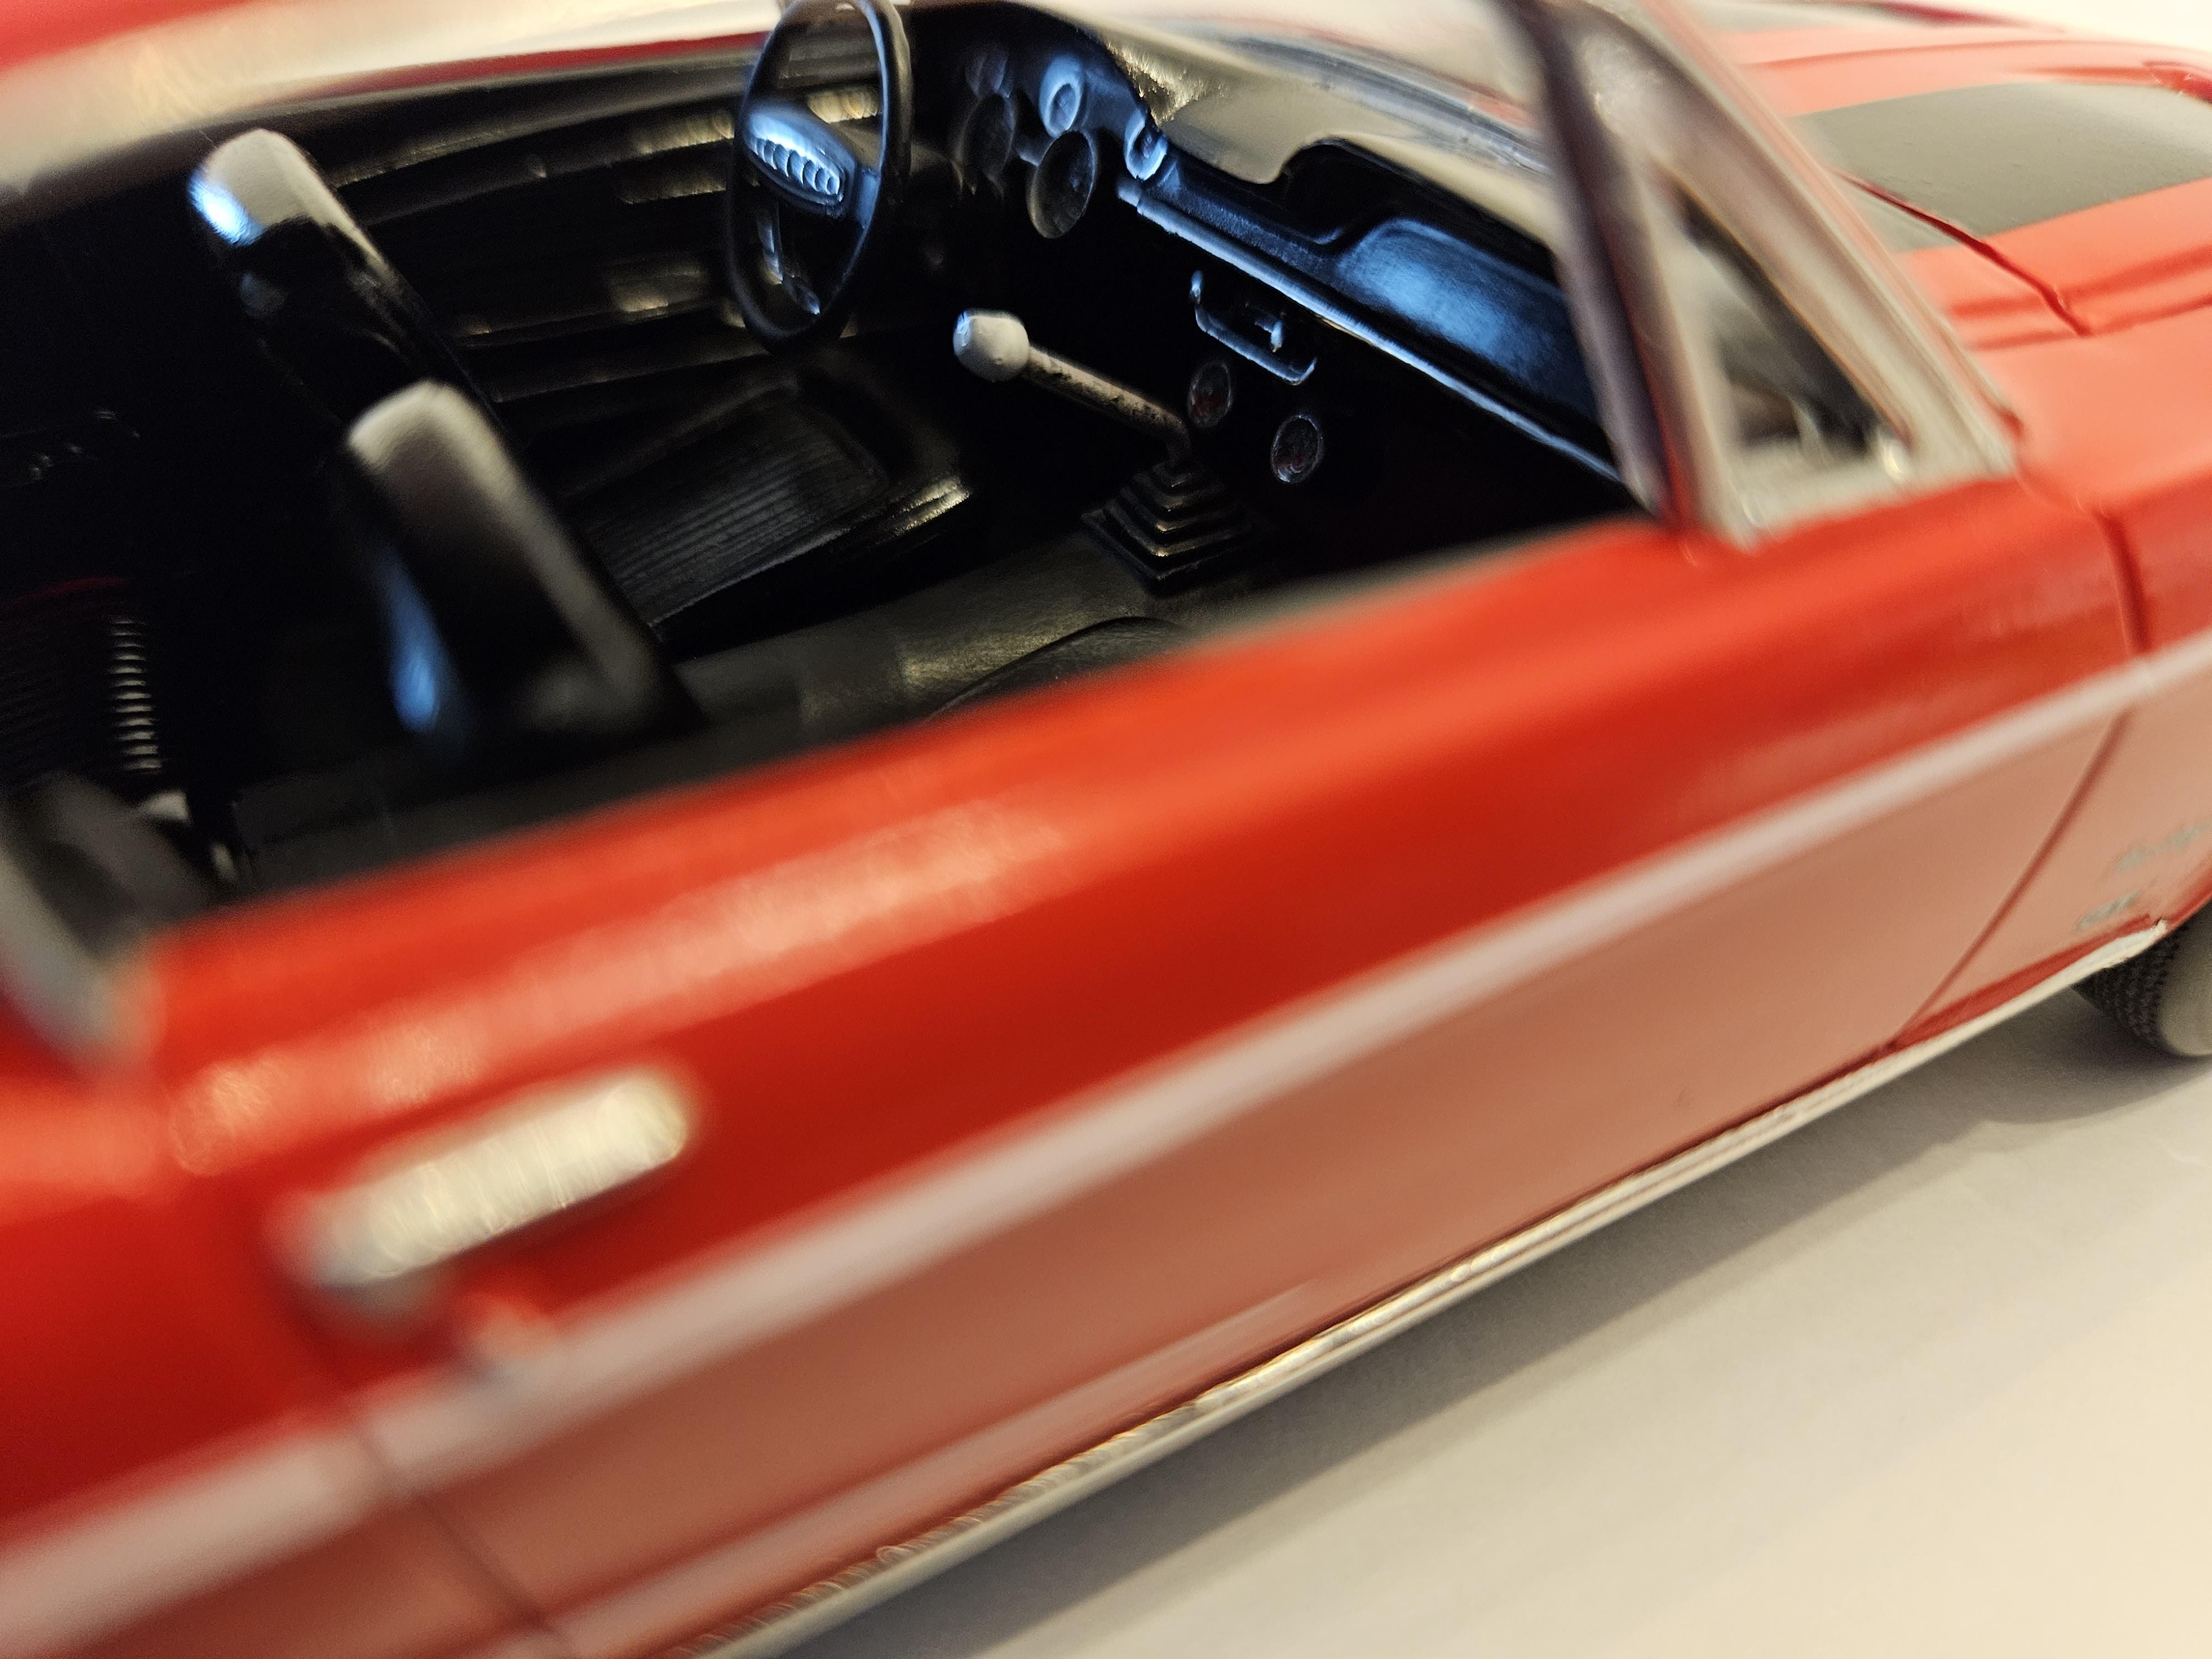
Hello again new build on the bench,haven't built anything ford in awhile,so dug this out of the pile a couple weeks ago. Color is Scalefinishes Calypso Coral with a couple coats of Splash Paints clear,decided to do most of my BMF on the body and paint the marker lights first then clearcoat over top. Decided i wanted to go with a look of a car that's been driven spring to fall over the years, so i painted the chassis Tamiya Flat Brown and various Vallejo colors. Used some Fireball tires decals to represent replaced tires,due to some "Accidental acceleration Incidents' ,over the years😬 i also added wheel weights and valve stems but the camera is not picking them up. Engine is painted for some reason the camera makes it look all shiny but it's not,i used heater hose for the spark plug boots i had to stretch them a little to fit over the molded ones on the valve covers. I tried a new technique for doing the woodgrain,i used Testors Sand paint as the base,followed by Brown Tamiya Panel wash,then Tamiya Clear Yellow,the speedometer deals are from an old Last detail sheet.I also added some P/E keys as usual I heat stained the exhaust and added a light wash of Tamiya Black panel wash on the engine for a little dirty look

- 21 replies
-
- 11
-

-
- boss 4294spd
- ford
- (and 1 more)
-
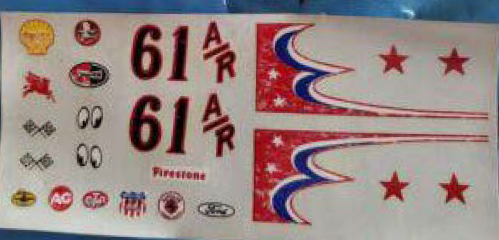
 Looking for a scanned copy of the decals from the Lindberg "Mind Blower" roadster kit. Was one of my first kits as a kid, rebuilding for fun and nostalgia. I don't have the original decals and would have to scan and reprint them if I did. Hence, I am looking for a scan or copy of the decal. Thanks! (I found a photo below, not clear enough to reproduce. Shown for reference).
-
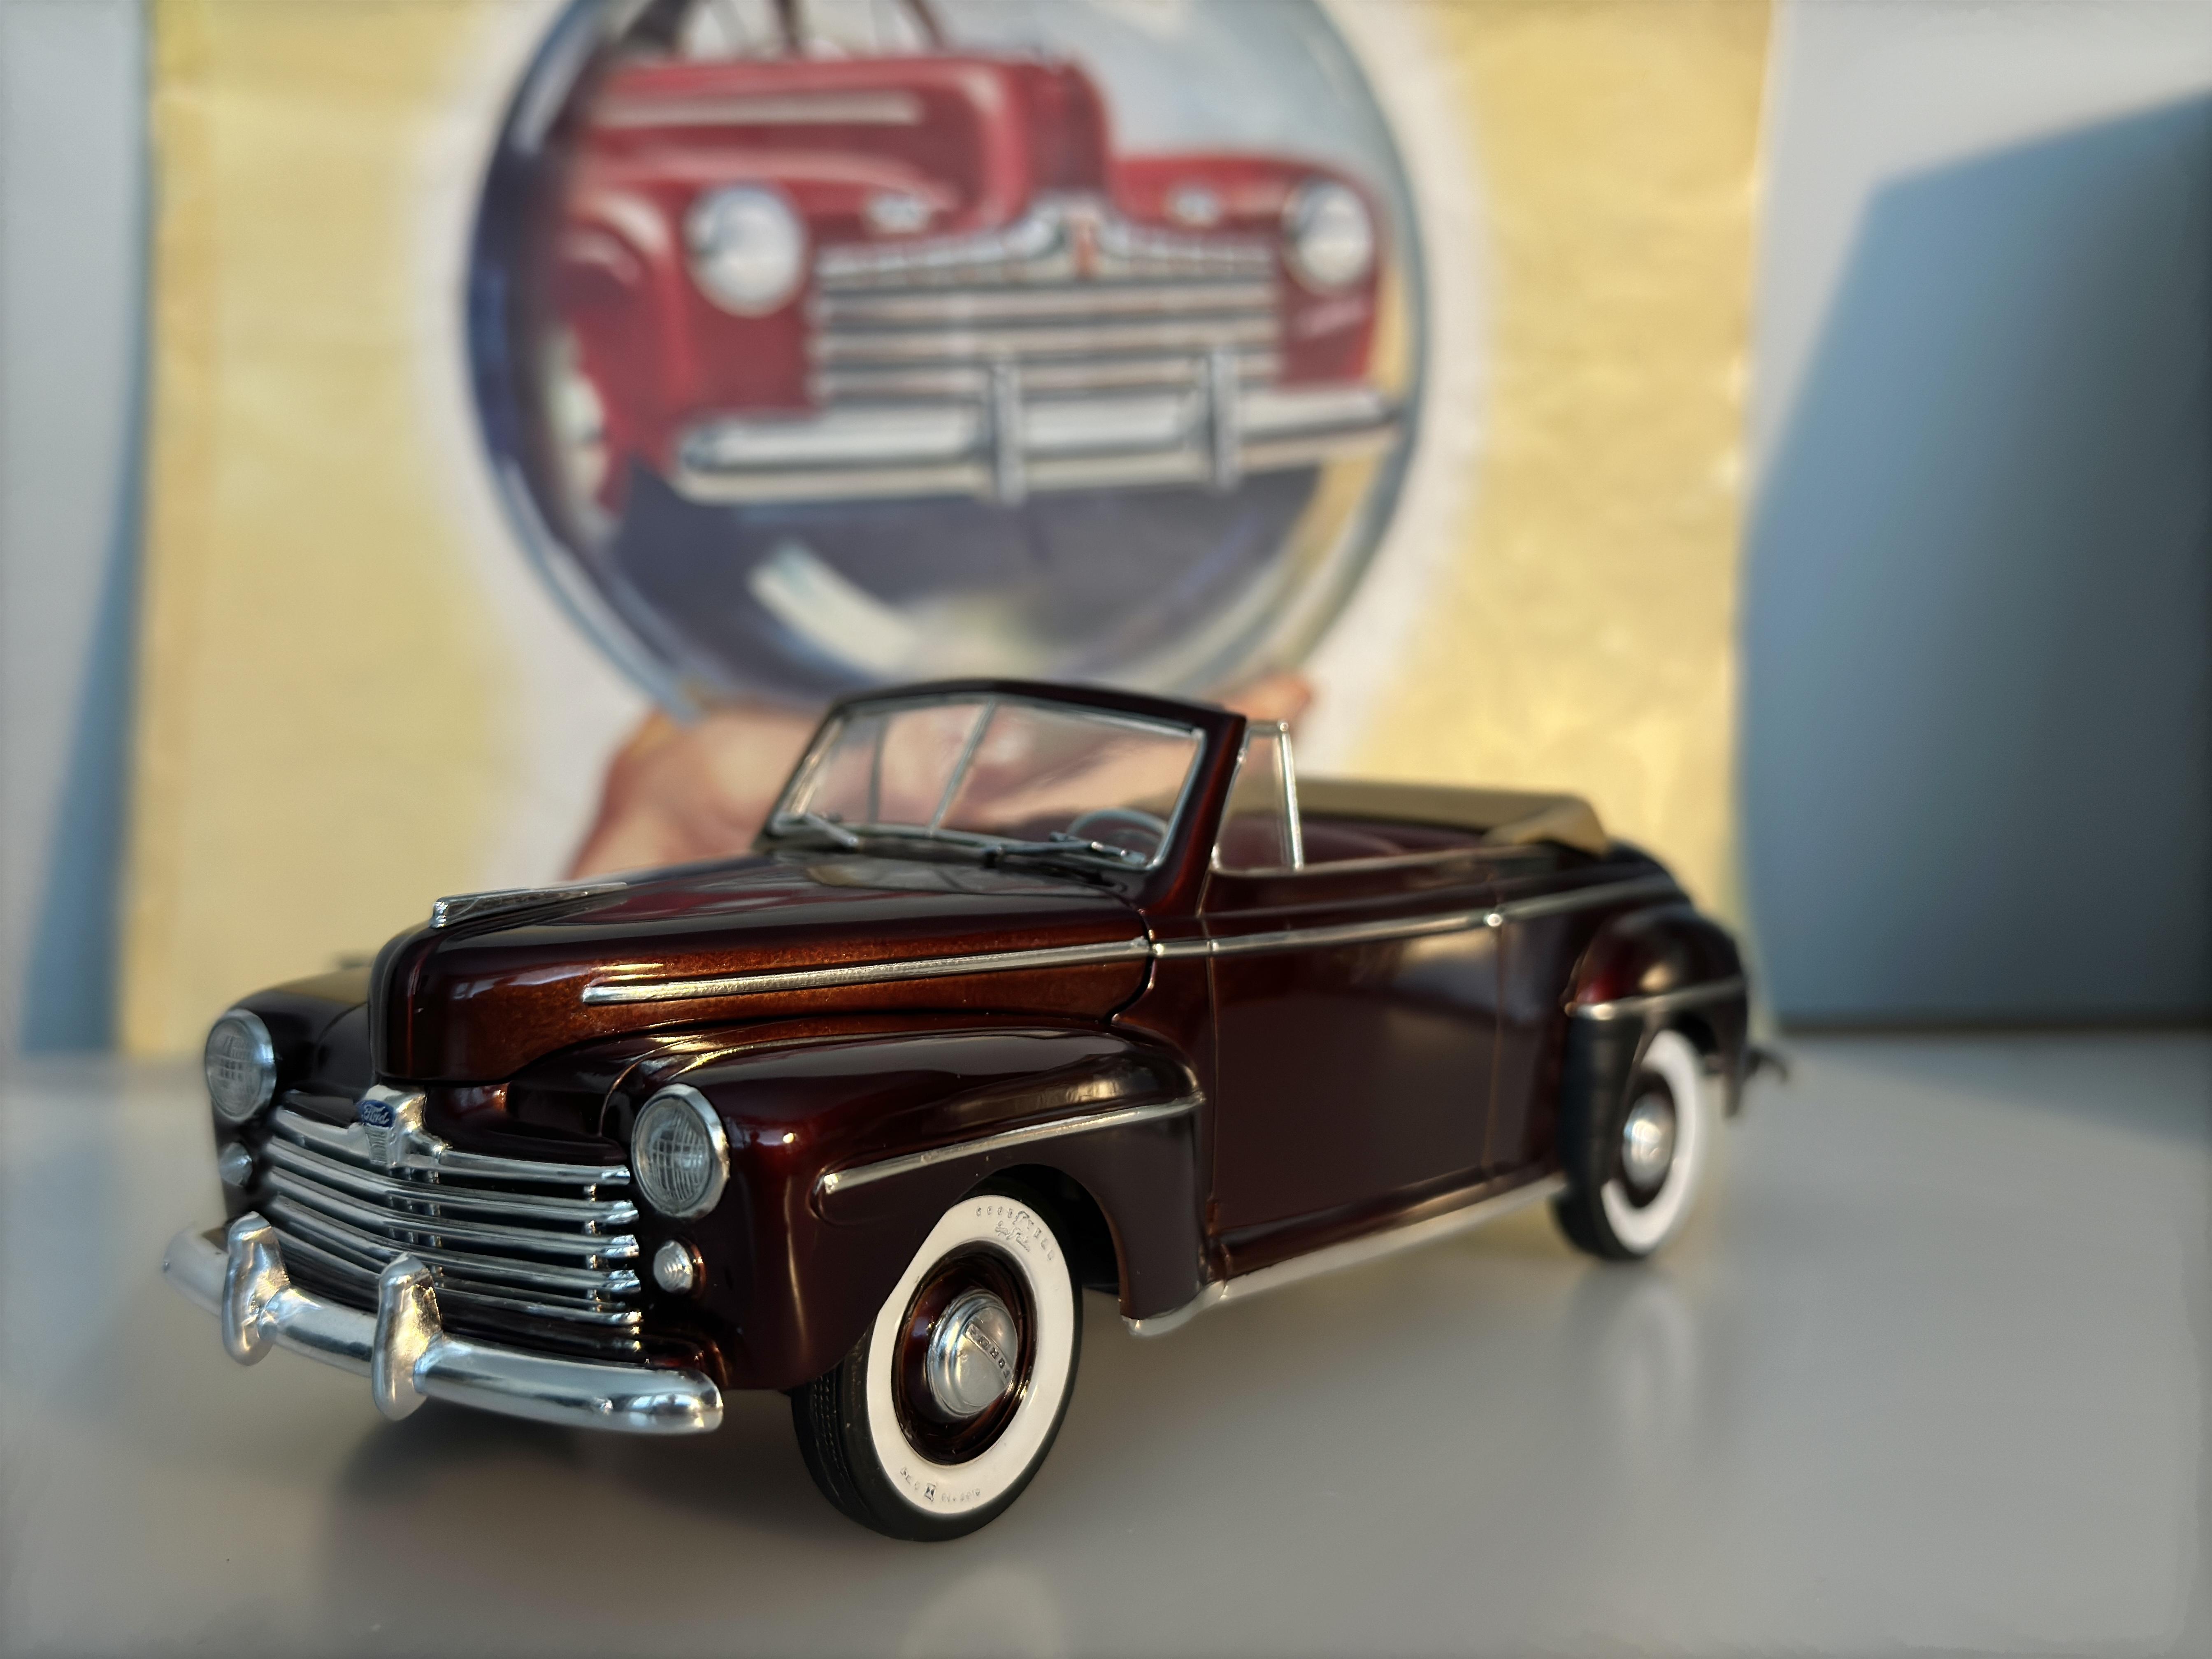
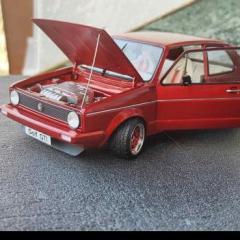
According to the kit box introduction, model year 1948 represents the last year of the body style that Ford had debuted in 1941. It also marked the end of an era. The protruding fenders would soon give way to a new lower, slab sided look in car design. The kit is Revell-Monogram´s ProModeler series released in 1998. This was one of the highest quality kits I have built. Exterior color is custom made metallic brown over gold base, which results in the slight candy effect. The kit allows to build either stock or street rod versions, I chose to build it stock out of the box.
- 25 replies
-
- 20
-
-
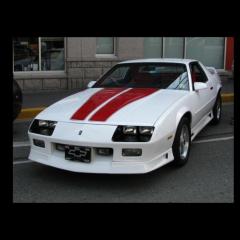
This is what I wanted when the kit first came out. Glad they finally added the stripes. Not a bad kit. Pretty easy to build, but I did have a lot of trouble with that front end and the stripes. That front end is just a hair too wide for the body; as you can see. The rear can be a little tricky too, but if you get it just right it should slide right into place no problem. SAM_1881 by Eric Lucas, on Flickr SAM_1882 by Eric Lucas, on Flickr
- 20 replies
-
- 15
-
-
I've been looking for one of these at a good price for quite some time too. I just wanted an example for my collection, but like the Mustang I passed on getting one the first time around and prices got high. I found this one for a steal on eBay as well. It's a really nice kit and very well done. No engine pics because the paint on the hood was chipping off from opening and I didn't feel like touching it up again. SAM_1865 by Eric Lucas, on Flickr SAM_1866 by Eric Lucas, on Flickr SAM_1867 by Eric Lucas, on Flickr SAM_1868 by Eric Lucas, on Flickr
-
Been looking for one of these at a good price for a long time. I passed on getting one of these when it was first released and the prices just kept climbing on them. I finally found one at a steal on eBay! It's not a bad kit, but I feel like they could have done a bit better. SAM_1860 by Eric Lucas, on Flickr SAM_1861 by Eric Lucas, on Flickr SAM_1862 by Eric Lucas, on Flickr SAM_1863 by Eric Lucas, on Flickr SAM_1864 by Eric Lucas, on Flickr
-
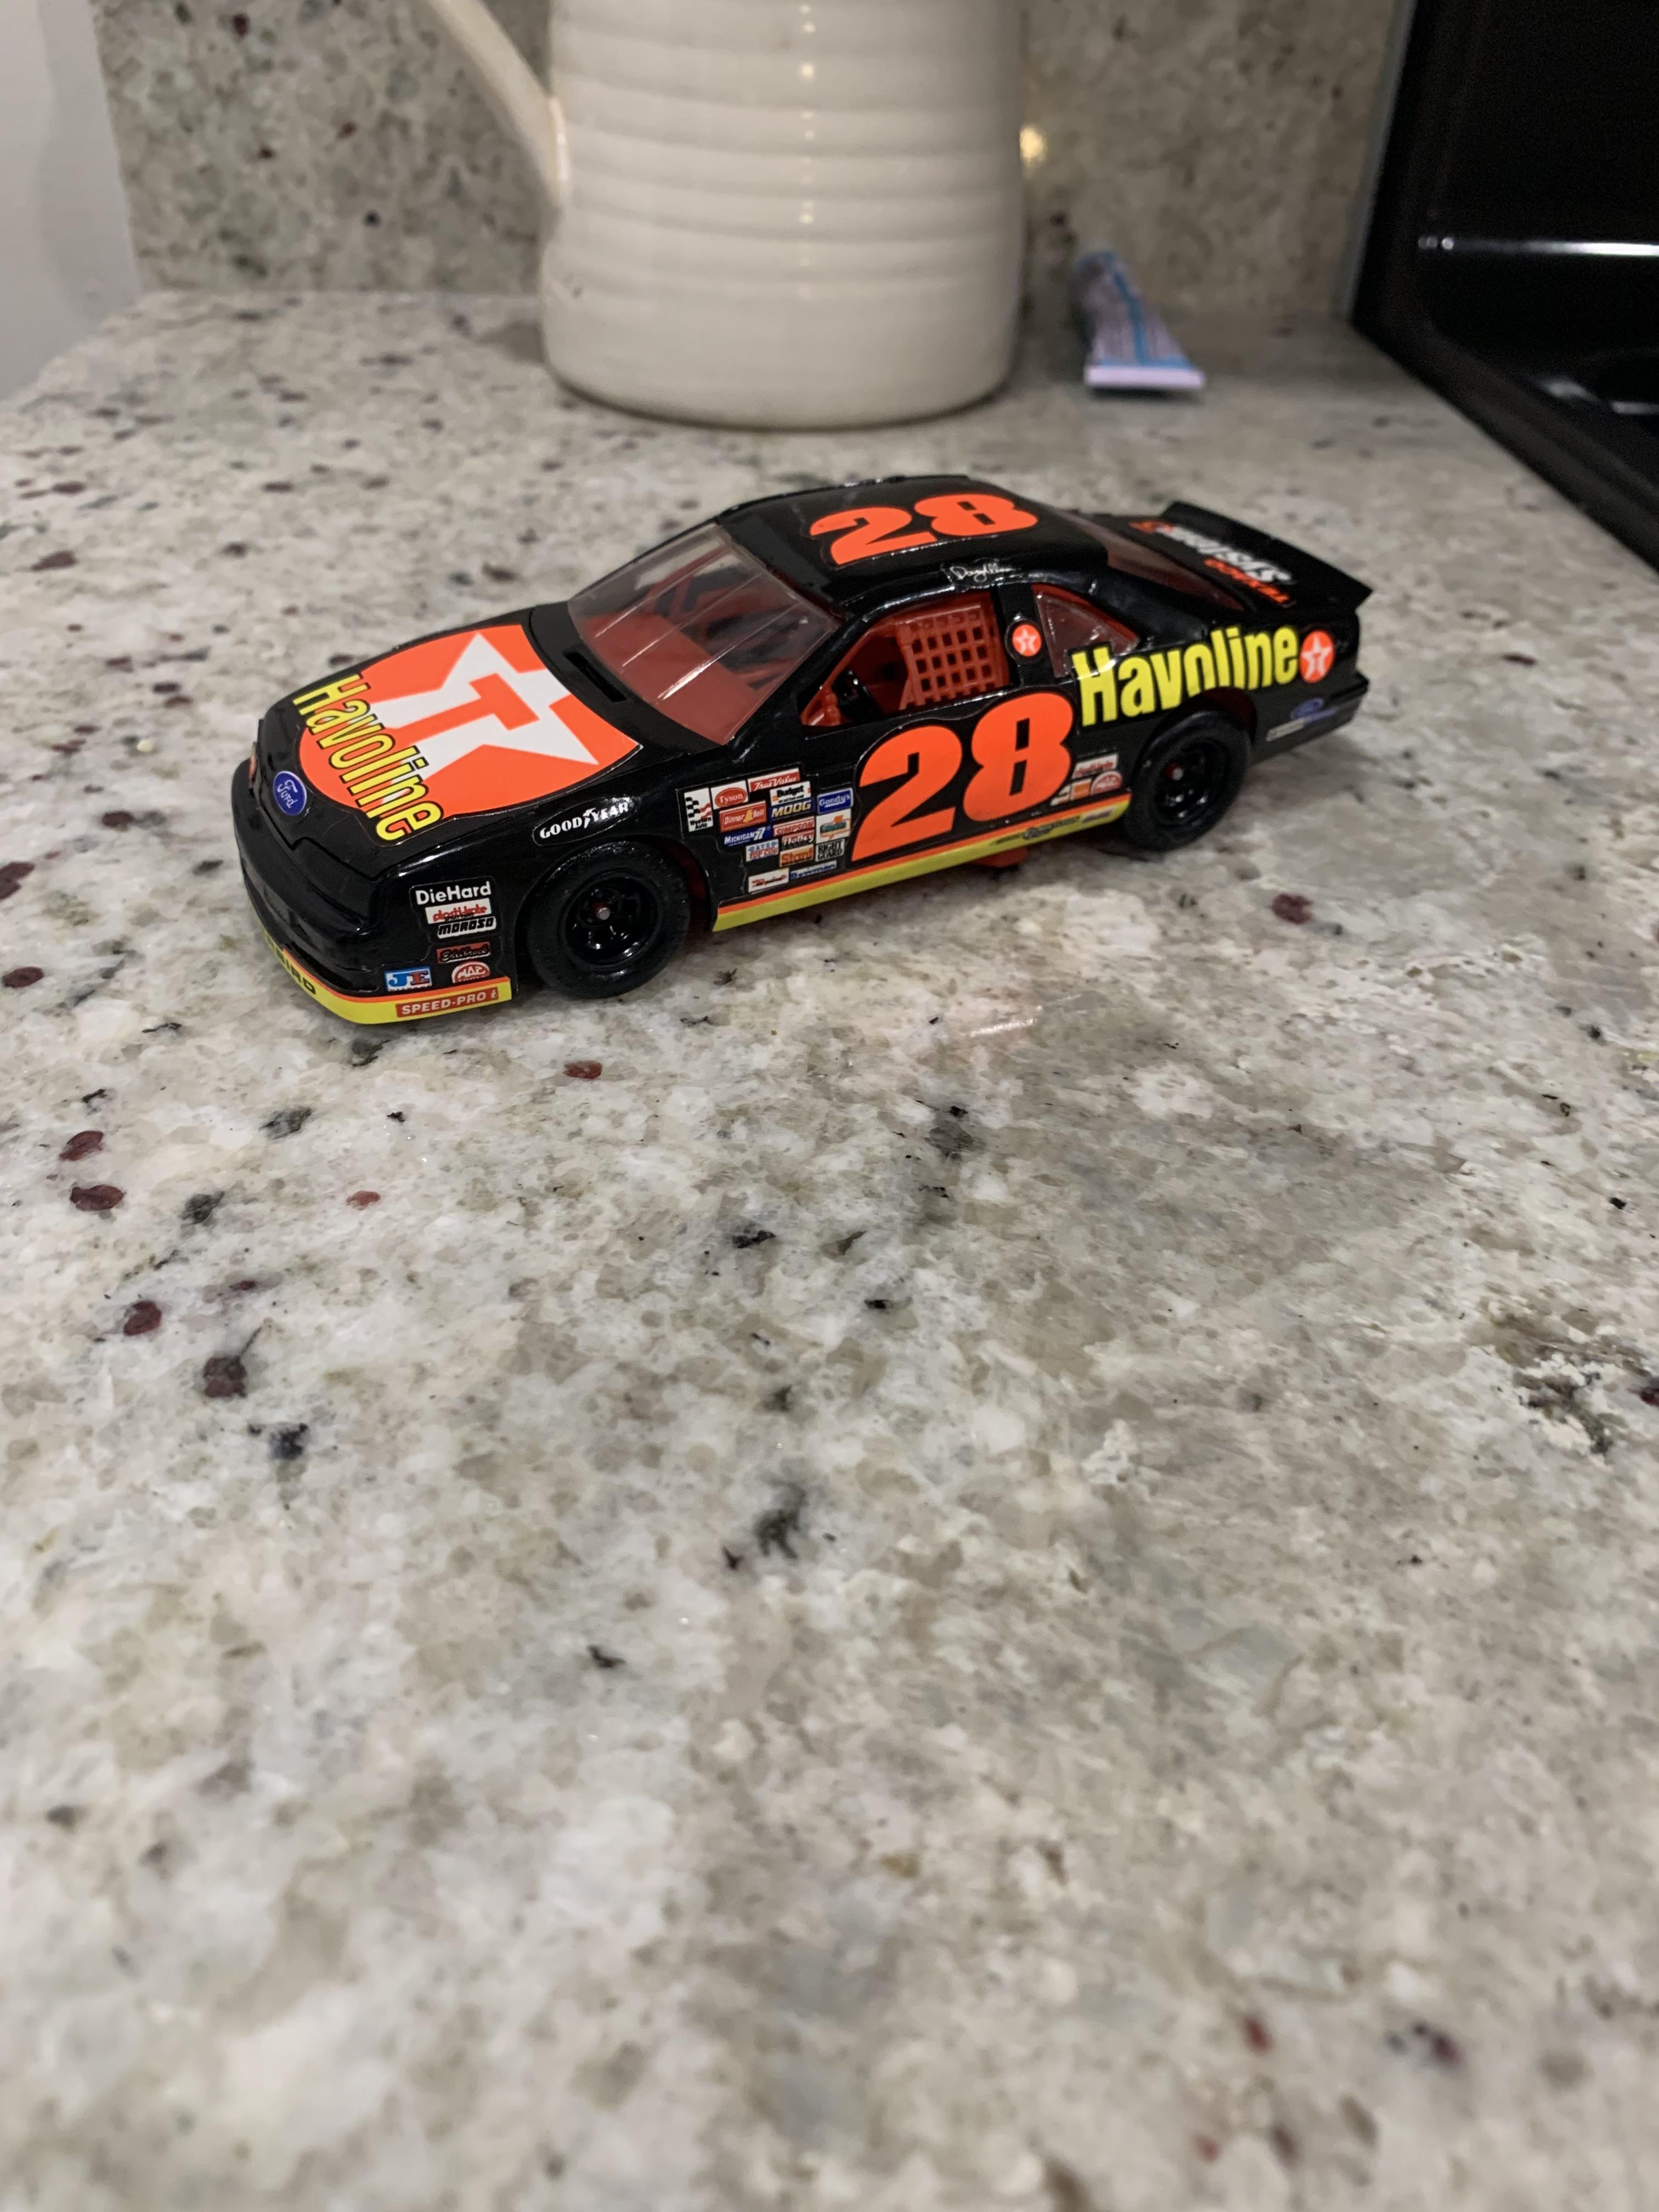
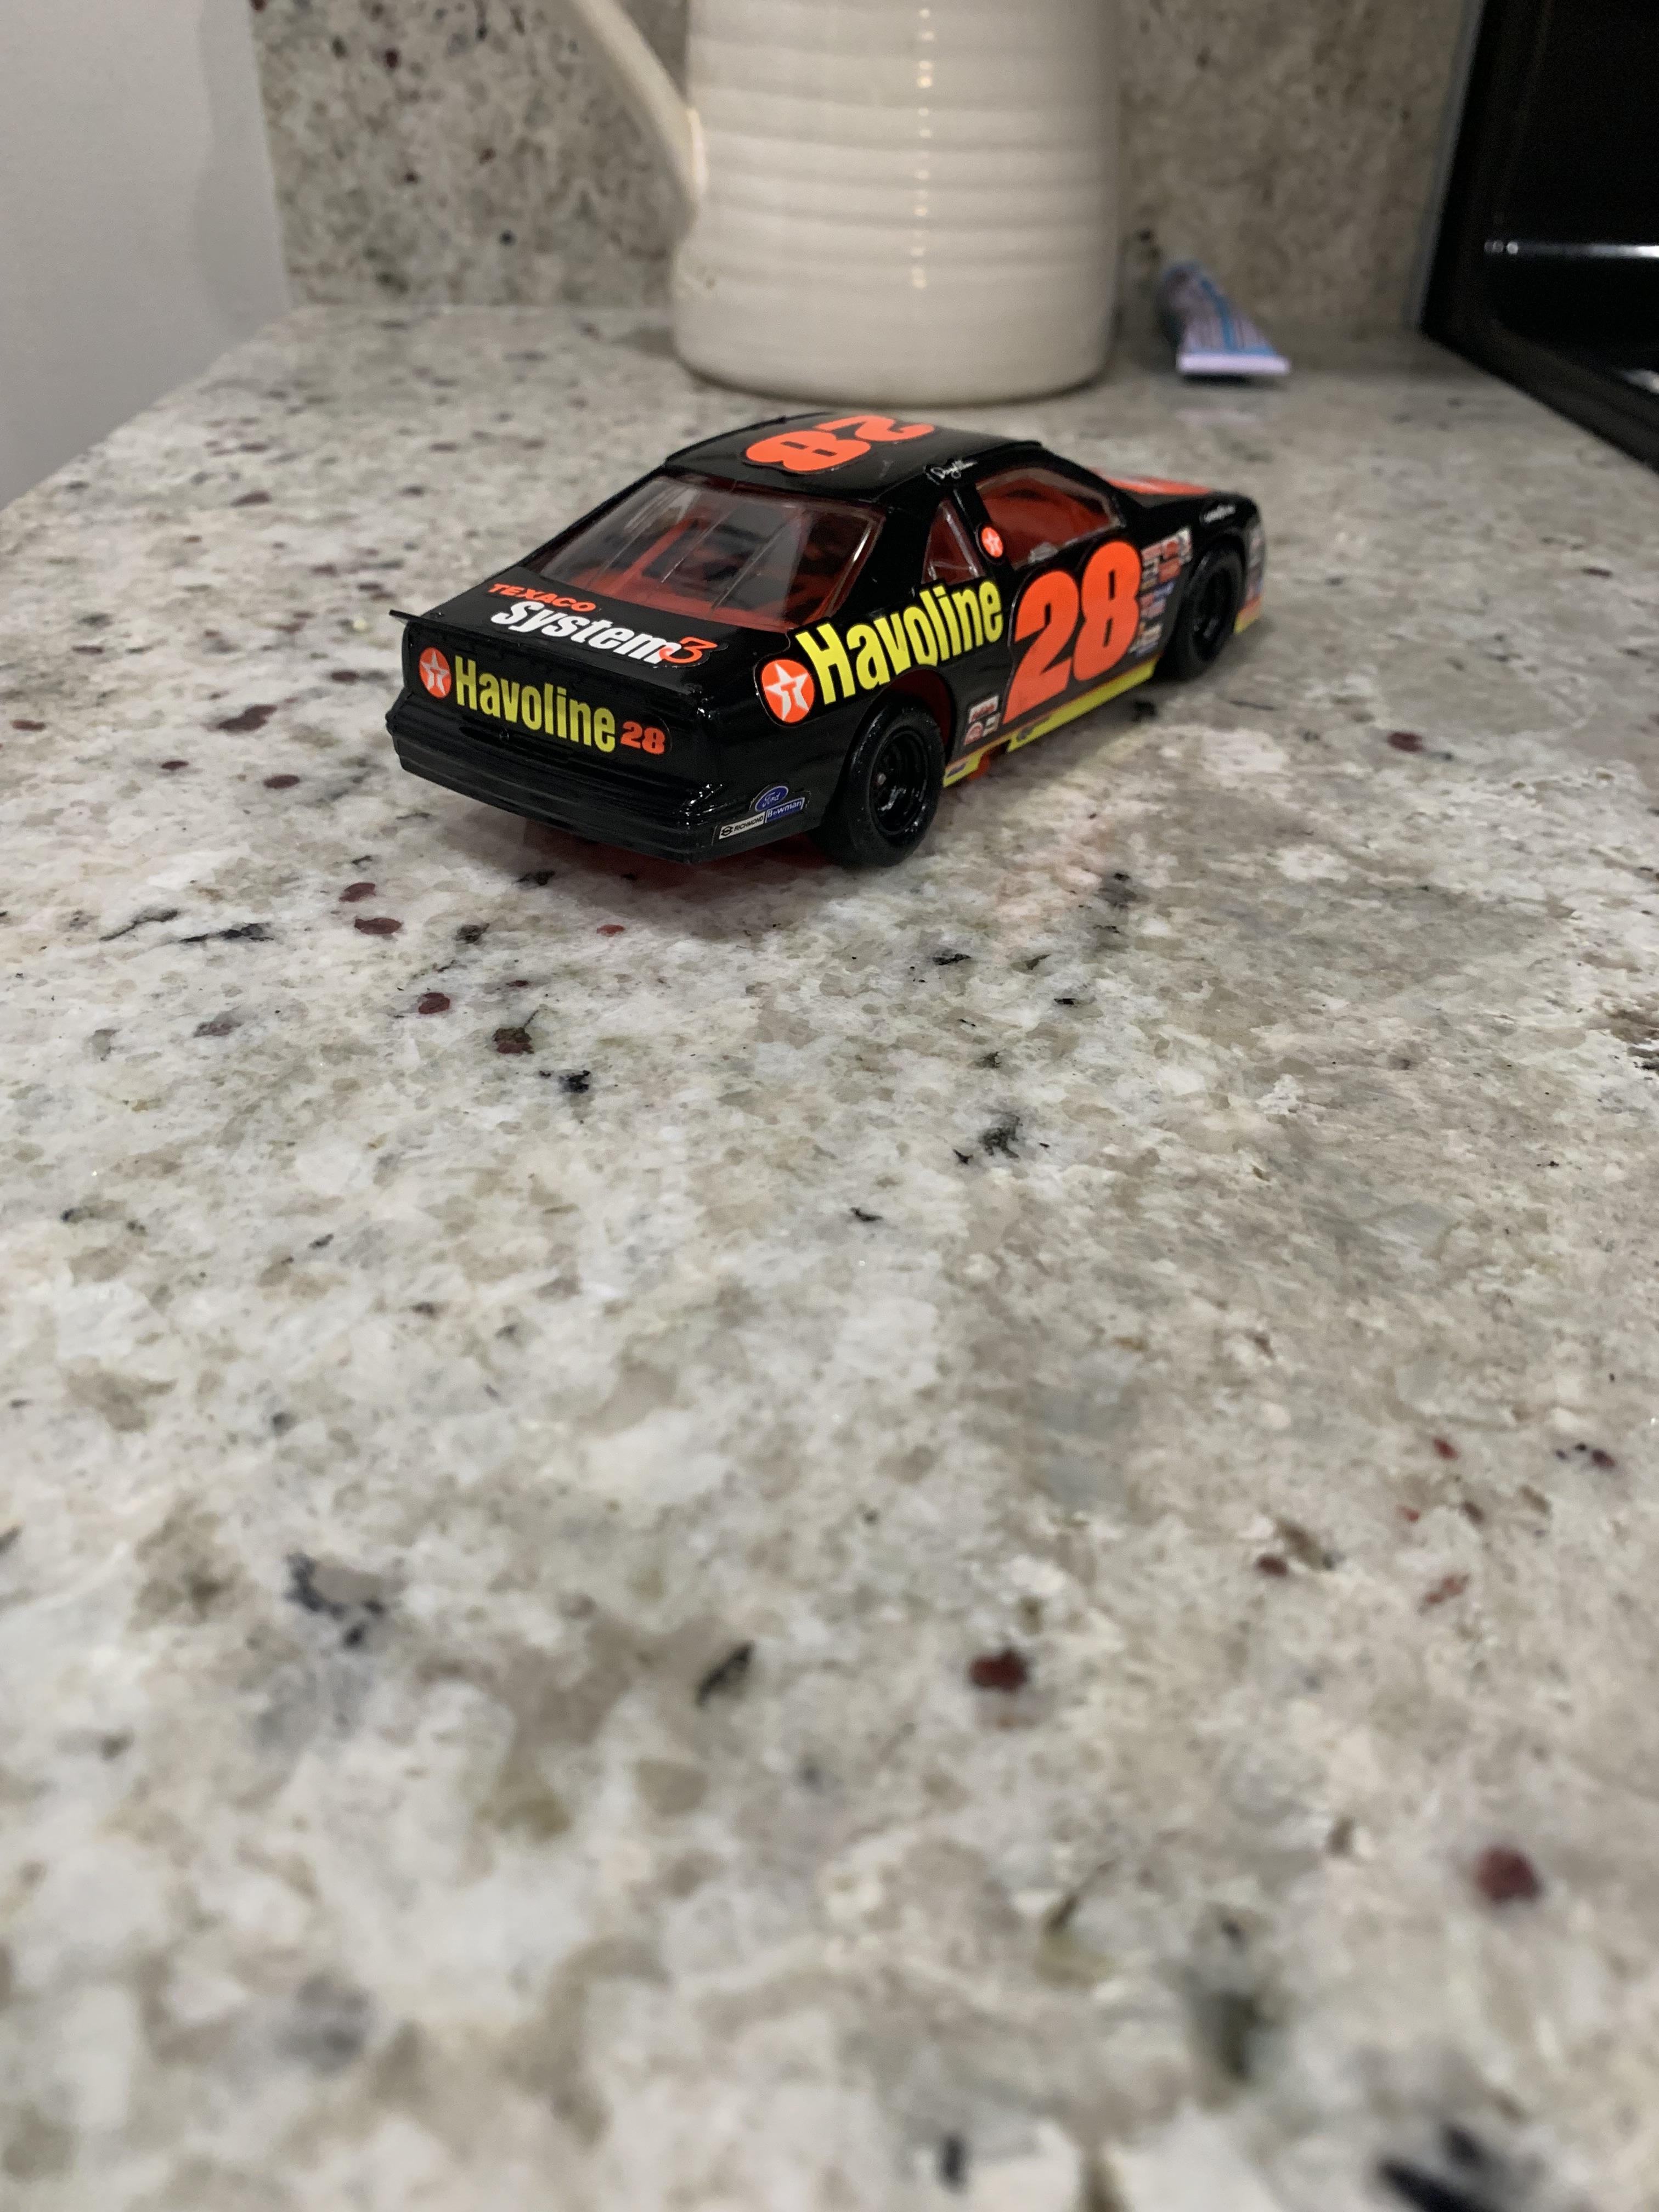
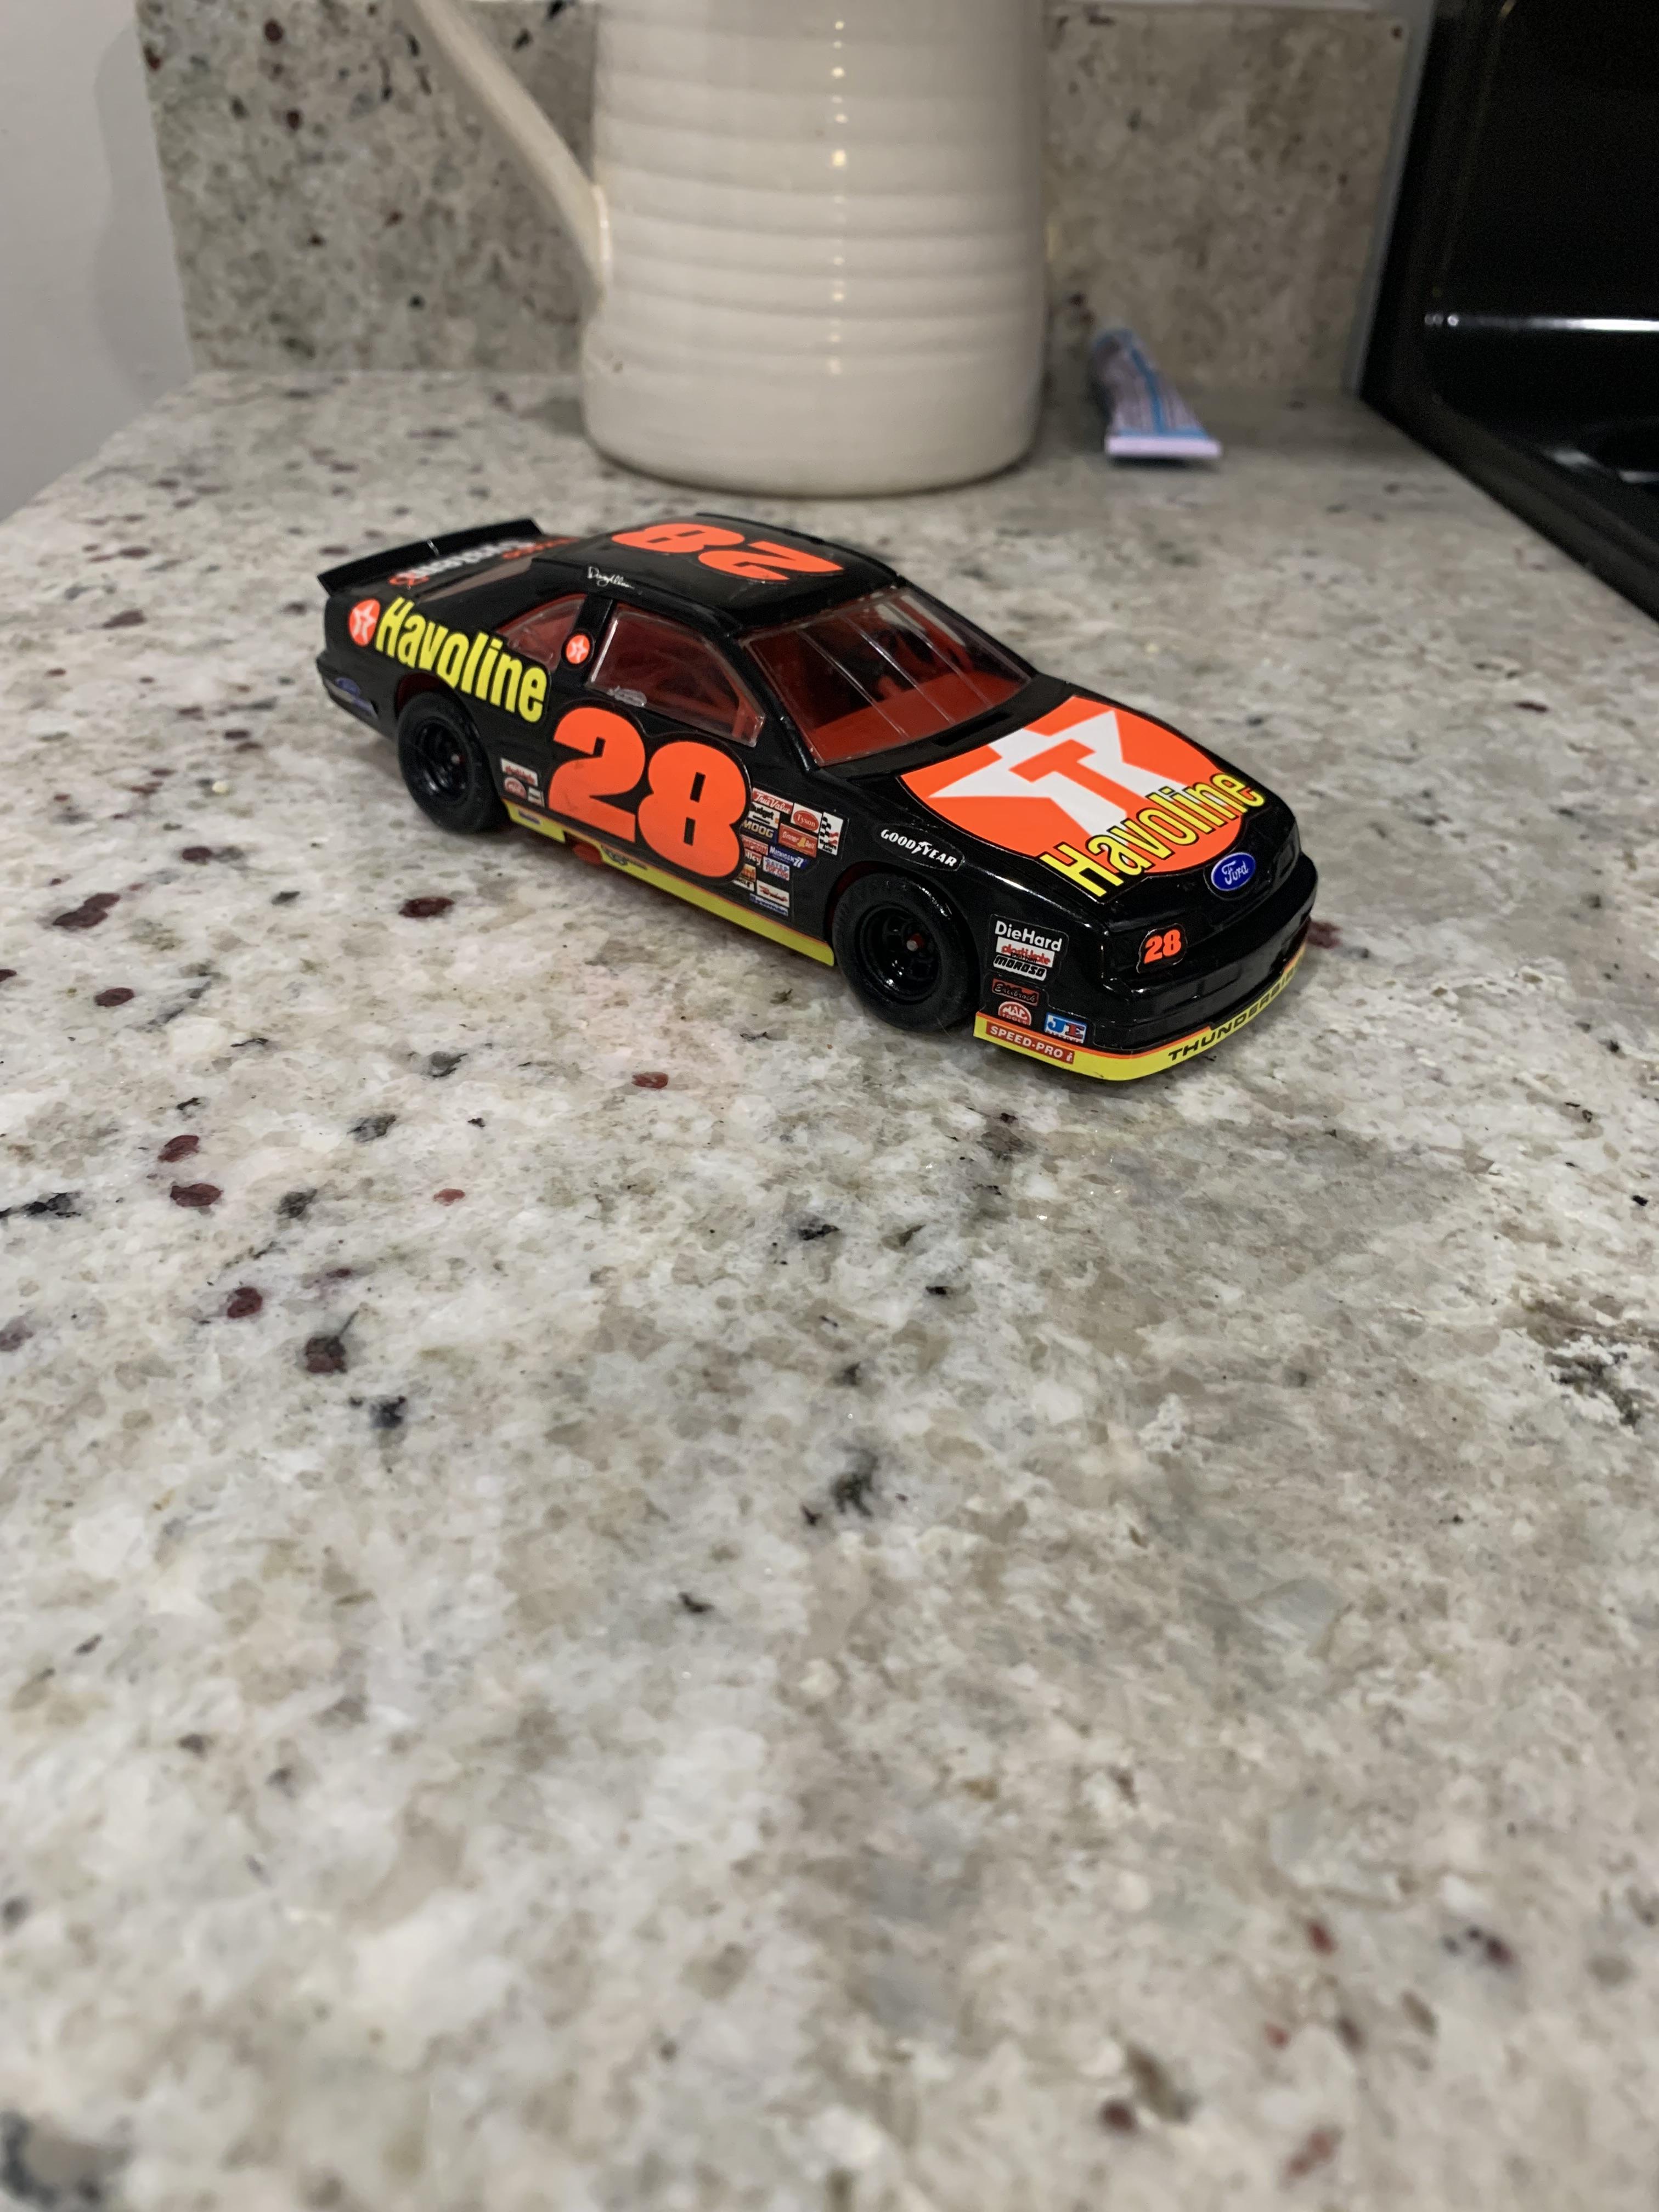
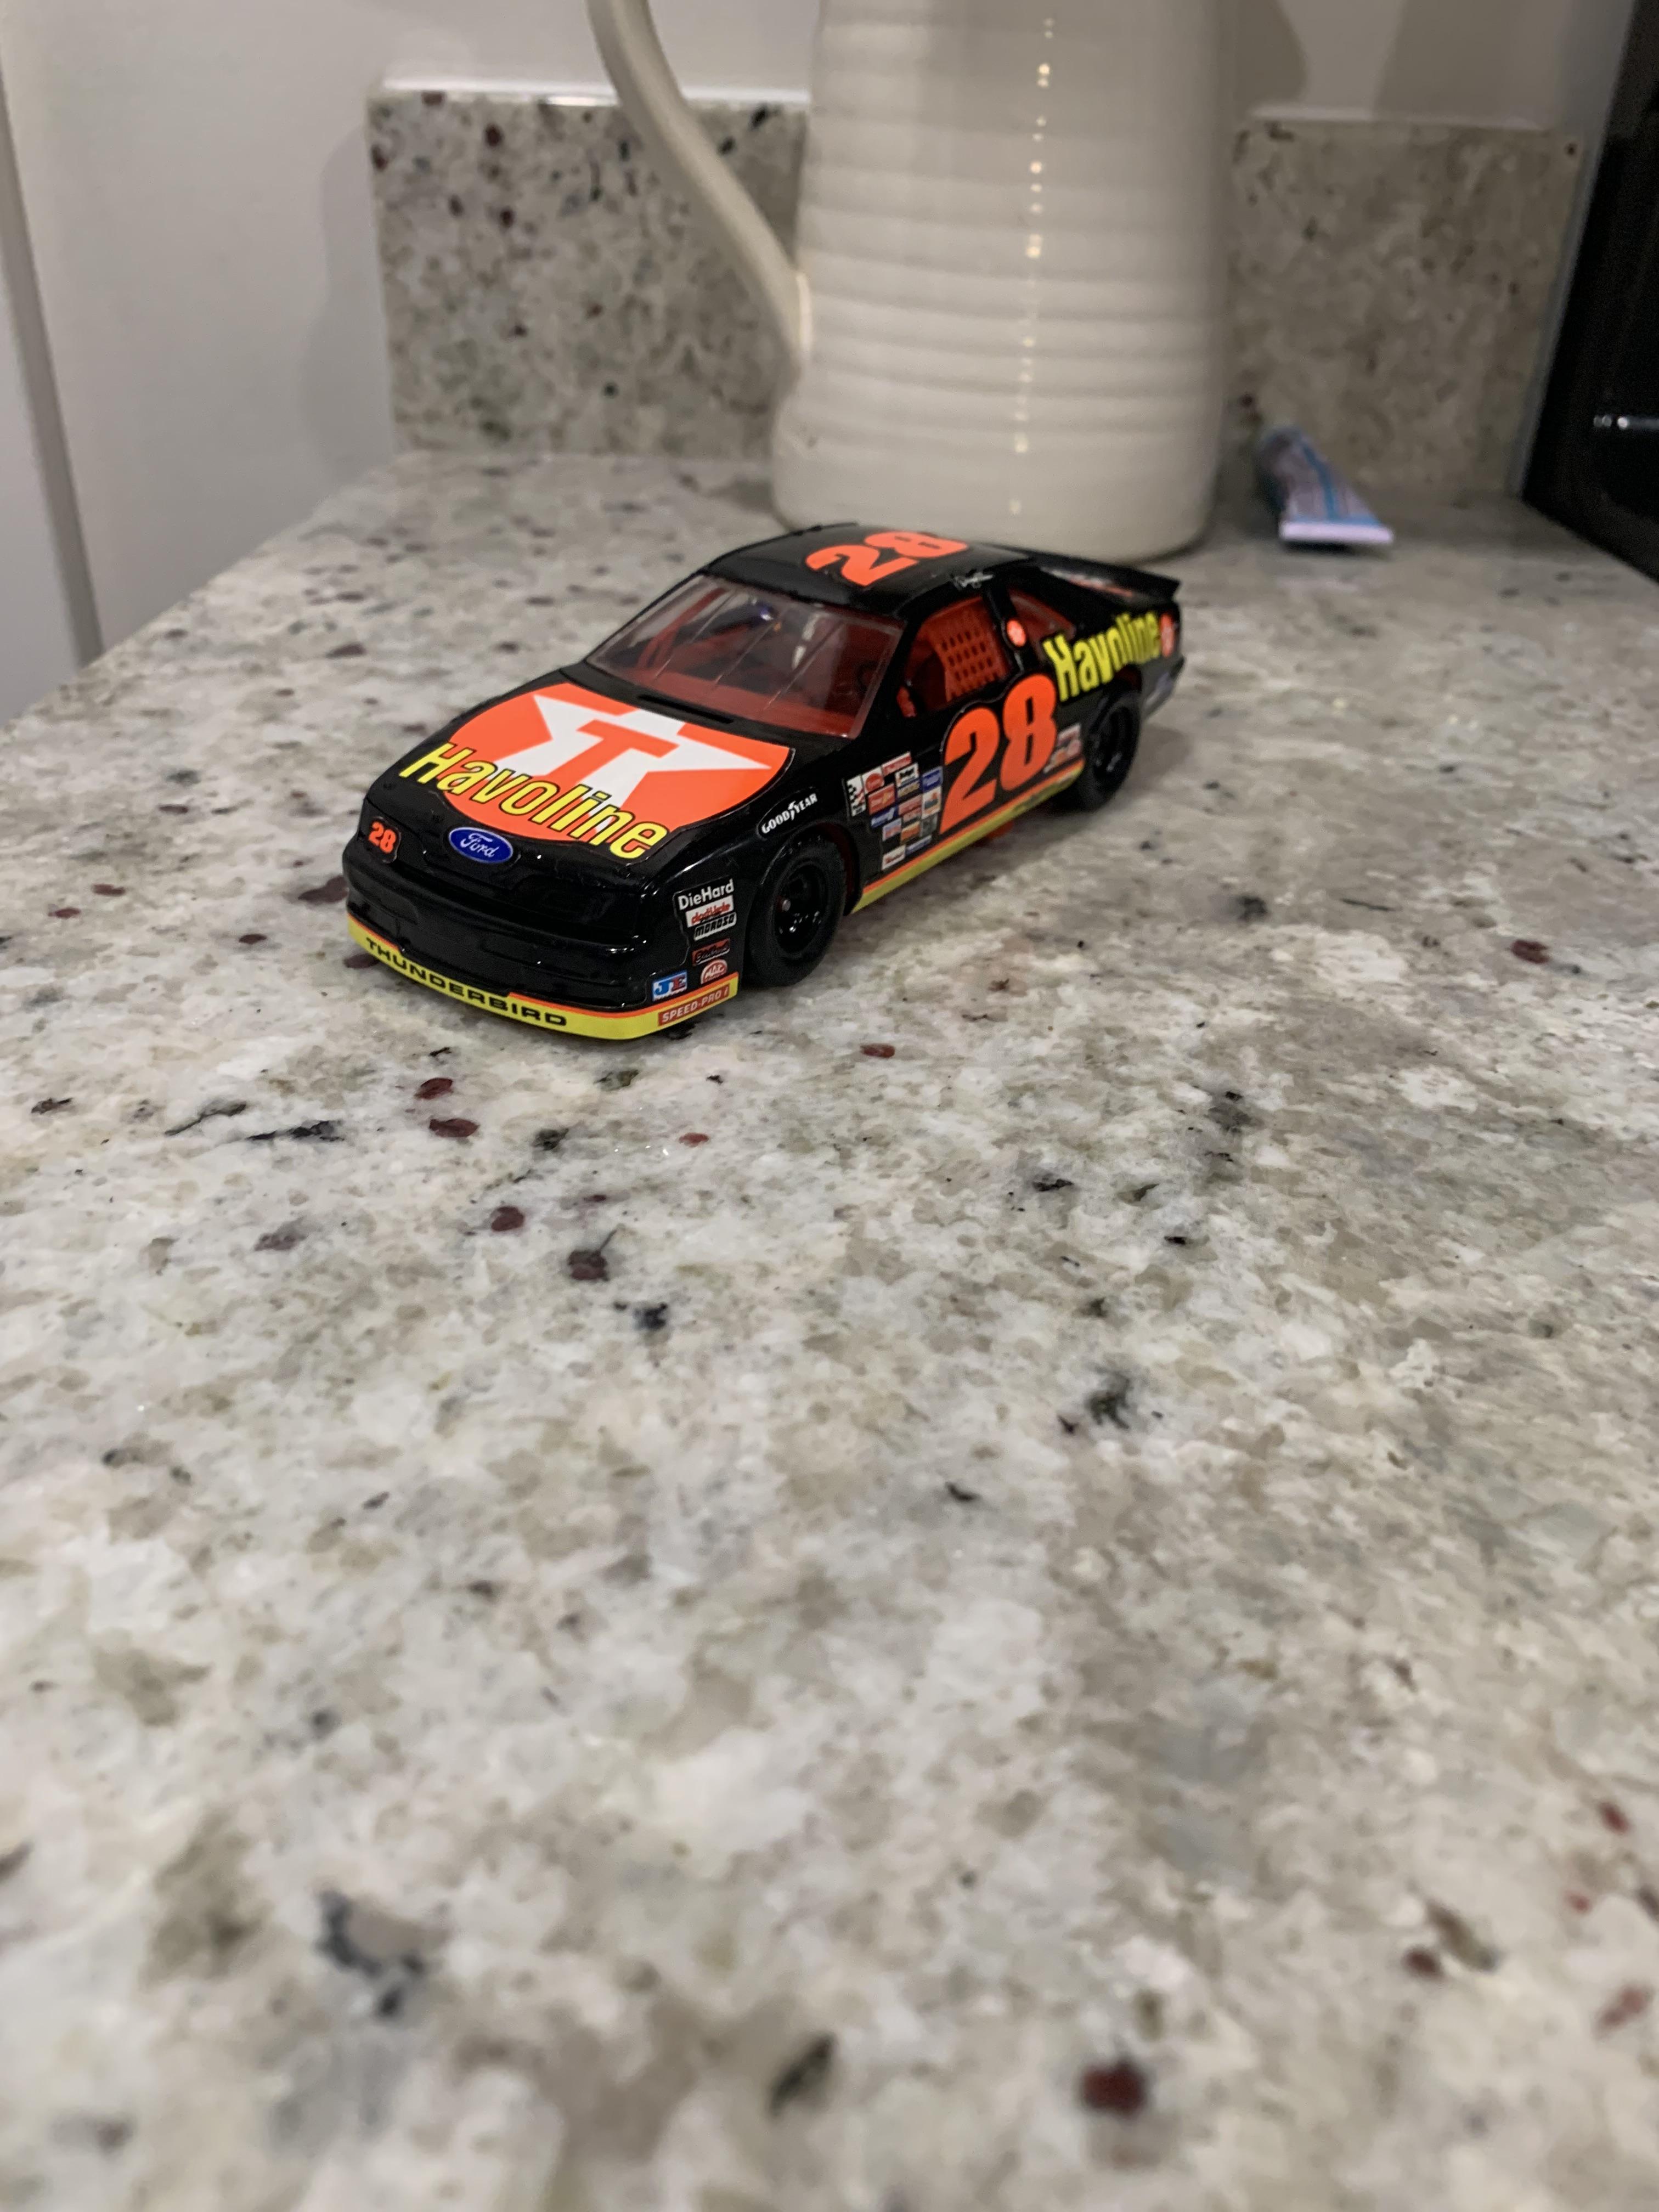
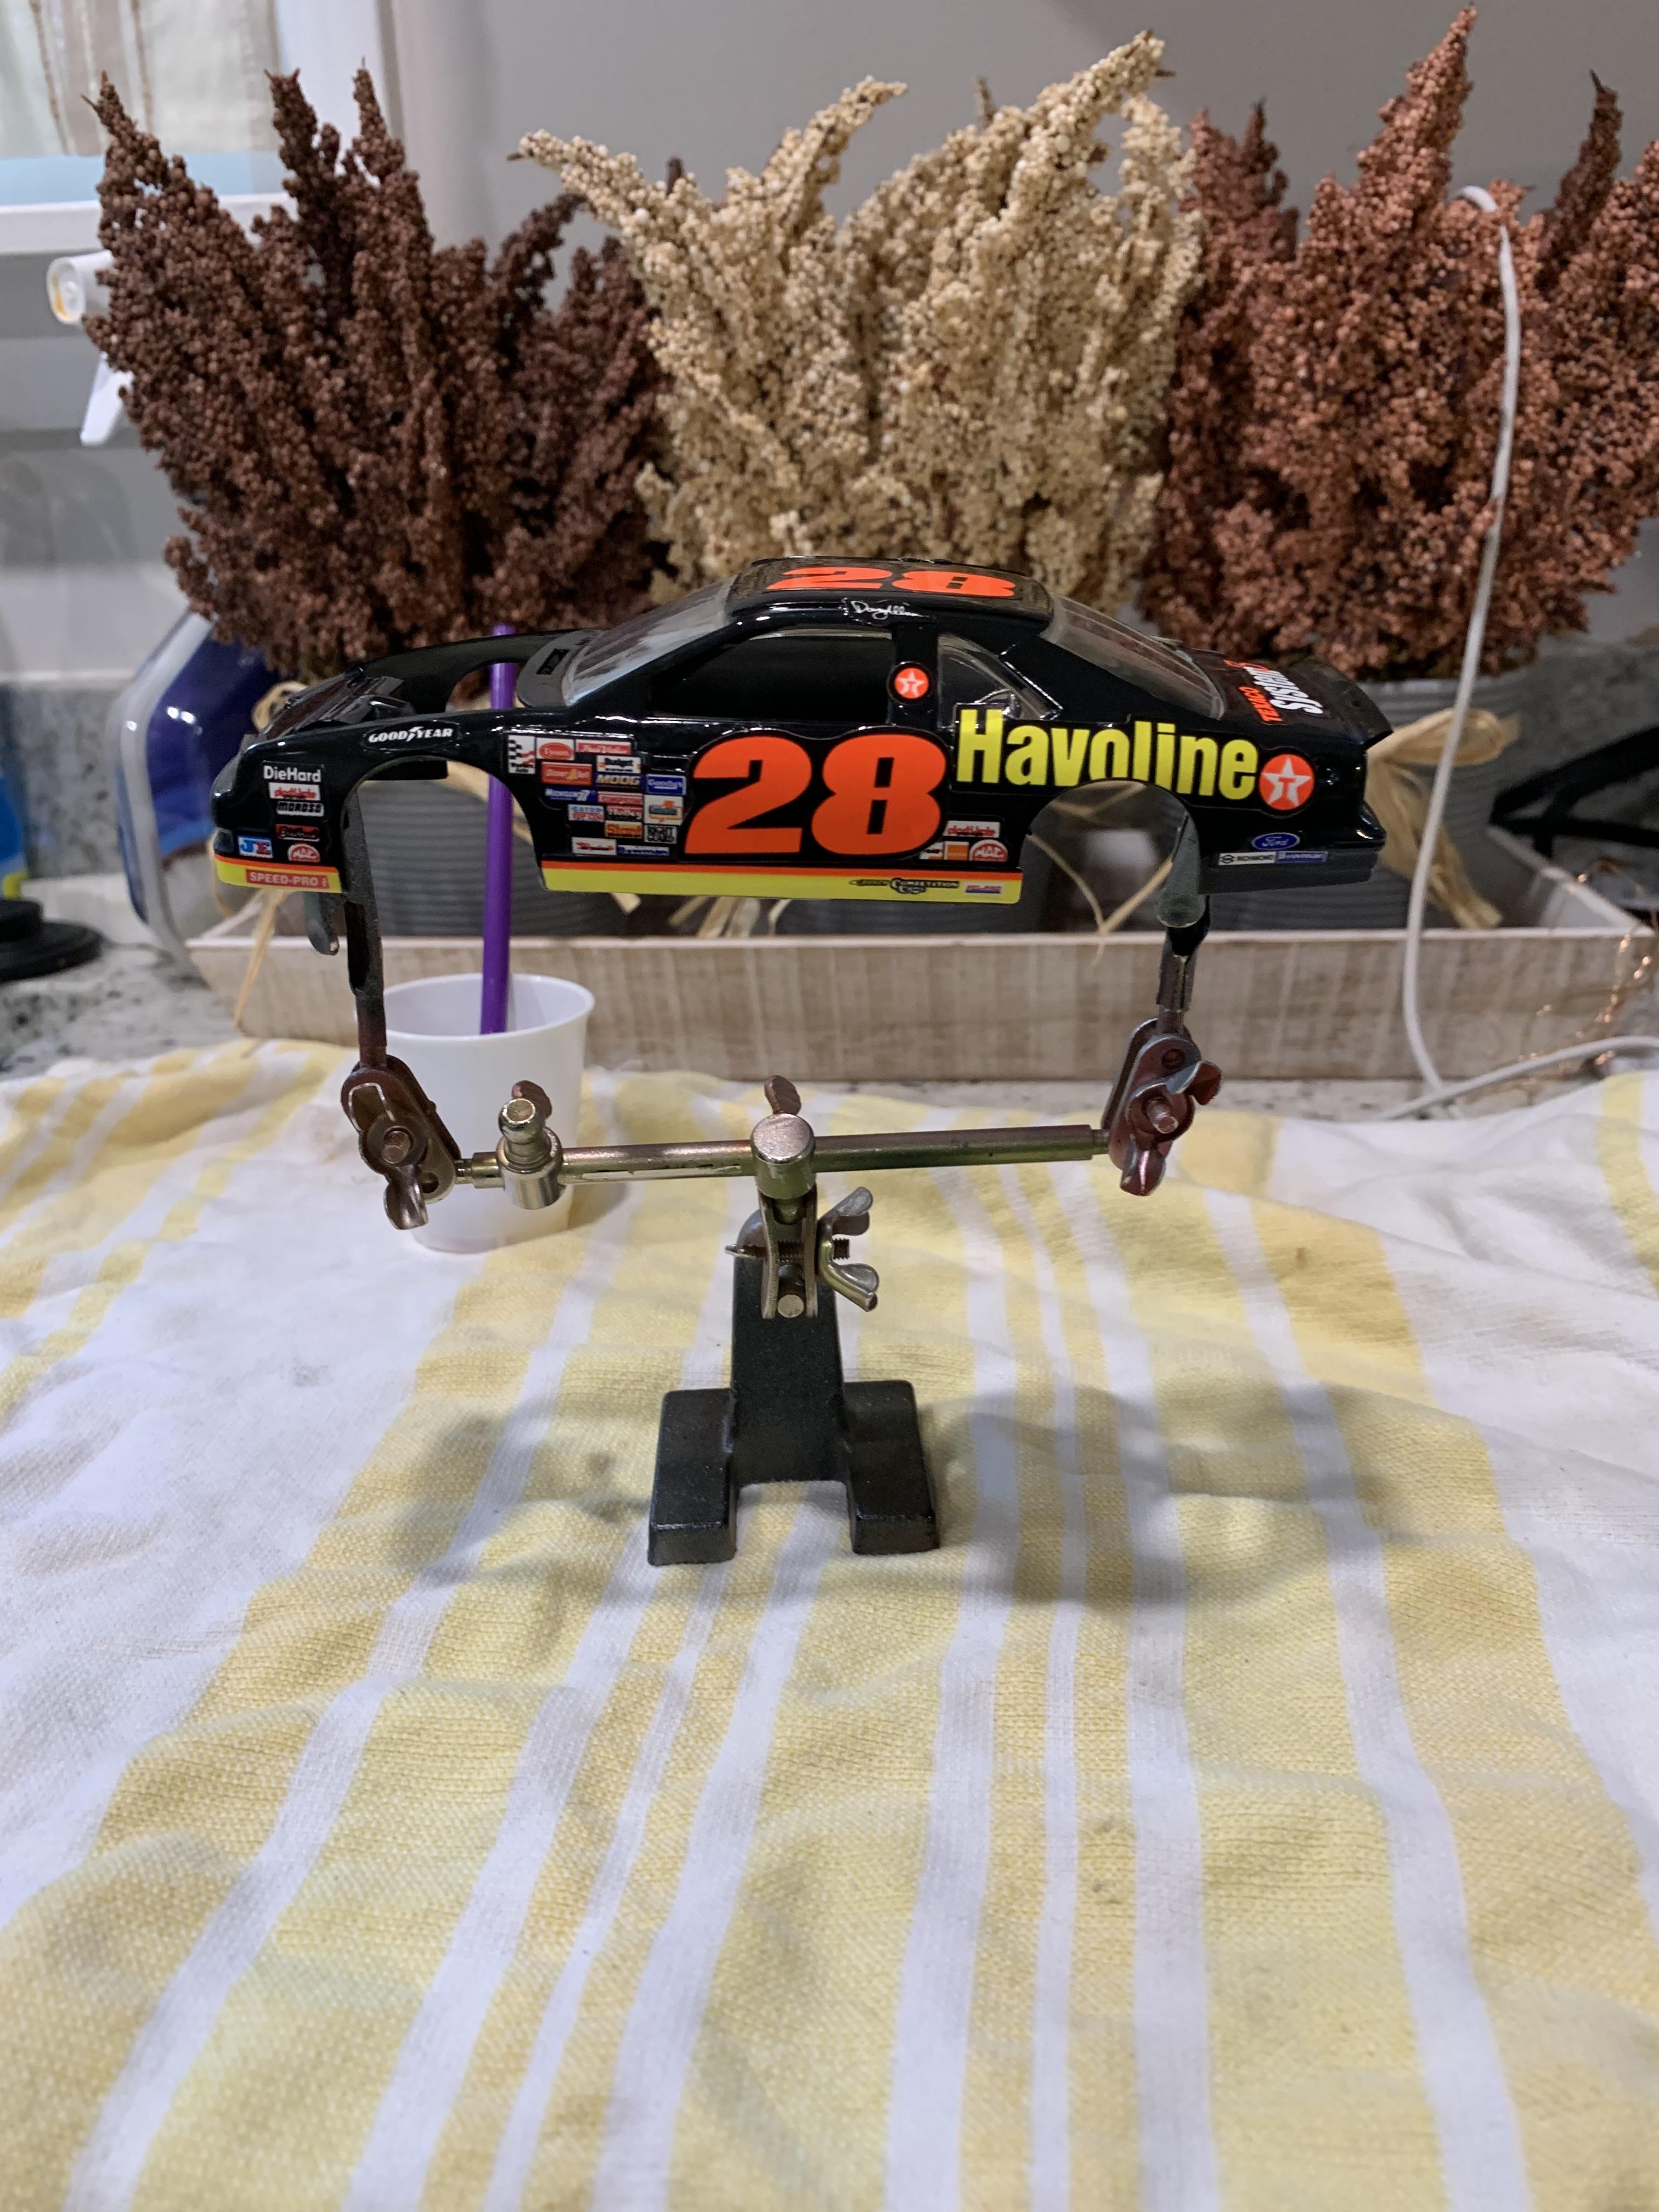
This is the Davey Allison snap tite all done
- 9 replies
-
- 3
-
-
- snaptite
- thunerbird
- (and 2 more)
-
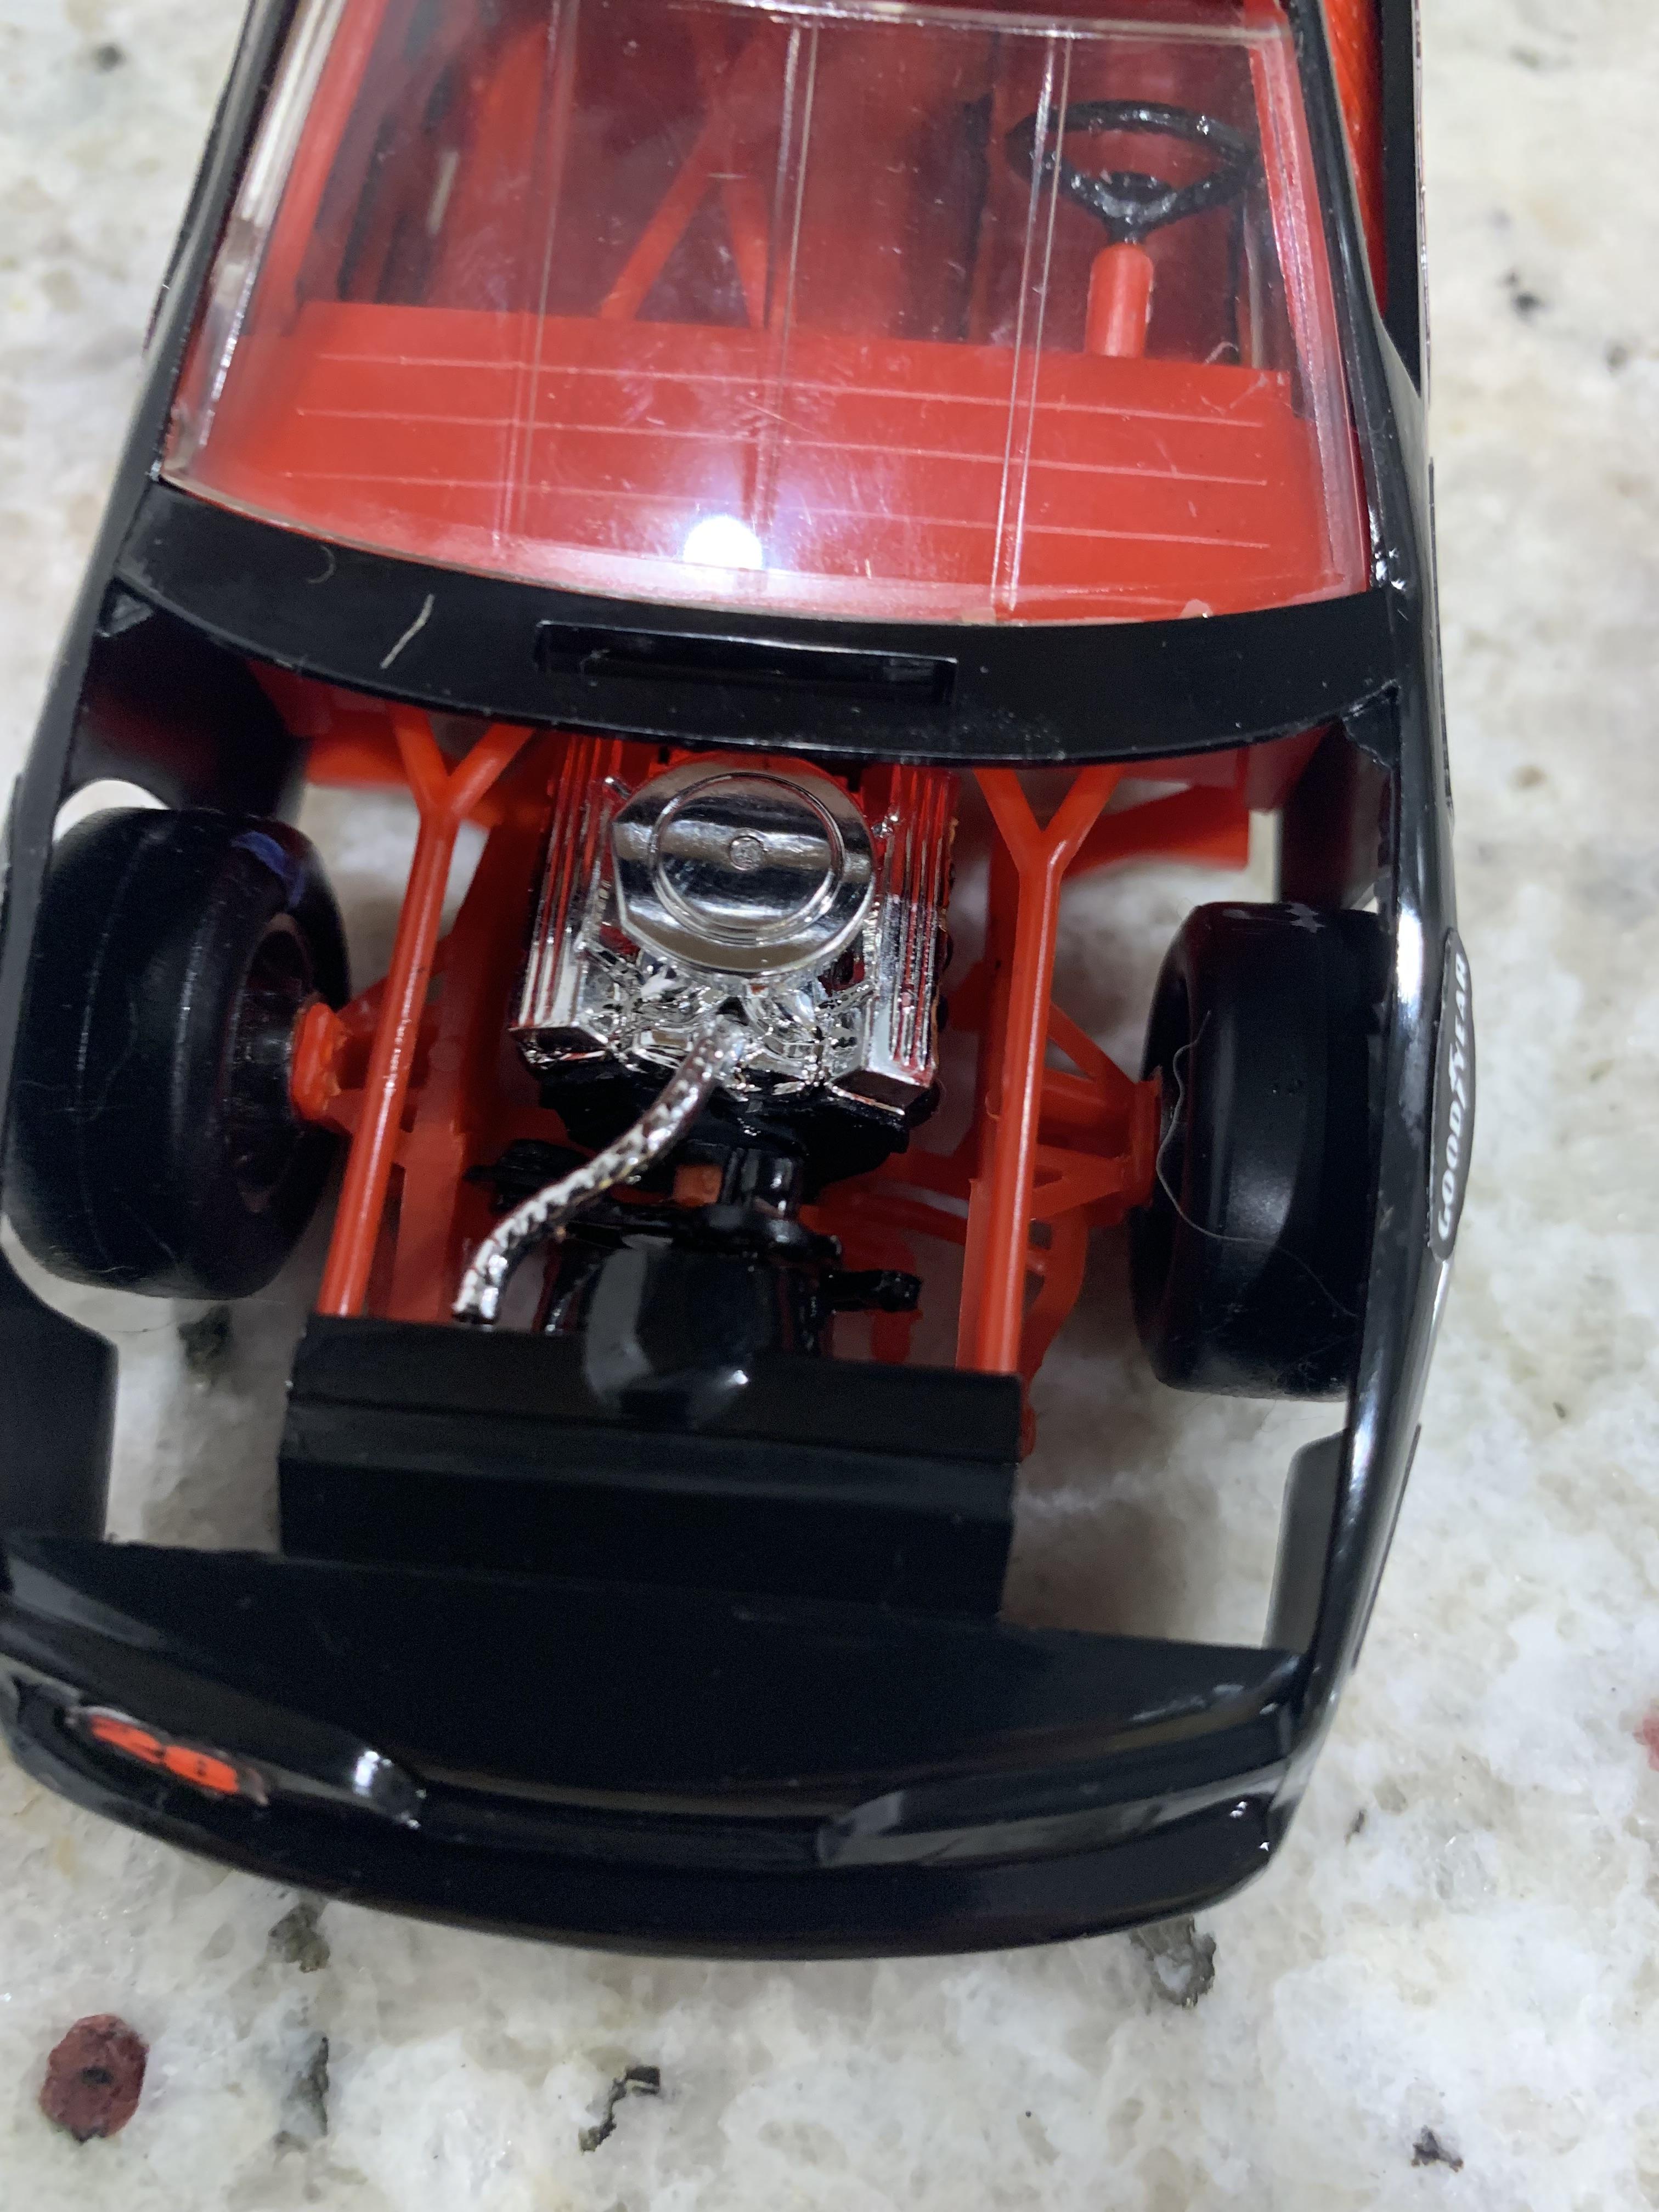
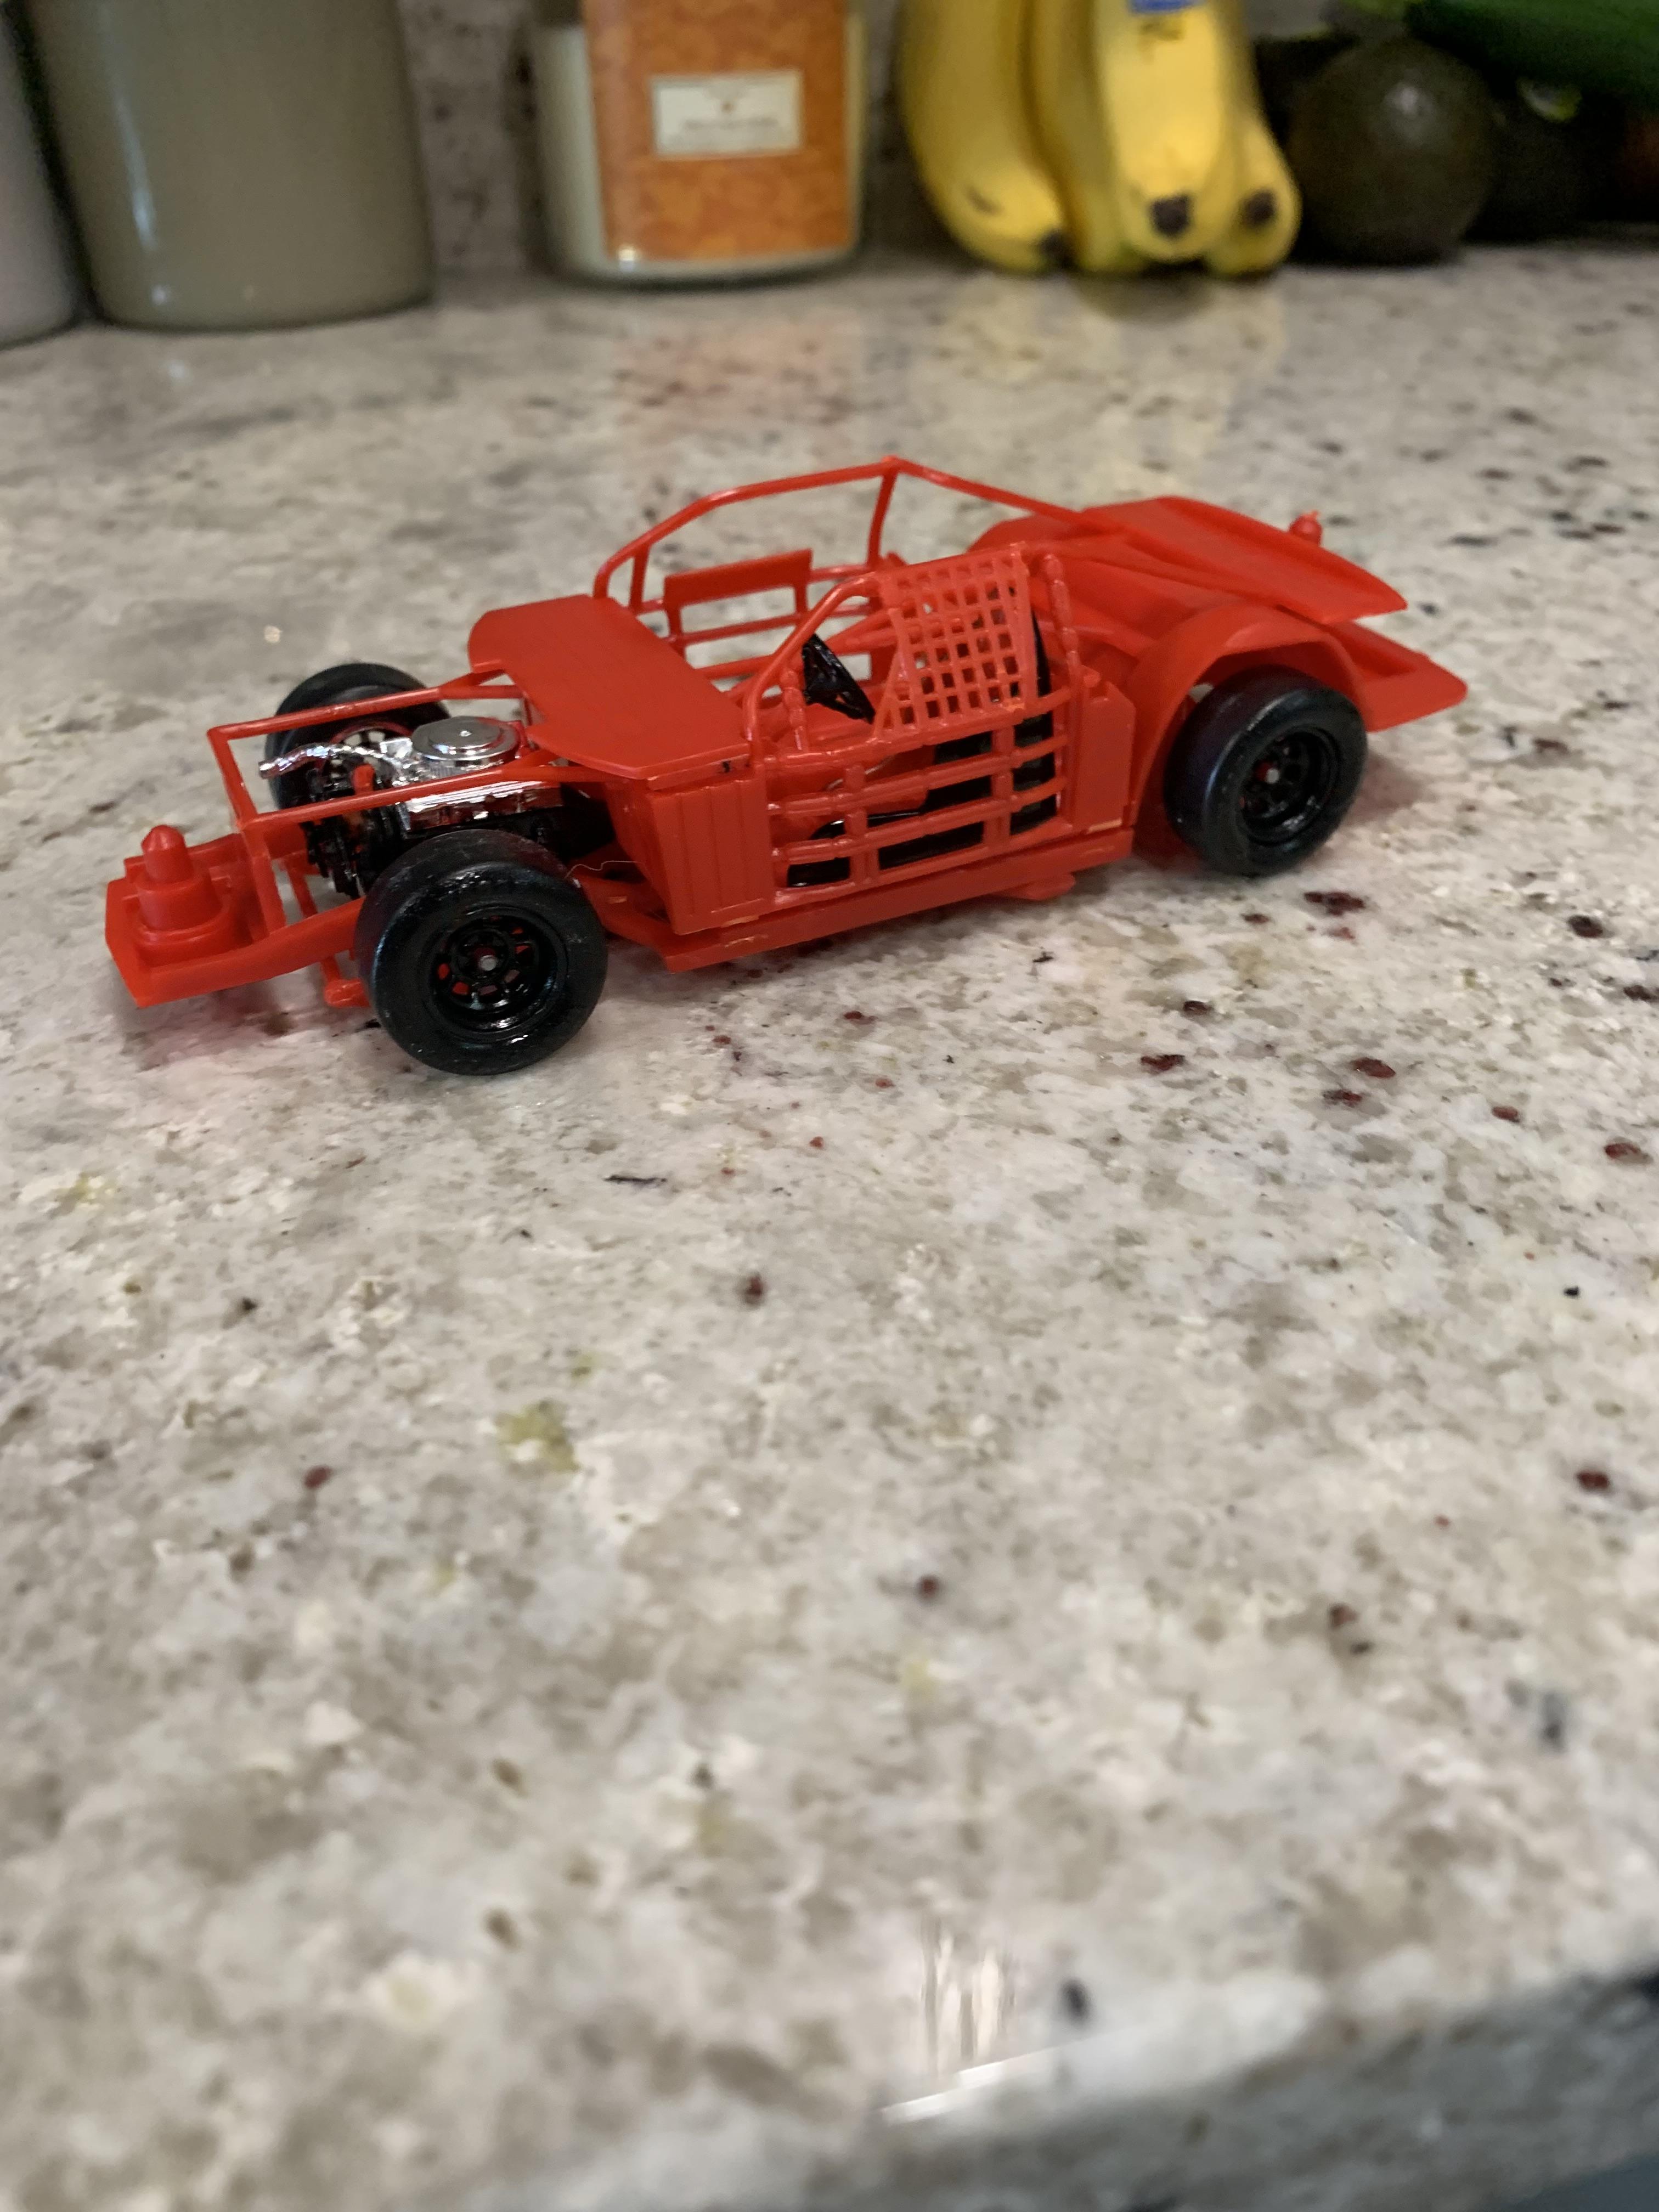
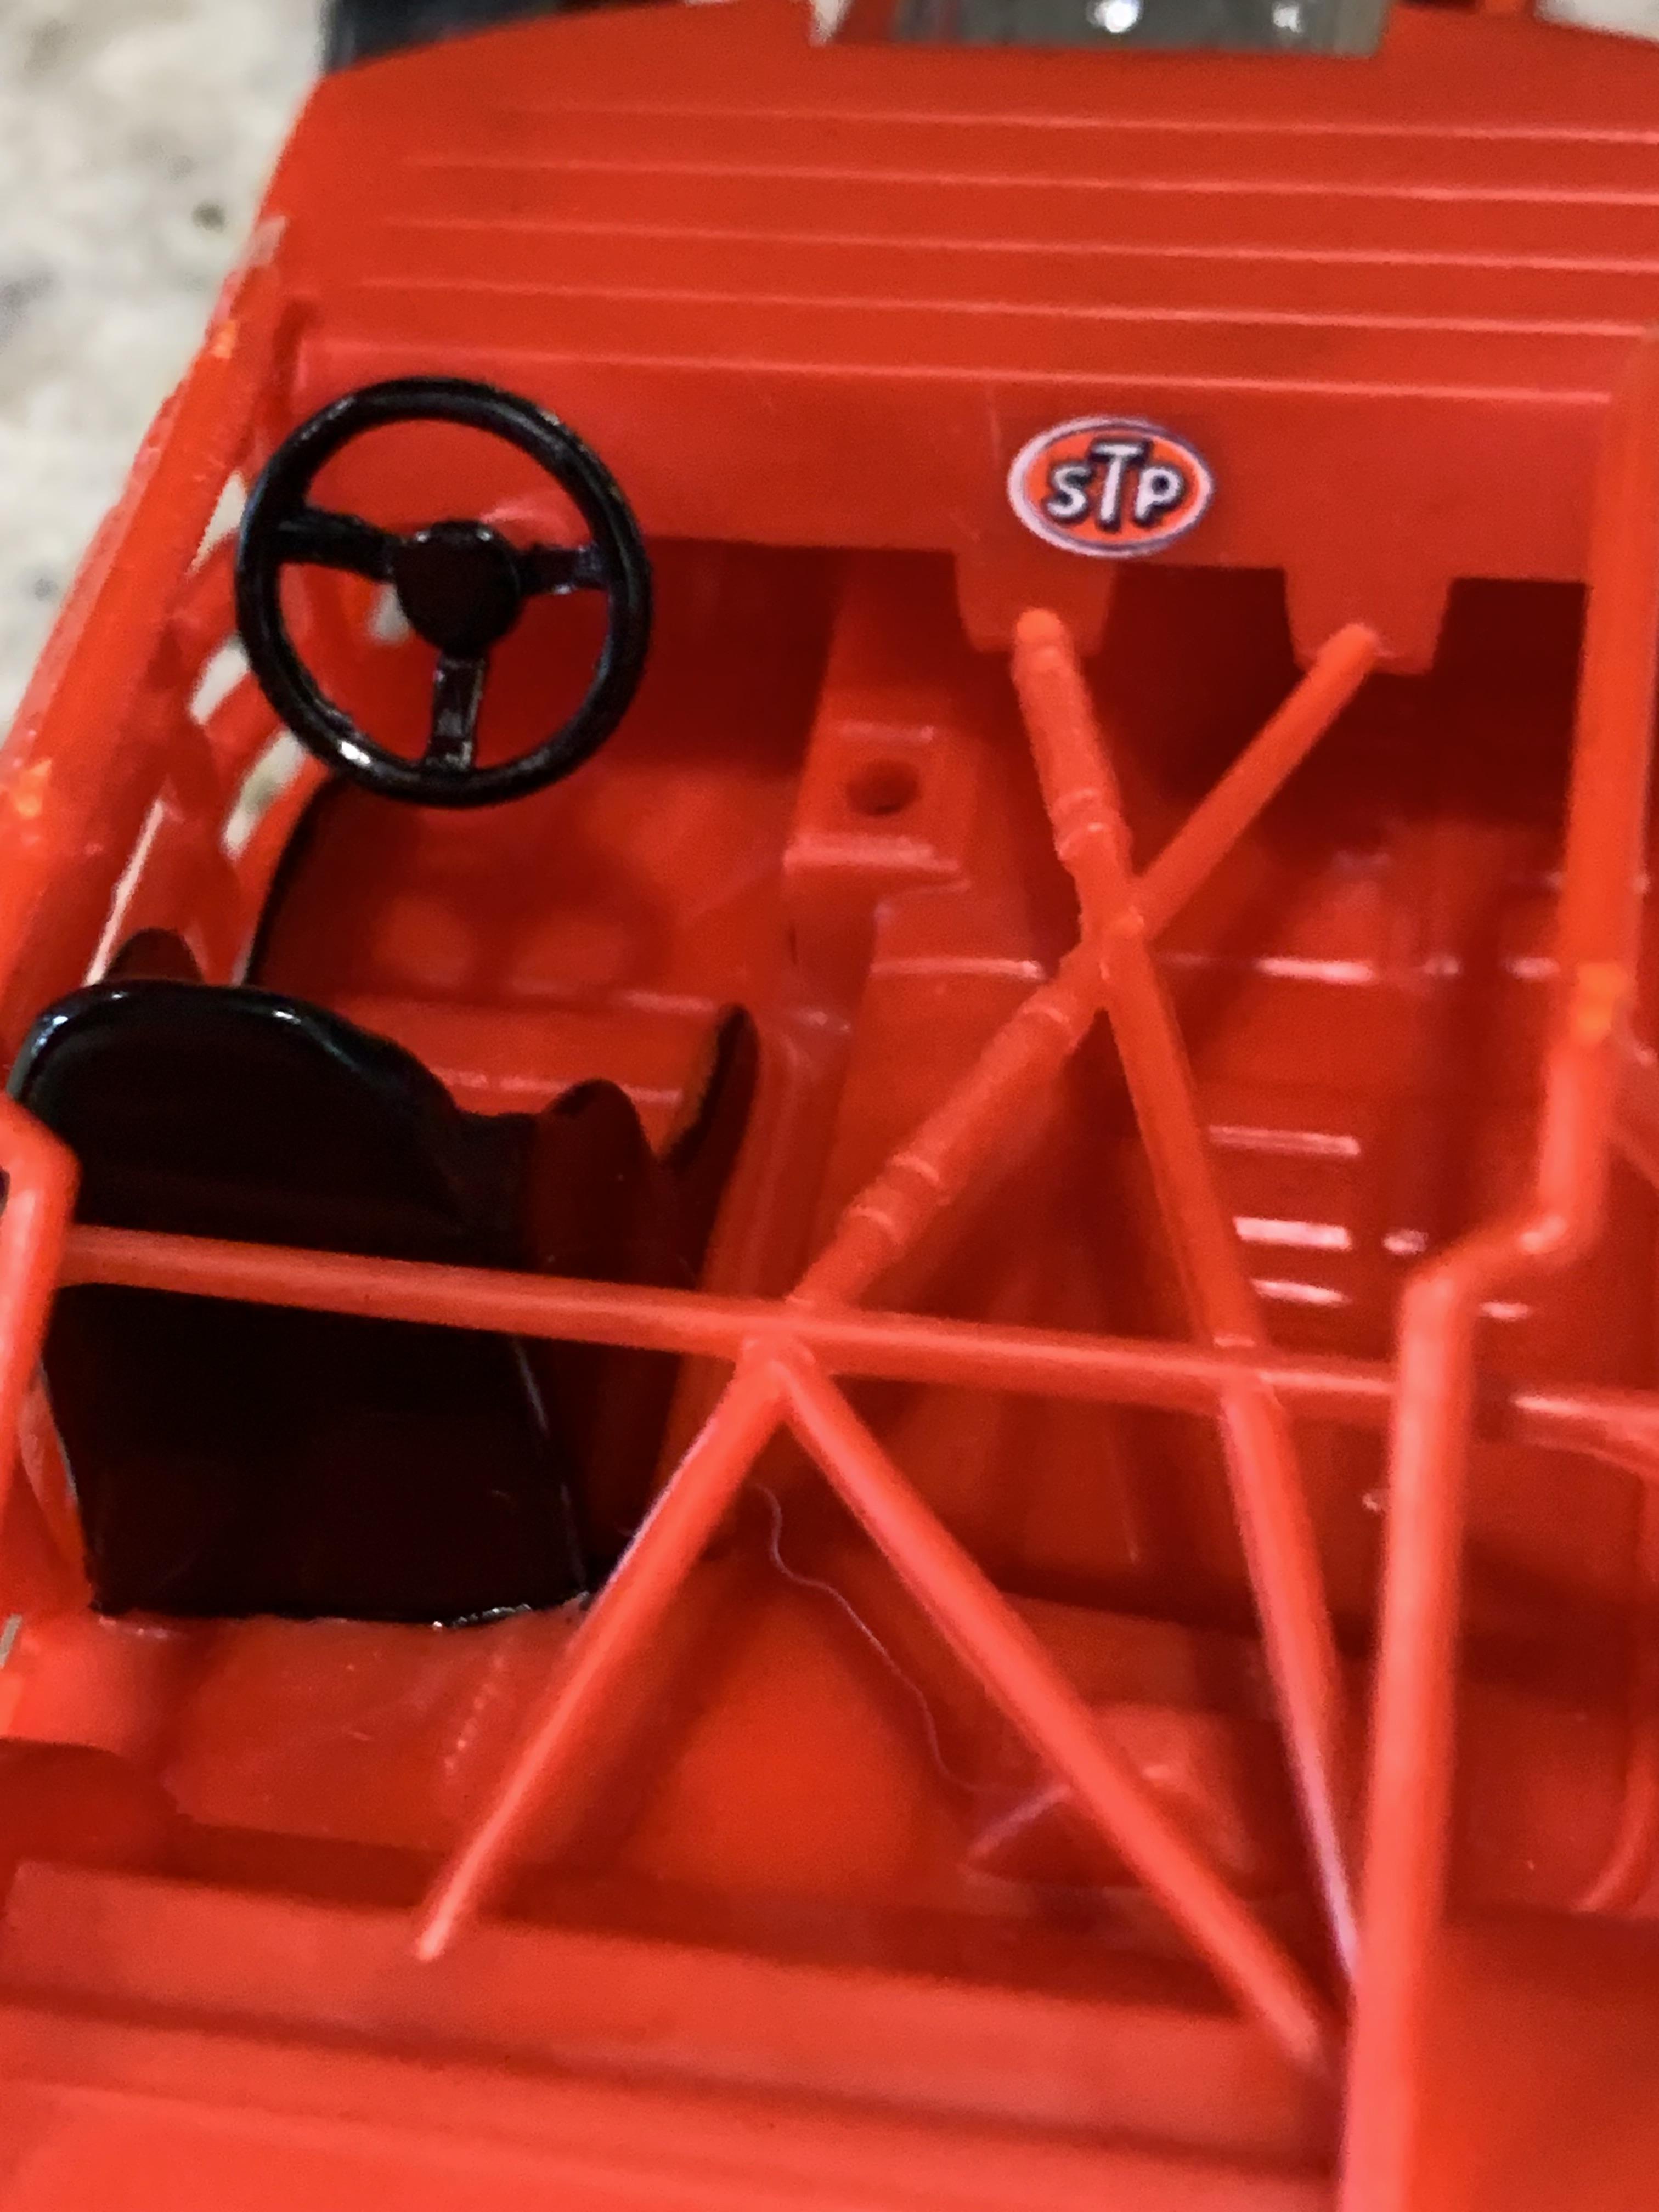
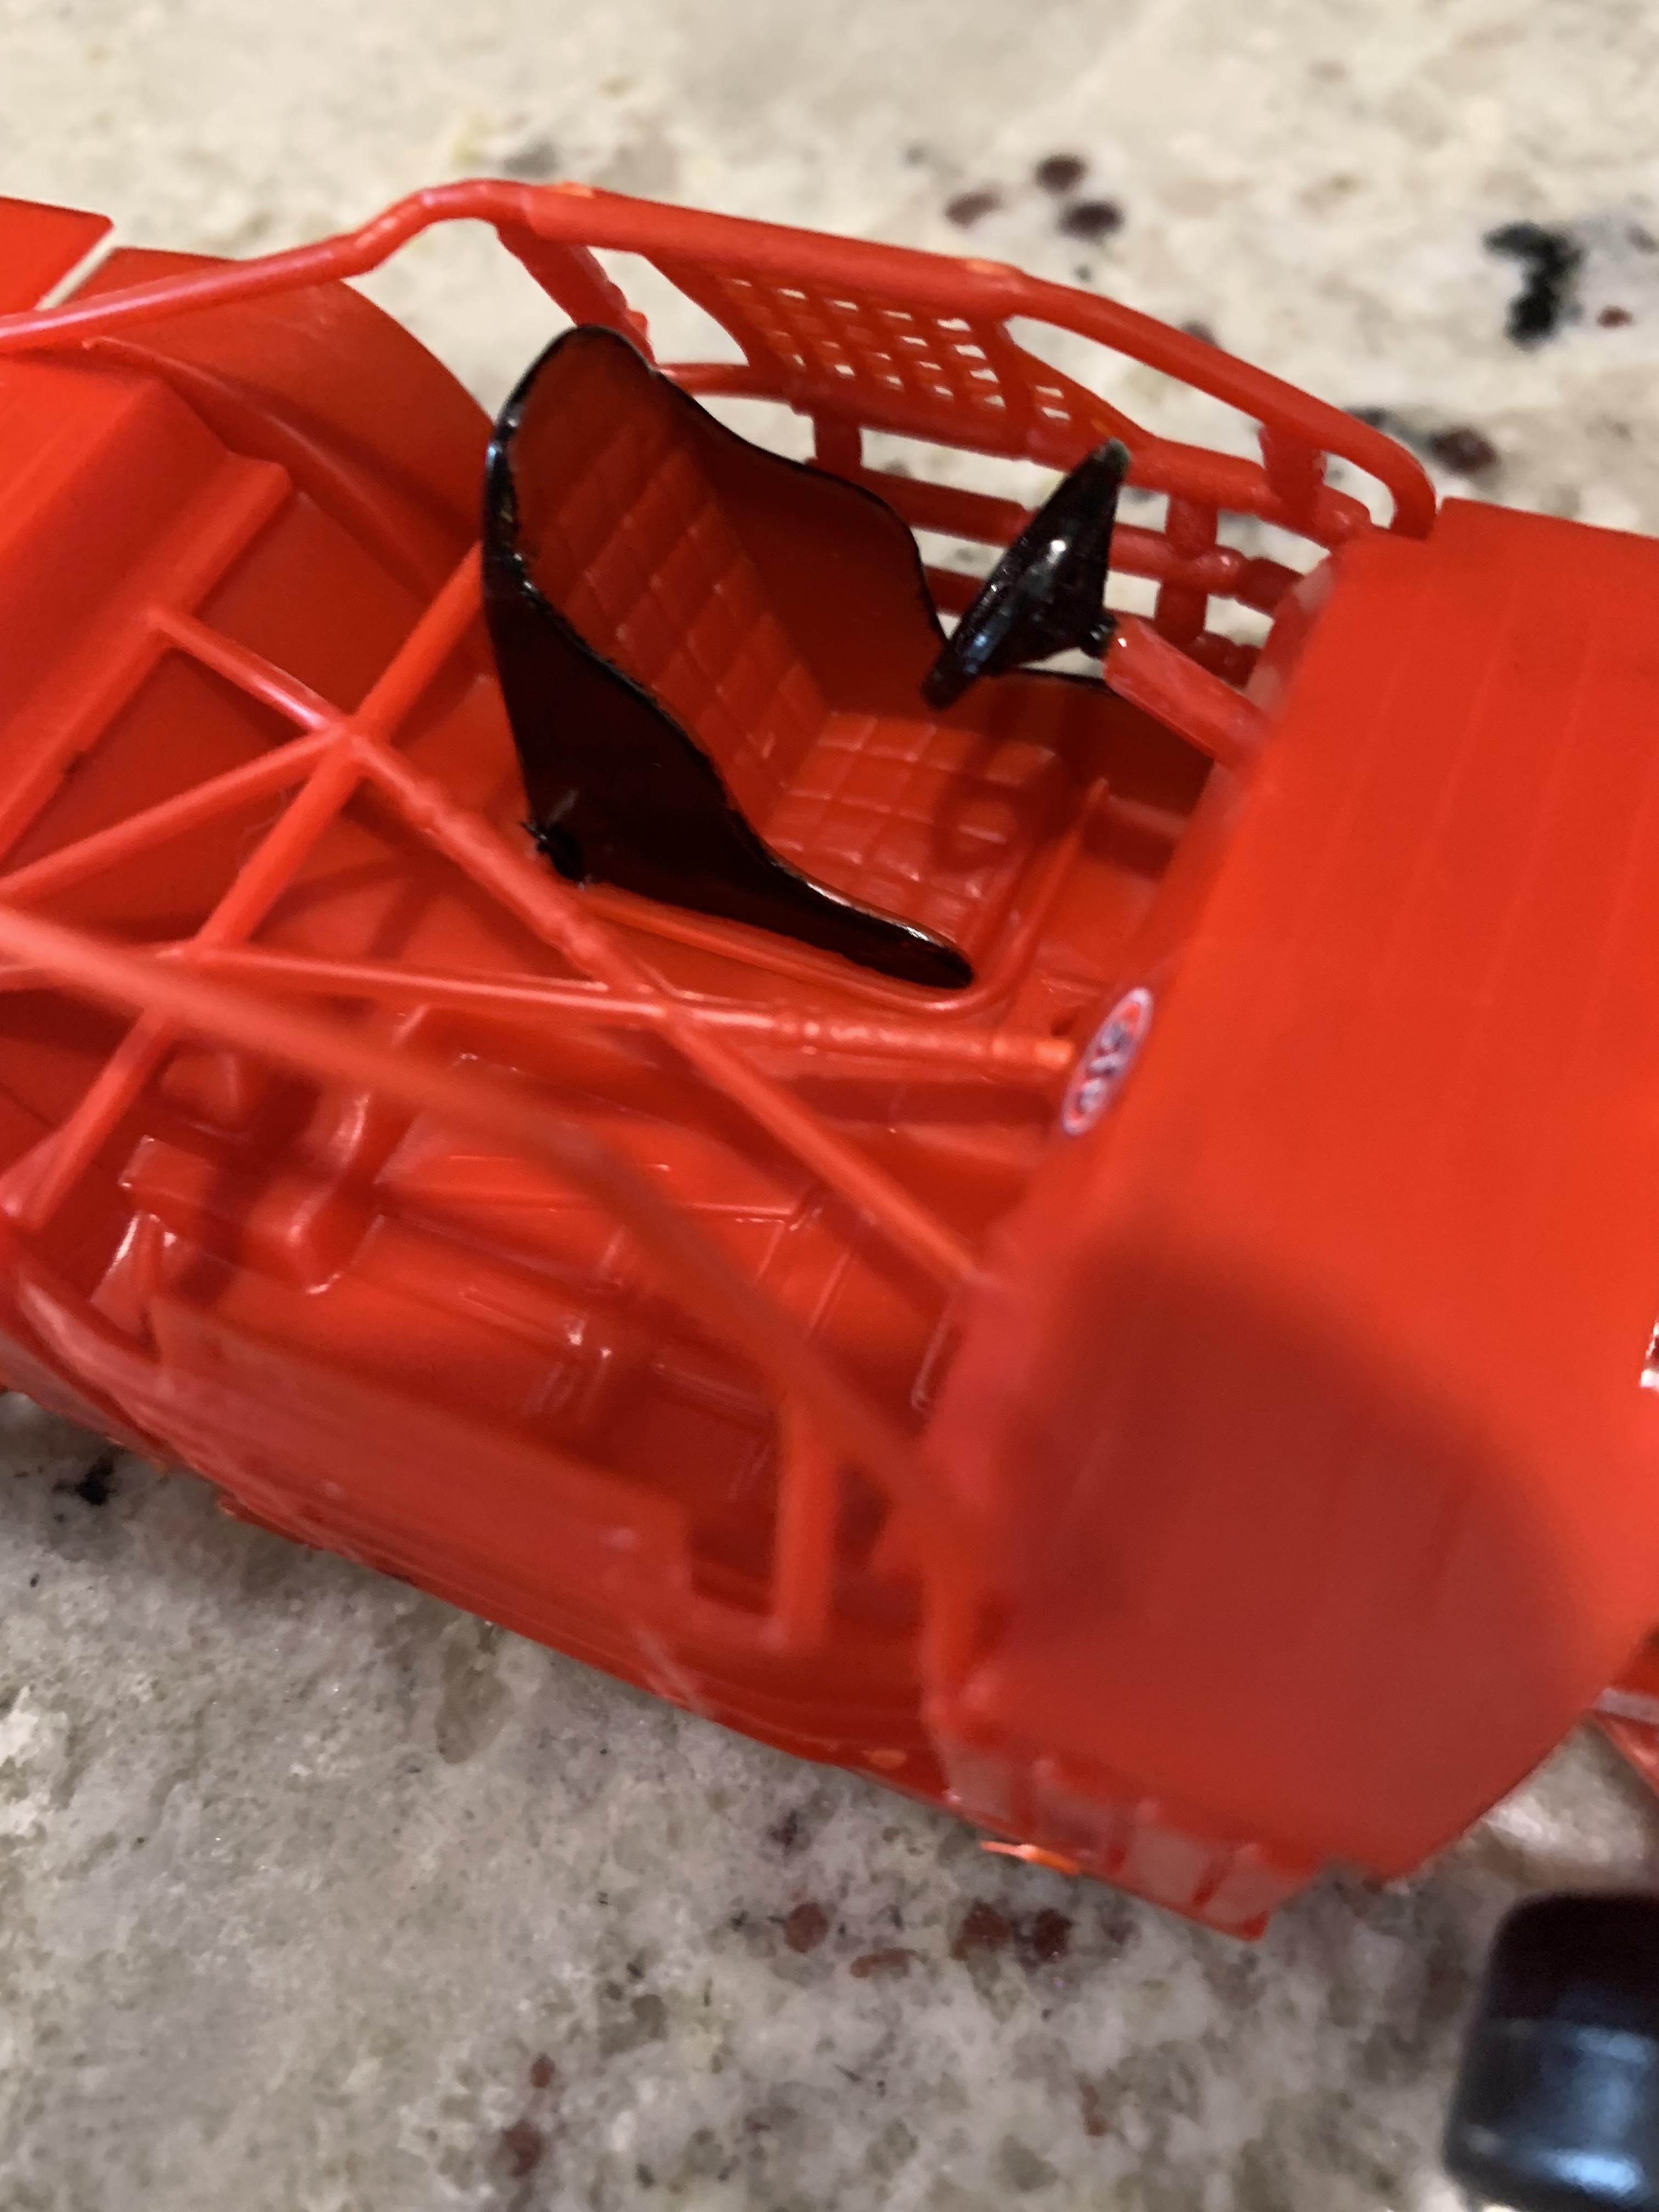
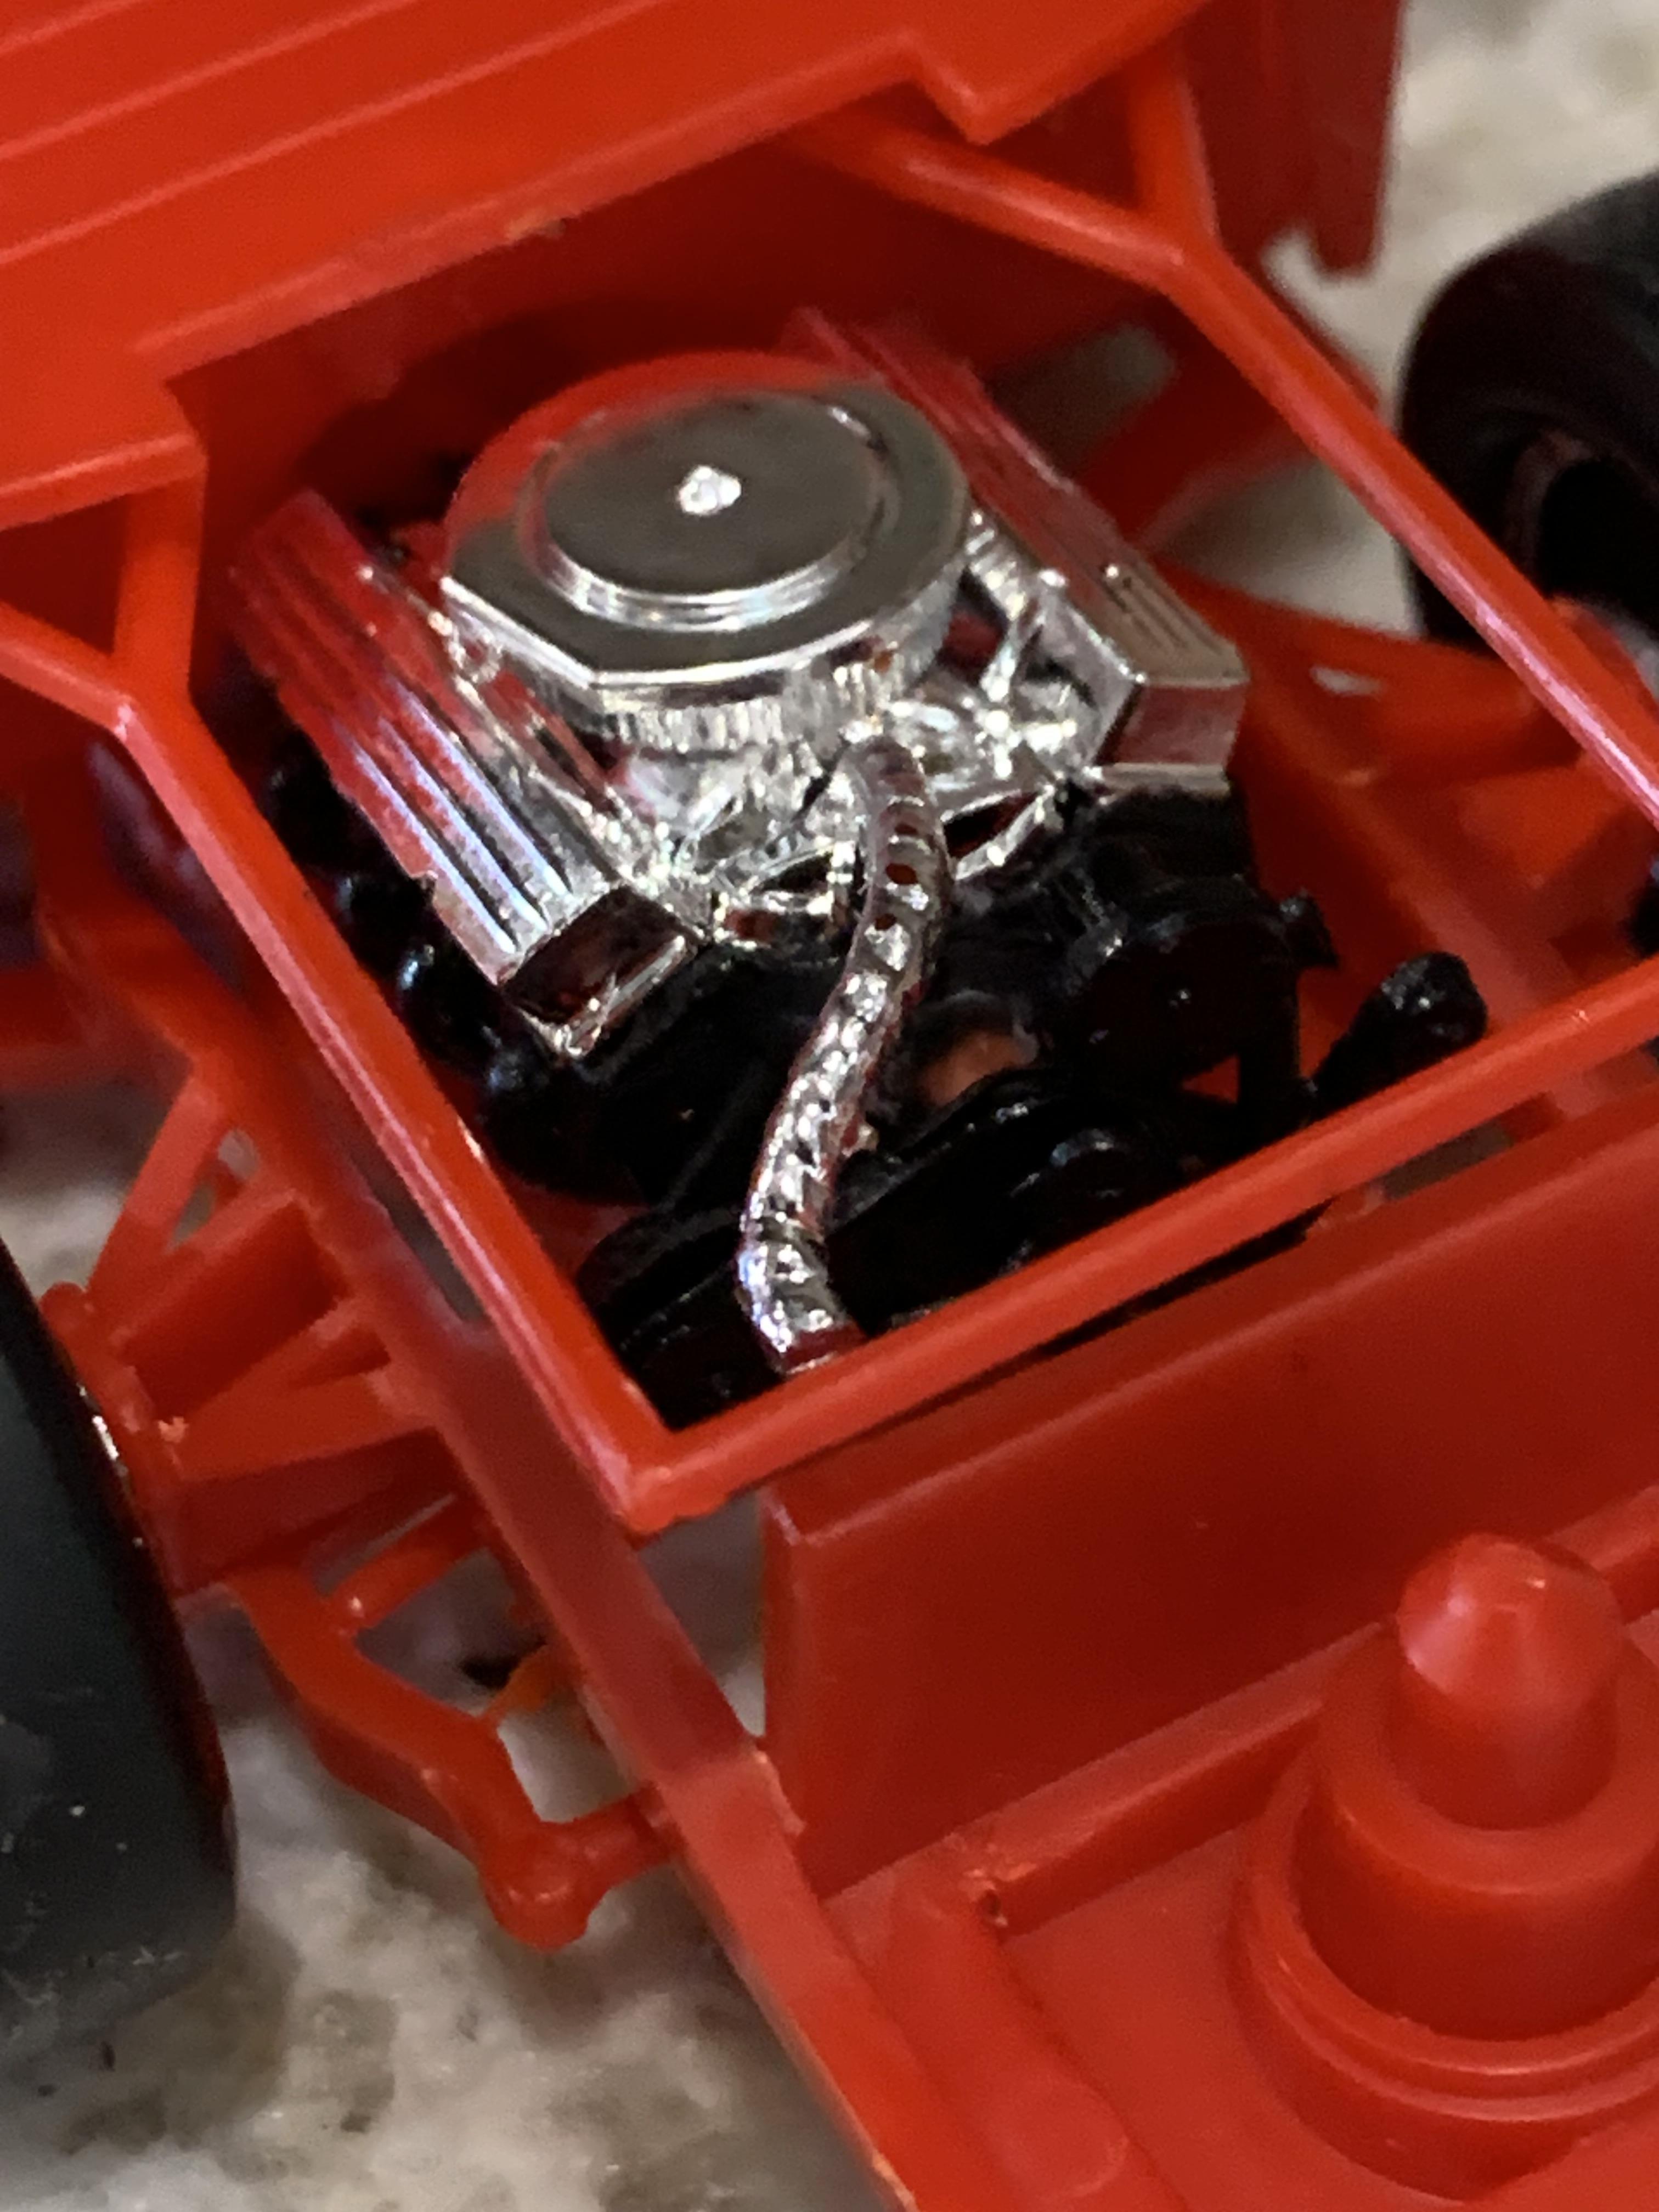
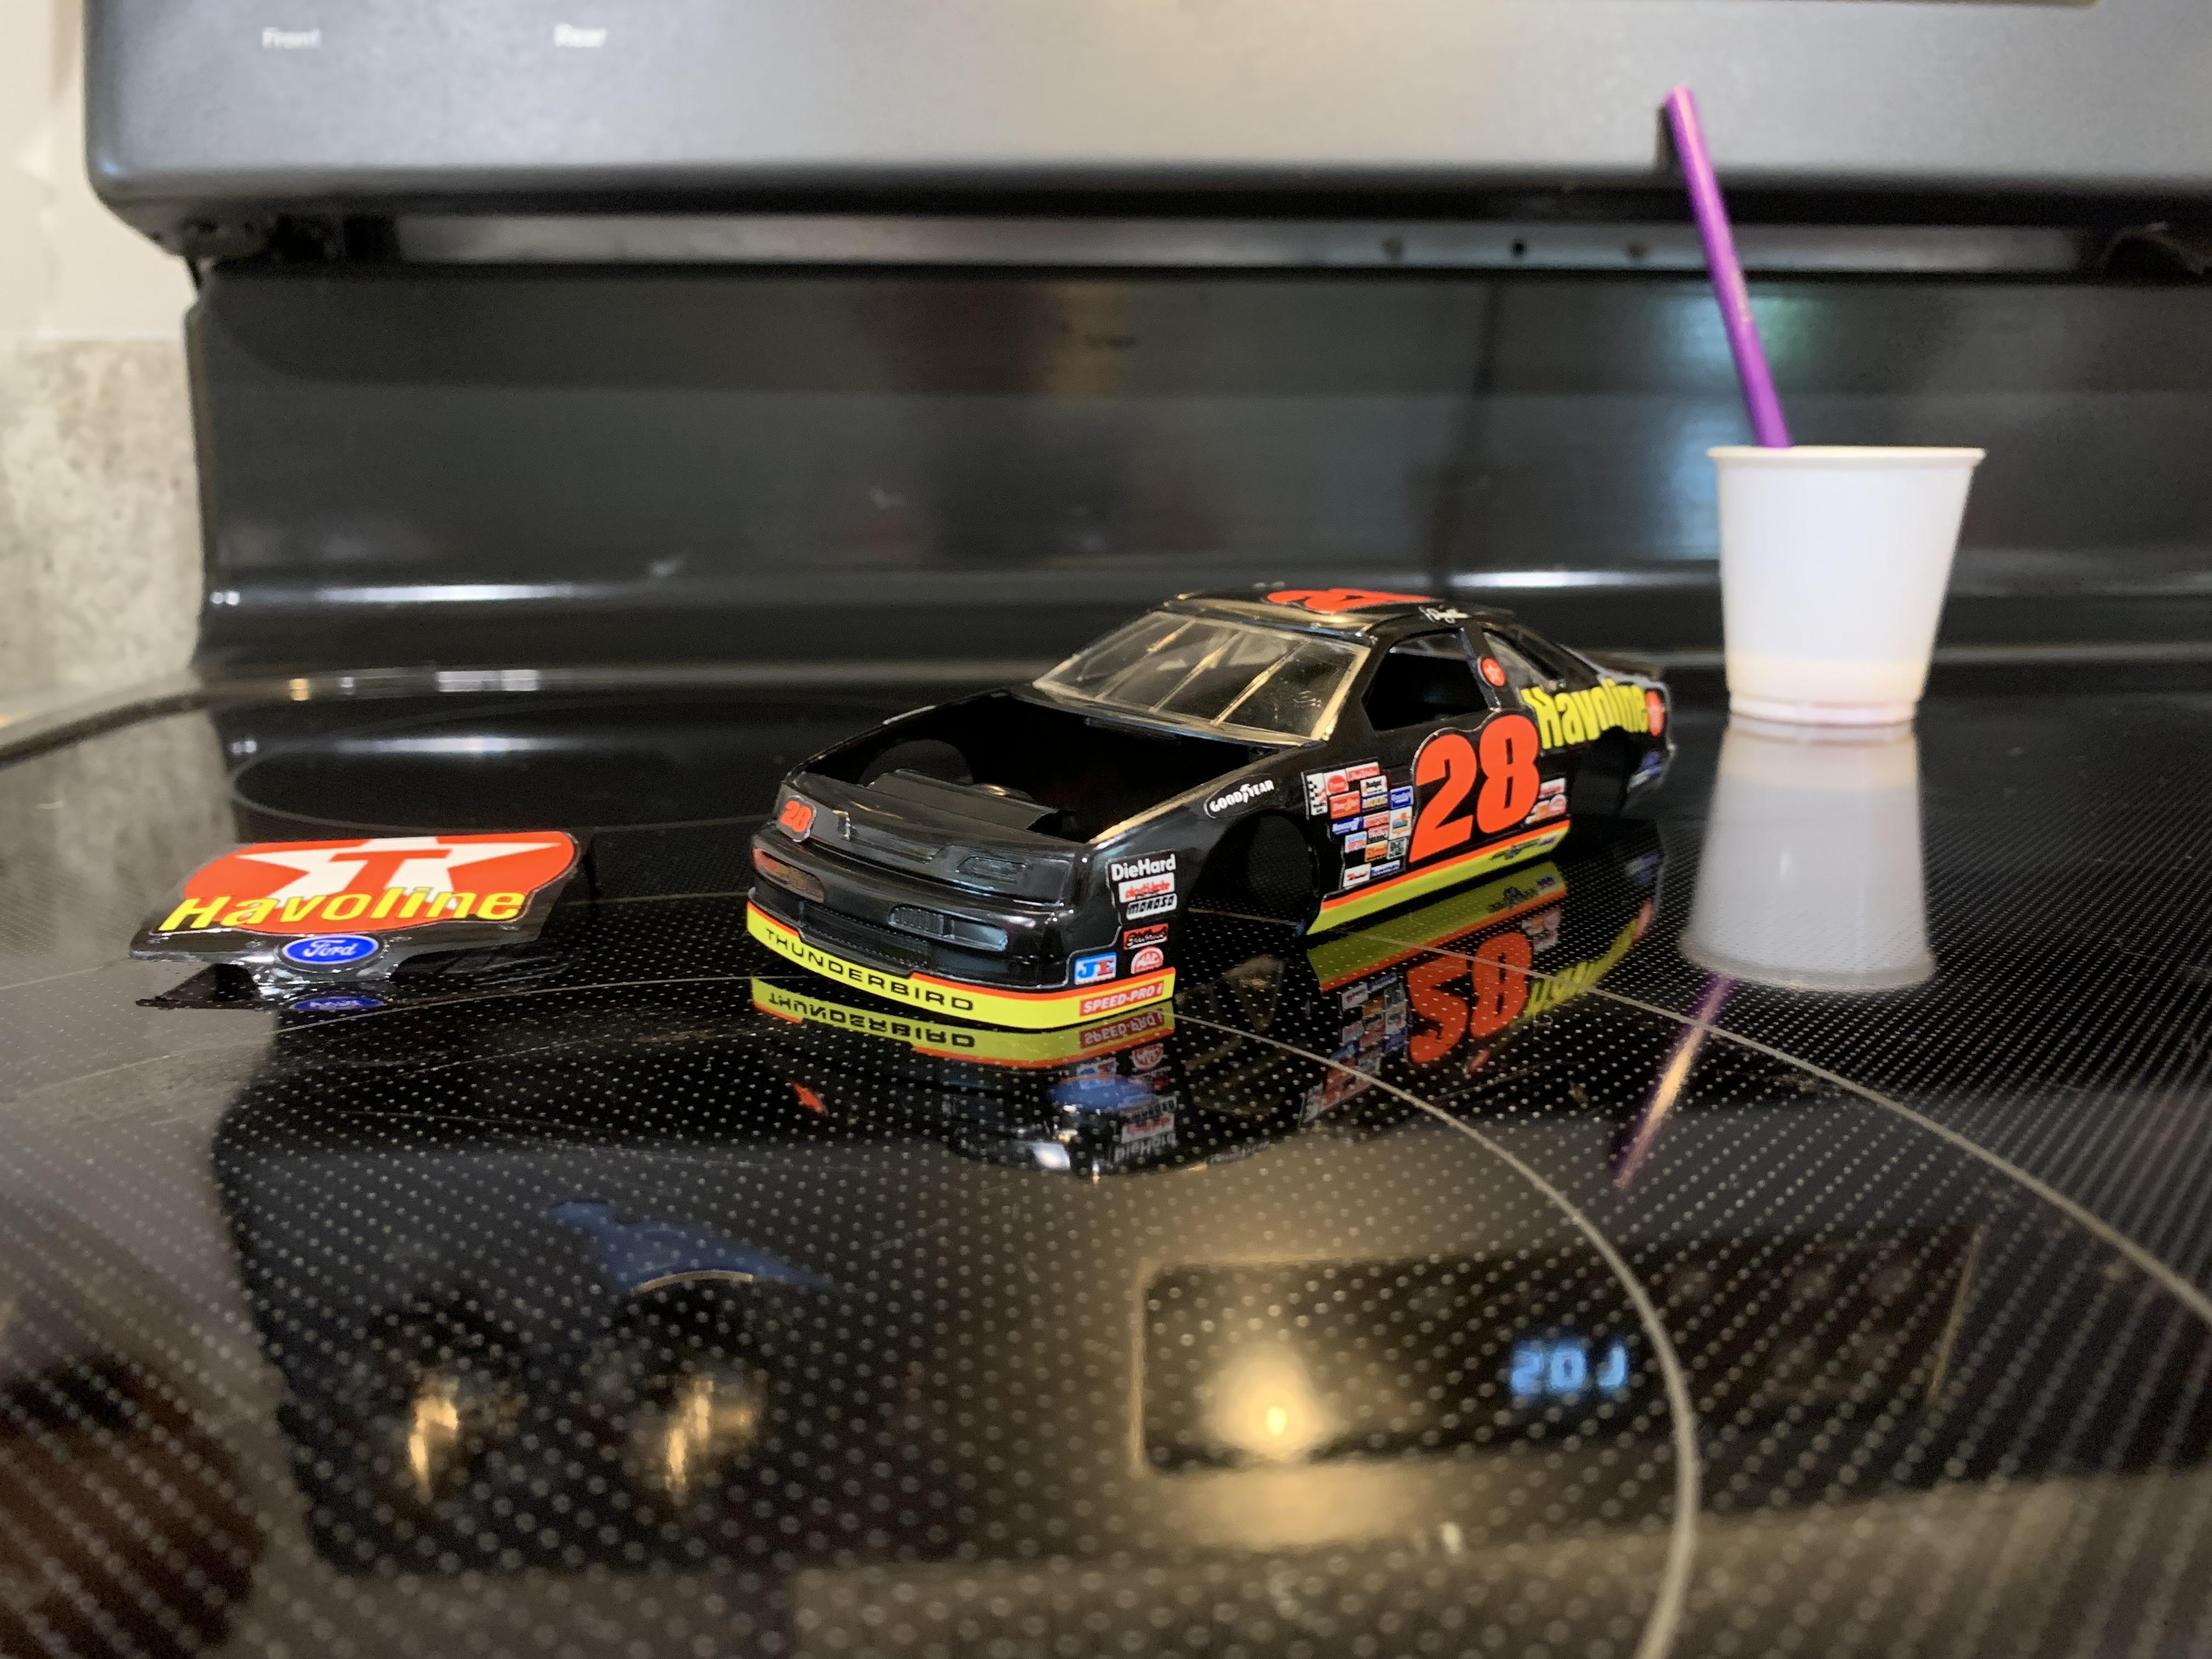
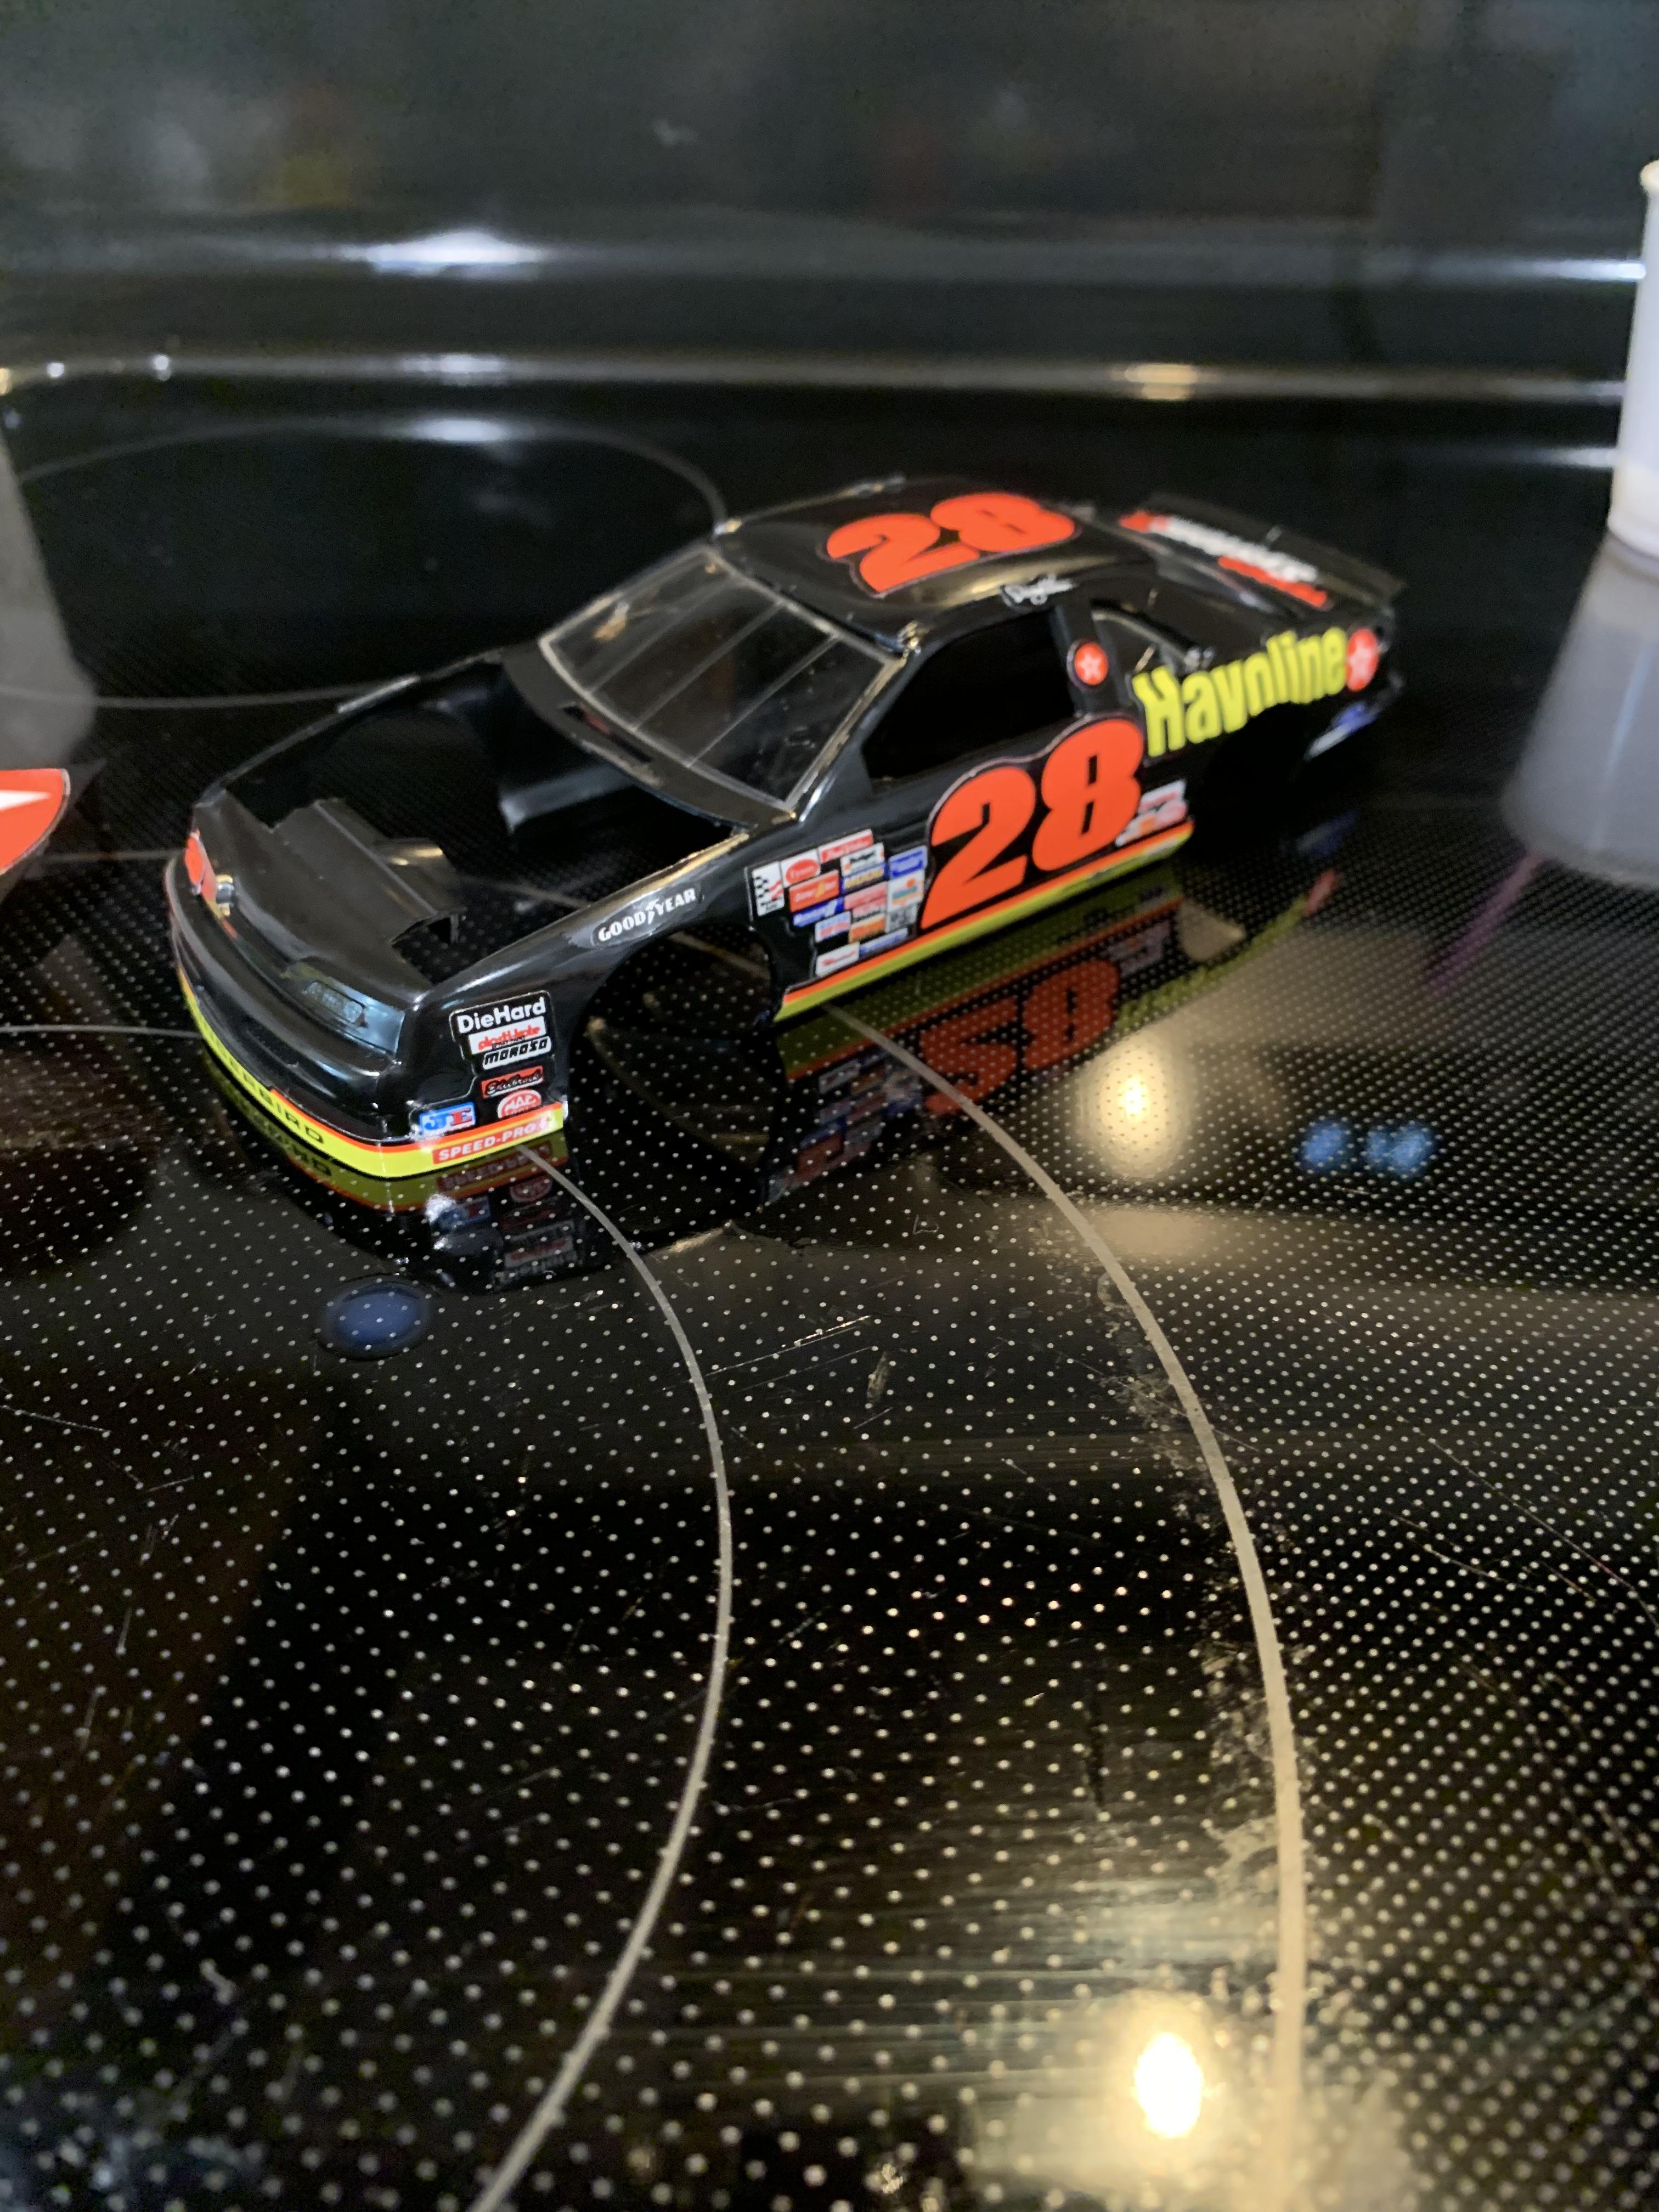
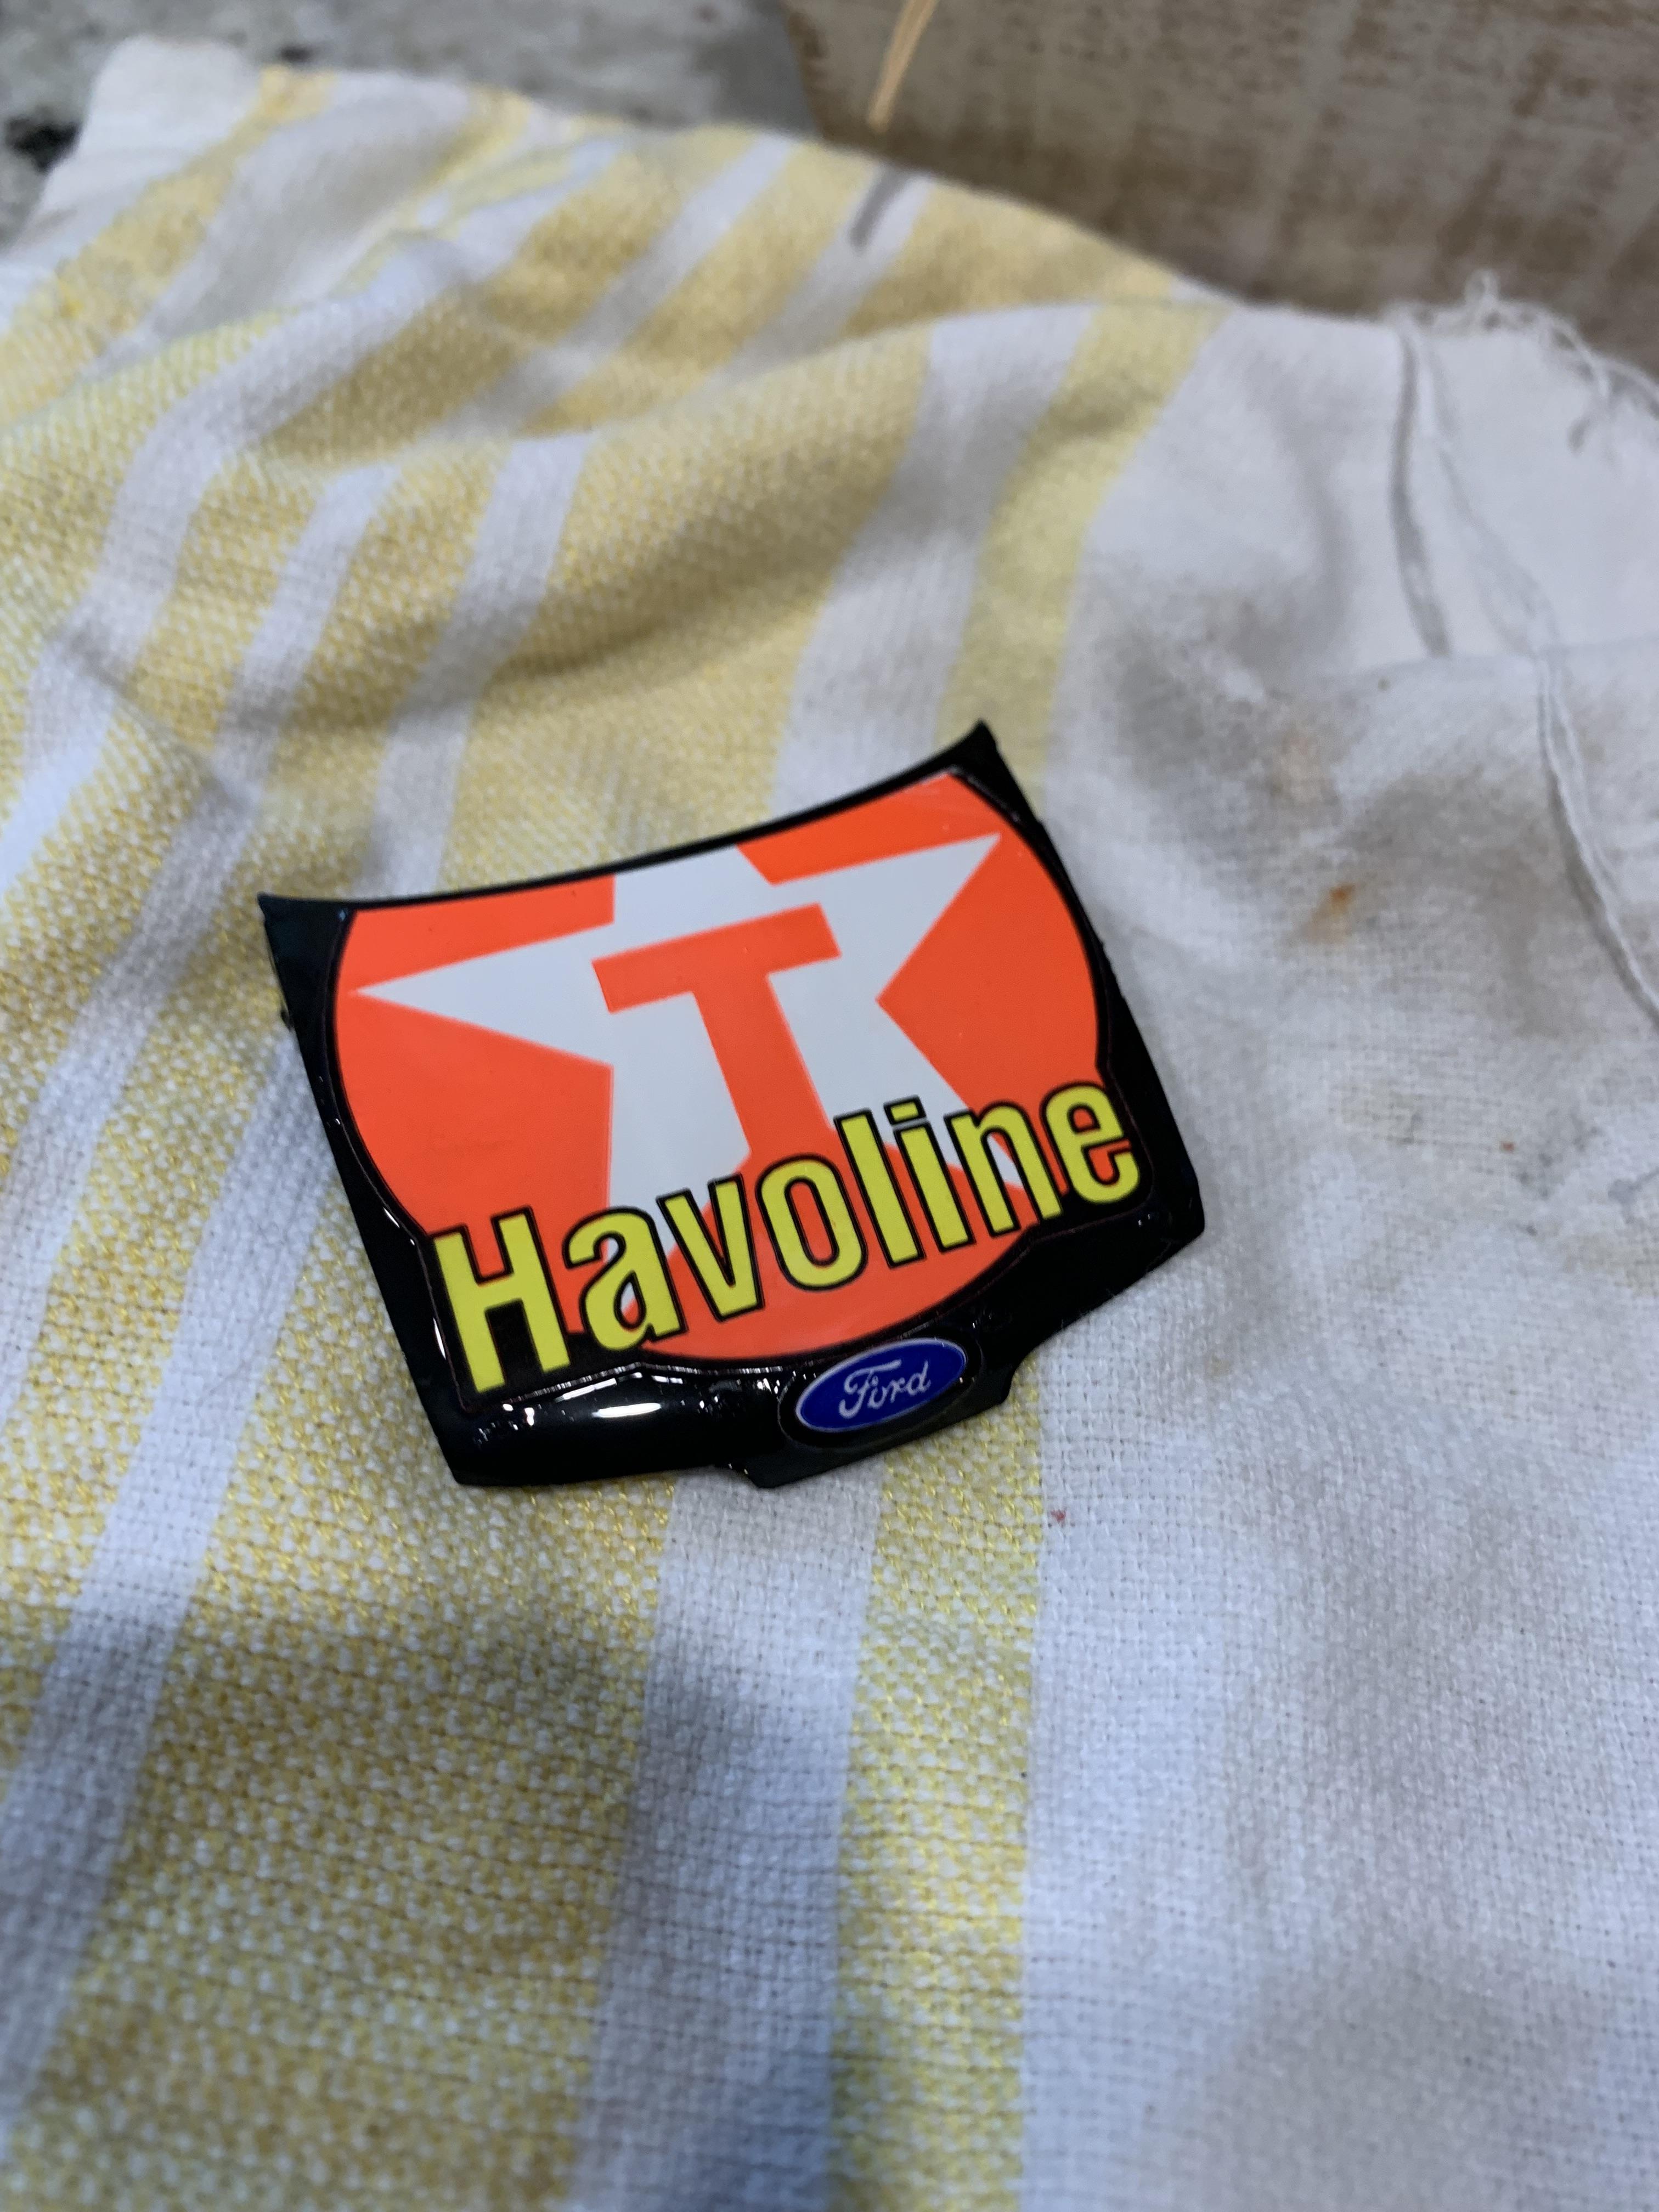
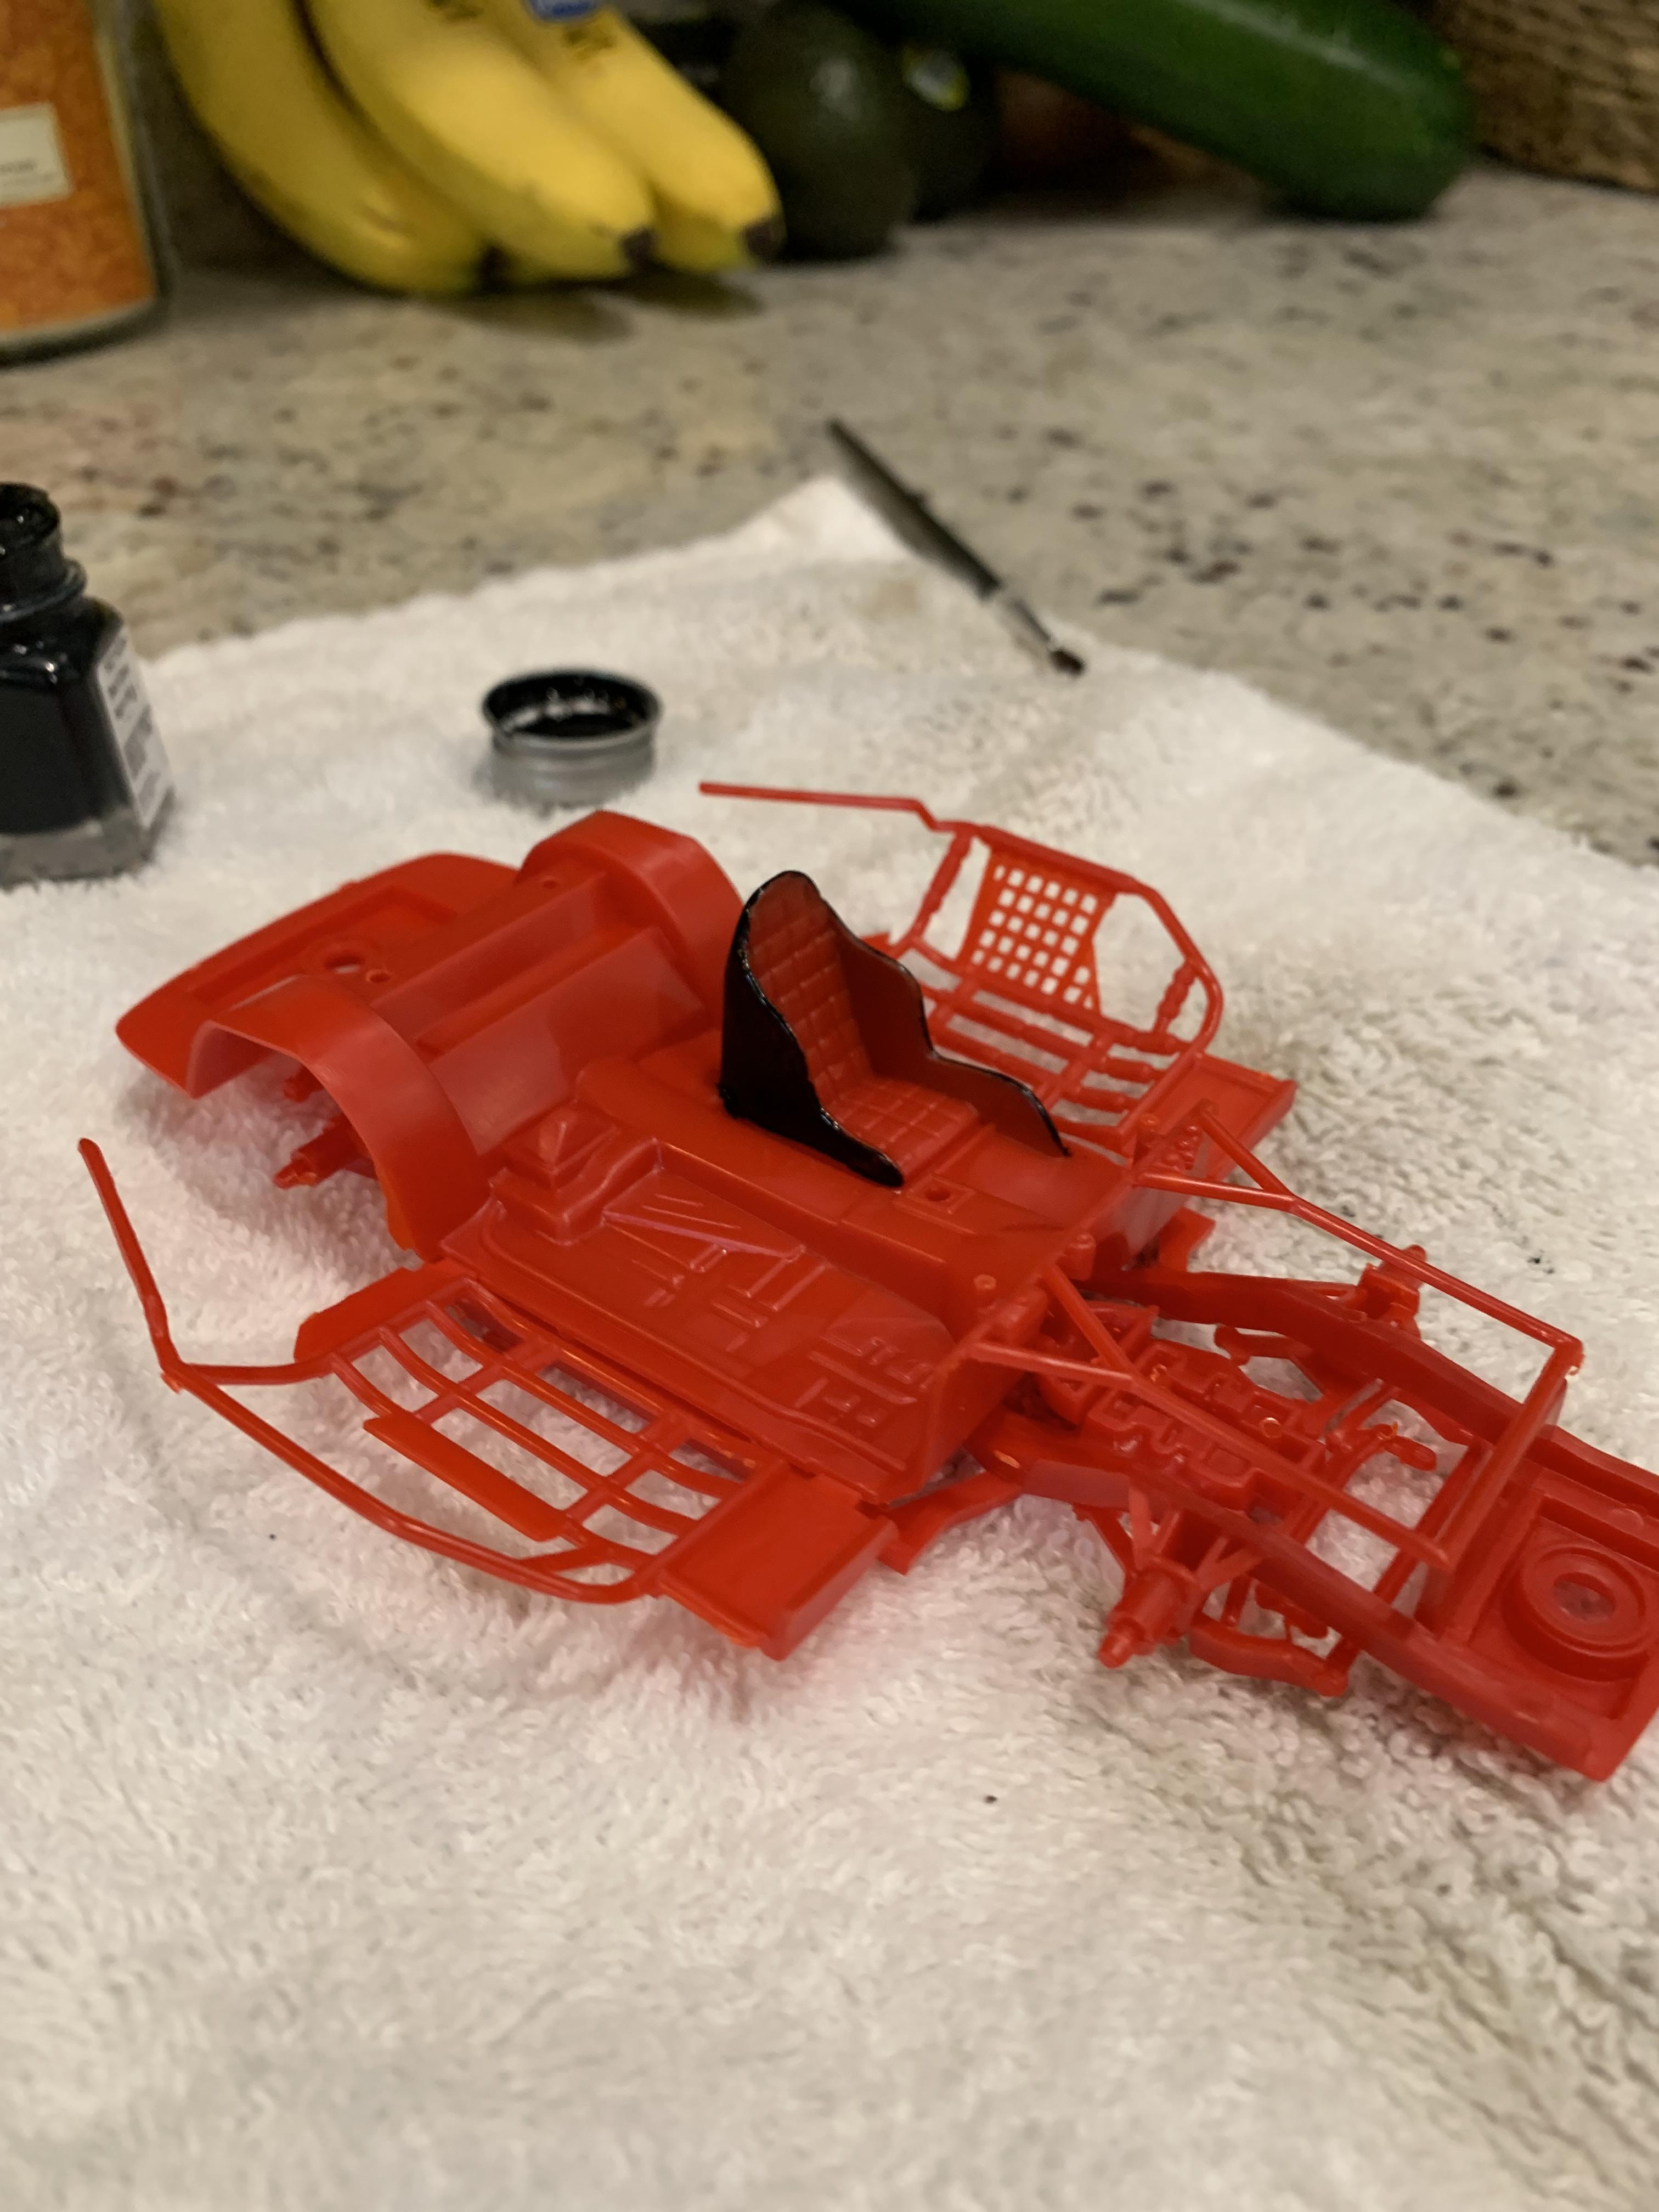
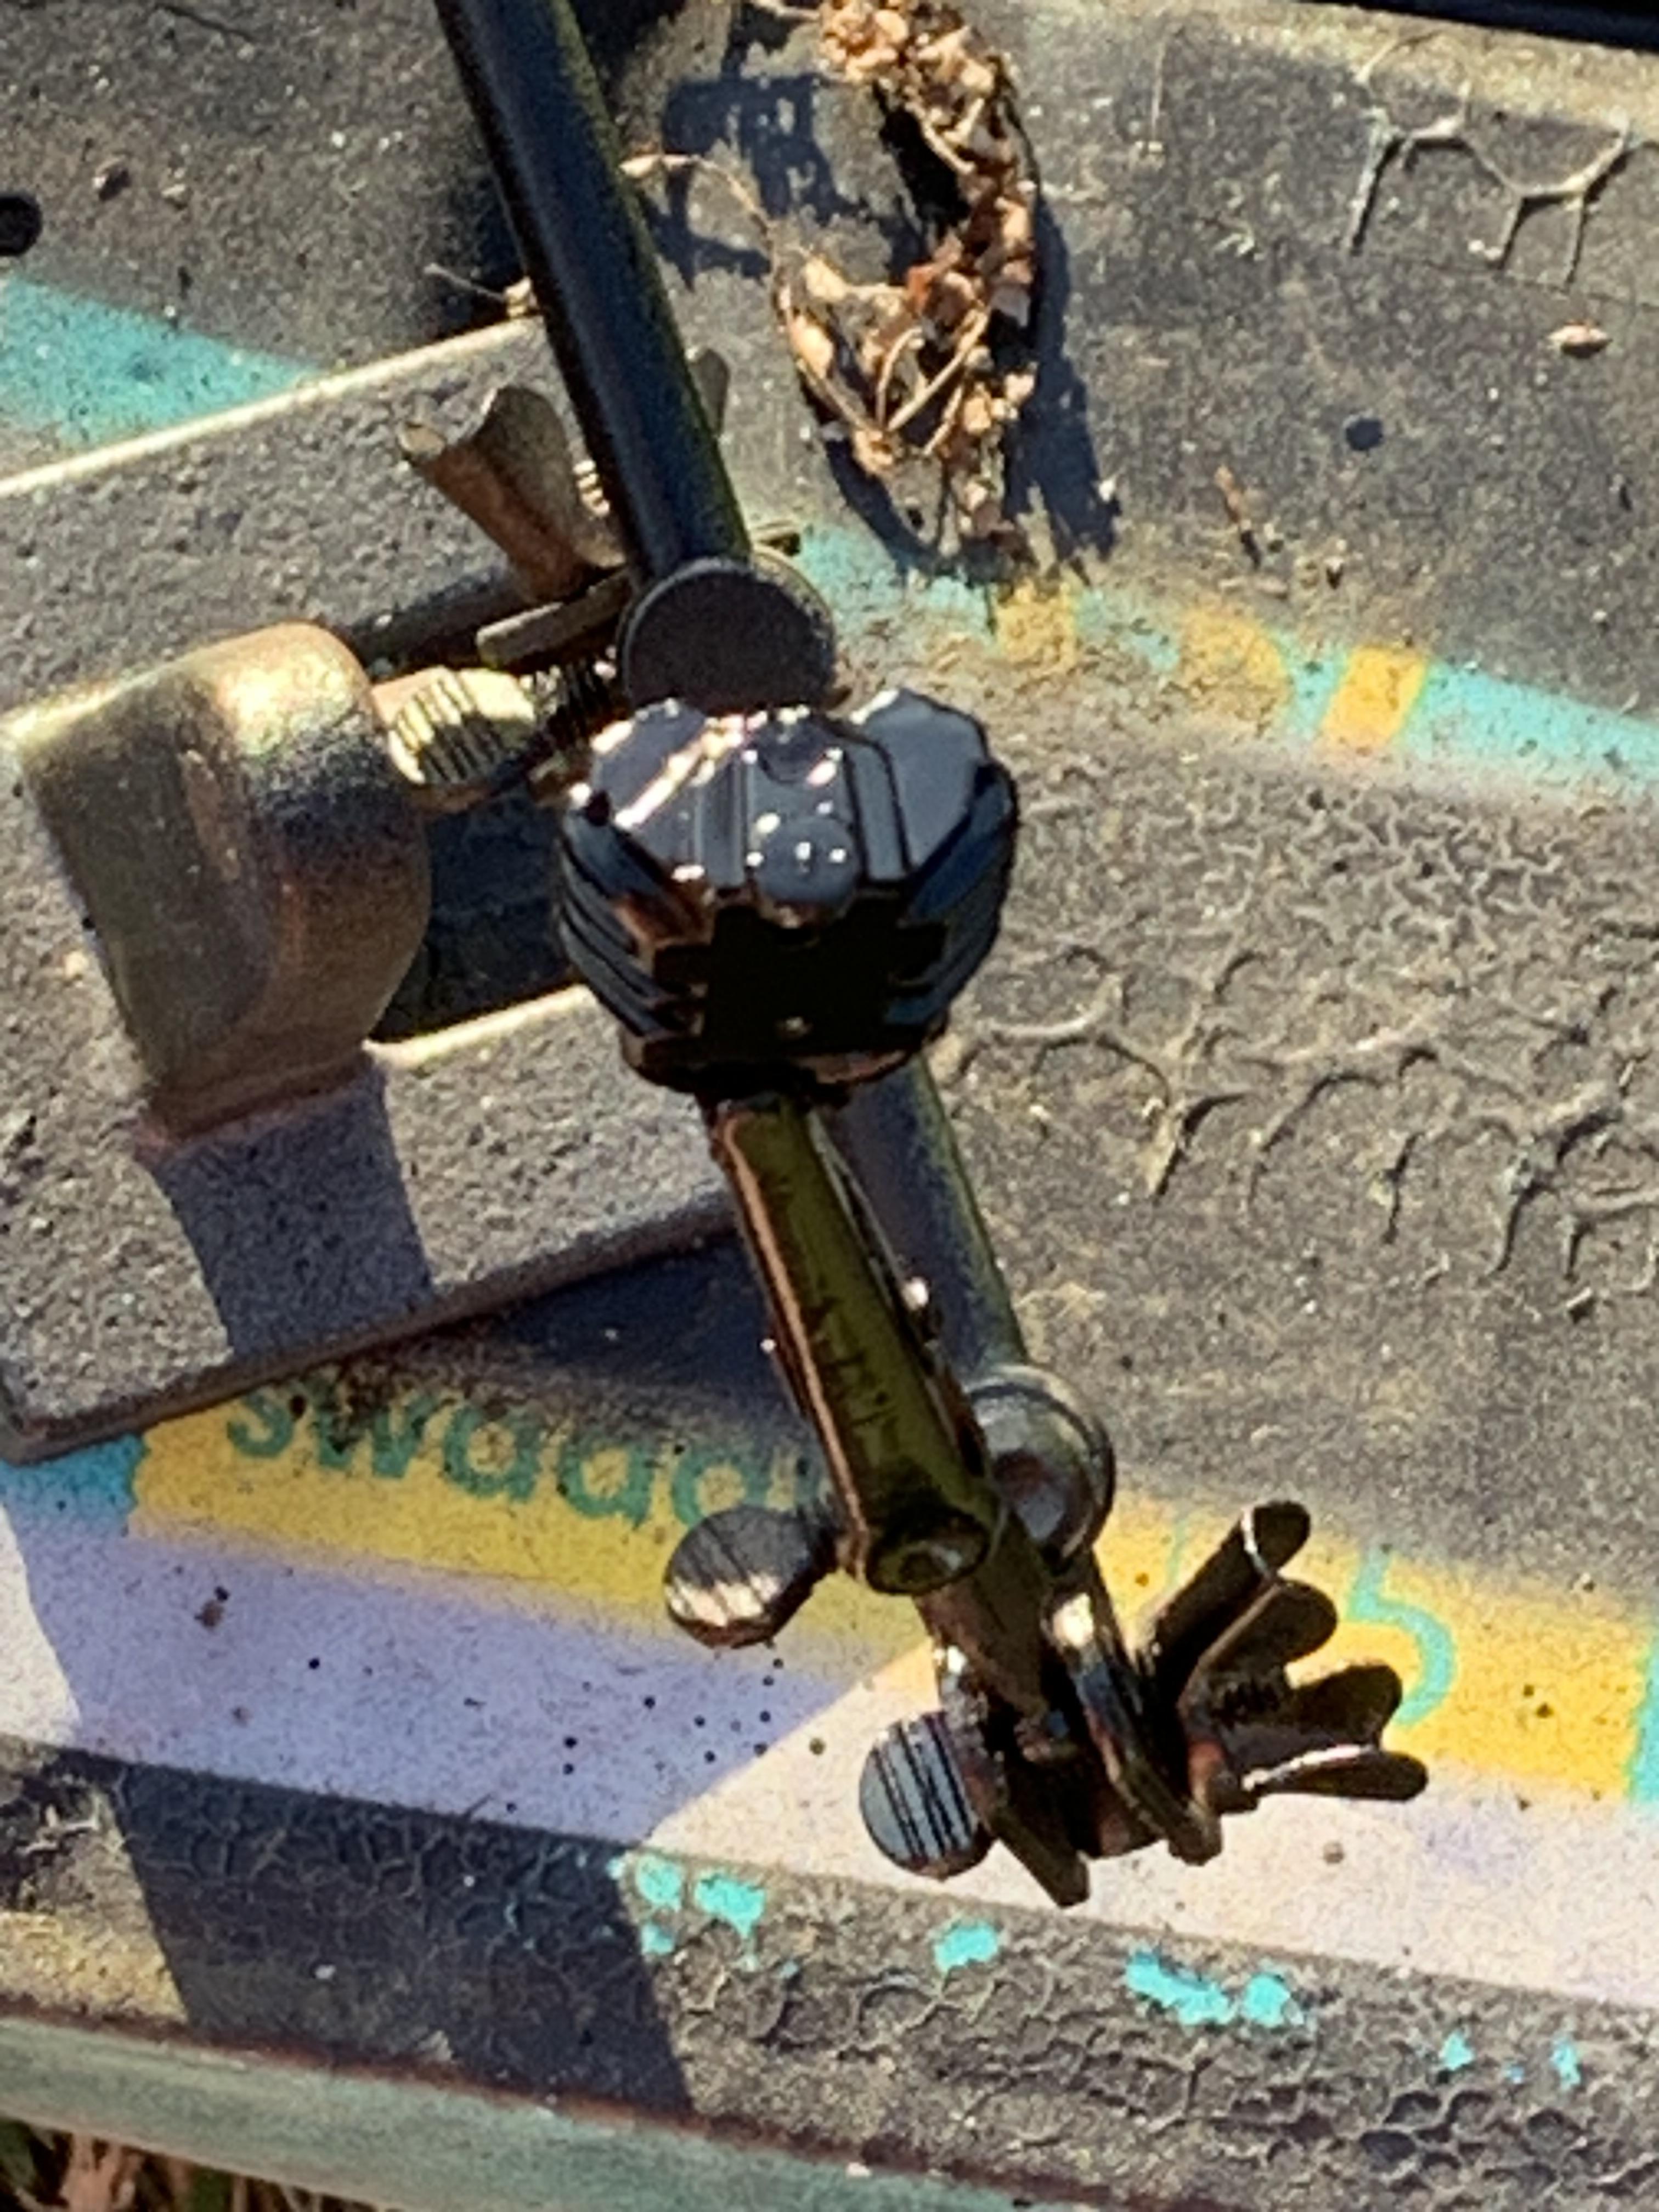
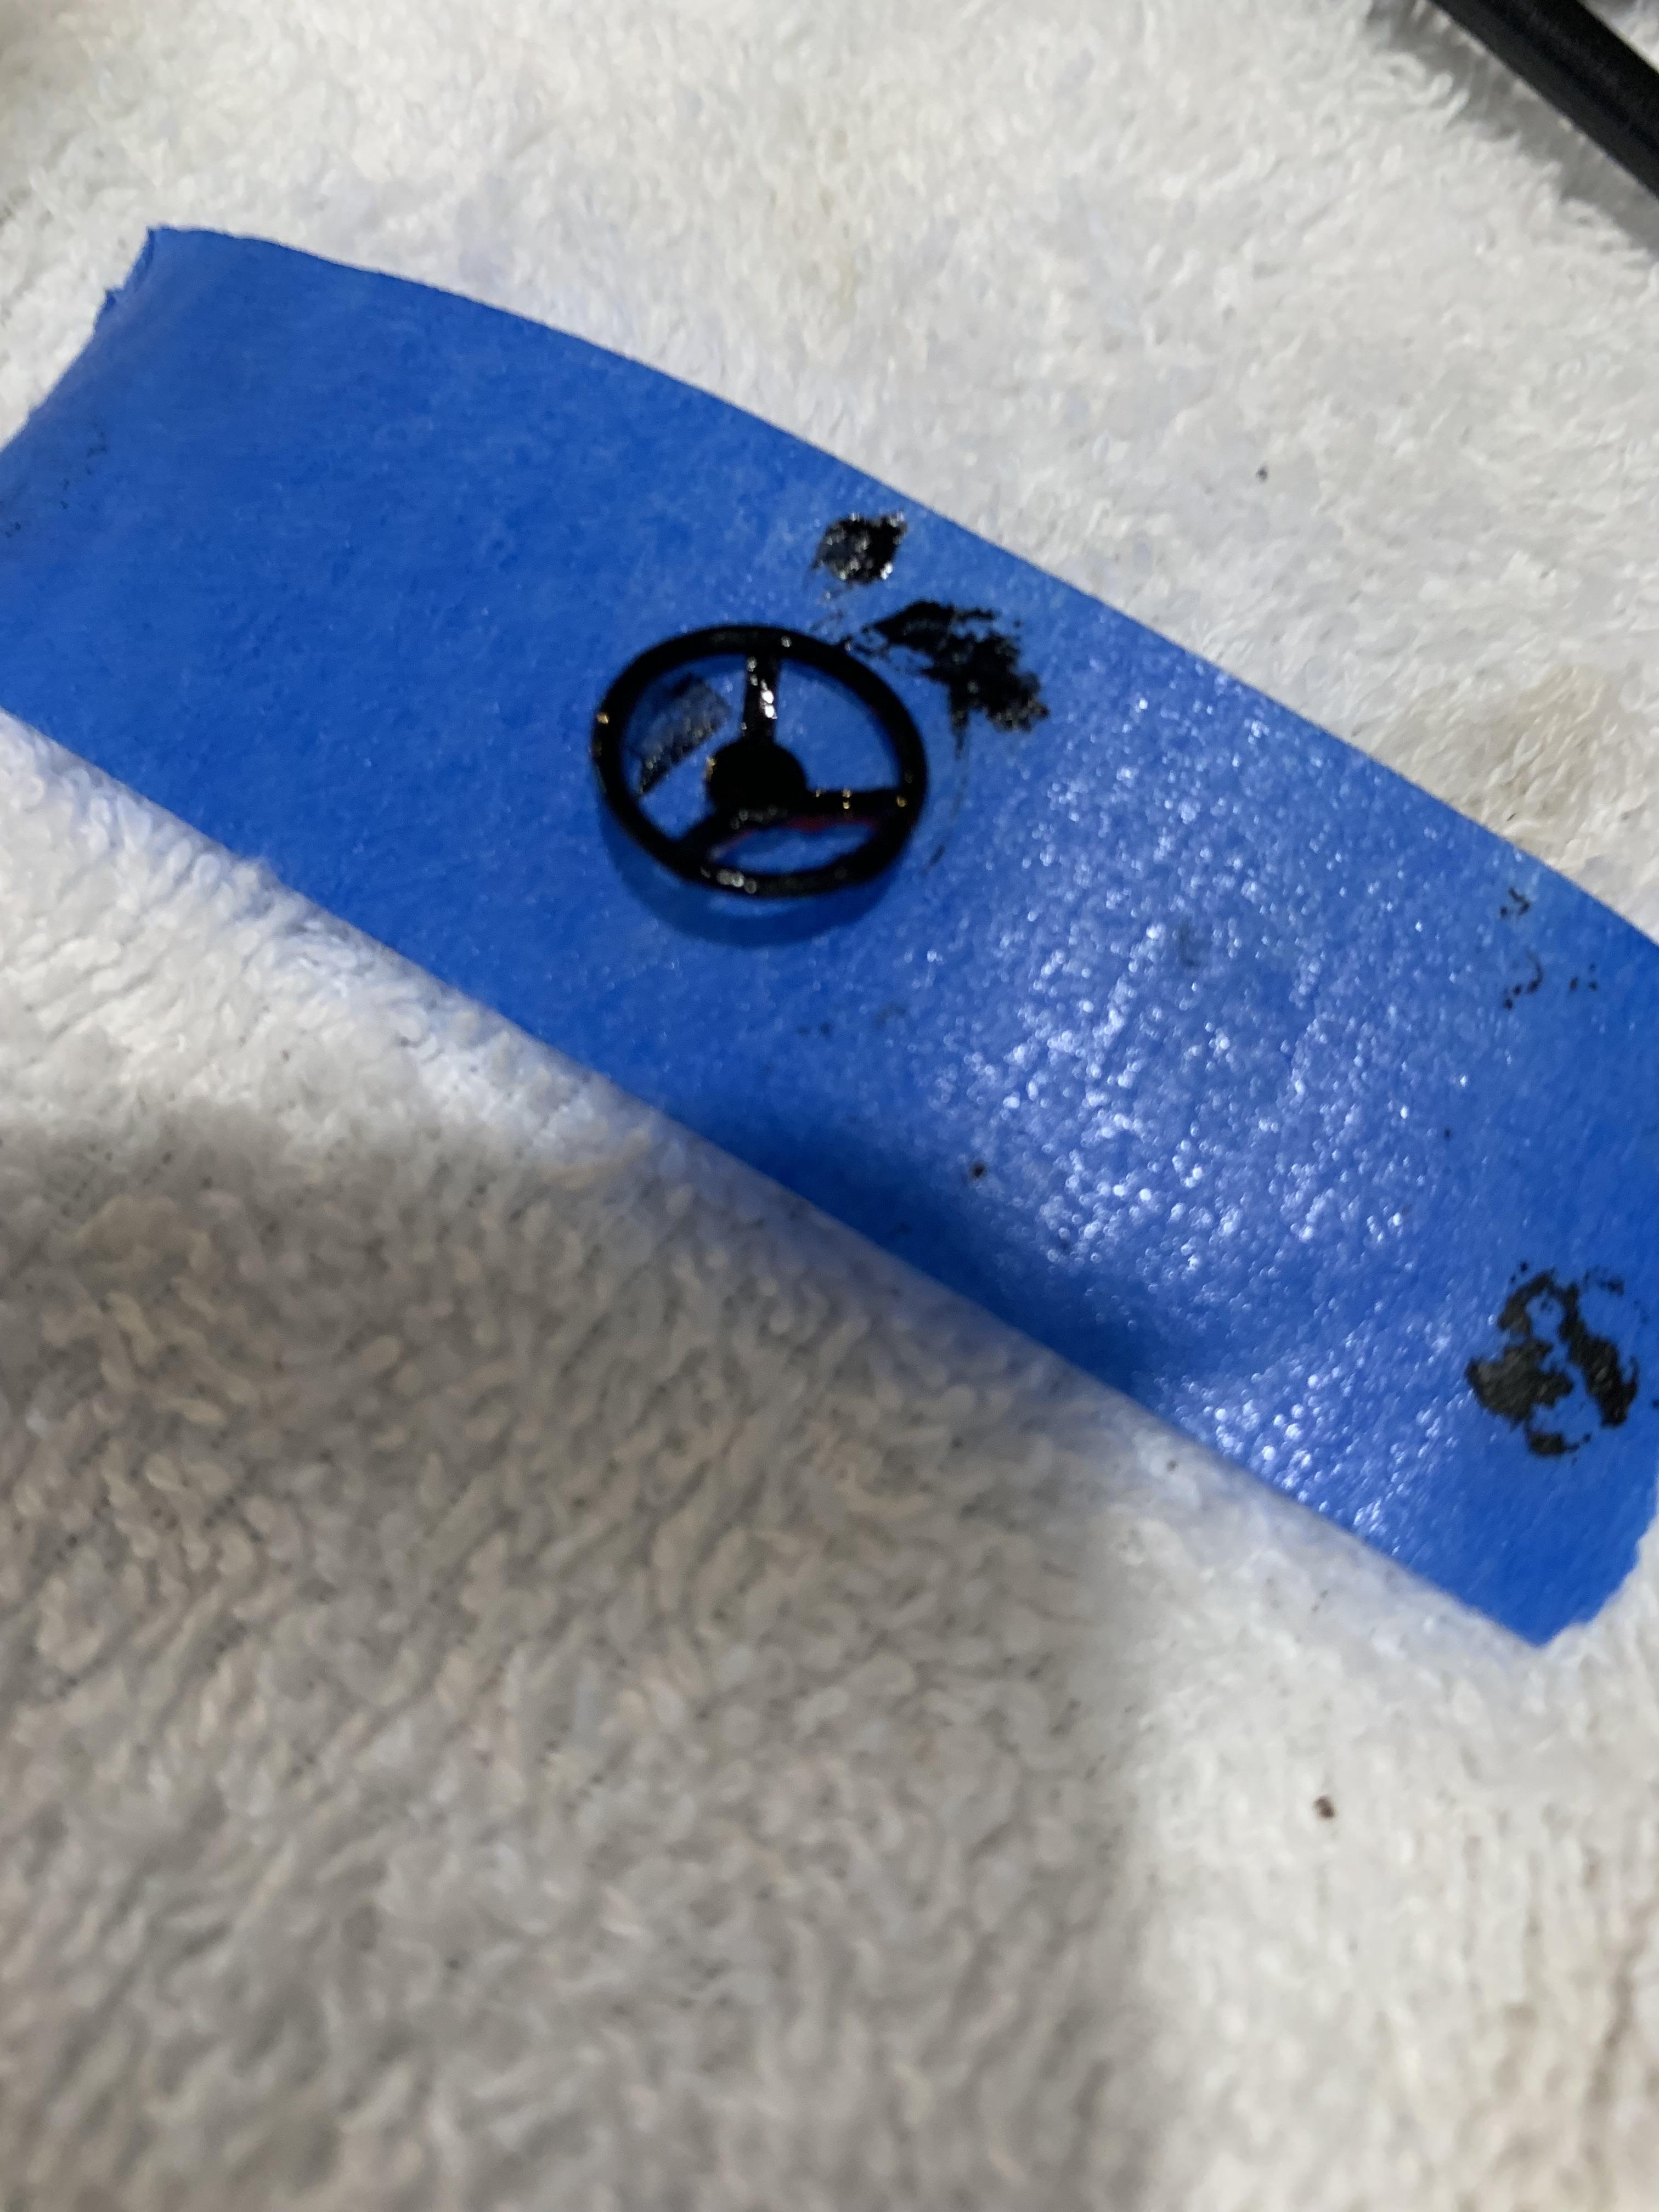
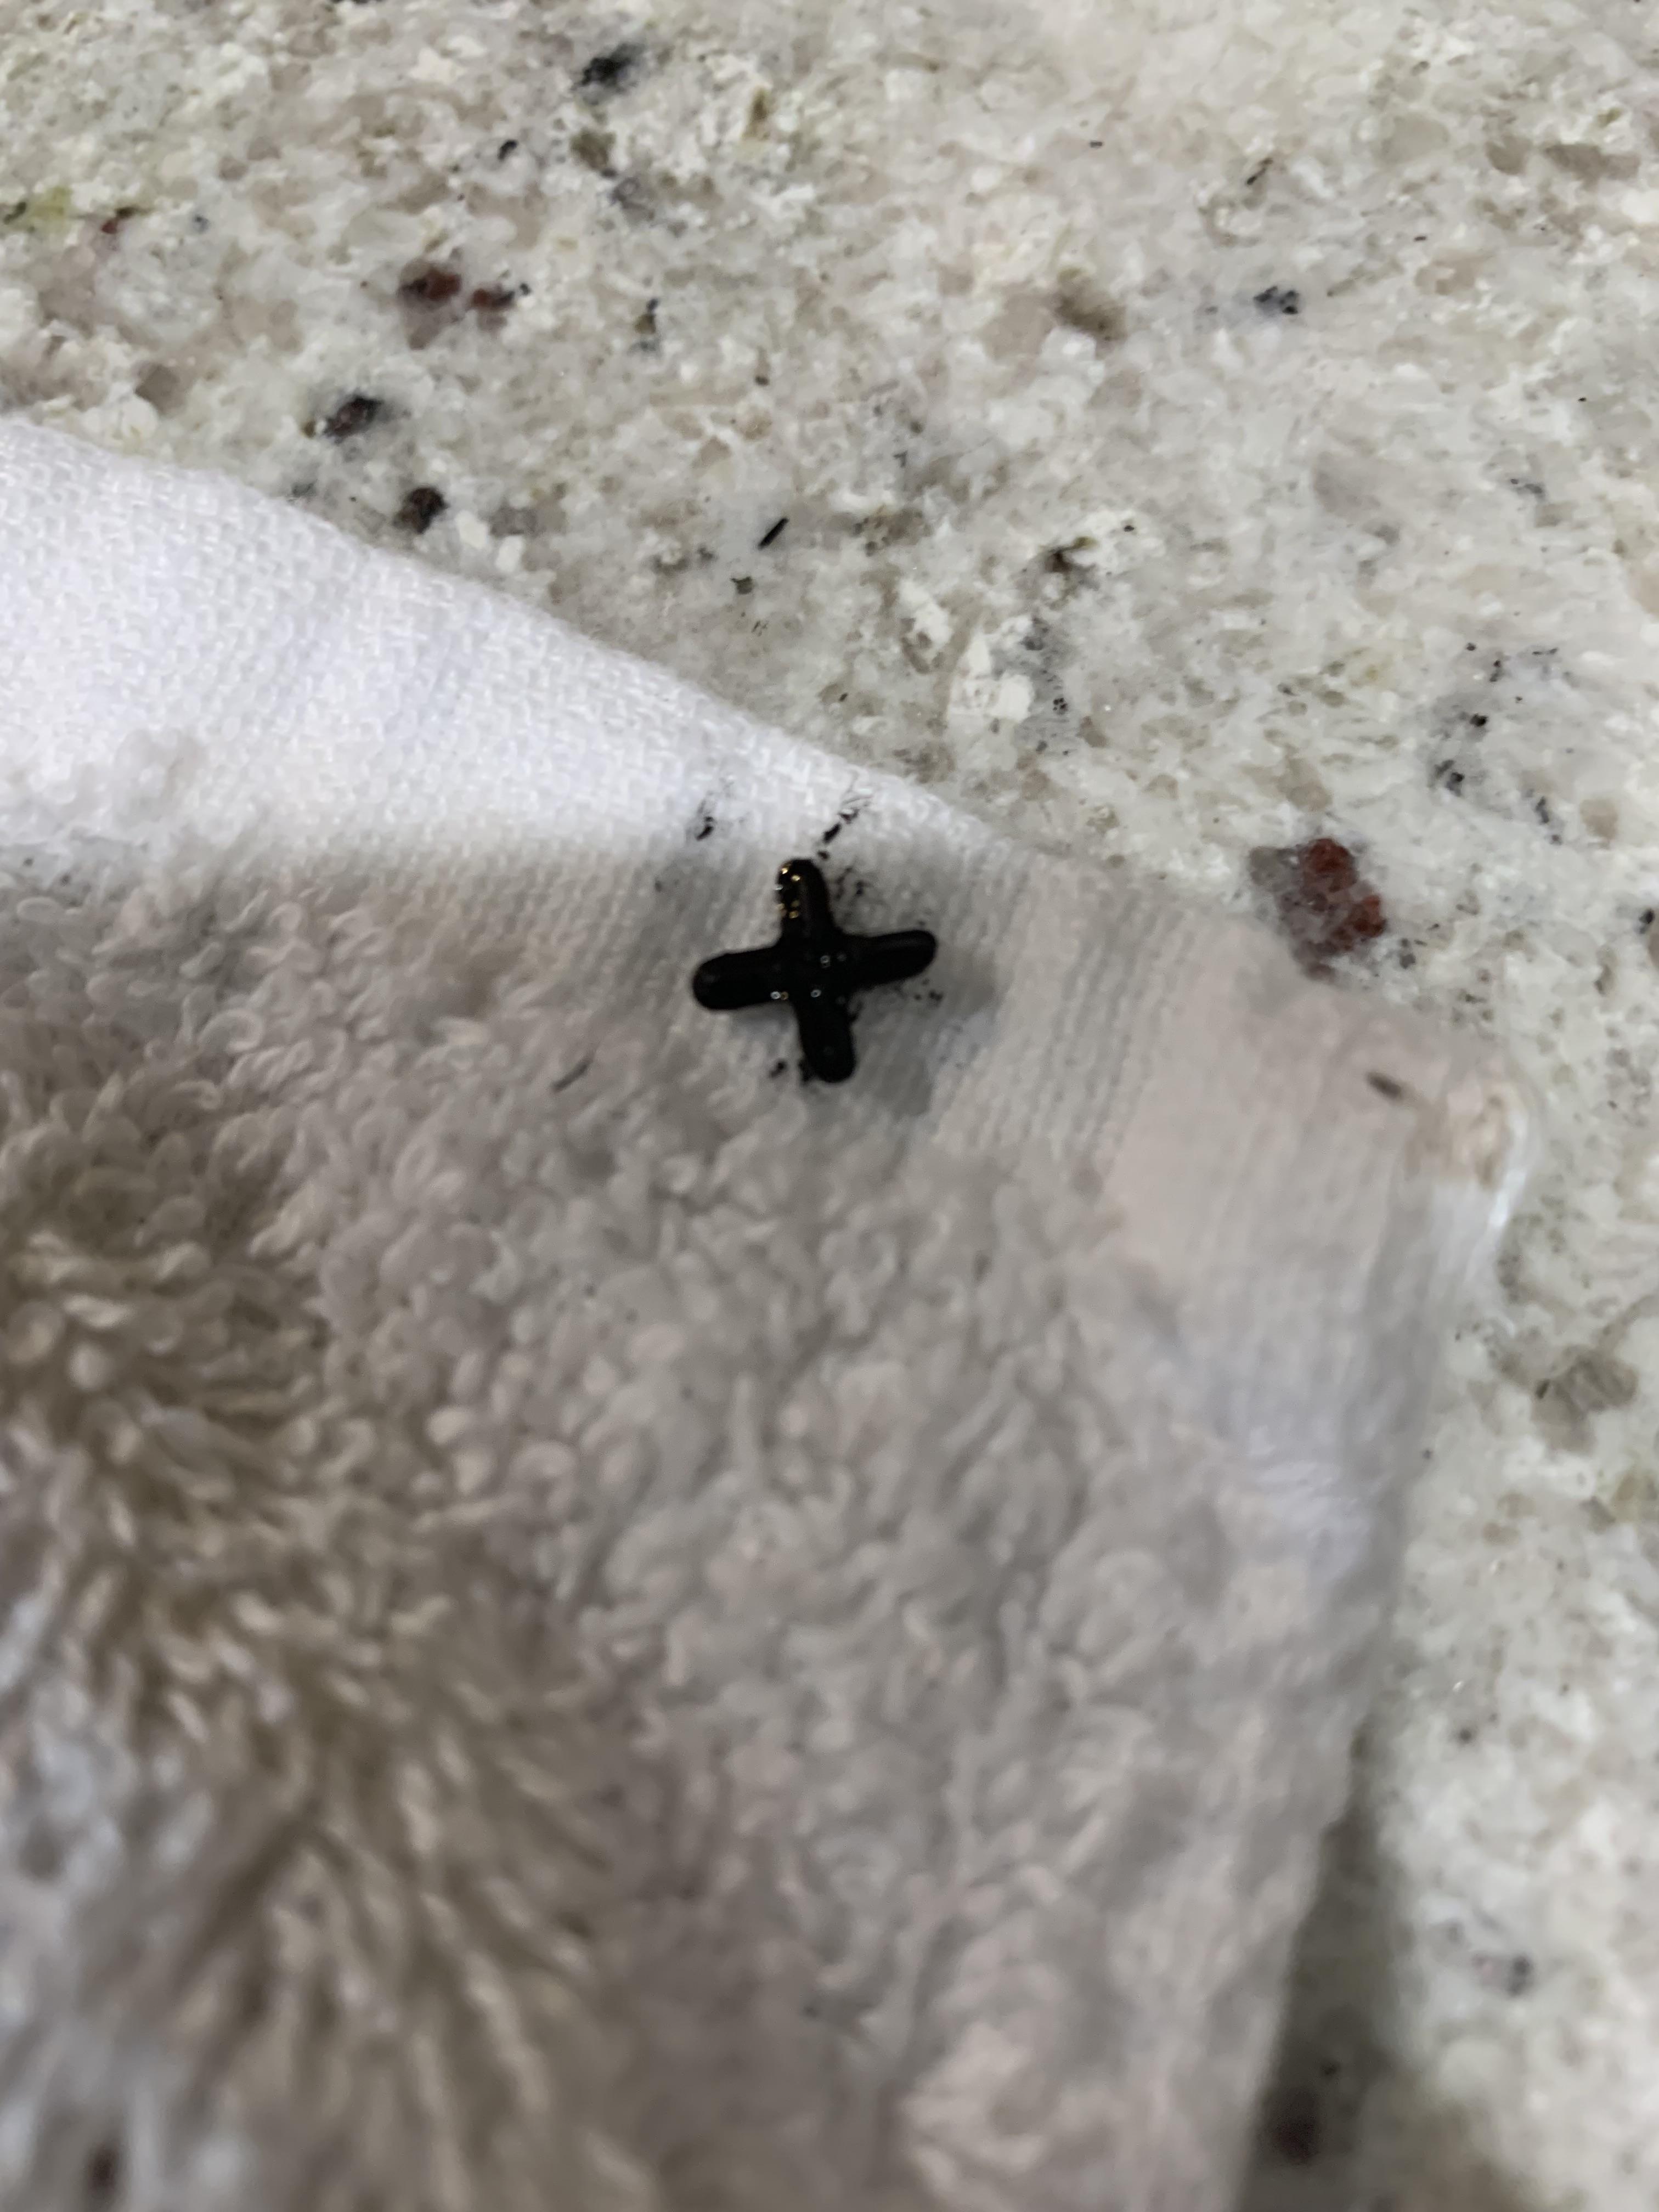
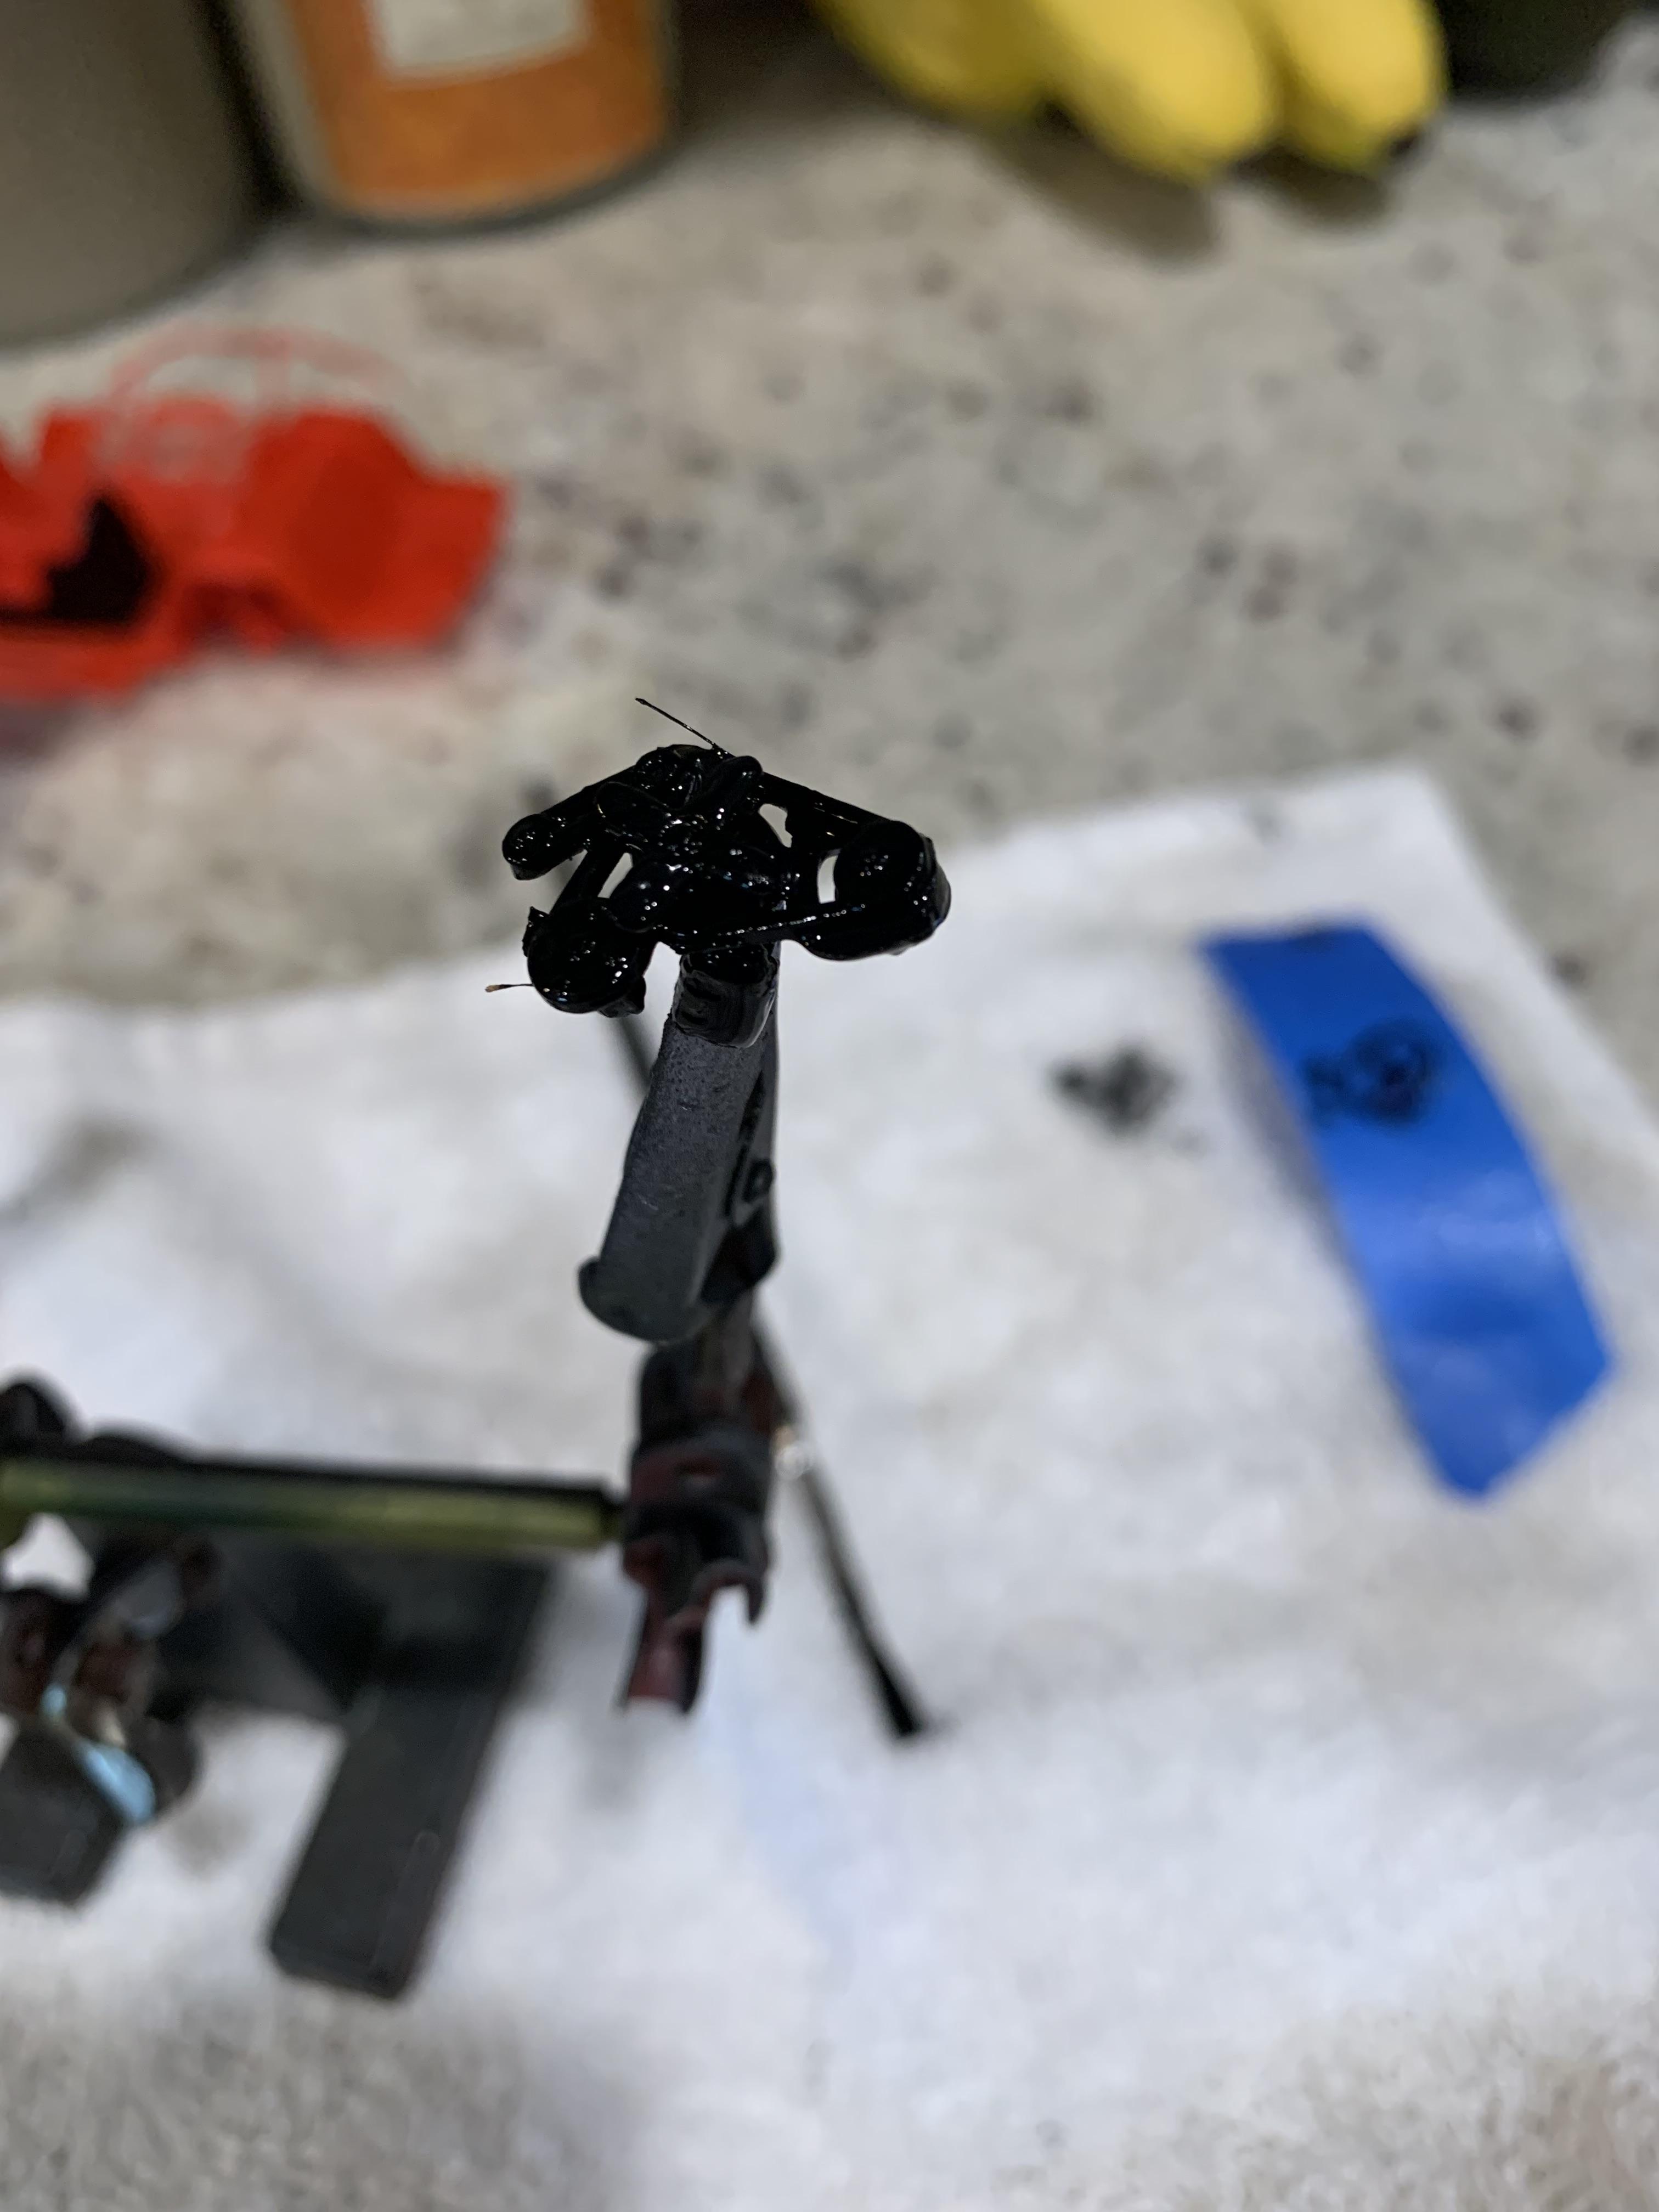
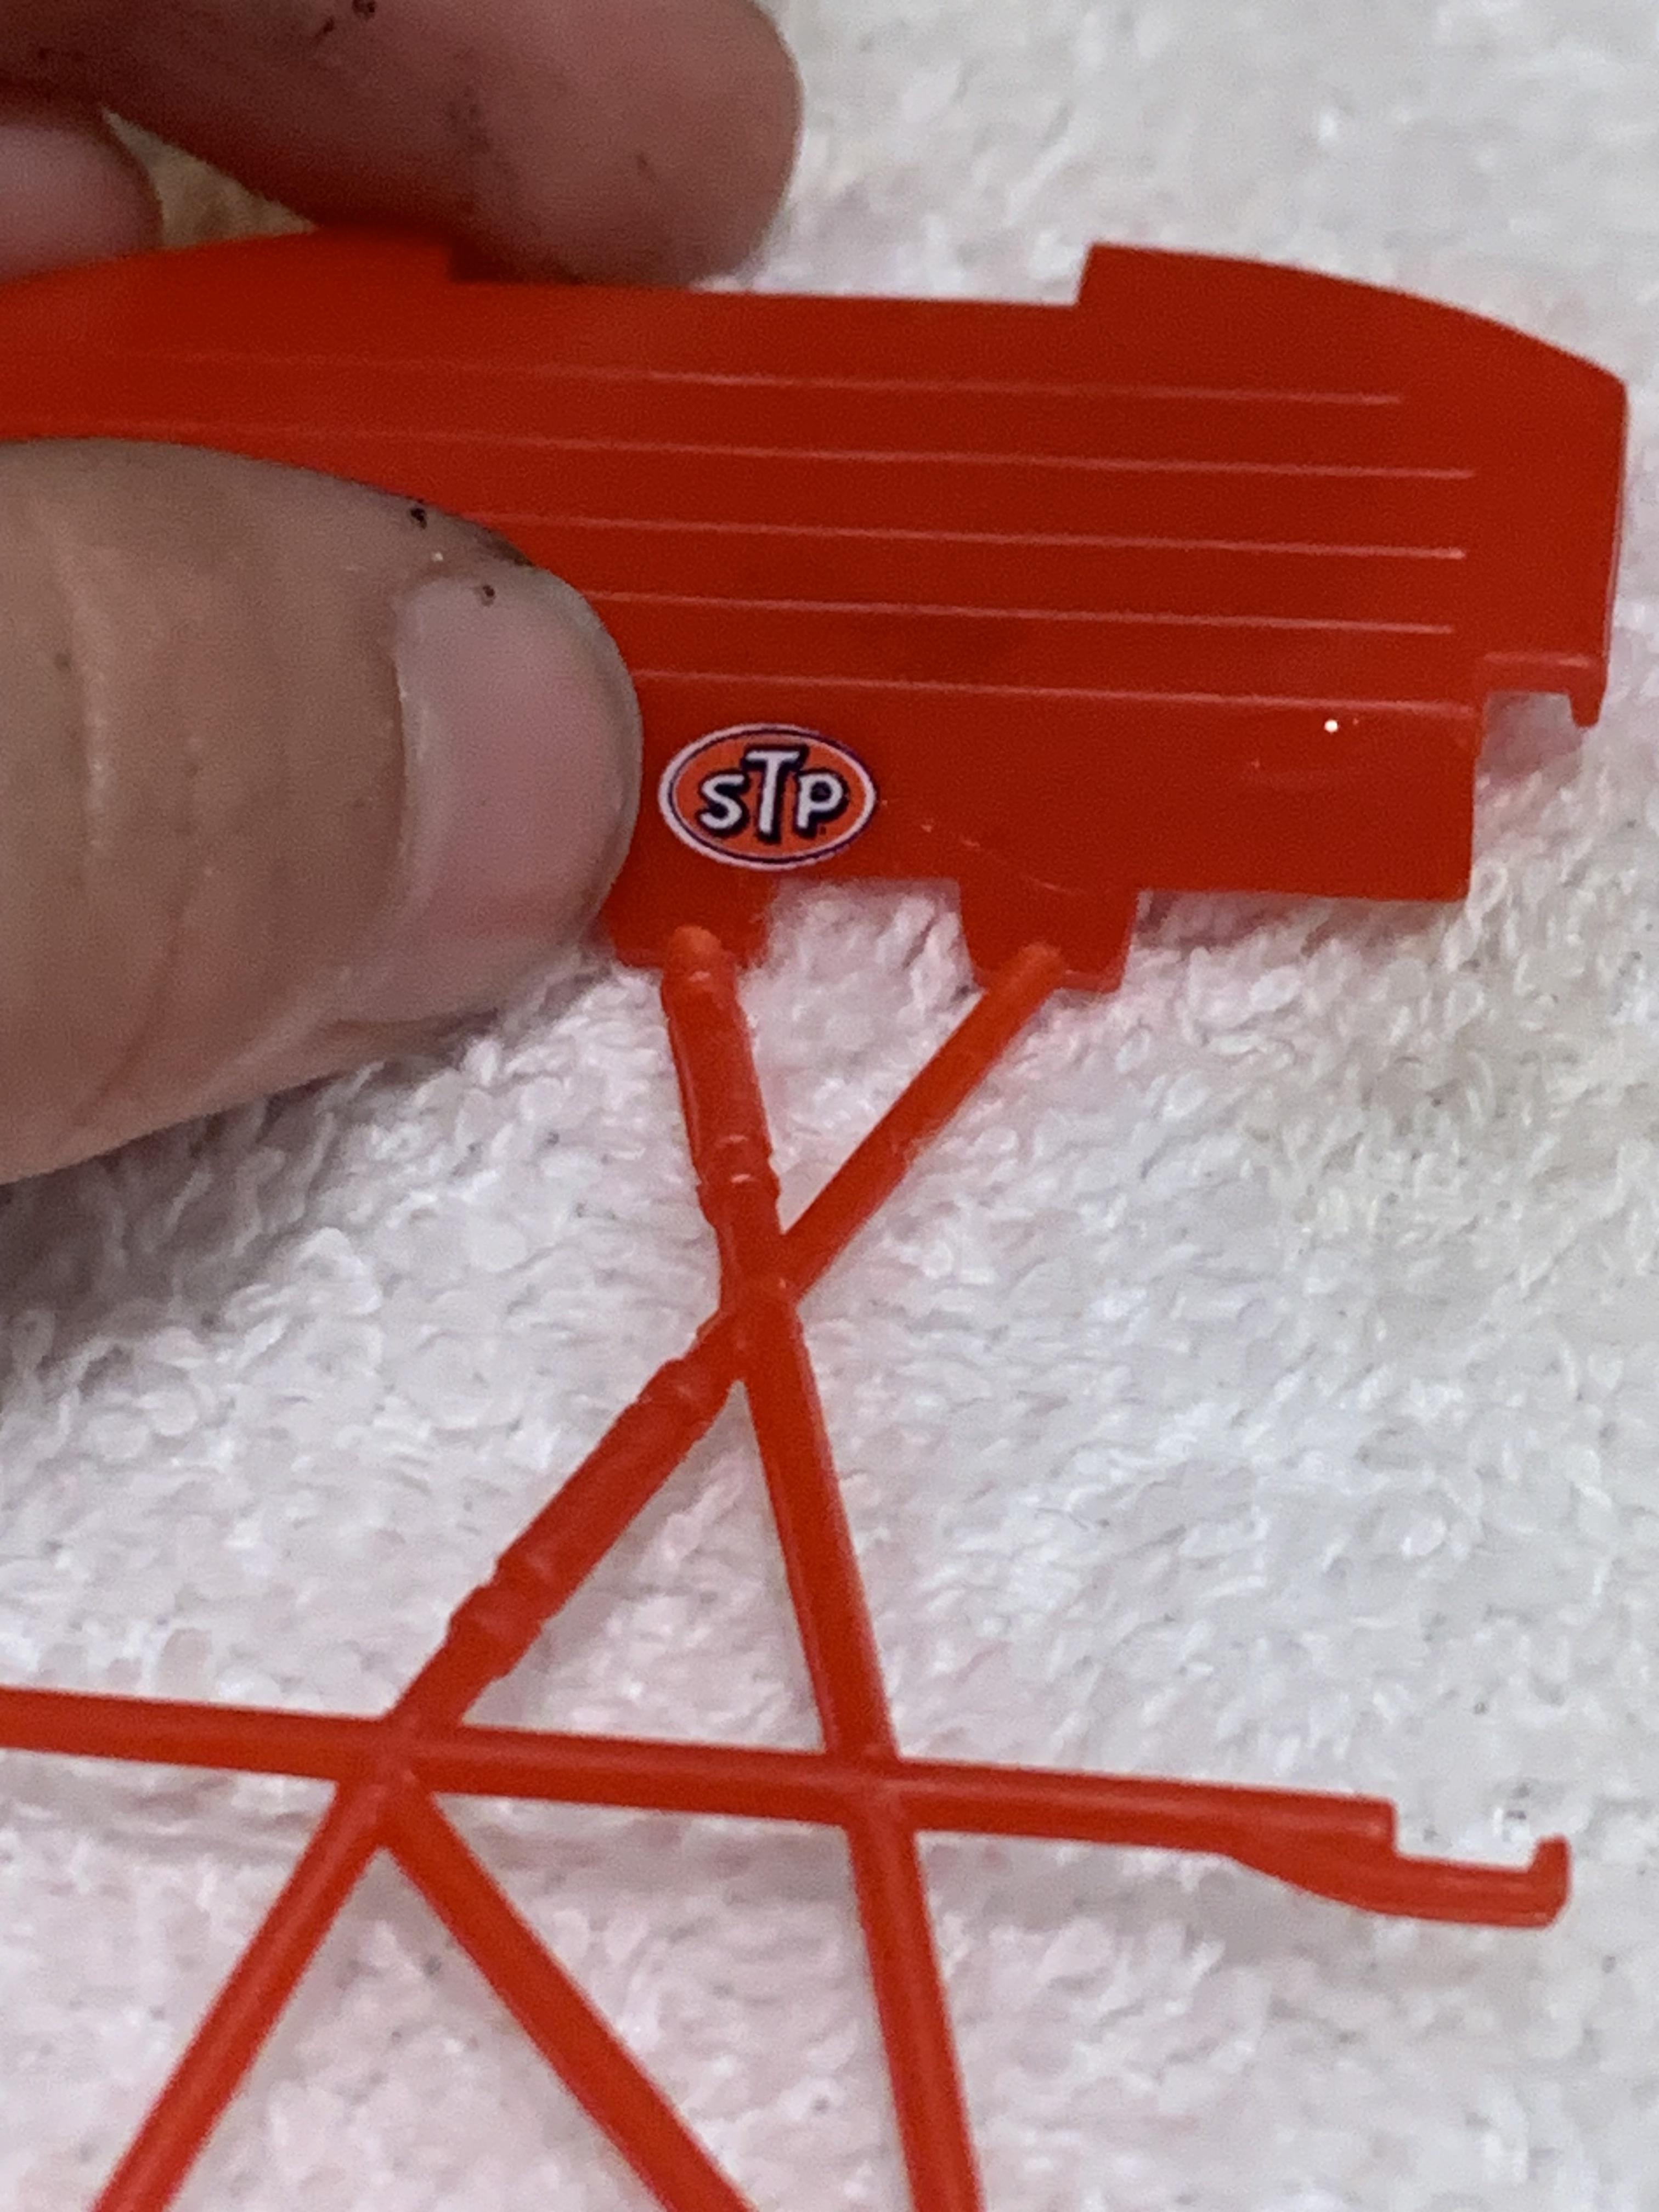
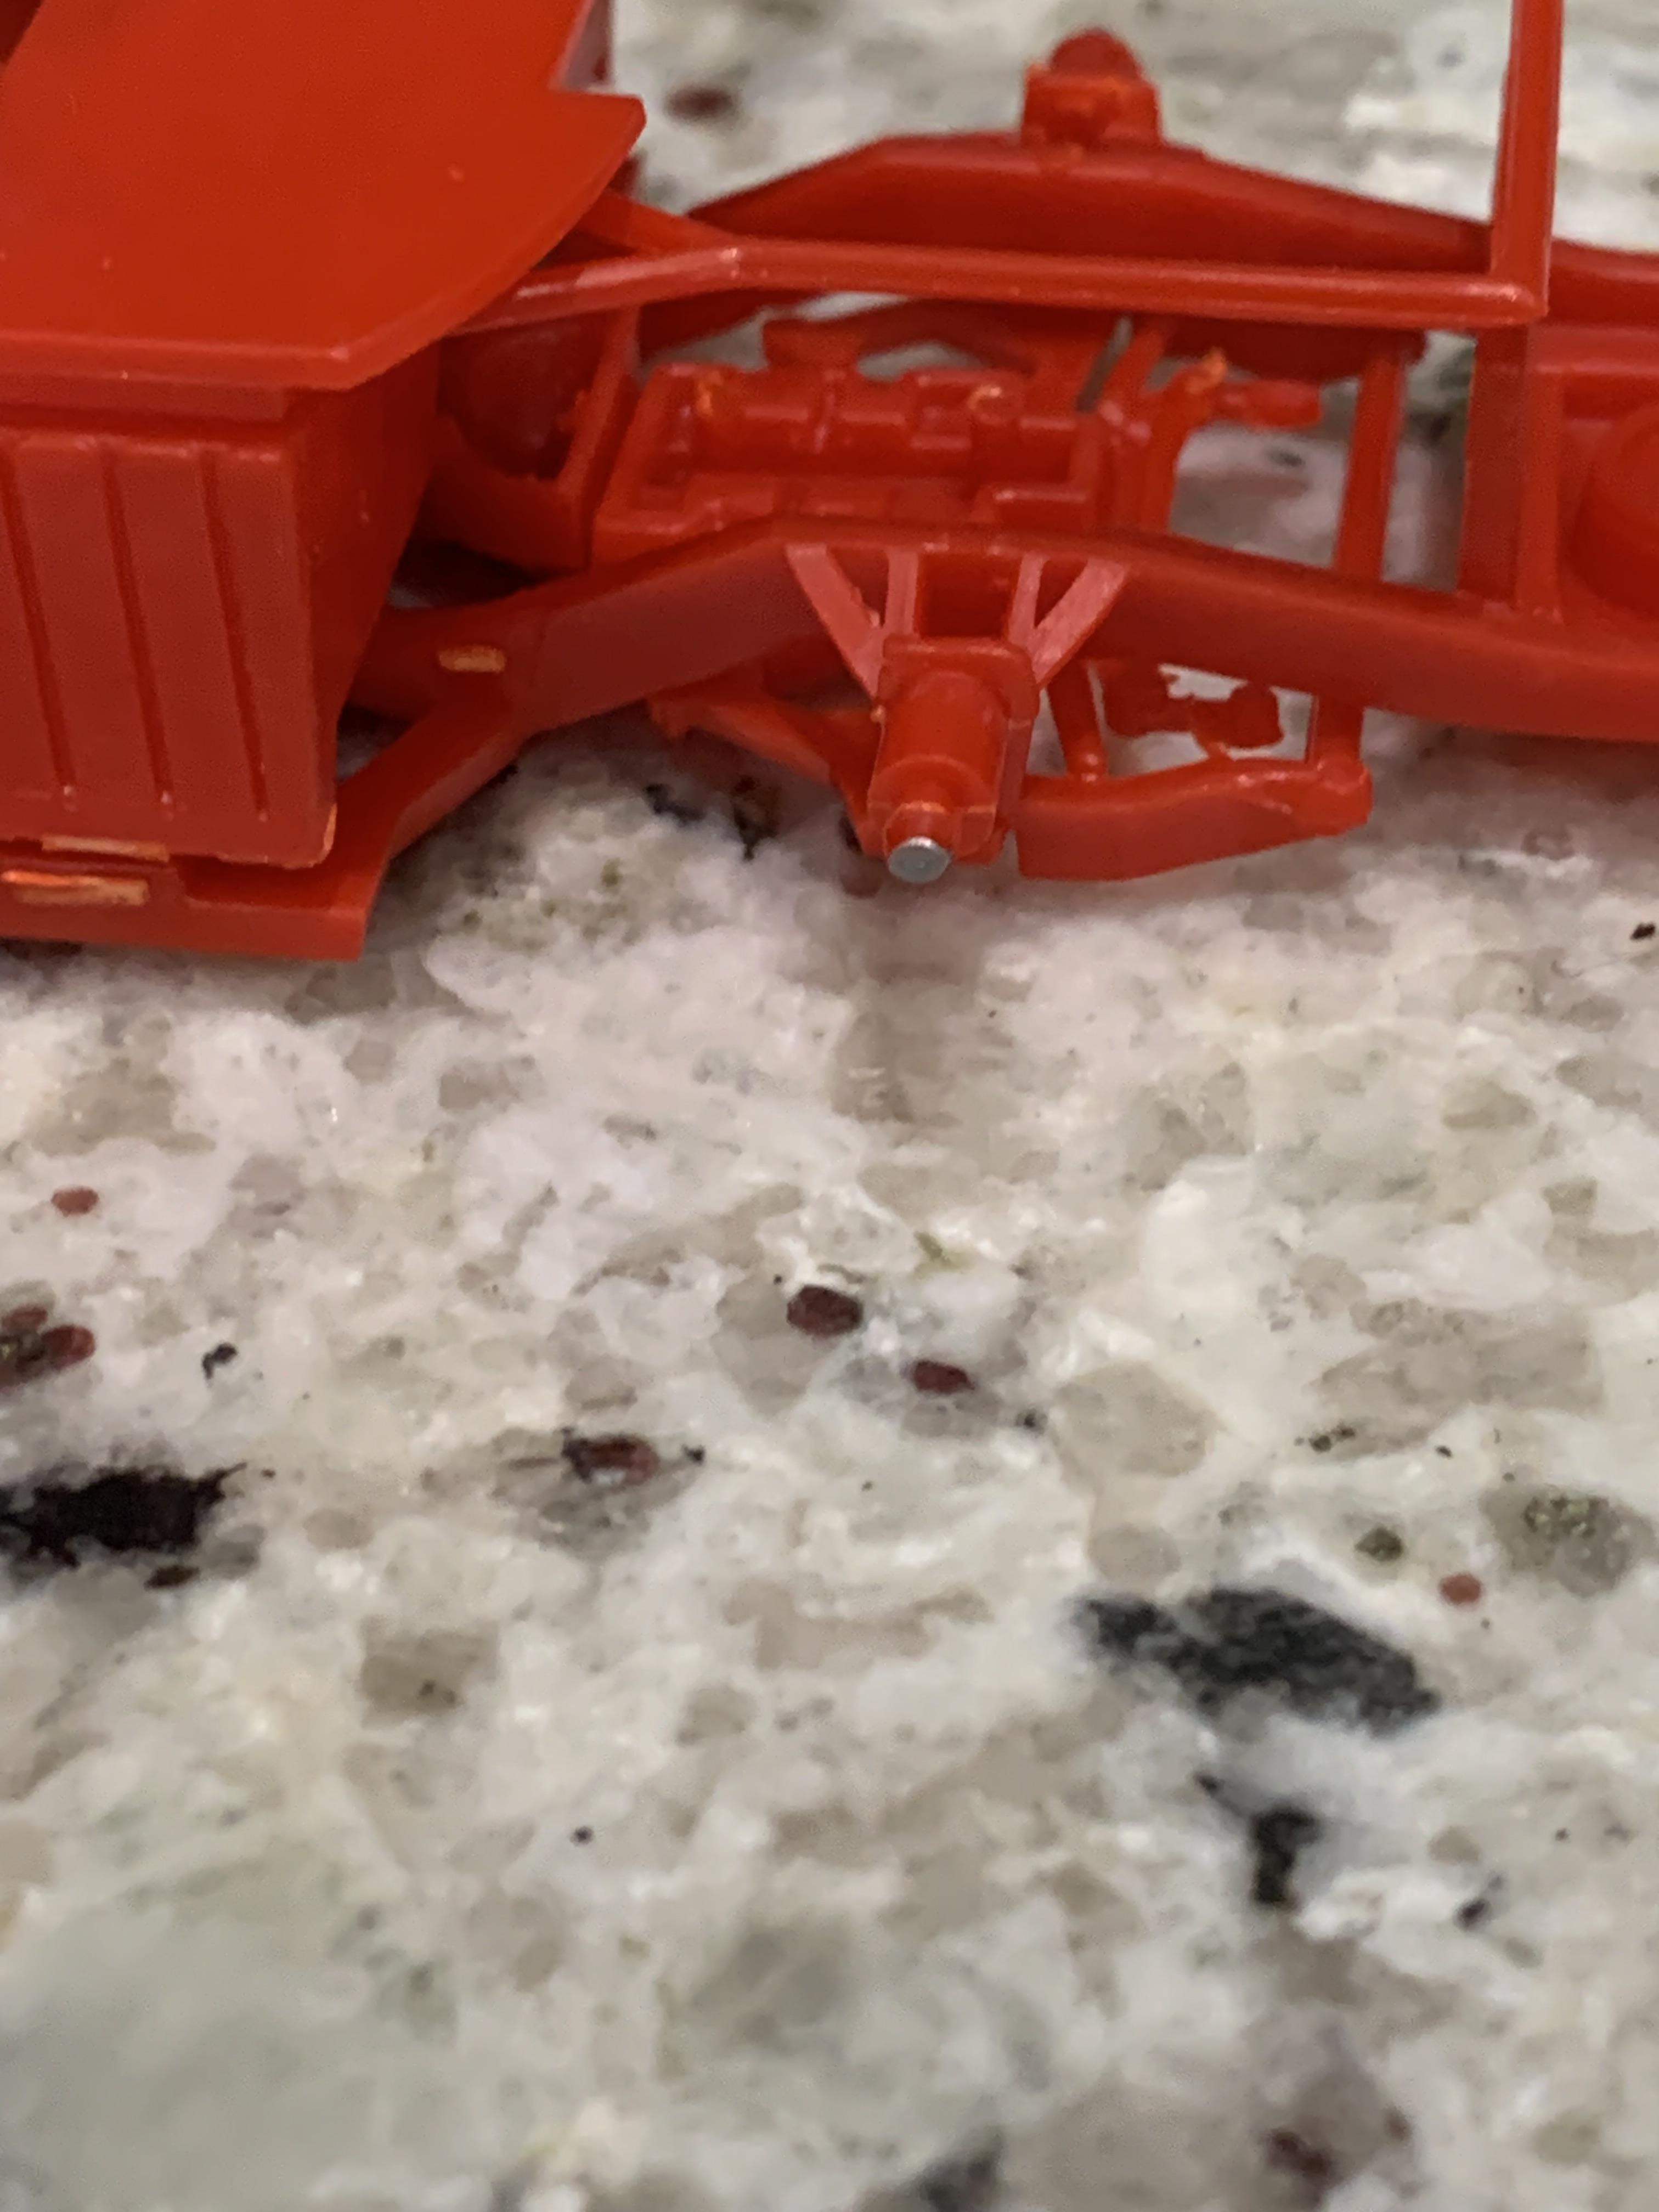
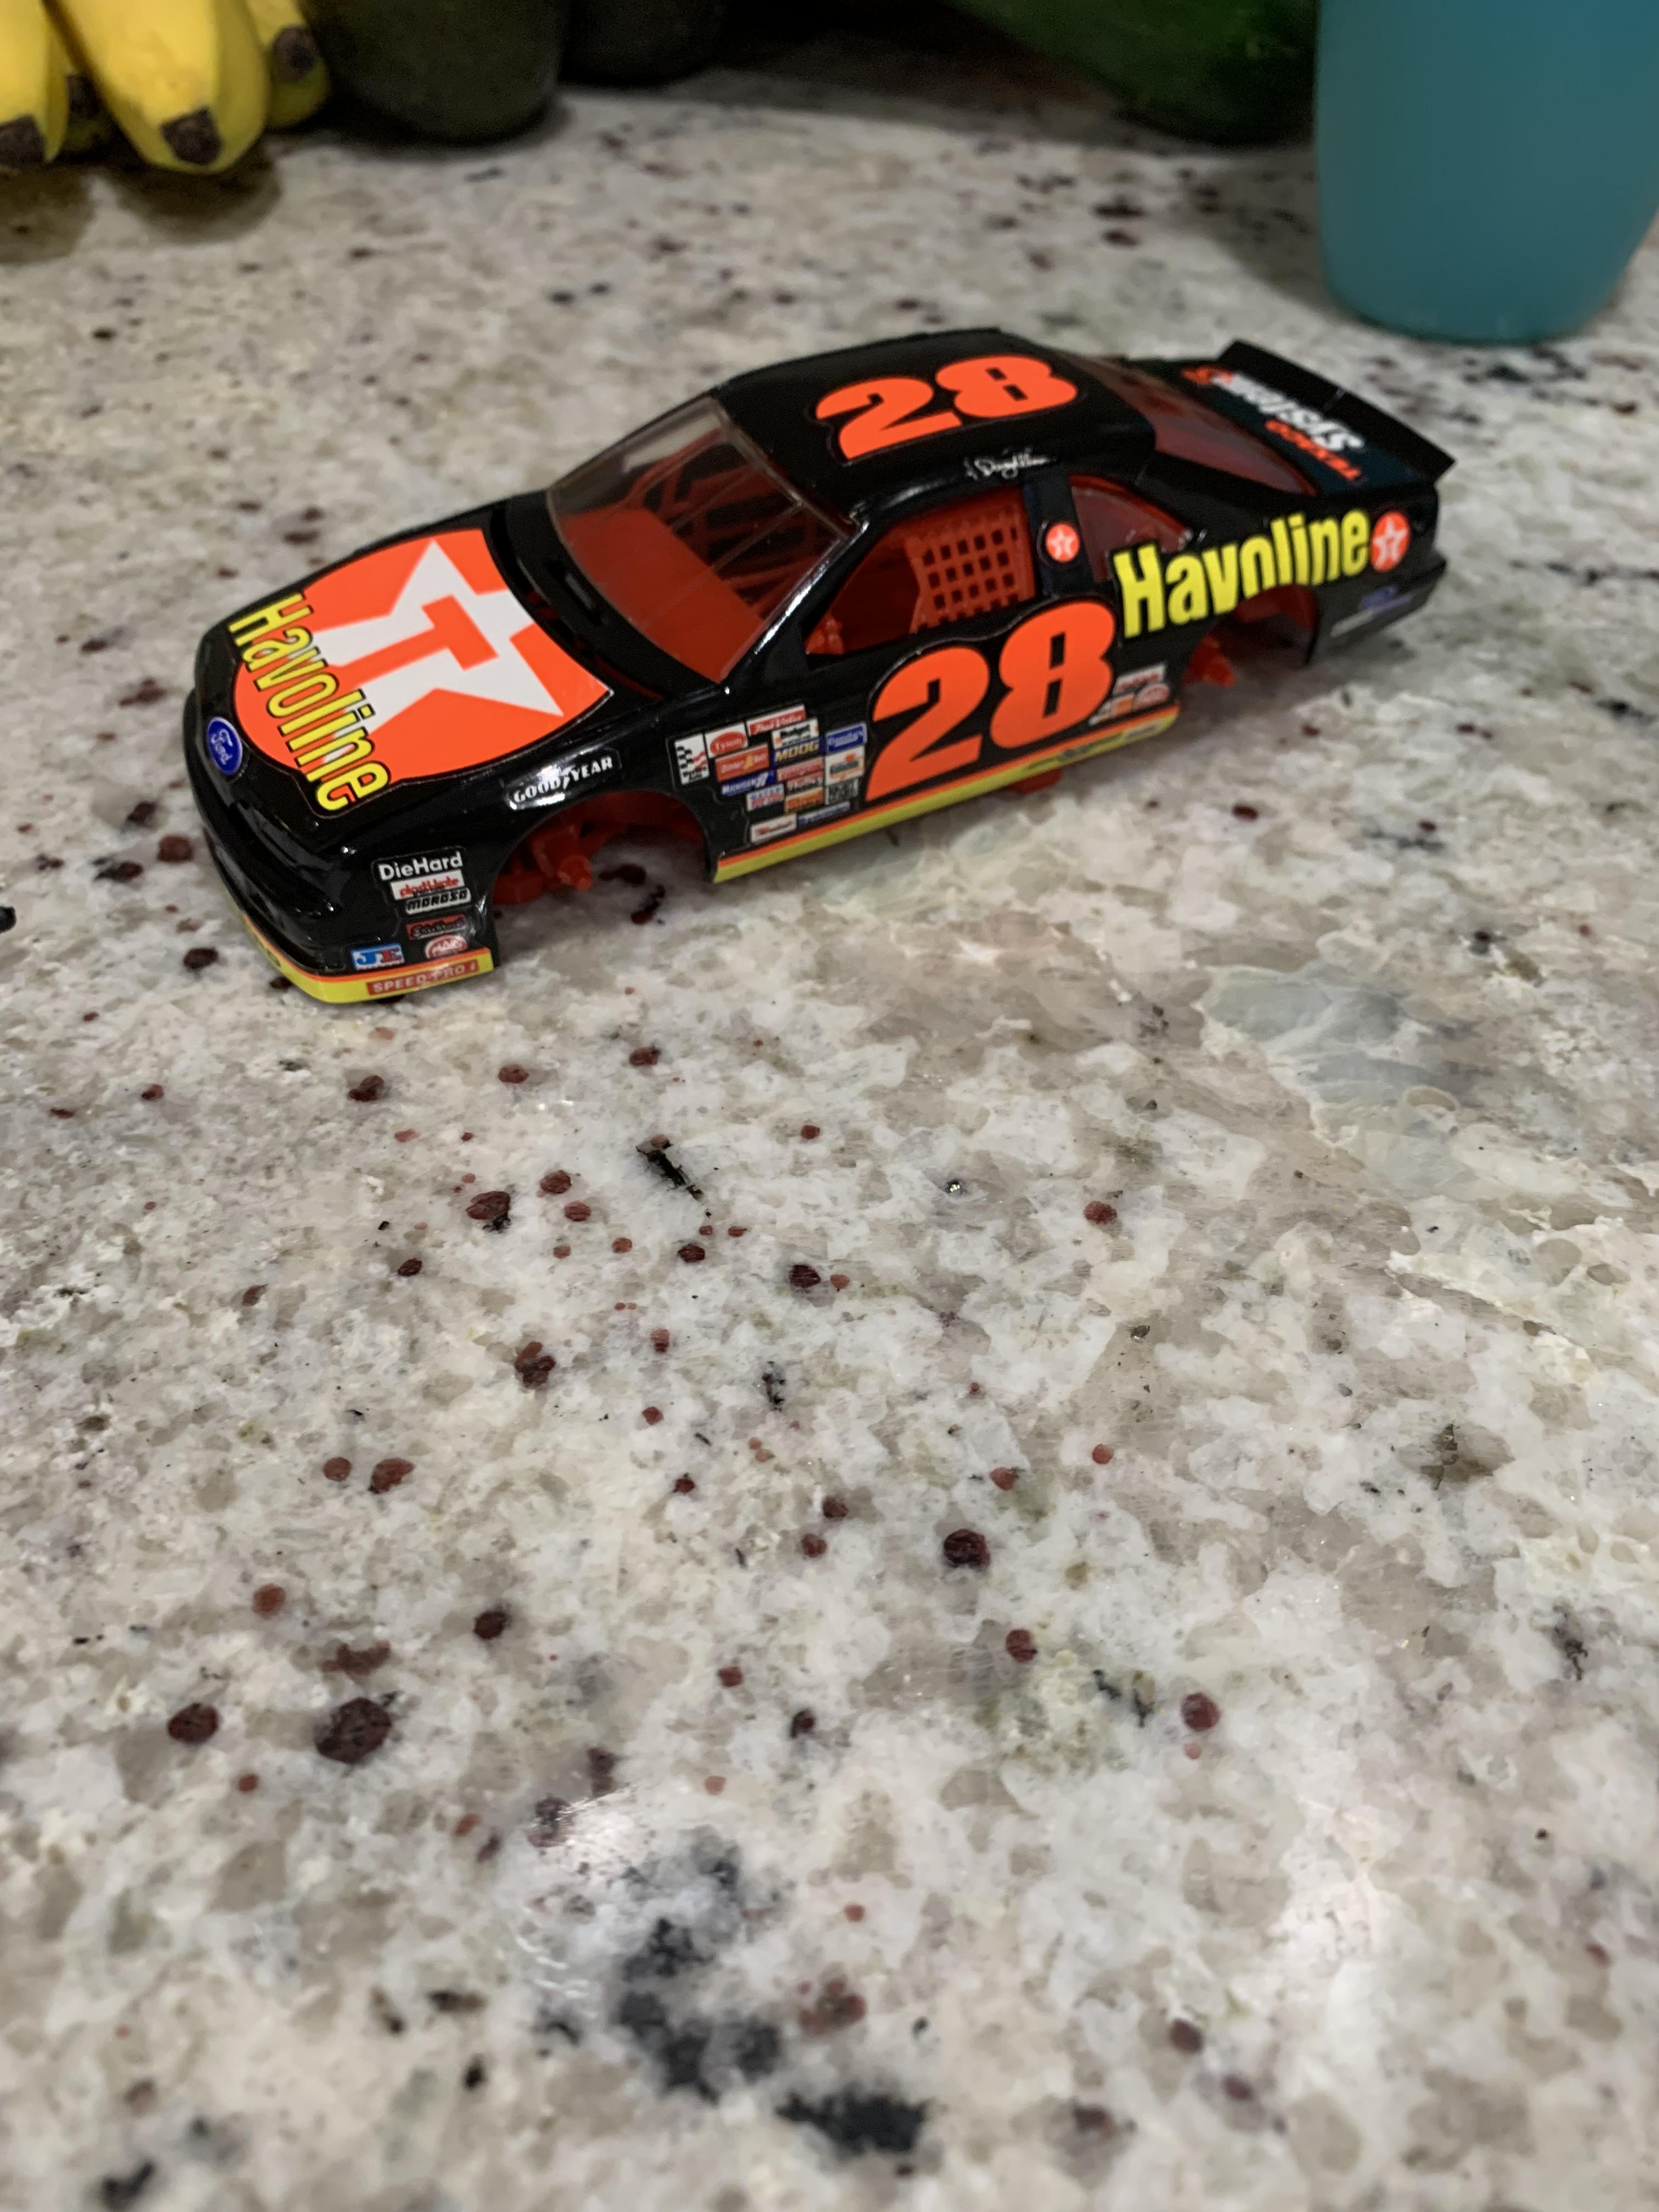
Hello y’all, this is another build it’s a no.28 havoline ford t bird nascar it’s a snap tite. Sorry I did not post pics when I got it, but here it is now. So I put the stickers that the kit came with on it and this is my (1st) coat of floor shine. Well today is another coat on the car, later I’ll be doing the chassis and the frame that’s the update for today!hey guys this is the final update before the under glass. Primed and then painted rustoleum black on the wheels,did both sides of the seat testors black. sprayed the engine block rustoleum blackthen painted testors on the pulley/fan and the steering wheel testors also.with sharpie painted hubs on the axle, then I put a STP decal on the dashfinally, I put the body on the chassis and it looks good! Pics in under glass tomorrow
-
Background: A cracking looking WRC car, in a fantastic livery, from the best (in my opinion) era of rallying. And it's McRae. The only thing it really lacks is a championship, and a re-release from Tamiya to stop those prices spiralling further out of control. Pros: Usual high Tamiya quality of moulding. Lots and lots of detail - for example moulded parts of bits of the engine to sit under the bonnet vents, and a jack and wheel nut spanner in the interior. Driver co-driver figures included too. All fits together perfectly and easily except one thing, as below. Cons: The rear windows are a bit tricky. They fit perfectly into their holes, but there's nothing to hold them there. If you're averse to decalling and curved masking, there's a lot of the former (over 100 decals) over some tricky multi-direction surfaces, and some of the latter for that rear blue area. I'd also have preferred the Telefonica/Movistar decal over the roof-rear wing to be on-transparent and spray the blue myself. Verdict: Fantastic, albeit a lot of work, even for a rally car. Build notes: Built over the course of 6 weeks in June-August 2024. I added some seatbelts, a microphone each for the driver and co-driver, some photoetch bonnet and boot pins, the curving pipes behind the x-member behind the front grille, air valves in each wheel and two aerials made from flower-arranging wire. There's really nothing else it needs that you don't already get. The only change I made to the kit was to use the second door mirror on the co-driver's side. It's in the kit but this car at the Monte Carlo didn't have it. However I dislike asymmety, so on it went. 5 or 6 of the decals split into two or three pieces as they came from the backing sheet - certainly due to age. I managed to rescue them all (well, nearly) with some care and luck.
-
I got this kit mainly because I liked the look of it on the box art. Though I didn't know the hood gap would be that much. Makes for an odd looking truck. The kit isn't that bad, but it's not great either. It went together surprisingly well. Painting it was probably the hardest part. I still don't understand why there was no decal for the FORD on the back of the truck or why there are no inside walls for the truck bed. Makes it look kinda stupid. Still, it came out looking OK. SAM_1674 by Eric Lucas, on Flickr SAM_1675 by Eric Lucas, on Flickr SAM_1676 by Eric Lucas, on Flickr
-
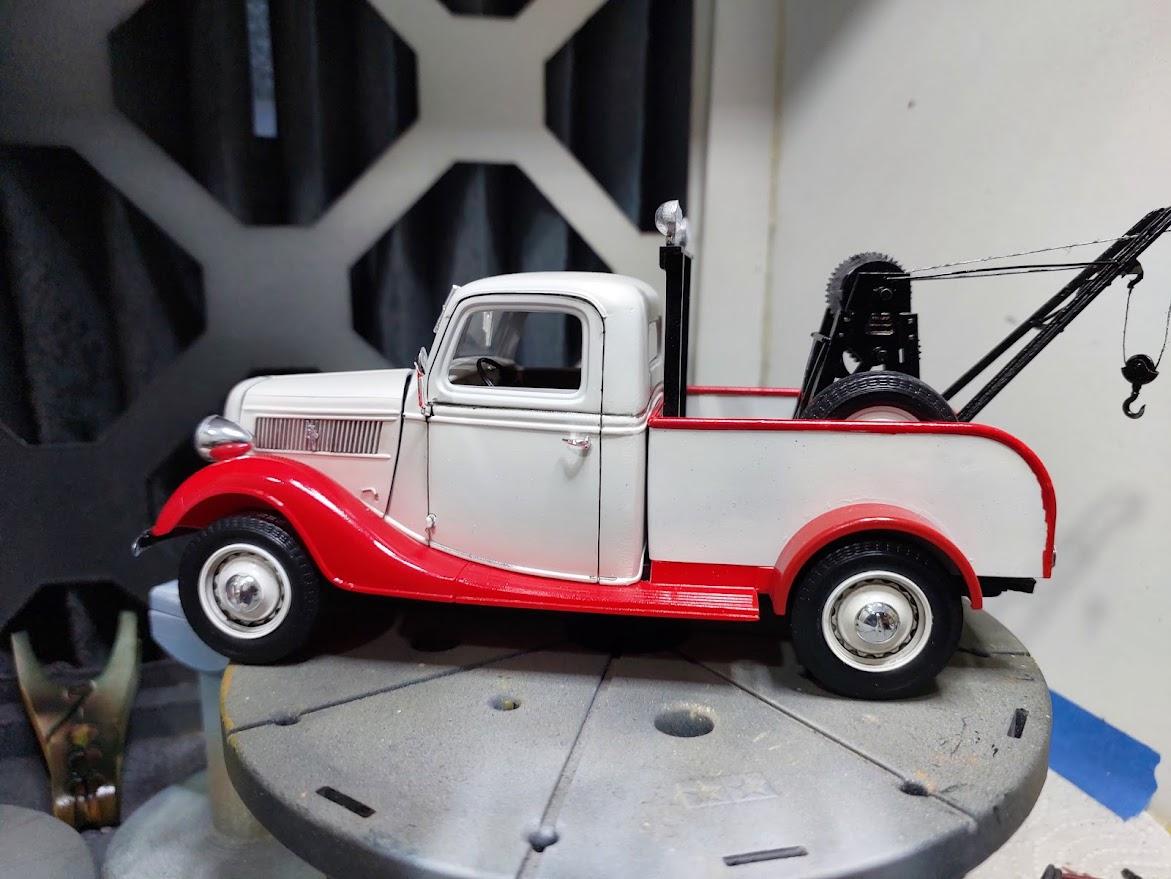
 This is my latest build, the Revell 37 Ford Pickup converted to tow truck. the conversion is the bed (on a shortened bed floor), Crane, Frame with lights and rear wheel arches. all designed and 3d printed by yours truly. the only downside was some fitting issued of the hood that left a not so nice gap but "tis what it is", Hope you like it!
-
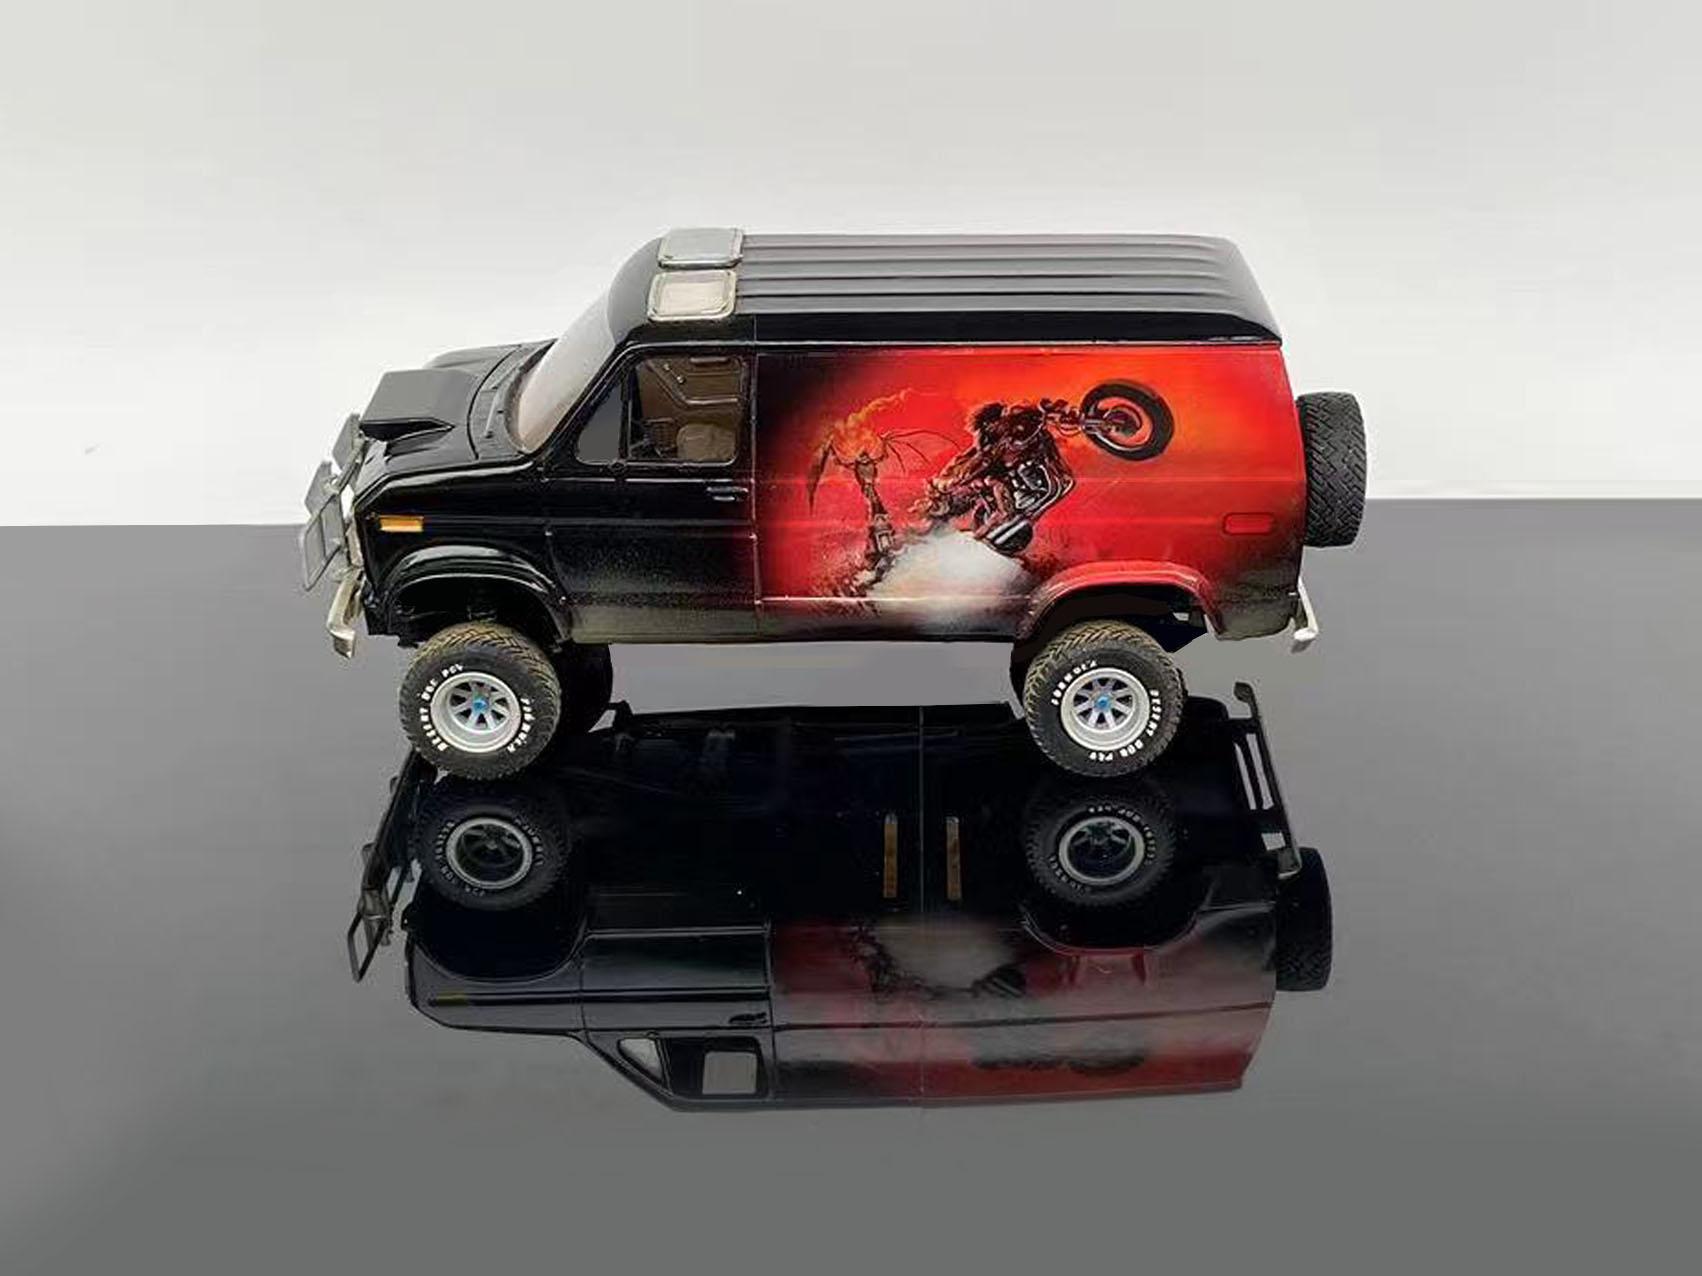
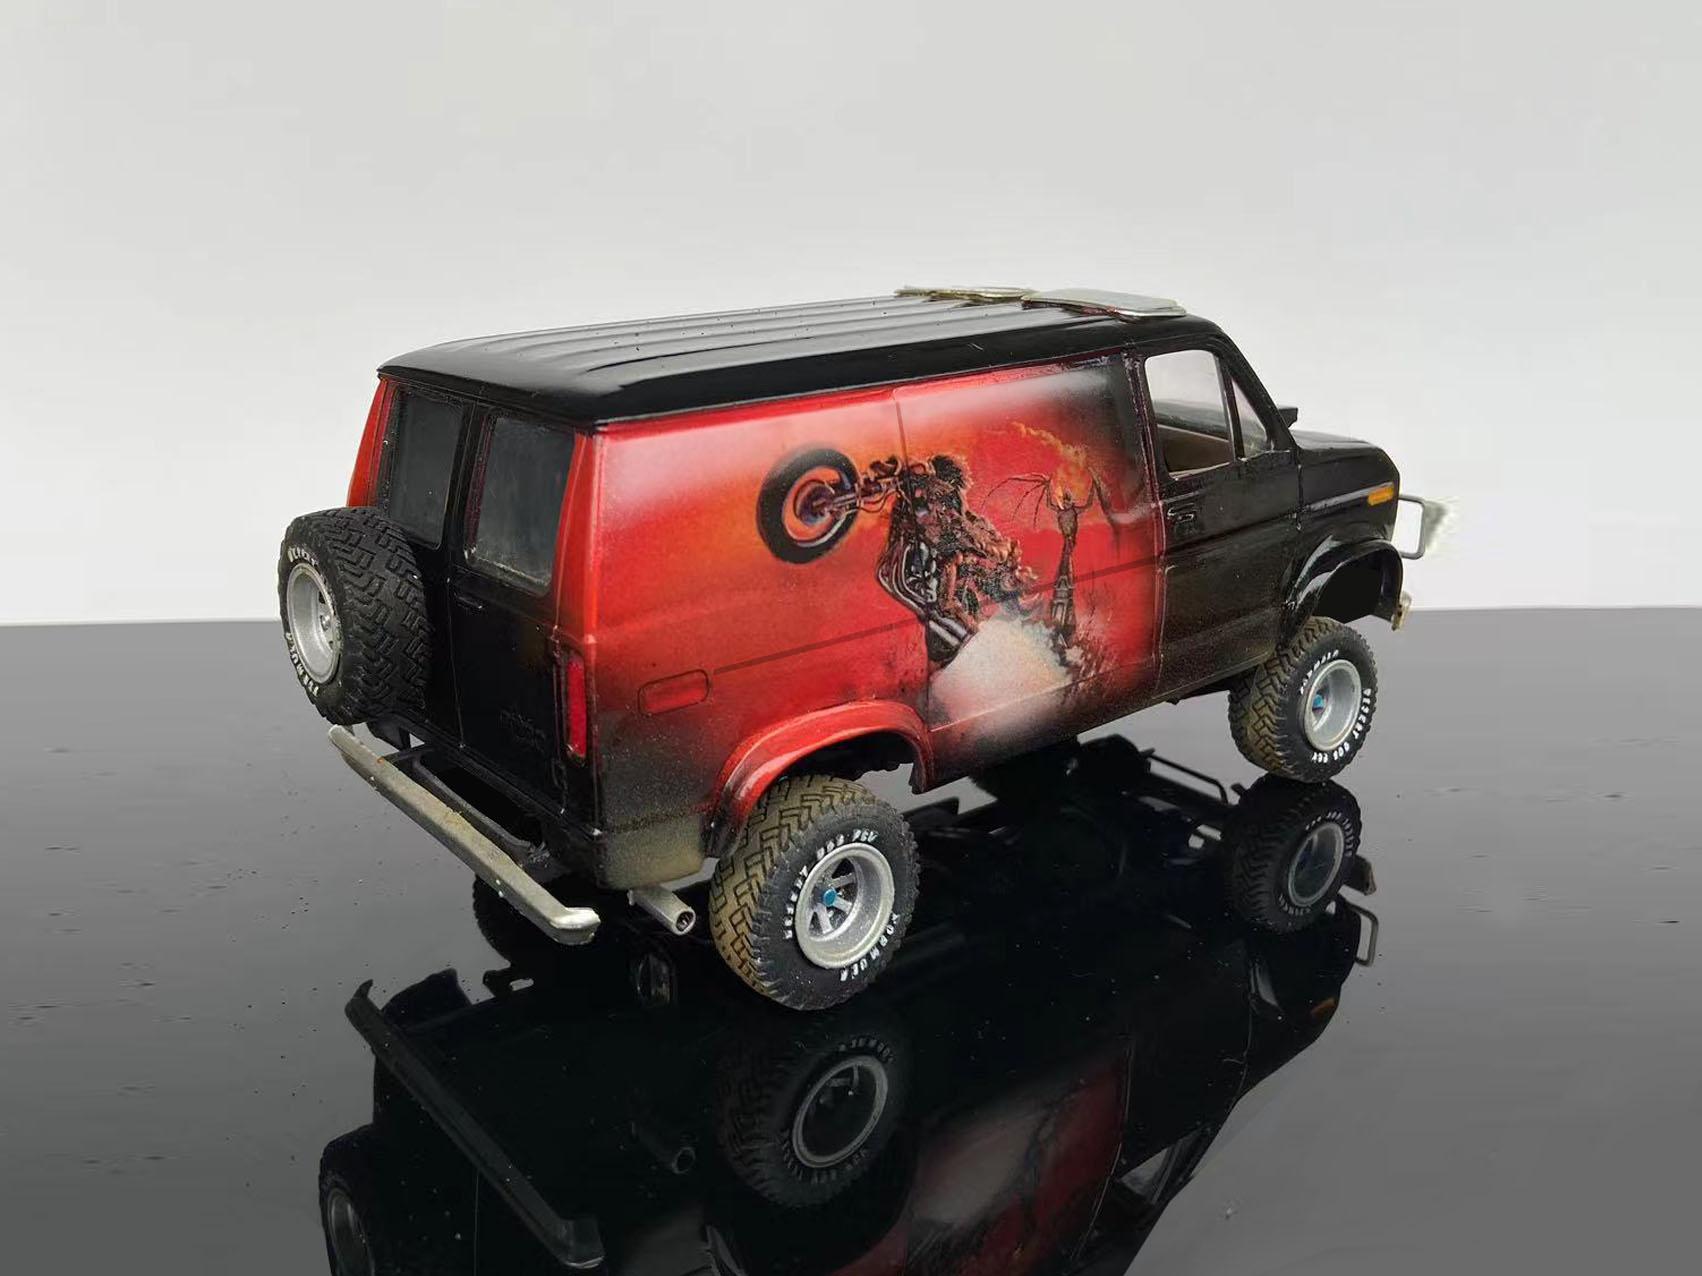
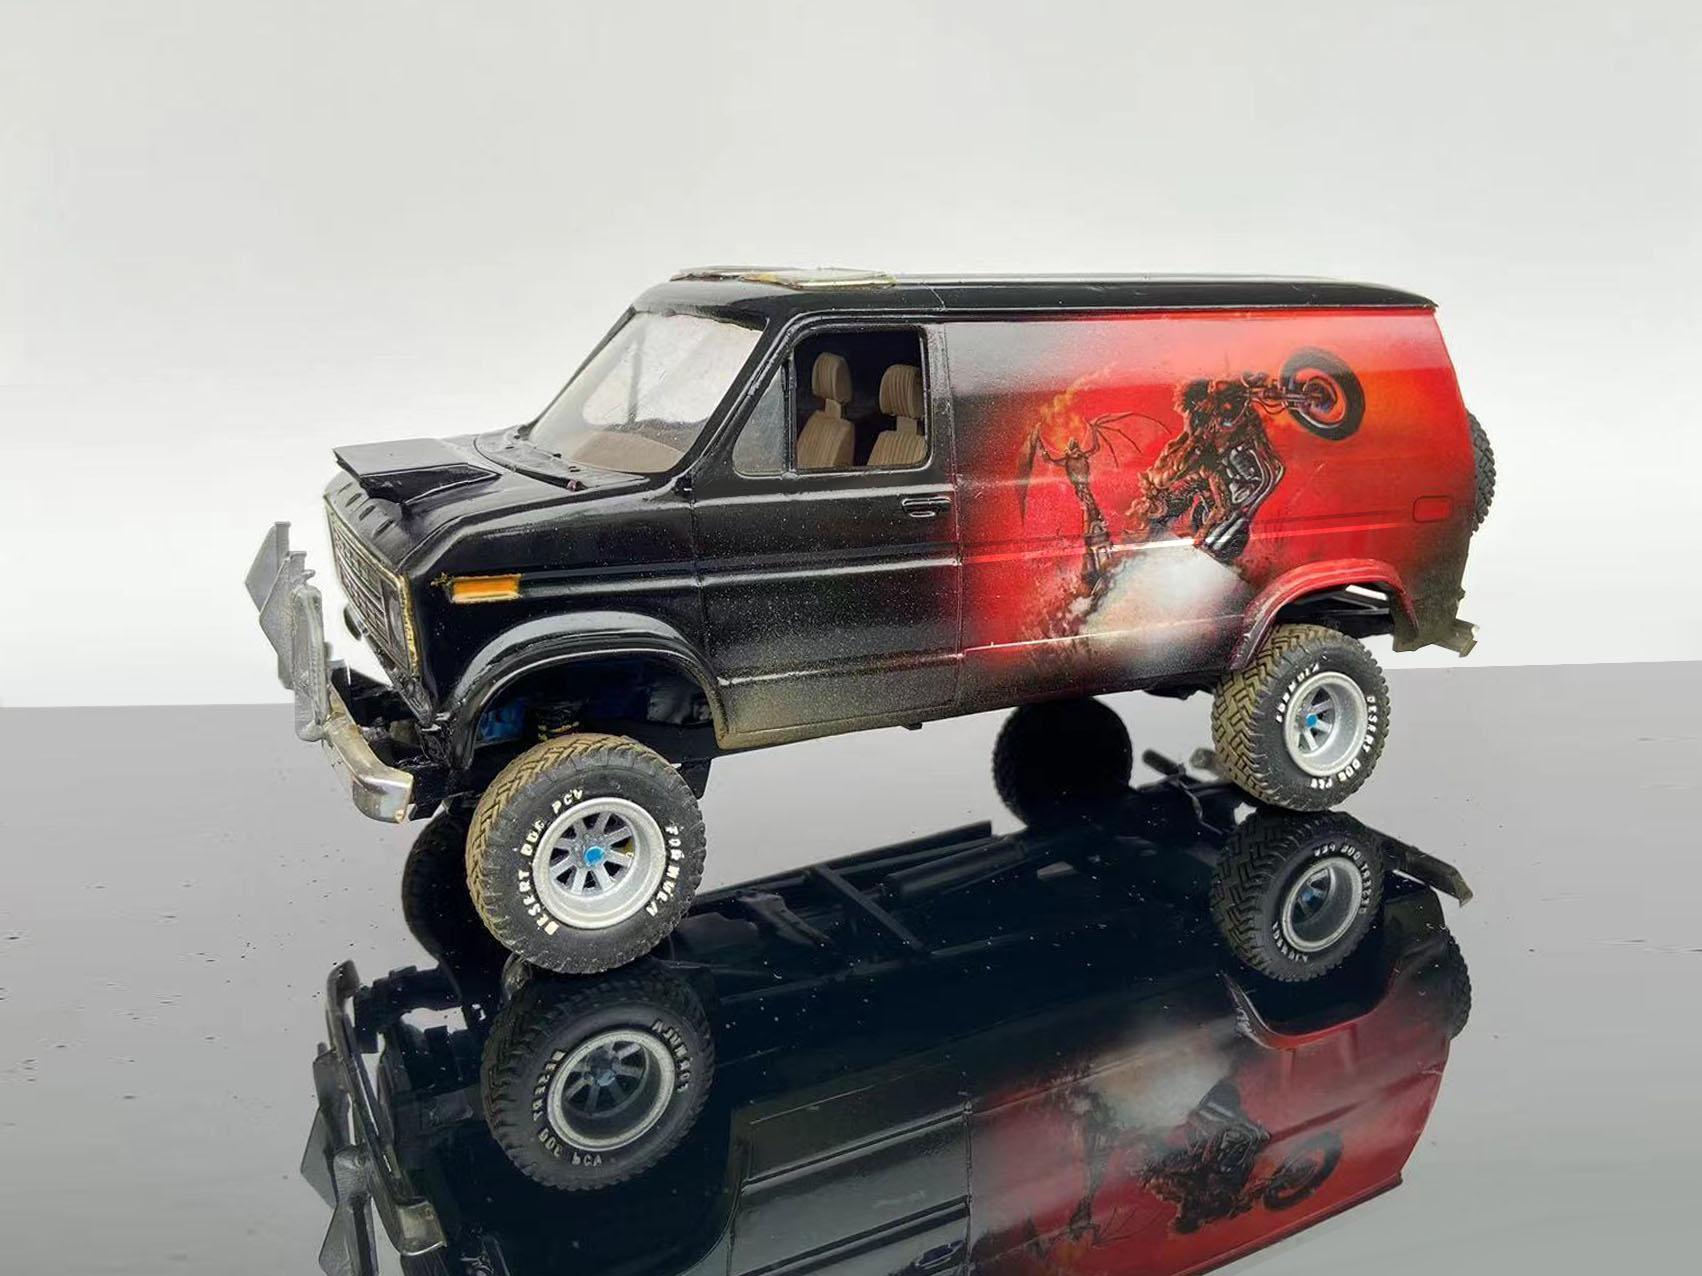
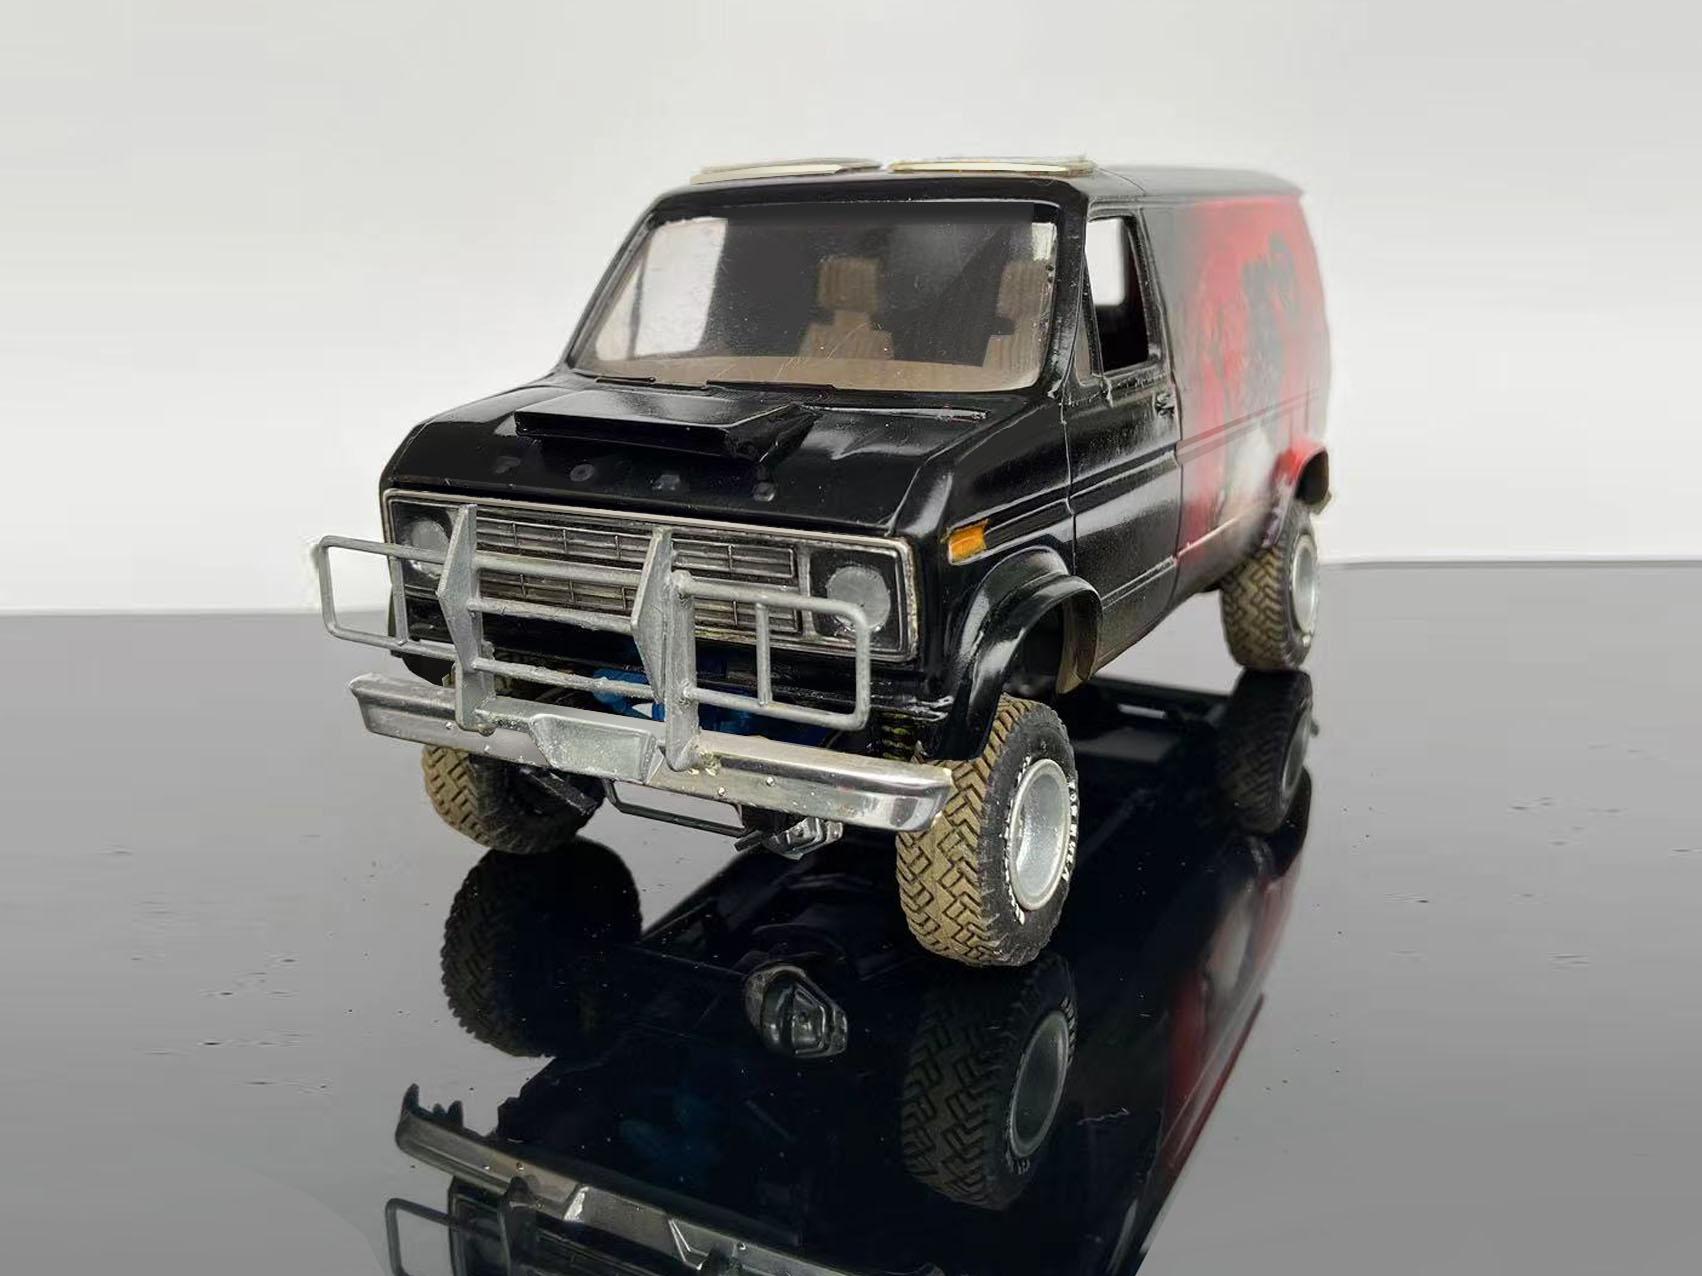
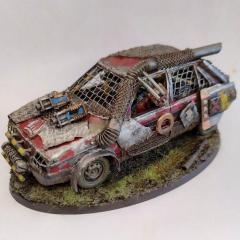
I'm a big fan of '70's custom vans. Last year I bought a box of scraps and inside was this Ford 4X4 glue bomb. It was a great opportunity to build one. I still need to make a pair of rear view mirrors, a whip antenna and I want to put a skid plate under the front bumper. It was a simple kit so I just disassembled it, cleaned it up repainted and reassembled it. The mural is printed on vinyl and oversprayed with an airbrush to blend it in, the sides are relatively flat so they blend in well and on radiuses pieces I used paint. The engine and interior are there but really nothing exciting. I weathered the exterior a bit because I imagine hell as being a bit dirty.
- 23 replies
-
- 15
-
-
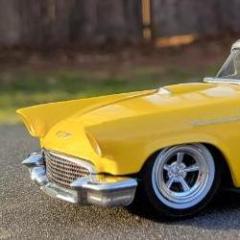
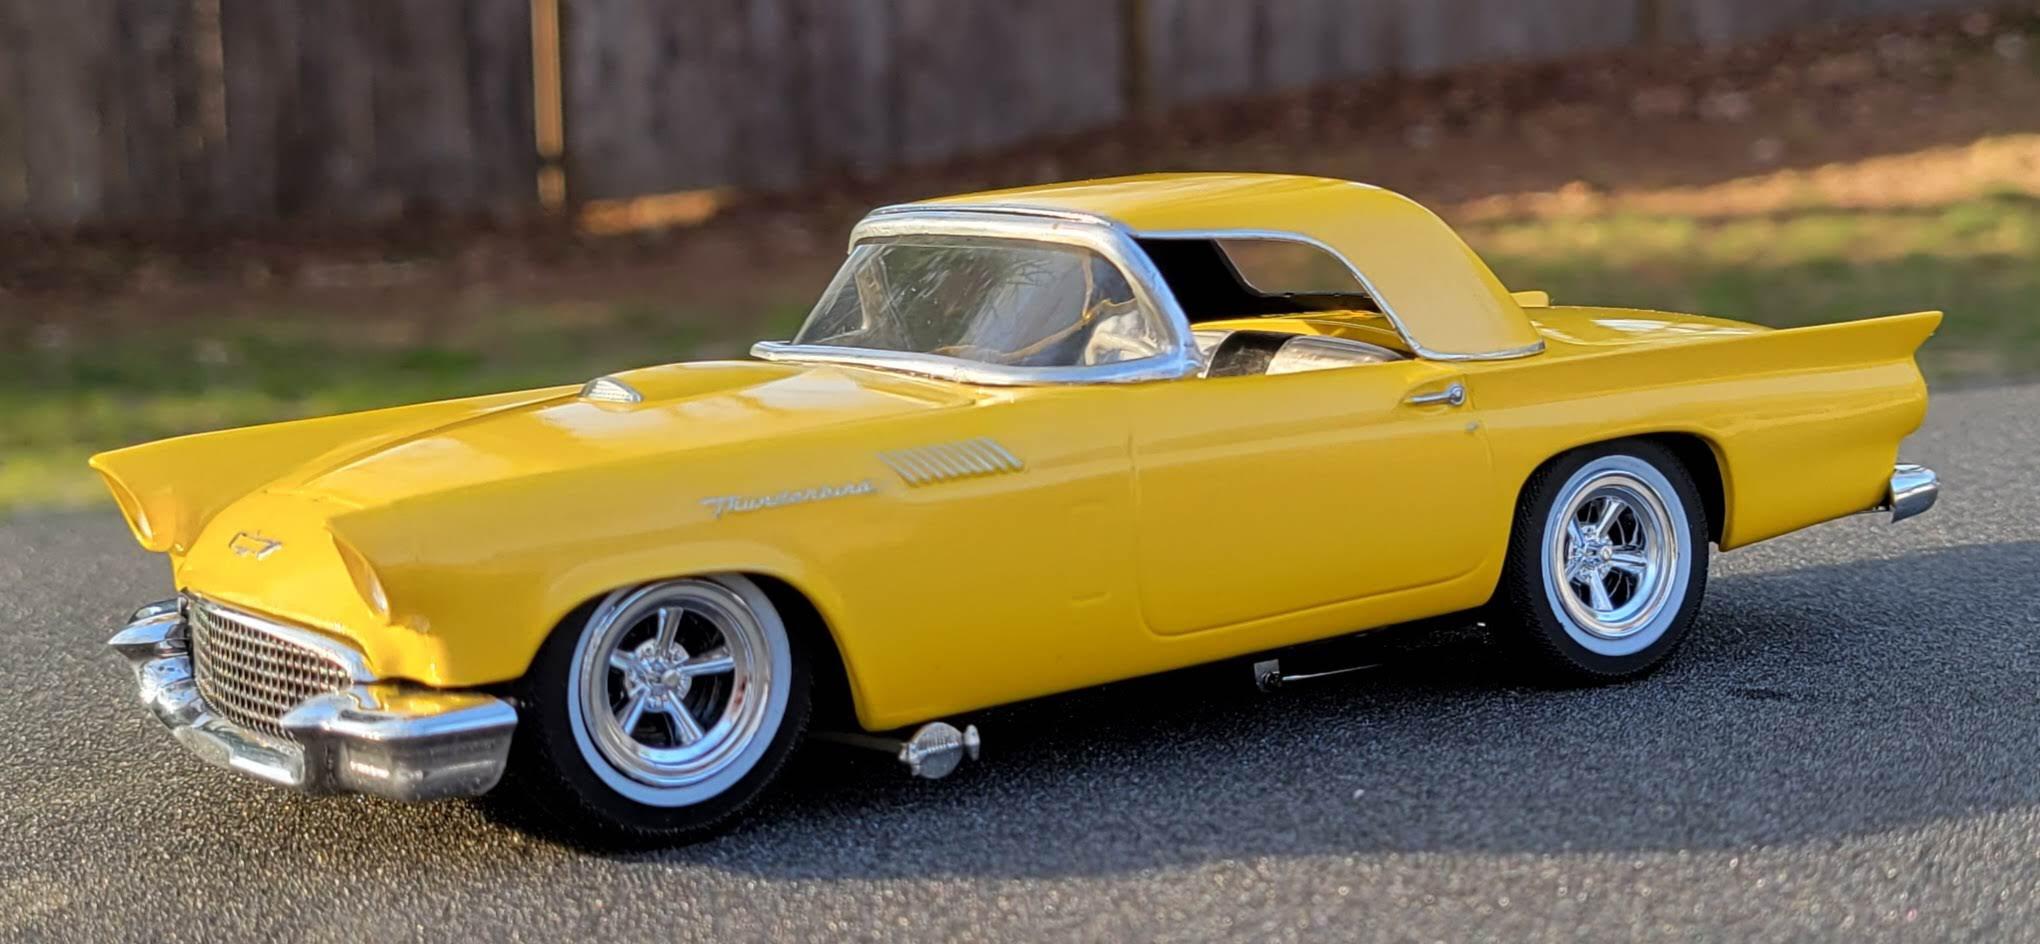
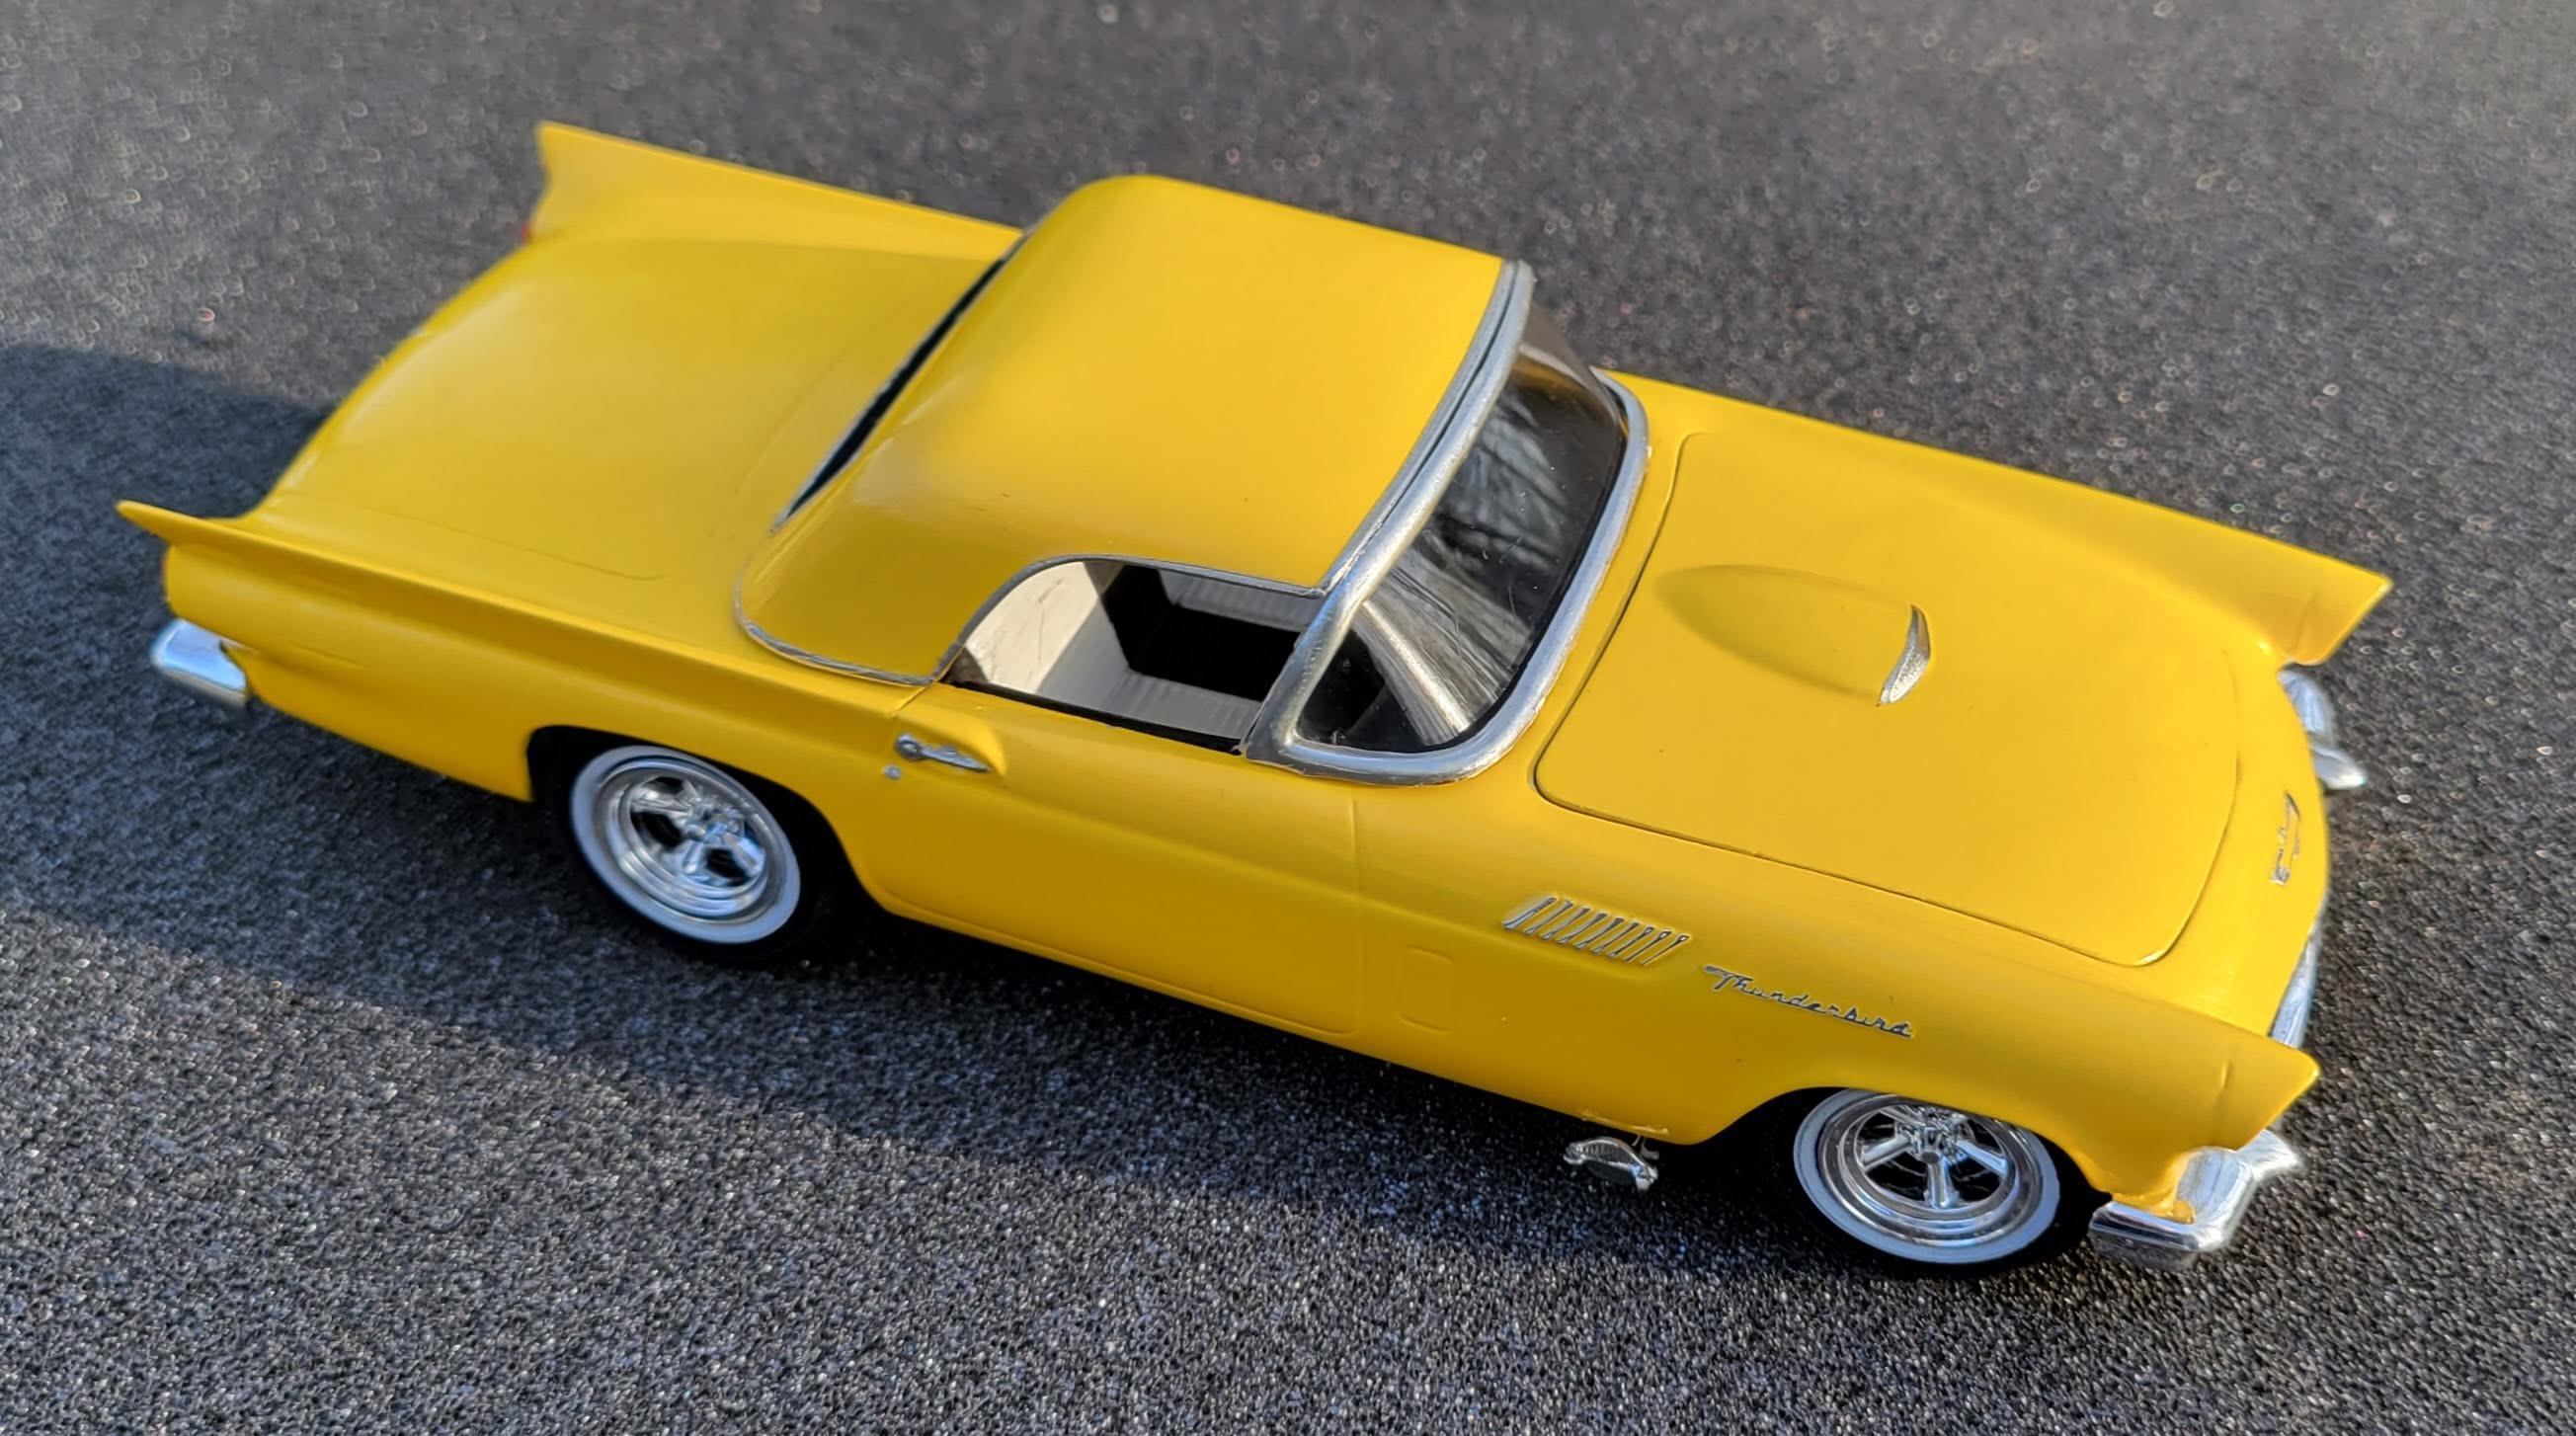
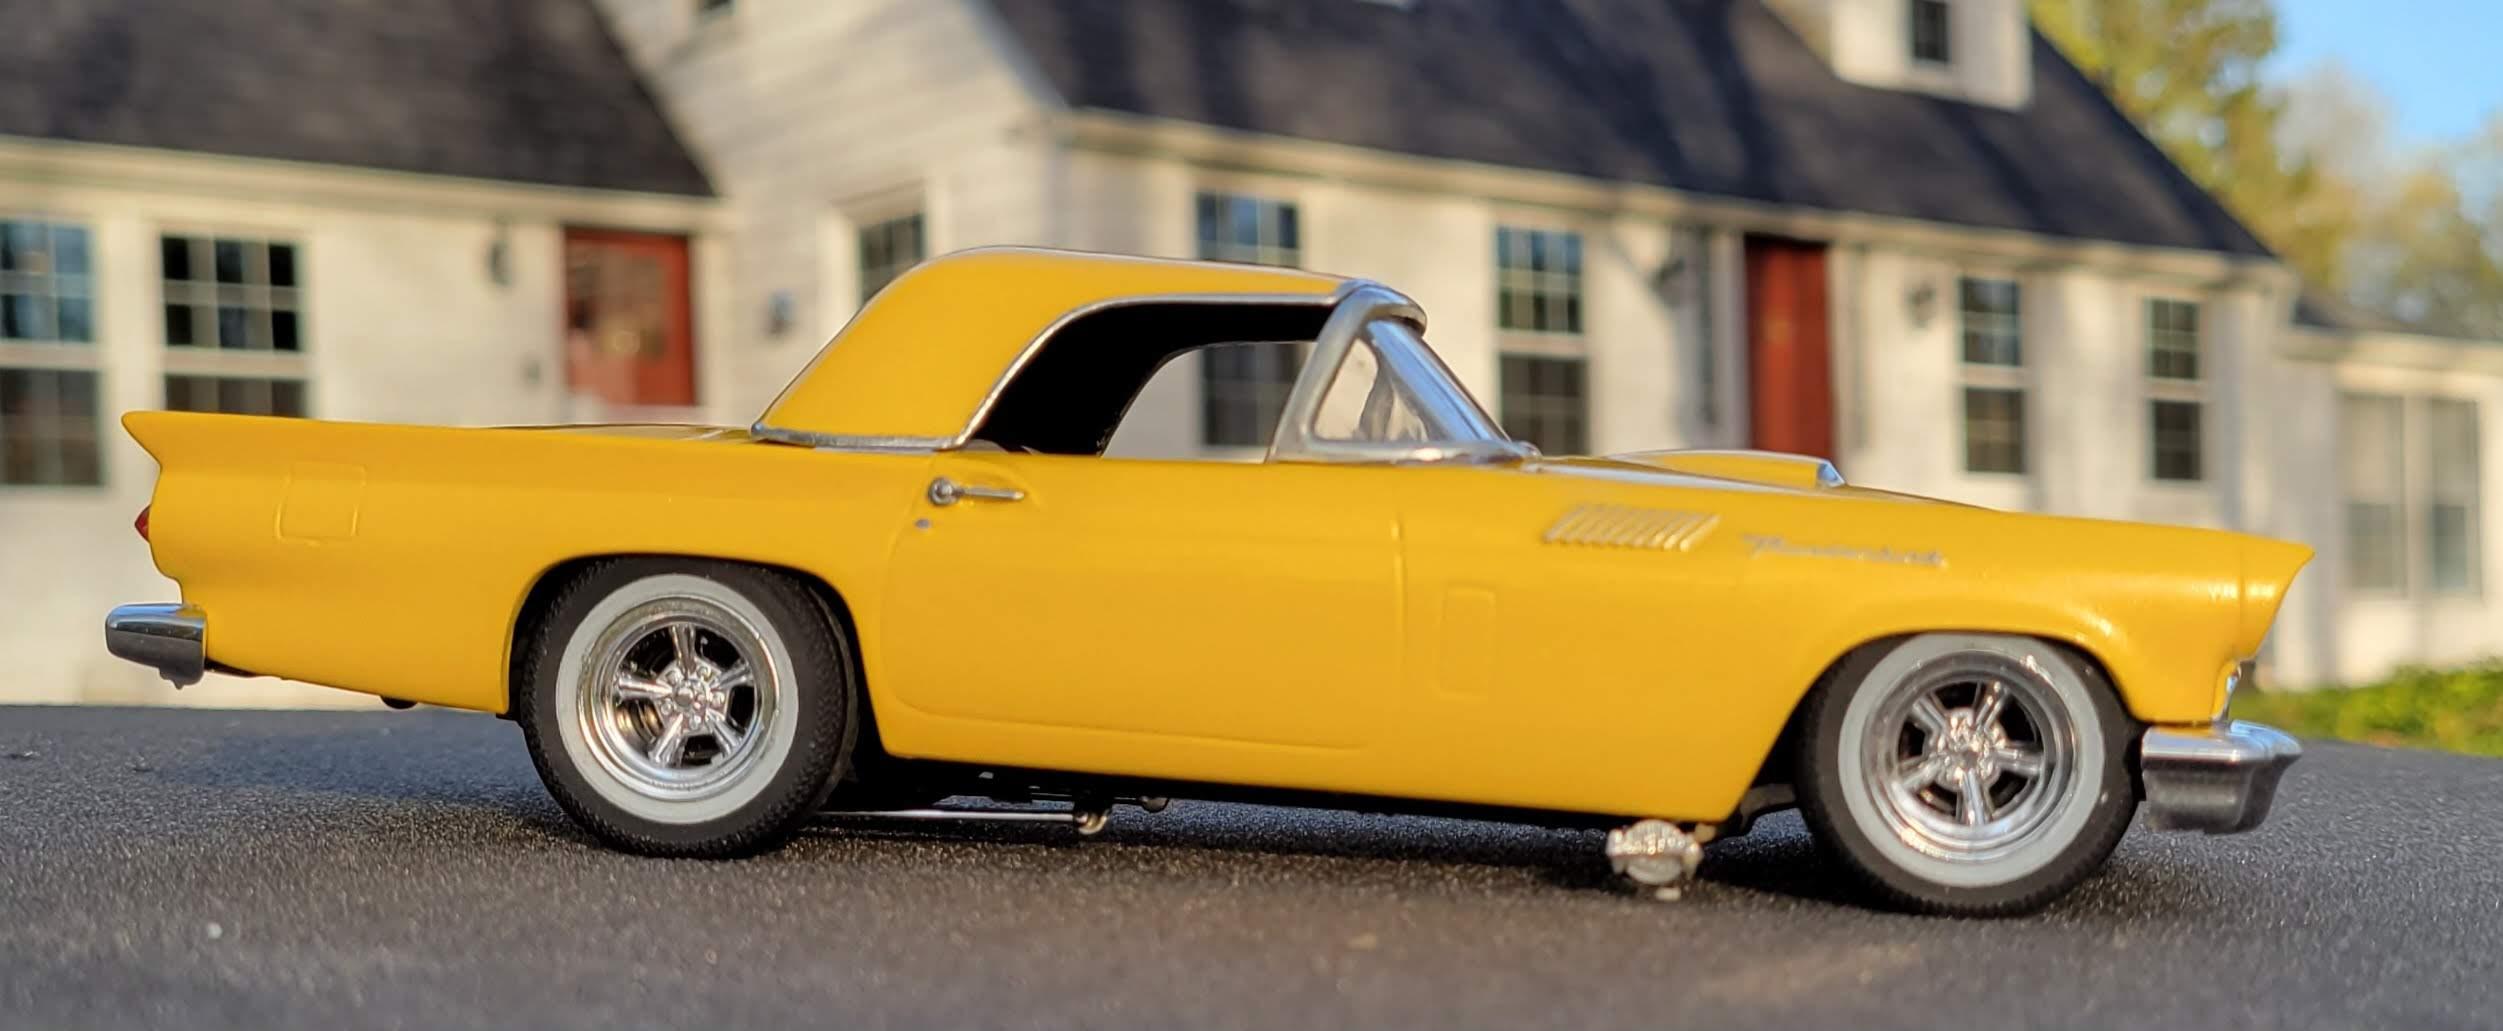
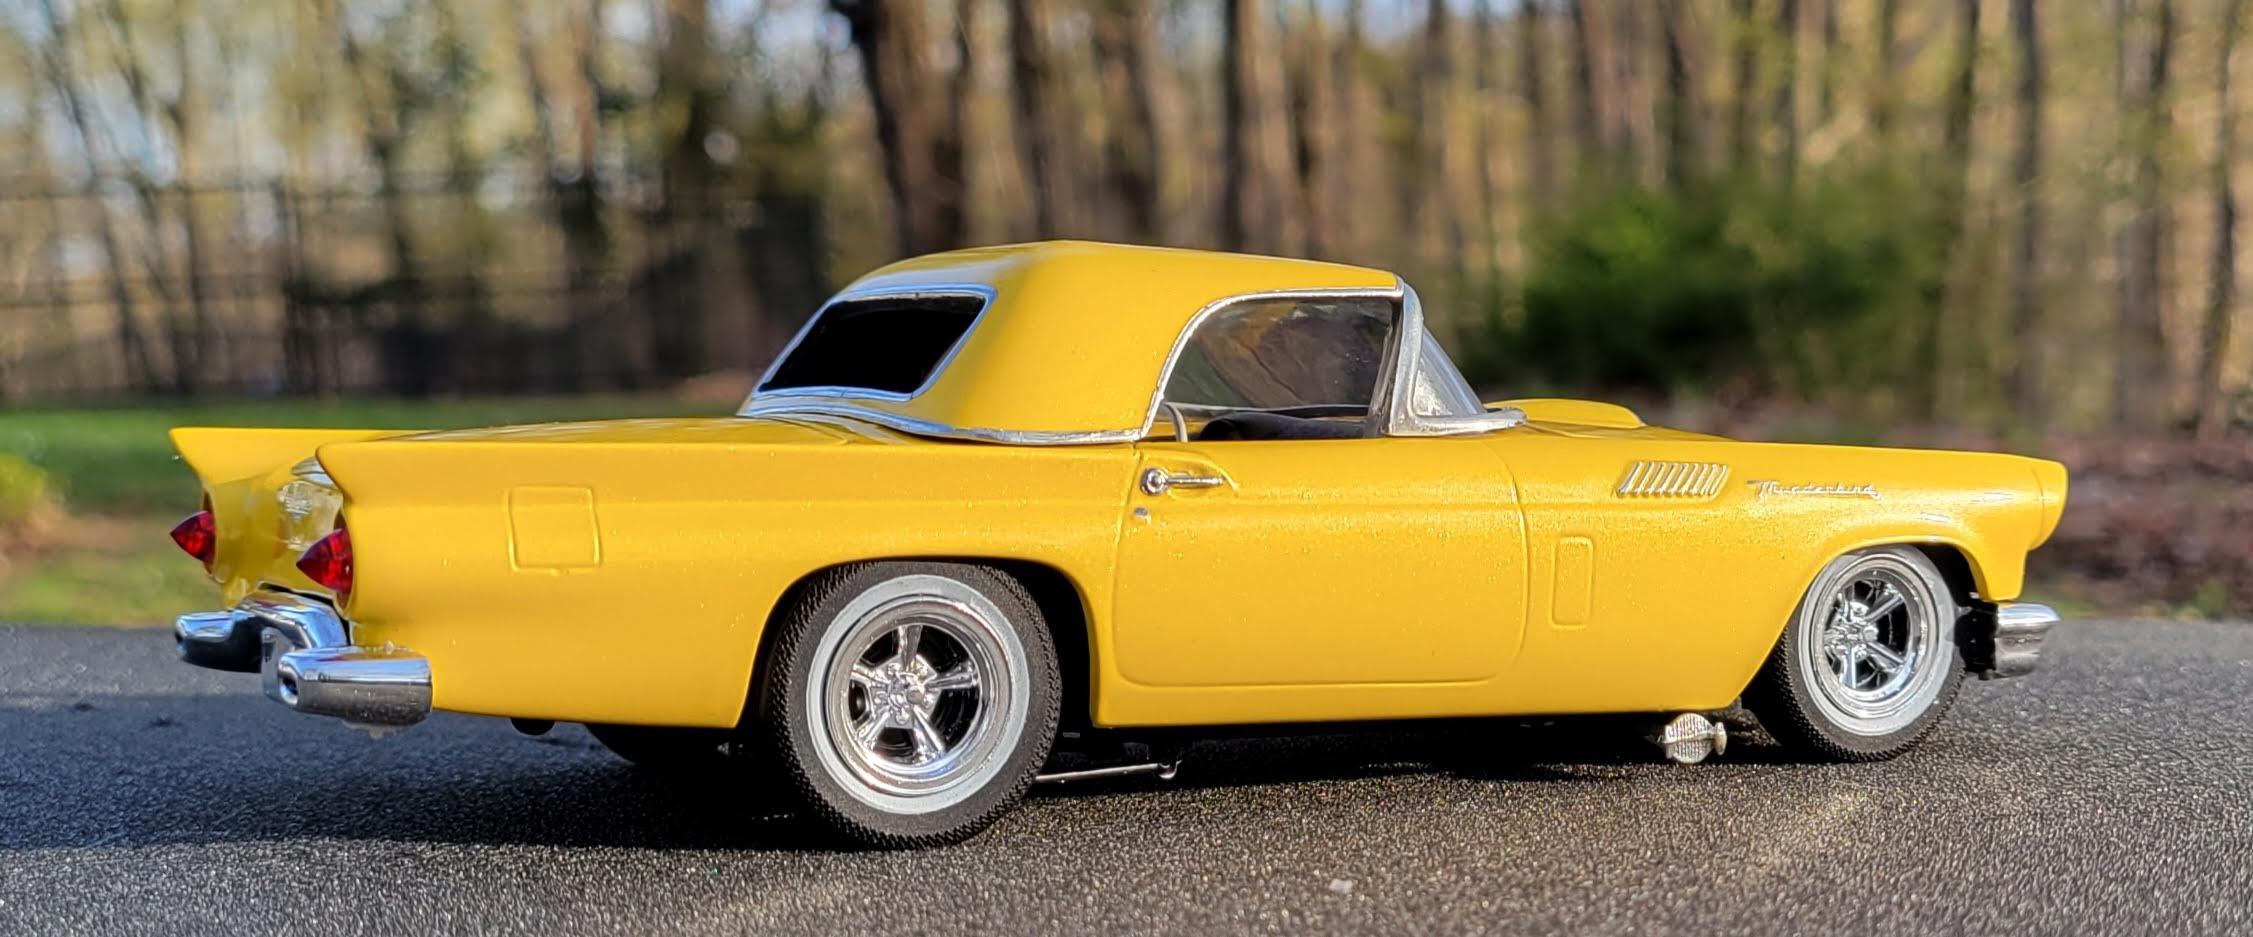
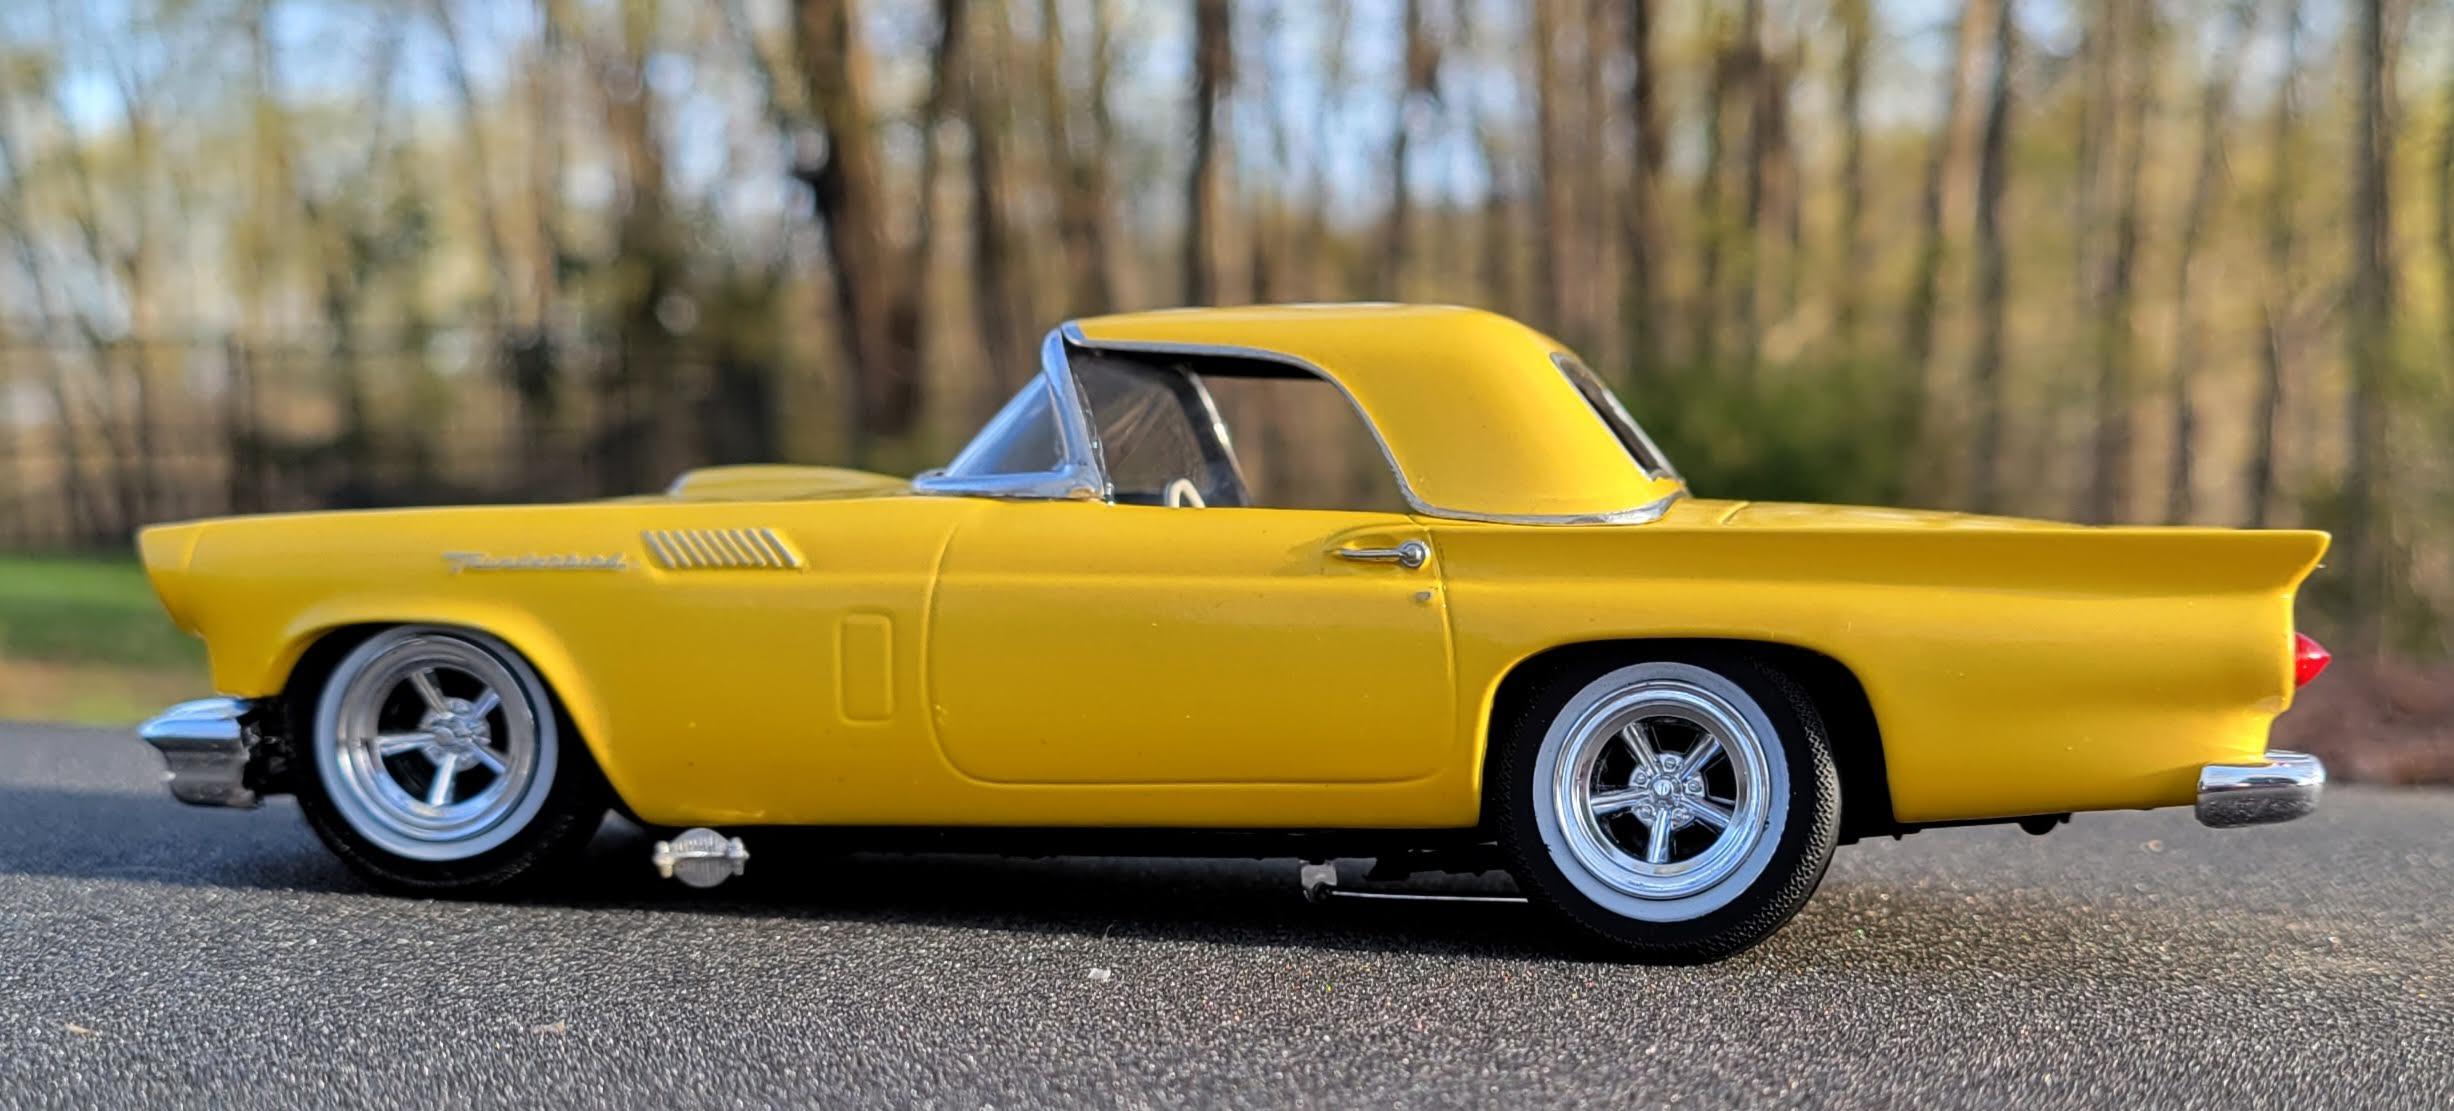
I always loved the body style of the 57 T-Birds and wanted to build an early street machine version of one. I built this using the AMT 57 Thunderbird kit. Paint is Tamiyas Yellow Pearl over Tamiyas white primer then coated with Testors Wet Coat. Mags and tires are parts box finds. New axles were made using weld wire to bring the wheels out to a correct position. The sneaker pipes are from AMT's 49 Ford. Taillights are from AMT's 56 Ford as are the traction bars. Windshield frame and headlight brows are from a vintage issue of the 57. Overall it was a fun build however, the windshield did not want to cooperate no matter what glass or frame I used.
- 19 replies
-
- 9
-
-
- ford
- thunderbird
- (and 2 more)
-
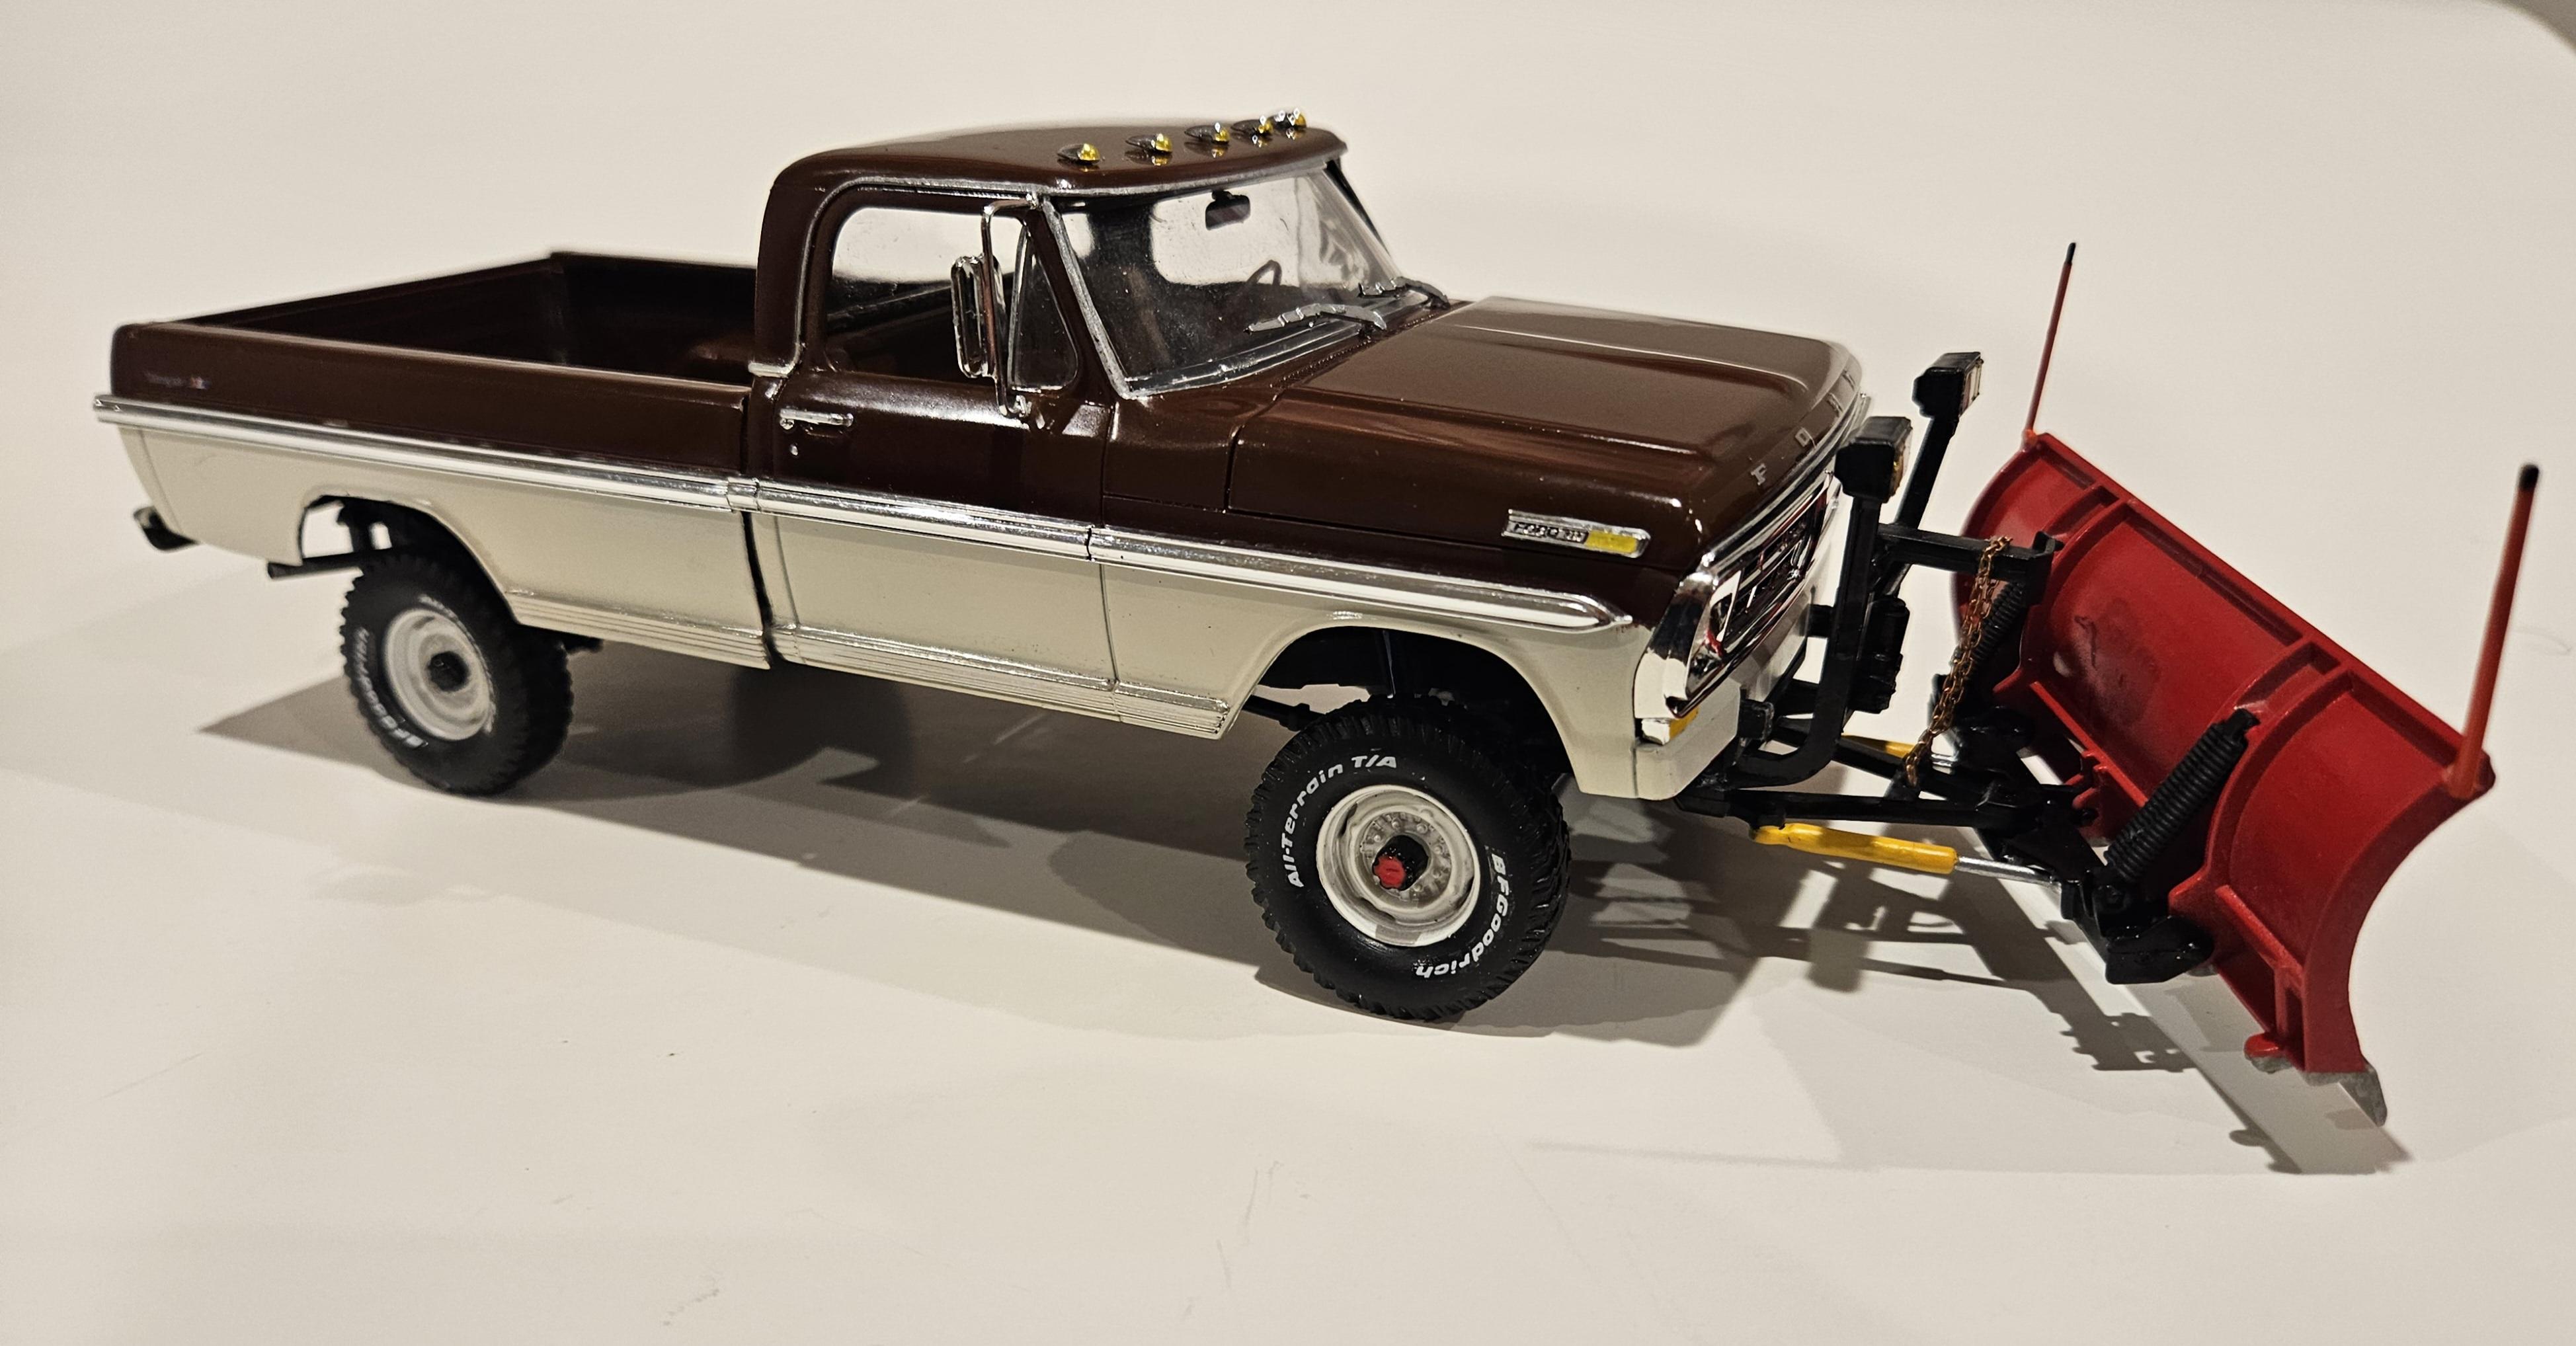
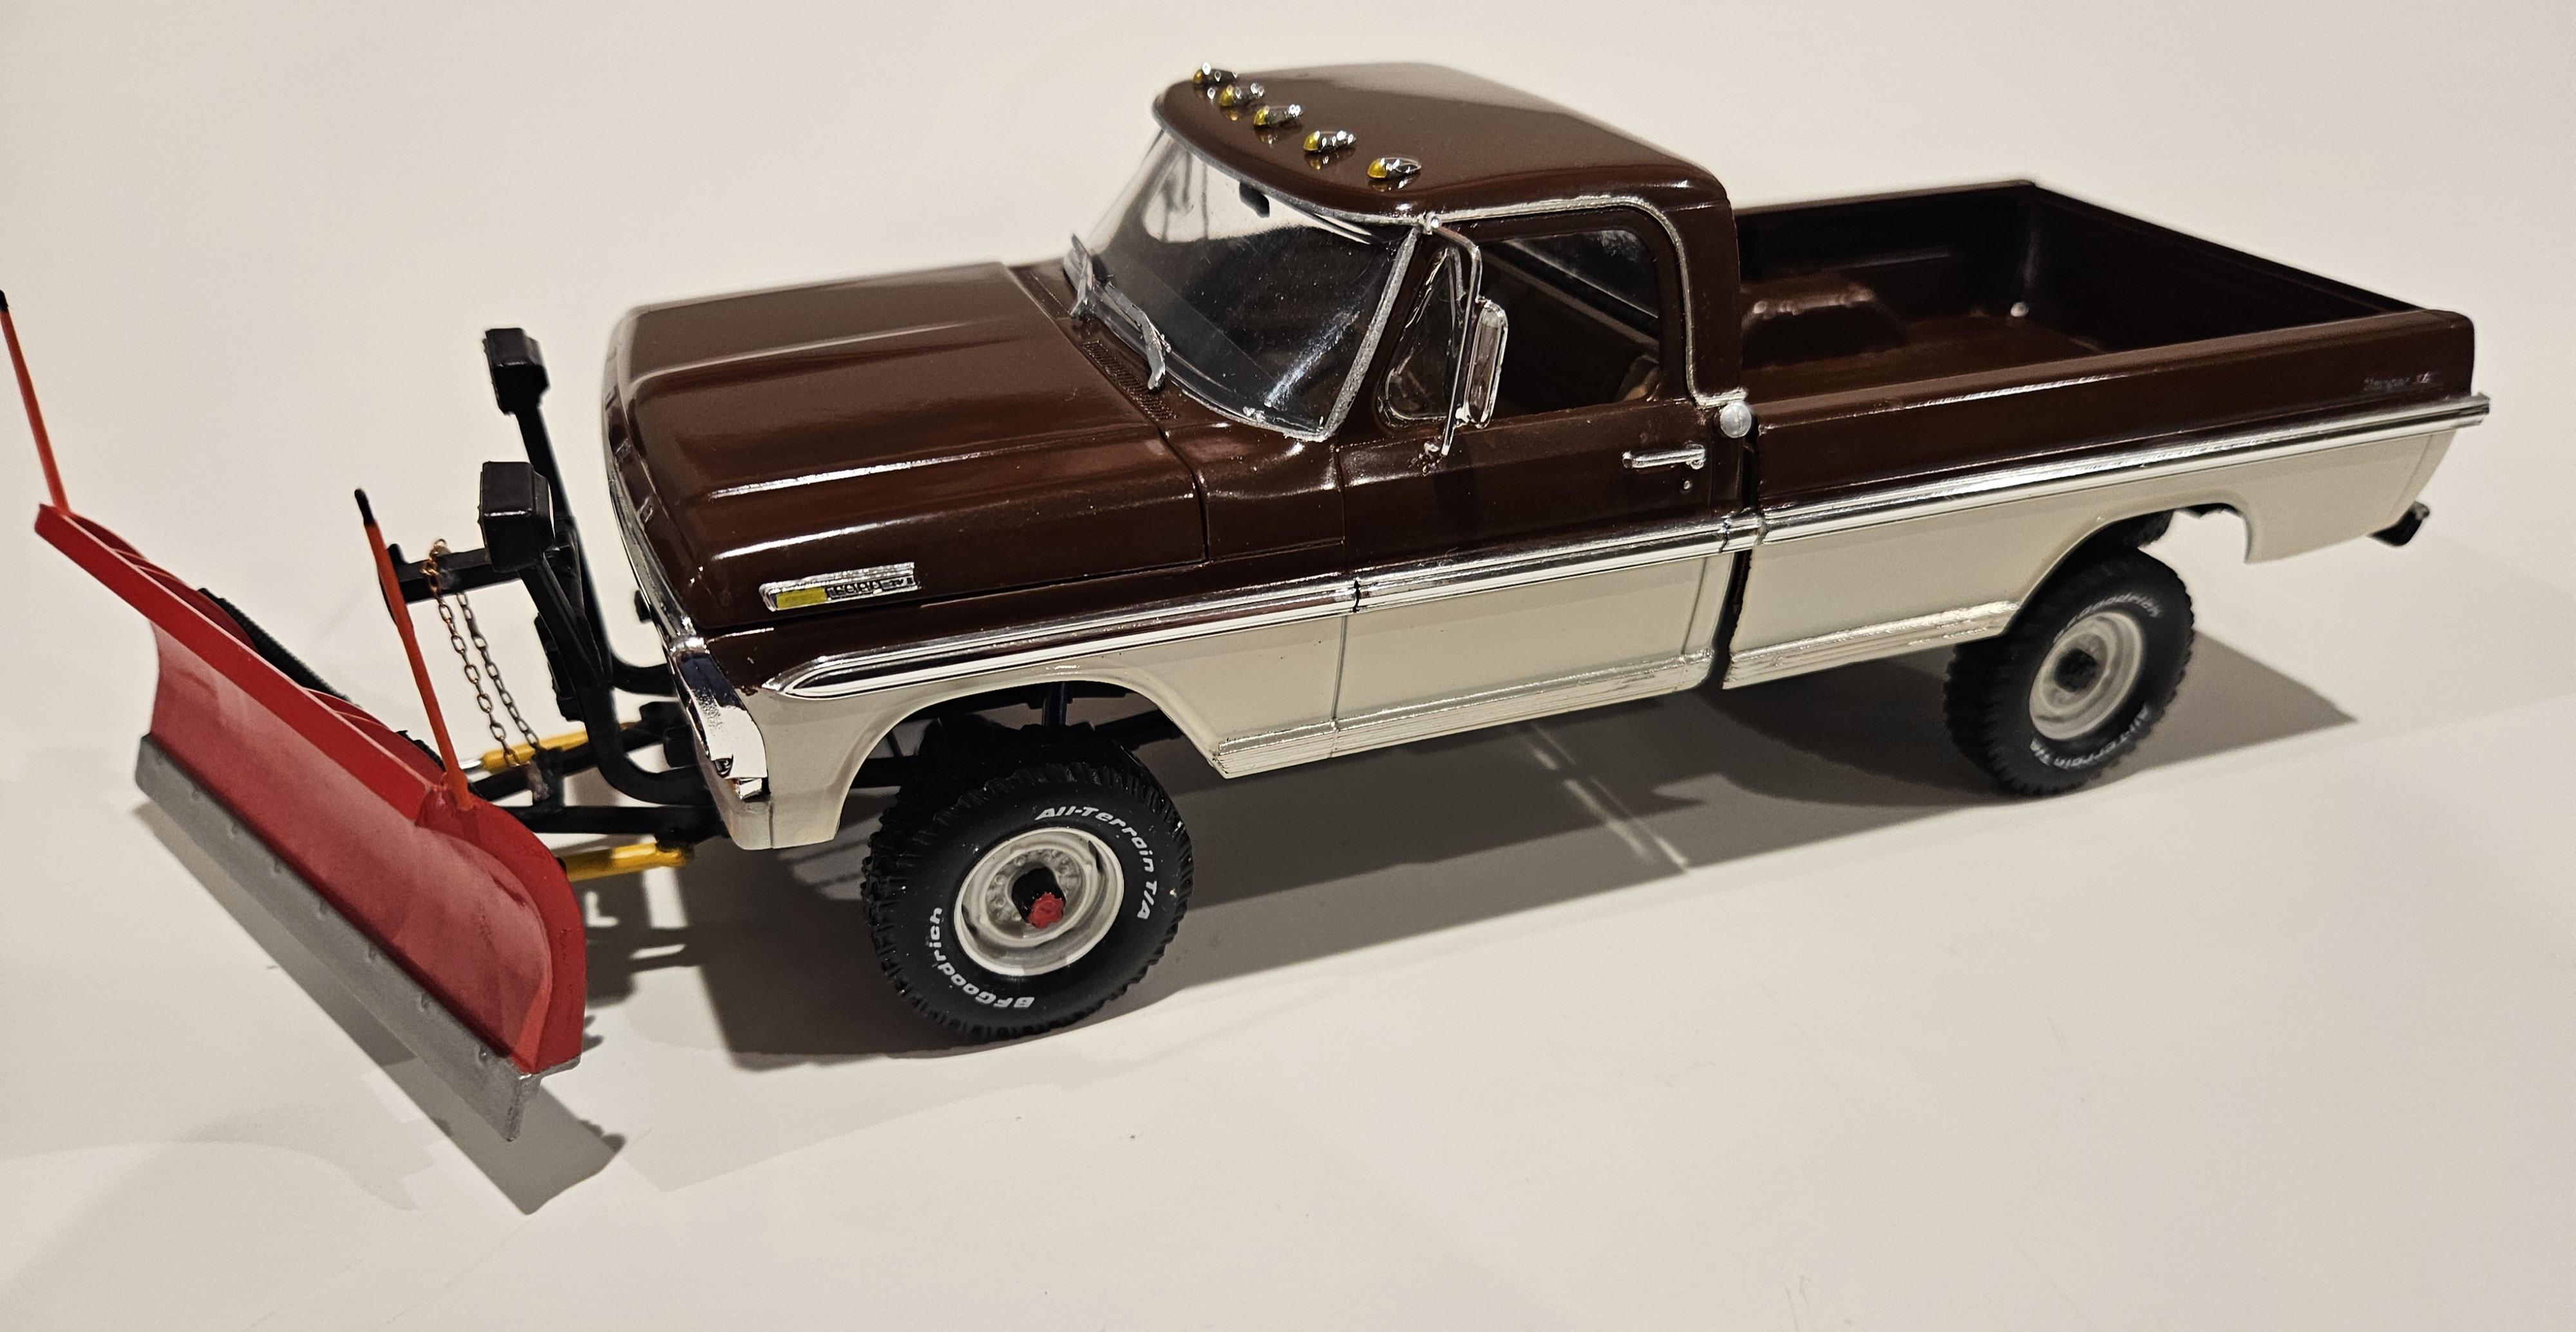
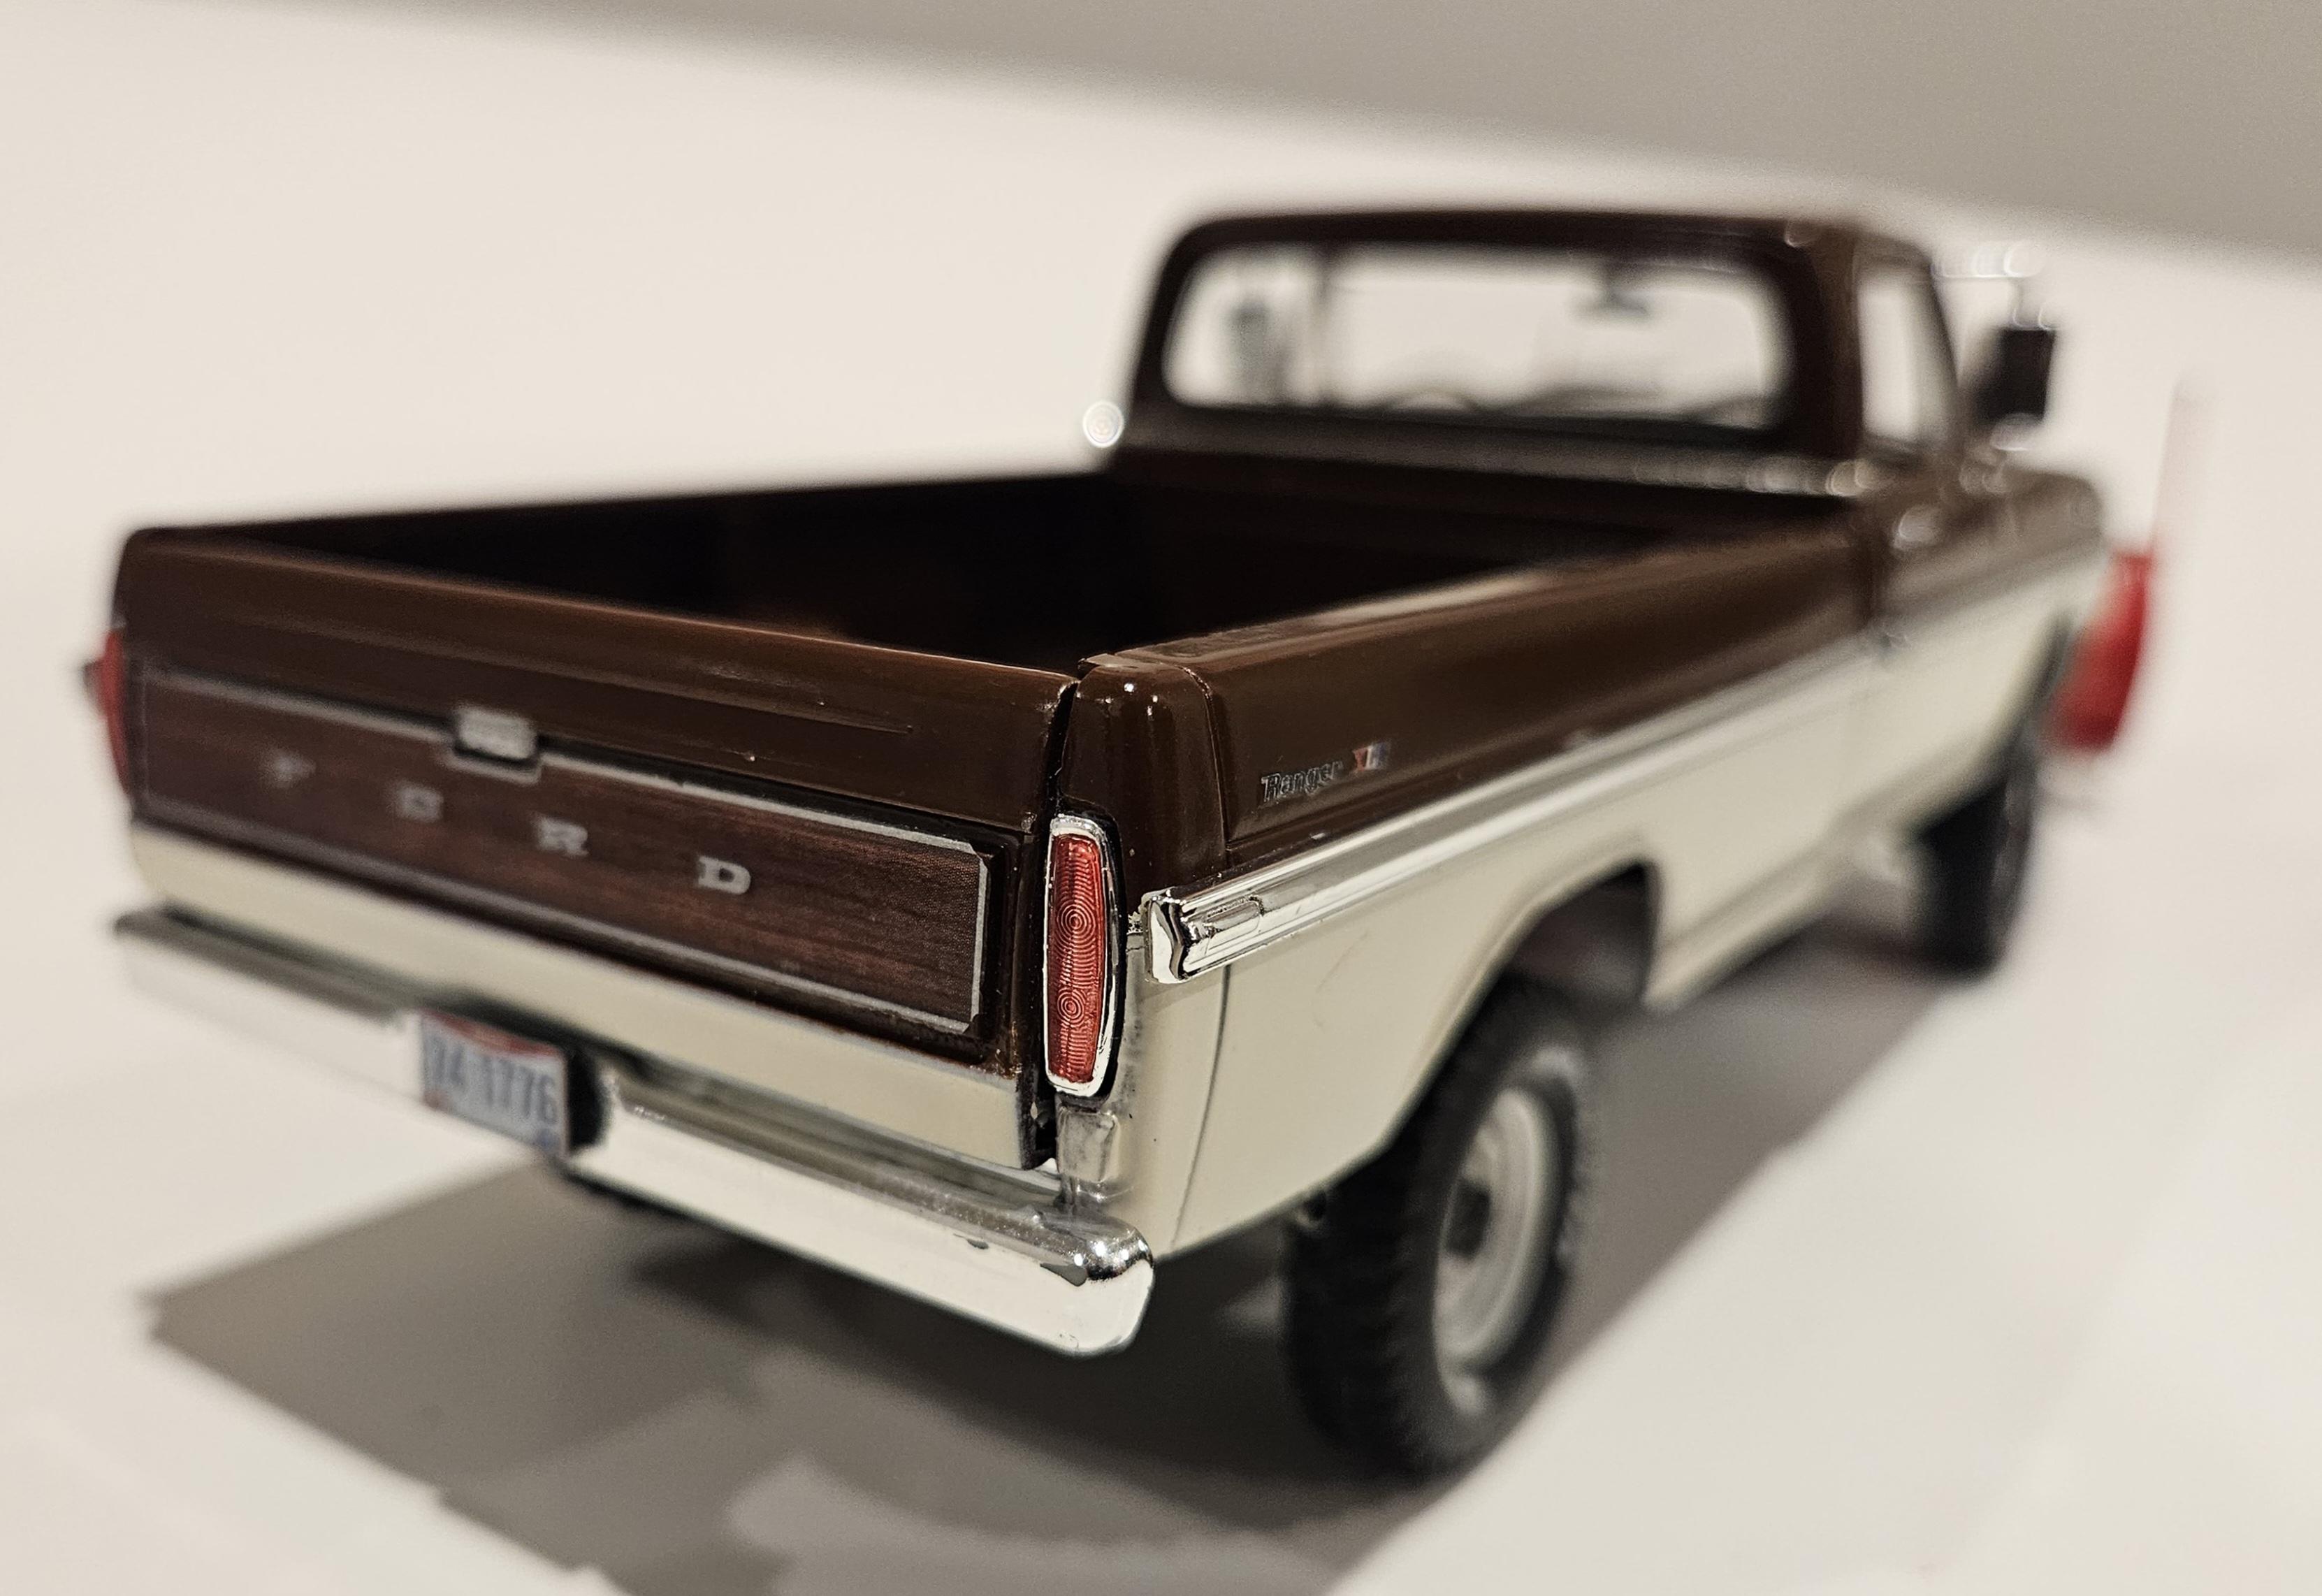
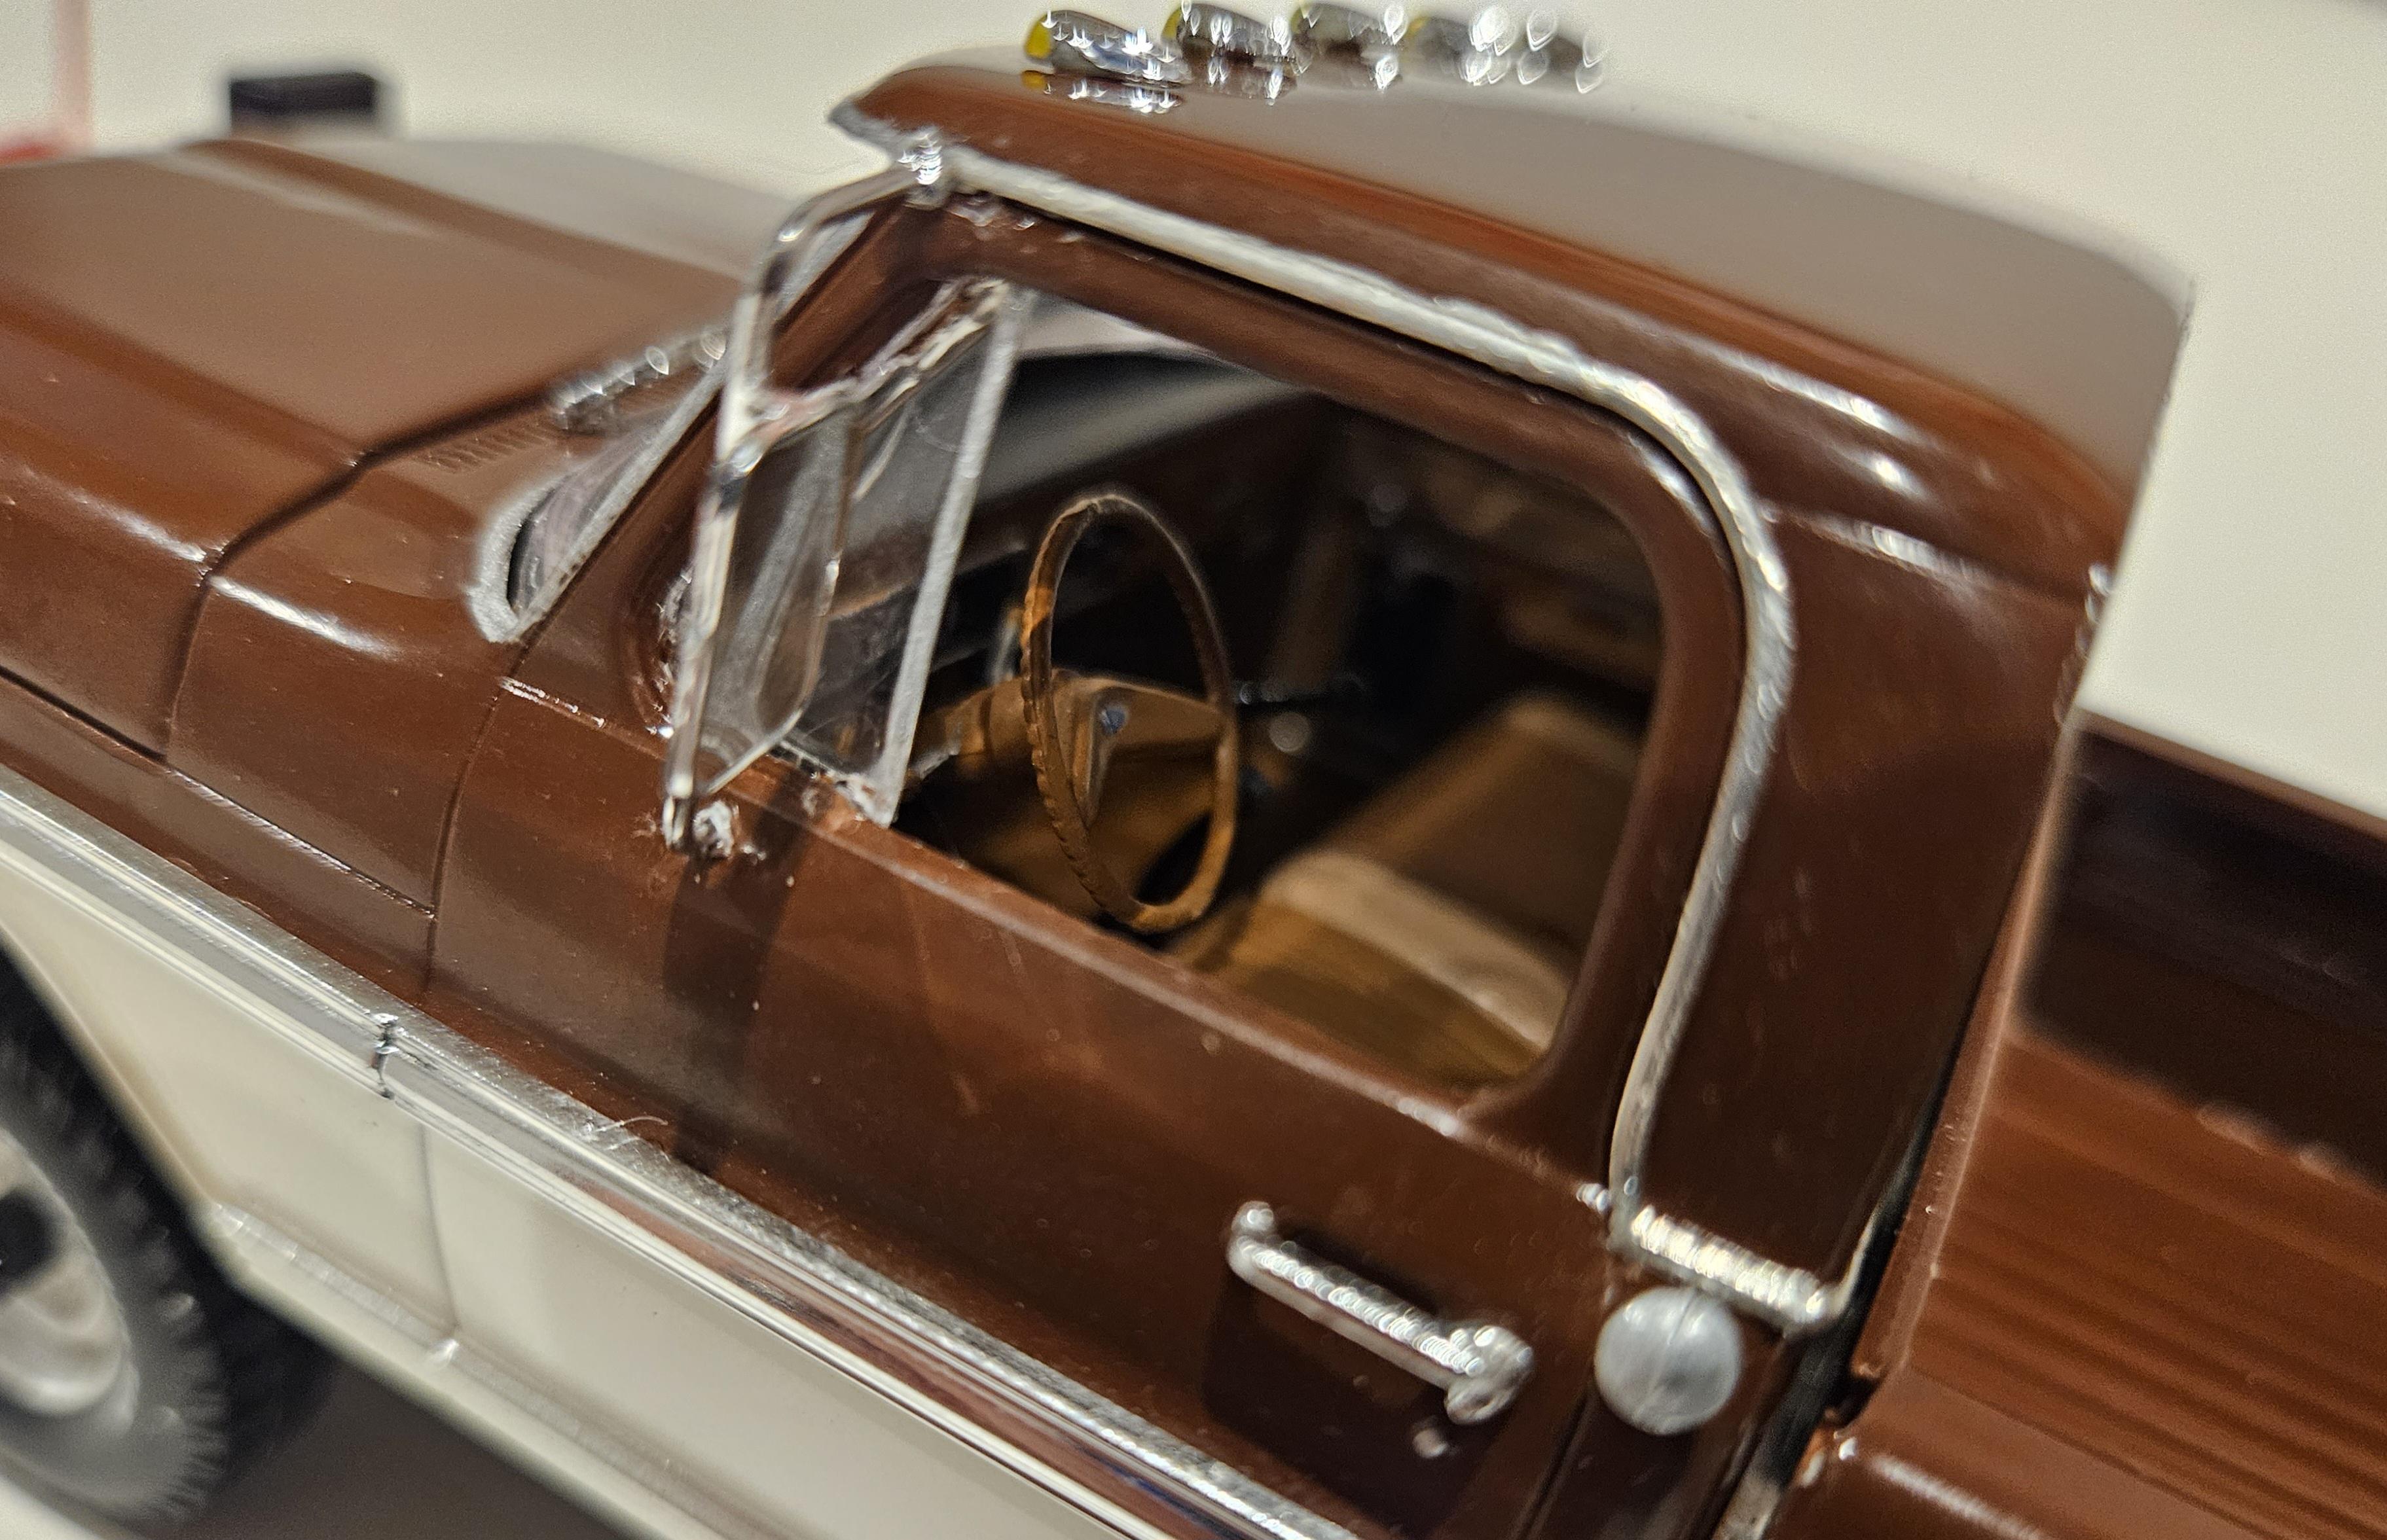
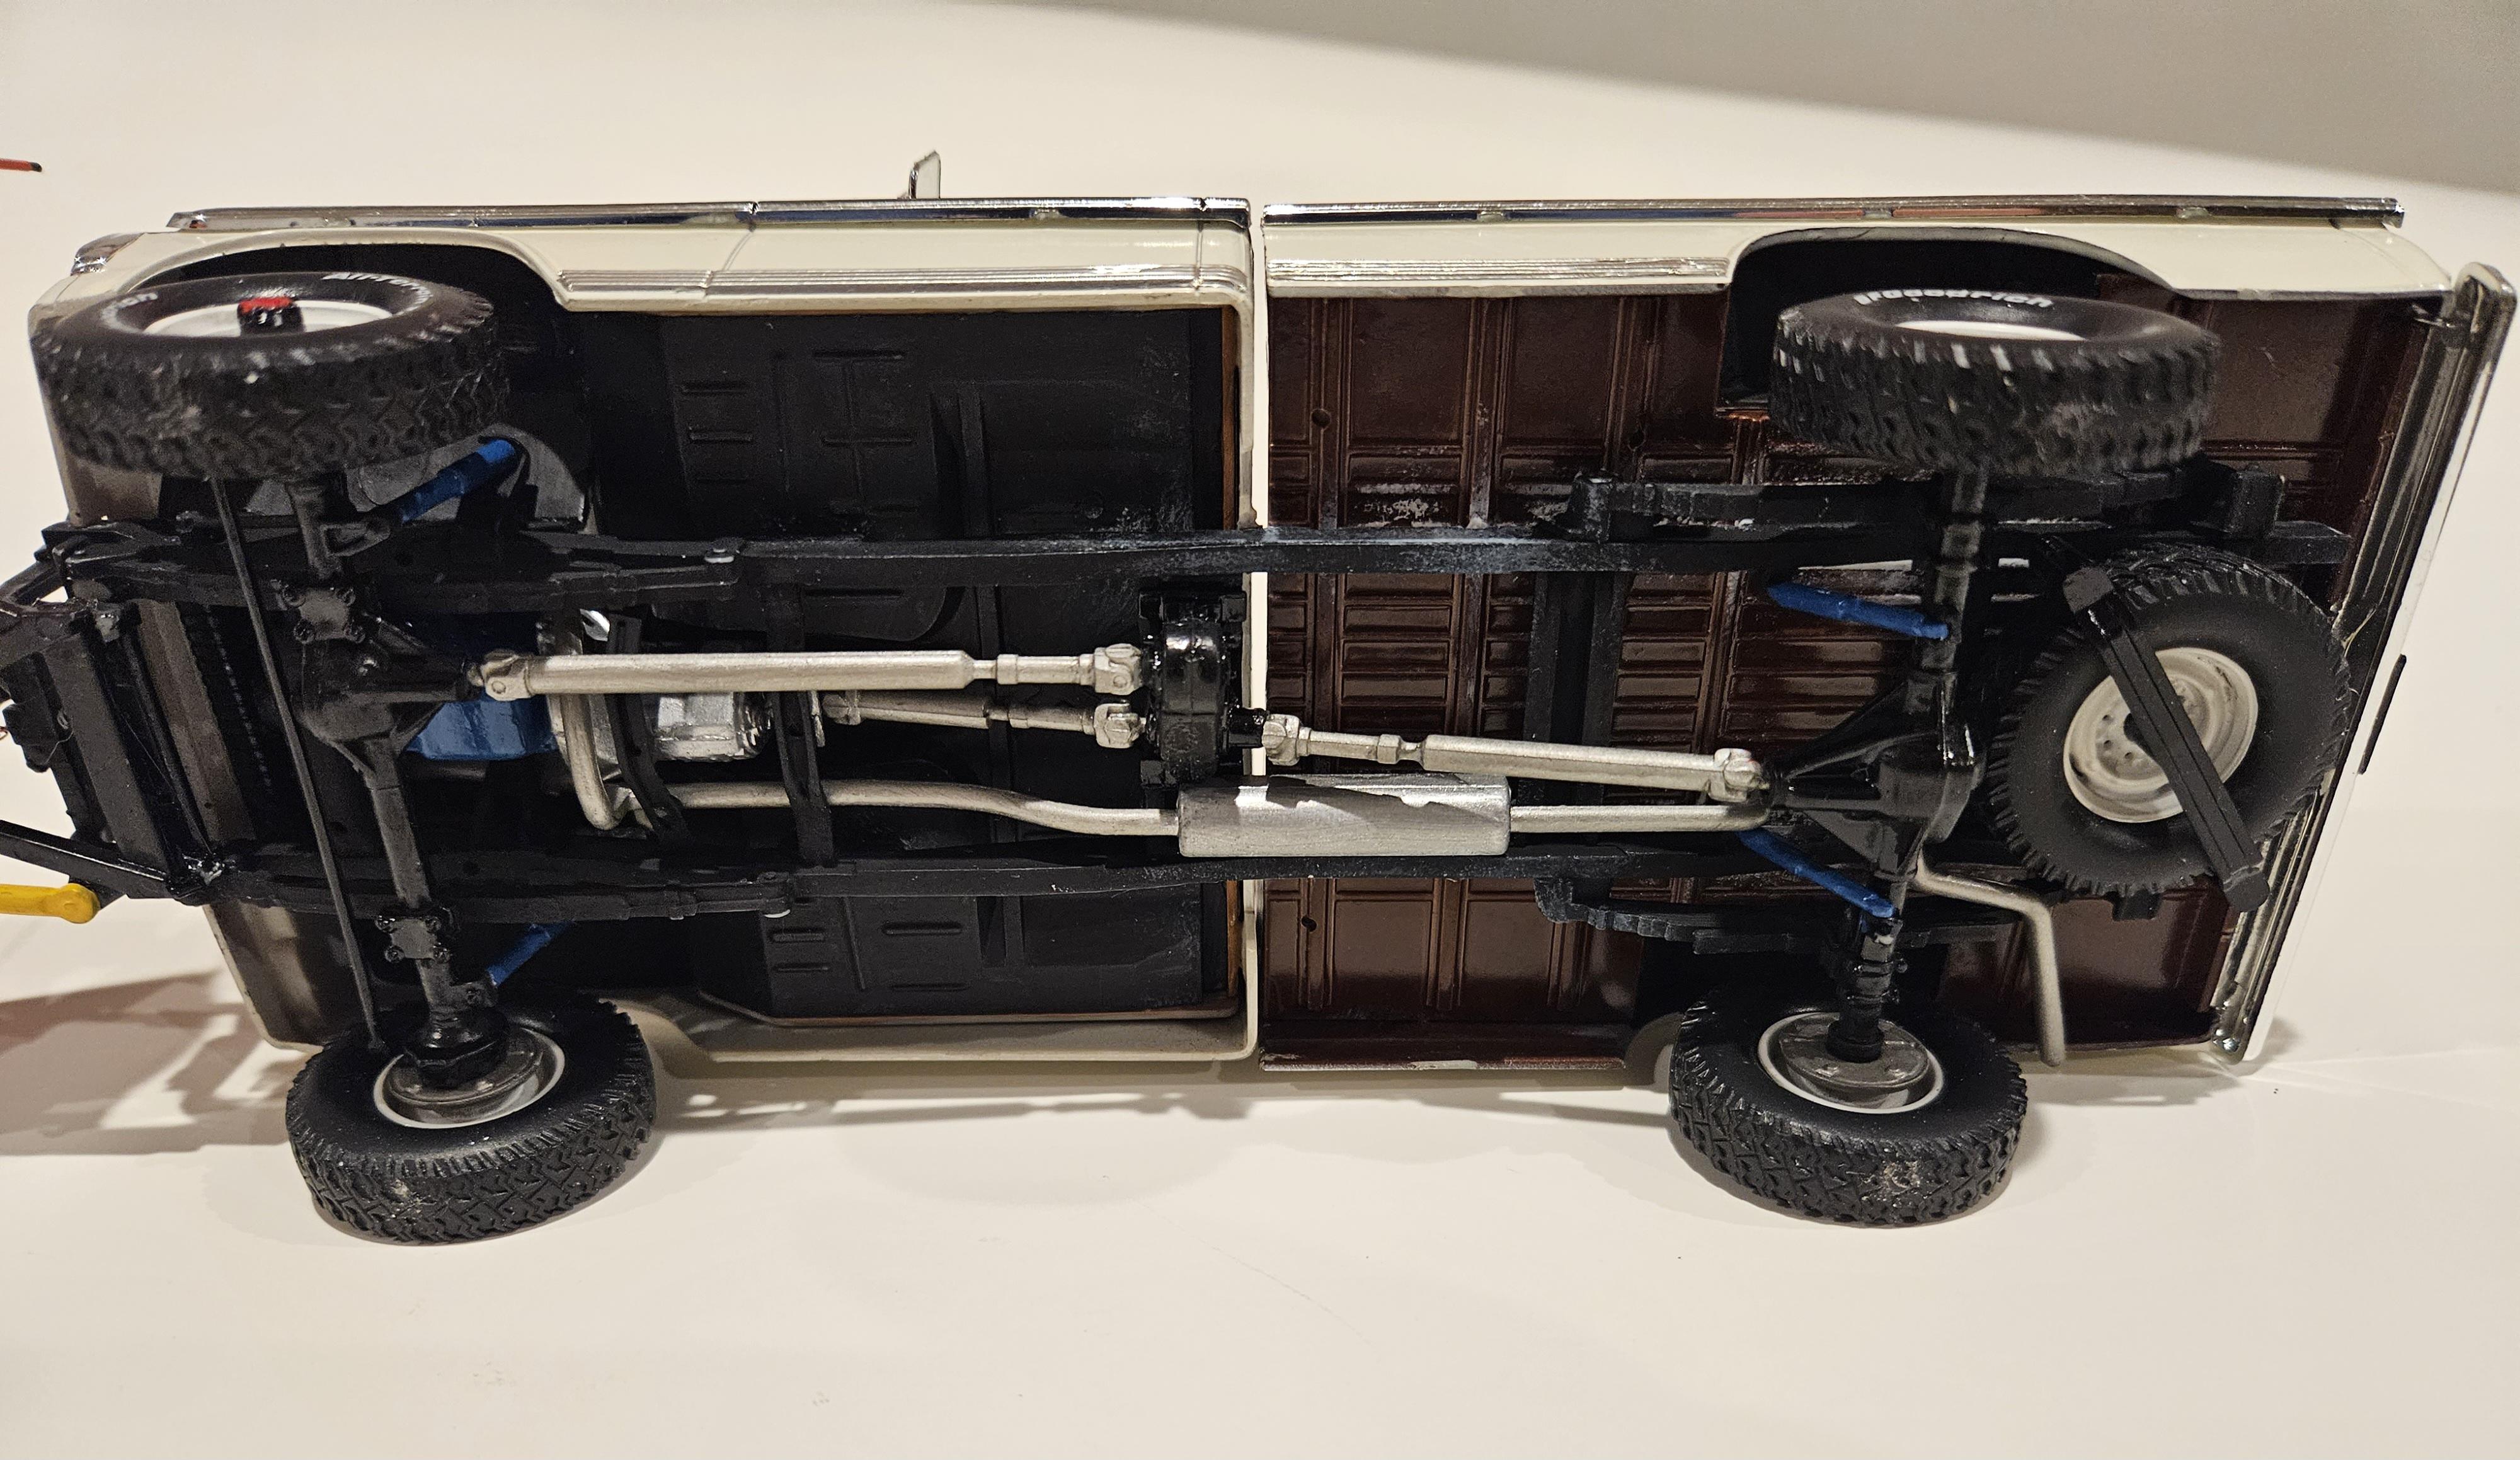
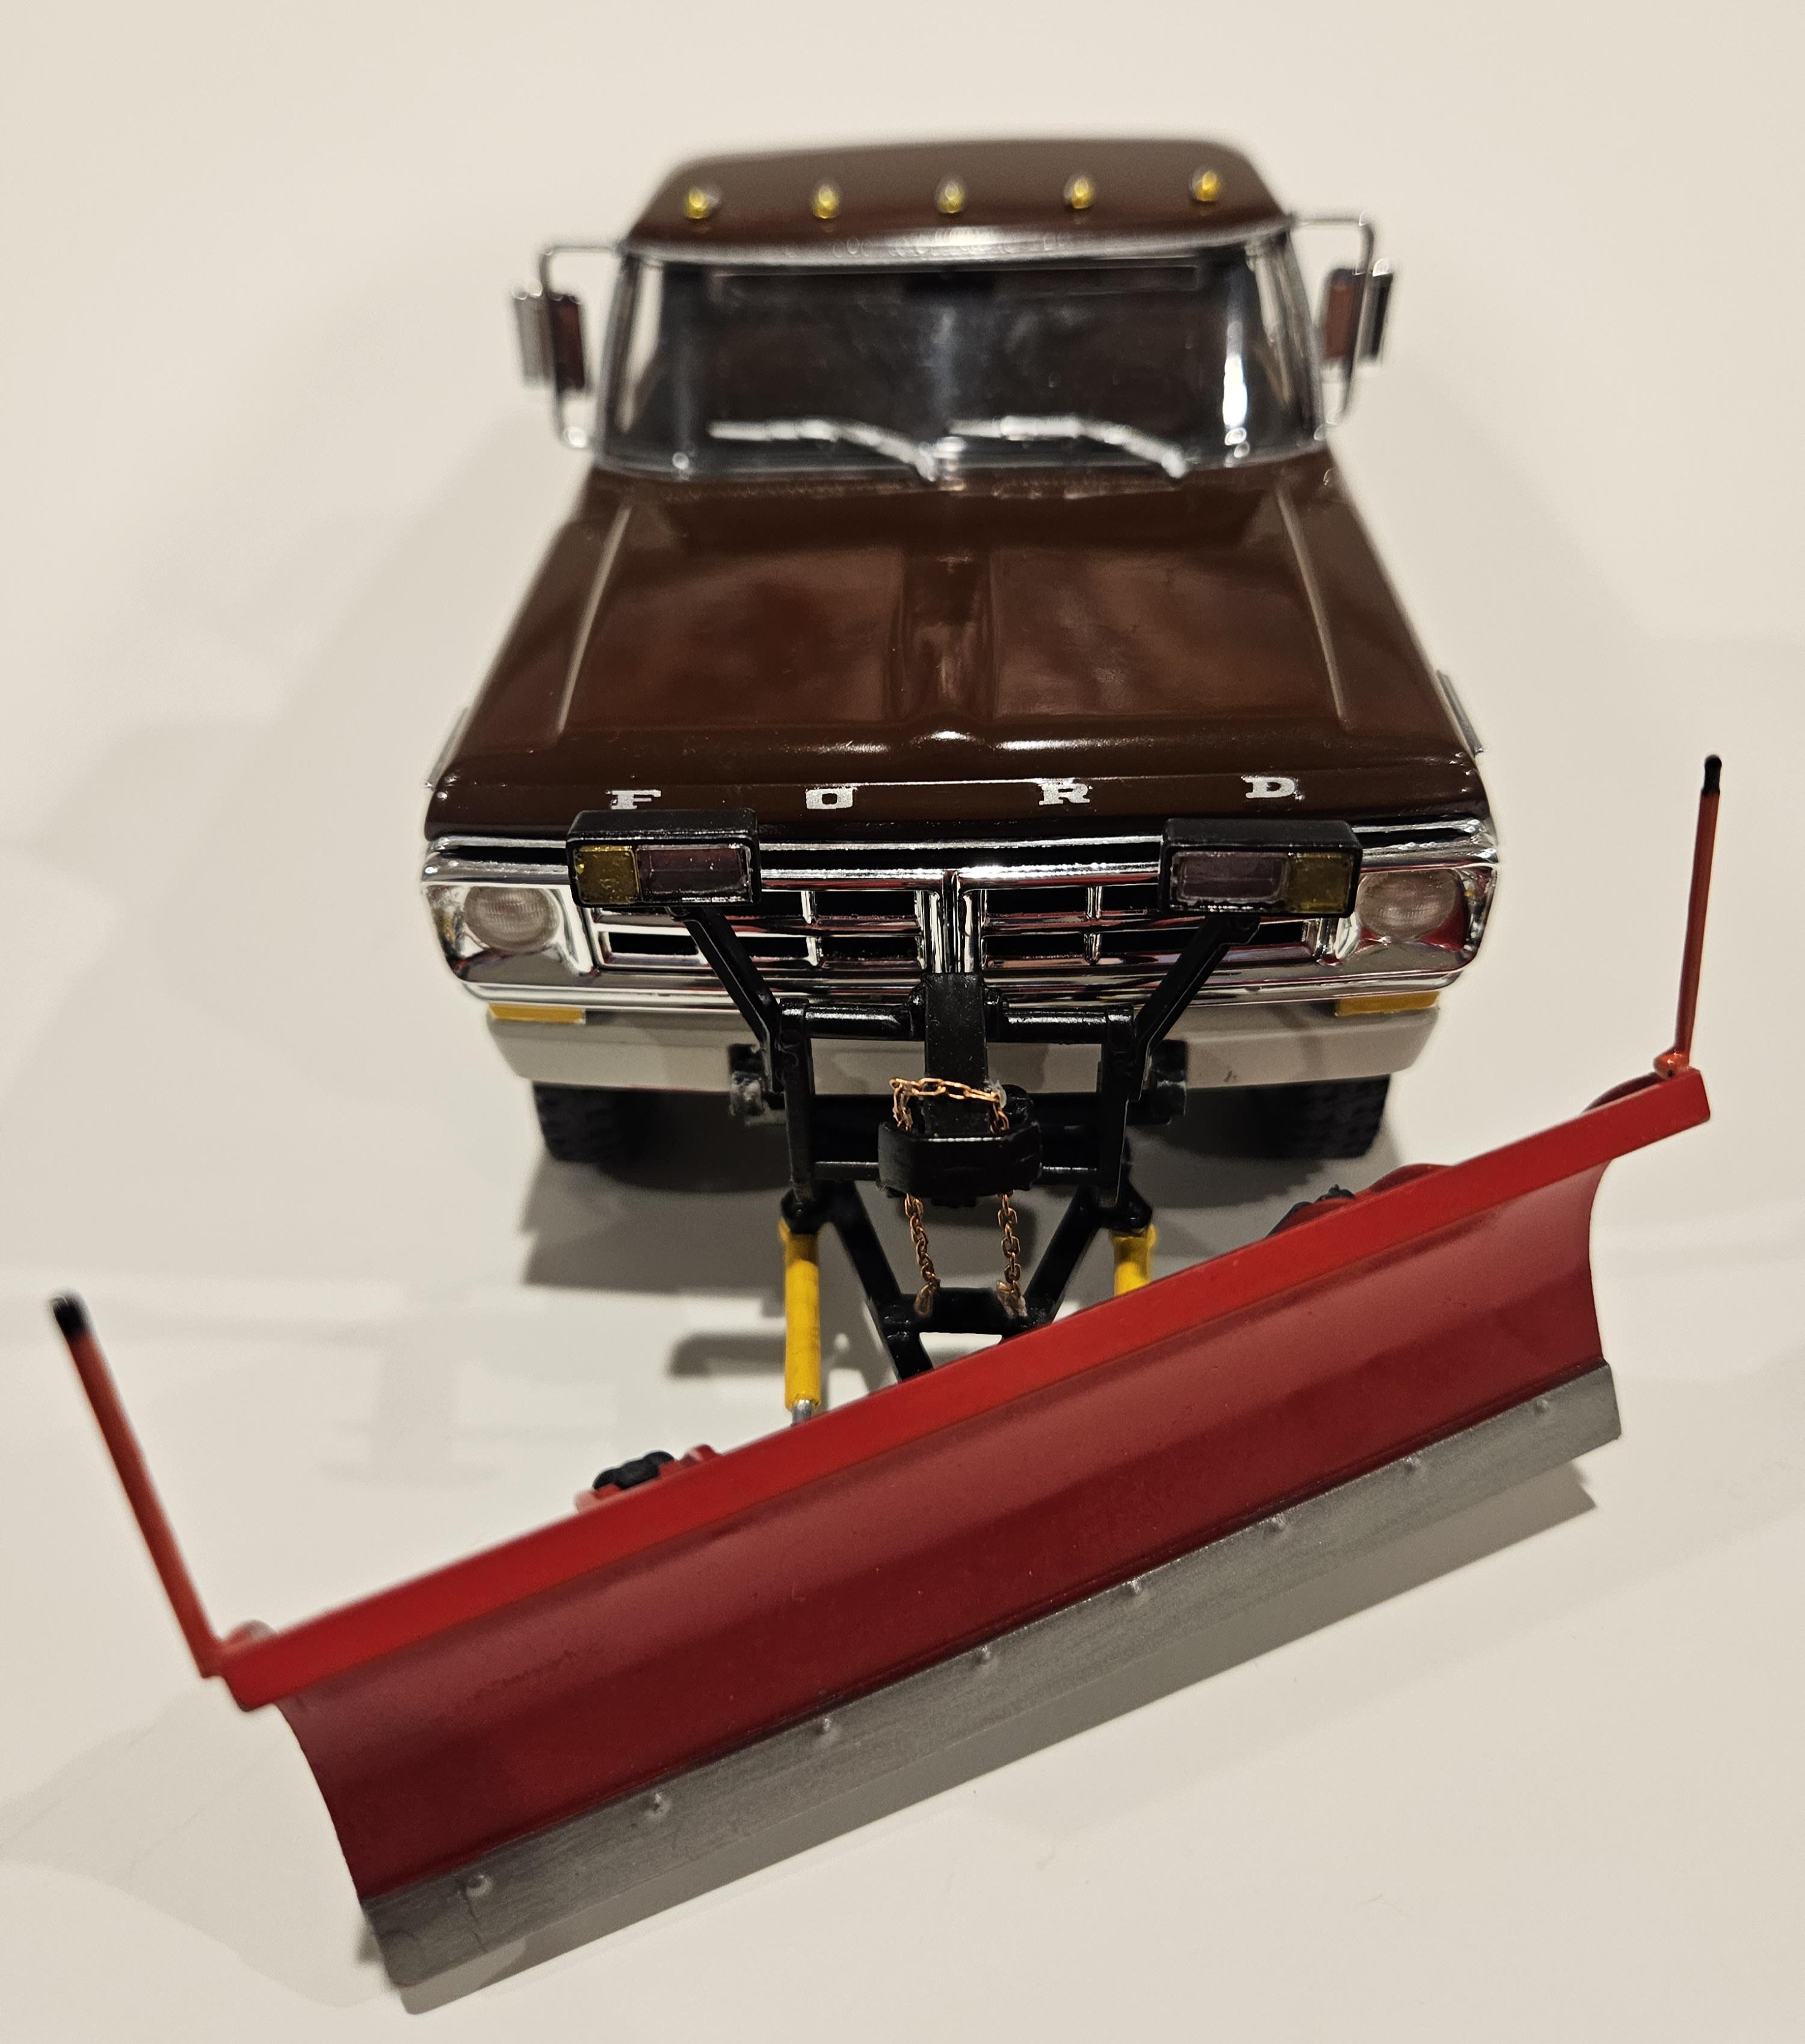
Moebius '72 F-250 plow truck. My first Moebius kit. I was pretty impressed with the detail and parts fit. Let me know what you all think
- 14 replies
-
- 4
-
-
- ford
- moebius kit
- (and 2 more)
-
 Hello everyone, now the time has come. After a long search, I have found a suitable kit to realize the Hoonitruck. The kit, of which again only a few parts are used. The hood is already marked. The outer pieces will go to the body and the middle part will be for opening. Then I already made a rear side part to the right length. That was the beginning, a lot will be done by 3D printing. Stay tuned.
- 67 replies
-
- 1
-
-
- hoonigan
- hoonitruck
- (and 2 more)
-
Saw one in the forum in this same color and knew I had to do another car in that color. This probably some of my best work. SAM_1465 by Eric Lucas, on Flickr SAM_1466 by Eric Lucas, on Flickr SAM_1467 by Eric Lucas, on Flickr SAM_1468 by Eric Lucas, on Flickr SAM_1469 by Eric Lucas, on Flickr SAM_1470 by Eric Lucas, on Flickr
- 24 replies
-
- 12
-
-
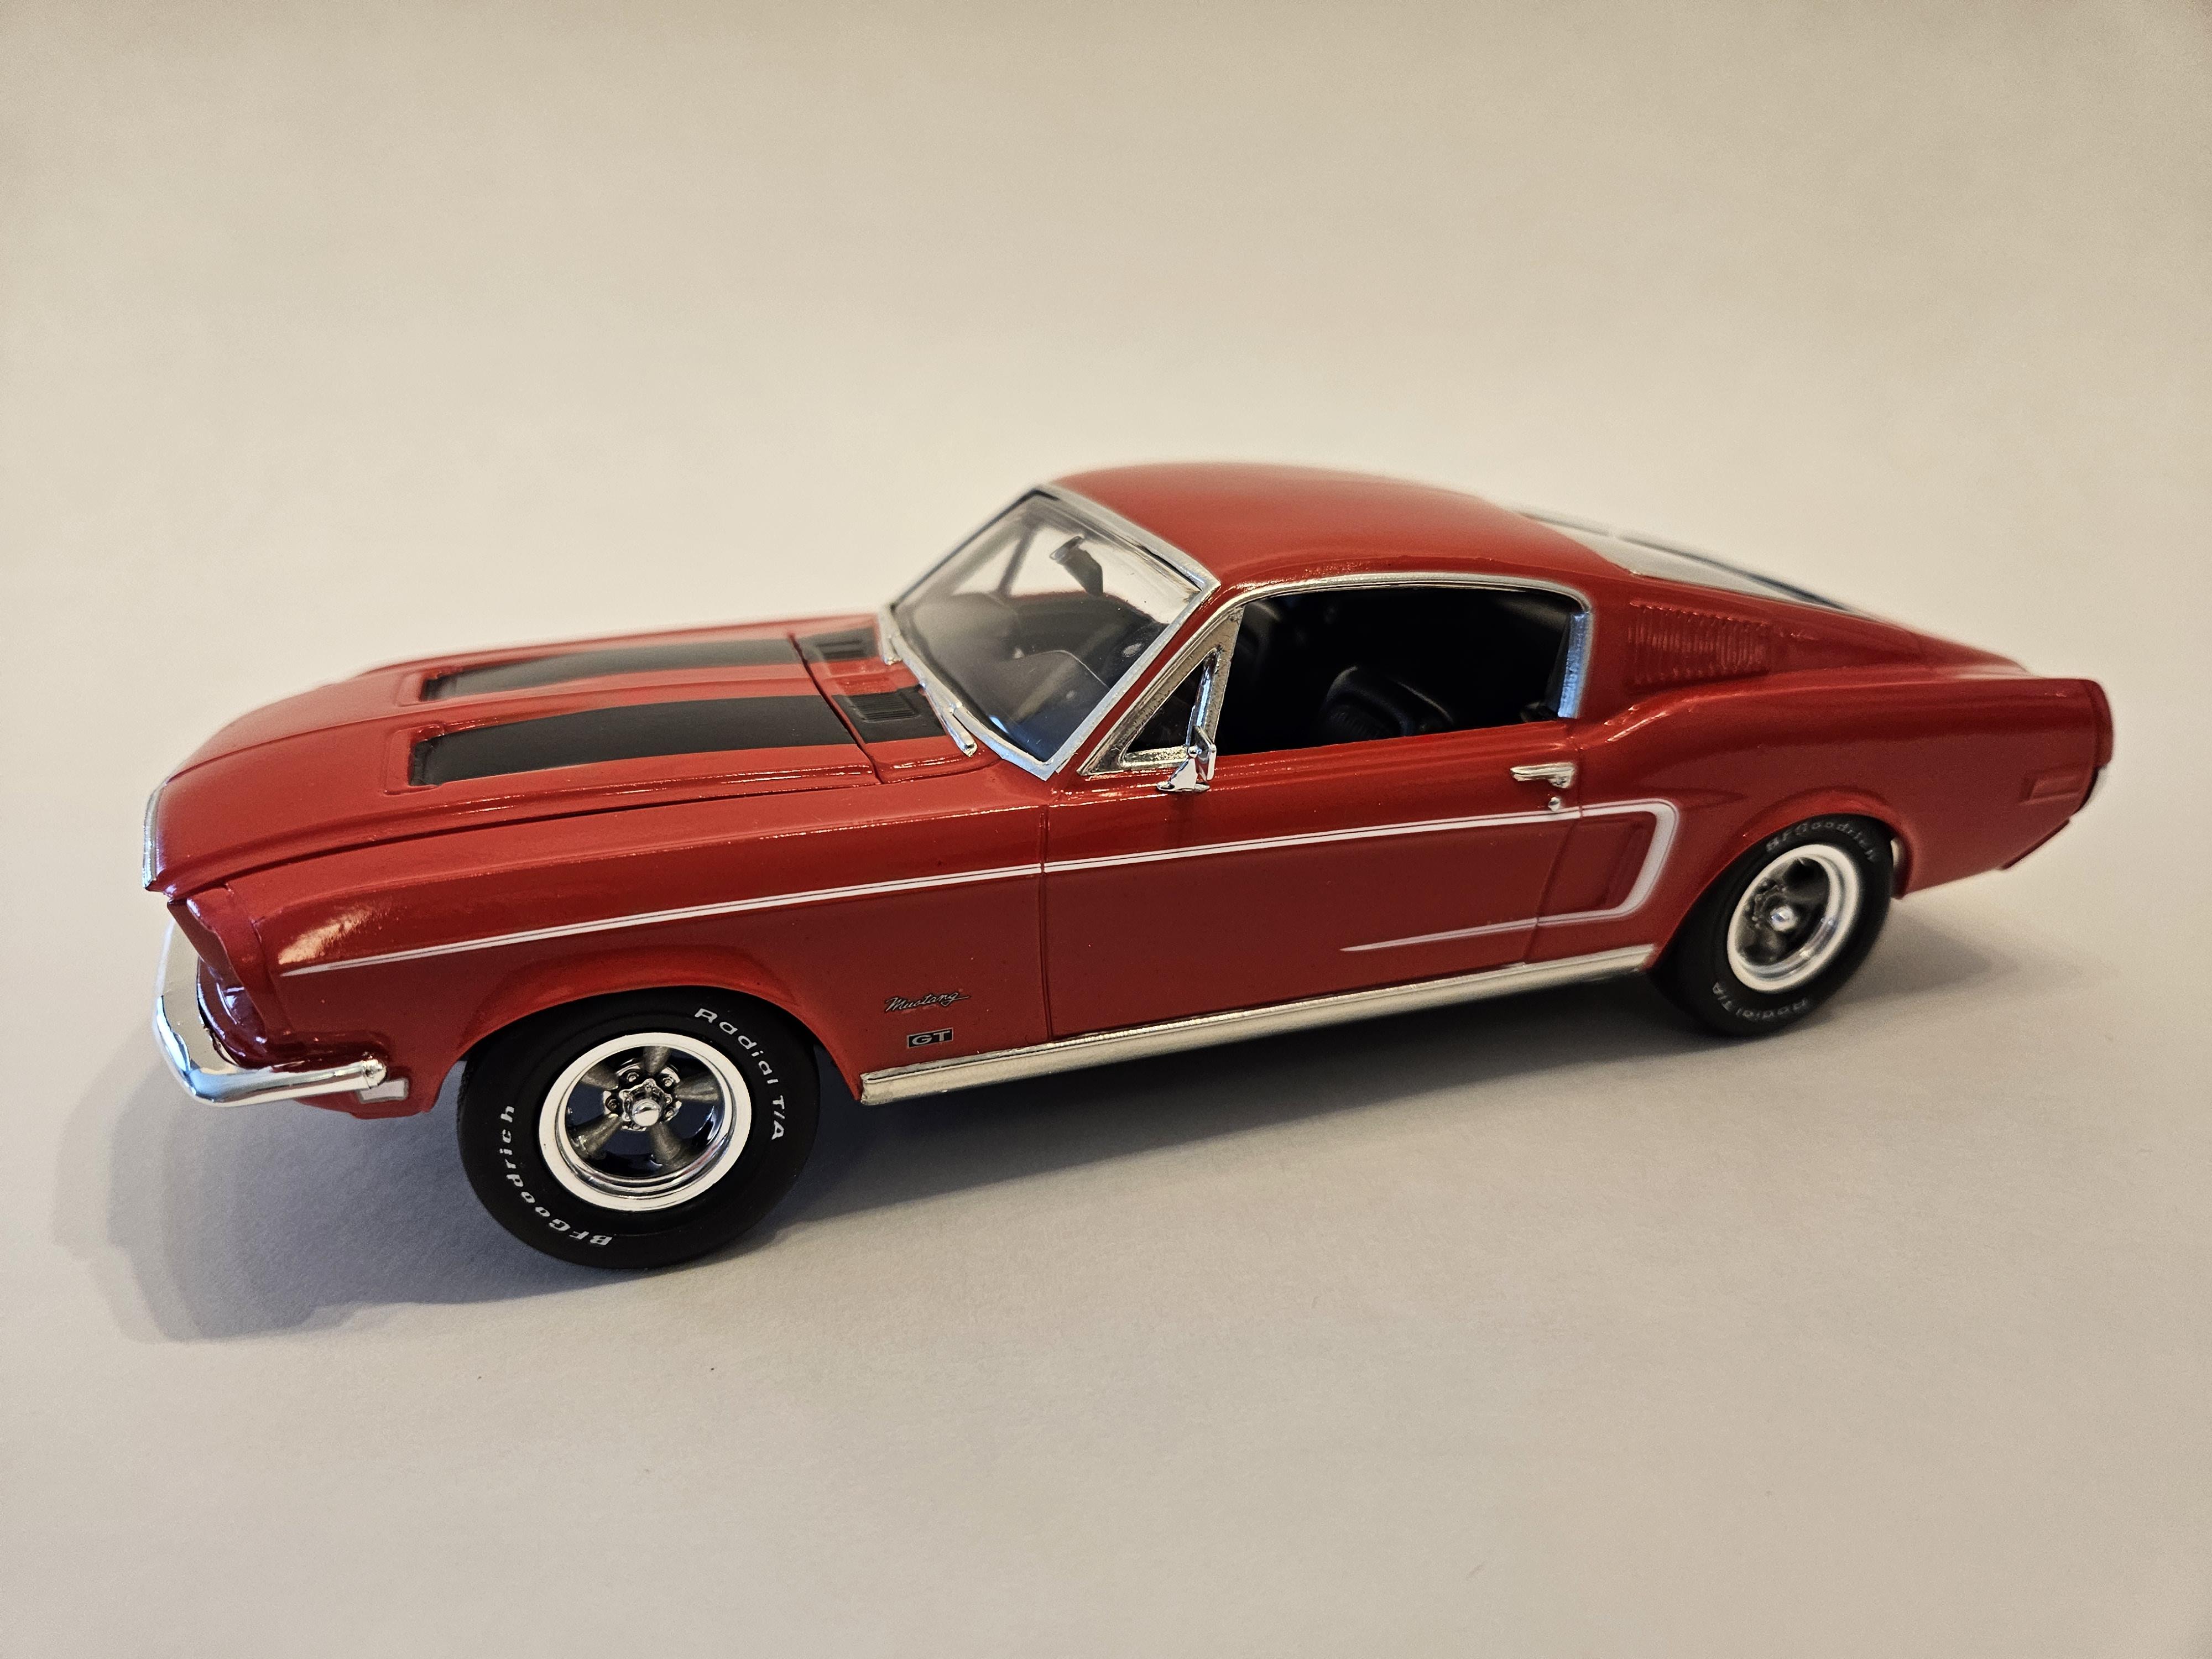
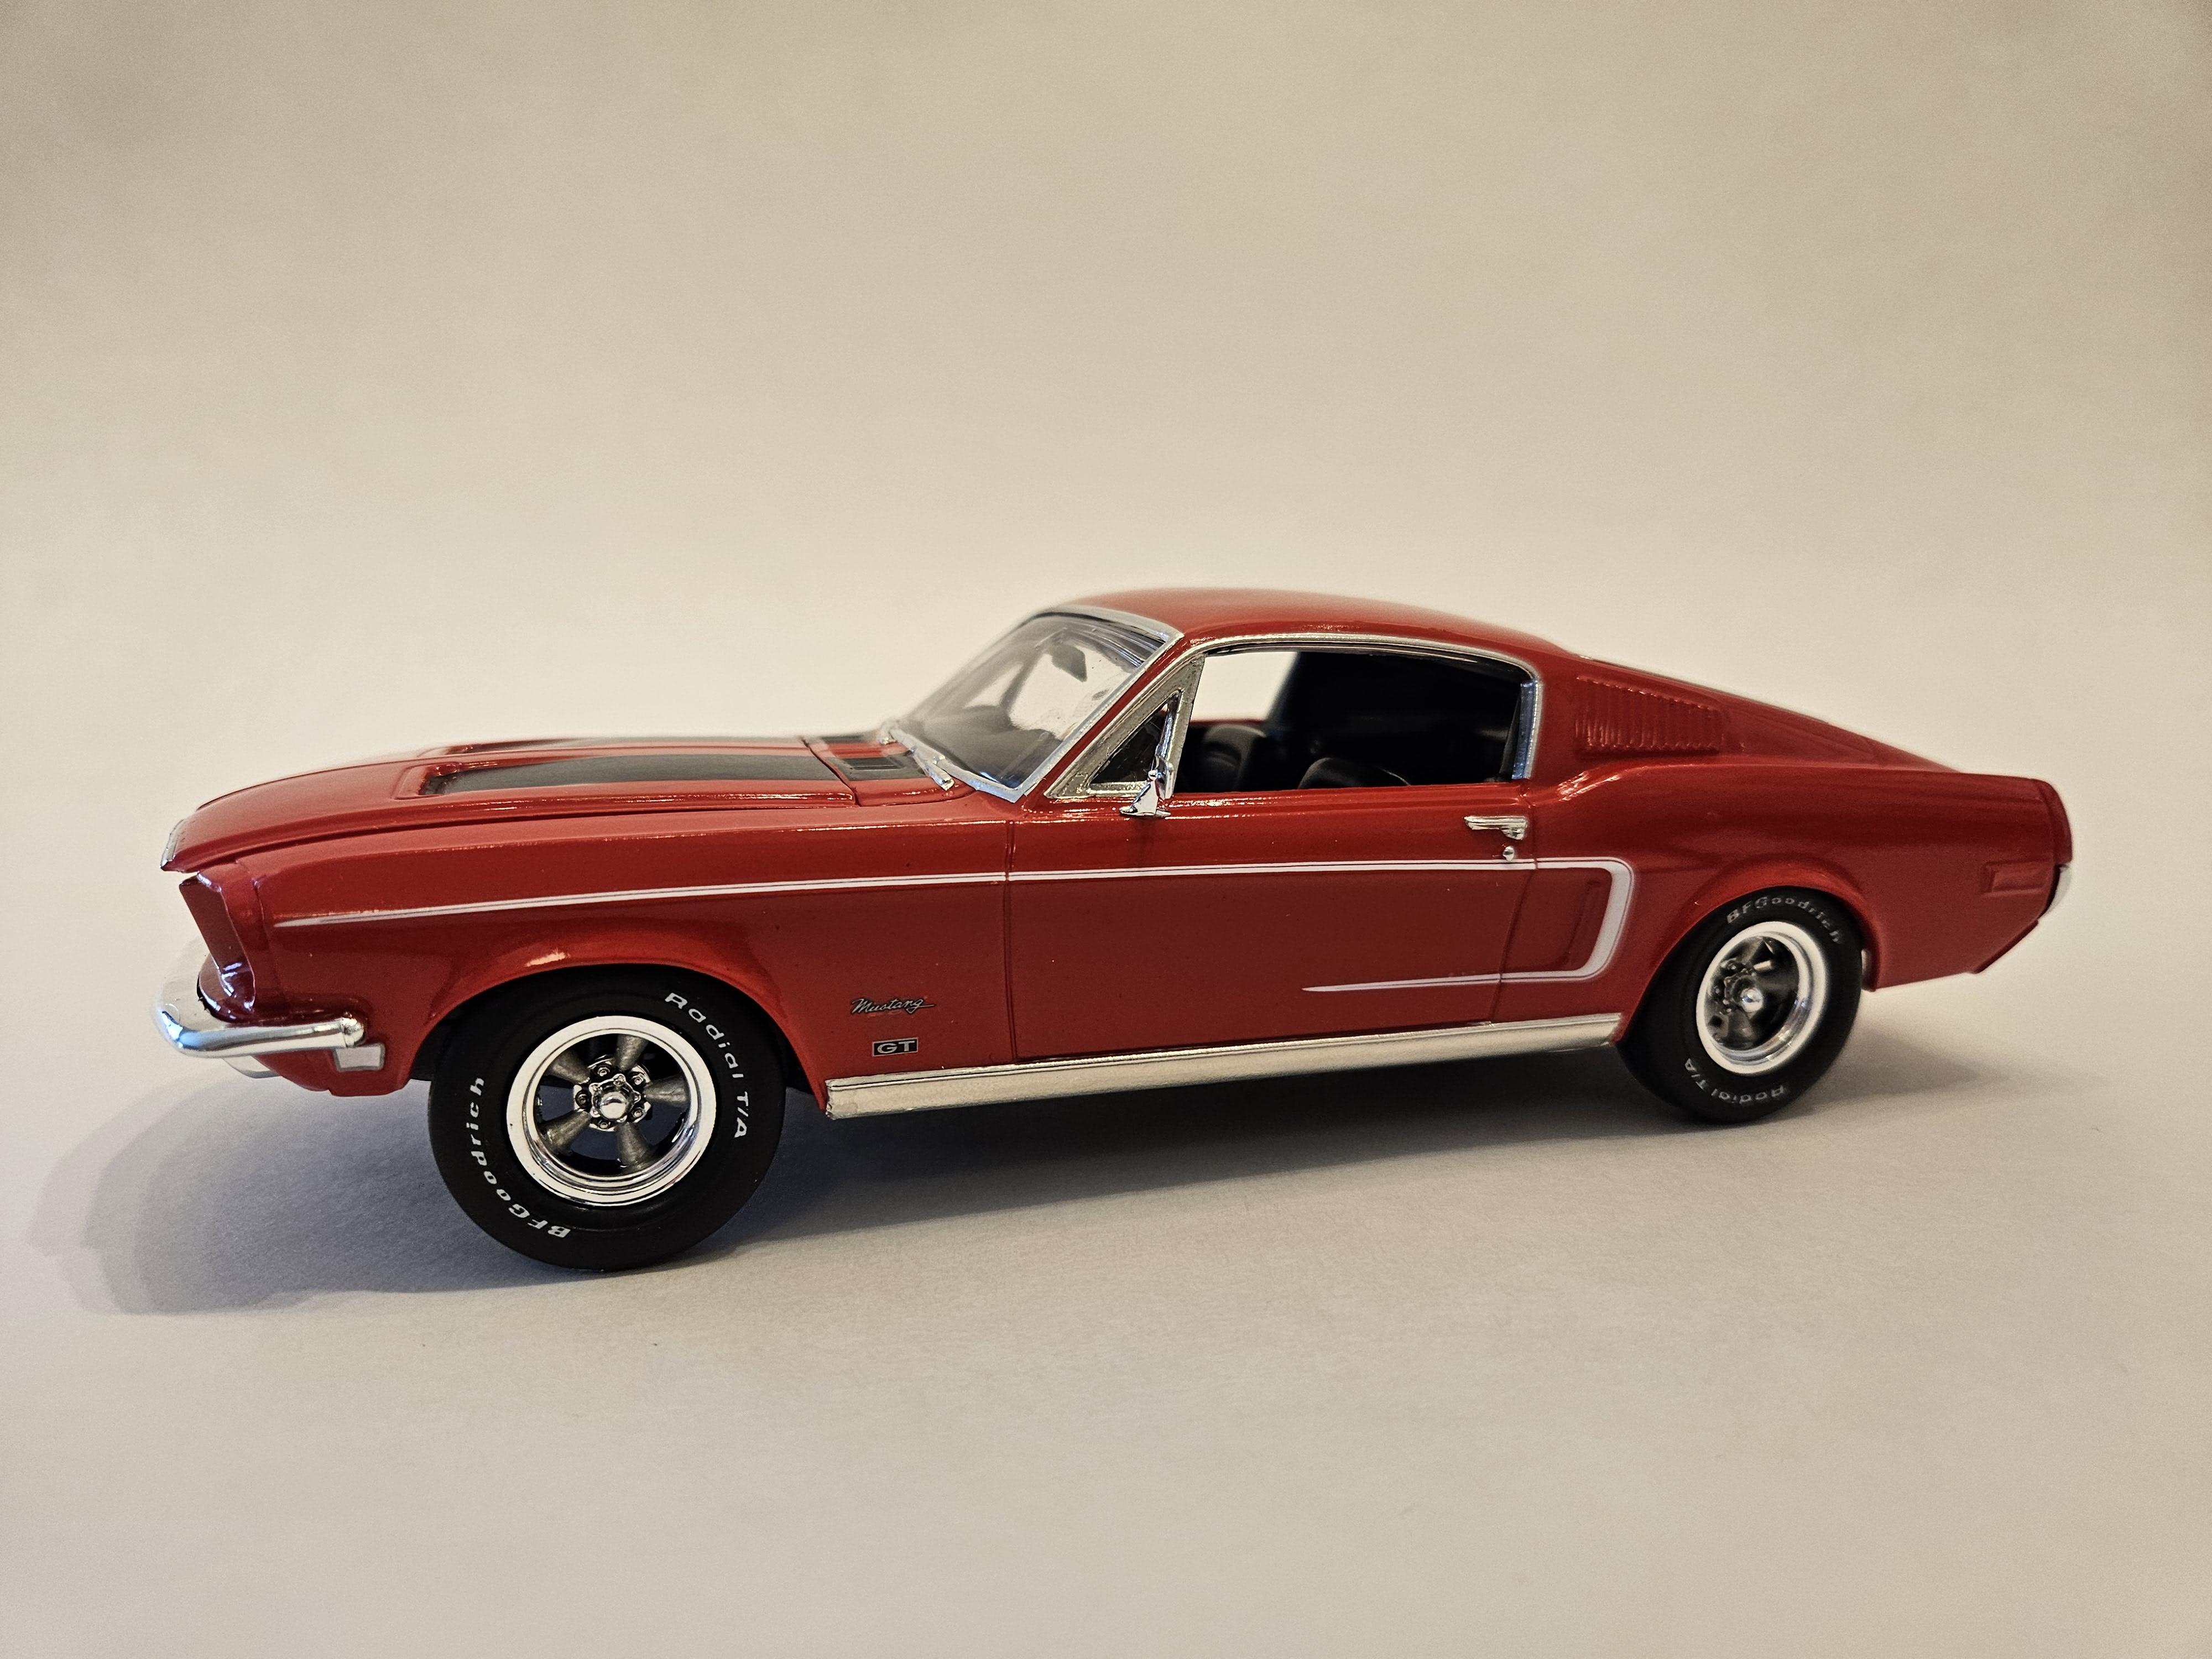
This is the new Revell kit. I really enjoyed the kit. It's not bad at all and is an improvement over the old kit, but it does have its issues. With the carb on the hood sits too high. With it off the shaker sits too low. I glued the shaker straight to the hood and took the carb off to fix the problem. I also had a bit of a problem with the front an rear end fit, but it came out looking good anyway. I love the new stripes and emblem decals. they look great! The red car is the old kit for comparison. SAM_1458 by Eric Lucas, on Flickr SAM_1459 by Eric Lucas, on Flickr SAM_1460 by Eric Lucas, on Flickr SAM_1461 by Eric Lucas, on Flickr SAM_1462 by Eric Lucas, on Flickr SAM_1464 by Eric Lucas, on Flickr
-
Had the kit for a few weeks, but didn't have a chance to work on it much. Finally got it finished Tuesday night. The kit is great, but there's a few minor issues. Still it came out working great! Bought another one to paint in green after seeing the other 71 posted on here. I loved that color. SAM_1453 by Eric Lucas, on Flickr SAM_1454 by Eric Lucas, on Flickr SAM_1455 by Eric Lucas, on Flickr SAM_1456 by Eric Lucas, on Flickr
-
Well that's a wrap. Very nice build, went together easily. Wasn't sure about the screw in interior and chassis but it was nice to easily secure the pieces together
-
Hello I'm going to build this kit to mark the 60th anniversary of the model. I will take pictures and share my experiences as I build. I made an unboxing video where you can see the parts. Based on the 3in1 option, I'm not sure how I'm going to put it together. If you have already made this kit, please tell me what I need to pay attention to. Thank you.
-
Background: Although the original GT40 is a bit too 1960s in its design for my tastes, I do love the way the 2000's follow up looks - the sharpening up of the shape and details and modern production engineering make it look just right. It was a long while before I even knew there was a model kit of one, and then I found this one by Polar Lights, itself a reboxing of an AMT snap-fit kit. I did wonder if a snap-fit kit would be any good but after a long think (years, on-and-off!), this November I decided to give it a go anyway and buy one online. I started it within a few days of it arriving in the post. Pros: There is a lot of detail, with a great interior and a full engine. Being a snap-fit kit, everything fits together correctly and this makes putting it together easier than a needs-glue equivalent. The seats and their silver inserts being a highlight of kit engineering made to make life easy for the builder - the kind of thing you'd expect from Tamiya not AMT. Not having to glue some of the fiddly transparent parts is also very helpful, amongst other things. The decals are great quality, easy to apply and have spares and enough options whatever colour you make your build. The transparent parts are really clean and shiny, and the overall shape and proportions of the car look good. The door mirrors are solidly mounted as are the seats. Cons: The wheels, brakes and tyres are not good, lacking details and having a solid area around the brake disc. The tyre treads are too thick and seem like winter tyres. Also once assembled, the calipers rotate with the wheels. The instructions are not great quality, have omissions and also mistakes in the correct decal numbers. The painting guide is also incorrect in some areas. Despite the comprehensive decals, there are no front-to-back stripes unless you mask and paint your own. Most of the chromed parts are not chrome on the real car but aluminium, and the chrome is a nuisance to remove. Fitting the body to the chassis is work. The initial impression of the kit on unboxing is something which is thick and toylike although building it deconstructs this impression. Verdict: Remarkably good. It's a better kit than you'd expect and builds just like any other decent quality kit, despite the expectations of what comprises a snap-fit kit. Very much recommended if you like the subject matter. Build notes: Built over the course of 3 weeks in December 2022. Aside from a few bits of mesh it's built entirely out-of-the-box. It's painted with Tamiya Silver (for the stripes) and Land Rover Scotia Grey for the rest, from a Halfords rattle-can. It's clearcoated with Mr Hobby Gloss Premium. I am very very happy with the way it's come out, and how photogenic it is.
- 15 replies
-
- 7
-
-
- ford
- polar lights
- (and 1 more)
-
Got this as a Christmas present from Dad. Not a bad kit. Pretty easy build. fits together nicely. I don't like the colors of the Baja, so I made a stock Bronco. SAM_1127 by Eric Lucas, on Flickr SAM_1128 by Eric Lucas, on Flickr SAM_1129 by Eric Lucas, on Flickr SAM_1130 by Eric Lucas, on Flickr SAM_1131 by Eric Lucas, on Flickr SAM_1132 by Eric Lucas, on Flickr SAM_1133 by Eric Lucas, on Flickr SAM_1134 by Eric Lucas, on Flickr SAM_1135 by Eric Lucas, on Flickr
-
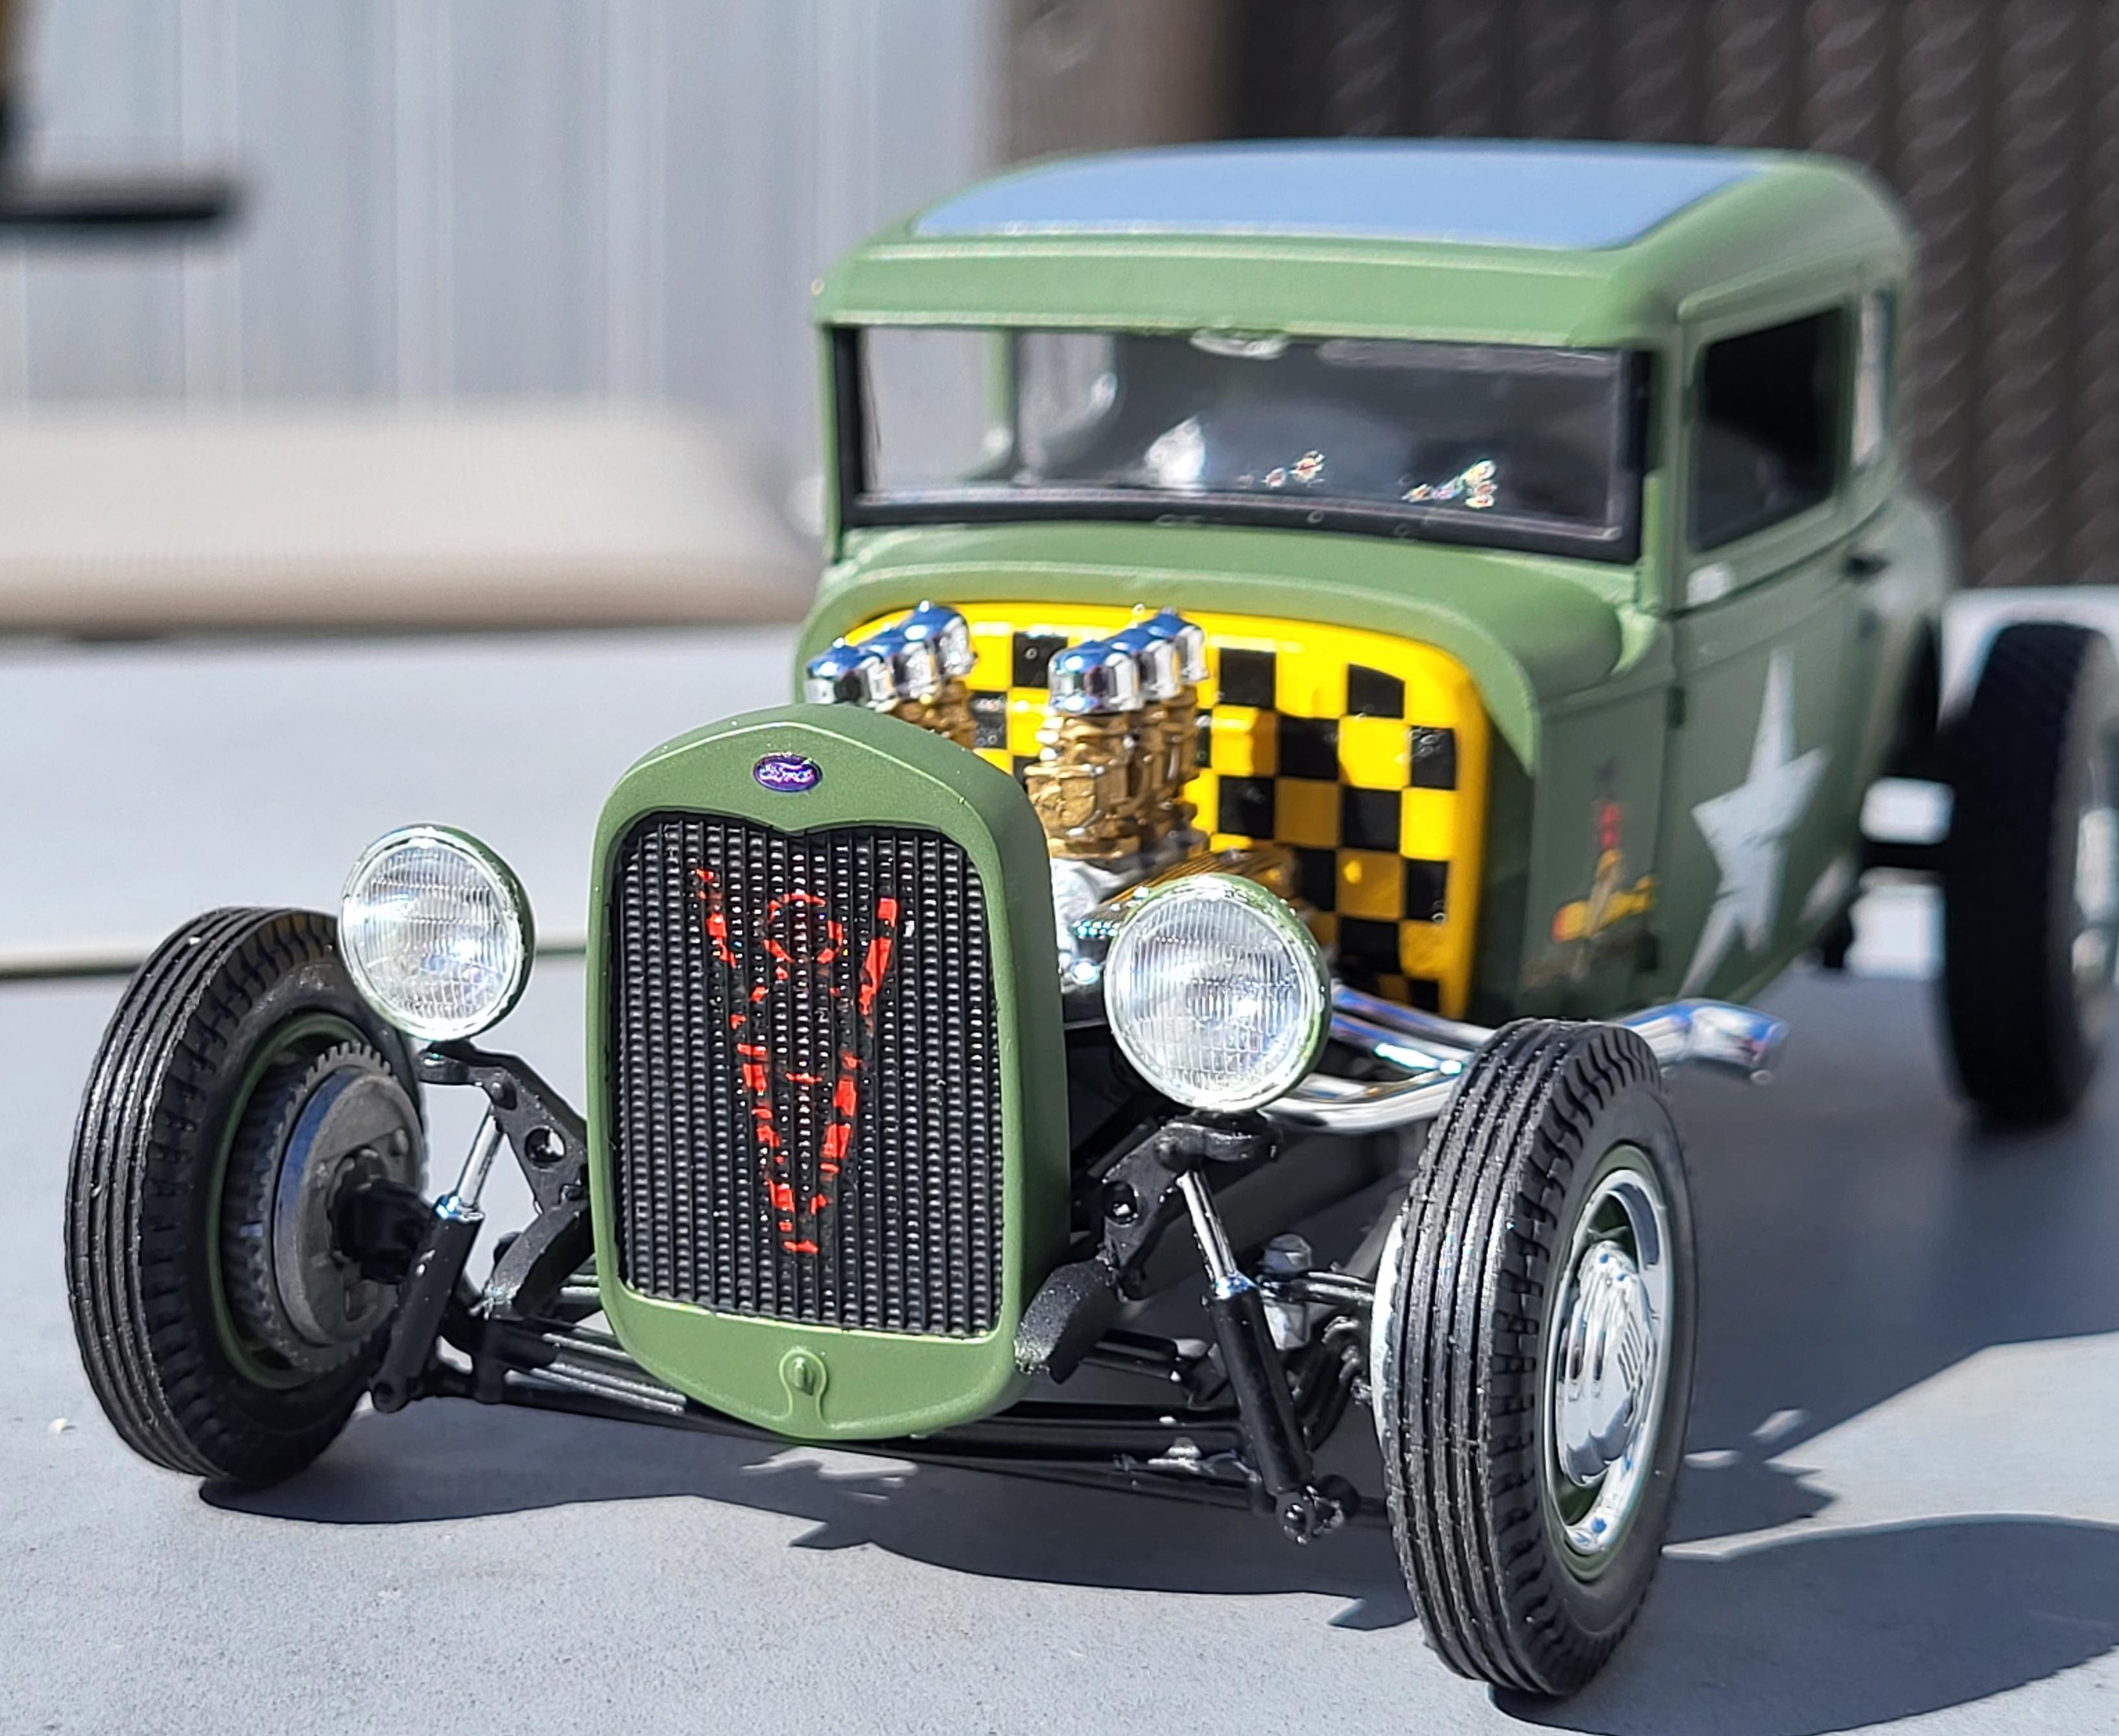
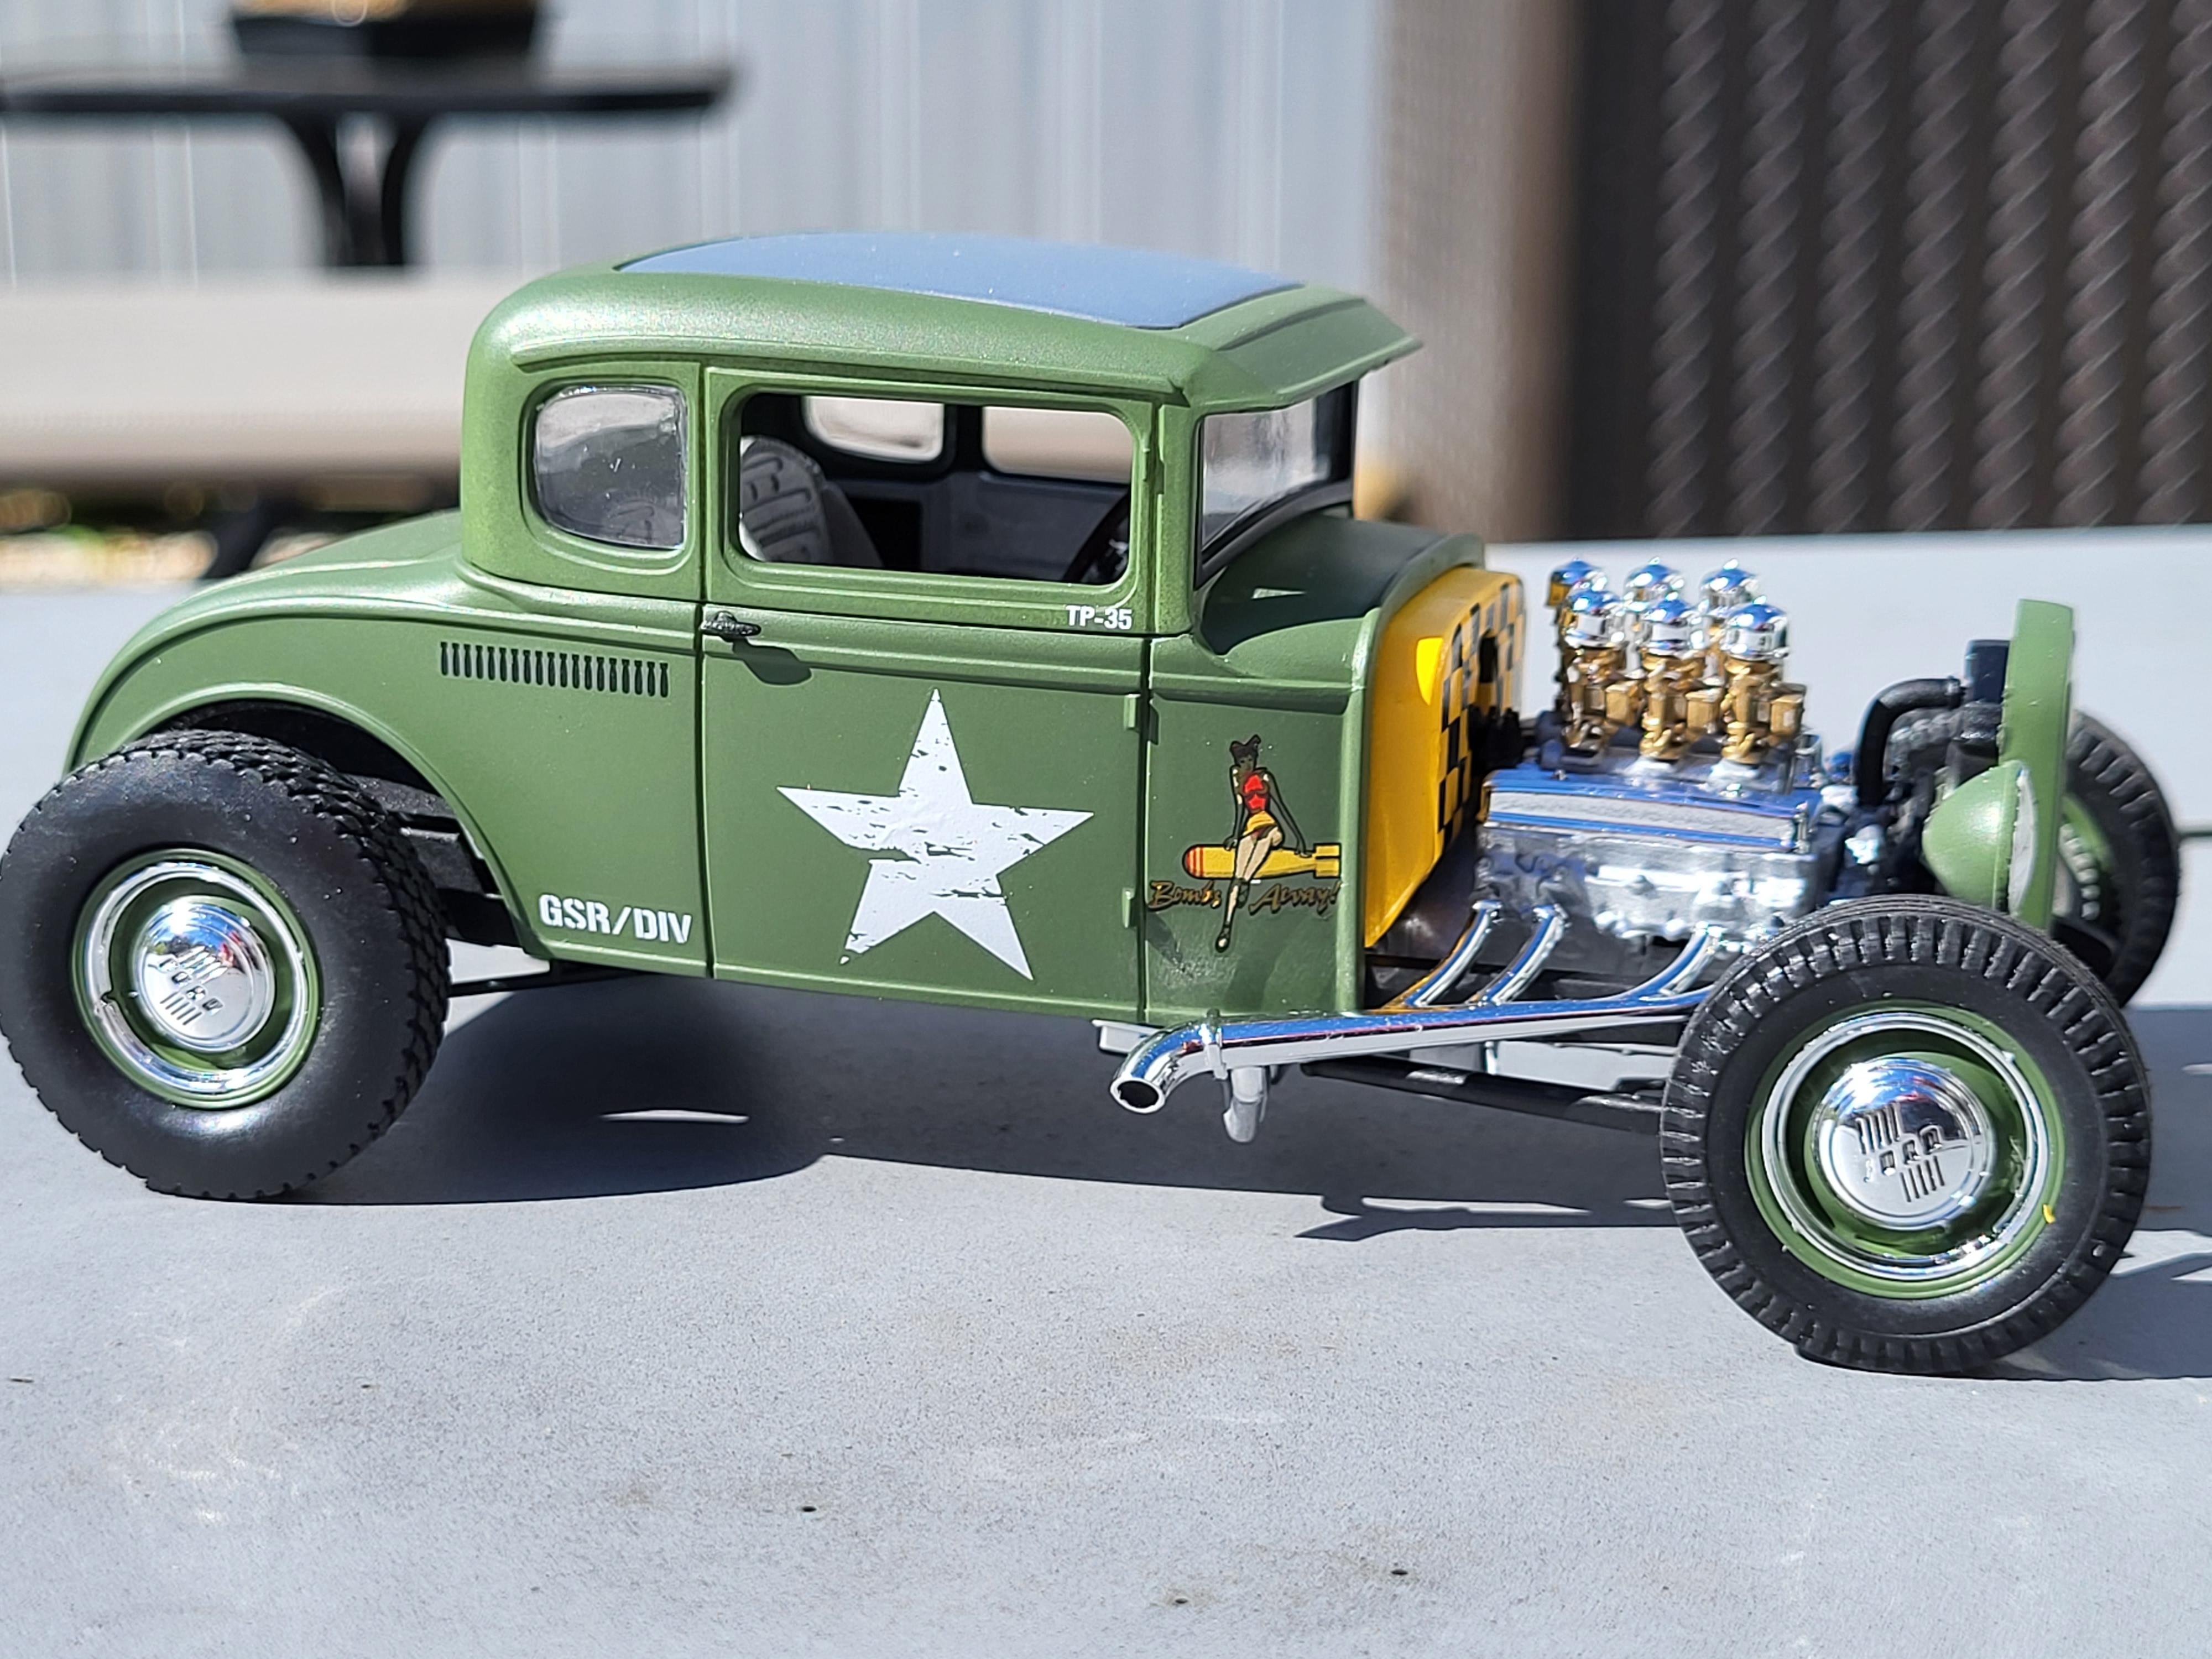
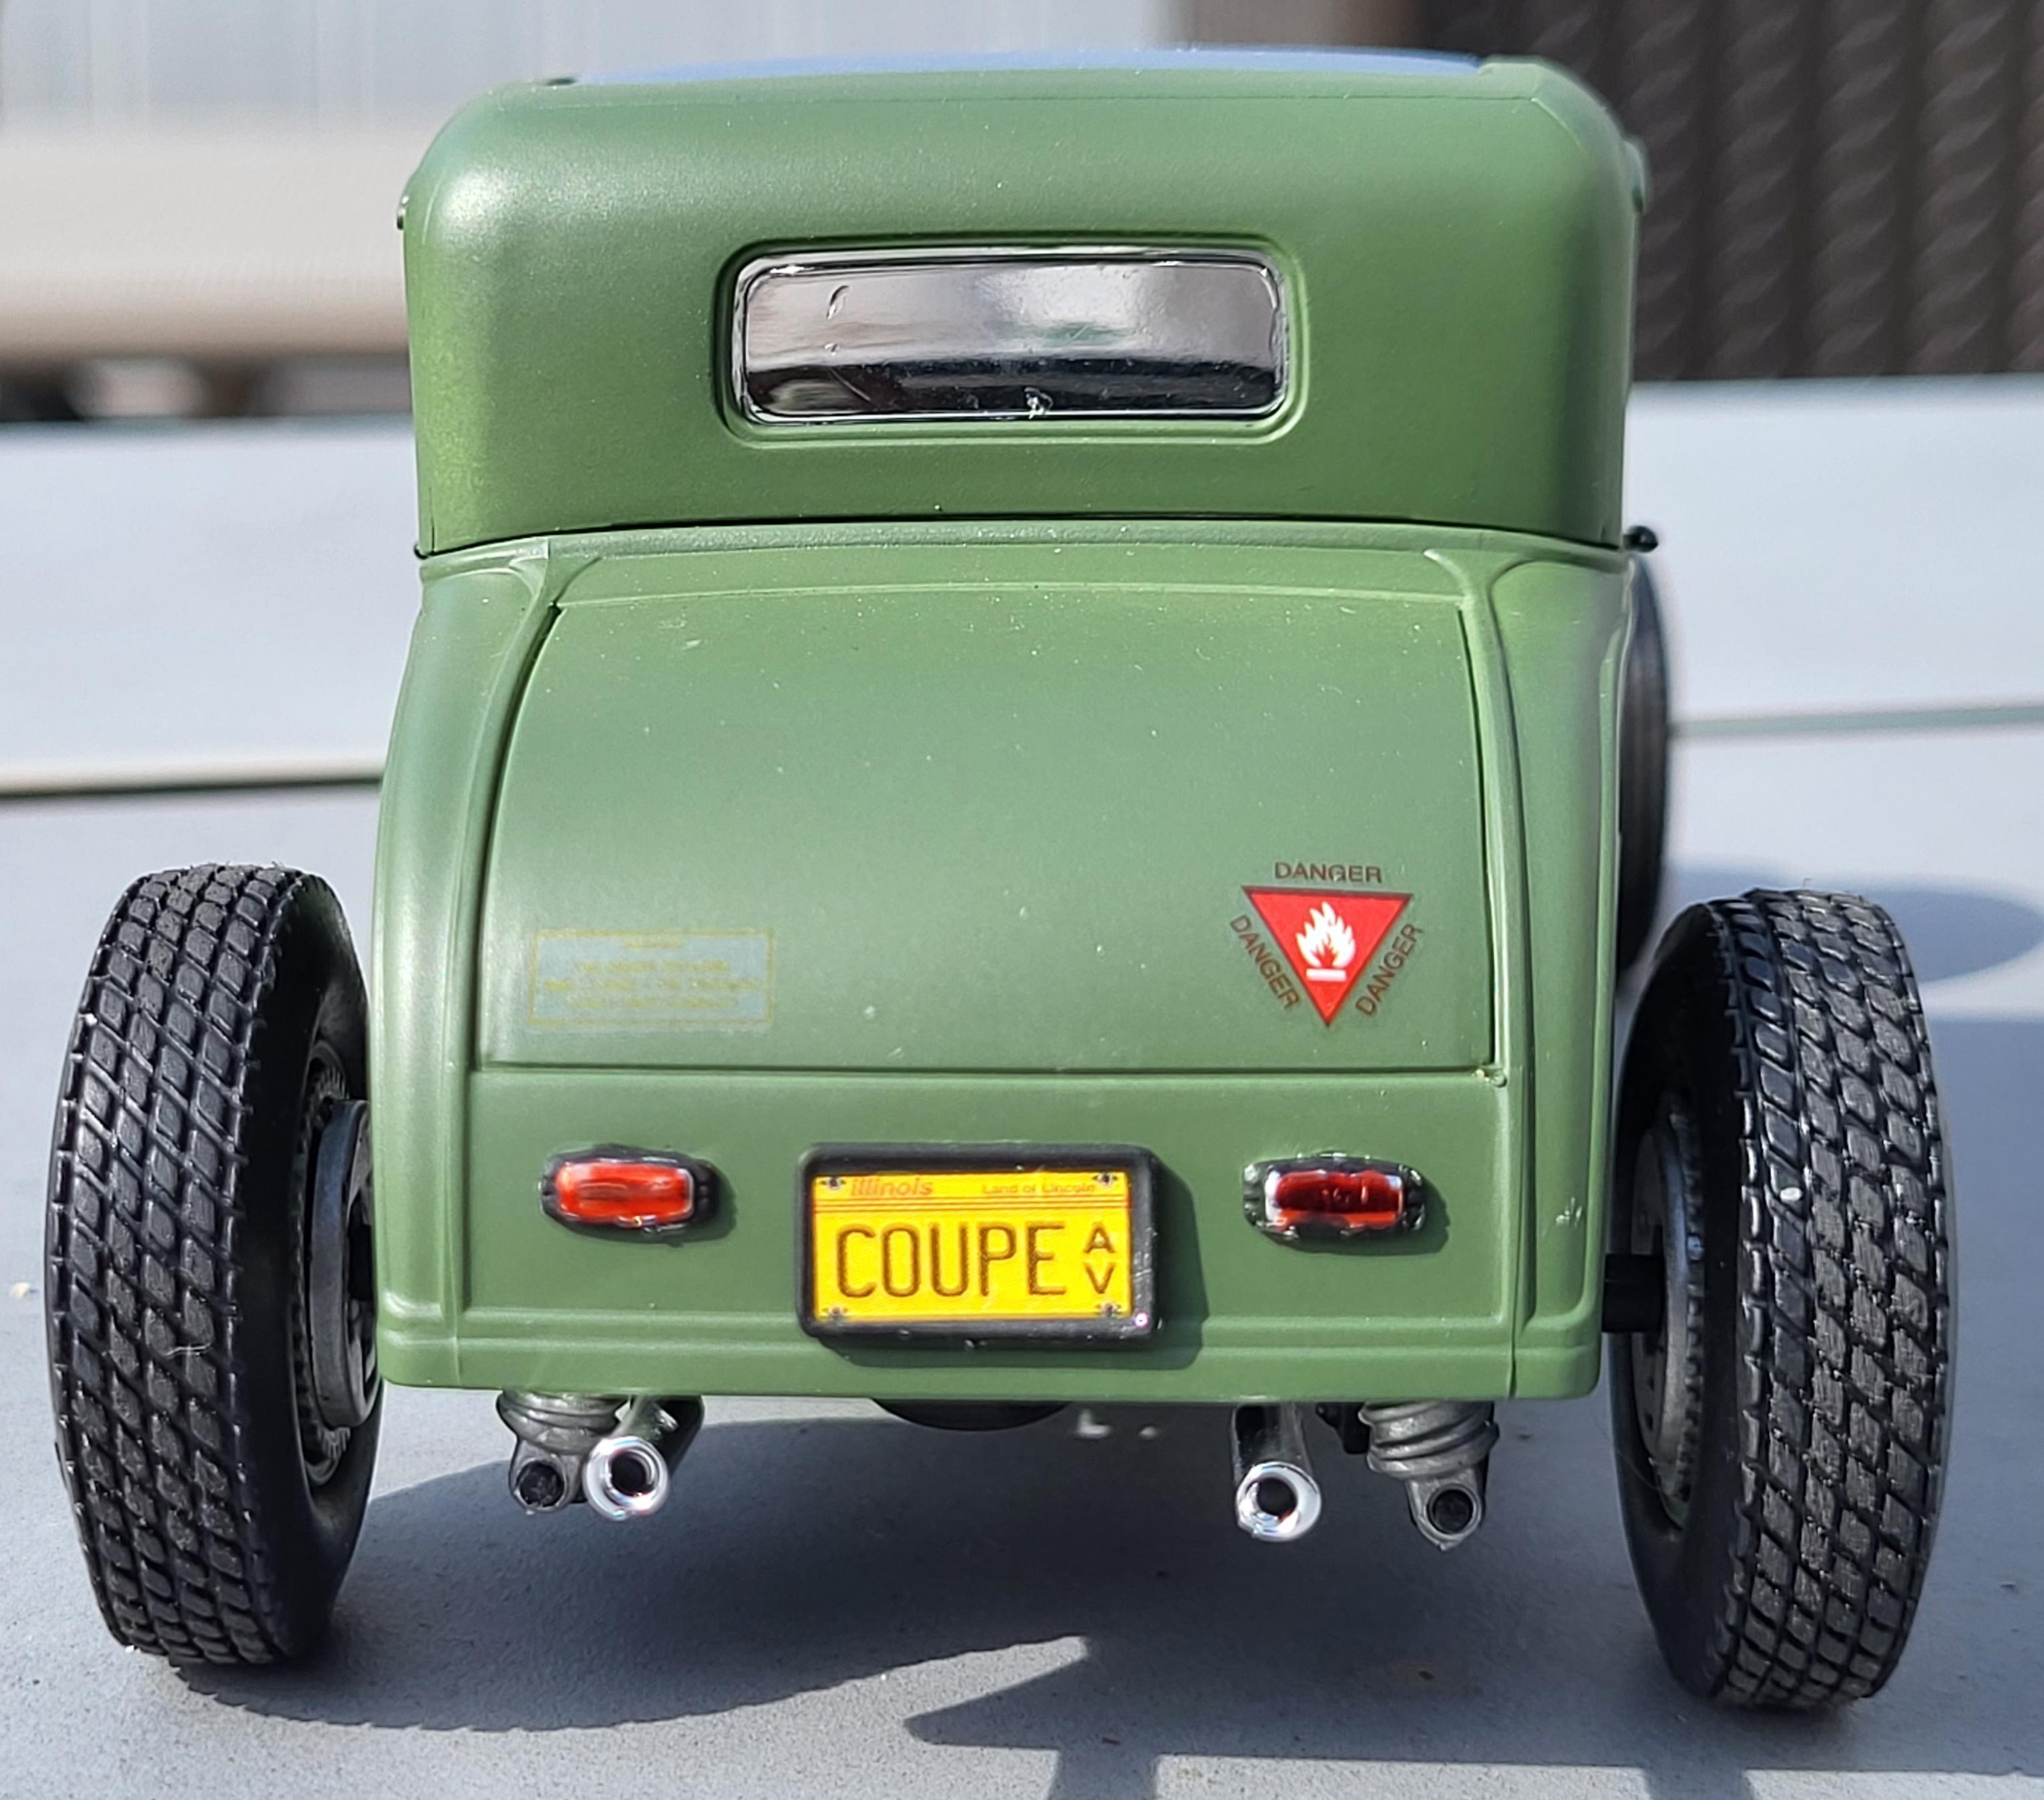
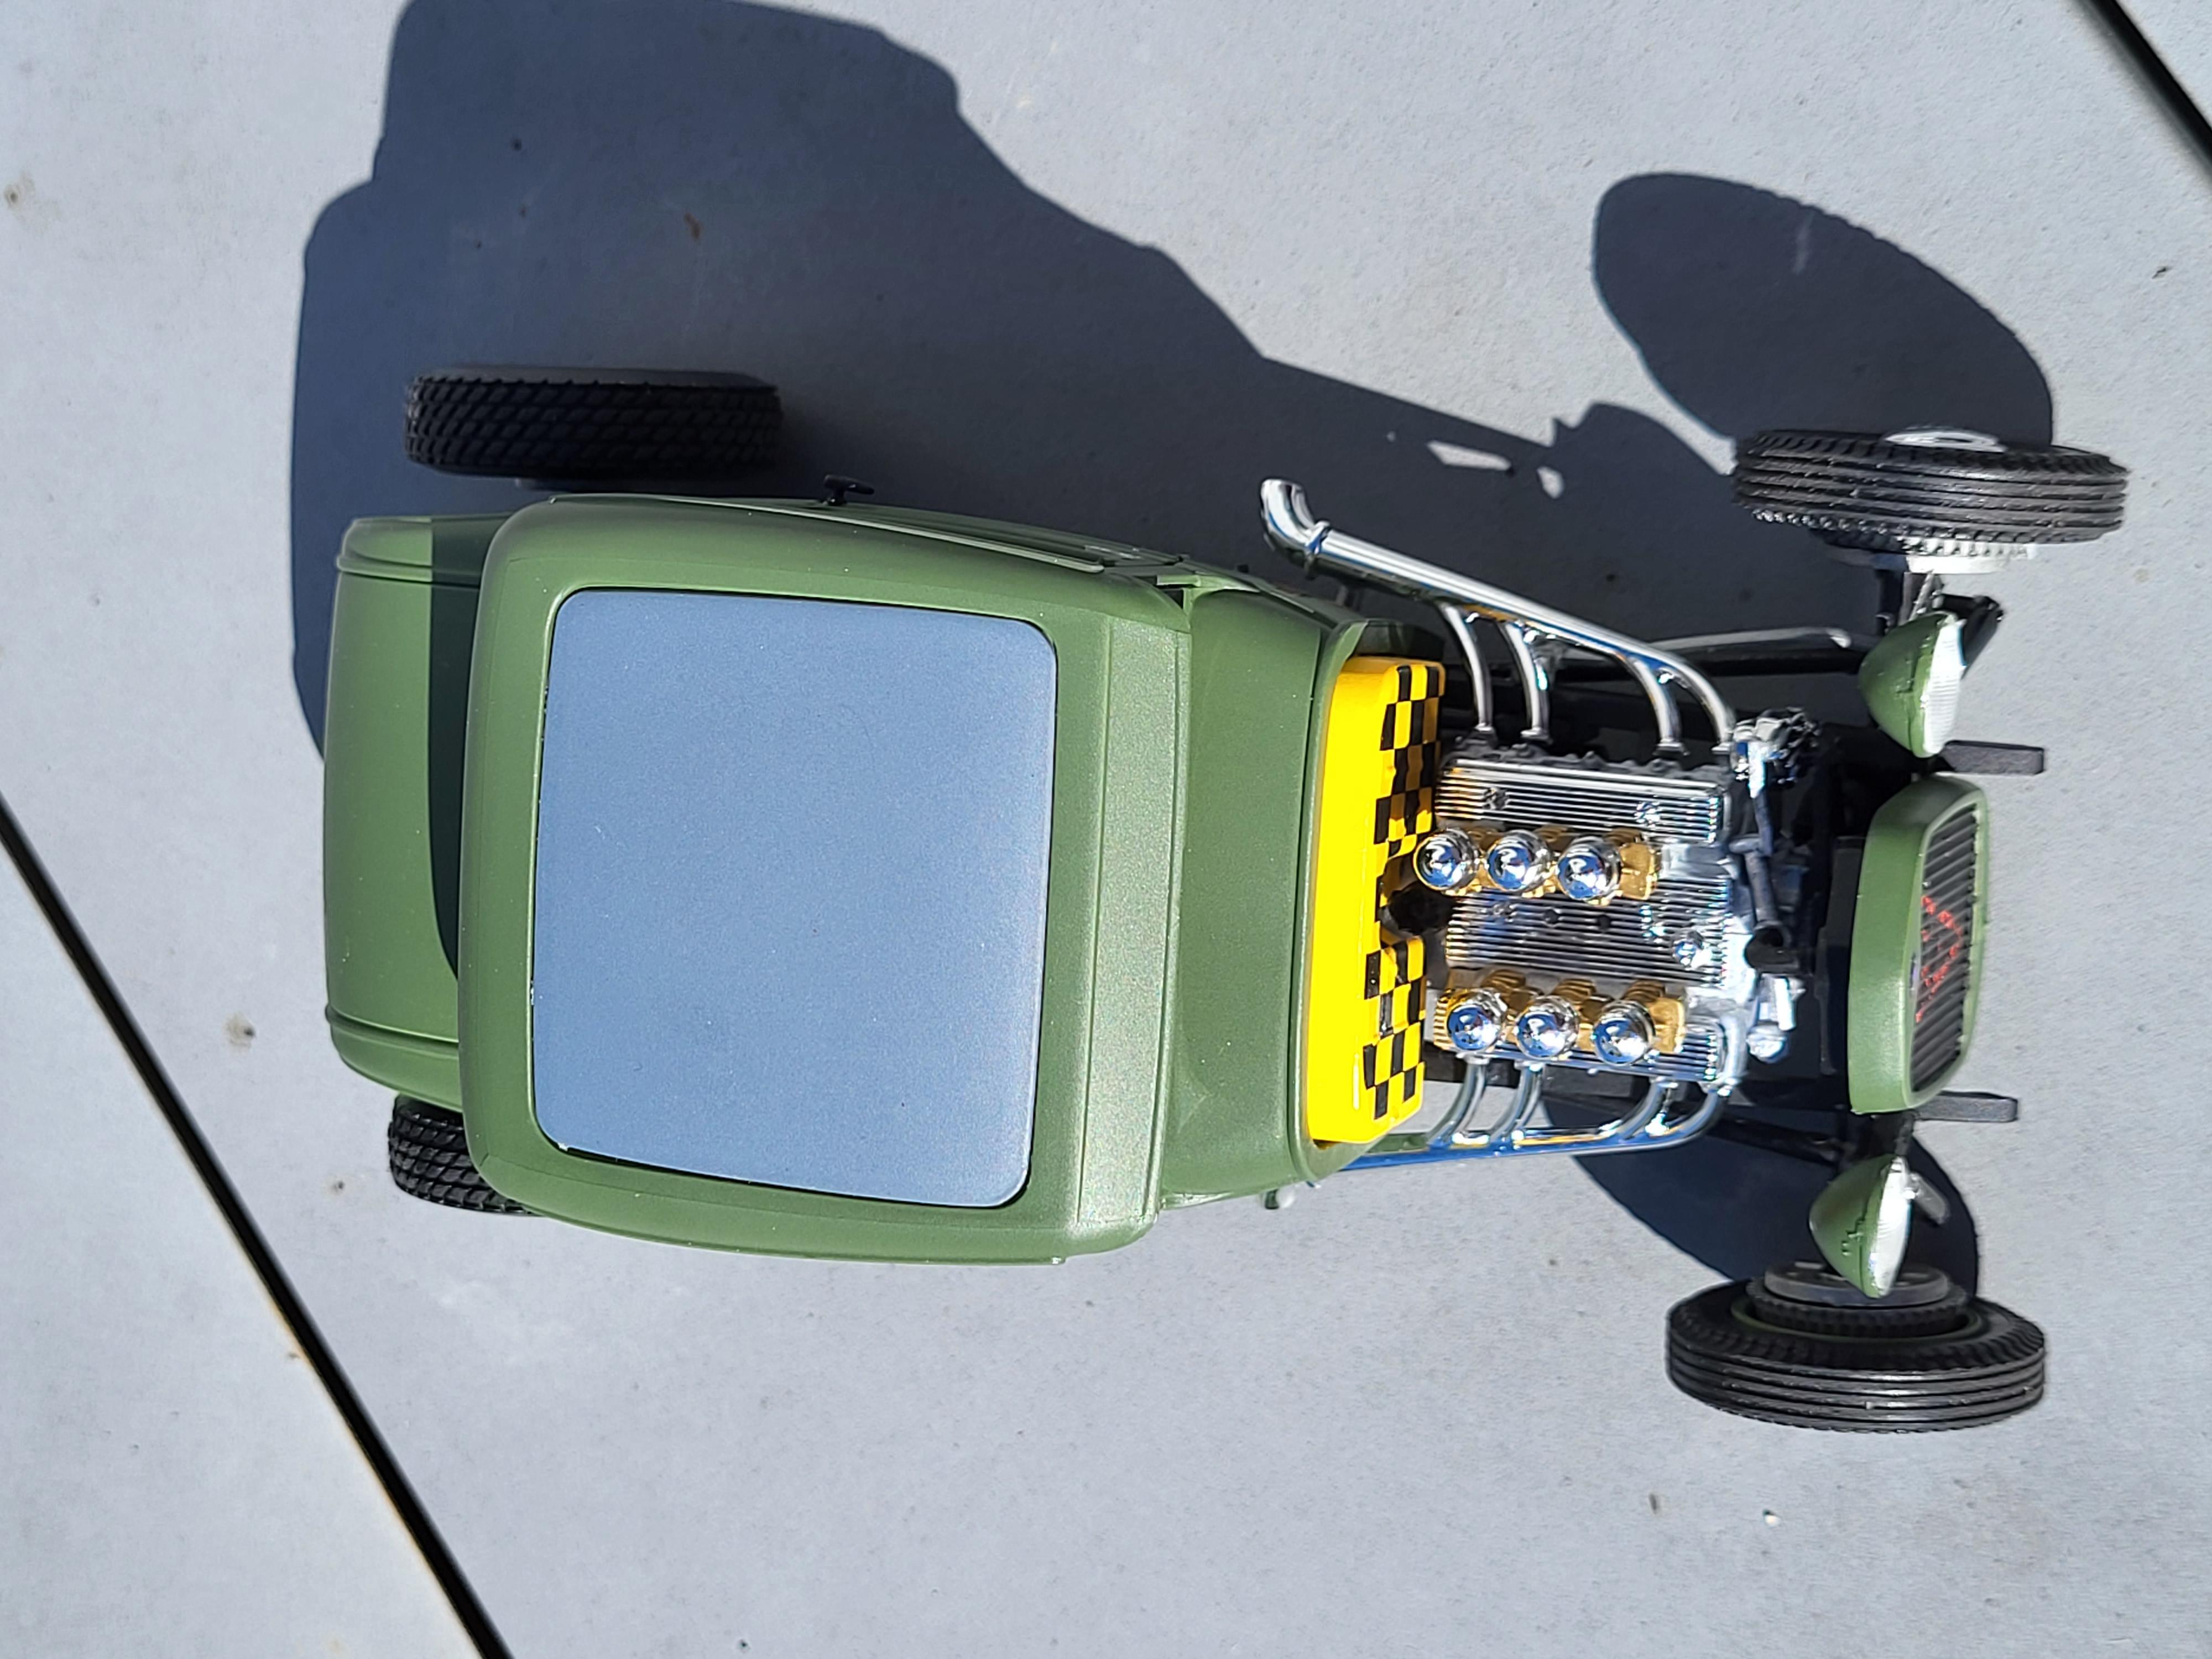
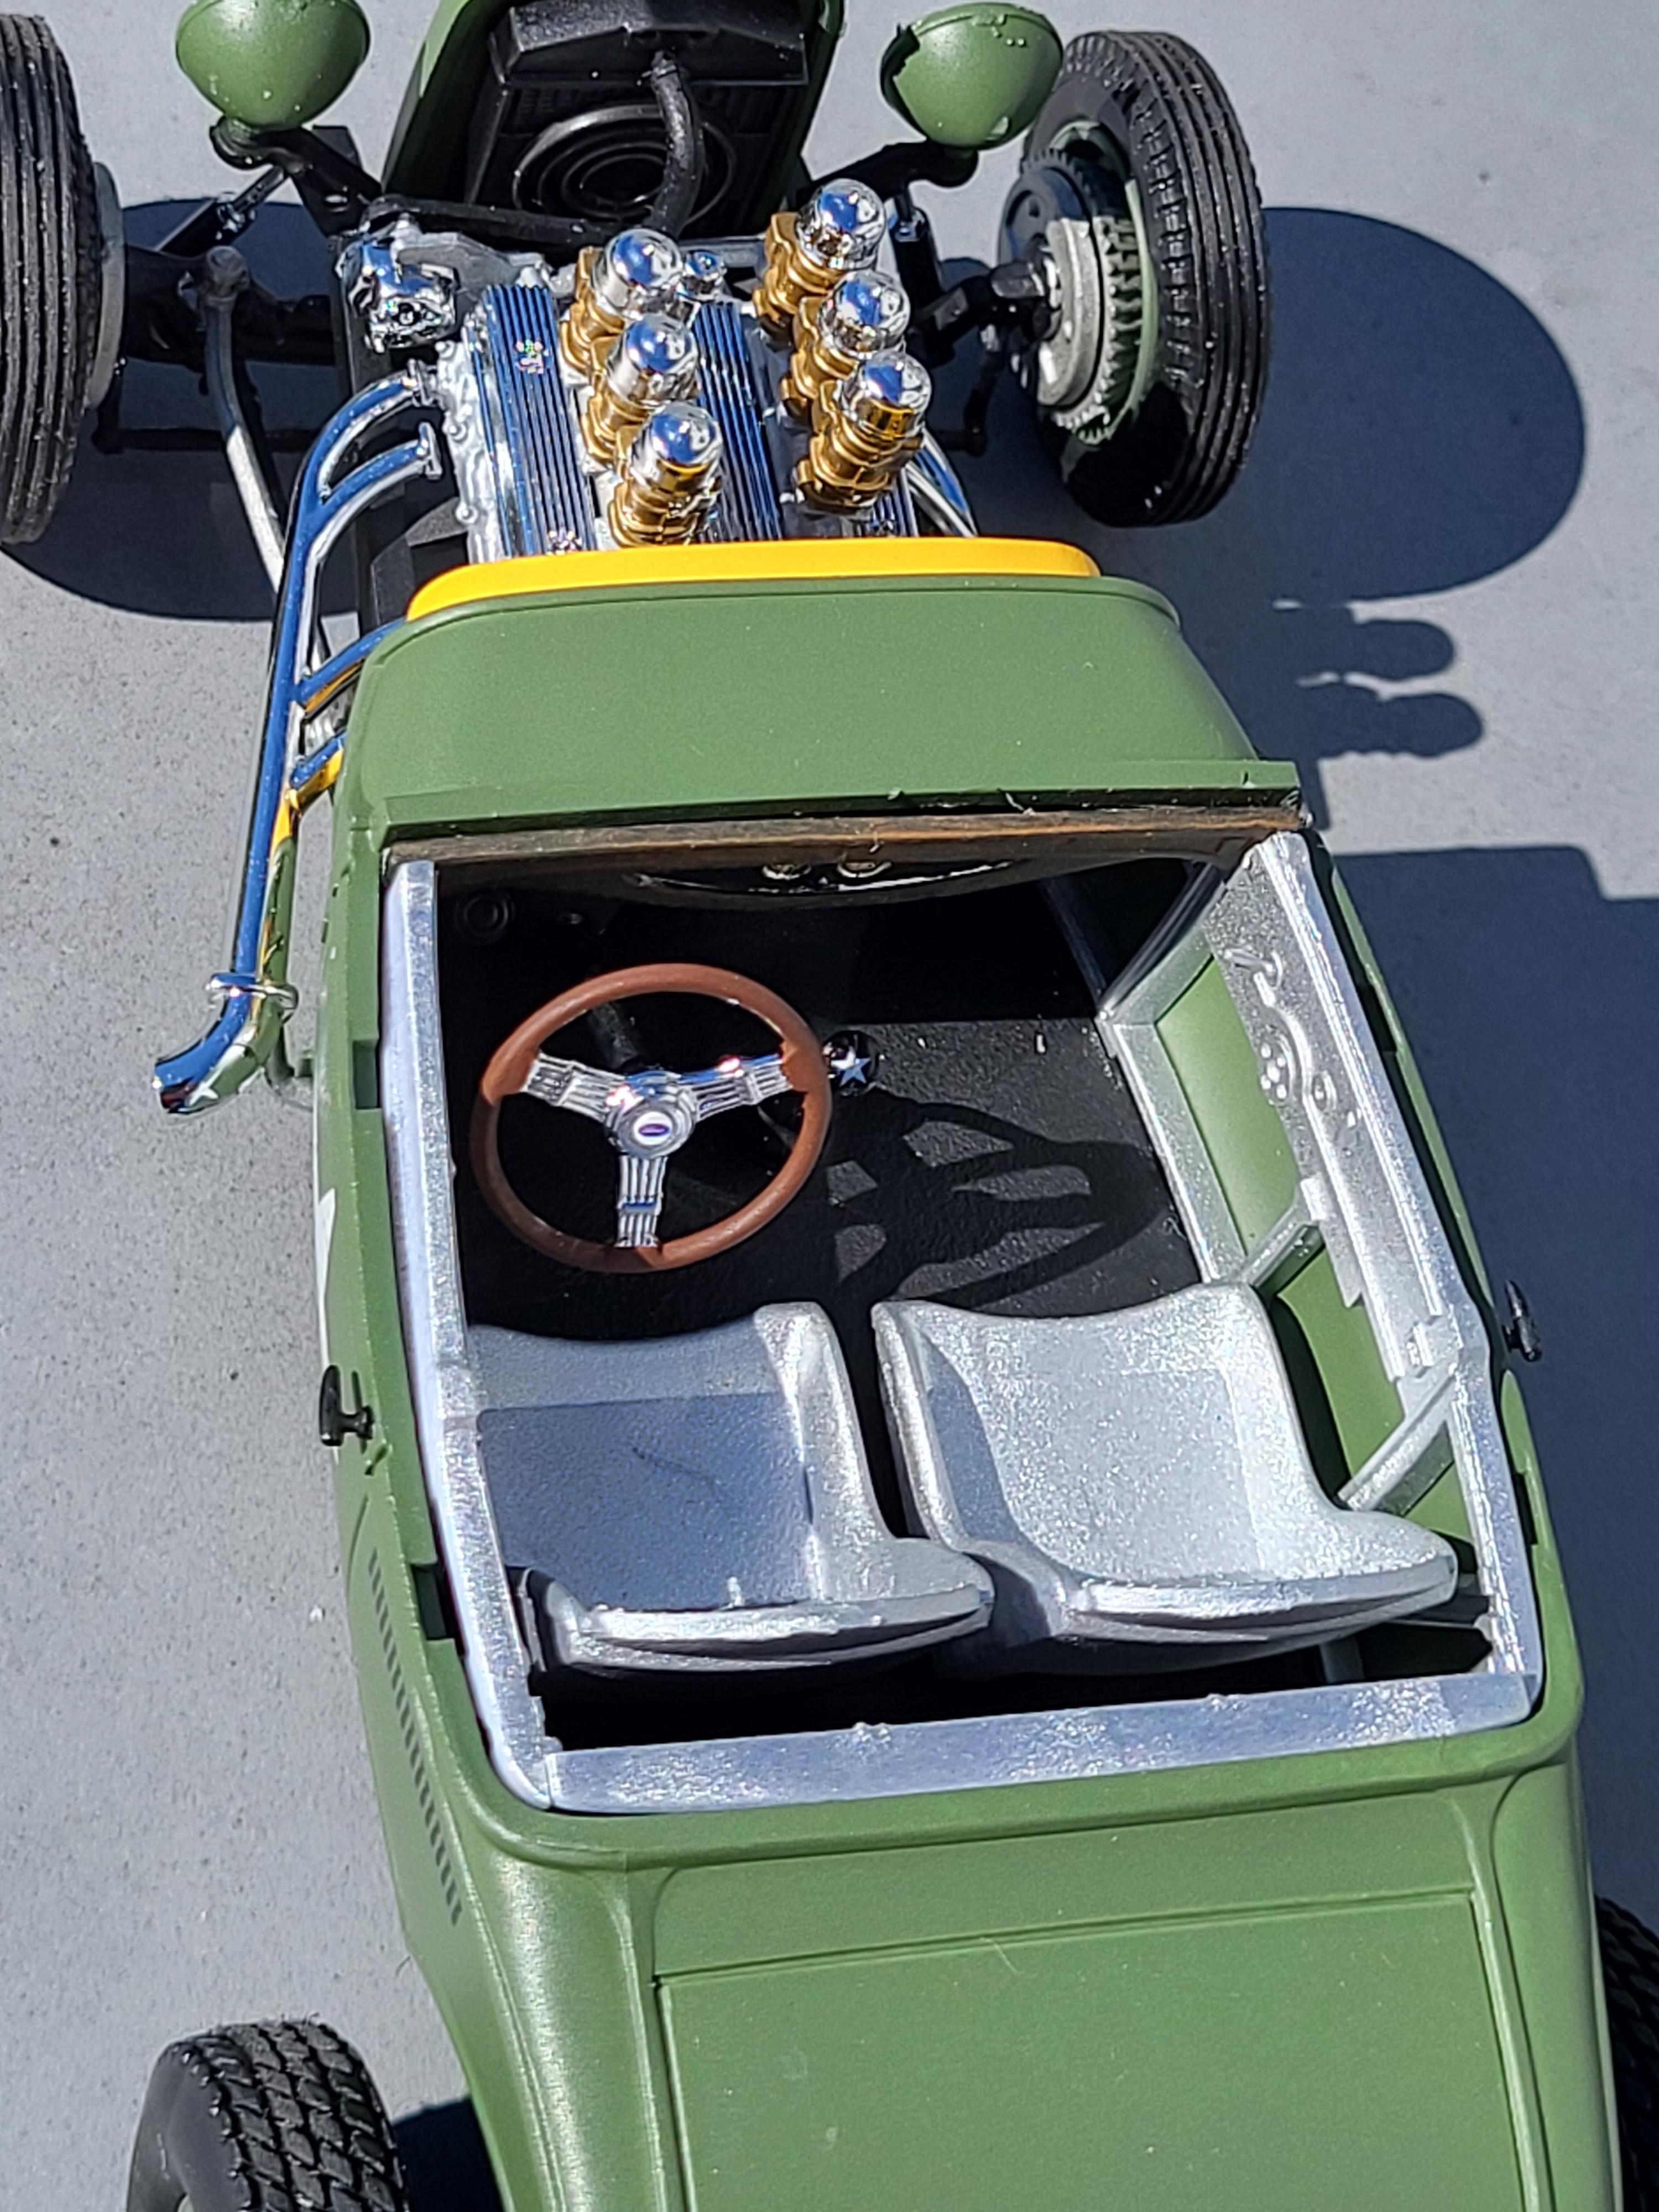
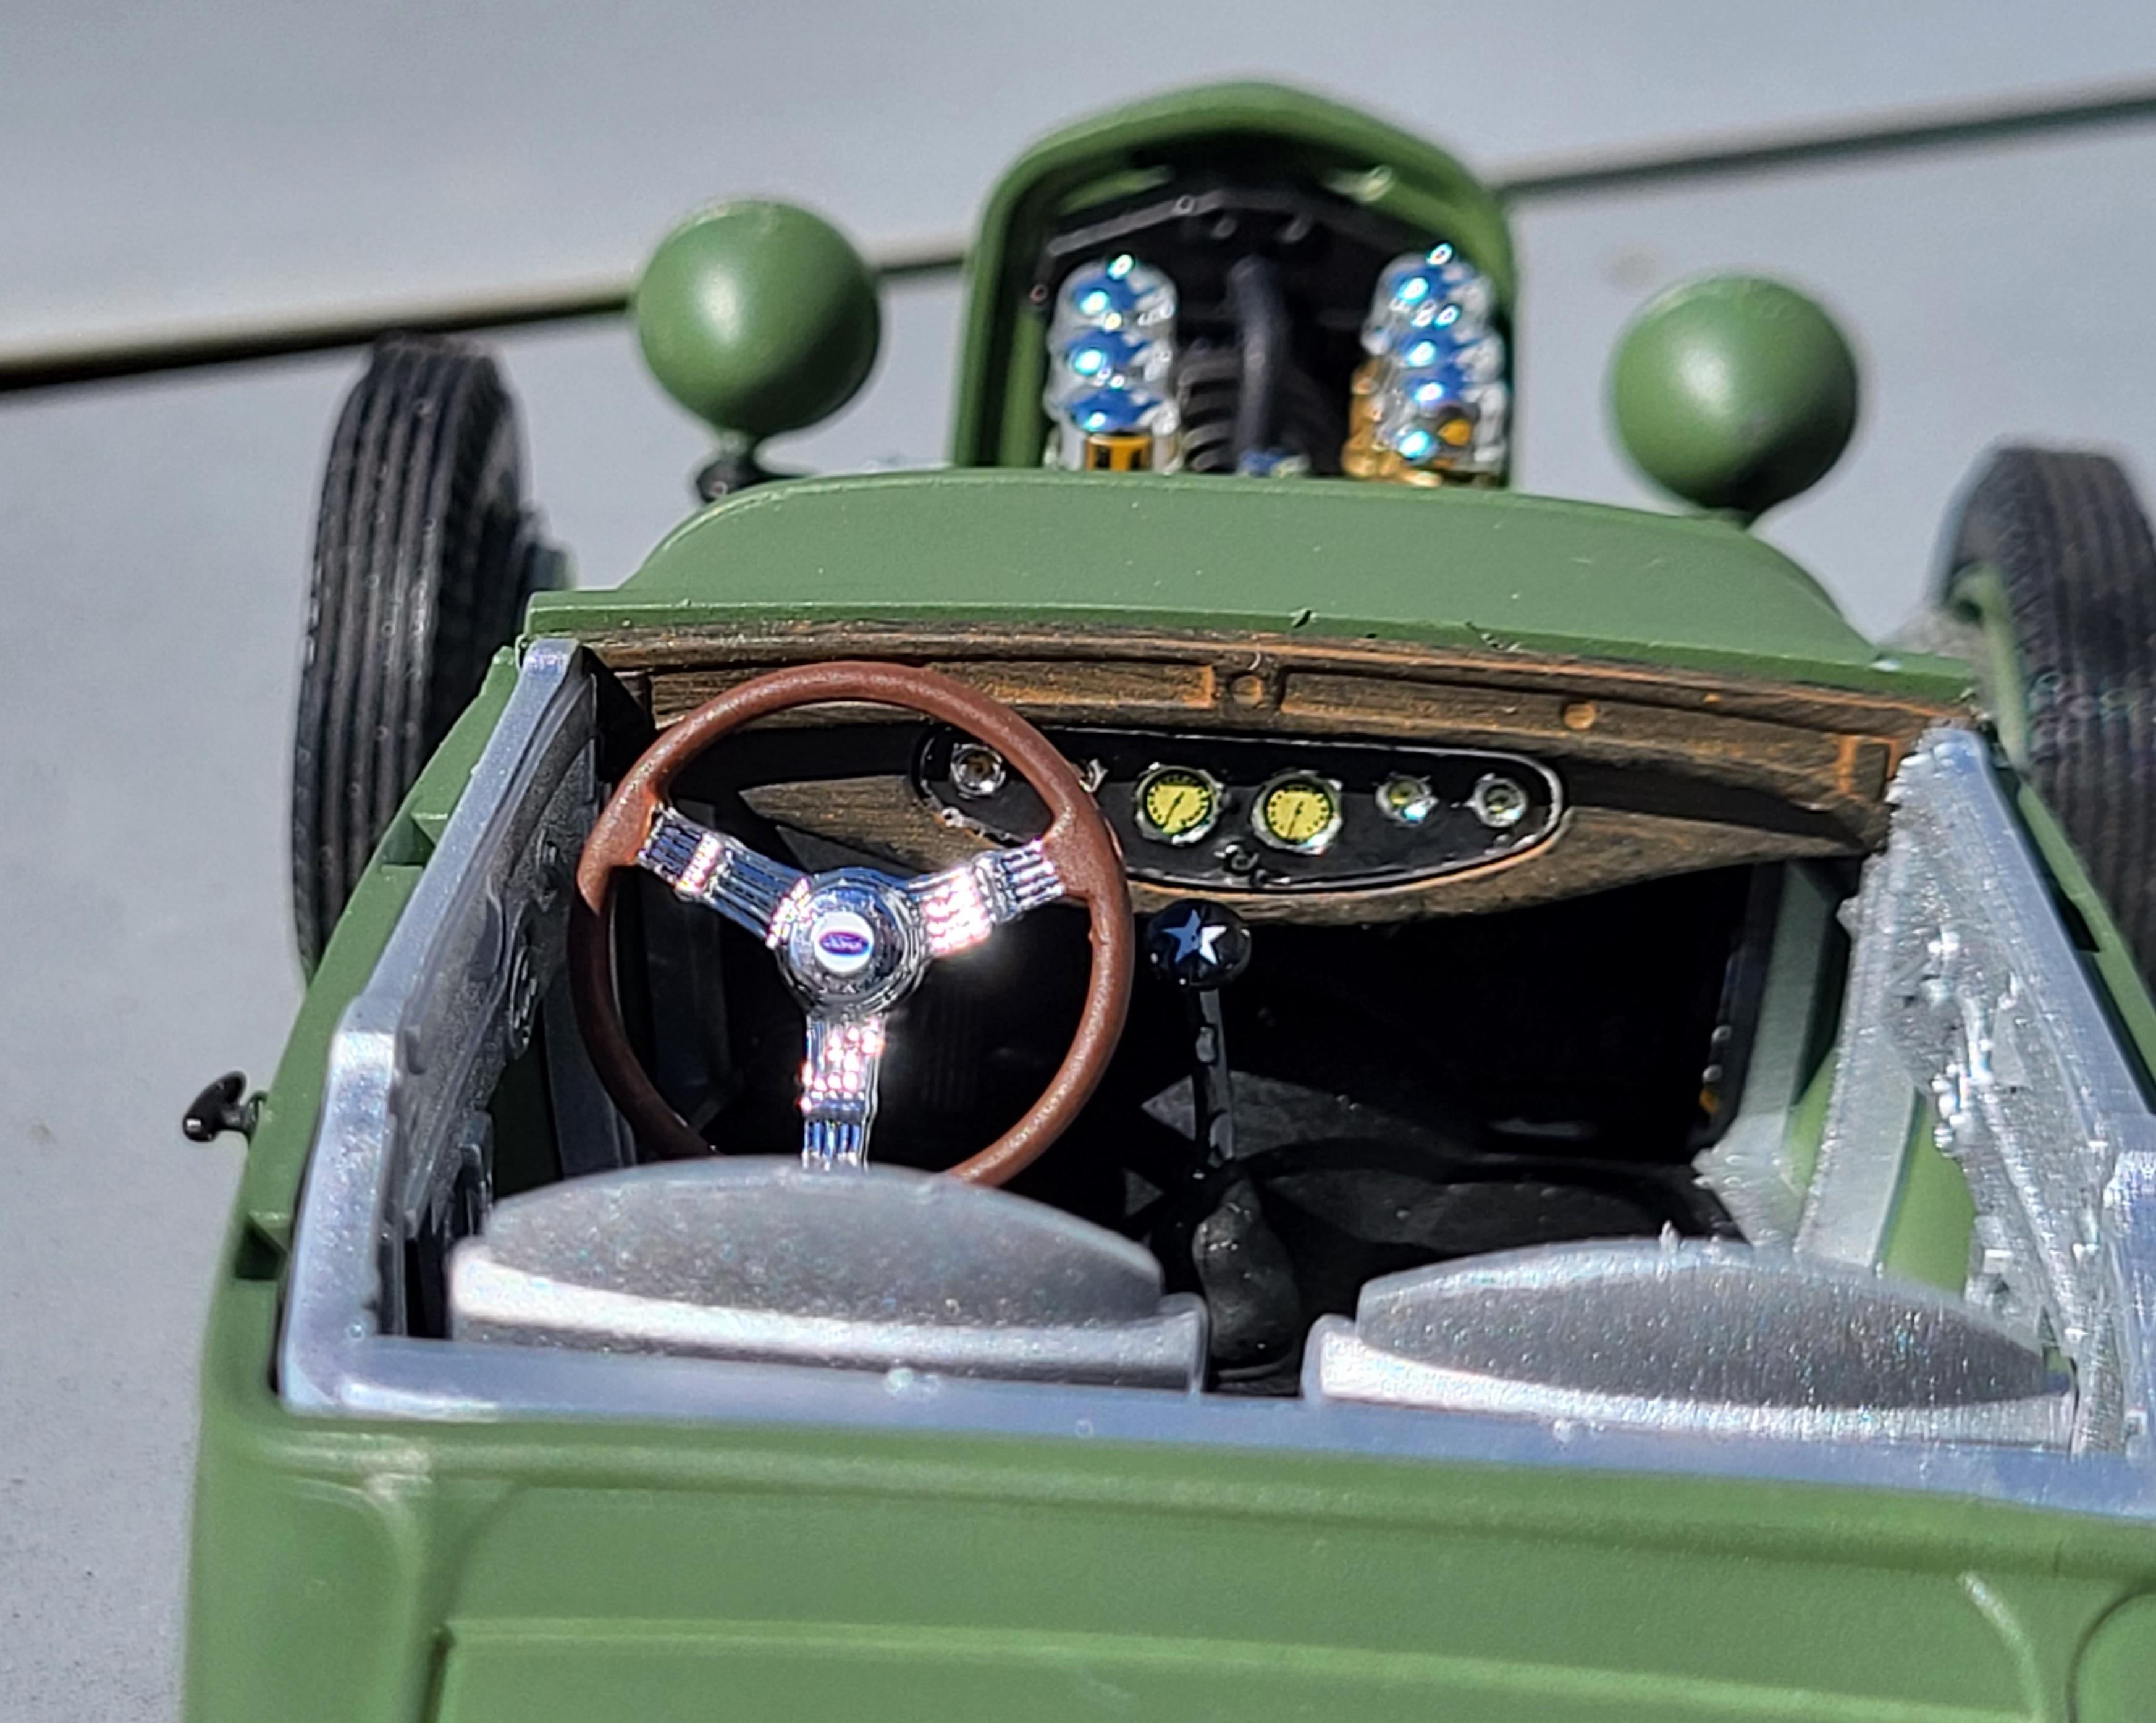
Here is my Revell 1930 Ford Model A Coupé. It is essentially straight from the box, and it's sort of a mix (marking wise) between a WWII US Army tank & a USAAF fighter bomber (P-47D?). Color is Tamiya AS-14 USAF Olive Green. Interior is Dupli-Color Aluminum.
-
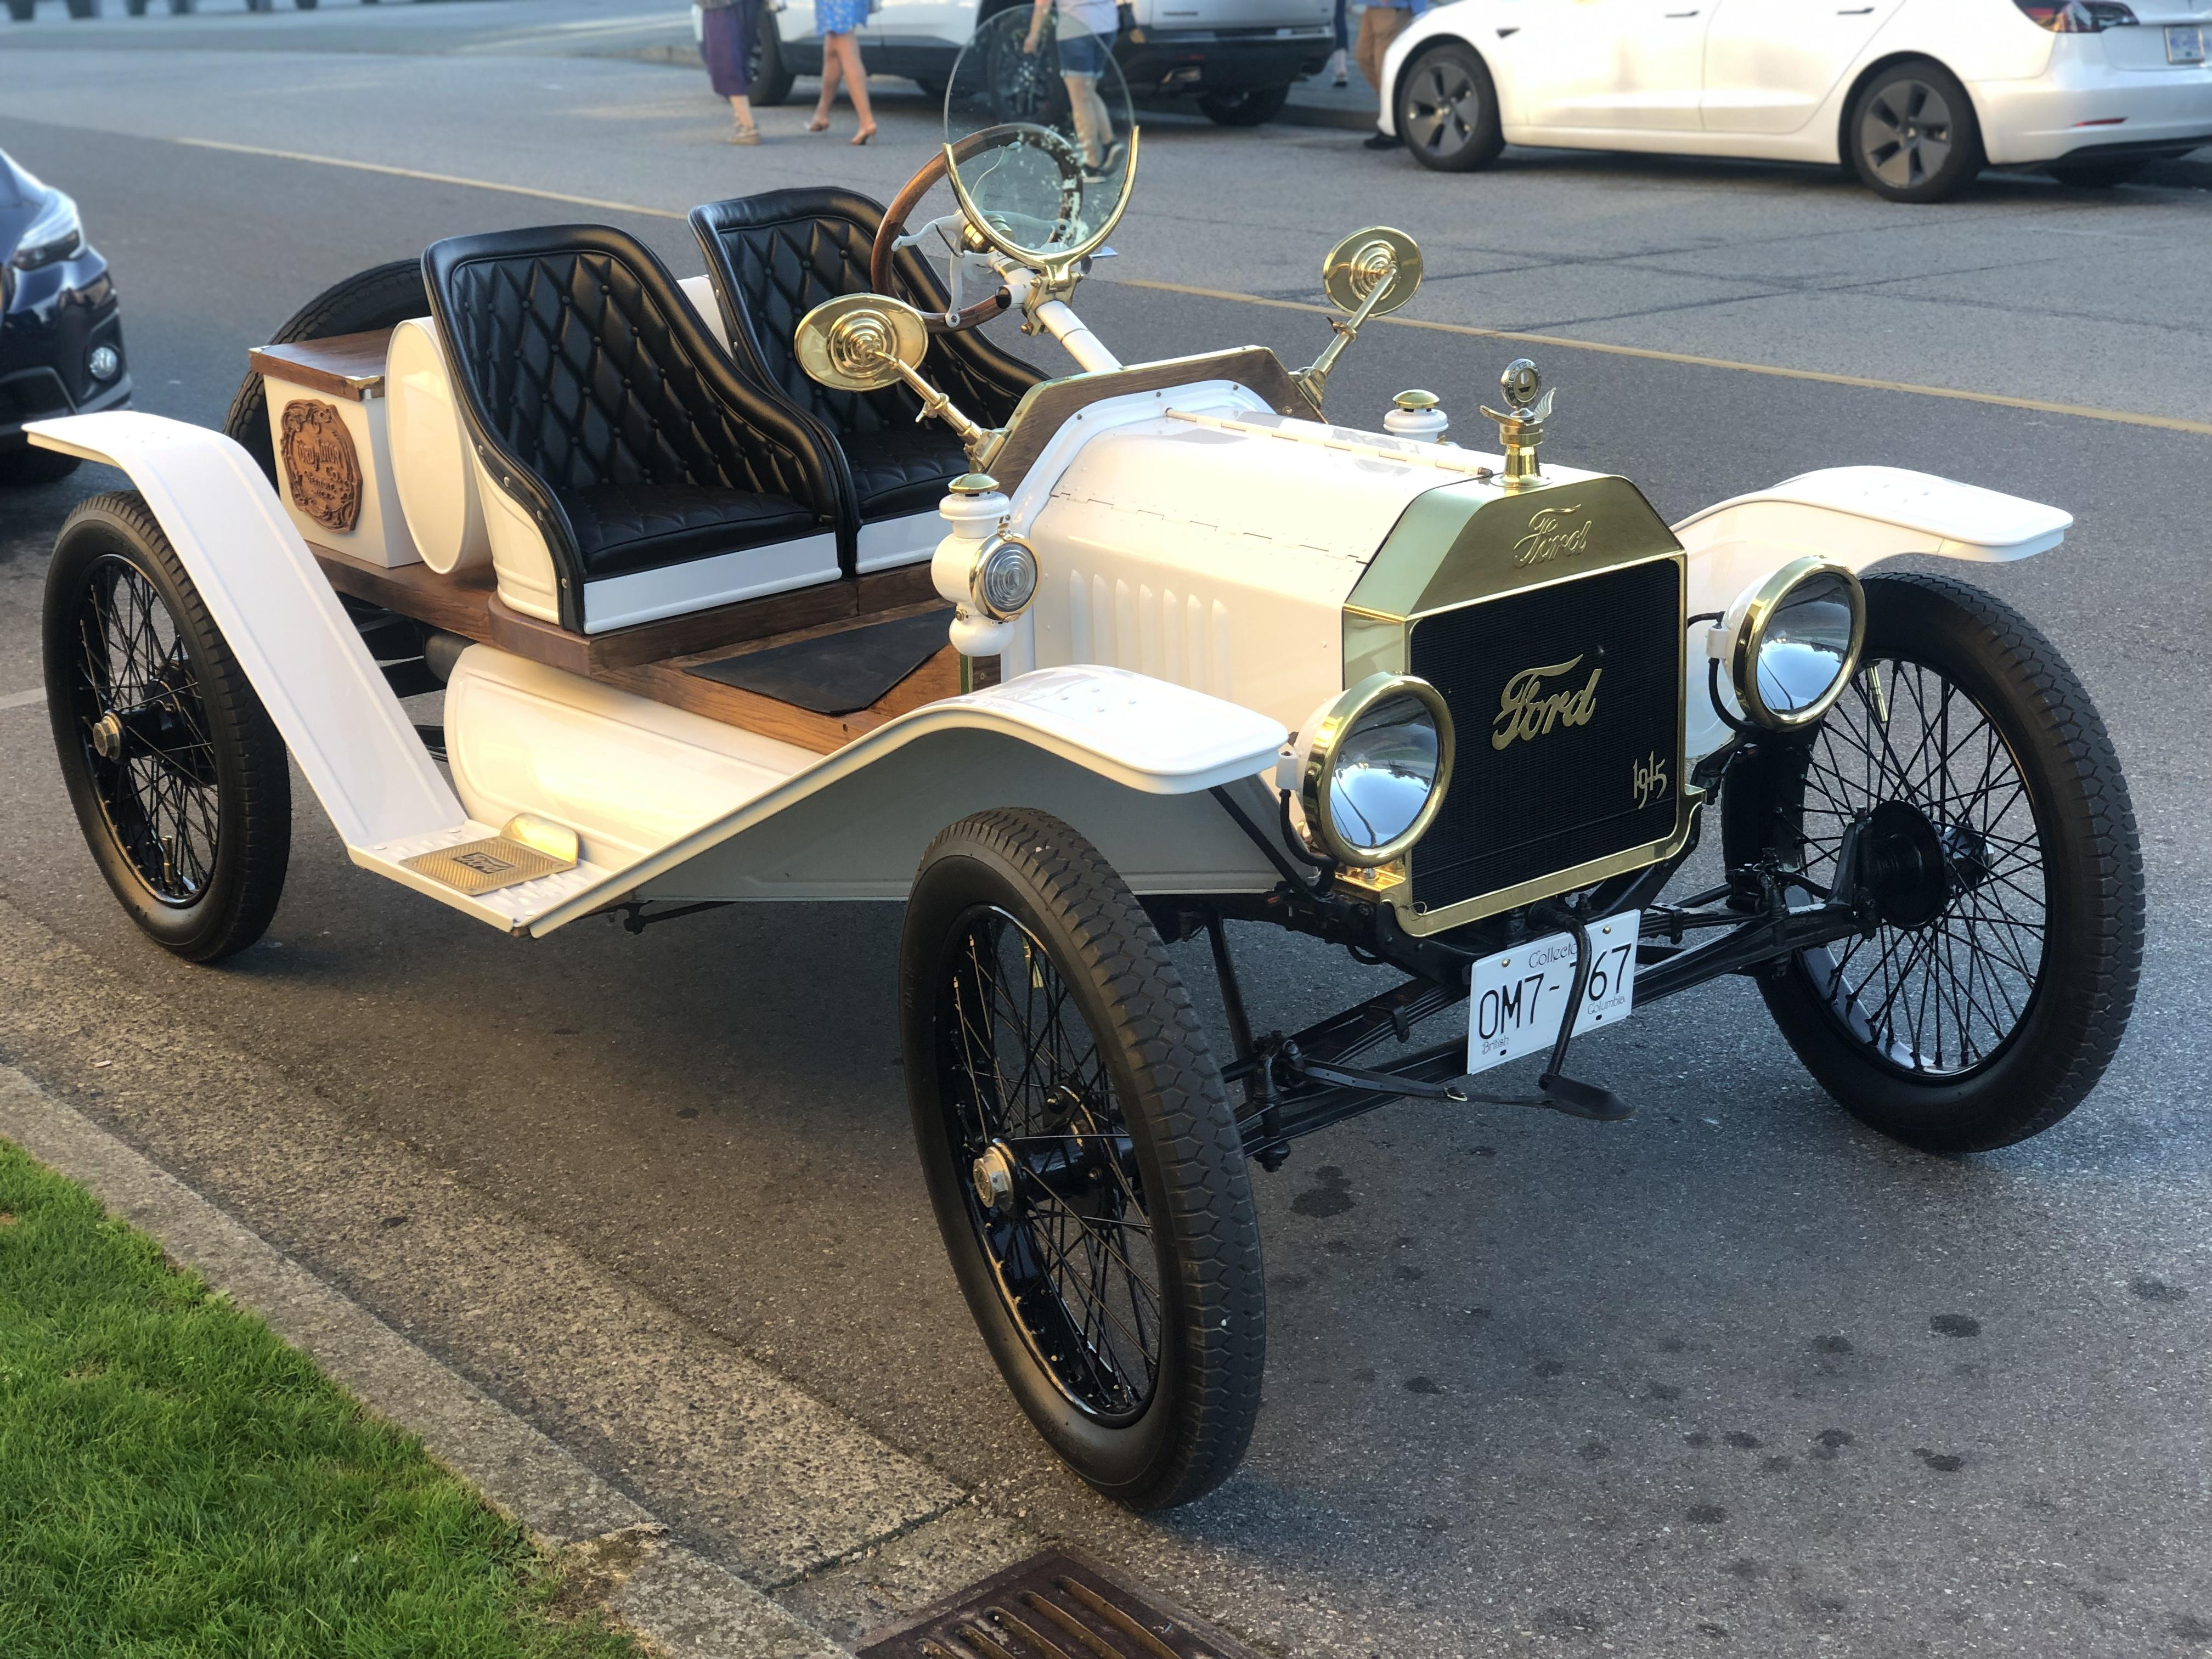
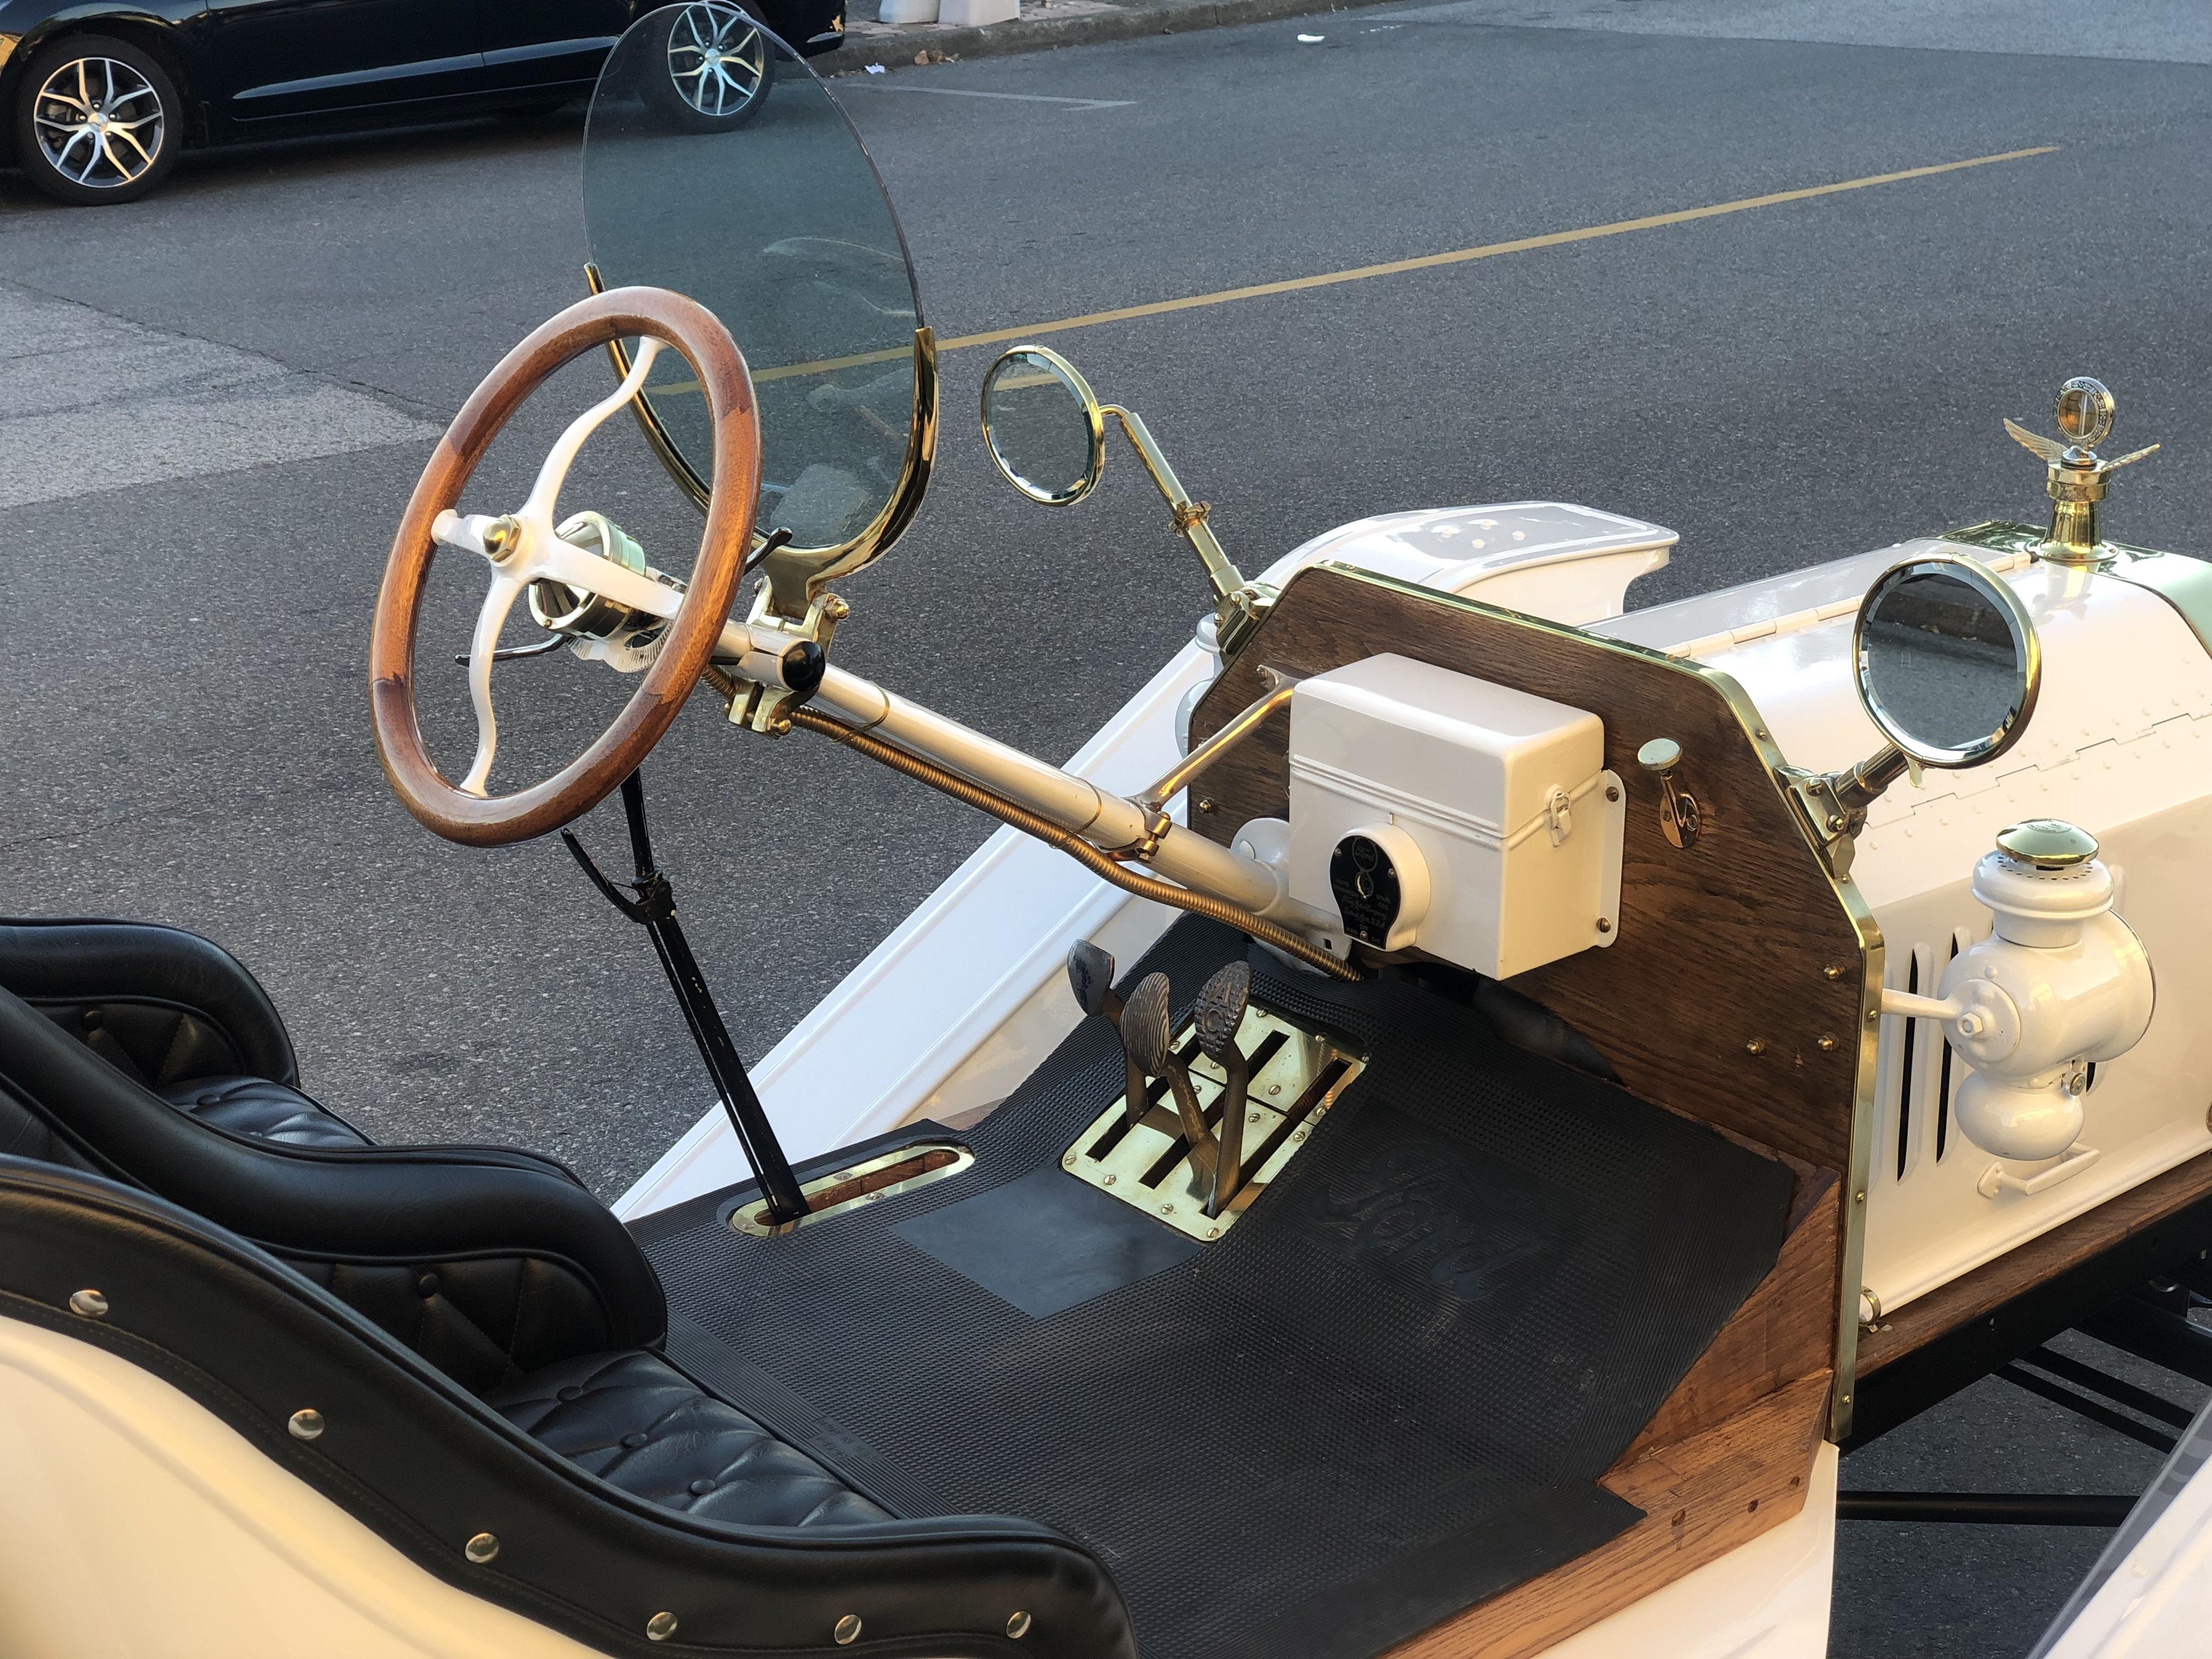
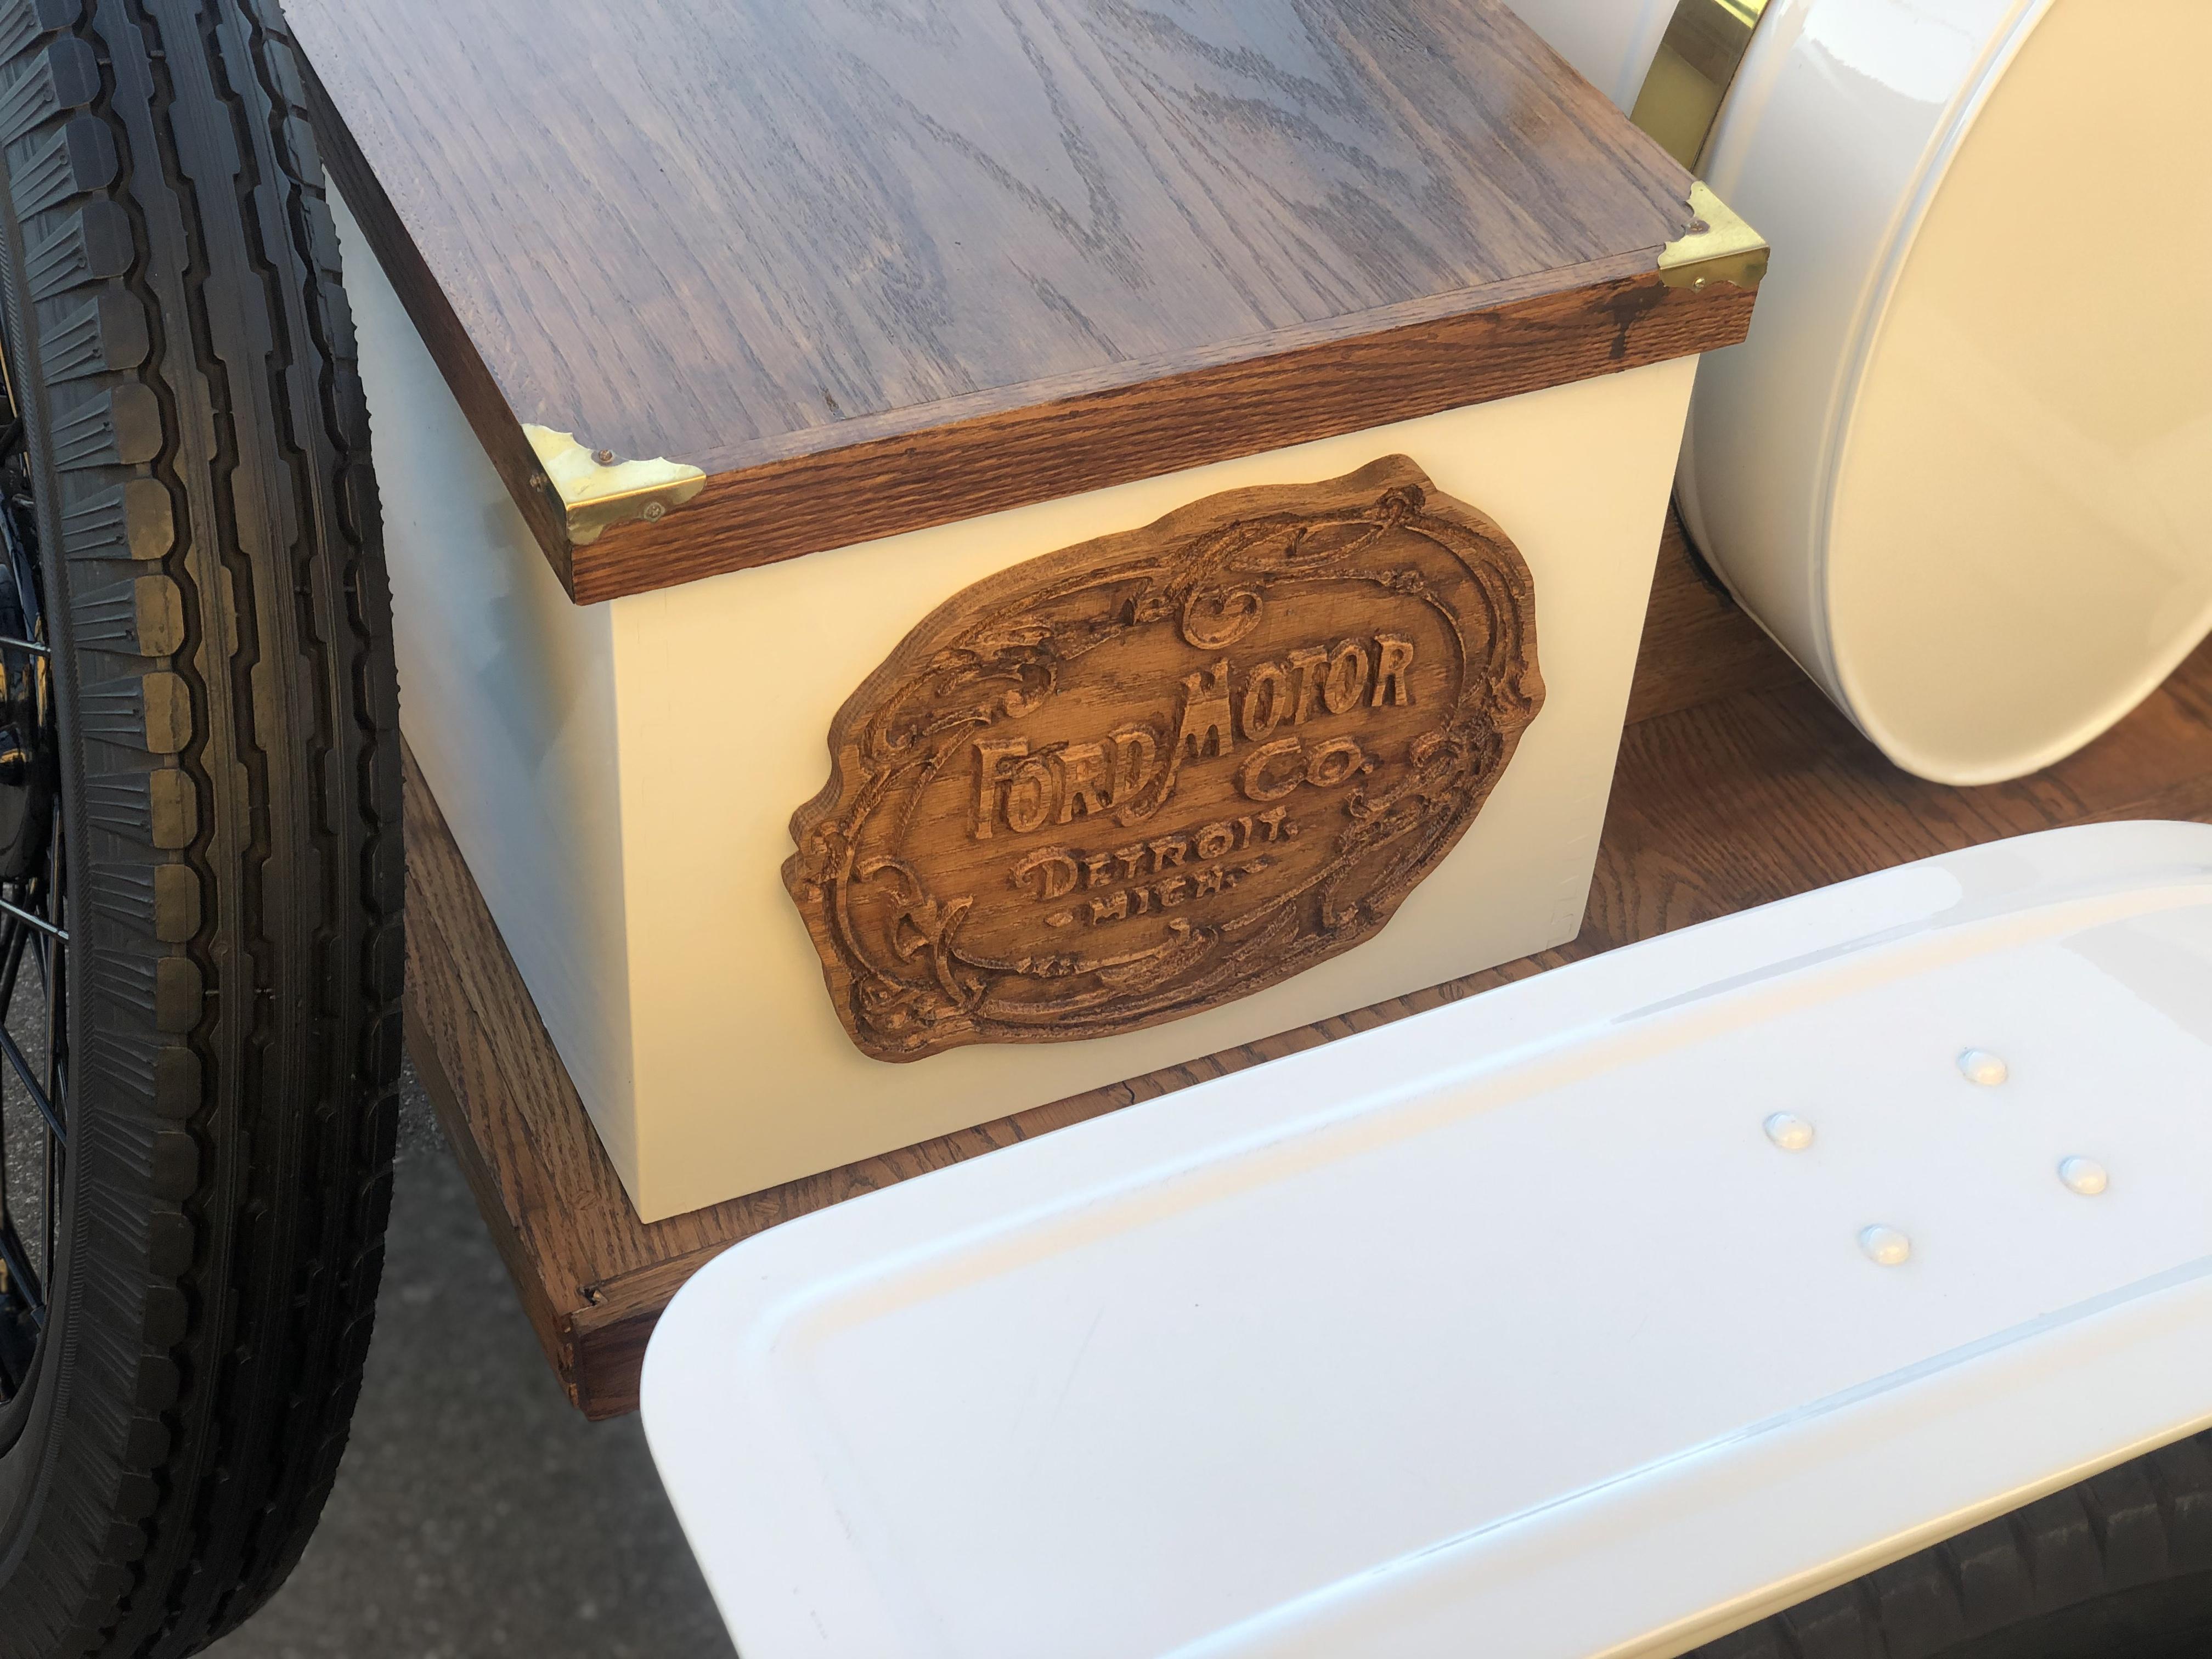
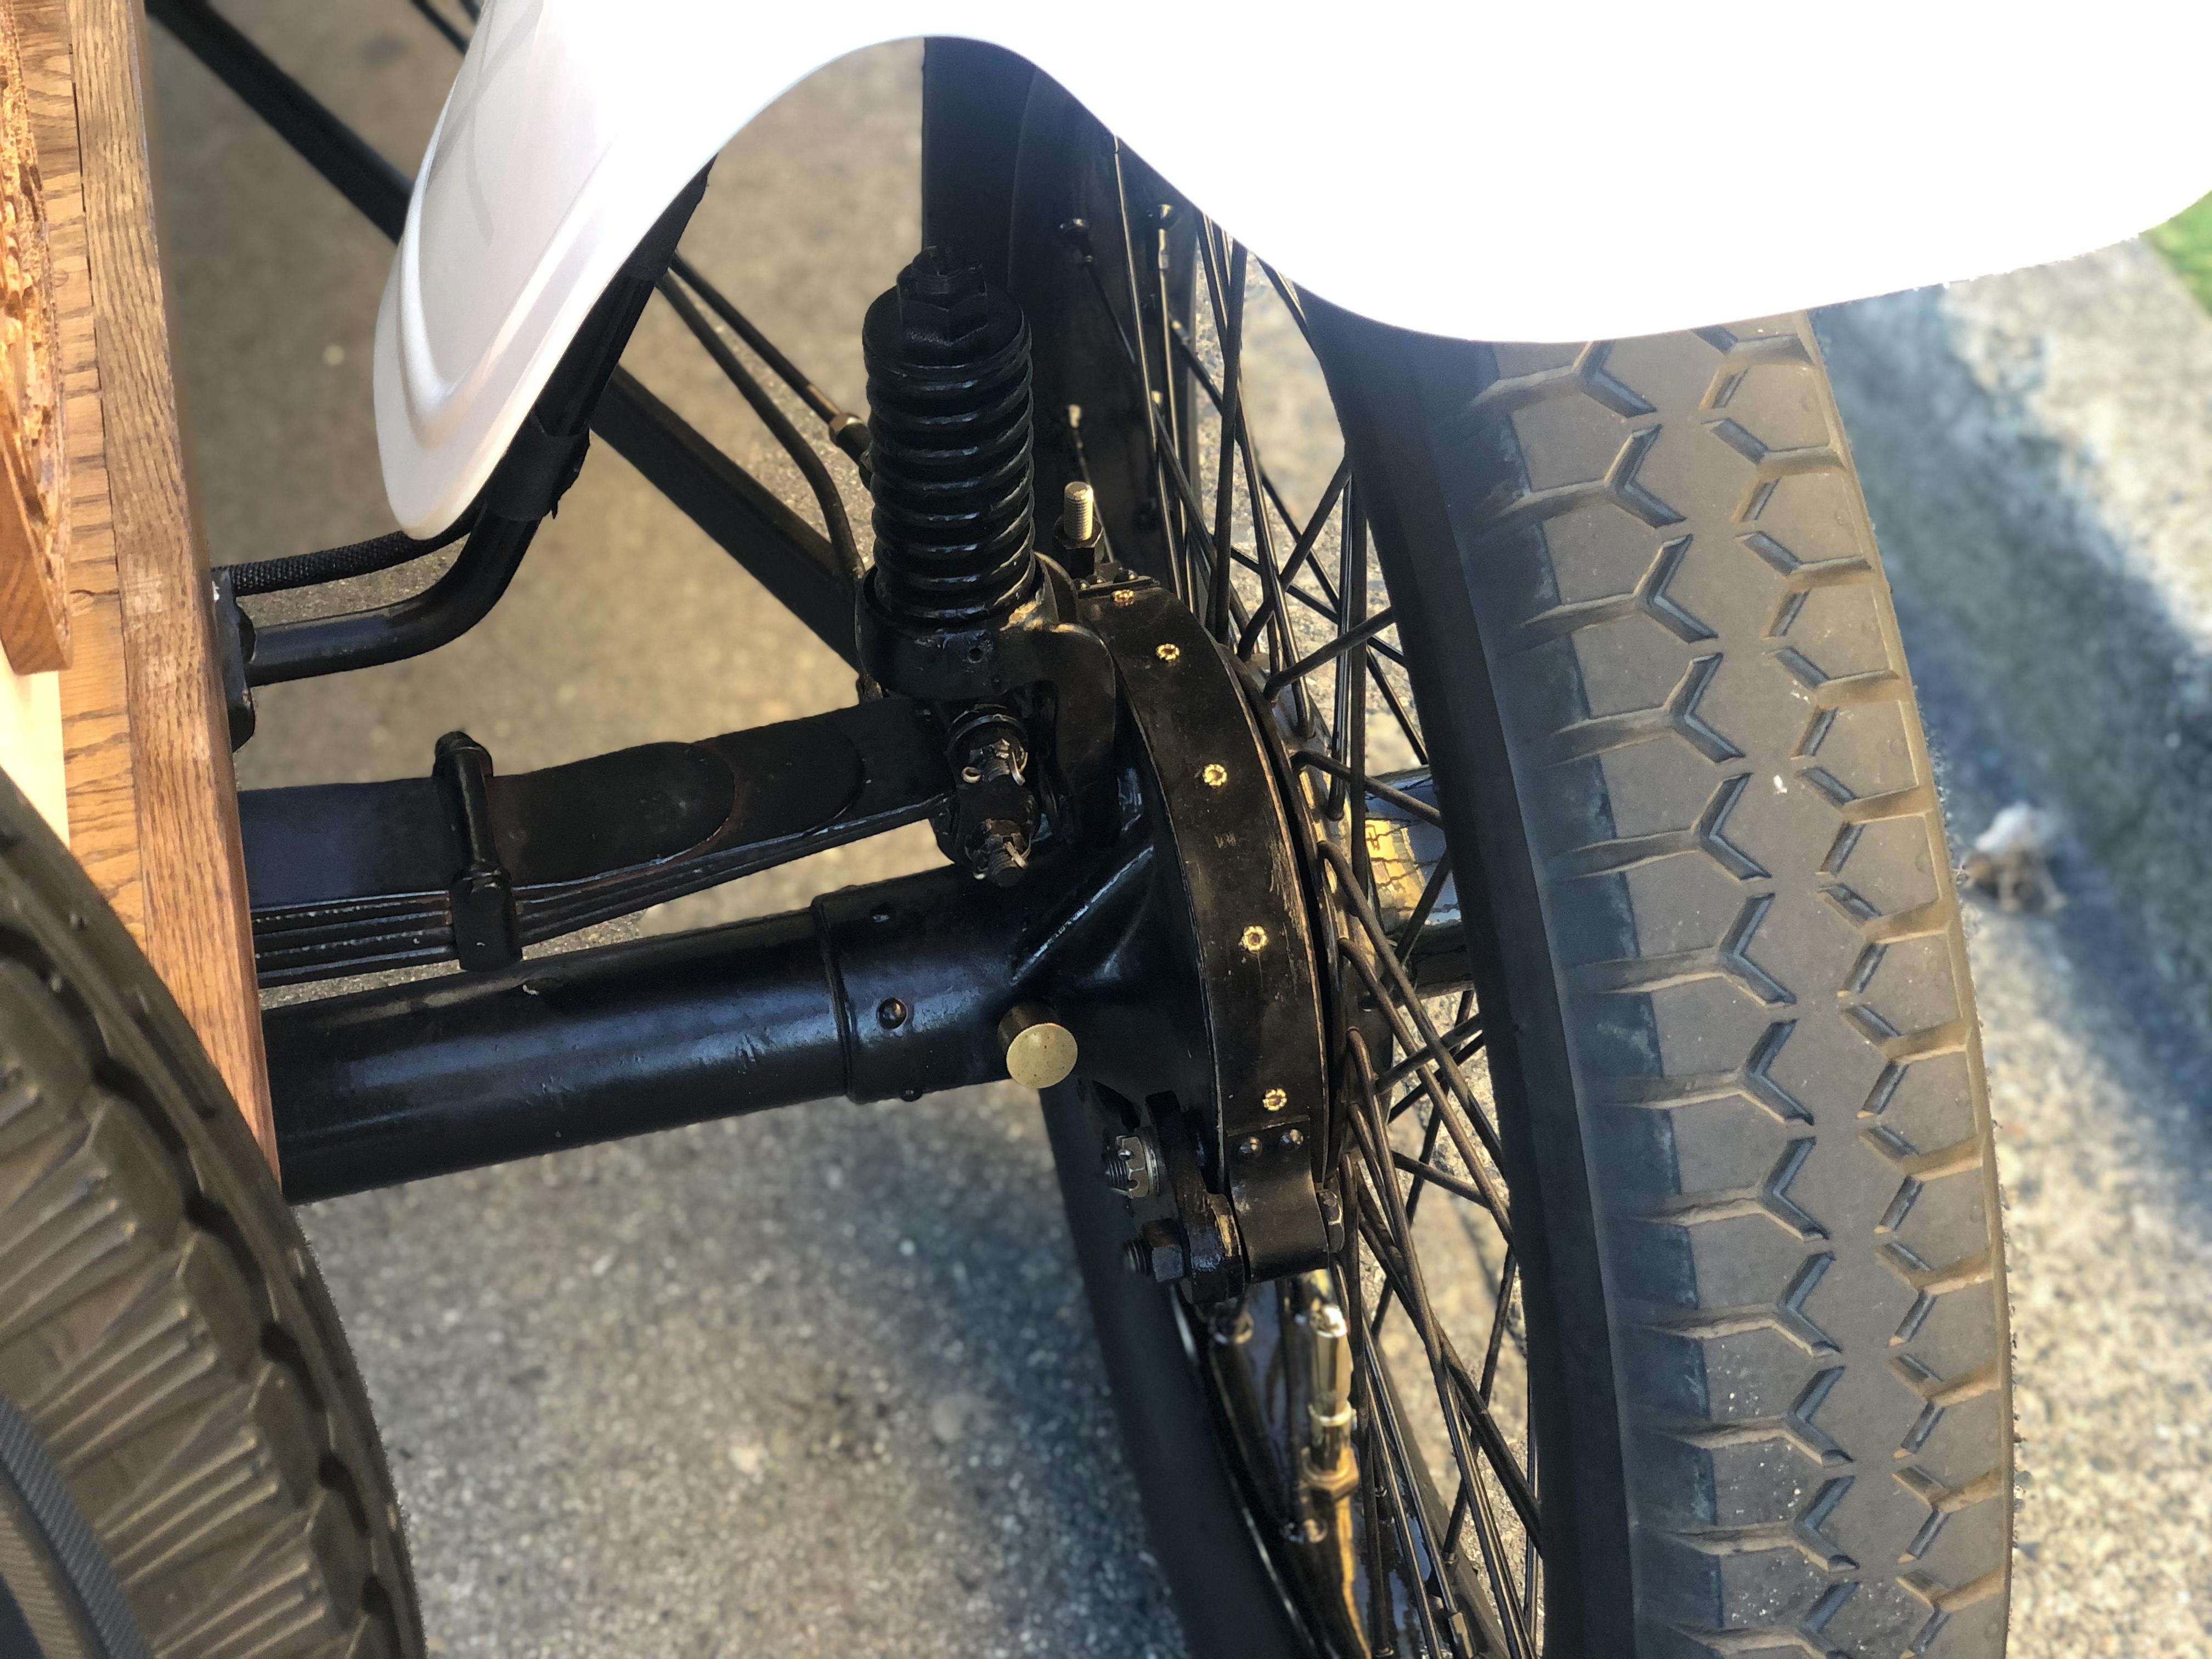
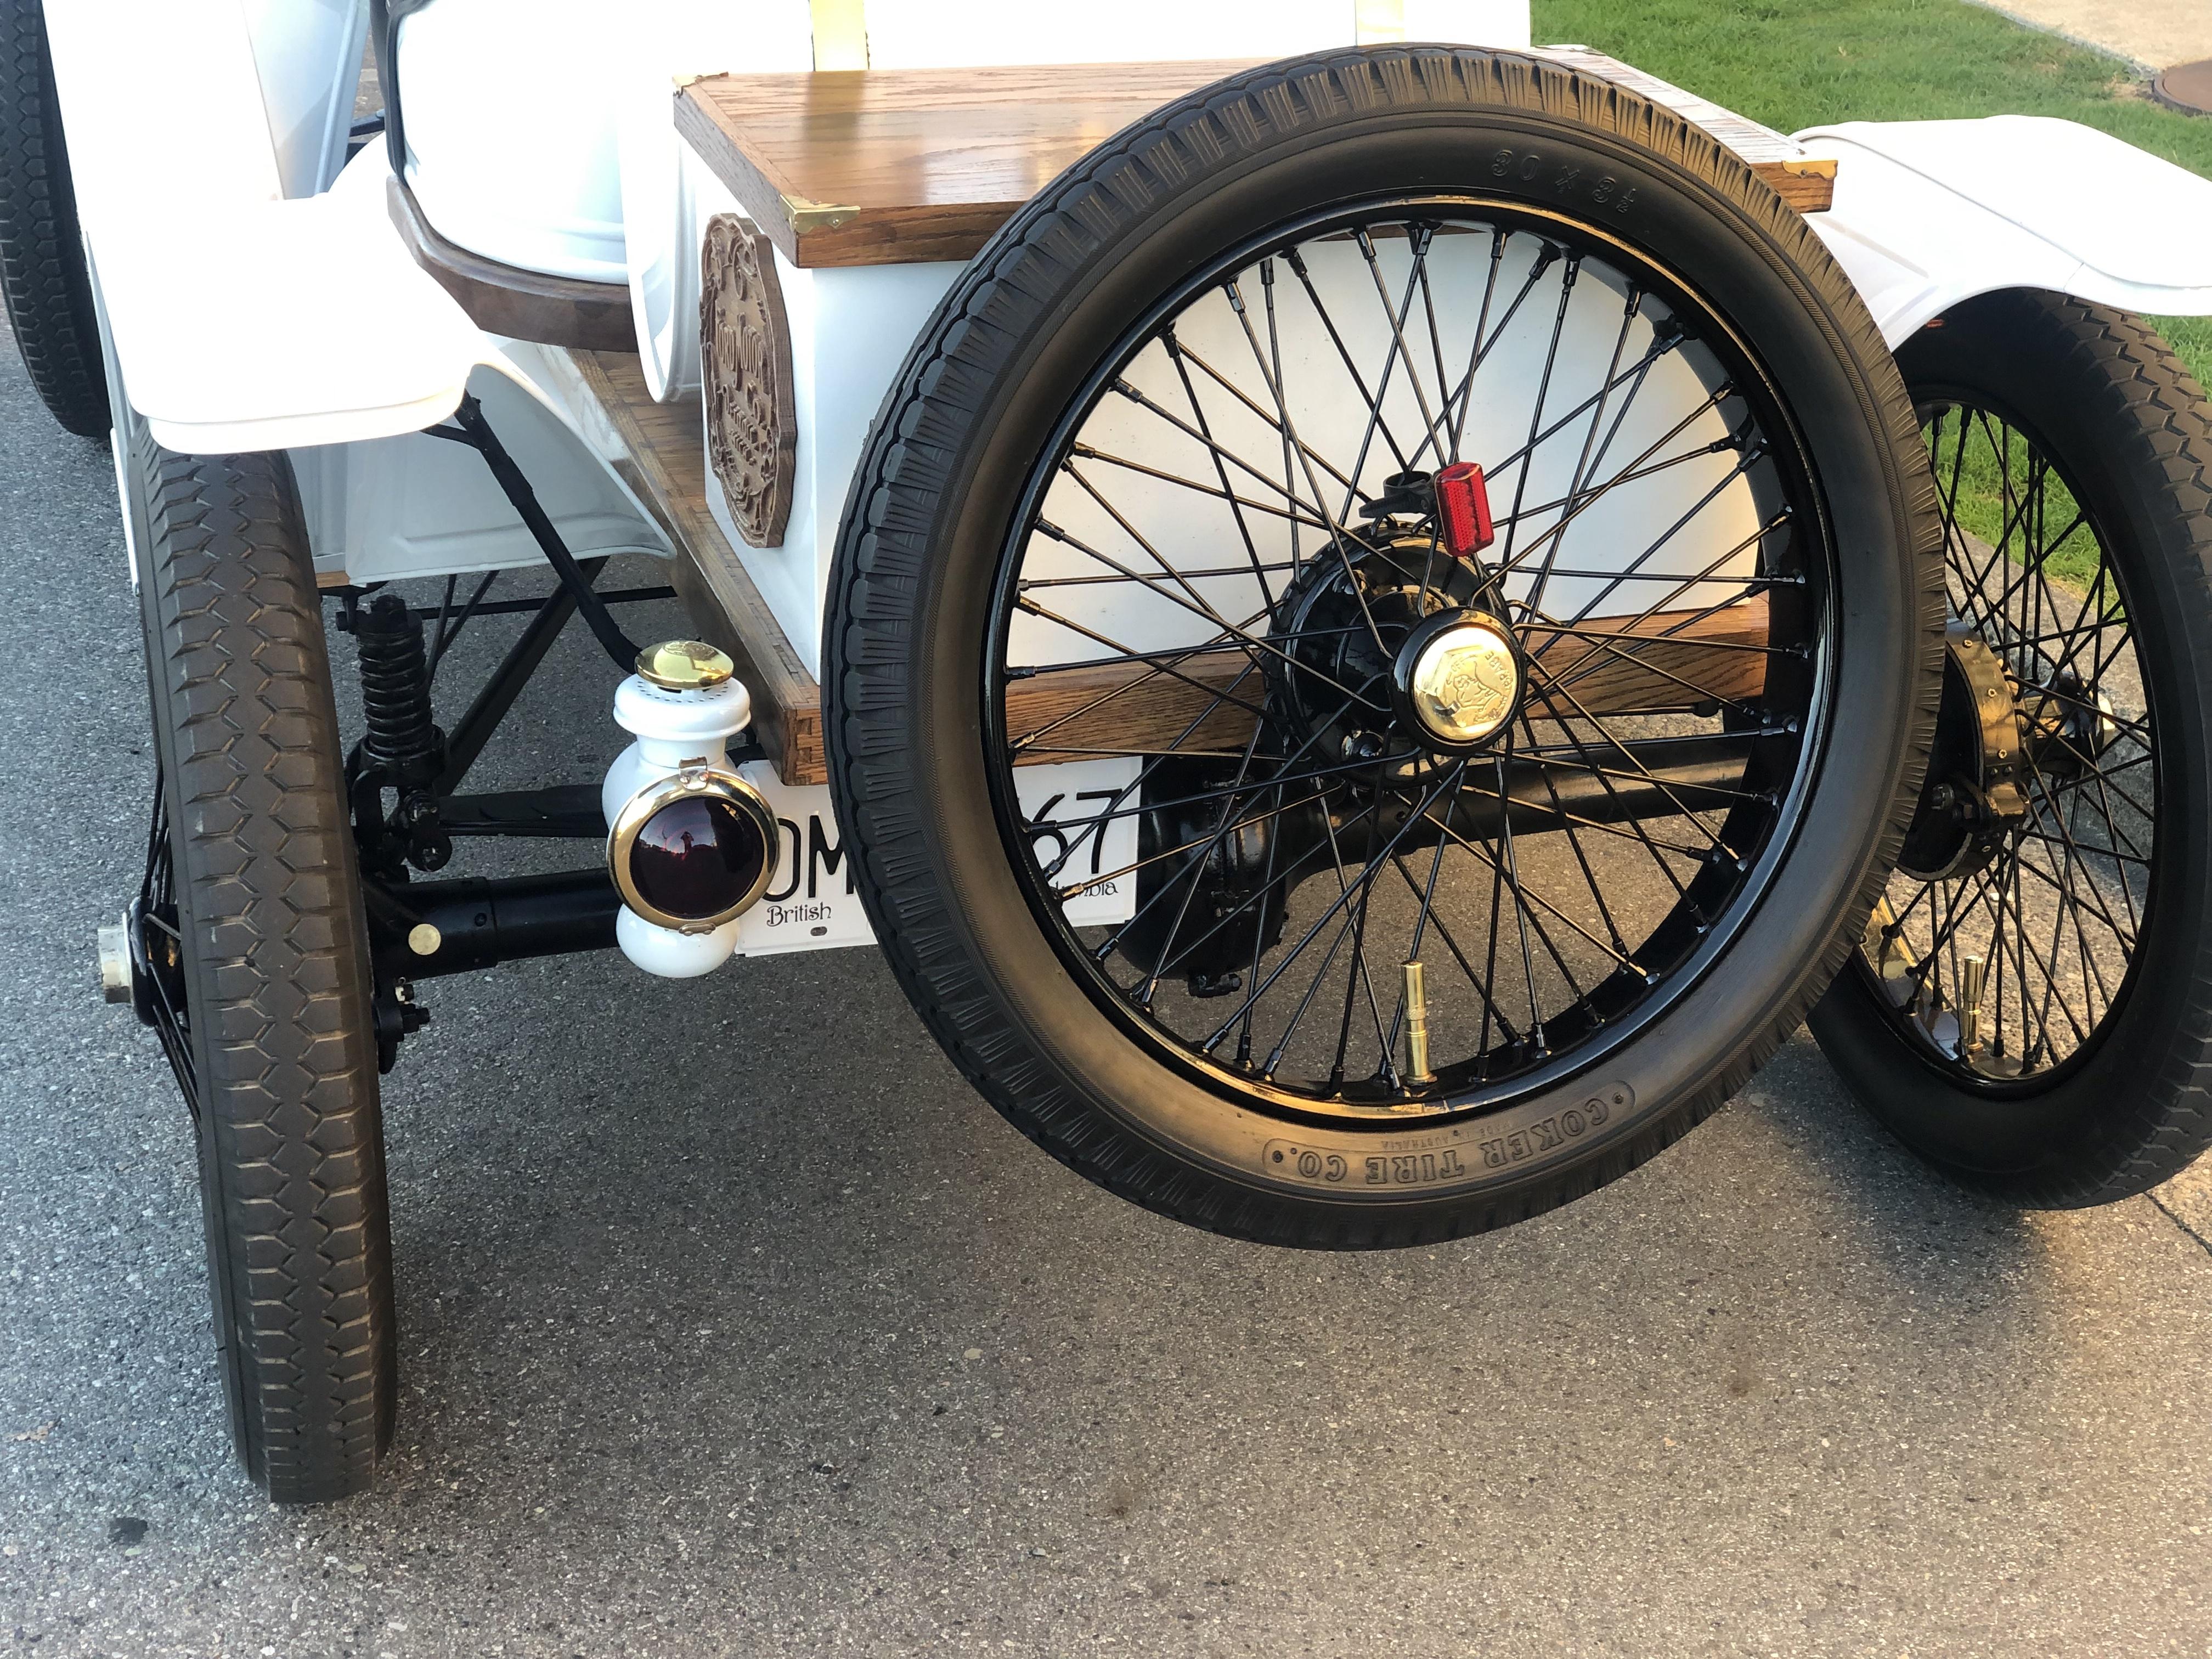
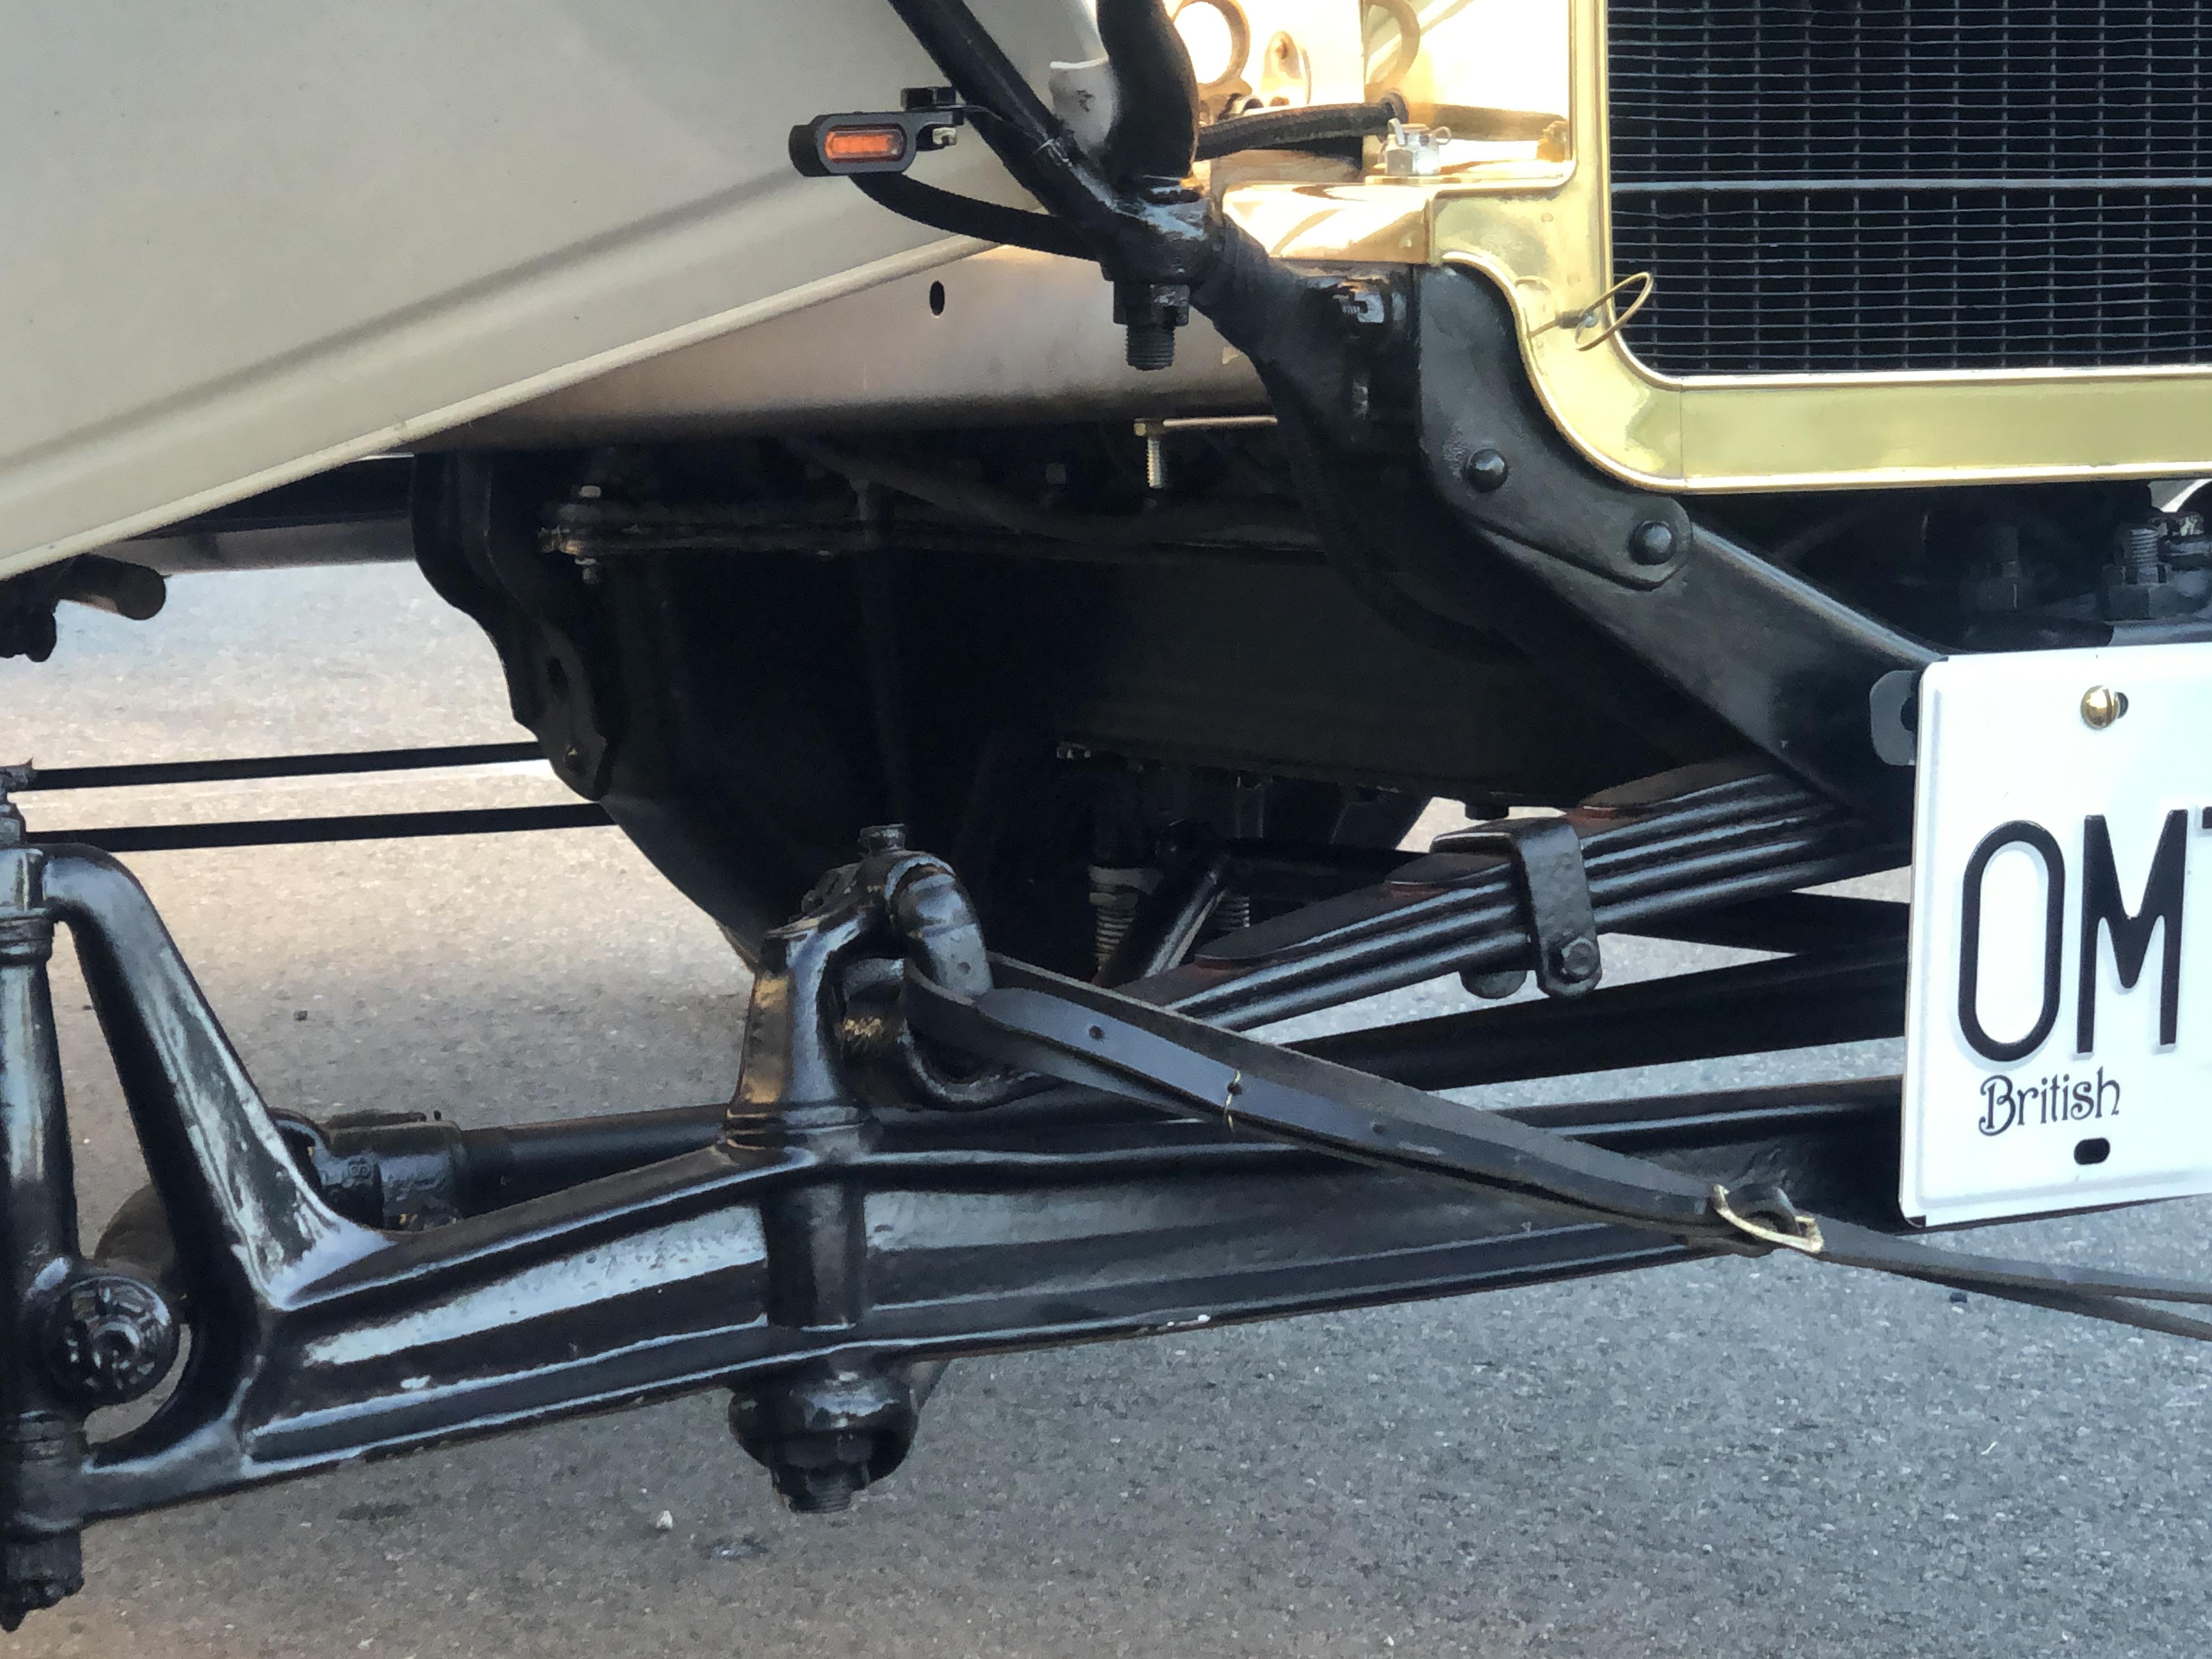
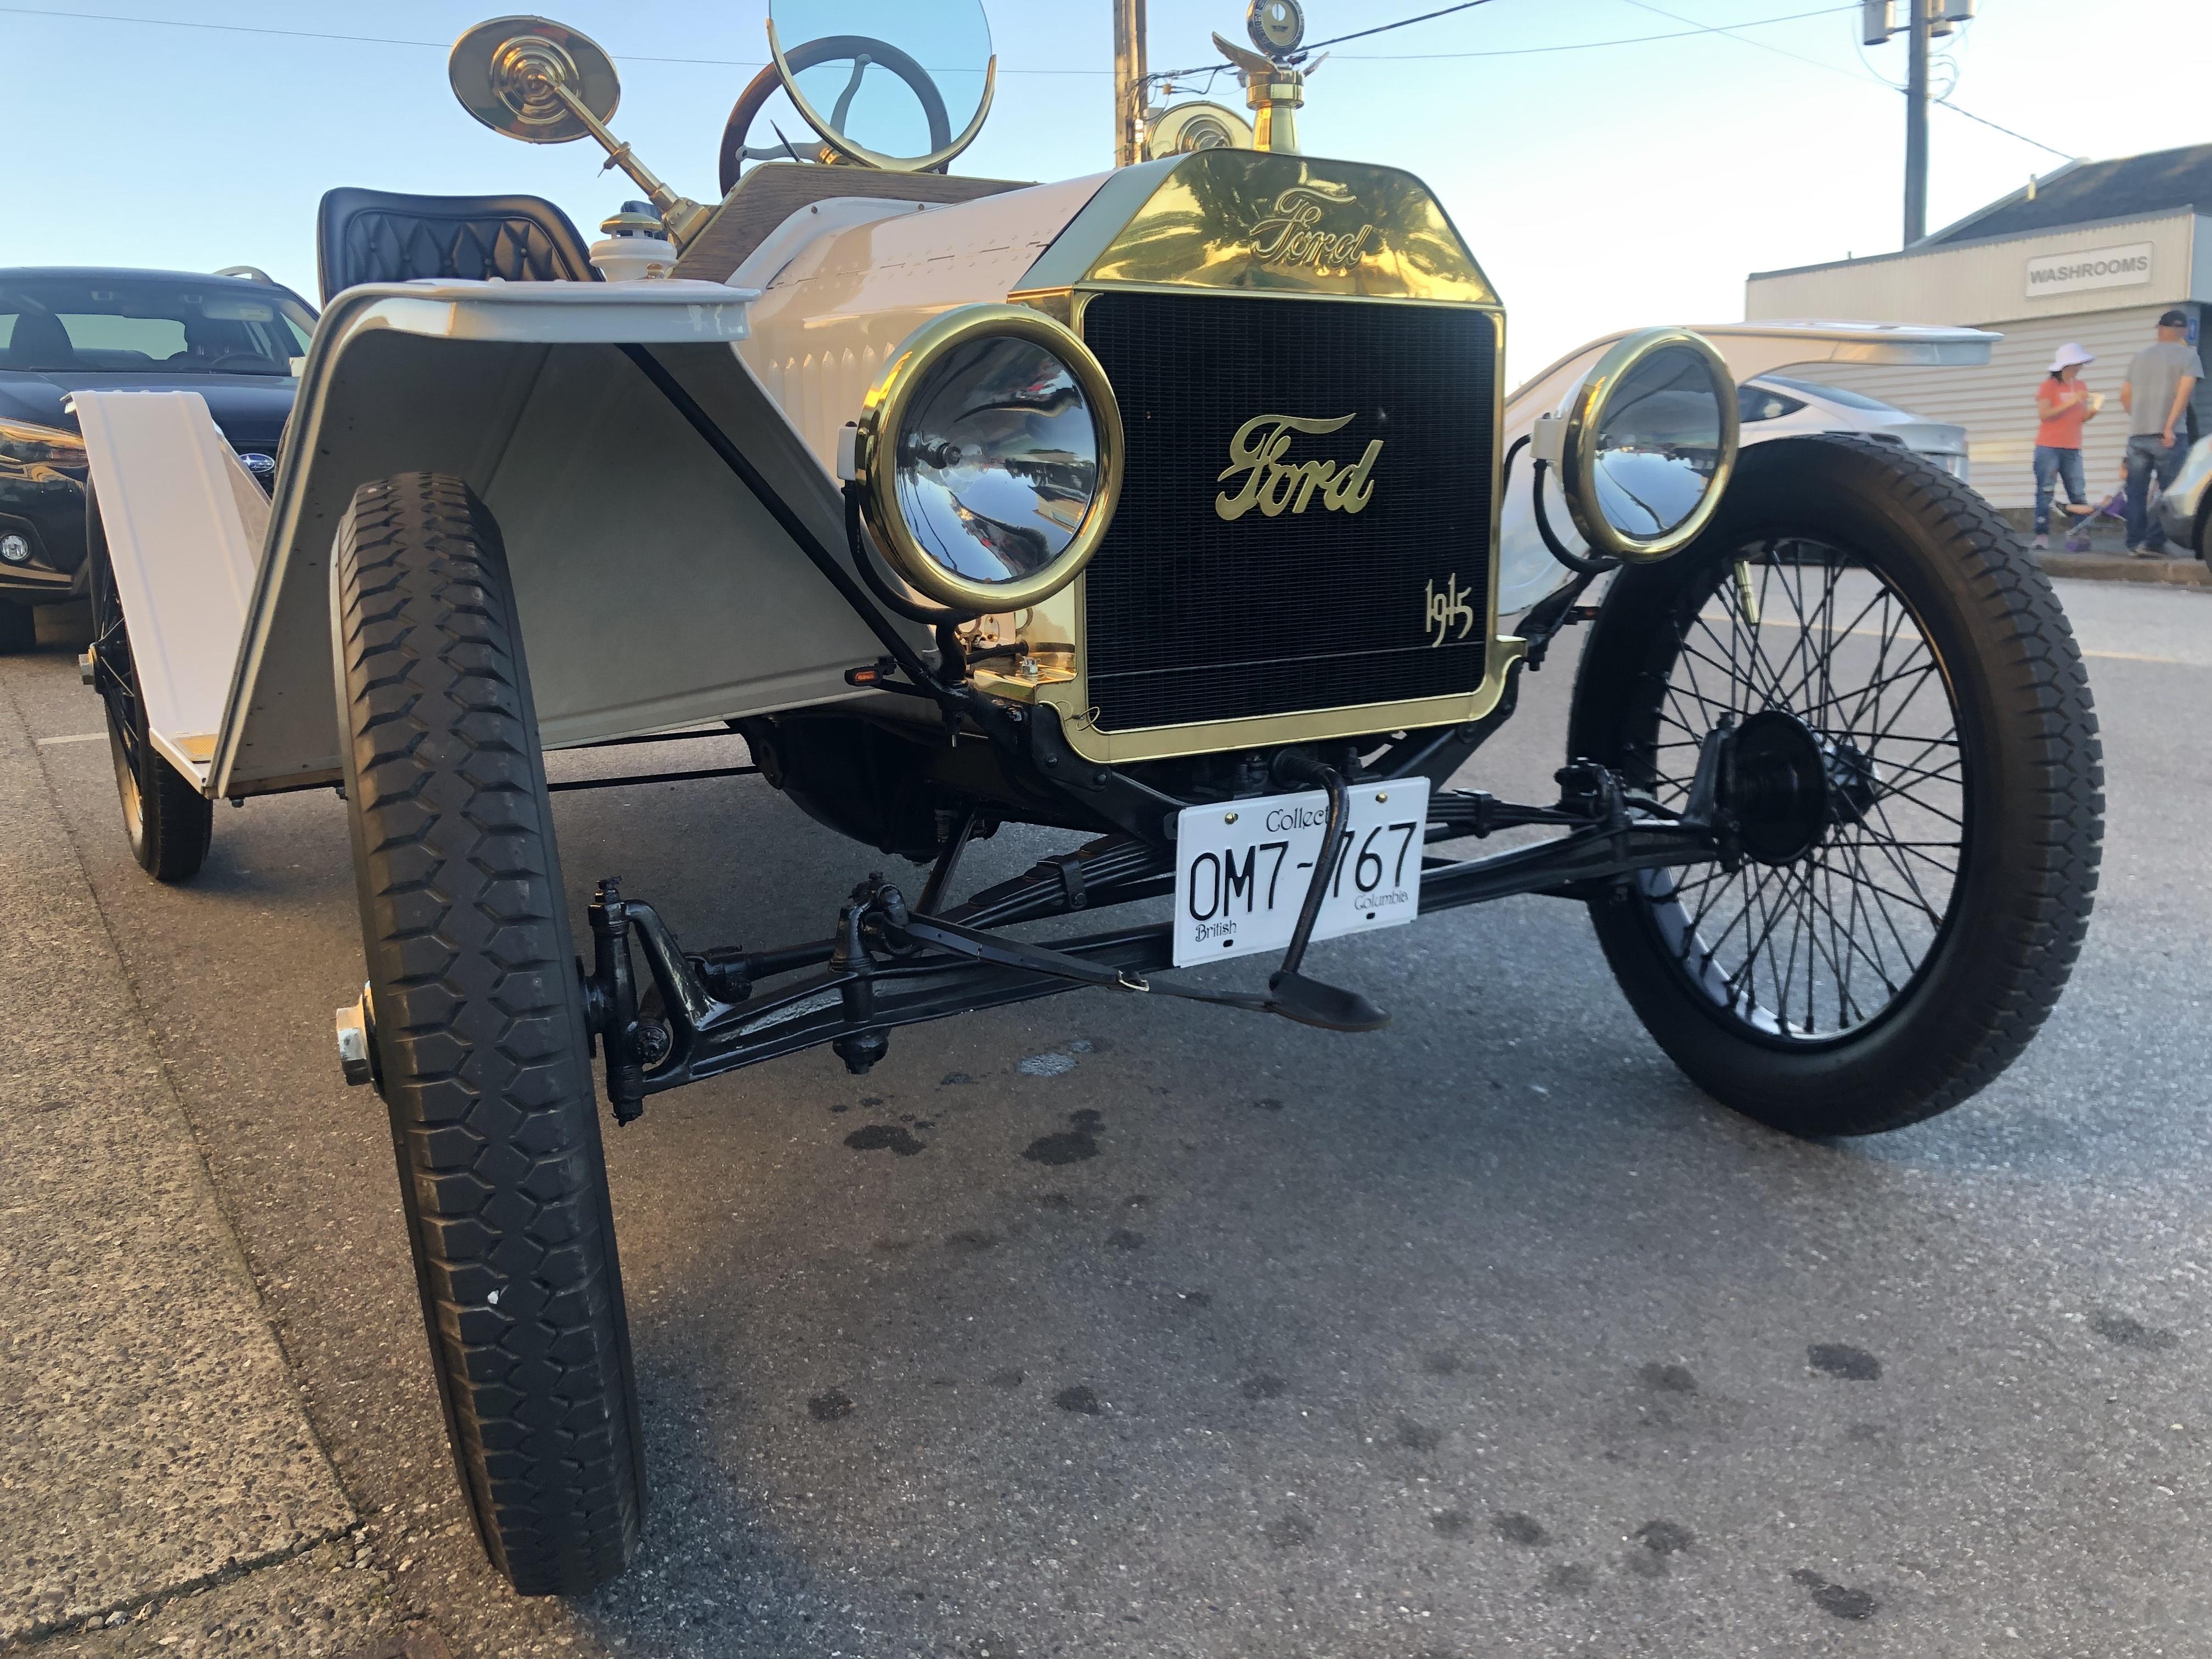
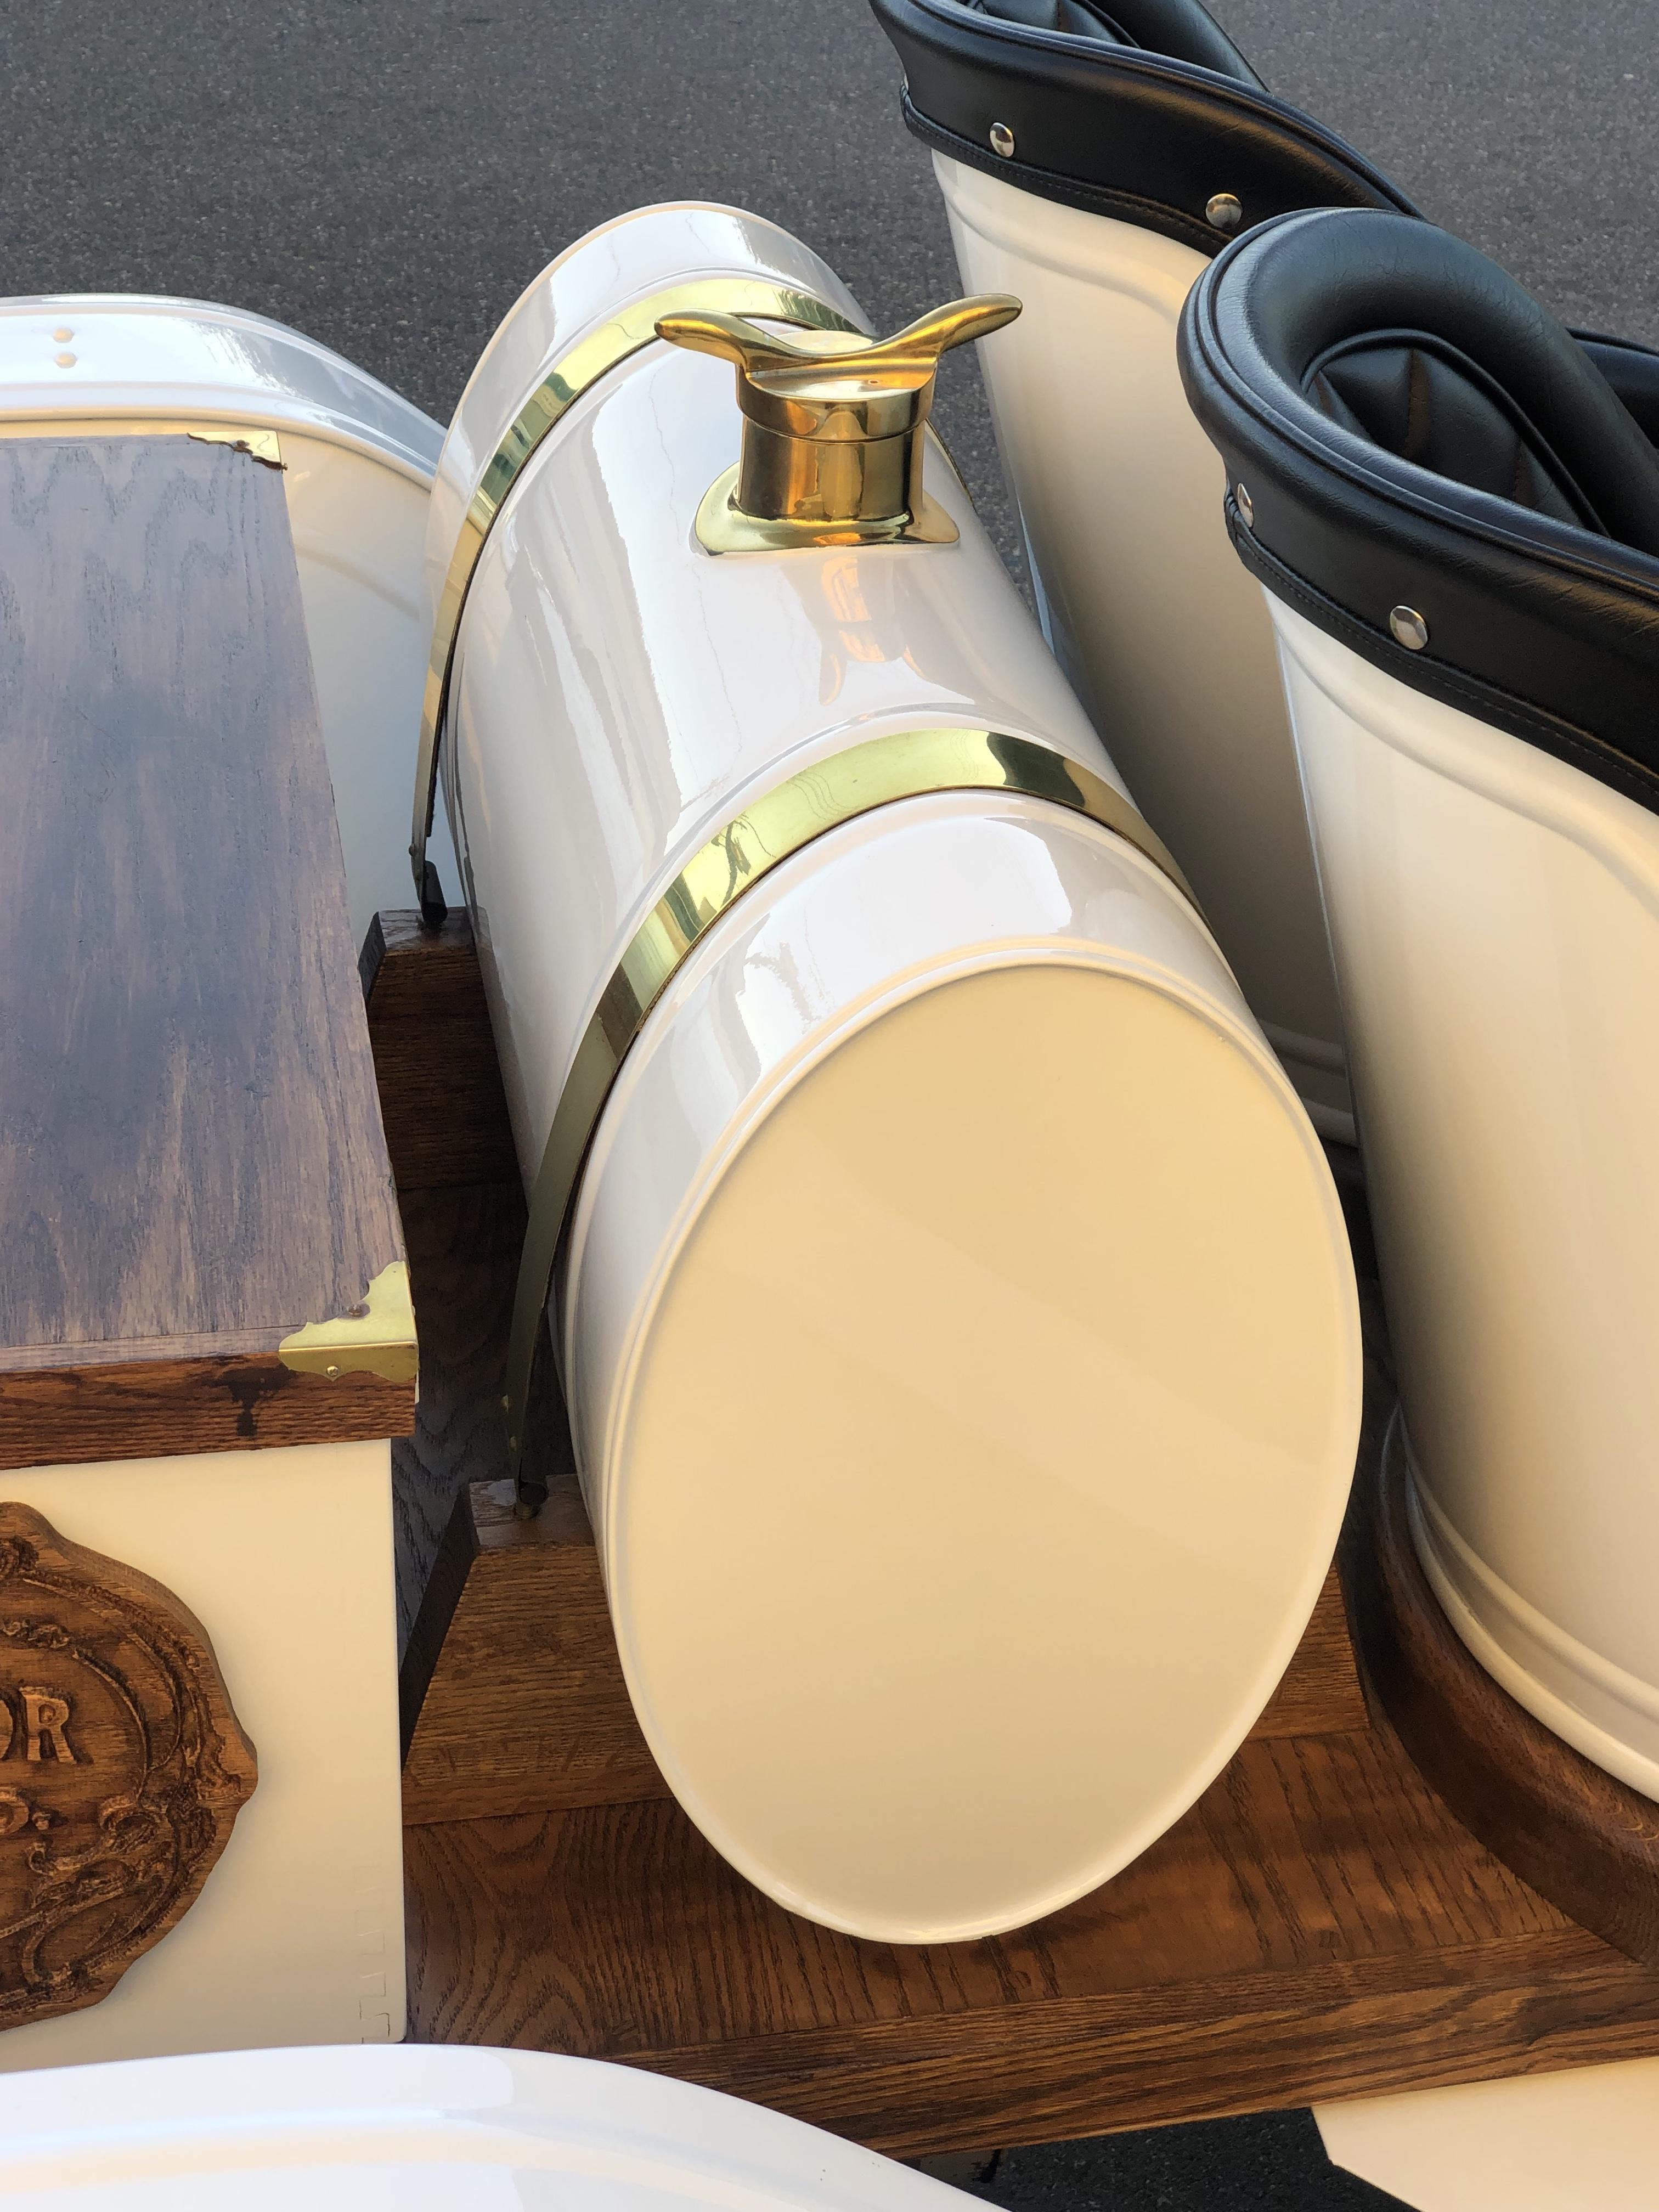
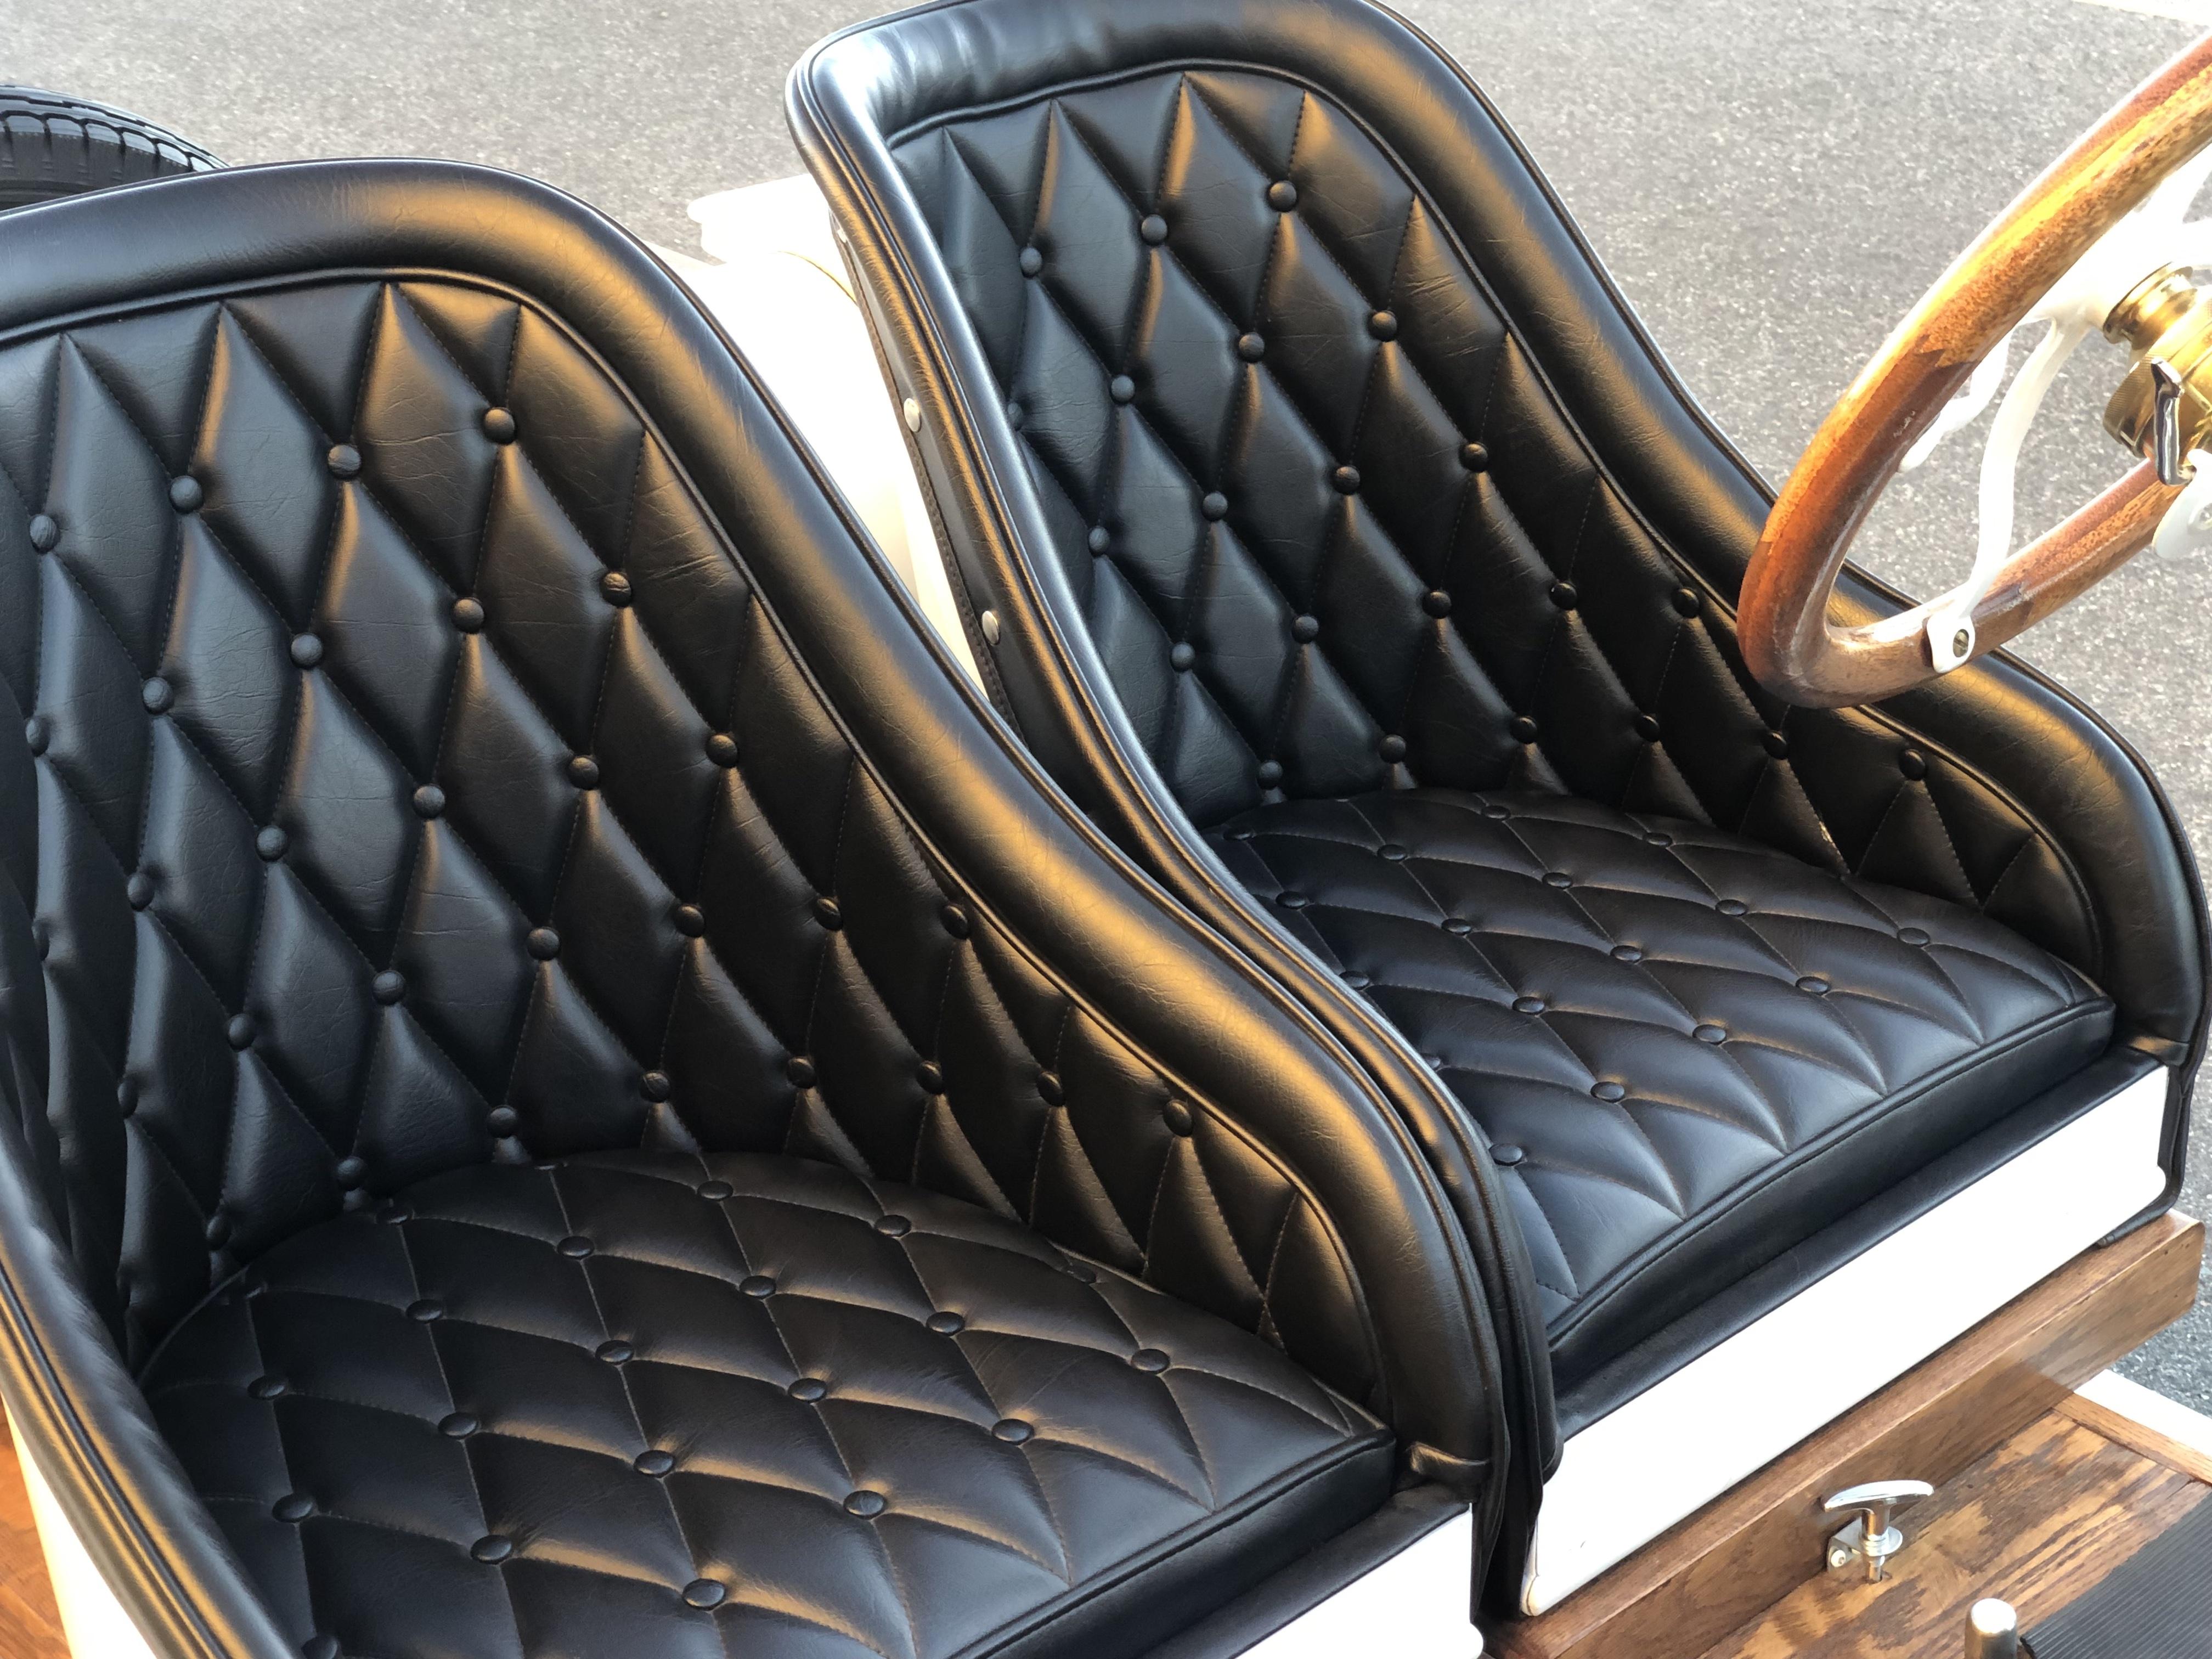
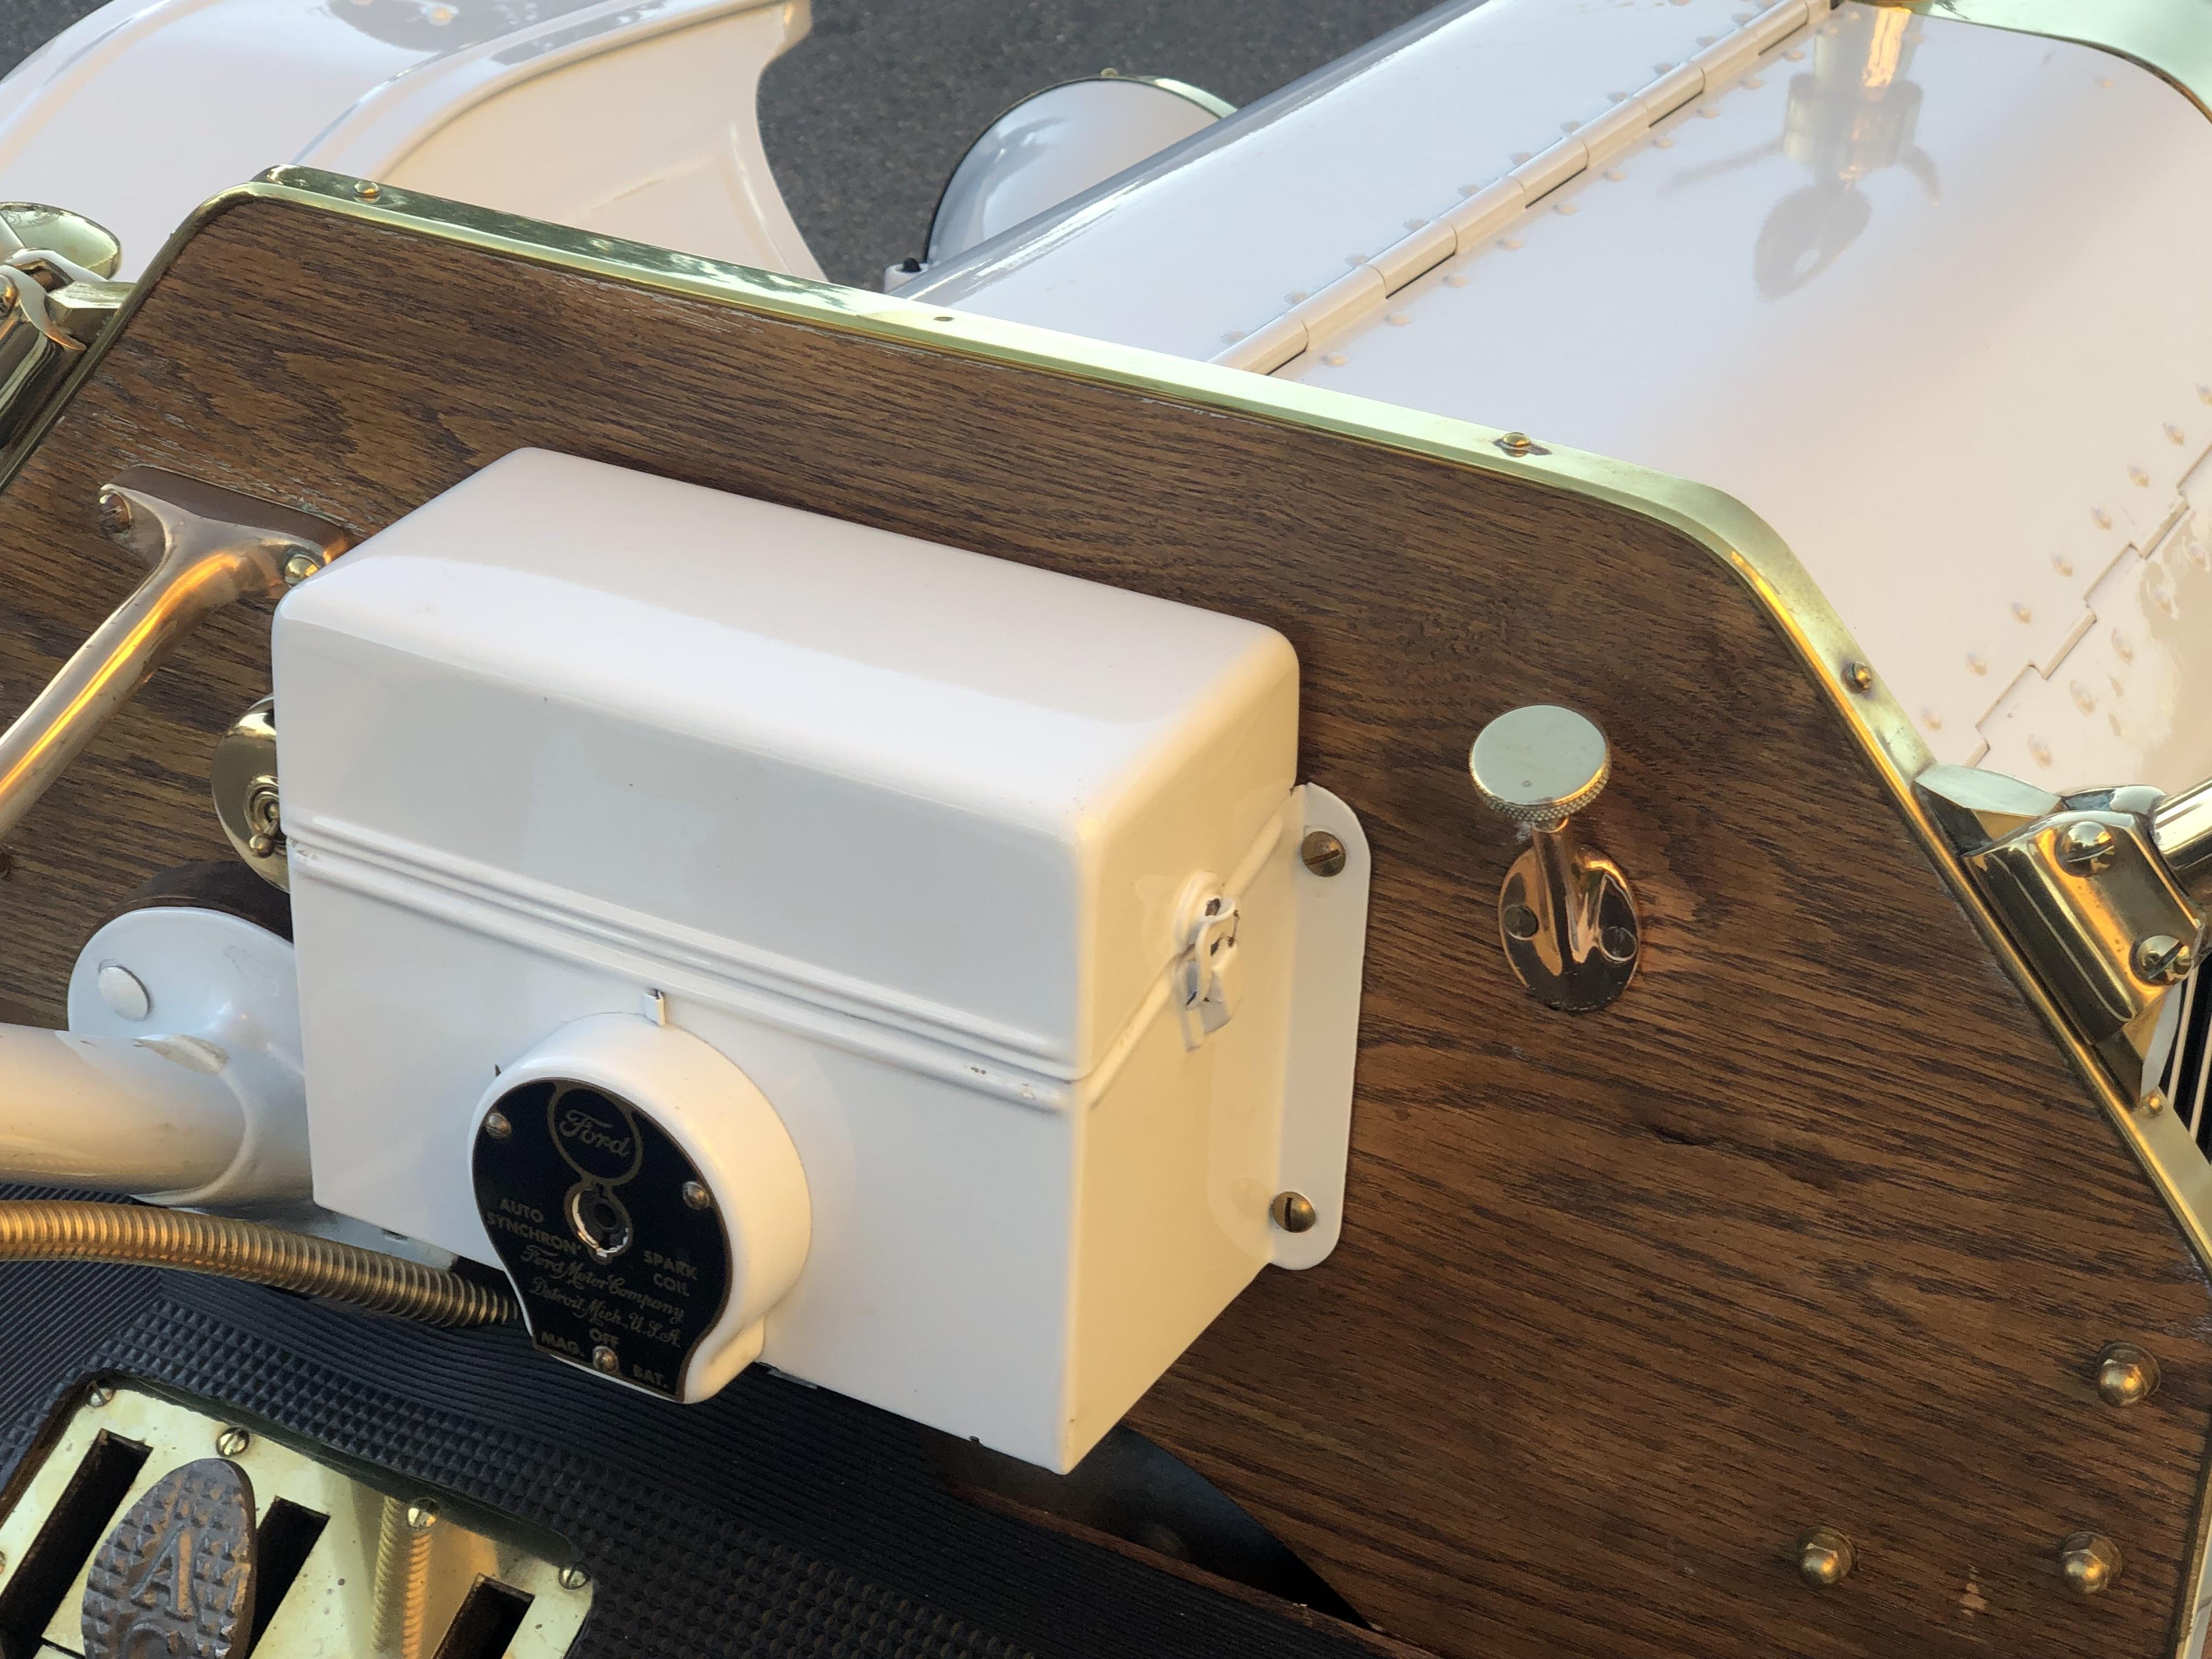
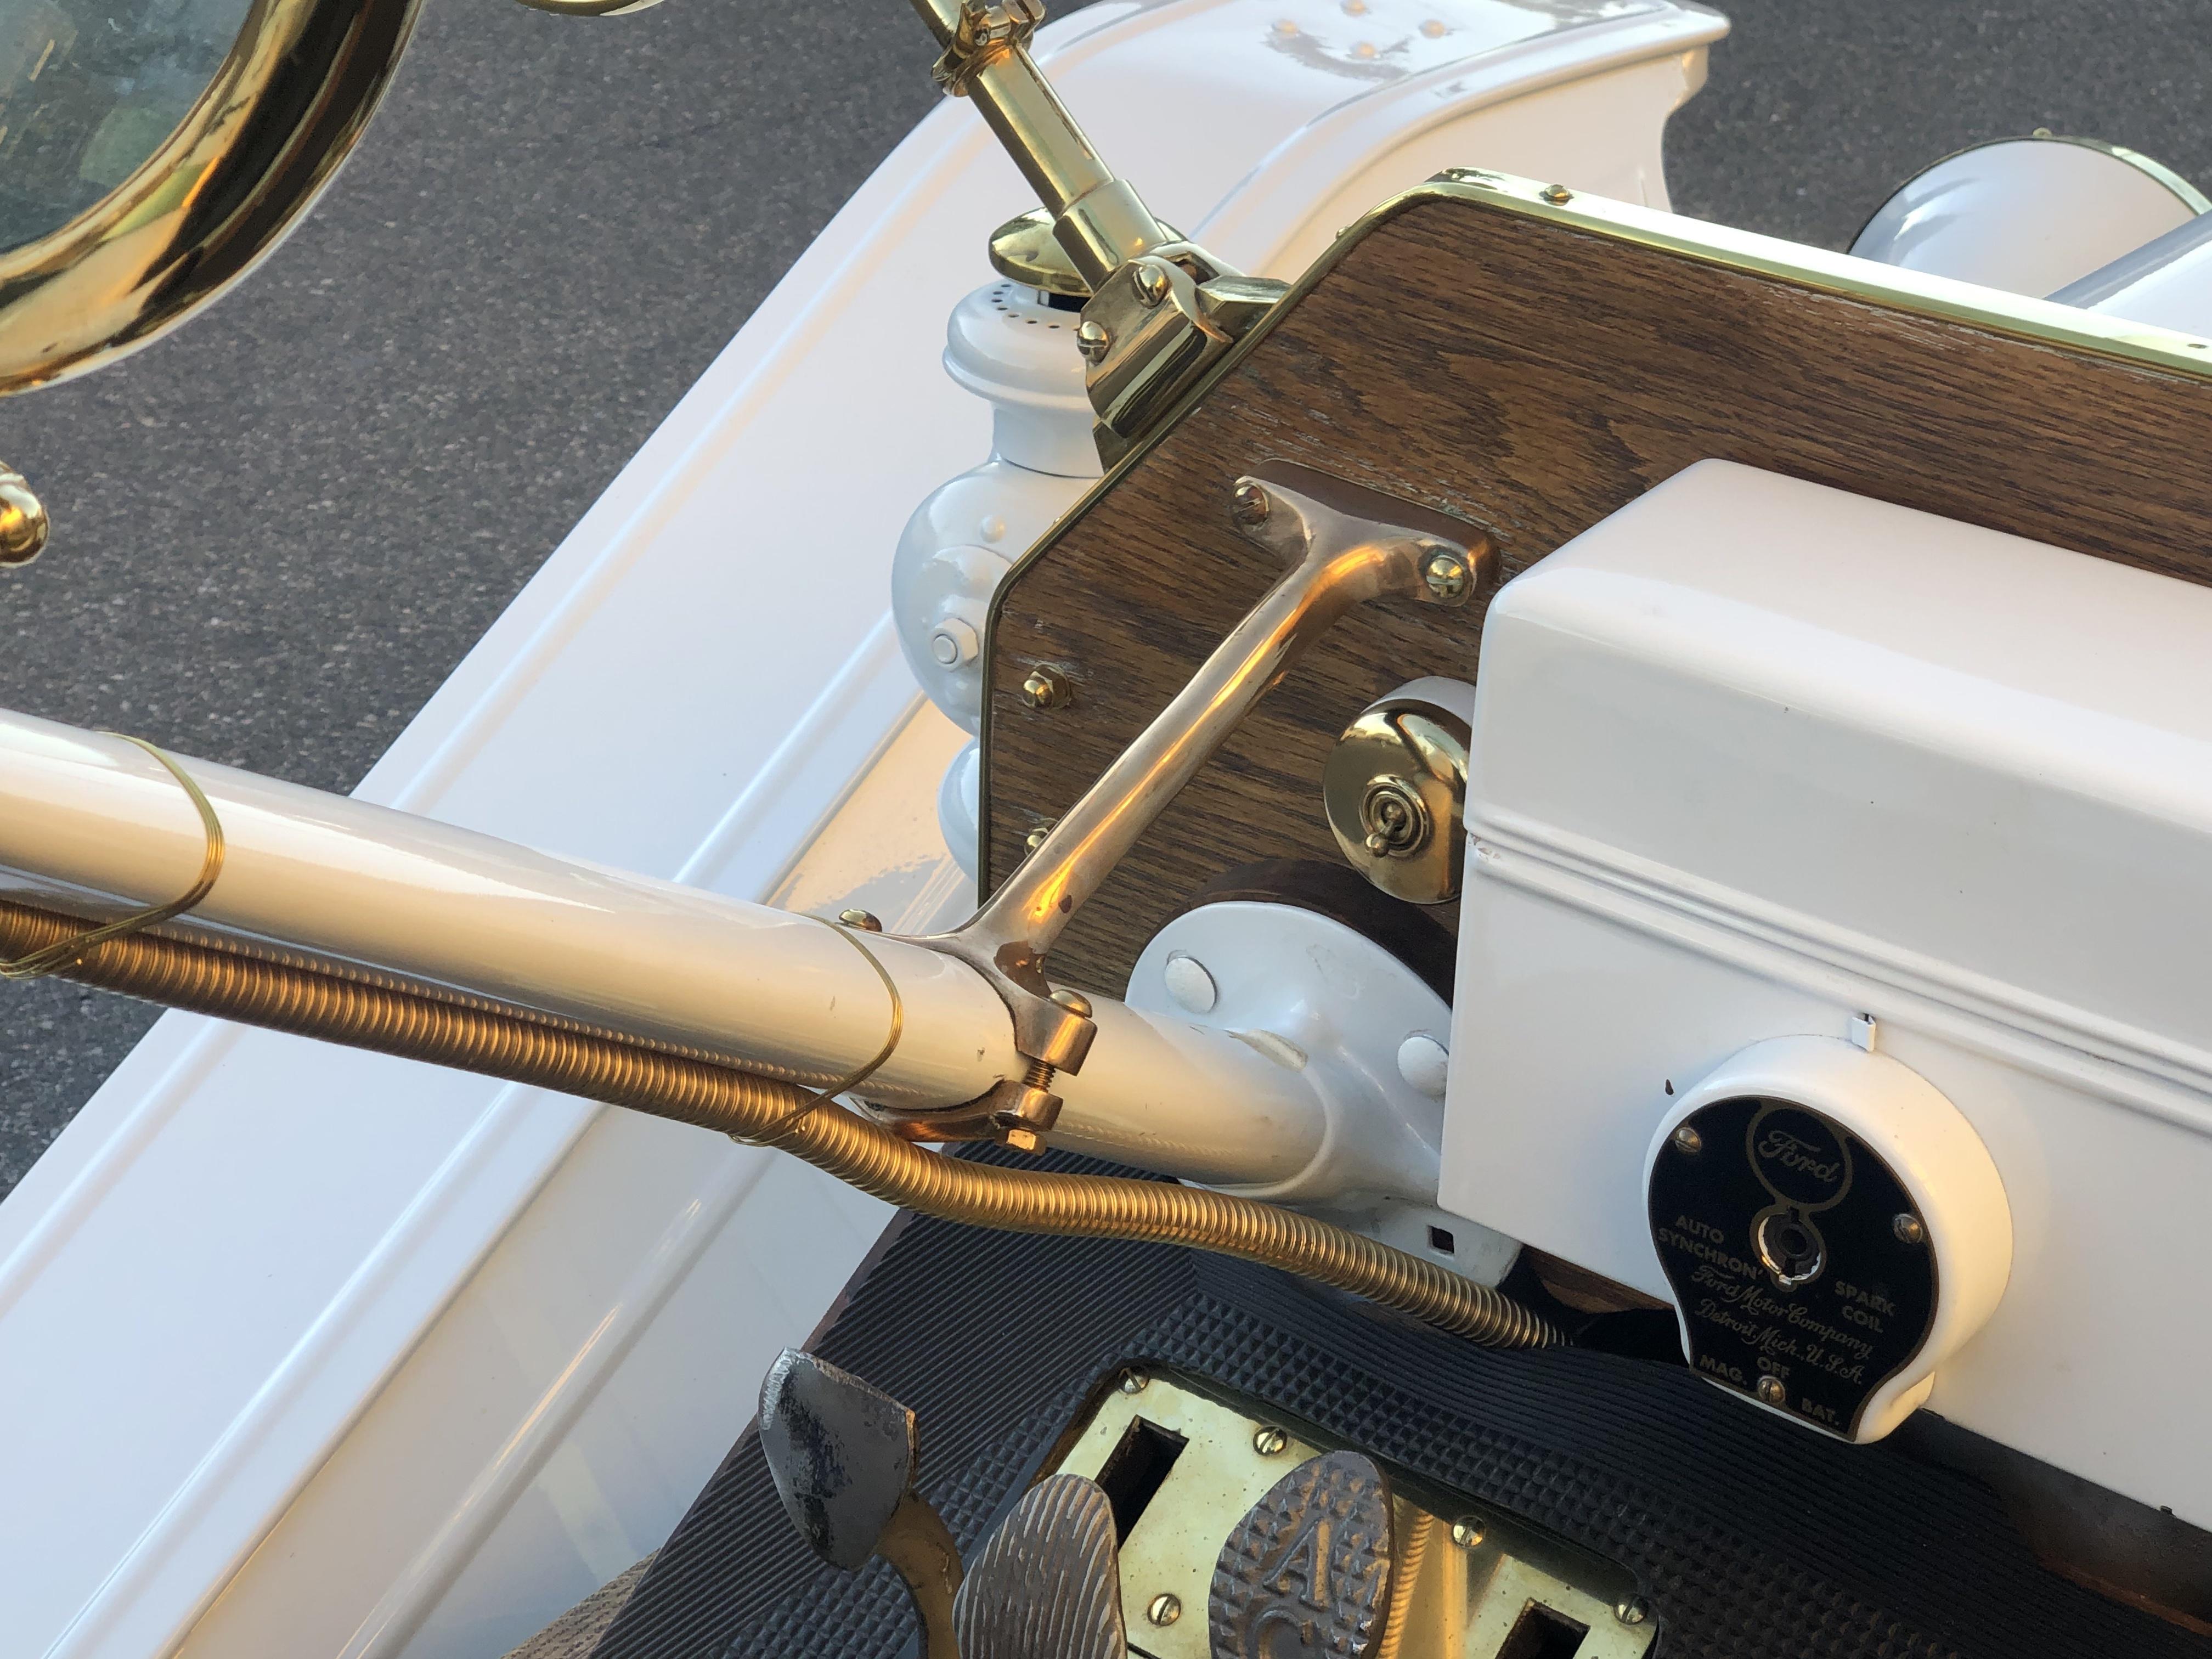
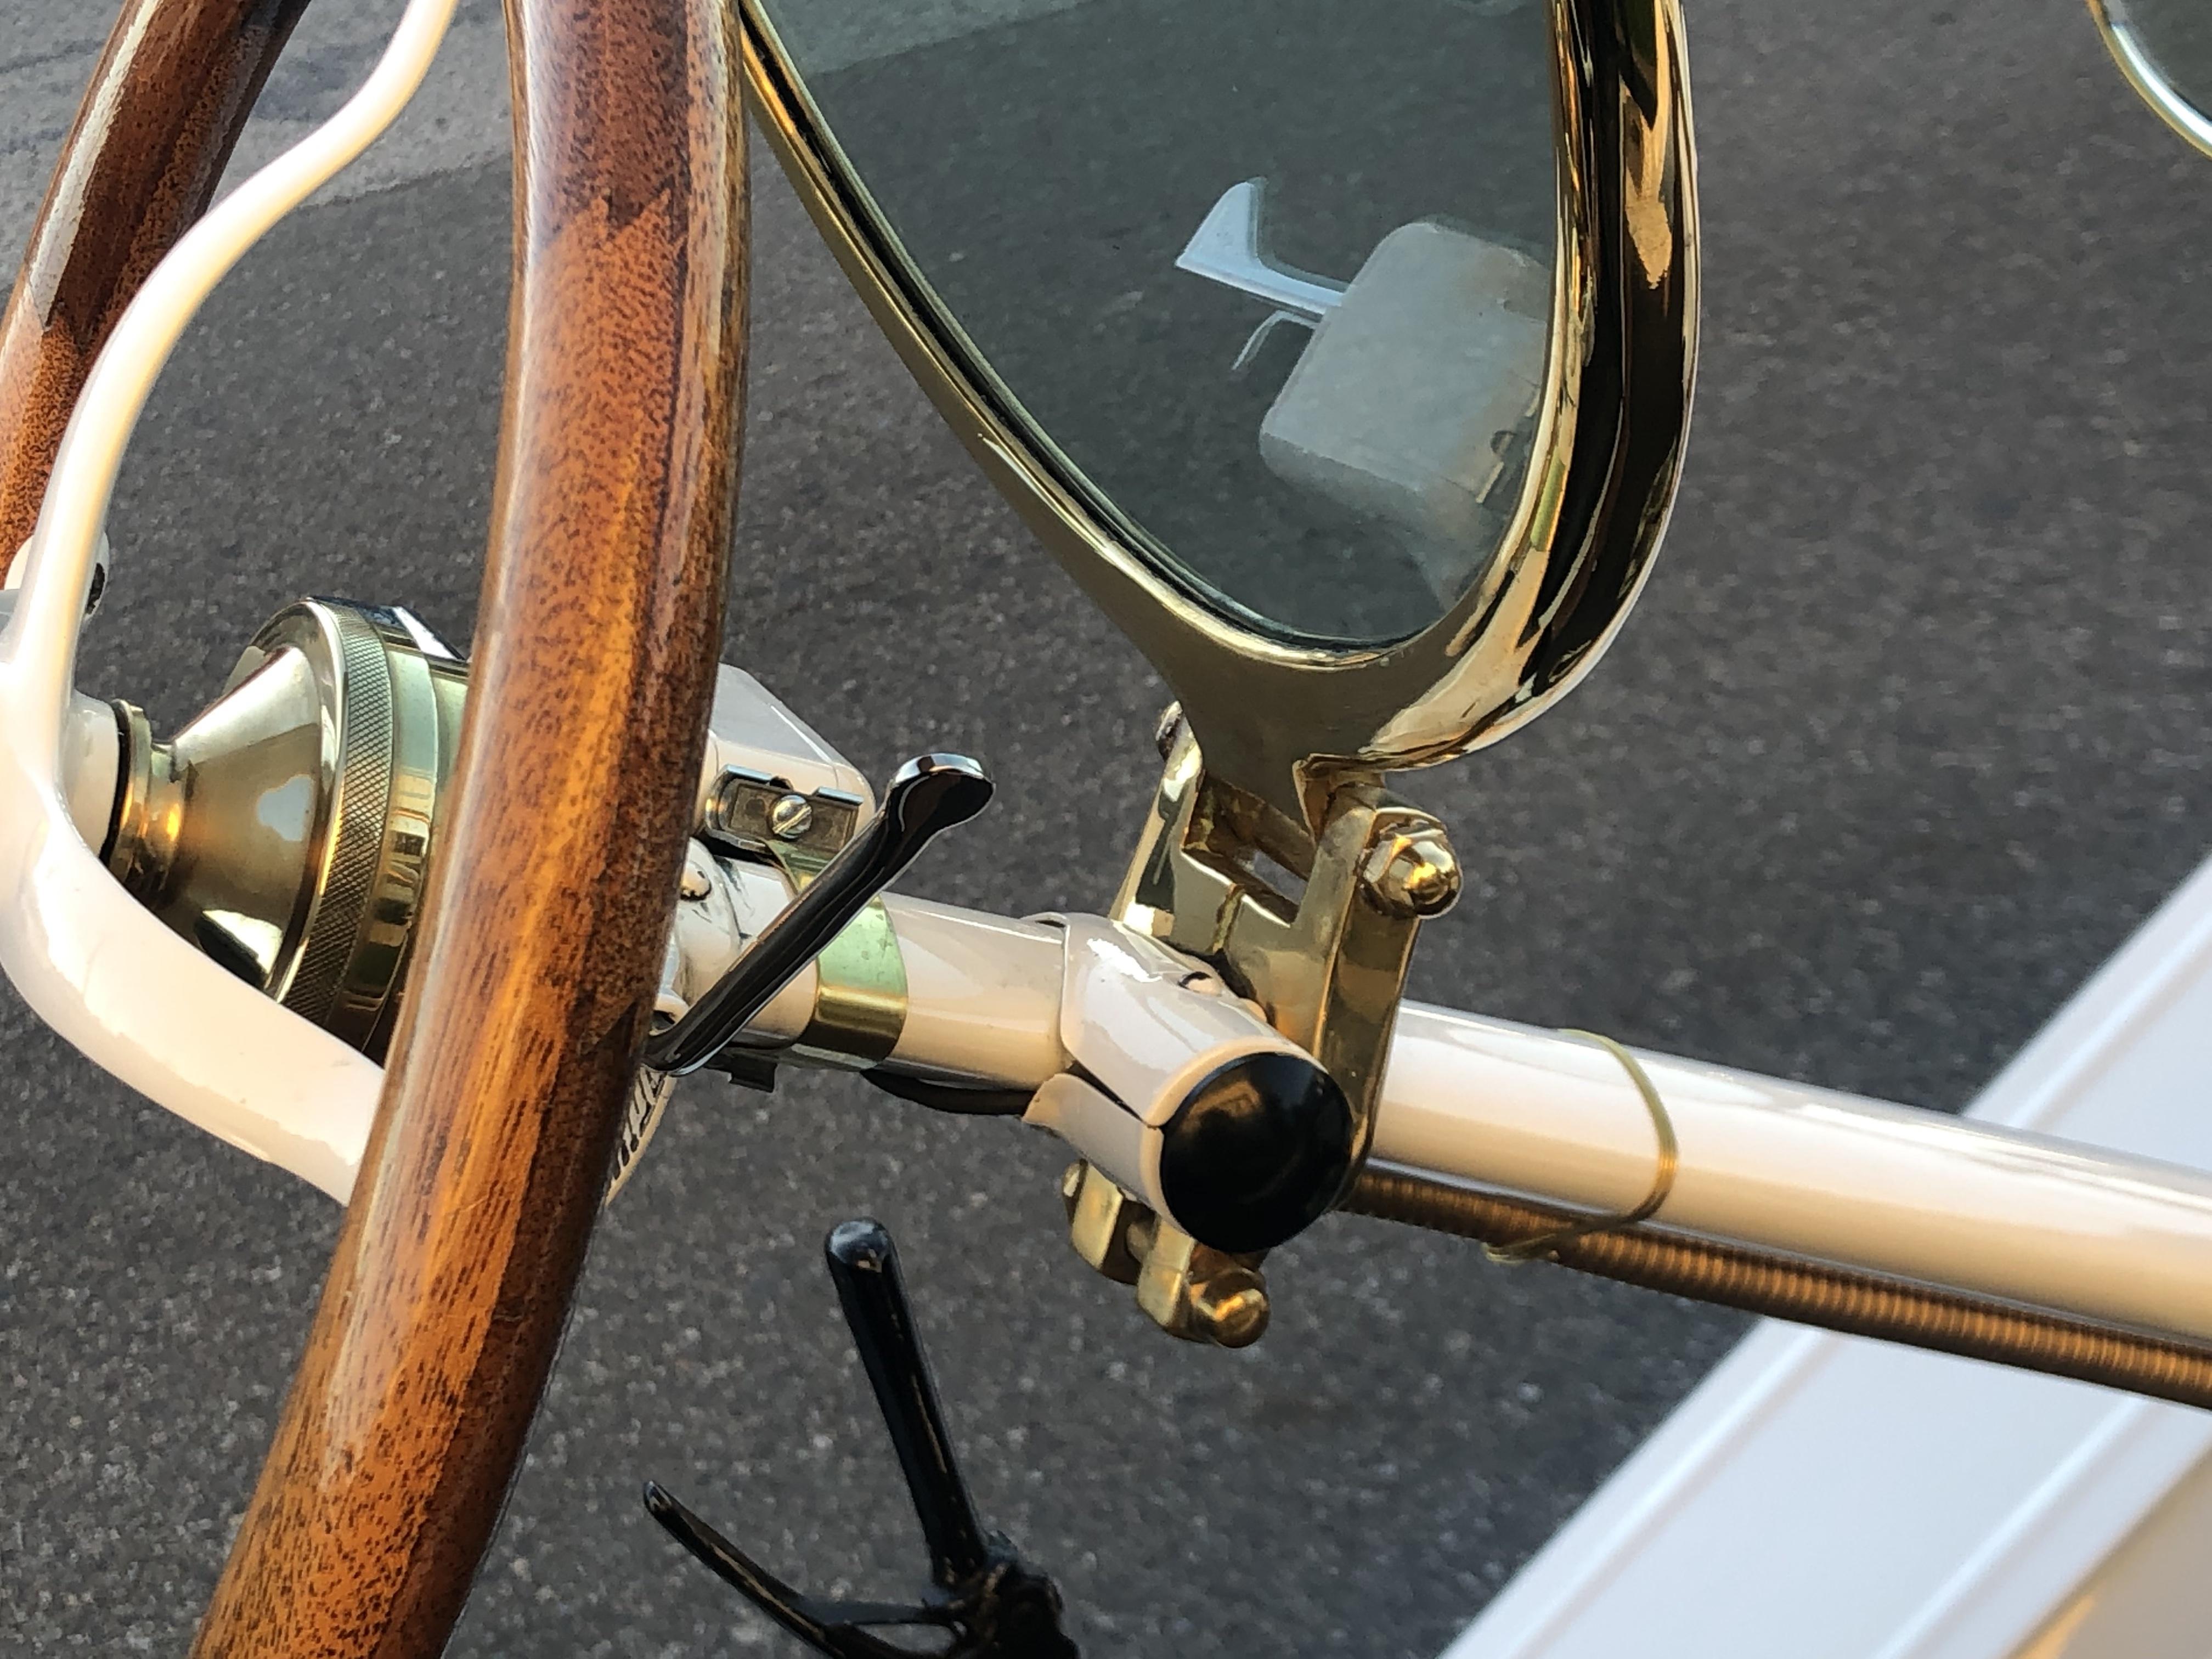
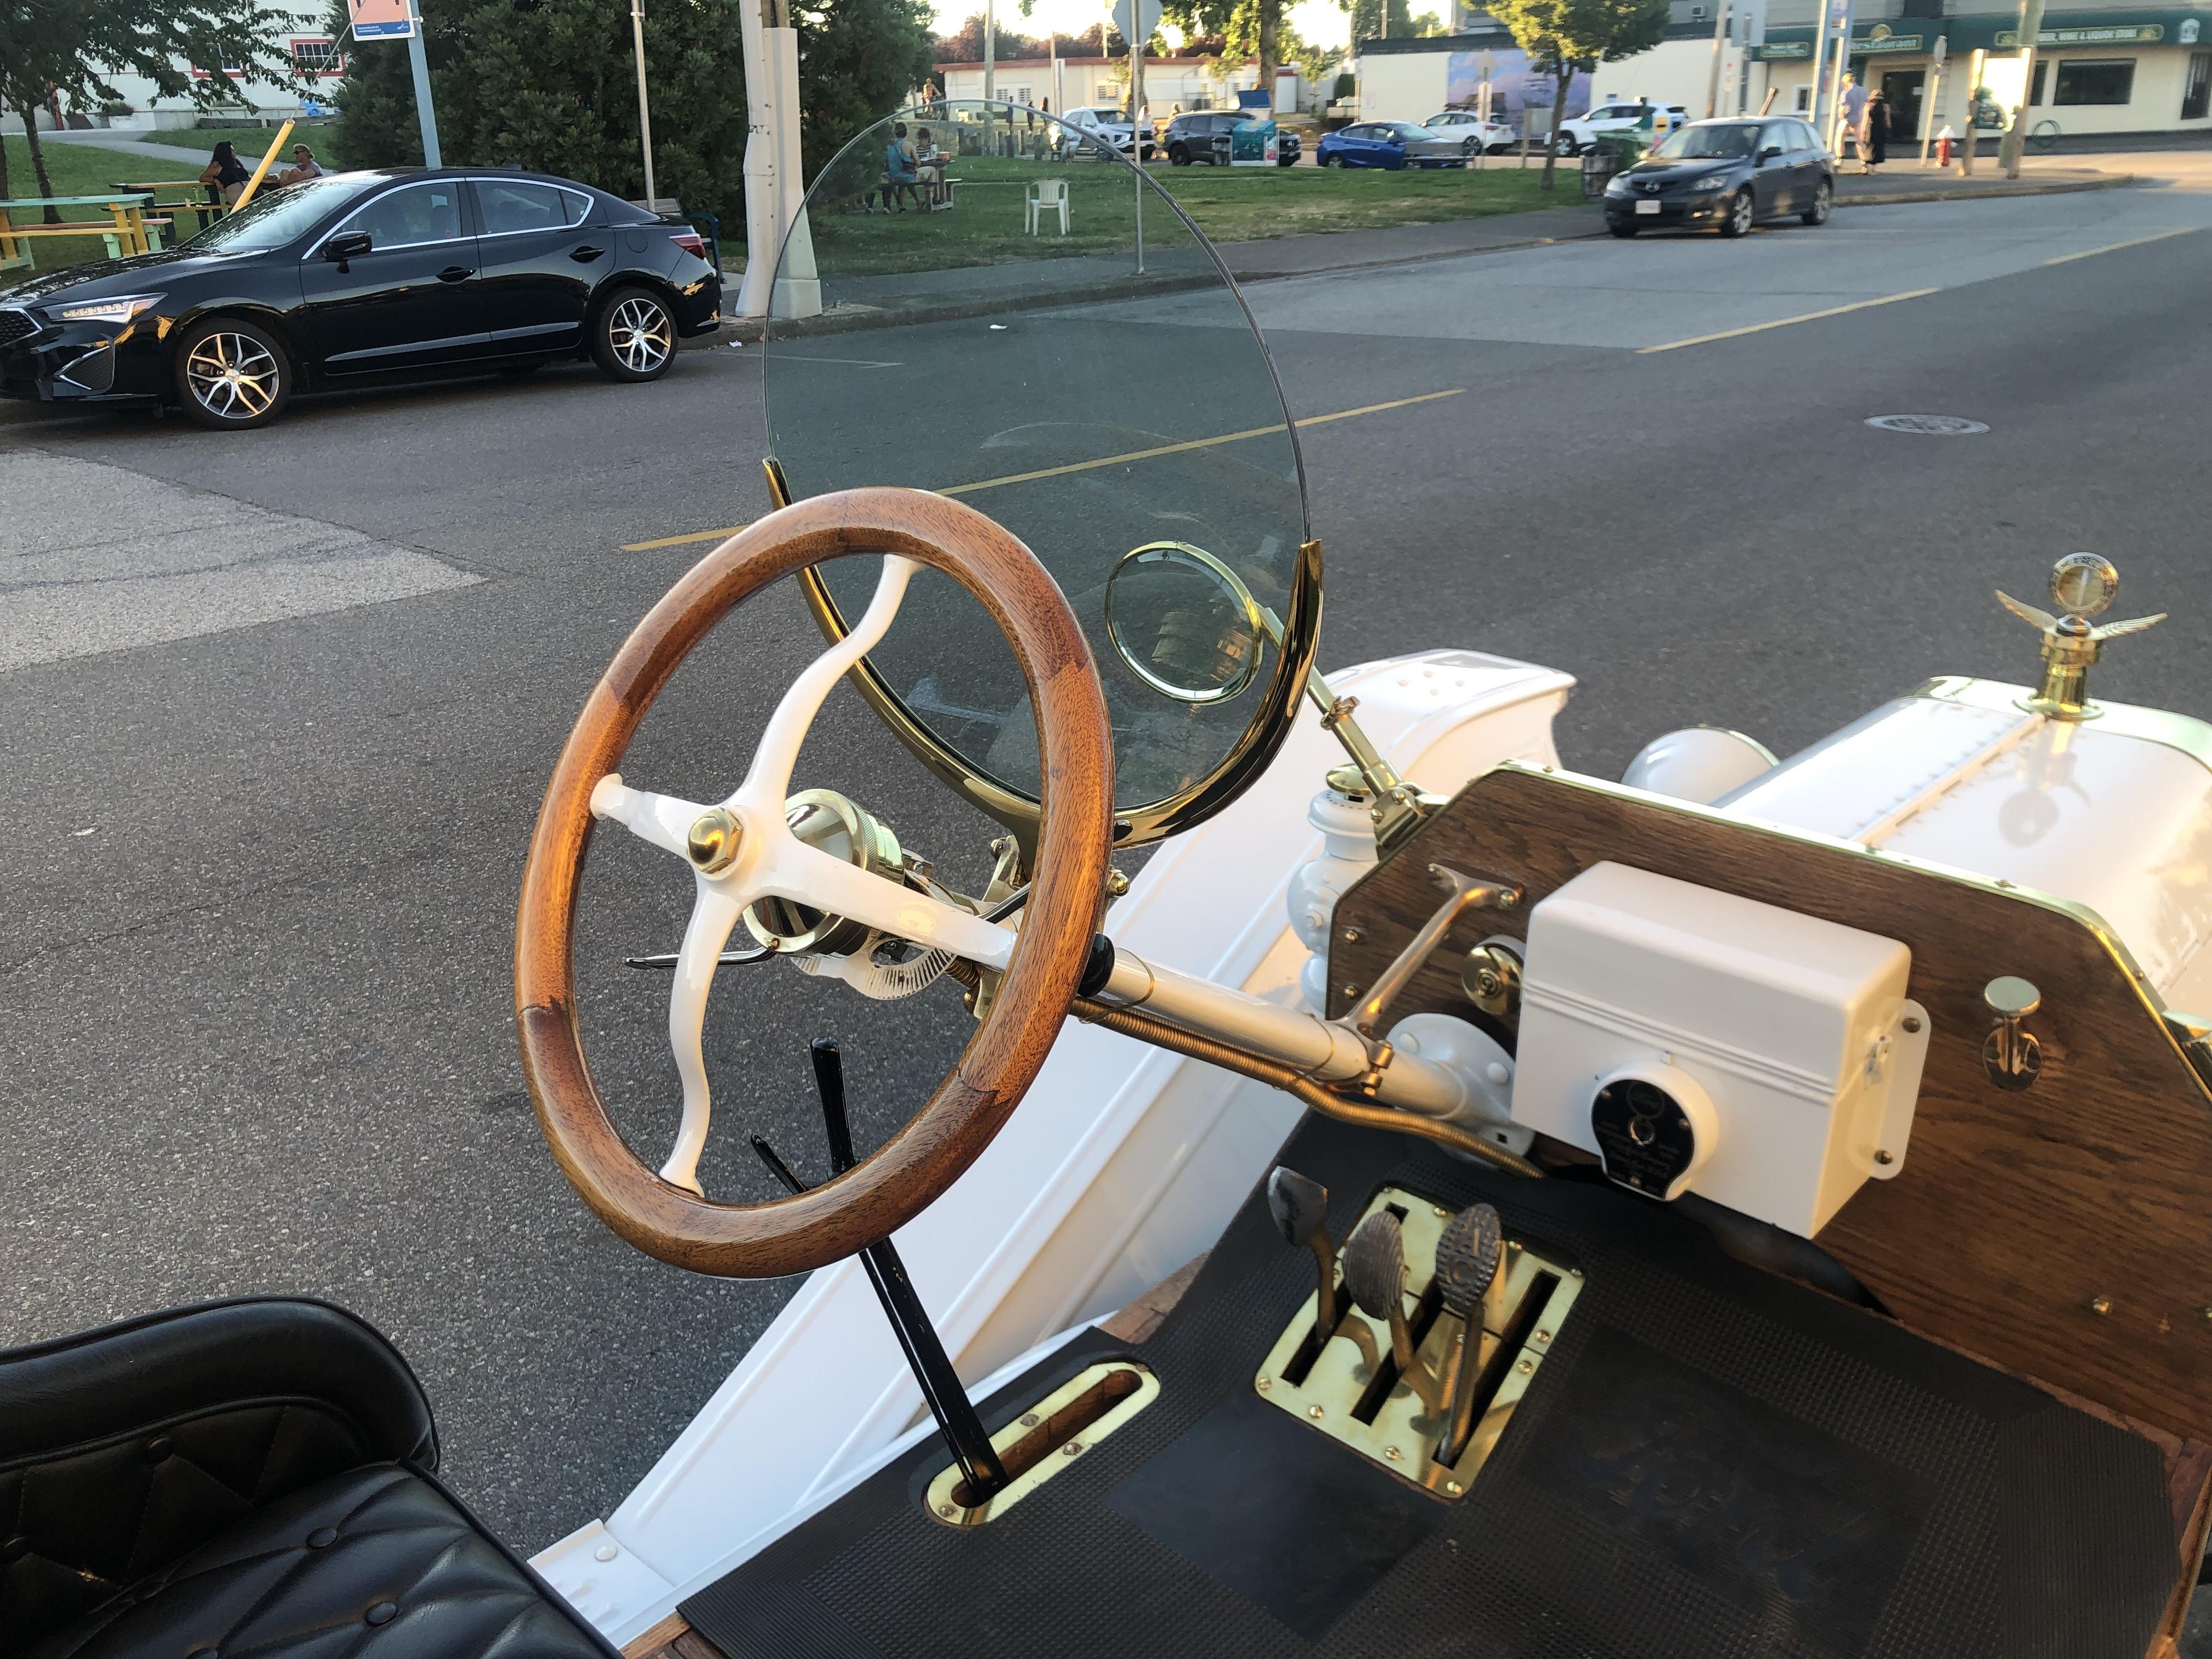
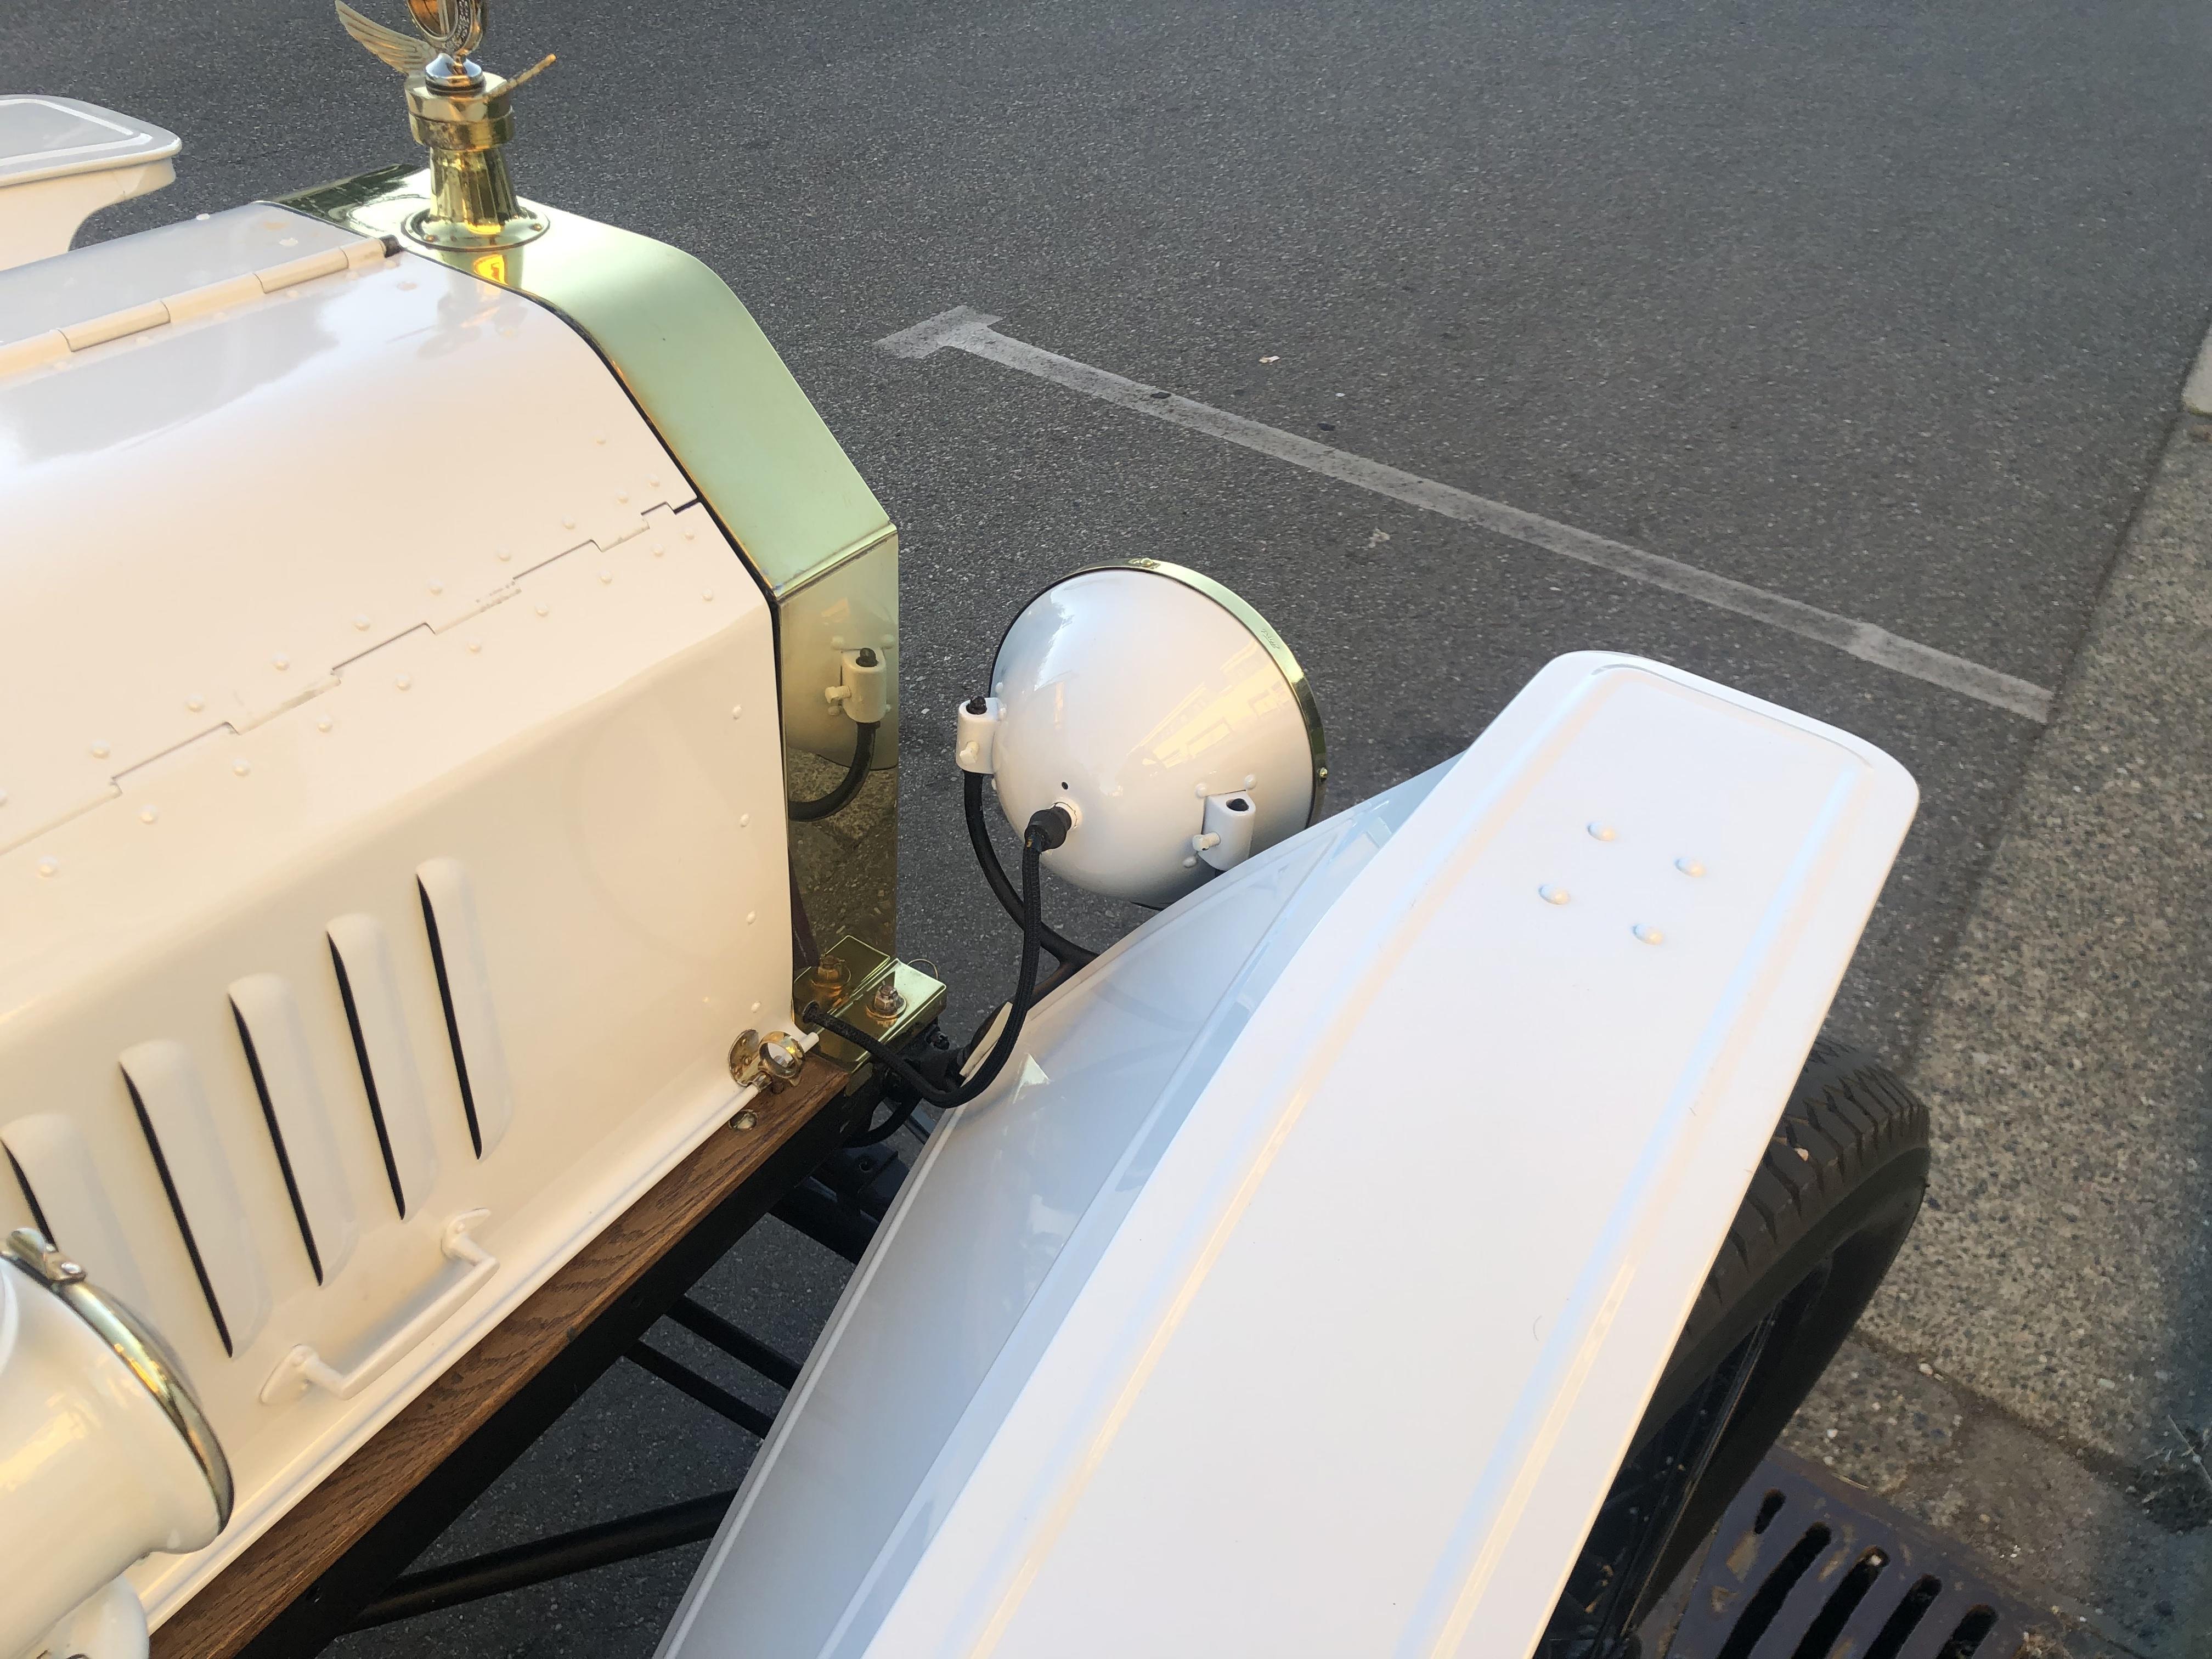
 While visiting Vancouver, I spotted a 1915 Model T parked on a street in the Steveston area of Richmond, BC.
-
I got the original kit when it came out, but always felt I could have done better on it. I decided I wanted to get a friend a model as a gift. He had an old 71 Torino and I thought this would be the closest thing to his 71 I would find. I got a new kit for myself and decided to give him my old kit. This new build came out a lot better than my previous build, even though there are still some things I did that I don't like. I also had some fit issues with the tub and chassis that I didnt have the first time around. SAM_1030 by Eric Lucas, on Flickr SAM_1032 by Eric Lucas, on Flickr SAM_1033 by Eric Lucas, on Flickr SAM_1034 by Eric Lucas, on Flickr SAM_1035 by Eric Lucas, on Flickr SAM_1036 by Eric Lucas, on Flickr SAM_1037 by Eric Lucas, on Flickr