majel
-
Posts
862 -
Joined
-
Last visited
Content Type
Profiles
Forums
Events
Gallery
Everything posted by majel
-

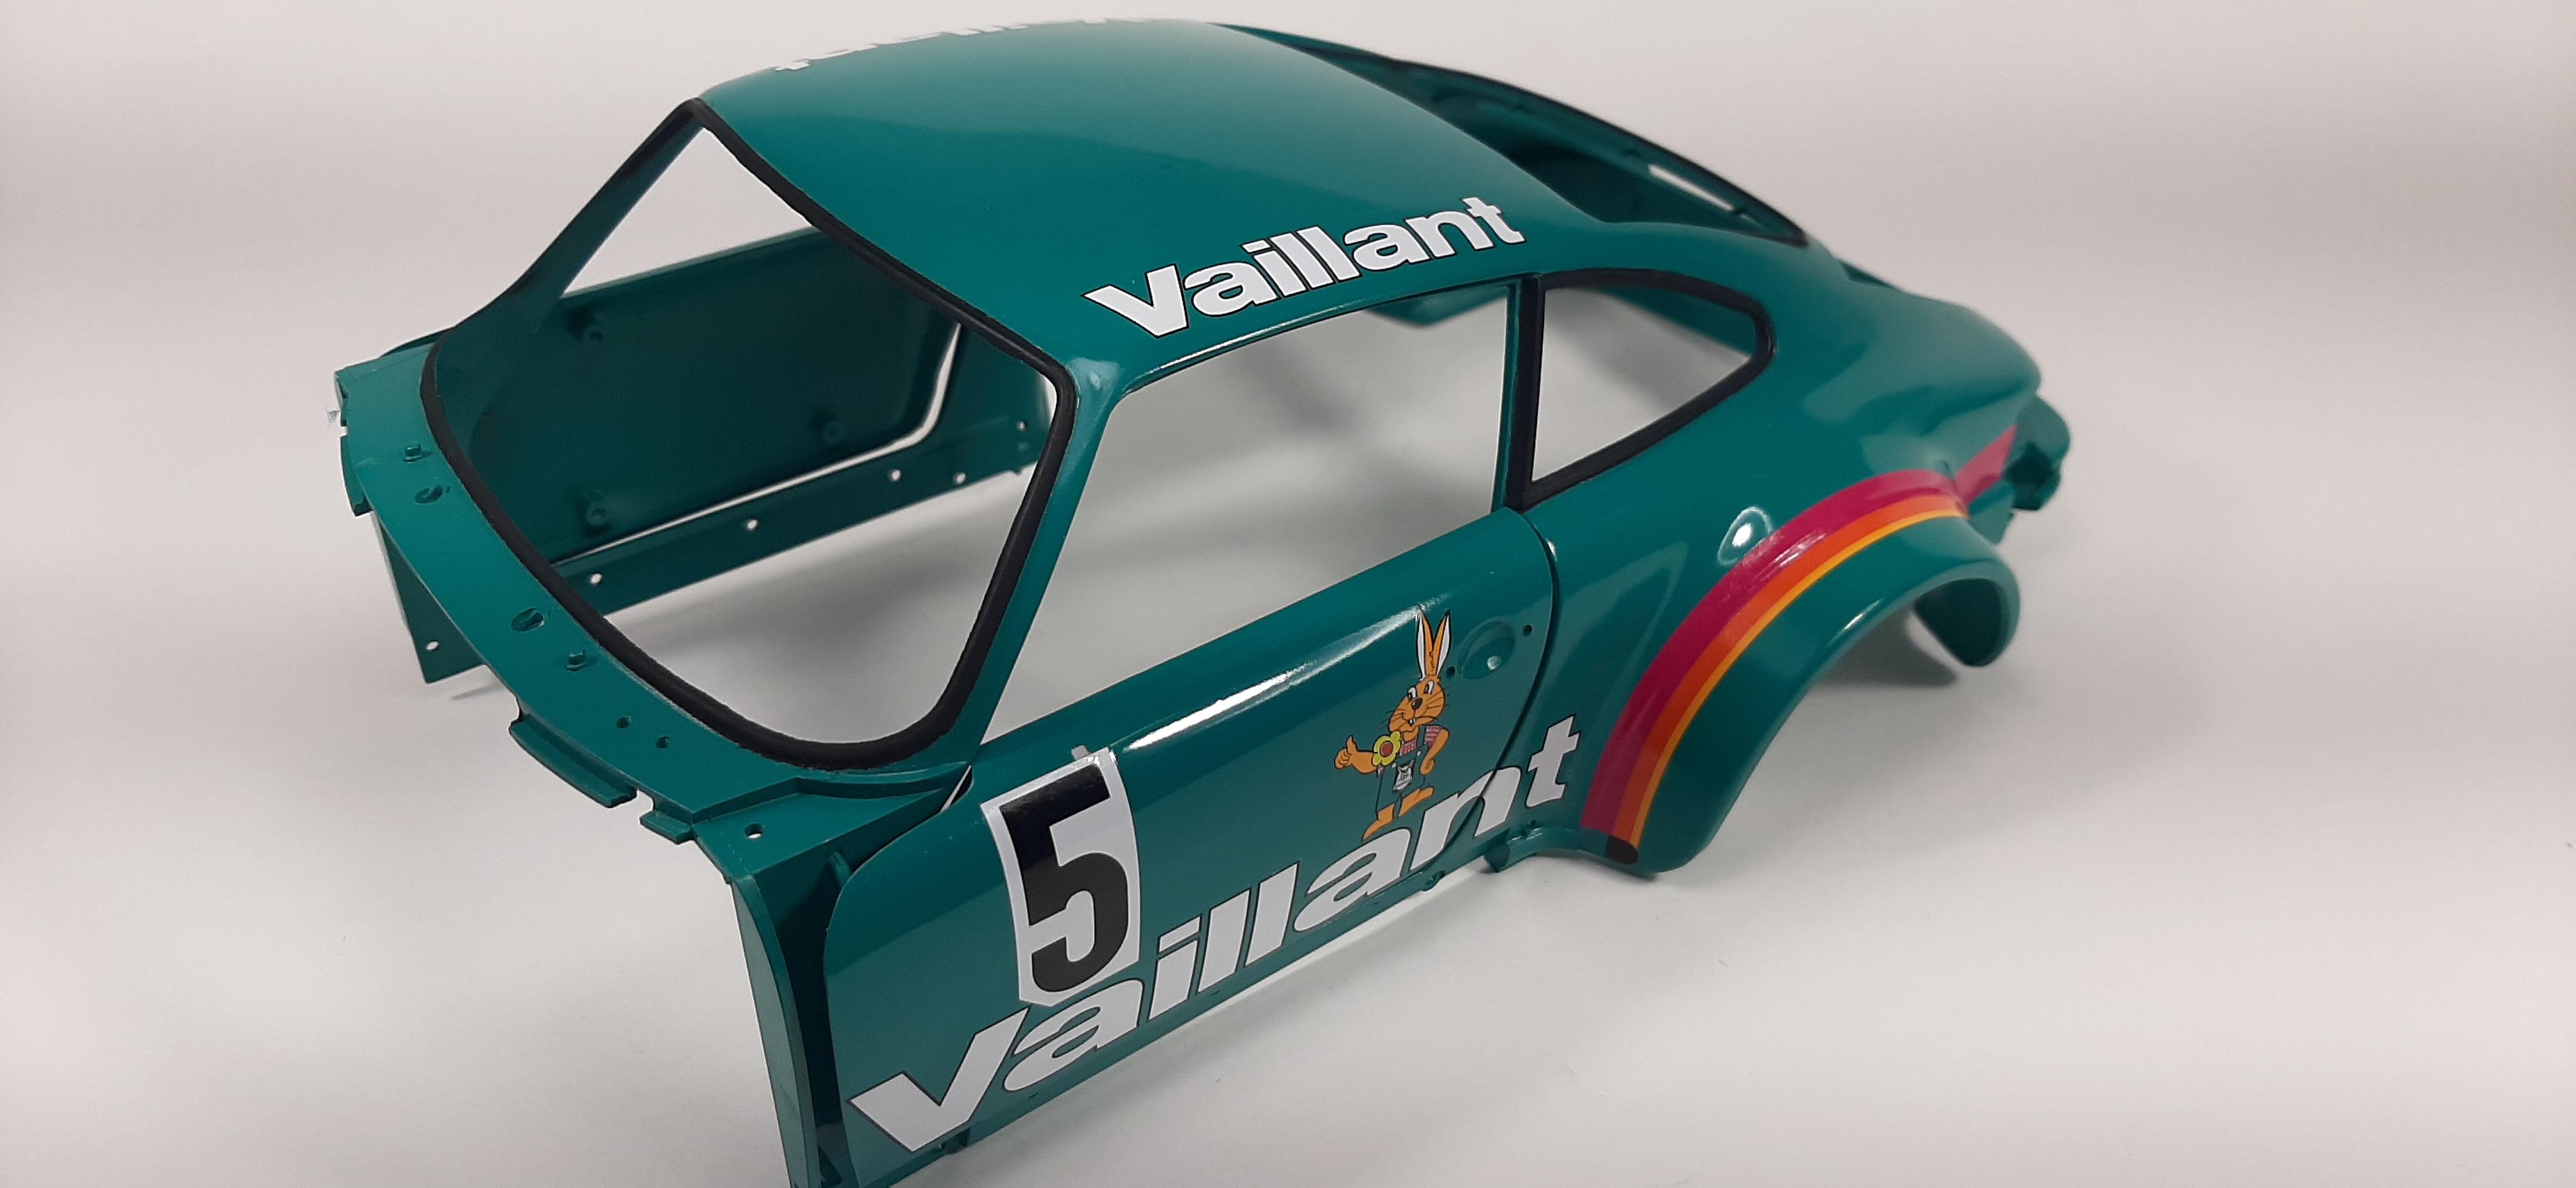
1/12th Porsche 934 Vaillant
majel replied to majel's topic in WIP: Other Racing: Road Racing, Land Speed Racers
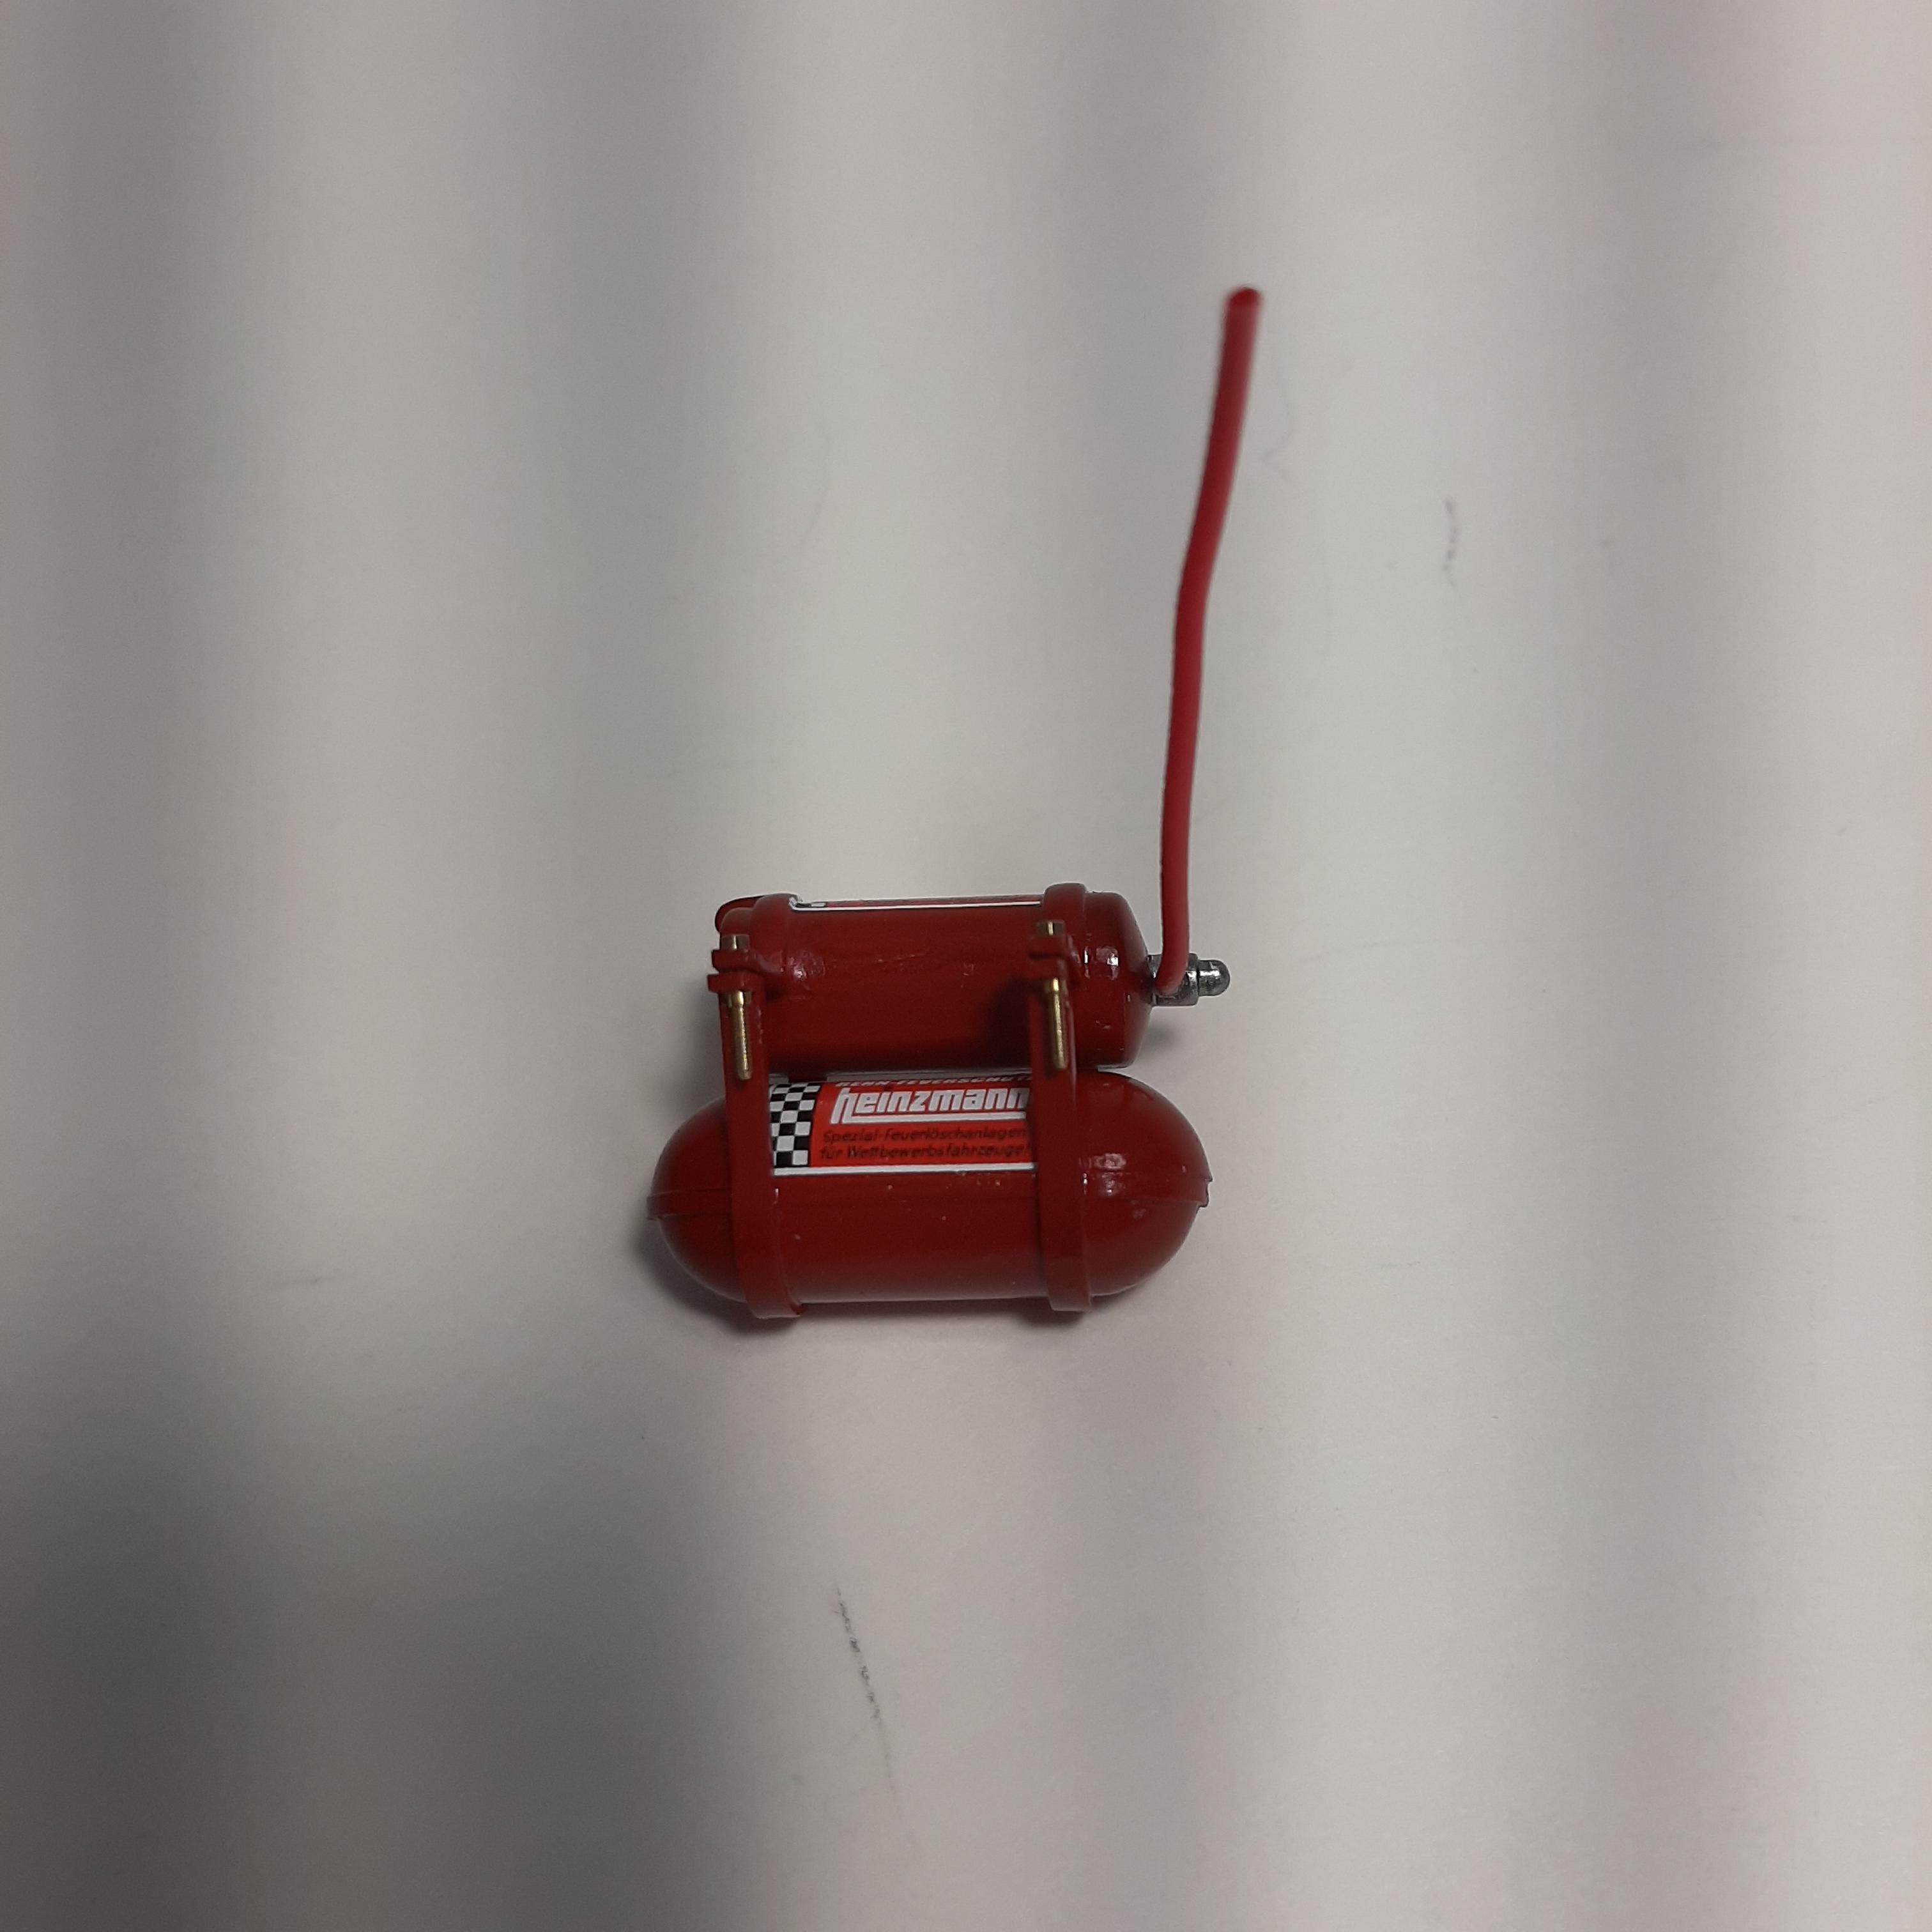
I put the fire bottle system together and installed .8 mm nuts and bolts from Scale Hardware to held the brackets together. I left the bolts long because they slide perfectly into the mounting slots provided. I set both the fire bottles and the fuel tank in temporarily to see how everything fits together. I think the fire bottles look a little too new and could use a little weathering.
-
Very nice looking clean build. I really like the color combo.
-
Great looking model, they are very nice kits!
-
1/12th Porsche 934 Vaillant
majel replied to majel's topic in WIP: Other Racing: Road Racing, Land Speed Racers
Worked on the battery the last couple of nights. Made a hold down strap out of sheet brass and used RB motion .042 nuts and washers attached to .035 stainless welding rod. Weathered the battery and the oil tank slightly, might have to do a little more on the tank. Noticed after taking the pictures the end of the hold down strap is crooked. I'll have to straighten that before I install the fuel tank.
-
Excellent build, very clean work!
-
Revell 1:24 Porsche 934 RSR "Jagermeister"
majel replied to DanL's topic in Other Racing: Road Racing, Salt Flat Racers
Beautiful build!! -
1/12th Porsche 934 Vaillant
majel replied to majel's topic in WIP: Other Racing: Road Racing, Land Speed Racers
Thank you guys for the very nice comments, they are much appreciated! I got the oil tank installed today, I made the two lines going to the oil cooler a little too long so I'm not real happy with the way they look. Once the battery is installed the lines will kind of get lost and you won't see much of them. Glad to be making some progress.
-
It turned out great, that its a fantastic build!
-
1/12th Porsche 934 Vaillant
majel replied to majel's topic in WIP: Other Racing: Road Racing, Land Speed Racers
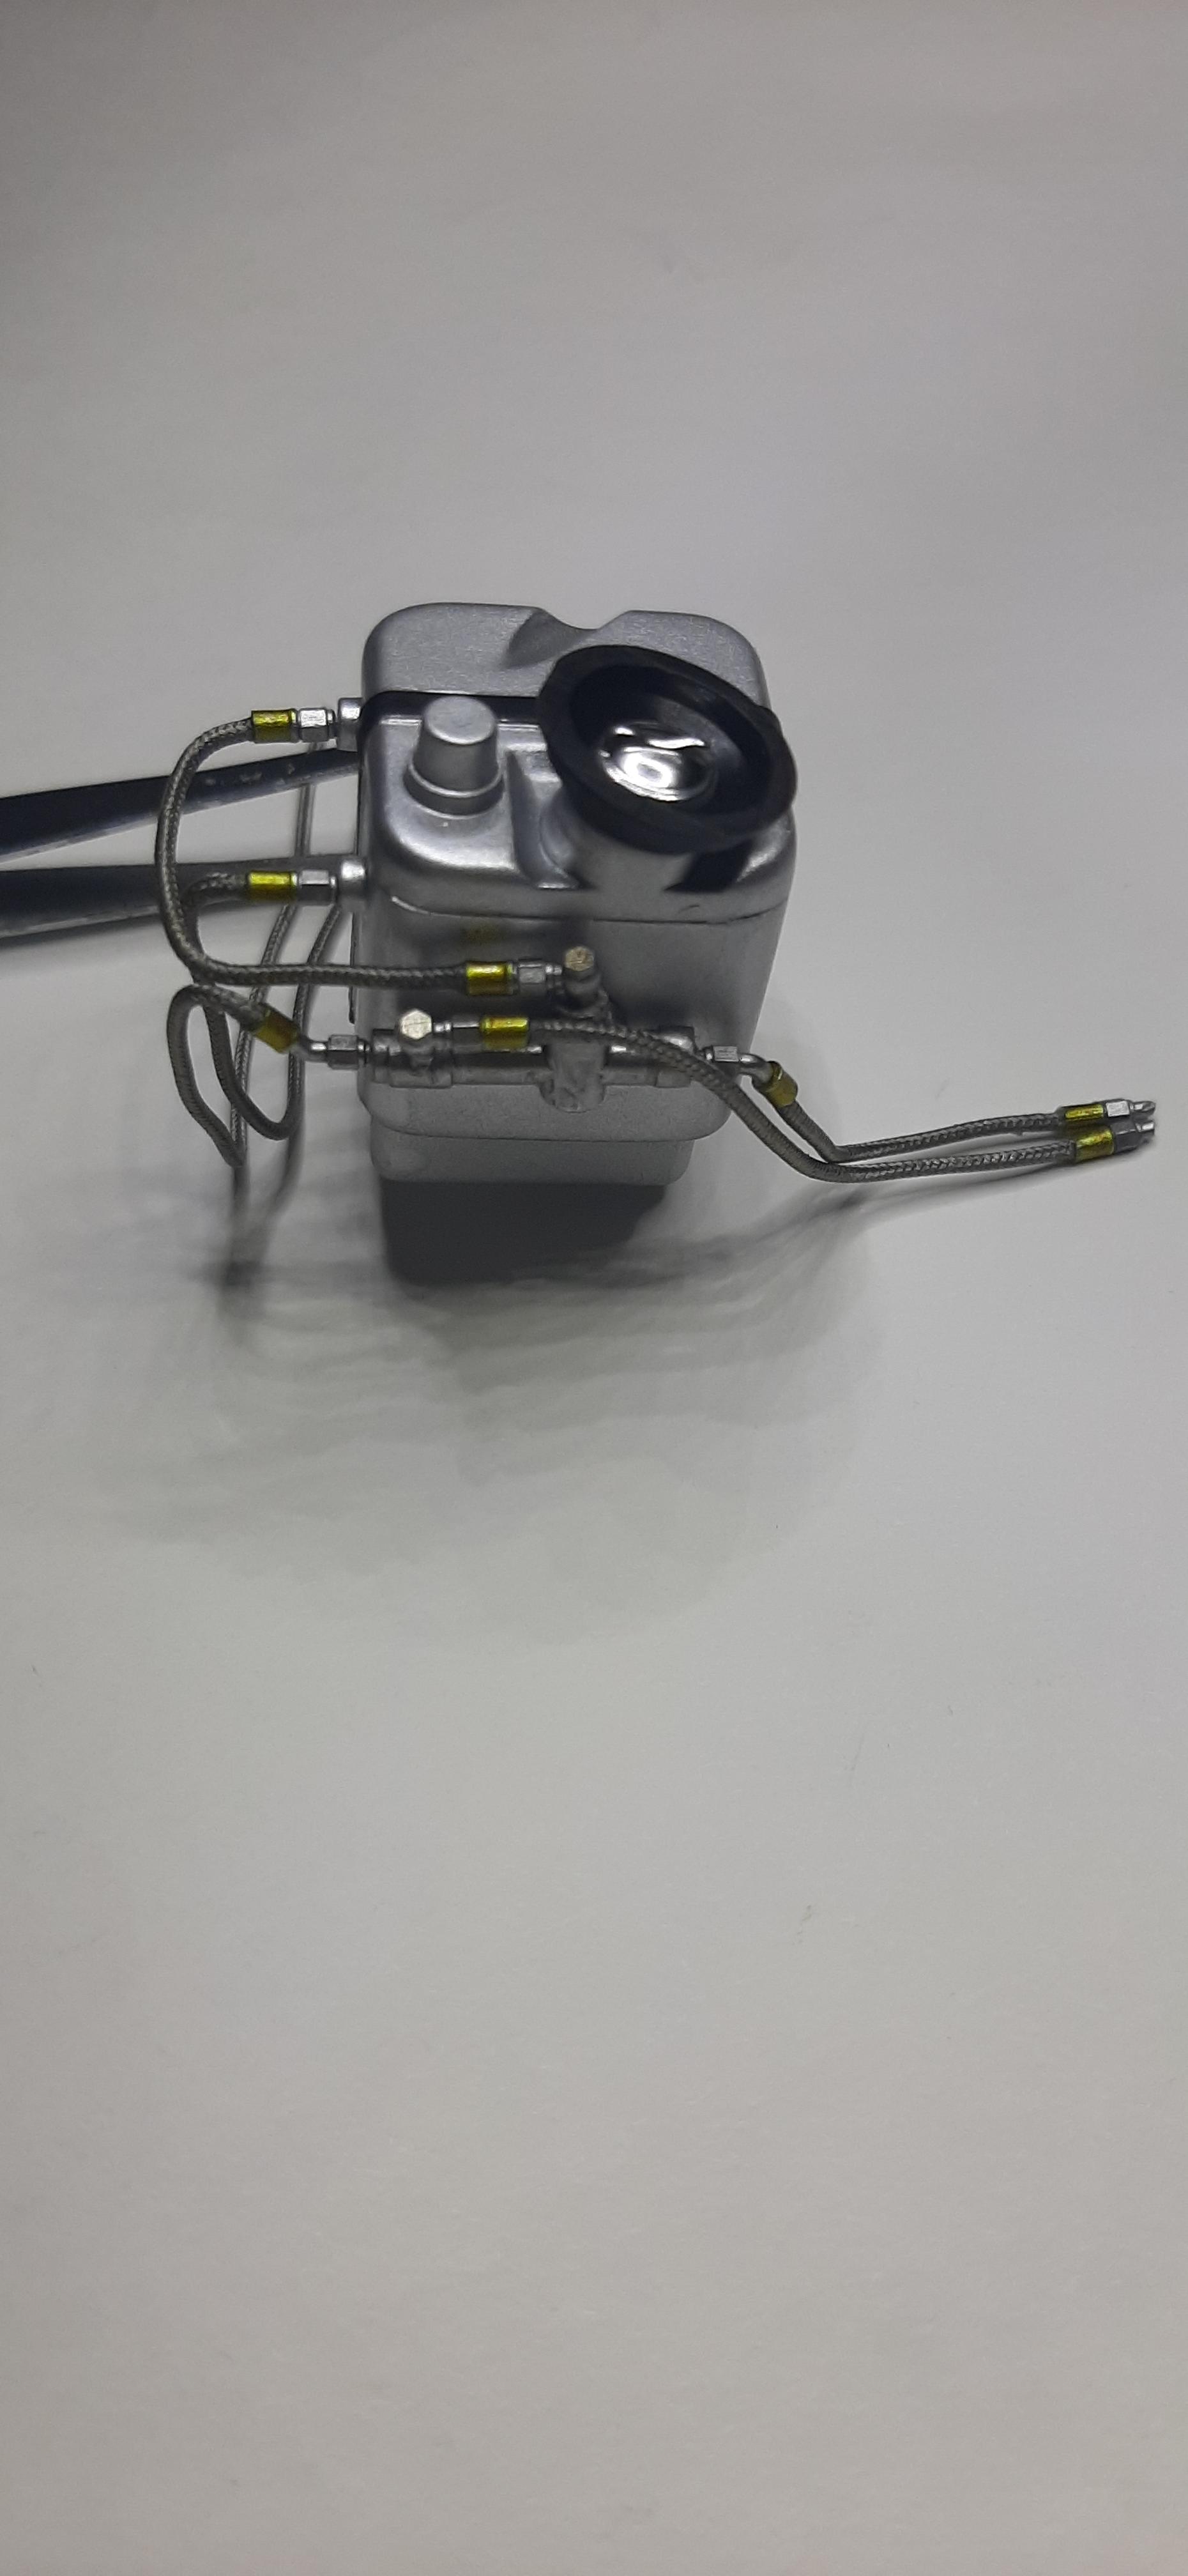
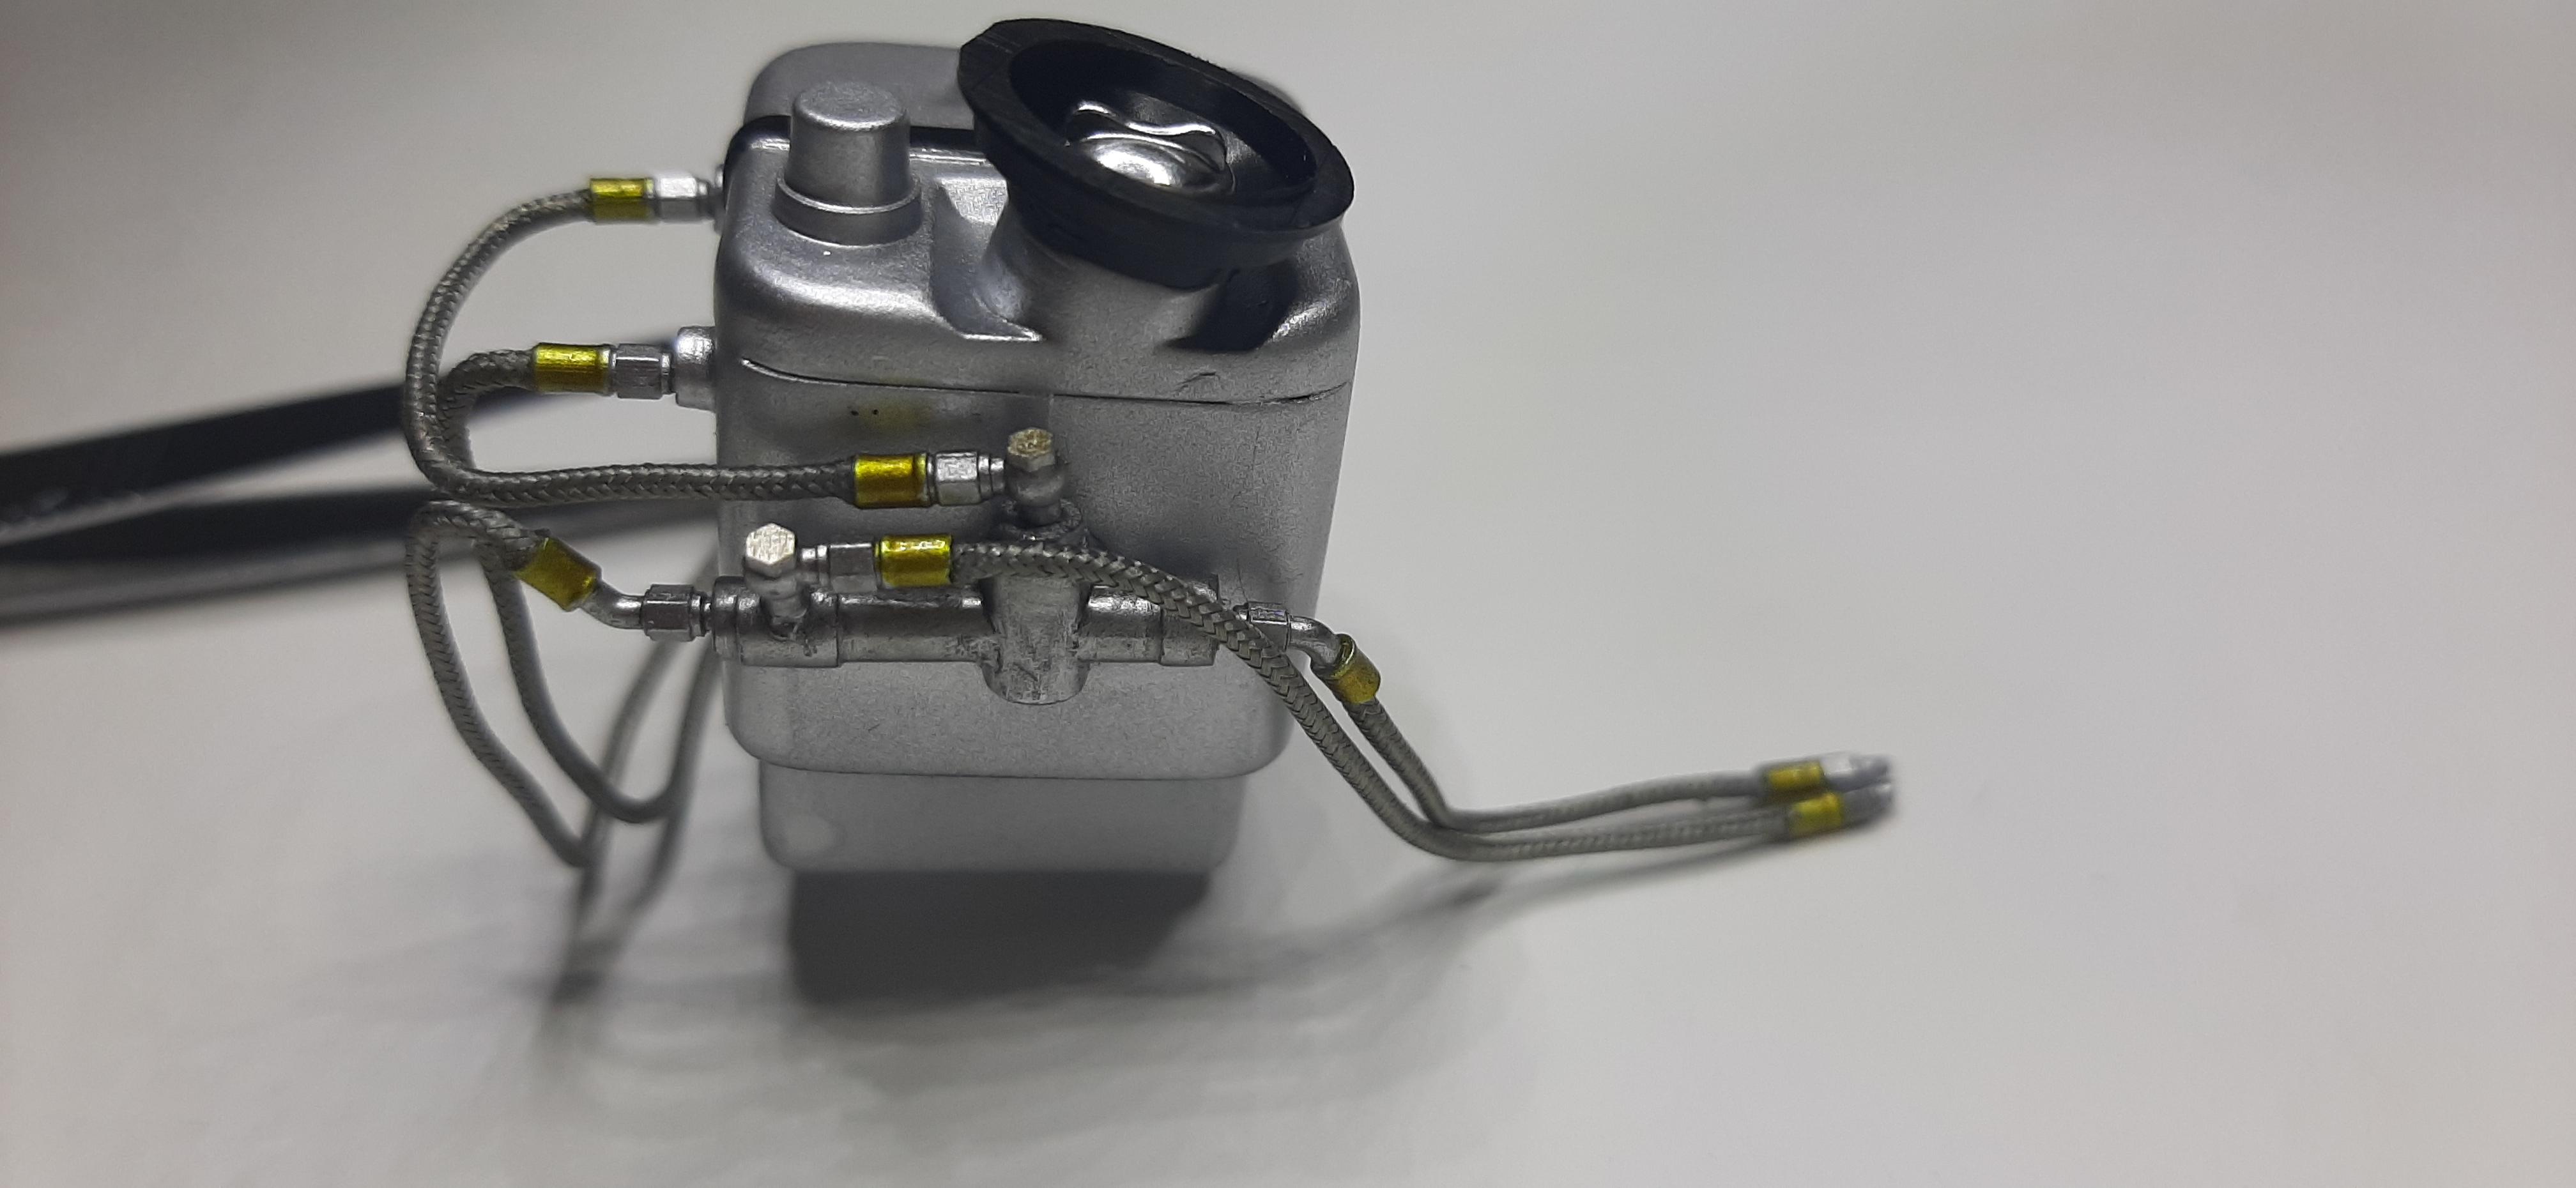
Installed the oil lines on the oil tank. Used Top Studio 1.8mm fittings throughout and Detail Master braided lines. Not sure the size of the braided line, I used what I had in my parts bin. The two lines laying loose with the fittings on the end will install in the oil cooler. The other two loose lines disappear below the fuel tank in all the pictures I've found. I'm assuming they would run back to the engine, but I can't find anything showing the route they take. I have one more black rubber line to connect to the oil tank that I'm also questioning where it goes. If anyone knows how the lines are supposed to be routed please let me know.
-
1/12 Ford GT40 (remodelled)
majel replied to kpnuts's topic in WIP: Other Racing: Road Racing, Land Speed Racers
That is a cool idea!! -
1/12th Porsche 934 Vaillant
majel replied to majel's topic in WIP: Other Racing: Road Racing, Land Speed Racers
After having covid for the last week I finally felt good enough to get in some bench time today. I got the front air dam painted, this was much easier than using the kit supplied decals. Finished up some more decals on the body, waiting on some Top Studio fittings to contine with the fuel cell and oil lines.
-
MPC Flip Nose '57 gasser converted to......well, a gasser.
majel replied to roadhawg's topic in Drag Racing
Fantastic build, very clean work! -
1/12th Porsche 934 Vaillant
majel replied to majel's topic in WIP: Other Racing: Road Racing, Land Speed Racers
Thanks Mike, it's been a challenge, but a lot of fun. -
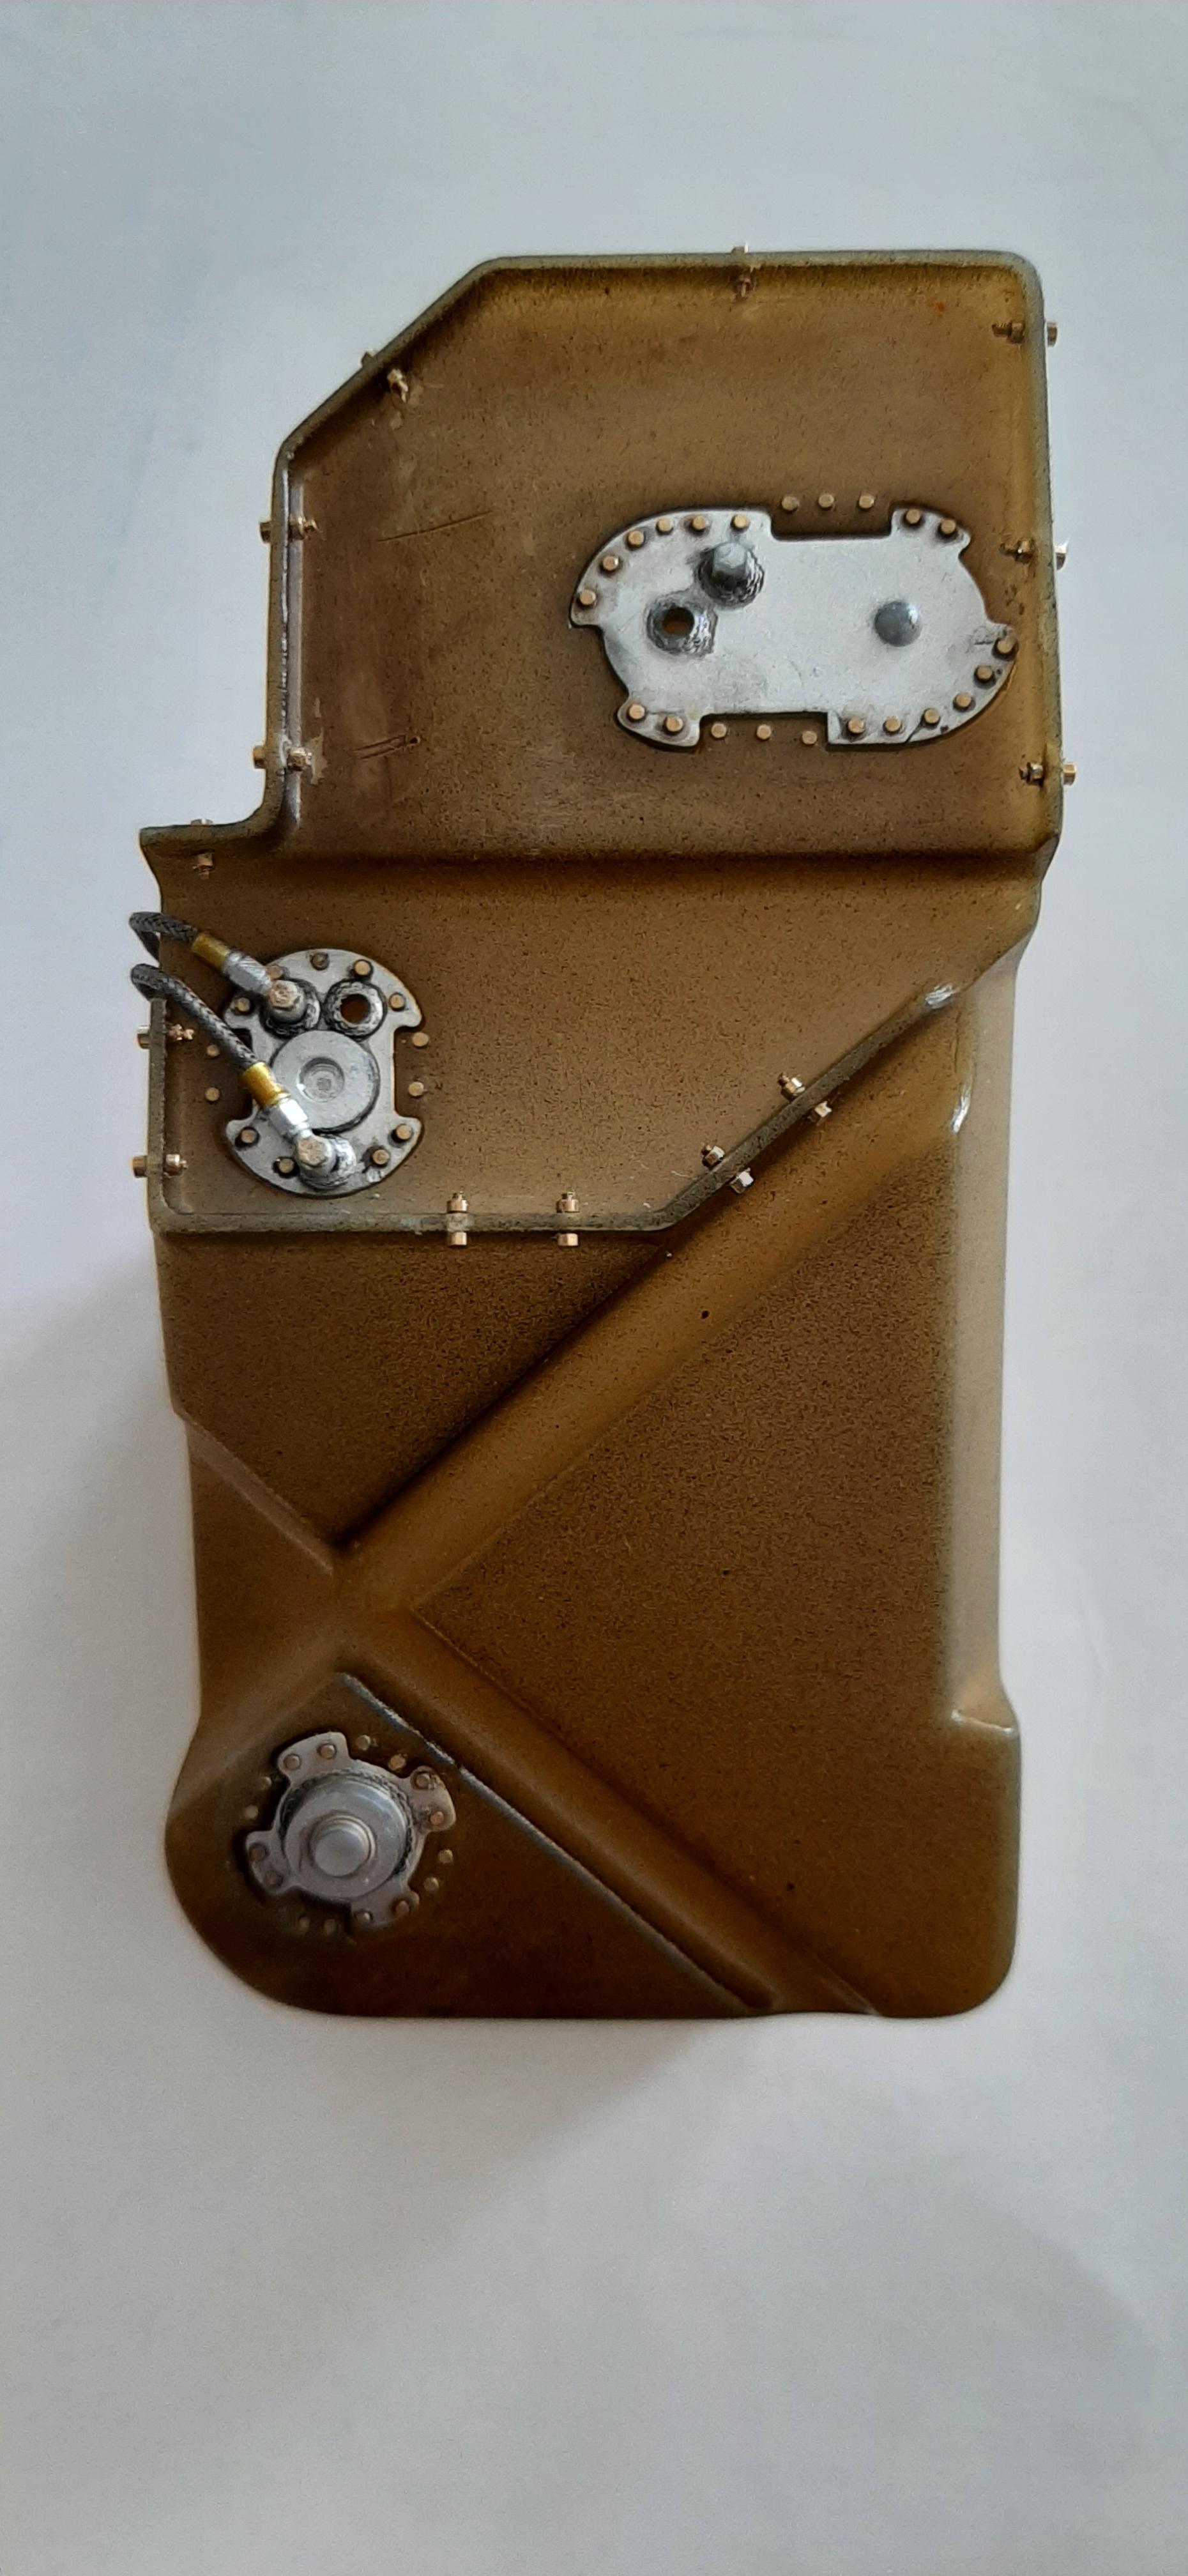
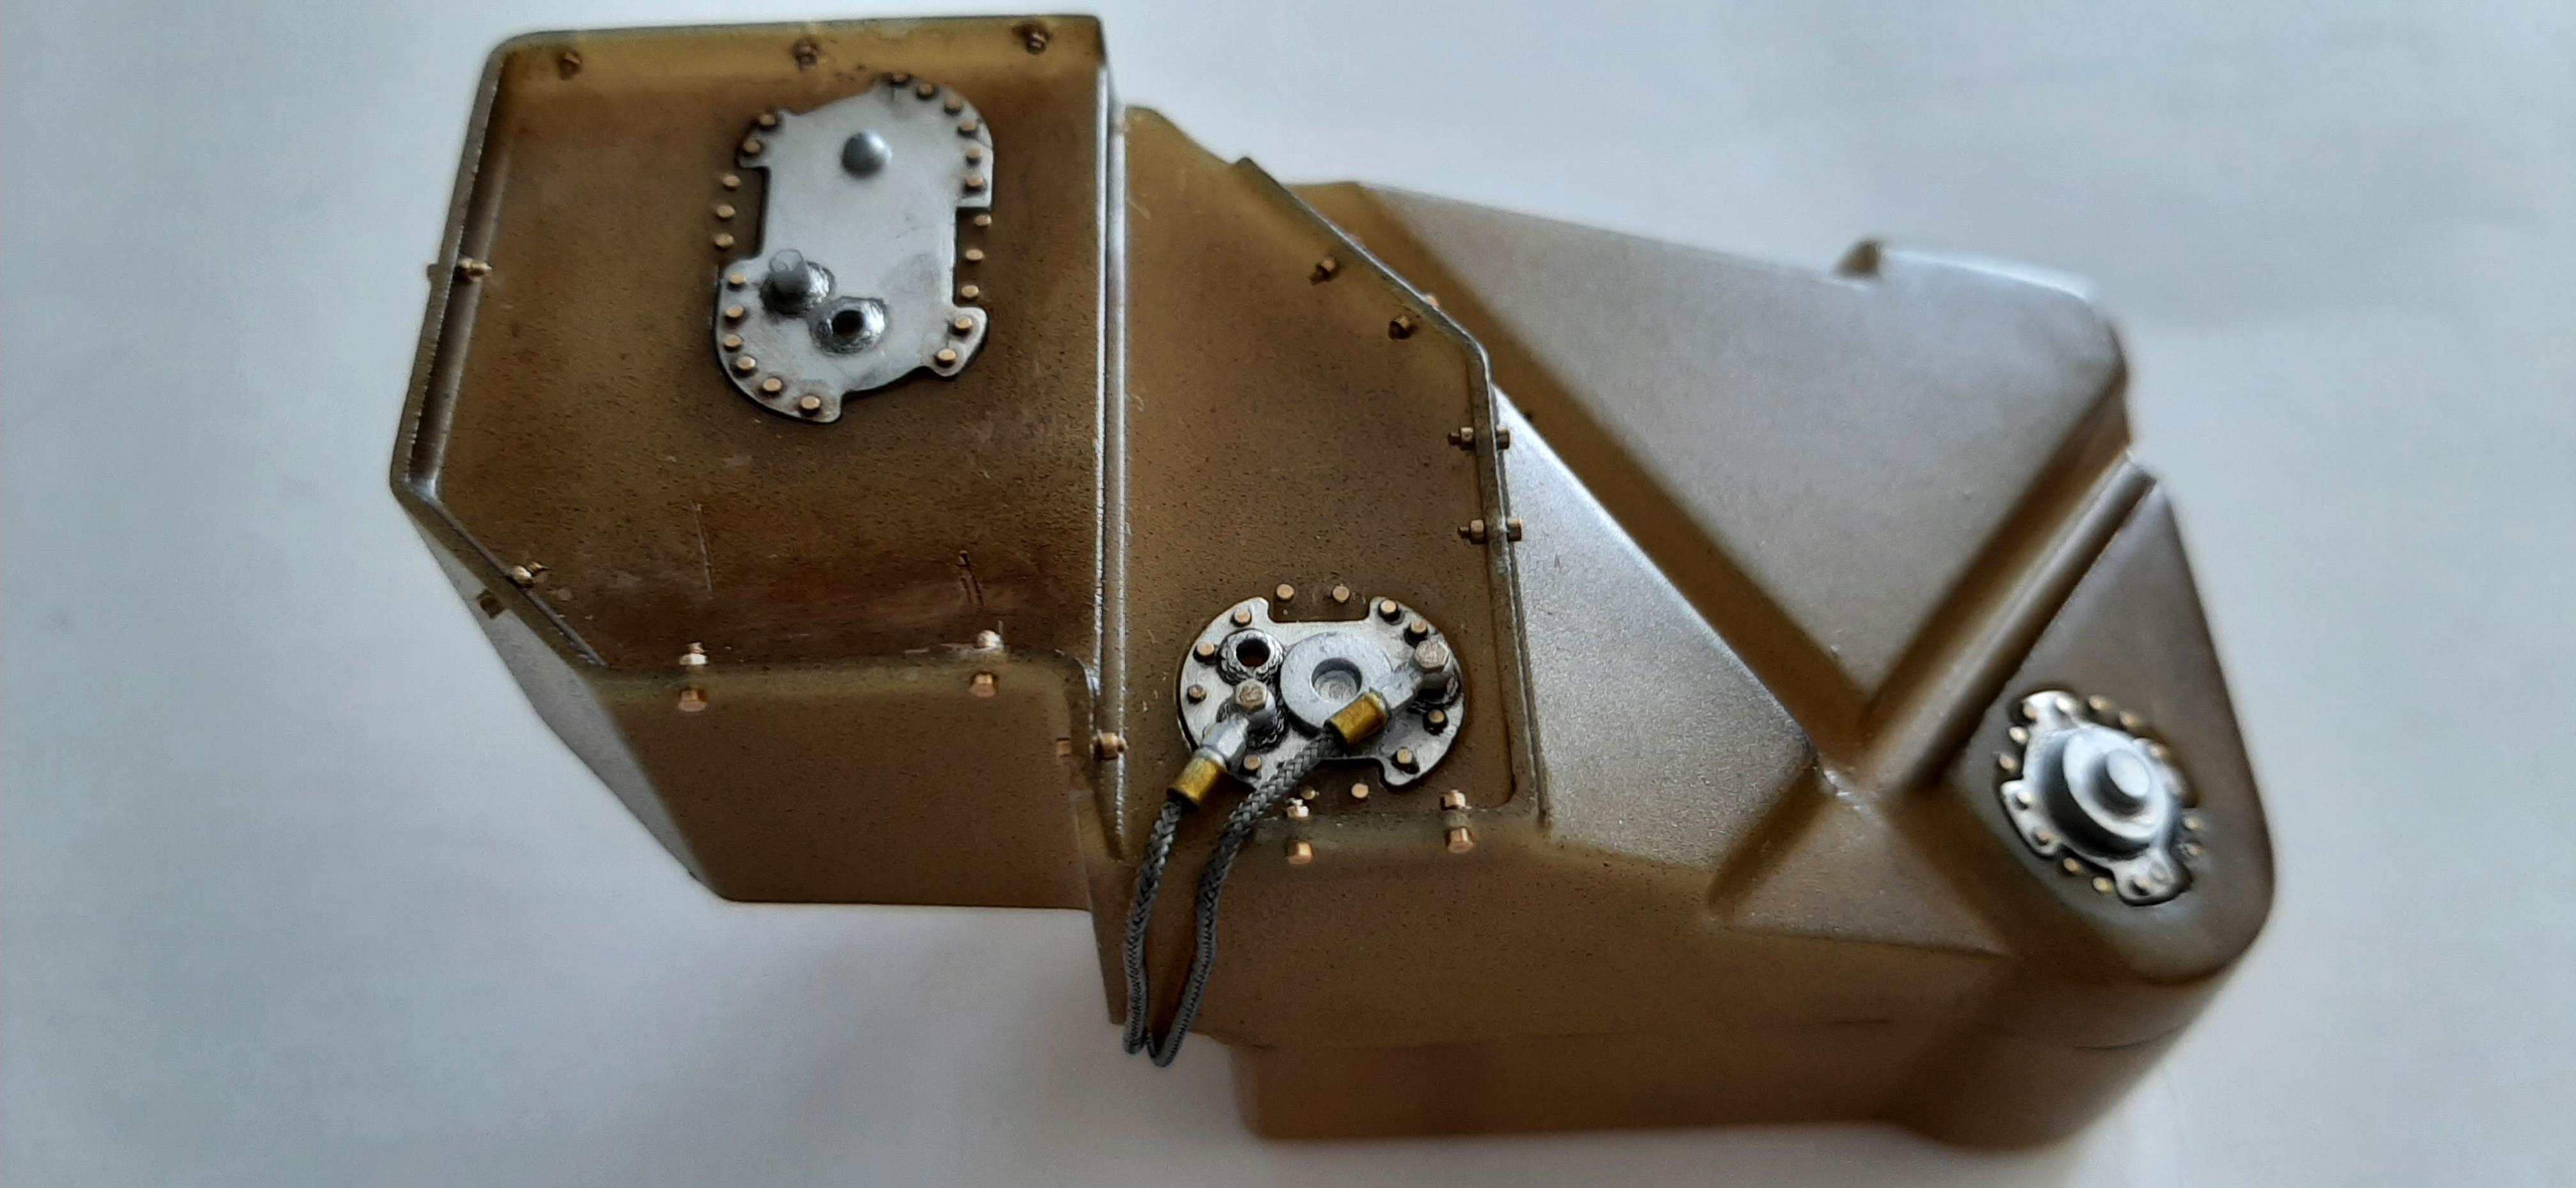
1/12th Porsche 934 Vaillant
majel replied to majel's topic in WIP: Other Racing: Road Racing, Land Speed Racers
Got all the nuts and bolts installed in the fuel cell. Luckily the nuts thread on without too much trouble because they are tiny! Amazingly I only lost one nut to the great beyond. Installed two of the fuel lines using Top Studio 1.5mm fittings and Pro Tech braided lines.
-
Tamiya 1/12 Porsche 935
majel replied to kpnuts's topic in Other Racing: Road Racing, Salt Flat Racers
Wow! That came out really nice, excellent job of weathering on the body. This was a good one to follow, thanks for the in progress photos. -
Tamiya 1/12 Martini Porsche 935
majel replied to kpnuts's topic in WIP: Other Racing: Road Racing, Land Speed Racers
Beach time is always nice, I'm about three miles from the beach so my wife walk the beach quite often. The car is coming out great, the decals look good. What are you going to use to weather the body since I assume you are going for a post race look? -
1/12th Porsche 934 Vaillant
majel replied to majel's topic in WIP: Other Racing: Road Racing, Land Speed Racers
Started drilling holes for the 12 nuts and bolts that need to be installed on the fuel cell. The nuts and bolts are from Scale Hardware and are .6mm. They are really small and really hard to work with. Thankfully I haven't lost any yet because my old eyes would never find them again! I think the end result will be worth it.
-
1960 Ferrari 256F1
majel replied to Chris Smith's topic in WIP: Other Racing: Road Racing, Land Speed Racers
Excellent job, that came out fantastic. Looking forward to the glamour shots. -
That came out really nice! The garage is really cool. As far as the stance just tell everyone the passenger side shocks are shot!
-
1960 Ferrari 256F1
majel replied to Chris Smith's topic in WIP: Other Racing: Road Racing, Land Speed Racers
Just checked in to this, your detail work and weathering is gorgeous! What an amazing model, fantastic work. Those seats look just like leather! -
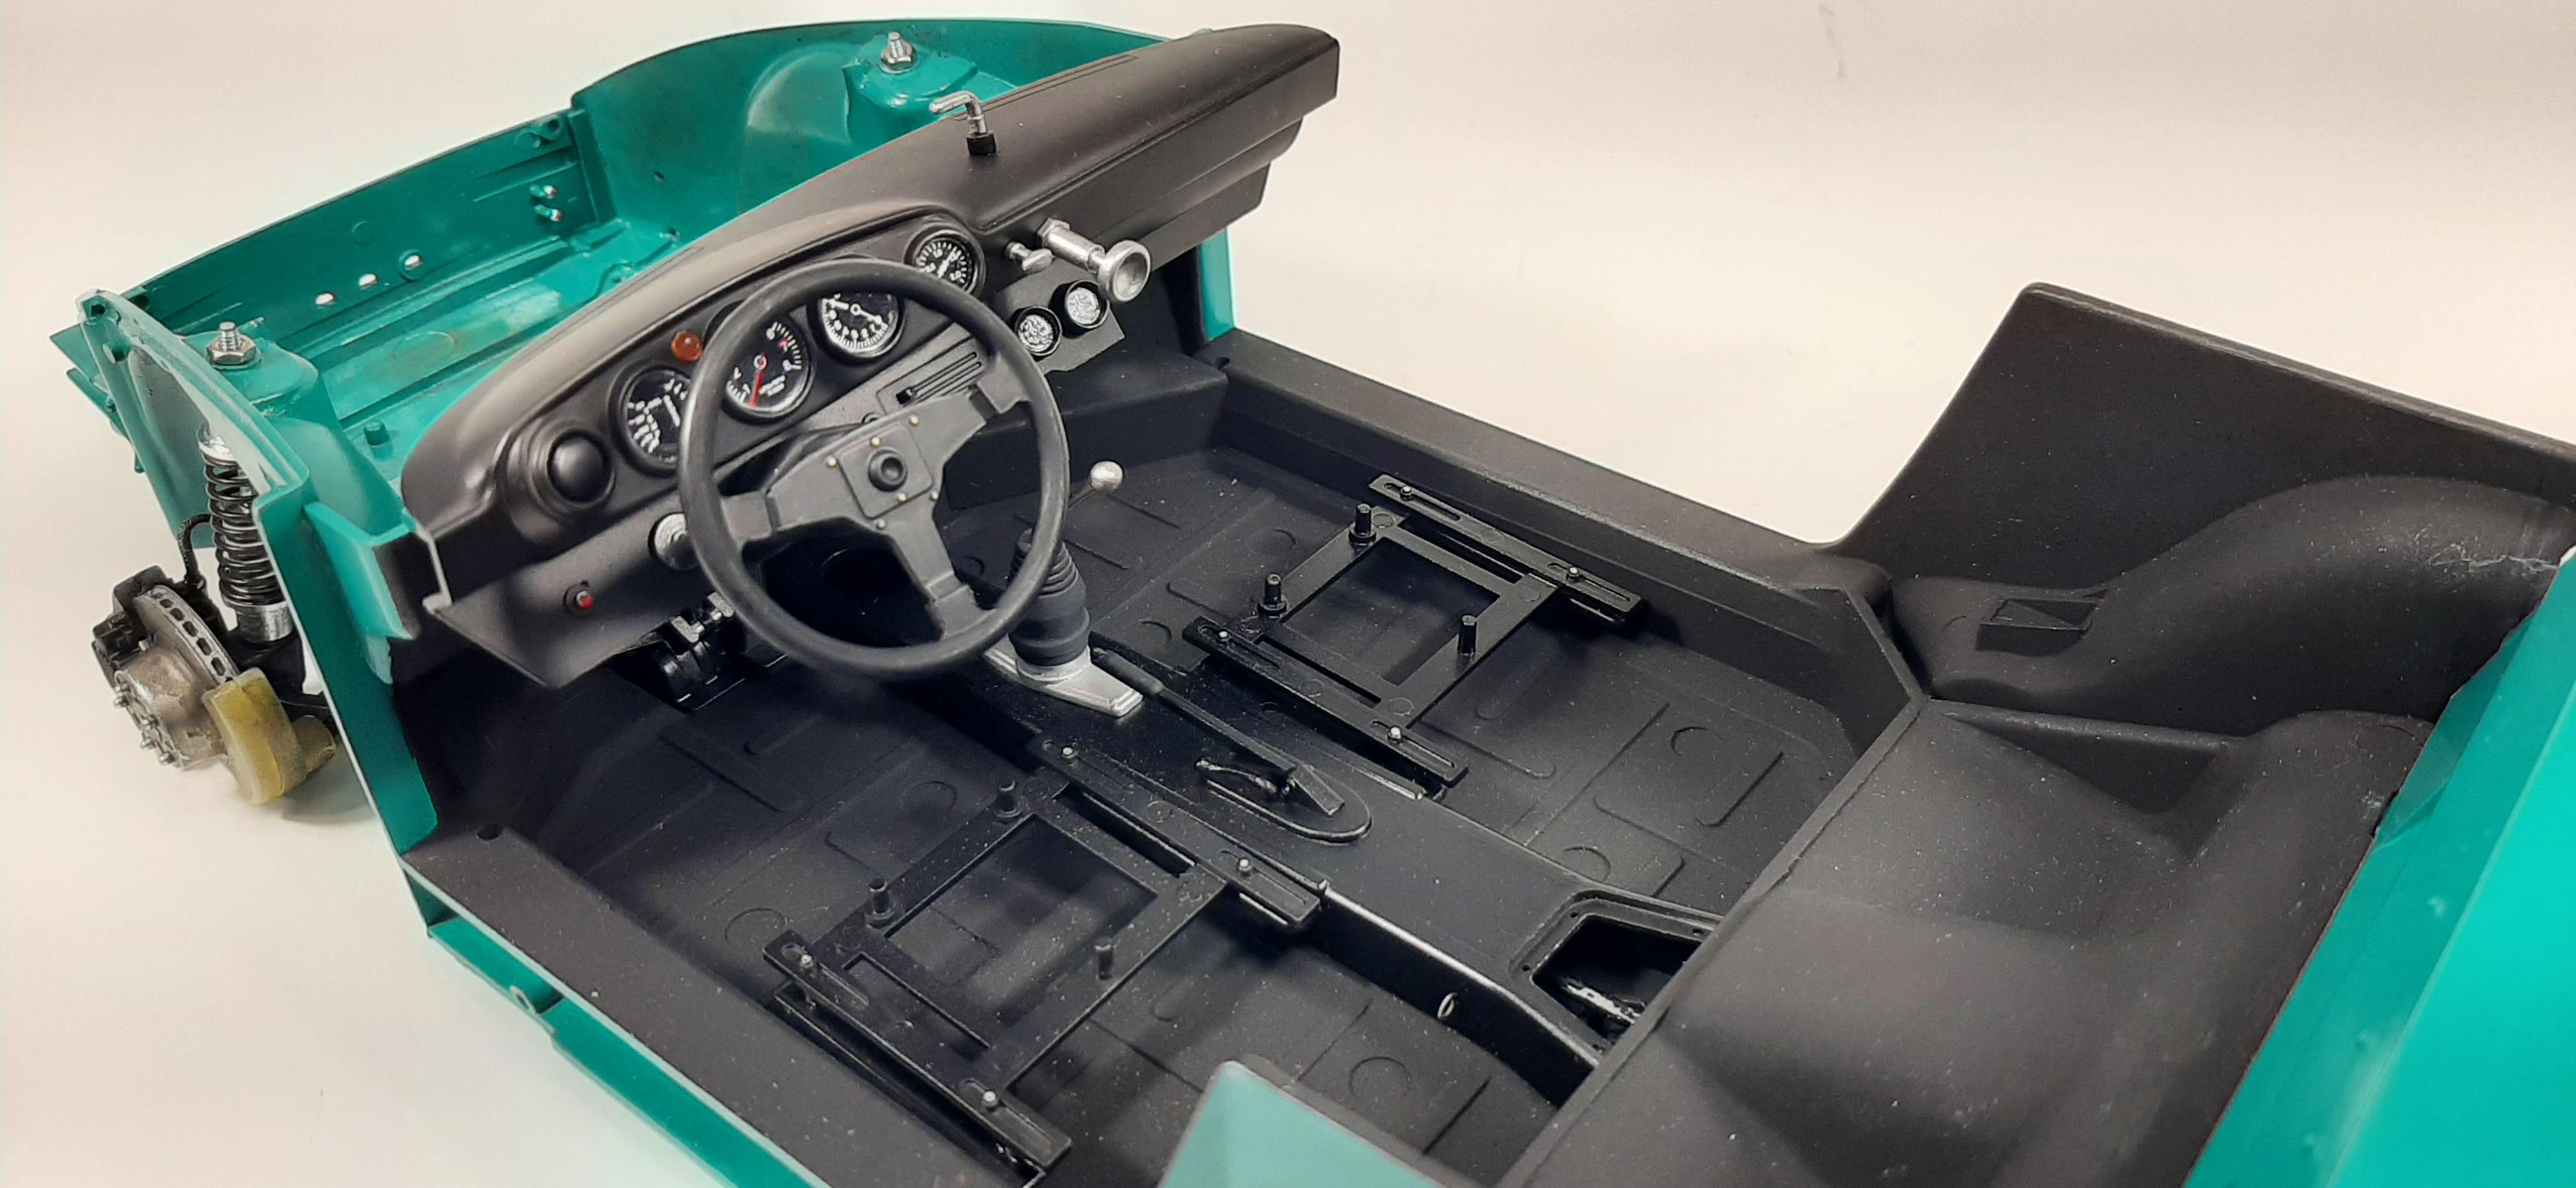
1/12th Porsche 934 Vaillant
majel replied to majel's topic in WIP: Other Racing: Road Racing, Land Speed Racers
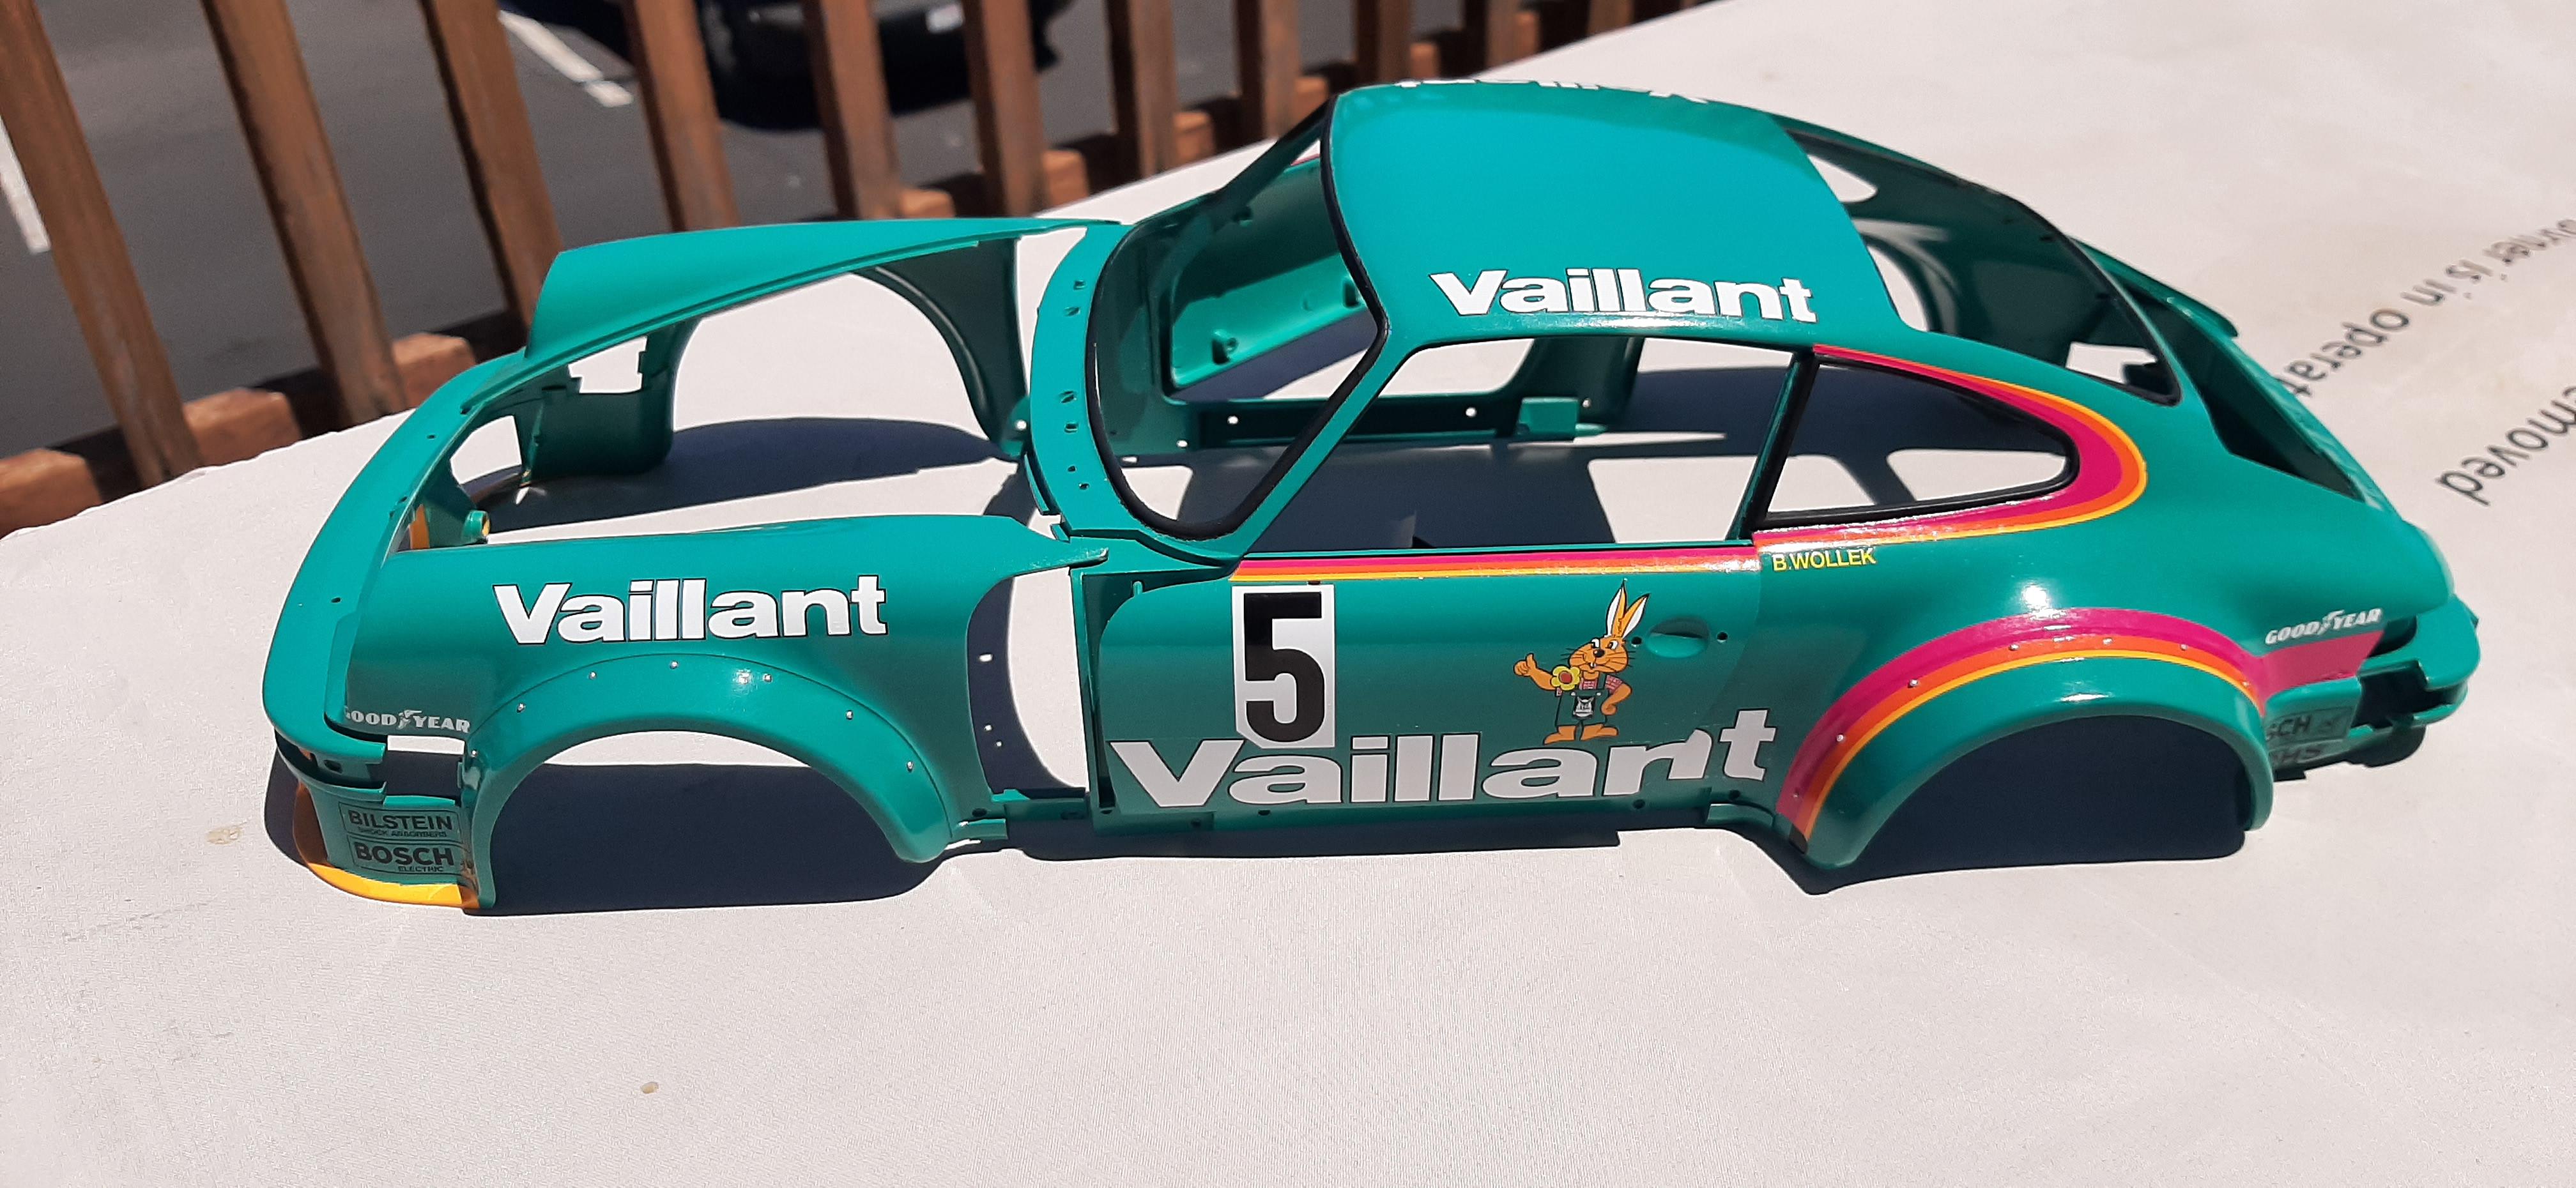
I got the dashboard completed and installed. The decals are a perfect fit along with the glass covering the gauges. Excellent details Tamiya! After installing the dash I decided I would start on the body decals so that I can clear the body before installing the glass and rubber bumpers. The decals have been great so far except for the yellow/orange decals for the front spoiler and air intake. I had such an issue with them that I have decided I will paint those areas instead. Hopefully I don't mess it up. After the decals set up good I will install the rivets for the rear fender kits. Hopefully I can get all the decals installed and then clear the body and add light weathering.
-
Tamiya 1/12 Martini Porsche 935
majel replied to kpnuts's topic in WIP: Other Racing: Road Racing, Land Speed Racers
This us really looking great! -
Nice looking box stock build. Too bad about the decals, old decals are such a pain to work with. To get those large side panel decals on without any major rips is impressive, especially for their age. Usually they seem to get more brittle with age.
-
Tamiya 1/12 Martini Porsche 935
majel replied to kpnuts's topic in WIP: Other Racing: Road Racing, Land Speed Racers
Those drive shafts look great, it's really coming along nicely. Love the weathering, it looks like it's been raced hard! -
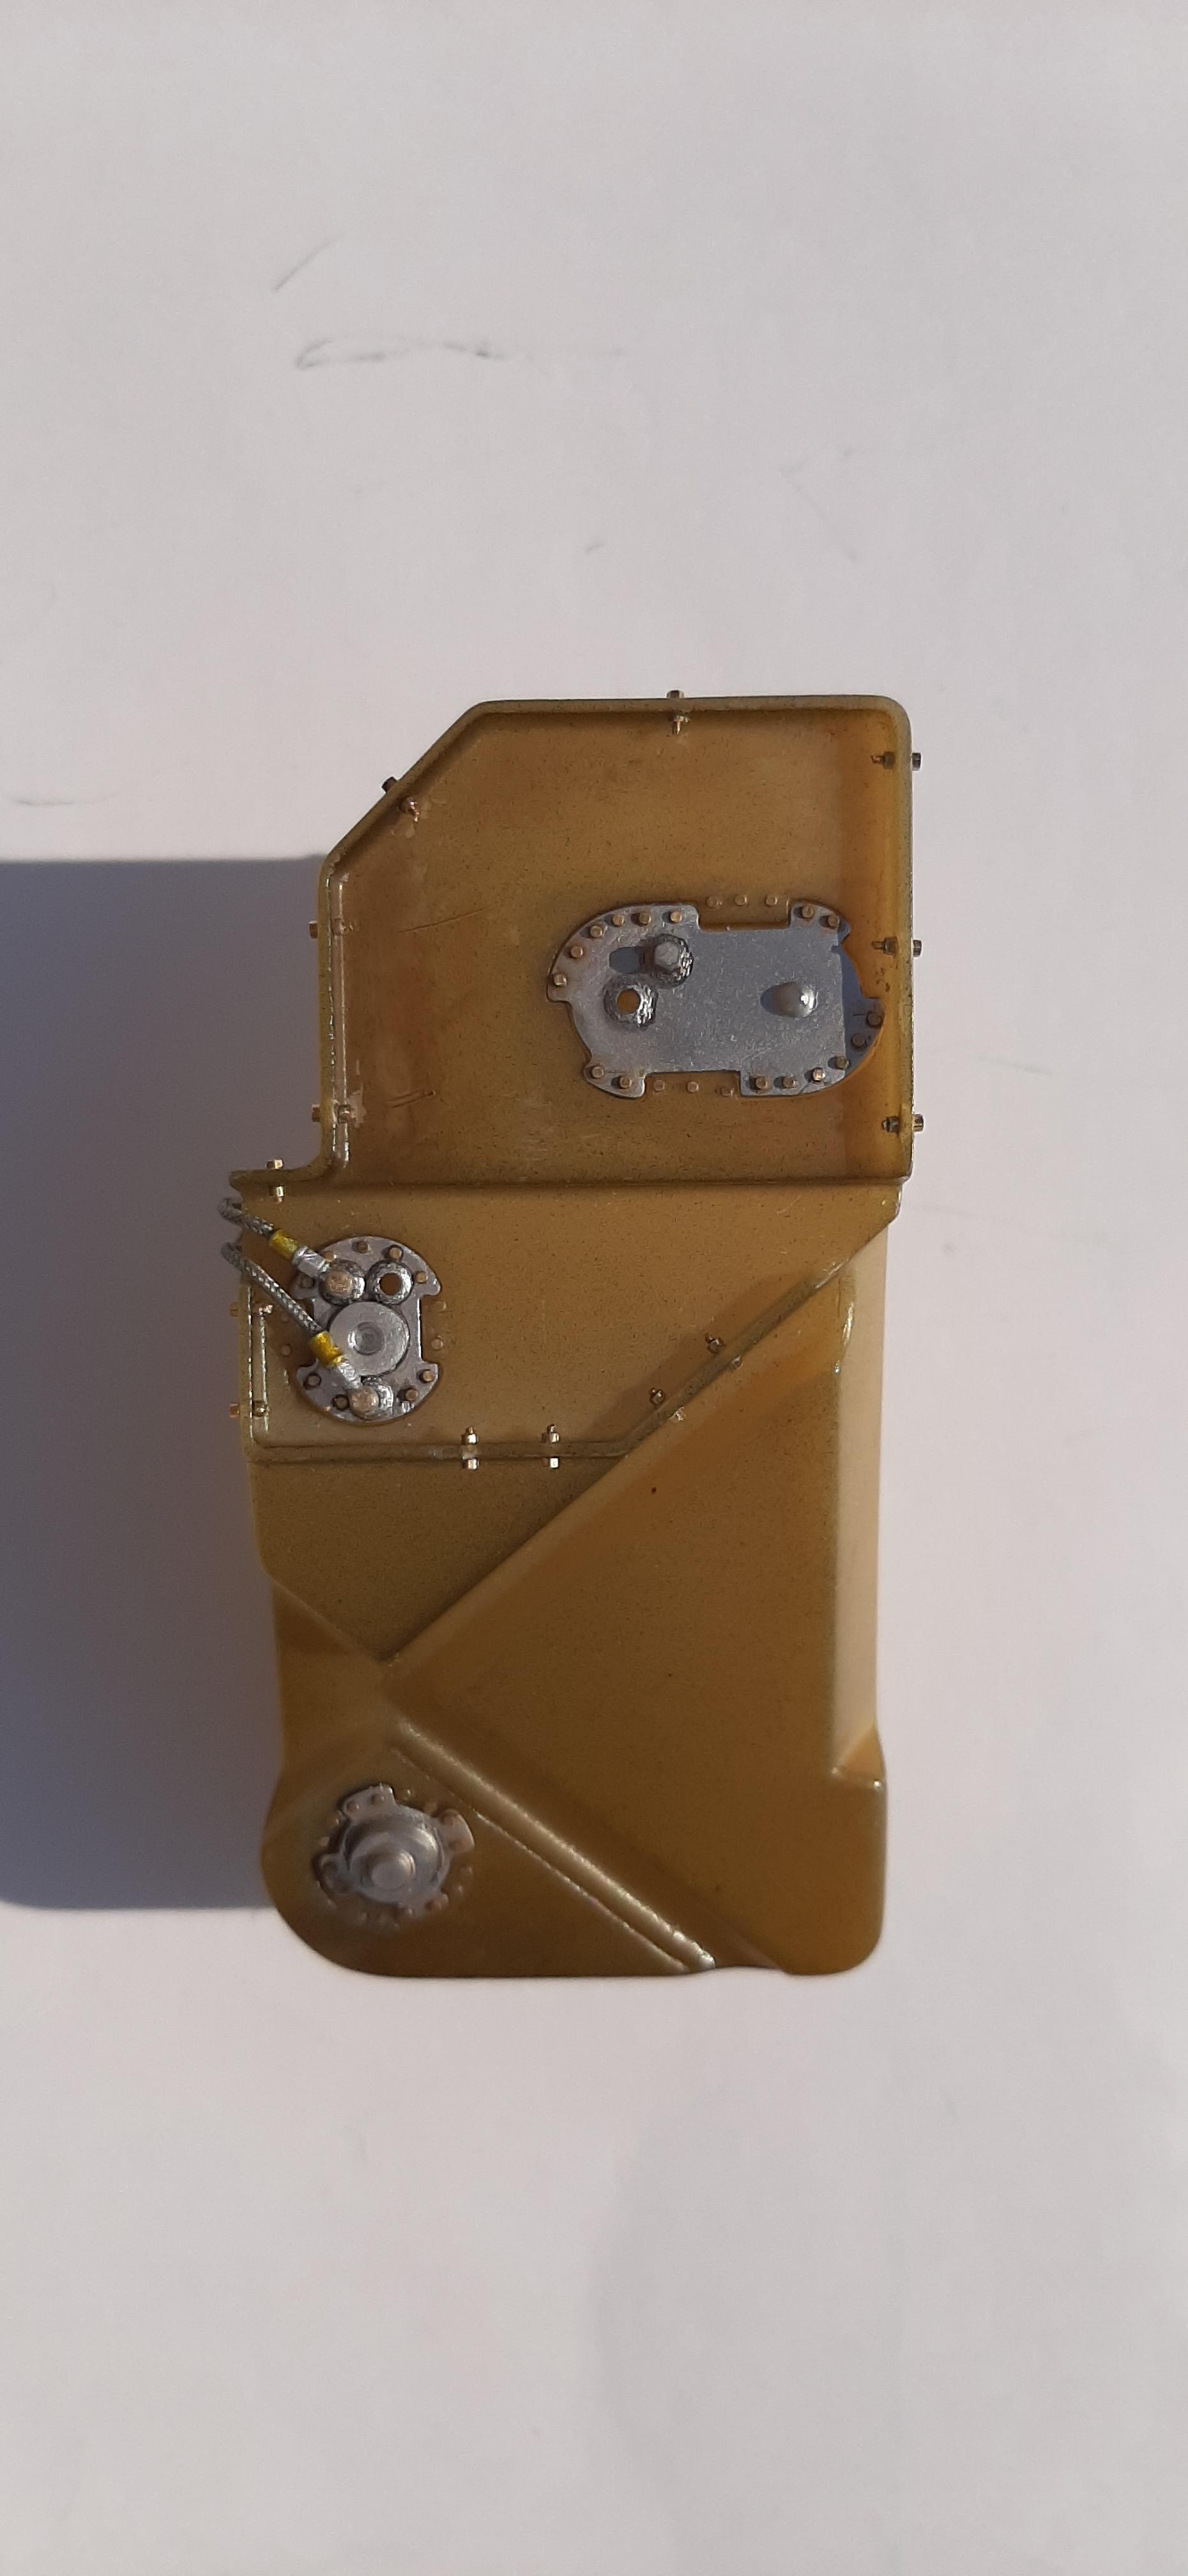
1/12th Porsche 934 Vaillant
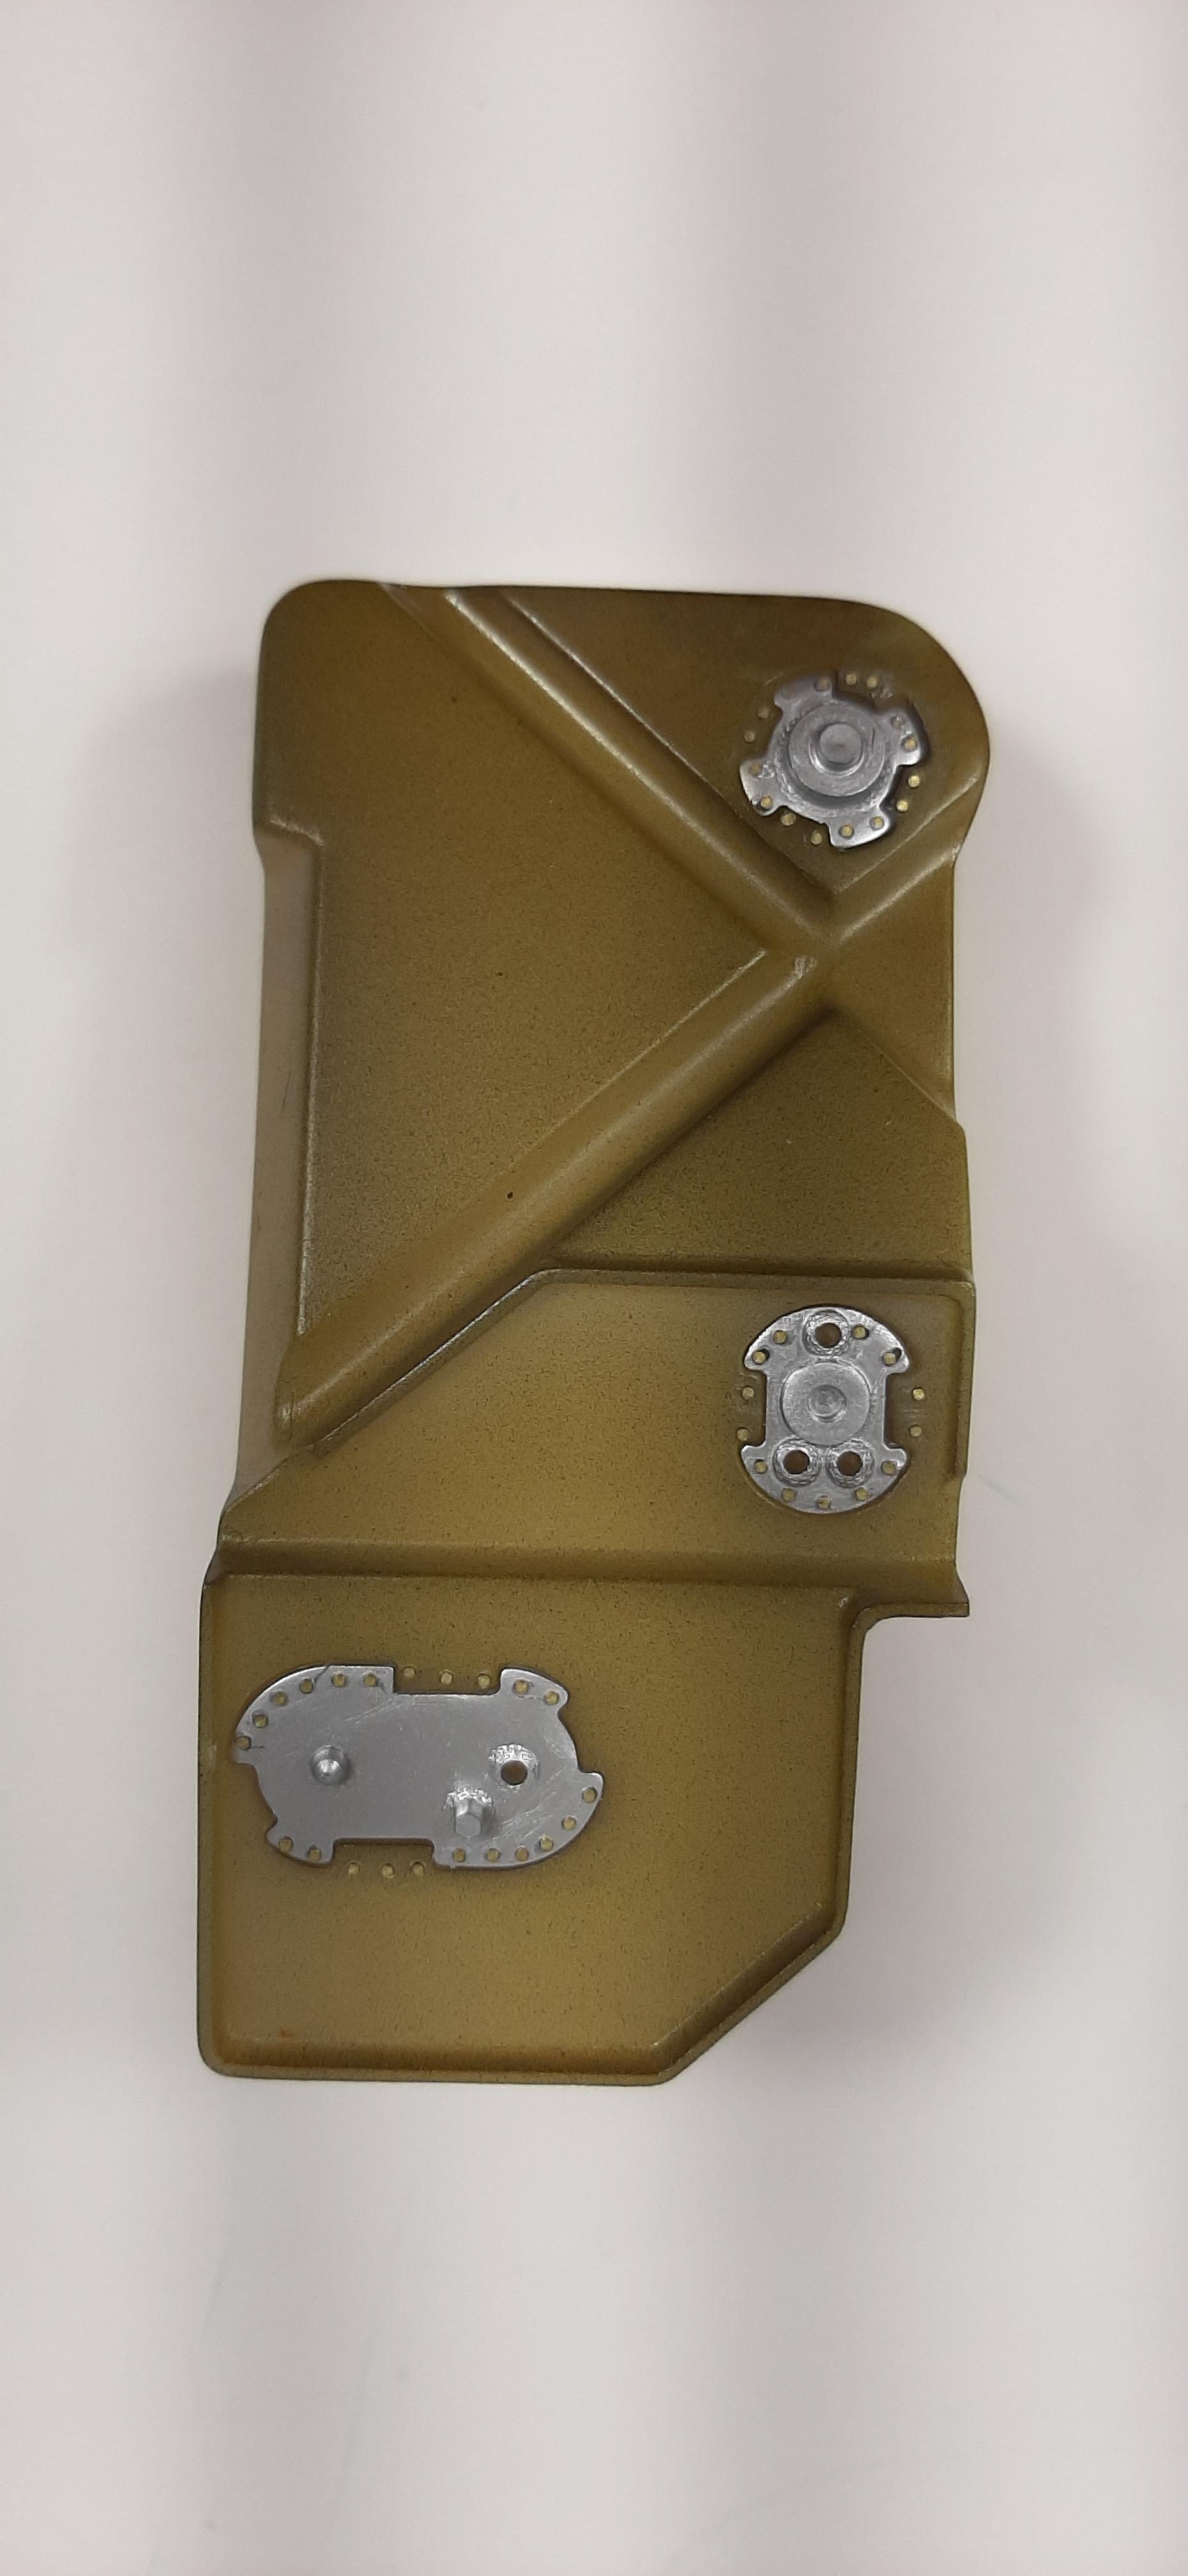
majel replied to majel's topic in WIP: Other Racing: Road Racing, Land Speed Racers
Although not a big update it does represent a lot of tedious work. I installed the front fender flares rivets using MFH round head rivets which I will also use on the rear fender flares once the decals are installed. These are a white metal rivet which I think look great. The fuel cell was painted using clear yellow, clear orange, and flat black in mist coats. The cell plates had raised nubs which were sanded off and then drilled out to accept Prime Miniatures .5mm brass rivets. I drilled out 48 holes and installed 48 rivets. Next will be installing nuts and bolts in the fuel cell and weathering the under bonnet area where the oil and fuel cells are installed.