1959scudetto
-
Posts
3,319 -
Joined
-
Last visited
Content Type
Profiles
Forums
Events
Gallery
Everything posted by 1959scudetto
-
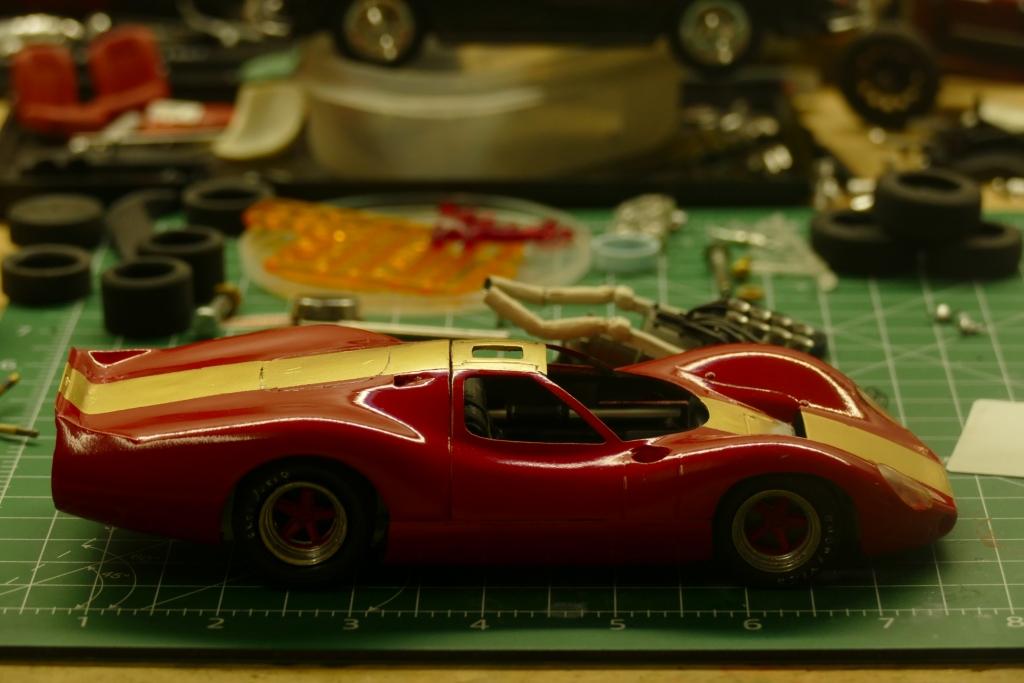
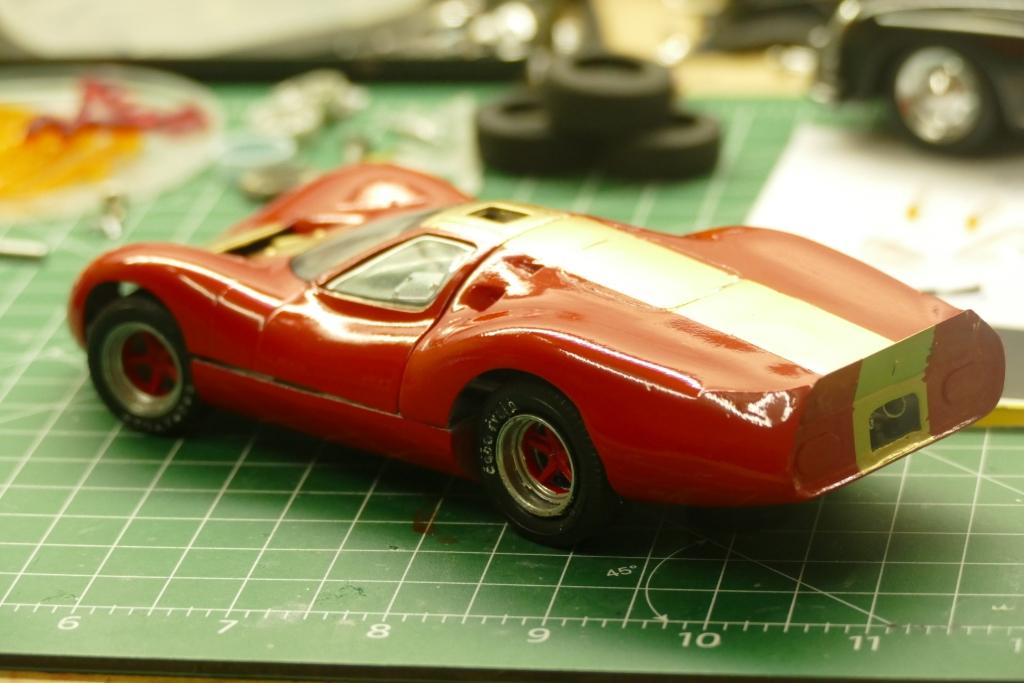
 First trial was turning the spindles upside down for ground clearance and grind away as much material outside as possible to narrow the track width. I jacked up the car here to show the stance I'm trying to achieve. (Laid the original headlight covers in its place): and with the flashlight on (car had inboard discs at the rear):
-
Tamiya 1/12 Ferrari 641/2
1959scudetto replied to Rich Chernosky's topic in WIP: Other Racing: Road Racing, Land Speed Racers
Very impressive modelbuilding, Rich - I'm afraid I don't have this endurance to keep on processing with hundreds of tiny (photo-etched!) parts. But at least I can watch the master at work. I will stay with 1/24 scale (and a few 1/20 F1 kits and 1/18 sportsracers). But one day I may repair/rebuild my Tamiya Lotus 49 junker with the help of a 49 B gluebomb (both 1/12 scale). -
Thanks, Mark - I will try my best to find a solution for these obstacles.
-
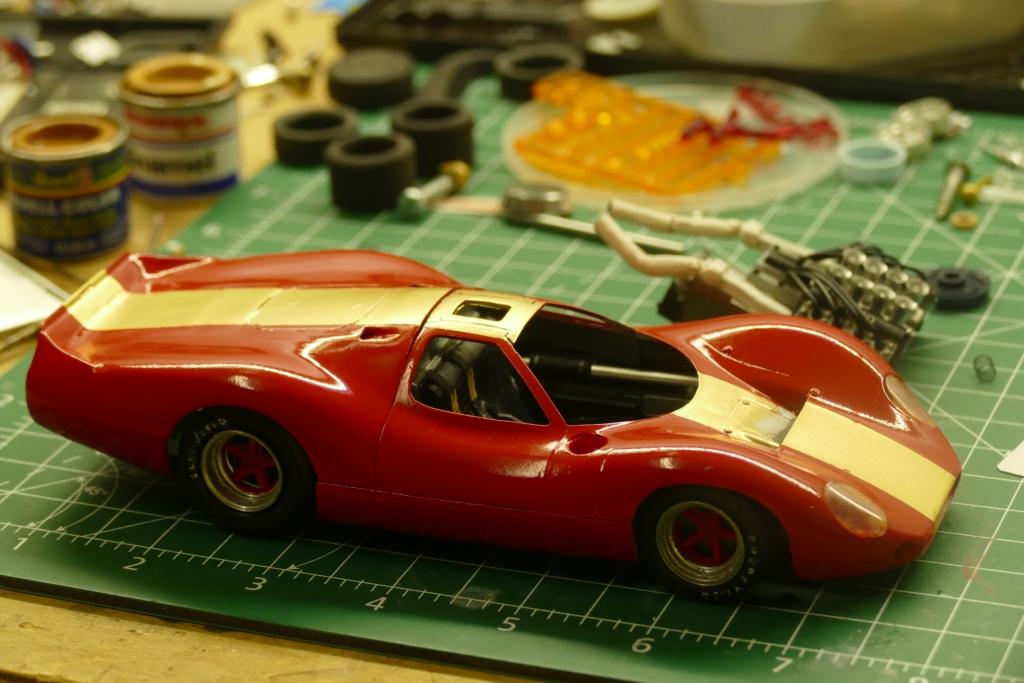
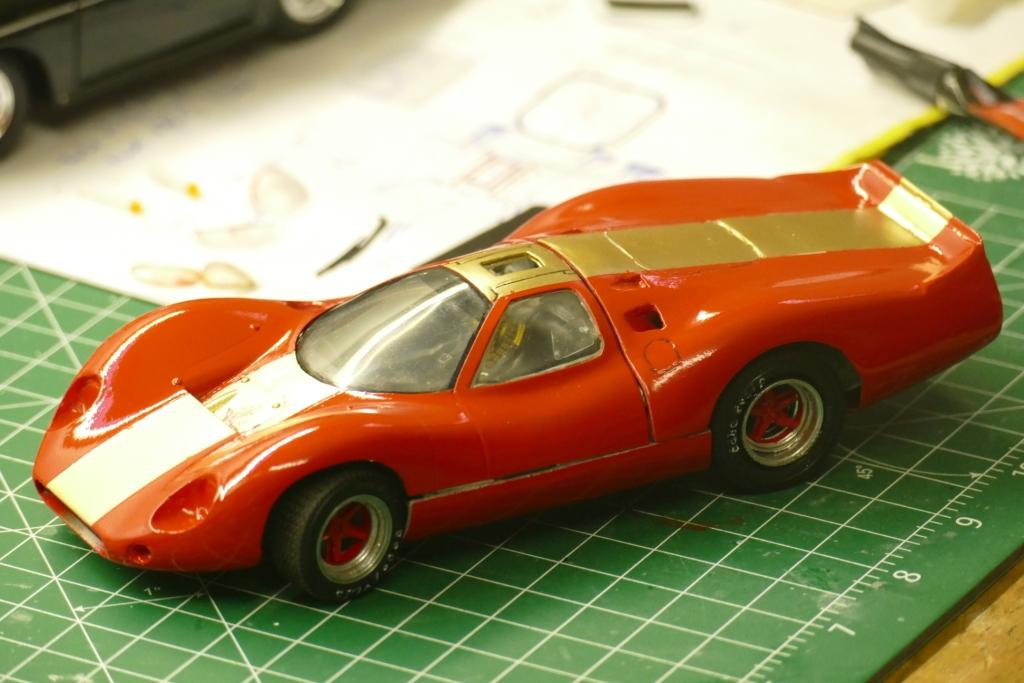
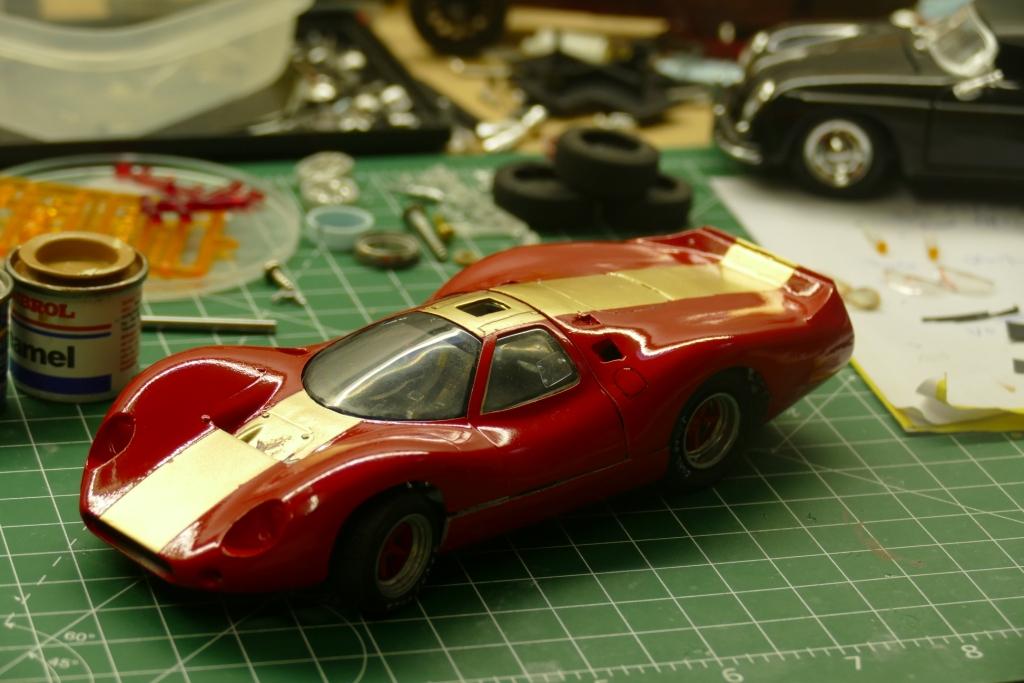
Apart from a few issues in painting which need some touching up, you can see the main problem here: the car sits much too high at the front (the rear is jacked up just for placing it horizontally - rear axle is not fixed in the chassis yet). Moreover, the front track width is about 4 mm too wide with those aluminium slotcar rims. Solution: Rework/revise or reconstruct the front suspension for narrowing the track and bringing the nose down at least 3 mm. Oh boy, lots of unexpected work again!
-
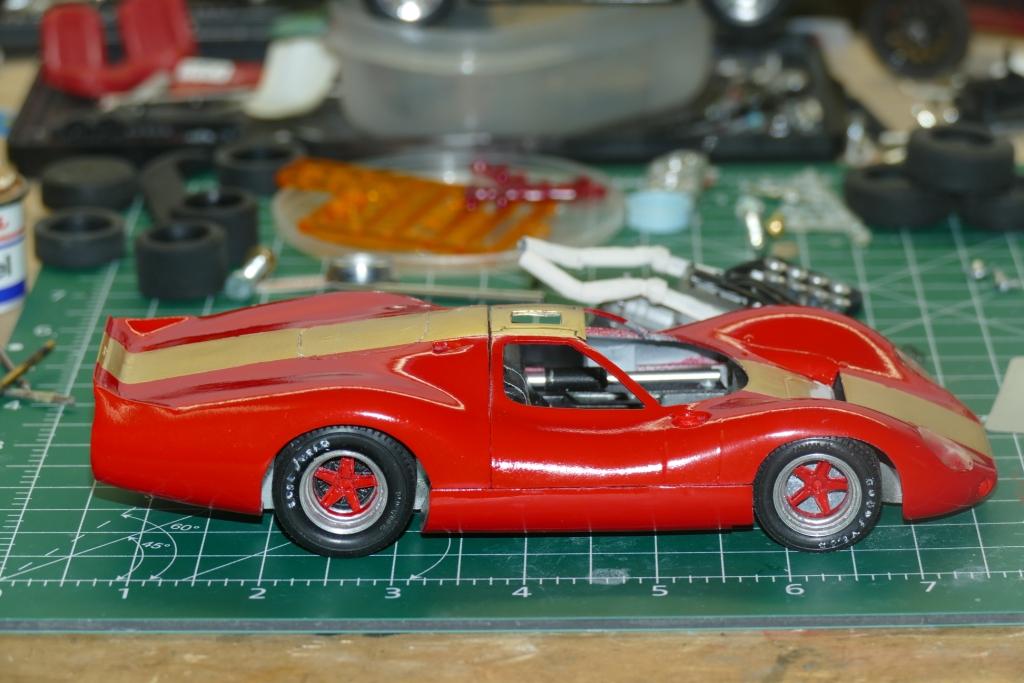
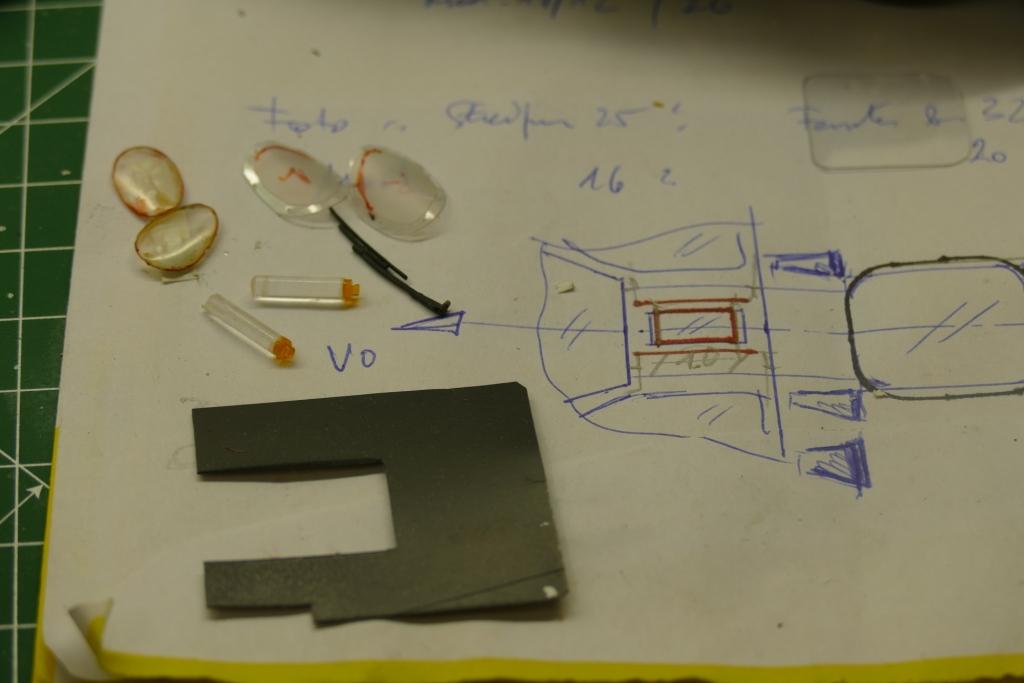
Prepared a few small parts (2 versions of the headlight covers: the originals sit IN the opening, my replacements are larger than the headlight openings, which is correct, but should sit flush with the body - see pic above... hmmm): the black panel is meant to be the inside engine cover. first shots of paint (Tamiya TS 21 gold and TS 49 bright red) and a quick mock-up:
-
Hi Janos, not yet, maybe later. I got this one with a 20% discount, so I ordered it (from the photos I saw on the internet I was not so convinced of its proportions first, but it is workable)
-
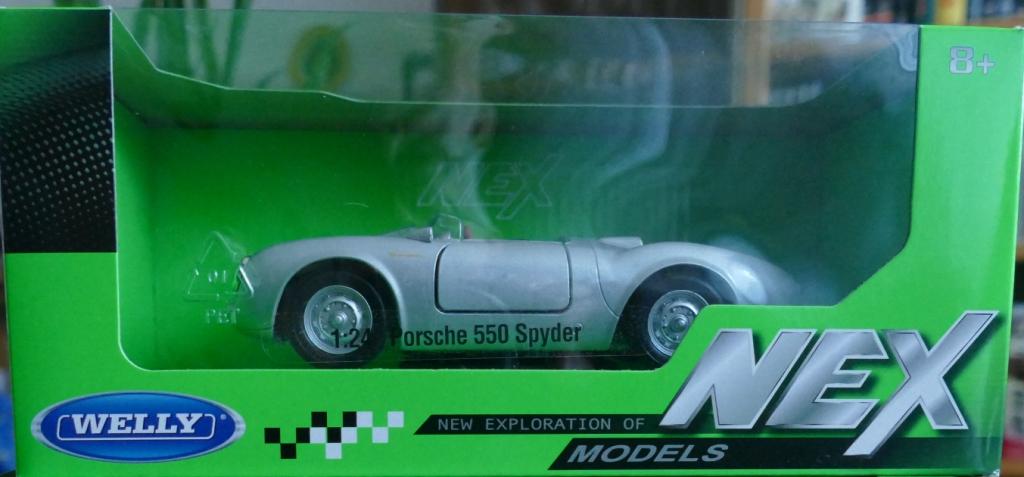
It is 1/24 scale (see headline).
-
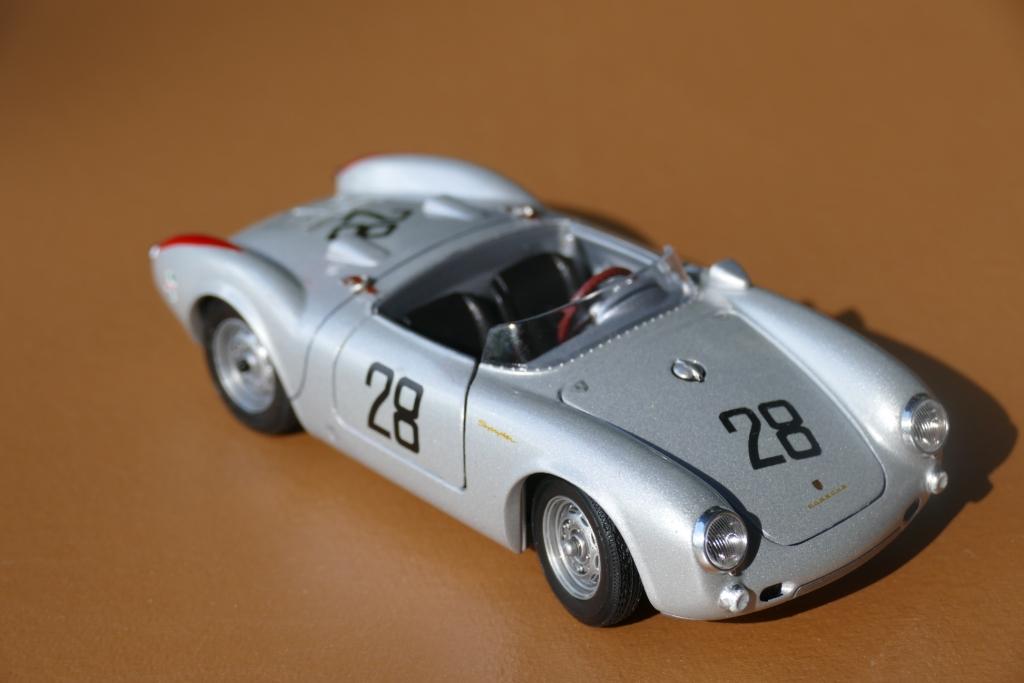
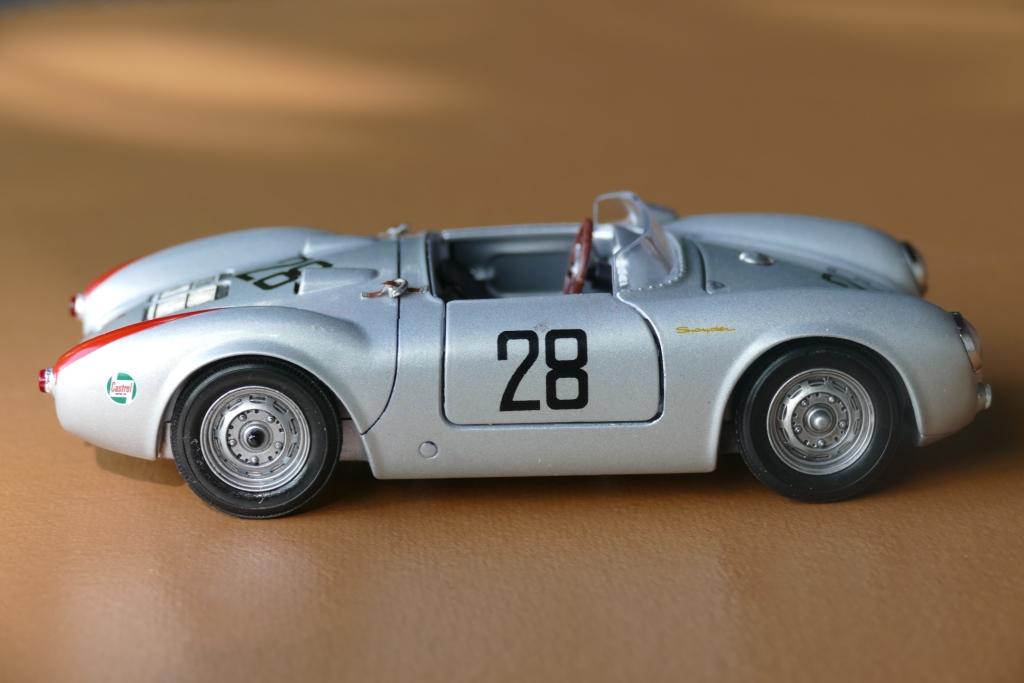
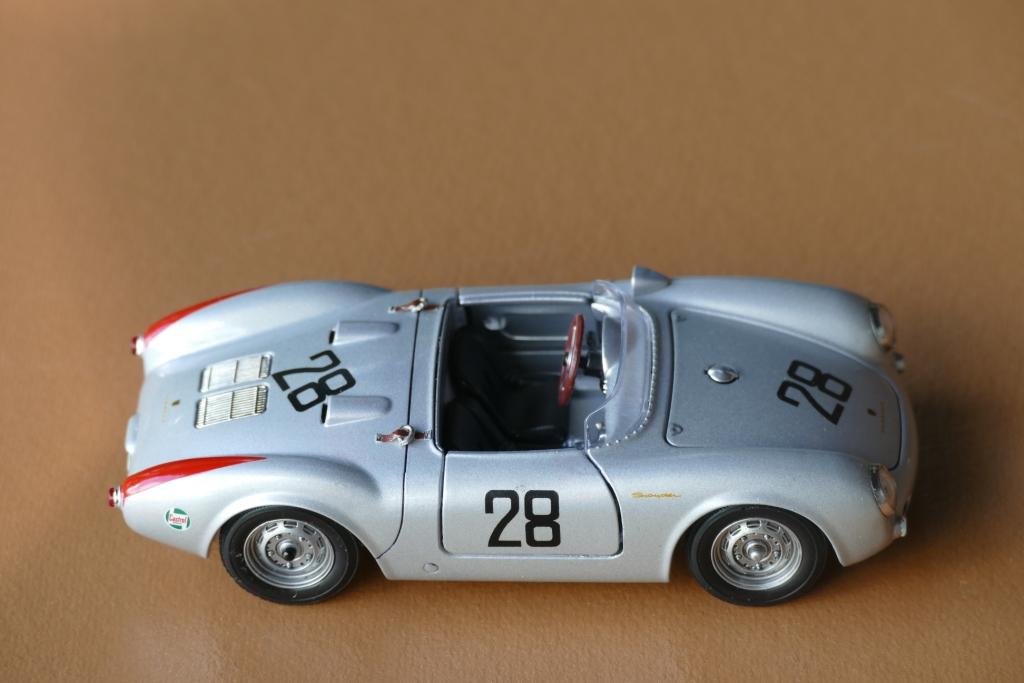
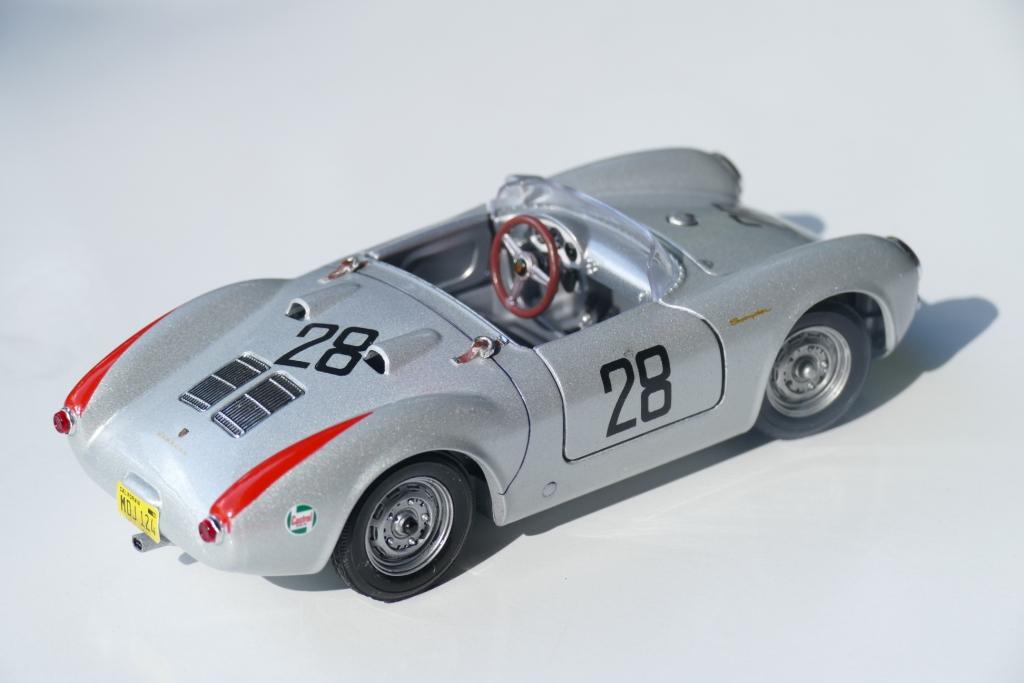
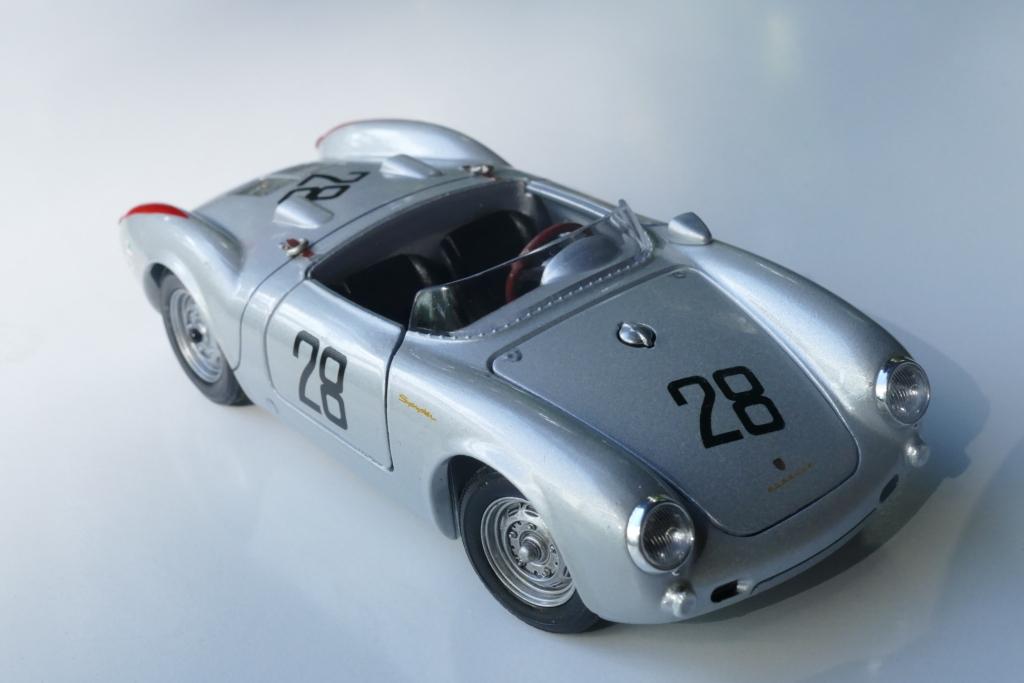
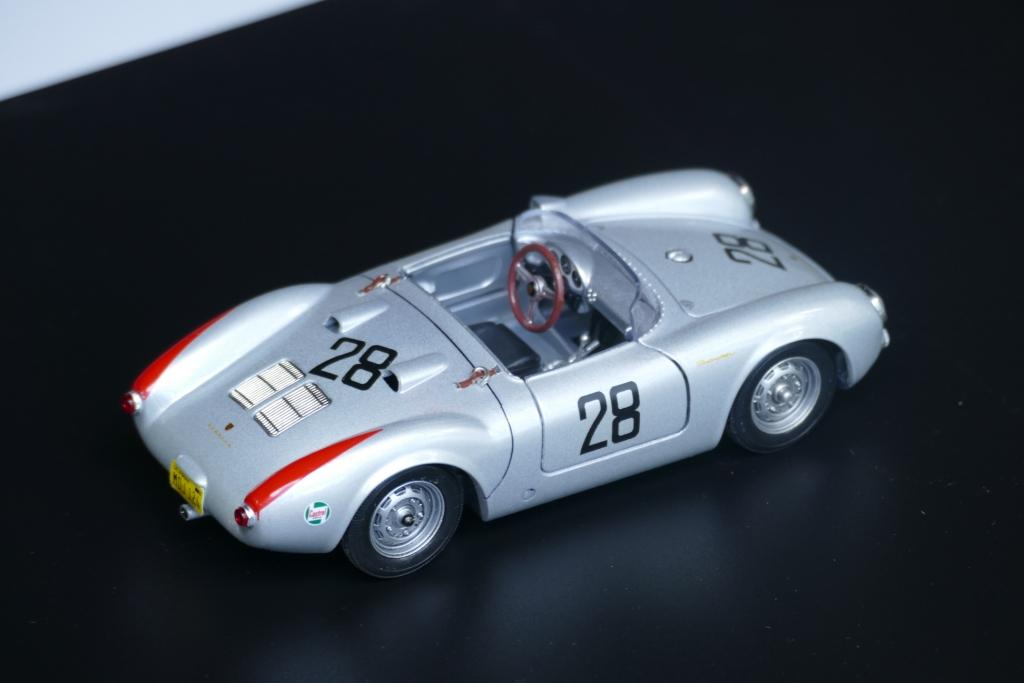
During a short break from my Ford P68 WIP, I got this Welly 550 Spyder: a bit toylike, therefore a little Snake-Fu was necessary: some detail painting, home-made "Pierre leatherstraps", red flashes on the rear fenders, some period- correct decals from the spares (numbers from an old Fred Cady sheet) and a '56 Cal. license plate from the Galaxie Chevrolet - here is the result:
-
Batmobile
1959scudetto replied to Pierre Rivard's topic in WIP: Other Racing: Road Racing, Land Speed Racers
Phewwww- lots of work you are doing here, Pierre (who thought otherwise?) - but the stance of the body onits wheels looks perfect. You are always looking for big challenges, aren't you? If your intention was to build something in-between waiting for the missing parts for teh DB5, then you have certainly found a much bigger challenge with this one. Simply great ! -
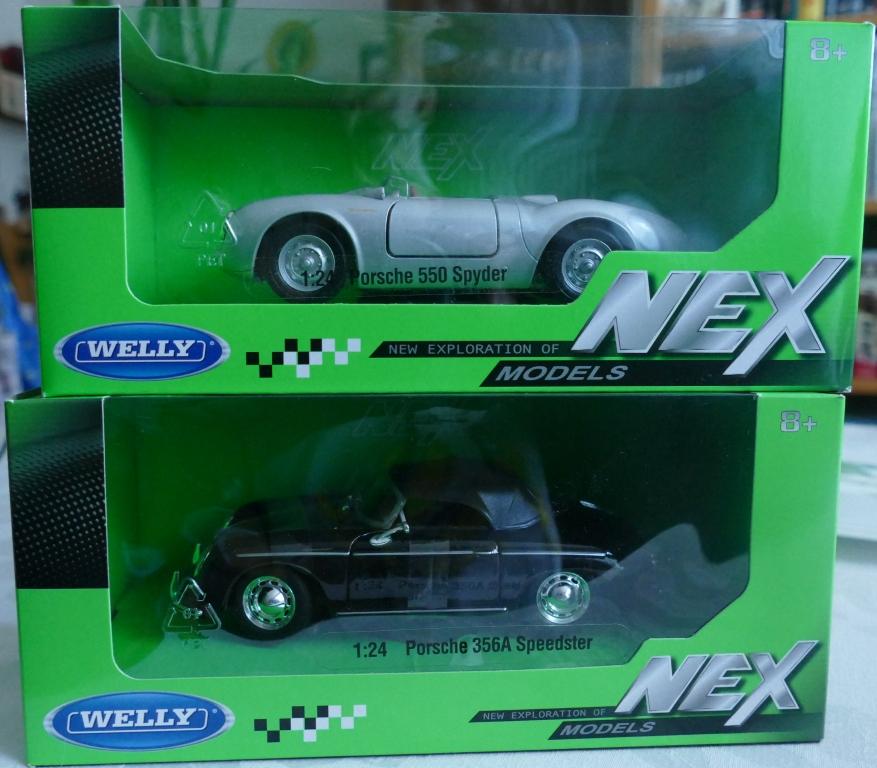
Thanks Gary - they will get some "Snake-Fu" as Snake would have said: I took the Speedster in black because the door gaps are not so visible as with the red one. It will get a tan softtop and some detail painting. The 550 maybe some race numbers and (very few) period-correct decals.
-
Fresh in via mail: 2 1955 Porsches from Welly.
-
What would YOU like to see as a model
1959scudetto replied to JeroenM3's topic in General Automotive Talk (Trucks and Cars)
At least there are 1/24 die-cast models of 2 of these cars available (from my collection): from the Facel Vega there exists a model of the 1955 FV (the 1958 HK 500's forerunner) :
-
Looks good, Gary - is this the Bruce McLaren/Phil Hill 1964 Le Mans car?
-
Perfect in every way, Anders - once again showroom quality - makes a great duo together with your Karmann Ghia.
-
Thanks, Tim - I'm doing well (had my 65th birthday yesterday and only 1 week until my retirement) - I have been struggling with a Ford P68 prototype for quite a while and hope to get it finished very soon.
-
Batmobile
1959scudetto replied to Pierre Rivard's topic in WIP: Other Racing: Road Racing, Land Speed Racers
The vents look much better now, Pierre - I will try to copy that method with my next GTO (D. Piper), and wheels can make or break a model. -
That's a good-looking Jaguar, Tim. First I thought that you have used Revell kit wheels on a Bburago, but after re-reading I learned that this is the DM diecast which has different hinges, dashboard and other differences to the Bburago
-
First class model, Jason - though I was a bit worried about it when I read the start informations of your WIP, I must admit the result is outstanding. I will keep your techniques for altering models for future reference.
-
Great next chapter in your Roy Cross tribute series, Matt! The 156 is one of the most characteristic F1 cars with its unmistakable shark-nose and long tail.
-
Ferrari 250GT Barn Find!
1959scudetto replied to jaymcminn's topic in WIP: Other Racing: Road Racing, Land Speed Racers
Excellent, Jason - the aluminium back of the license plates enables you to show off bent or damaged plates. -
Very nice model with a determined Tony Brooks at the wheel, Matt ! I followed your WIP - these Roy Cross tribute builds create a special nostalgic atmosphere that I like very much. I'm looking forward to seeing more of these from you !
-
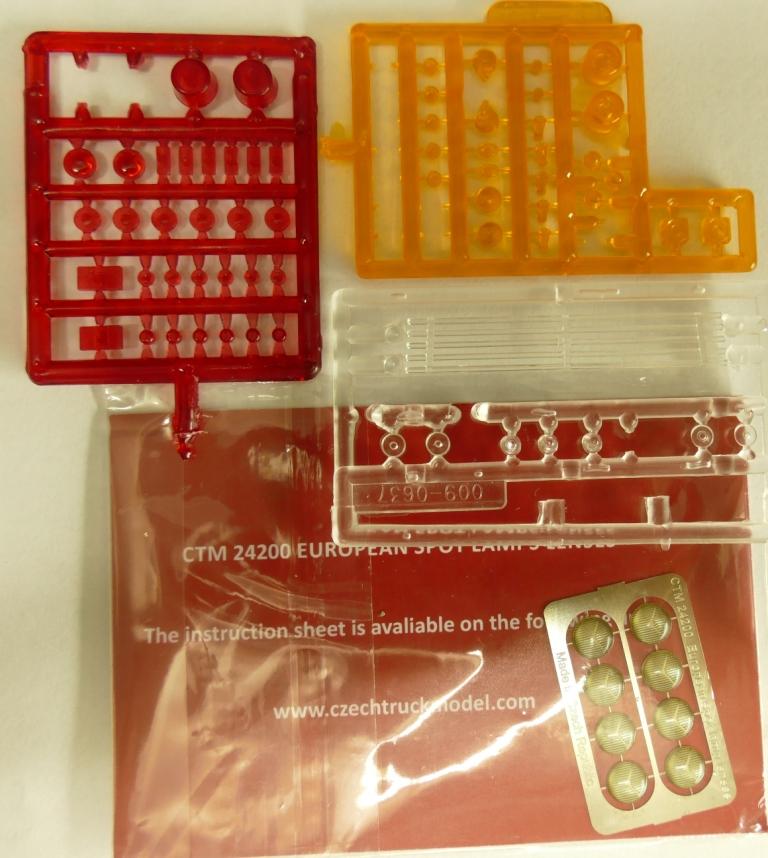
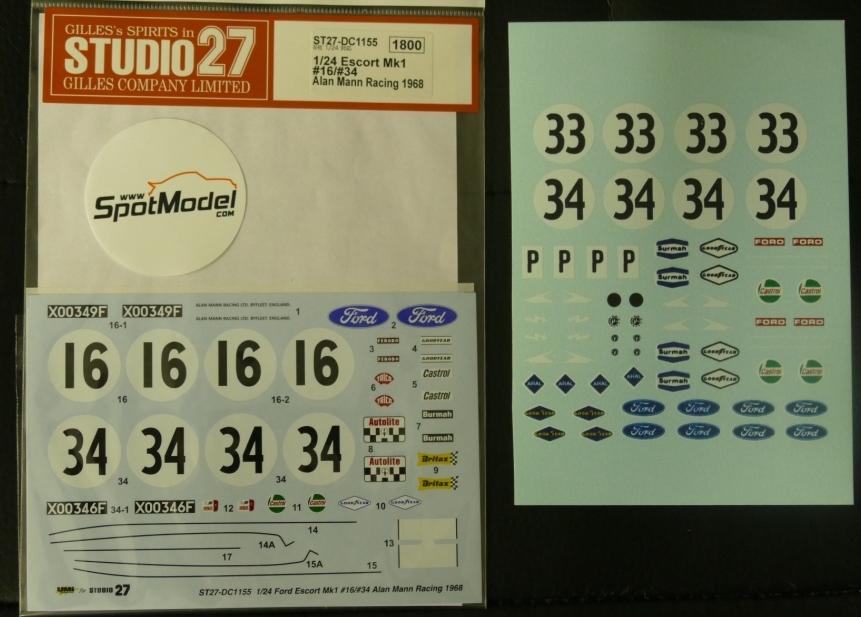
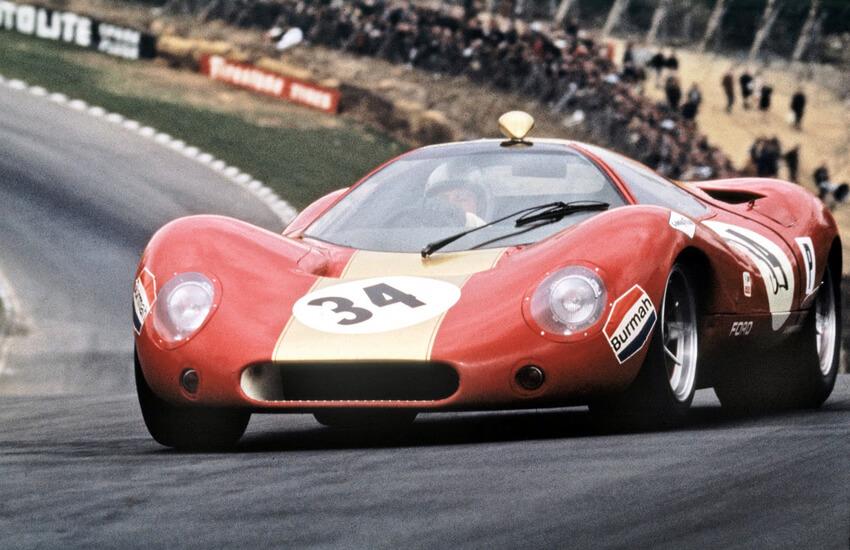
After having to re-do partially applying primer, again I have to wait some days to let it cure enough. In the meantime, I have been looking for parts to be used: The red and amber parts are leftovers from amt truck kits, the clear parts have been in my parts box, and Czech Truck models (CTM) have produced these fine photo-etched lights with clear lamps - will be used for the headlights. Decals are from Patto's place and some additional ones from the Studio 27 Alan Mann Escort will be used. The "Burmah" decal has to be replaced/reworked: it says "Surmah" and has the wrong color. Have a look at the original car: This is what it really should look like:
-
Batmobile
1959scudetto replied to Pierre Rivard's topic in WIP: Other Racing: Road Racing, Land Speed Racers
Wheels look perfect. -
Alfa Romeo 33 Stradale
1959scudetto replied to Dave B's topic in WIP: Other Racing: Road Racing, Land Speed Racers
Matt, he is also on ebay.com, but I could not manage to place a link with exactly these wheels here..,. -
Batmobile
1959scudetto replied to Pierre Rivard's topic in WIP: Other Racing: Road Racing, Land Speed Racers
Pierre, I would go on with the Otaki first and keep the Airfix up for later. You could build them in 2 different liveries : a white works car and the green Gösser Beer Schnitzer team car for instance. I would not have guessed that there are such differences in dimensions...