satterwhite78
-
Posts
583 -
Joined
-
Last visited
Content Type
Profiles
Forums
Events
Gallery
Everything posted by satterwhite78
-
Immaculate build!
-
Wow! Looks like a gem of a kit to put together. Love the body style, quite surprised on the level of detail!
-
You need something fast when dissatisfied customers start returning.... Gorgeous!
-
Just the engine under the hood would win an award! Man that is one sharp Vette. Great job Cruz!?
-
I've seen one those, or one just like it, before. They started out appearing in my rear view, my right foot got a cramp in it when it was on the accelerator and for some odd reason those flashing blue twinkle things got smaller, and smaller and.....poof! Gone! He had so much fun playing he called his buddies to git in on the game that they all waited for me to get where they were at. I found them they didn't find me, they just knew where to be so I could find them! Hiding behind their cars was a great ideal but having their cars all in the road, kinda blocking it, was a dead give away as to who it was. When I completely stopped they all jumped out a hooting and a hollering as if they were at a surprise party for someone in mind. The next thing you won't believe is that..... Oh by the way, nice looking Chicago Police Cruiser....
-
Ryan Blaney 2023 600 winner
satterwhite78 replied to randyc's topic in Stock Cars (NASCAR, Super Stock, Late Model, etc.)
Having done the #19 Truex Tracker Bass Pro, you certainly upped it to the next level! Very big payoff when a little patience is applied! -
Hmmm...Deja Vue? Looks fantastic. On my 2nd one...
-
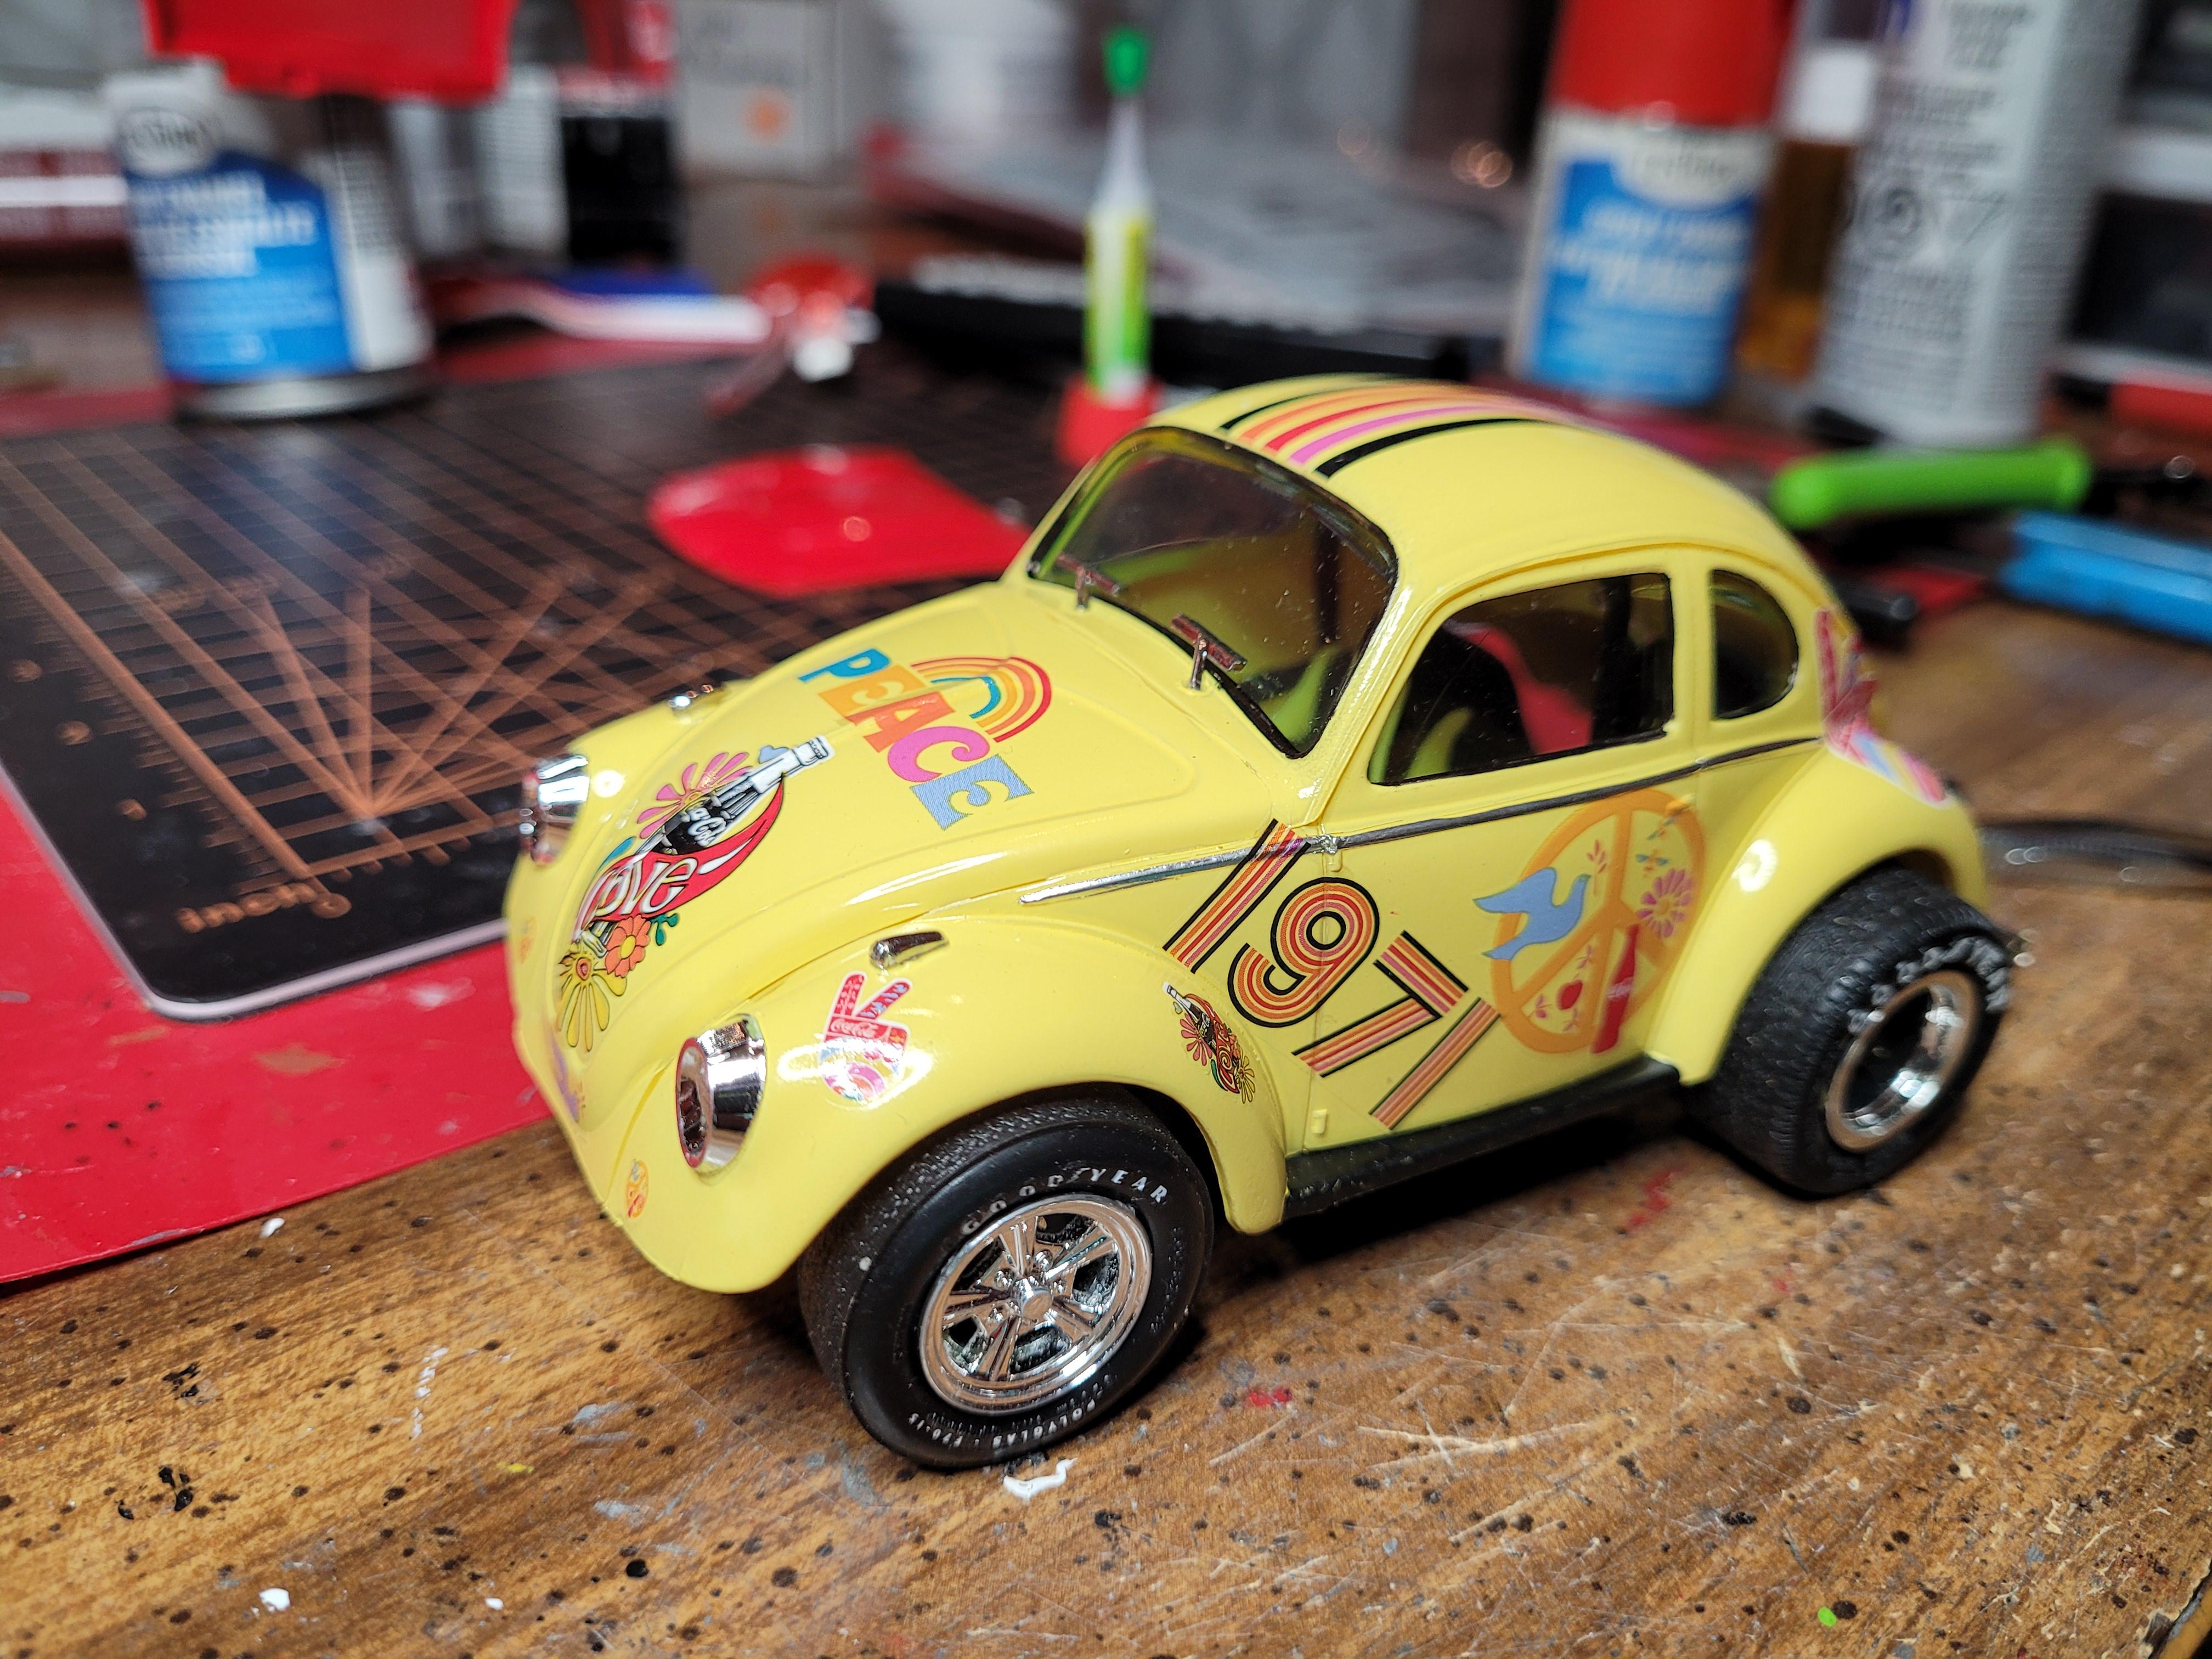
Built the same kit not quite 2 years ago, same color, had issues with the hood and fit and almost resisted the urge to put on the "anti-establishment" decals on........ But I gave Peace a chance, had a Coke and a smile and did the "Real Thing"........I slopped that baby up with those Coca Cola, good vibes, power to the people and stuck it to the people's ride so everyone could get the message!....... A shortened yellow VW Beetle with a dune buggy chassis, parts box wider tires and a scratch built custom exhaust with a Tornado applied kit decals that would make any self respecting hippie vote Republican (1971 Era, that is!). In other words I had a ball building it, unusual and unique. Yours looks Great!

-
Fantastic on both builds! Though my interests lean towards the Factory stock realm, I'm really digging the "Vlown (Blown) Volare Roadrunner"! Exceptionally clean and crisp build and I believe you hit the "Wow factor" with the paint scheme and stripe package. I have just finished a MPC 79 Volare Roadrunner. Just a few finishing touches to go before I release it into the Styrene Jungle but still amazed on how little styling characteristics have changed from 77 to 79 vehicle year models. Final word....."Wow"!
-
Looks like it 20 mph faster in White! Sharp!
-
Revell 1971 Olds 442 W-30, 1/25 Scale. In Tamiya Black.
satterwhite78 replied to Dragonhawk1066's topic in Model Cars
Great looking build! -
Outstanding! By the then, the generation that fought in World War II and grew up with the year one T-bird saw it as a luxury model with current and exciting styling cues that still carried the performance aspect. The Oldsmobile Tornado, Buick Wildcat, Pontiac Bonneville, Chevrolet Impala, Dodge Monaco and Plymouth Fury all shared the same characteristics as their competitors for the same targeted buyers
-
Would the drink in the cup holder have a seat belt or hold down strap when going WOT ( wide open throttle) during the Rallye? Lol! Love it!
-
A "Crisp" build that definitely pops!
-
Nothing is more satisfying that presenting a gift that elicits a smile and a fond memory of a caring friend from then on when she looks upon it.
-
Body and color.....Timeless elegance
-
Great looking Boss 351!......you just made it hard to decide now do I want to do a yellow scheme or a ??? scheme....
-
Got to thinking since I had one on the shelf....
-
Otta this World! Looks Fantastic! I'm also SMH.....I just finished a 77 Monaco 2dr that I picked up last year( in glue bomb mode), painted the body but had not decided what to do afterwards. Not satisfied with the original interior tub ( all came with a 60/40 or regular bench seat) I used a Joker Goon car Interior tub for a donor. Then I saw yours and decided a few more factory options needed to be added before I post it. Definitely does not look like it rolled out of a Promo box but off a dealership lot...brand new in 1977!
-
That is what Fred and Lamont Sanford would have upgraded to when their pick up finally gave out. I quess Larry had the higher bid......how much for the Toilet lid?
-
I got to admit I like it and would be interested in having one in my collection. When I worked for a Chrysler dealership a few years ago, I was given a Fiat Arbarth 500 to drive to training. Pressed for time and did not want to drive it in the 1st place, I relented. All I can say is it got great gas mileage I can't say you will get any "Street Cred" for any type or level of Road Rage you try to project or impress upon your fellow driver that intentionally cuts you off.
-
Agreed!
-
Awesome....looks like you just drove it off the lot.
-
Looks as if you found a color photo from that place in time....
-
I remember having a car like that.....took it out on a starry night to see the wonders of a celestial light show and...lo and behold.. a meteor appeared and landed some distance away. Bright light, Big explosion, lots of dust.... Well, that was 65 million years ago. Looks like it held up pretty good for its age. Excellent work my friend. Museum Quality!