Nacho Z
-
Posts
2,927 -
Joined
-
Last visited
Content Type
Profiles
Forums
Events
Gallery
Everything posted by Nacho Z
-

90 day wonder
Nacho Z replied to dragstk's topic in Model Trucks: Pickups, Vans, SUVs, Light Commercial
What’s not to like?!?! Great paint, stance, engine bay, and it all works very well together. Nice job! -
She’s a beauty, Garry! The interior looks great as well!
-
Doggone, Scott, that is soooooo nice!!
-
2024 24 hour build - Ridge Runner Pinto
Nacho Z replied to Nacho Z's topic in Other Racing: Road Racing, Salt Flat Racers
Thanks, Alan! This was my first one. I didn’t know what to expect, but the low parts count and the fact that I chose a single color paint scheme along with minimal decals, I felt it was doable. I was pleasantly surprised with how well everything went together. Thanks, David! -
Ooohhhhh yeah! Sweet!
-
I love these old show rods! It always brings a smile to my face when I see them. You have done such a nice job on this one. She is too cool!
-
That is a great looking Ferrari, Mario!
-
Ferrari F 2003 GA
Nacho Z replied to Chris Smith's topic in WIP: Other Racing: Road Racing, Land Speed Racers
Very nice! I am right there with you. Gravity is the first place I will go to, to look for a particular color. The shipping from Spain is inexpensive and ridiculously fast. I've never received the wrong paint nor have I received any broken bottles. No, I'm not a paid spokesman, but I could be! ? -
Ferrari F 2003 GA
Nacho Z replied to Chris Smith's topic in WIP: Other Racing: Road Racing, Land Speed Racers
Looking good!! Who’s paint did you use and what color? -
Thanks, Sting! I appreciate the kind words and the chuckle!
- 23 replies
-
- 1
-

-
- ferrari
- 360 modena
- (and 1 more)
-
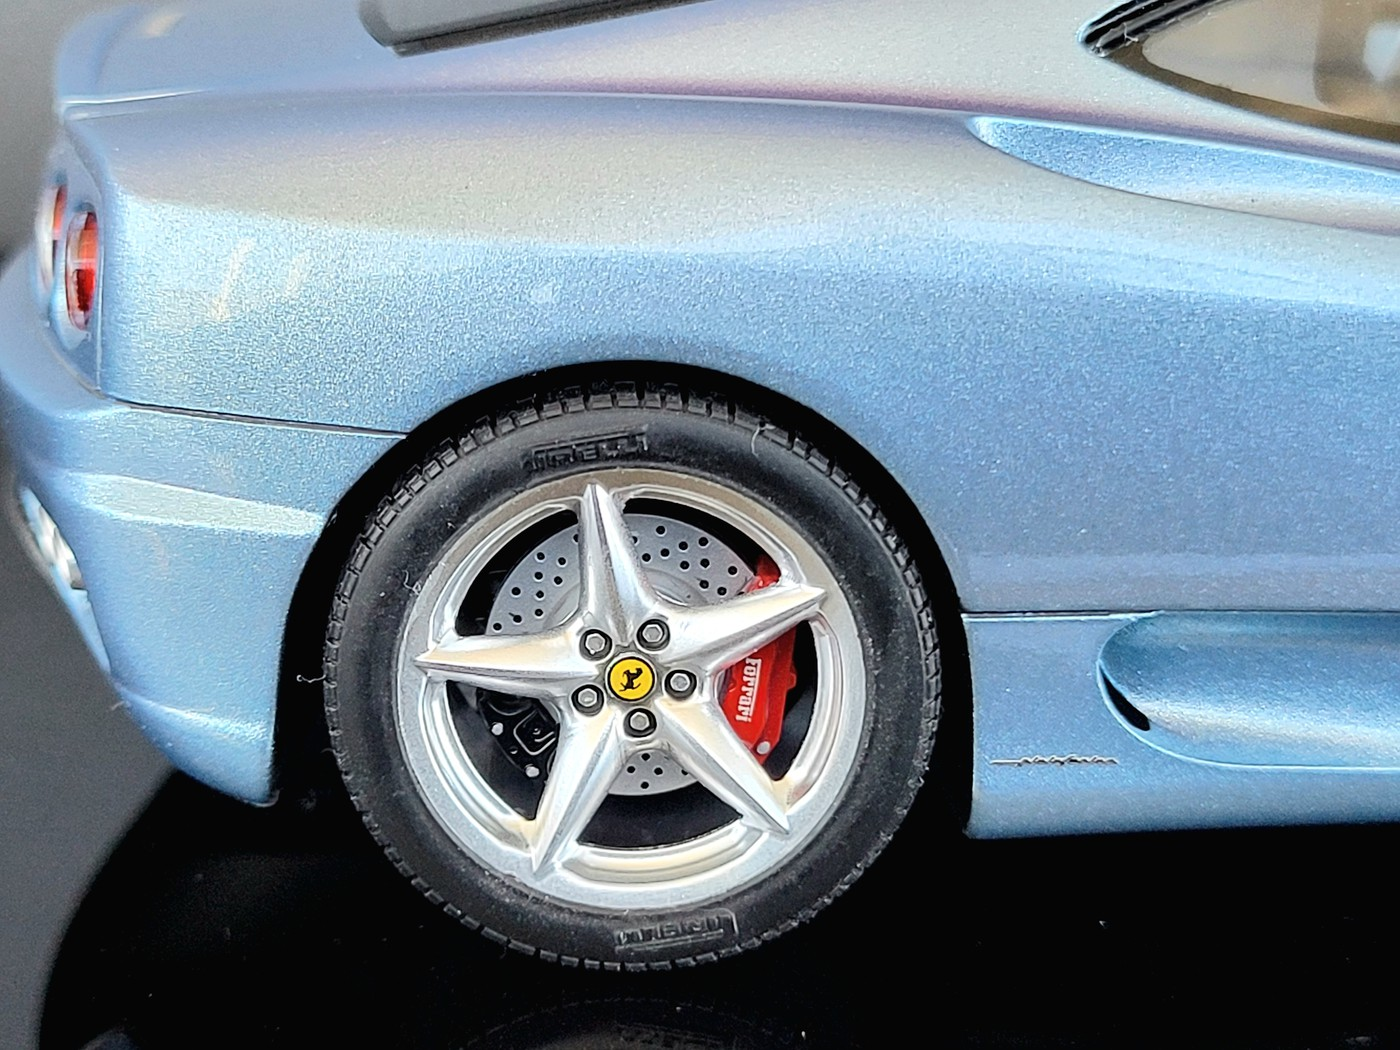
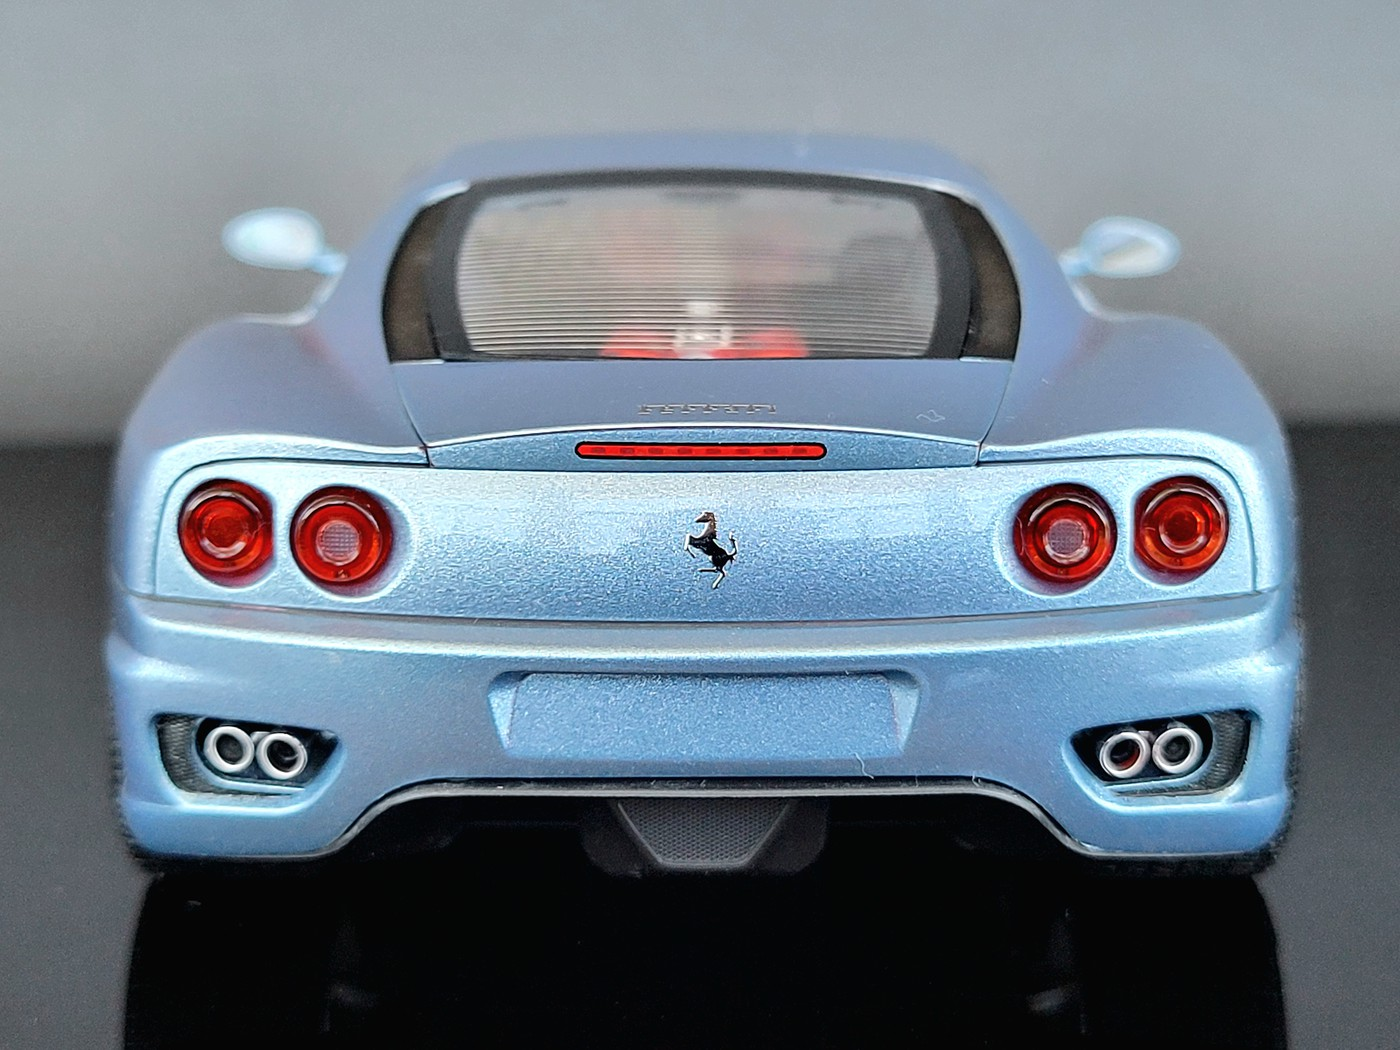
I thought I would share my latest model with you. I will post a link to the WIP thread if you would like to see it. The quick rundown on this one is as follows: Tamiya 1:24 Ferrari 360 Modena, original release I believe, molded in red. I painted it in Gravity Colors' (Spain) Grigio Alloy. It is cleared in Tamiya TS-13 Clear. Interior is Tamiya German Gray. I used Tamiya's Dark Gray Panel Liner on the body panel lines. Unfortunately, I did have a couple of issues with the kit. Mainly, the side windows just did not want to fit. This is a common complaint on this kit. The ill fitting side windows caused issues with the fitment of the interior and chassis into the body. A lot of grinding, sanding and carving resulted in a decent fit. I also got some ghosting on my body's mold lines. They absolutely were not there when I primed it but showed up during paint. As they say, it is what it is. Overall, I am very pleased with how she turned out. Lots of pictures to follow!

- 23 replies
-
- 11
-
-
- ferrari
- 360 modena
- (and 1 more)
-
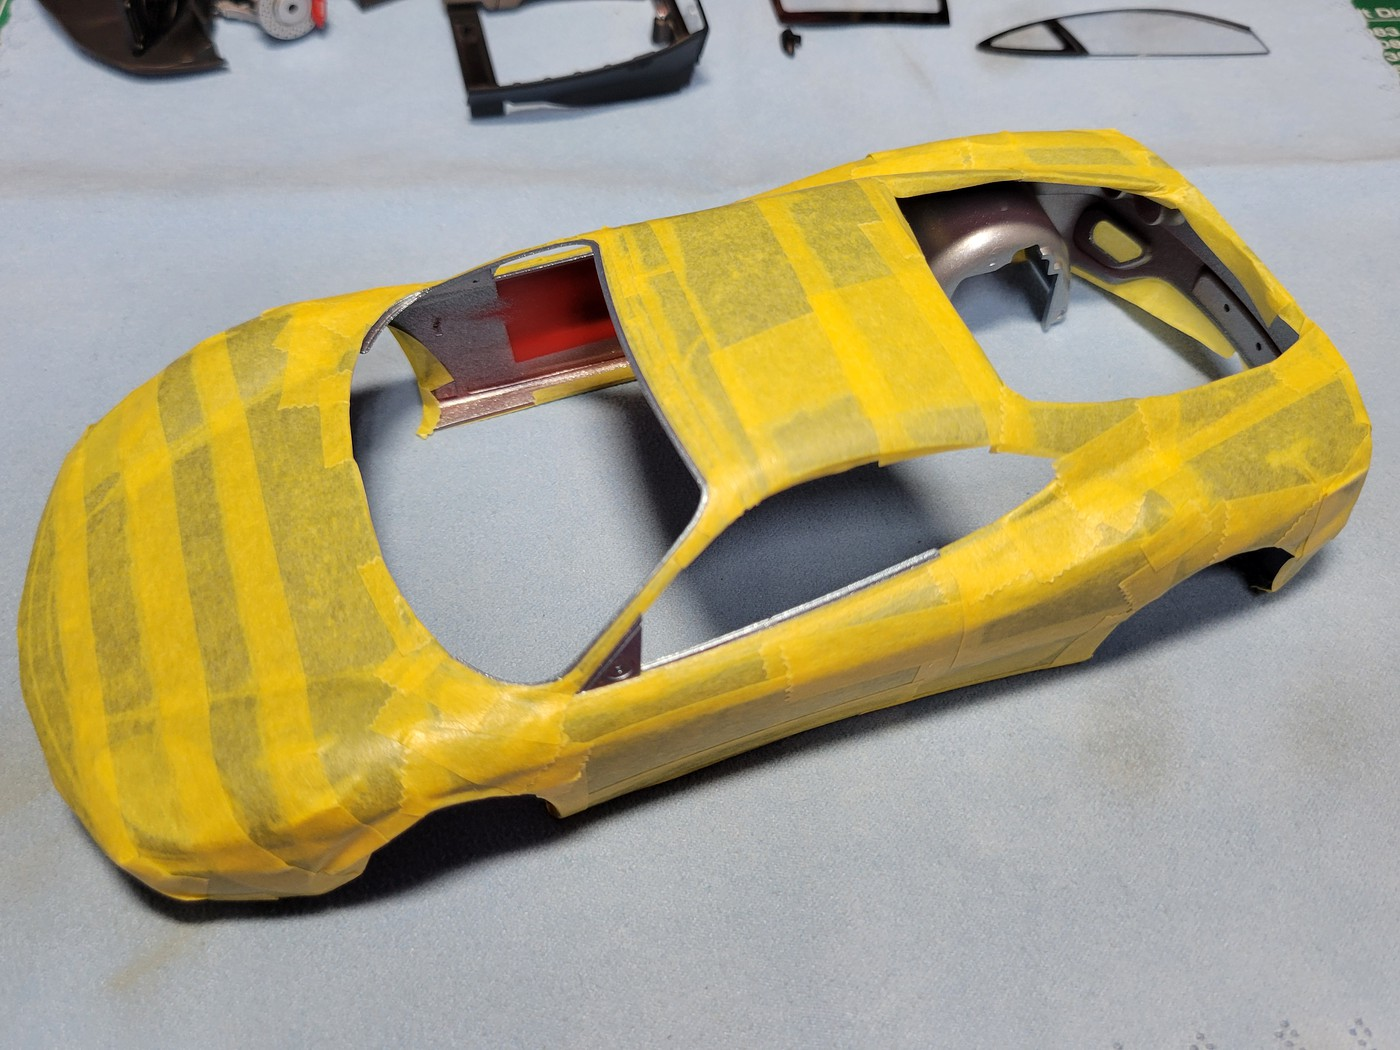
Final update! Look for the finished model in the Under Glass section in a little bit. I have never liked masking. It really was one of my least favorite things to do in the model building process. What I hate more than masking is a crappy paint job, and by that, I mean paint bleed and overspray. One thing that has helped with that is the use of an airbrush. Anyhow, this car needed the windshield and side windows' trim painted as well as the rear wheel wells. I just masked the whole body and did it all in one shot. And I went ahead and painted the headliner and A & C pillars too. Some have commented on "what a waste of Tamiya tape that is" (on a previous build), so now I make it a point to post pictures of the body completely covered in Tamiya tape. And for the record, Tamiya tape is not all that expensive...lol. I never worry about tape residue, paint bleed or overspray. The first step of many! As always, I appreciate you guys popping in and checking her out. Thanks to everyone who was kind enough to leave a comment. See you guys over in the Under Glass section!!
- 40 replies
-
- 2
-
-
- ferrari
- 360 modena
- (and 1 more)
-
Van out of Hell
Nacho Z replied to Chinacar's topic in Model Trucks: Pickups, Vans, SUVs, Light Commercial
How cool is this?!?! Loved the album and loving the van! -
1995 Valvoline T-Bird
Nacho Z replied to Rattlecan Dan's topic in Stock Cars (NASCAR, Super Stock, Late Model, etc.)
She looks good, Donato! Can’t go wrong with a Valvoline inspired livery. -
Thanks, Nick! You just can’t go wrong with a Tamiya kit! Thanks, Sonny! I am probably one of the odd ones who find it almost relaxing to polish out my paint jobs. Thank you, Sting! I appreciate it, Philip! You probably saw it at the top of my thread, but the color is a Ferrari color for this car. I love Gravity Colors (Spain) paint and they have Grigio Alloy in their line. I painted my Fujimi F355 in a dark blue, (it can be found here on MCM). I will eventually do a red Ferrari at some point in time.
-
Ferrari F 2003 GA
Nacho Z replied to Chris Smith's topic in WIP: Other Racing: Road Racing, Land Speed Racers
This thing is gonna be killer! -
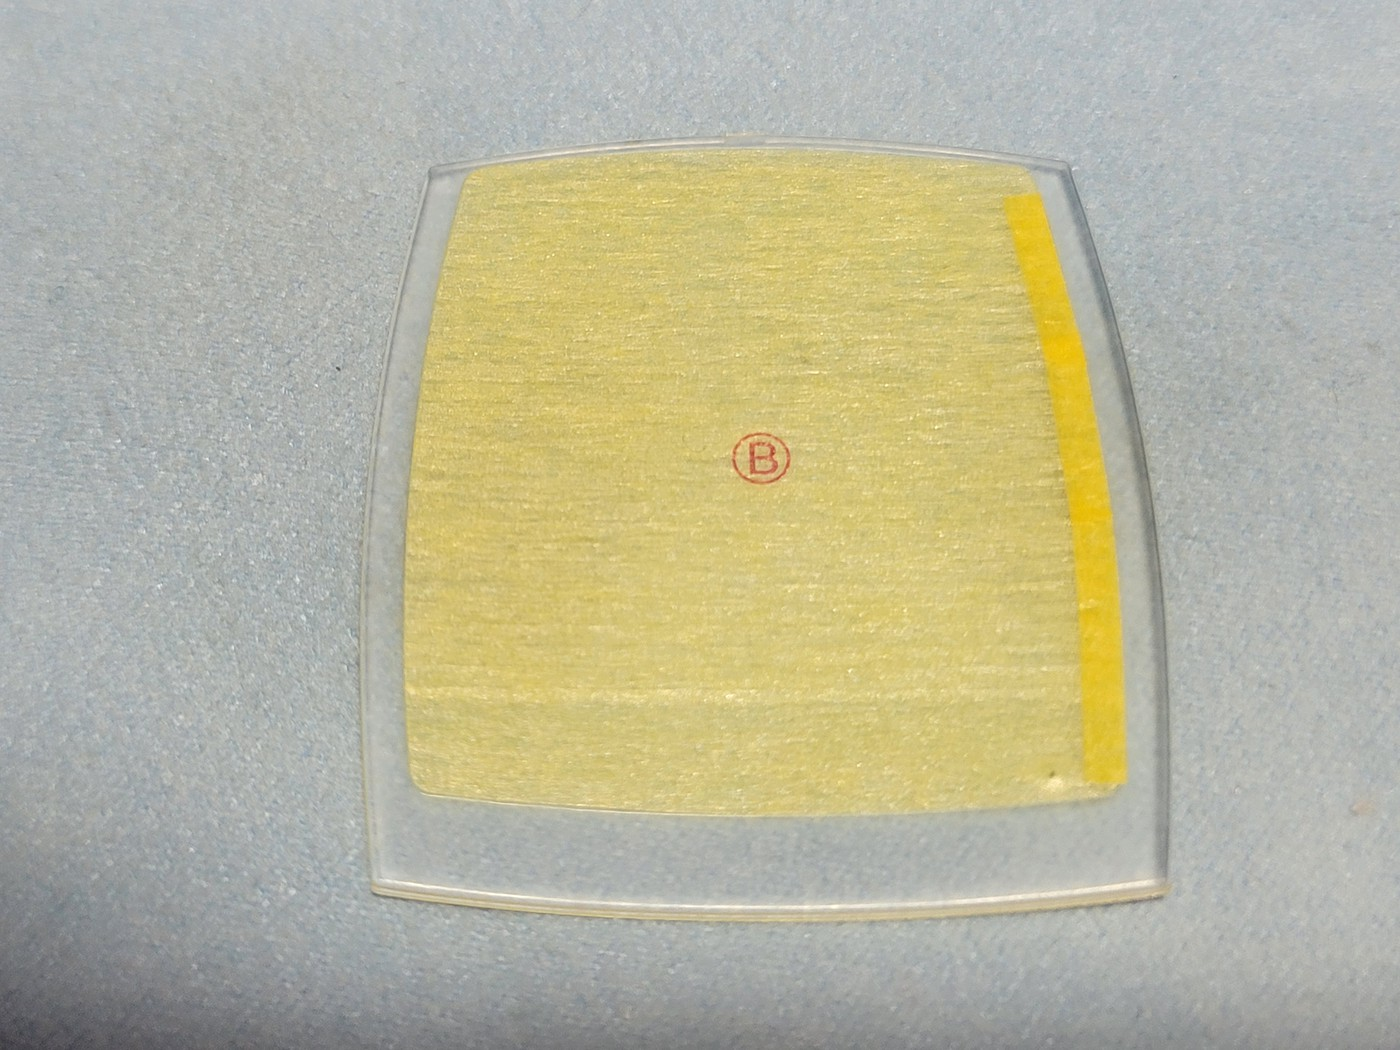
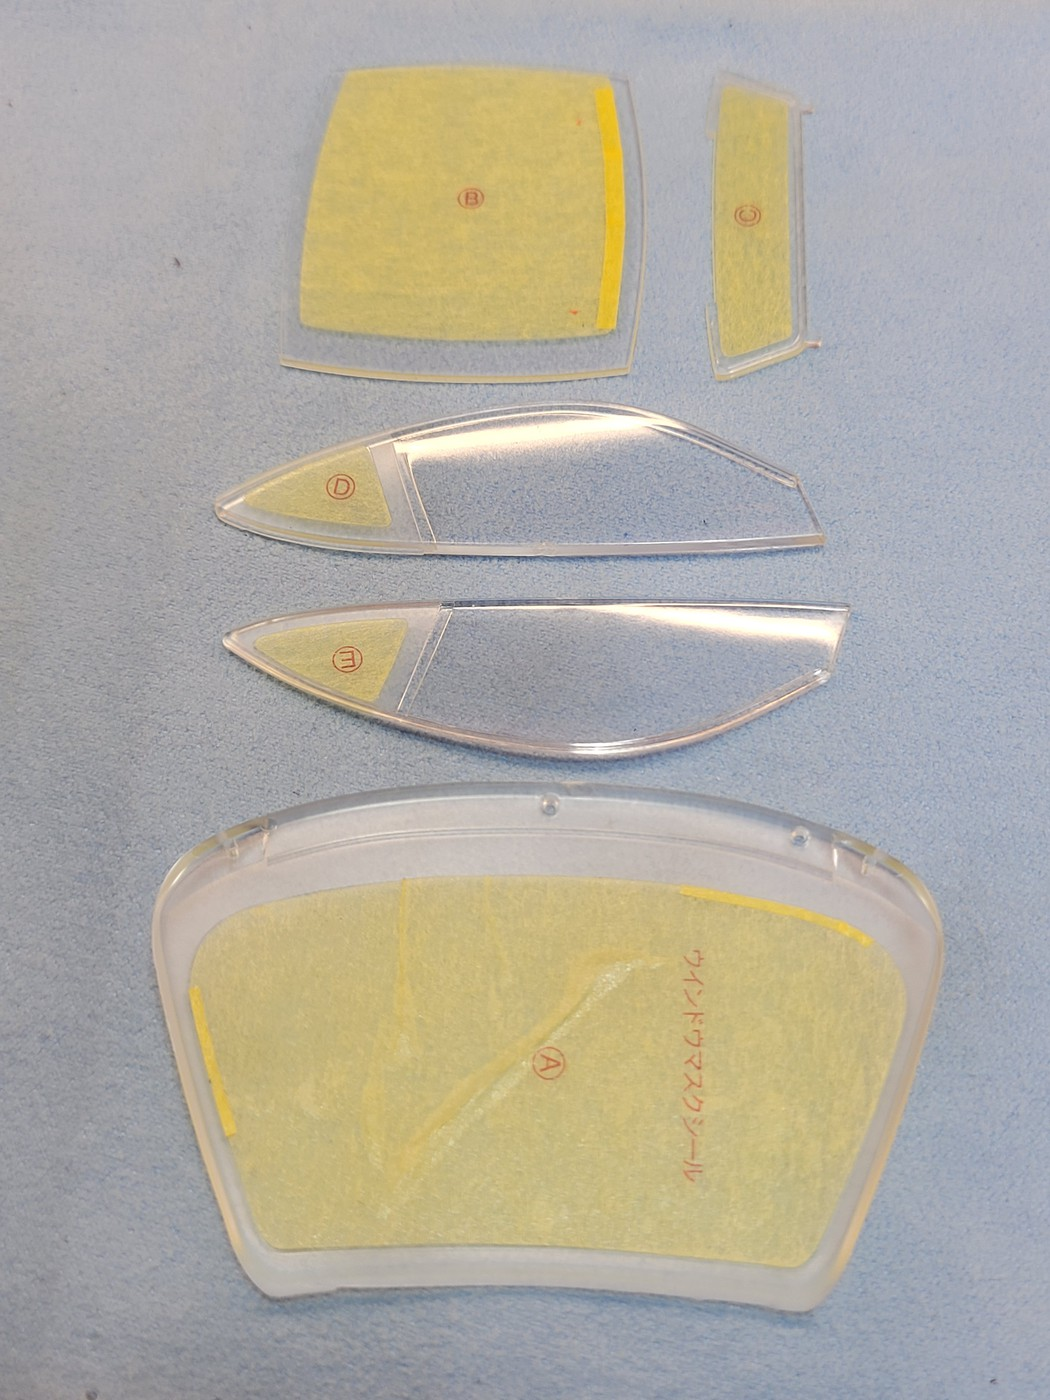
I am a little behind on my updates on this build. Here is a quick one. The kit comes with precut window masks. I have read that these are not always the best. I have to agree. Well, in fairness, some of the masks were OK and some were not. If they are not going to fit perfectly they really aren't much use. I placed them as best as I could and filled in where they didn't fit. Another interesting thing is that although they provide masks for the inside of the windows, you have to do some masking on the outside of the windows too. After the paint had cured it was time to clear. I just used Tamiya TS-13 Clear right out of the can. I've only been airbrushing for a couple of years and all of the time before that I used rattle cans. I'm pretty good with them. And it is right when you think that you are good at something that Murphey comes and bites you in the backside...lol. Yup, I got a small run/sag in the paint. This gets tricky because if you are able to sand out the build up of the run you will probably burn through the surrounding clear and possibly the paint. I masked off the area around the run/sag and used 4000 grit to lightly work on that area. It worked! After that was done it was time to polish out the body. I actually enjoy this process and do it all by hand, no power tools. I use Micro Mesh cloths and Tamiya polishing compounds. Thanks for looking! As always, I appreciate your comments and feedback.
- 40 replies
-
- 4
-
-
- ferrari
- 360 modena
- (and 1 more)
-
Evil Iron Trike
Nacho Z replied to Nacho Z's topic in All The Rest: Motorcycles, Aviation, Military, Sci-Fi, Figures
Thank you, Dan. We can chat here or feel free to shoot me a PM on the board here. -
Revell '69 Shelby GT-500 in Gulfstream Aqua
Nacho Z replied to hookedonplastics's topic in Model Cars
Great color and a great looking Mustang! -
Wow! I really like this one! It looks great.
-
She’s a beauty! I could definitely see that one out cruising the streets.
-
wooden ship by corel
Nacho Z replied to Bronzekeg's topic in All The Rest: Motorcycles, Aviation, Military, Sci-Fi, Figures
Doggone, Ken, that is beautiful!! Forgive me for what may be a dumb question, what about the masts, sails, rigging, etc? Is that the next phase? Are you even doing that? I’m a huge admirer of these wooden ships. I’ll never build one but I absolutely love them. -
That is one very clean build. She looks great!
-
1966 Chevy Suburban
Nacho Z replied to ModelcarJR's topic in Model Trucks: Pickups, Vans, SUVs, Light Commercial
Now that is really cool! I like your take on this! -
1/24 Fujimi Porsche 356
Nacho Z replied to kensar's topic in Other Racing: Road Racing, Salt Flat Racers
Very nice, Ken! She really looks the part! Welcome aboard.