Funkychiken
-
Posts
2,662 -
Joined
-
Last visited
Content Type
Profiles
Forums
Events
Gallery
Everything posted by Funkychiken
-
Why use 2k instead of 1k Clear?
Funkychiken replied to Funkychiken's topic in Model Building Questions and Answers
Thanks all for your knowledge, it's insightful. When I mentioned 1k, it was in reference to a product that digests through an air brush. So I still have that element of control. But I get the picture with the ddifferent thicknesses and ability to polish... Thanx -
Ferrari SA APERTA.. NOW UNDER GLASS 03/10-17
Funkychiken replied to Amar2300's topic in WIP: Model Cars
Fantastic build so.far! -
Excellent tip, I'll be watching if you post your build Thanks
-
I've just laid down a 1k Zero paints clear coat on a spoon test & on some gloss black wheels. it went down a lot easier than the Zero Paints 2K did & without the hassle of mixing in a separate glass jar. It seemed more forgiving too. less material required for a reasonable shine. So I'm wondering, why bother with the 2k???? What's the benefit?
-
Well certainly the story behind the kit is brilliant, and if it made the ol' man happy, why not. Good job of trying to mix these old kits tool. I'm working on a cheap fujimi kit, and it is probably more pain than it's worth...
-
Great job on this! Quick question, did you put the decals straight over the red from gravity? No clearcoat first? No problem with "silvering"? Cheers!
-
it's got a full engine, but I don't know why, you can't really see it in the finished kit...
-
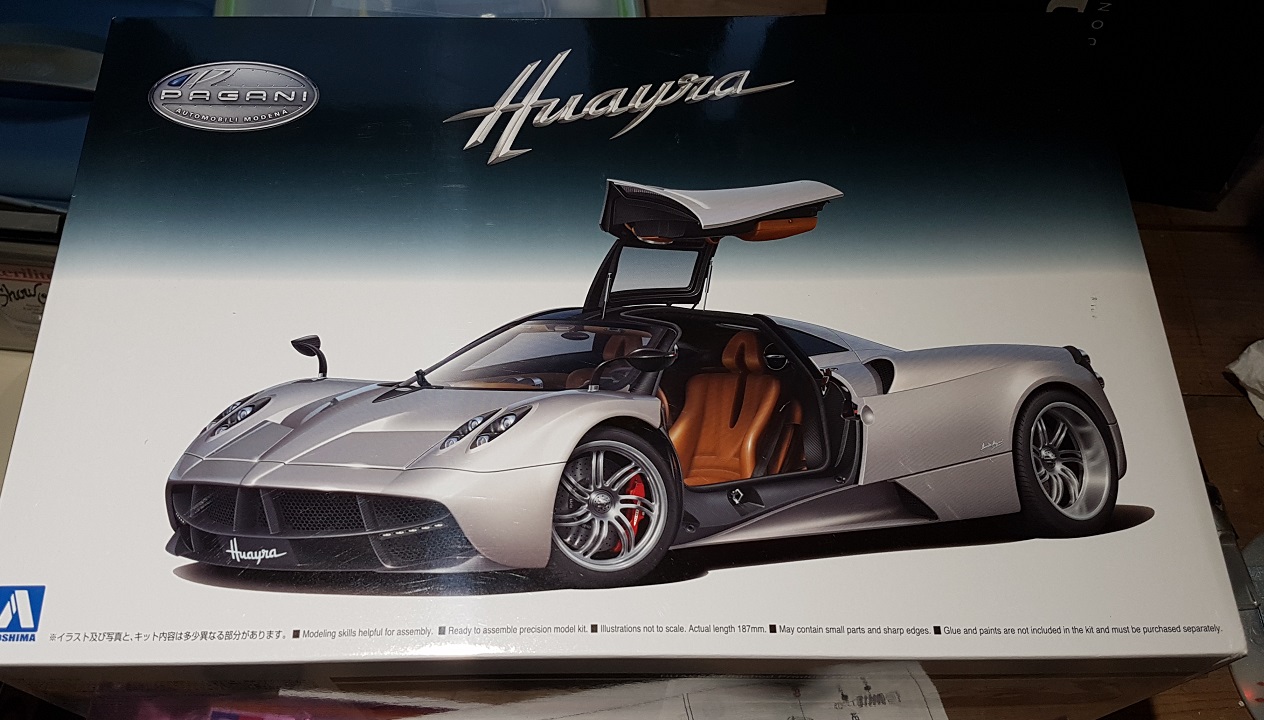
With the Stash at 130+ and not really going through them at a reasonable speed, I've been warned multiple times from the boss not to get another kit. Couldn't resist this one though... looking forward to building this kit... looks like a challenge.

-
What did you see on the road today?
Funkychiken replied to Harry P.'s topic in General Automotive Talk (Trucks and Cars)
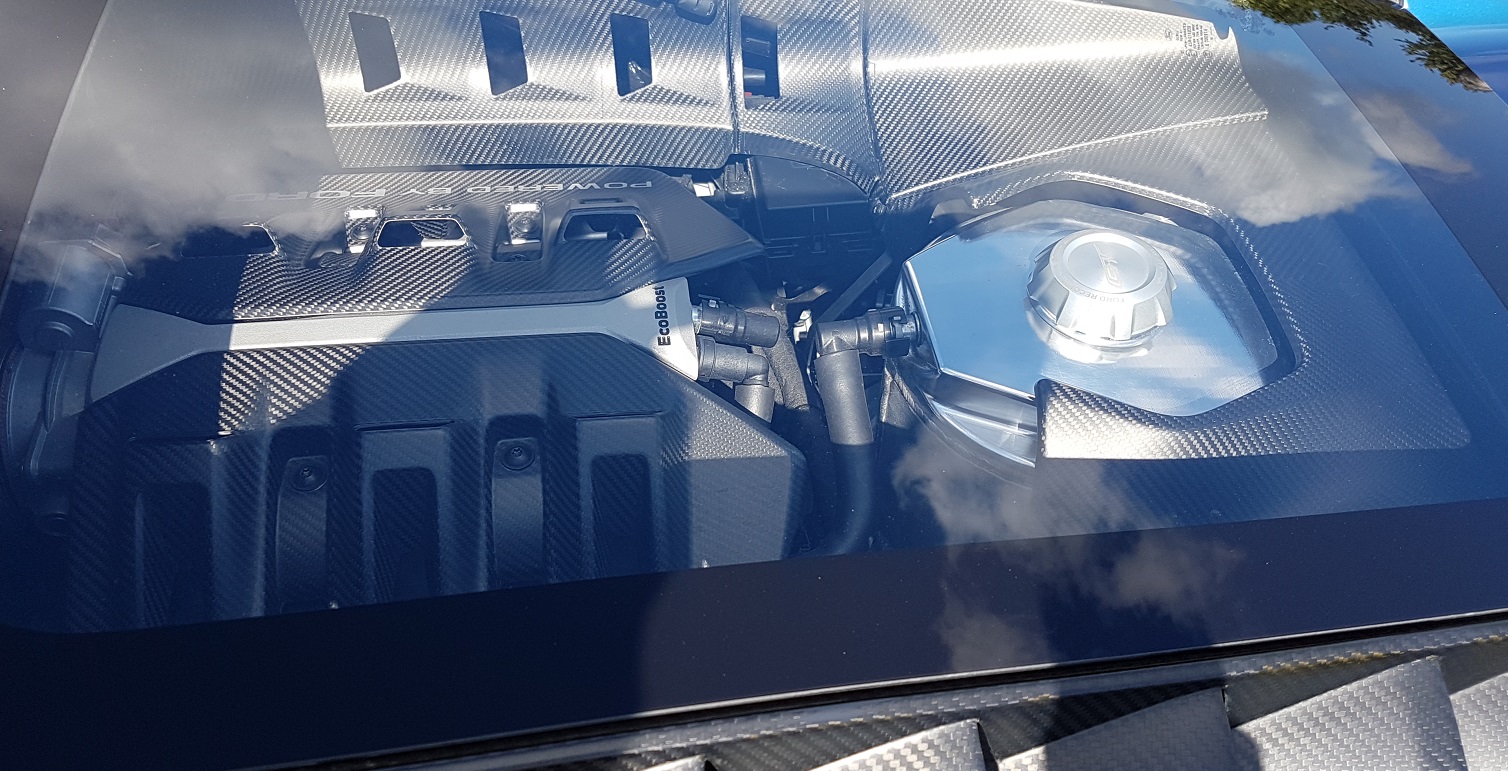
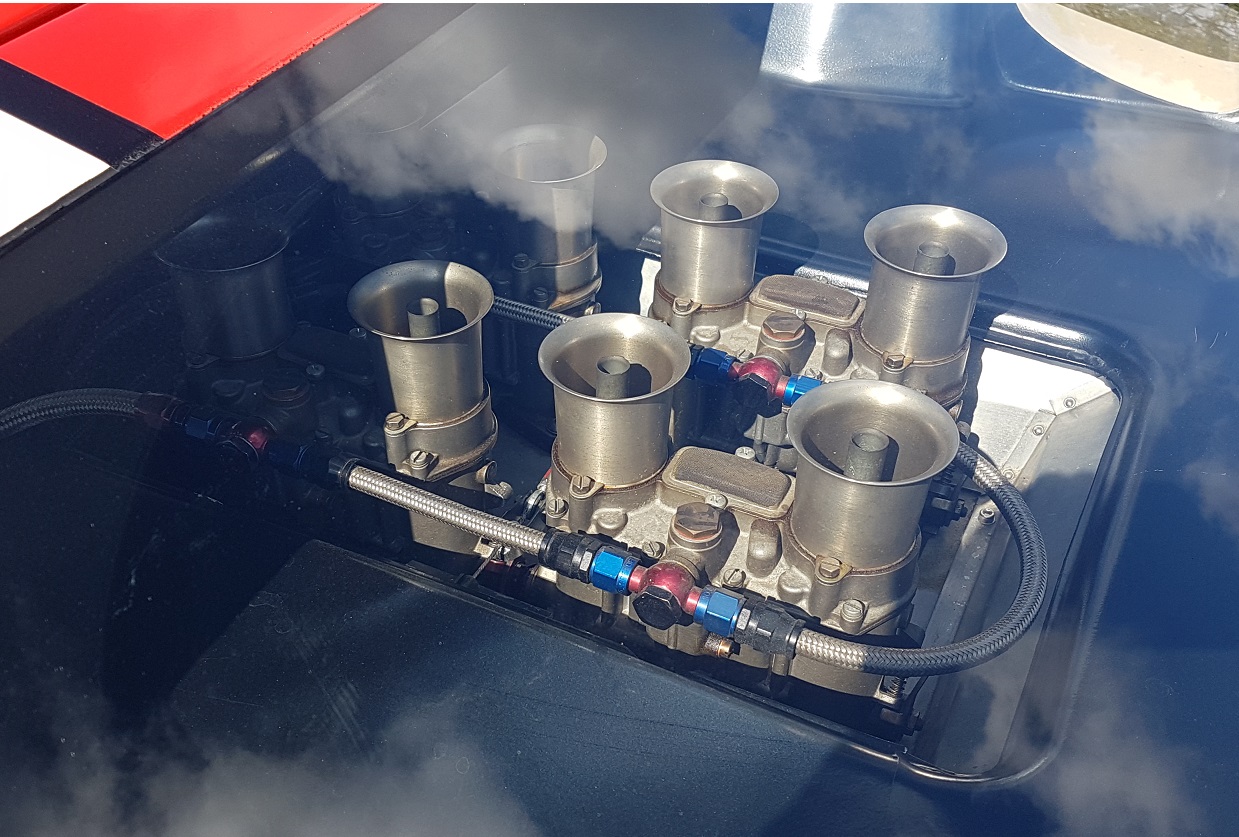
Some great cars at my companies annual Vehicle Enthusiast day, the two GTs are company onwed, but there was a great mix of other cars, a few Ferraris, Aston Martins, and a lerge selection of Fast Fords...!
-
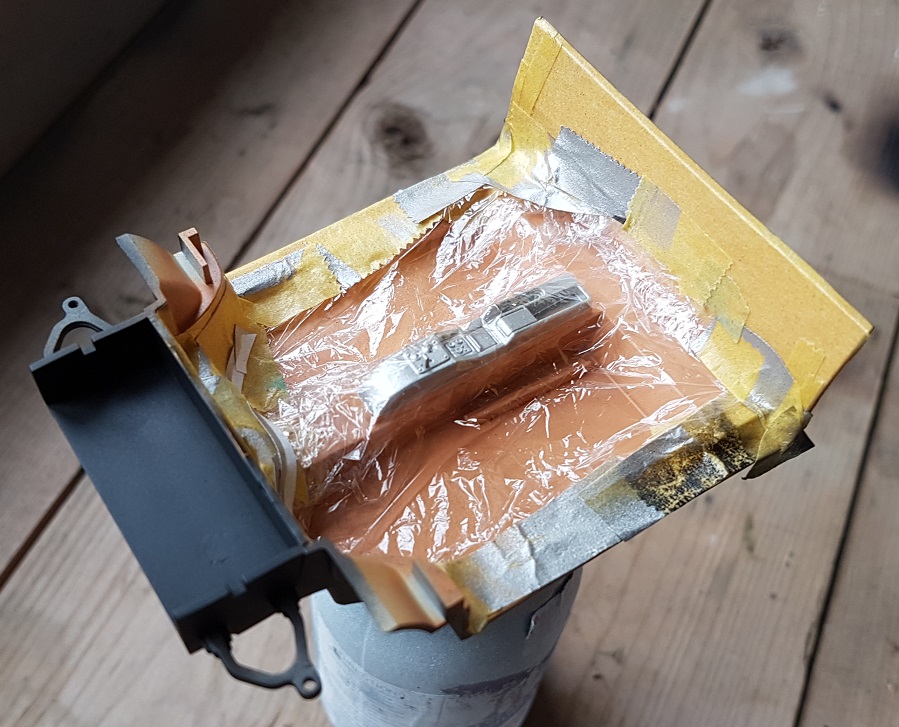
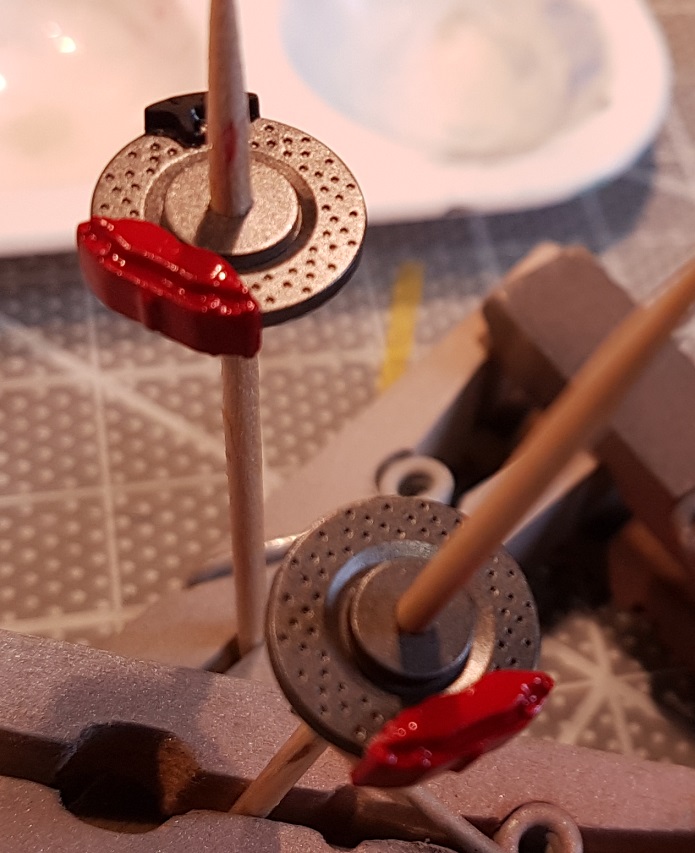
Thanks Dann! Made a bit more progress, I want to get the carpet done in the interior before moving onto the body. I know most people do the body first - probably 'cause it's the easiest thing to mess up... and also takes the longest to do - letting it gas out. Used alclad II dark aluminium for the exhaust - wanted to get a colour contrast in the engine bay. Started detailing the dash, it's coming along slowly & the break discs are almost finished...
-
Thanks for the answer, sometimes you don't need it - as your build shows... I'm wondering whether to do that myself or not on my current build!
-
great build, it all looks perfect!
-
nice clean model of a great looking car...
-
Corvette C7R (Daytona winner)
Funkychiken replied to ismaelg's topic in WIP: Other Racing: Road Racing, Land Speed Racers
Looks great so far, we've all got our nemesis model half finished in the stash... at least you are persevering -
Great Build, really clean. Quick question - did you use any washes on it? Cheers!
-
My Ultimate General Lee in 1/25
Funkychiken replied to Andrew D the Jolly Roger's topic in Model Cars
That engine bay is quality, love the build, well done! -
Looks flawless, and realistic...
-
Top build!
-
love it!
-
Stunning!
-
A blast from the past, I really like this build!
-
Now this is a hot build, really like it, one of my favourite subjects too.
-
Clean build, I like it!
-
Beautiful build, love the paint finish!
-
Fantastic build, turned out great!