zakdoggi
-
Posts
381 -
Joined
-
Last visited
Content Type
Profiles
Forums
Events
Gallery
Everything posted by zakdoggi
-
That's one beautiful model. Just love the Mclaren Can Ams! ??
-
55 Chevy Cameo
zakdoggi replied to Modlbldr's topic in WIP: Model Trucks: Pickups, Vans, SUVs, Light Commercial
Looks like it's gonna be one cool ride! -
Cool build. Love the patina, wheels and stance. Perfect!!
-
Great job on the engine. Those carbs really set it off.
-
Nice build. Well executed.
-
Nice build. I like the color.
-
Nice clean build. Love that engine bay detailing!!
-
Hey Daniel, That is one fine looking rail buddy. Looks magnificent!! Your skills and great eye for realistic detail leave me speechless!!
-
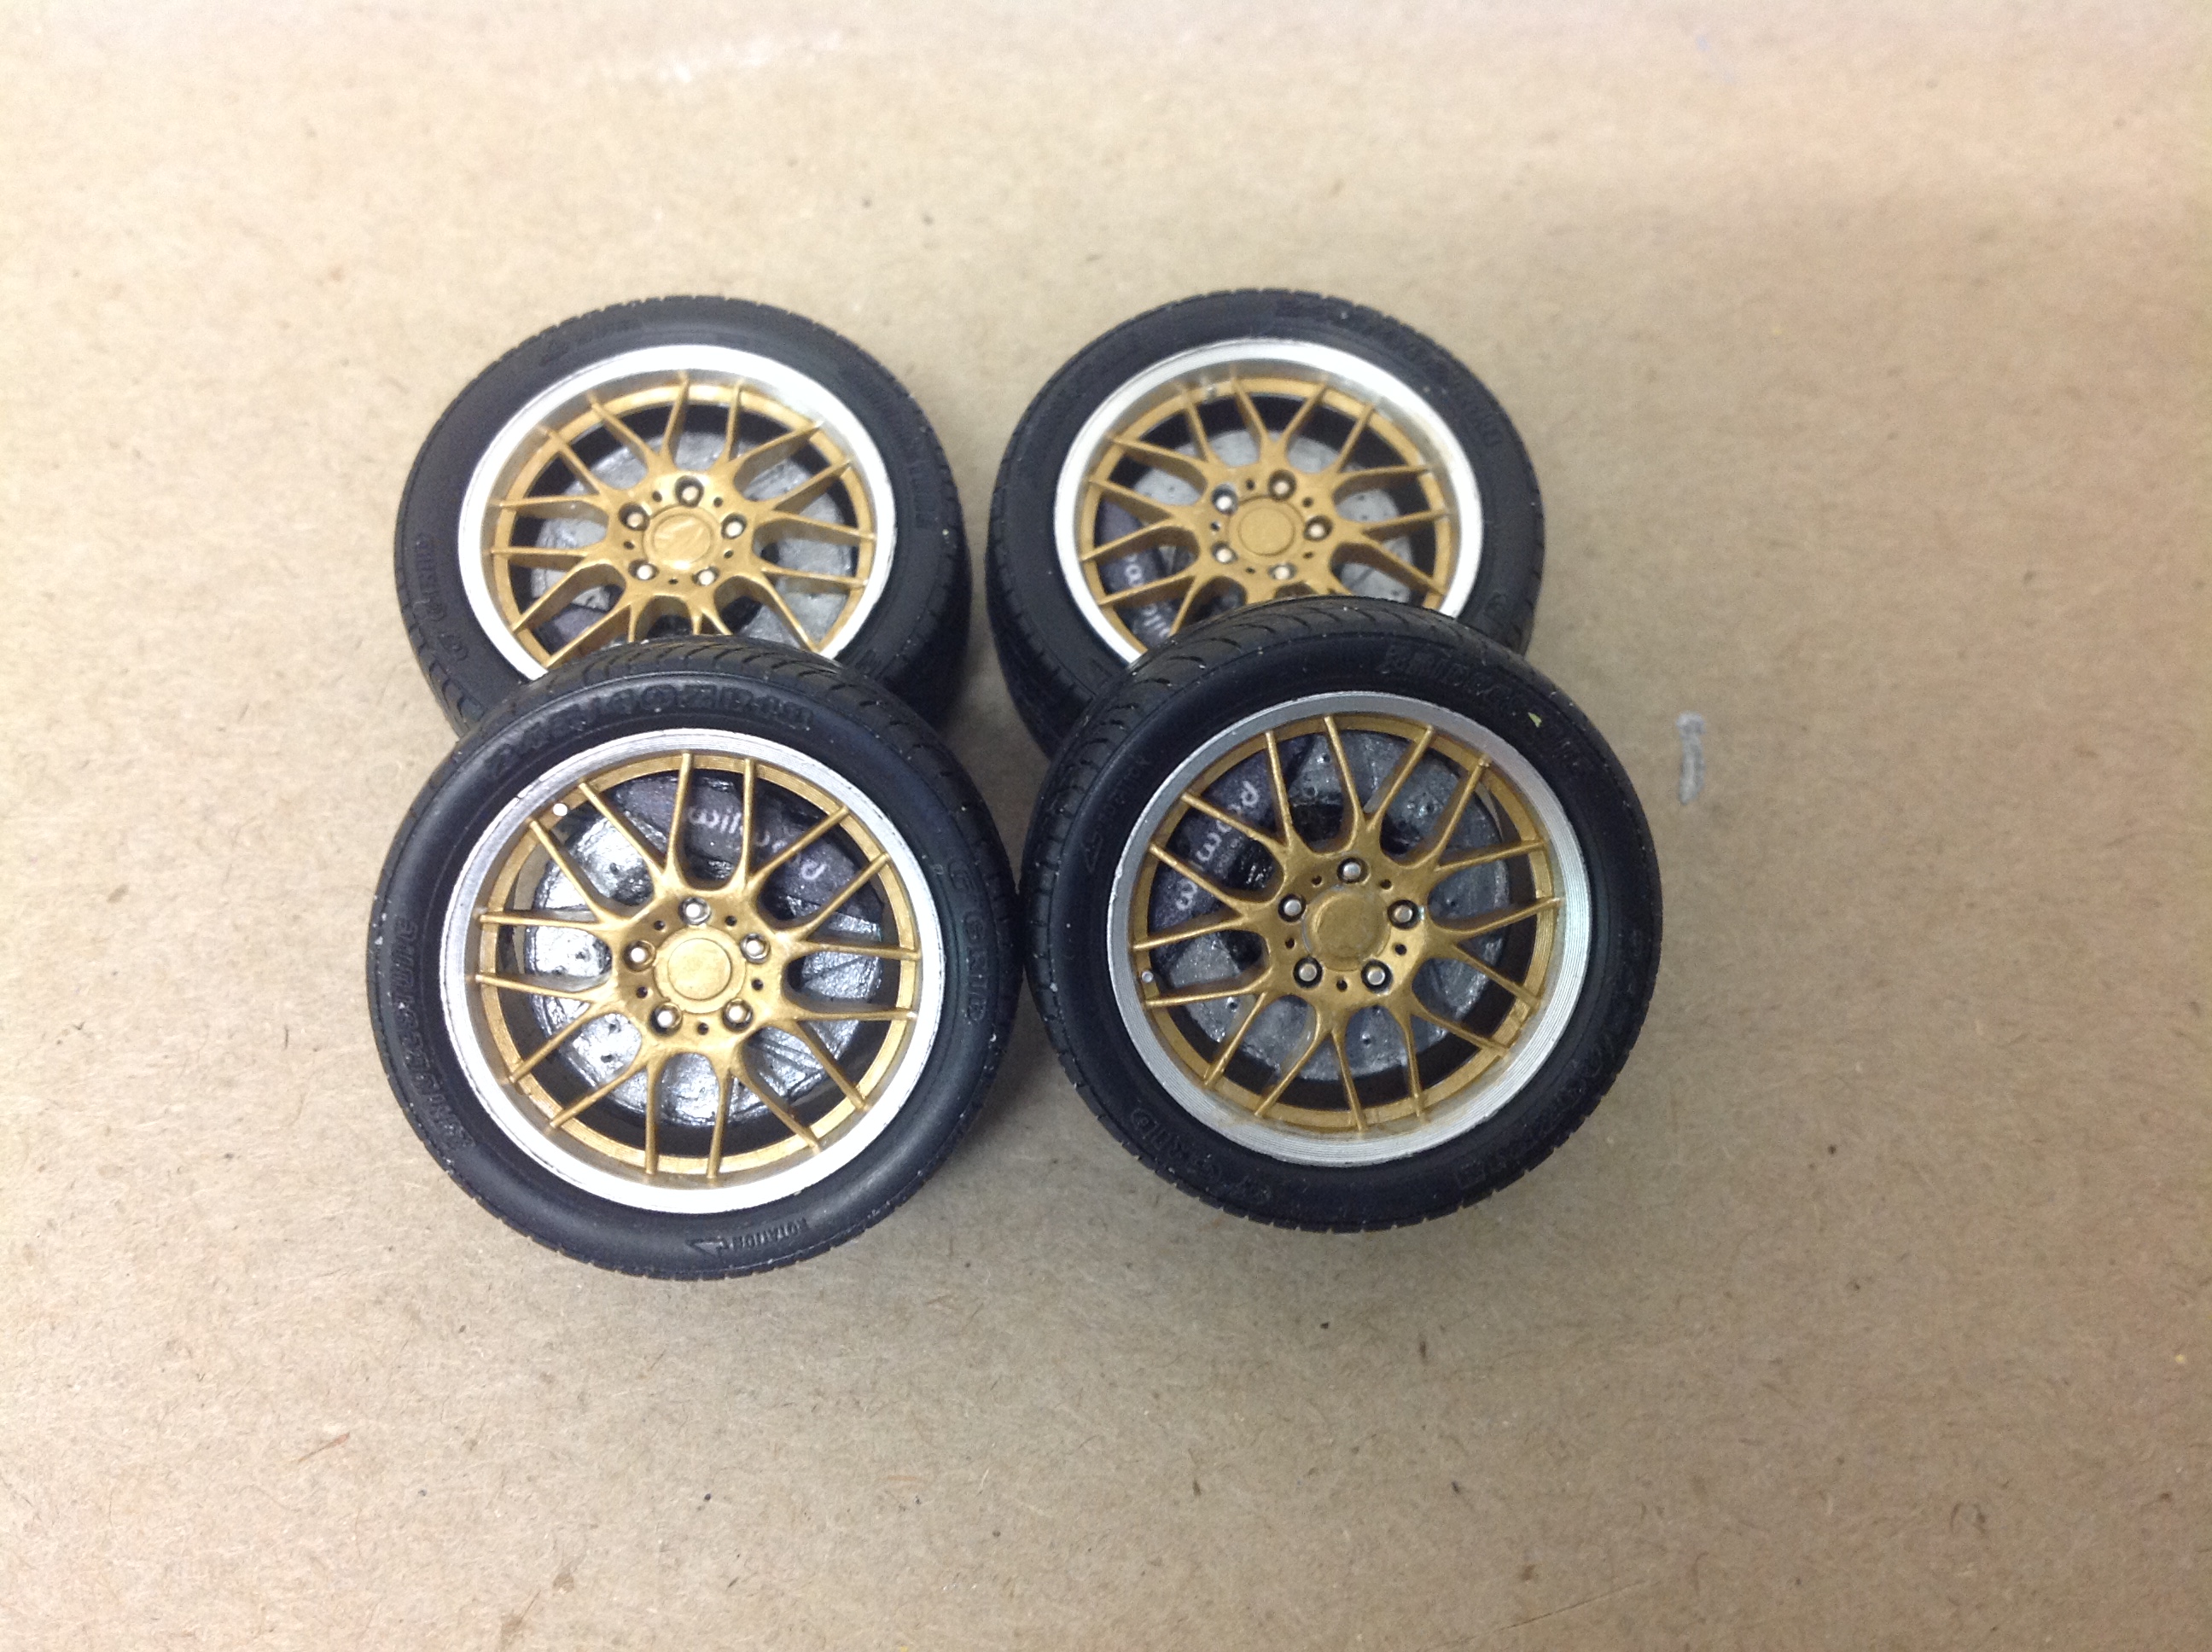
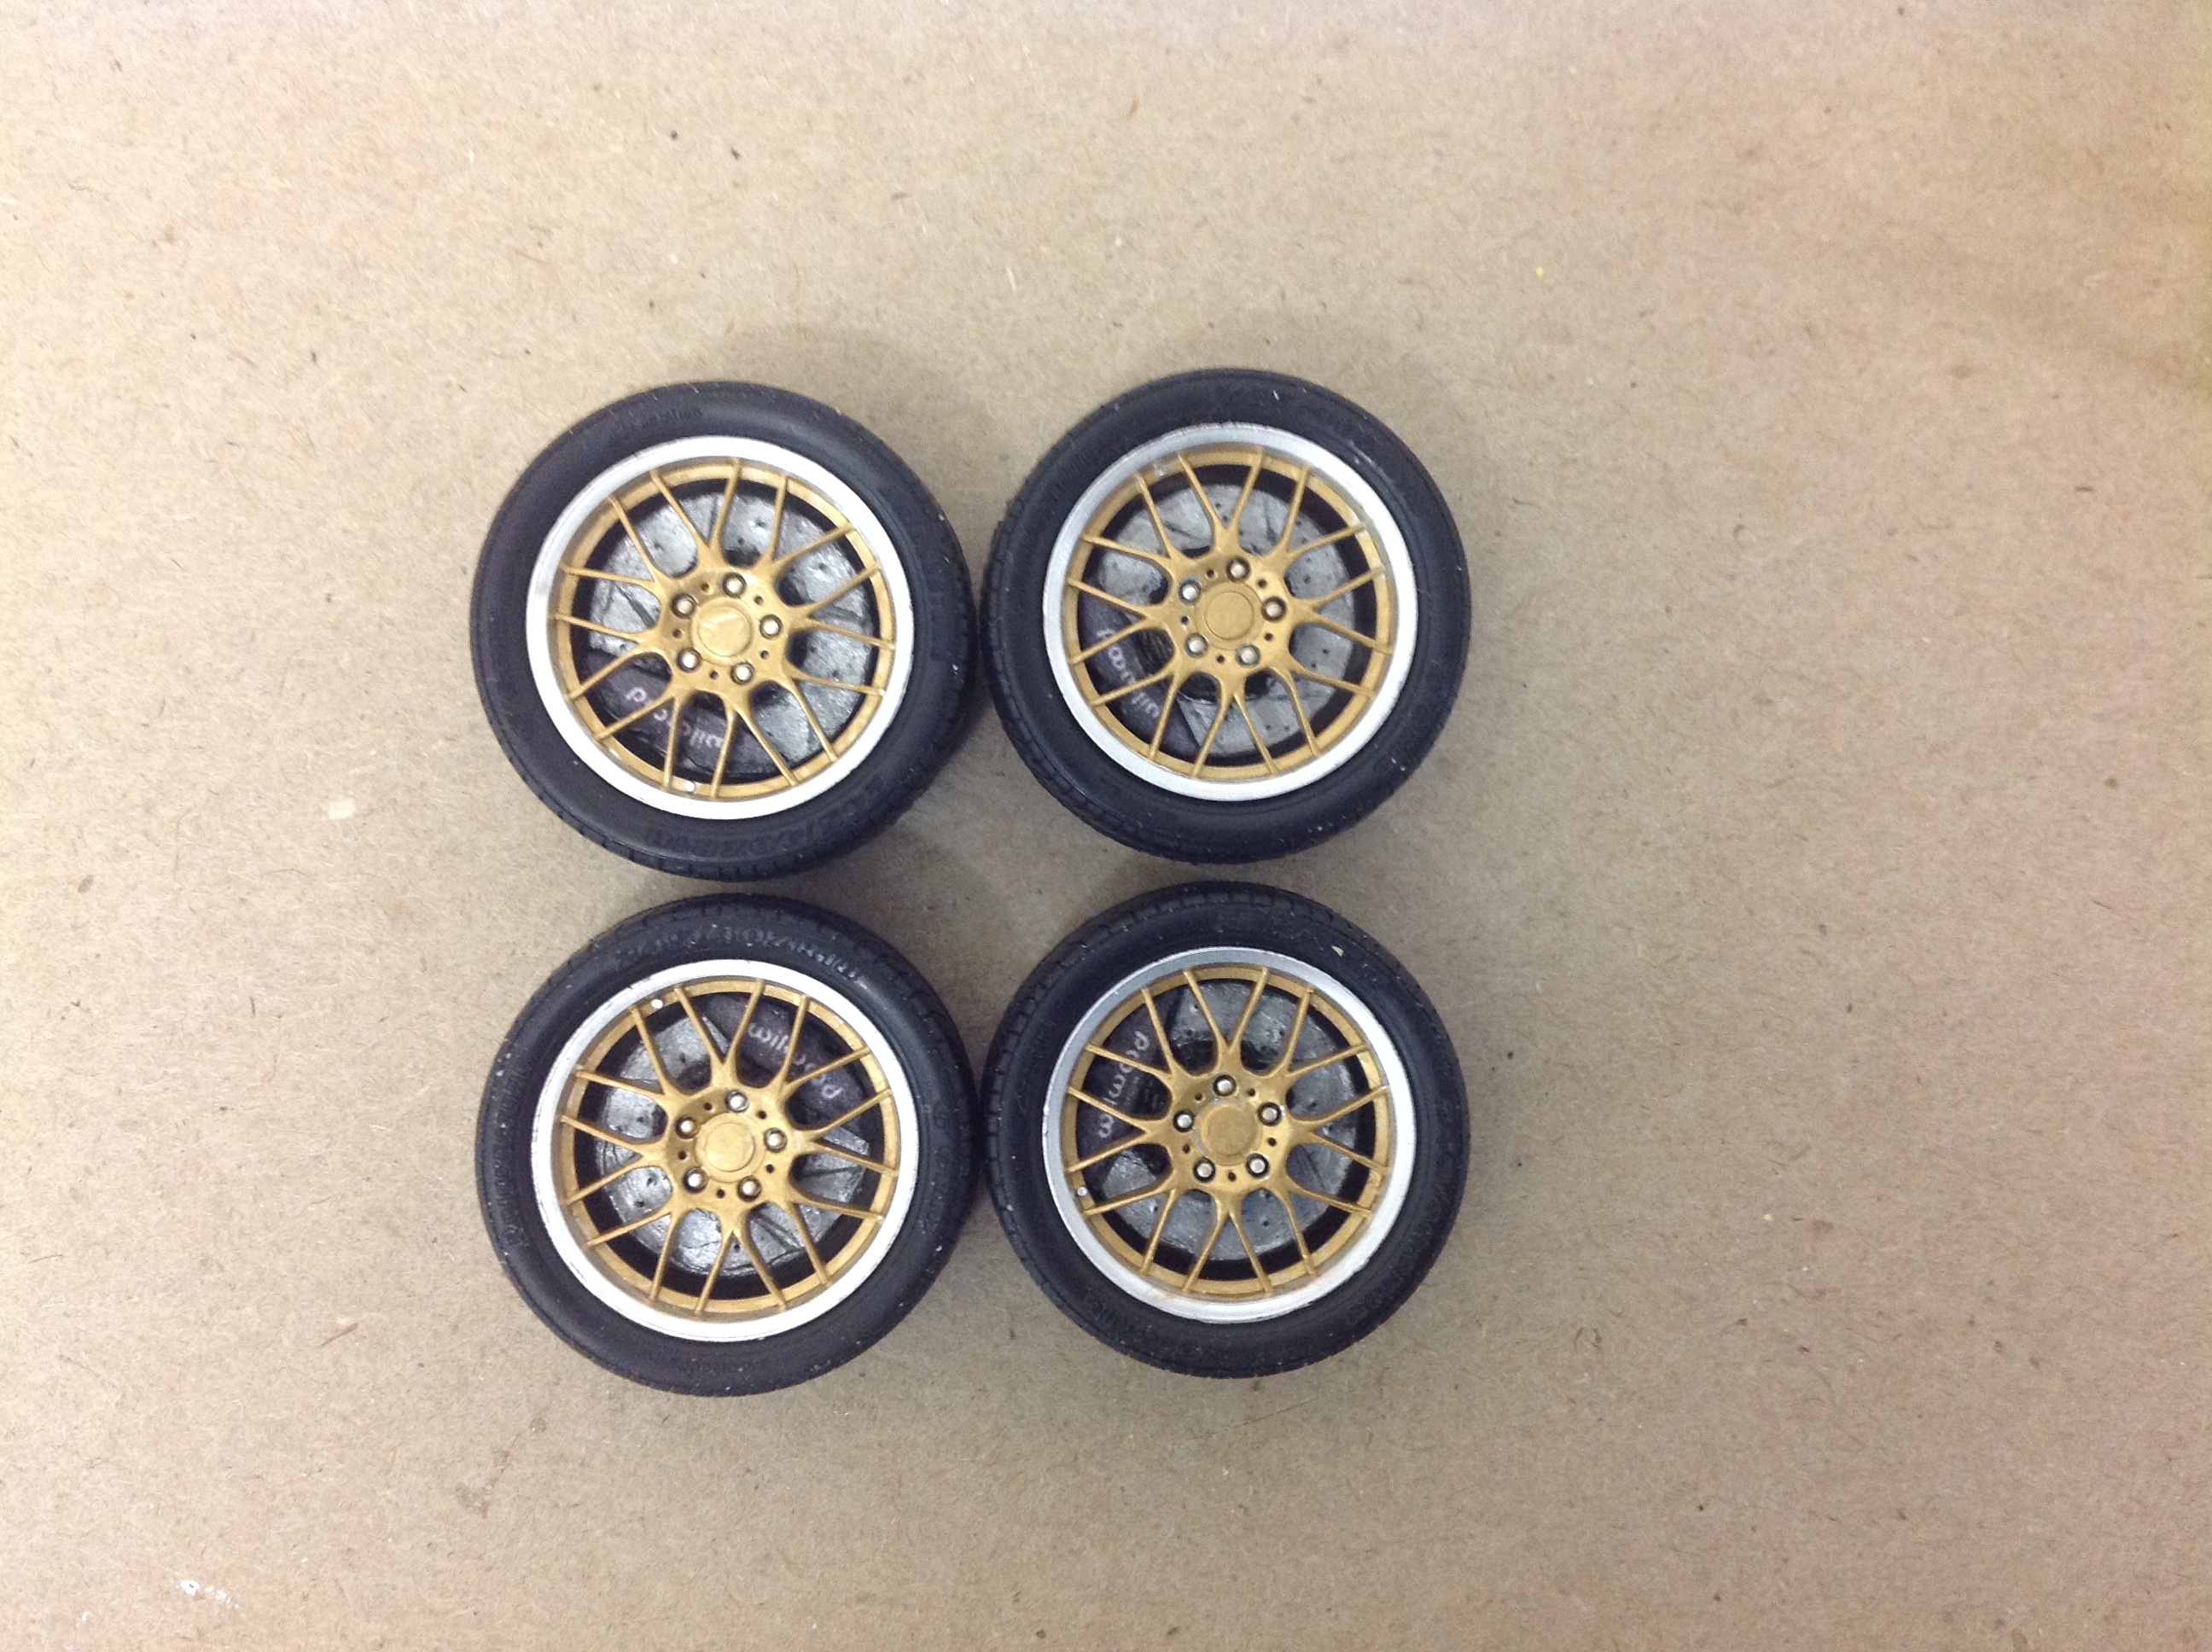
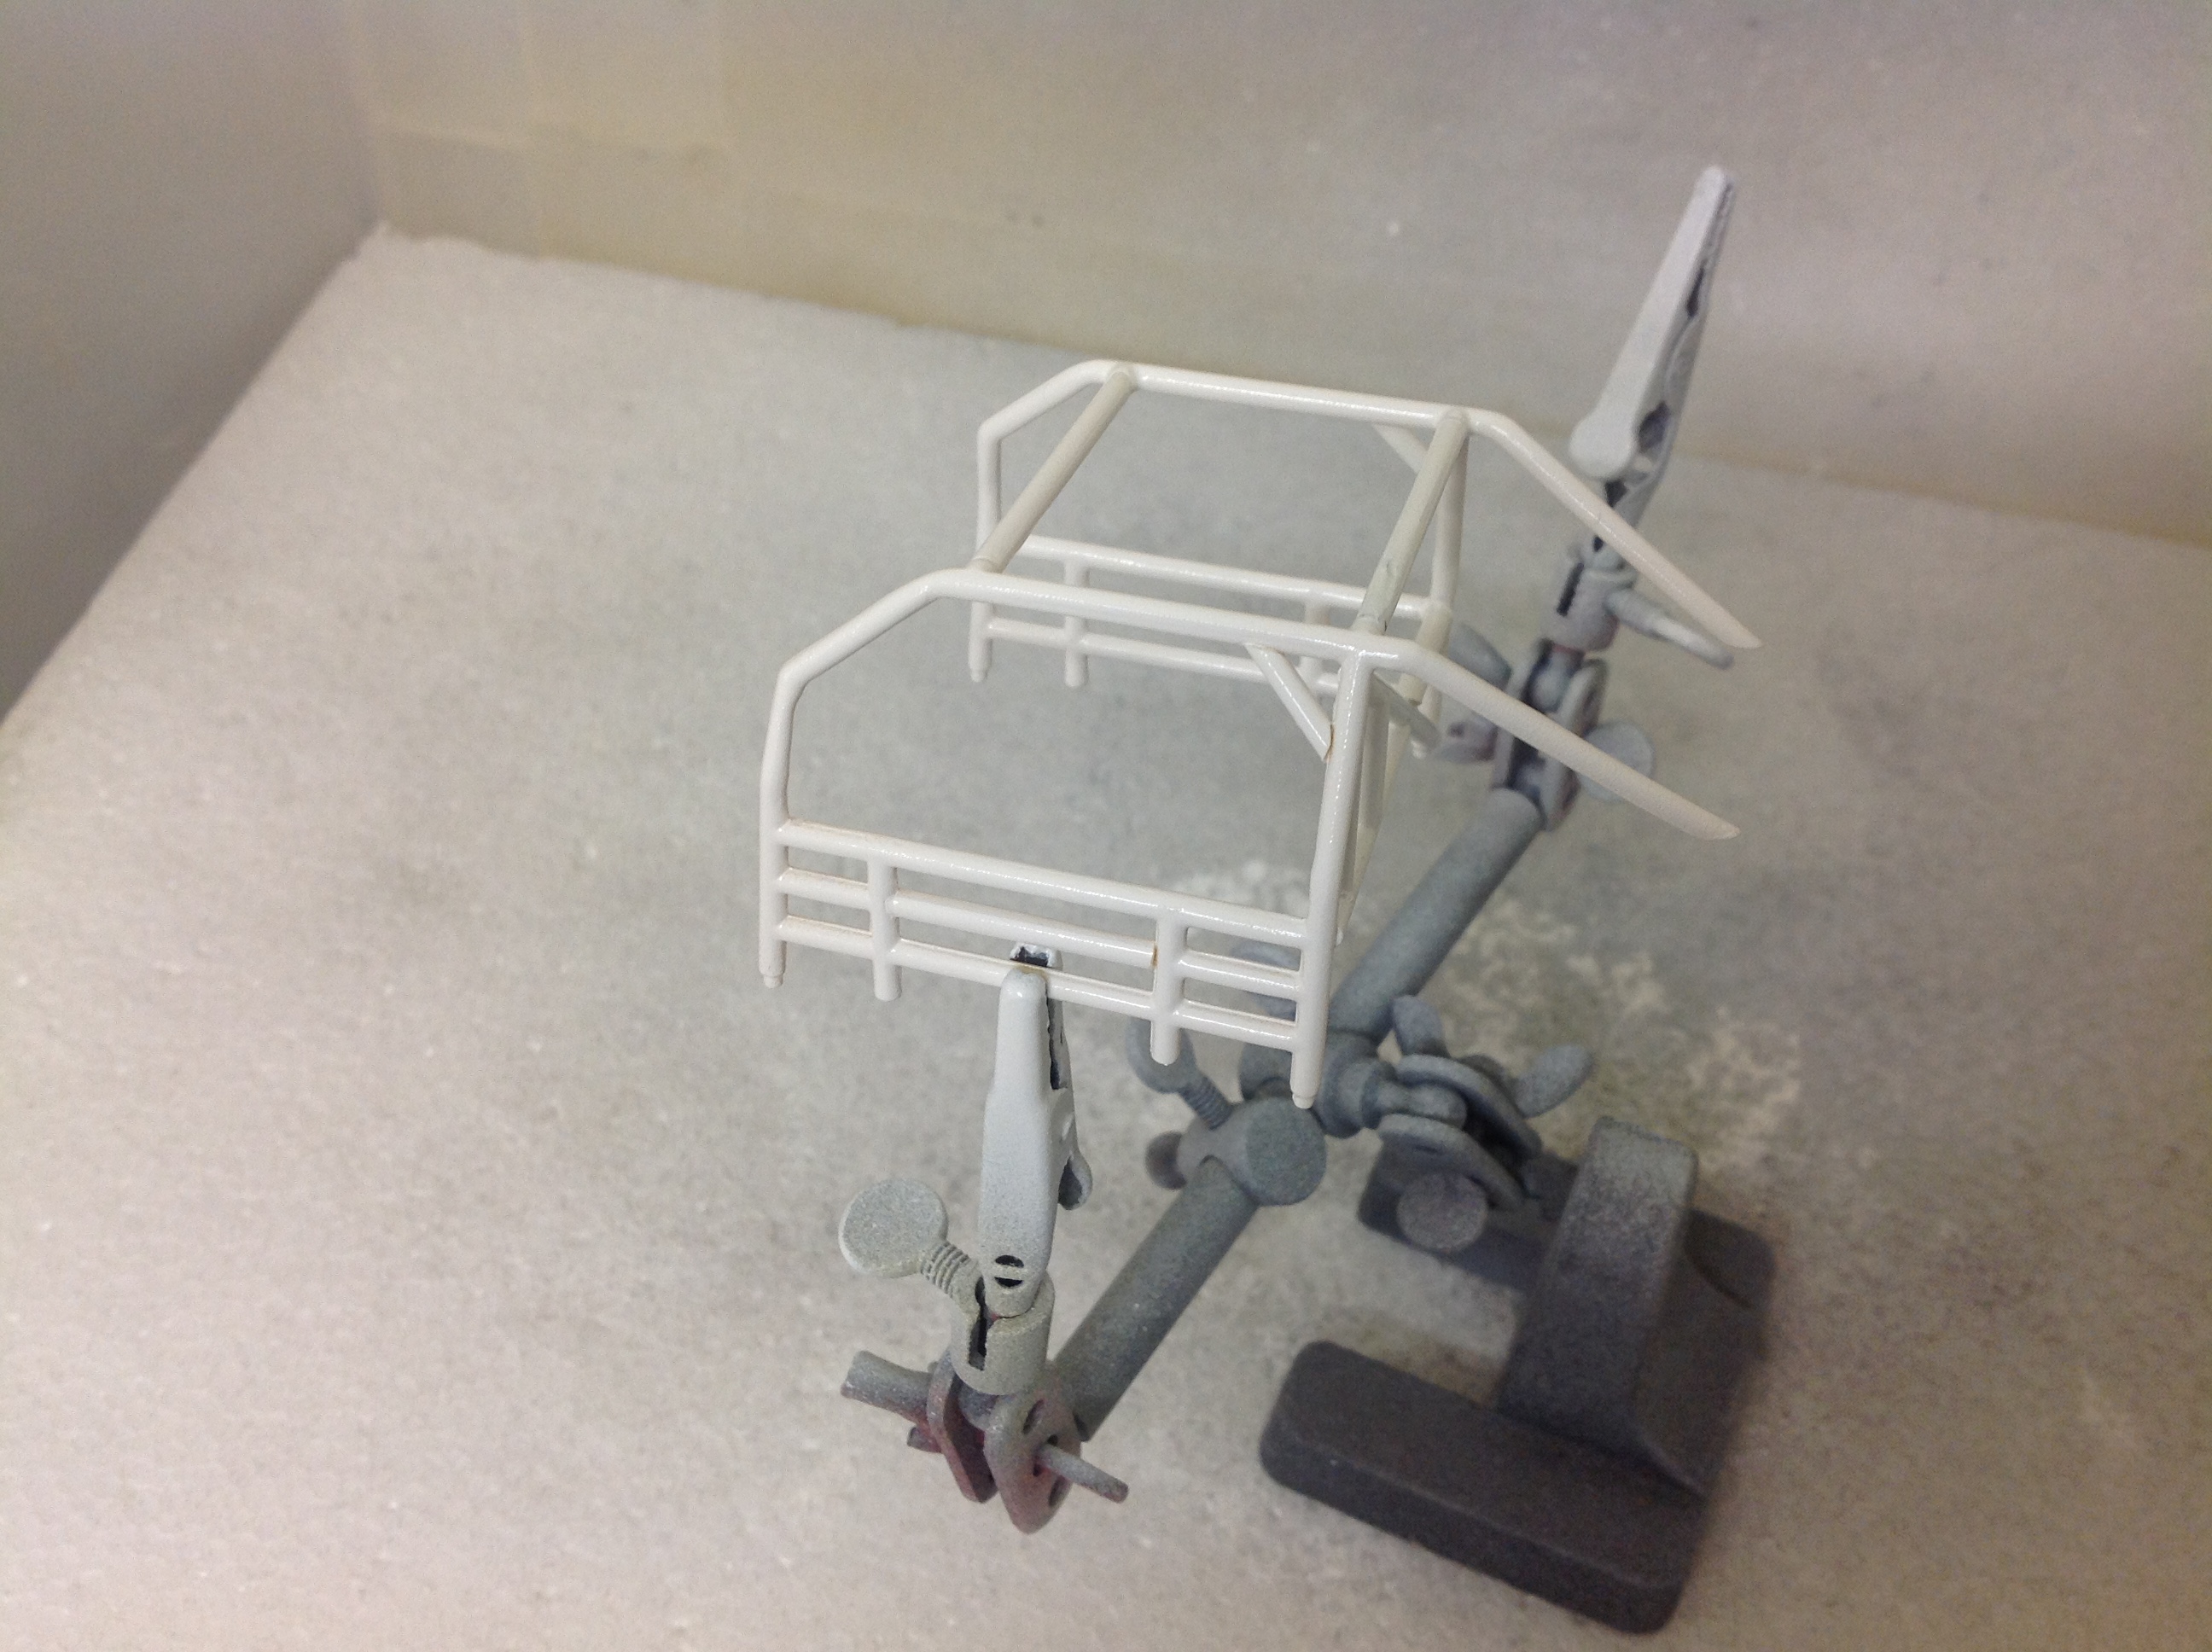
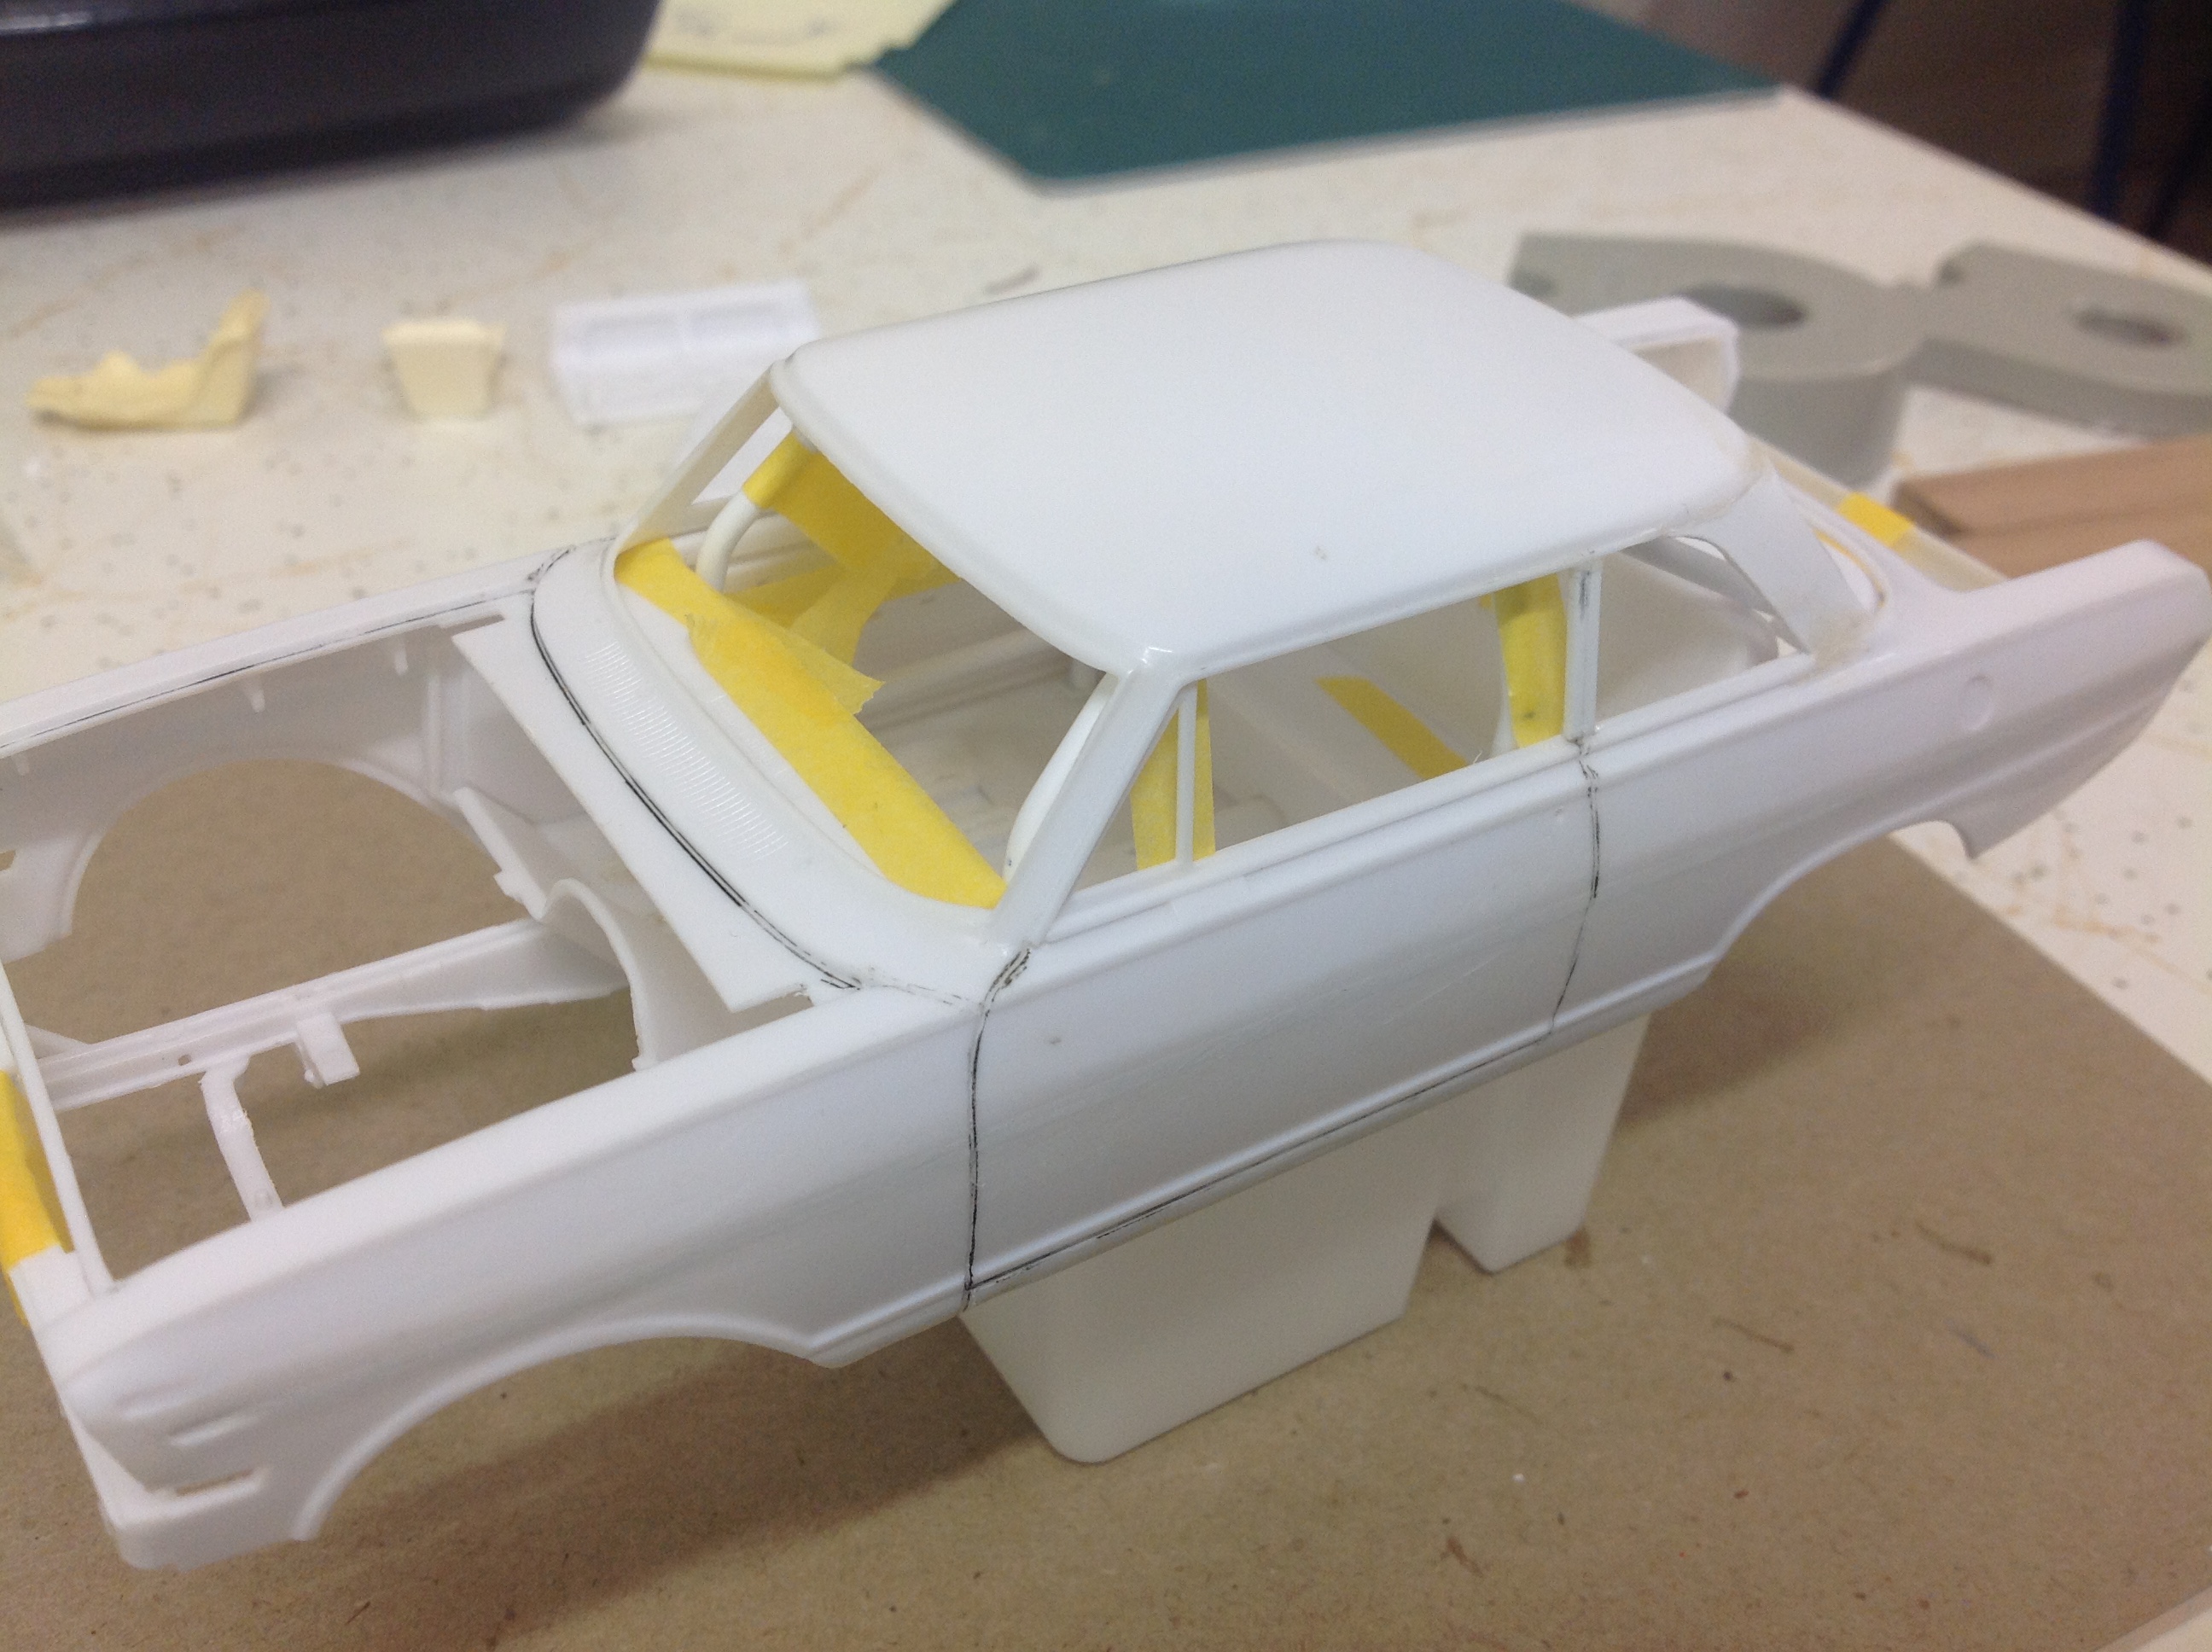
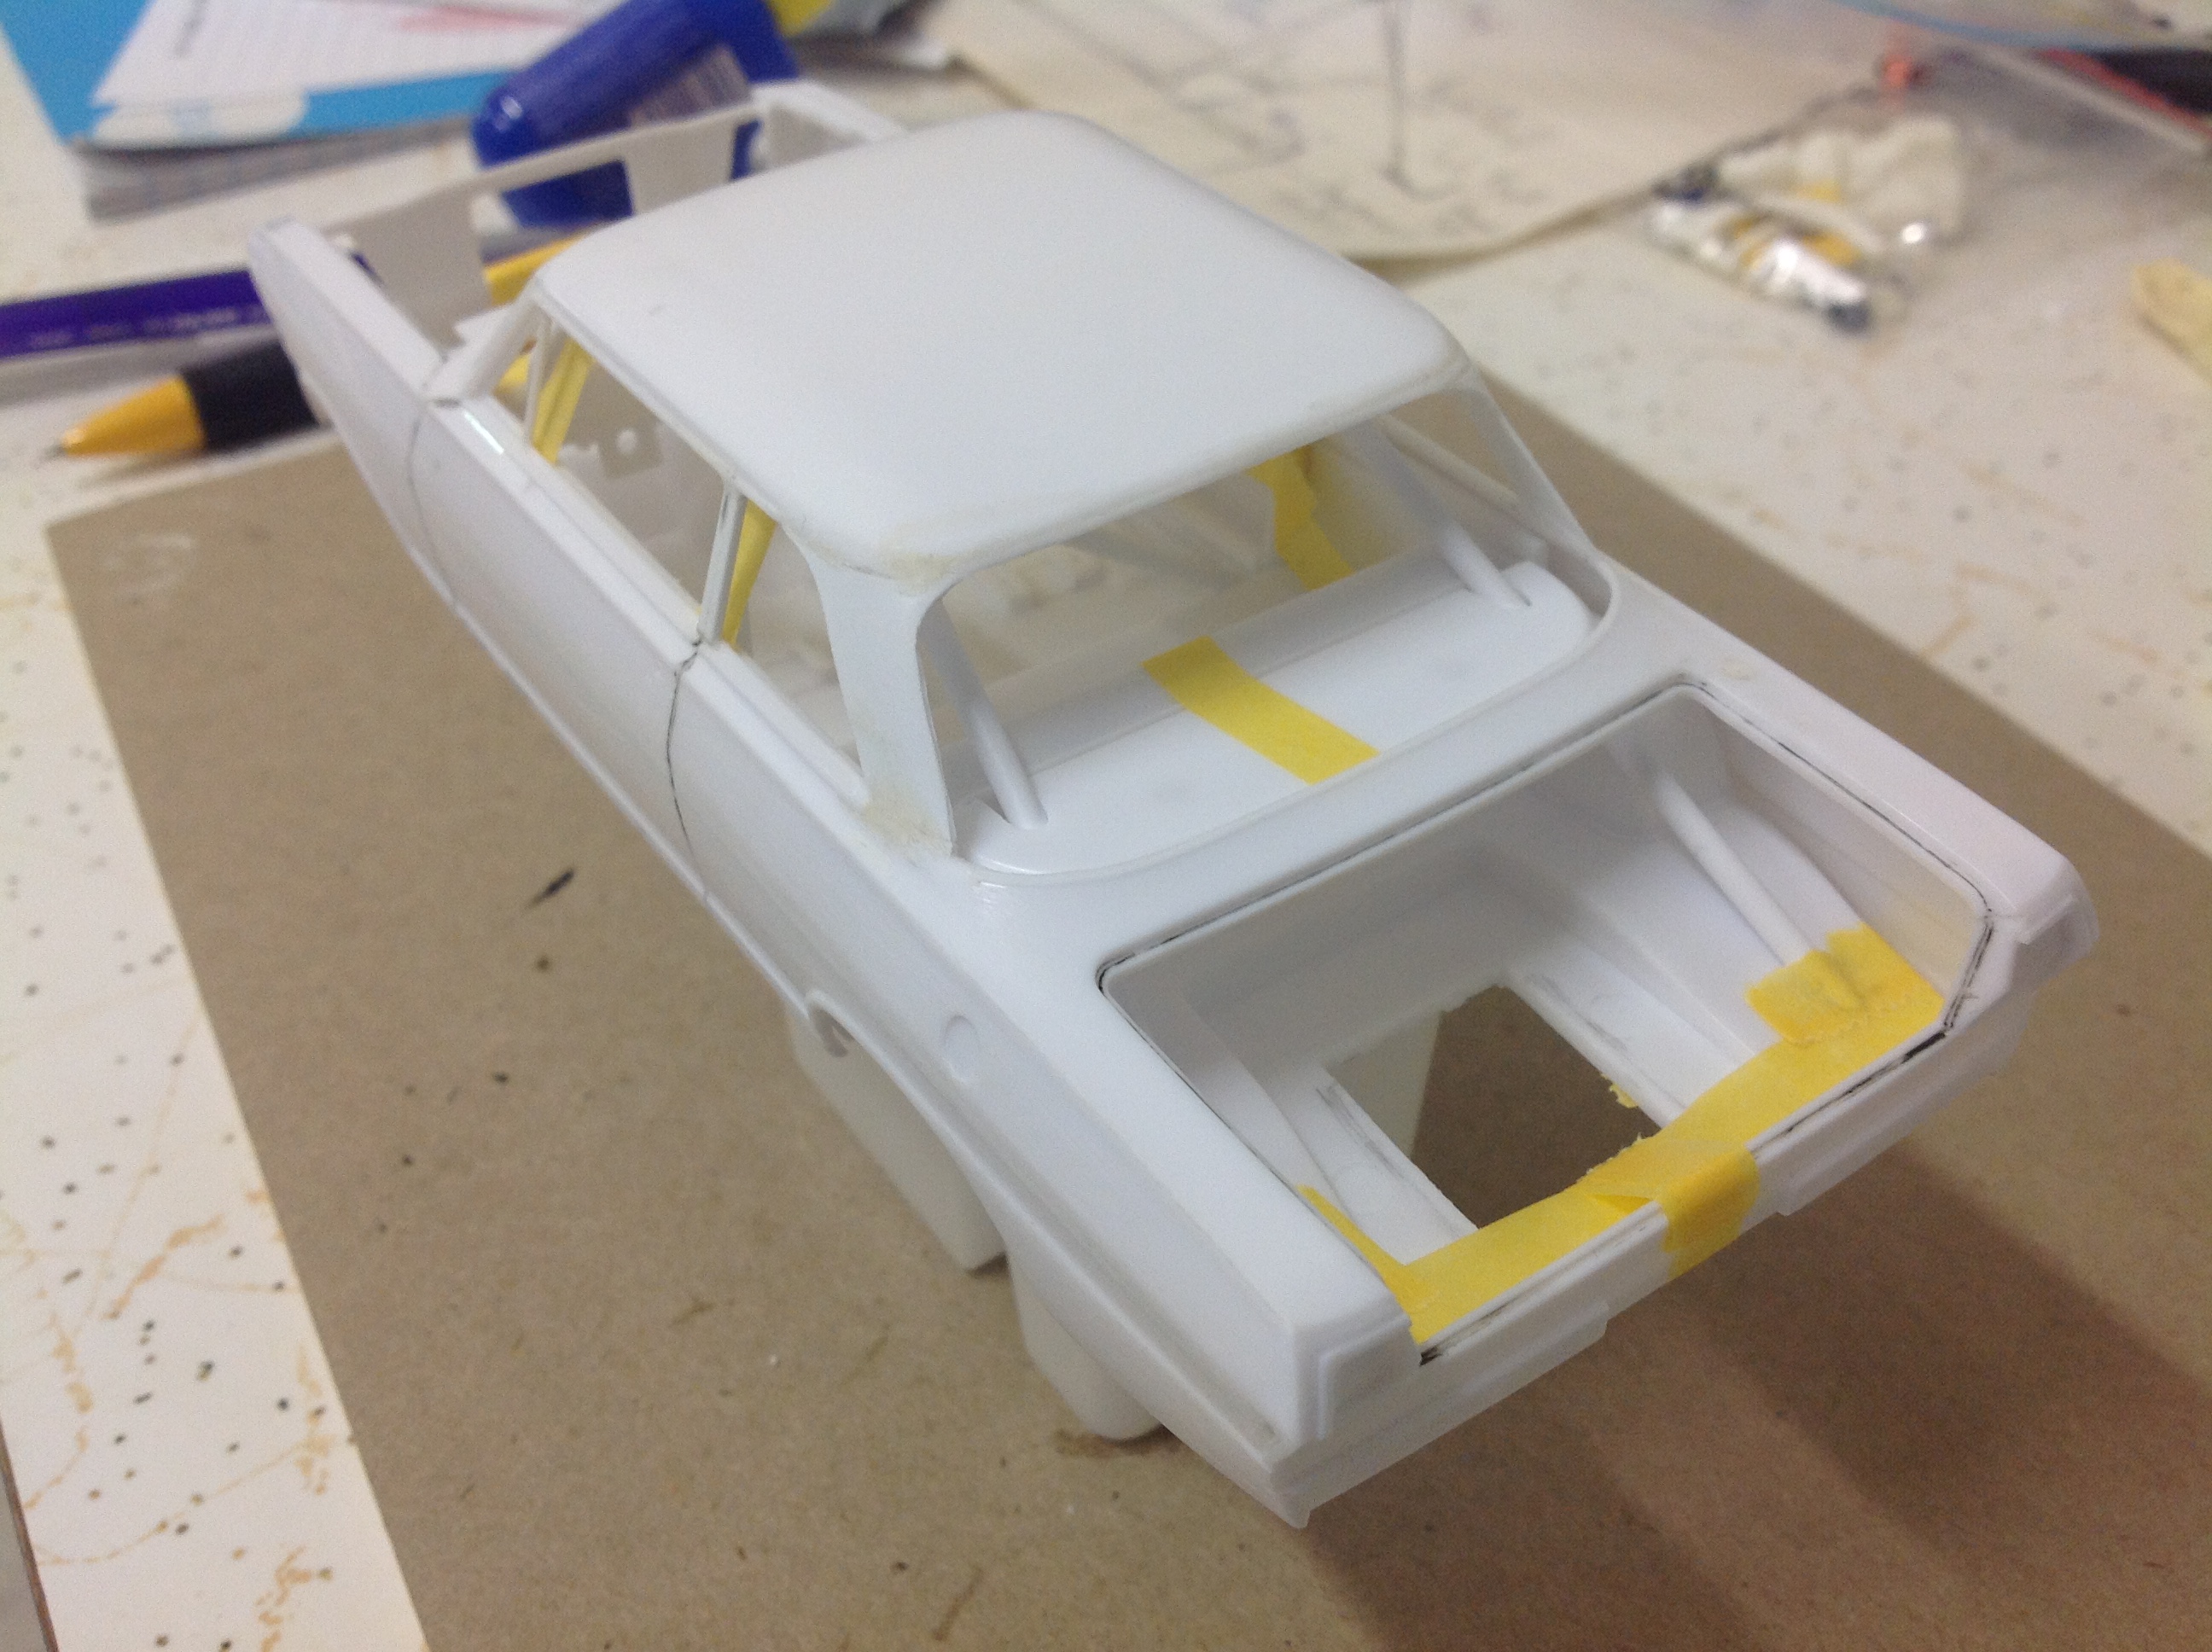
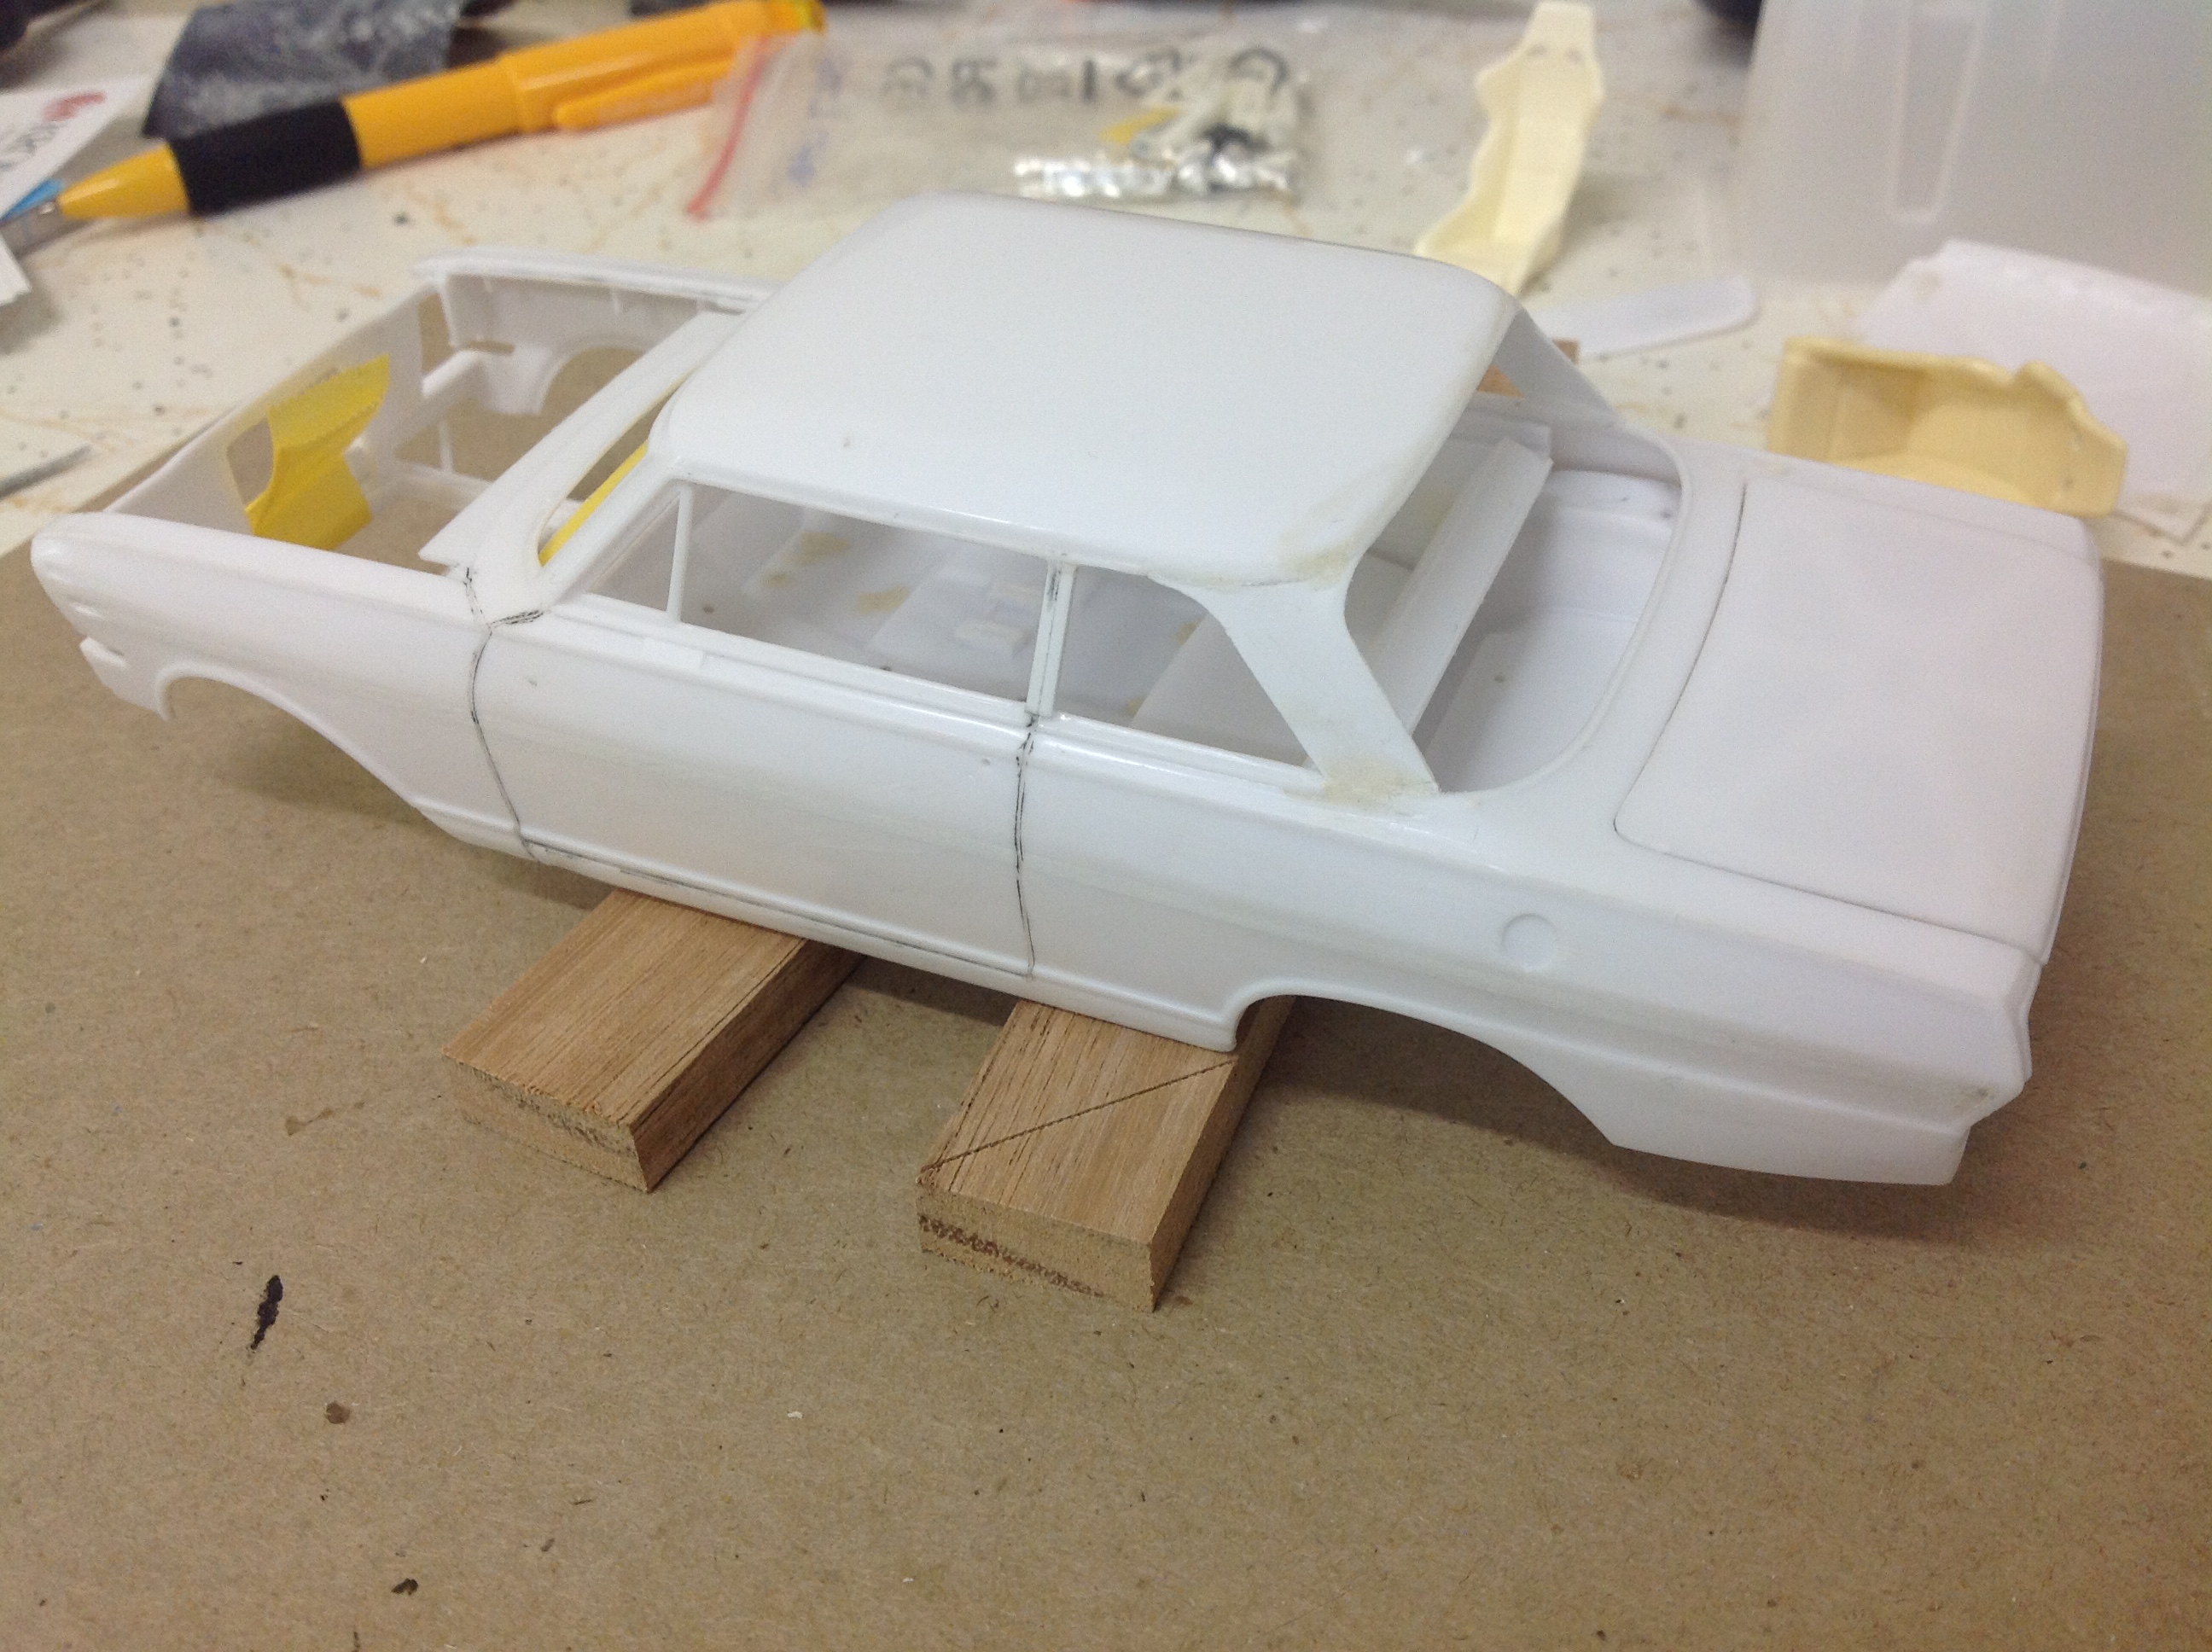
A whole afternoon at the bench today so got a few things done on the Falcon. Wheels tidied up and onto tyres with disc brakes mounted. Dashboard radio and switches deleted then into primer. Handbrake and switch panel assembly detail painted. Molded in gas tank removed and replaced with sheet plastic ready for new fuel cell, and side pipes removed to make way for brass tube replacements. And finally got the roll cage primed and top coated. Color is American Antique White. As always, feedback welcome ? Cheers...... Geoff

-
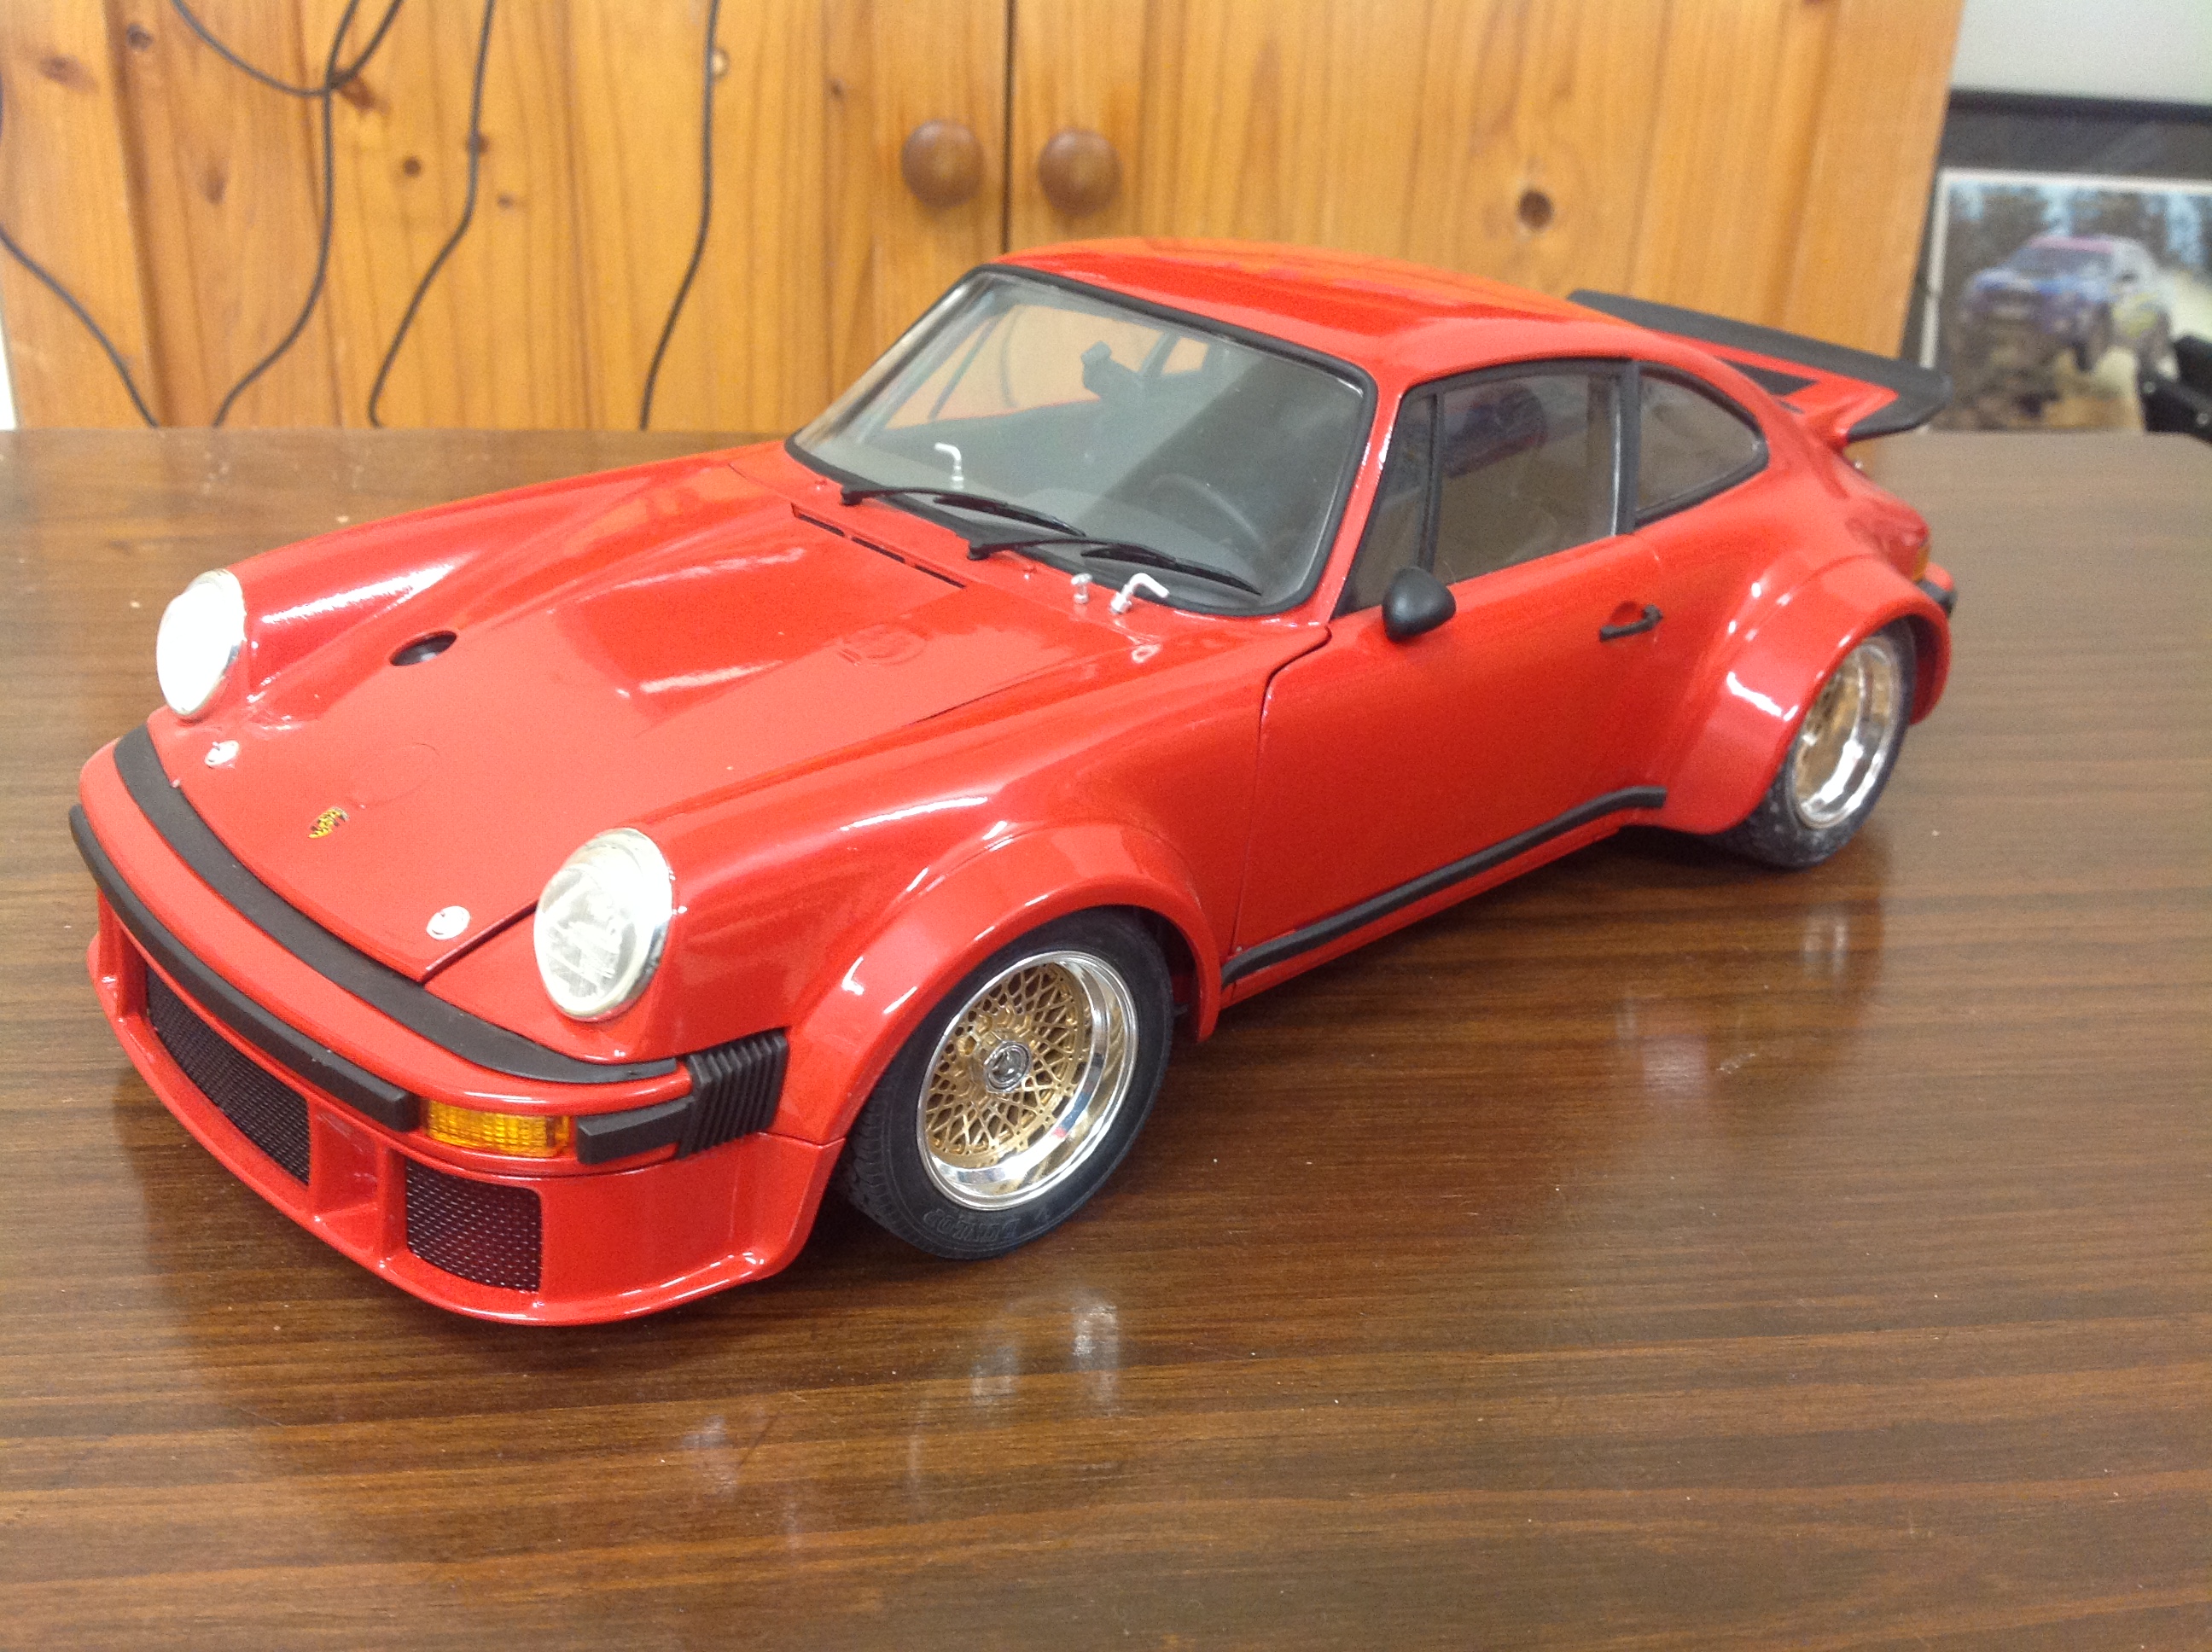
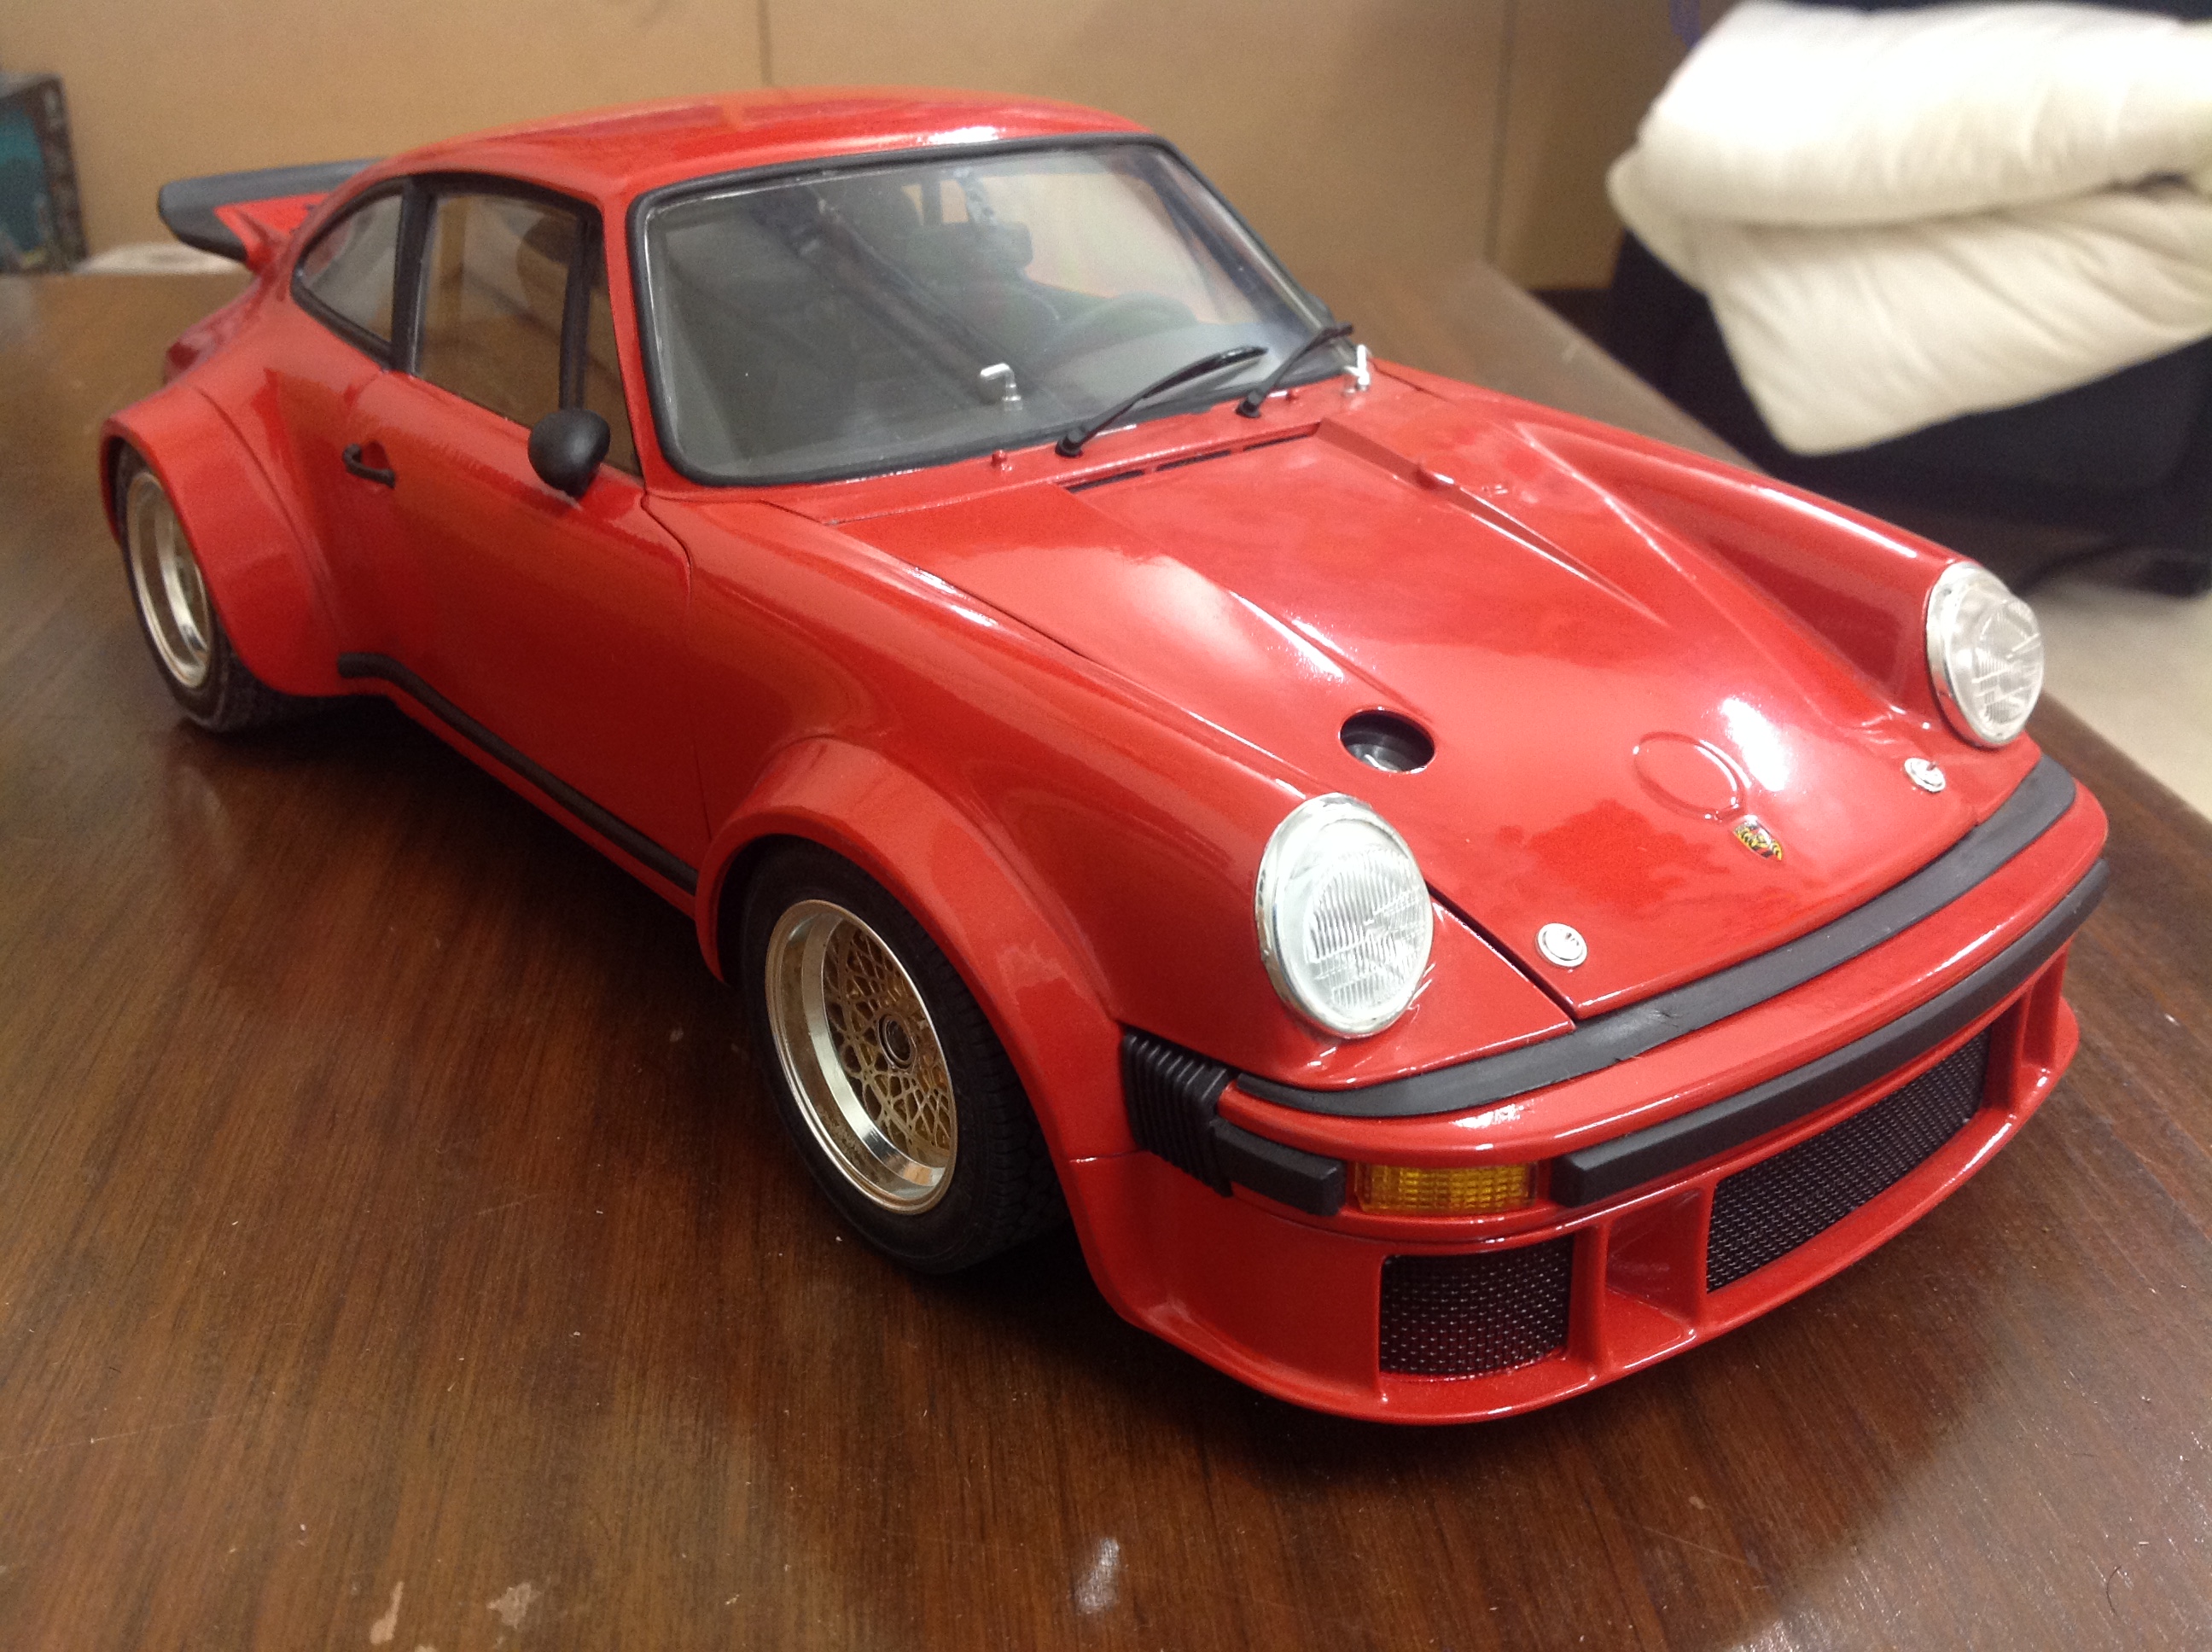
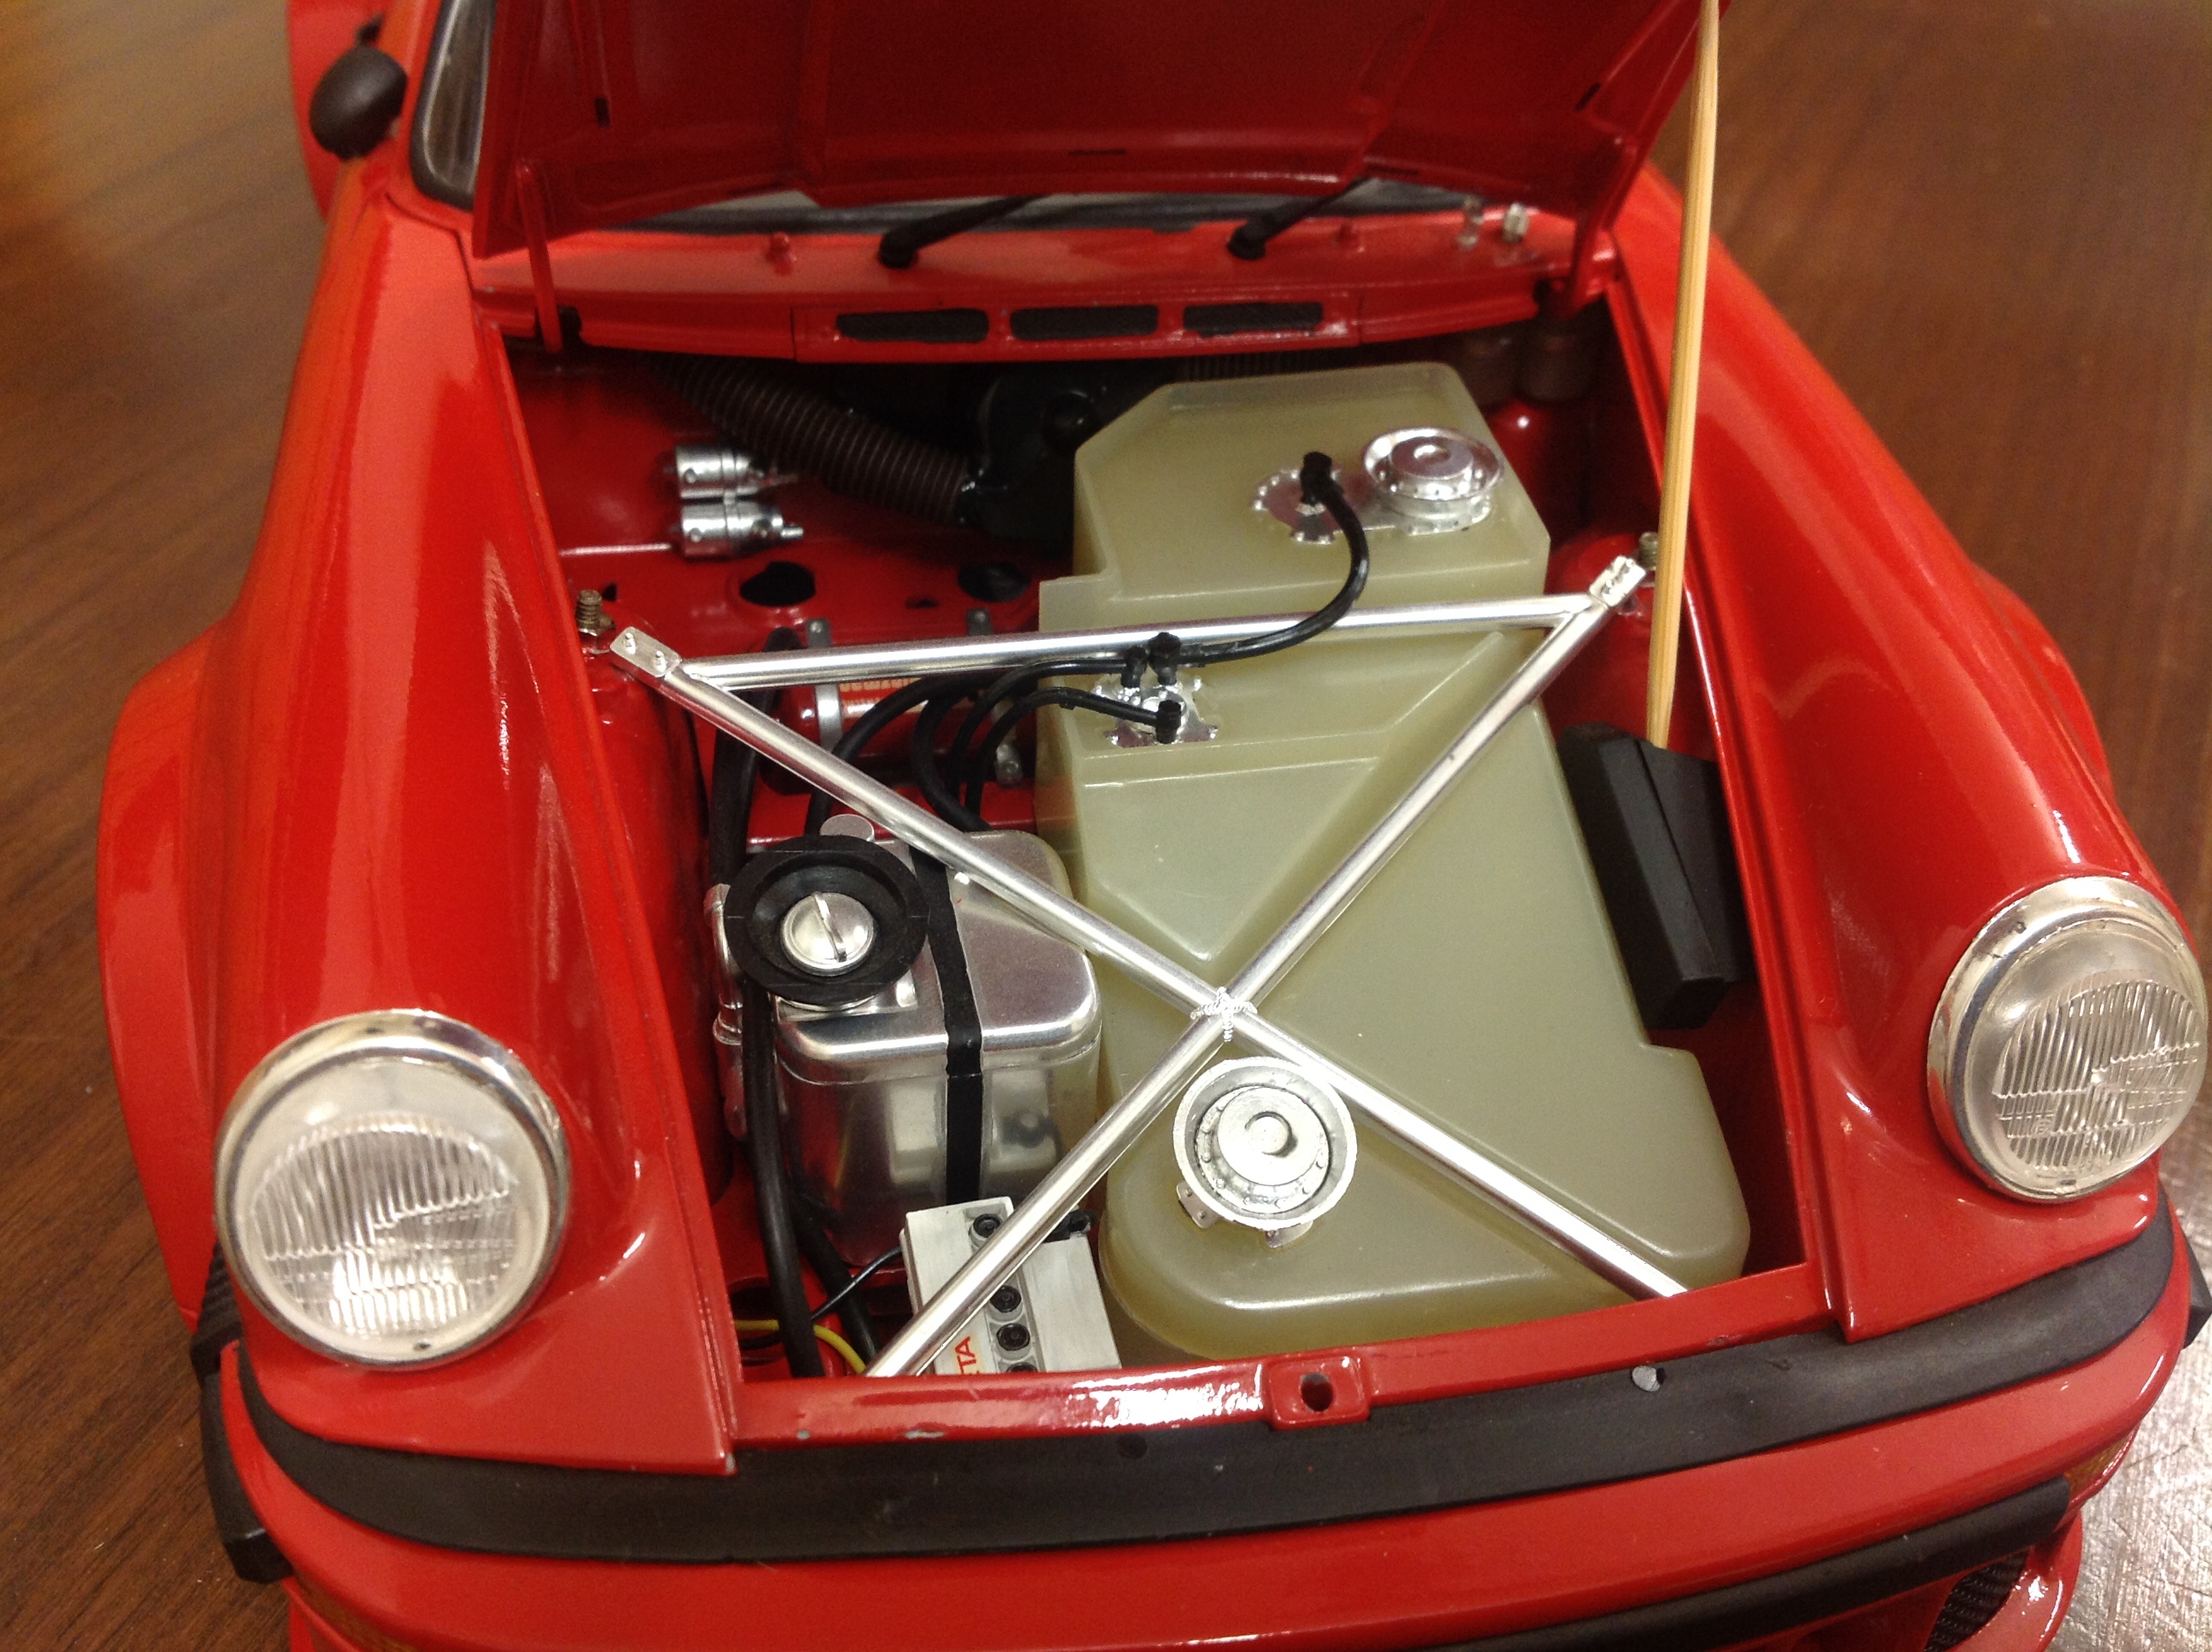
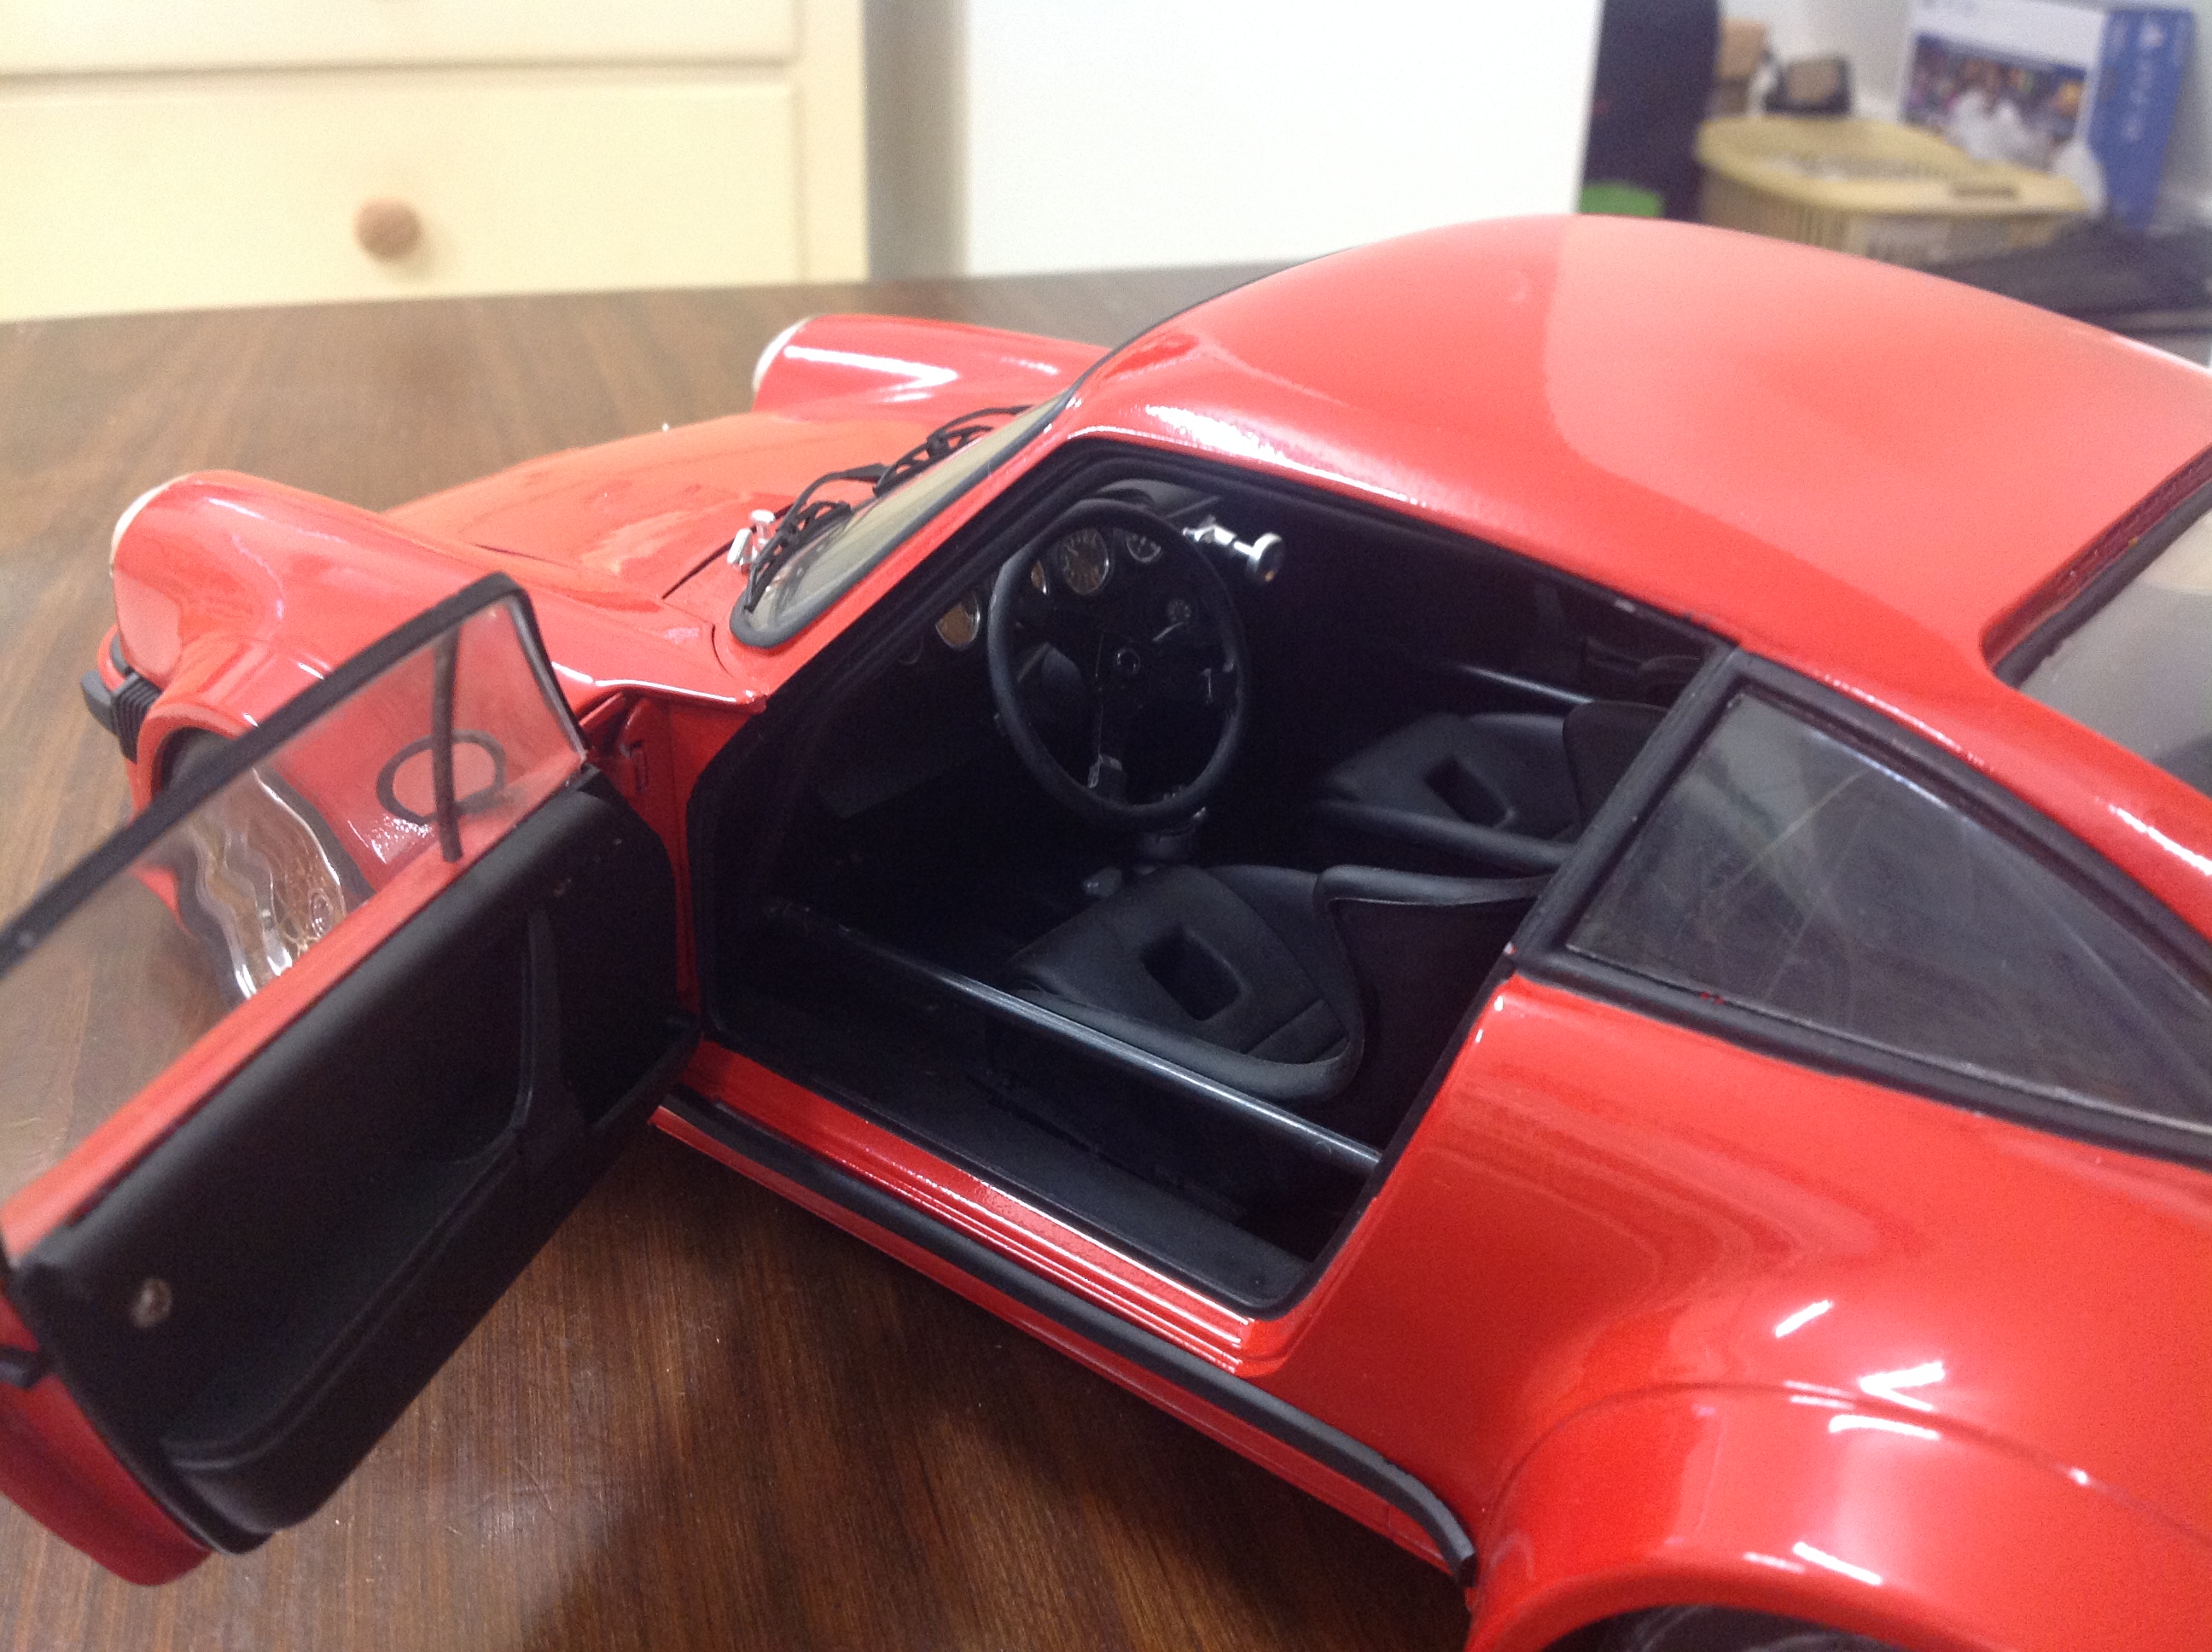
Unfortunately, all of my childhood builds ended up either in the hands of my younger brothers out in the sandpit, or pulled apart and used for slot car bodies. ? Here's my first serious adult build - Tamiya's beautiful Porsche Turbo RSR Type 934. I built this 1976 issue in 1980 in the spare bedroom of our first new house, six months into our marriage. My dear wife went nuts at me because I got Italian Red overspray all over the vacuum cleaner, which happened to be in range and not covered with newspaper!! Anyhow, the model is built right out of the box and finished in Tamiya Italian Red right from the can. This one takes pride of place in my display case and still looks great after some 39 years!! And I've been collecting and building ever since ? Cheers....... Geoff
-
Nice build. I can imagine it wheelstanding off the line at the local drap strip!
-
'74 Barracuda Pro Street-Oldest "Untouched" Build in my Collection
zakdoggi replied to mustang1989's topic in Model Cars
Nice to see you've saved this from your childhood. Wish I still had mine - a brush-painted lime green 69 Firebird with wood putty wheel arch flares to house the wheels and tyres taken from the Olsonite Indy kit. I do now have both the above kits in my stash for a possible rebuild, and I also have your Cuda kit, so nice to see how it built up. Great stuff! -
Nice work.
-
1/24 Murcielago(Fujimi) and 911(930)Turbo (Tamiya)
zakdoggi replied to markx66's topic in Model Cars
Sweet builds. Very clean work. -
Great job Rich. Love these early Ferrari racers. They look brilliant.
-
That's one cool build! Great choice of colour and decal scheme.
-
Chevy Nova Race Car
zakdoggi replied to zakdoggi's topic in WIP: Other Racing: Road Racing, Land Speed Racers
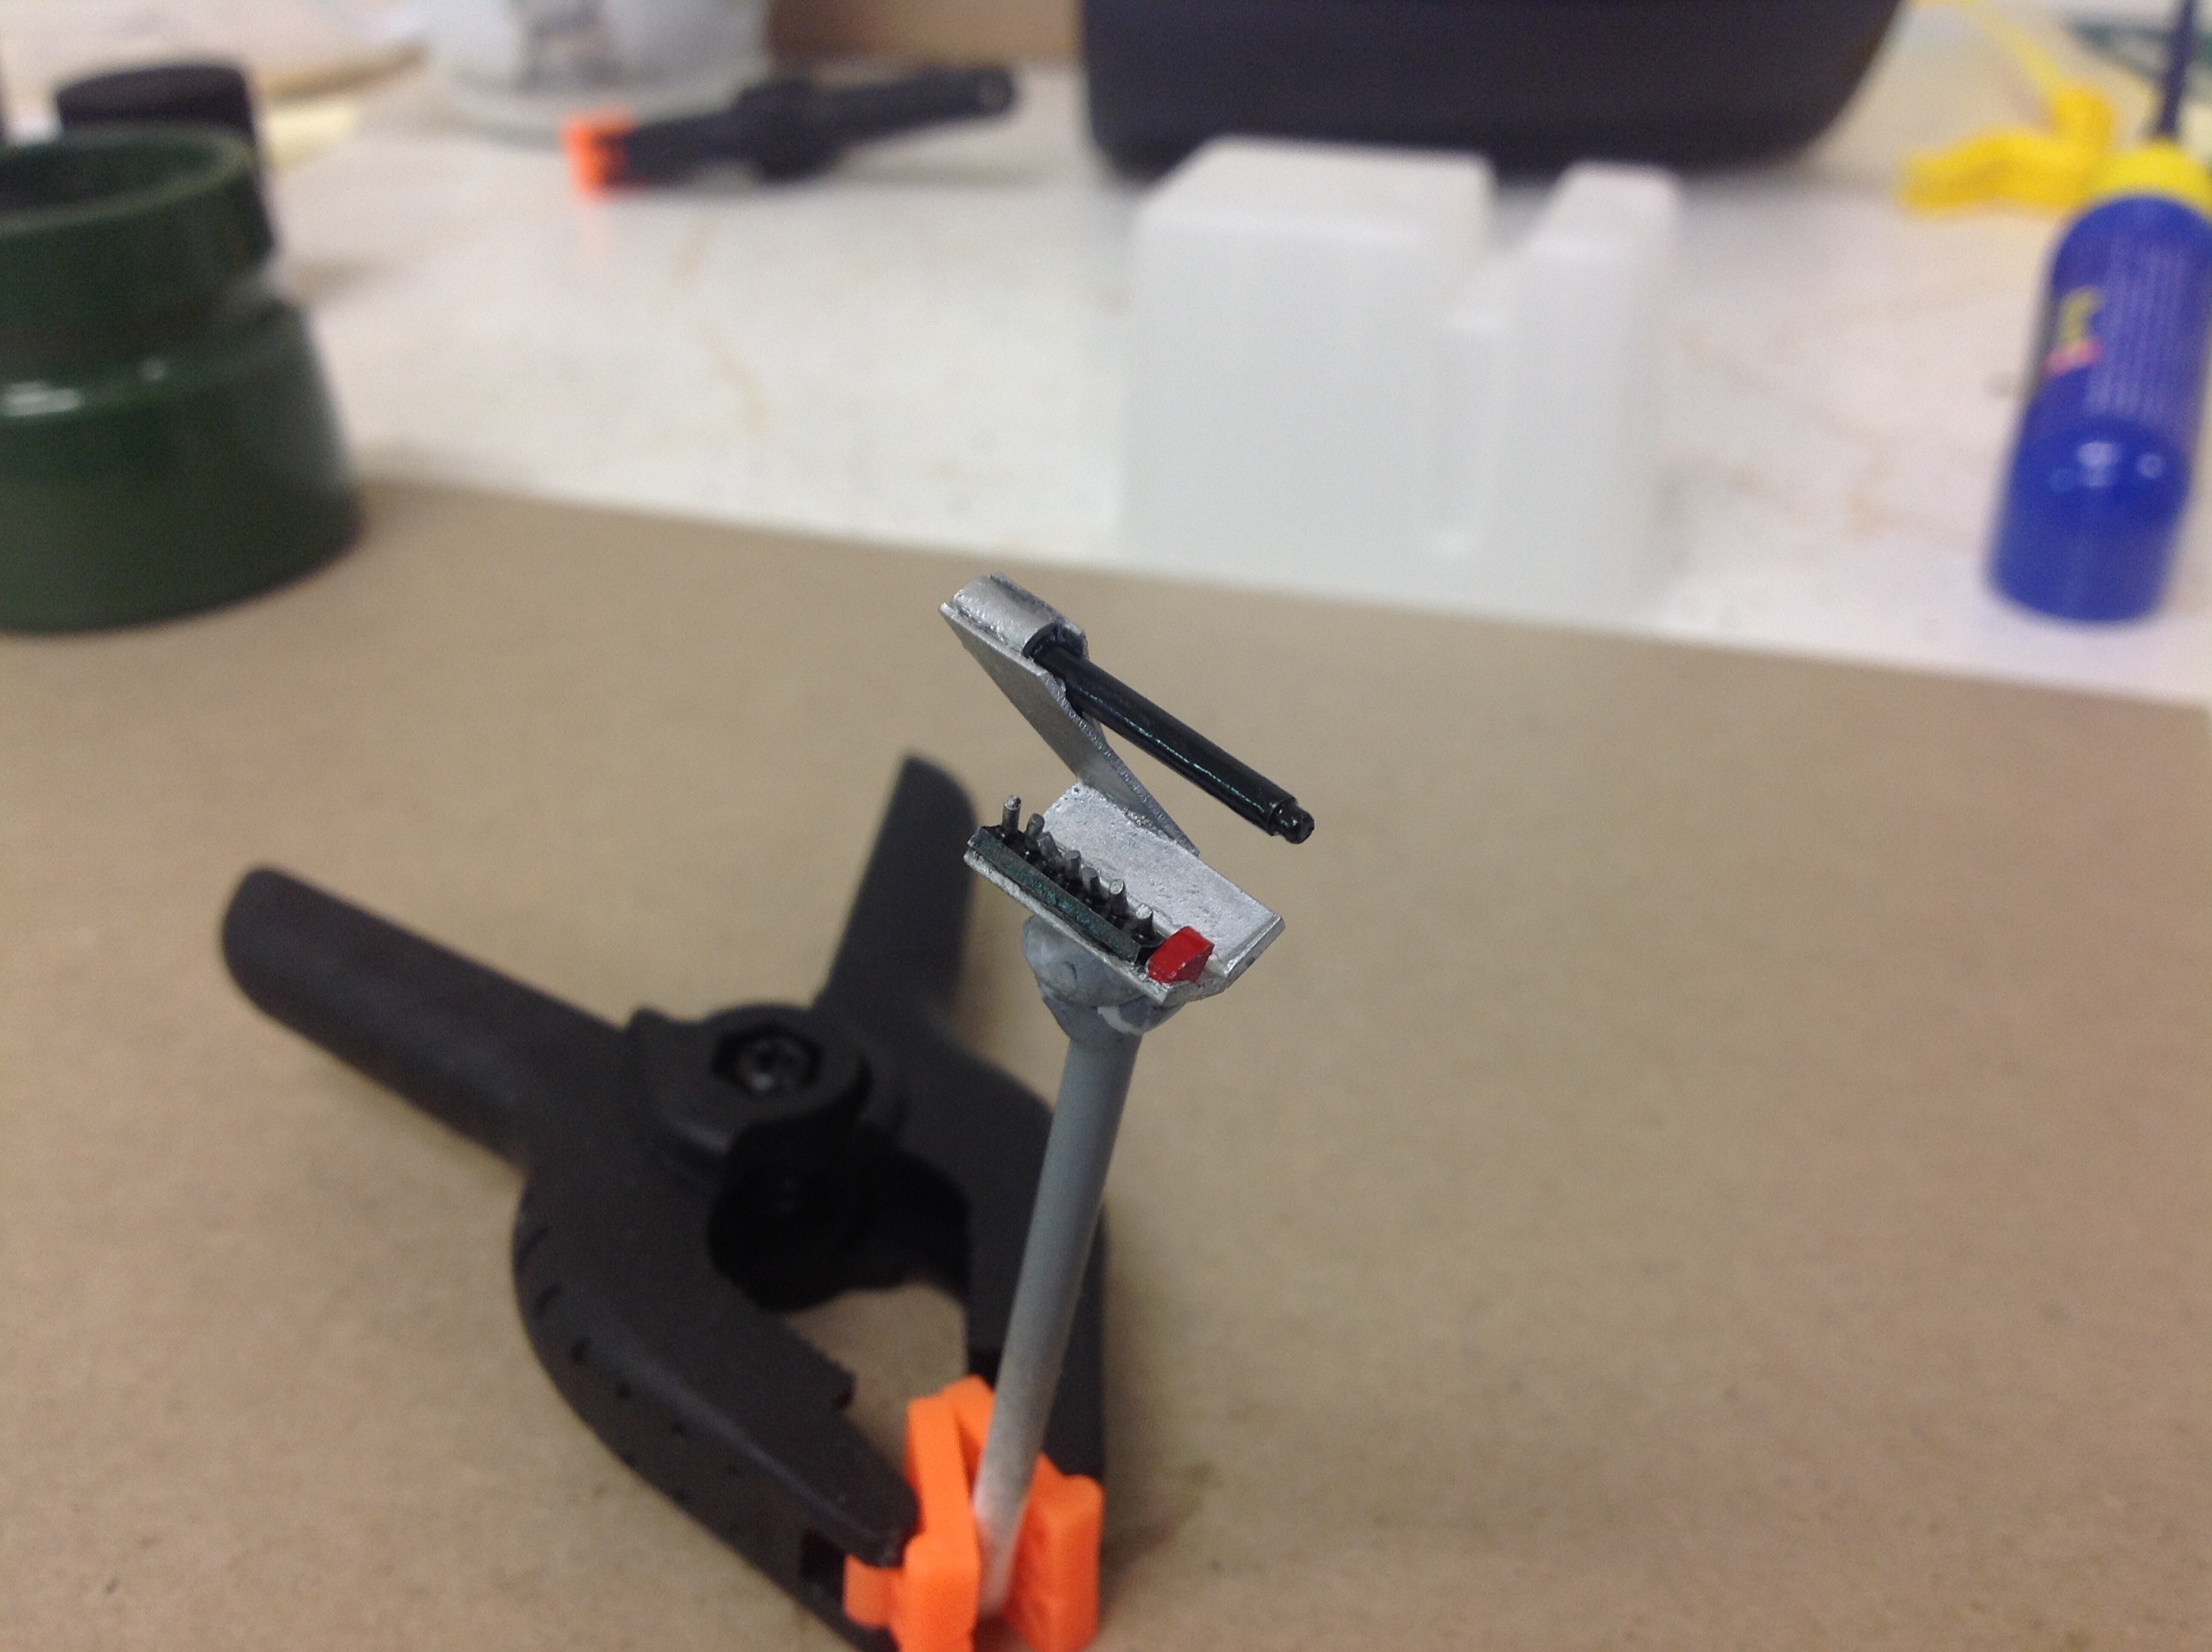
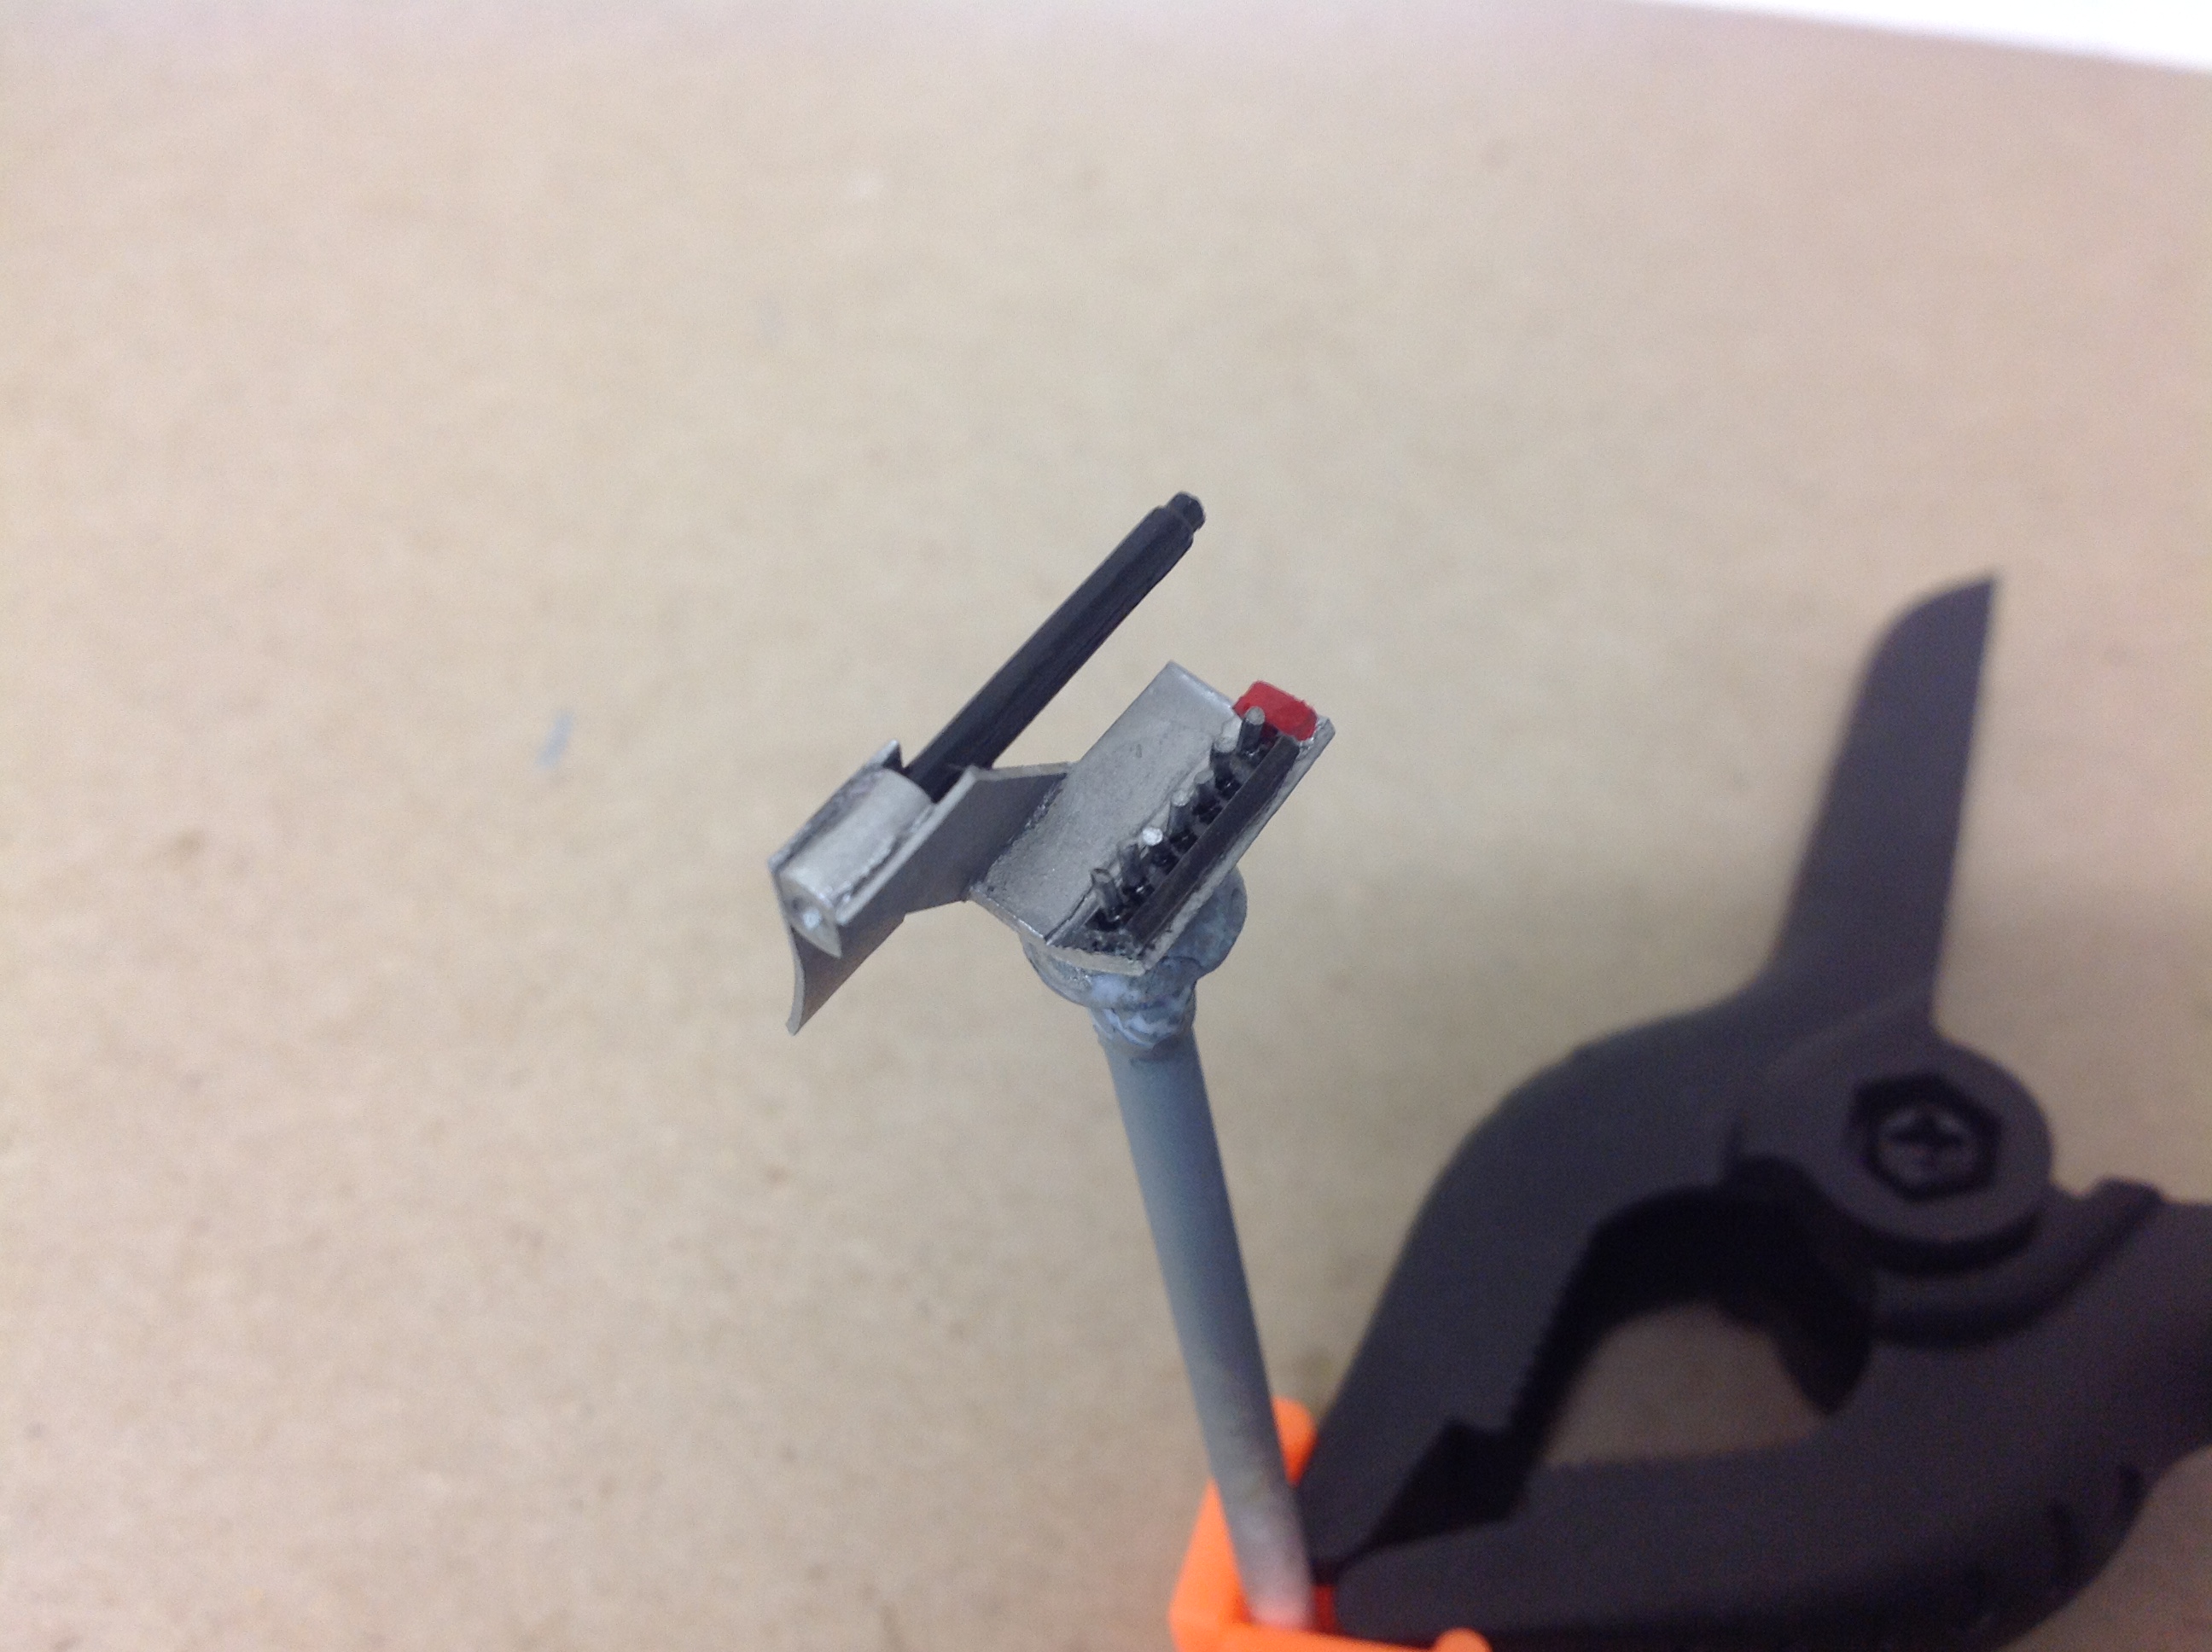
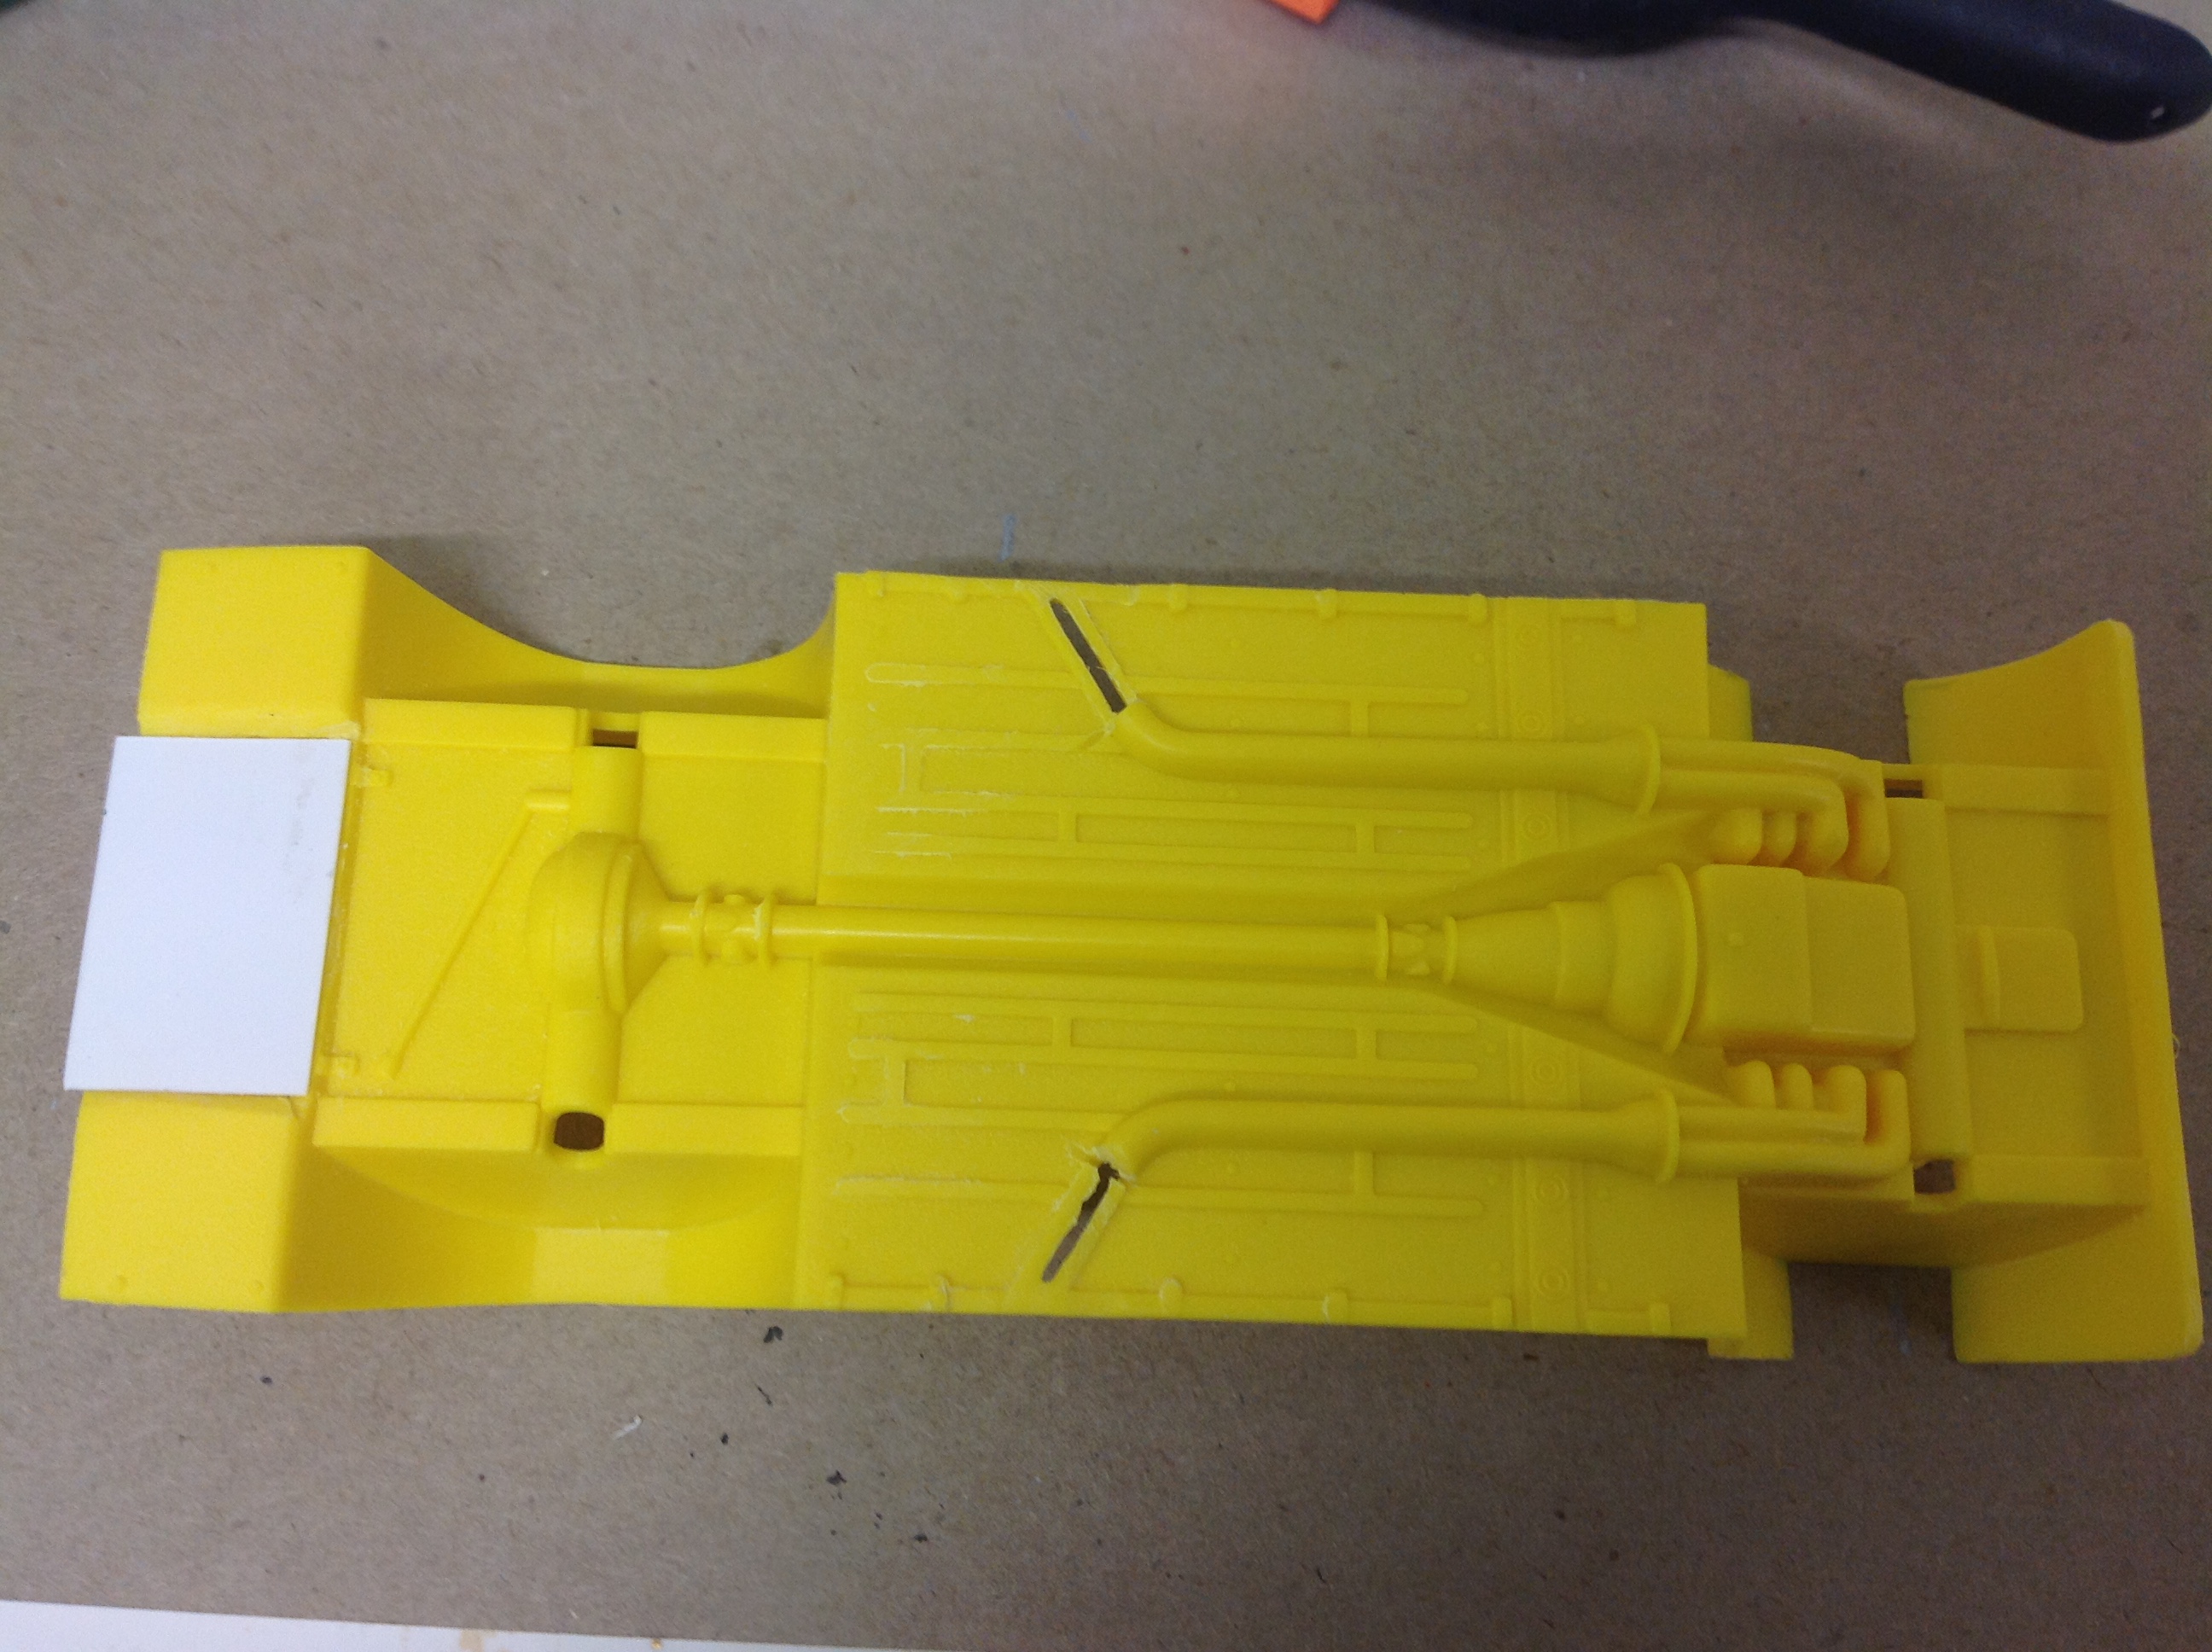
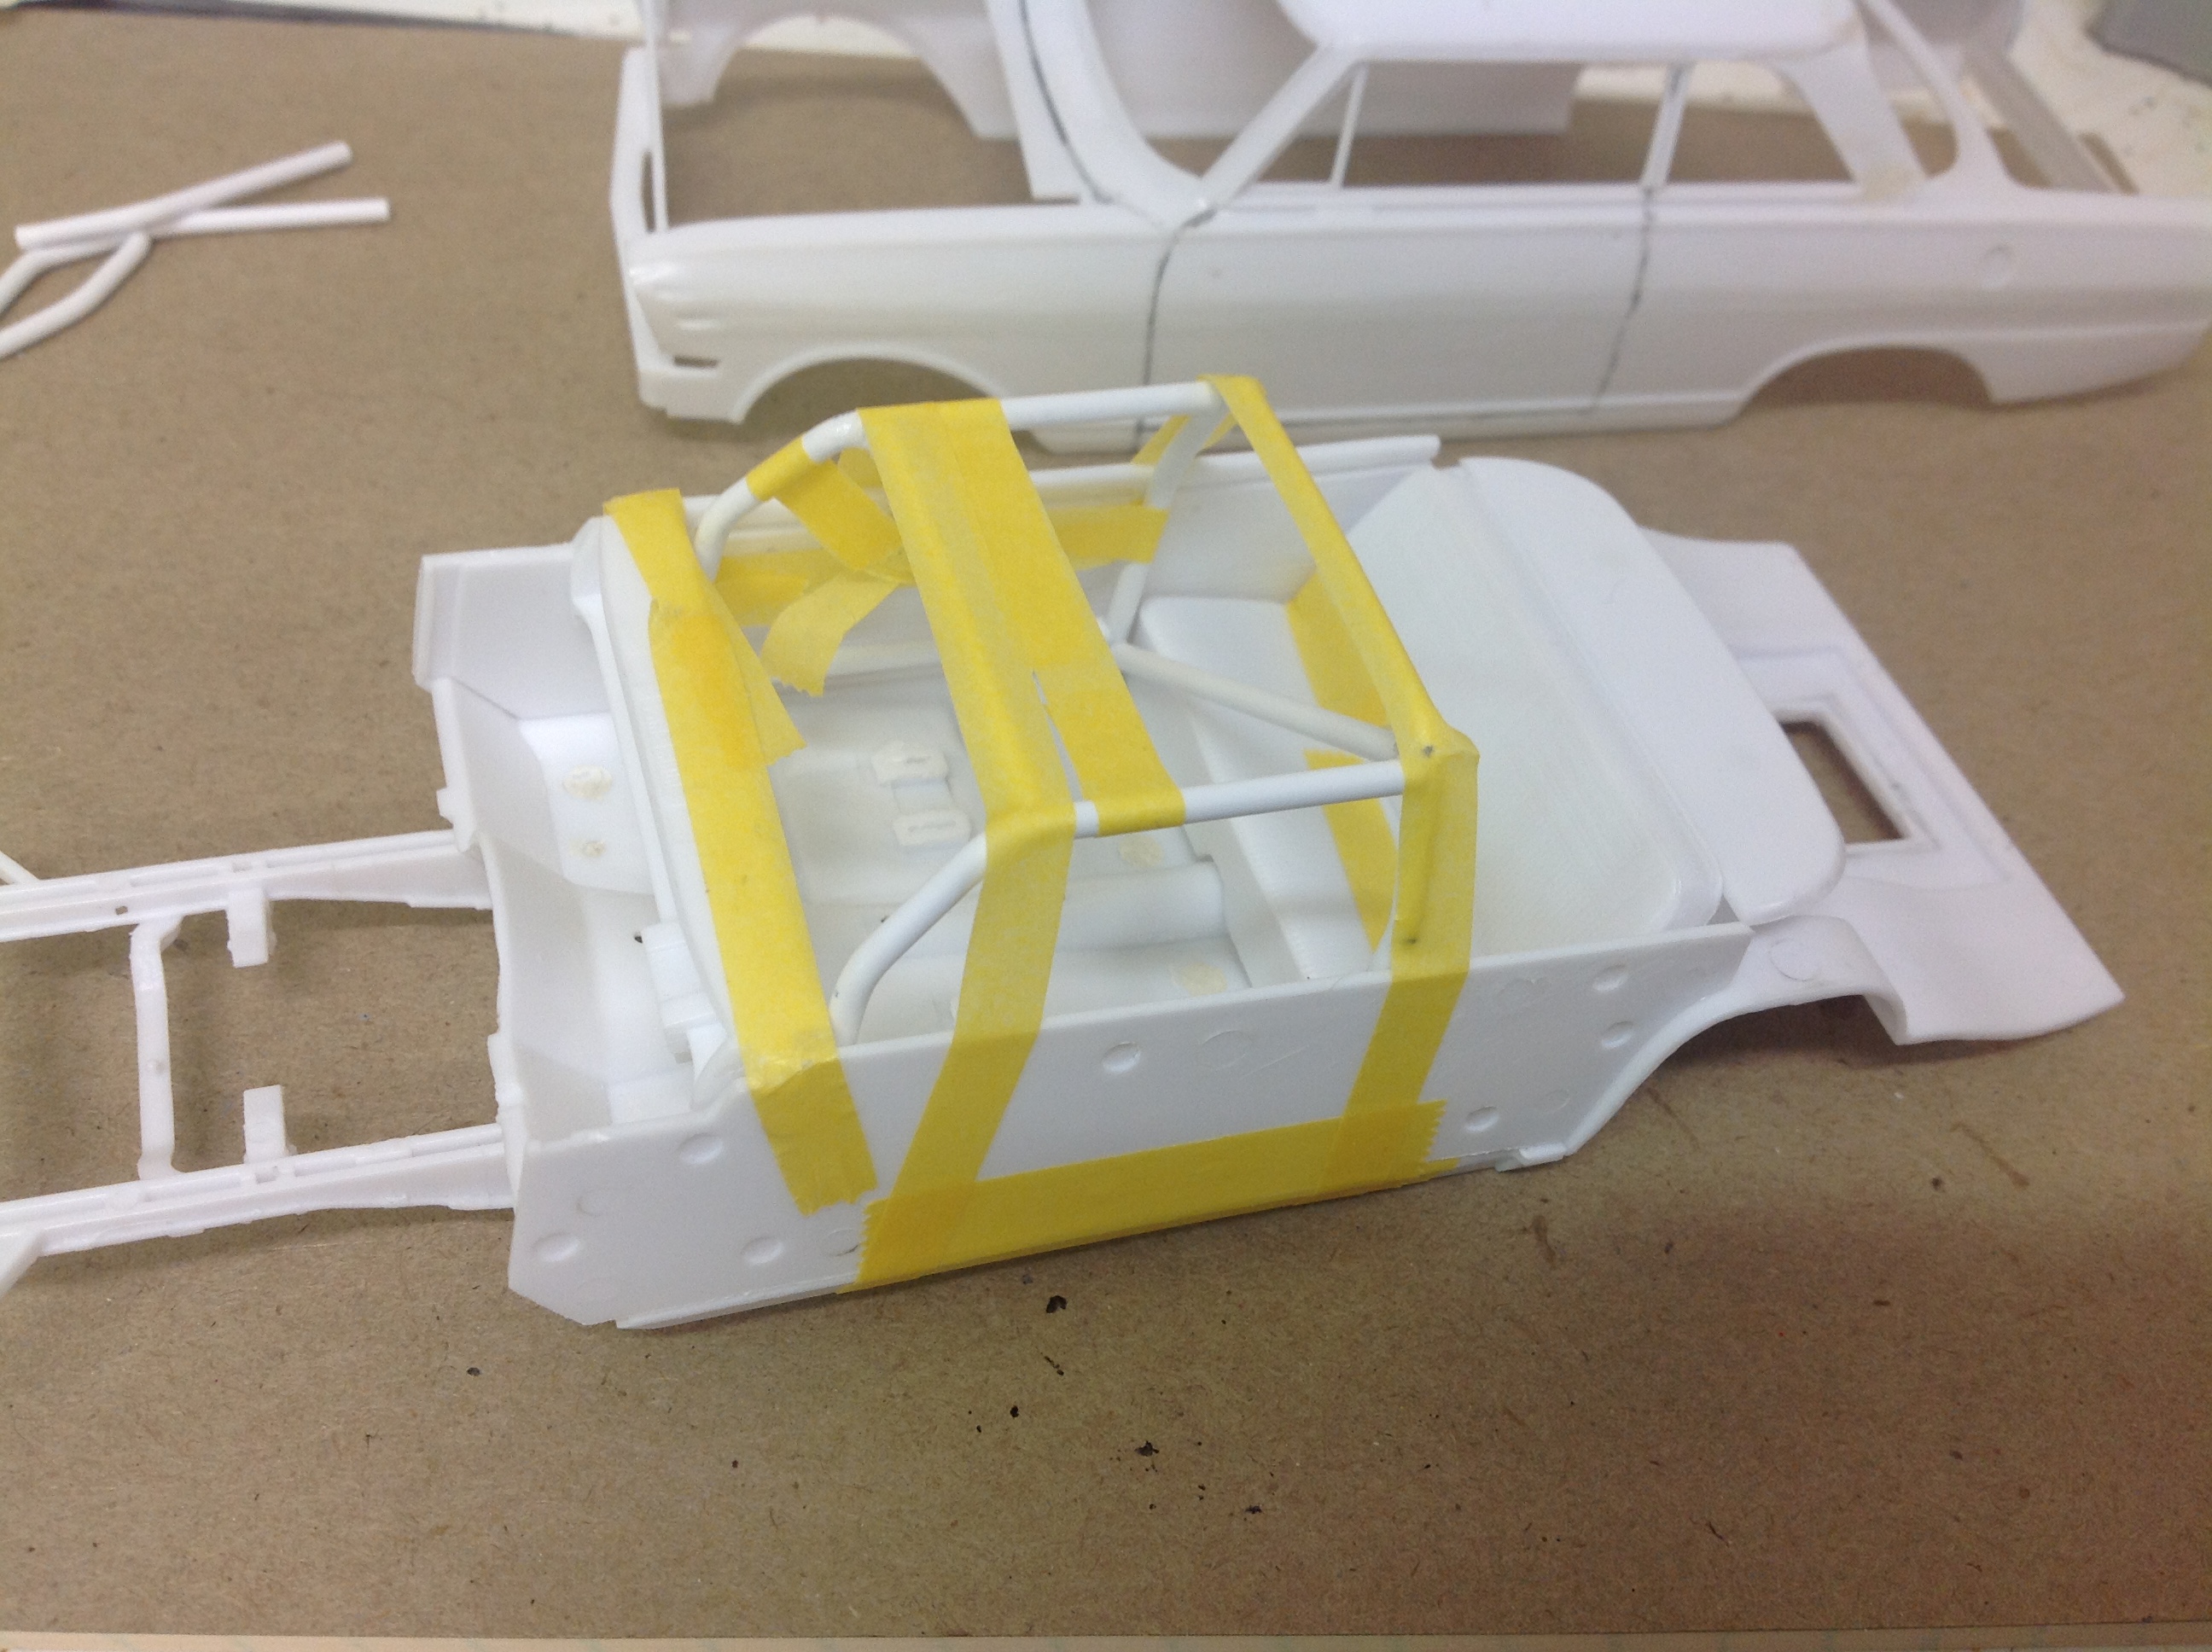
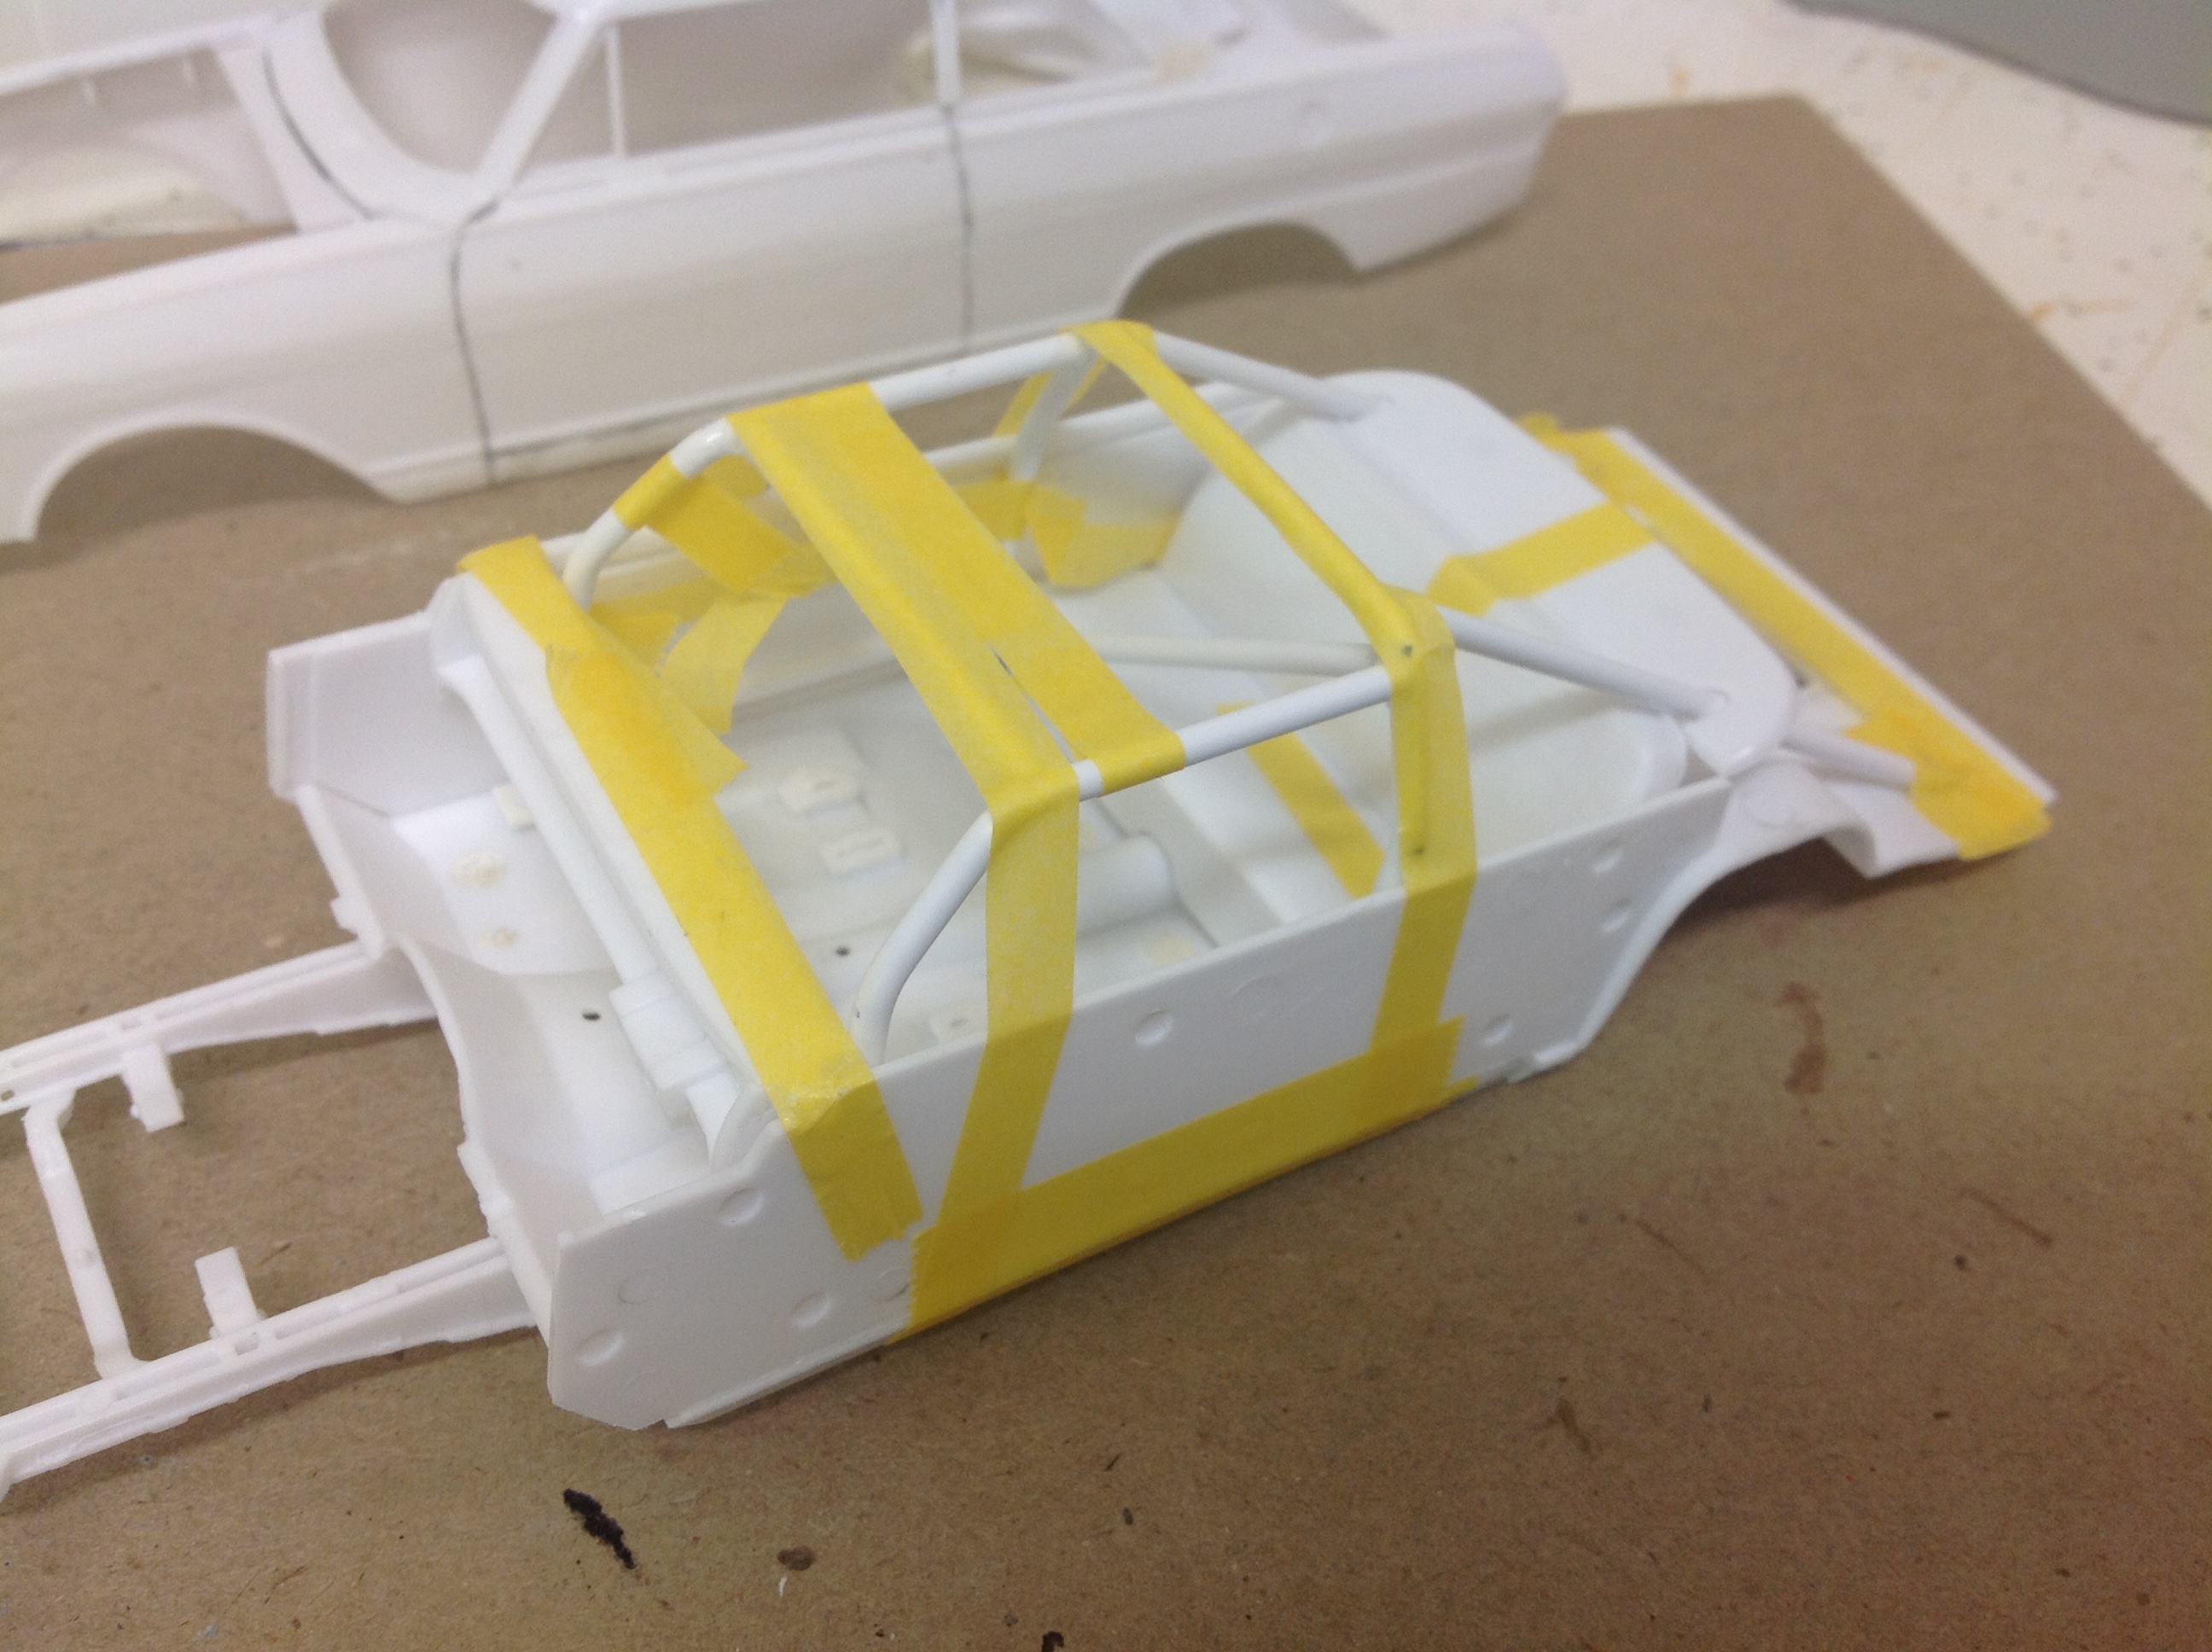
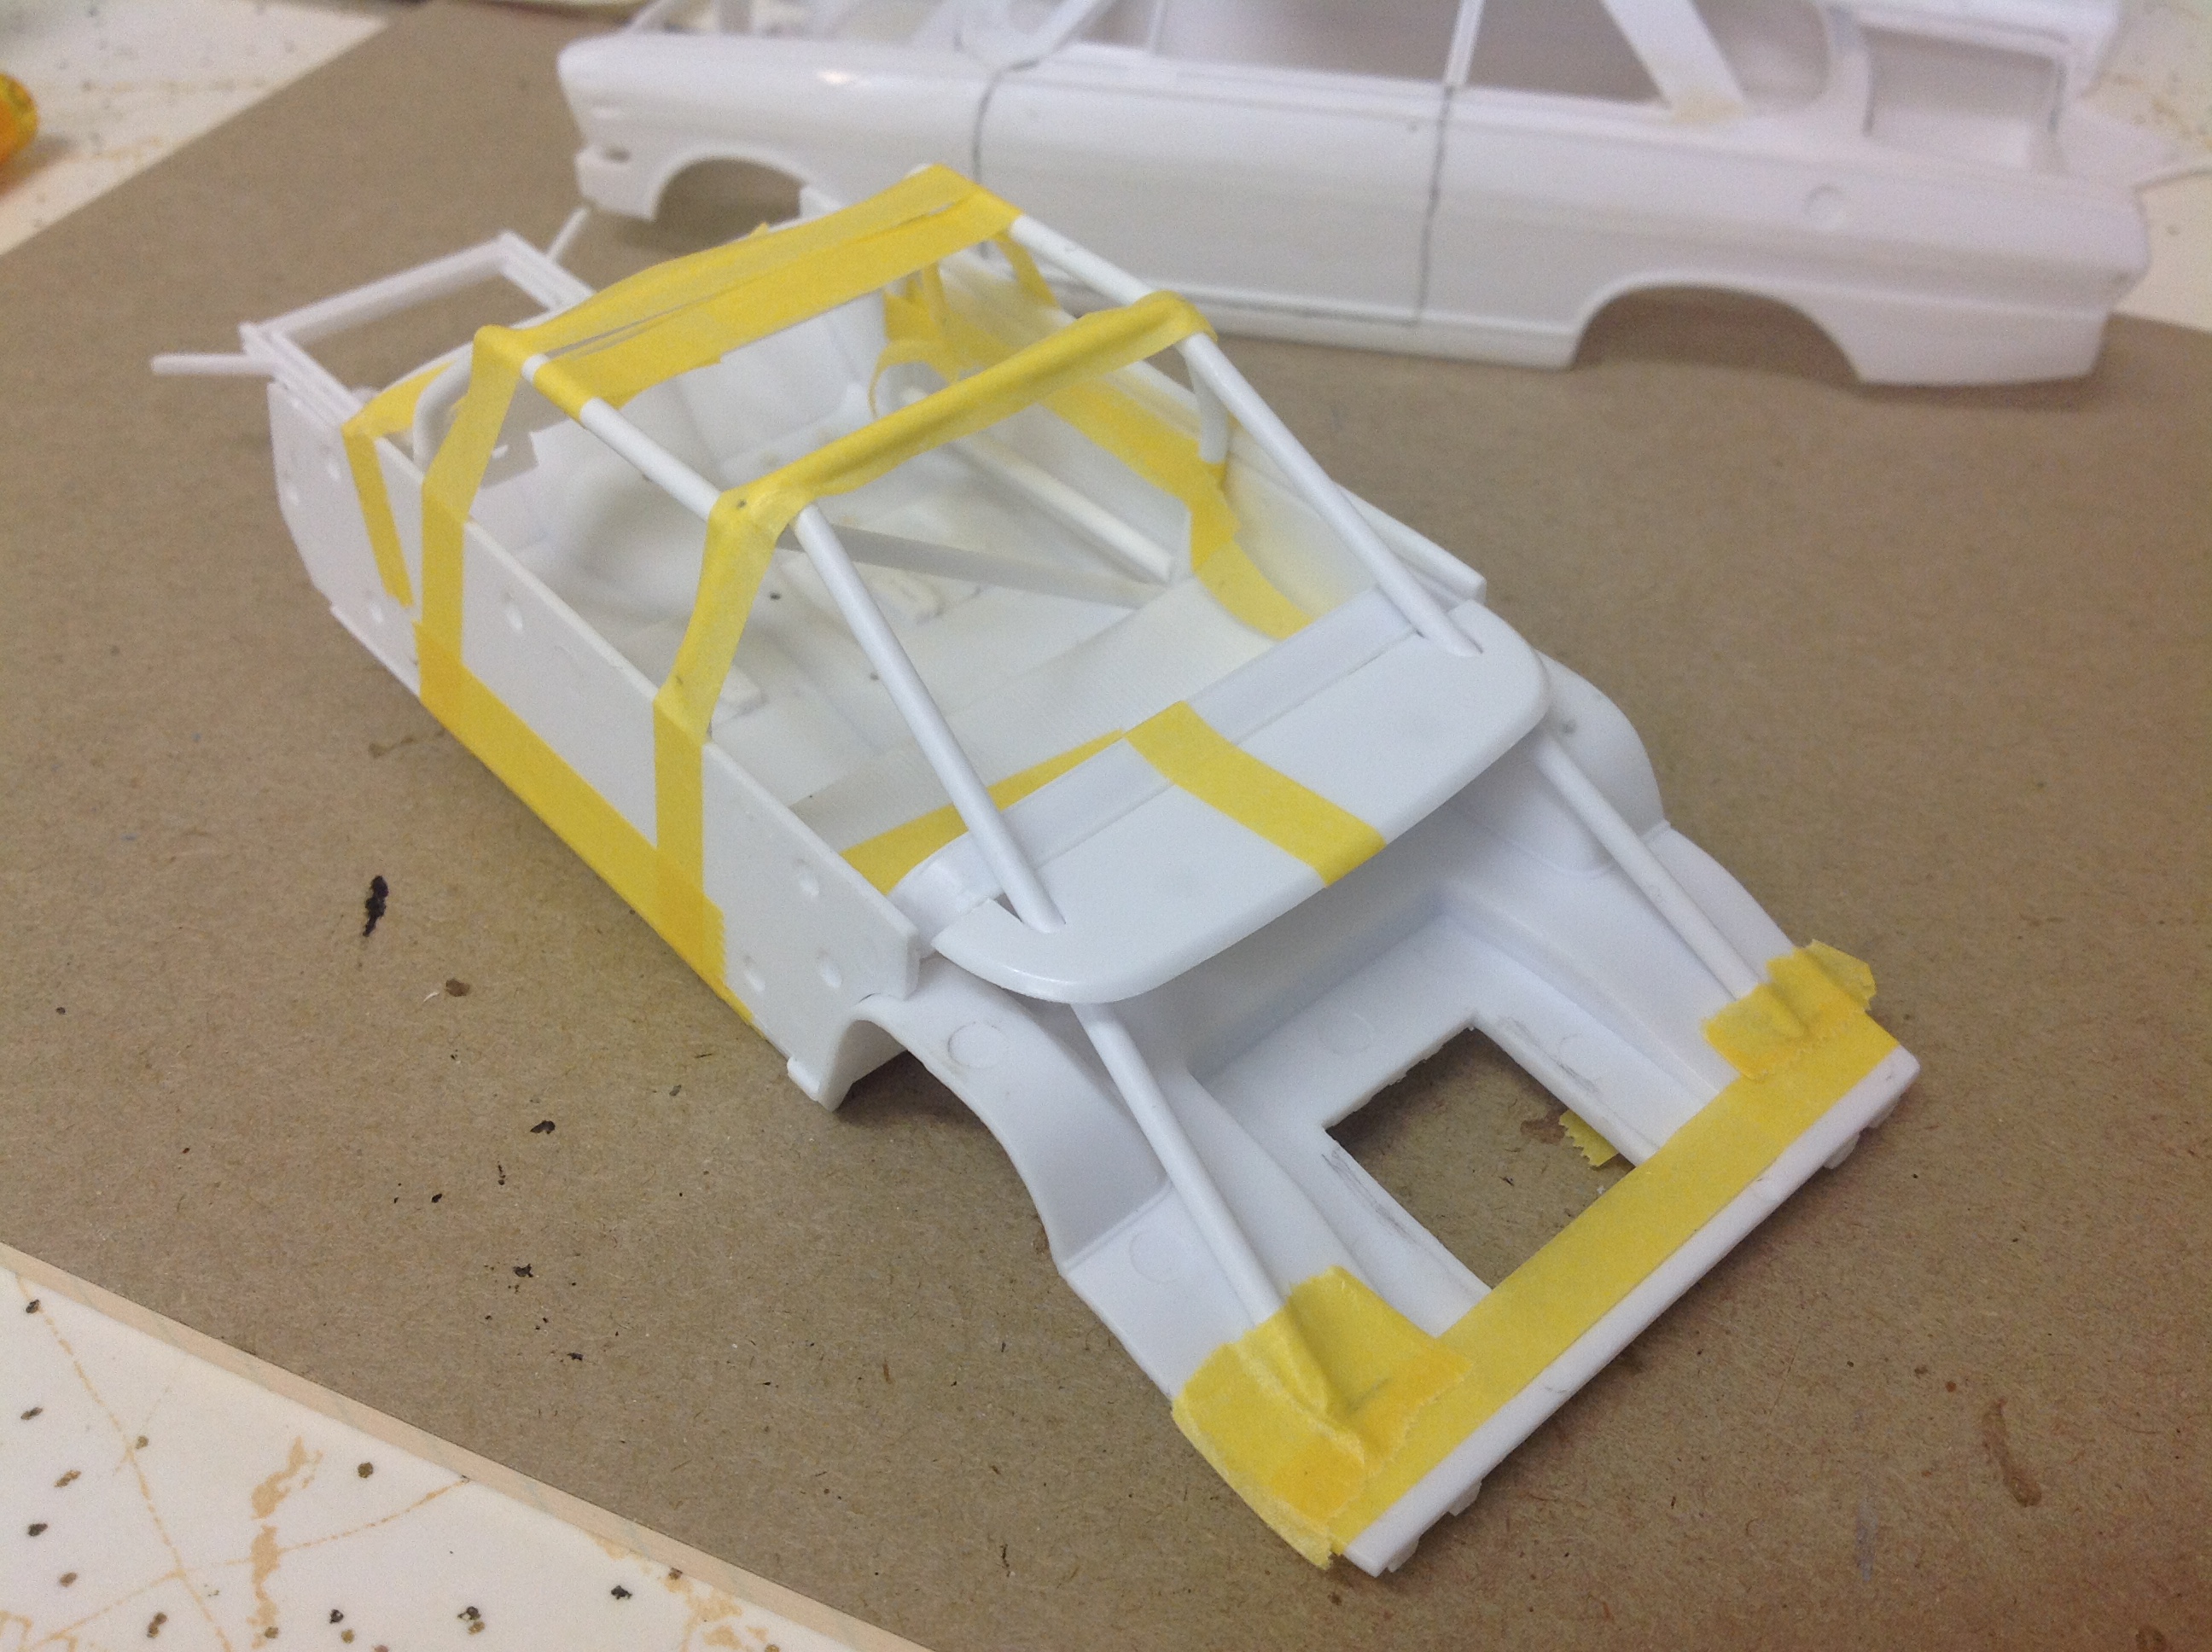
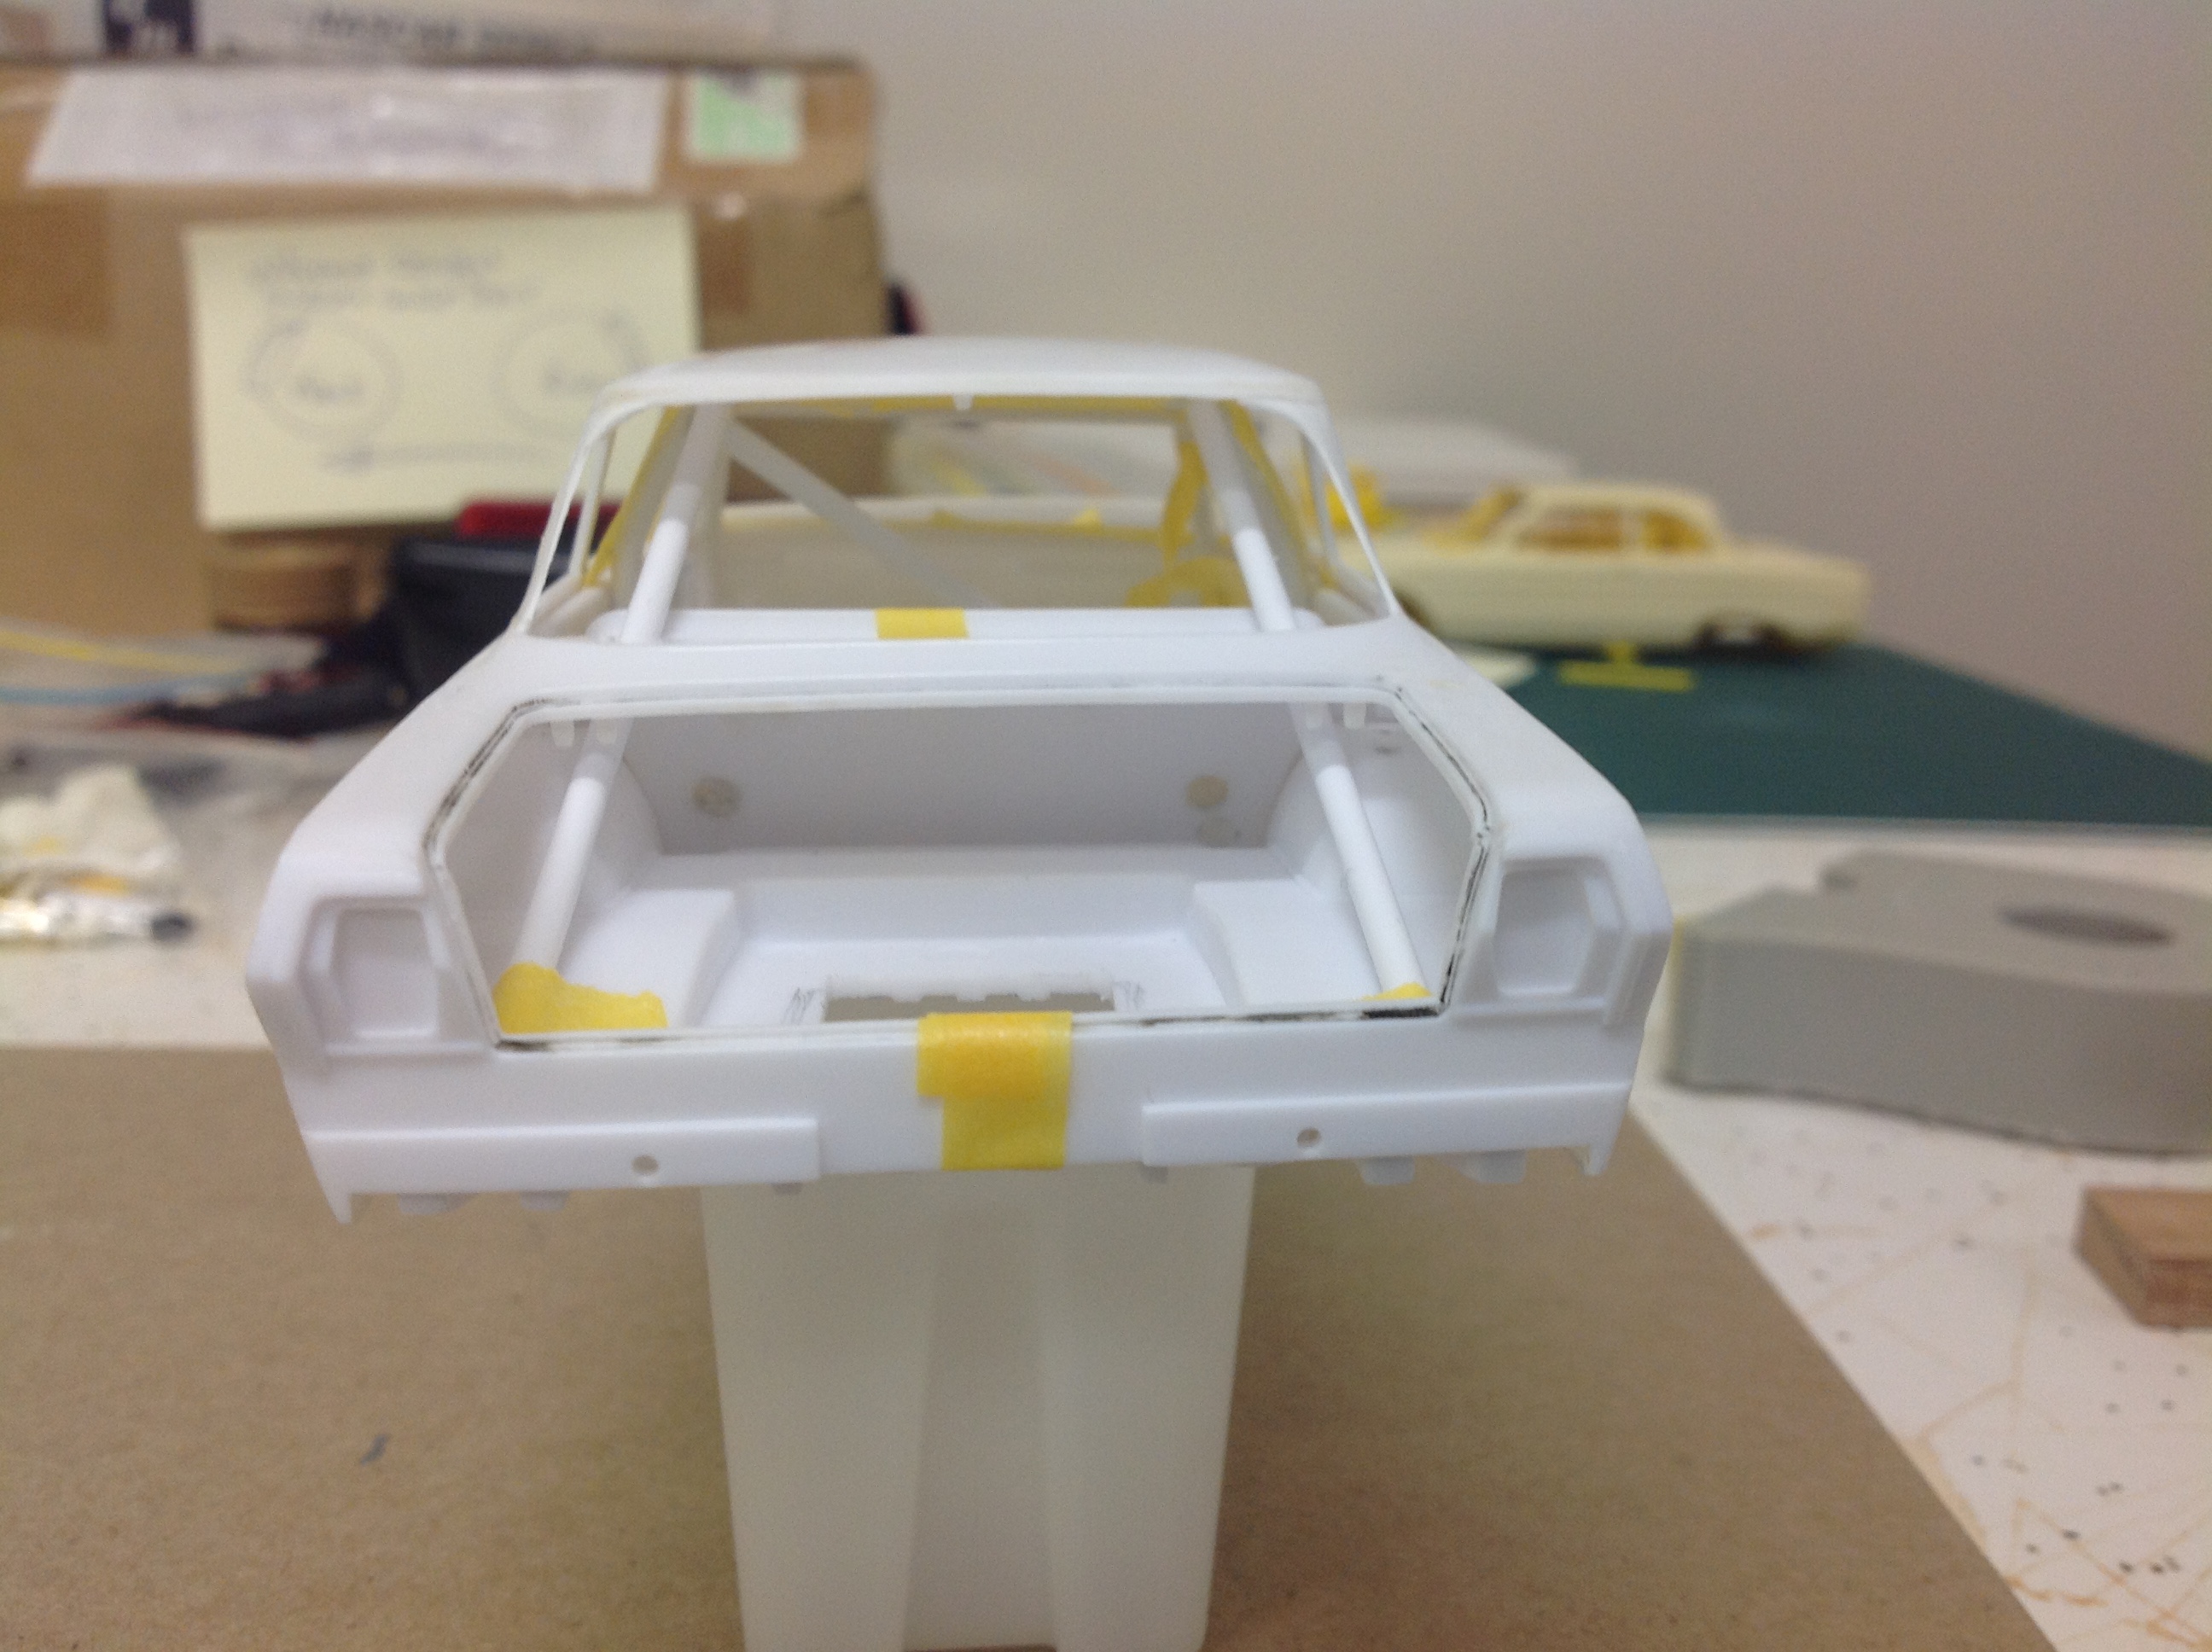
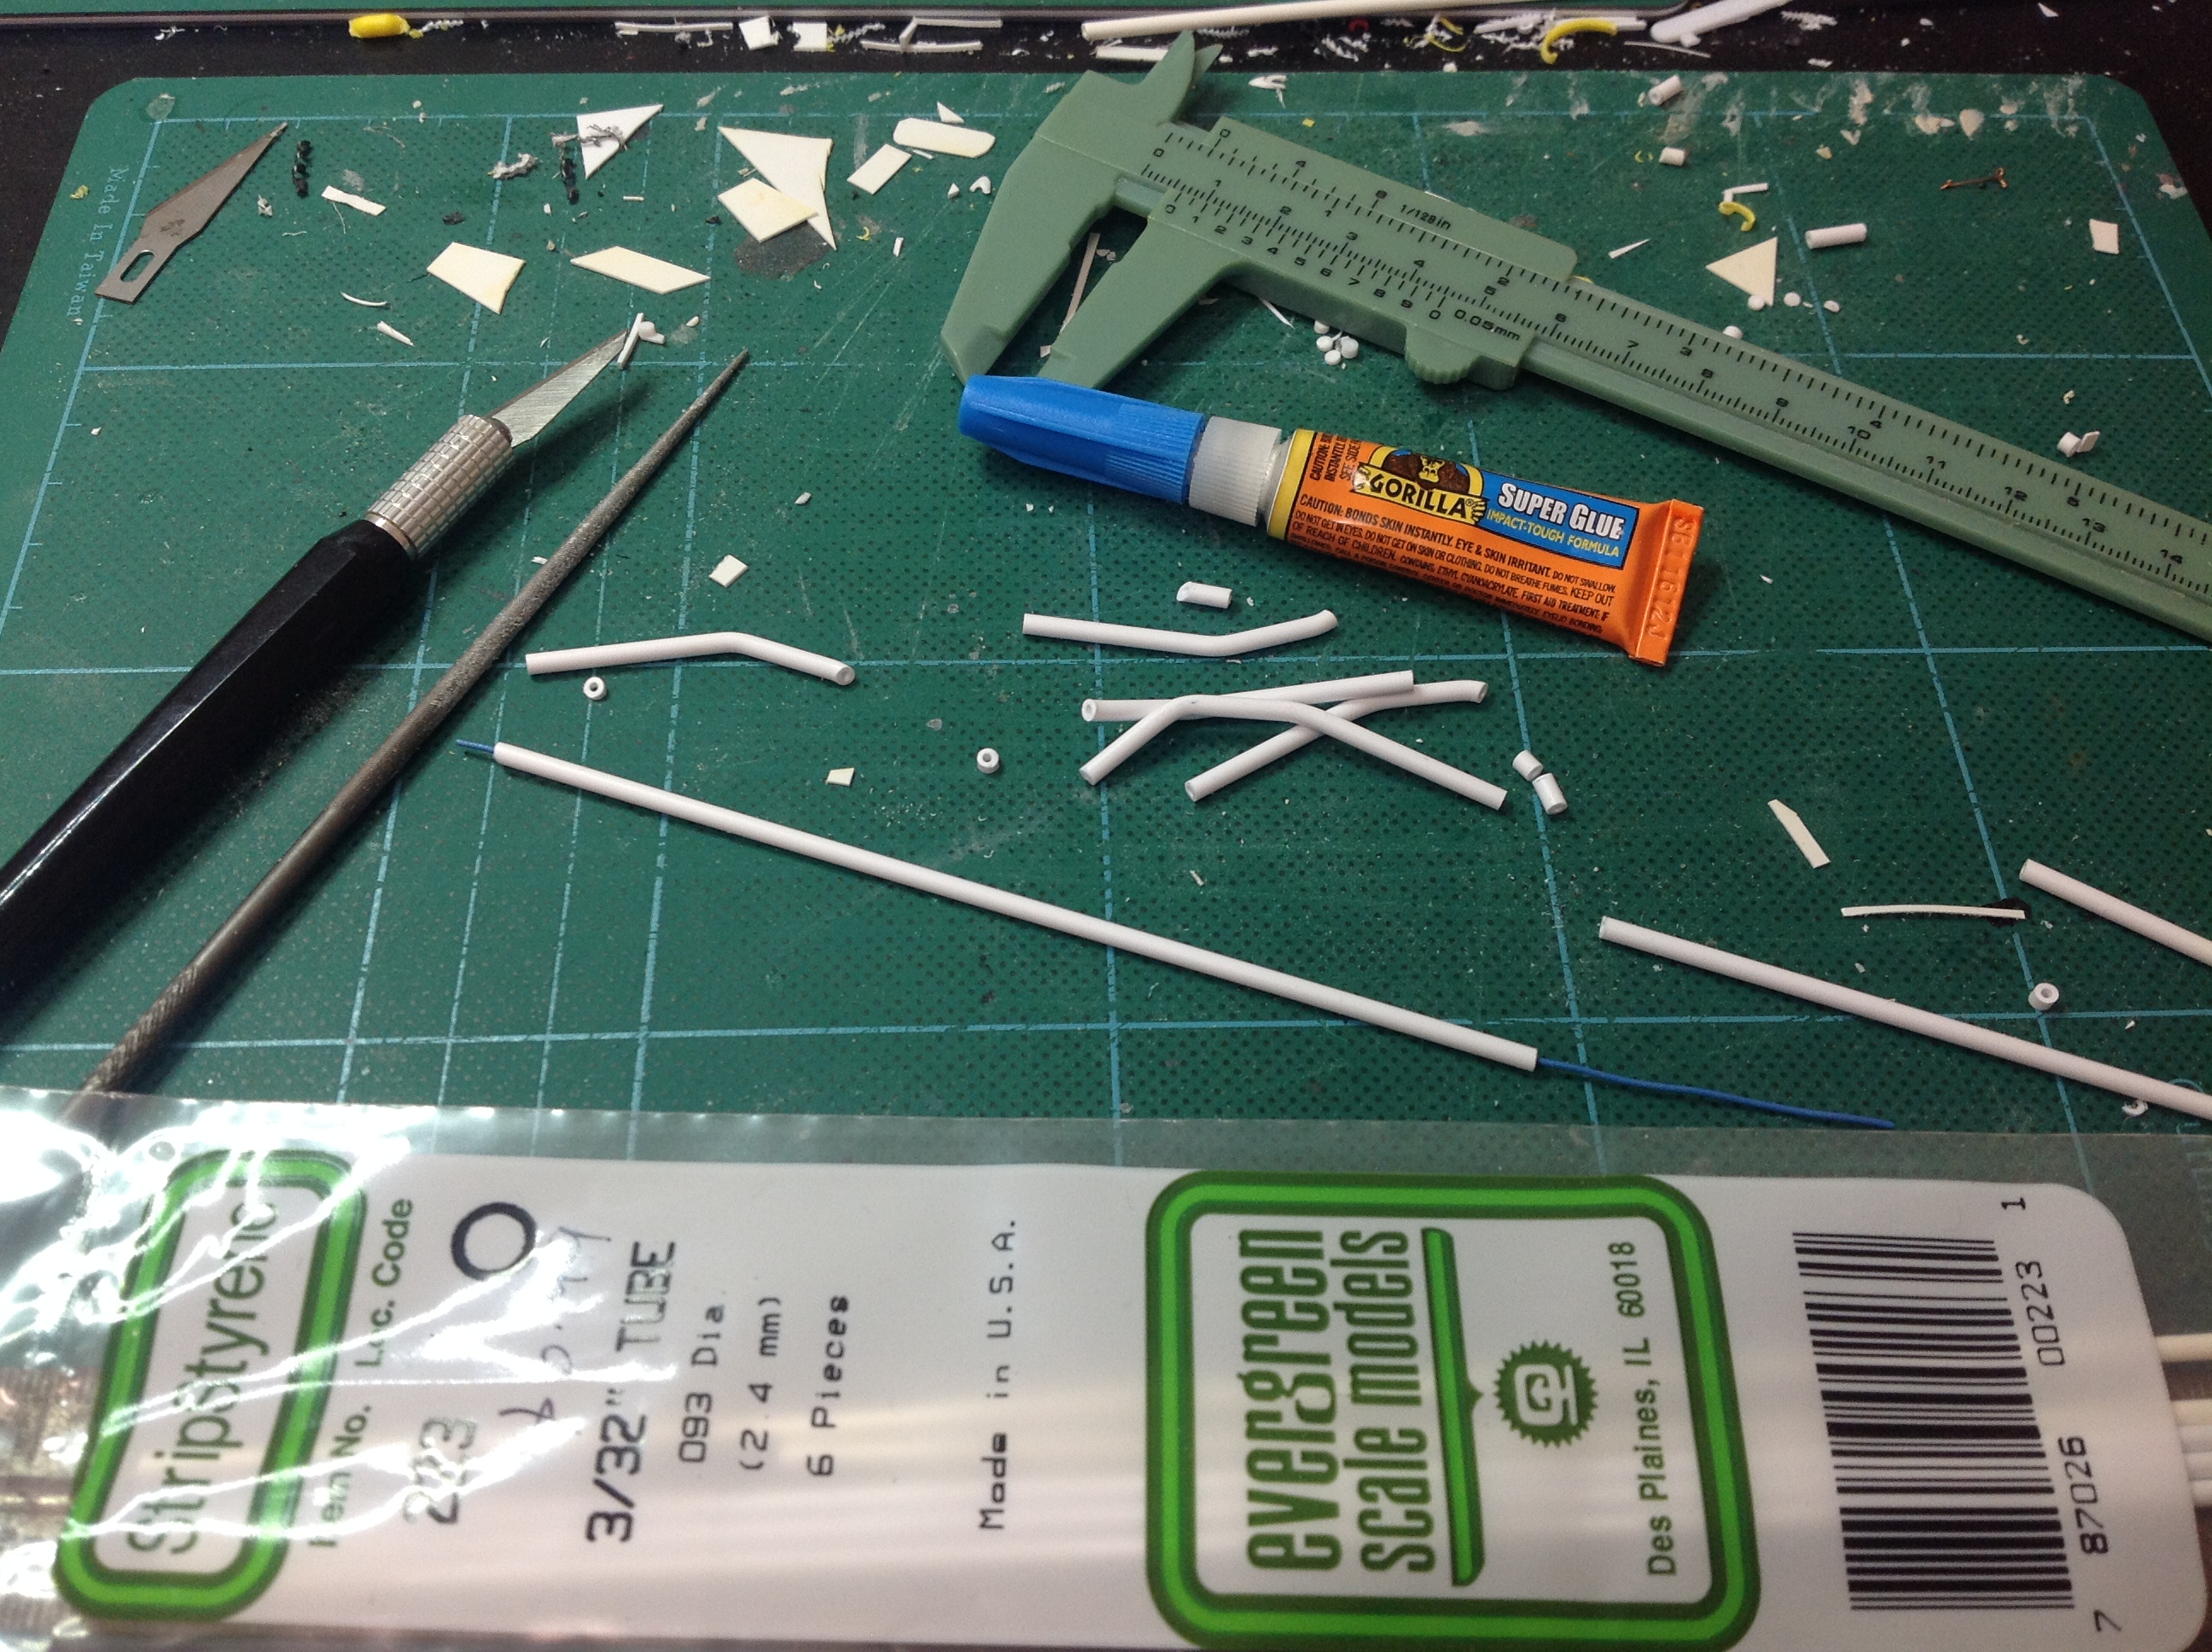
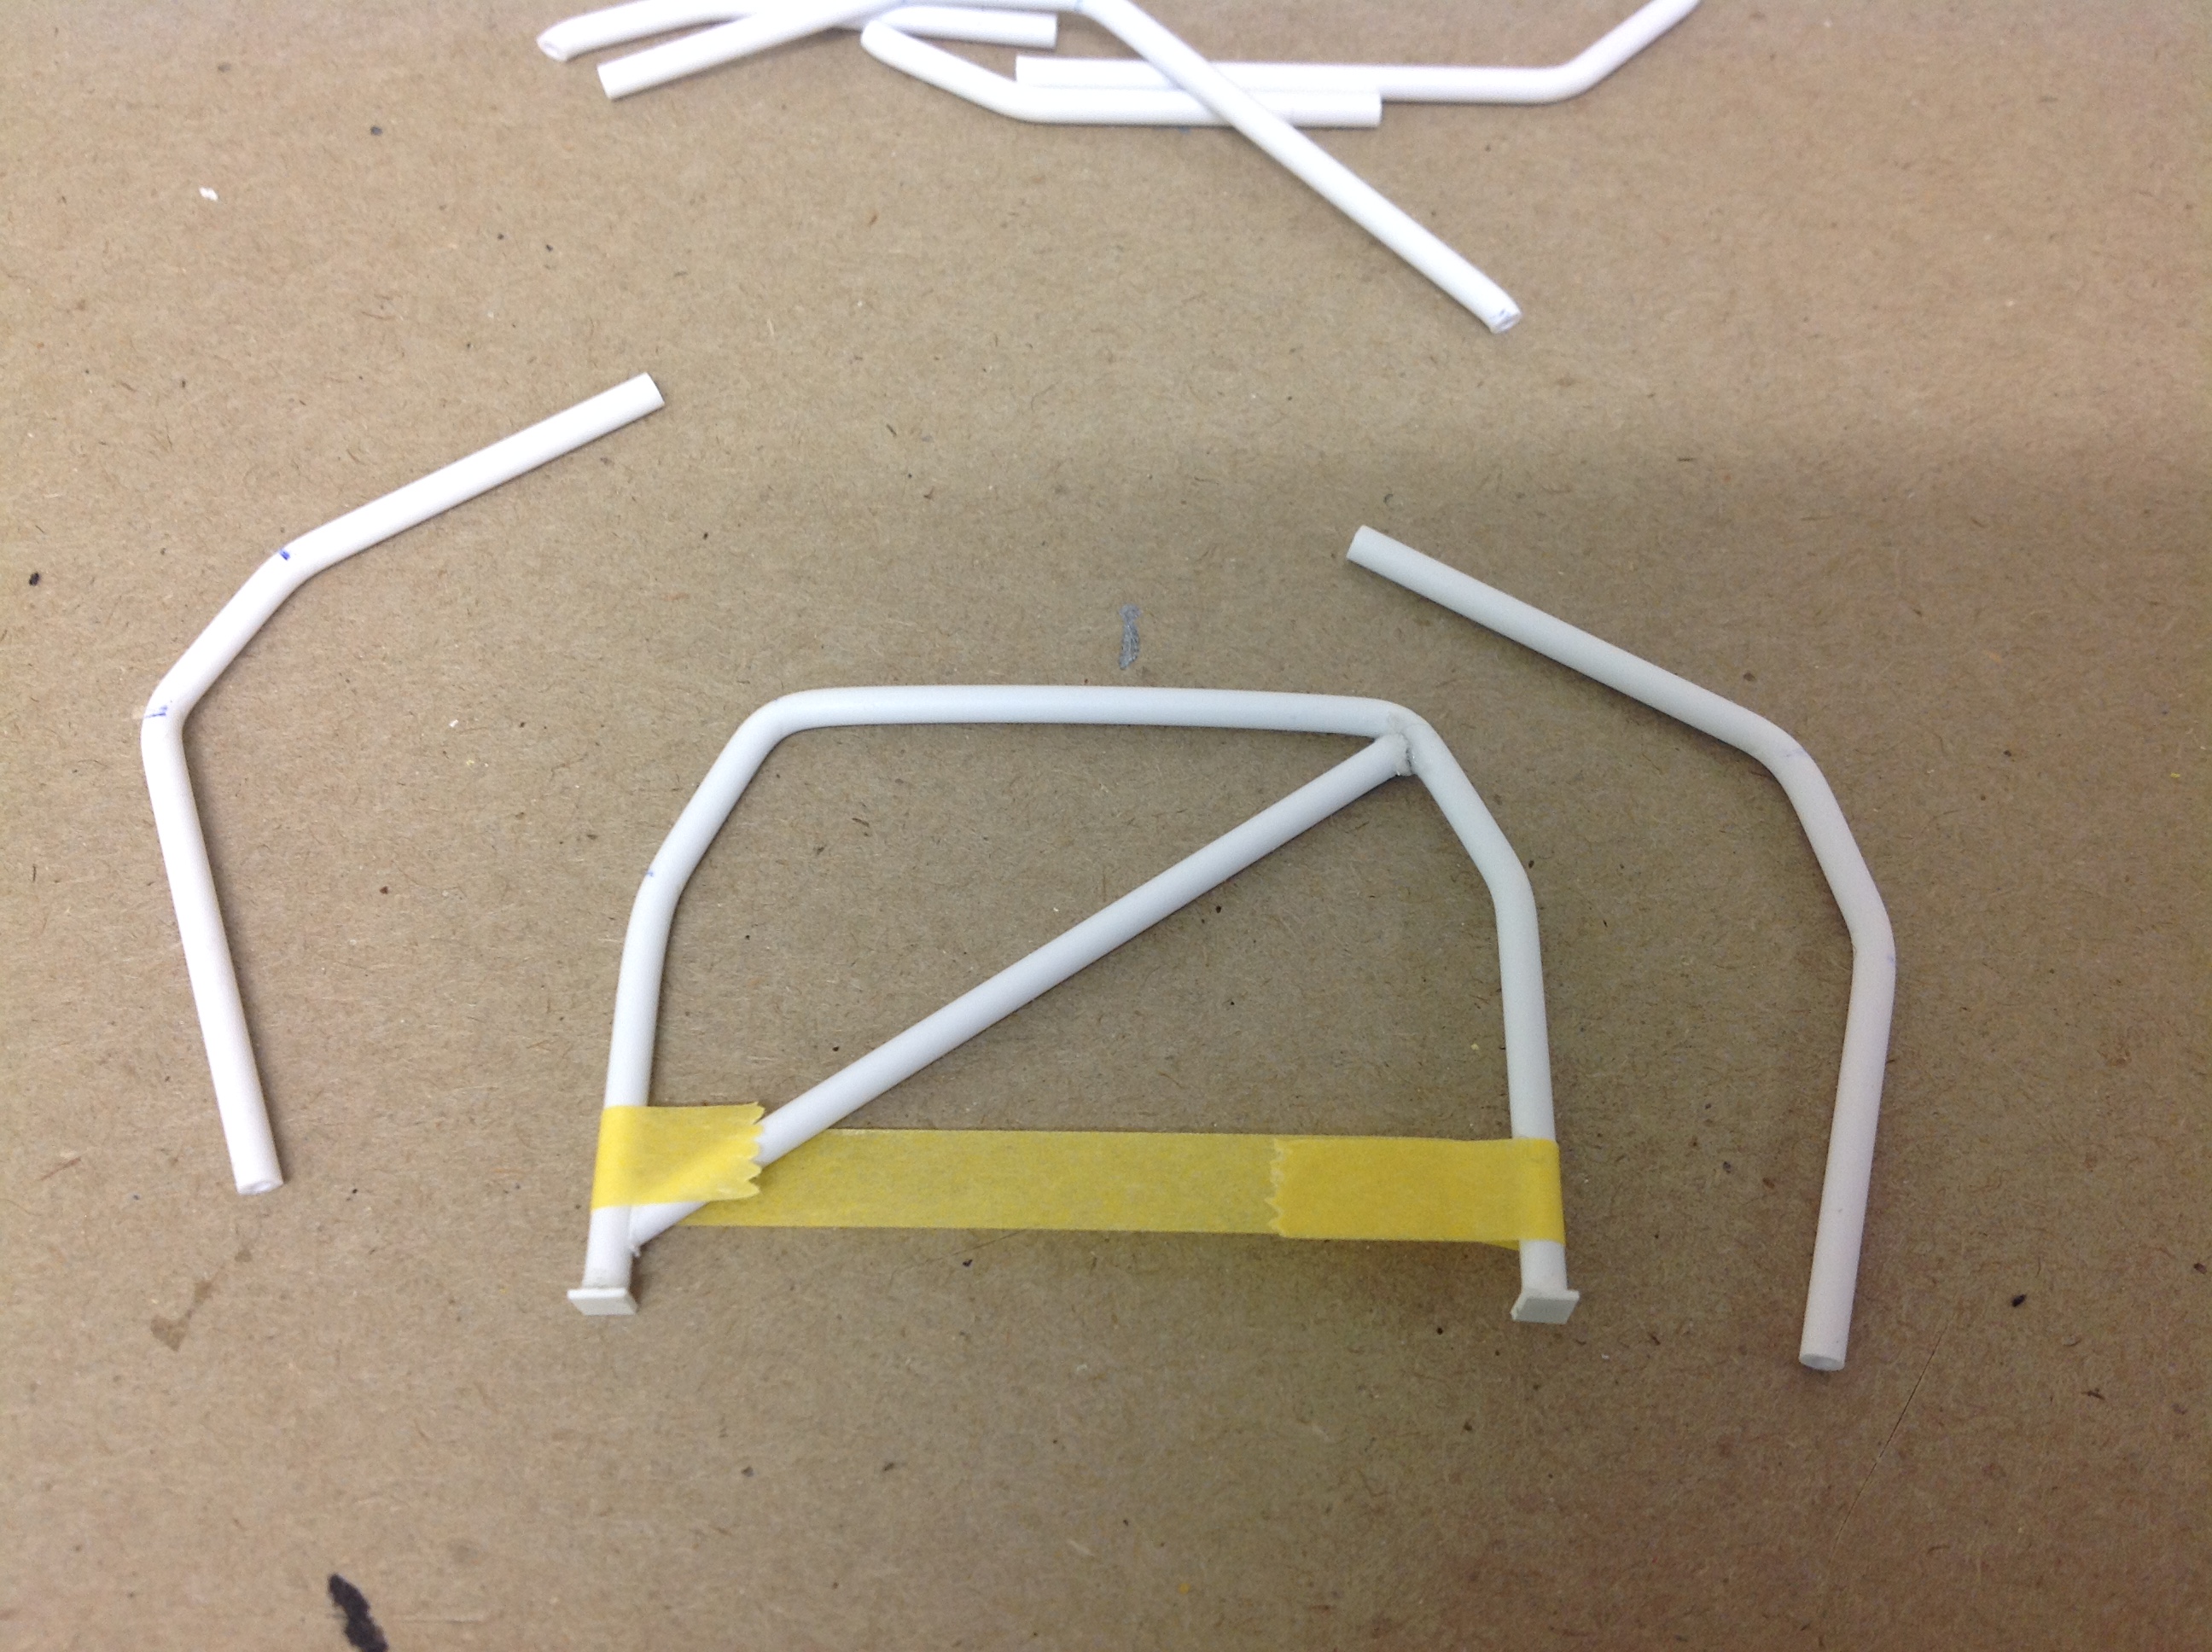
Thanks for the tip Curtis, but I've got a good supply of tube stock that needs to be used. And inserting wire inside tends to help a lot. Thanks Daniel for your encouragement ? More work on the roll cage today. Managed to get the main structure together and glued. I'm using a lot of Tamiya tape to keep it all together while the glue sets. Pretty happy with the fit inside the cabin. Notched the rear parcel shelf so the rear bars can run straight through from the main hoop to the trunk, just like the real car. Last photo of my bench top shows the tools and supplies used for the cage build. You can see the blue wire inserted through the rod to help with bending and strength. Cheers for now...... Geoff
-
AMT Chaparral 2A
zakdoggi replied to FordRodnKustom's topic in Other Racing: Road Racing, Salt Flat Racers
Nice build Ron. Looks great! -
Nice to see this one. I have the UT kit in my stash so great to see how it turned out, even with the decal issues. Great job!
-
The GSX looks fantastic David. The paint sheen looks real and the wheels set it off very well. Great pics!
-
Chevy Nova Race Car
zakdoggi replied to zakdoggi's topic in WIP: Other Racing: Road Racing, Land Speed Racers
Haha! Thanks Curtis, The pile of bars in the background are my prior attempts!! ? It took me four goes to get the main hoop right. I broke several before I remembered about inserting a piece of wire inside the tube to help hold the bends and stop the plastic from splitting. Anyhow, job done! Thanks Ismo. I do enjoy sharing here as my tips and methods may help others, just as theirs help me ? Glad to hear you're enjoying the build. Cheers All........ Geoff -
Nice clean builds.
-
Great looking unit. Love all the diving gear in the back.
-
Great work Claude. Super build. How about calling it the 'Lincoln Vantasy Deluxe'....... Playing on the kit's origin. Cheers..... Geoff
-
Chevy Nova Race Car
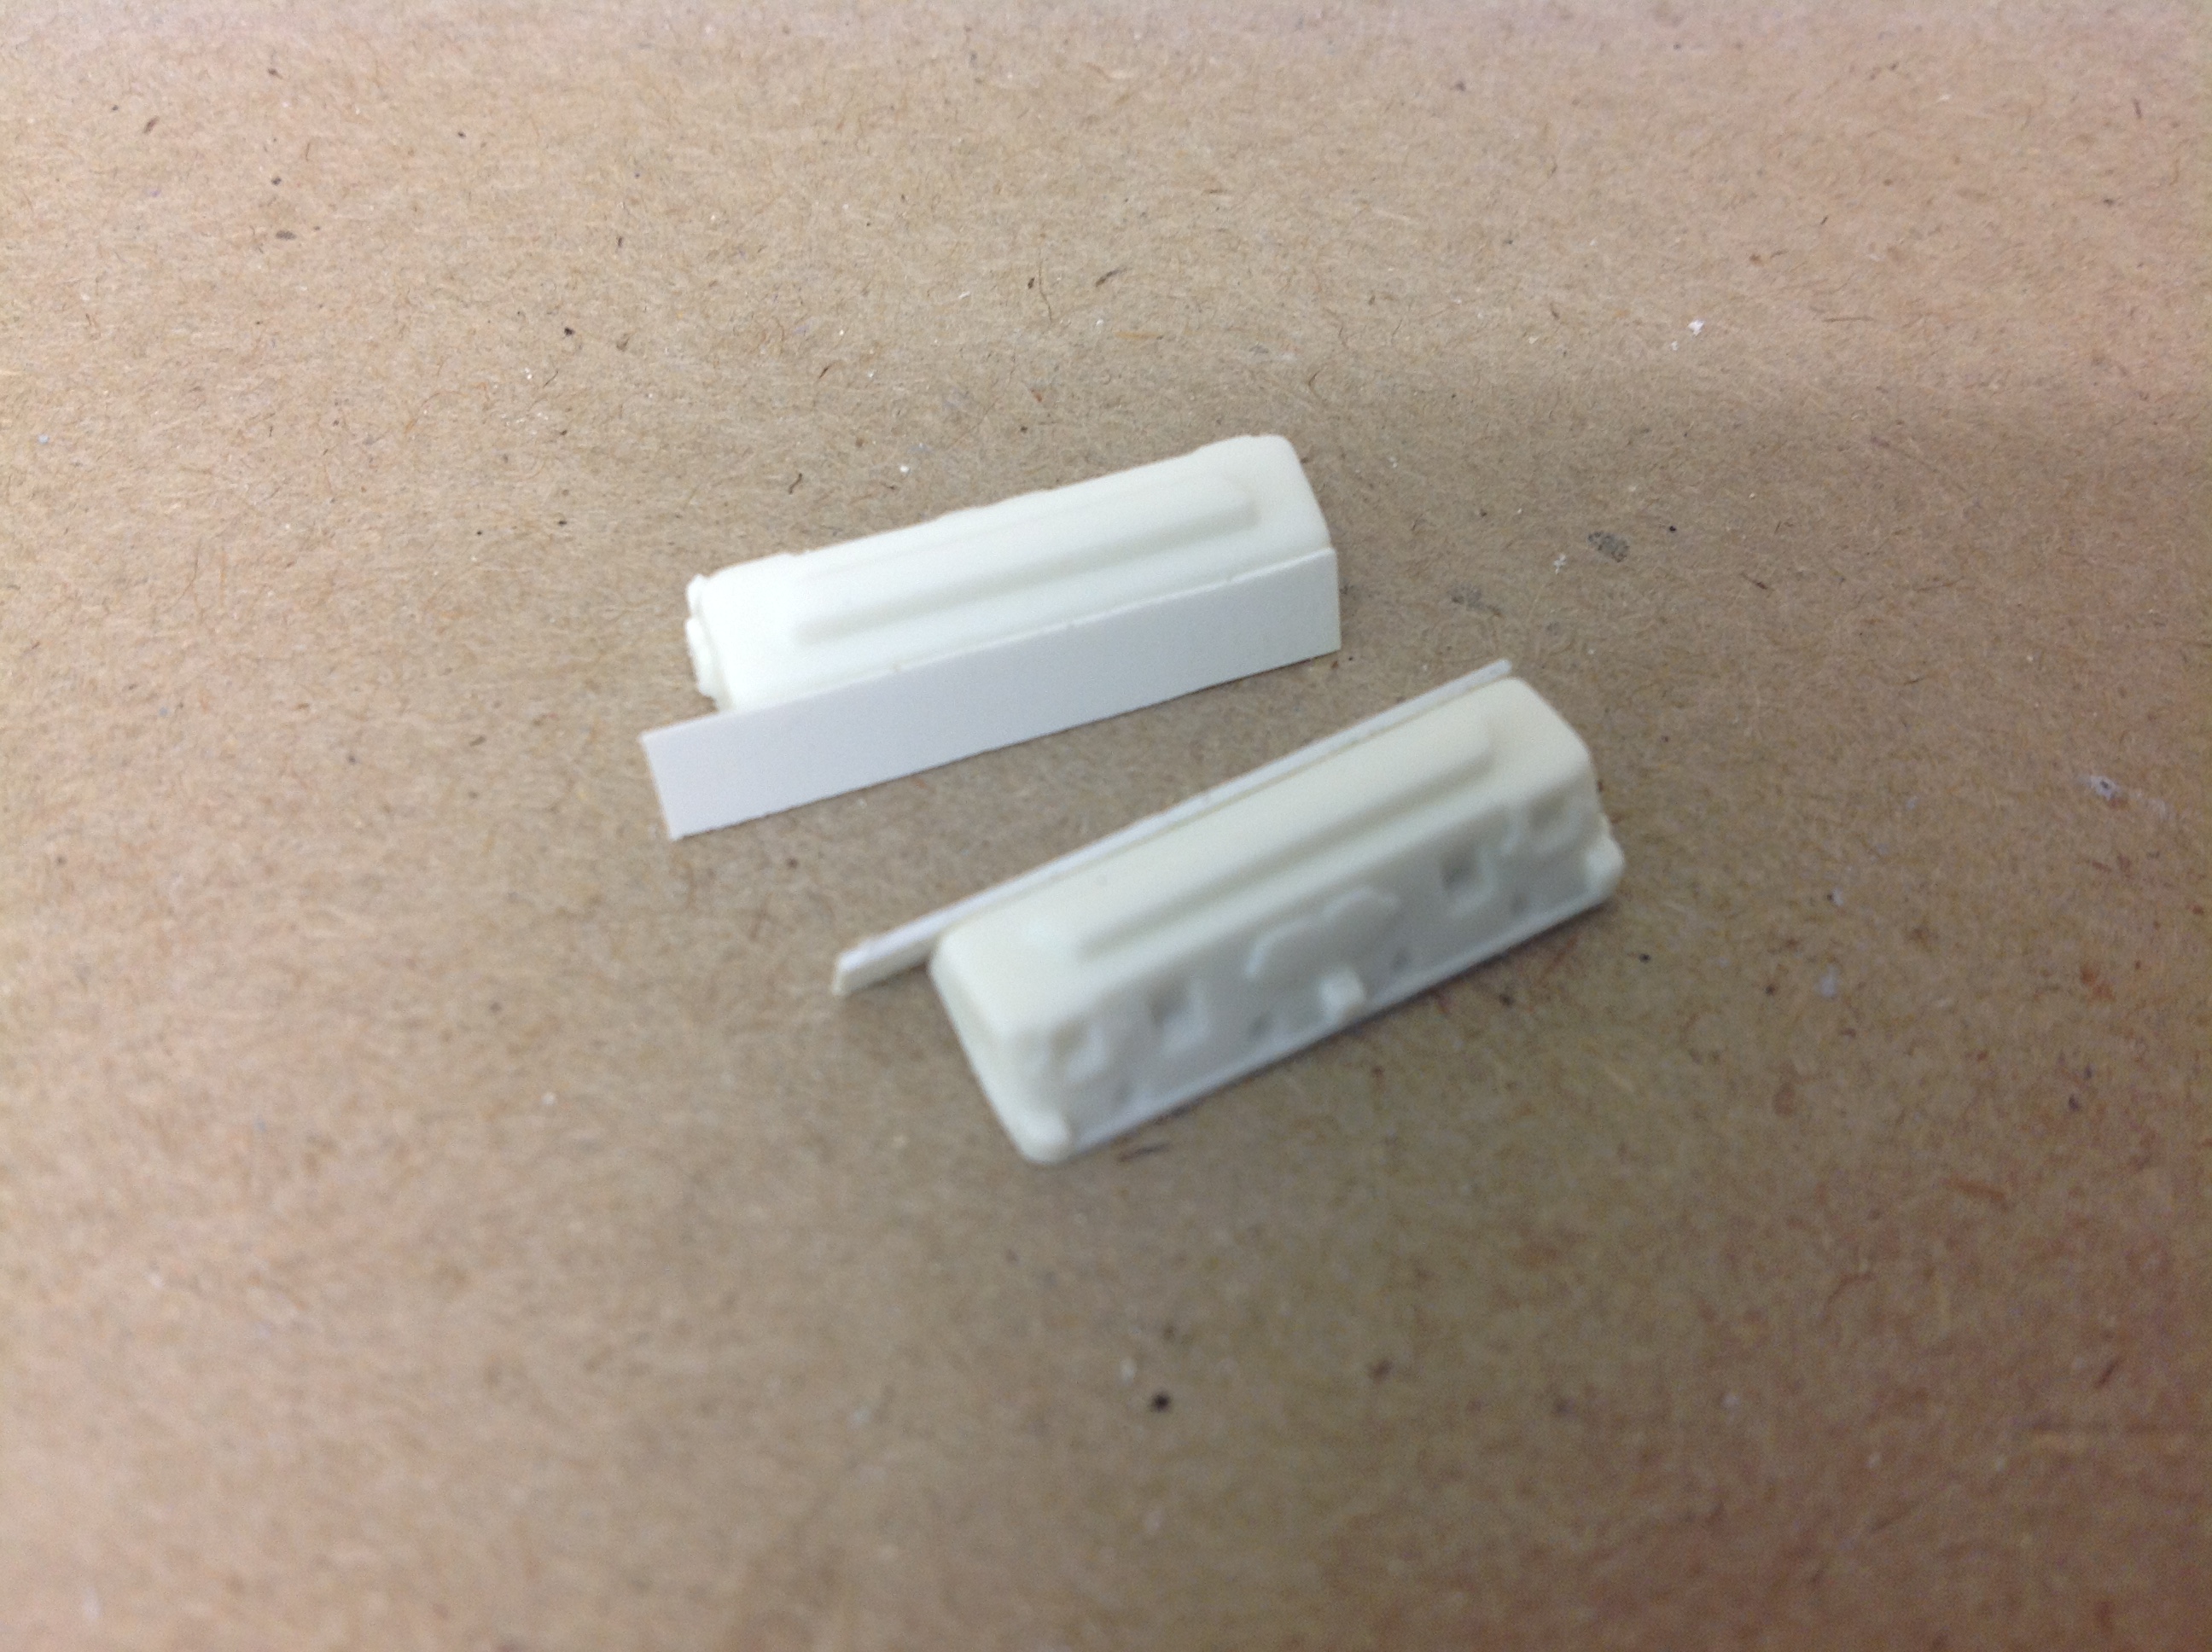
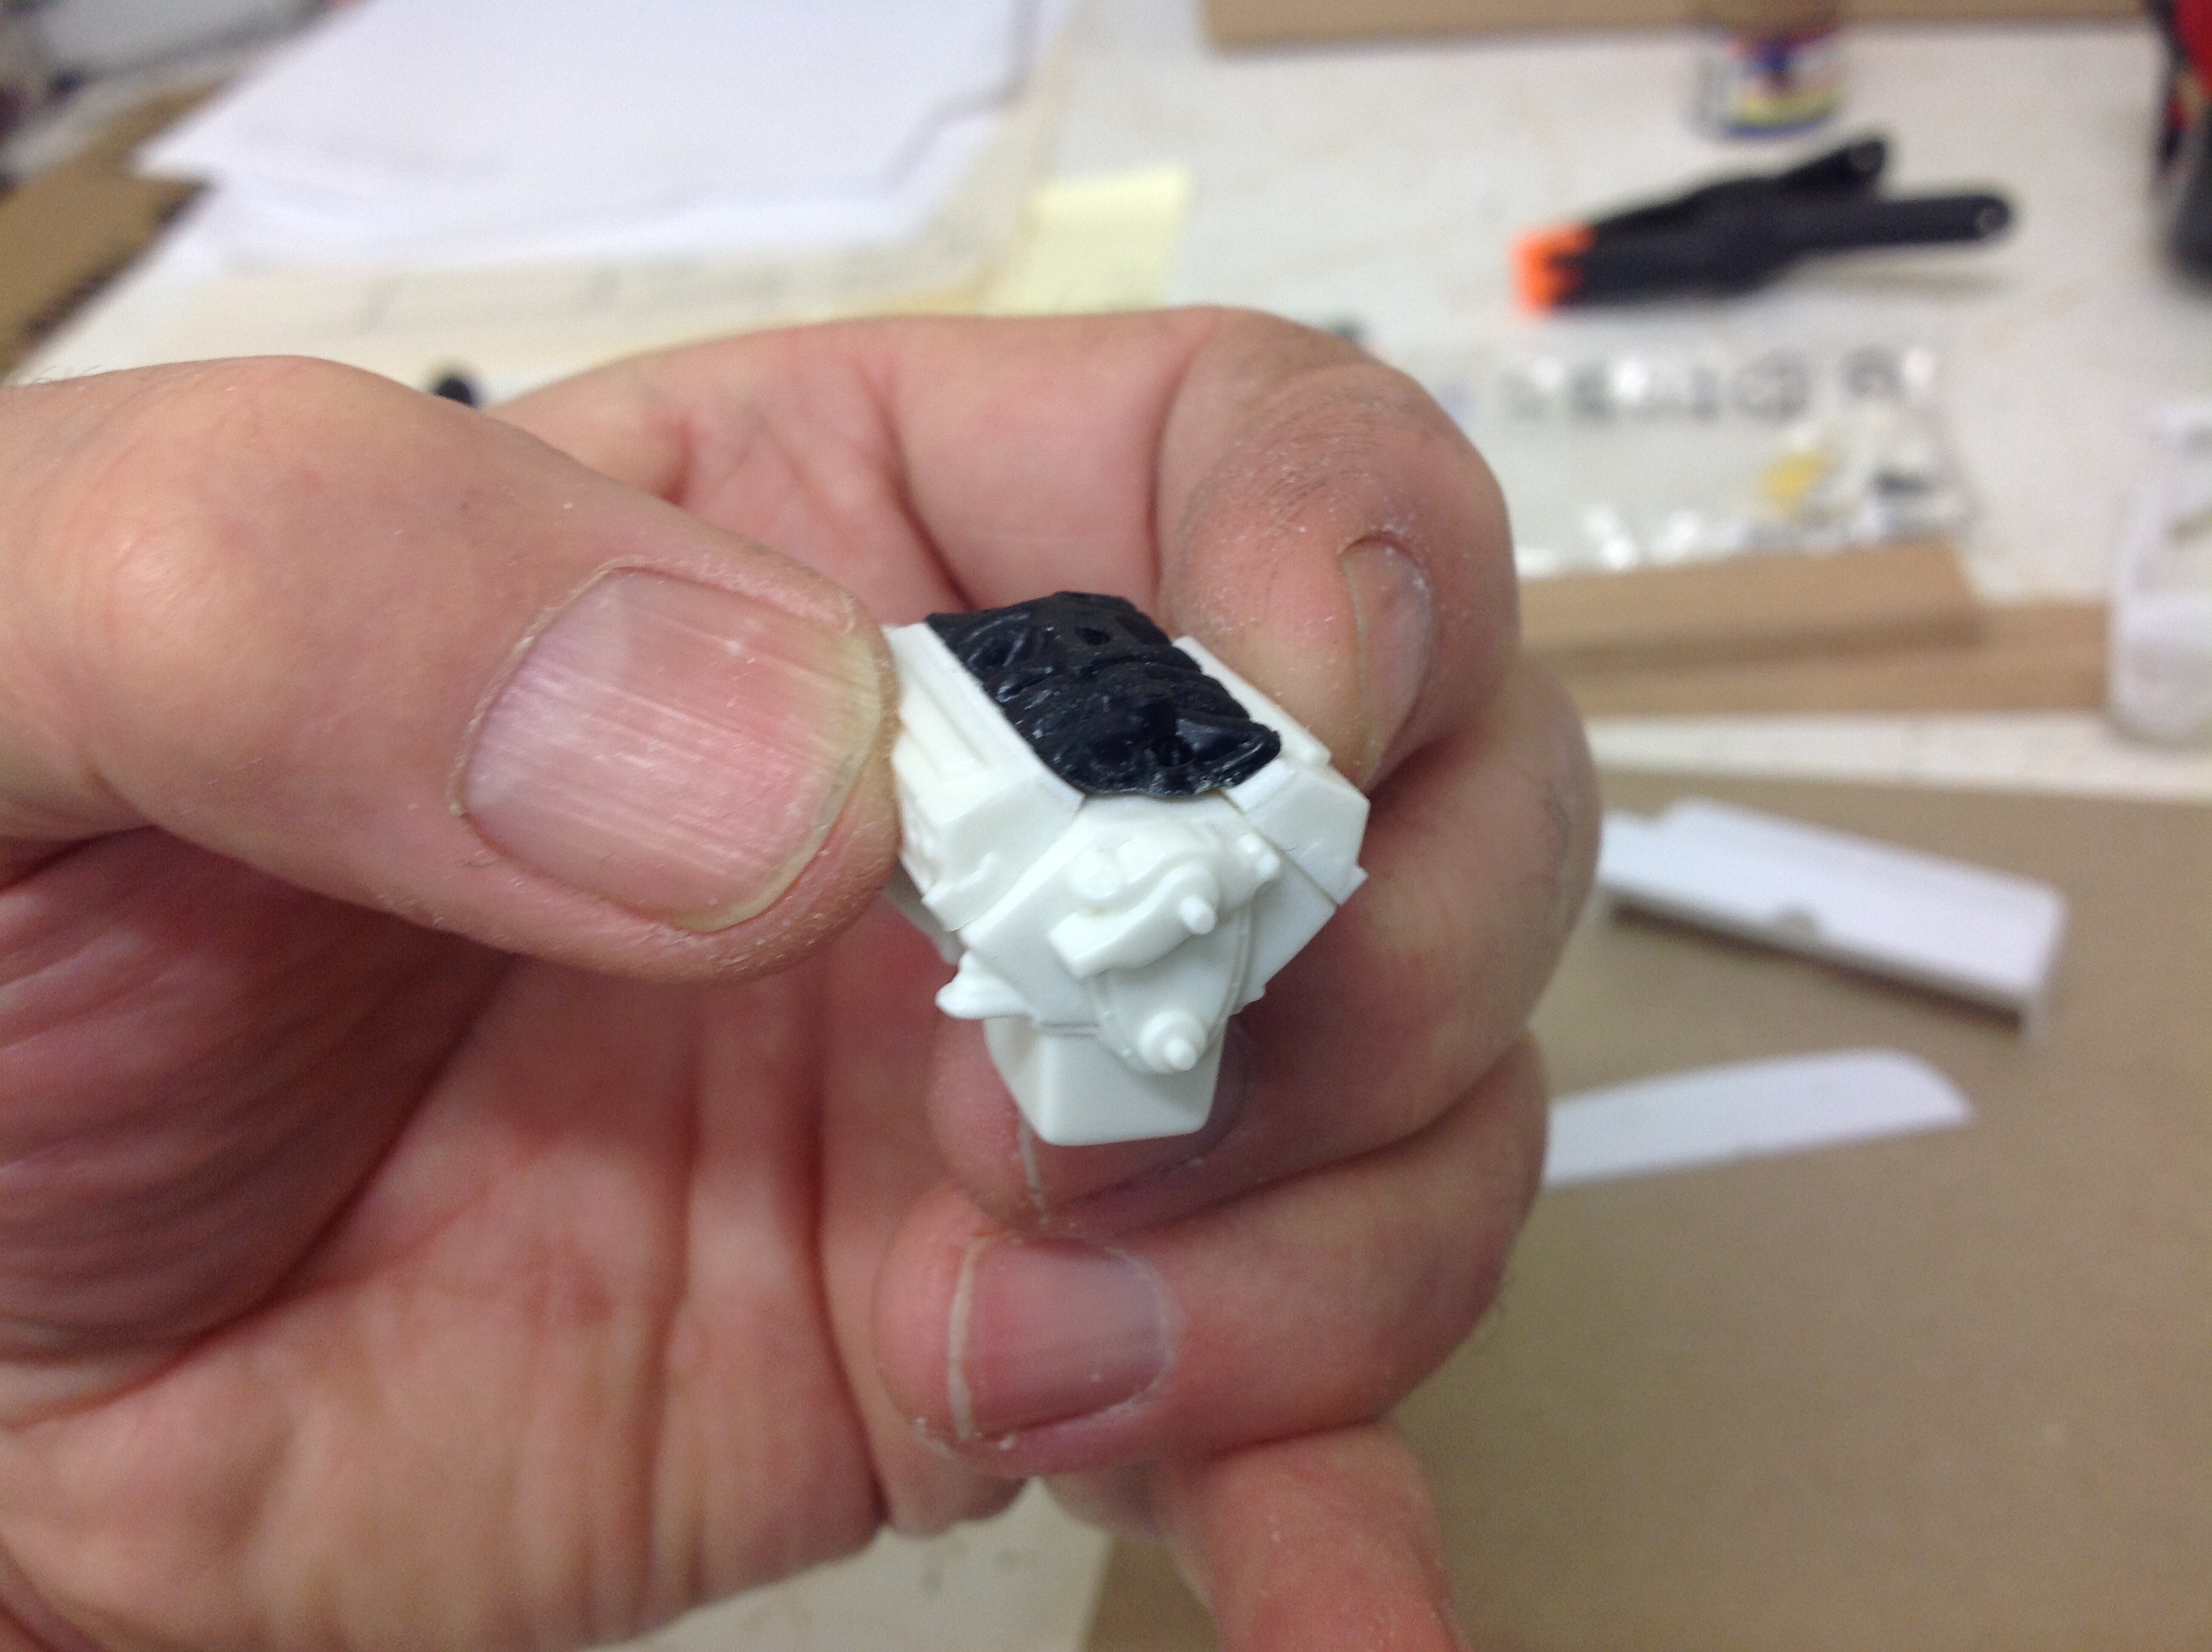
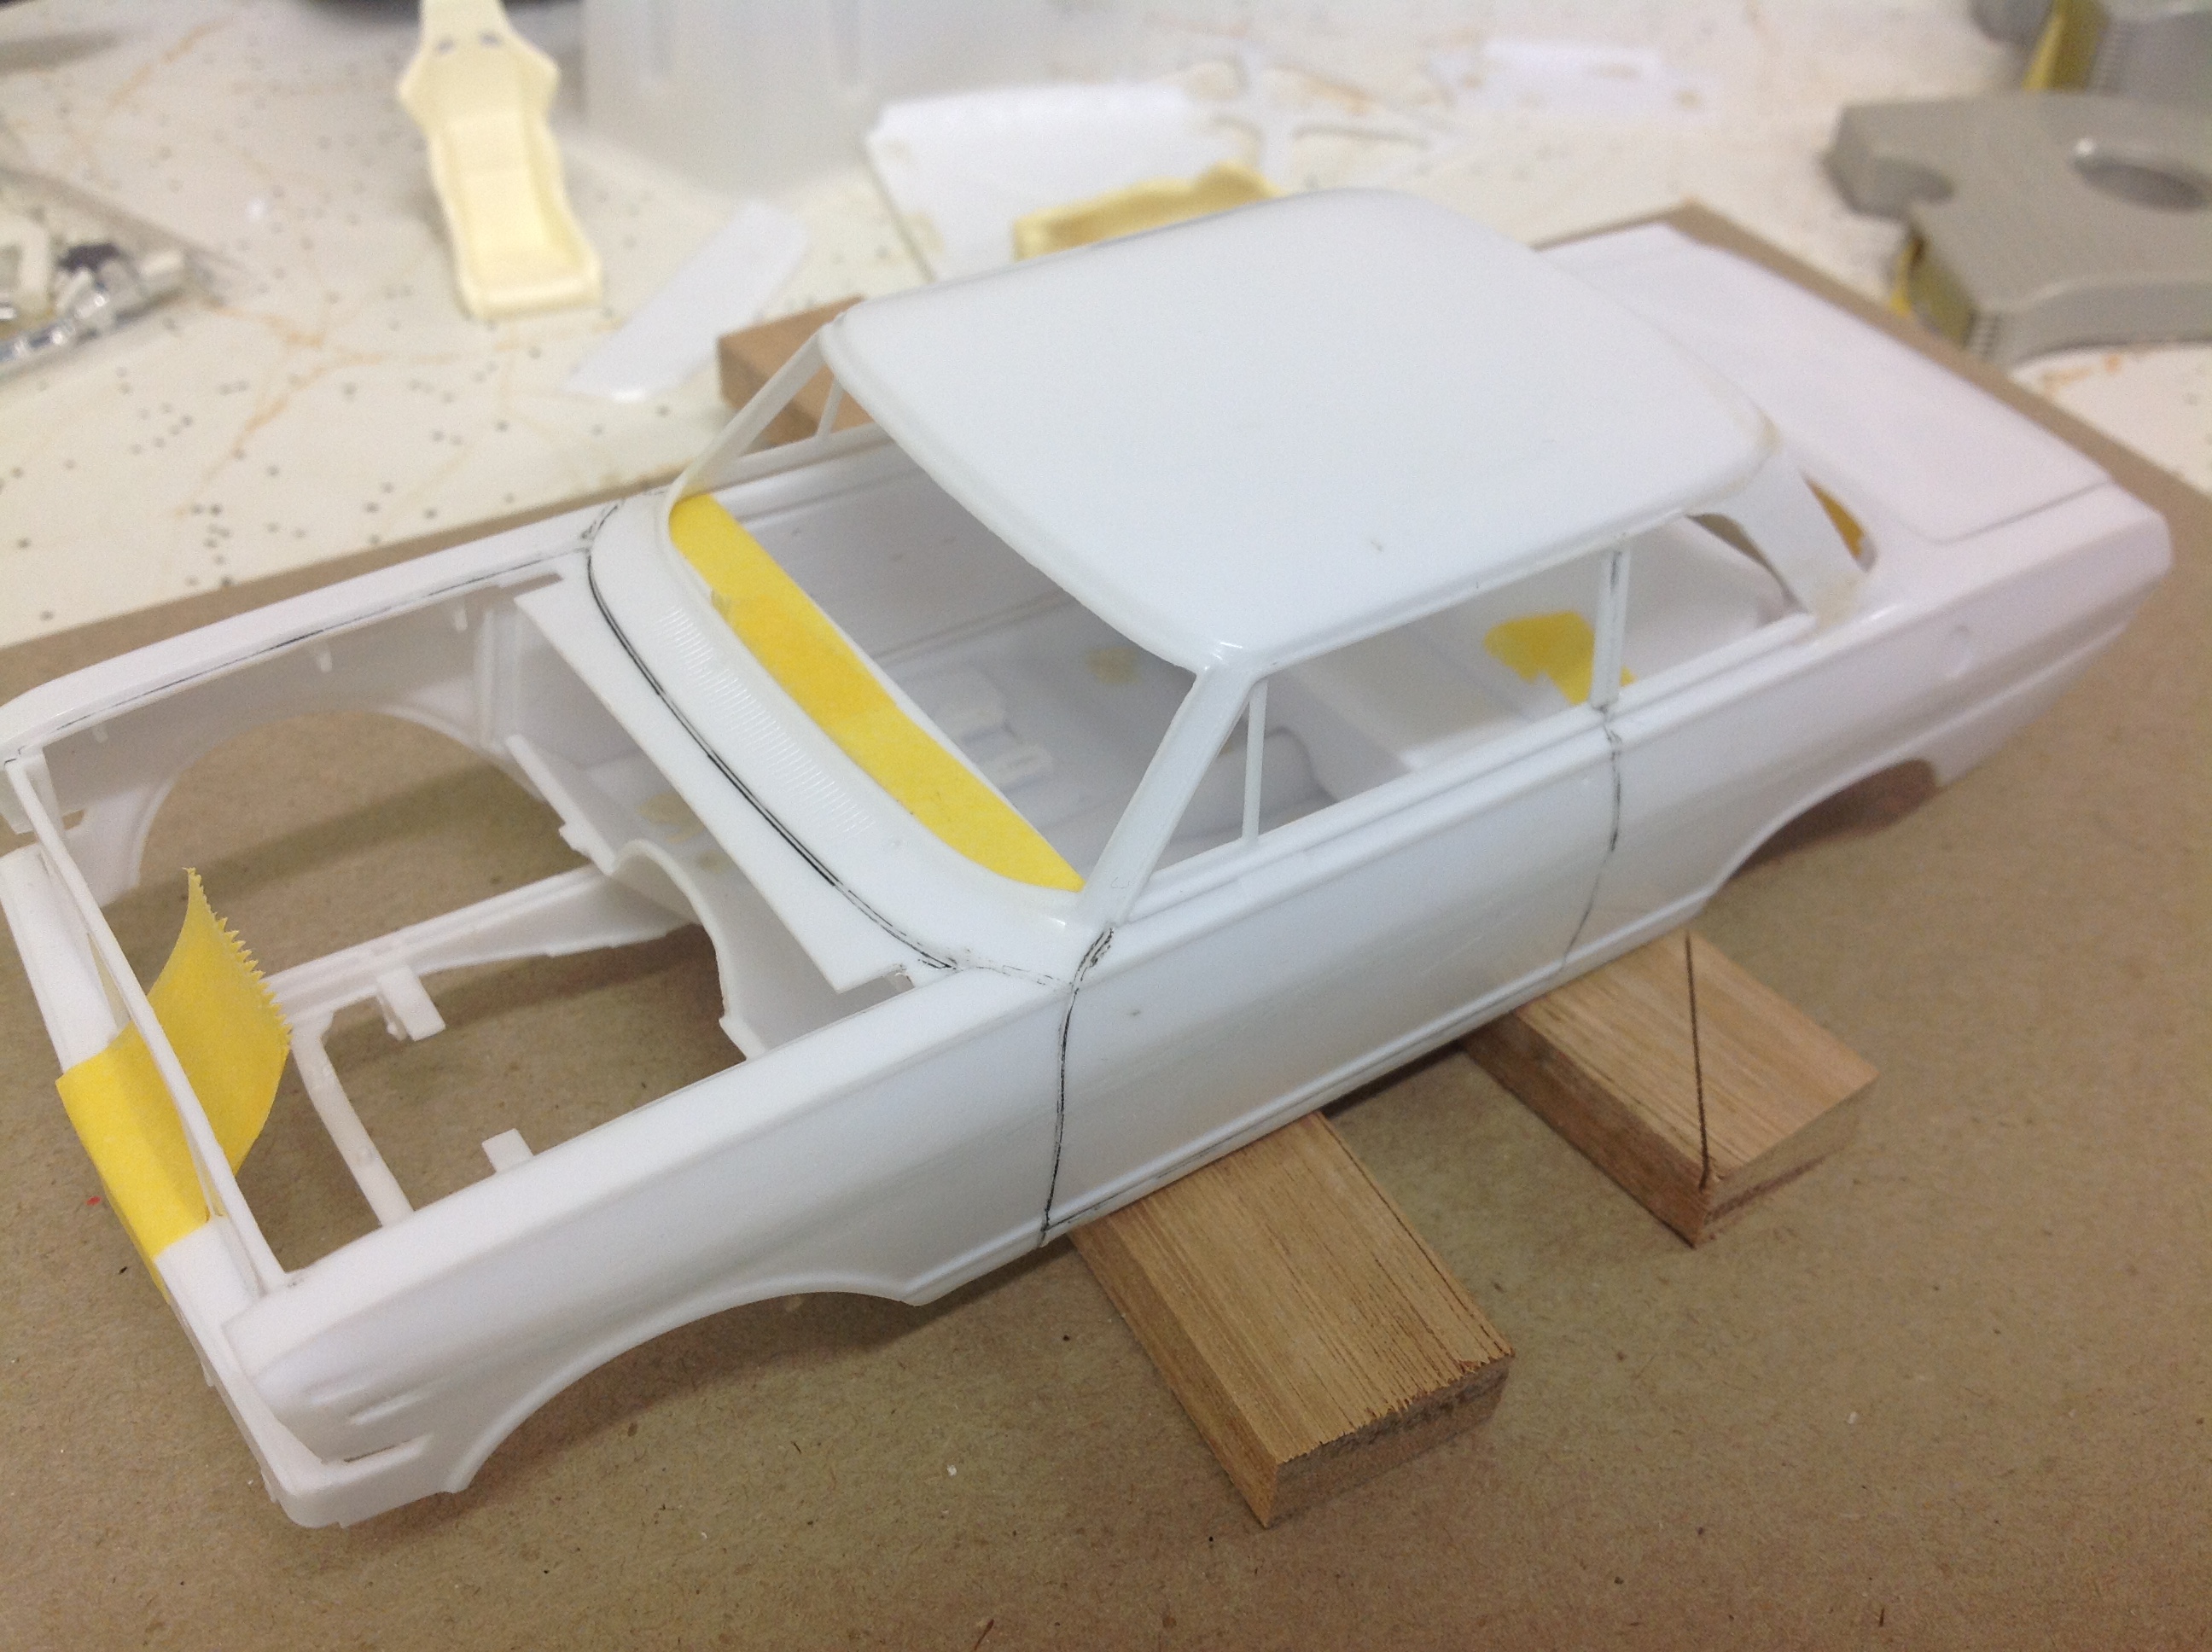
zakdoggi replied to zakdoggi's topic in WIP: Other Racing: Road Racing, Land Speed Racers
Then got the engine out and found the manifold had a great gap when sat on the block and heads. So added a thin piece of sheet plastic to both heads, sanded down to match head profiles and hey presto, gaps gone!! (Please excuse the 'hand model' ?) Then it was back to the body and chassis to make a start on the roll cage. Assembled rear seat, side panels and dashboard to chassis with Tamiya tape, then body on to make measurements for roll cage bars. So far got the main hoop with diagonal brace together and bent up the A arms. As always, your feedback and comments are most welcome. Cheers..... Geoff