Straightliner59
-
Posts
5,798 -
Joined
-
Last visited
Content Type
Profiles
Forums
Events
Gallery
Everything posted by Straightliner59
-

UV adhesive for Temporary Assembly
Straightliner59 replied to NOBLNG's topic in Tips, Tricks, and Tutorials
Alene's Tacky Glue is excellent for temporary assembly. It's water-based, so it doesn't harm the plastic, however, its tackiness holds parts, quite well. They can usually be pulled apart, but, if they're delicate, a quick soak in some water will dissolve them apart. I use it, constantly. -
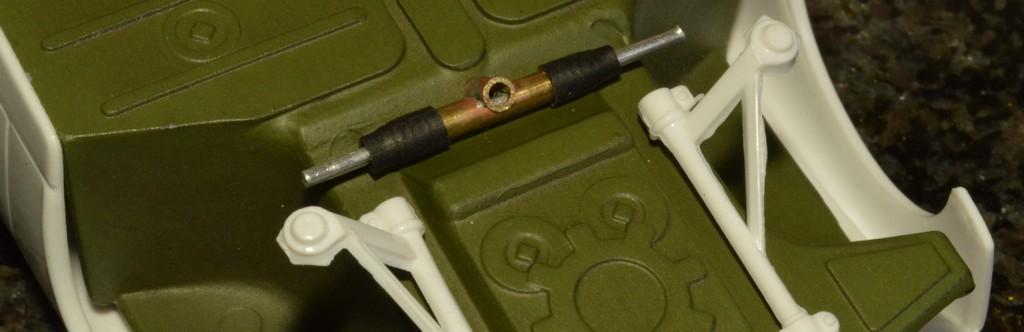
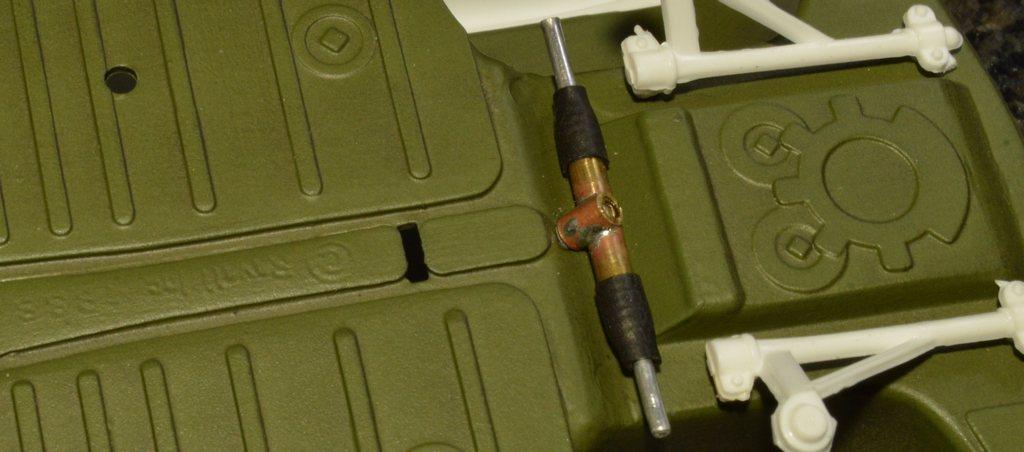
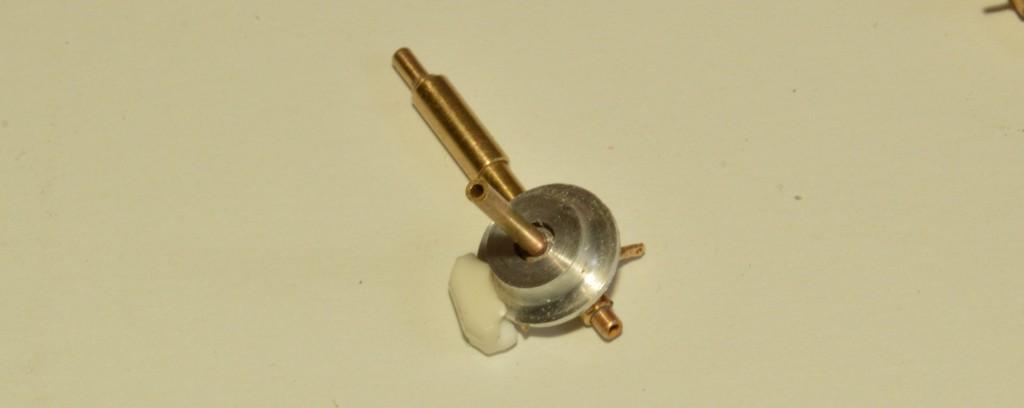
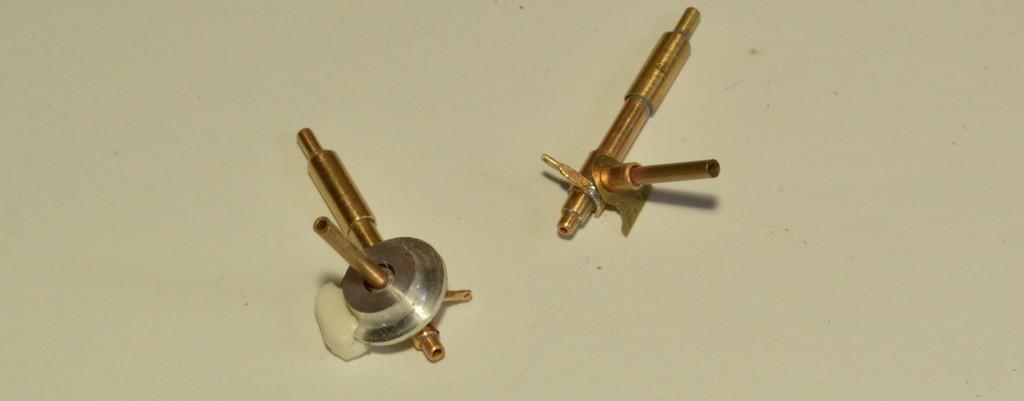
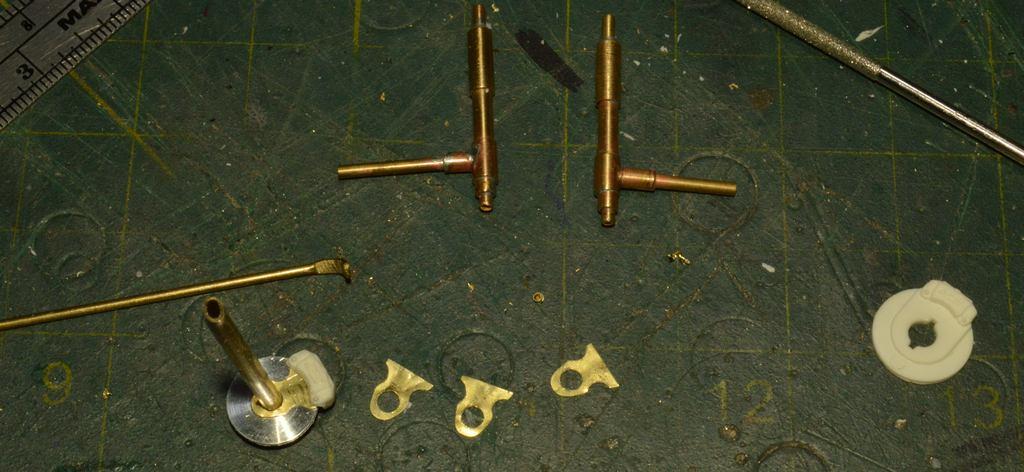
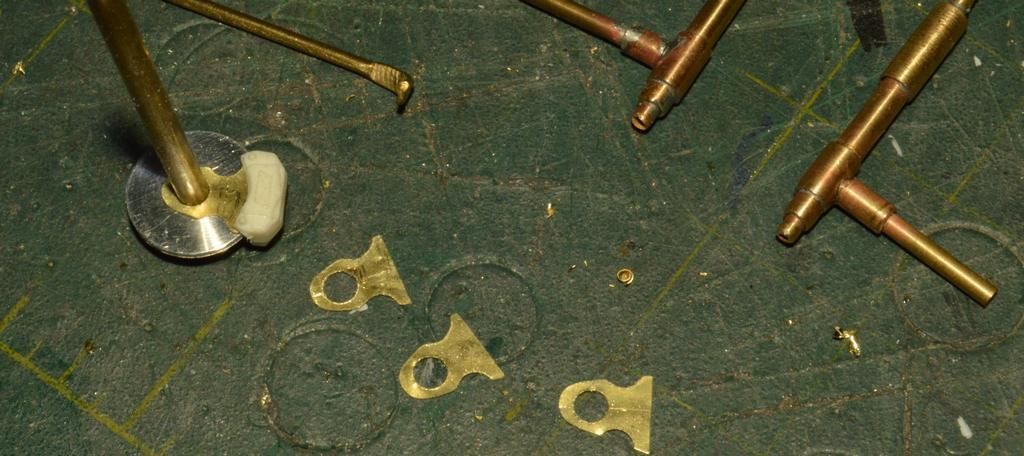
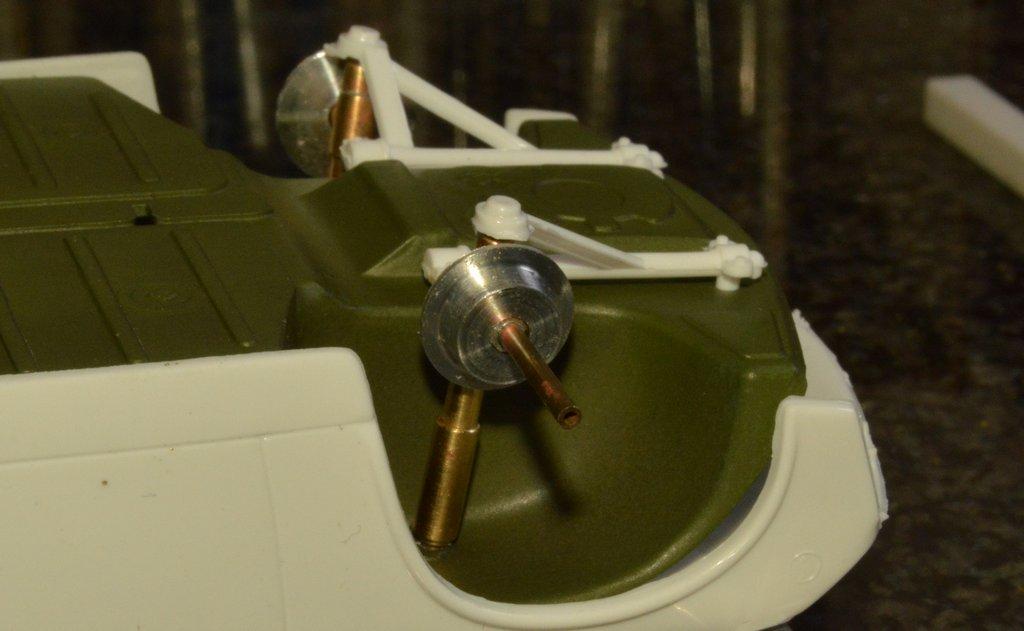
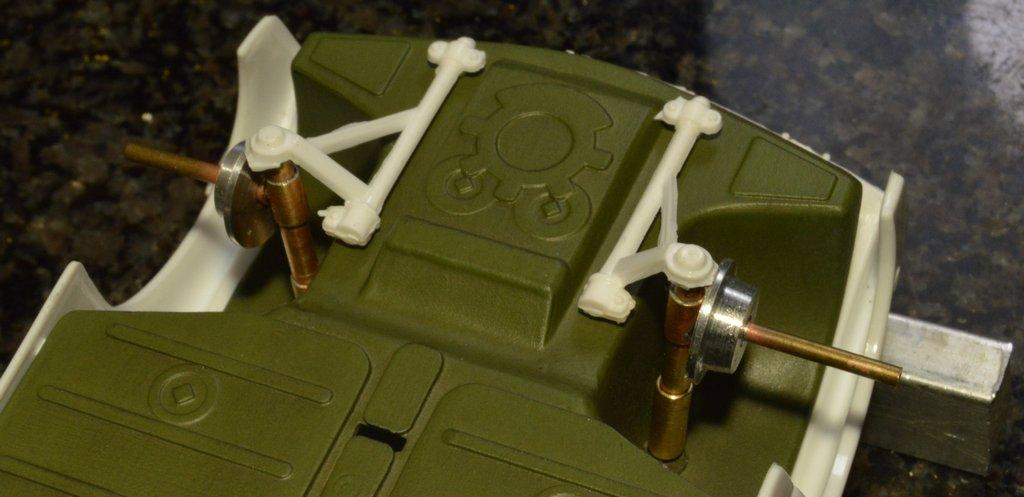
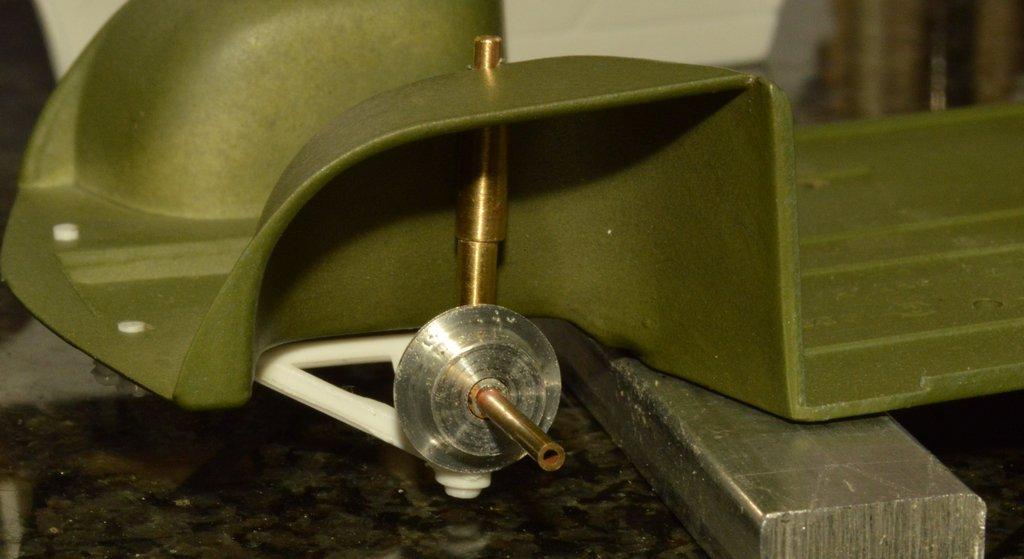
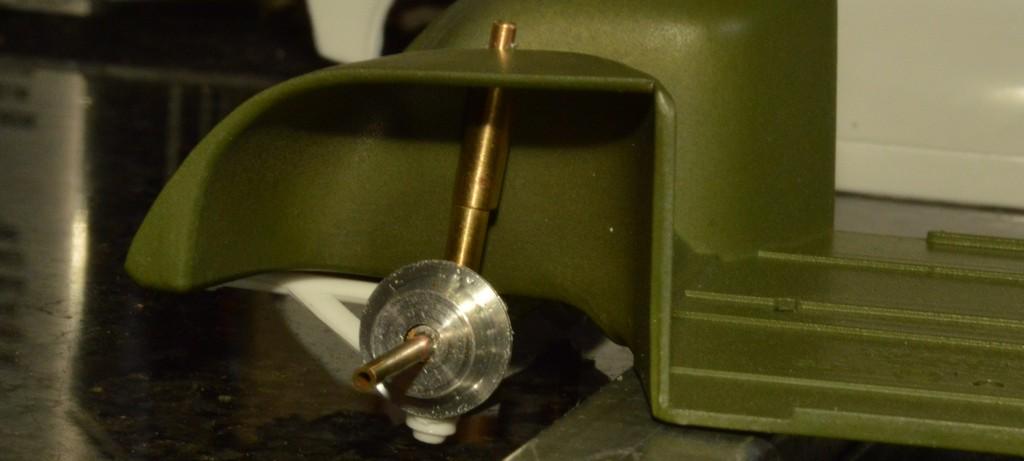
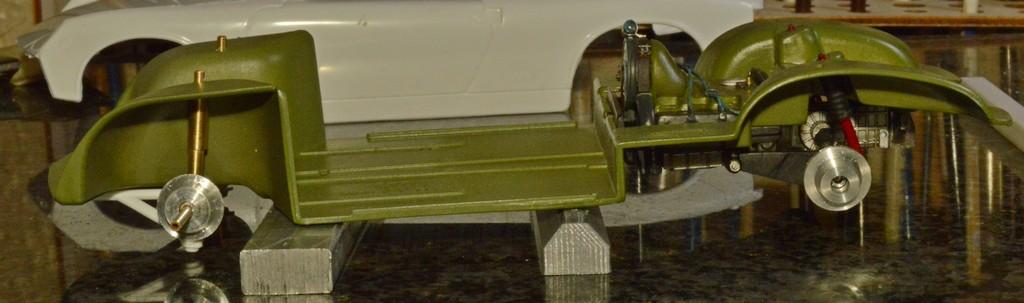
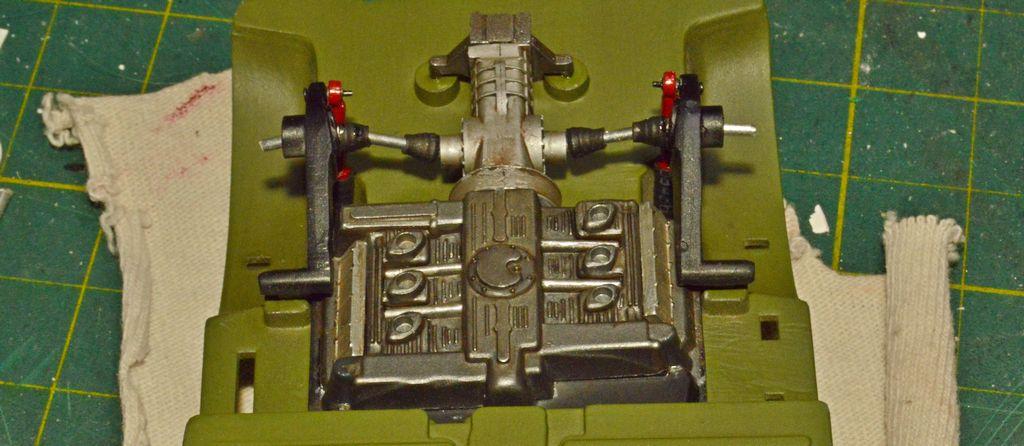
The steering is coming together. I am very happy with the struts! I used a hammer, some punches, and some brass wire to make the steering arms. I had to make a new tool, to form smaller boots for the rack and pinion. One major drawback to this technique is that it can be difficult to remove the heat shrink, once it's shrunk--Duh! Way to go, buck-o! I think it may be better to just turn plastic tubing to the boot shape, and use that. Anyway, it's coming along. The struts need some cleanup, yet. As always, comments, questions and critiques are welcomed. Thanks for looking!

-
I would incorporate the Land Speed vehicles into the drag racing forum, as they're much more similar to those, than Indy or Trans Am cars.
-
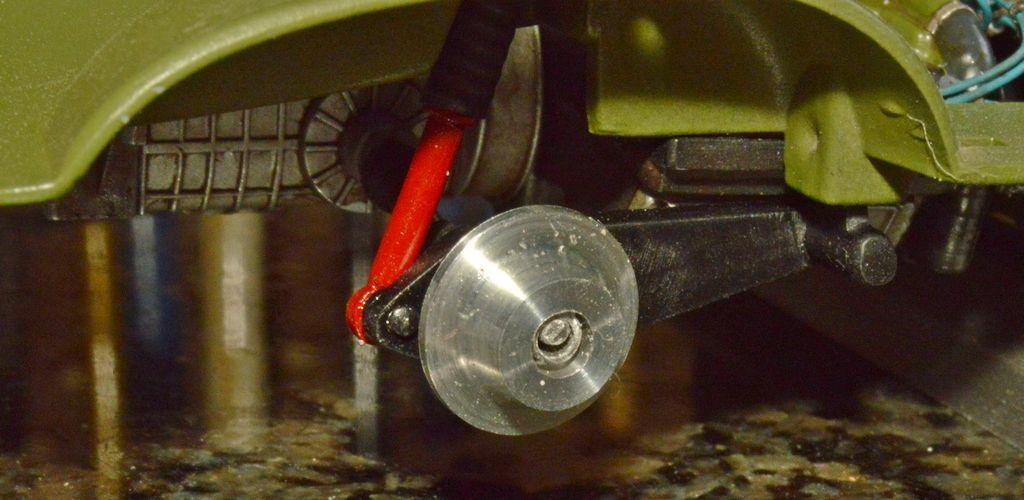
I'm working on the steering, and brakes. I found these disc setups that are (I think) from Monogram Pro Stockers. I milled the remains of the rotor from the calipers, so they'd fit the turned rotors I made. I then used some .005" brass sheet to make the brackets that mount the calipers. I've drilled a small hole in the floor pan to create an attachment point for the rack and pinion. The flattened and curved brass rod is the beginning of a steering arm. Well, it's progress. Thanks for looking!
-
I'd go with any of the AMT kits mentioned, above. Especially the Double Dragster, because it's a gold mine!
-
Monogram Indy racer
Straightliner59 replied to Big Messer's topic in WIP: Other Racing: Road Racing, Land Speed Racers
This will be cool! I've gone bonkers, on some old Monogram kits, but I didn't center-hinge the hood. I probably would, now, but, I built mine 30-odd years ago. I'll be watching, for sure! -
After seeing yours, I made one, too. Great little tool, Greg!
-
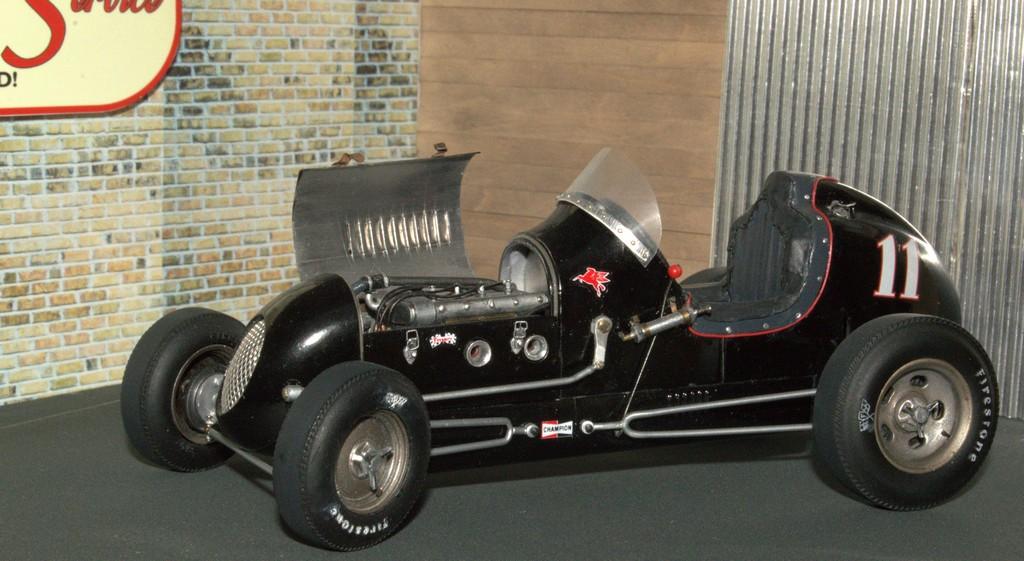
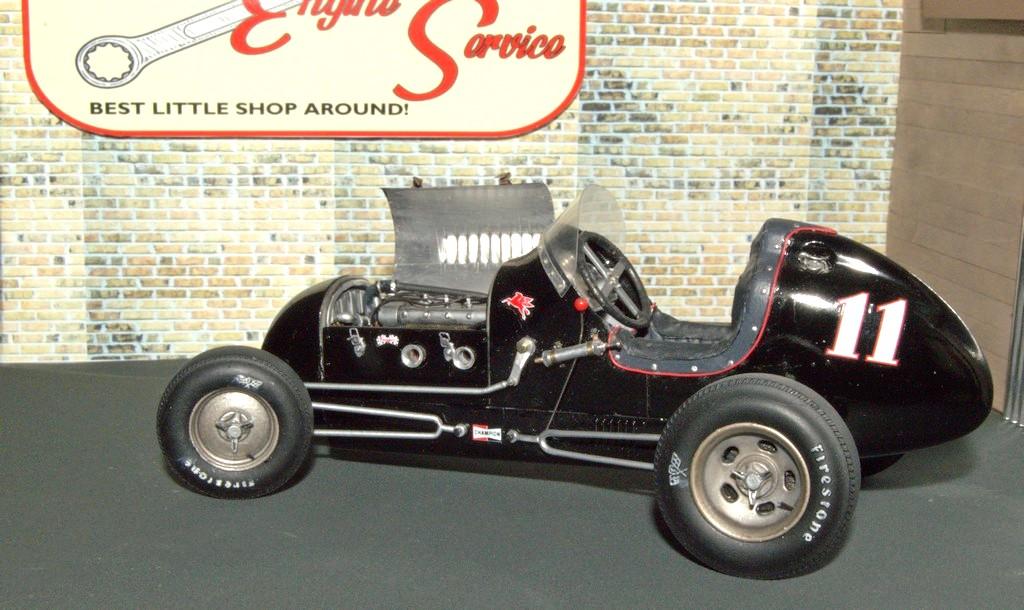
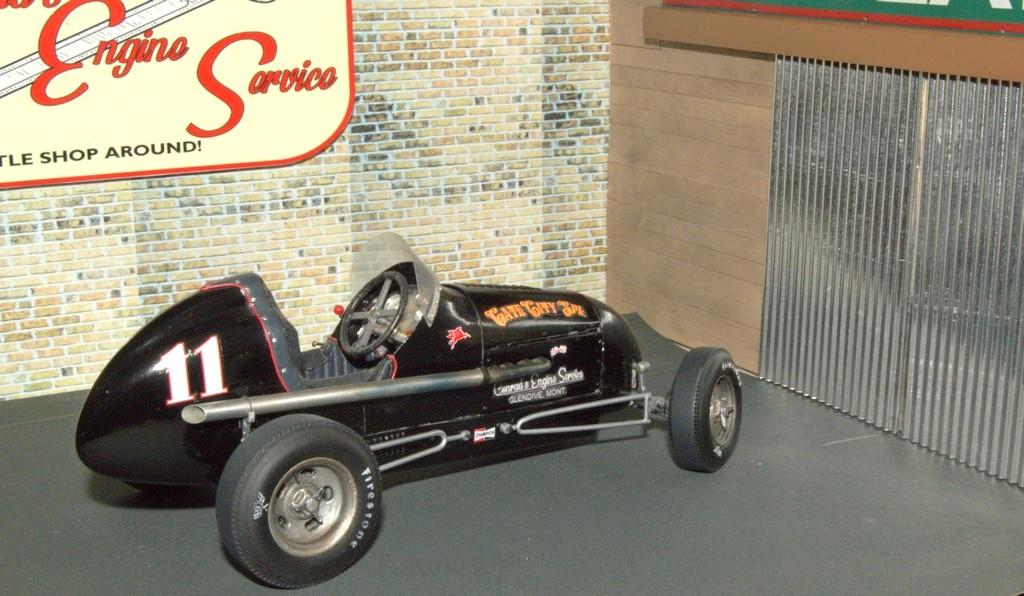
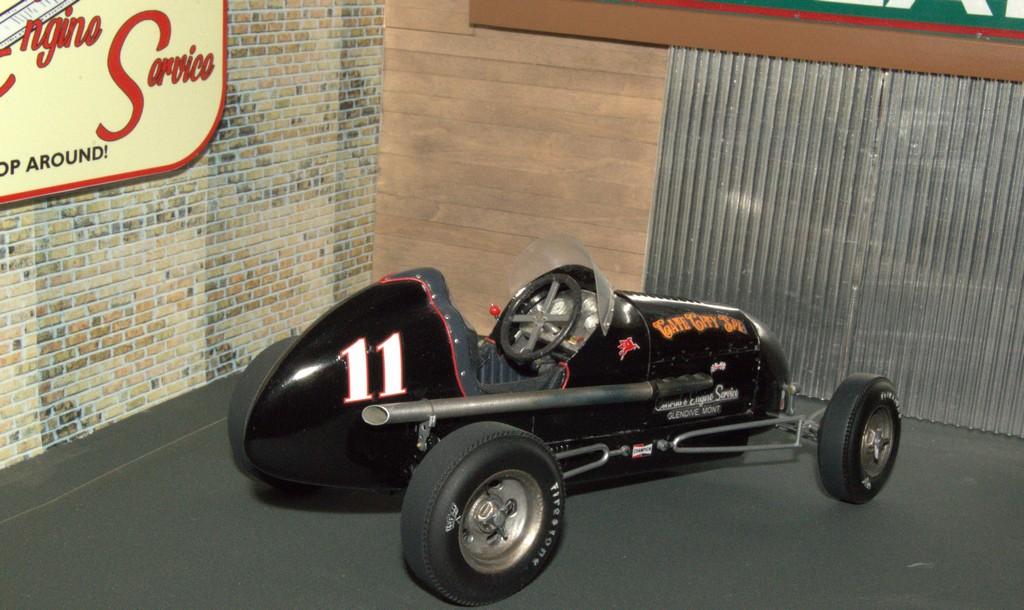
I did one. But, acording to a guy who used to frequent these forums, and seemed to have been involved for a long time, in racing, it's scaled more like a '50s sprint car. So, that's what I went with. It was a lot of fun! It was also my first time punching louvers. Here's the WIP thread:
-
At least you won't have to worry about the finish! That's the main reason I like metal. I really like this project, Ismael. I haven't watched an Indy Car race in many years, but, this early stuff is very, very cool!
-
Thank you, Trevor! It's similar to one of Porsche's greens. It does look very "avocado"!😅
-
Thanks,Greg! I appreciate that. I really enjoy working with metal.
-
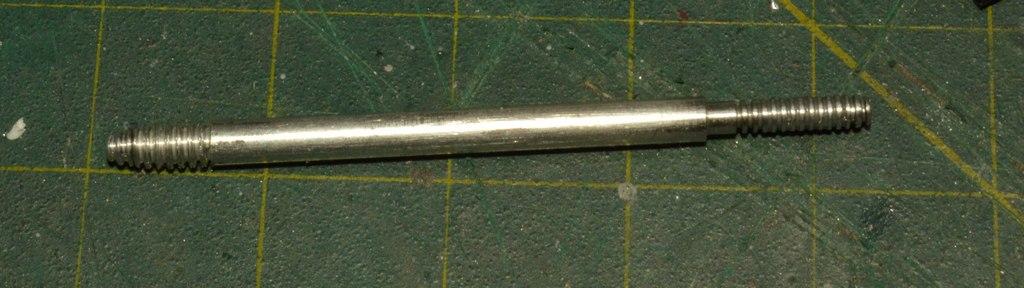
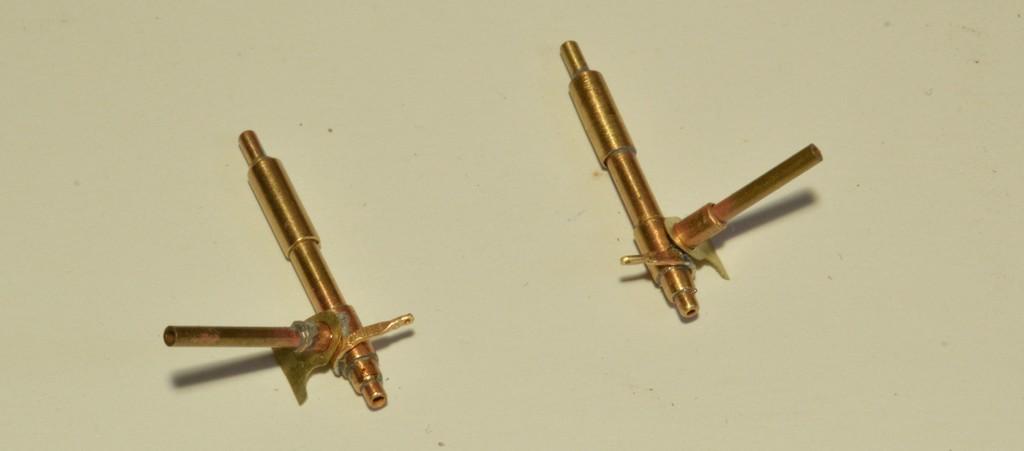
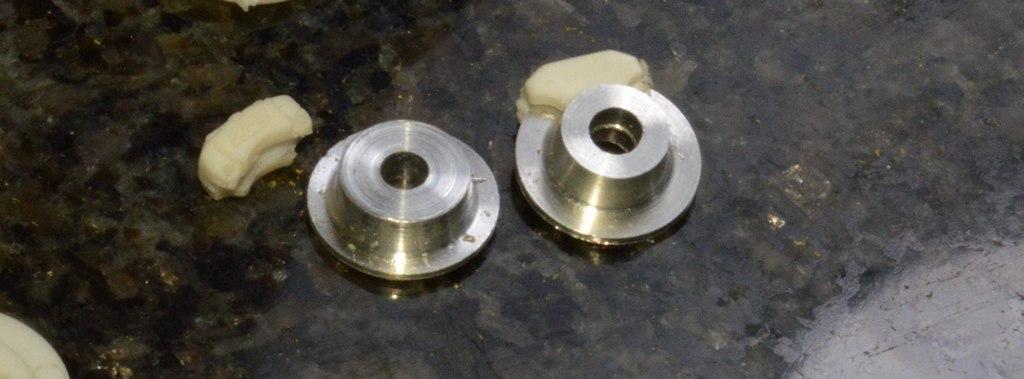
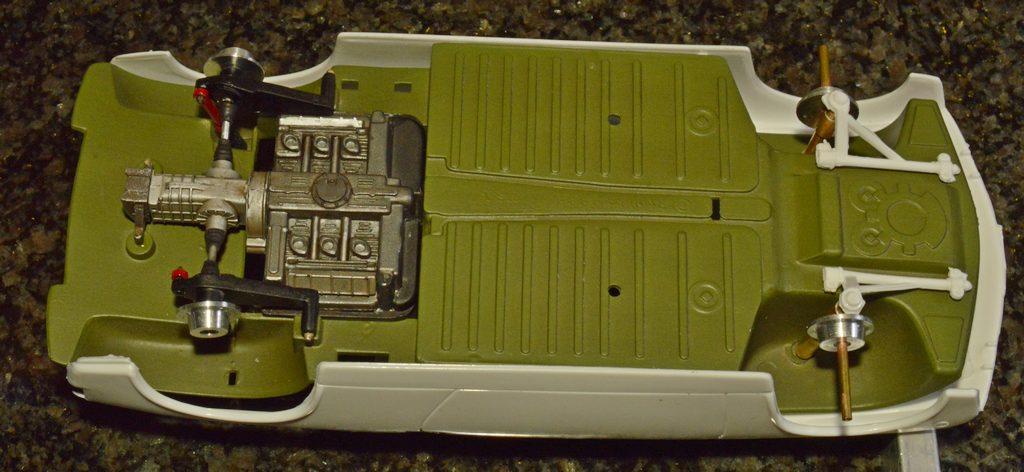
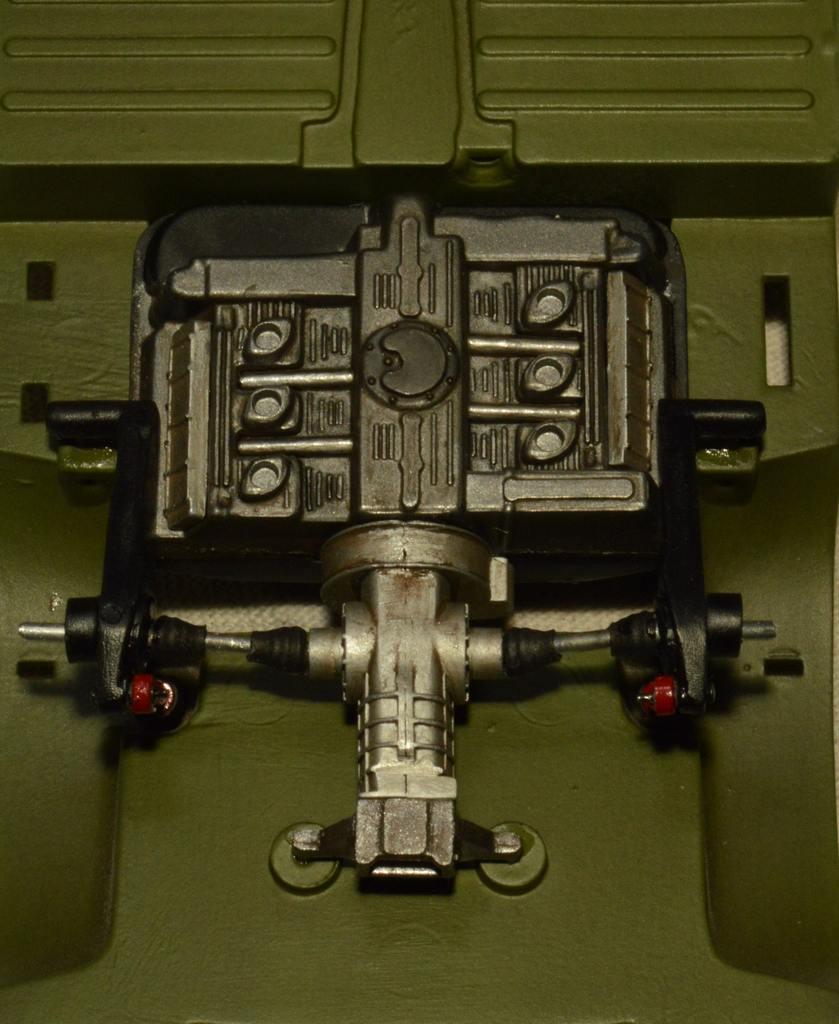
I got started on the front suspension. Since I want poseable front wheels, I had to decide the best way to make that happen. I decided the best bet would be to drill out the half-moon shaped holes on the tops of the inner fenders, so that 1/16" tubing could fit through them, then drill out the cups where the struts fit into the A-arms. That would allow the 1/16" tubing center of the new struts to remain in place, and rotate. The axles are 1/16" and 3/32" brass tube. I bored out some brass rod I had on hand to make the larger pars of the struts. The spindles are set at -3 degrees camber, just like specs I found somewhere, here: https://www.pelicanparts.com/Porsche/index-SC.htm?srsltid=AfmBOoo7m0vfkYHGgknPJ77WJpVgffBUBcLOMWiEIcMXA7QE5kmvsVAP There's a lot of really good stuff there! I also finished the brake rotors for all four corners. Next up, I'll be cleaning up the A-arms and figuring out the rest of the steering. Thanks for looking!
-
CV Joint Boots
Straightliner59 replied to Straightliner59's topic in Model Building Questions and Answers
Thanks, Bill. I do agree with sentiments above, that they could be better defined, they're easier than cleaning up molded kit parts! More fun, too! -
CV Joint Boots
Straightliner59 replied to Straightliner59's topic in Model Building Questions and Answers
Thank you, Jim! I appreciate your kind words. -
Awesome build of an icon! I can almost imagine my soles melting to the floor.
-
1/16th 55 Thunderbird BB/FC Funnycar "GIRL TROUBLE"
Straightliner59 replied to Ian McLaren's topic in WIP: Drag Racing Models
Beautiful! The finishes look just right. -
It is a bit different, for sure! Thanks, Ian! I don't recall a Nova. Before this came into my world, I was really leaning toward getting back on my Warren, Coburn& Miller inspired dragster. Hoping to keep this a short detour!
-
Farm Floater Truck 1/24th scale
Straightliner59 replied to Randy D's topic in WIP: Model Trucks: Big Rigs and Heavy Equipment
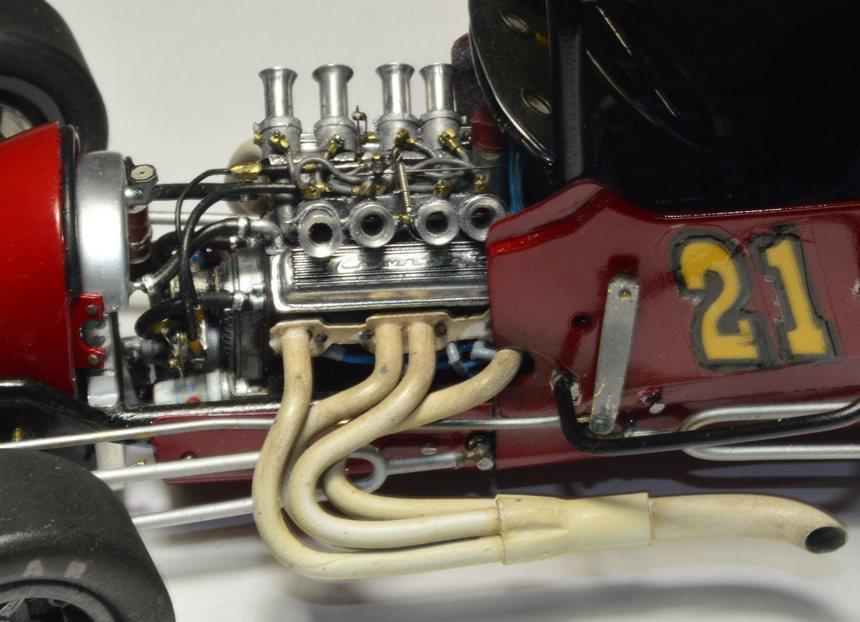
I don't have any idea how I missed this! That engine is...I'm speechless. It's amazing, my friend! I still have to check out the rest of this project. I just had to say that! -
Well, if you're anything like I am, once the chassis is scratchbuilt, it's all-in! That's where all the fun stuff is, anyway! You're off to a good start!
-
1/16th 55 Thunderbird BB/FC Funnycar "GIRL TROUBLE"
Straightliner59 replied to Ian McLaren's topic in WIP: Drag Racing Models
I'm over in the regular cars section. I'm building a Porsche 914 for my neighbor across the hall. He did me a huge favor, so I asked him what his favorite car is, and that's what he said, so, here we are!🙂 It's coming along pretty decently, so far. -
This is very cool! This really was a nicely built model. I believe it's about to get even better. I've developed a thing for these old Indy cars, over the years. I'm looking forward to watching this come together. I would suggest aluminum sheet for the windscreen. Especially now that you have a pattern. The best part of that is, once it's formed, it stays that way!
-
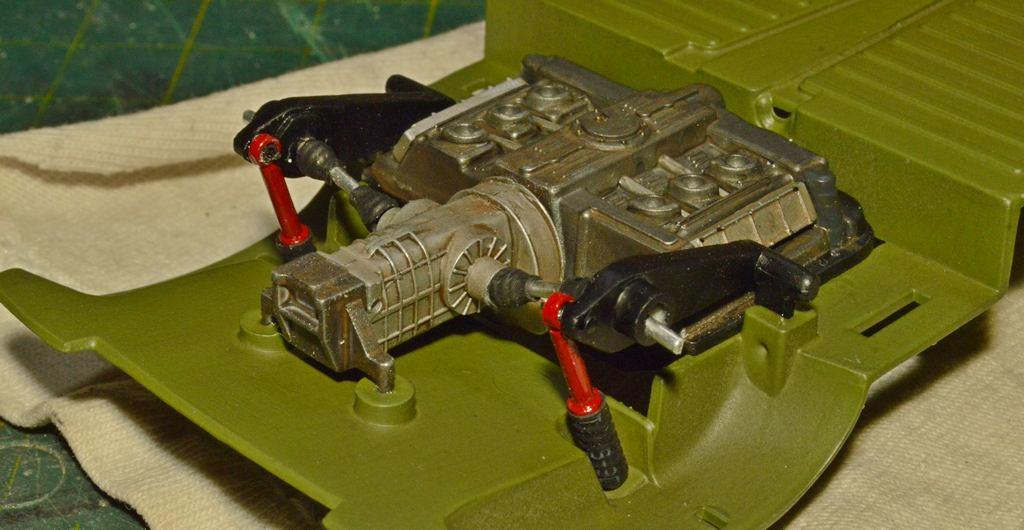
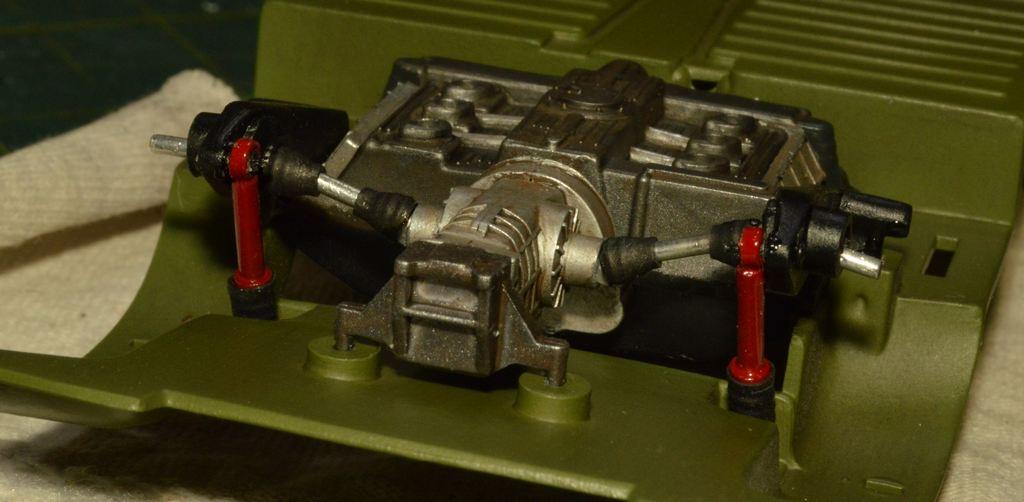
I got the rear suspension built and installed. I still have some nut and bolt detail to add, and some touchup, to that. I applied semi-gloss clear to the chassis pan, then brushed the bottom, and wheel wells with a mixture of pastels, then shot it, again. I also got one brake rotor turned. I'll do the other, after I eat, some time. I'm not disappointed! Thanks for looking!
-
the OGs of our hobby
Straightliner59 replied to sidcharles's topic in General Automotive Talk (Trucks and Cars)
No, but if you have some Graphite! -
CV Joint Boots
Straightliner59 replied to Straightliner59's topic in Model Building Questions and Answers
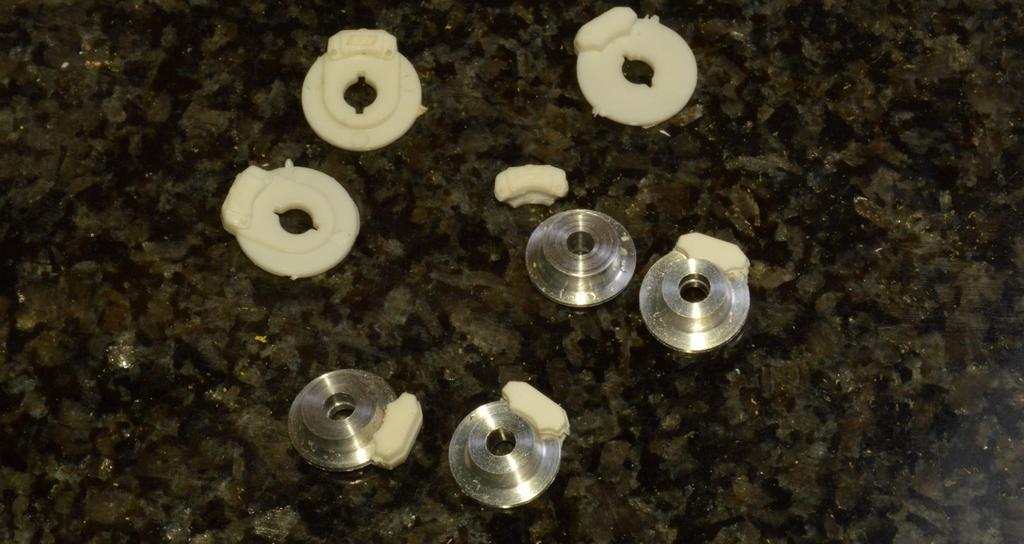
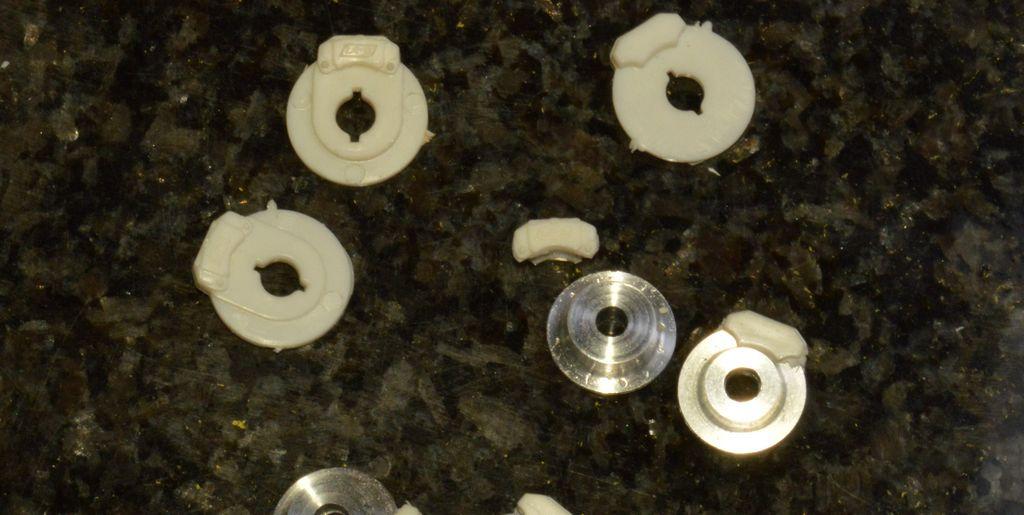
I did these, with it. I just pushed my thumbnail into the heat shrink, while it was still warm.
-
1/16th 55 Thunderbird BB/FC Funnycar "GIRL TROUBLE"
Straightliner59 replied to Ian McLaren's topic in WIP: Drag Racing Models
It's looking fantastic, Ian! Nice work with the harness. Chassis is beautiful, on the wheels. Looks just like it ought to!