Straightliner59
-
Posts
5,809 -
Joined
-
Last visited
Content Type
Profiles
Forums
Events
Gallery
Everything posted by Straightliner59
-
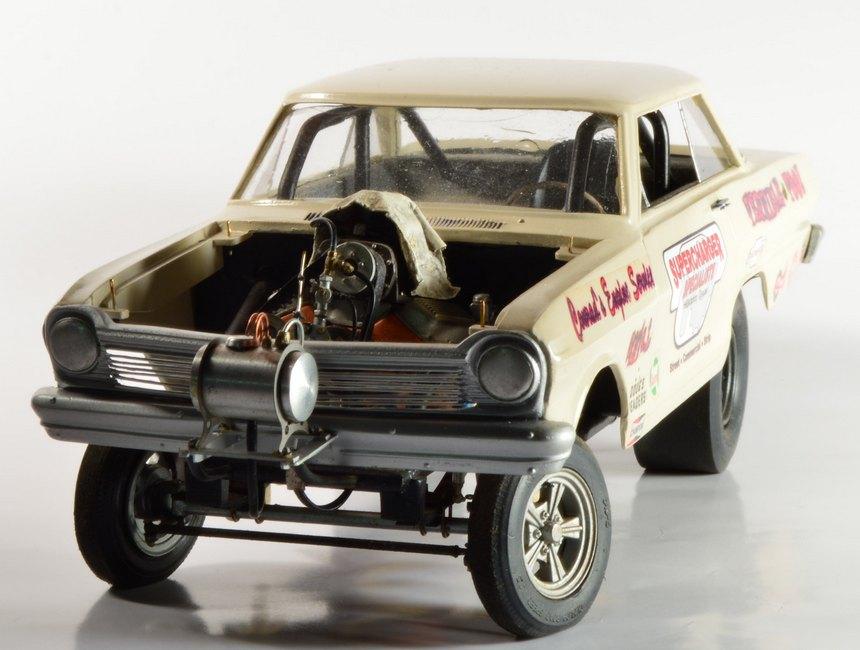
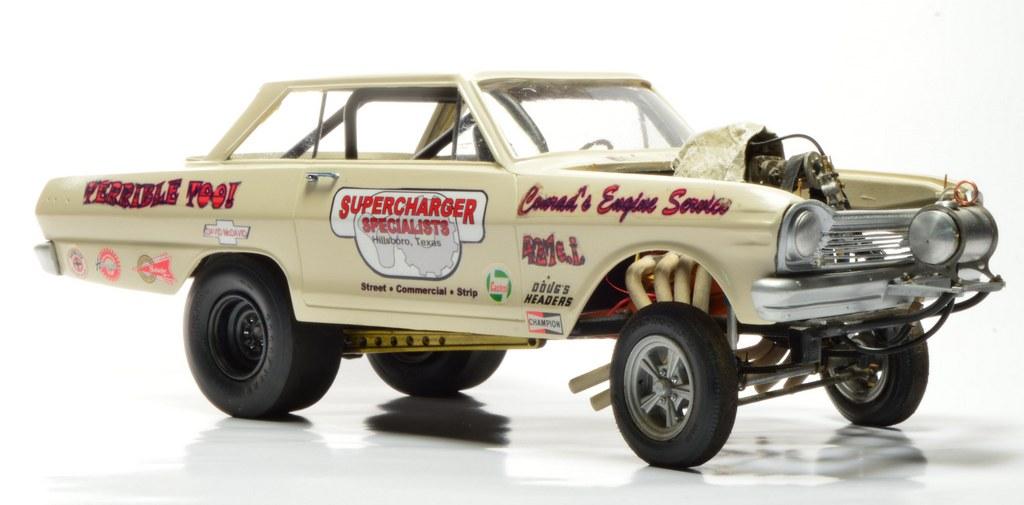
 I'm about to get back to finishing up the "back half" of the car, but got a good start on the engine...
-
It's really cool! I like the dinged-up megaphone tip on the header. Nice work, Mark!
-
This was a tricky one! If not 100% successful, at least that aluminum grille wasn't about to remain straight, in a racing environment, anyway.
-
Back in my lumber truck days, someone had demoed and replaced a front door. The weatherstrip had thin copper flashing, so, I used the snips I cut banding with to cut off a few inches of the flashing. When I built my replica of "The Bug", I used the foil wrapping from Rolo candies for head gaskets. I think I used that for the head gaskets on my '32 fuel roadster, as well.
-
Thanks, Ian. The ties go pretty quickly, once you get the hang of them. I have been meaning to thank @peteskifor suggesting the pliers, rather than the vise, I'd been using to flatten the bulbed end. It's every bit as effective, and much faster. Here's the link for the wire. I originally saw it on here, somewhere, so I thought "Gee, you can never have too many kinds of wire!": https://www.ebay.com/itm/165383729590?var=465469430732 The grey is closer to white than I'd hoped, but...
-
Thank you very much, Charles. It's just the stuff that I love doing!
-
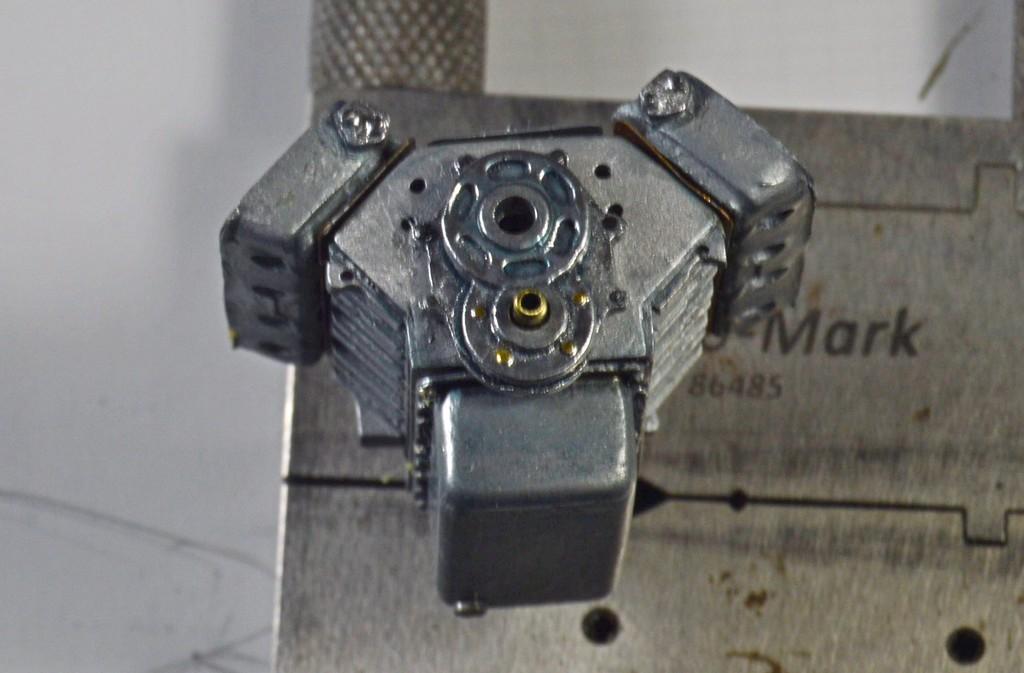
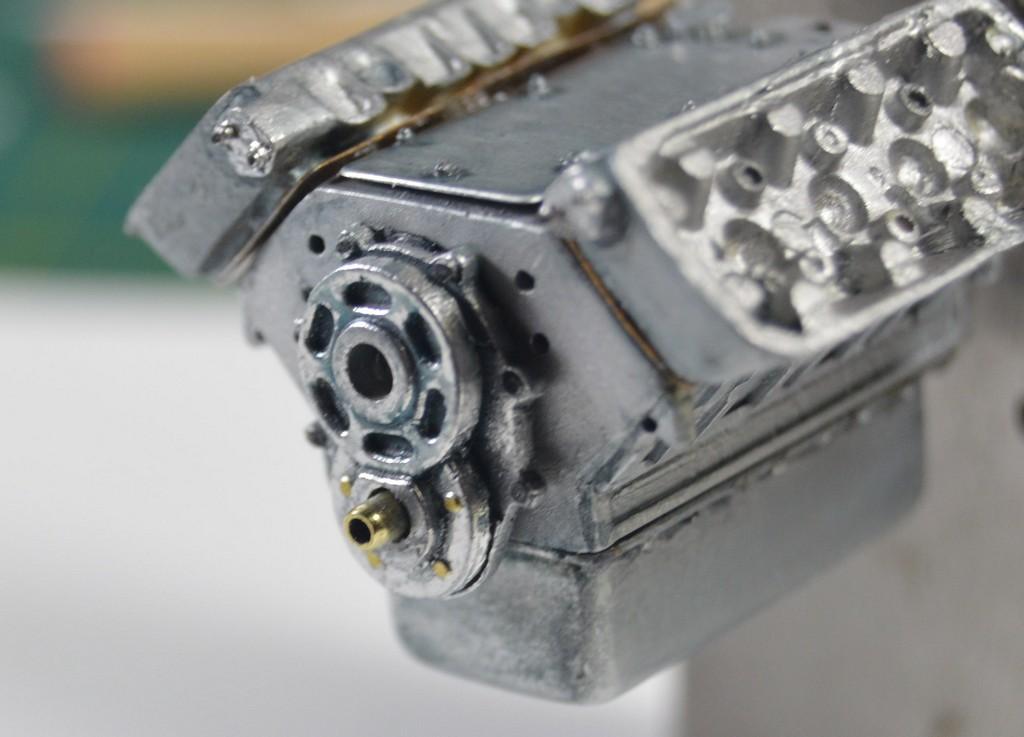
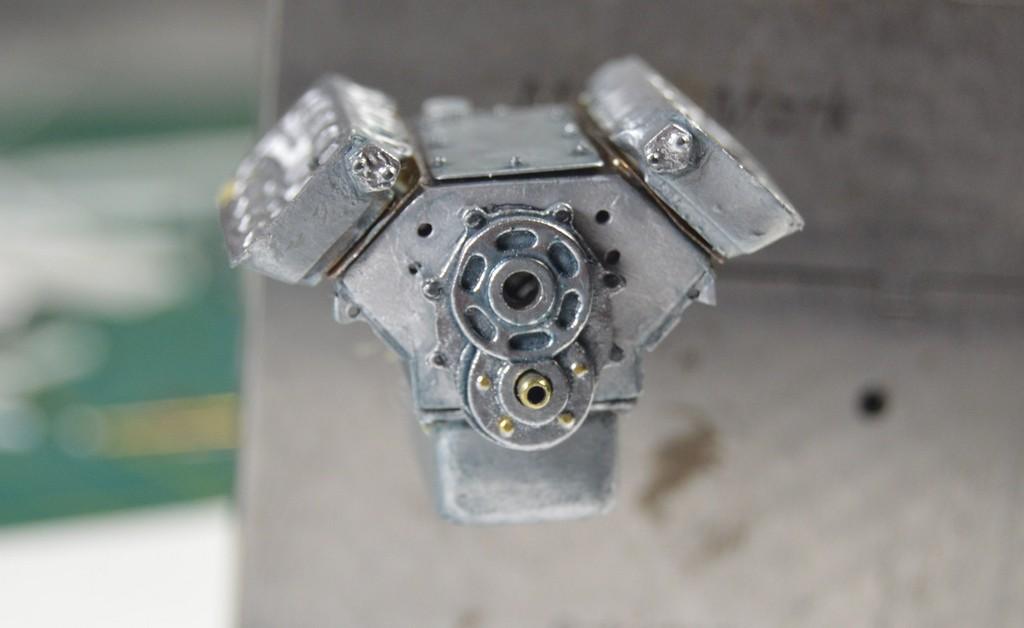
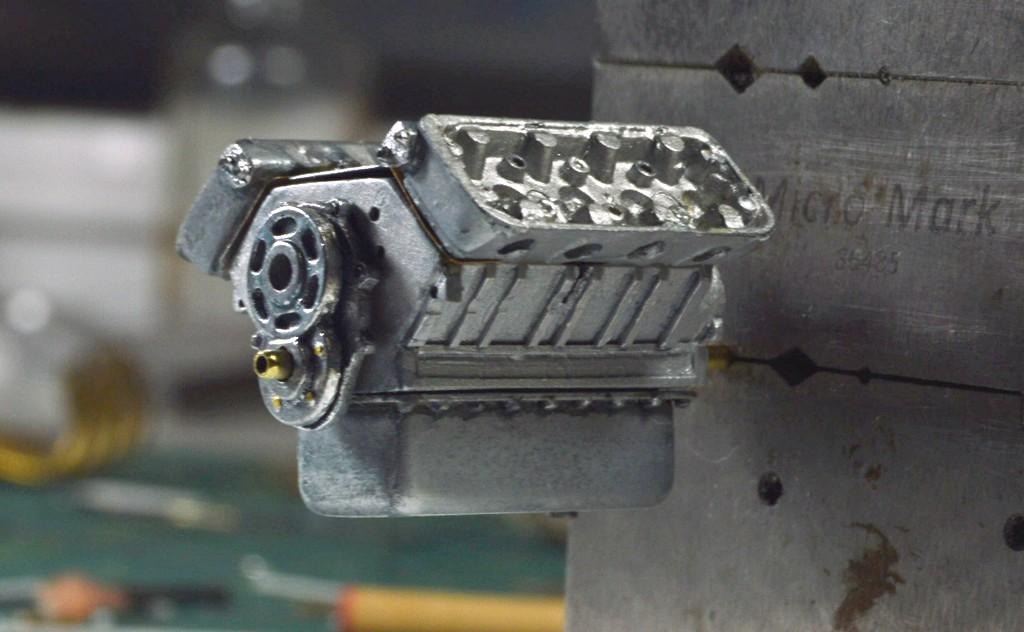
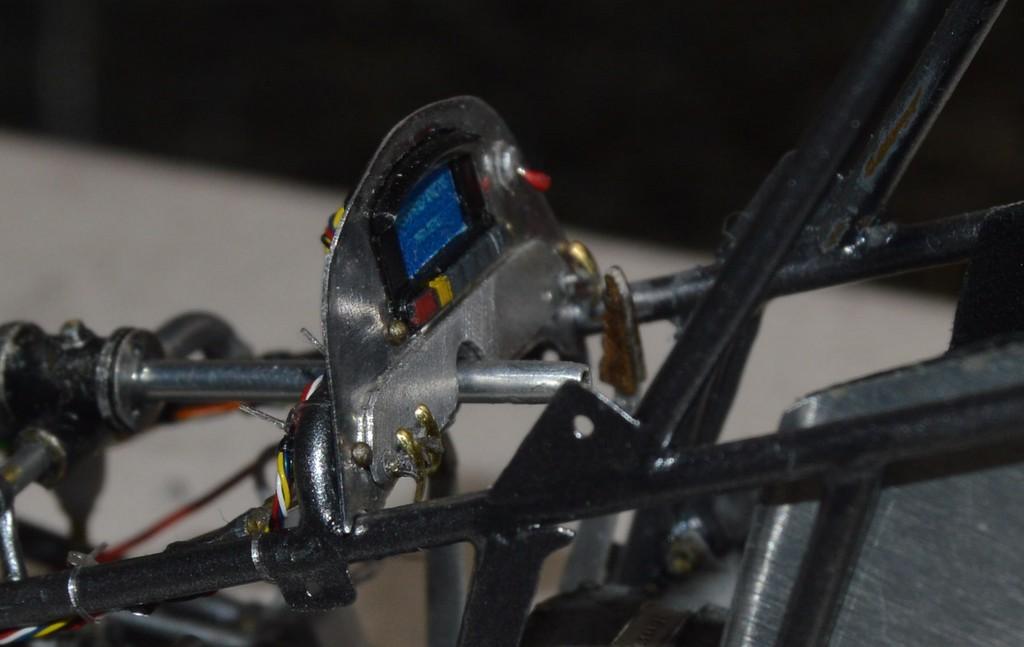
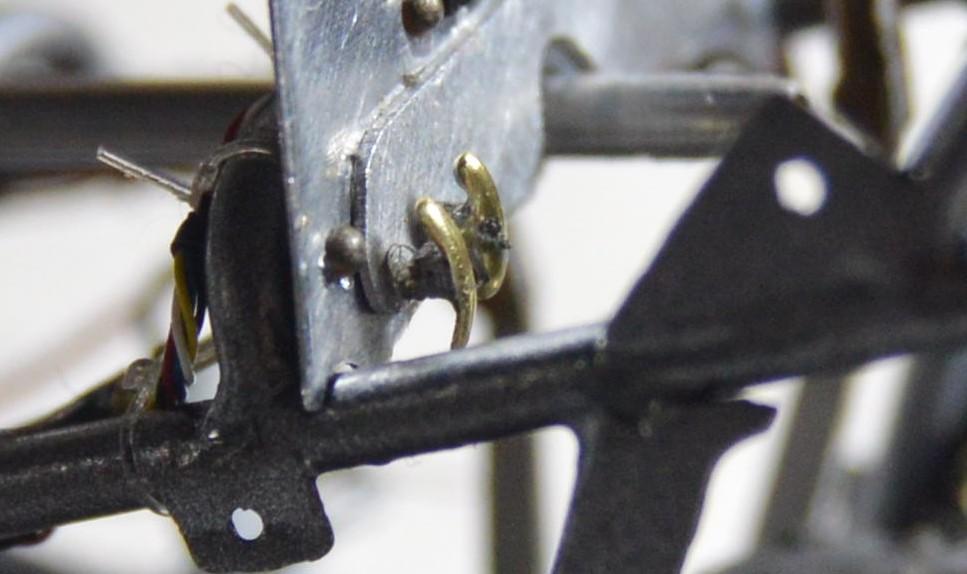
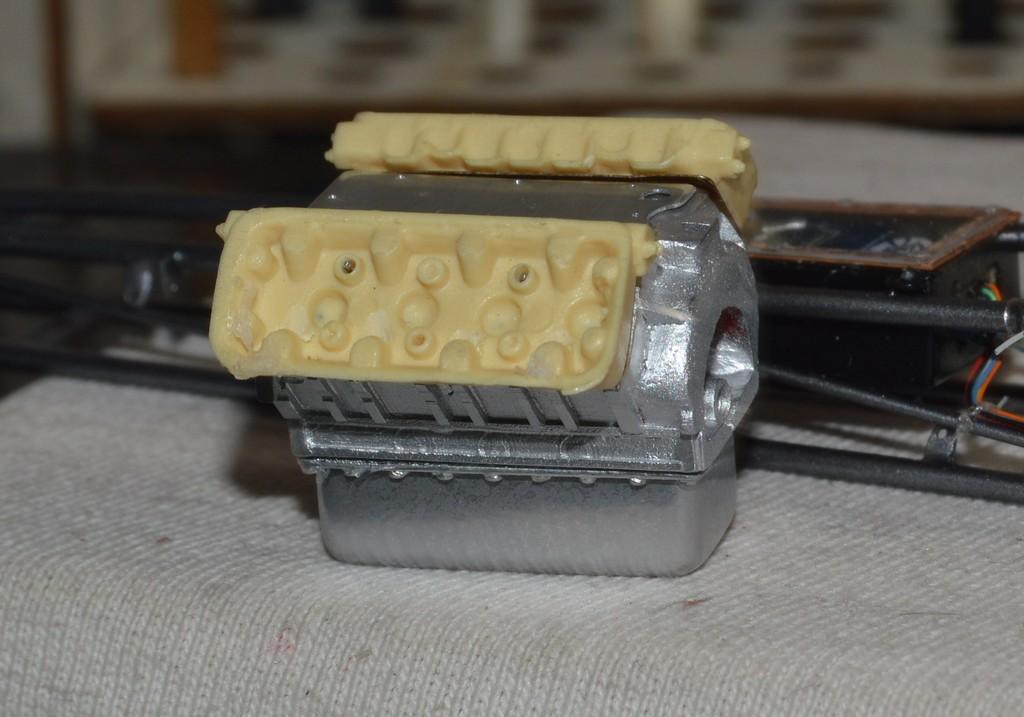
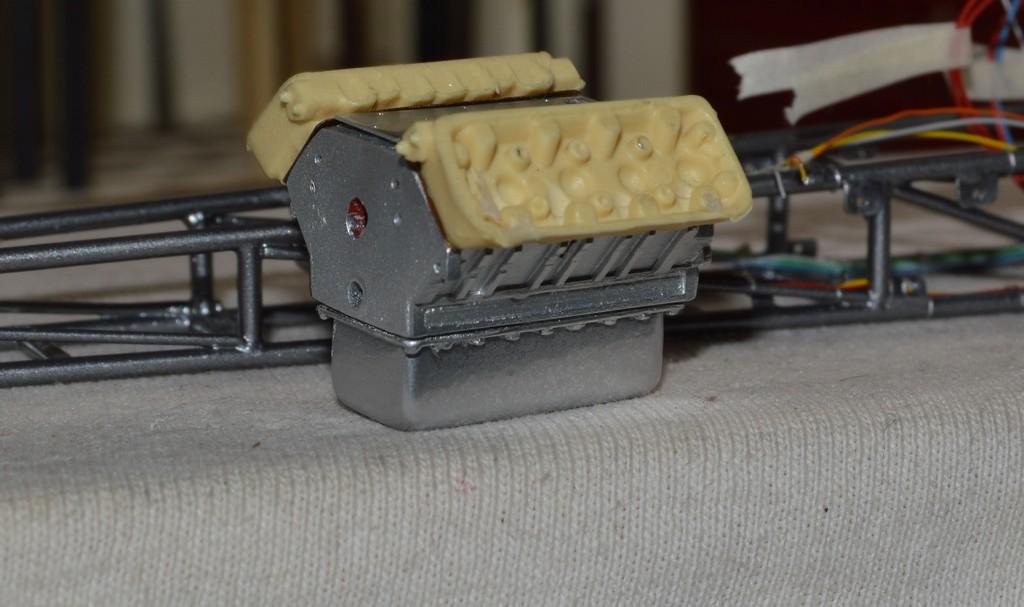
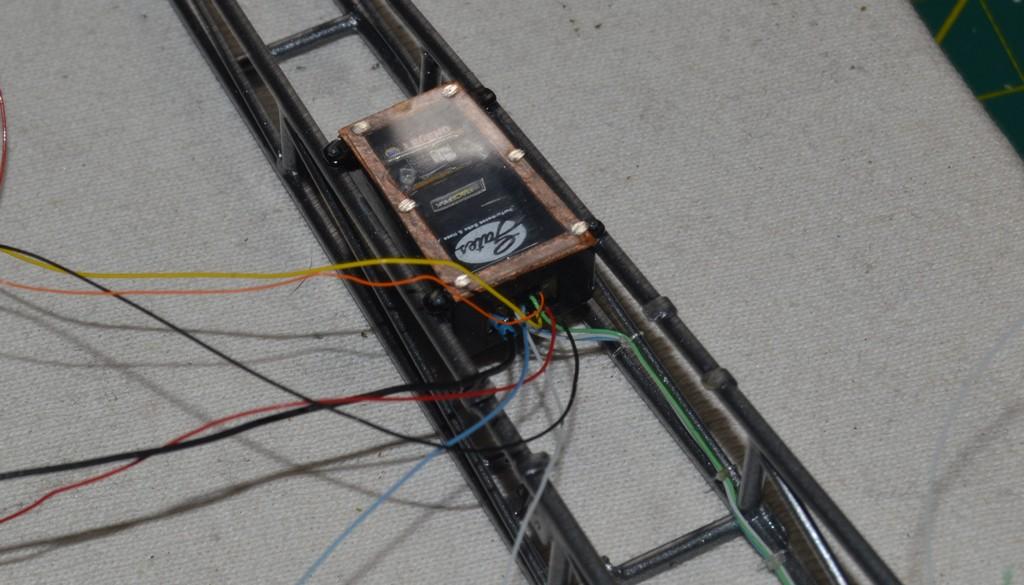
I got the T-handles finished and installed. I also started work on the engine; I painted the oil pan and the block. Block is Testors Buffing Aluminum Metalizer, pan is Krylon Original Chrome oversprayed with Model Master Semi-Gloss Clear spray.. I need to make the connections to the rear wheel speed sensors, and tie down those wires, yet, as well. Your questions, comments and/or critiques are always welcomed. Thanks for looking!
-
I just bought one of the most recent '69s. I'll be doing a 1975 M/P car, for the very reason you mentioned. Of course, it's perfectly fine, for that.
-
Scale model building good for the brain
Straightliner59 replied to atomicholiday's topic in Tips, Tricks, and Tutorials
I think modeling most definitely improves, and helps to maintain problem-solving skills and critical-thinking skills. Many times, I figured out a way to solve a real world problem, because of problems I'd encountered while modeling. -
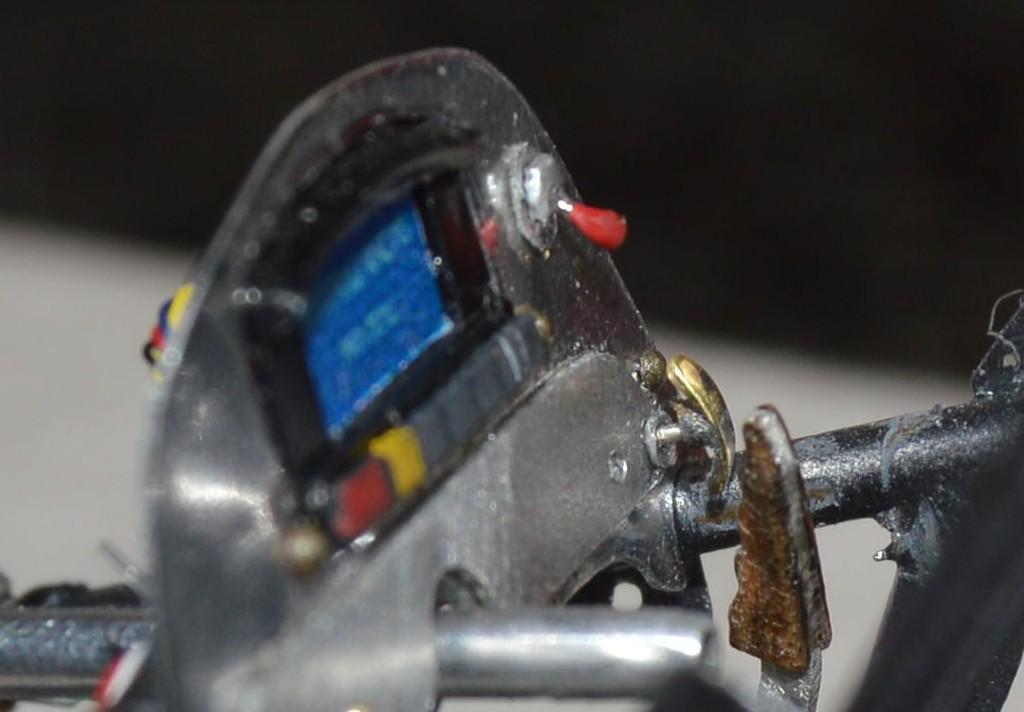
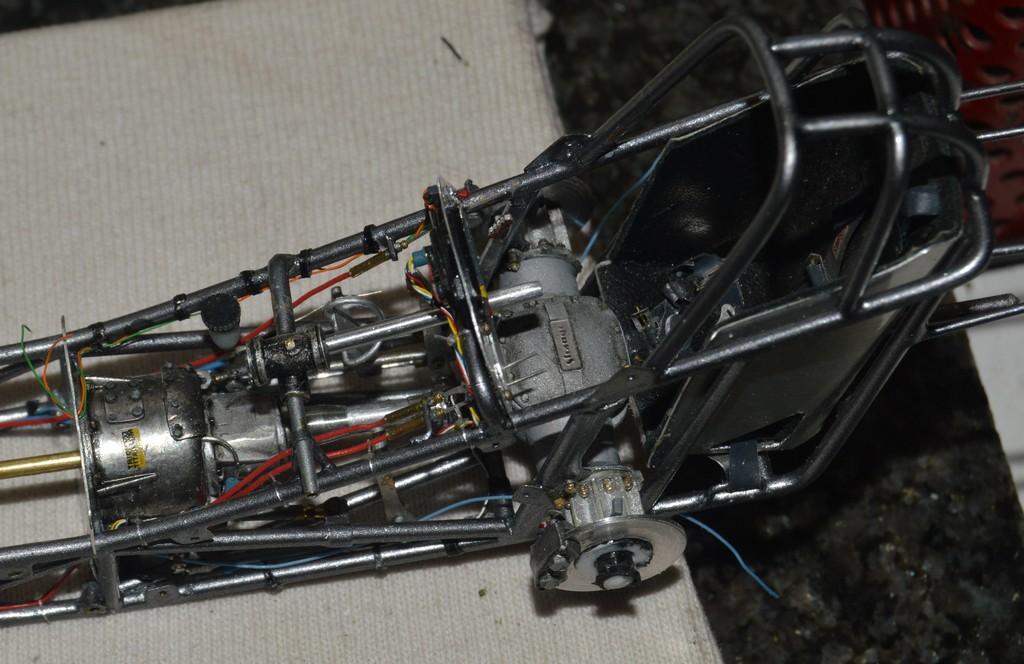
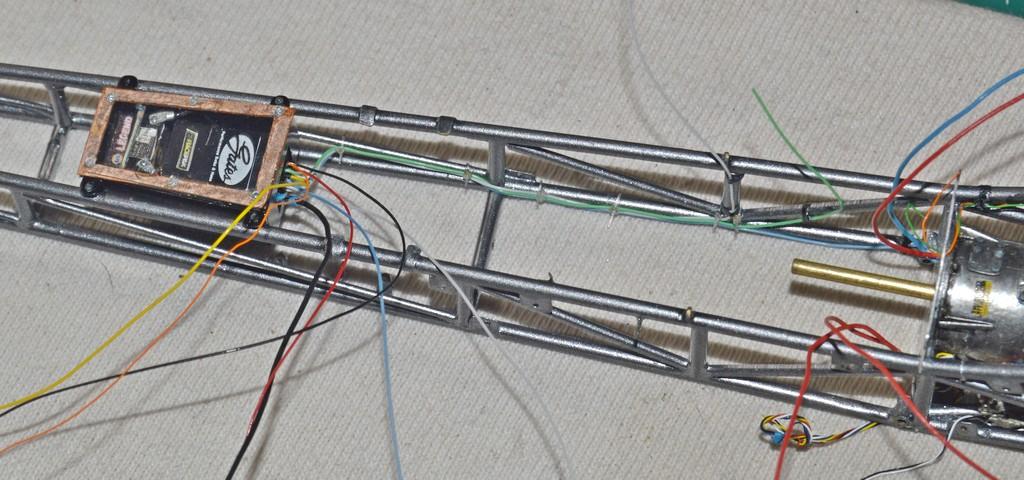
I got two of the three T-handles for the fuel controls made. The third one didn't solder well, so, i will solder up a new one. The bases are .032" brass tube. The handles are brass shim stock that was cut, and sanded to shape, after soldering. They were then polished with 4-way polishing sticks. They'll be cut to length and mounted to the shafts protruding from the dash panel, once those have been cut to proper length. The handles were curved by pressing them into the appropriately-sized divot on the dapping block. That keeps them all the same radius. Here are a couple more shots of the chassis and wiring, too. All that's left with that is to make connectors, and hook up the axle speed sensors. I'm pretty stoked to have my T-handles!
-
Back in the mid-'70s, I built an MPC '68 'Cuda to comply with NHRA's 1975 MP rules. Since the '68 isn't so easily obtained--at least inexpensively--I picked this one up. It arrived, today. I plan on building it according to the same parameters. This time, instead of cutting out the rear axle, and rebuilding that area, I will use the chassis from the AMT'71 Duster. I actually have the cross-ram manifold from the old one. Just as an homage, I may use it. I'll be using Joseph's carbs, this time, though!
- 39,074 replies
-
- 3
-

-
- johan
- glue bombs
- (and 1 more)
-
I remember building this one, when it was newly released! Currently, I have the Buyers' Choice version of the '32Sedan/Phaeton.
-
Looking for news about, Master Builder Pat Covert.
Straightliner59 replied to stavanzer's topic in Where's Waldo?
Last I heard, Pat was writing for a gun magazine (no pun intended), as I recall. I don't know if he's building, or not. His stuff was usually interesting, and informative. -
Looks great! I've only ever seen one other model of it. That one was built by Neil Van Zile. It's one of my favorite old drag cars, just for its dedication only to being quick and fast, and absolutely eschewing aesthetics. Excellent job, sir!
-
’72 Dodge Demon Drag Racer 1/25 scale
Straightliner59 replied to AmericanMuscleFan's topic in WIP: Drag Racing Models
It's been over a month, since Francis posted anything, here. I hope that's just because he's busy. -
Thanks, Marcos! The details are only insane, because I am! ?
-
1932 ford saltlake car
Straightliner59 replied to charlie libby's topic in WIP: Other Racing: Road Racing, Land Speed Racers
Absolutely beautiful work! Those carbs are extra sweet! -
Shirley Shahan’s Hornet Pro Stock
Straightliner59 replied to dragcarz's topic in WIP: Drag Racing Models
Excellent! Glad you can now proceed! Looks great! -
I had a '71 Duster annual that was yellow, as well. I have a '71 Vega that's white.
-
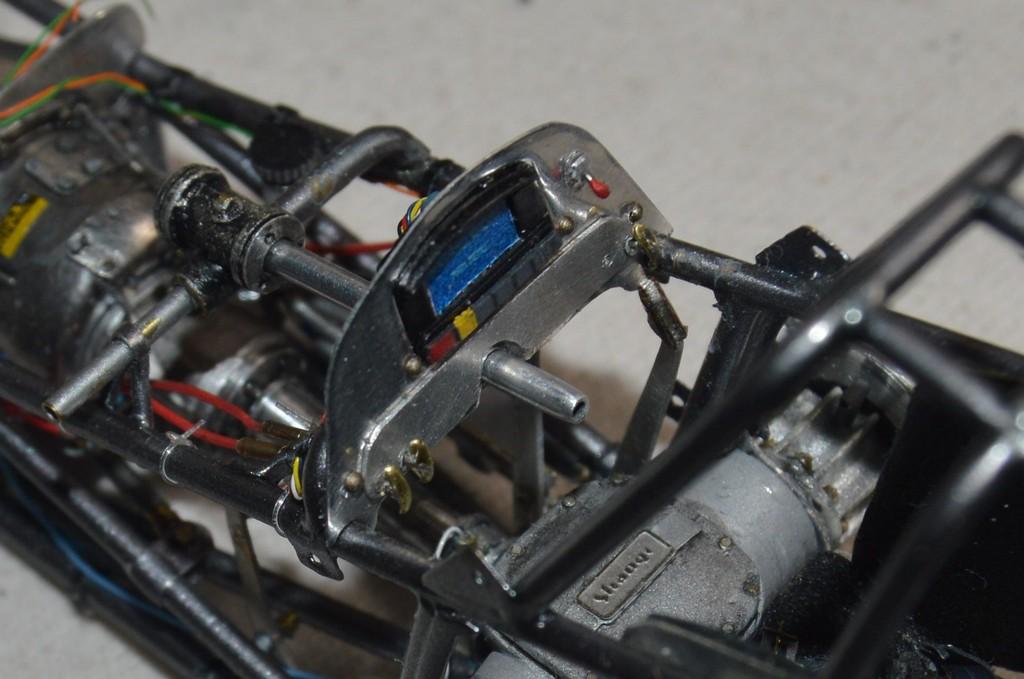
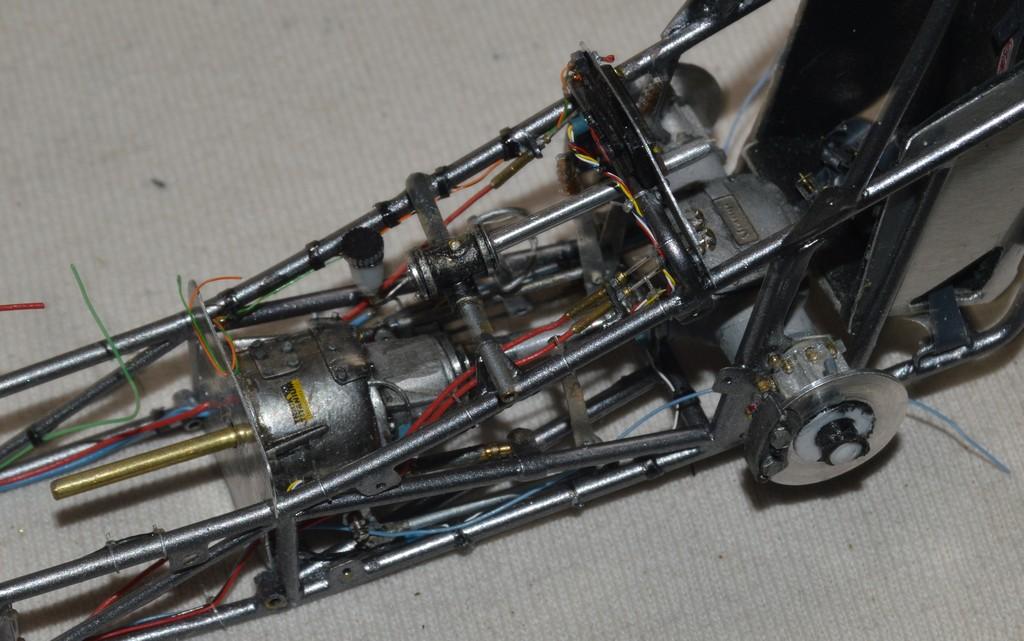
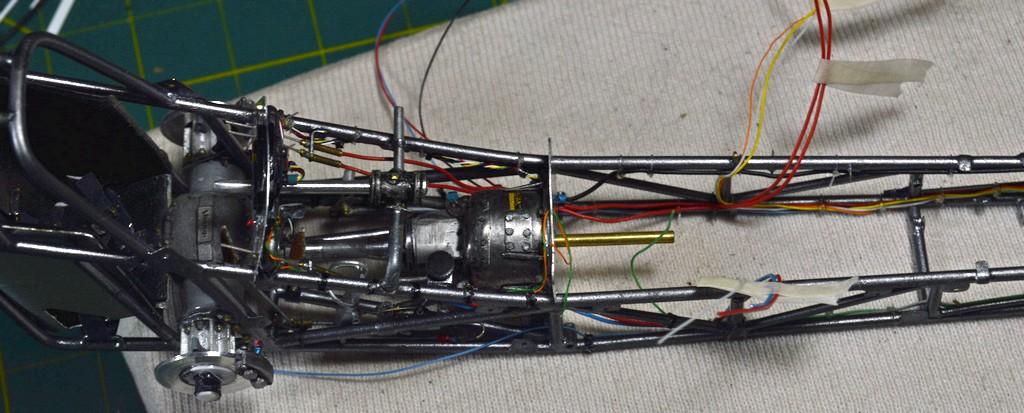
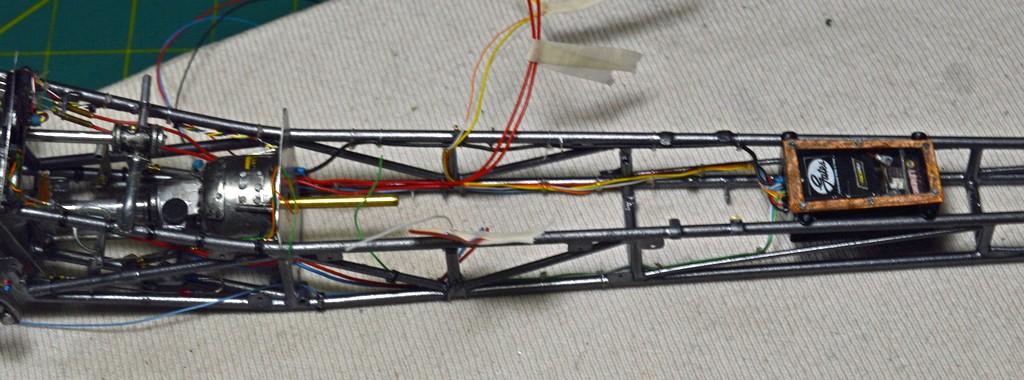
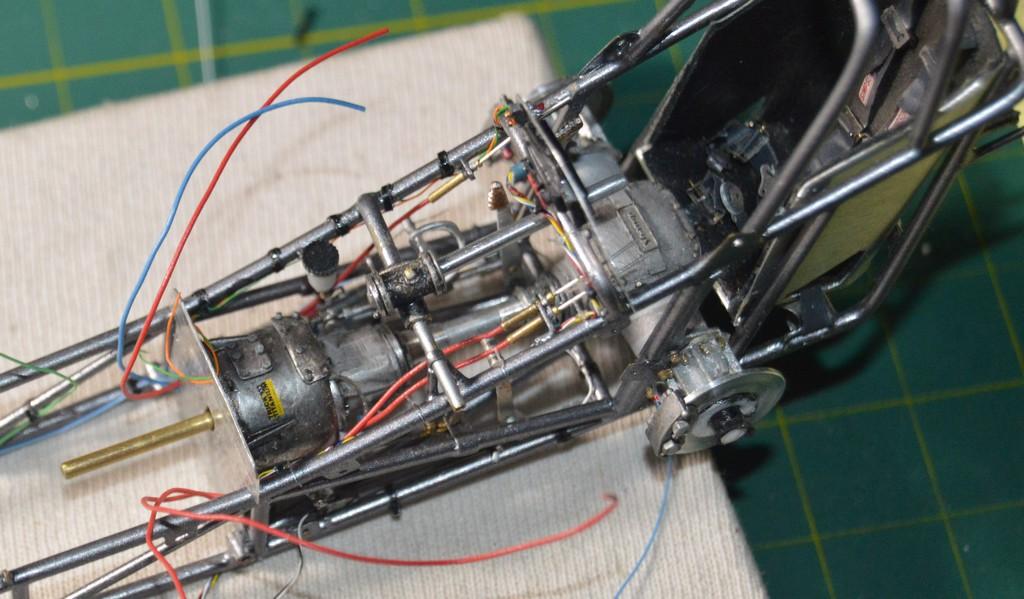
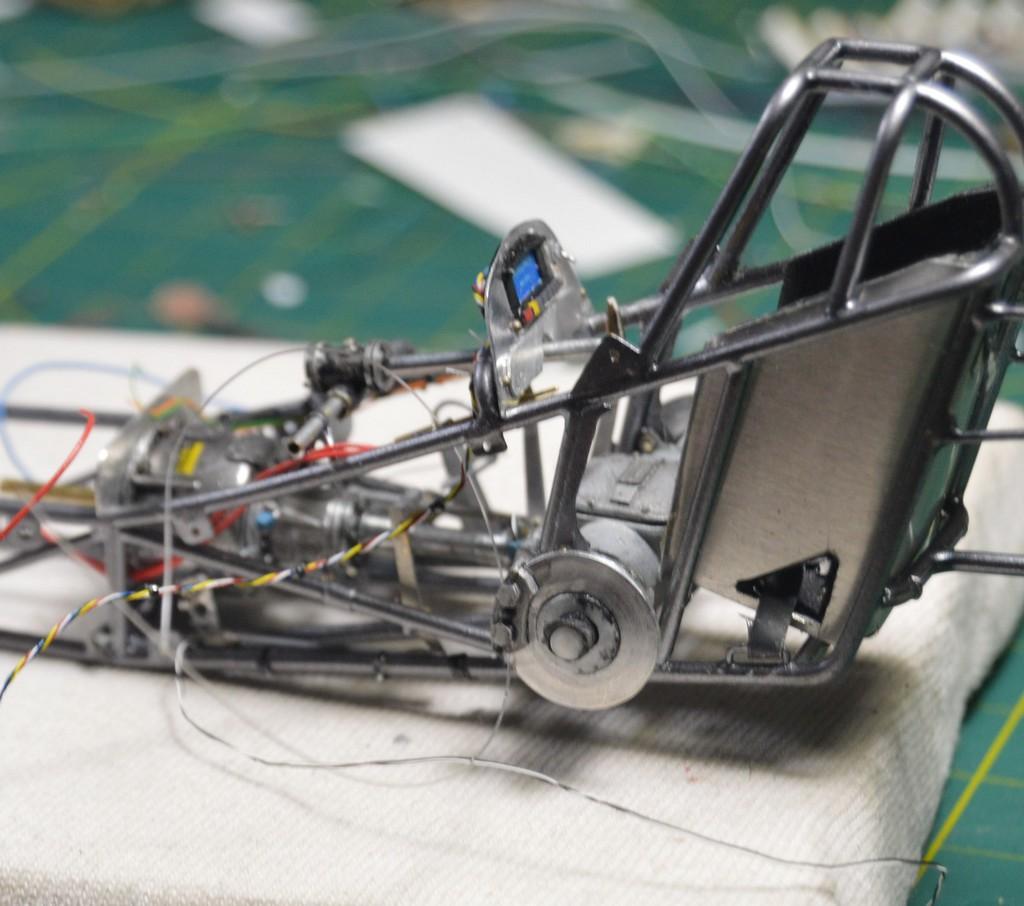
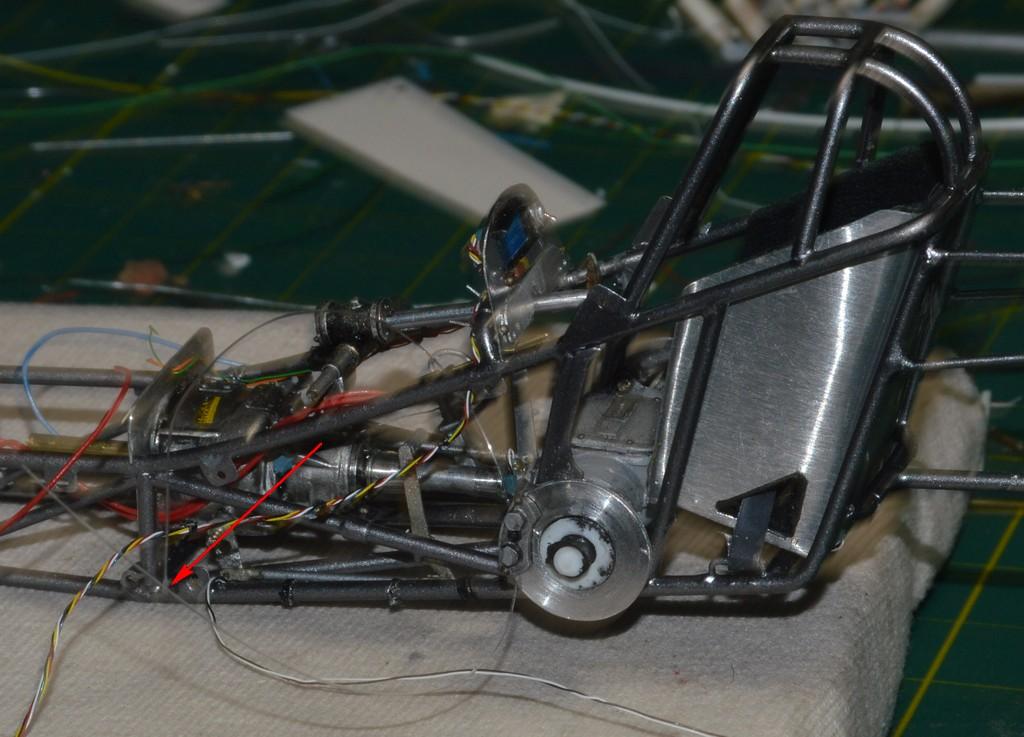
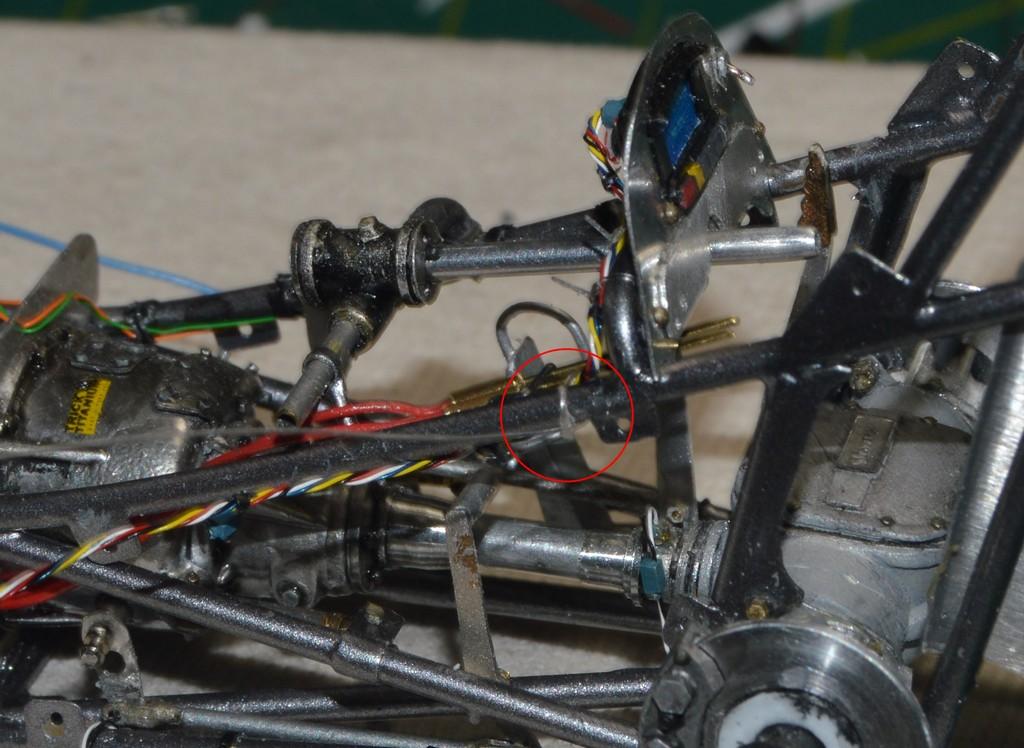
Everything forward of the motor plate is tied down, with the exceptions being the connections that need to wait for the engine. It took 30 or 31 zip-ties, and probably about 20 hours of work to get it here, but, I am pretty happy with the way it turned out. Hoping to get a couple of the rear connections made, before bed. Your critiques, comments and questions are always welcomed. Thanks for looking!
-
Looks just like it ought to. Nice work, Jim!
-
Scratchbuilding-Where to begin?
Straightliner59 replied to olschoolkid's topic in Model Building Questions and Answers
That's some nice looking stuff ya' got, there! Renshape? -
Just awesome! There is nothing not to like, here! Great job!
-
It's well worth the wait. I think I was working in a hobby distributorship, when these came out. That's almost 35 years ago, I would guess. Thank you for the kind words, re: the dragster. It looks like I'm not too far off, from building the motor!
-
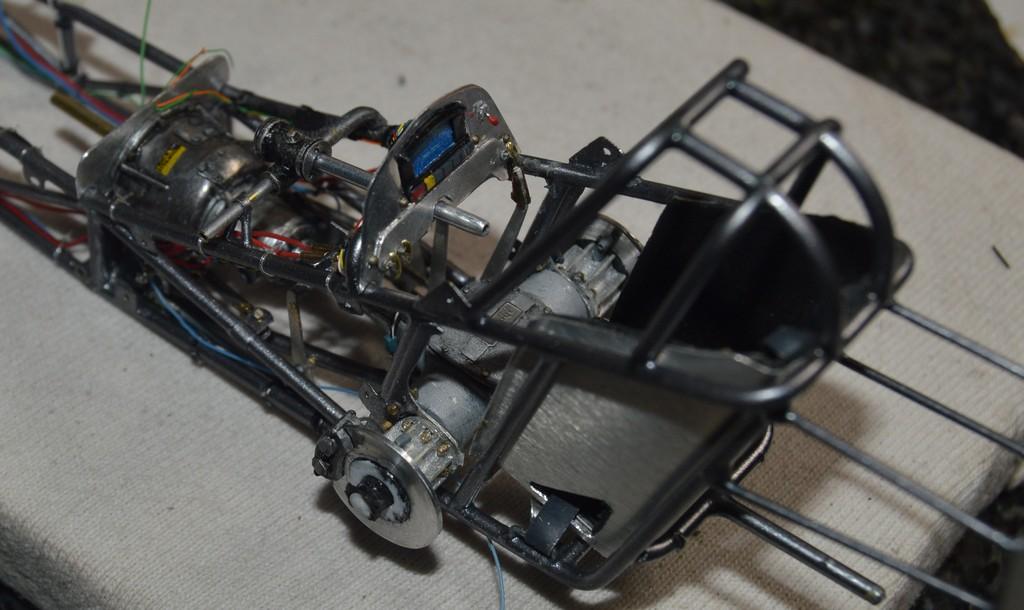
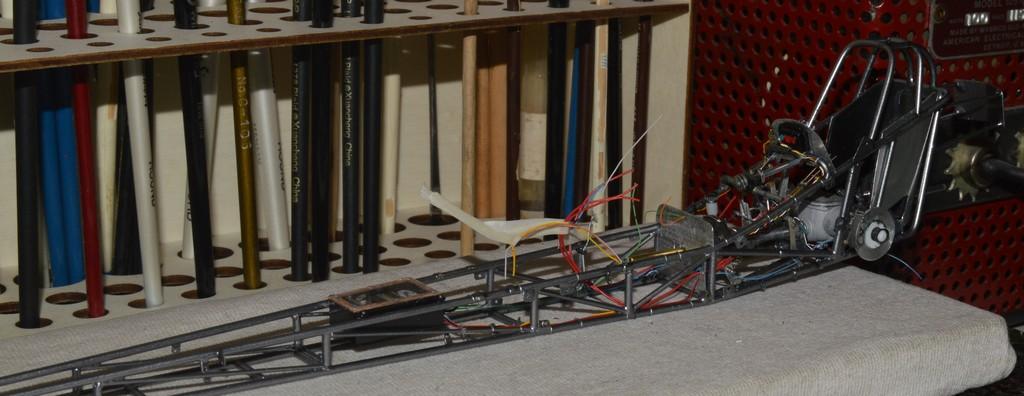
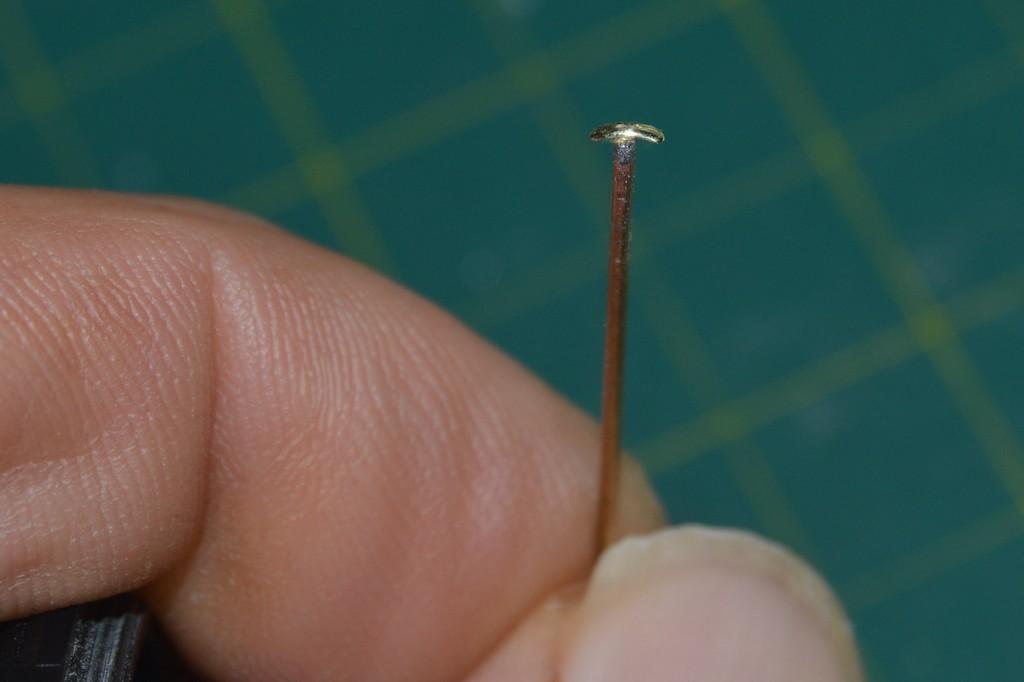
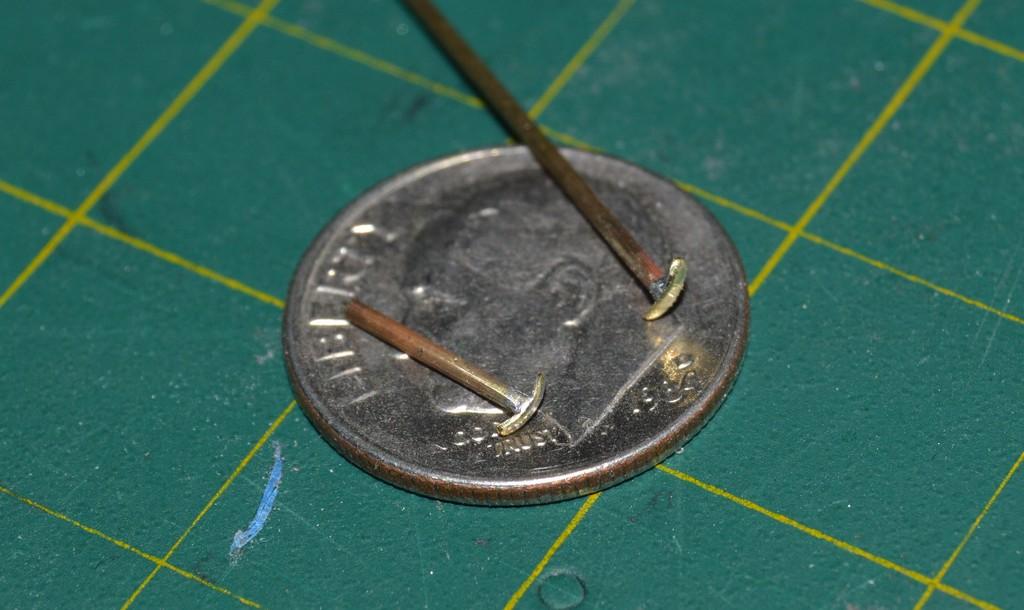
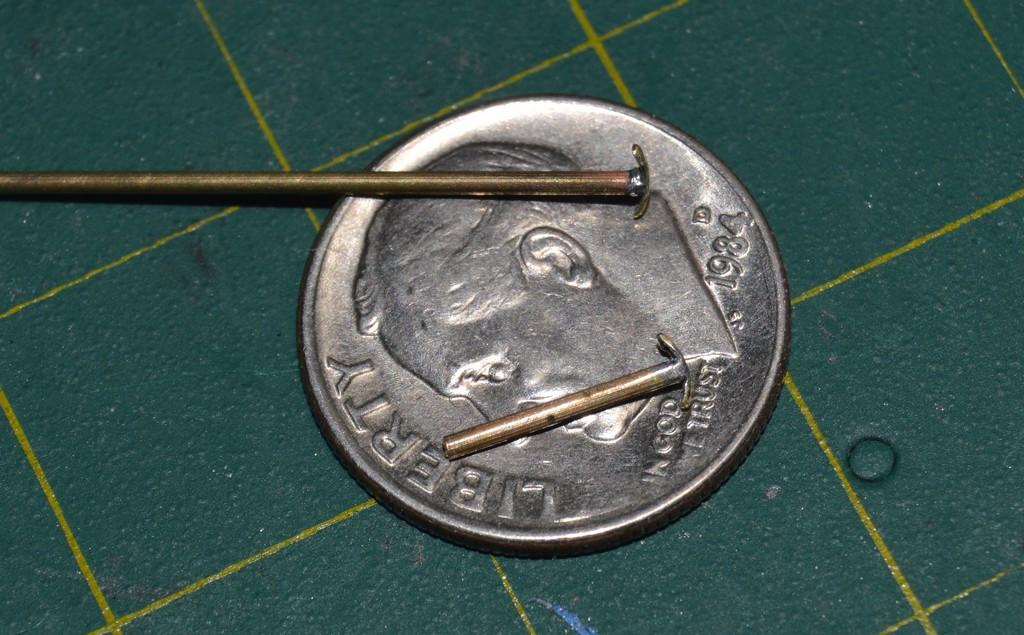
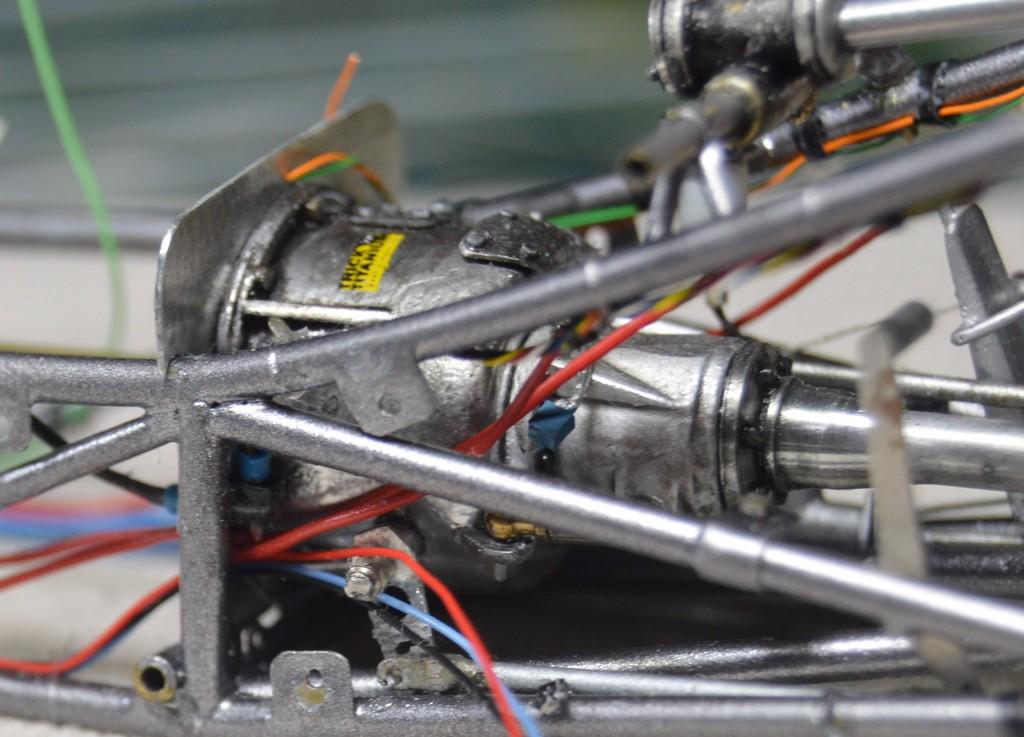
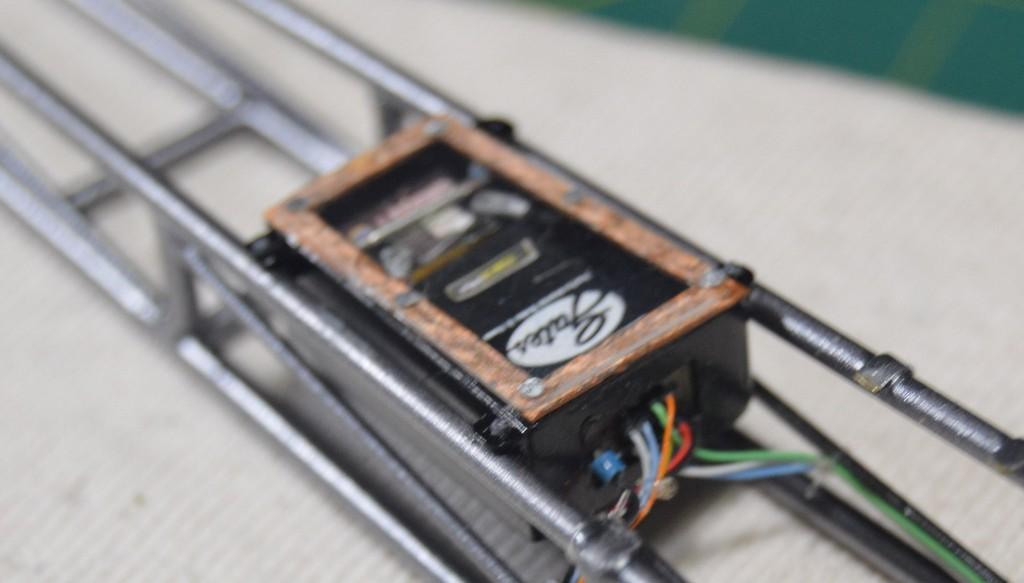
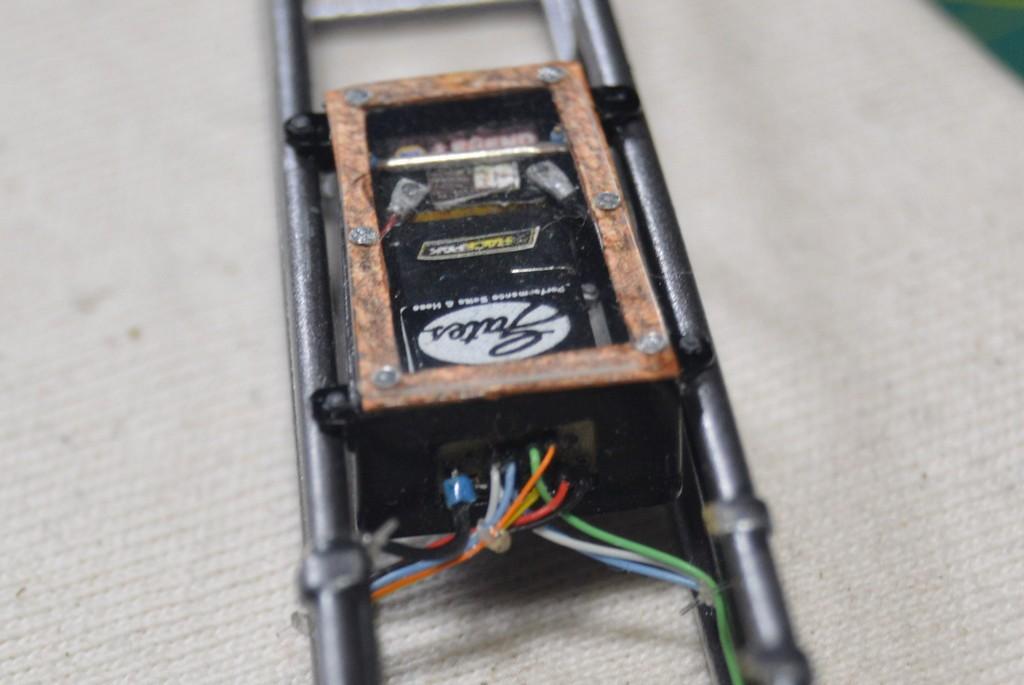
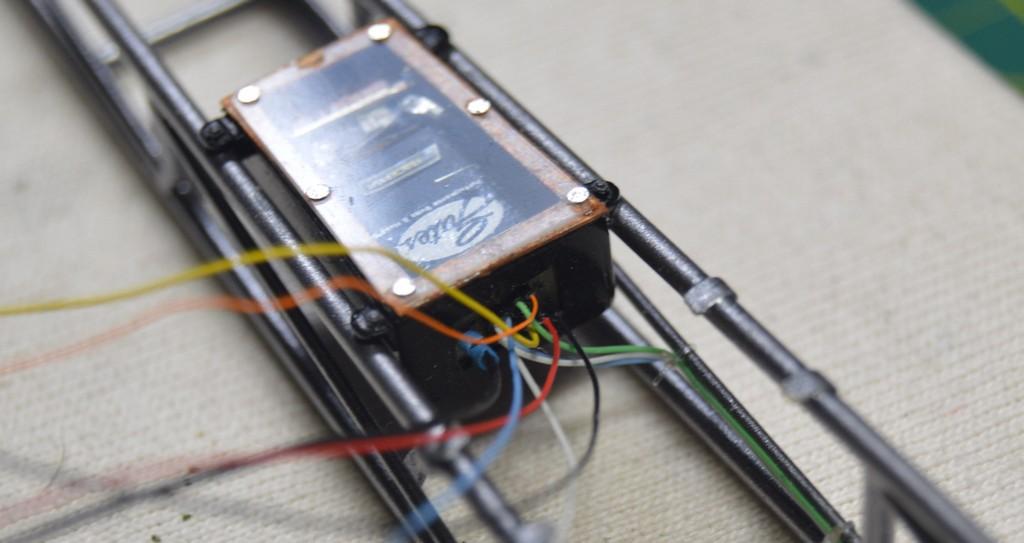
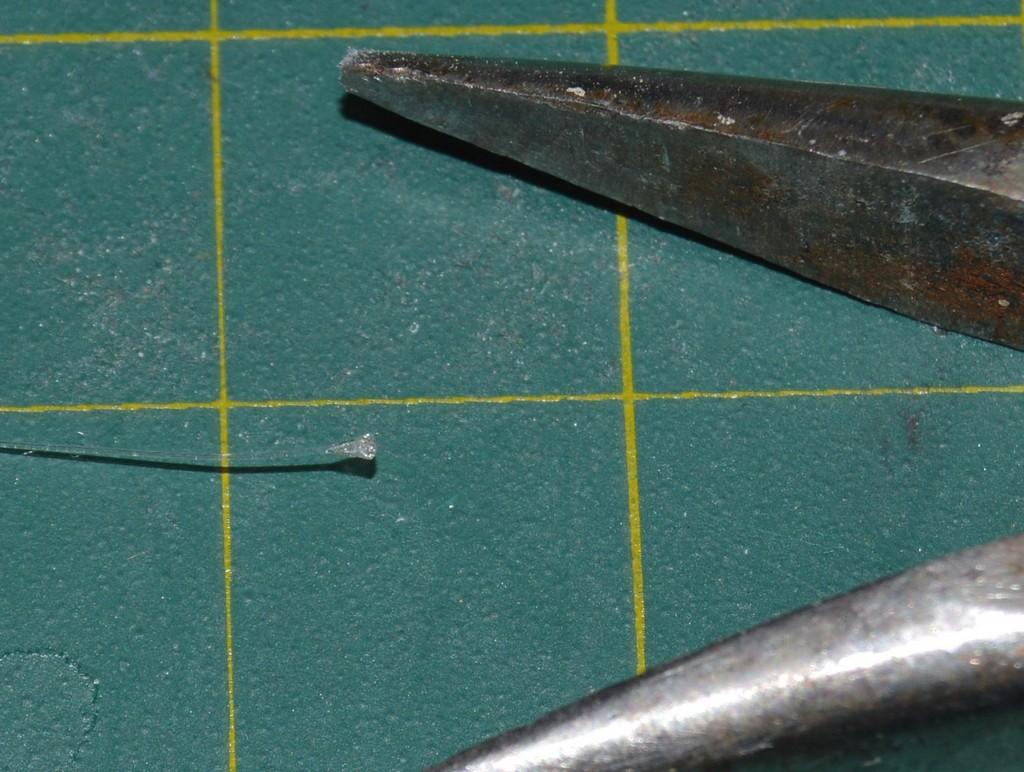
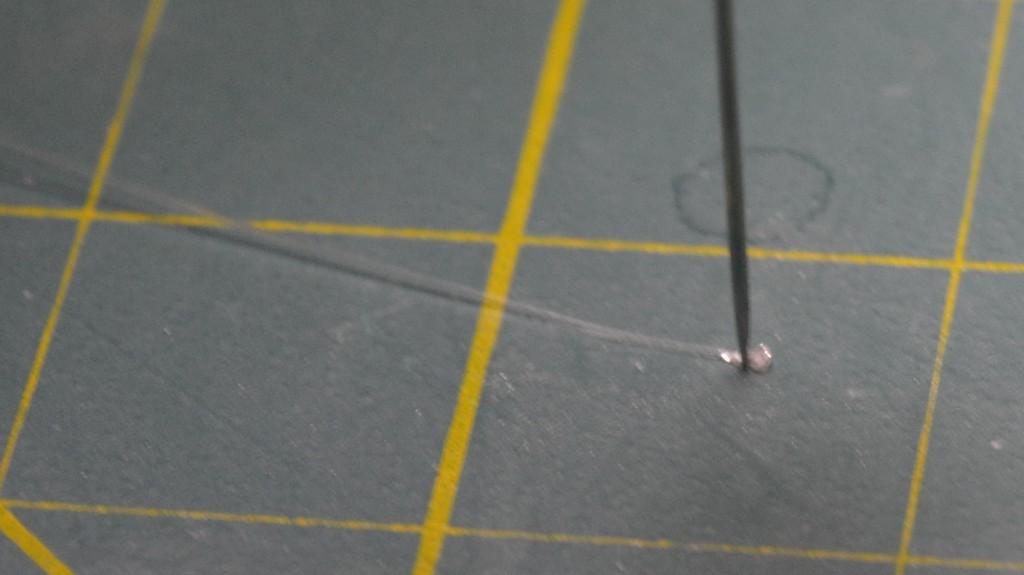
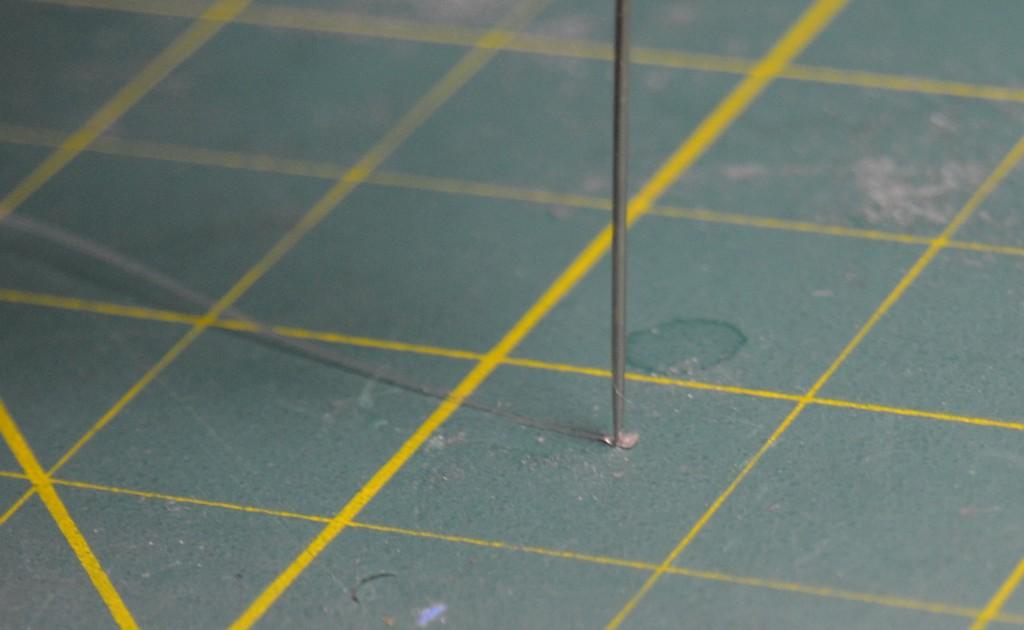
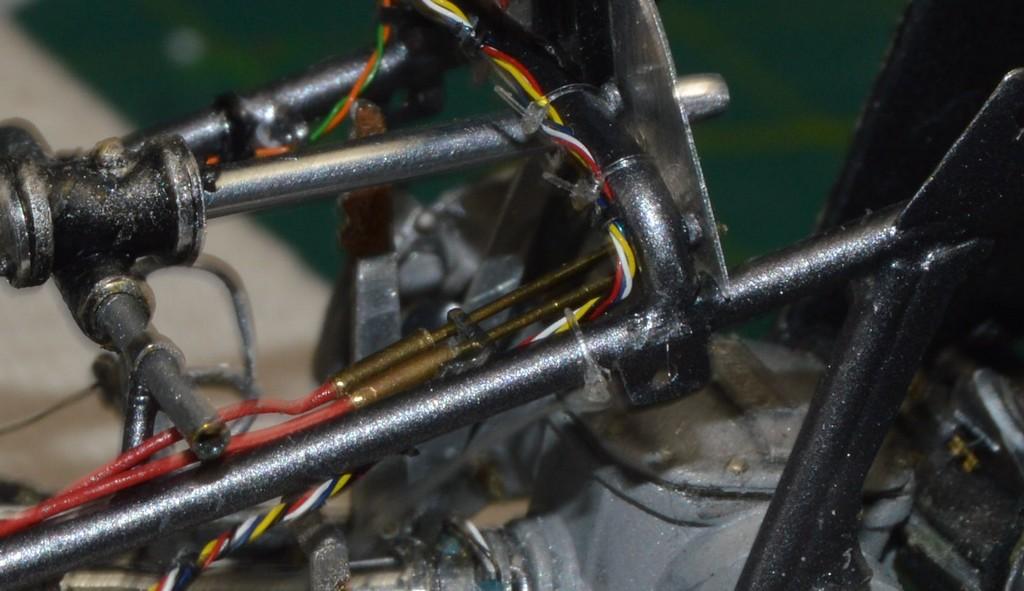
I have begun running, and tying down the cables from the E-box. The right side is done, except for pulling that line through the cockpit, and around the rear of the axle, to the sensor. That process will be the same, on the other side of the chassis. I got the cable and shaft installed for the fuel shutoff, as well. The next conundrum to figure out is the connection at the motor plate, between the main harness, and its counterpart that hooks into the E-box. I have an idea. We'll see... I am attaching photos, as well, of the process of making the zip-ties. It's pretty straightforward. I simply push a length of nylon monofilament toward a flame, until it melts, and forms a bead, at the end. Mash the bead (The mono can be totally cooled--that's fine!) in a set of smooth-jawed pliers. Poke a hole in the center of the flattened area using a straight pin, or a sewing needle. Now, just wrap a loop of the mono around the items you want to tie together, push the loose end of line through the newly-formed eye, at the opposite end, and pull the line taut. Hit the joint with some CA adhesive, then firmly push it together with fine-pointed tweezers. Trim the end, and you're done! Questions comments and critiques are welcomed. Thanks for looking!