Straightliner59
-
Posts
5,814 -
Joined
-
Last visited
Content Type
Profiles
Forums
Events
Gallery
Everything posted by Straightliner59
-

Pre-building
Straightliner59 replied to Sidney Schwartz's topic in Model Building Questions and Answers
The absolute best way, is to drill and pin everything--at least when scratchbuilding. That makes every assembly repeatable. Otherwise, the Alene's Tacky Glue Jim showed above is what I use--and a lot of other builders, too! -
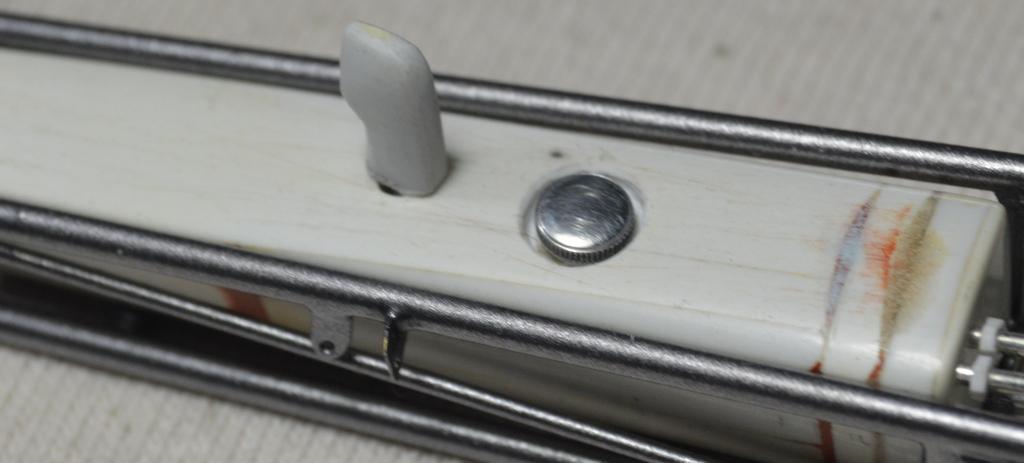
I did some more work to the dash panel. I had some mis-drilled holes. Rather than make a new gauge panel, I simply added a brushed aluminum faceplate for the kill switch, fuel shutoff, hi-lo, and hi-speed knobs (rather than the usual handles/levers). I also finally installed the data link for the driveshaft speed. I'll finish the dash. I'm still undecided on how to do the readout,whether although a dark face seems logical, if boring, compared to LED decals. Thoughts? Thanks for looking!

-
Wire Tie Downs from Aluminum Cans
Straightliner59 replied to StevenGuthmiller's topic in Tips, Tricks, and Tutorials
36 ga. tooling aluminum works very well. It's nicely pliable. Hobby Lobby has it by the roll, by Maid-O-Metal. -
Ah! I never made the connection. Duh...? It's looking fantastic!
-
I have a Nikon D3200. I originally bought it to shoot the Northern Lights, knowing it would also work fine for models, as well. It's a DSLR, but, once you're familiar with it, it's as easy to operate as a point and shoot--which it basically is, in "Auto" mode. That's what you should use to shoot model cars with anyway, isn't it??
-
Auto metallics, grain size.
Straightliner59 replied to D.Pack's topic in Model Building Questions and Answers
In my not so recent memory; wasn't there a 1:1 paint product back in the '70s called "Mirra"? As I recall, it had iridescent flakes, the size of glitter! Our auto shop teacher, at the time did custom paint. He was always being asked by kids who couldn't afford it, if he could paint a "muriel" on their car. They'd want that stuff as a night sky. He always said he was tempted to paint a giant cigar, down the sides of somebody's car!? He said he'd have done that, for free. -
Issue 219
Straightliner59 replied to TarheelRick's topic in Model Cars Magazine News and Discussions
Cool! I'd seen on FB a couple of weeks ago that it had been sent to the printer. -
Beautiful work, Ian. The 'chute release handles look excellent! Floor appears to fit, perfectly. Very nice work, my frend.
-
Originally, I had planned--even built a full body for it. The original body was made from tooling aluminum, thus was too soft. The nose and tail section are hammered and soldered tin. Those will be retained. When I discovered the 5"X7" flashing, I began to teach myself how to work it, annealing, shaping, etc. The body for my Junior Fueler was my first use of a finished, completed model using the flashing. I left it unpainted, because I wanted it evident that it was aluminum--it had to be pretty much perfect! Fast forward to re-convening this project. I had decided that the new body would be from flashing, and that, excepting the nose, the only tin in front of the motor plate would be the panels beneath the engine, and whatever is necessary to work with the front wings. Here is essentially what it'll look like, except with the engine sitting back down, where it belongs, and the body in black. Thank you for your kind words, my friend!
-
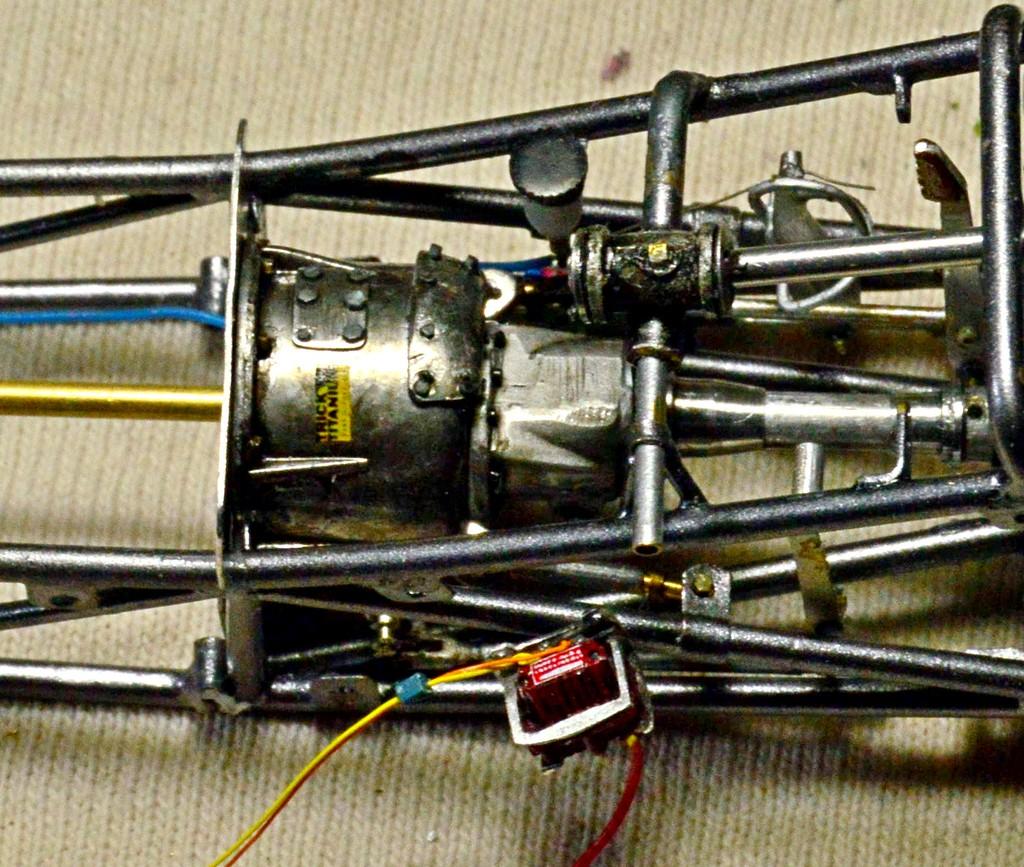
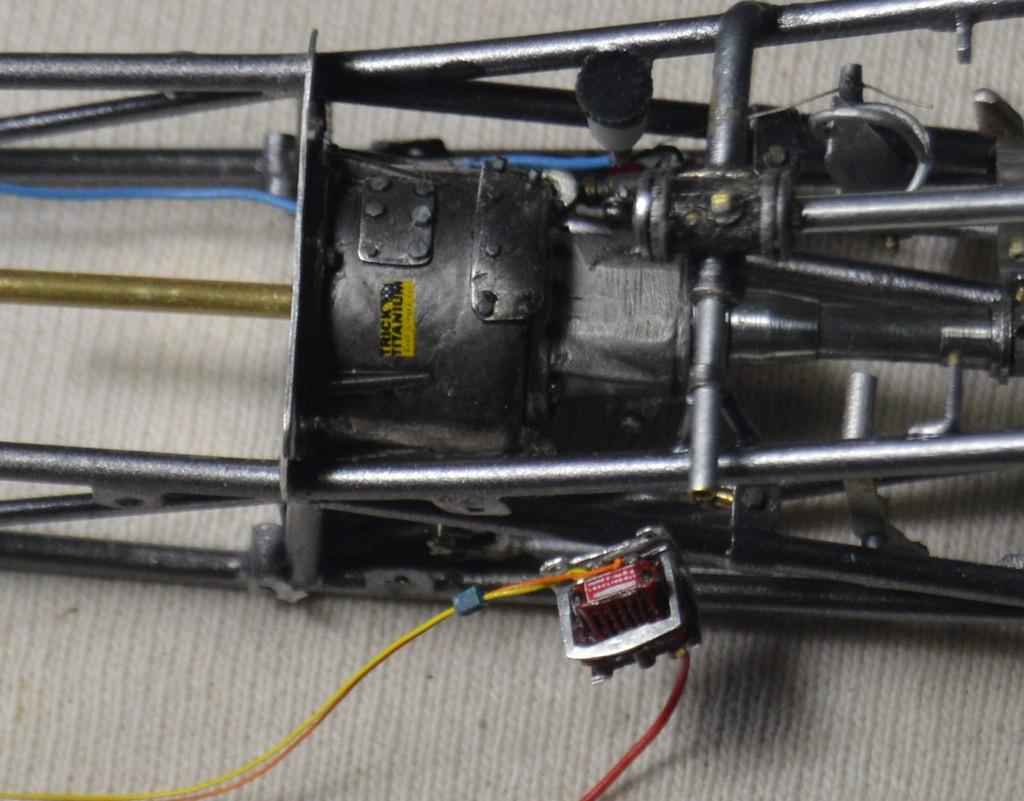
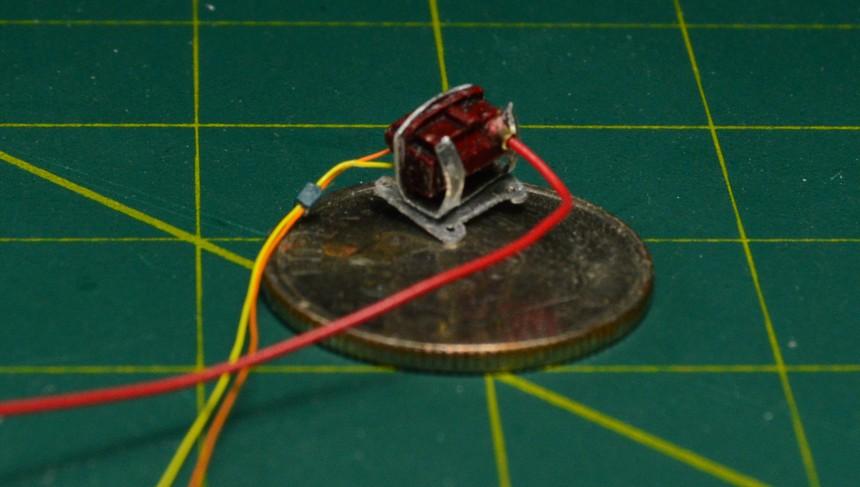
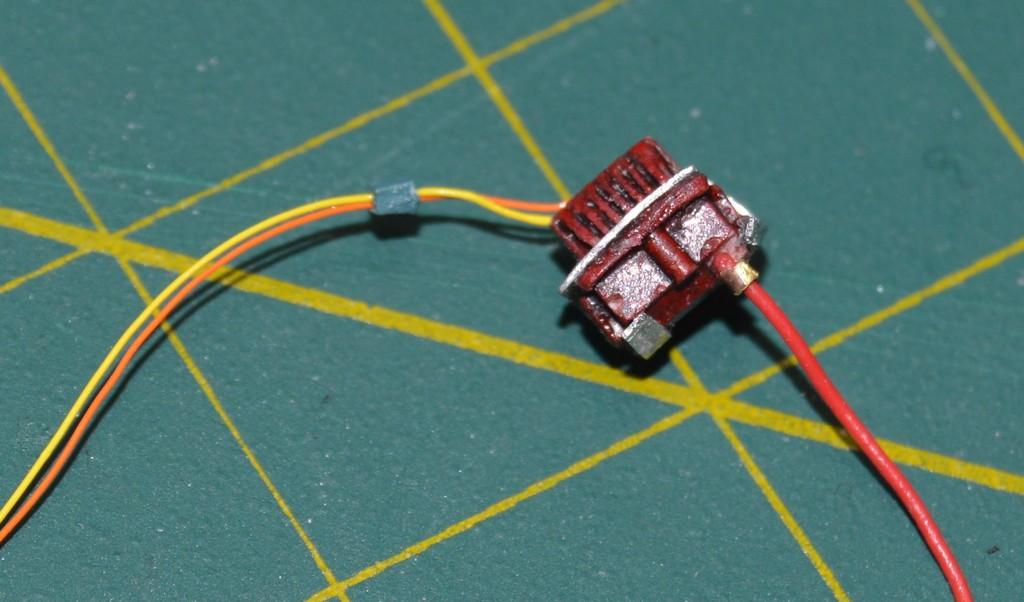
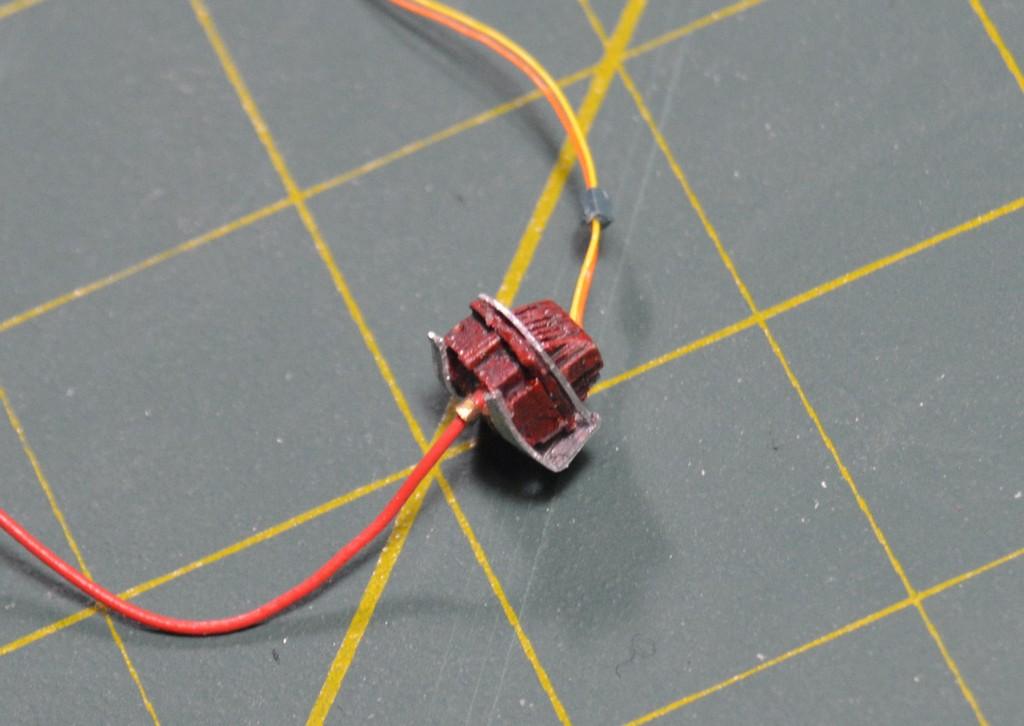
Here are the decal tags on the bellhousing and transformer. I also added a pair of Archer rivet decals to represent the screws that hold the top of the transformer on. I decided to turn a new filler cap for the fuel tank. It's since been finished with fine steel wool, rather than the polished finish, here. Questions, critiques and comments are always welcomed. Thanks for looking!
-
It was something Don Fahrni, Mark Brown and myself often discussed. Mark and I weren't really completing any projects, at that time, so we started saying that if you build each sub-assembly as a model in its own right, then you didn't have to admit to not ever finishing anything!? The trick is building enough of those little models to make one big model.
-
This is gorgeous, Andy! Good luck, my friend! I've been following Jim's Spirit Of America project. That's very cool.
-
Hope you're feeling better! Brakes look good. 'Chute castings worked out well!
-
I have done that thing, too!? Lenny's must be up around Oswego, somewhere--racers gotta' eat!
-
’72 Dodge Demon Drag Racer 1/25 scale
Straightliner59 replied to AmericanMuscleFan's topic in WIP: Drag Racing Models
The tinwork is sweet! The Pentastar is an excellent touch! -
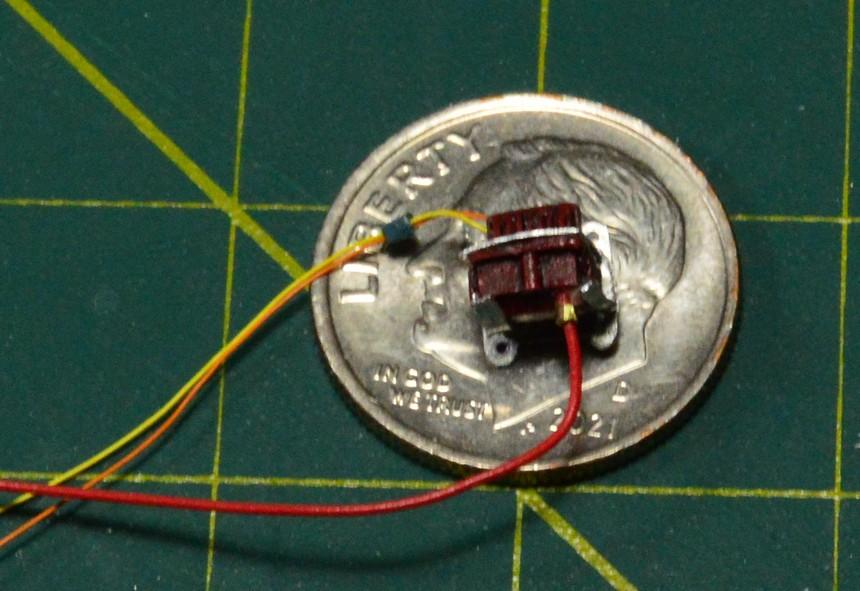
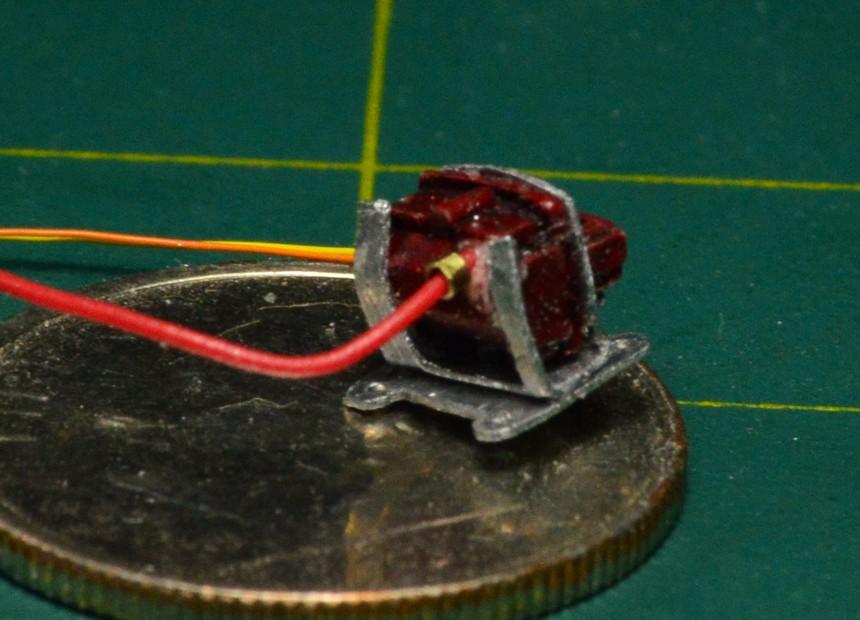
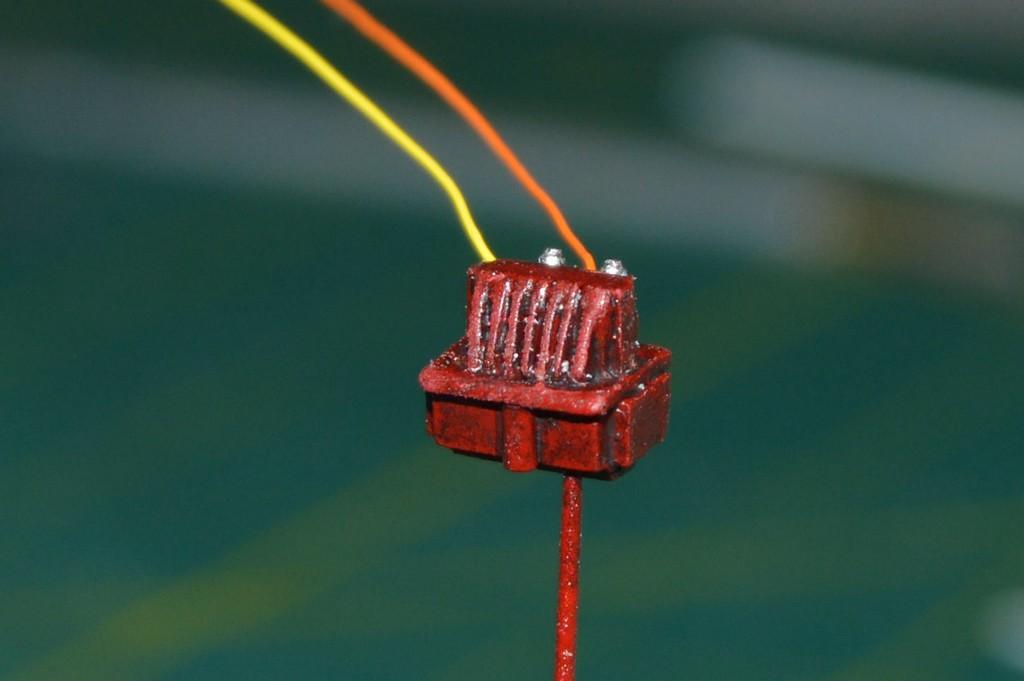
No doubt, Francis! Some of the smallest parts are the most complex assemblies. I think there are 20 bits of plastic, in this transformer. I found a label for the top of it on a Slixx sheet, and noticed it on several of their fuel car sheets. They also have the label for the Trick Titanium bellhousing, one for the mag and lettering for the blower belt. As always thank you for your support, in these endeavors! You're a man who understands my affliction.? Ian, I will most certainly cast the next one I build! I wanted to make the fins thinner, but I just couldn't get anything less than .010" to stand on edge--it didn't have enough surface to really create a bond. Every time I'd try to work on them, one or two would fall off. After that happened the second time--waiting for cement to cure roughly 24 hours both times, I switched to the heavier material. I appreciate your kind words, my friend.
-
I have had an airbrush and compressor for about 40 years, now. I still use spray bombs, every chance I get, because I'm happy enough with the results for my racers (they certainly don't need to be show-car shiny), and I'm satisfied with the results they provide on things like chassis, engines, etc. I use them, because I'm lazy about painting. I don't care, either!? I do wish I knew why that Rustoleum garbage seems to be proliferating, while Krylon seems to be disappearing. Krylon is a far superior product!
-
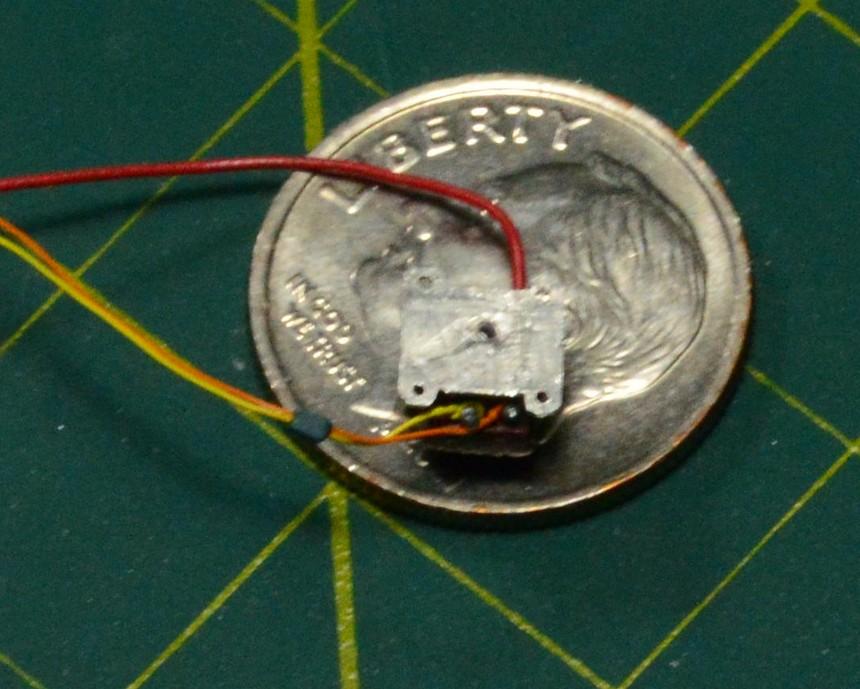
Thanks, Andy! Good luck in Salt Lake! Have a great time. I got the rear plate fabricated and attached to the transformer. I think I am down to four pieces to add, now. Then, I'll have to figure out where/how to mount it. I'm leaning toward bolting it to the water outlet, alongside the mag. It's not perfect, but it looks the part (no pun intended).Comments, questions and critiques are always welcome. Thanks for looking!
-
I got some more work done on the transformer. I made the bracket from flashing. I still need to cut out the back part of the bracket. I'll glue it to the solid area on the "back" side of the transformer. It's the only way I could figure to get both the vertical and horizontal pieces of the bracket. I also have a couple of other small details to add to the box/bracket interface. The top section/cap needs a couple of screw heads, and I'm hoping to make a passable label for the cap, as well. So far, I'm pretty satisfied with it. Comments and stuff are always welcomed. Thanks for looking!
-
Yes!
-
All I can tell you is that I bought a couple of cans, several years ago, and have used any of it, once! I experienced the same things you did. Lowe's carries Krylon. Hobby Lobby does, too--at least in this area. I've been using Krylon for 50 years. It's never failed me. I've accidentally put it on too heavily, but I have never had an issue with their paint. Krylon=Good. Rustoleum=Not So Good!
-
These are good projects to design local sponsorship art for. I always have a blast, doing that! I'm looking forward to seeing the finished numbers, too.
-
Oh, yeah!
-
Very cool, Bernard! That's a great blue!
-
This thing is simply gorgeous, Andy. Fabulous work!