StevenGuthmiller
-
Posts
15,071 -
Joined
-
Last visited
Content Type
Profiles
Forums
Events
Gallery
Everything posted by StevenGuthmiller
-
Already did it. Steve
-
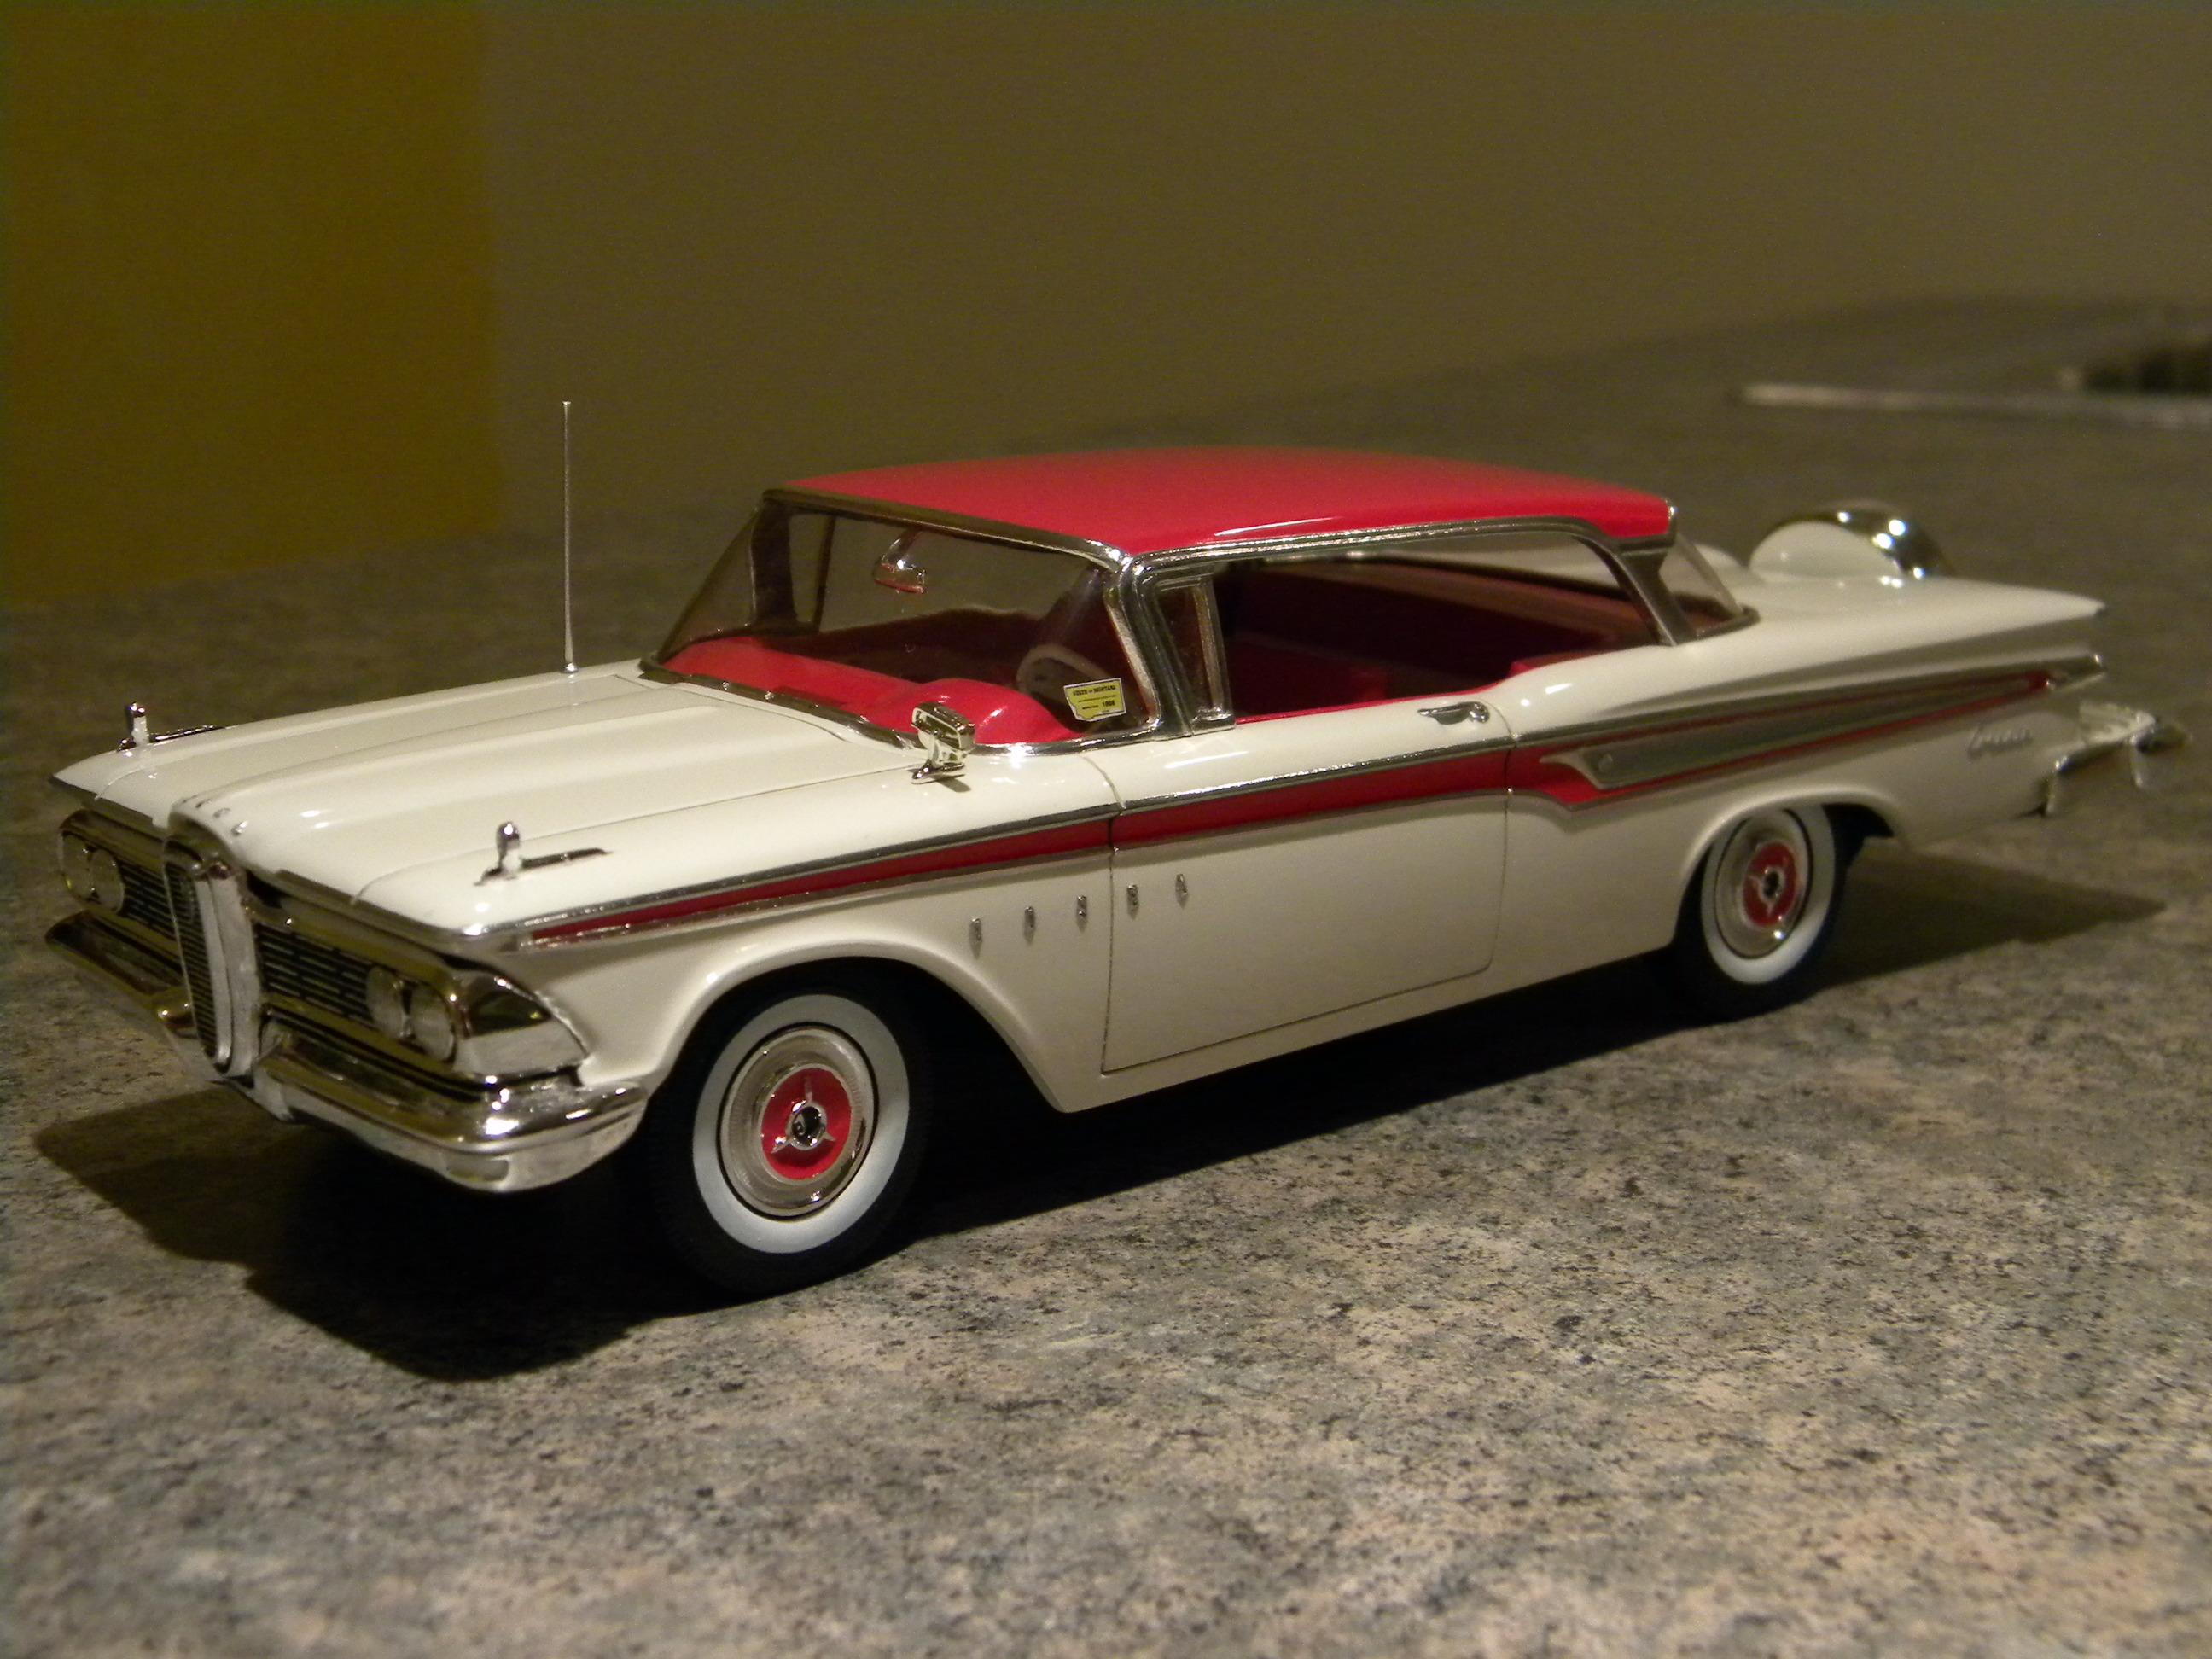
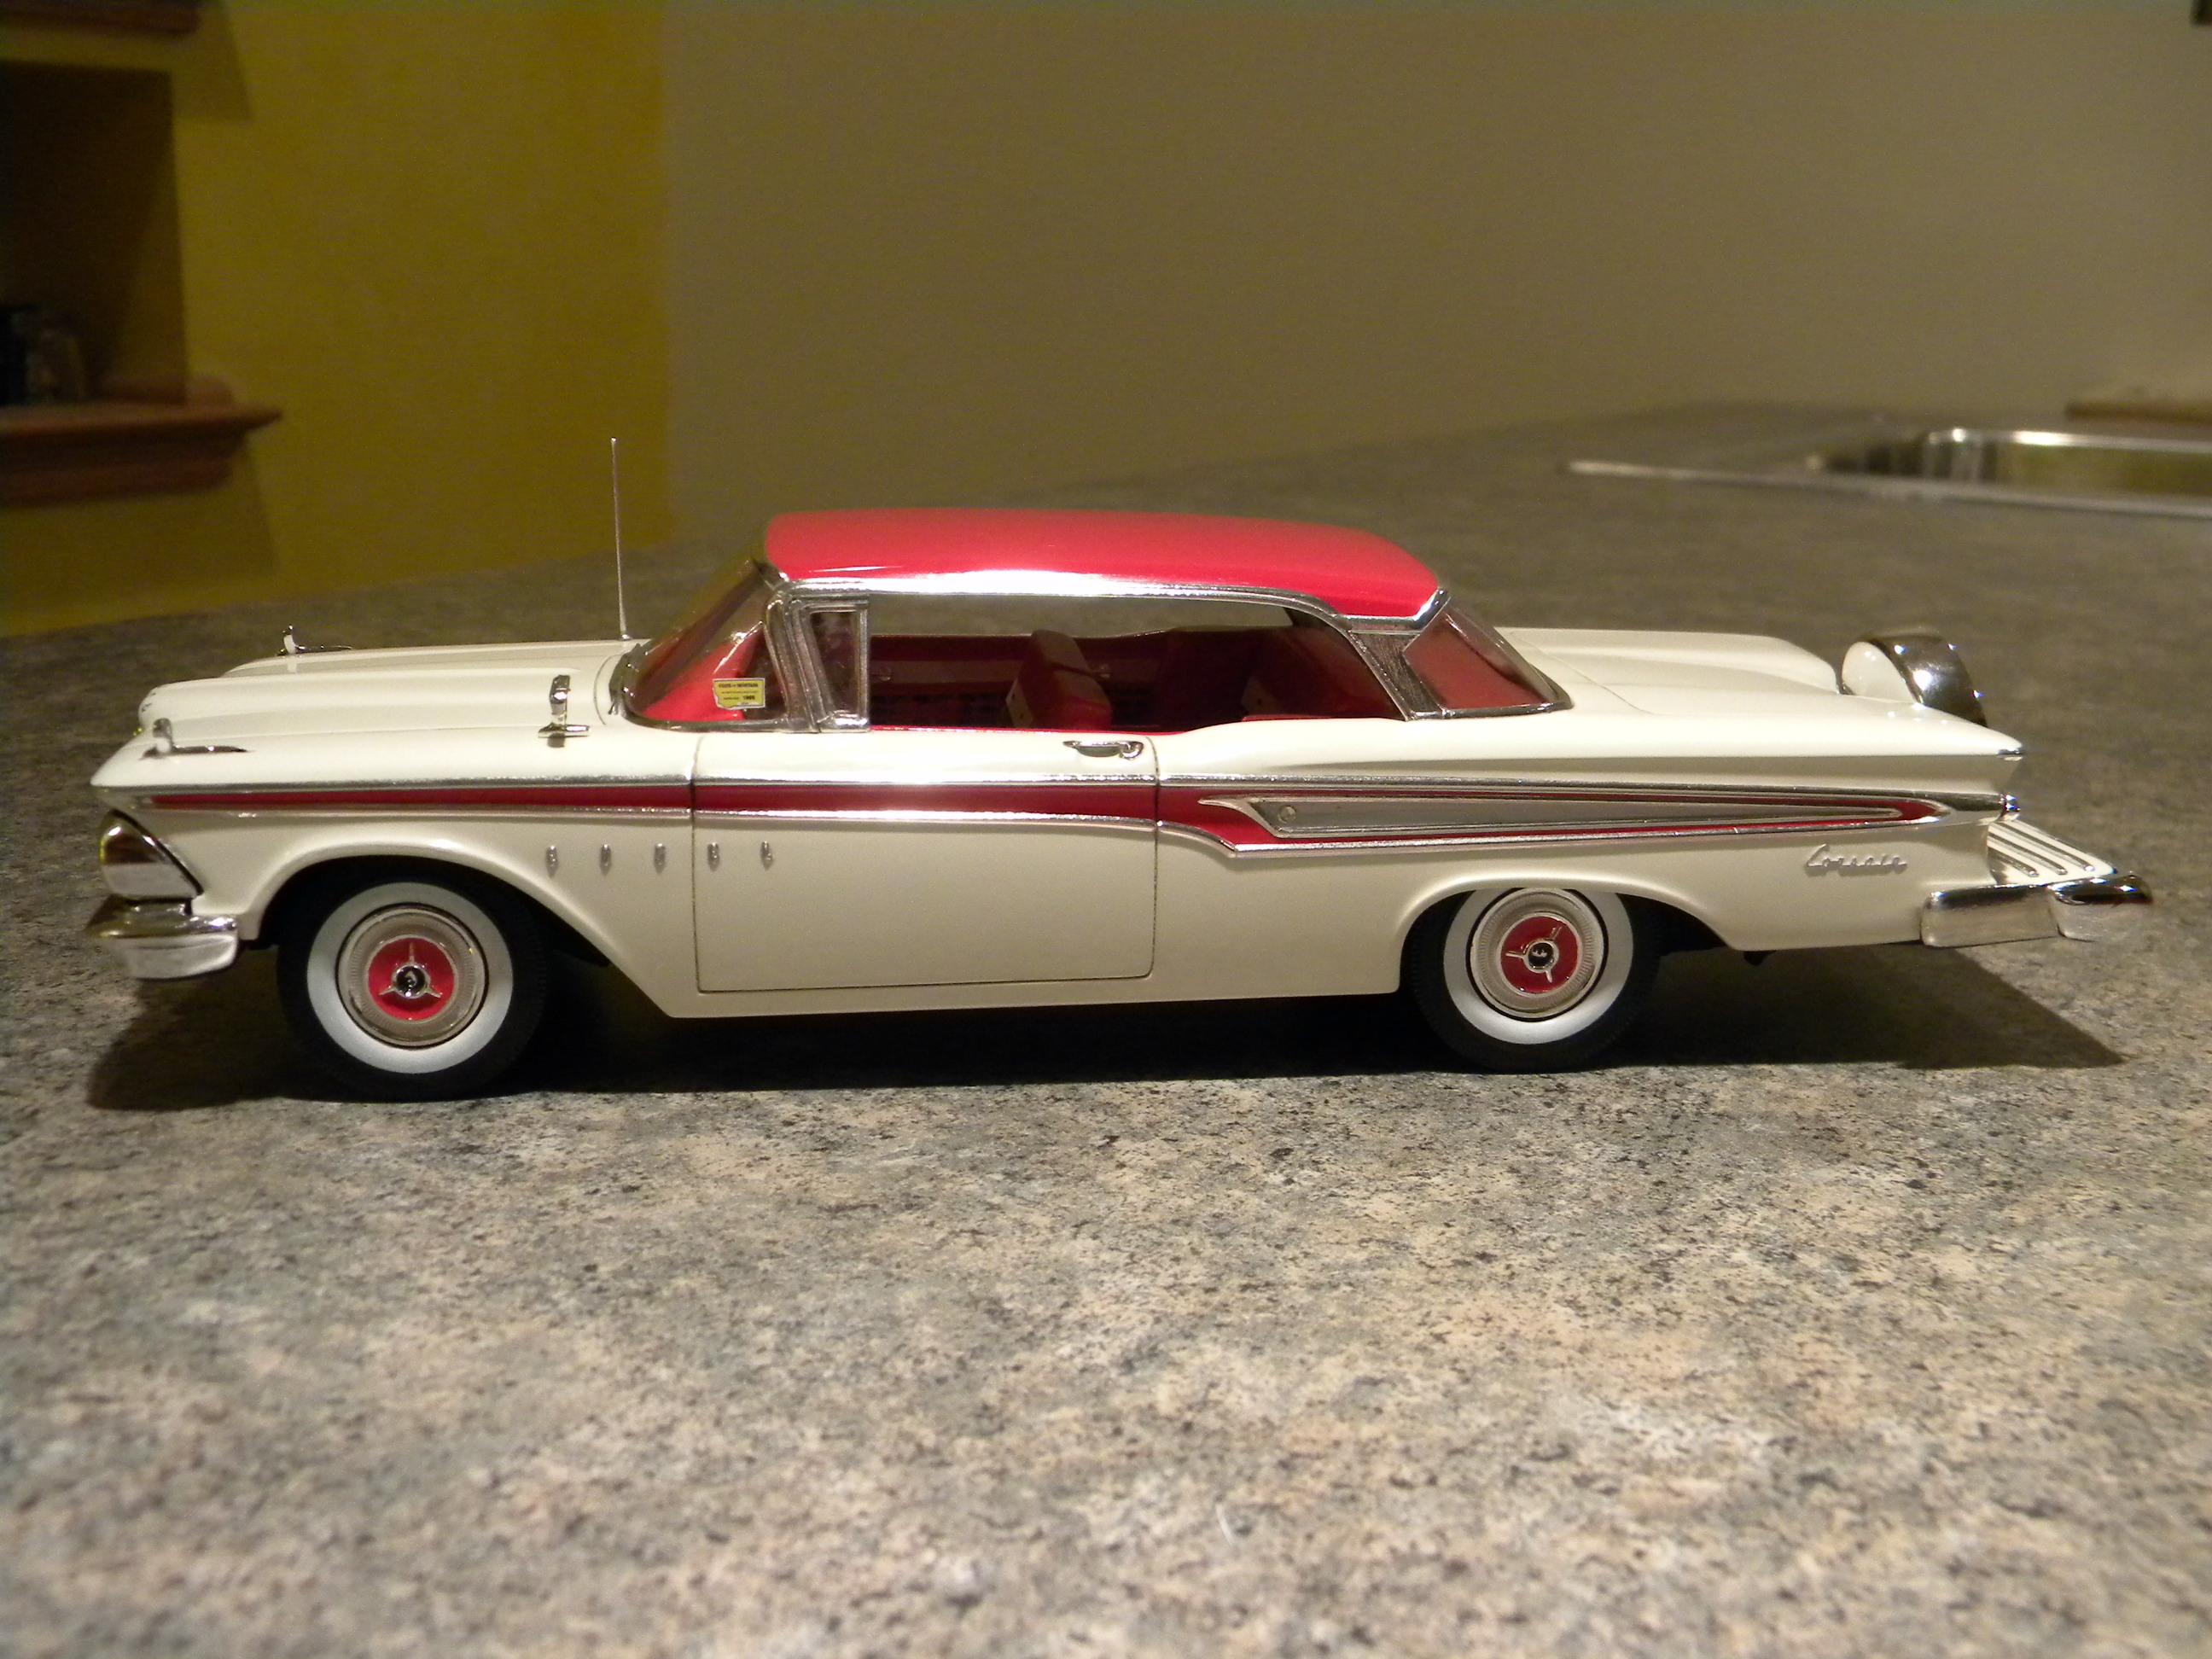
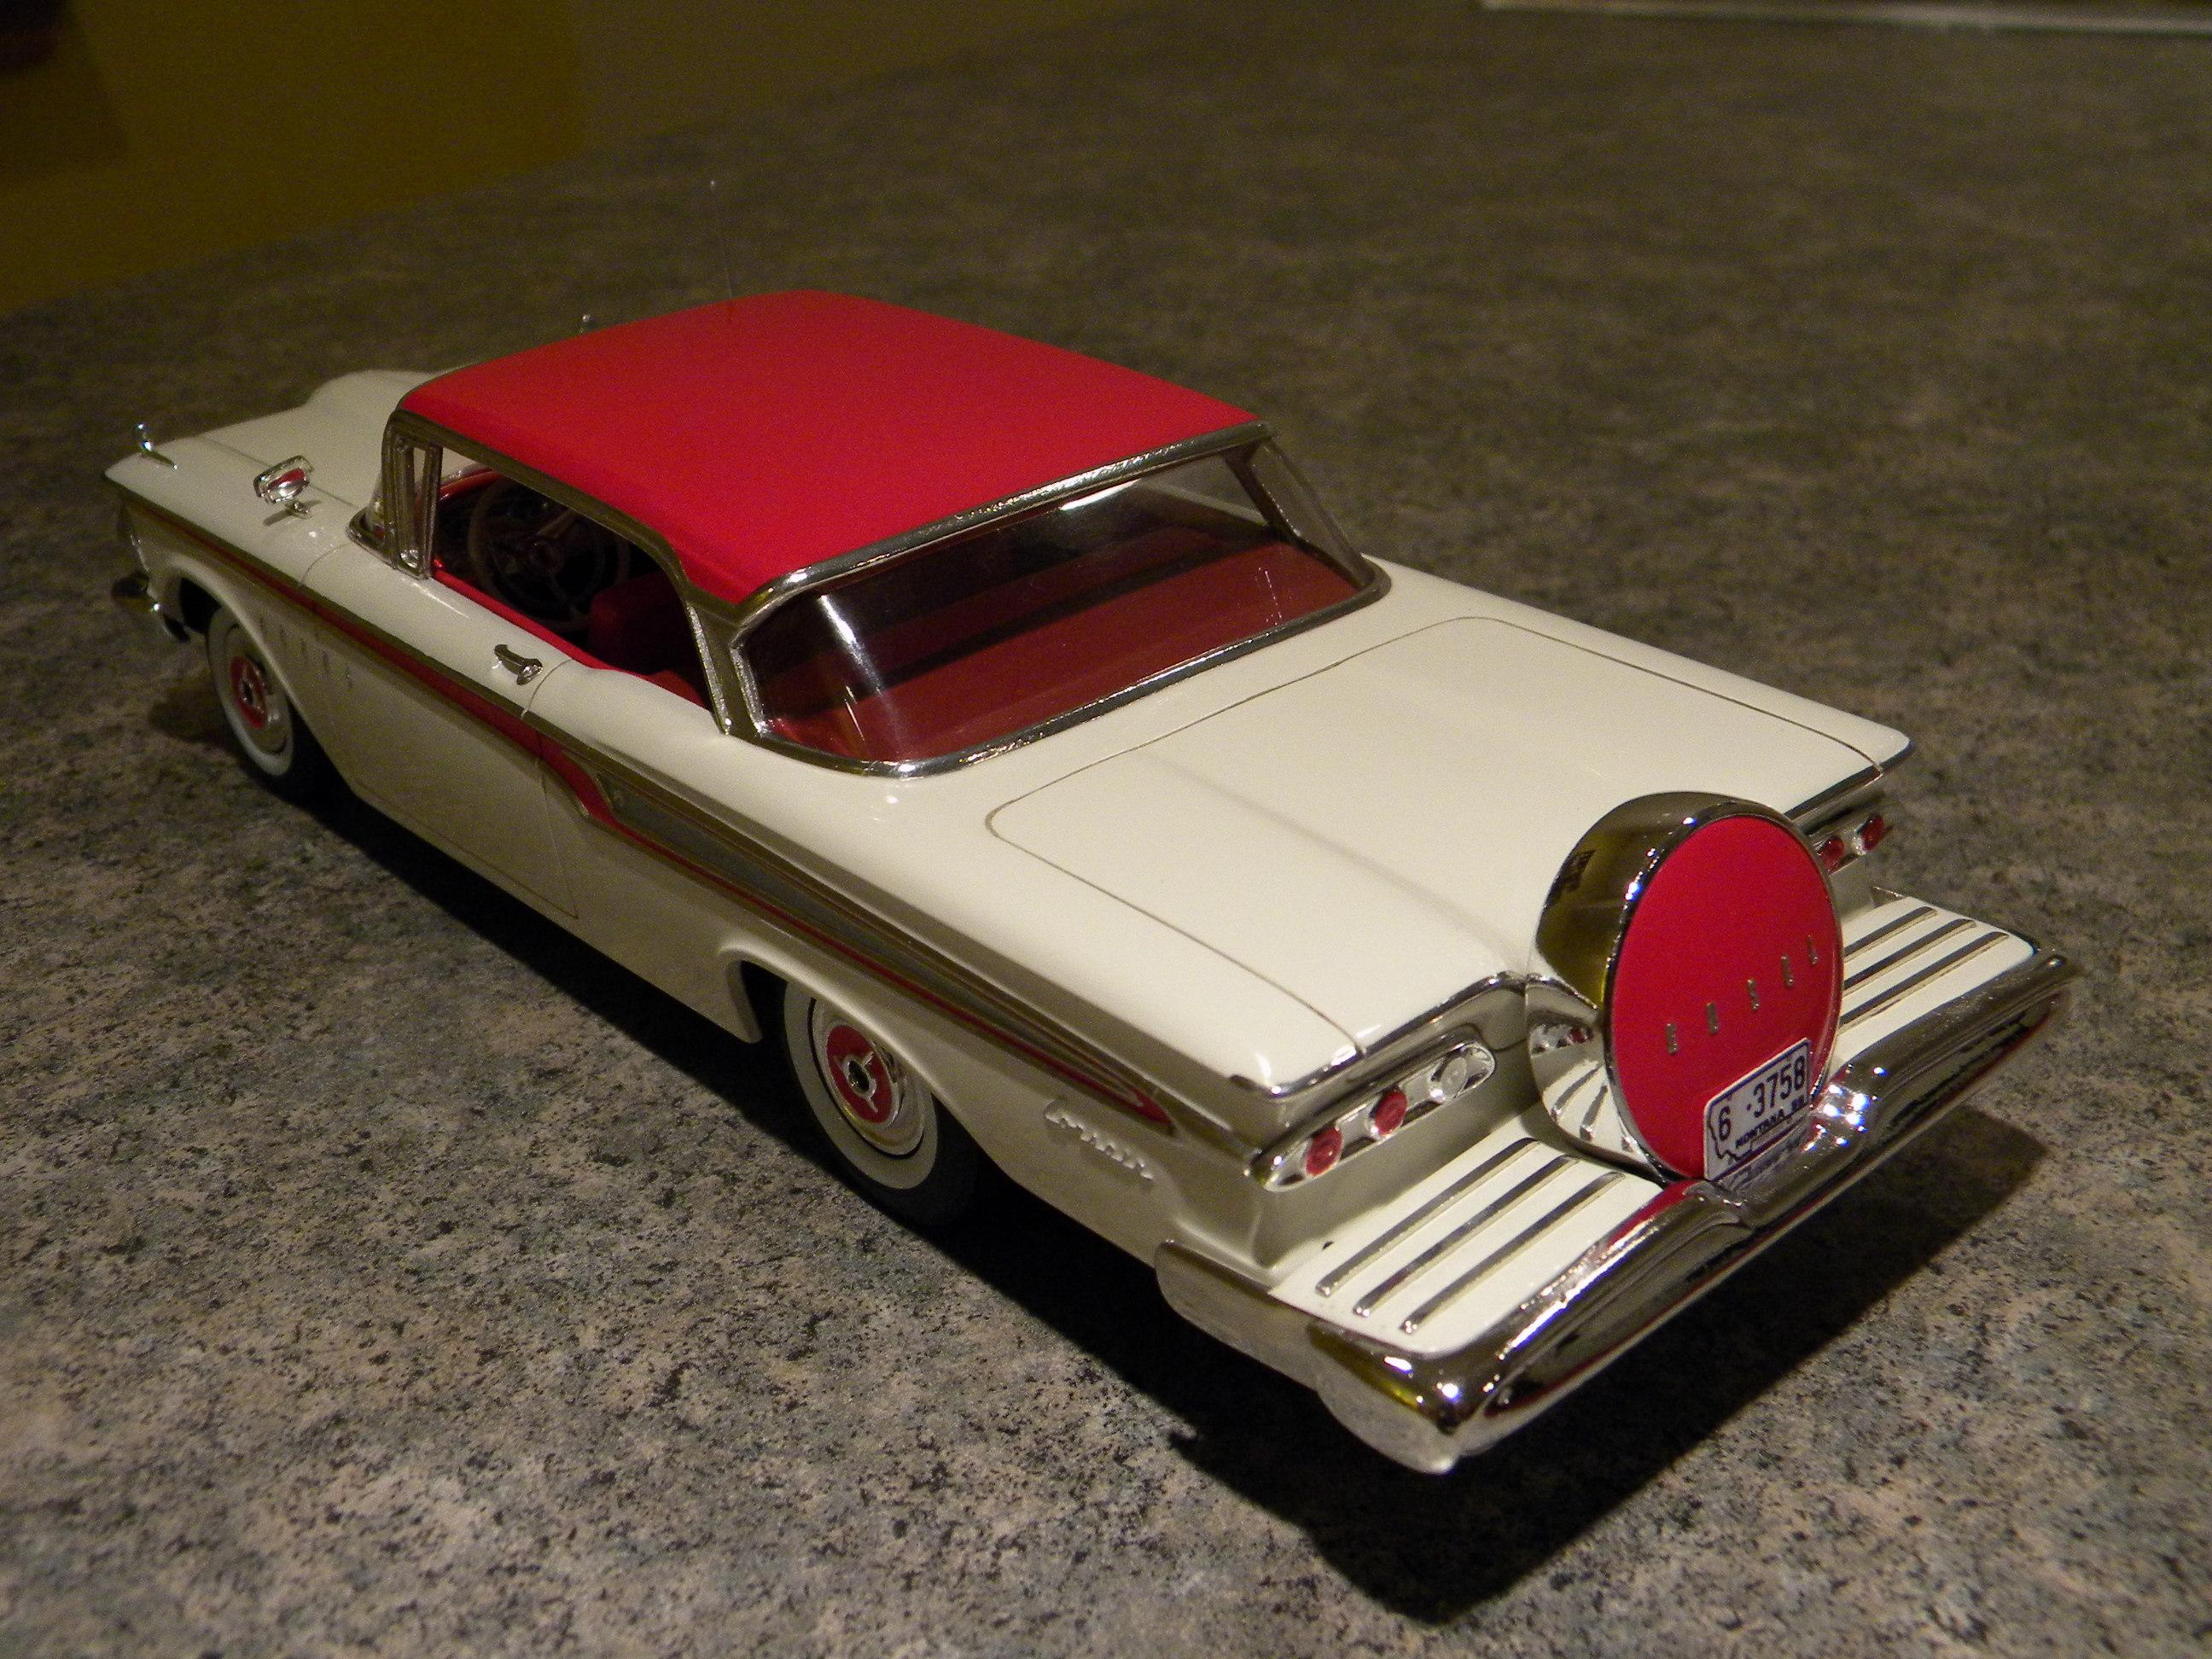
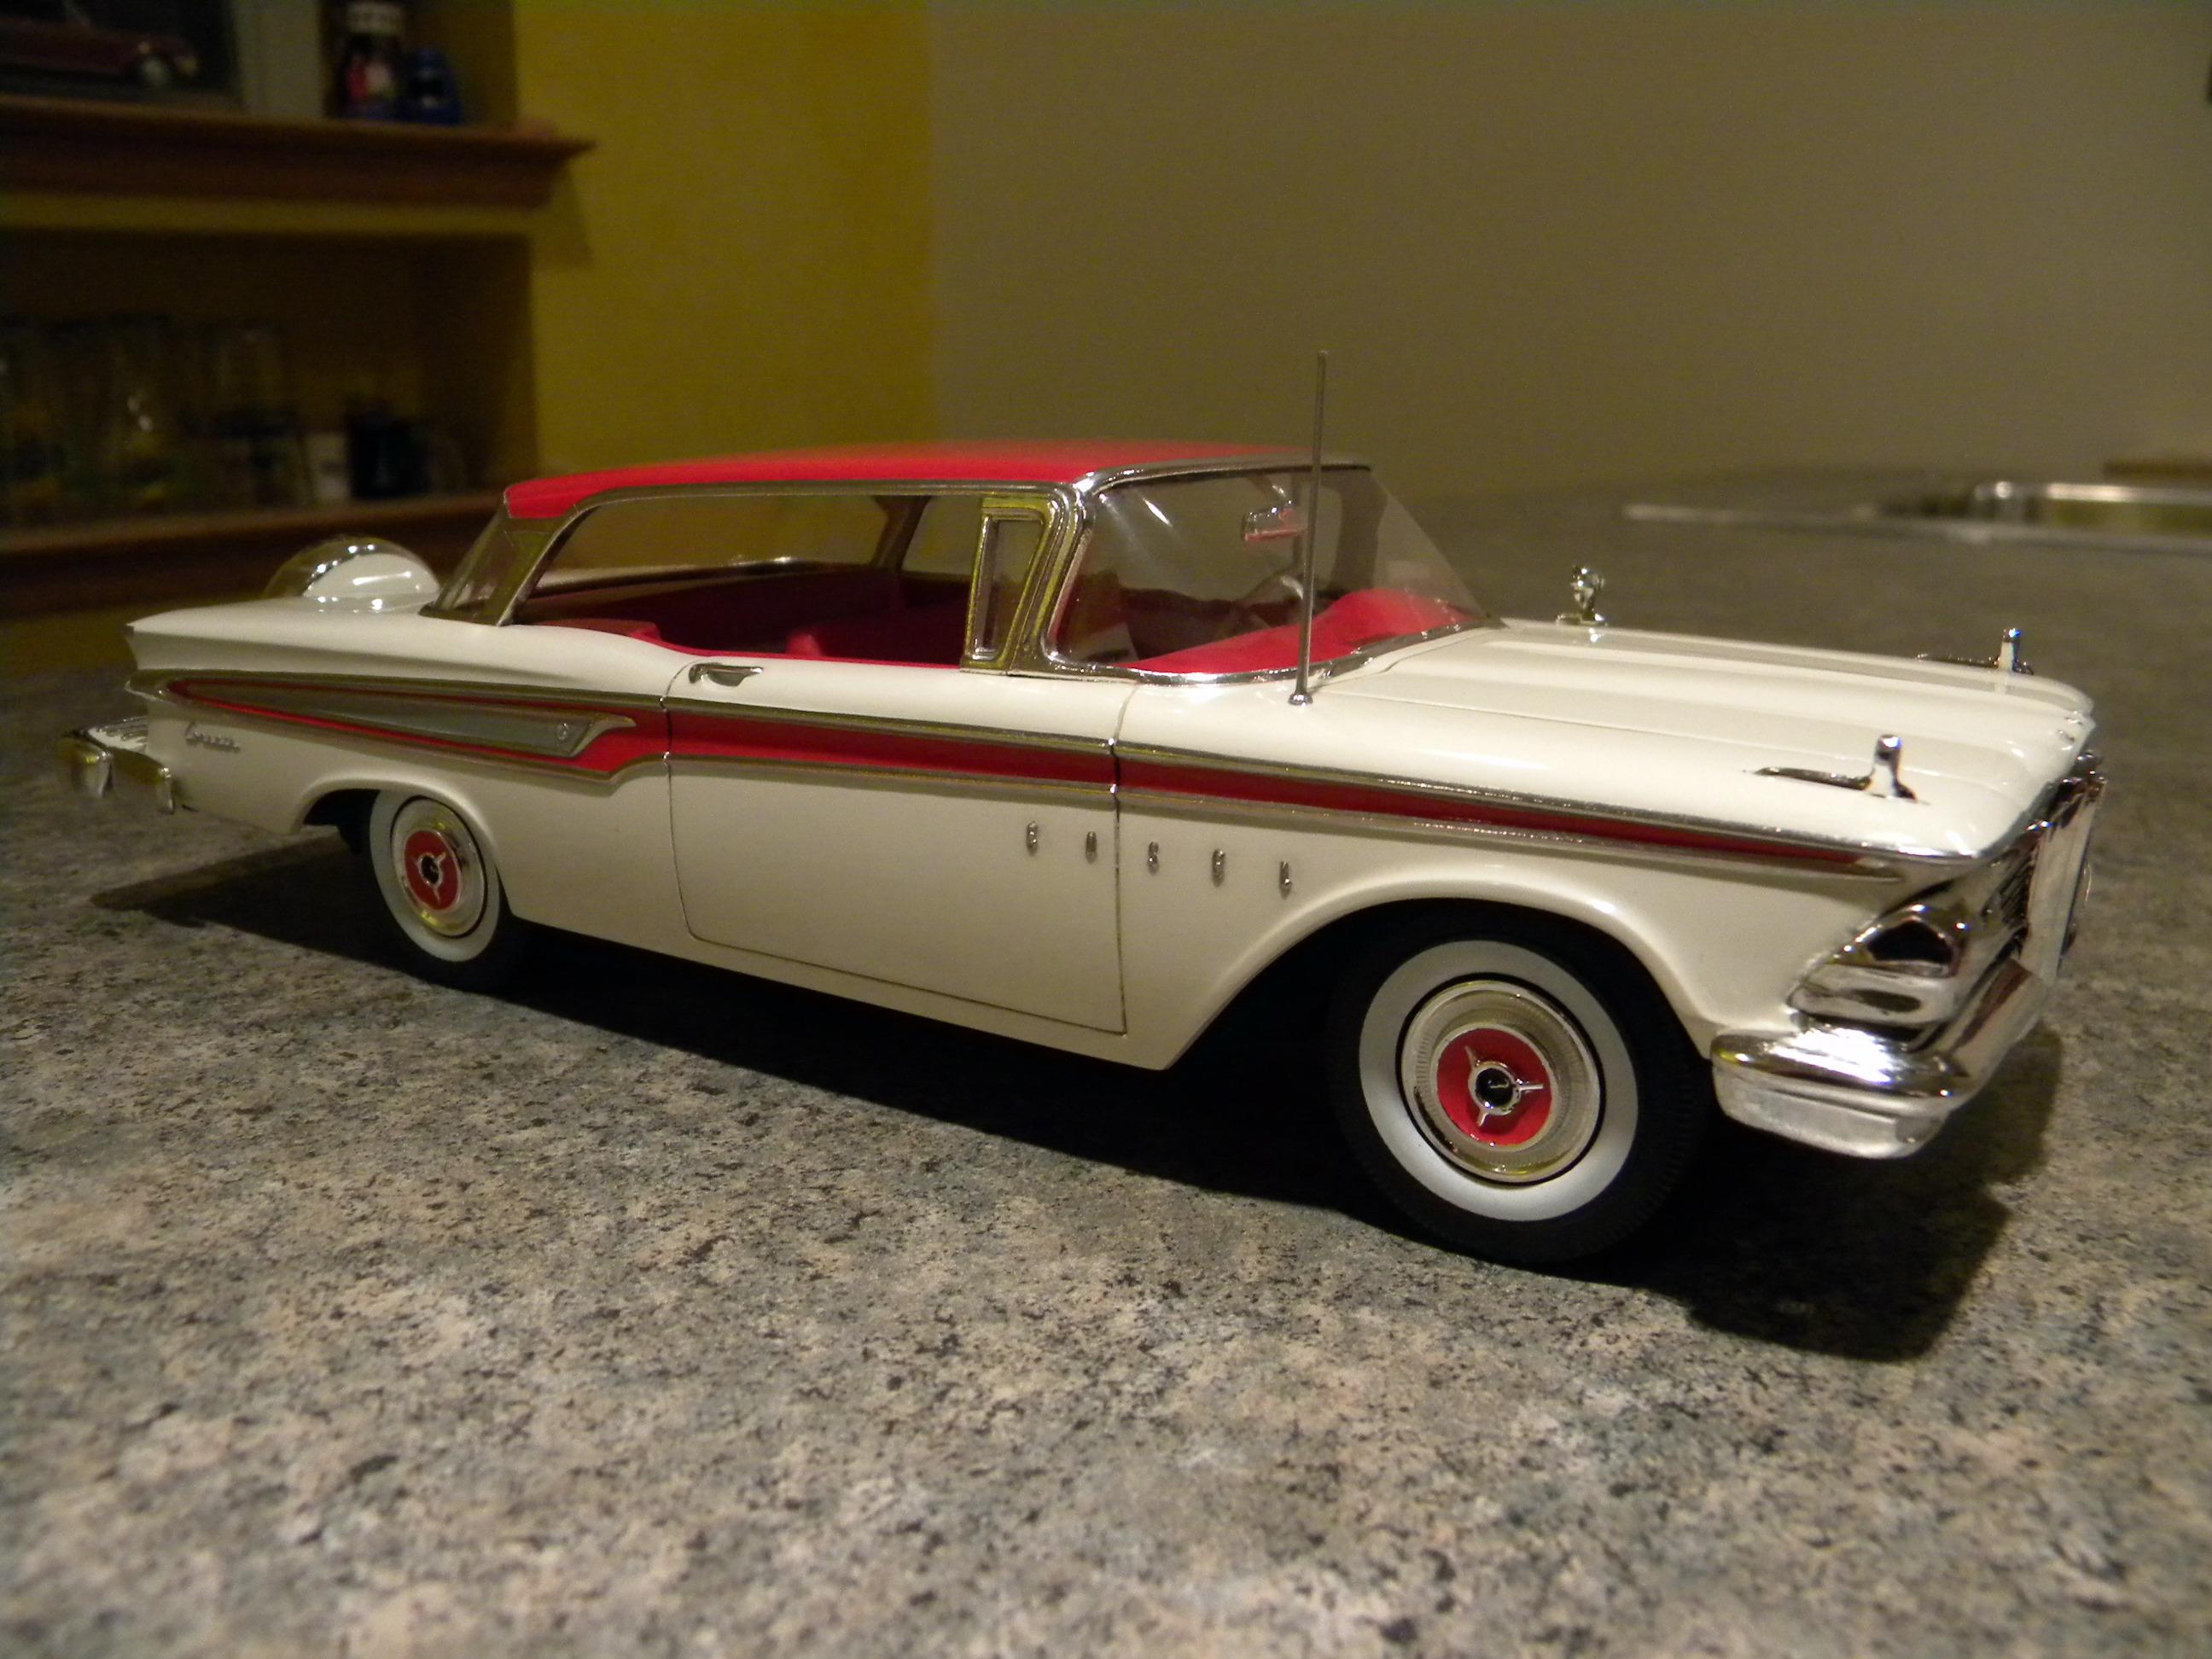
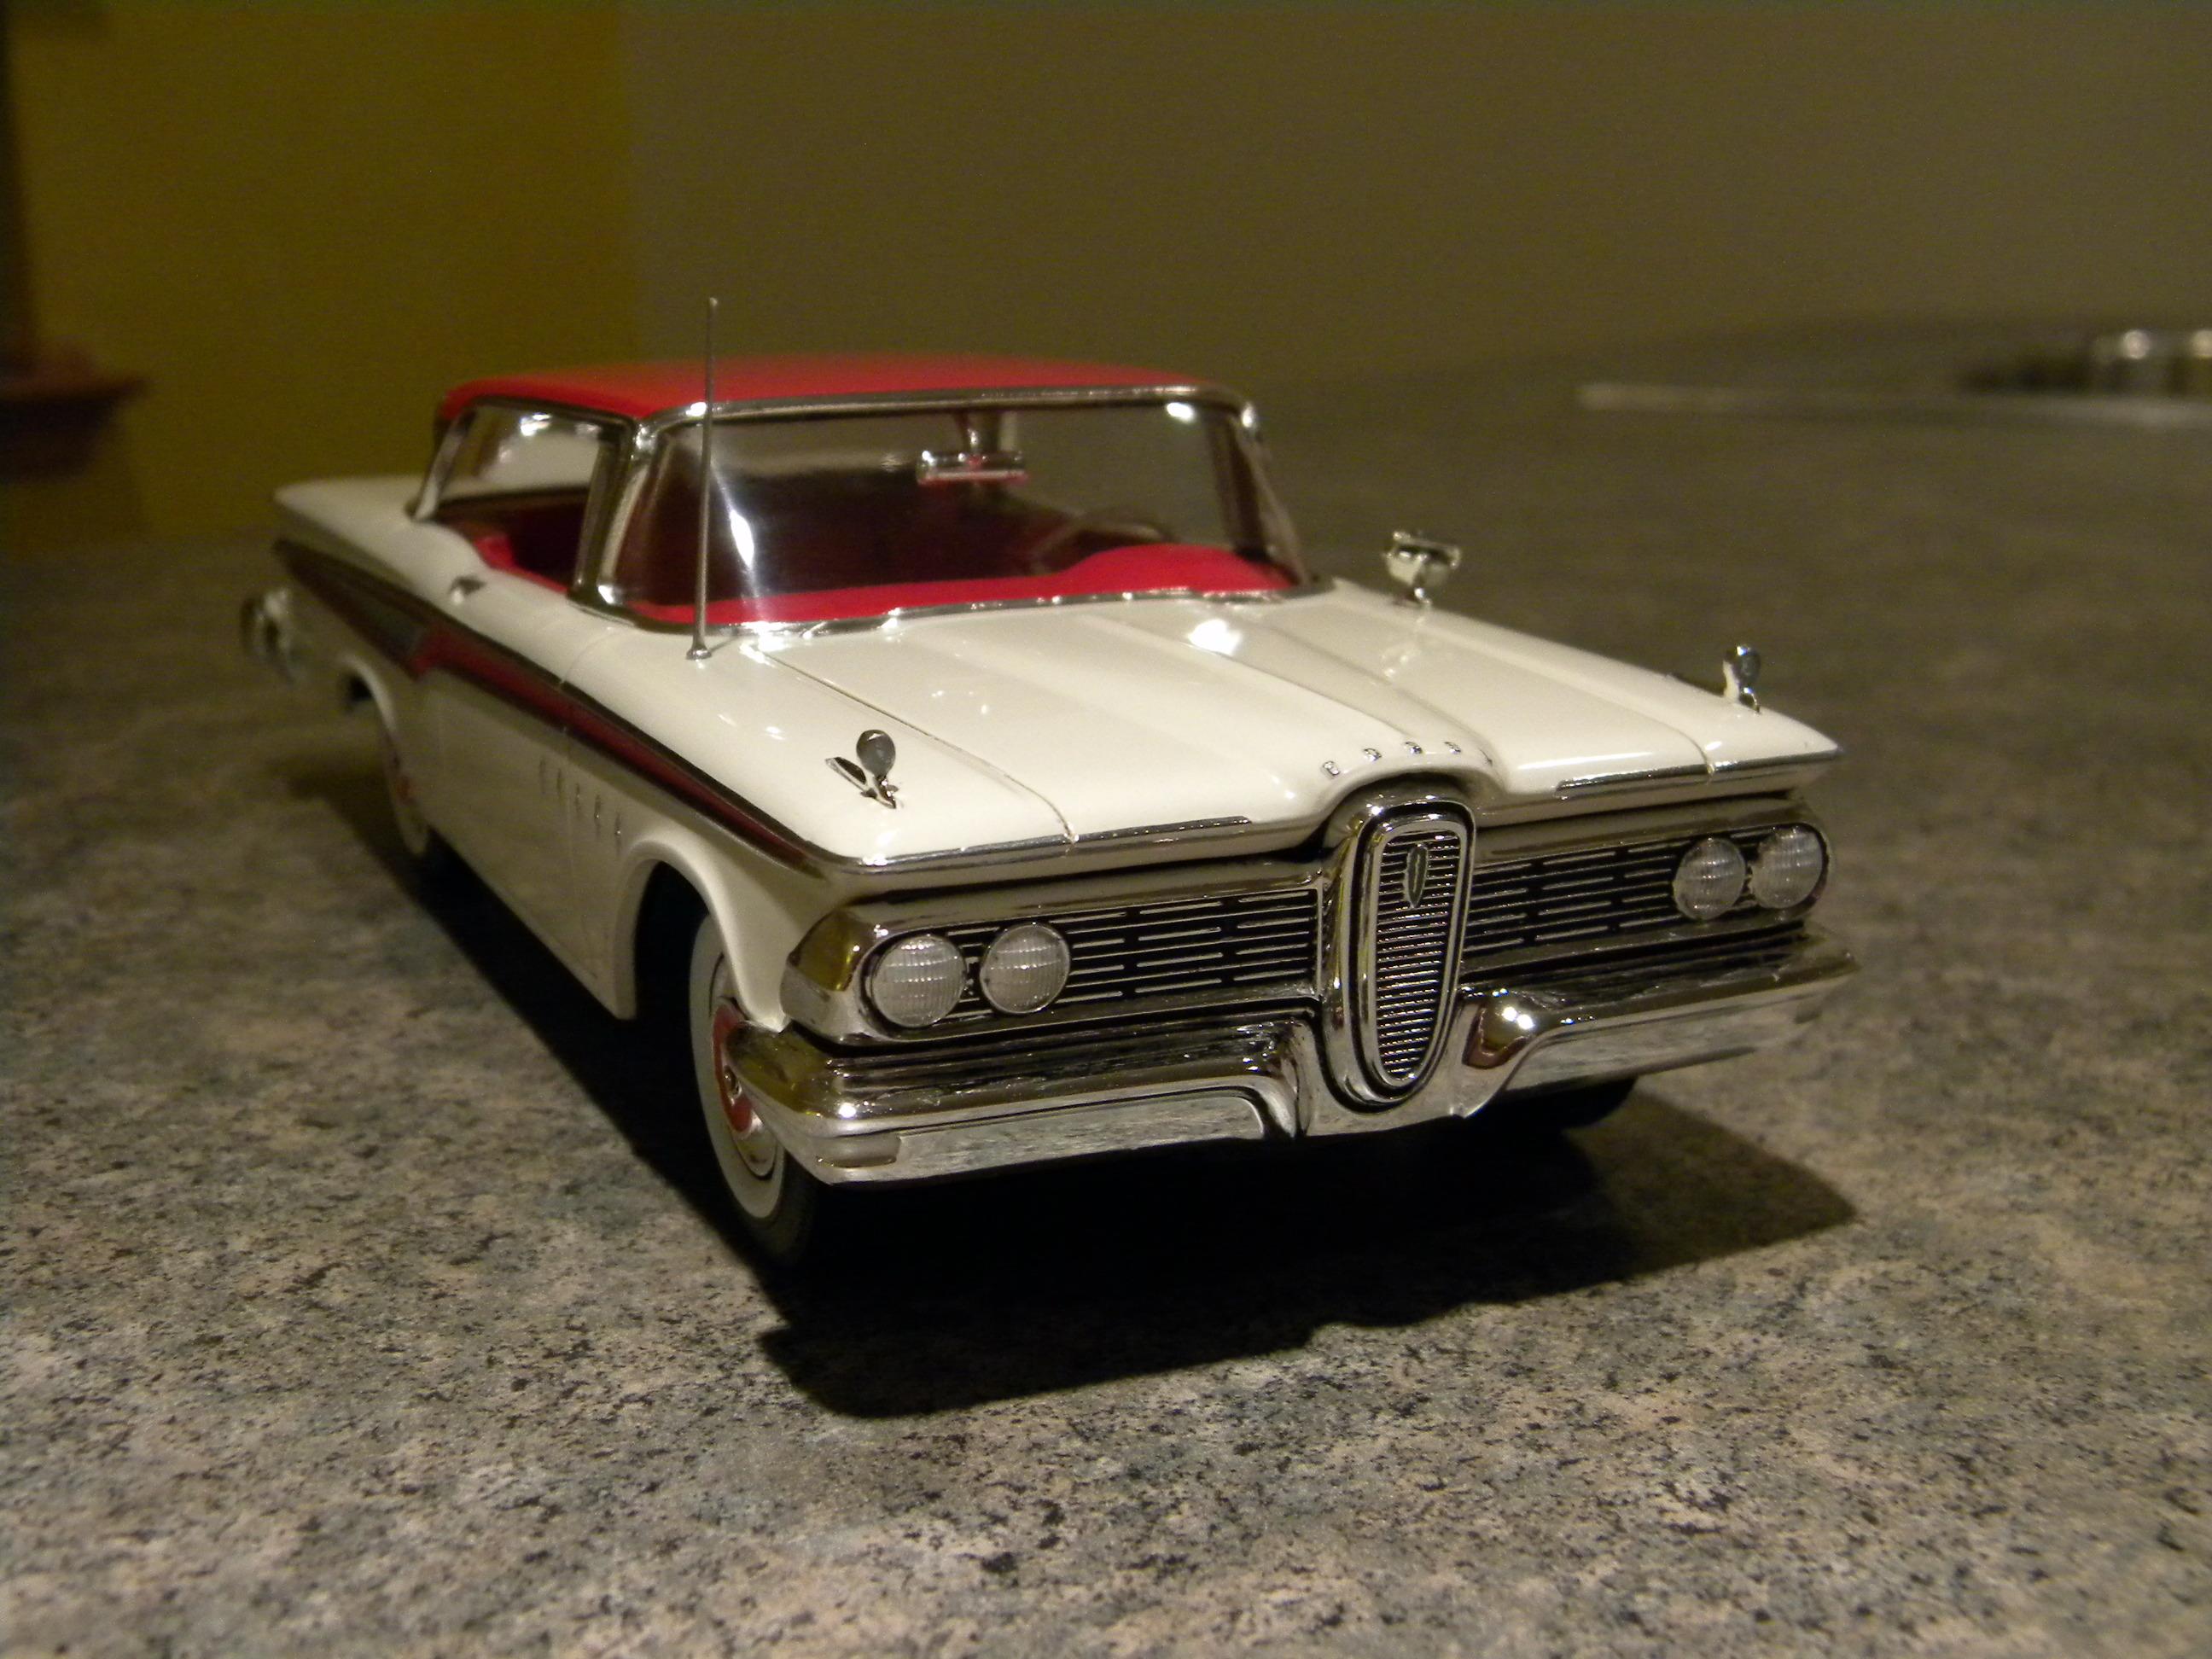
I was just posting this old Edsel build on a few Facebook groups and I thought it might be time for it to make another appearance here. An AMT 1959 Edsel Corsair. Steve

-

masking mediums
StevenGuthmiller replied to Paul Payne's topic in Model Building Questions and Answers
I agree. Cut a fresh edge on Tamiya tape. You'll get a very neat, crisp line. Be certain that you burnish the edges down well. Steve
-
I decided to skip the "clutter". Although, if I can find something that reasonably resembles a tape case, I might throw it in the back seat. Steve
-
Any photos on what you're referring to? I'm not able to find anything. I think I know what you mean, but I'm having a hard time finding reference photos. I'm assuming that the front mounting brackets should just be flipped 90 degrees to the front? This is the best that I could find. Steve
-
Well, as mentioned before, this interior was never intended to be replicated for sale. It was only intended to be for my personal use, so while I wanted something closer to correct for a ‘68 hardtop, I only took it so far. If I had known from the onset that it was going to be offered to the public, I might have spent a little more time to make it more correct. On the other hand, adding one more pleat is something that I probably wouldn’t have bothered with even in that case. It would have been a lot of work for a very minimal impact. Steve
-
Mine is pretty self explanatory. ? Although I have used “Goofy 62” on some other venues. Goofy was a school nickname and 62 is the year that I was born. Steve
-
1961 Cadillac, sitting low in pearl paint.
StevenGuthmiller replied to carbuilder1950's topic in Model Cars
Yeah, those prices are just plain stupid. I can live without. Steve -
Be patient guys. Ed is digging himself out of a hole, but he has assured me that he is working as fast as possible to fill all of the orders for this kit. Steve
-
They ARE the original MPC seats. They've just been cleaned up and reworked. The molded in seat belts were removed, new seat buttons were added, the bucket seat backs were dressed up, and some of the trim and pleating was rescribed for better definition. The bases of the front seats were reshaped a little and new seat tracks were added. The back seat was widened to better represent a hard top seat. The rear seat is not entirely correct as the seat pattern should carry all of the way out to the edge of the seat, but that modification would have required more attention than I was willing to put into it. Steve
-
Thanks guys! As I was finishing up the rear axle mods, I was reminded by fellow member Frank Filosa, (Dodge Driver) that it would be correct to add torque boxes to the frame for a Hemi car. I've said it many times, but this is precisely the reason why I like doing protracted build threads! I am by no means an expert on a lot of this stuff, and very often, people who are following along will catch things and make suggestions. I might not always apply every suggestion, but it sure is nice to have the facts as the build progresses rather than when it's finished and too late! I appreciate the suggestion immensely Frank!! Thank you!! It wasn't too bad to add them. Might have taken an extra hour or so. Steve
-
1961 Cadillac, sitting low in pearl paint.
StevenGuthmiller replied to carbuilder1950's topic in Model Cars
Well, if you have any more '61 Caddys that you don't want to deal with, give me a holler! Steve -
Johan prices $$$$
StevenGuthmiller replied to NYLIBUD's topic in General Automotive Talk (Trucks and Cars)
There were a lot of "gaps" to fill on the Johan '60 Plymouth wagon! There aren't even any front inner fender wells!! Have fun filling those! This kit was no doubt a modified promo.......and not modified very well! But, we're modelers. If we really want a '60 Plymouth wagon on your shelf, we'll figure out a way to deal with these issues, right? Steve -
Thanks everyone. I've moved on now to the chassis, and the only real issue with using the Revell Charger chassis under the MPC Coronet is the wheel base. In the real world, the '68 Coronet and Charger shared the same 117 inch wheel base, but things don't always mesh in 1/25th scale I guess. The Charger chassis fits pretty well with a little bit of trimming, and a tiny bit of grinding is necessary to eliminate a little bit of real wheel well "protrusion" at the front of the rear wheel opening. Easy fix! A little more involved is the fact that the rear axle sits too far back, and is too narrow for the rear wheels to look right in the openings. That, and the fact that for the position that the chassis is required to sit in the body due to interior location, the entire rear axle needed to be moved slightly forward, widened and raised to look right. I started this operation by trimming the front off of the springs and moving them the correct distance forward and then created new front attachment points. The rear chassis spring location blocks then needed to be removed and I covered the holes with some simple "plates". Next, new rear shackles were made to bring the height up to where I wanted it. Then the original rear axles were removed at the springs and new longer axles were added to widen the track. It's probably a tad higher, and the rear track a little wider than an actual 1:1, but I wanted it to have an aggressive stance, as well as to fill the wheel opening. I've always had the impression that a wider track almost always looks much better than too narrow. Anyway, I think I have all of the rear axle mods done now, although later mods will no doubt be needed for shocks and the drive shaft, but I'll cross that bridge when I come to it. Steve
-
Nice work Rich!! Steve
-
1961 Cadillac, sitting low in pearl paint.
StevenGuthmiller replied to carbuilder1950's topic in Model Cars
Love it! I'm still kicking myself in the backside for not getting one of these kits from Modelhaus before they folded. Steve -
Why I decant Testors Clear Coat
StevenGuthmiller replied to Mike 1017's topic in Tips, Tricks, and Tutorials
That’s true for the most part, except in the case of Testors automotive “Lacquer System” paints, which were designed to be used with their lacquer primer and clear lacquer. But that’s all a moot point anyway as those paints are history. Steve -
By the way, just from looking at your above pictures David, it appears to me that if these photos were taken after clear coat, you were exactly on the right track. It appears that the surface is fairly smooth, and with a few more light coats of clear and a little polishing you would have been exactly where you wanted to be. Steve
-
Nothing wrong with the paint or primer in this instance. That's exactly how it should react to Super Clean. The lacquer paint itself will be entirely unaffected by the stripper. Super Clean will only work in this circumstance by seeping it's way under the color and dissolving the primer. This causes the paint to come off in sheets, and the primer to just wash off. Perfectly natural and normal, and as a matter of fact, very desirable! If you have to strip a lacquer paint job and you have used a primer that is unaffected by the solution, you're SOL with most of these products used for removing paint. Steve
-
The problem is often that too many people have the impression that one coat of primer, one coat of paint and one coat of clear is all that's needed to get a beautiful paint job. That might work with some paints, but in my experience, Duplicolor paint requires a little more attention. First of all, the primer is a little hotter than many others, so light coats that get progressively heavier will work the best. You will also want to remember that more coats of primer are better than fewer because with the hot automotive lacquer to follow, you will want as much protection from crazing as possible. When putting on the color, several lighter coats are always better than 1 heavy one as well. One heavy coat is much more likely to eat through the primer to the plastic and craze it than several light coats, plus, building the color will add more richness to the color itself, not to mention, avoid some weird striations in the metallic particles with metallic paints. With Duplicolor clear, you will get much better results if you use several coats, followed by cutting and polishing. Each successive coat of clear will give you a bit more shine than achieved with just the previous coat. I use as many as 5 coats of clear, and then it still needs polishing to give a deep, rich shine. Too often, I feel like people are in too much of a hurry to spend the time required to get an exceptional paint job. Sometimes you have to put in the work if you want it to look like you "put in the work". Another thing to remember with Duplicolor lacquers is that like most automotive lacquers, they are designed as "base coat/clear coat" paints. In other words, they require clear for a gloss finish. You can polish a solid color without clear, but I wouldn't try it with a metallic. You are just as likely to end up with an irreparable mess than not. Steve
-
Johan 1987 prices
StevenGuthmiller replied to mchook's topic in General Automotive Talk (Trucks and Cars)
I'm assuming that you meant the '62 Dodge? I don't think the '63 Dodge Polara has been available since '63. Steve -
As far as I know, the only place to purchase MCW paints is directly from them via their website. Personally, I’ve only used their lacquers. I wasn’t even aware of any ready to airbrush enamel, although I do know that they have recently begun selling brushable enamels in small jars. Steve
-
Here are a few shots of the finished Ed Fluck 1968 Dodge Coronet R/T hard top resin interior with a few additional scratch made parts added. Get them while you can fellas! Steve
-
Interior is finished. Steve
-
Should a rare kit become a gasser???
StevenGuthmiller replied to bonehead23's topic in WIP: Model Cars
This is my point as well. If you really want to chop something up, there are a ton of old mangled kits out there that would make a good starting point that can be had for a fraction of the cost of a nice mint kit. In my mind it makes little sense to start with a pristine kit that might have a value of $100.00, or much more. Chop it all to heck, and now it's worth basically nothing. I understand that value is not everything, but if you want to guarantee that your successor is going to sell it for 25 cents at a garage sale or pitch it in the garbage, hack away. Just my opinion. Steve