stitchdup
-
Posts
7,123 -
Joined
-
Last visited
Content Type
Profiles
Forums
Events
Gallery
Everything posted by stitchdup
-

how important is the fit?
stitchdup replied to sidcharles's topic in Model Building Questions and Answers
you missed an f in the second shift and the auto censor removed the resulting word -
how important is the fit?
stitchdup replied to sidcharles's topic in Model Building Questions and Answers
I like to have it look like someone could fit and be in proportion. I dont use any visual aid apart from my eyes. there are some builds of mine where the interior is just to fill a hole -
we dont have any control over private messages. what you guys do between yourselves is up to you. posts offering to buy or sell will be removed as that is against the rules. if you do though, it is nothing to do with us and at your own risk. just be sure you trust the member.
-
Rolls-Royce No Chemicals, No Paint, No Harmful Glues
stitchdup replied to Anglia105E's topic in WIP: Model Cars
white vinegar kills it -
they are. all of these type of message are scams, especially if less than 25 posts from the member. use the 3 dots to report them
-
ellin jack was banned a while back. every message asking you to email another member to buy parts is a scam. if the other guy was really a member they would email you. if they have less than 100 posts then we suggest not trading with them.
-
album!, really!, to start a sentance, what am i supposed to do with that?
-
the longest so far is 74 posts, most die out around 50 posts
-
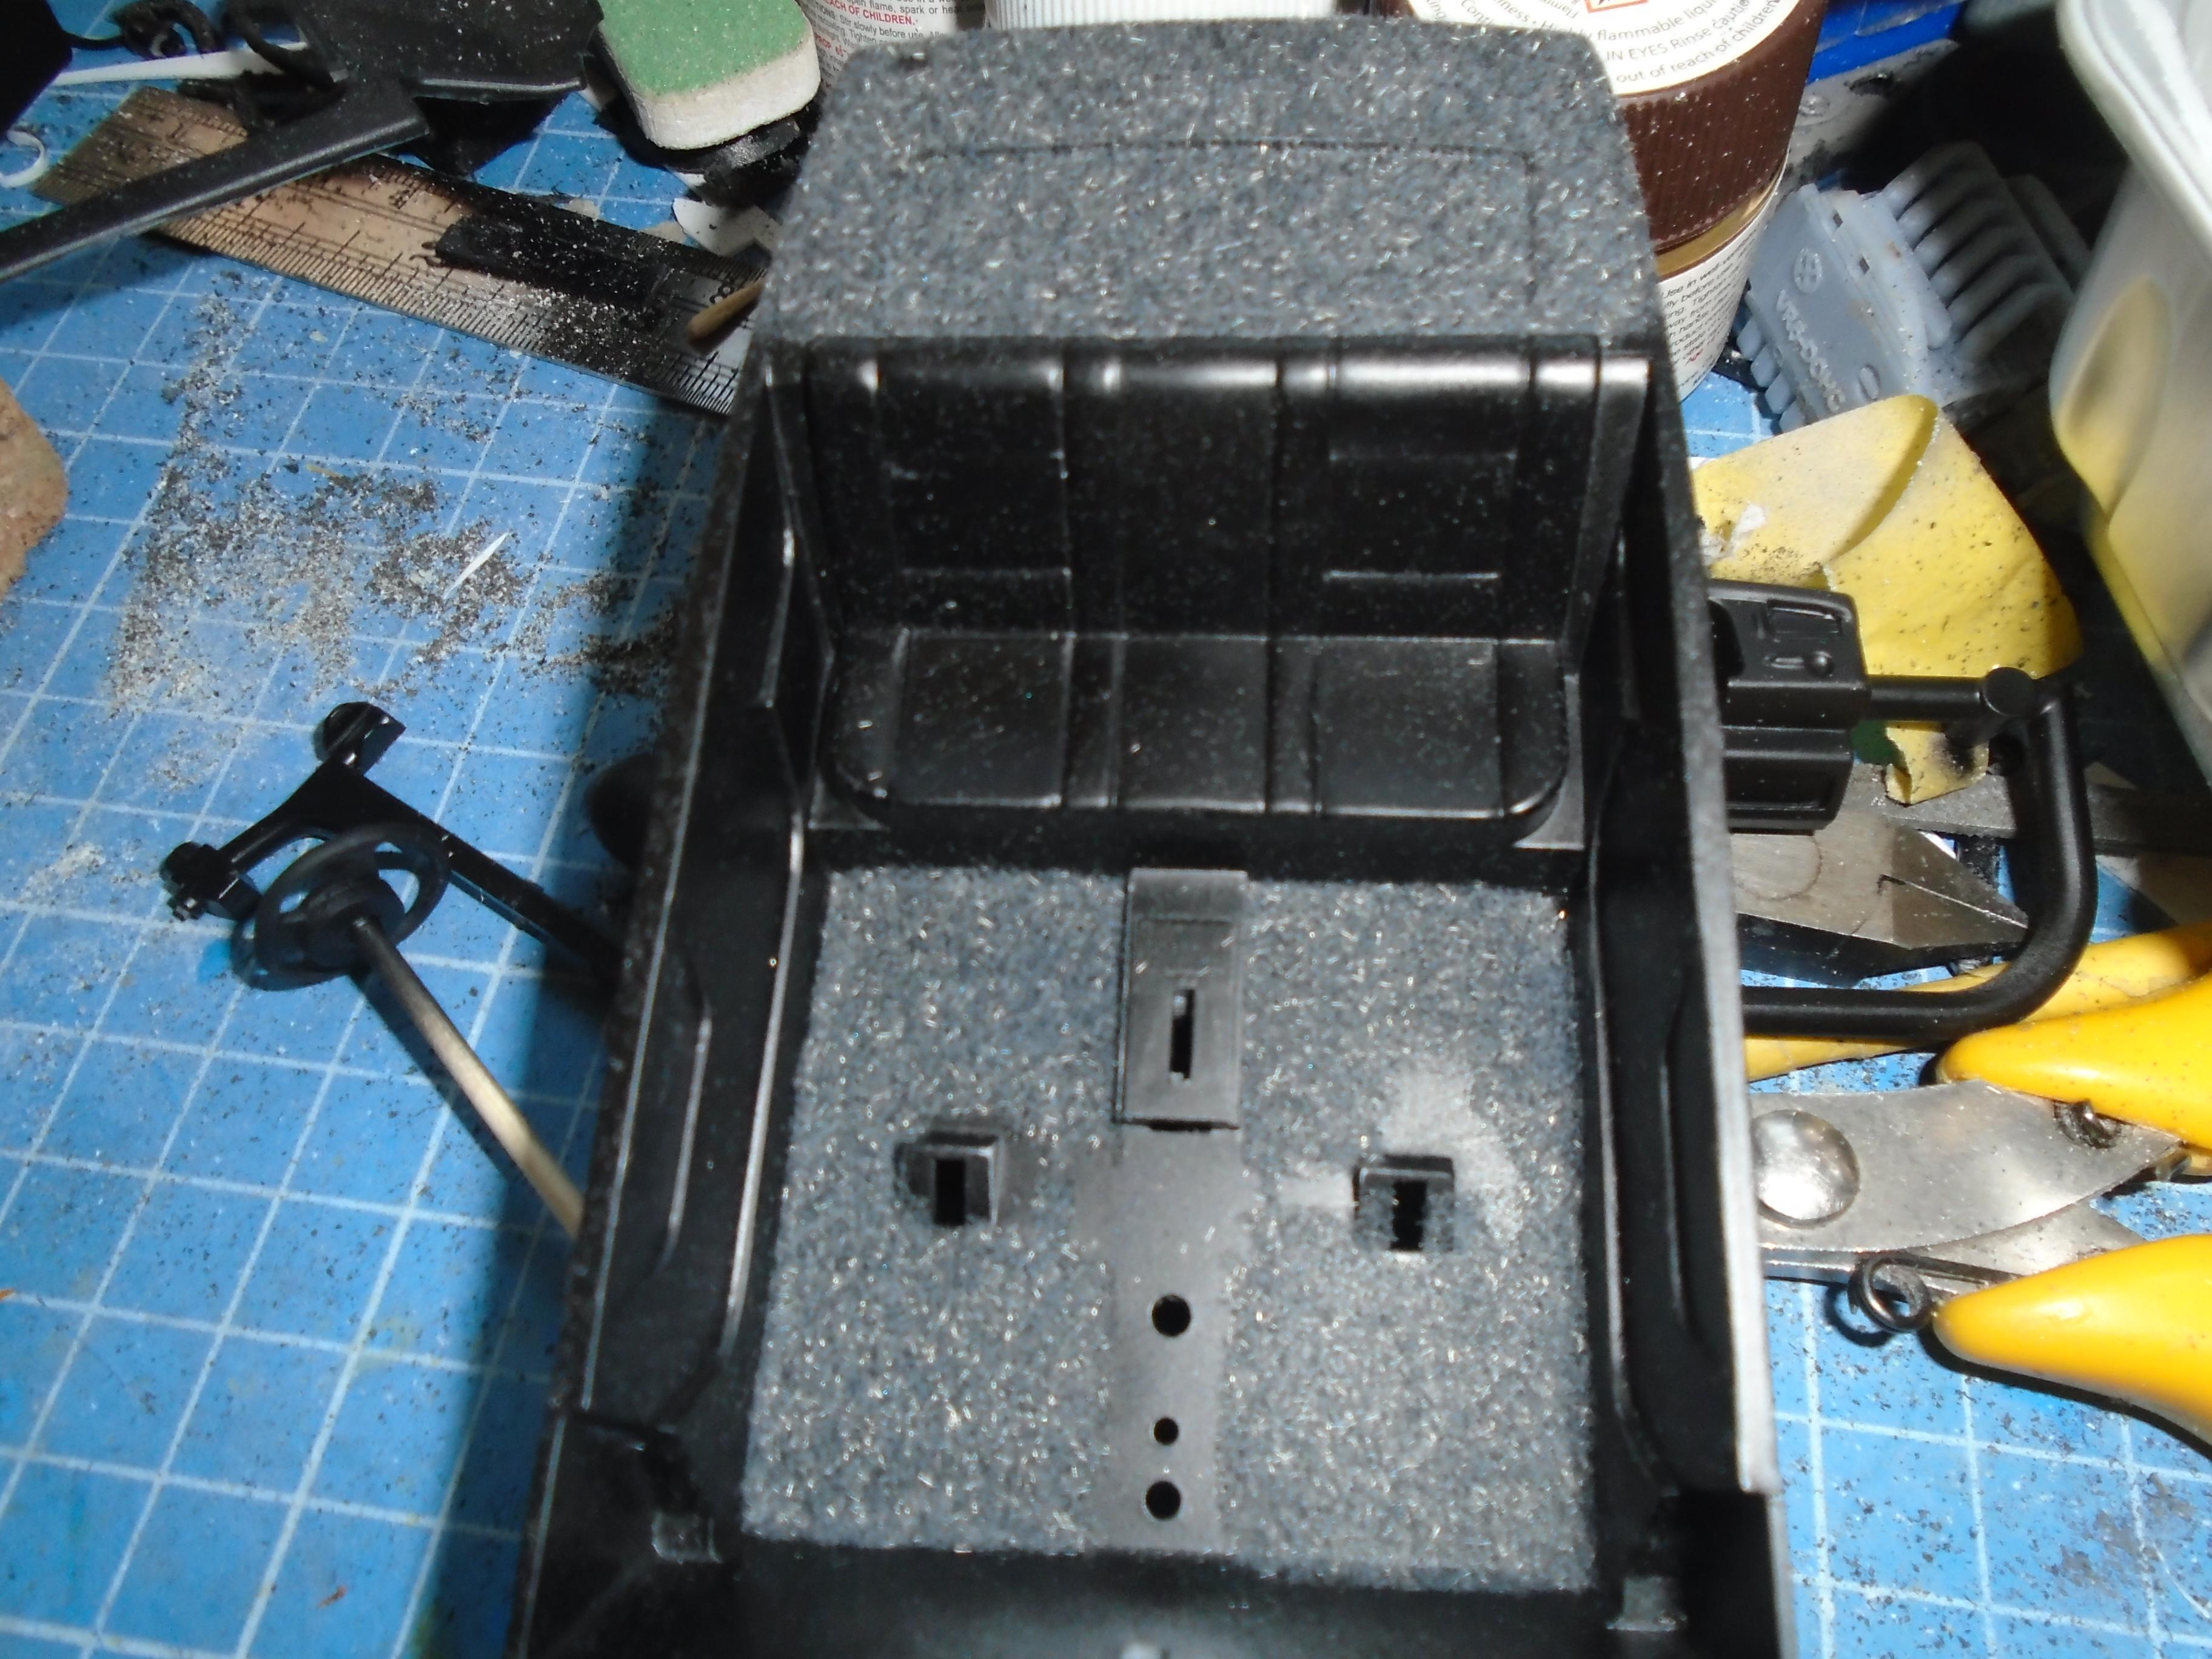
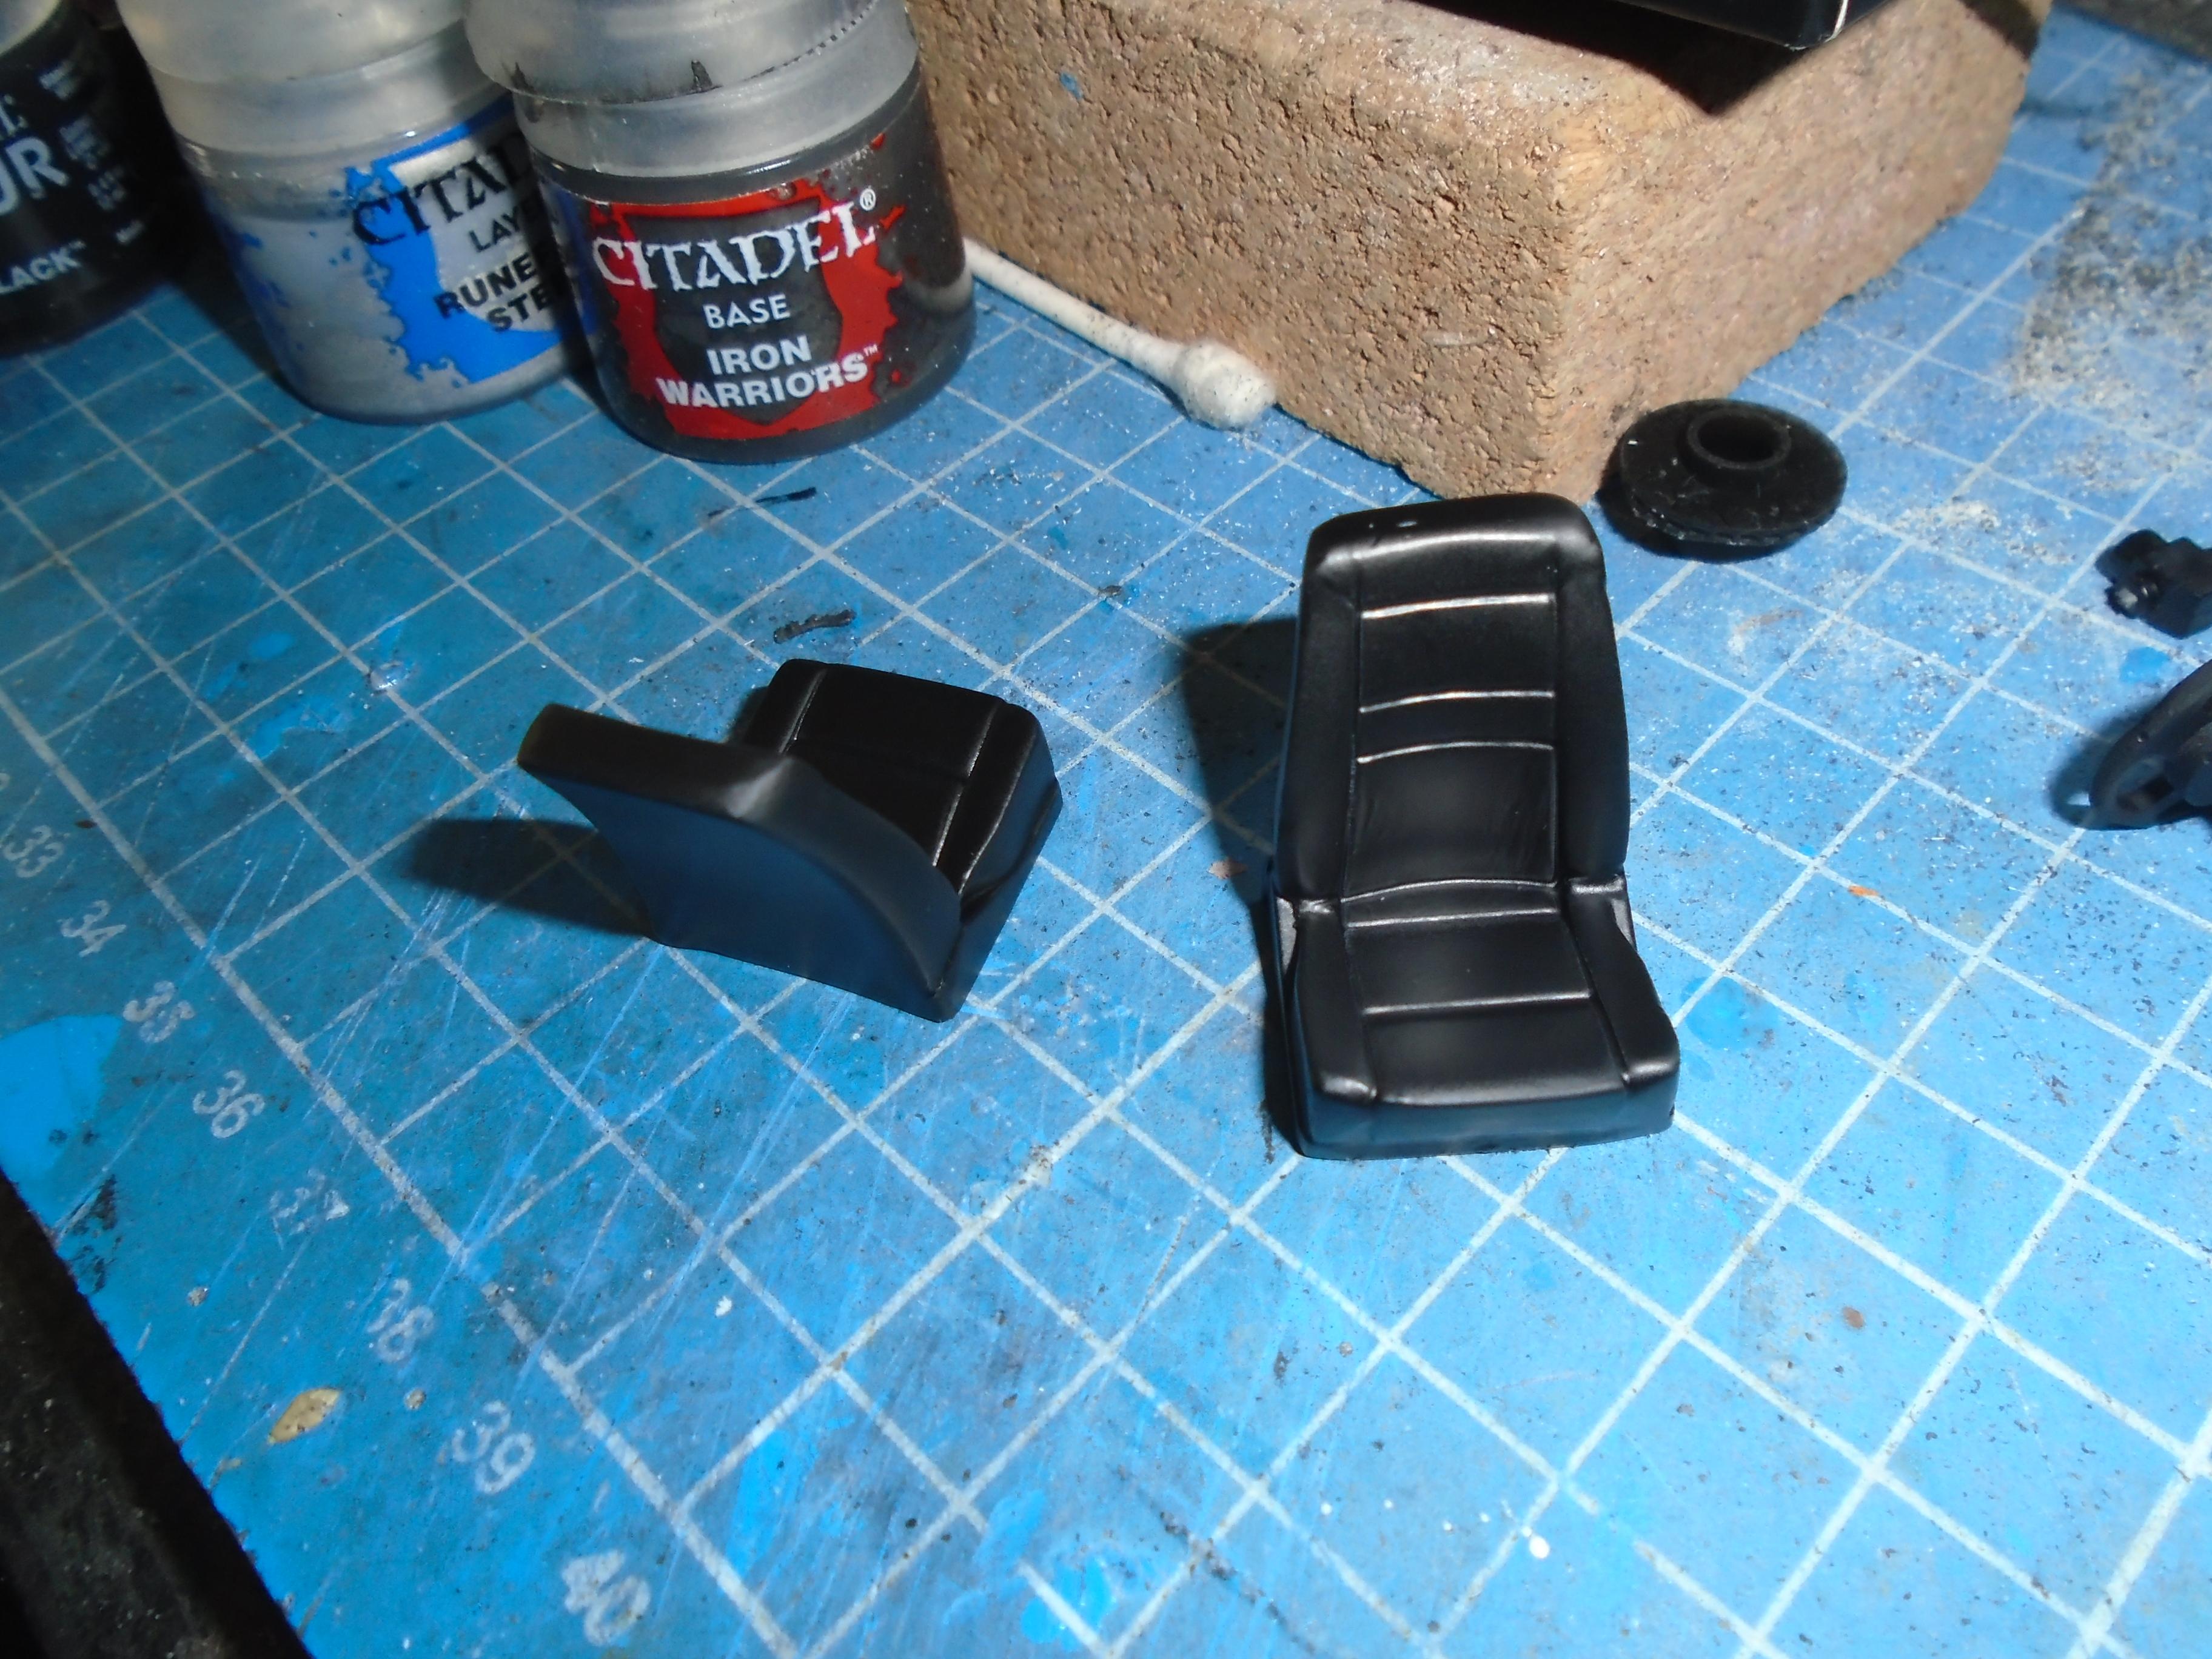
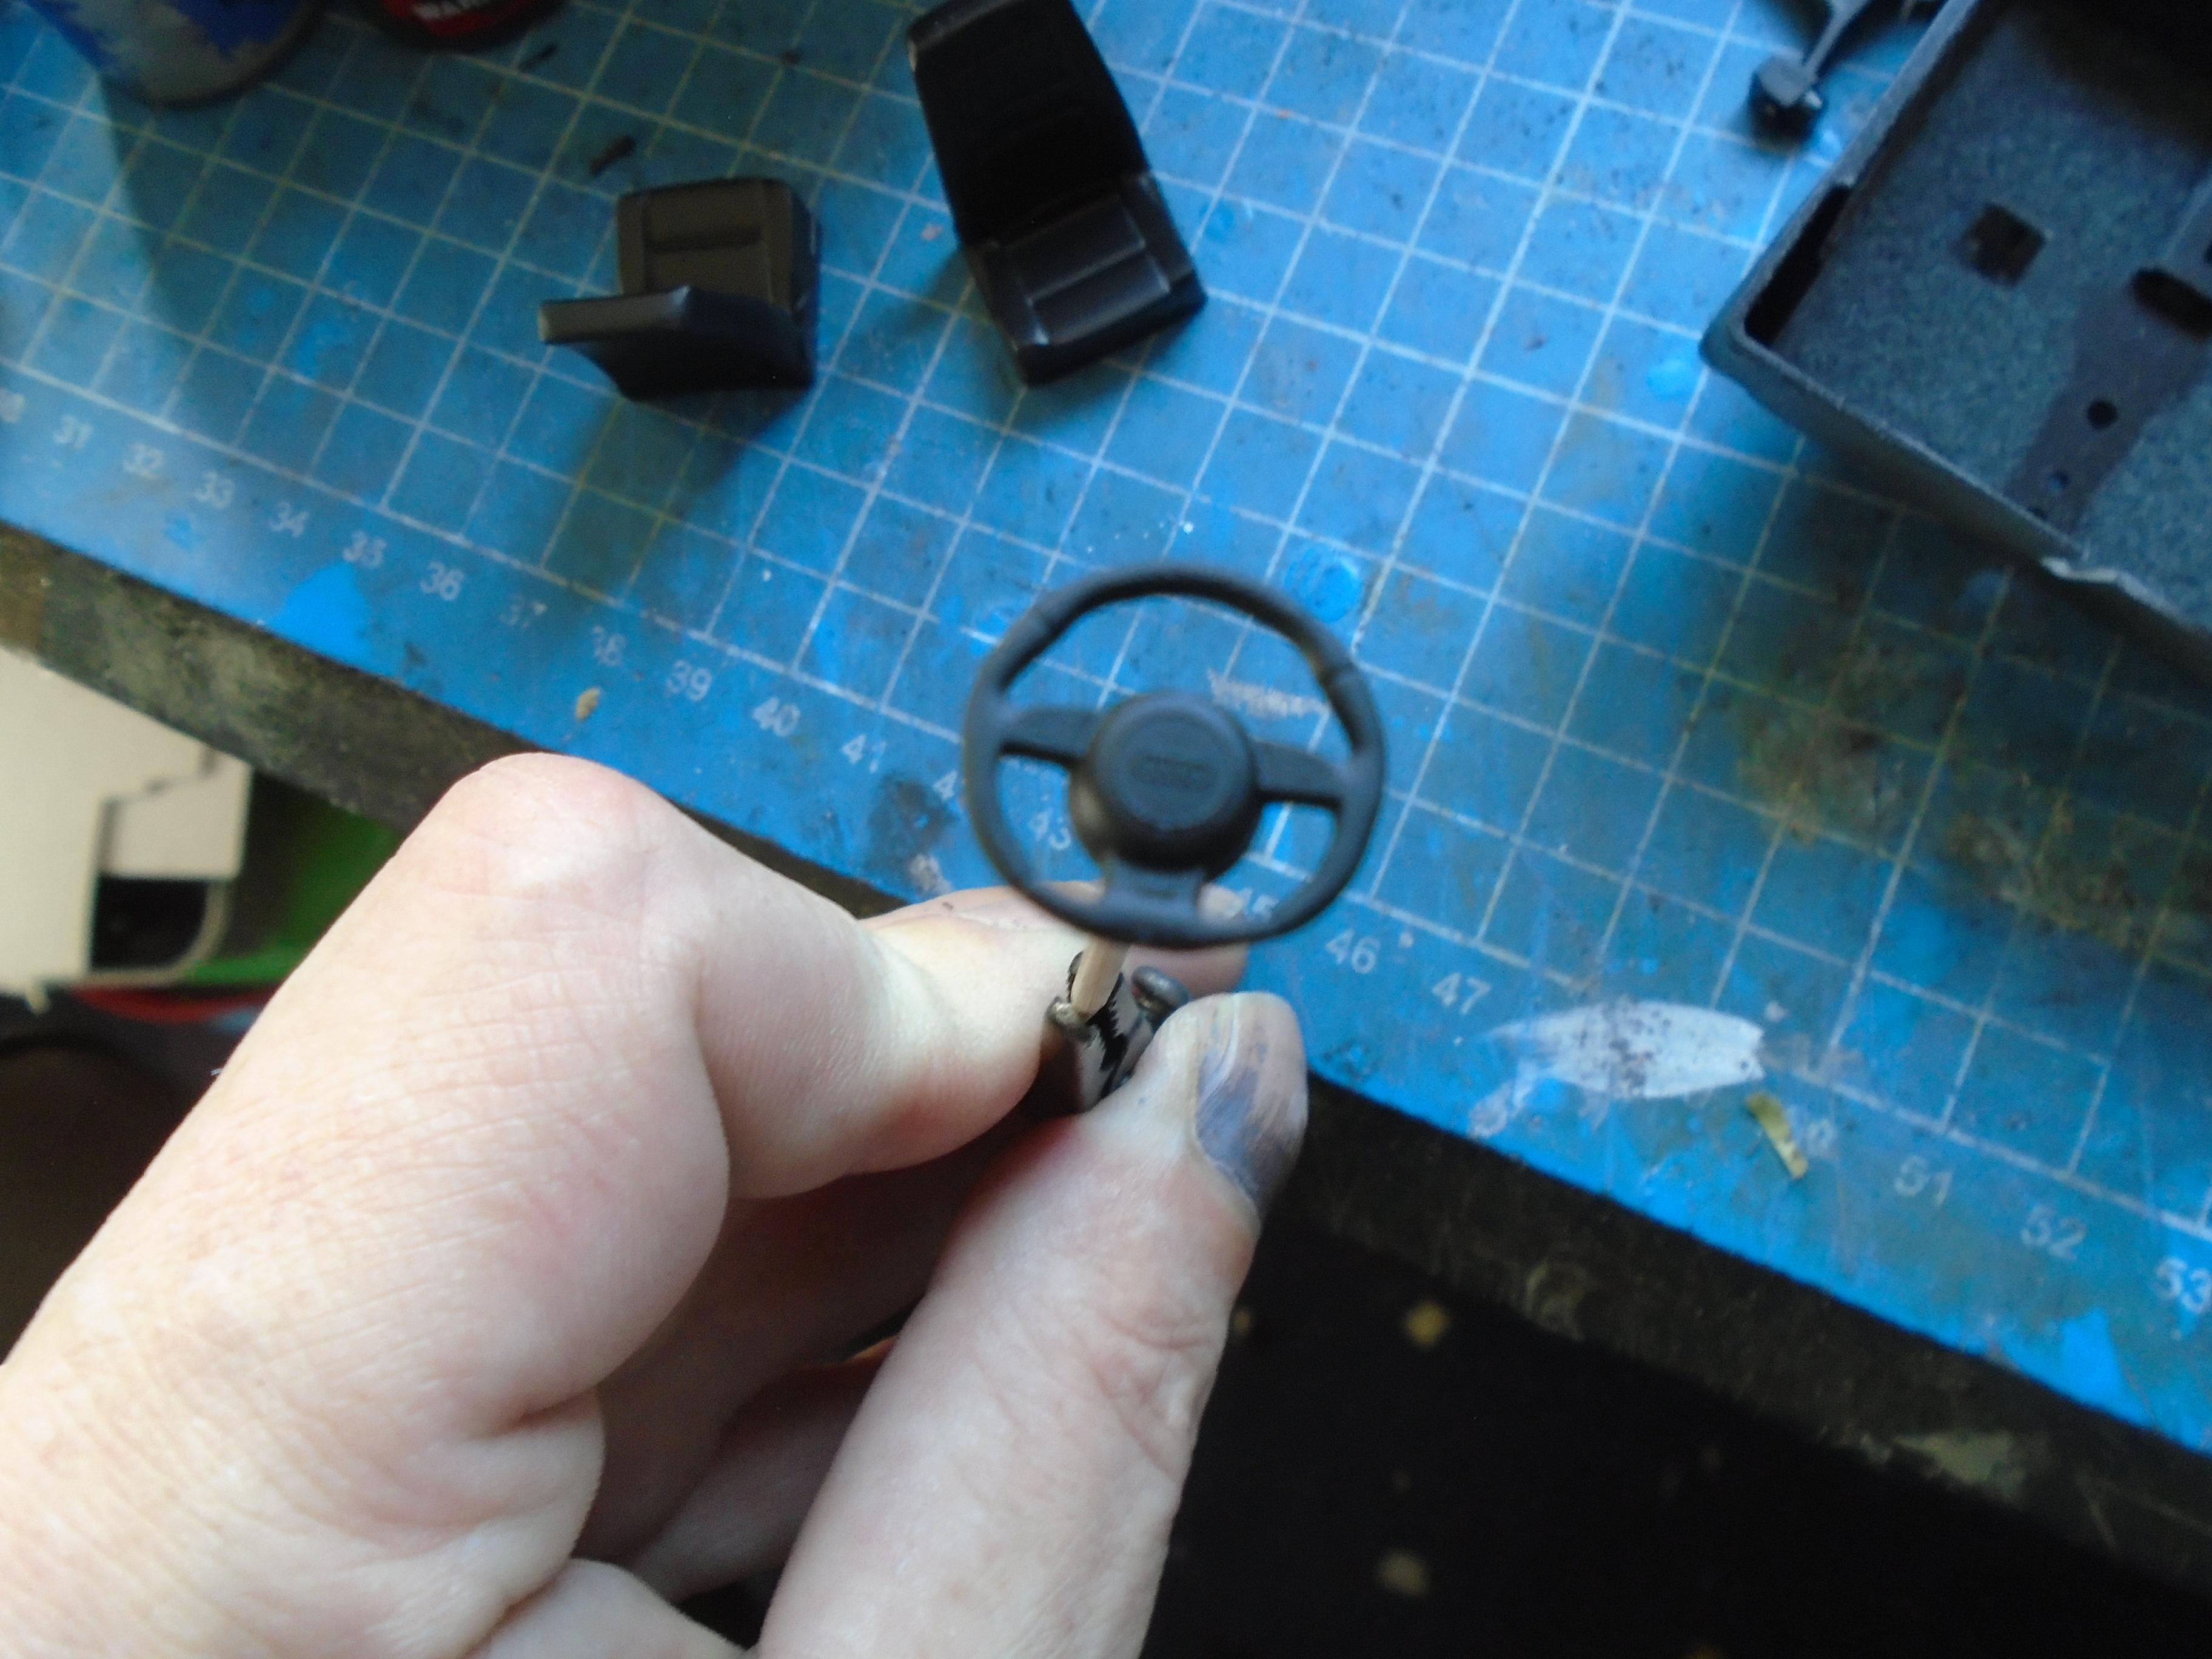
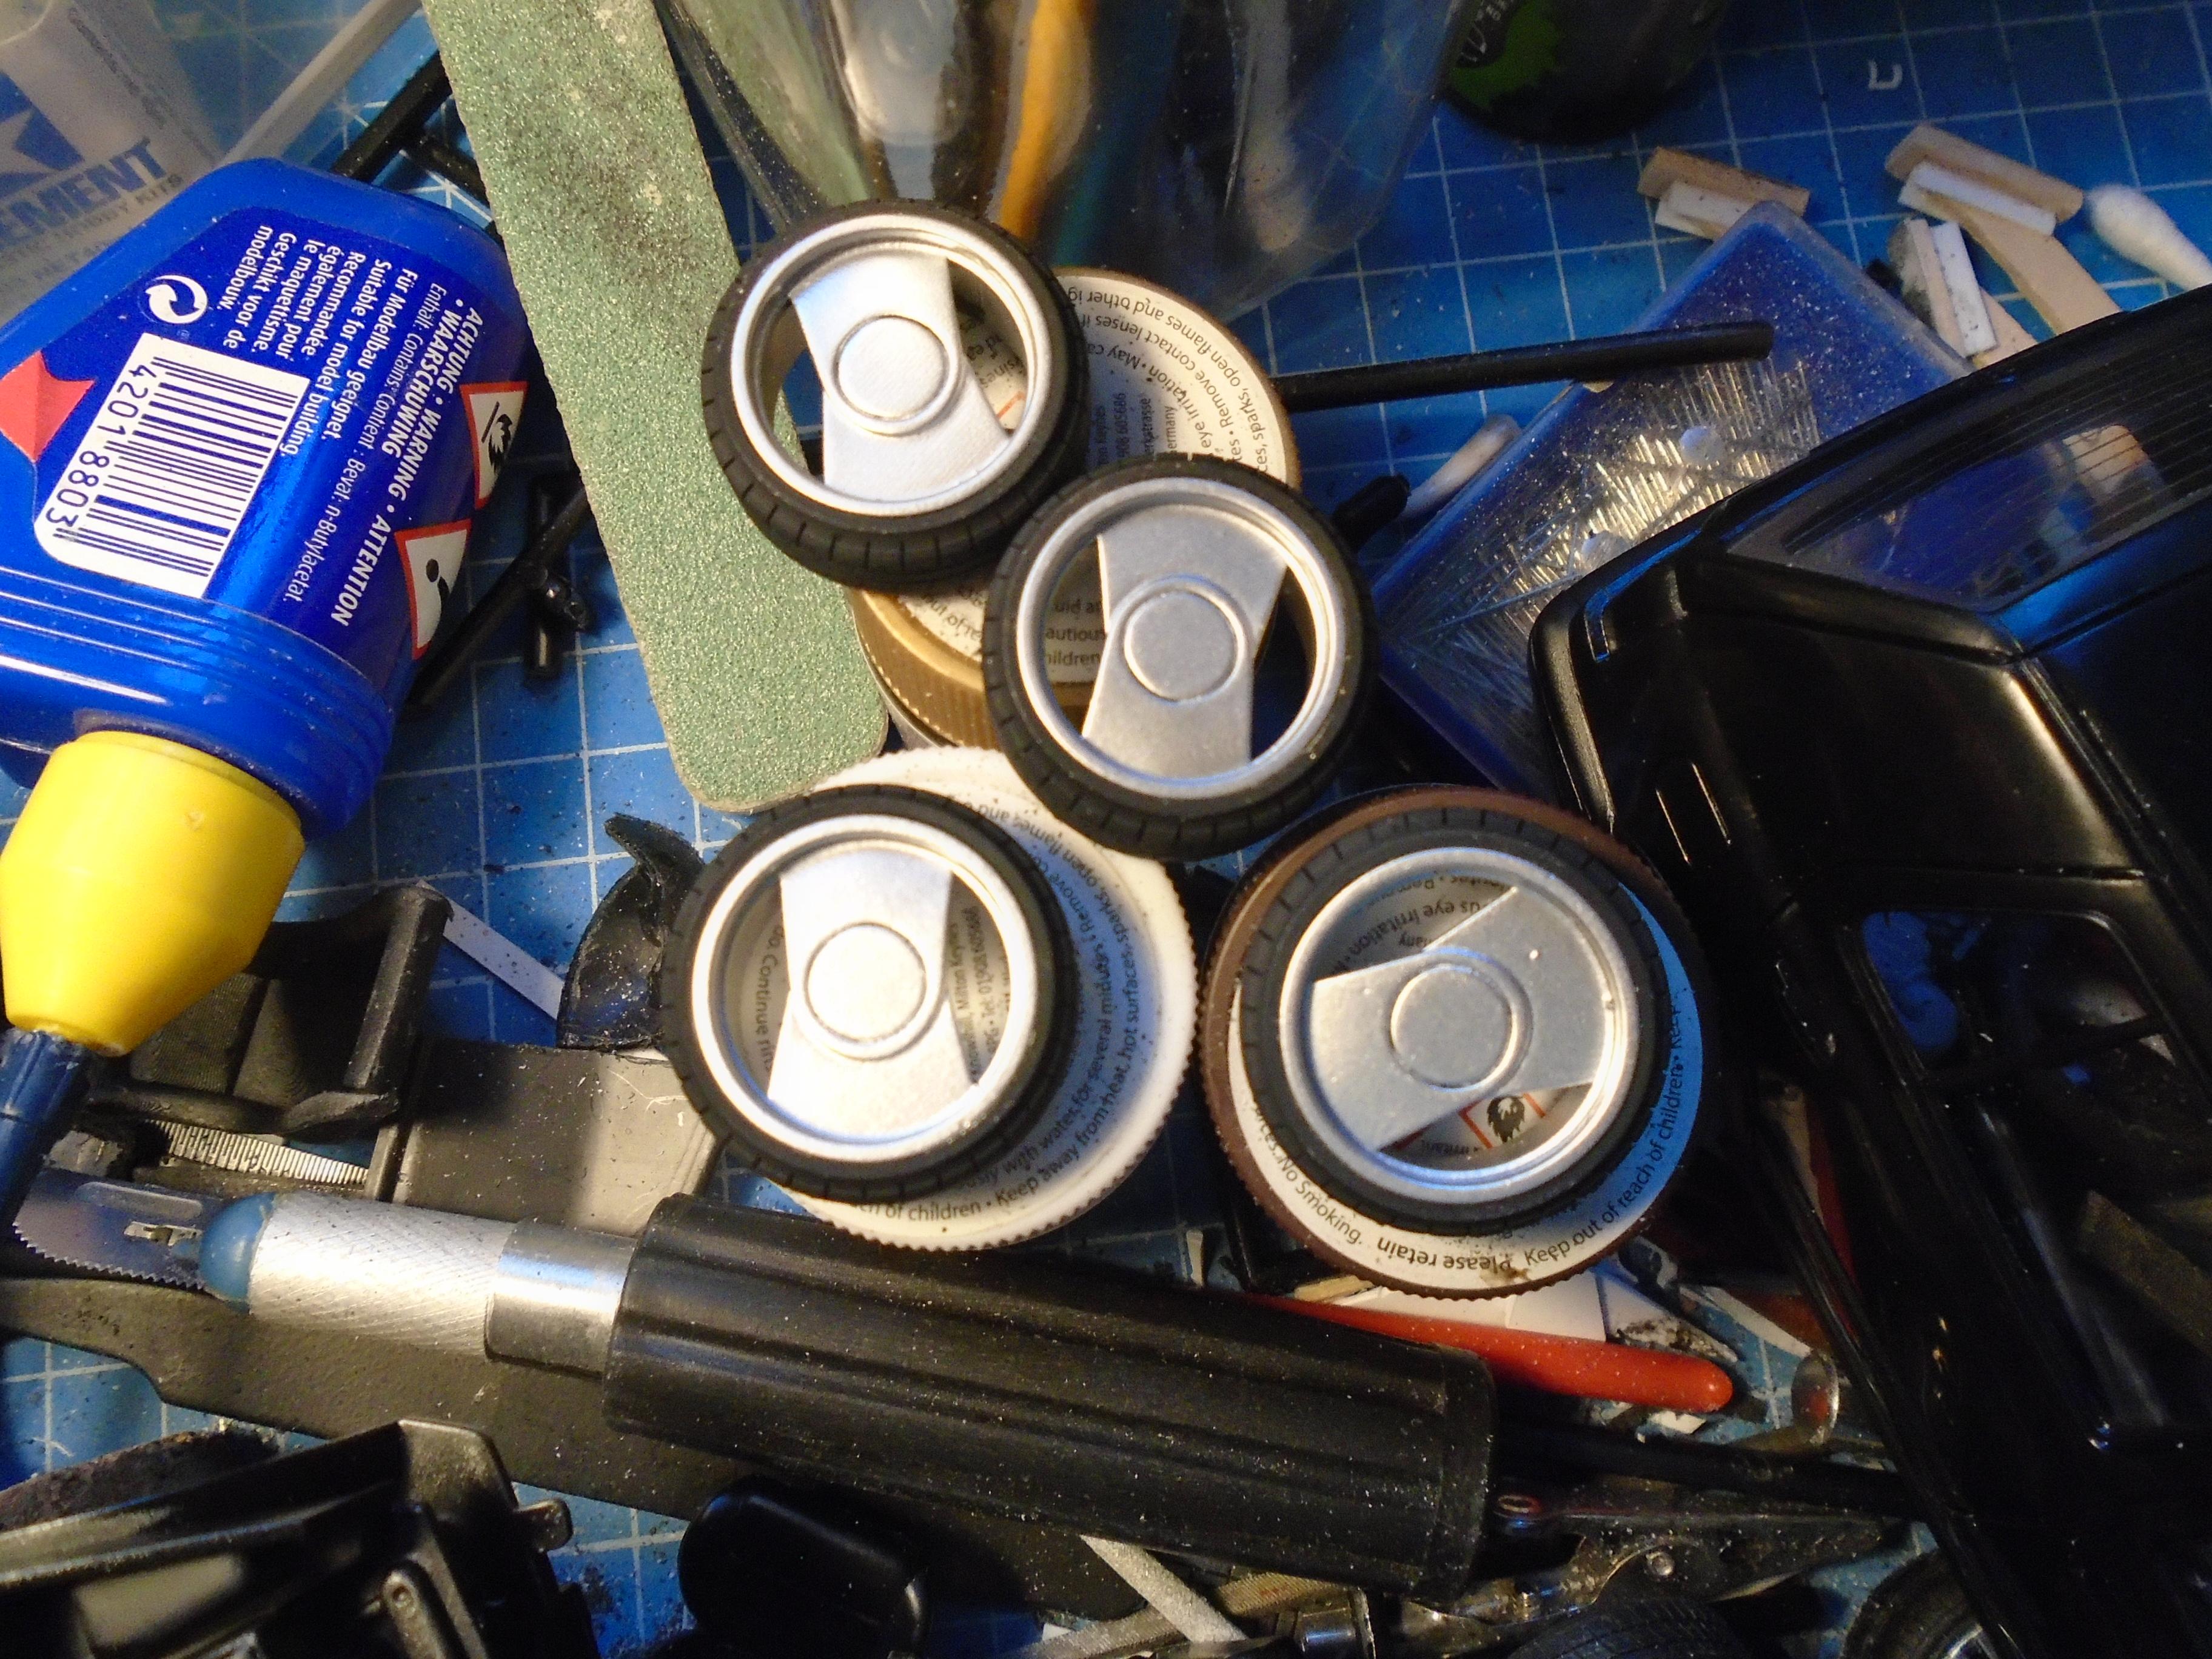
i flocked the interior today and got the seats ready for decaling. i need to give the black on the wheels a second coat. and i couldn't find a lupo 3l steering wheels file so its audi rs6

-
does anybody want to make black spaghetti?
-
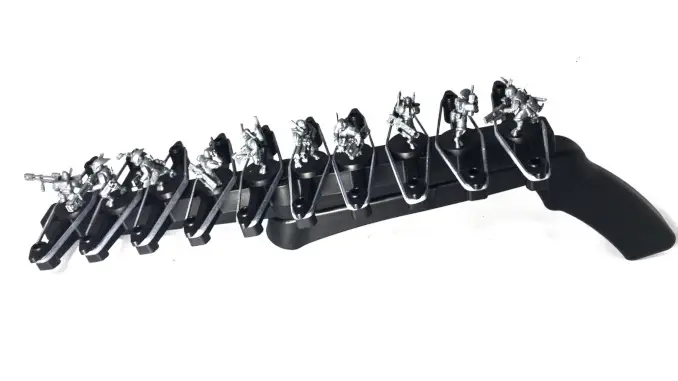
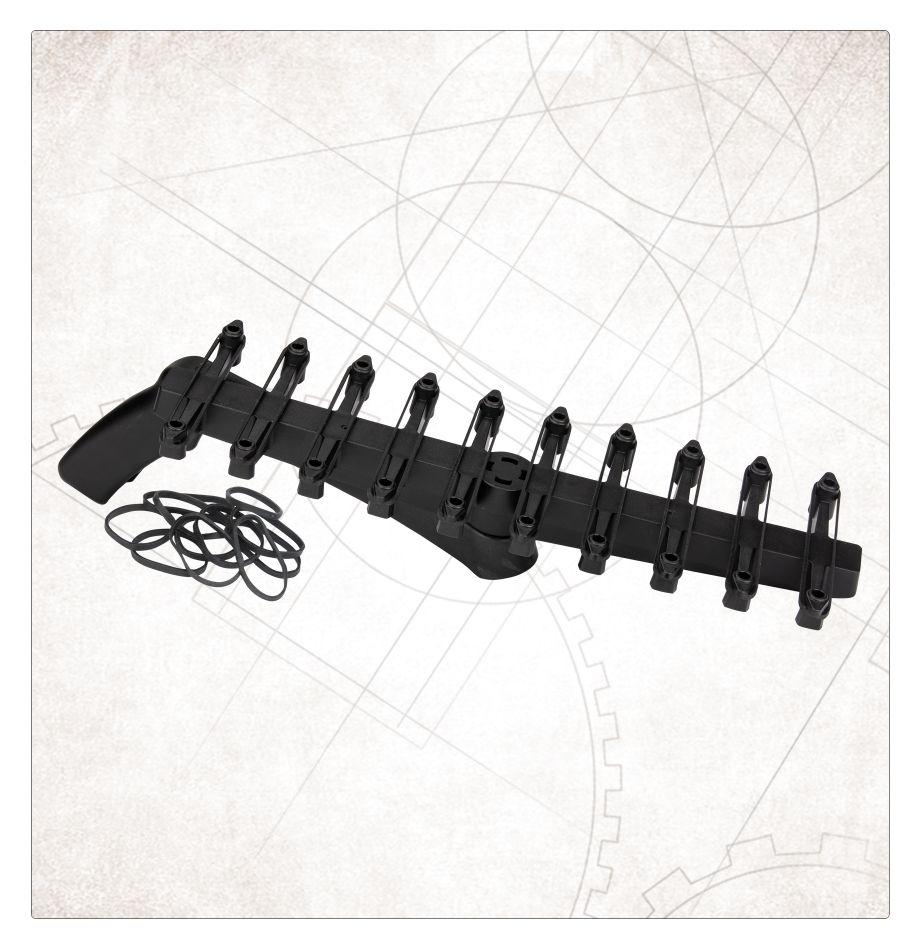
Ideas for holding figures
stitchdup replied to slusher's topic in Model Building Questions and Answers
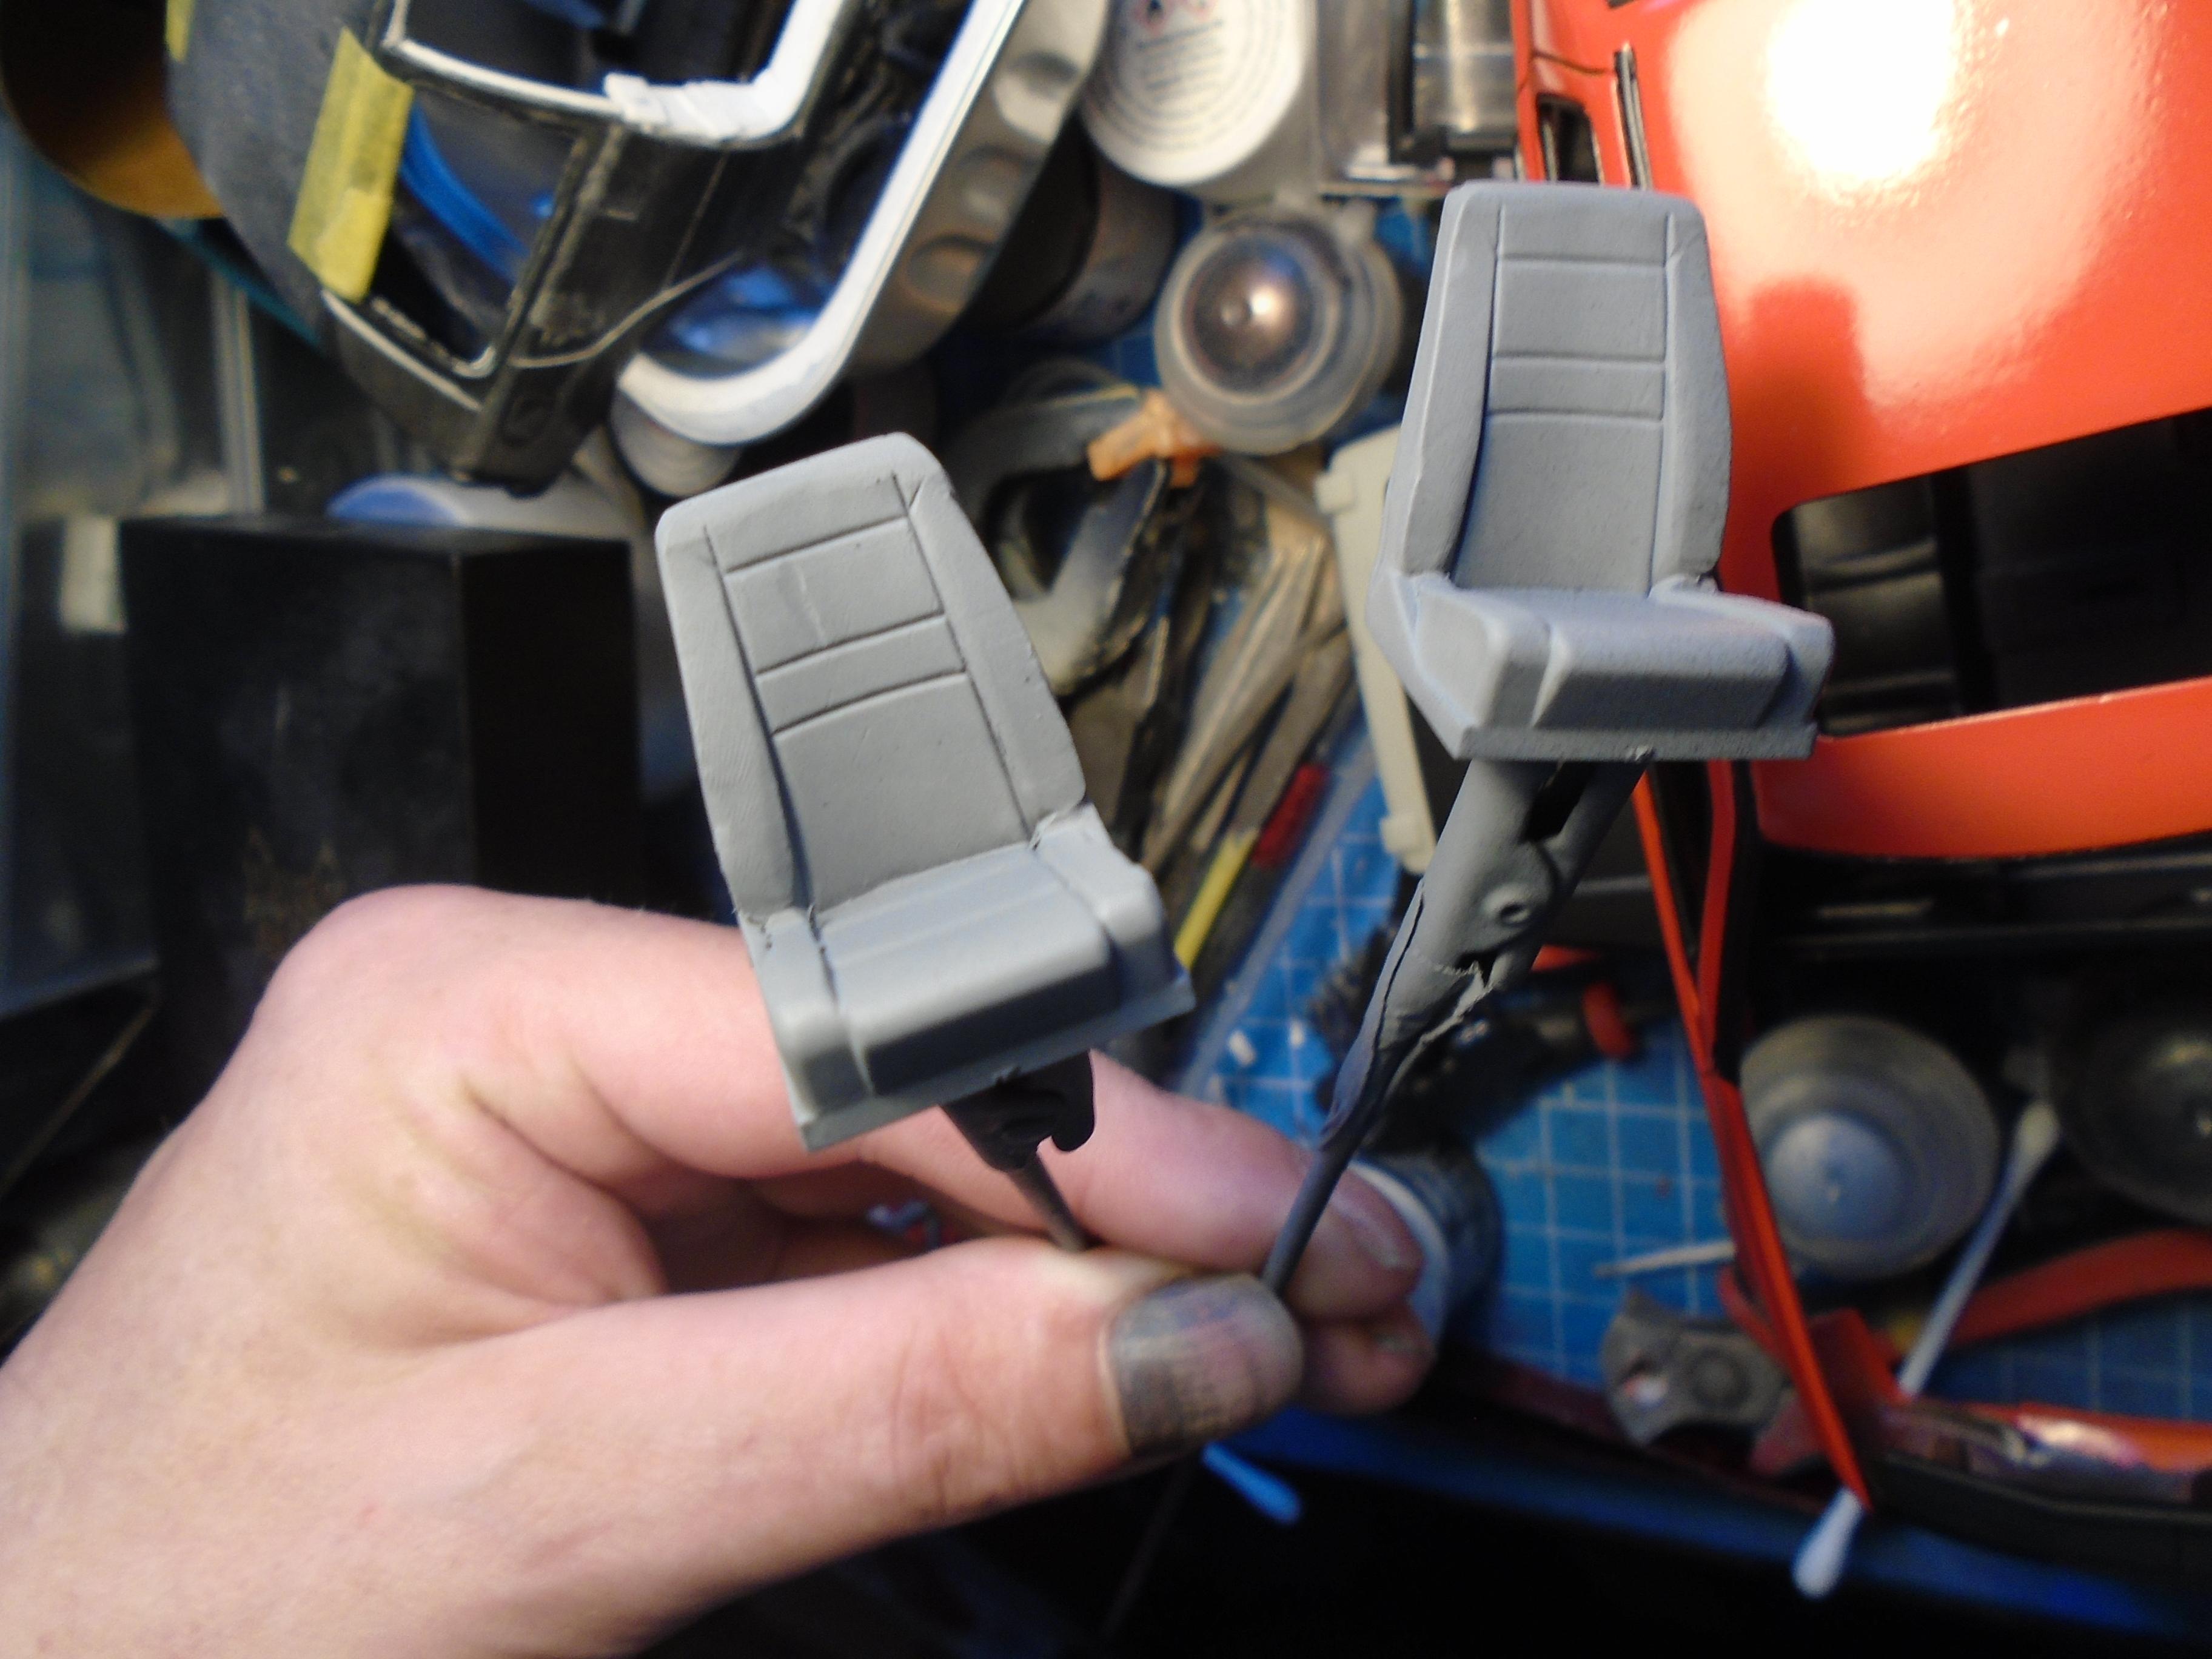
if they are mounted on bases one of these could work. they hold the base with elastic bands. i'm going to fit crocodile clips to mine for doing wheels, tyres and small parts. its from citadel and can be found in fantasy war gaming shops
-
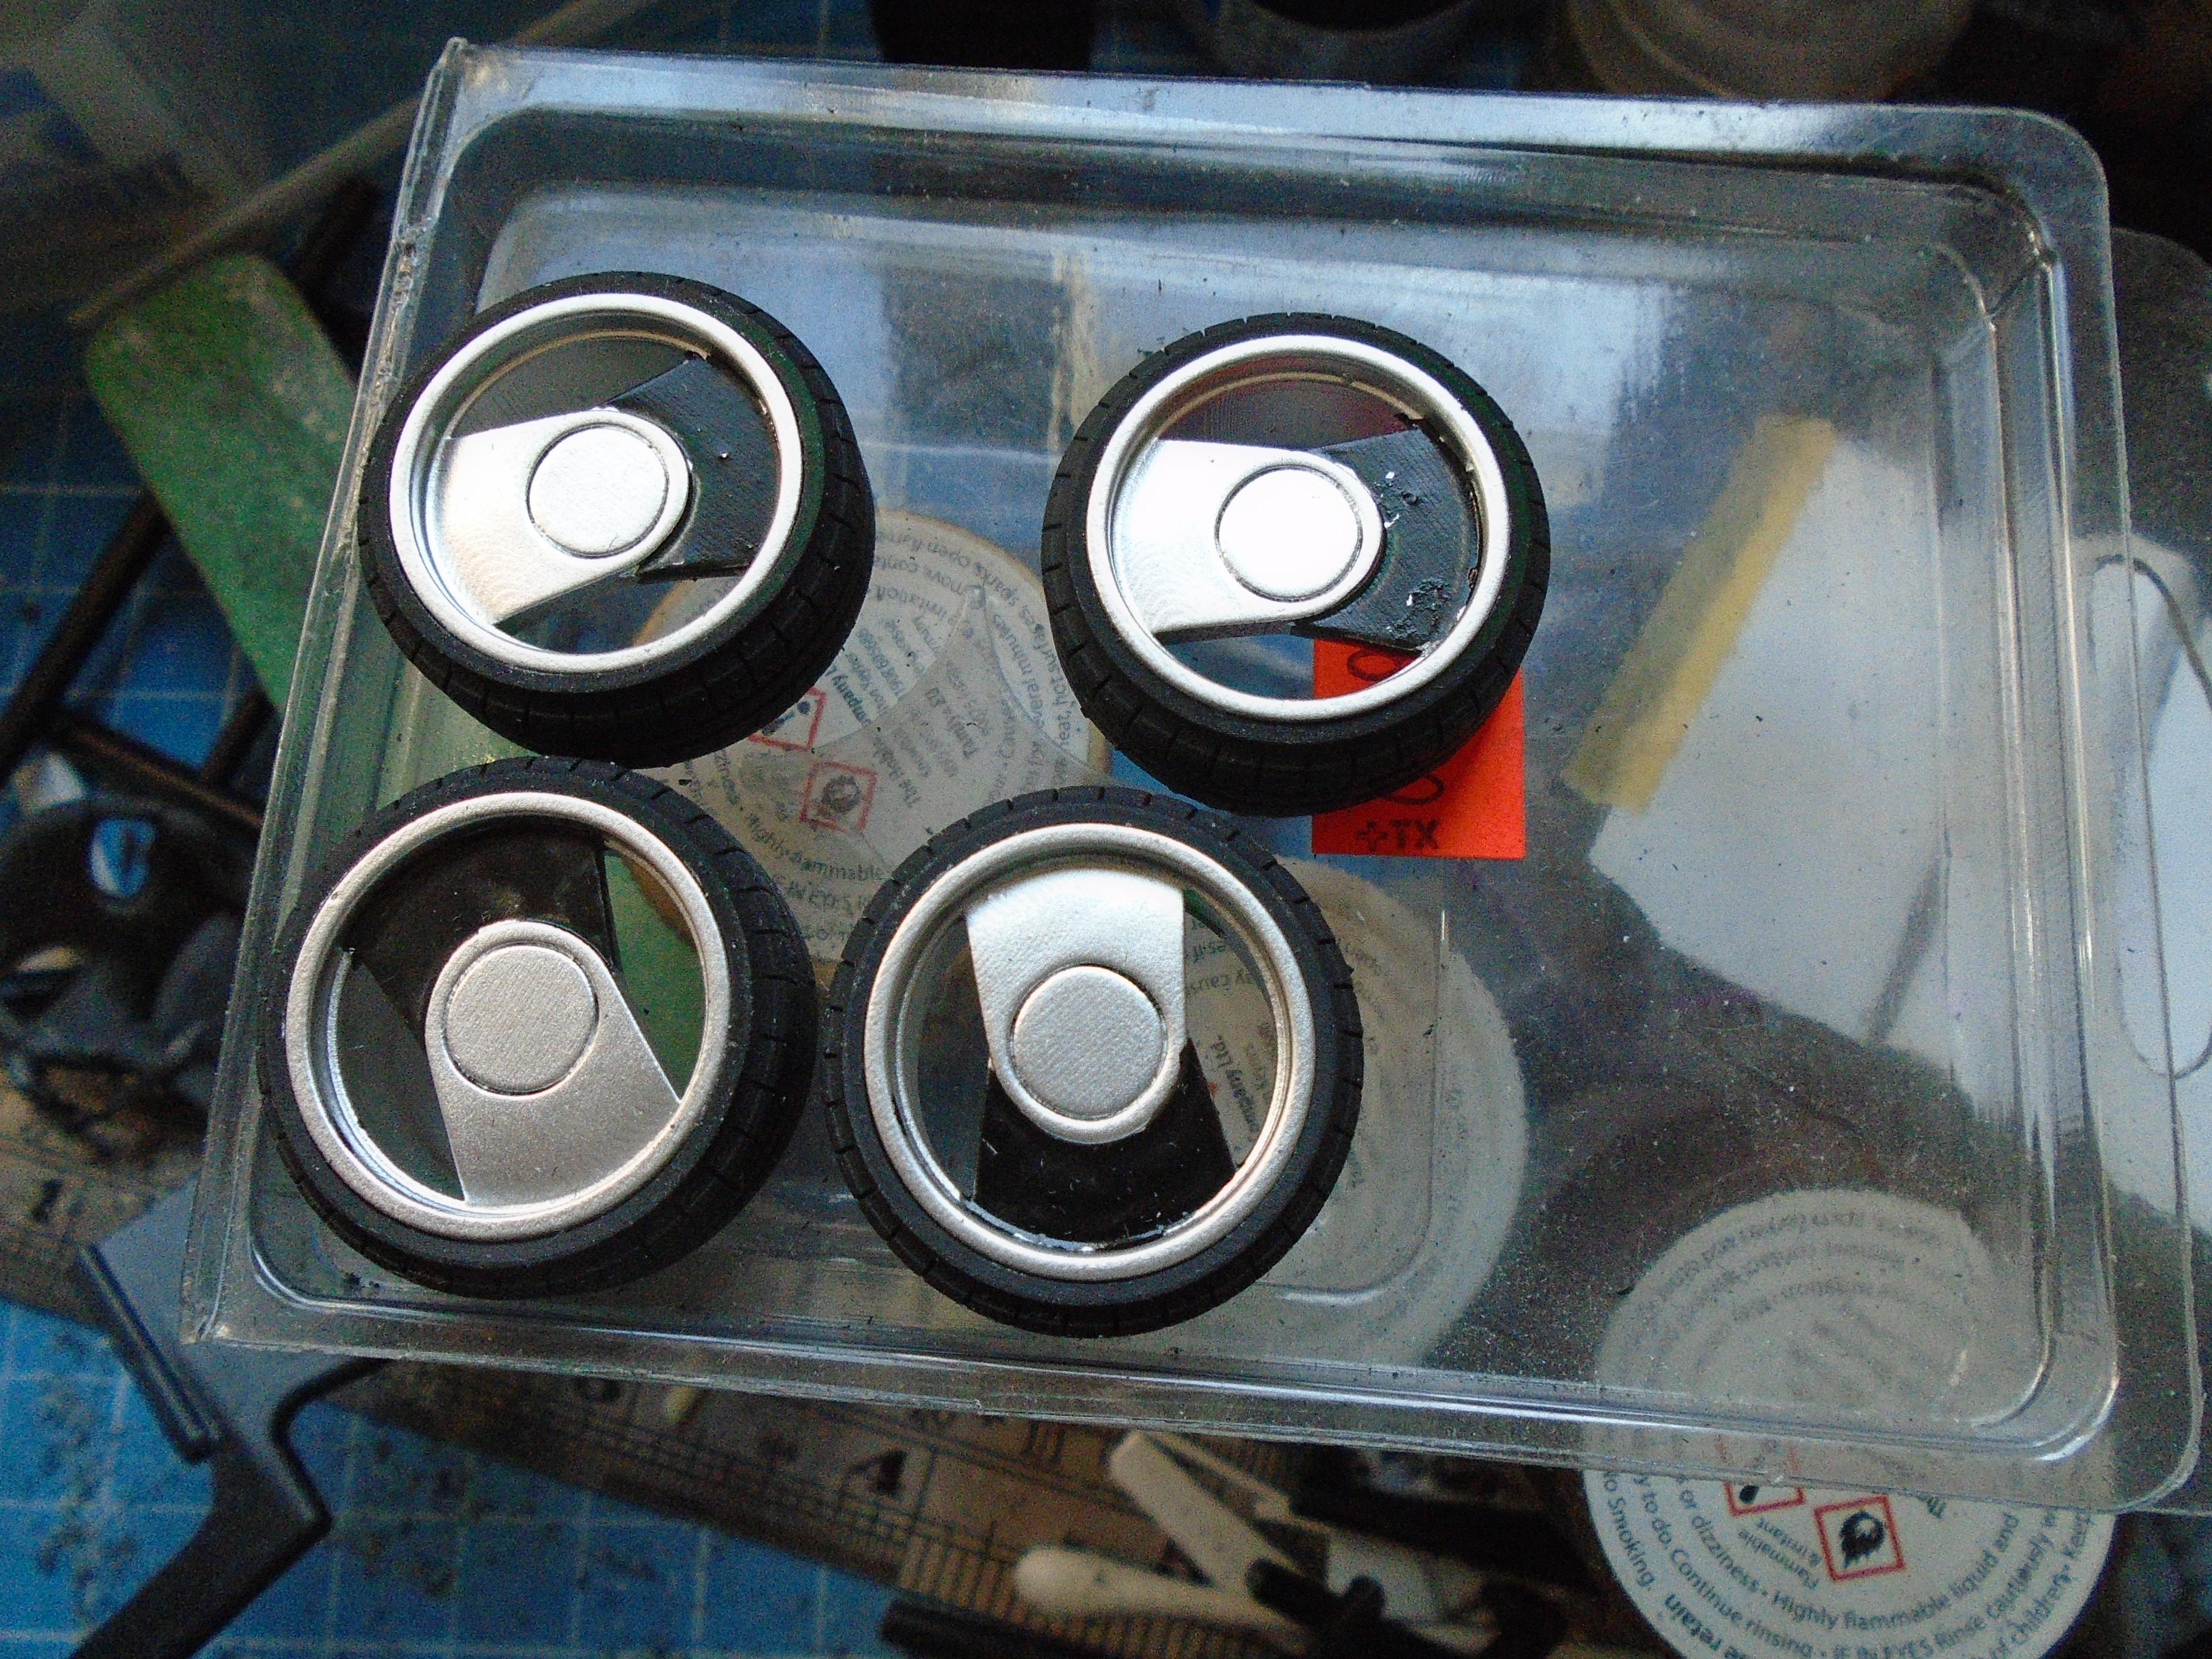
painted the wheels but still need to add the black detail. I went with exip megas as they fit the period. To make them work i'll have to nailthe stance. Also reworked the kit seats to more cl base model but they will get gti trim
-
tangible evidence of the above statemenrt can be found within the above statement (lol)
-
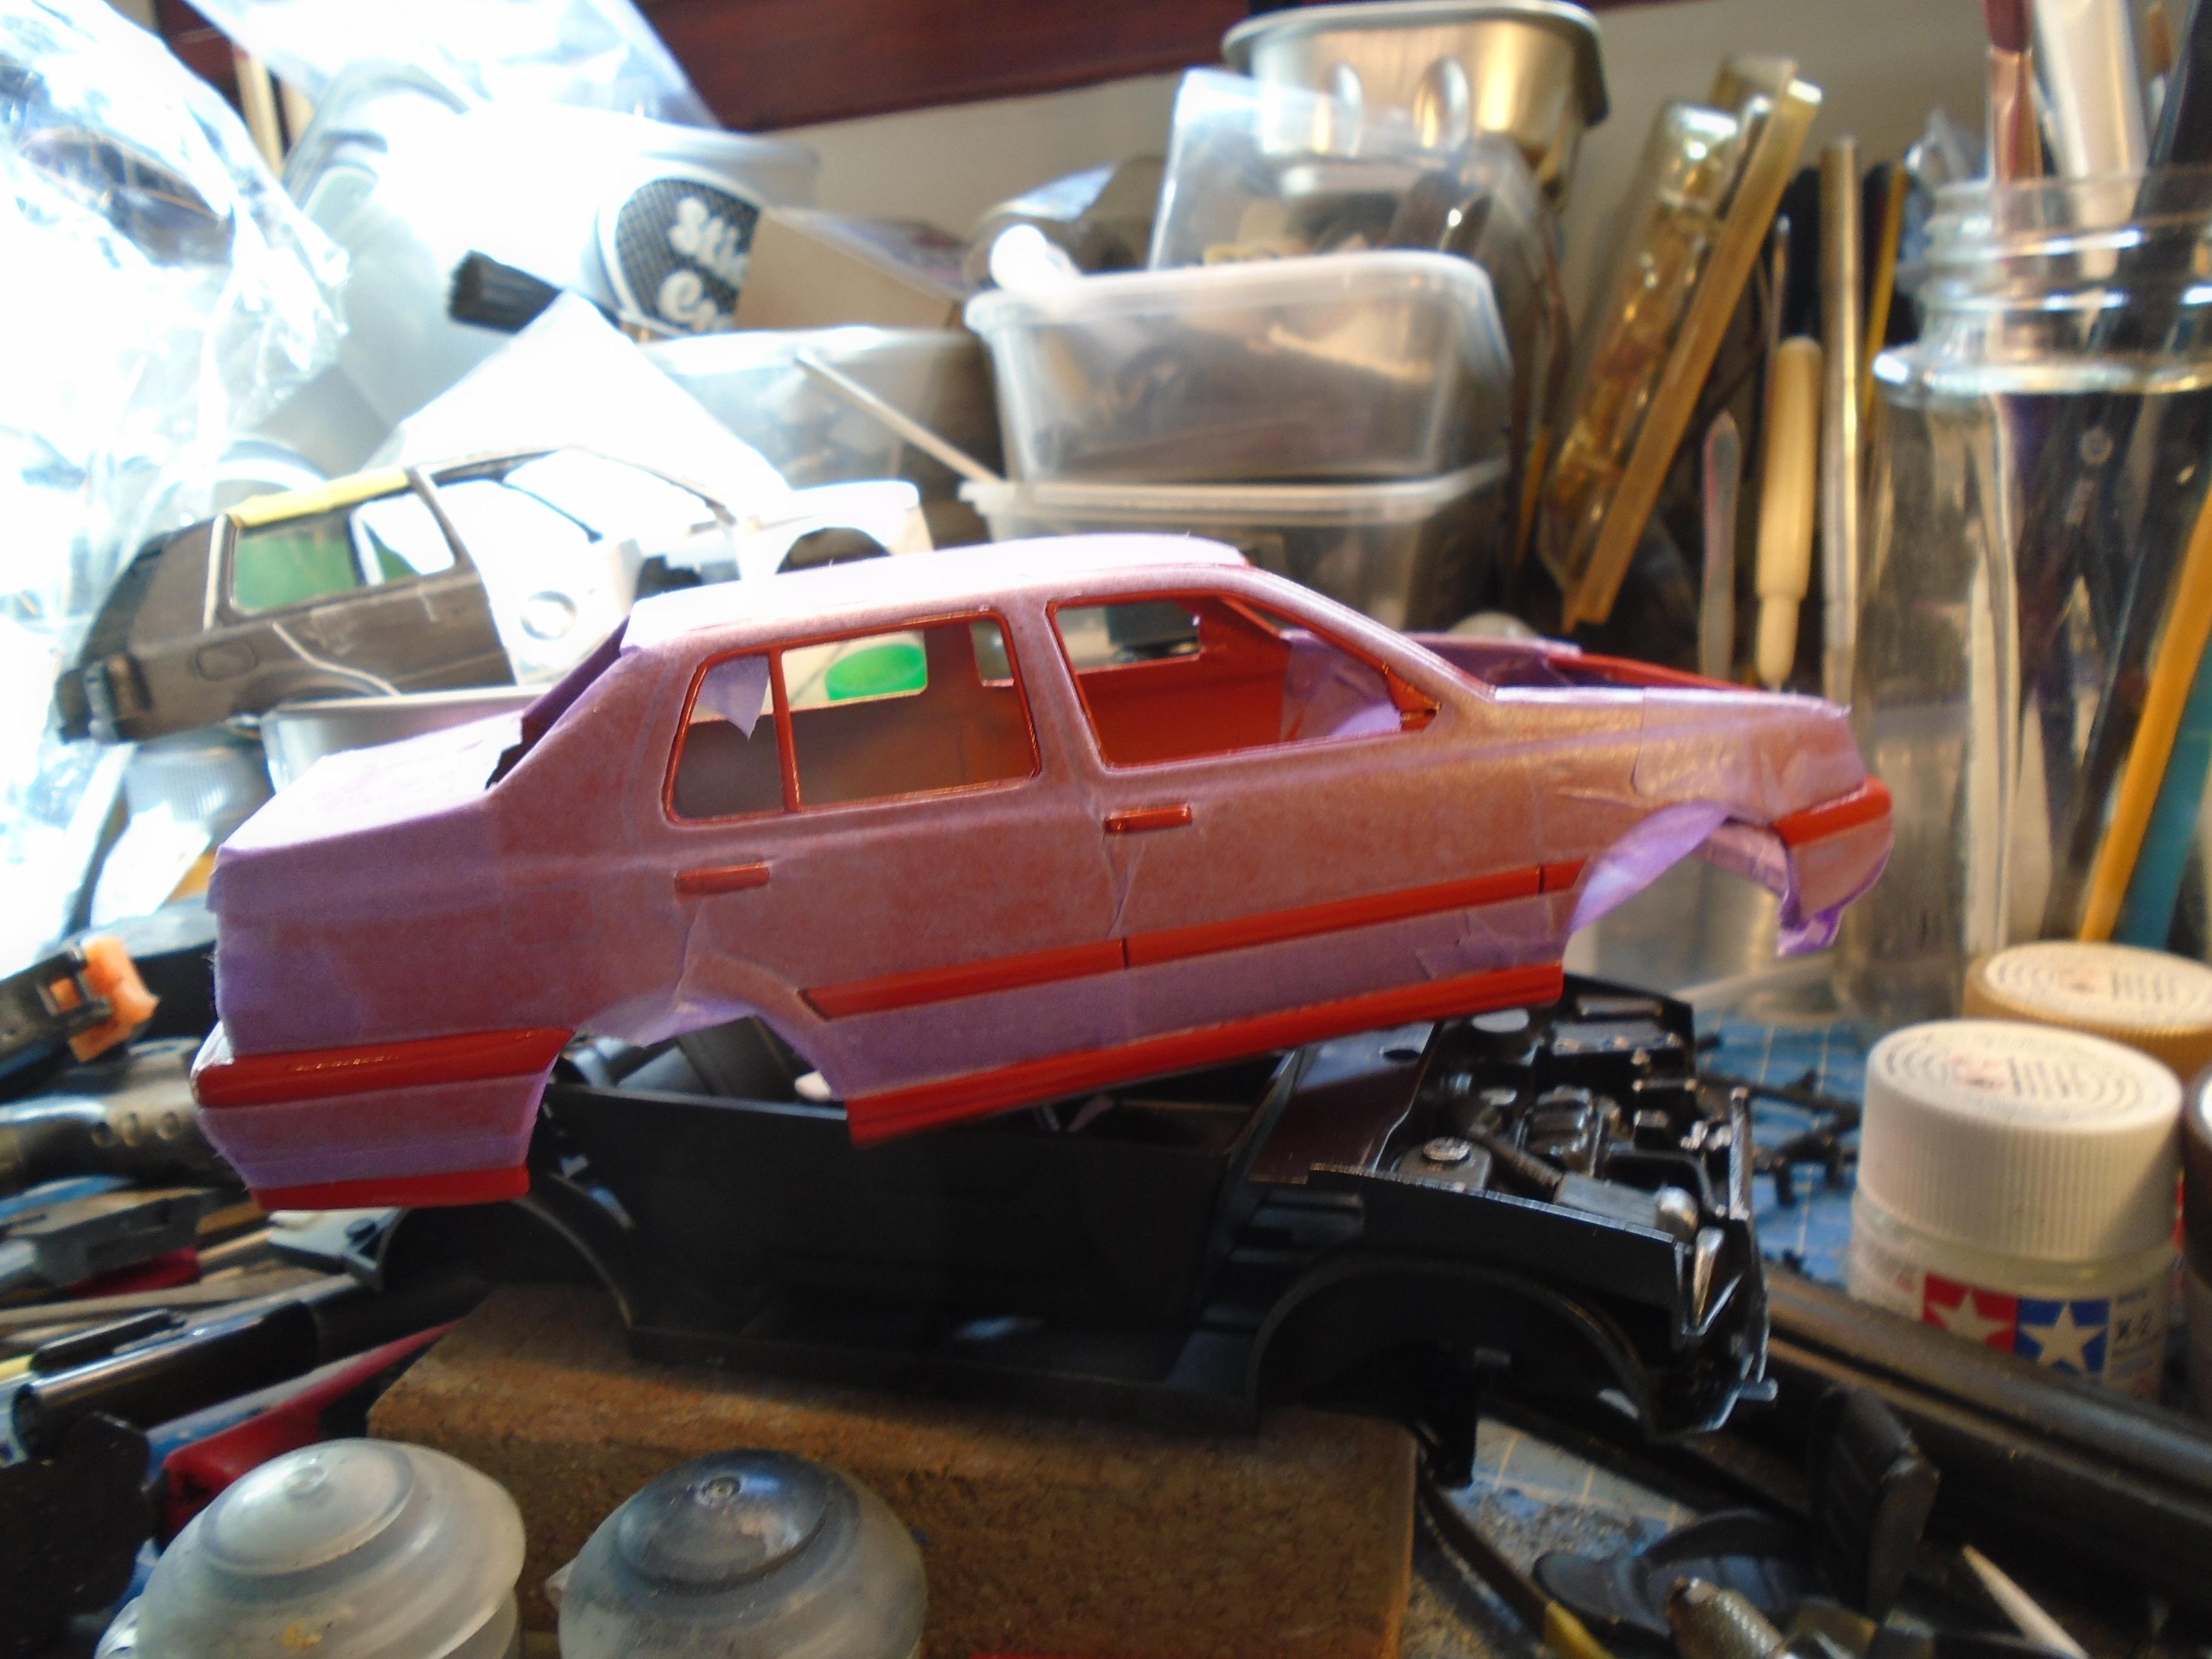
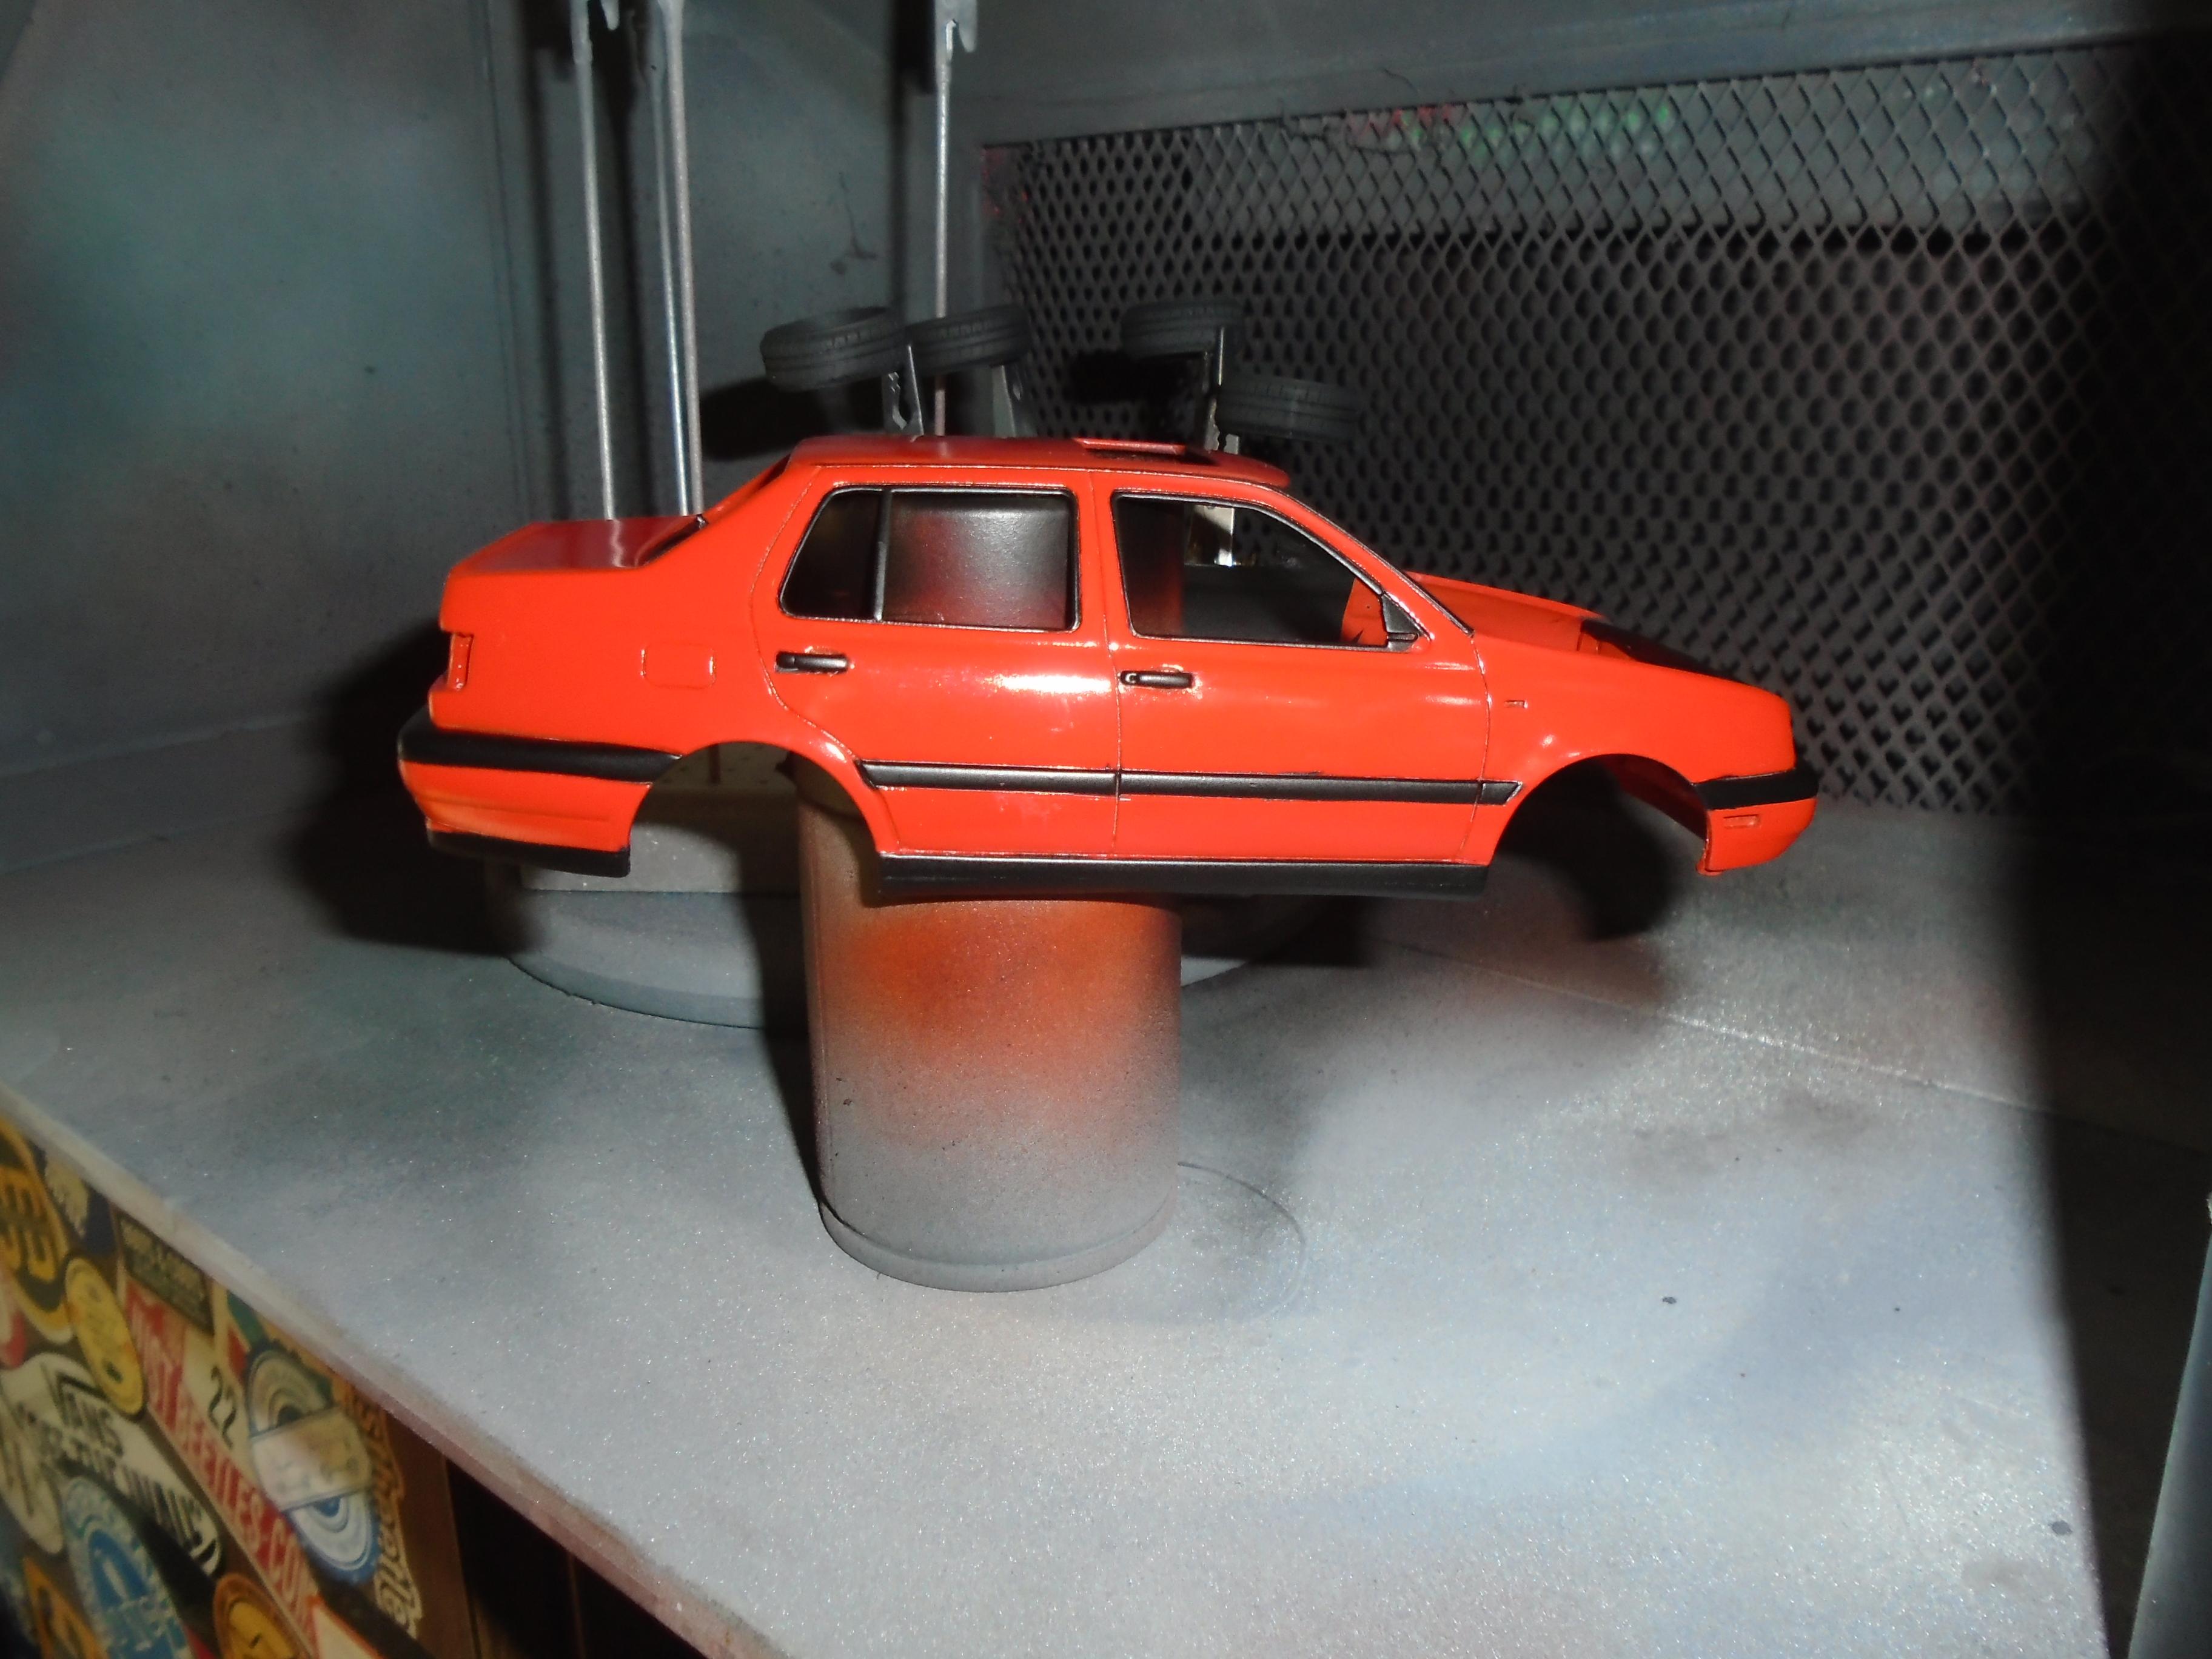
an hour and a half of masking for 5 mins painting and i still had a little seepage in a couple of places. The trim is mid spec instead of the various other options.
-
i think its much simpler. social media has led to folk forgetting what real community is. when theres a community theres much less dumping as people can take pride in where they live instead of constantly seeking attention for mediocrity.
-
i have all those engines in 3d. only a couple diesels still to get
-
the tamiya mk4 is hard to get and expensive if you do find one
-
Messaging issues
stitchdup replied to Hard_2_Handle_454's topic in Forum News and Questions (formerly: How To Use This Board)
if you cant reply add that here -
Messaging issues
stitchdup replied to Hard_2_Handle_454's topic in Forum News and Questions (formerly: How To Use This Board)
i'll message you. try to reply -
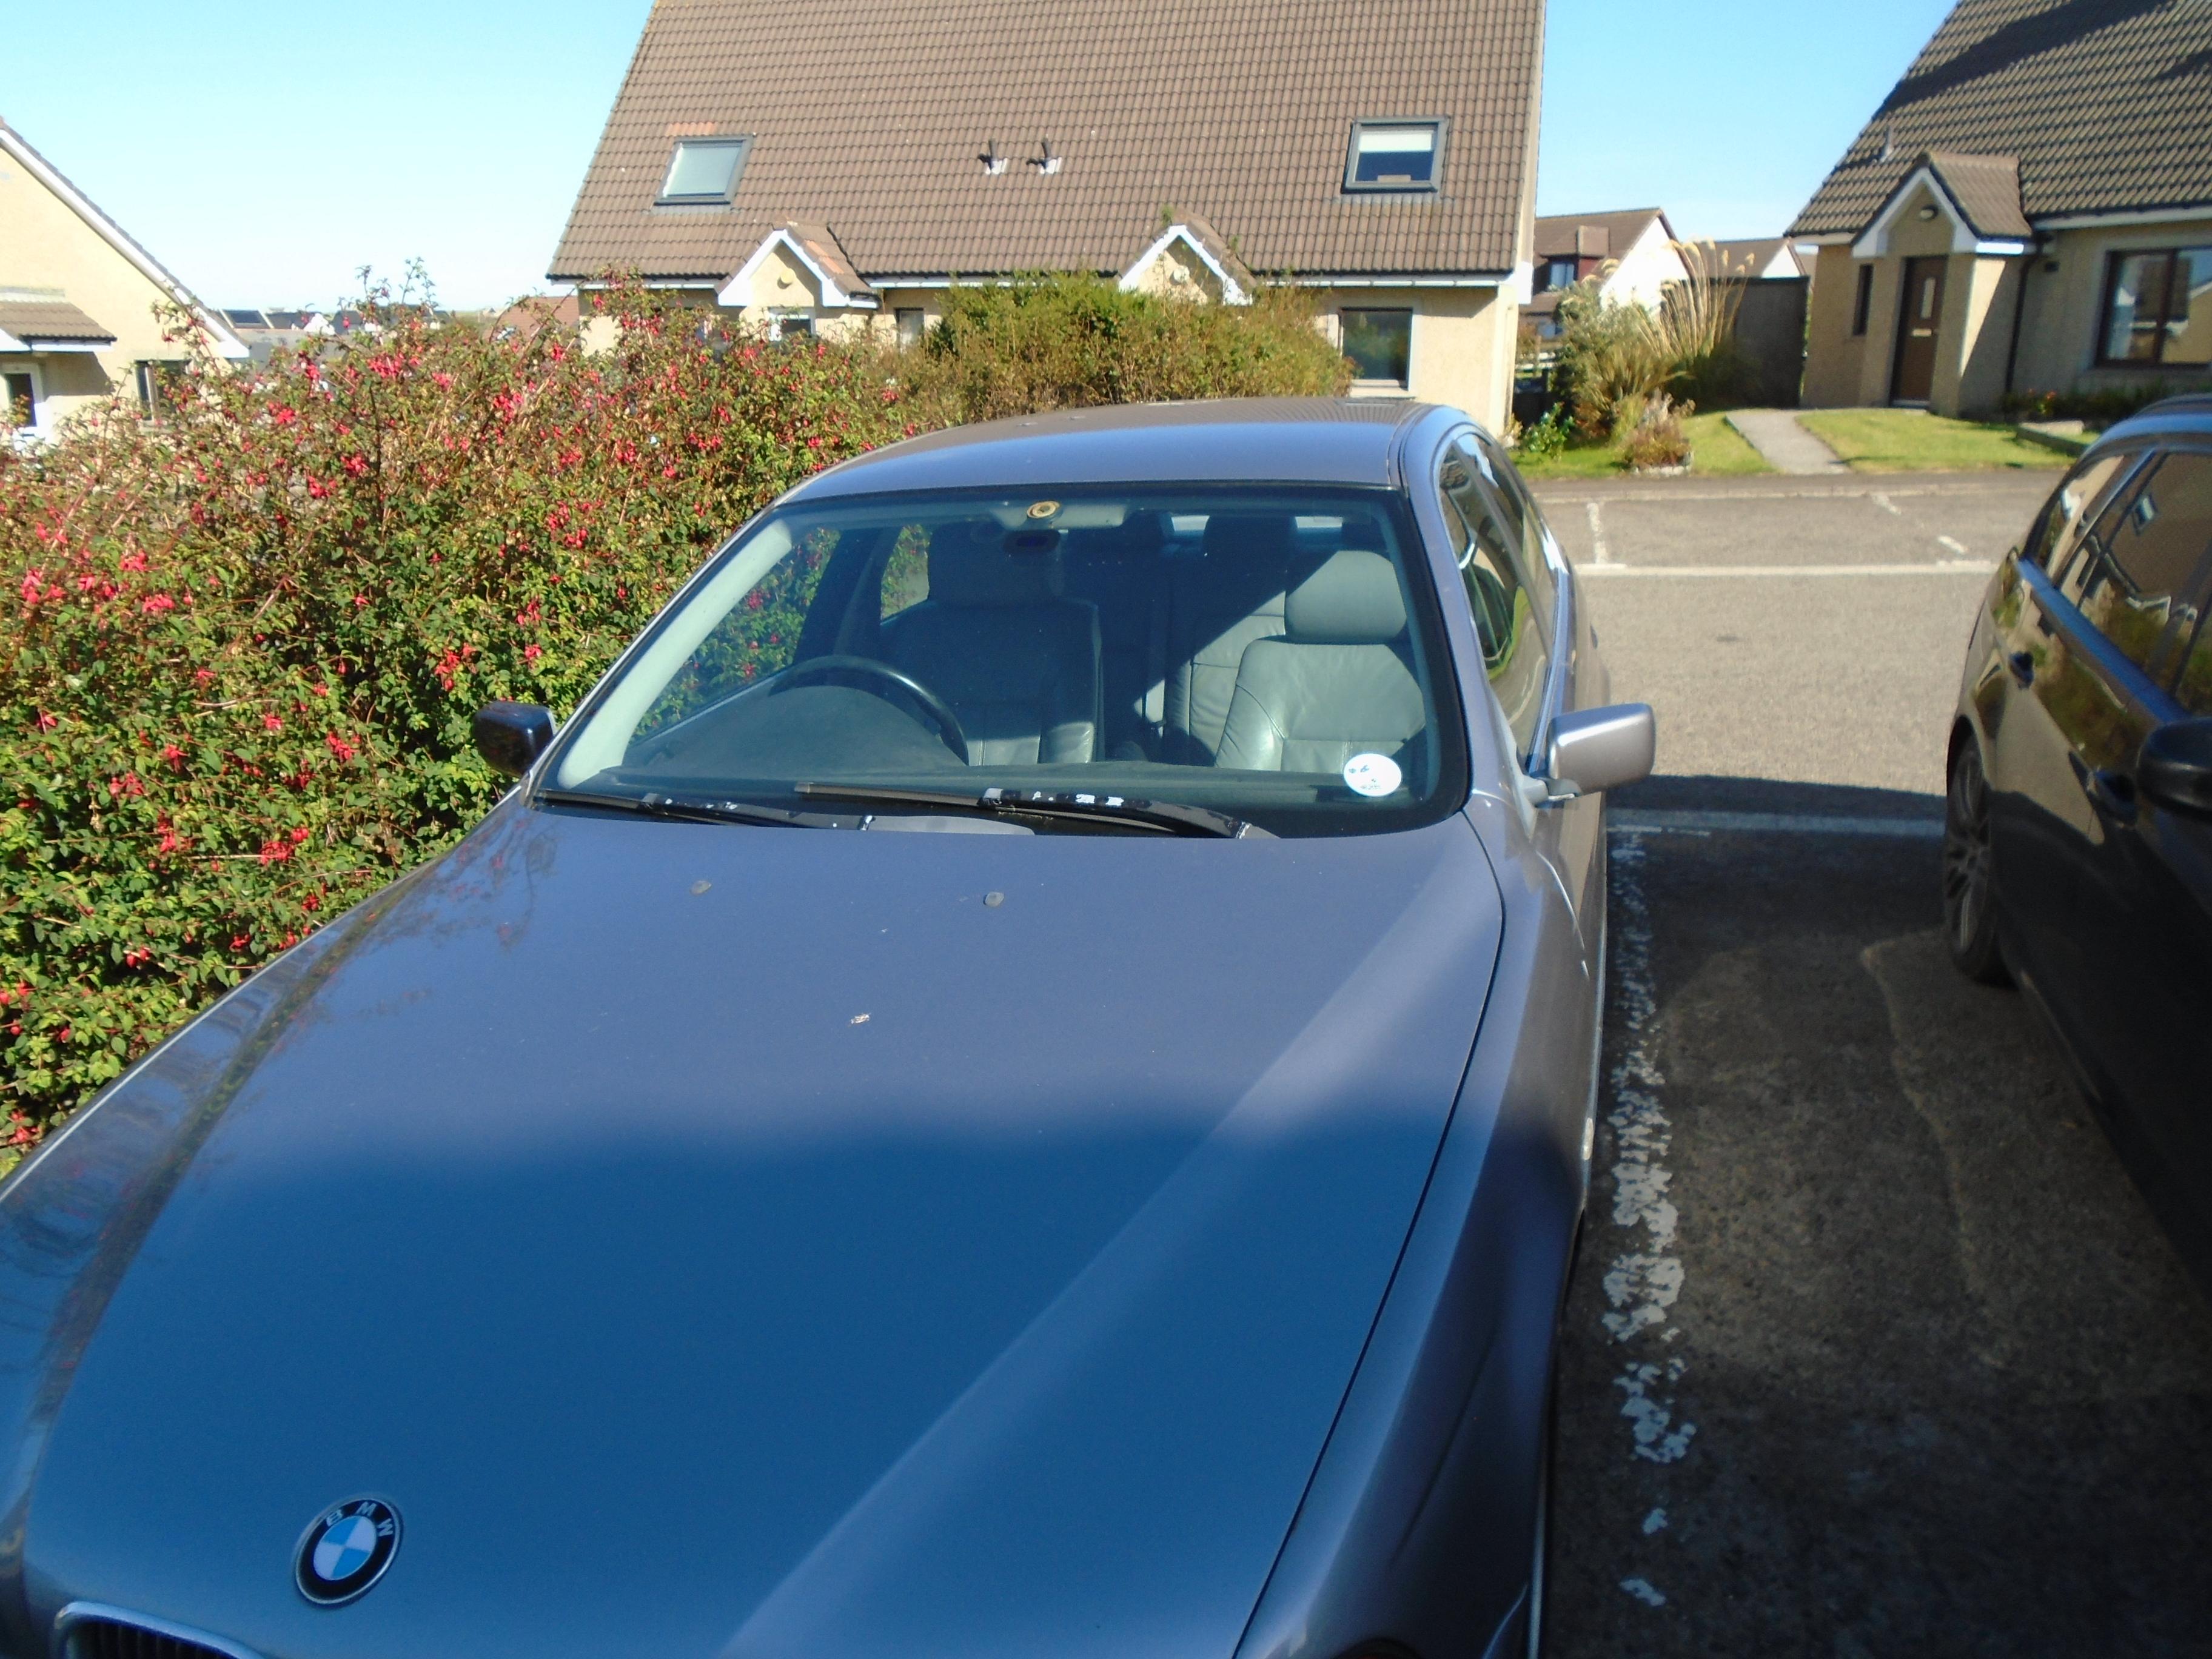
Traded from Kaci. Thinking to do it in the pinky purple silver my neighbours car is painted but its no a m5. it looks silver in the pic but under the sun its completely different
- 39,134 replies
-
- 2
-

-
- johan
- glue bombs
- (and 1 more)
-
Ordering From Overseas Still?
stitchdup replied to oldcarfan's topic in General Automotive Talk (Trucks and Cars)
its not vendors thats the problem, shipping companies wont accept usa parcels currently as they dont have storage space. on top of that, royal mail require every item in a box listed exactly with a value. they would not accept 45 piece scale model engine in 3d resin so i ended up writting a boring novel for the stuff i sent. an hour to post one parcel -
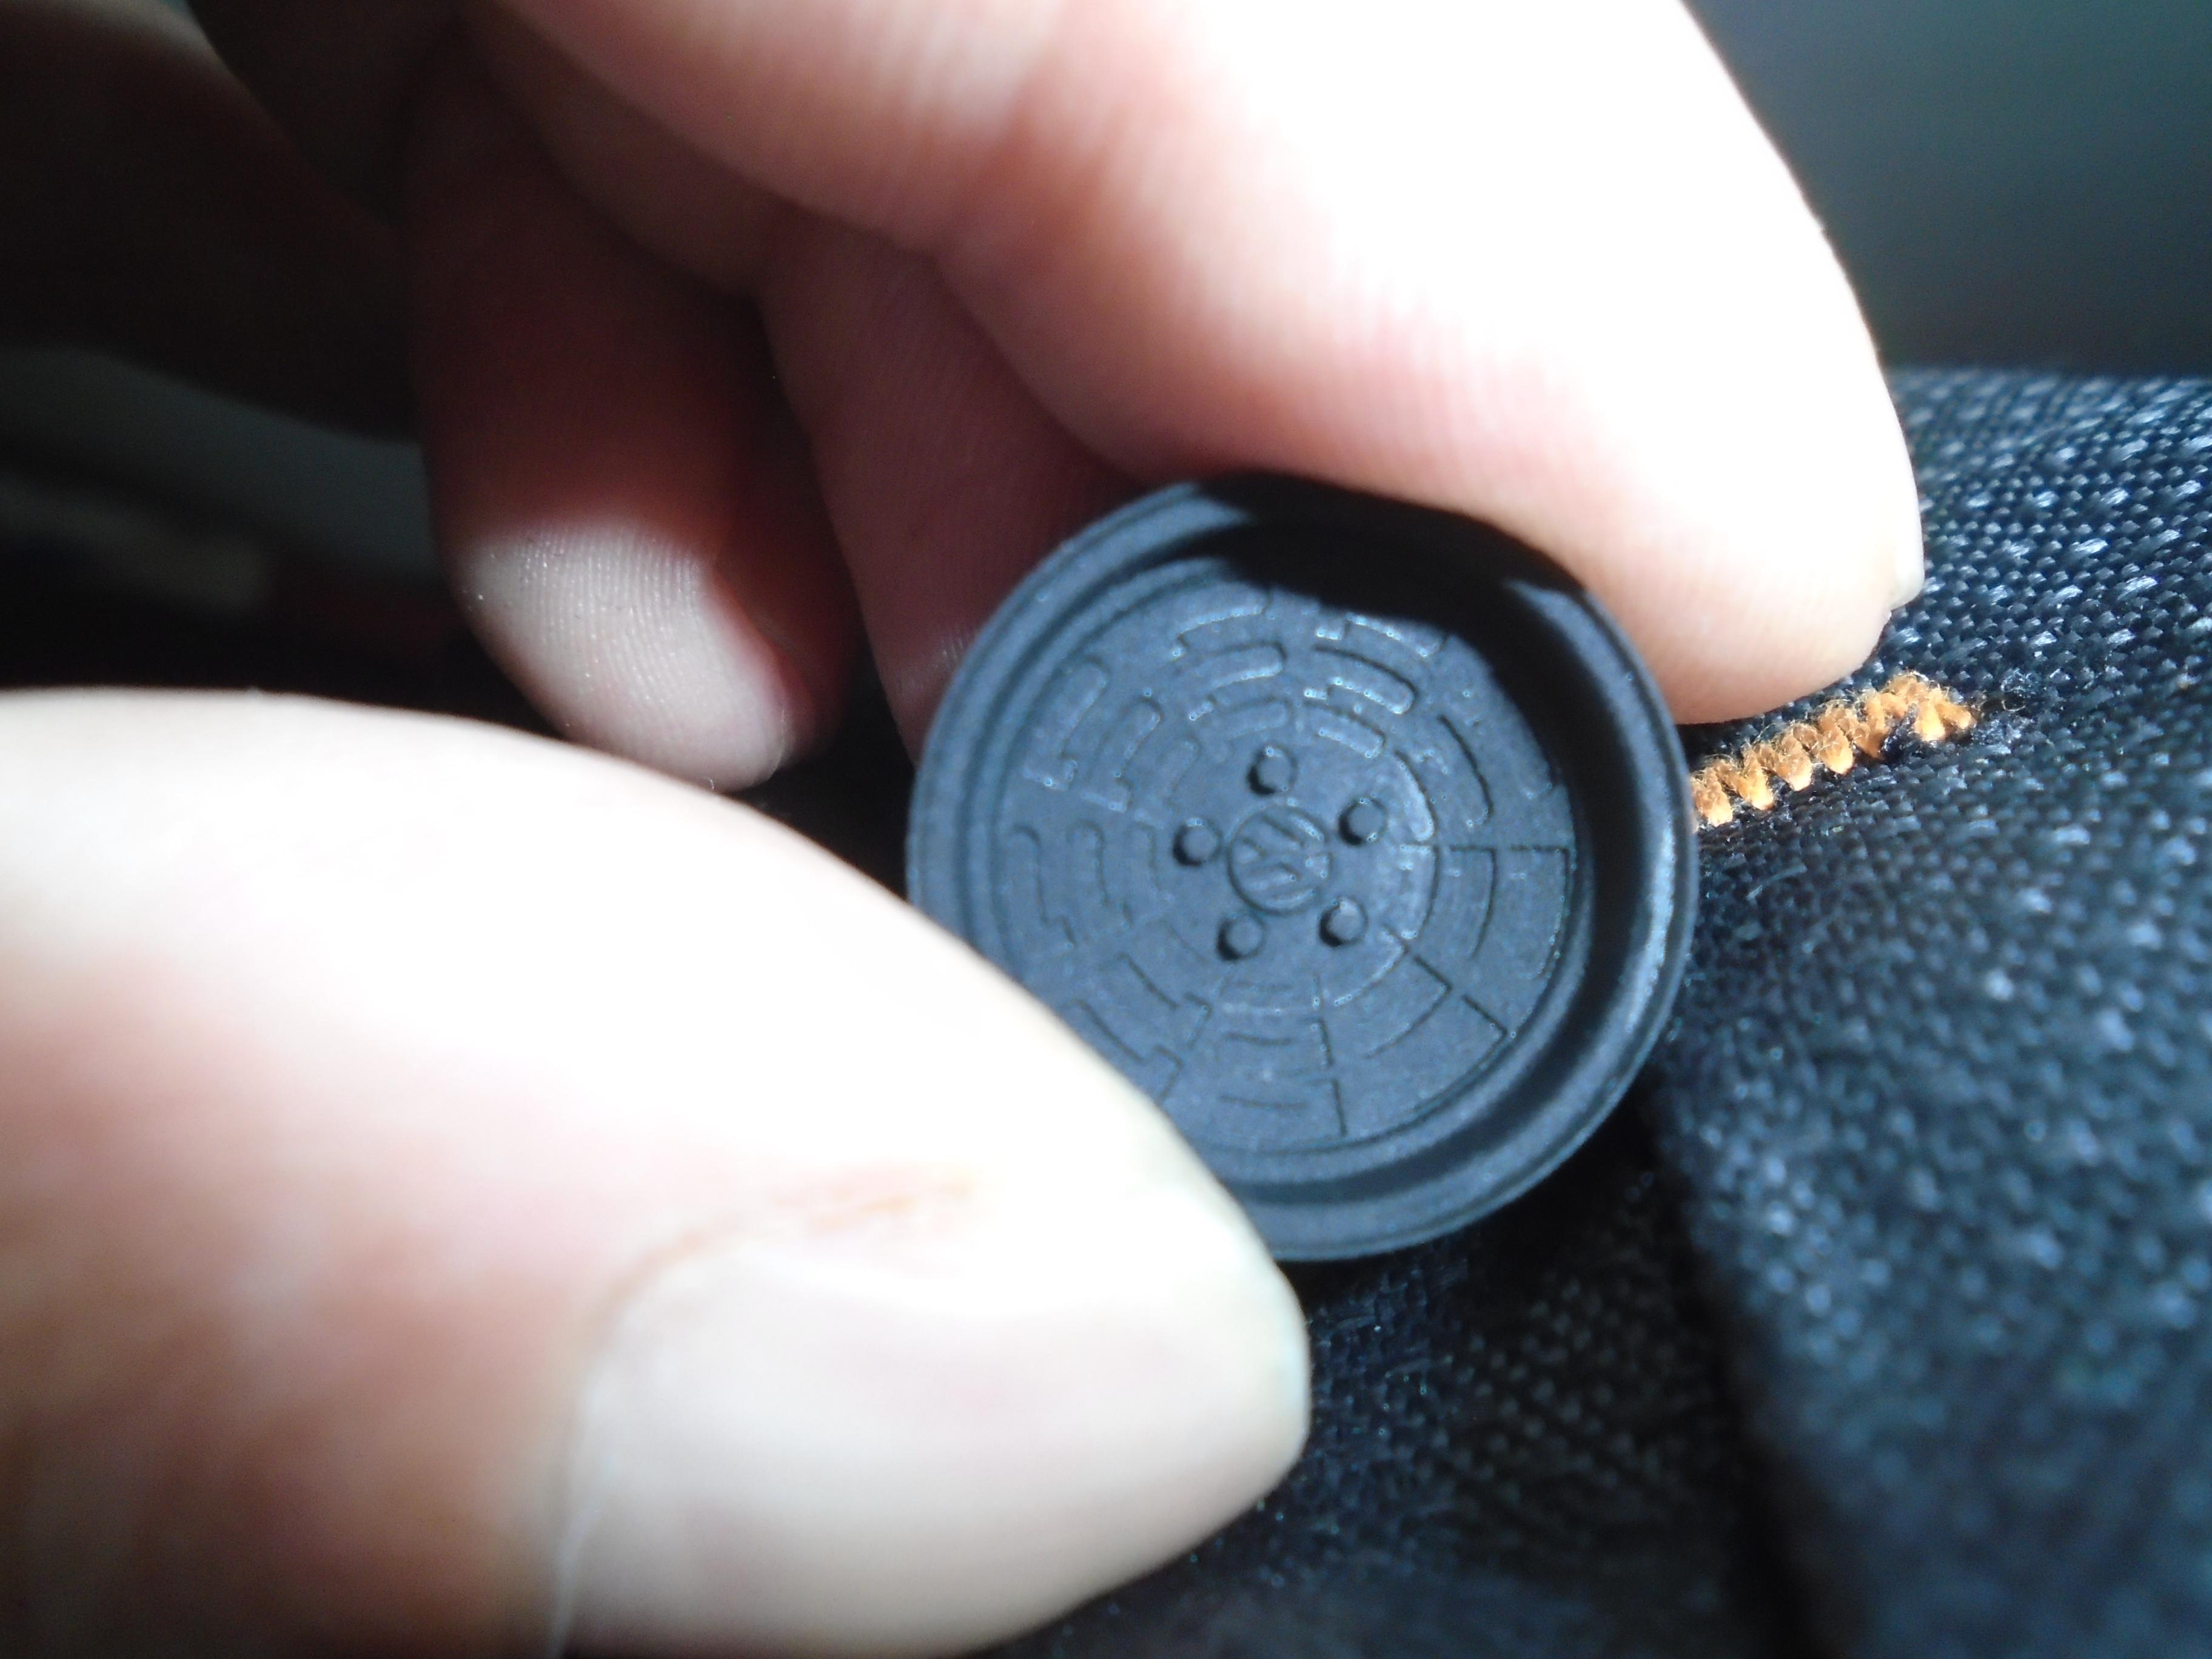
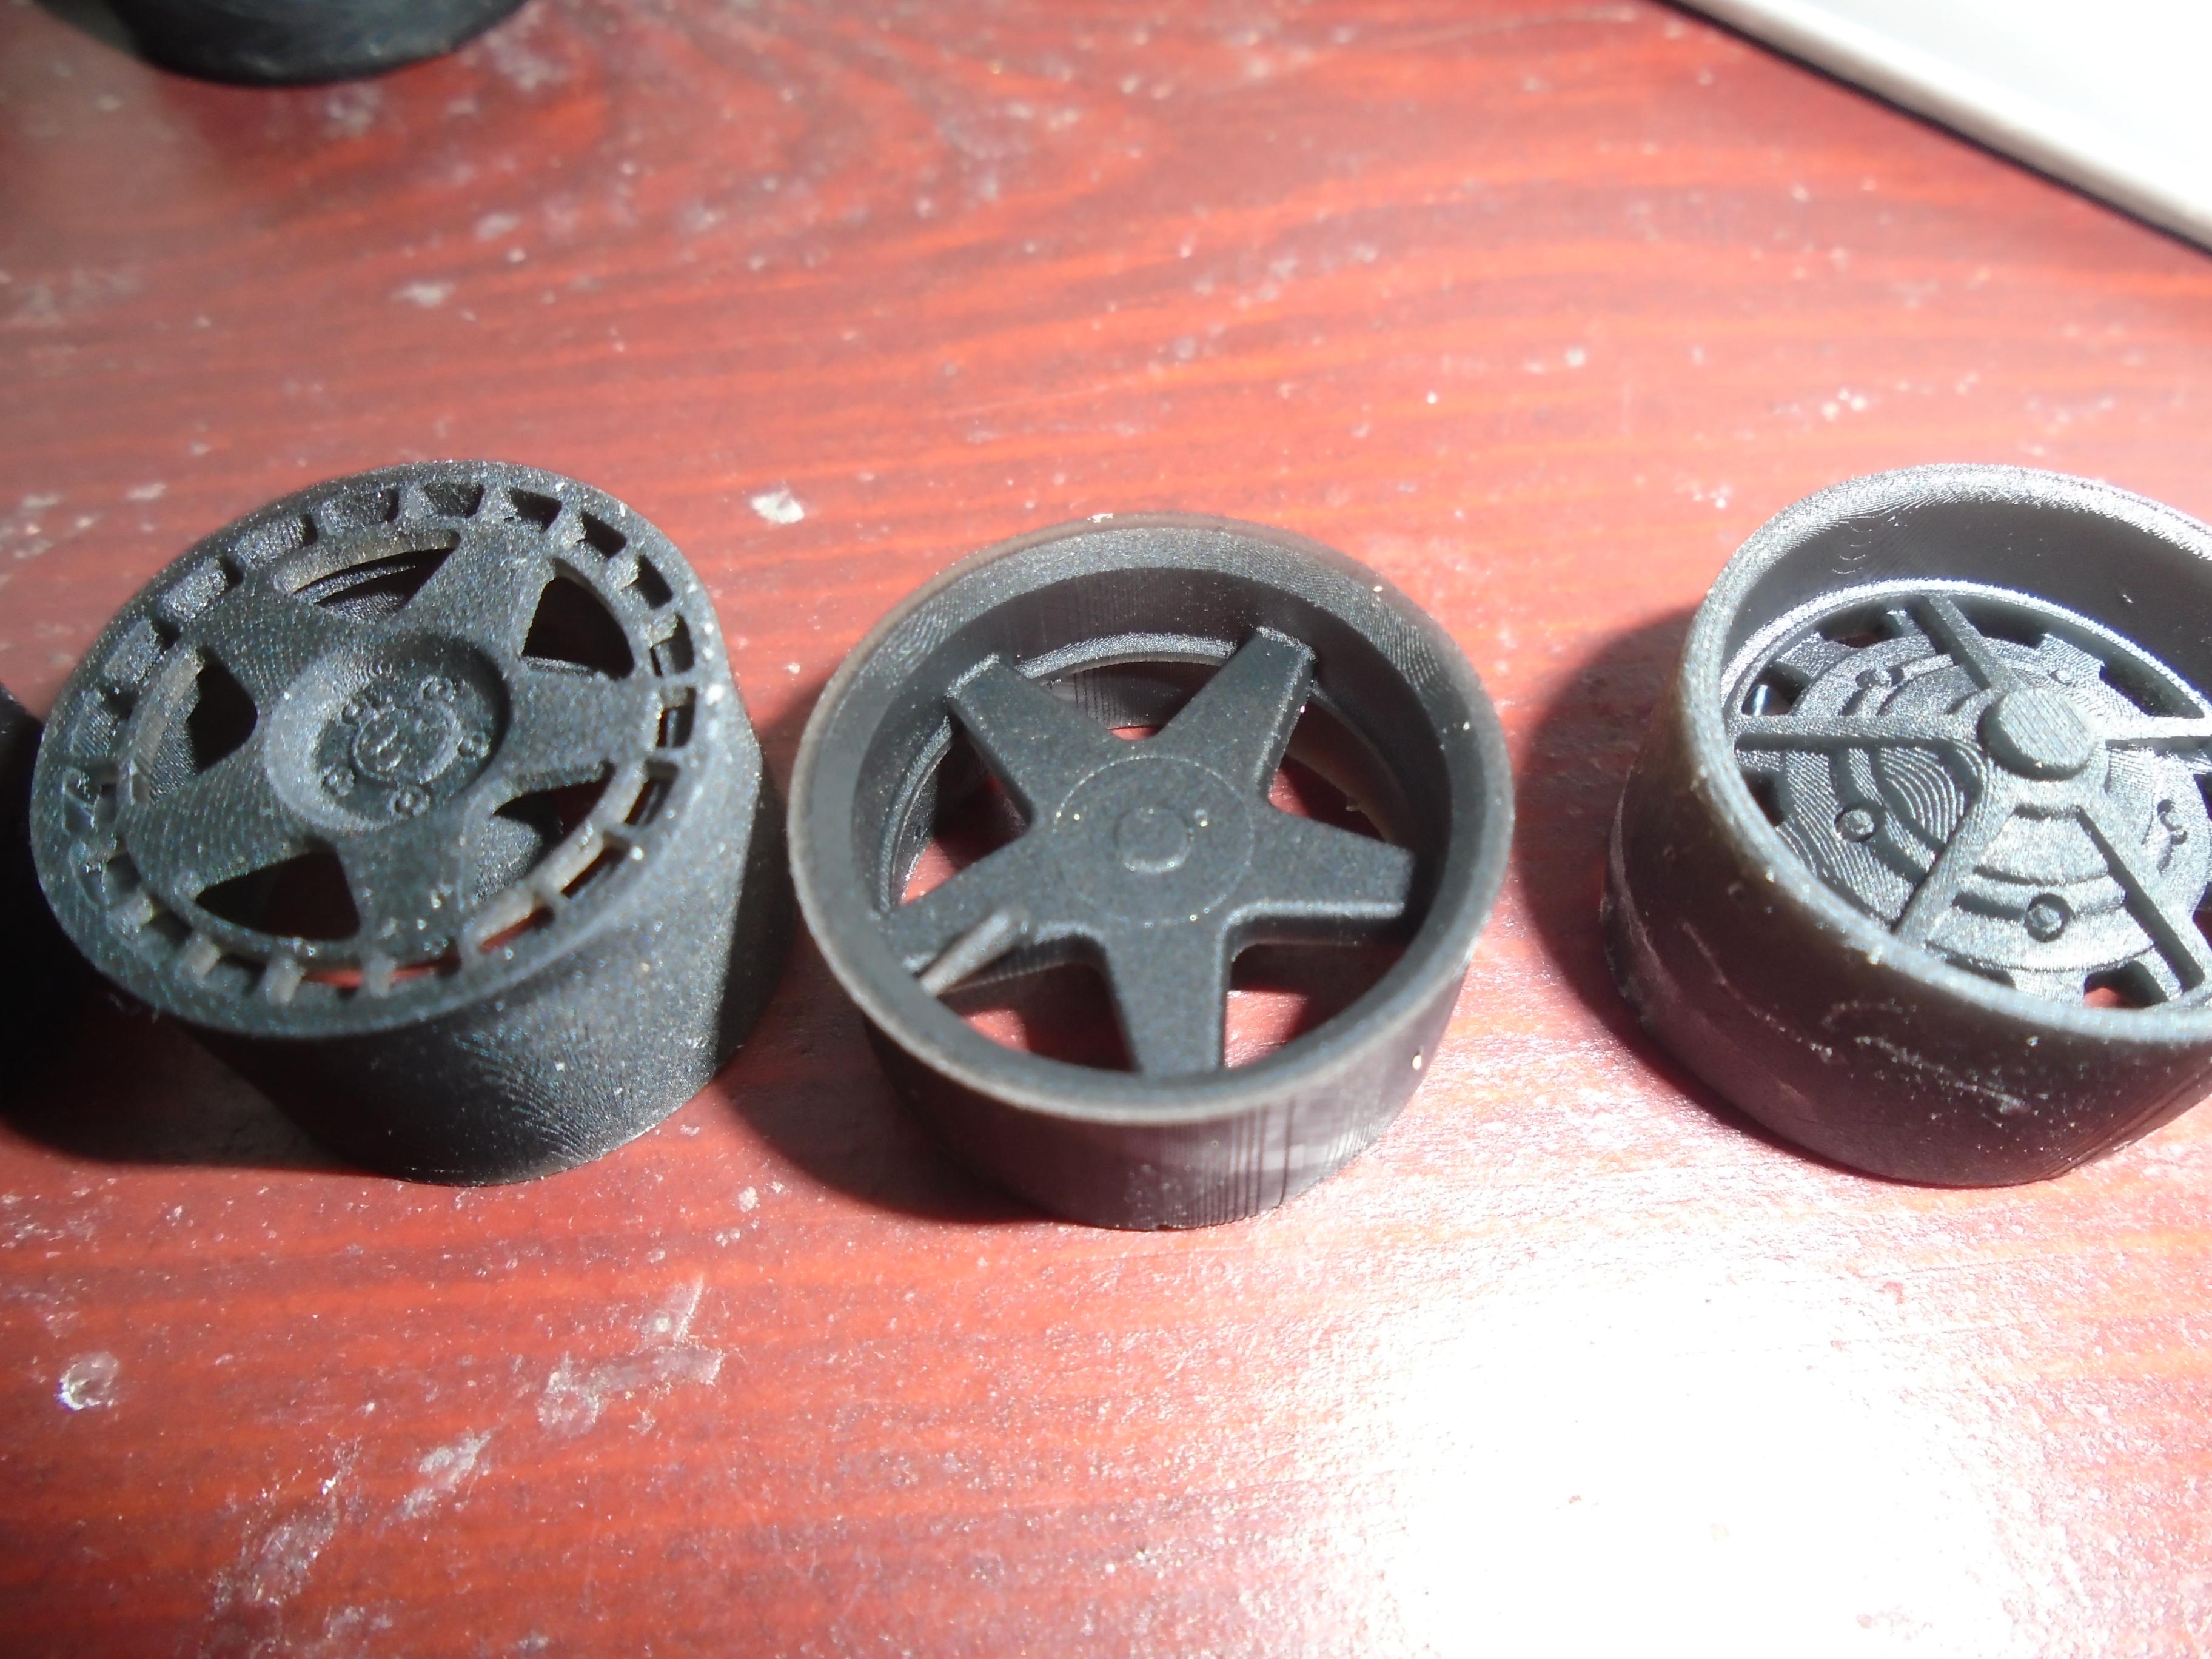
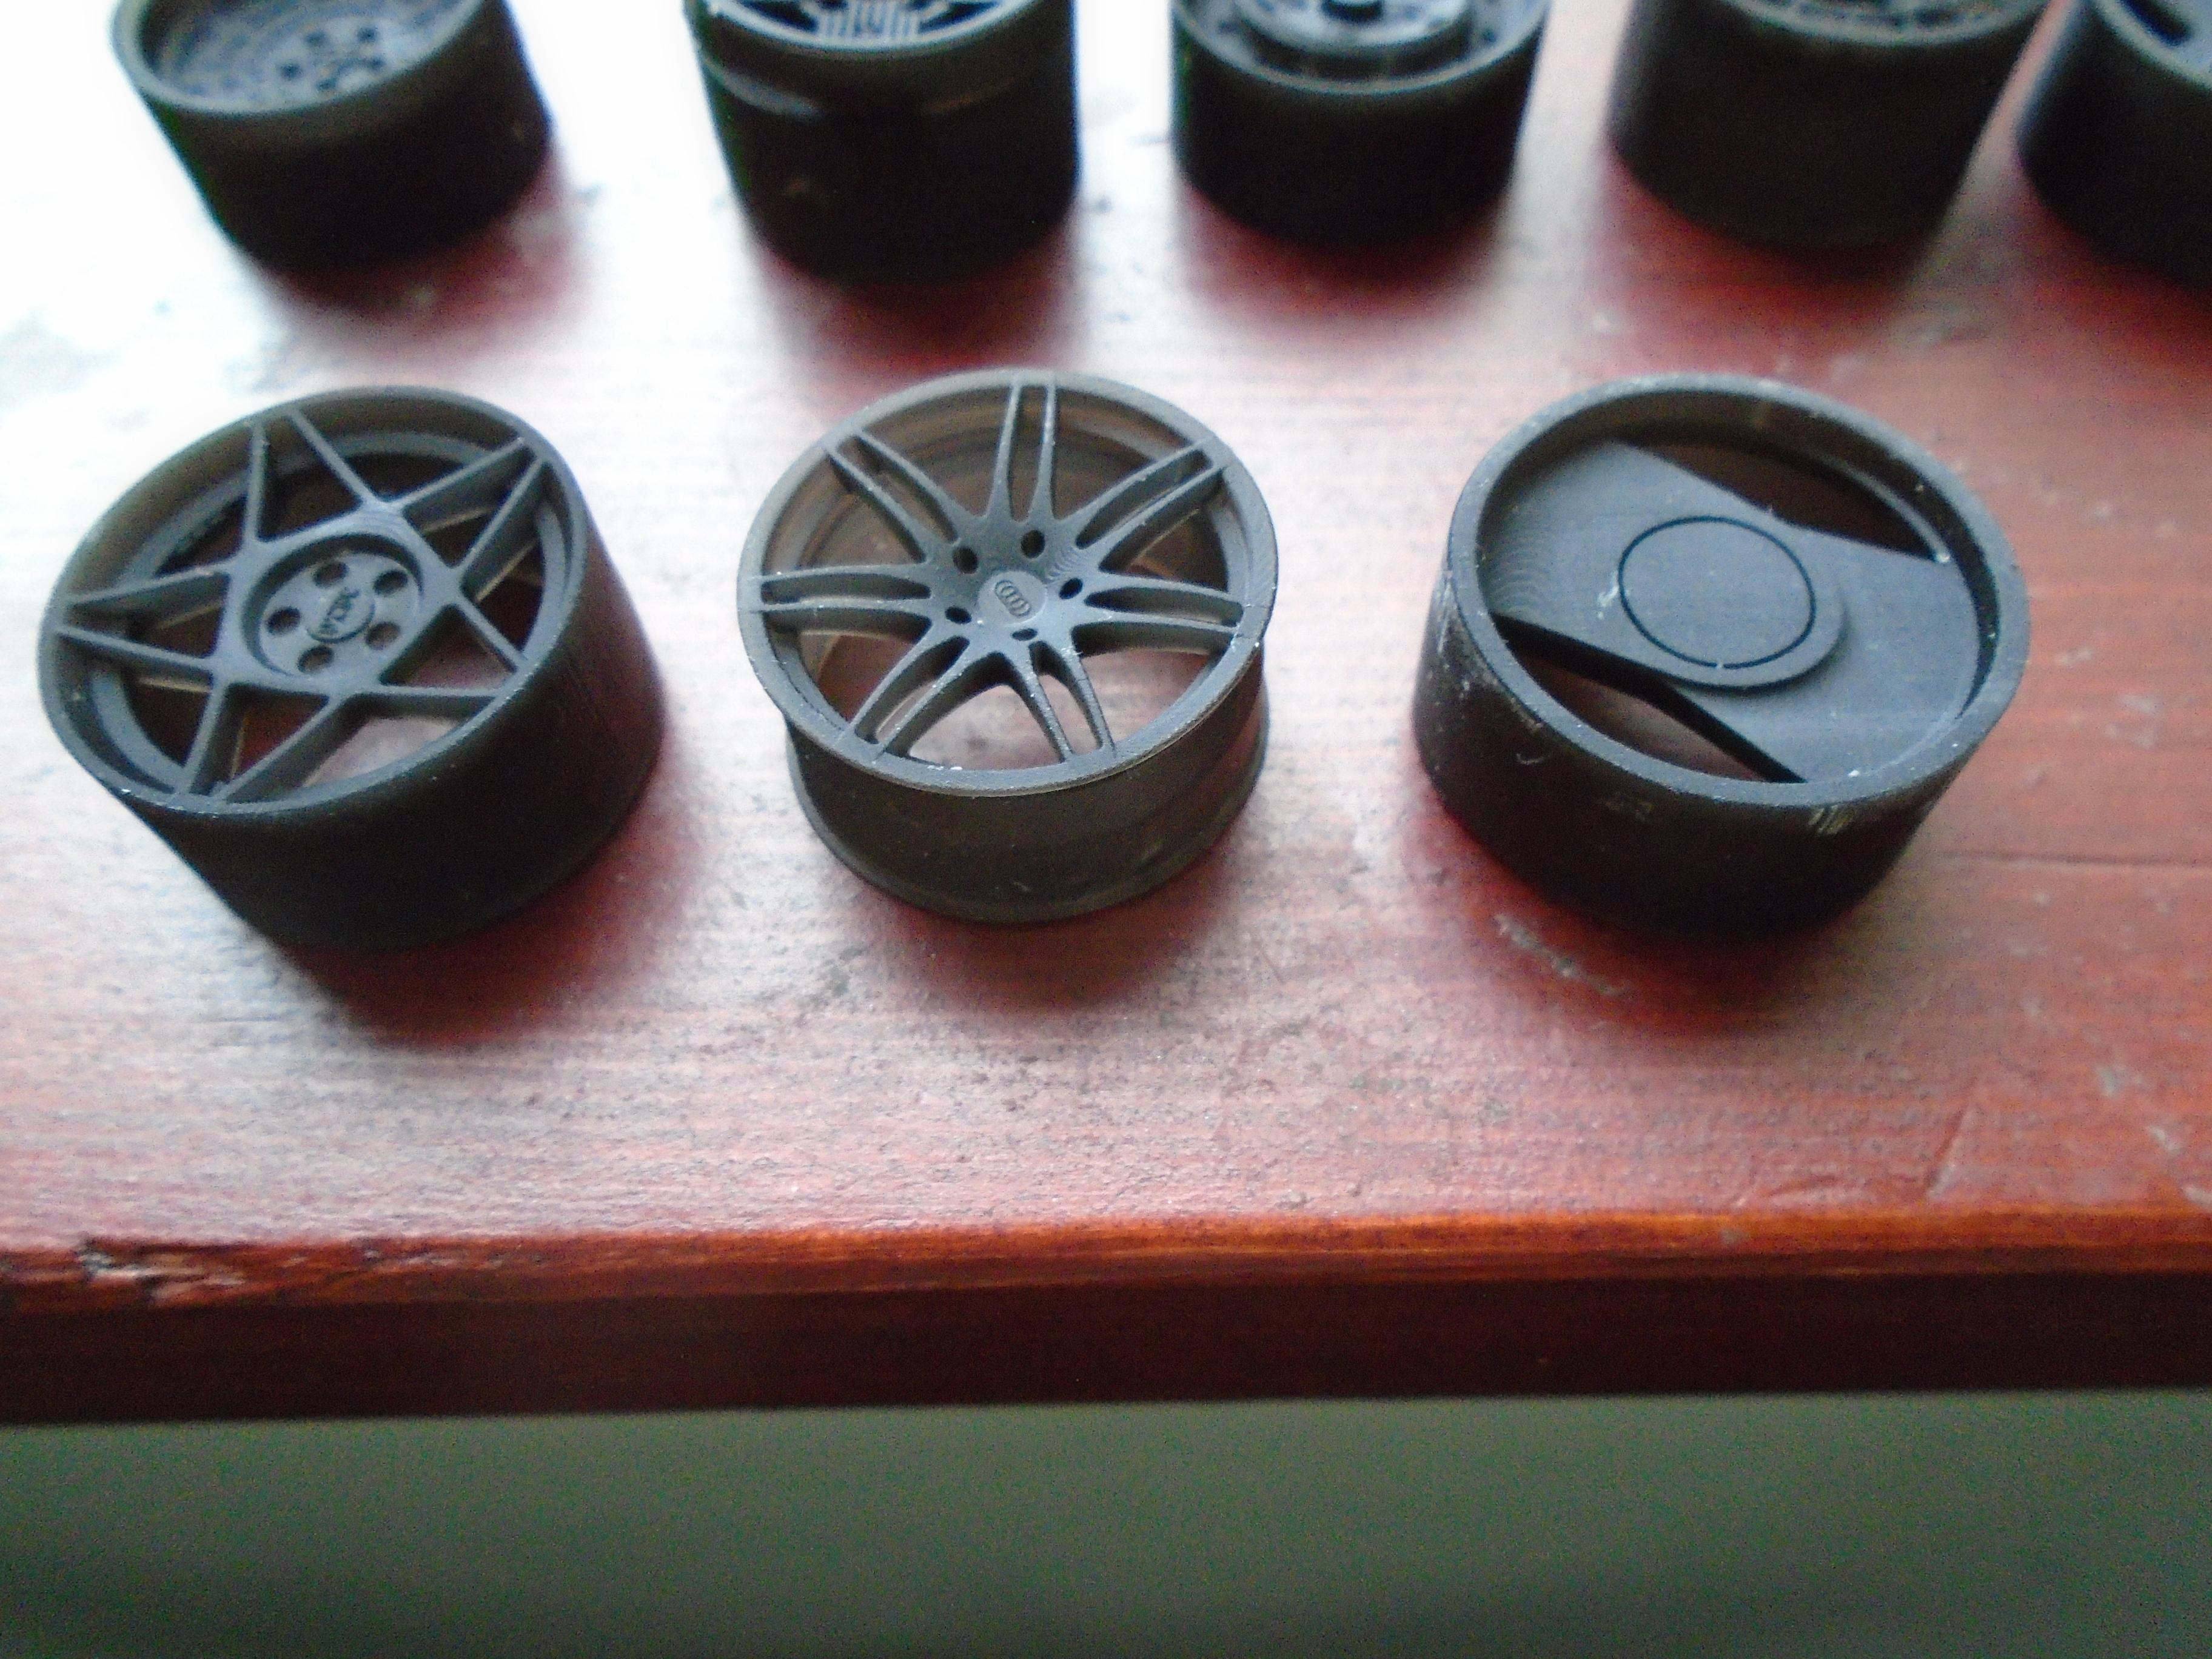
printed up some option wheels for the vento. the brock 5 spokes are for the golf and i think the 2 spokes might end up on the jetta but that might change
-
Ford Bronco full 3d print
stitchdup replied to stitchdup's topic in Model Trucks: Pickups, Vans, SUVs, Light Commercial
it was only an issue on the chassis. if it was multi piece it would have been easier as it took a lot of supports and all were on top of the suspension and difficult to get files or sandpaper to them so i bent some barbeque skewers and added sandpaper to them to get to the marks. i will do another sometime though as this was more of a test than a build like all my first builds of a print. i like to find the bits that need extra work before doing a proper build -
Forum Changes
stitchdup replied to Xingu's topic in Forum News and Questions (formerly: How To Use This Board)
that is correct. just because something is mentioned, it doesn't mean it will happen. -
i'm not sure how it done on a phone, but to do it on a computer you hover the mouse over the member you want to blocks name on the left of the page. this will bring up a box with the members details. on the bottom of this box is the ignore button. when other people comment on the blocked members post, the post will still show but the blocked members posts will not show if nobody comments