stitchdup
-
Posts
7,123 -
Joined
-
Last visited
Content Type
Profiles
Forums
Events
Gallery
Everything posted by stitchdup
-
i've got a maisto 59 impala in 1/12
-

What did you see on the road today?
stitchdup replied to Harry P.'s topic in General Automotive Talk (Trucks and Cars)
1938 ford -
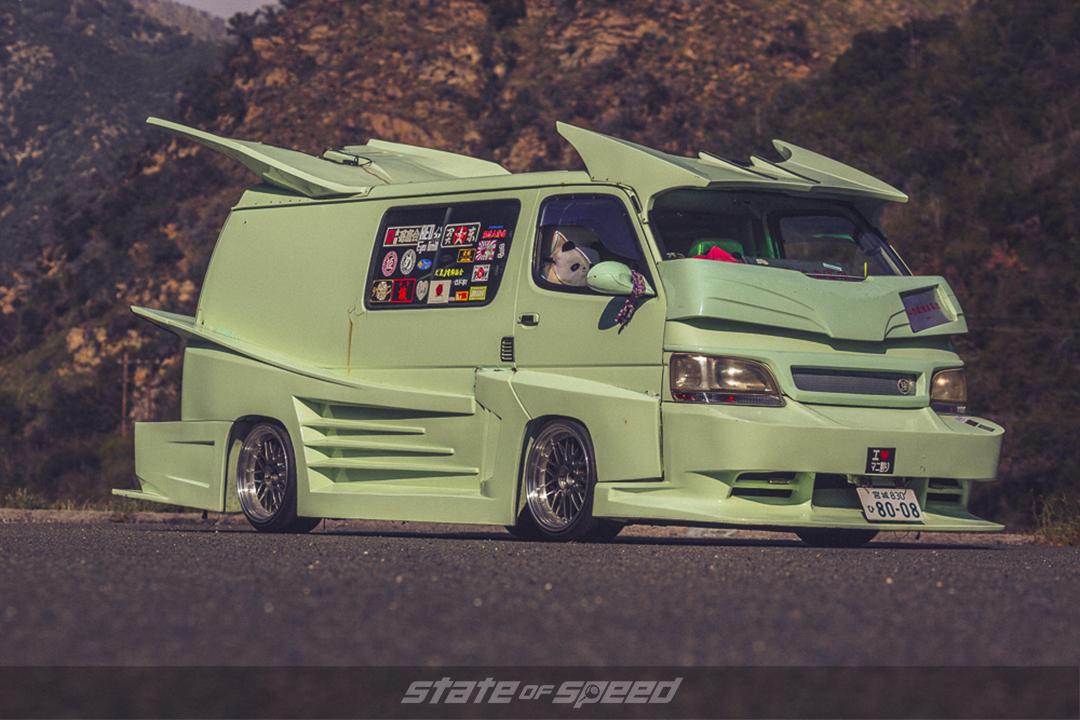
some fit specific cars but others are for those wild vans they build in japan. the square ones were used in the 70s

-
freak knitting accident
-
FORUM CHANGES THREAD
stitchdup replied to iamsuperdan's topic in General Automotive Talk (Trucks and Cars)
apart fro the salt cars, thats how the are now -
I miss skating but my health prevents it now. It used to be that i worked all winter so i could skate the dry months. I still walk around puddles even now and see lots of places i'd love to skate. For me it was all about big tricks at high speed, even during the flippy days i still went hard and fast and i had a 7 mile skate to just get to town. I used to watch the vids of guys doing tricks over picnic benches so spent nearly a year bringing my pop up enough to do it myself but they did it off banks, i did it from the flat
-
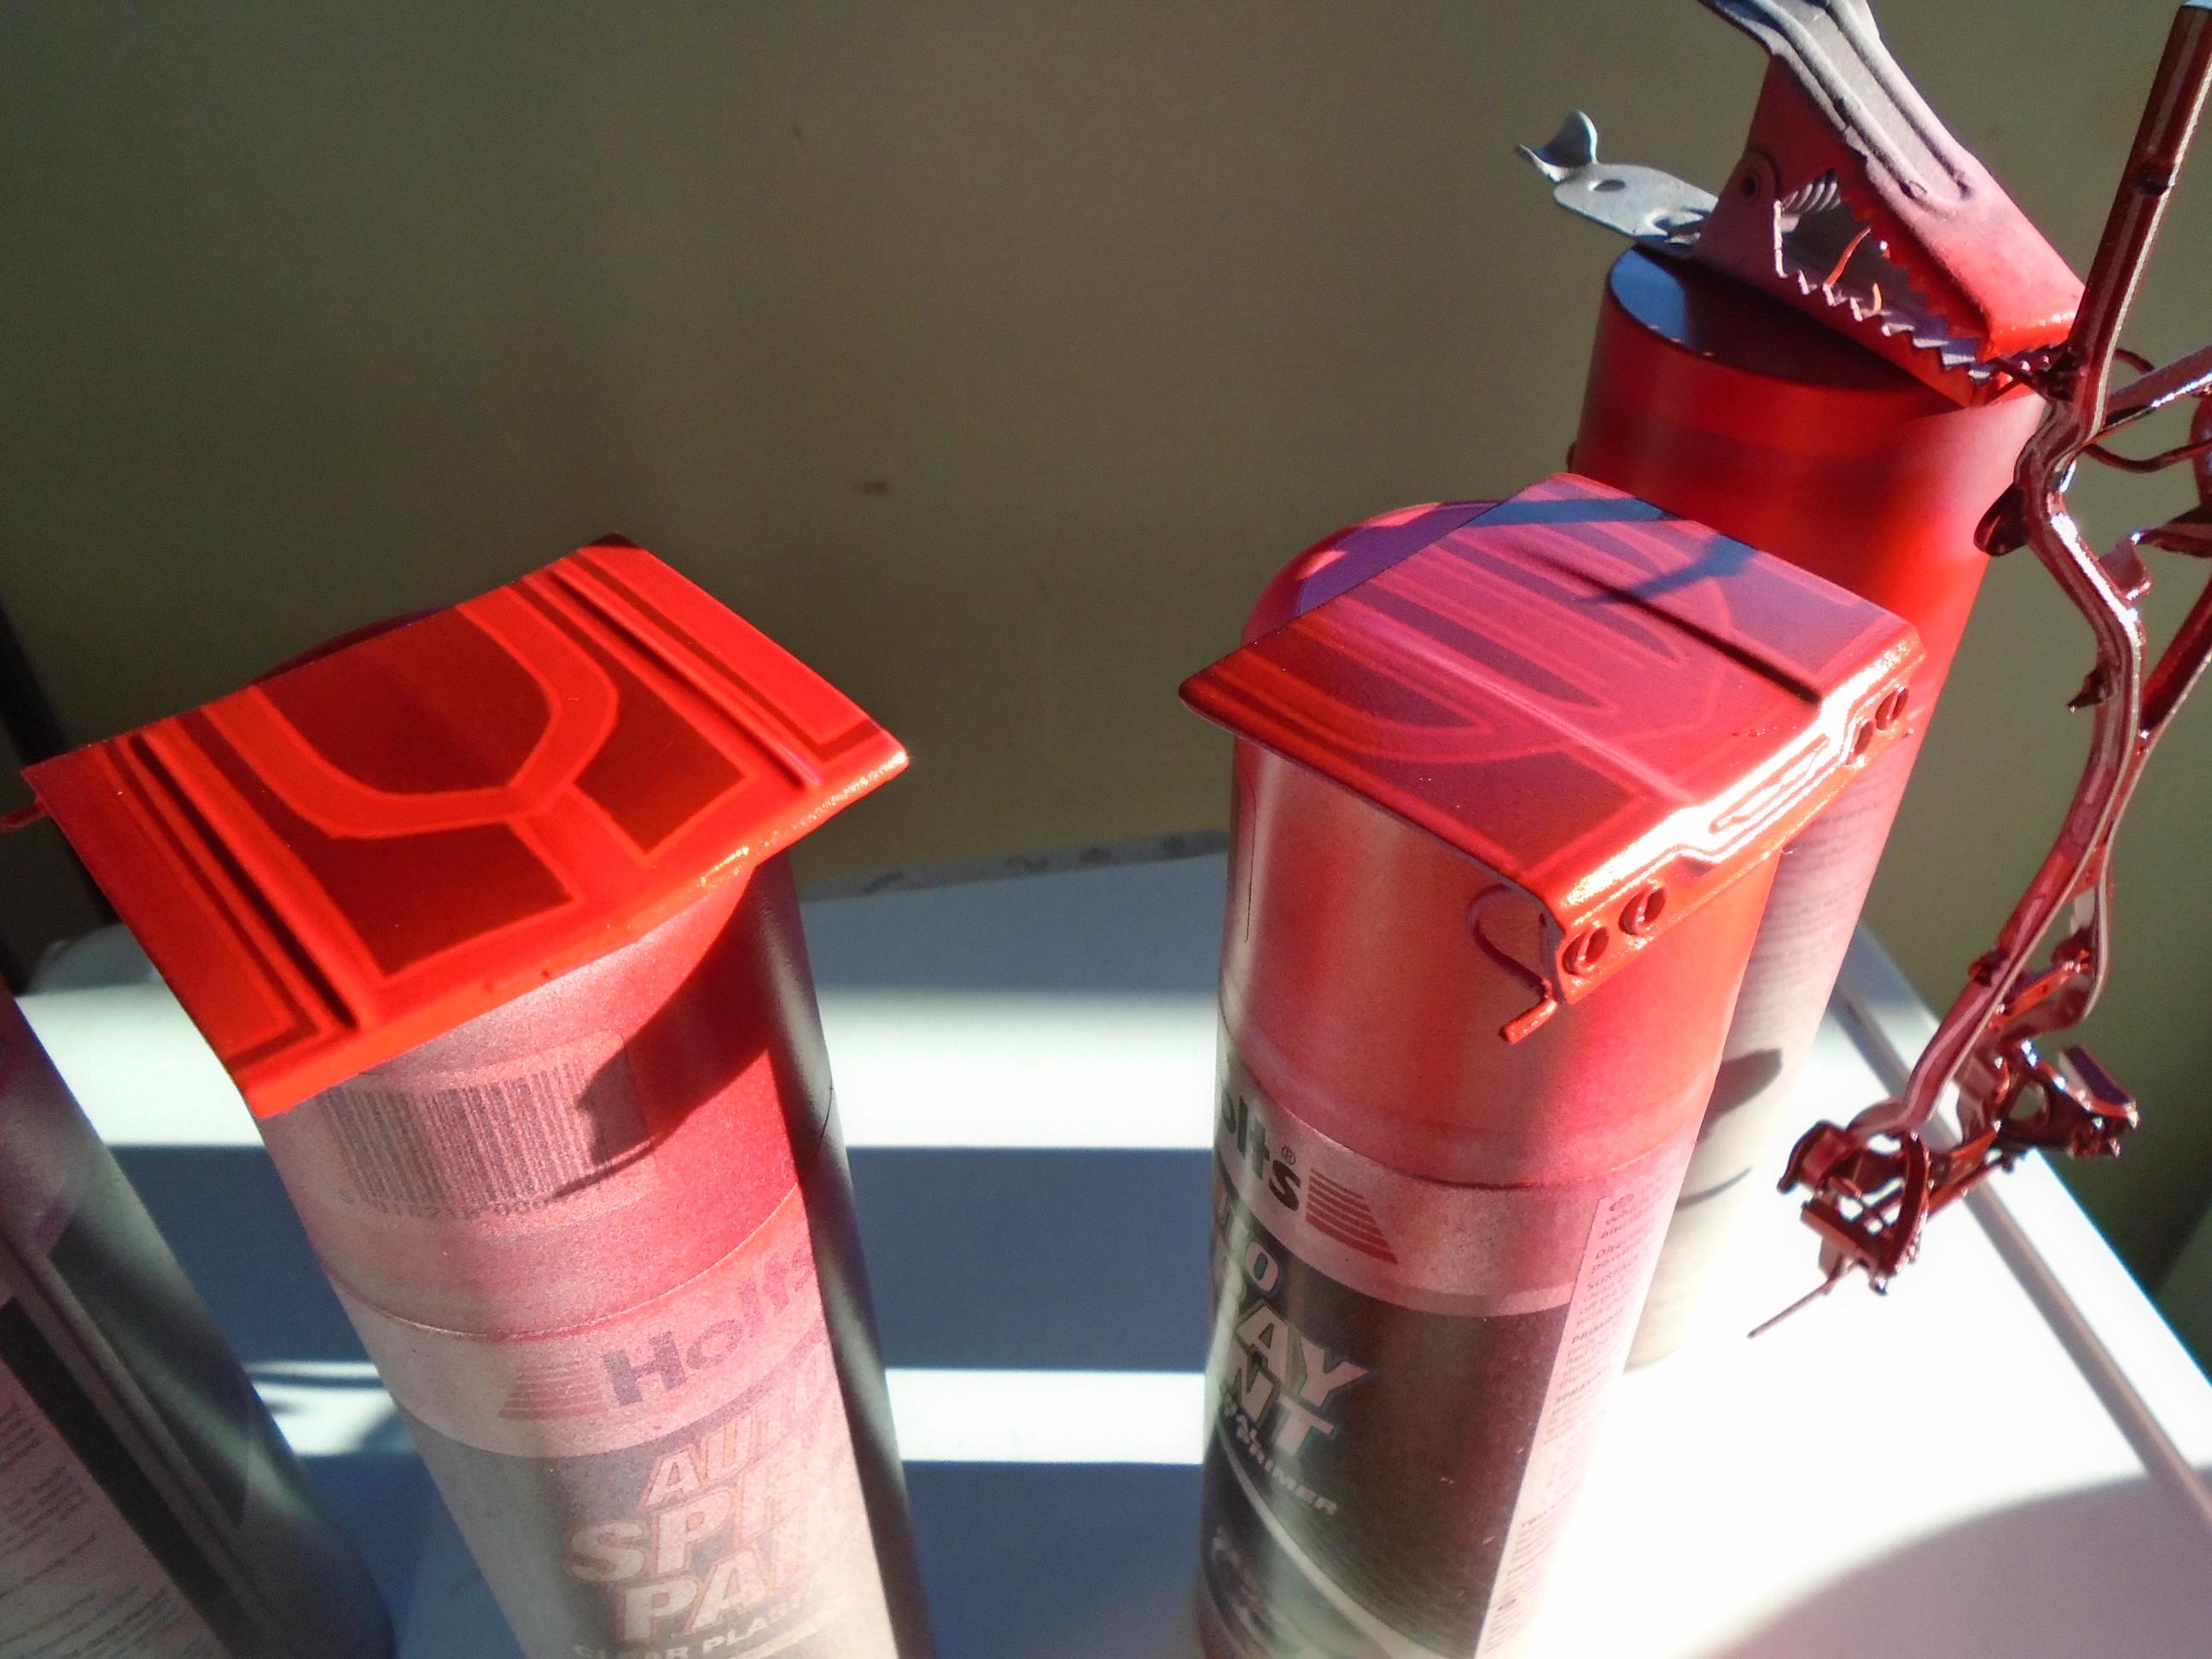
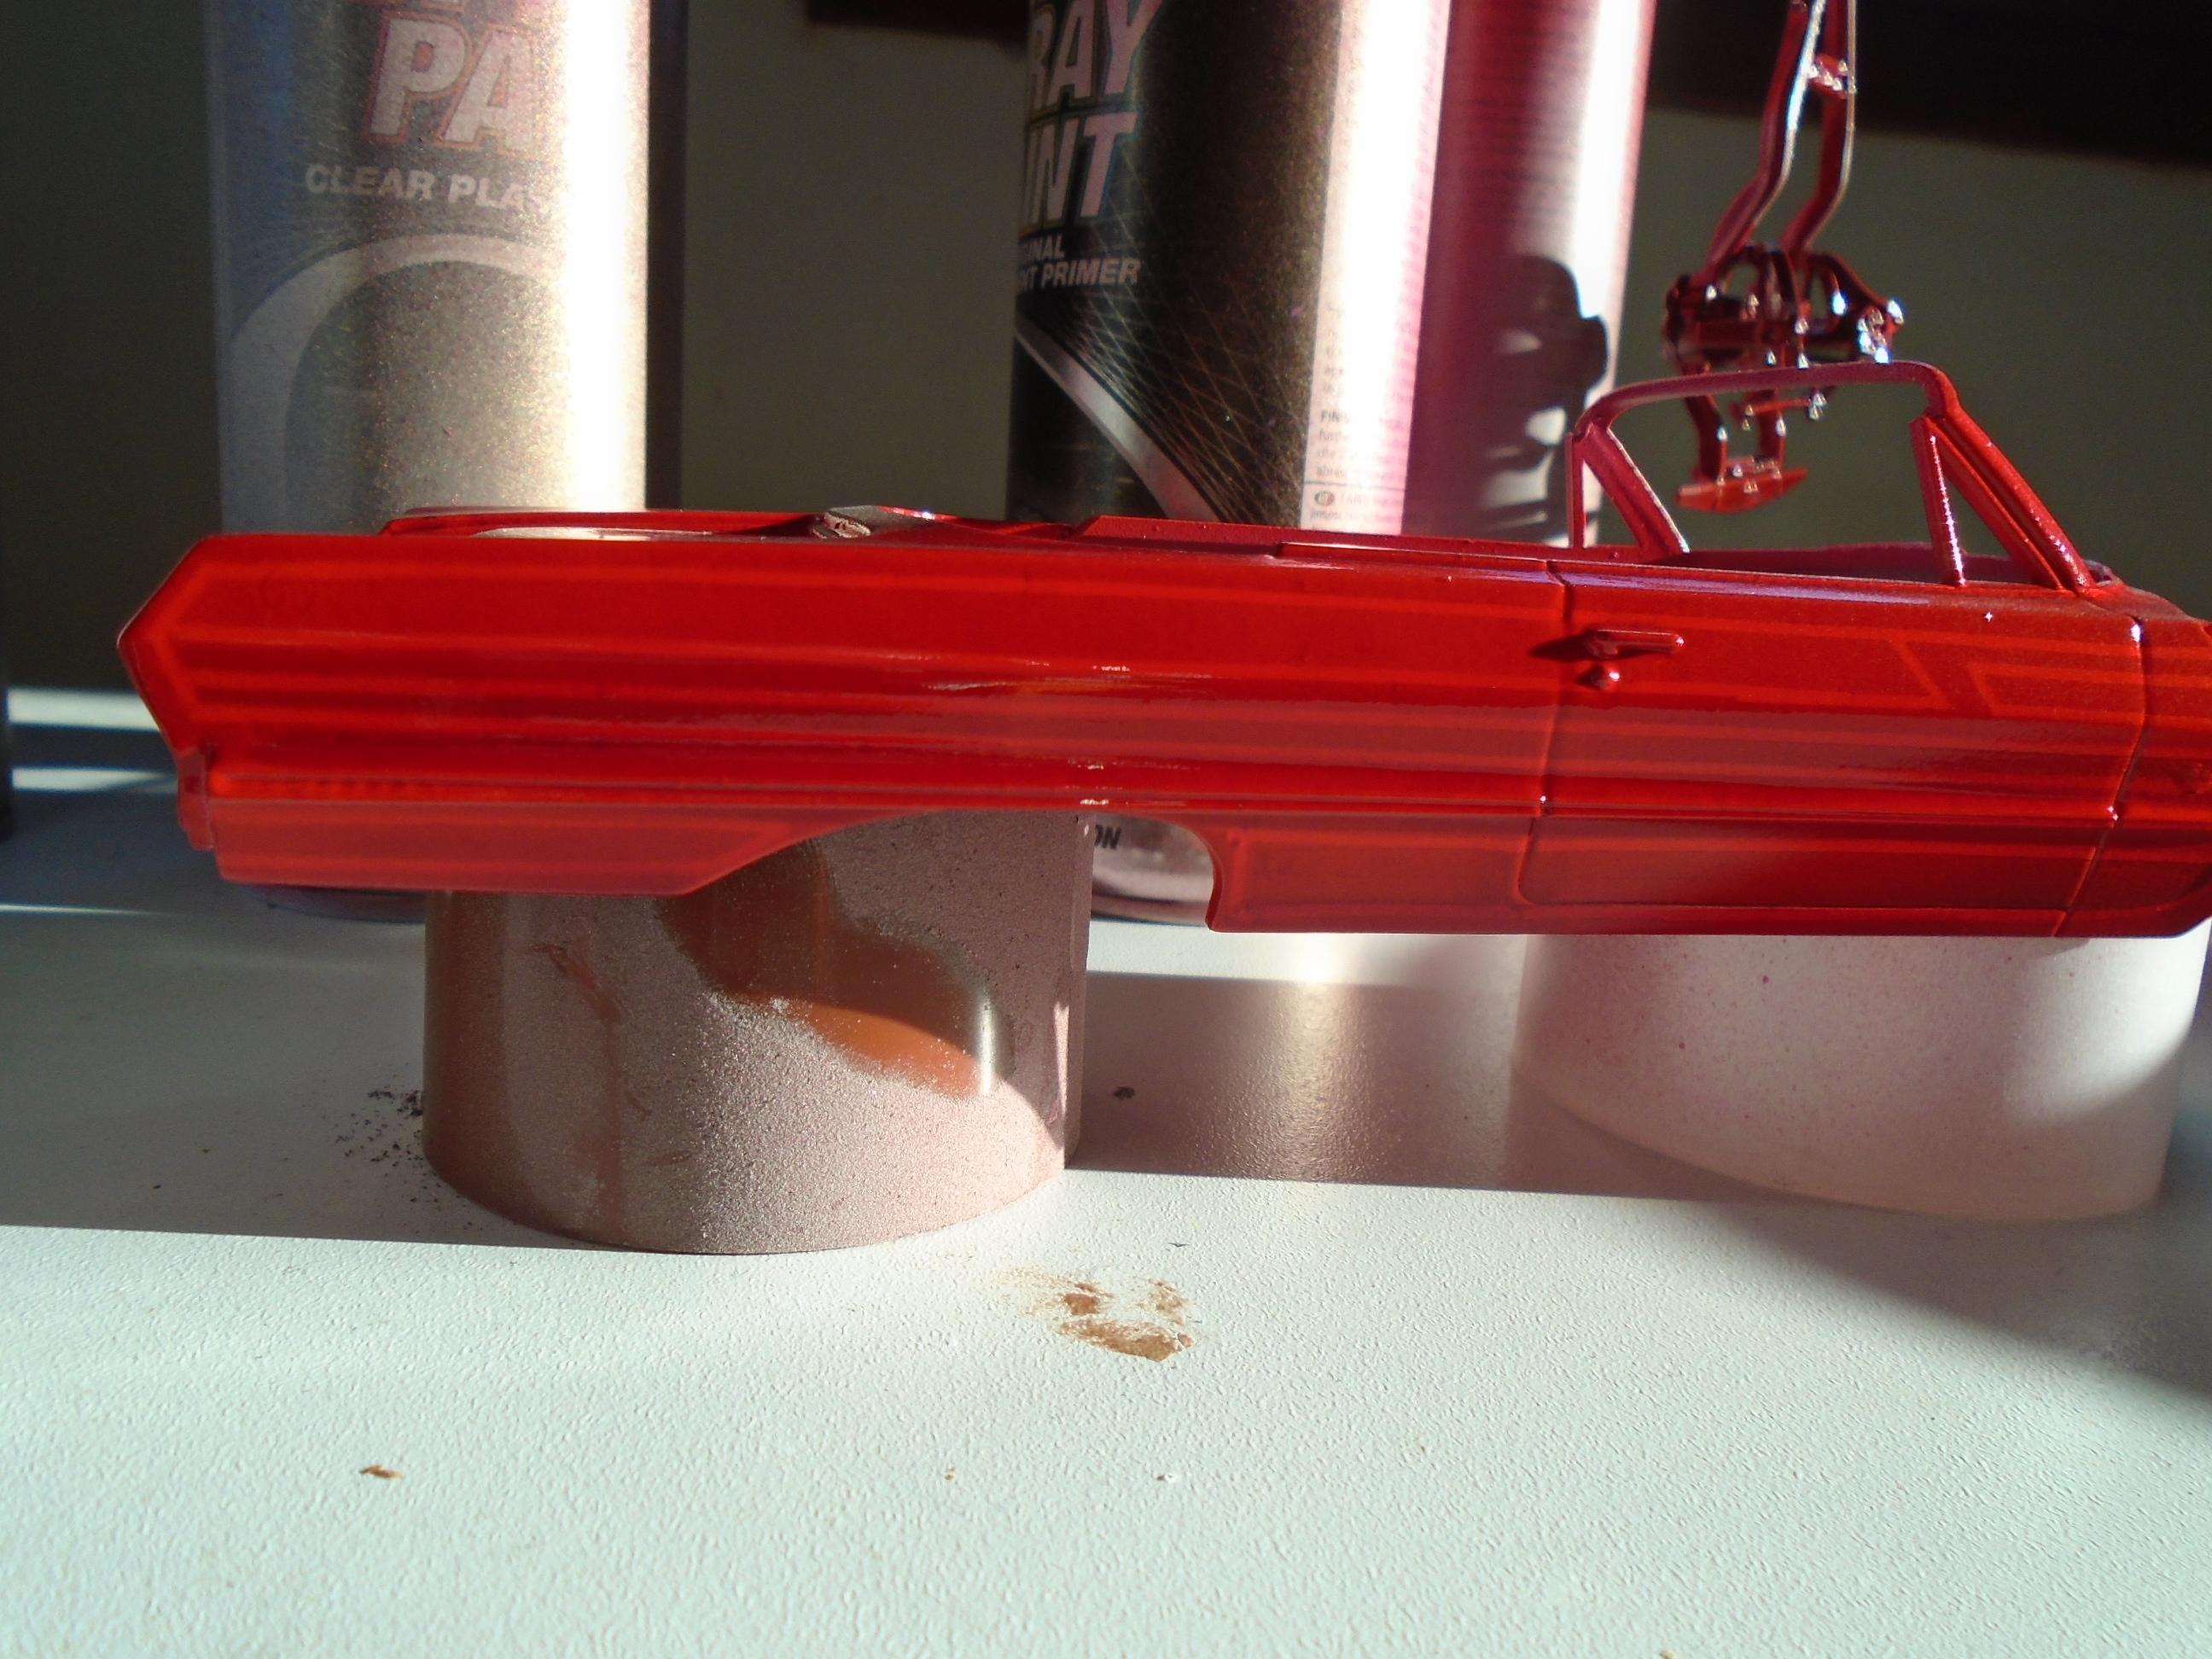
its mostly for colouring the lights but it can be used over other colours too. this is clear red over gold n silver
-
theres a nice front suspension for printing that would help you. https://cults3d.com/en/3d-model/art/front-suspenson-set-for-1-24-1-25-model-kit
-
hiroboy, davecoleysemporium, kingkit, kitsforcash, model-cars, kent models
-
Dumb median design - anyone else see this?
stitchdup replied to 89AKurt's topic in The Off-Topic Lounge
were those diverging diamomds designed by scalectrix? -
is the second version by digital surface?
-
pics please? its something i've been thinking about getting
-
Dumb median design - anyone else see this?
stitchdup replied to 89AKurt's topic in The Off-Topic Lounge
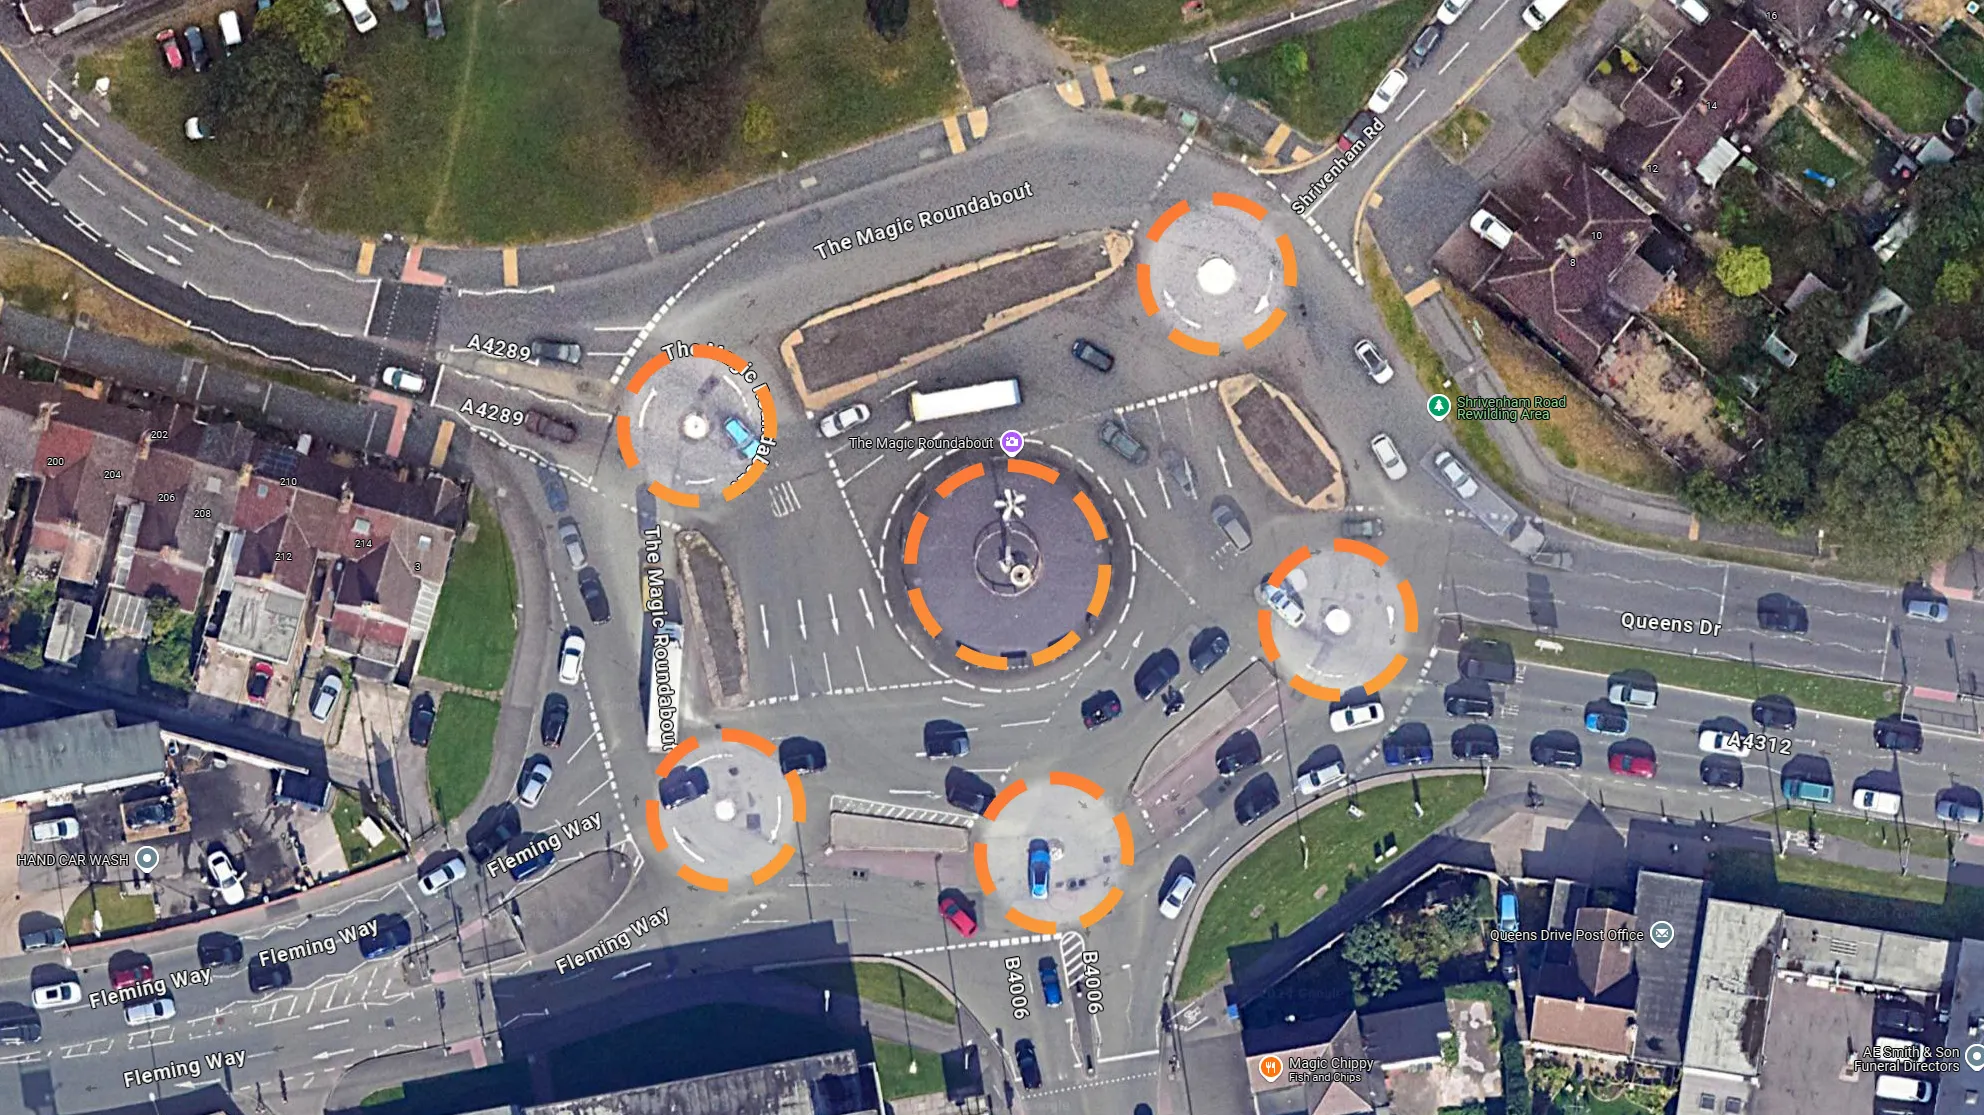
well the first problem is they are all driving on the wrong side of the road, but the markings on the road dont help. the centre makings should follow the roundabout which makes it easier for drivers. -
Dumb median design - anyone else see this?
stitchdup replied to 89AKurt's topic in The Off-Topic Lounge
i'm guessing you mean the magic roundabout in swindon but theres also a few of thse
-
your first 25 posts are moderated.
-
Why did my chicken stick to the pan? (Stainless/skin-on thighs)
stitchdup replied to LDO's topic in The Off-Topic Lounge
if you want consistent crispy skin on your chicken, do what the pros do and cheat. they cook as normal then blast with a blow torch unless cooking in the oven -
59 Chevy Task Force
stitchdup replied to Jürgen M.'s topic in WIP: Model Trucks: Pickups, Vans, SUVs, Light Commercial
amt do a fleetside 57 cameo pick up with that cab. i'm not if sure if they do a stepside version and thats not a 59, the 59 has twin headlights. -
i read the original post and it was the rx7 you posted under the 32 title. i merged the posts with the rx7 and only noticed the question about the 32 afterwards
-
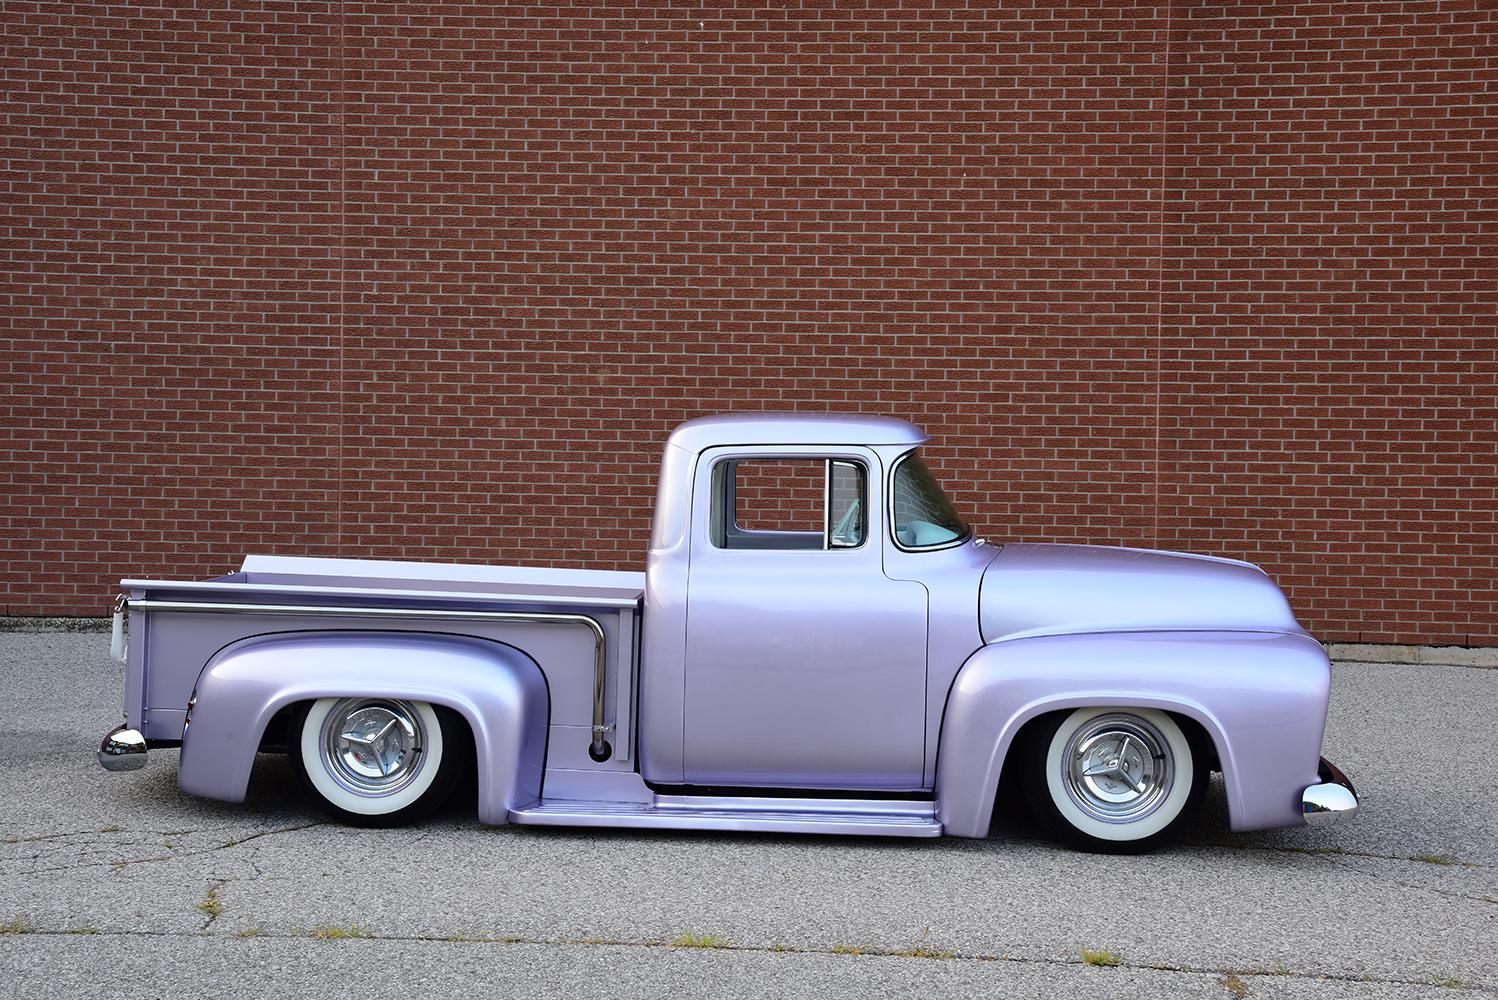
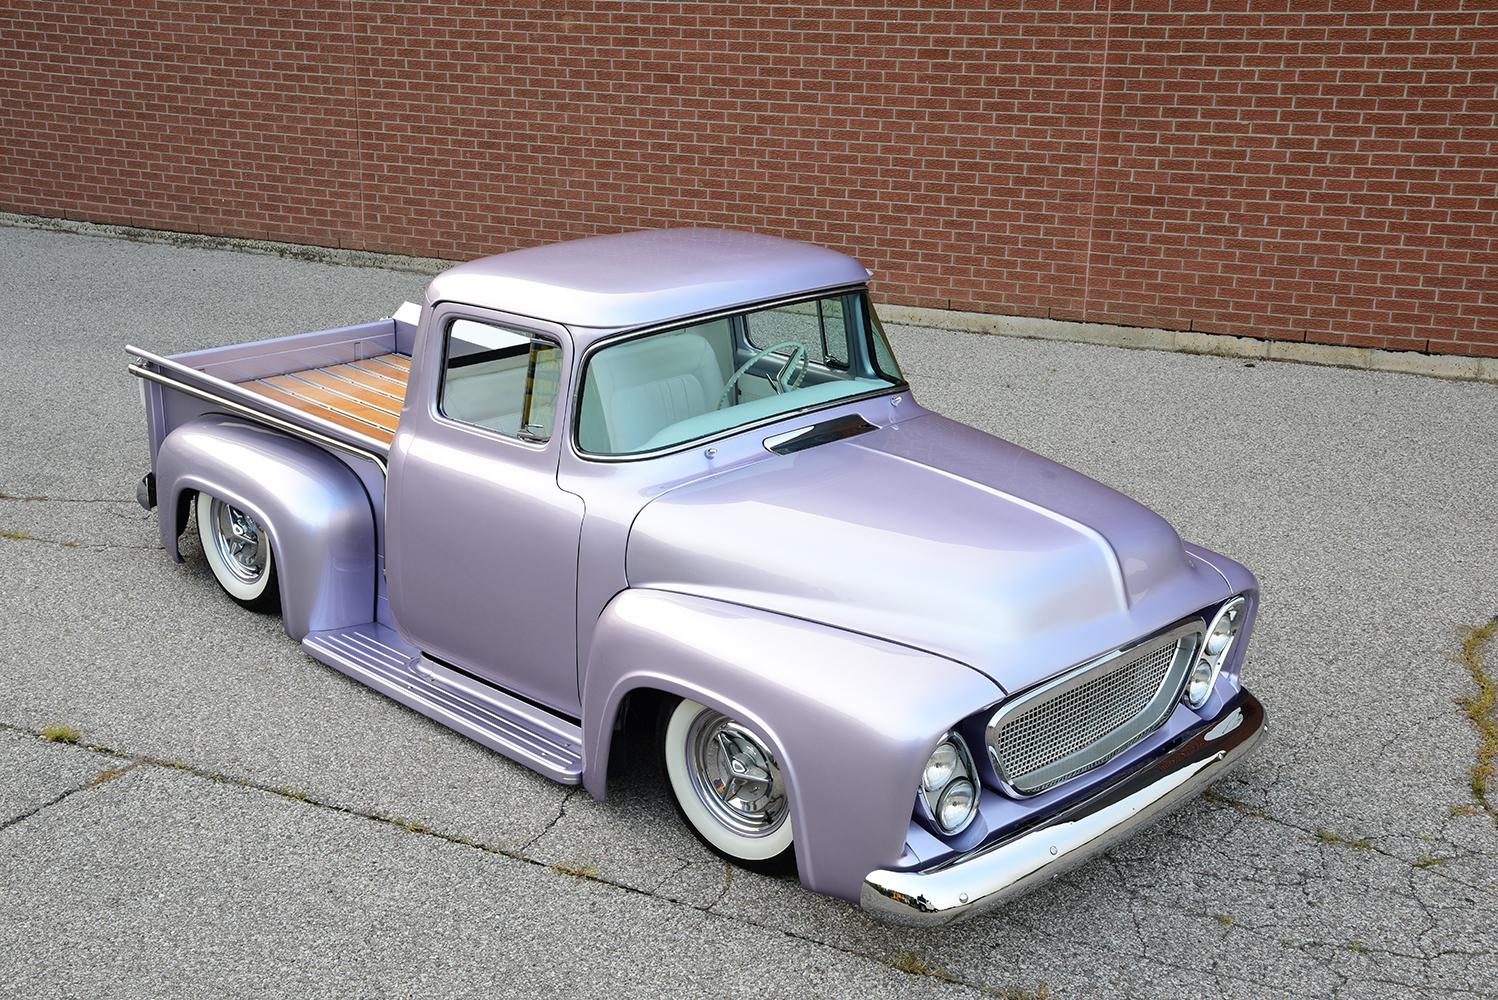
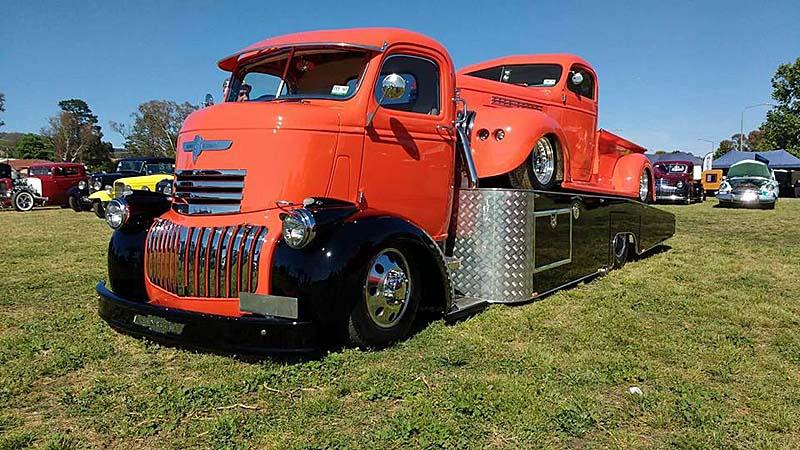
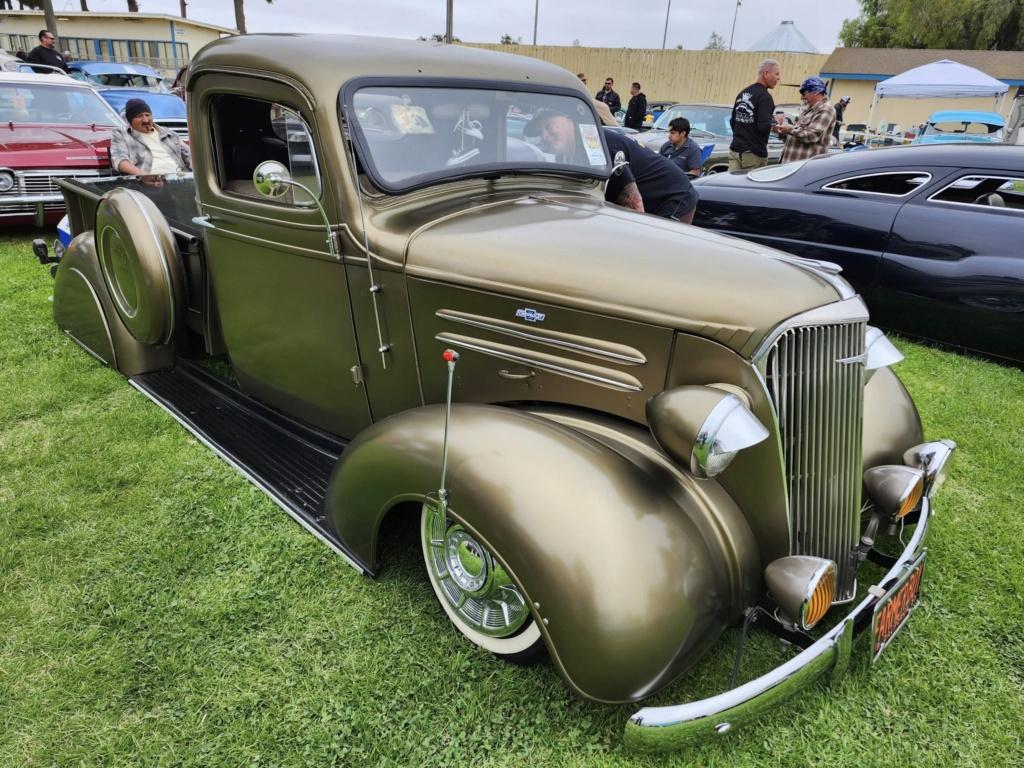
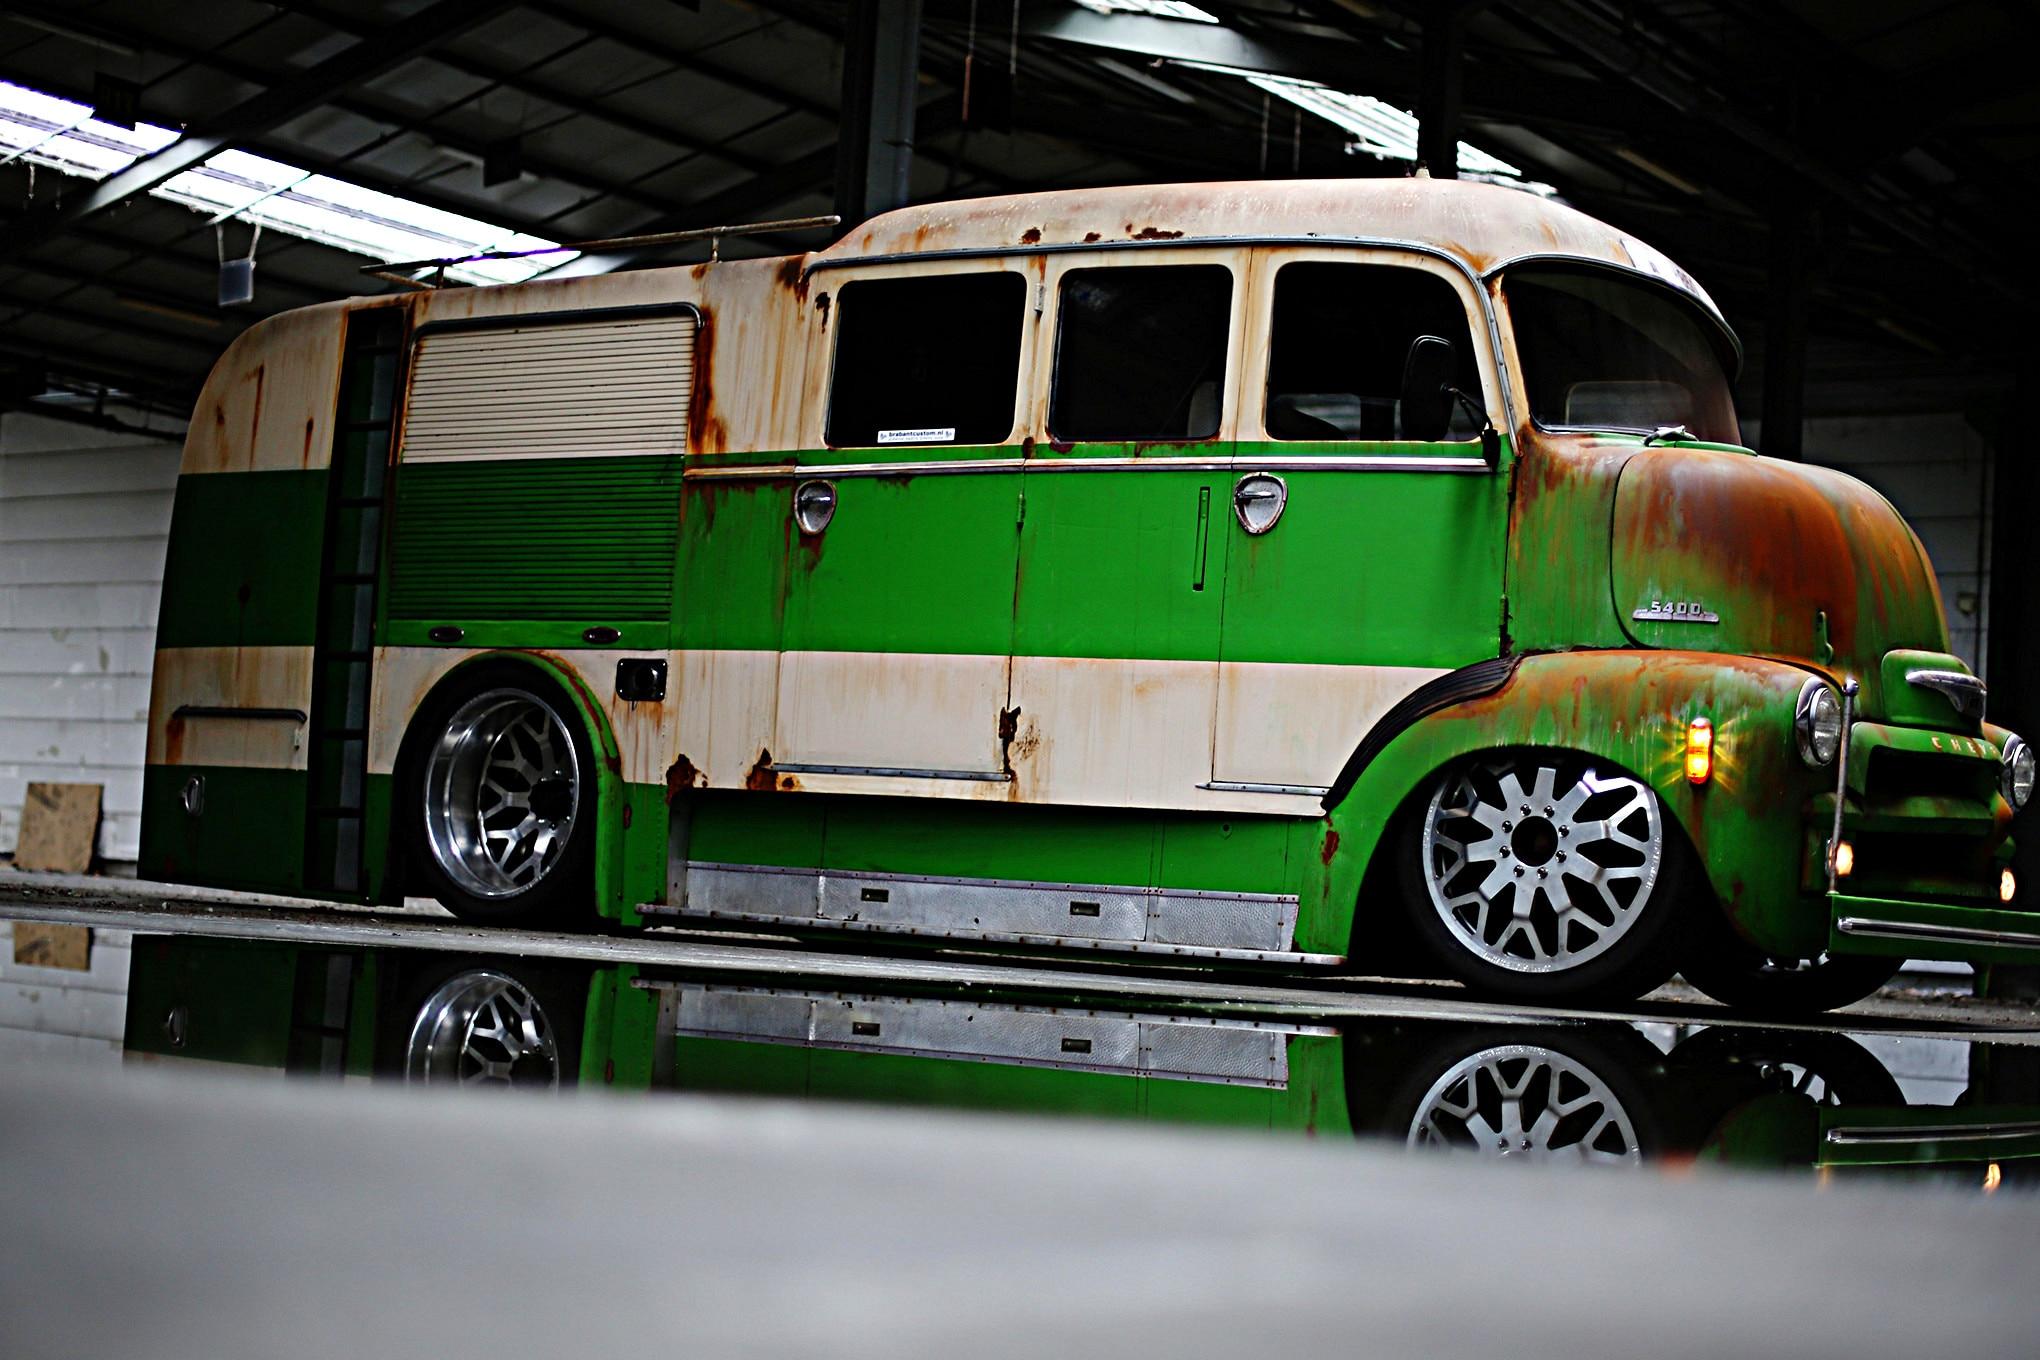
Trucks I’d like to build😎
stitchdup replied to NOBLNG's topic in General Automotive Talk (Trucks and Cars)
after alittle digging the closest i've found is a duple coachbuilders body but it didn't have thesame front fenders. the large radiator hole makes me think its a foden, albion or atkinson chassis -
mate, some of us need wine to have a chance
-
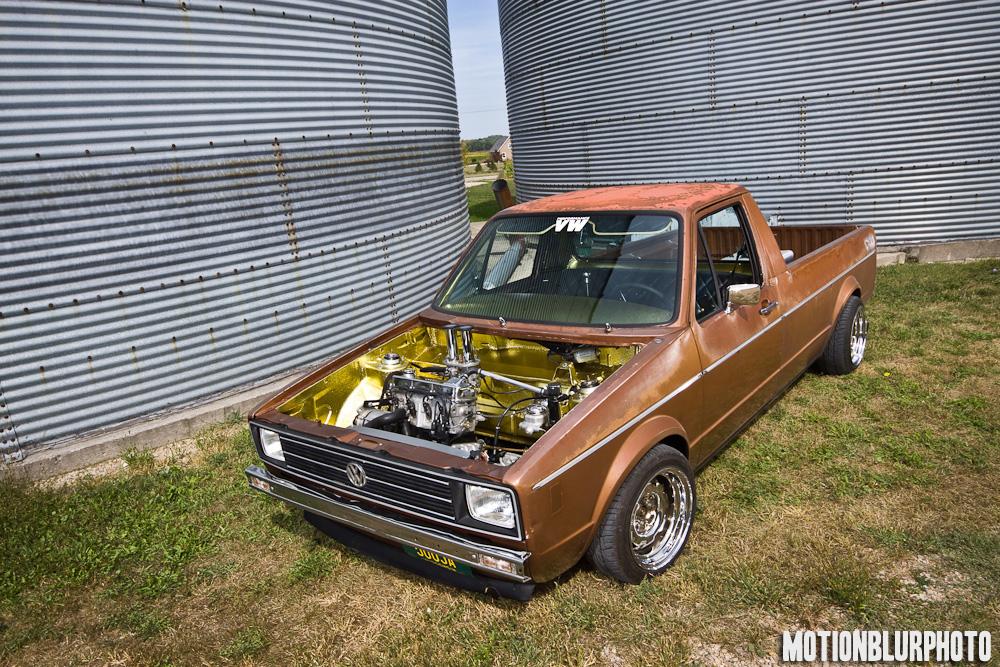
Trucks I’d like to build😎
stitchdup replied to NOBLNG's topic in General Automotive Talk (Trucks and Cars)
-
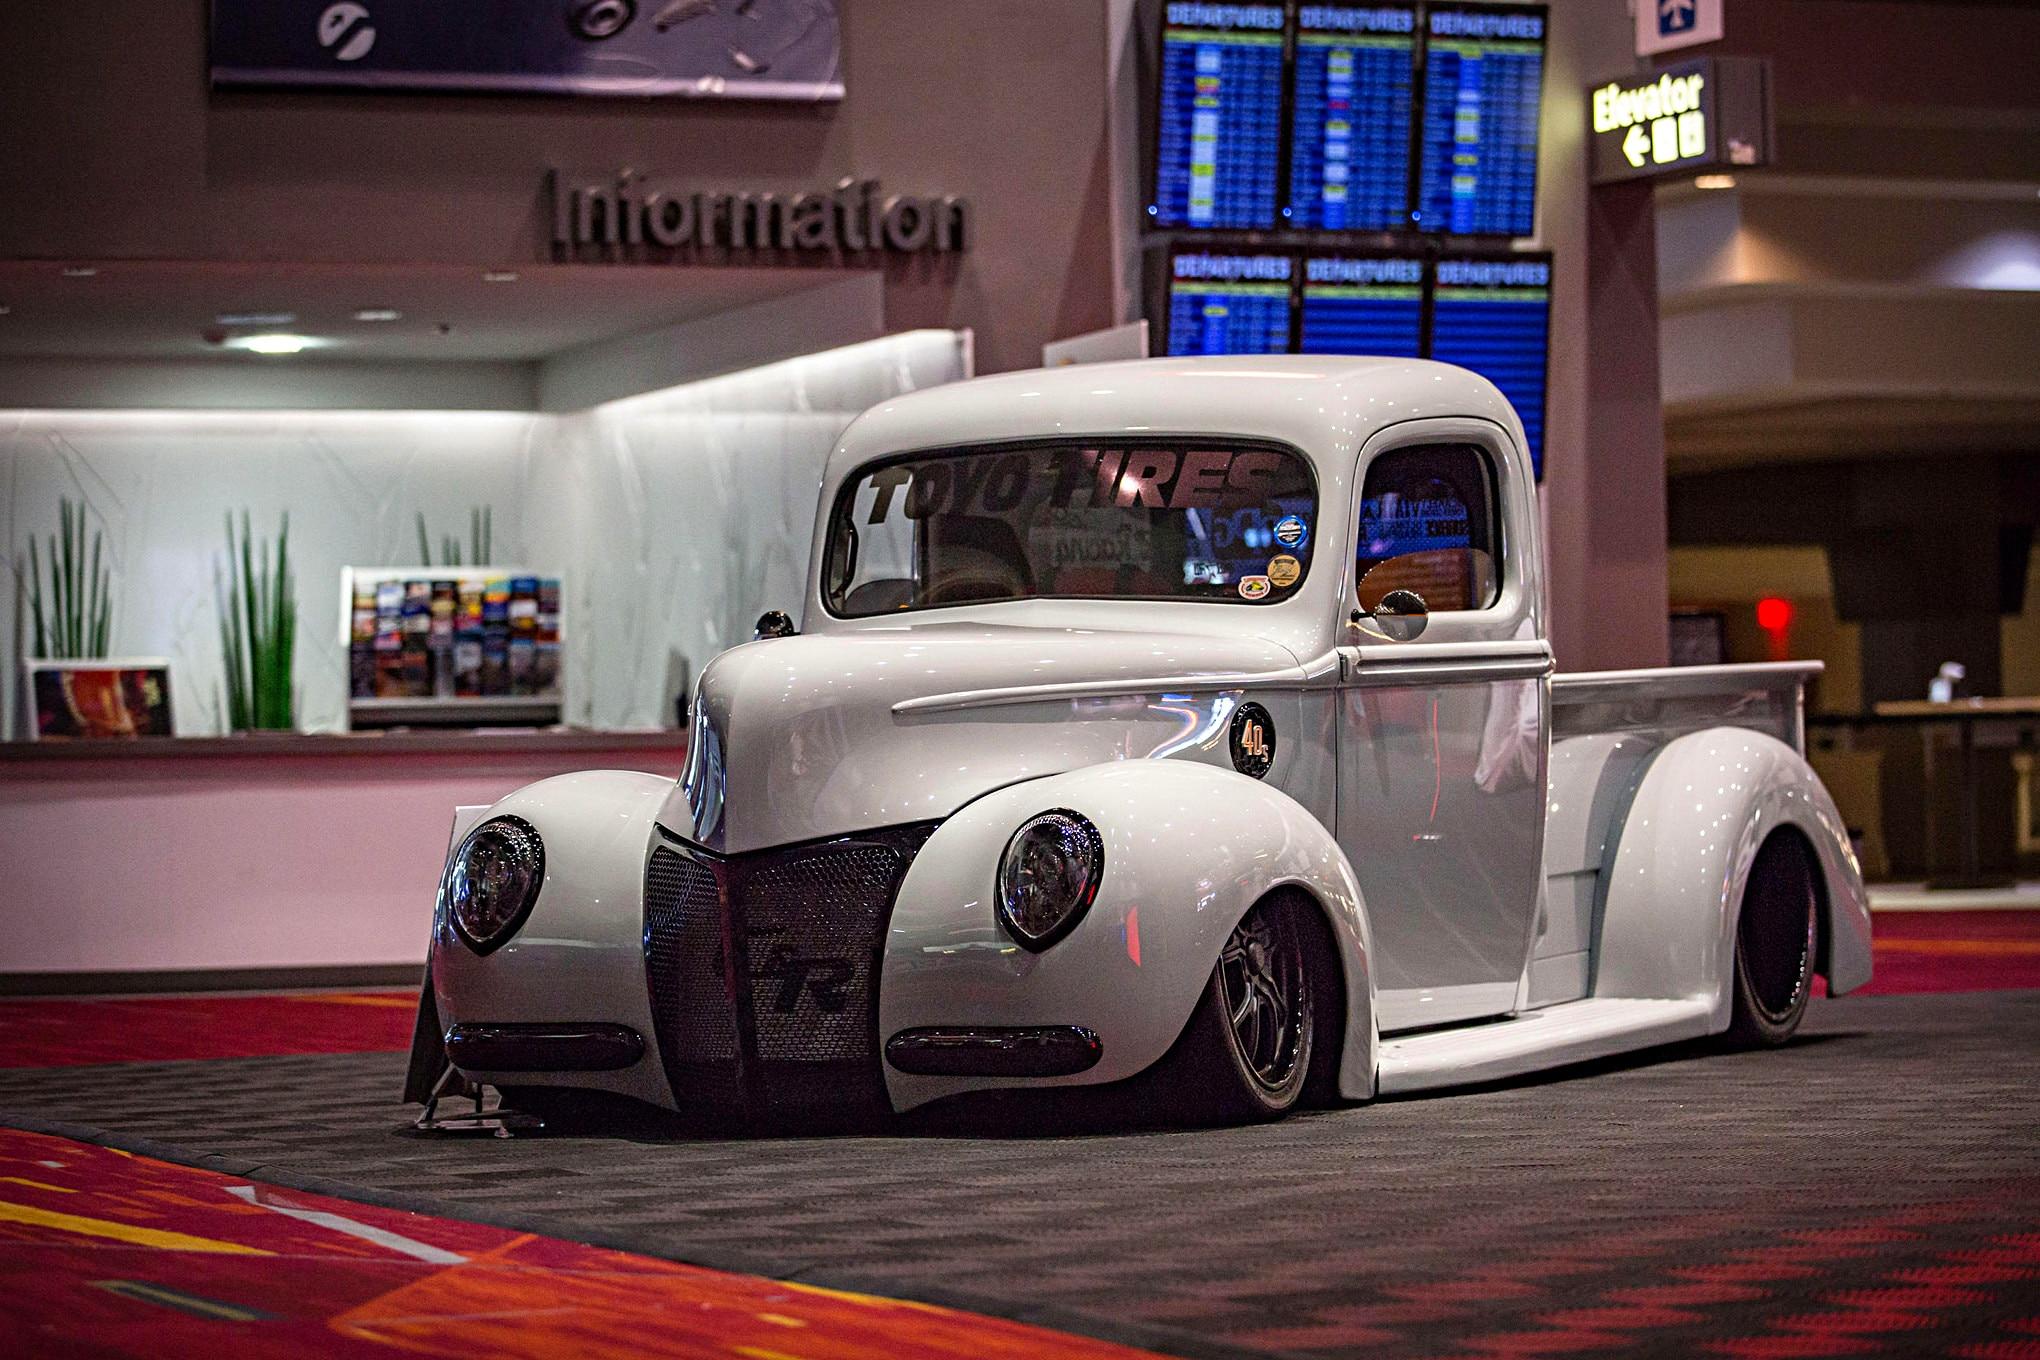
Trucks I’d like to build😎
stitchdup replied to NOBLNG's topic in General Automotive Talk (Trucks and Cars)
it looks to be british so it could be one of many manufacturers. -
Citroen 2CV Camper
stitchdup replied to PatW's topic in Model Trucks: Pickups, Vans, SUVs, Light Commercial
https://sahara-overland.com/2017/08/05/the-2cv-motorcycle-survival-story/ -
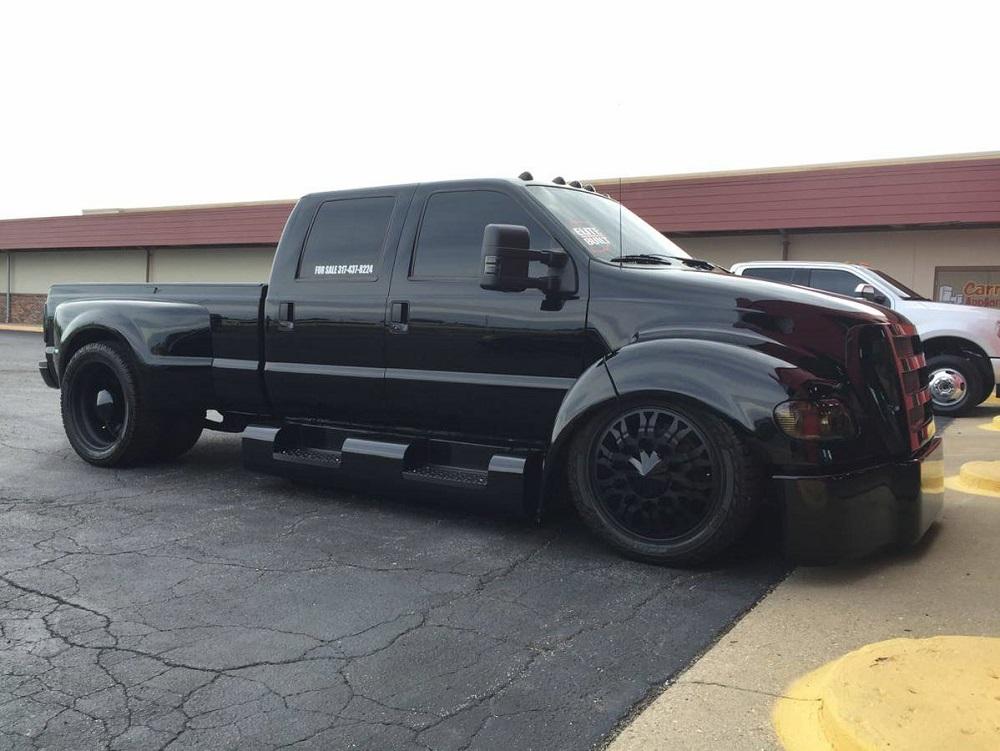
Trucks I’d like to build😎
stitchdup replied to NOBLNG's topic in General Automotive Talk (Trucks and Cars)
-
i had to buy a new phone today due to the 3g switch off. i just opened it and the sim card holder is already broken. and since i already cut down my old sim i cant even use my old phone