stitchdup
-
Posts
7,205 -
Joined
-
Last visited
Content Type
Profiles
Forums
Events
Gallery
Everything posted by stitchdup
-

What Did You Get Today? (Not Model Related)
stitchdup replied to LOBBS's topic in The Off-Topic Lounge
Looks like the furball has made itself right at home already -
Mercedes Outlaws & Hot Rods
stitchdup replied to 89AKurt's topic in General Automotive Talk (Trucks and Cars)
Oops, the red and gold hot rod is an alfa, could an admin delete it please -
Mercedes Outlaws & Hot Rods
stitchdup replied to 89AKurt's topic in General Automotive Talk (Trucks and Cars)
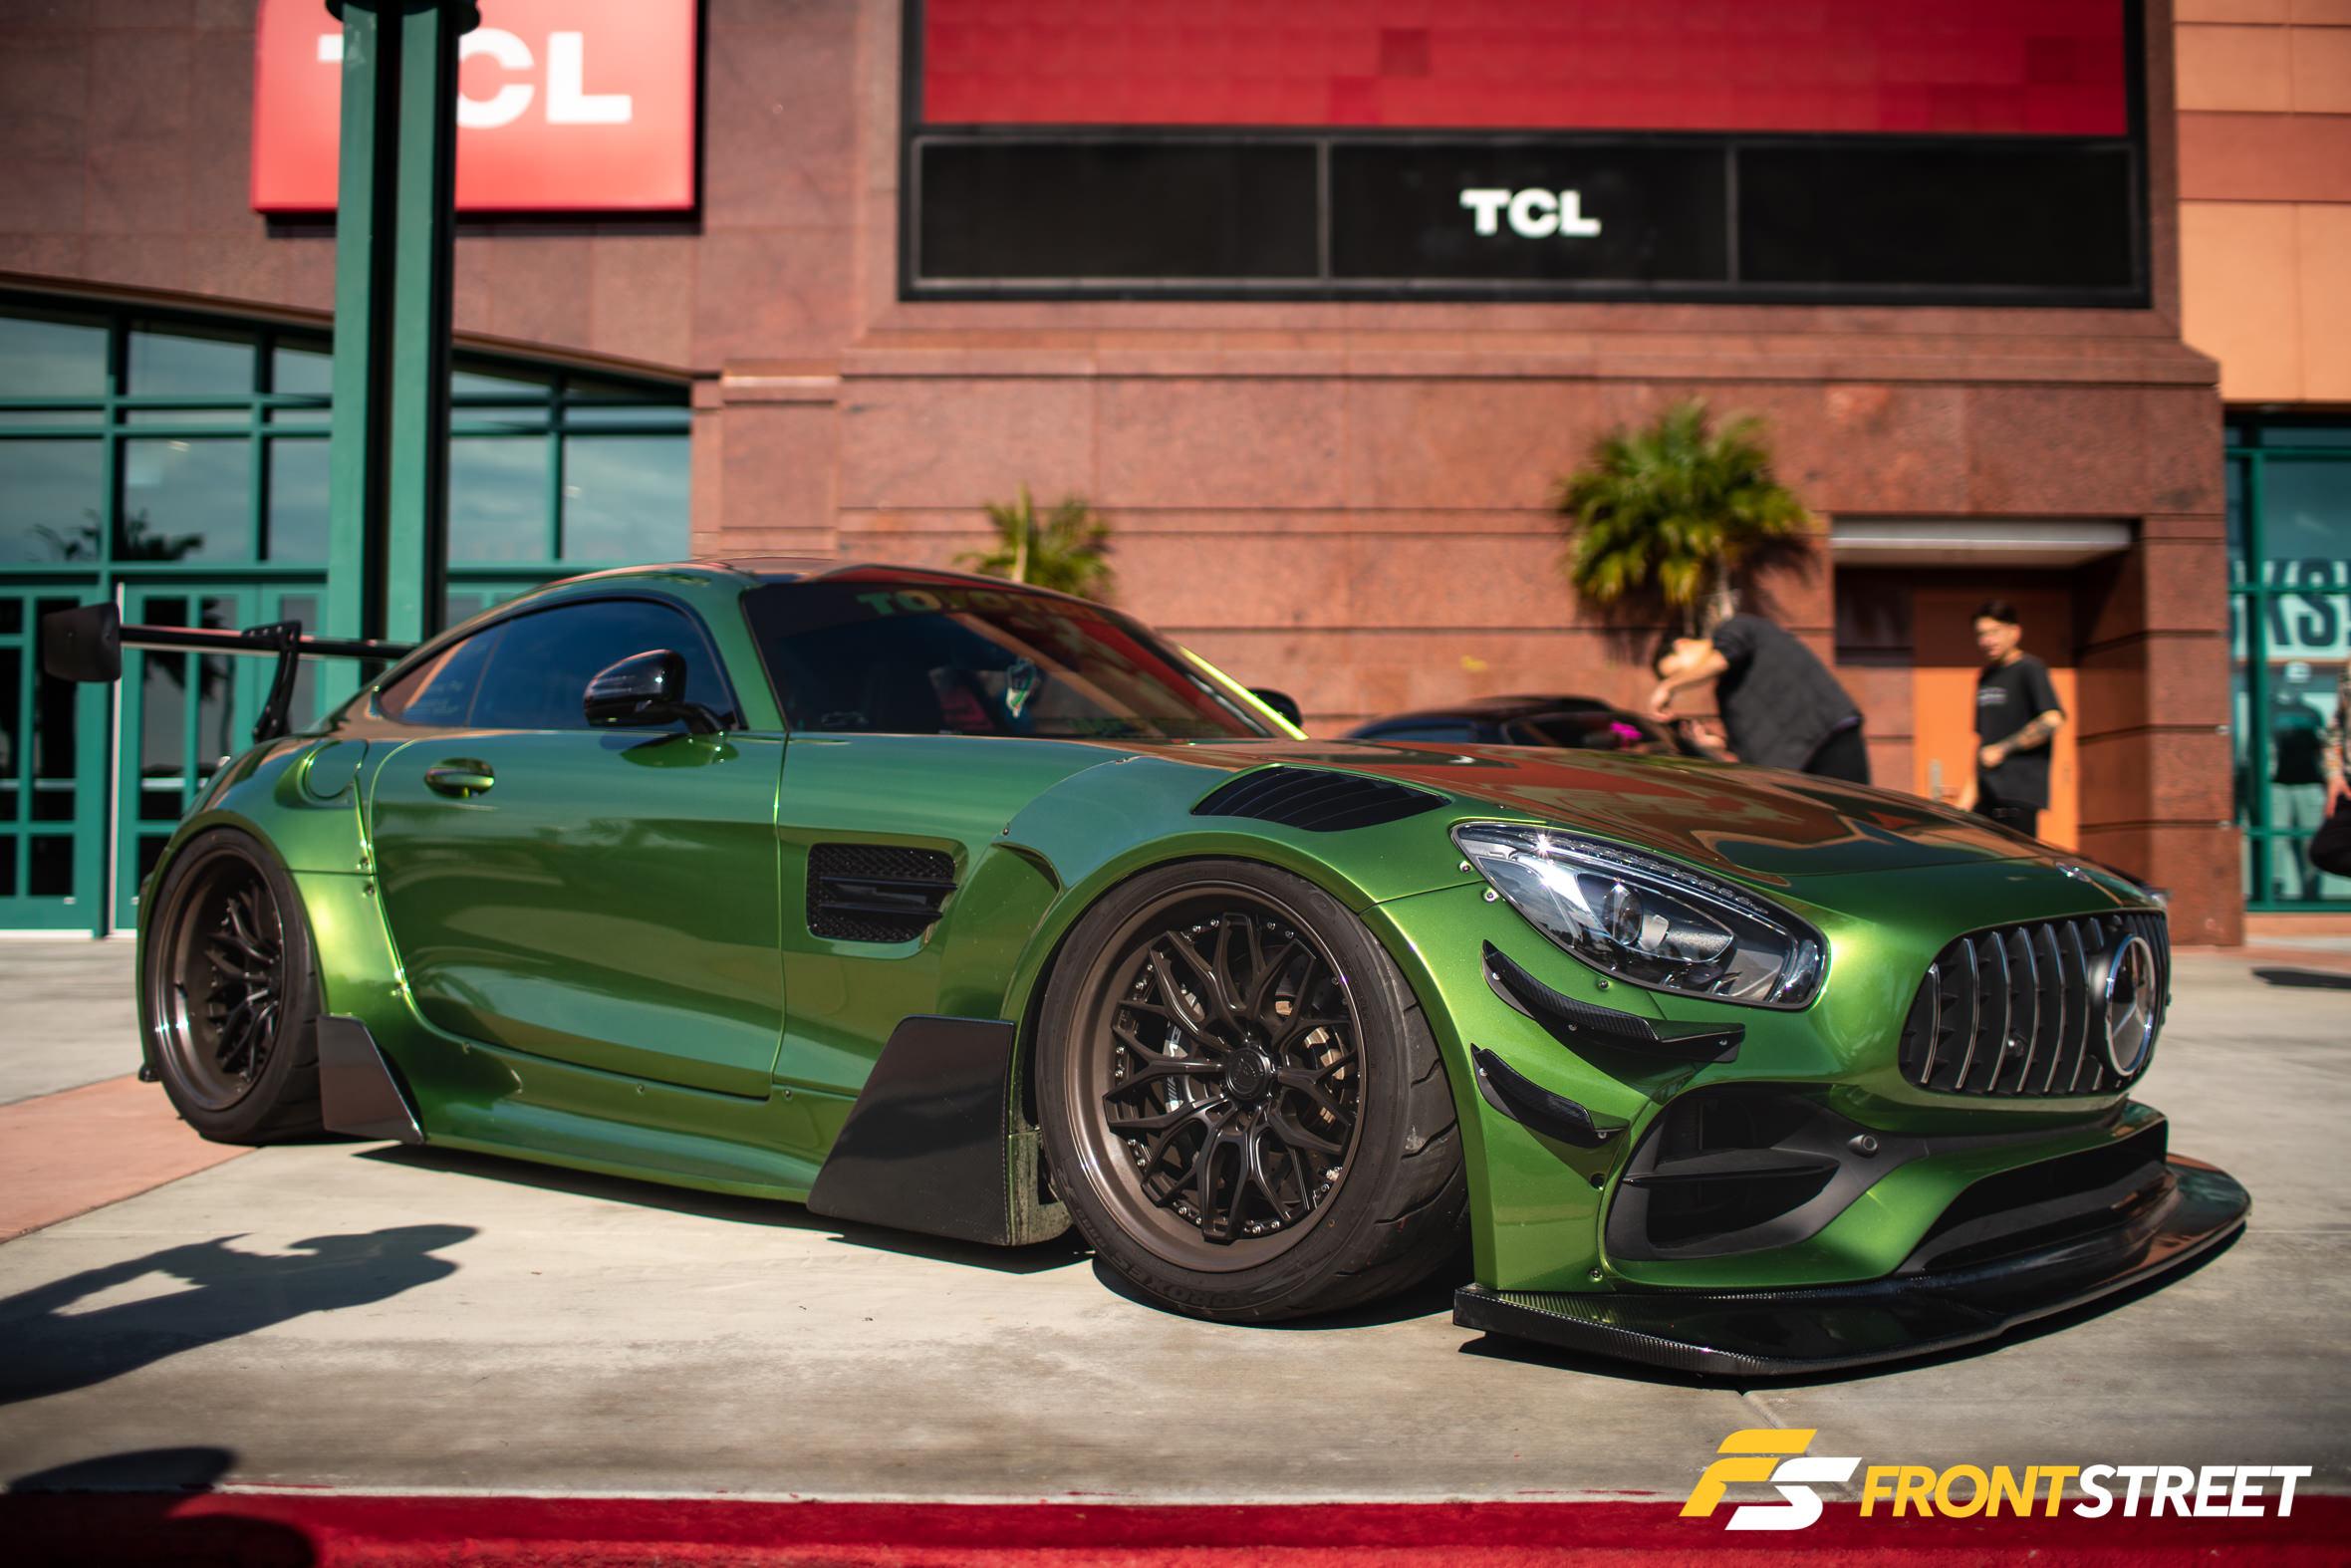
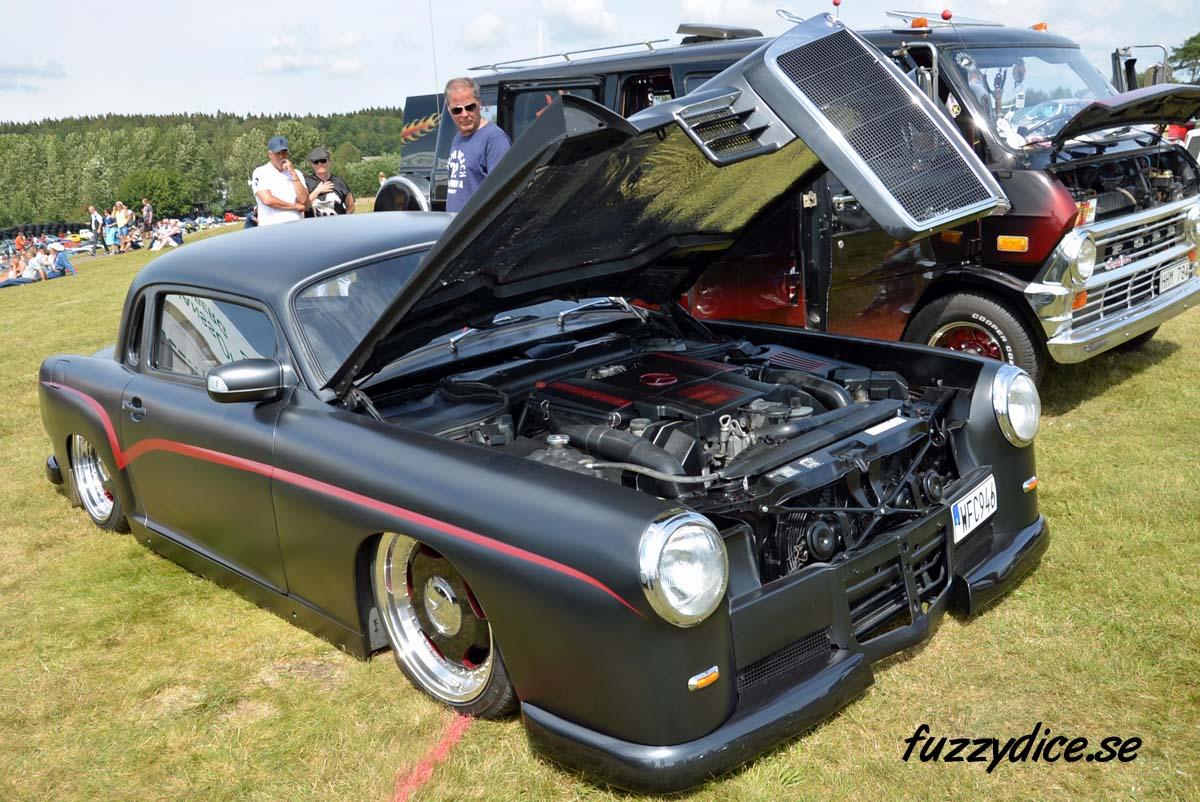
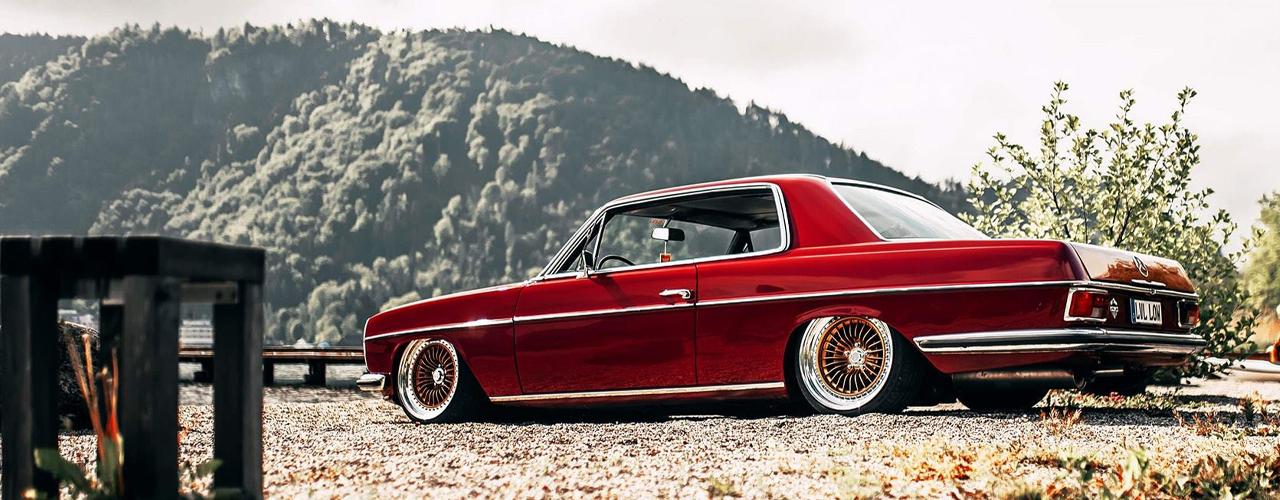
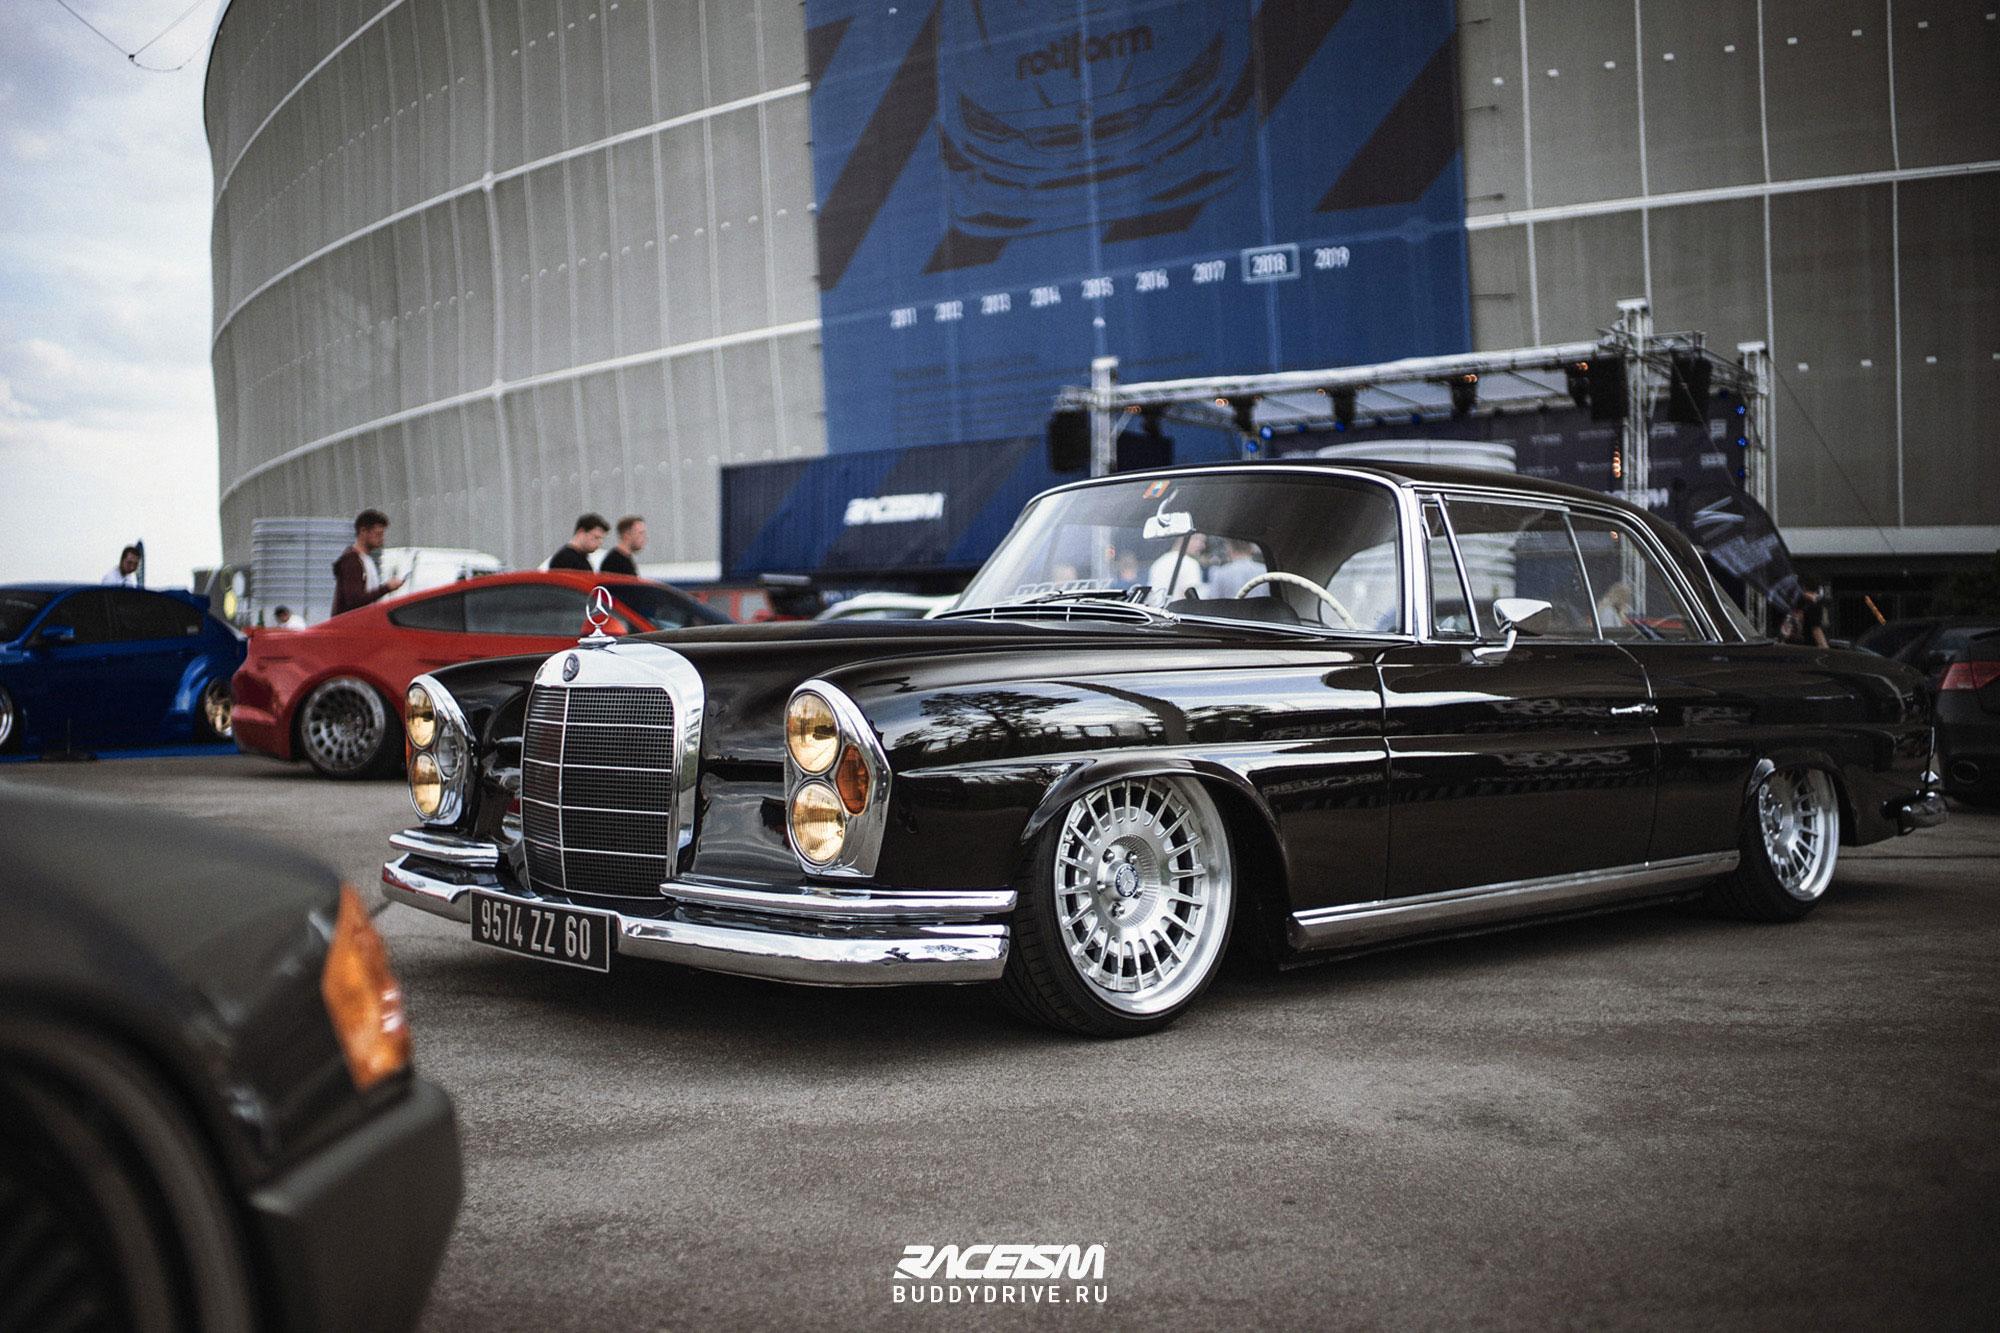
Now most of my merc pics are stanced so I'll try to only post the more interesting cars and classics. I have loads more if anyone want a specific colour
-
The Official EBay Discussion Thread
stitchdup replied to iamsuperdan's topic in General Automotive Talk (Trucks and Cars)
I've oly had one mistake from ebay. One store i bought from sent me the wrong kit but they let me keep it if i paid the postage for the correct item. The wrong item ended up with a member here (revell model t ambulance) so it worked out well. -
Neat project,
-
Peugeot 306 Maxi - Nunu
stitchdup replied to Kemszi's topic in WIP: Other Racing: Road Racing, Land Speed Racers
Thanks, thats how the belkits decals are done too, makes it easier to apply the big decals -
Peugeot 306 Maxi - Nunu
stitchdup replied to Kemszi's topic in WIP: Other Racing: Road Racing, Land Speed Racers
Nice work. I have a question about the decals in the nunu kits, are they done like the belkits decals or all one part? -
Cool, going to have to follow this. Some of the tamiya mercs have engines bt its mostly the larger sedans. The revell brabus sl has a nice straight 6 in it too
-
Pretty cool, i like the resto vibe it has
-
1964 Dodge D100
stitchdup replied to carnut's topic in WIP: Model Trucks: Pickups, Vans, SUVs, Light Commercial
Cool project, -
Theres at least 2 from tamiya of the 956, if you look on ebay uk theres loads to choose from
-
Nice work, especially on the ill fitting top
-
BMW have won their 20th 24hr race at the Nurburgring. Theres an interesting article on speedhunters telling the story and it has lots of pics of the cars. http://www.speedhunters.com/2020/11/decade-waiting-bmws-return-n24-glory/
-
Thanks guys,
-
I'm wary about using baking soda, I've had problems with it coming through a few months after the builds are finished. It has sent some of my finished builds to the scrap box. I appreciate the suggestion though
-
it would be the brand name and licensing rights. In the vw world having an official part gets more show points. Its the same with empi parts and brm wheels. Genuine is always better. Even the fwddrive lot look down on non branded bbs. I know Bruce Mayers has licensed bodies being made in australia and somewhere in europe (or was in the last few years) for sale in those markets. I can see the new owners going something along the lines of the von dutch clothing brand as well as hopefully continuing the licensing agrrements. With a bit of luck it could even be done similar to moon
-
I never even thought of that, thanks
-
A tank is handy for keeping the pressure constant as you are using the air from the tank instead of direct from the pump
-
Hi guys, I've got a resin body I found cheap but it has a lot of pin holes. I'm wondering if my usual filler will work for them or is there something better to use. I have 2 part auto filler, spot putty, humbrol model filler and acrylic nail filler and have ground out the holes a little so theres something for it to bite but my fear is it coming off during the paint process. The body needs a lot of work so I'm not fancying going to all the effort if its not going to work. I dont know f it makes a difference but the resin is white. Thanks for reading
-
I've been thinking about getting one of the billings boats wood viking boat kits. This time last year when I was looking they were around 80 quid. I decided it was worth it and went to pull the trigger only to find they have jumped in price to more than double. I think I'll try again near the end of january in the hope someone got one for christmas and has given up on it
-
Street Outlaws, Fastest in America
stitchdup replied to Snake45's topic in General Automotive Talk (Trucks and Cars)
I enjoy the show but its not one I plan my day around. Its more something I'll watch in the background while I'm at the bench, but I do save them to watch at work too. One thing I've noticed about the okc group is farm truck and azn being missing, they were the highlight of the show for me and seemed like the most fun to be around and had a really good atitude to racing -
From the shape of them I would guess they are side stripes but its just a guess
-
Pretty cool idea, I can see hints of corvair in it
-
De Foosing the FD-100
stitchdup replied to butter's topic in WIP: Model Trucks: Pickups, Vans, SUVs, Light Commercial
NIce looking truck, I can see why you want a model of it. -
Atlantis Models has bought another lot of tooling/molds.....
stitchdup replied to Dave Van's topic in Car Kit News & Reviews
Thanks, I'm needing some drag cars in the stash so was hoping its full on rather than a modified 3 in 1 kit


.jpg.0435ca8fb2ca492fdf62bead40b72514.jpg)