stitchdup
-
Posts
7,205 -
Joined
-
Last visited
Content Type
Profiles
Forums
Events
Gallery
Everything posted by stitchdup
-
 thats what i did when i worked on the boat. i recommend a small cutting mat as part of the travel set. i ended up with 2 of most things but thats not a bad thing. really all i was lacking was light.
- 39,275 replies
-
- 1
-

-
- johan
- glue bombs
- (and 1 more)
-
Hornby Porsche 996 GT3R
stitchdup replied to Smilesperhour's topic in WIP: Other Racing: Road Racing, Land Speed Racers
the headlights are canted inwards at the top is the most obvious but the front bumper looks too tall or narrow too as the 1/1 wheels have a lower profile tyre/bigger rim yet they both match in where they line up so the model has to be wrong. its almost like the hood is too tall or round in the centre too but that could just be the angle of the pic. do you have another brand kit you could compare it with? it would help see where it off at. it would be a lot of fiddly work to fix the lights as it might mean altering the whole front end to line them up as pretty much everything from the screen down would need slight alterations to keep it all lined up. i can measure up a tamiya 996 the morn if thats a help? -
They do exist.......Real Coca Cola car
stitchdup replied to Rocketman455's topic in General Automotive Talk (Trucks and Cars)
so racecars? -
Does this resemble anyone's work area?
stitchdup replied to 64SS350's topic in General Automotive Talk (Trucks and Cars)
thats way too organised
-
theres files for them on cults. they vary from free up to 100 bucks. i dont know how the quality of them is as its just things that have popped up in searches
-
3D Printing Storefront Directory
stitchdup replied to Mr. Metallic's topic in Car Aftermarket / Resin / 3D Printed
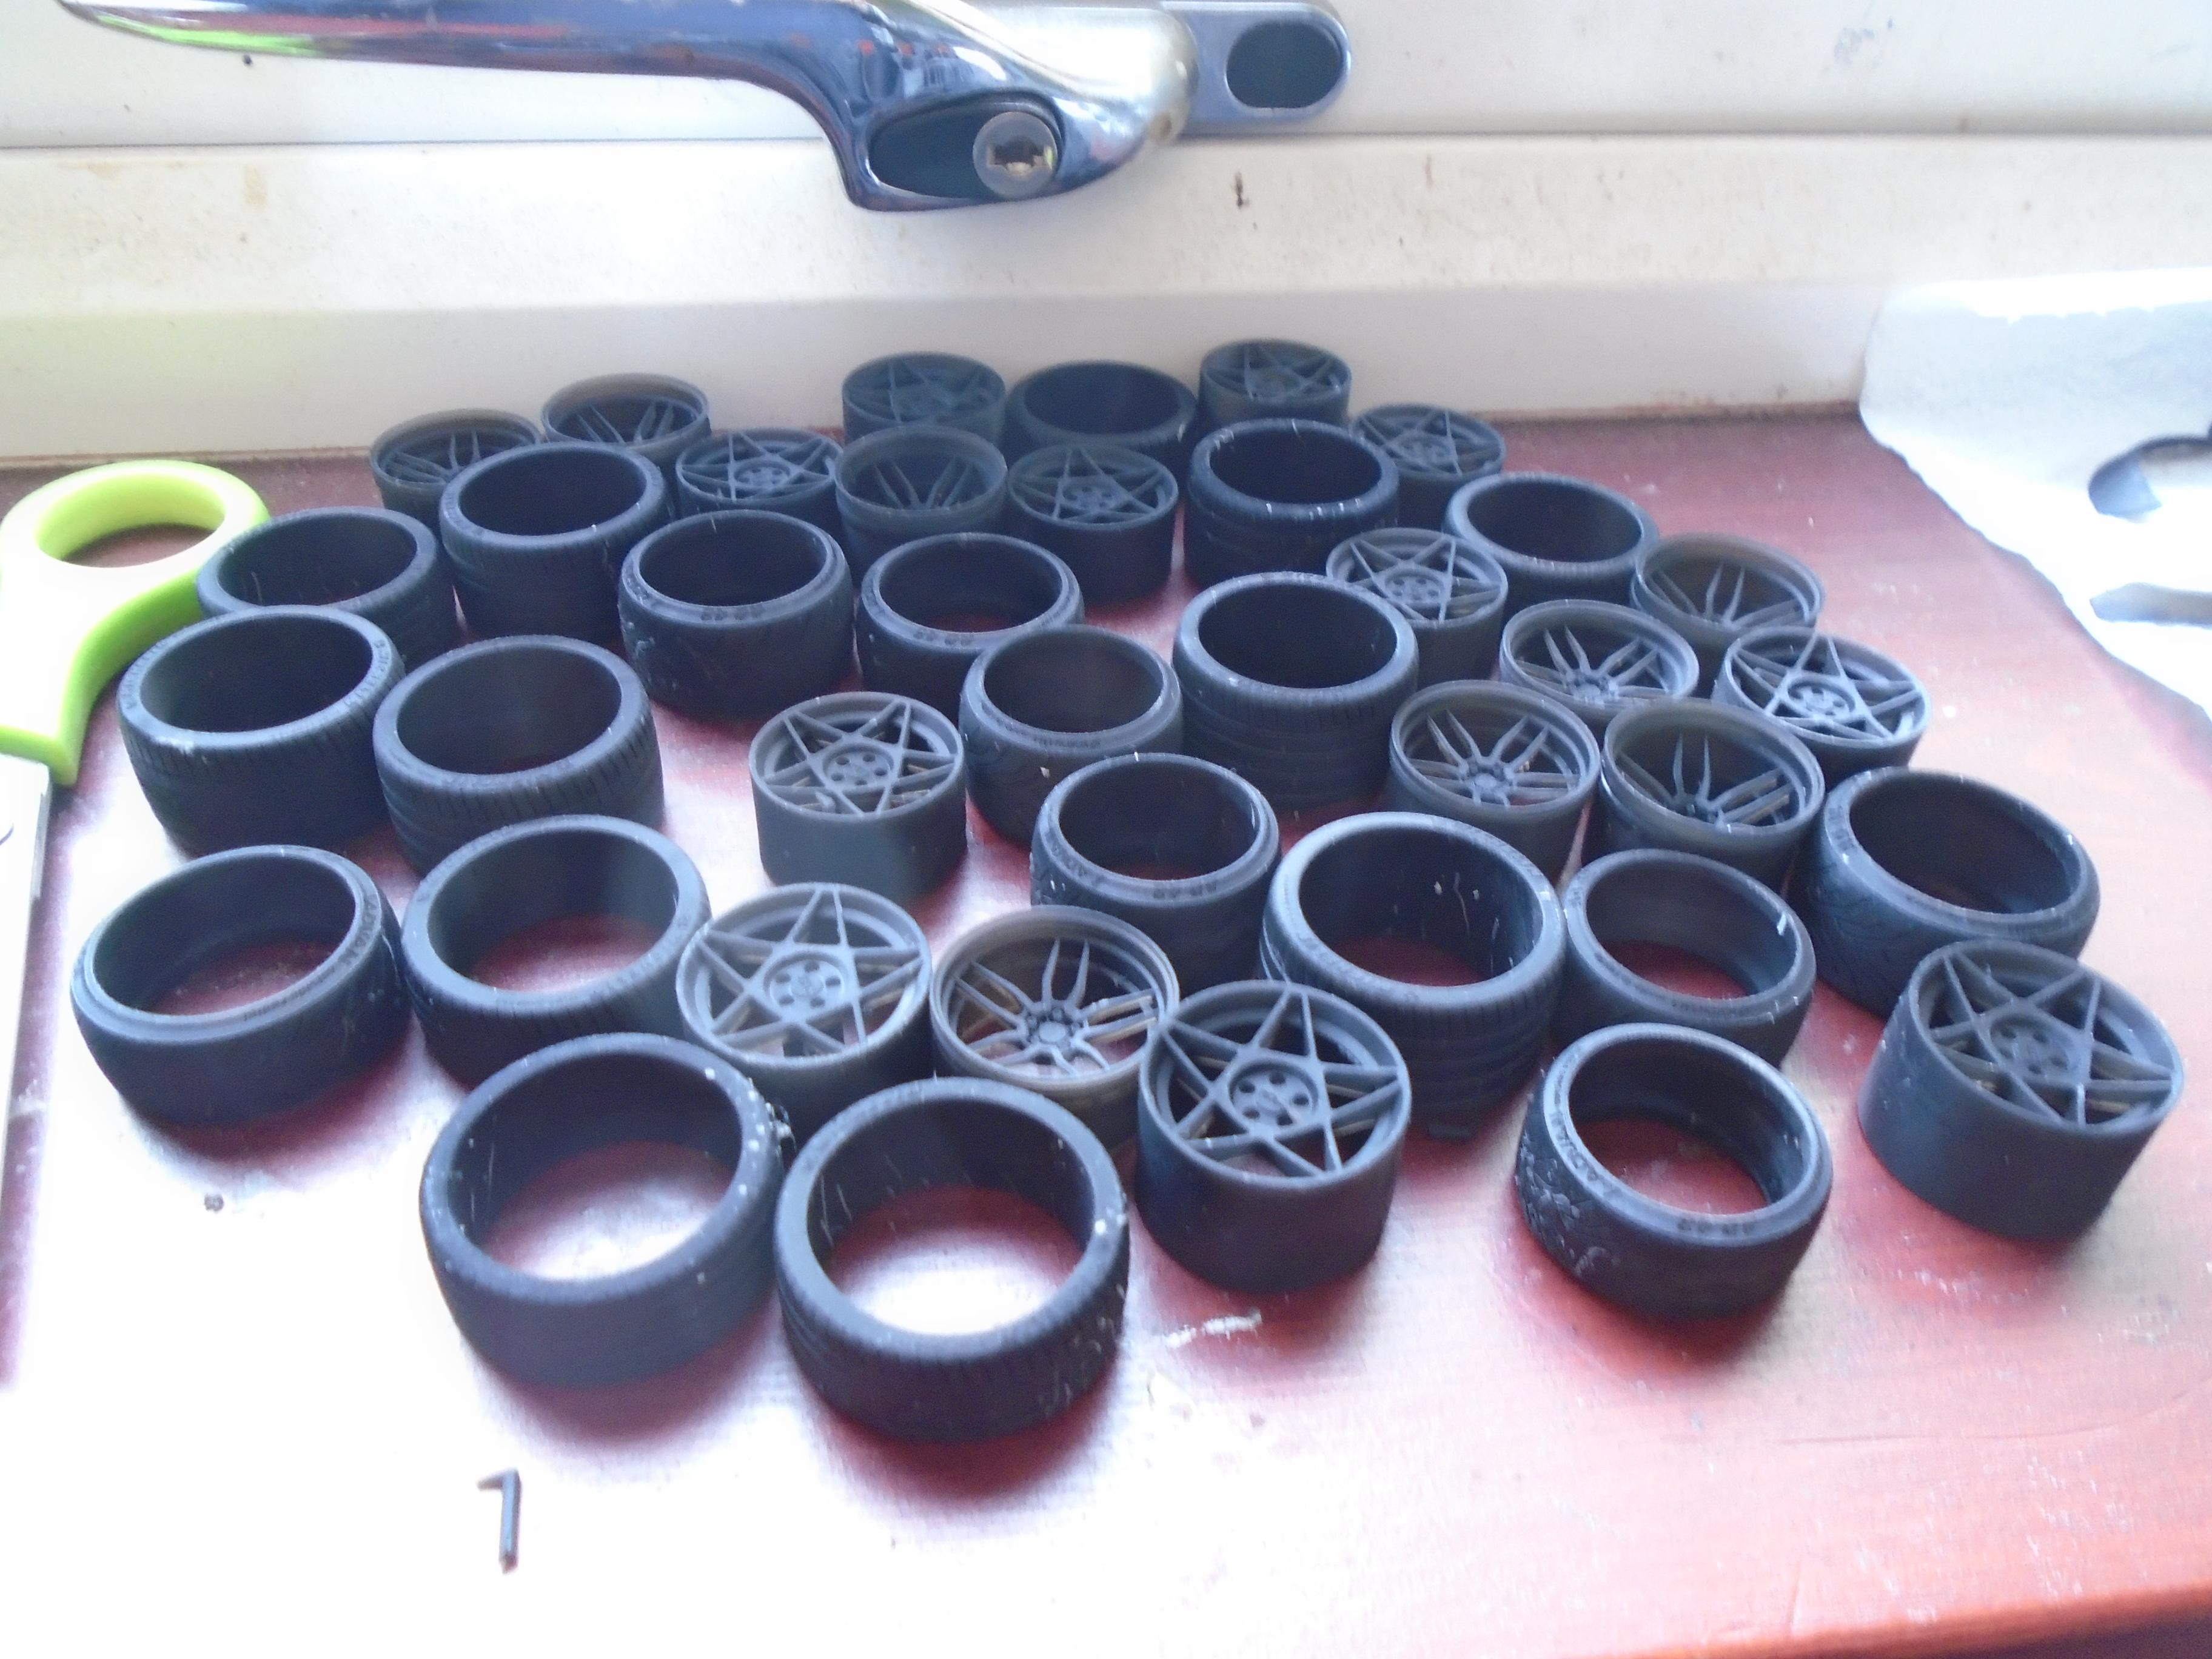
for the bigger scale stuff you're really better off with your own printer. you can probably pick up a used one for about the same as you'll pay for 2 sets of wheels. I've done printing for folk but i'm in scotland so postage would rule me out as that could be $40 on its own. -
but you might also get to see a volcano erupt! and it wont affect the whole coast, at worst you miss a couple of fjords and at best you see a volcano erupt from somewhere safe
-
no, unless your cruise ship goes on land. the ship might keep you inside if theres lots of ash/dust but they would sail away from that pretty fast. if you have to fly to get to the ship, that might be an issue as jet engines wont work well in ash
-
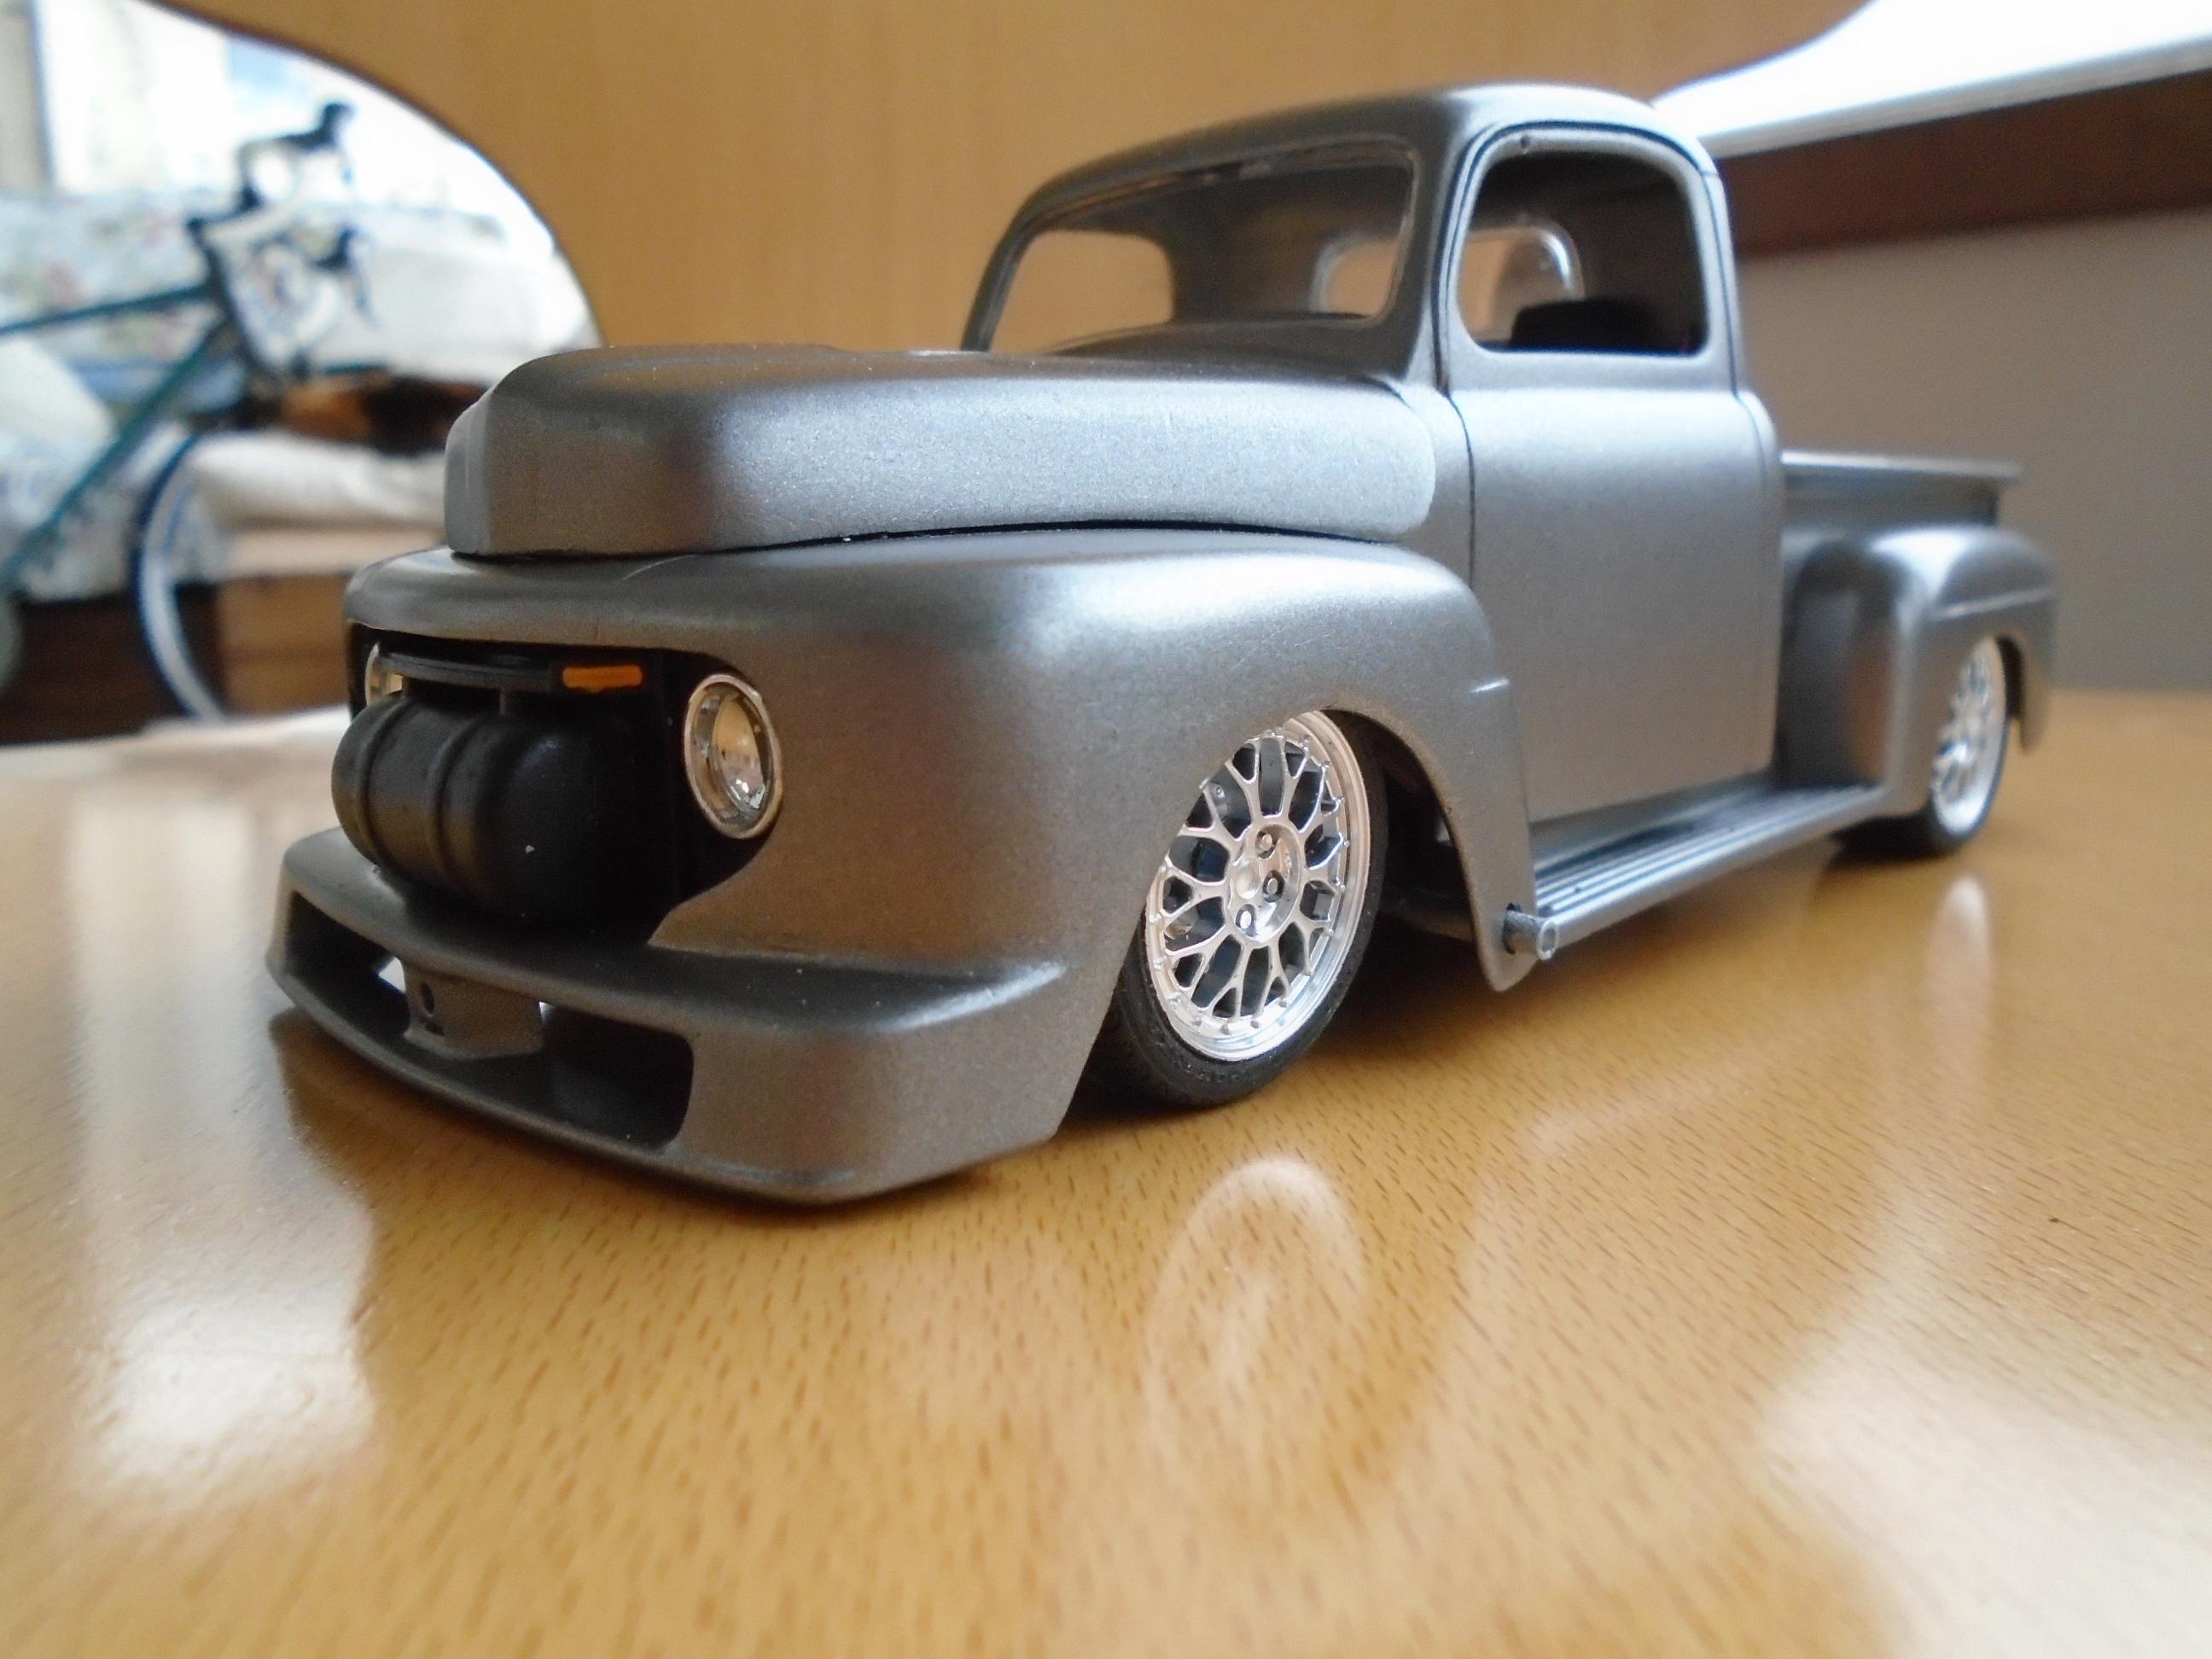
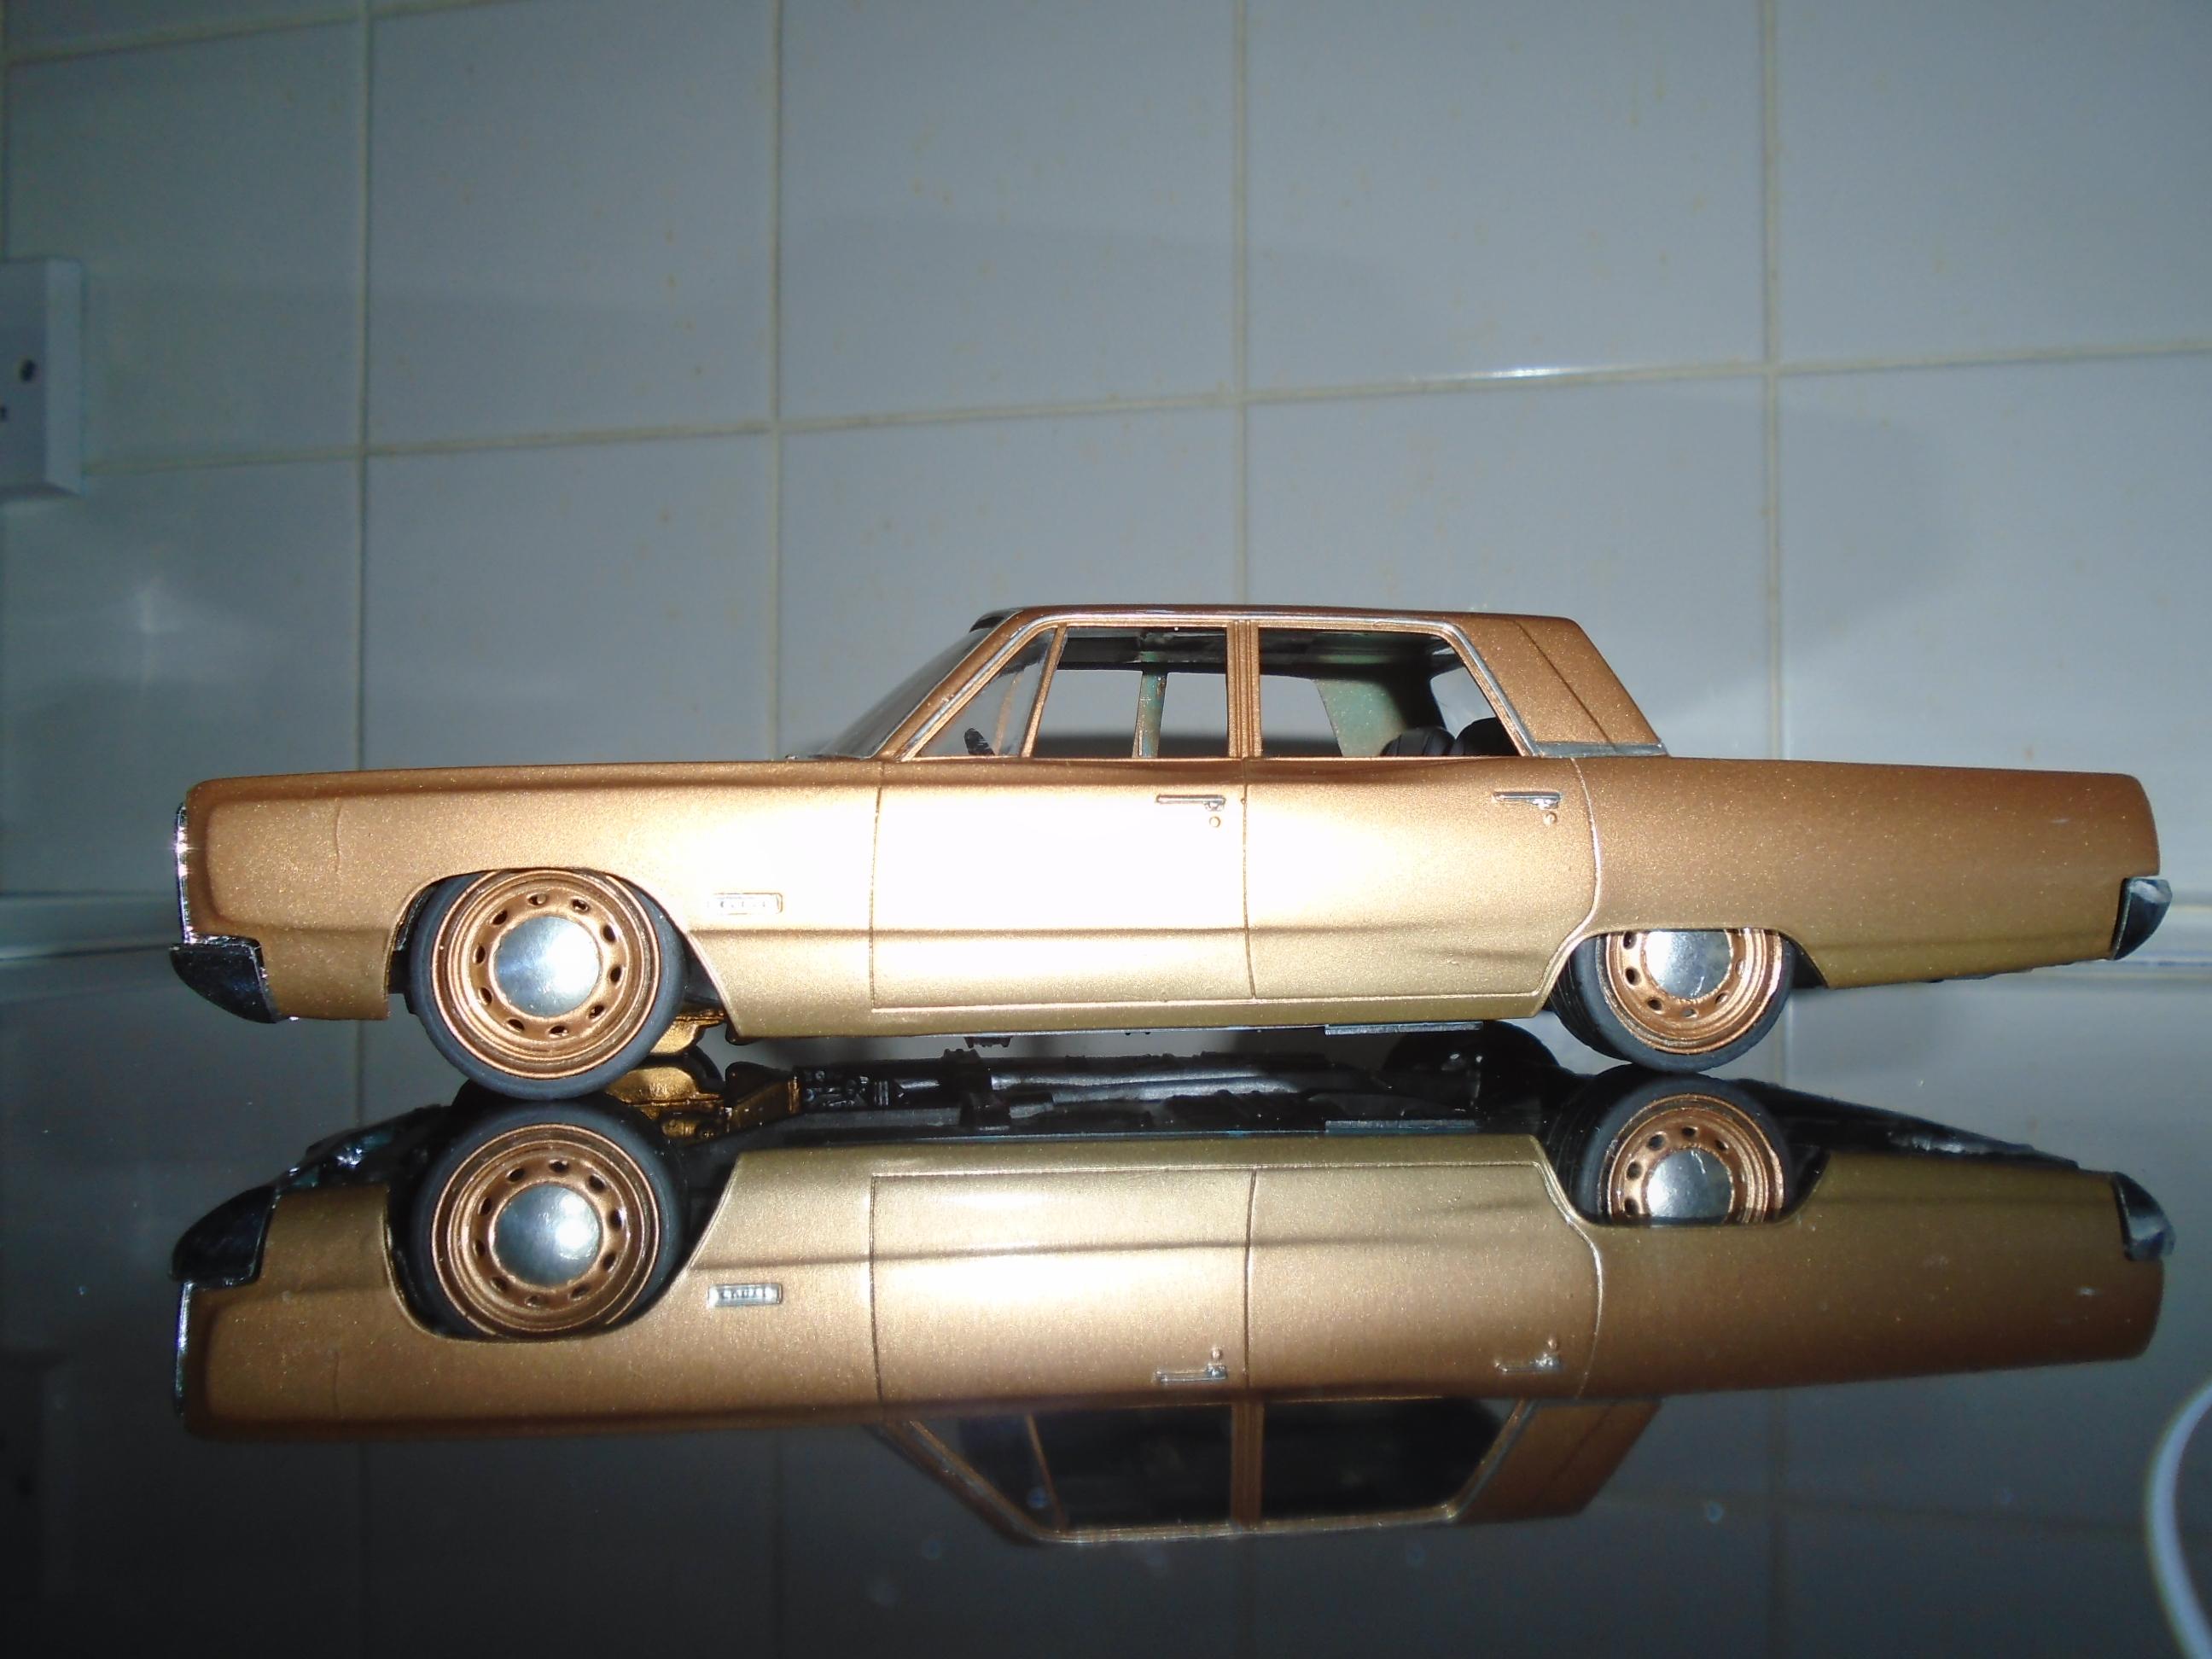
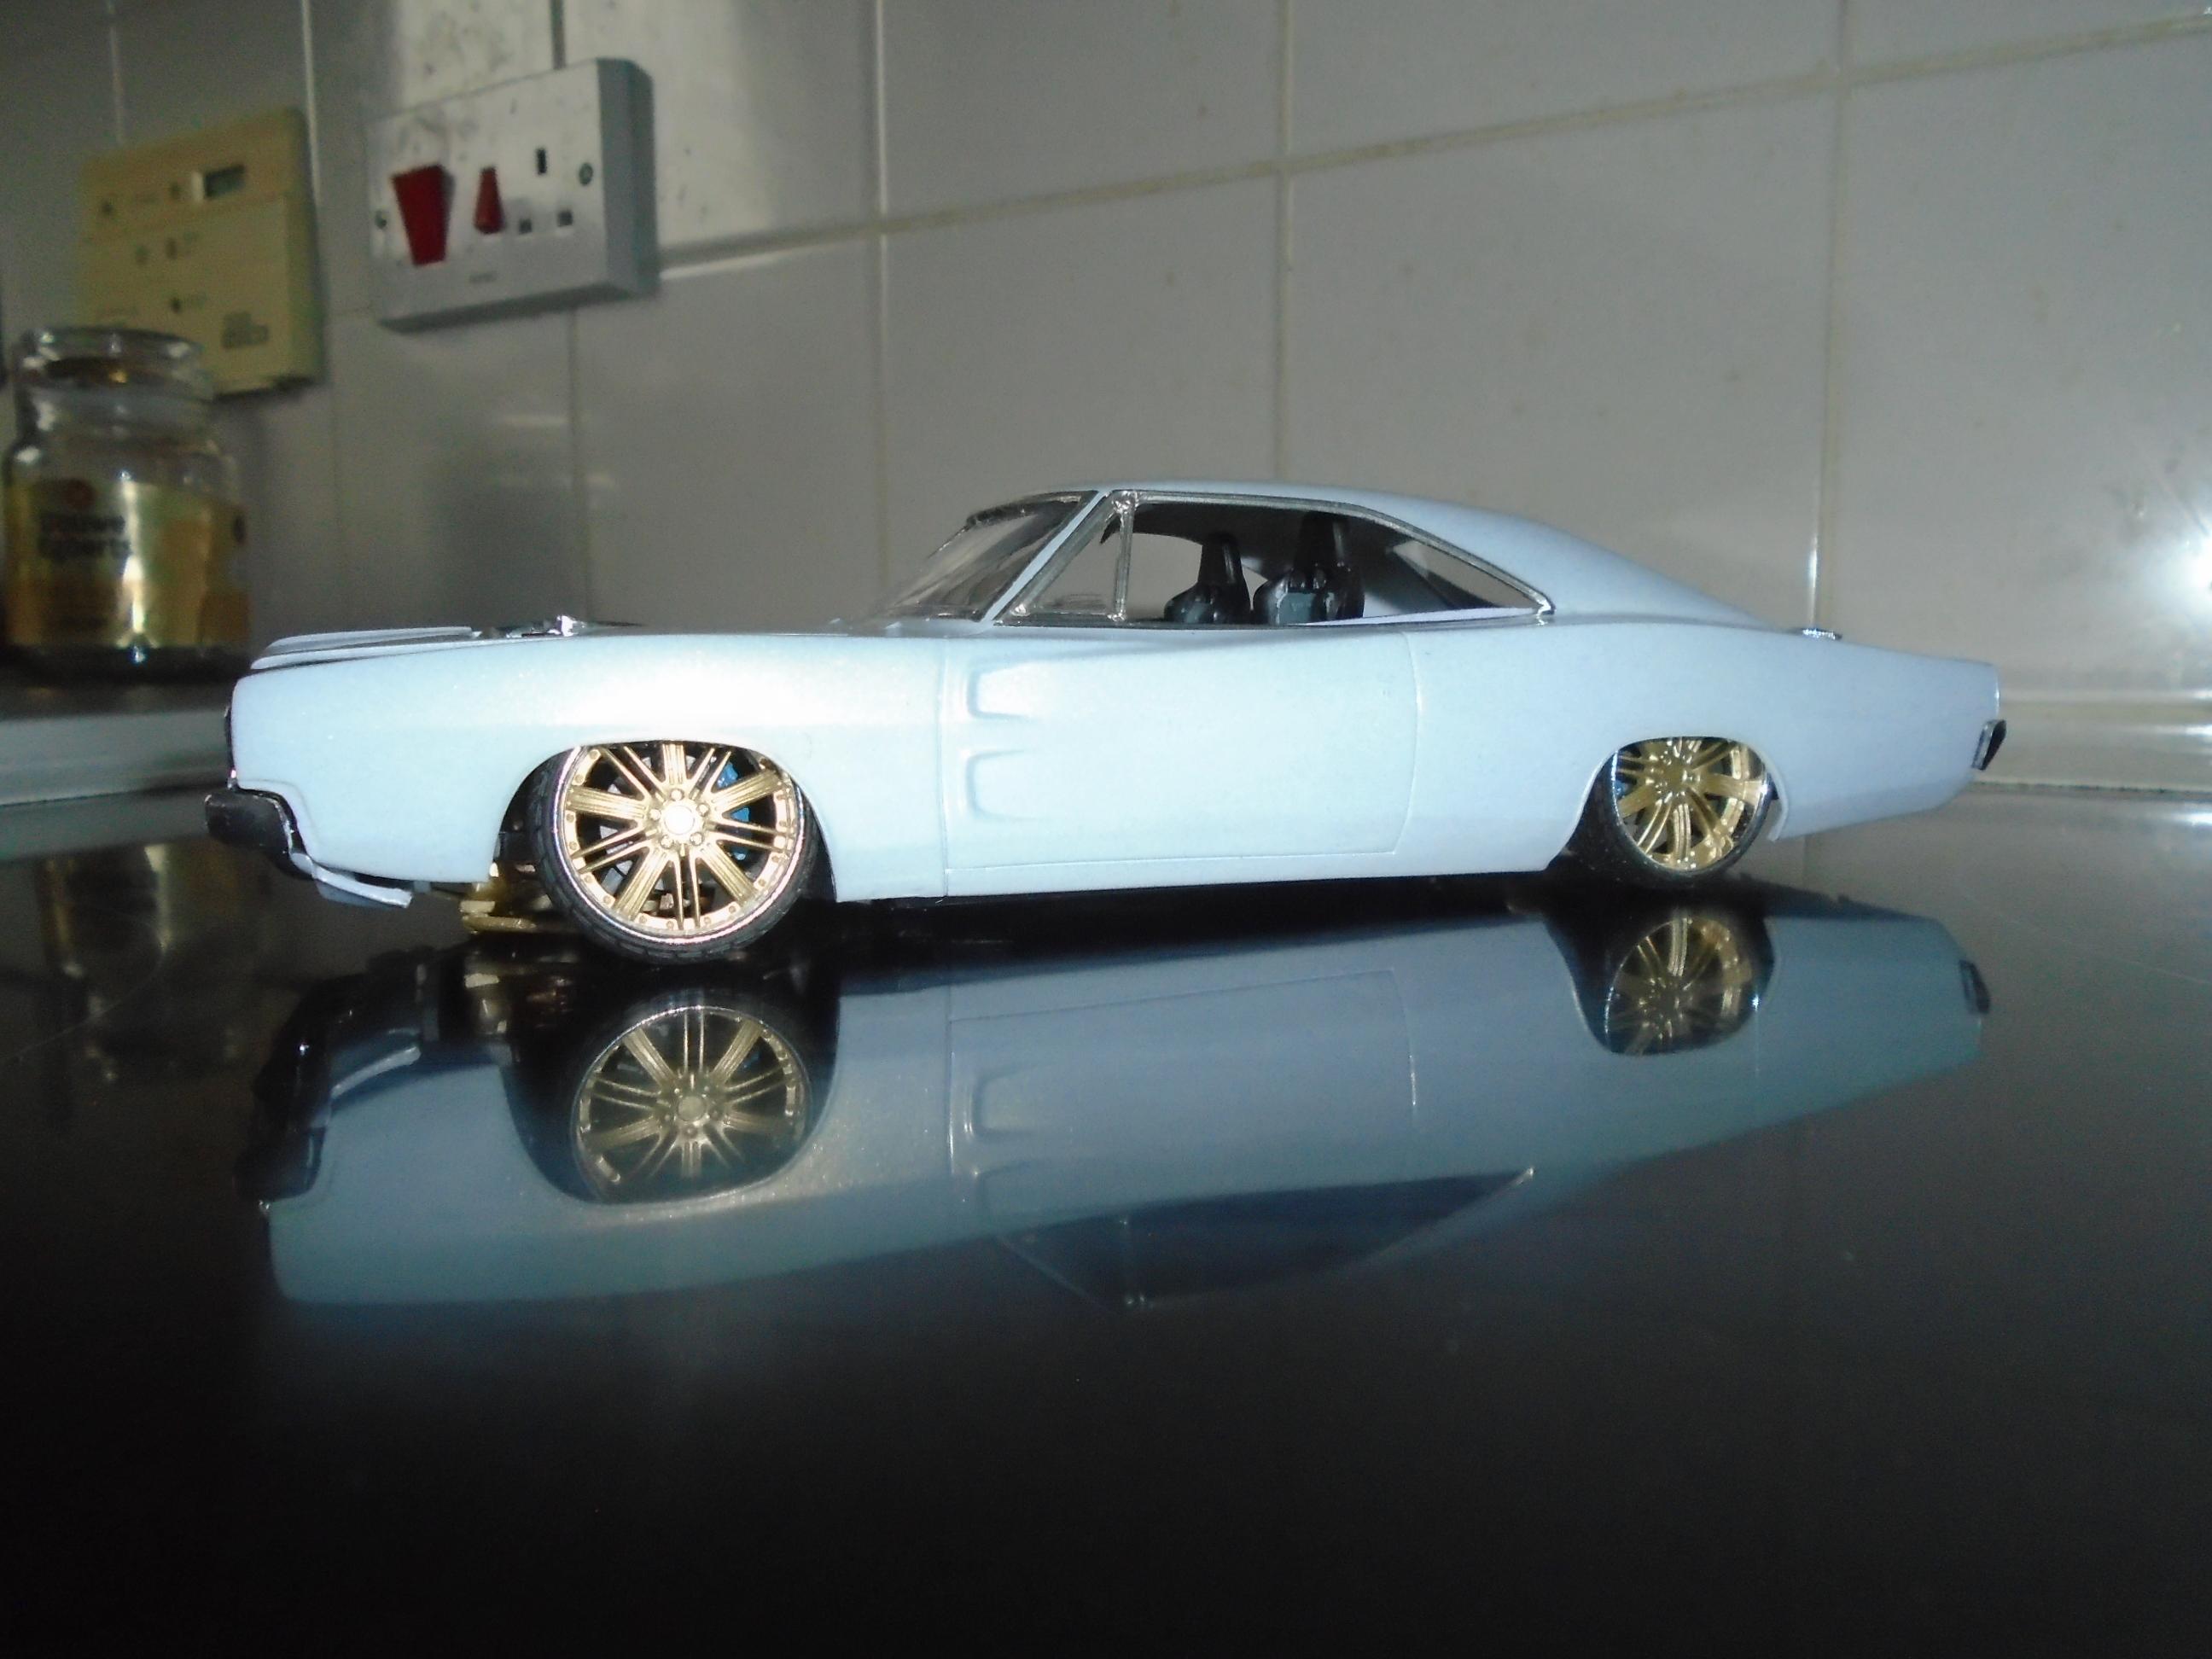
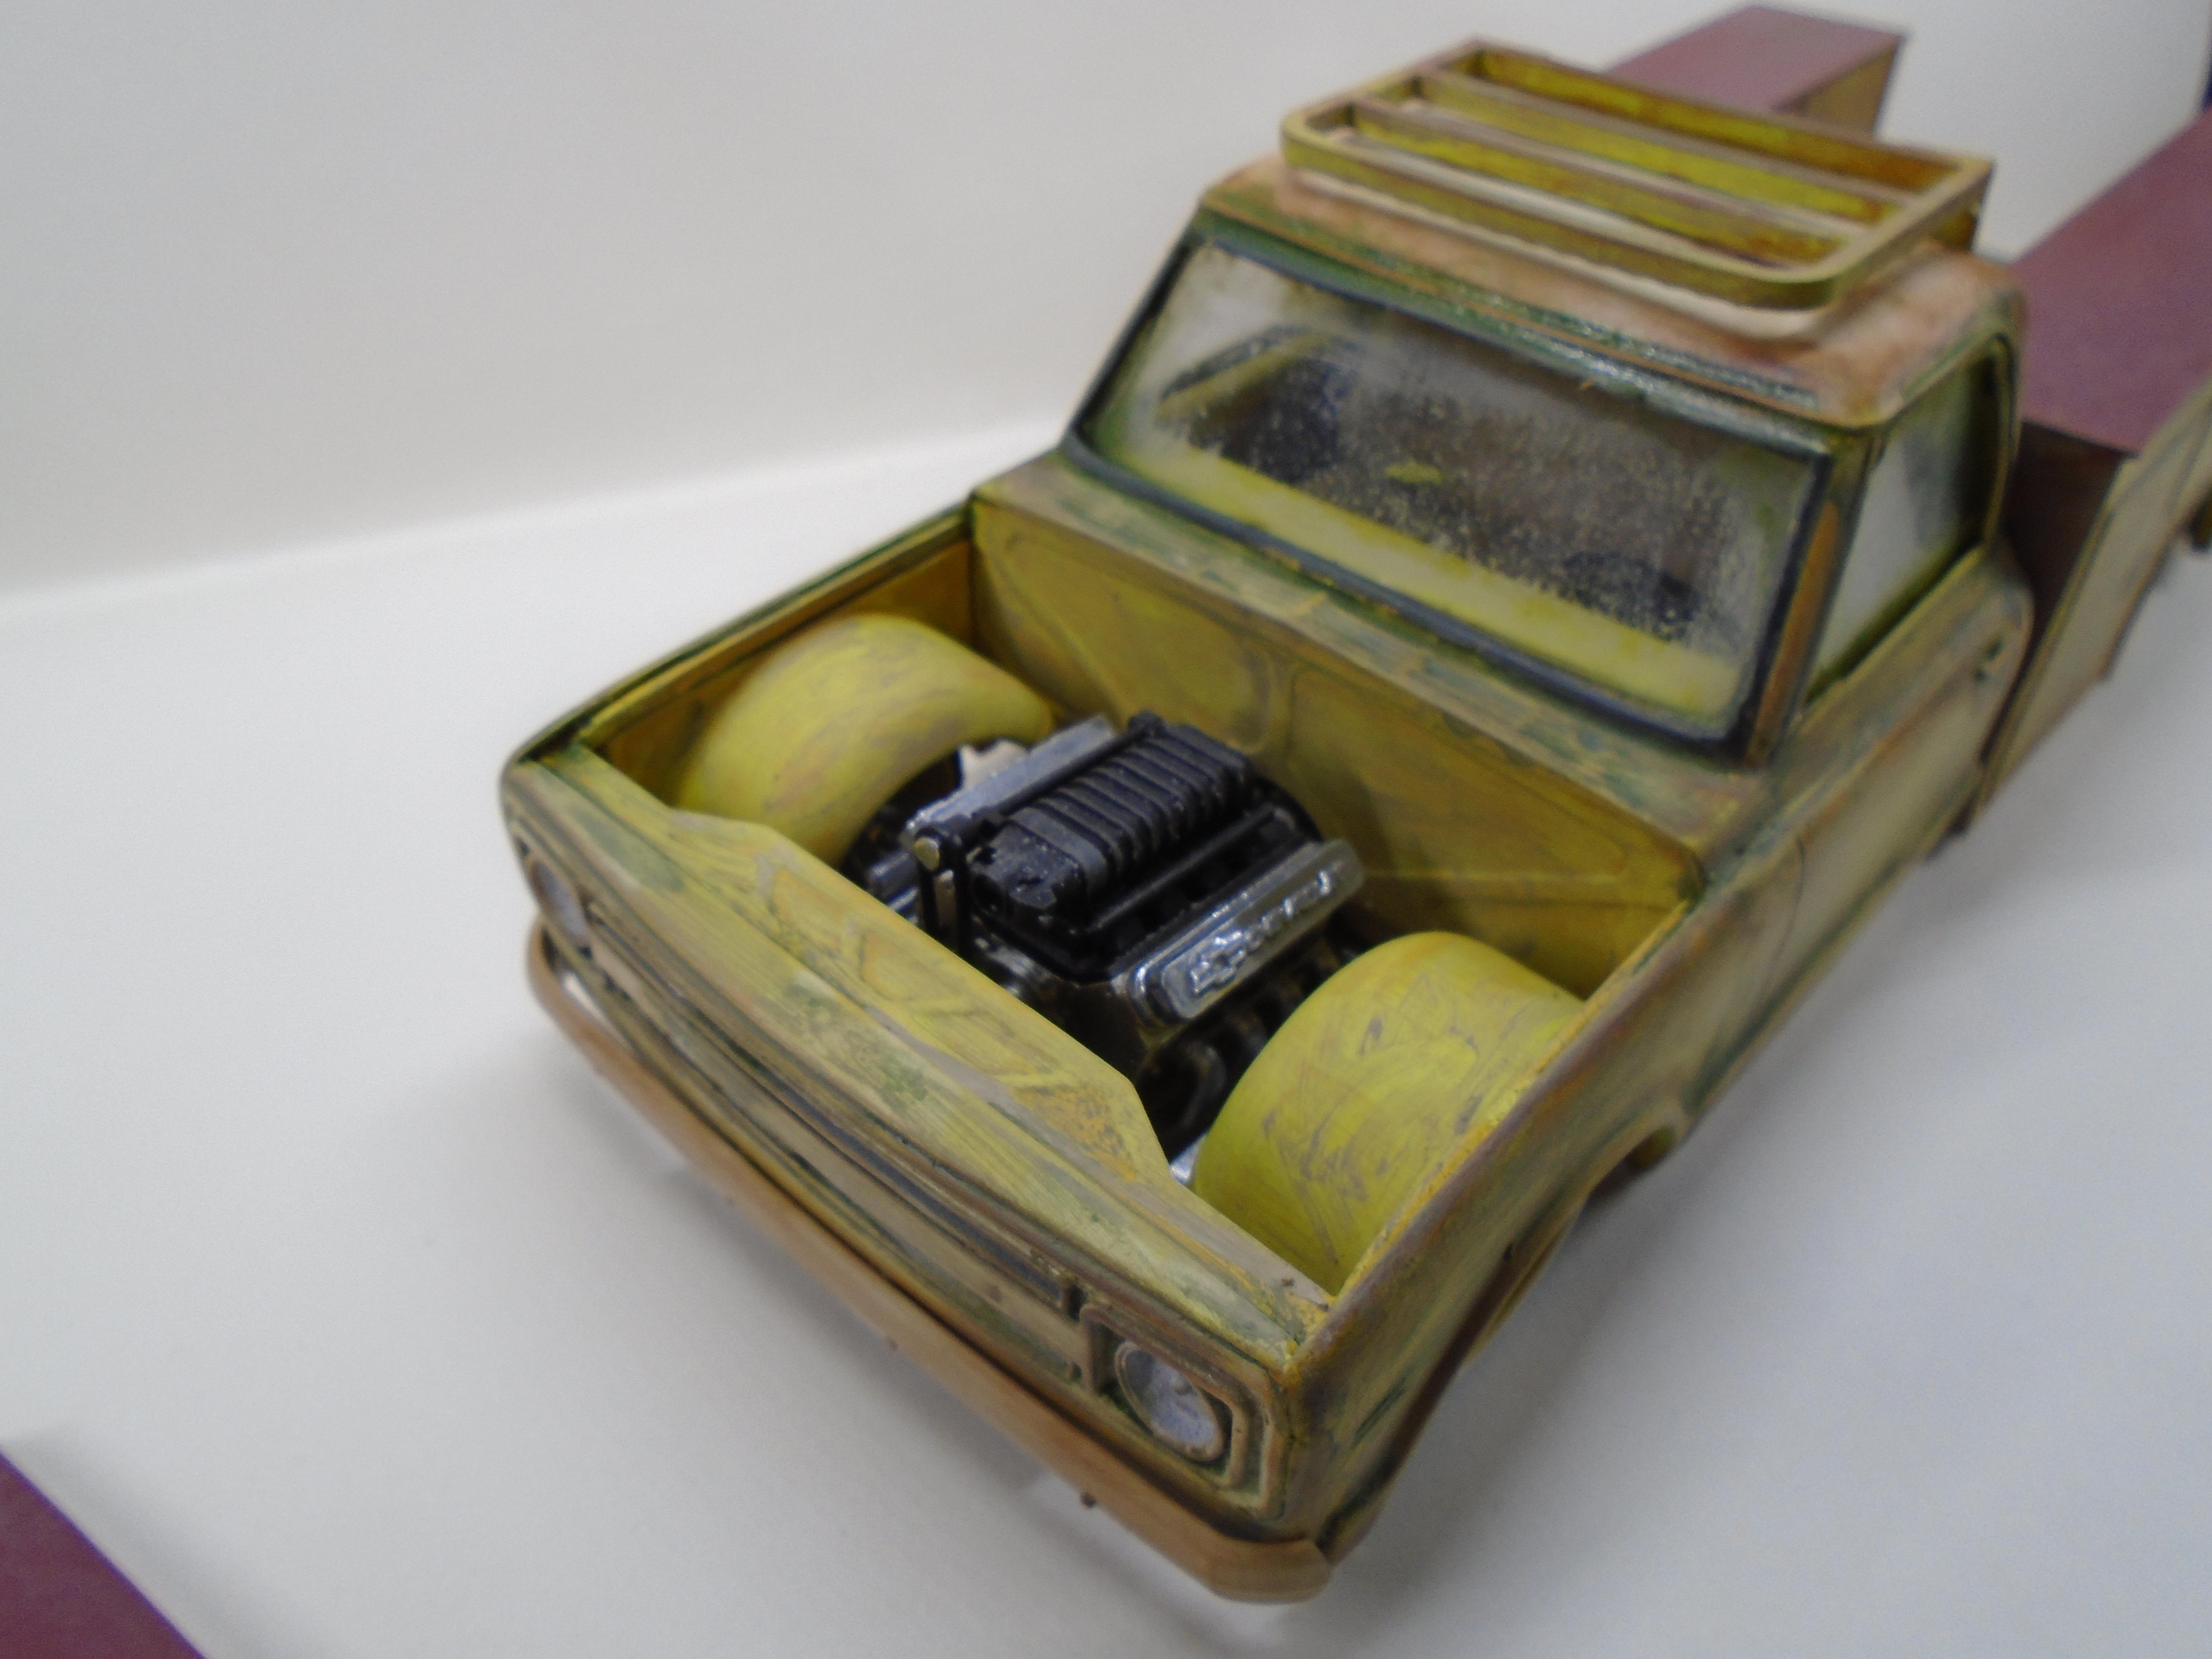
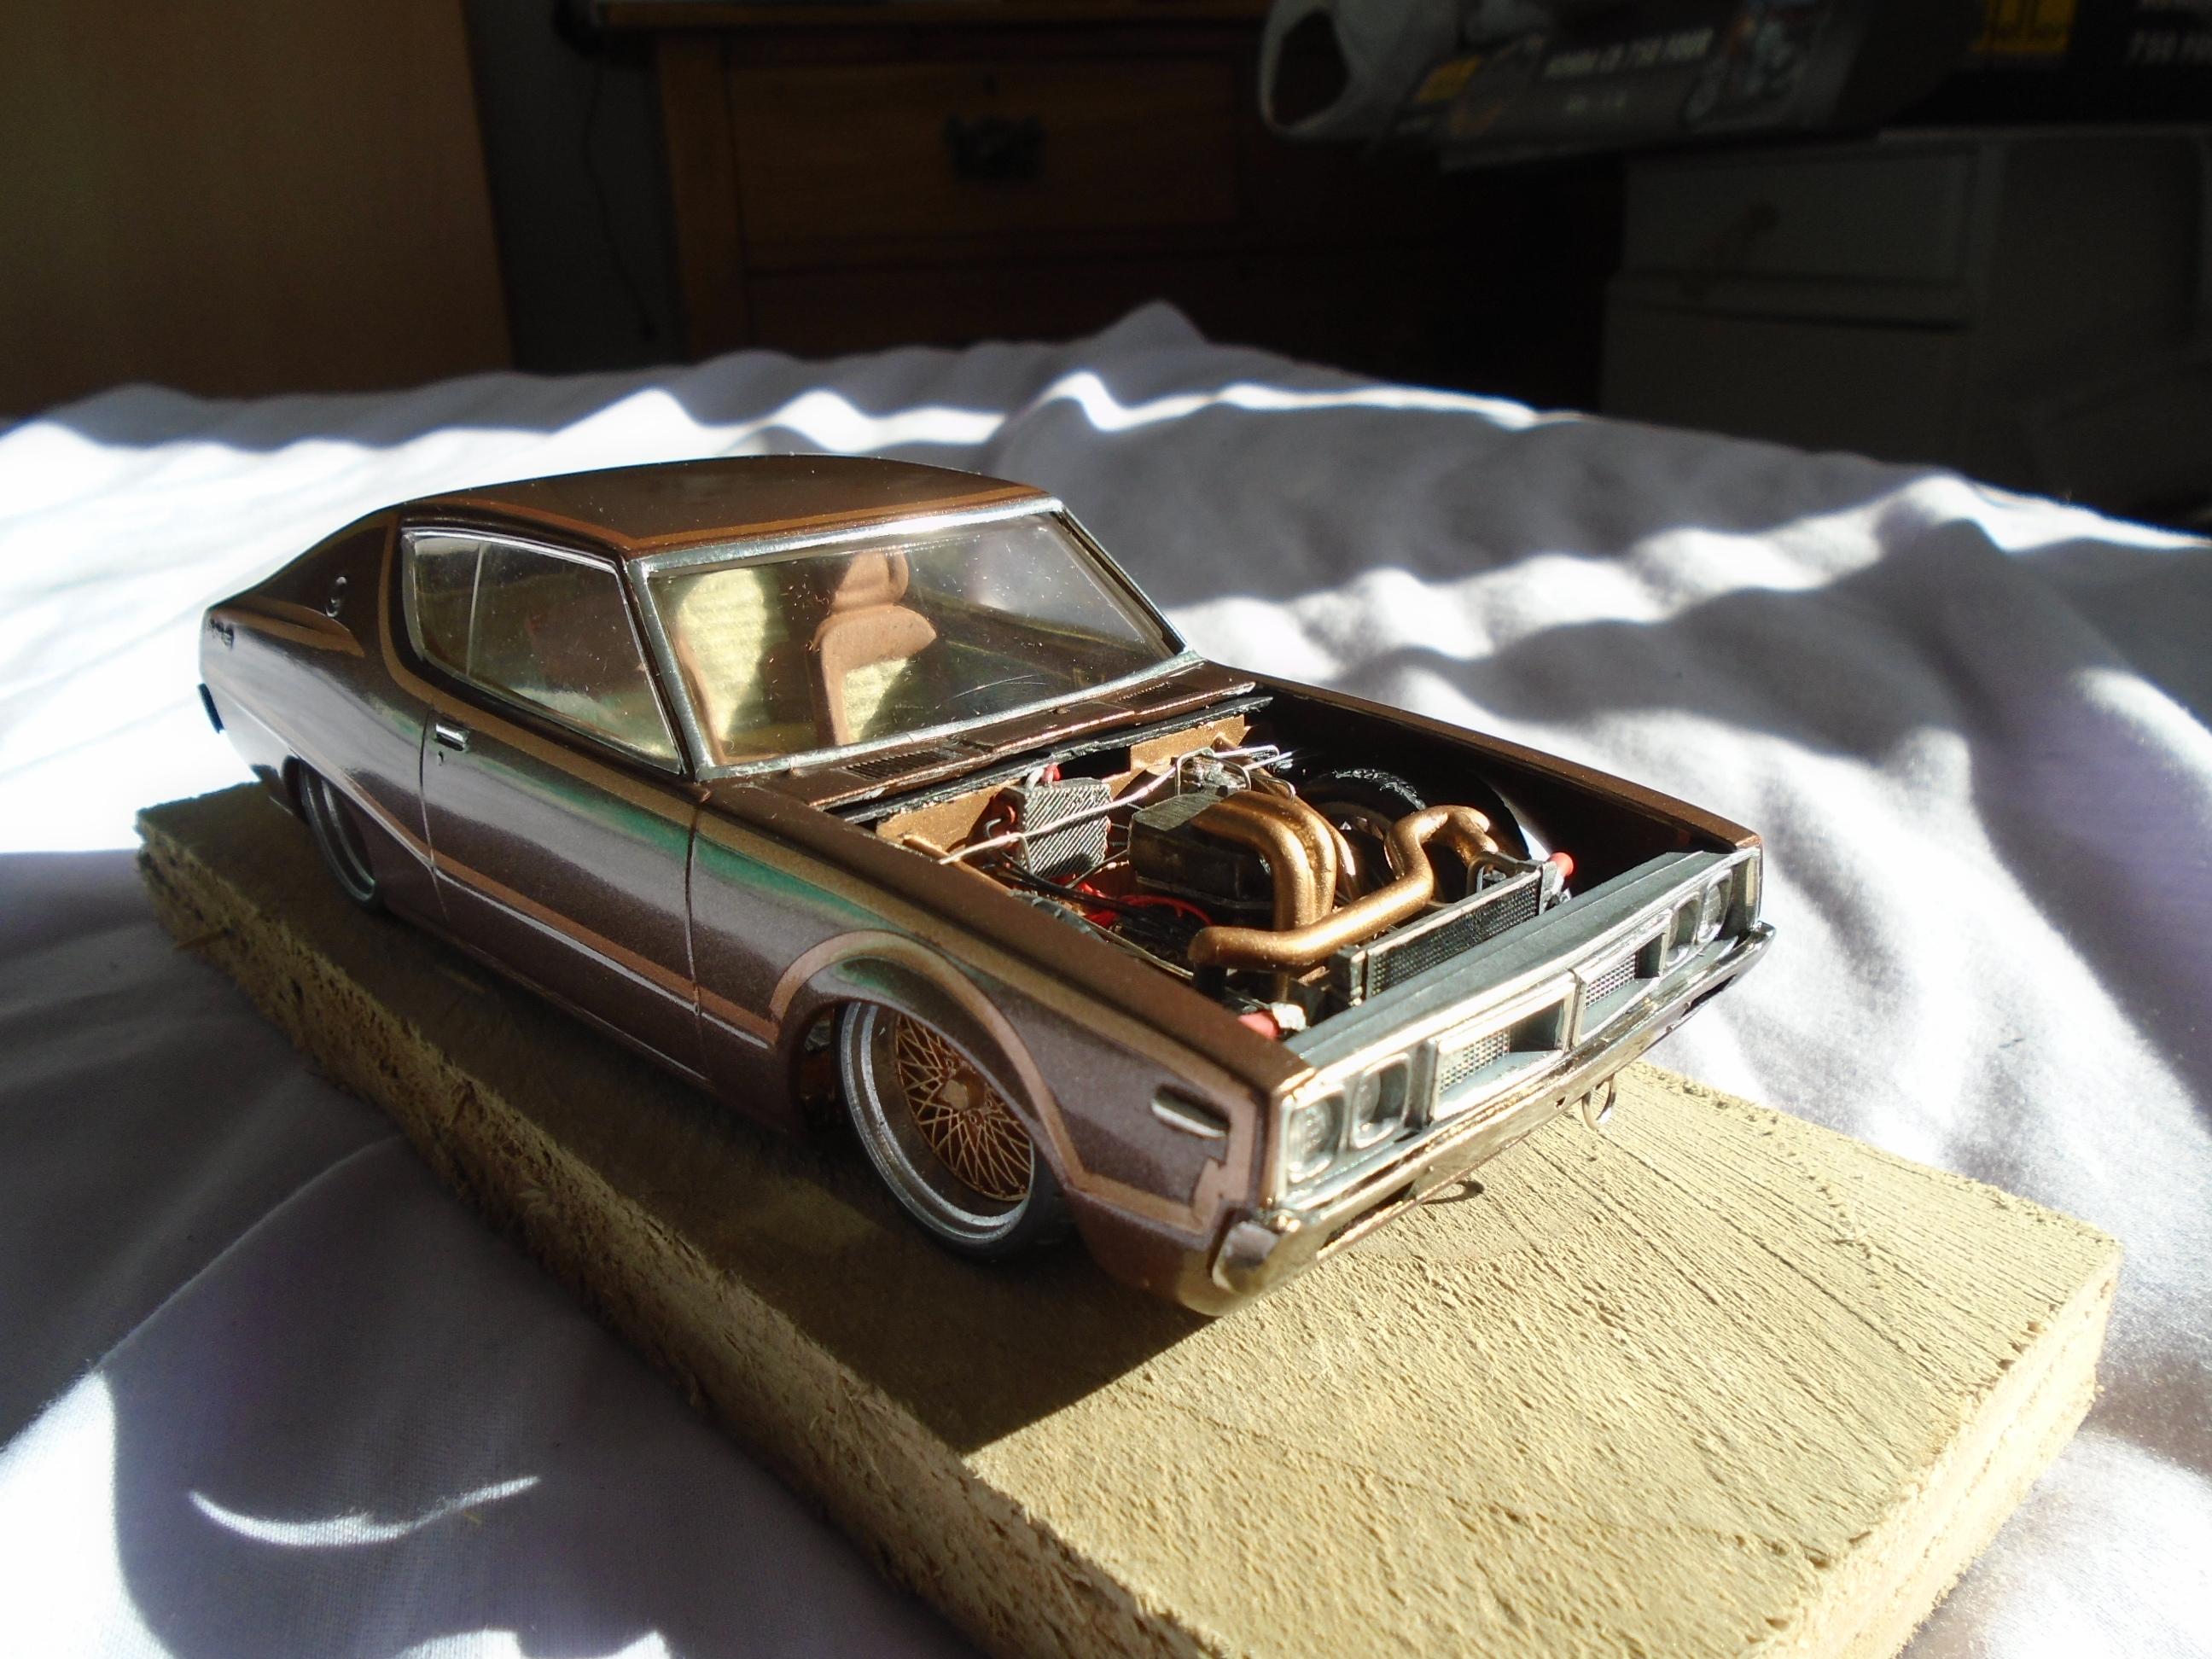
Revell 50 ford - radiator is in the bed to make room for a supercharged hemi johan 66 plymouth fury 1968 dodge charger clearly scale pro charged hemi, scratched interior, aoshima rims, mild smoothing 1969 chevy service truck ls engine, independent suspension 1974 datsun skyline its more calibra touring car than datsun 1971 cuda and theres plenty more in progress
-
What did you see on the road today?
stitchdup replied to Harry P.'s topic in General Automotive Talk (Trucks and Cars)
they should build the 3s they had at goodwood instead. it actually looks like a 5. this looks like a fiat 500 that went for backstreet botox injections
-
Front fender printer line
stitchdup replied to hedotwo's topic in Car Aftermarket / Resin / 3D Printed
those are a different type of printer that uses reels of plastic and a heated moving nozzle sorta like a milling machine in reverse. the resin printers are just a tank for the resin, a plate that raises and lowers that the print holds on to and a light under the tank that cures specific areas of the tank bottom onto the plate. the only moving part is the plate which needs levelled regularly and the temprature needs to be warm enough. -
Front fender printer line
stitchdup replied to hedotwo's topic in Car Aftermarket / Resin / 3D Printed
its an easy fix. the printer isn't using stiff enough supports or enough of them. i'll hazzard a guess the bodies will have a slight droop forward of the lines as well. if you give the bodies slight left or right tilt along with the front to back, along with extra supports you can avoid most of it. for example, i give the body a 30-45 degree front to back angle along with 4 or 5 degrees left or right. since doing this my prints have been loads better -
it will but thats what kills the smells. once its been soaked you could soak them again with normal cleaners but vingar should evaporate pretty quick. its the base for most good glass cleaners so one of them might also work. I used vinegar a lot when i was working
-
have you triied soaking the vinyl parts in white vinegar? it should help reduce the smell but it might need a week or two soaking
-
you mght have to search the rc print bodies for one that will scale down. the closest 3d in 1/24 i've seen is the 99 pick up or 88 panther
-
I'd have a look at the aoshima pick ups. they would have the clossest shape to the izuzu
-
me, i suspect in my case its an old computer as my other one is faster and loads everything.
-
3 Door Chevelle, Yes 3 DOORS!
stitchdup replied to FoMoCo66's topic in General Automotive Talk (Trucks and Cars)
it got a few makeovers. the final version was rs2 blue on a set of chrome carlines with a full r32 swap including the 4x4. I prefered the hok brown on carlines though -
3 Door Chevelle, Yes 3 DOORS!
stitchdup replied to FoMoCo66's topic in General Automotive Talk (Trucks and Cars)
ford did some 4 door mk3 fiesta (in europe the hatch is counted as door if it opens into the passenger area so the ford escort would be a 3 or 5 door, while the near identicle orion is only 4 door as it has a trunk) as a concept in the early 90s. the yellow one is still in ford uks collection -
another vote for tamiya rubber black or you can print with black resin
-
Formerly Plasticated Guy with a new profile
stitchdup replied to A Crazed Modeler's topic in Welcome! Introduce Yourself
do you know the email address you used originaly and still have access to it? -
its an issue with some words. if it has computer type com and words you need to mis-spell or add spaces befoe it will let it post
-
Obvious Scammer
stitchdup replied to obs.caleb's topic in Forum News and Questions (formerly: How To Use This Board)
this type of scam isn't about the money. just replying shows you are succeptible and you'll be targeted after that. thats why they want you to email -
What did you see on the road today?
stitchdup replied to Harry P.'s topic in General Automotive Talk (Trucks and Cars)
It was featured in Mike Key's hot bugs book too along with volksworld (i have it somewhere) and chrome and flames mags among others. -
i've edited your post and remind you no politics.