stitchdup
-
Posts
7,134 -
Joined
-
Last visited
Content Type
Profiles
Forums
Events
Gallery
Everything posted by stitchdup
-
 it does, my mind can rest now, lol
 -
the pic is the tamiya wheels
-
in need of a lechler paint code
stitchdup replied to stitchdup's topic in Model Building Questions and Answers
it doesn't go back far enough. i've found other brands codes but zero use lechler paints -
i didn't realise there was a panel kit, now i need to find one as i have versions of the rest
-
theres a set of gt40 wire wheels on cults for free download. they would probably be closer to the cobra rims https://cults3d.com/en/3d-model/various/imc-ford-gt40-wire-wheel after looking at them the jag rims seem closer. the ones from the tamiya mk2 jag might be a good fit

-
I'm wanting to buy some ford gunmetal blue for a build and i need a lechler paint code for zero paints to be able to mix it. I'm getting nowhere on the lechler site but i did find some mixing charts but none of them add up to 100% so they must be missing a colour and none say what shade to mix from. I'm wanting to use it on my la salle grille'd 36 ford as the colour would be perfect for it
-
i did this with white primer and used tamiya scooby blue for the fade. Might not be the best example cos i broke evey paint rule with this one. every paint was a different brand and this was just the base
-
no but there are some great 3d ones and all the vw option wheels. Other then the early aircooled engine everything is available to do any body version. I suspect we'll see some special edition kits soon as it 75 years of the transporter this year and since its an anniversary for the british transit too we have something special planned for our vintage rally this year. And another surprise too thats very special......
-
have you considered using white duplicolour primer? it matches tamiya pure white once its cleared and if you let it sit an extra 24 hours to gas out can be used with tamiya paints without drama.
-
Cleaning Resin car body & parts before priming
stitchdup replied to Chevy II's topic in Model Building Questions and Answers
Ed Fluck suggests using thinners. -
One tip, be sure and put the booth at a comfortable height. I put mine too low so now have to build a new unit for it
-
I had one of those ut calibras a few years ago and i thought it might be underscaled compared to the tamiya but i only had the alfa dtm to compare it to. It was just a feeling i got from the kit but to put my mind at rest would you mind comparing the bodies? I put all the gubbins under kenmary skyline eventually
-
14 years after being told she would never hold a flight licence, and 12 years after being diagnosed with ms, my sister has proved everyone wrong again and can now fly. I'm going to be spending friday grafitting her garden shed in celebration so if you have good plane or flight puns related to celebration please share them. I already have up, up and away planned so it flows with an aircraft outline but theres a whole other wall to do. We're going to paint it over the next few weeks anyway so i'm going to have fun with it.
- 6 replies
-
- 10
-

-

-
Large Scale Forum ?
stitchdup replied to Jon Haigwood's topic in Model Cars Magazine News and Discussions
YOU need to read the be respectful part again. Our members are not idiots but you call them clueless while quoting the rule about being respectful. So in your process of having to prove your superiority over everyone else (as you do every day again and again) you have proven you didn't even read what you quoted. Maybe you should get someone to proof read your posts before you post them? -
Very cool, I could see this in option mag or a wekfest event
-
Large Scale Forum ?
stitchdup replied to Jon Haigwood's topic in Model Cars Magazine News and Discussions
thats the middle of scotland and western isles, we speak closer to norn in the north isles which is like old scandinavian crossed with germanic english. i can understand a little but it easier if your drunk, lol -
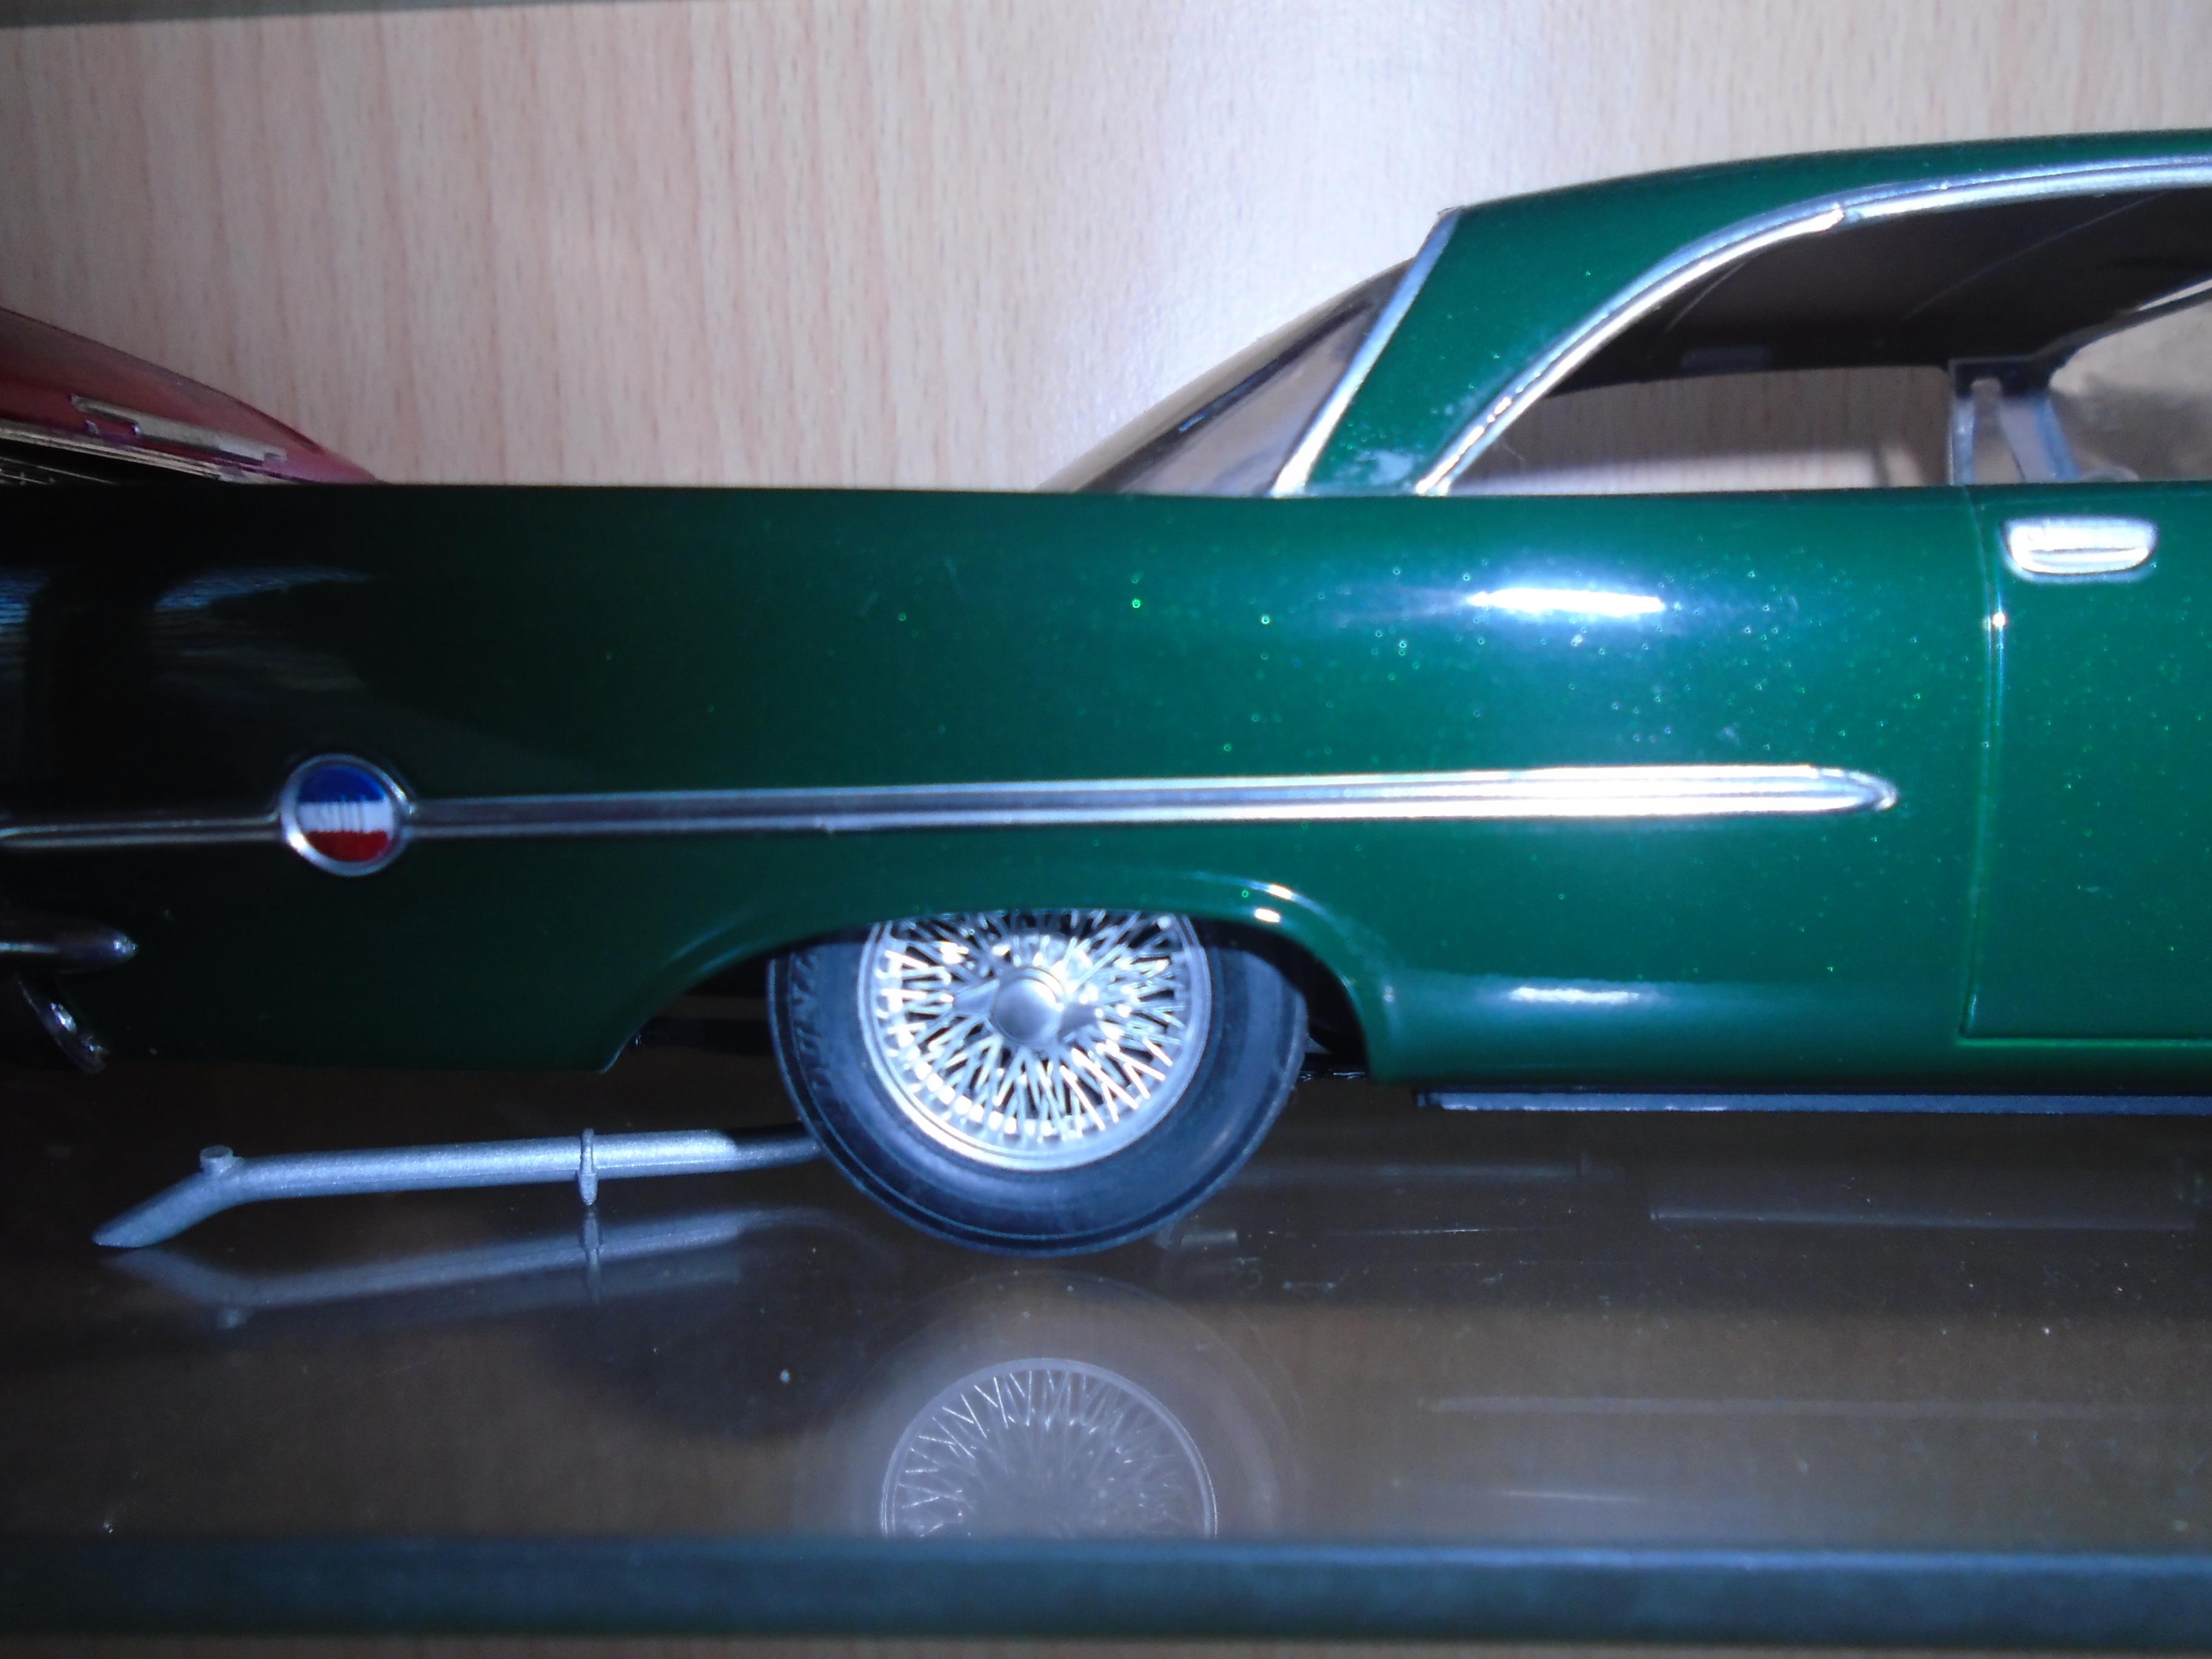
Dan Gurney's '61 Impala 1:25
stitchdup replied to Belugawrx's topic in WIP: Other Racing: Road Racing, Land Speed Racers
i just had the same problem and only a tiny bit came off. i'll otuch it up with molotowe after polishing as the rest seems to be sealed down ok -
Cleaning Resin car body & parts before priming
stitchdup replied to Chevy II's topic in Model Building Questions and Answers
thinners and a cotton bud then washed in clean soapy water. if i dont have thinners i use ipa. i only do a little at a time and dont soak the whole thing if its a body -
Large Scale Forum ?
stitchdup replied to Jon Haigwood's topic in Model Cars Magazine News and Discussions
you do all speak cantonese dont ye? -
Source for 13" wheels ?
stitchdup replied to shoeman's topic in Model Building Questions and Answers
what style of revos do you need a pic off? most of the euro classic ford tuning stores have pics of the 4 and 5 spokes or any issue of classic ford mag will have ads for them. -
spring 1988. i was an extra in a tv movie so had earned some cash and it was way more than my folks earned. convoy had recently been on tv so i spent half my wage on a american truck. probably by italeri and rubber duck shape. i now know it was a pete but i just saw the shape and to me it was rubber duck. post office red chassis, white primer interior and matt black paint all from humbrol. i still have a few parts but most is long gone
-
Show Us Your Work Bench
stitchdup replied to Bruce Poage's topic in General Automotive Talk (Trucks and Cars)
to think it all started with seal skins and fur. the first store is on this side of the pond is now a lighthouse storeyard and museum. the boat i was on spent 2 years there. -
Show Us Your Work Bench
stitchdup replied to Bruce Poage's topic in General Automotive Talk (Trucks and Cars)
theres a hudson bay company anniversary (350 years maybe)in the next few years so there will probably be some deals then. my dad did the last one a got 2 weeks in canada for £15 but that was near 50 years ago -
Show Us Your Work Bench
stitchdup replied to Bruce Poage's topic in General Automotive Talk (Trucks and Cars)
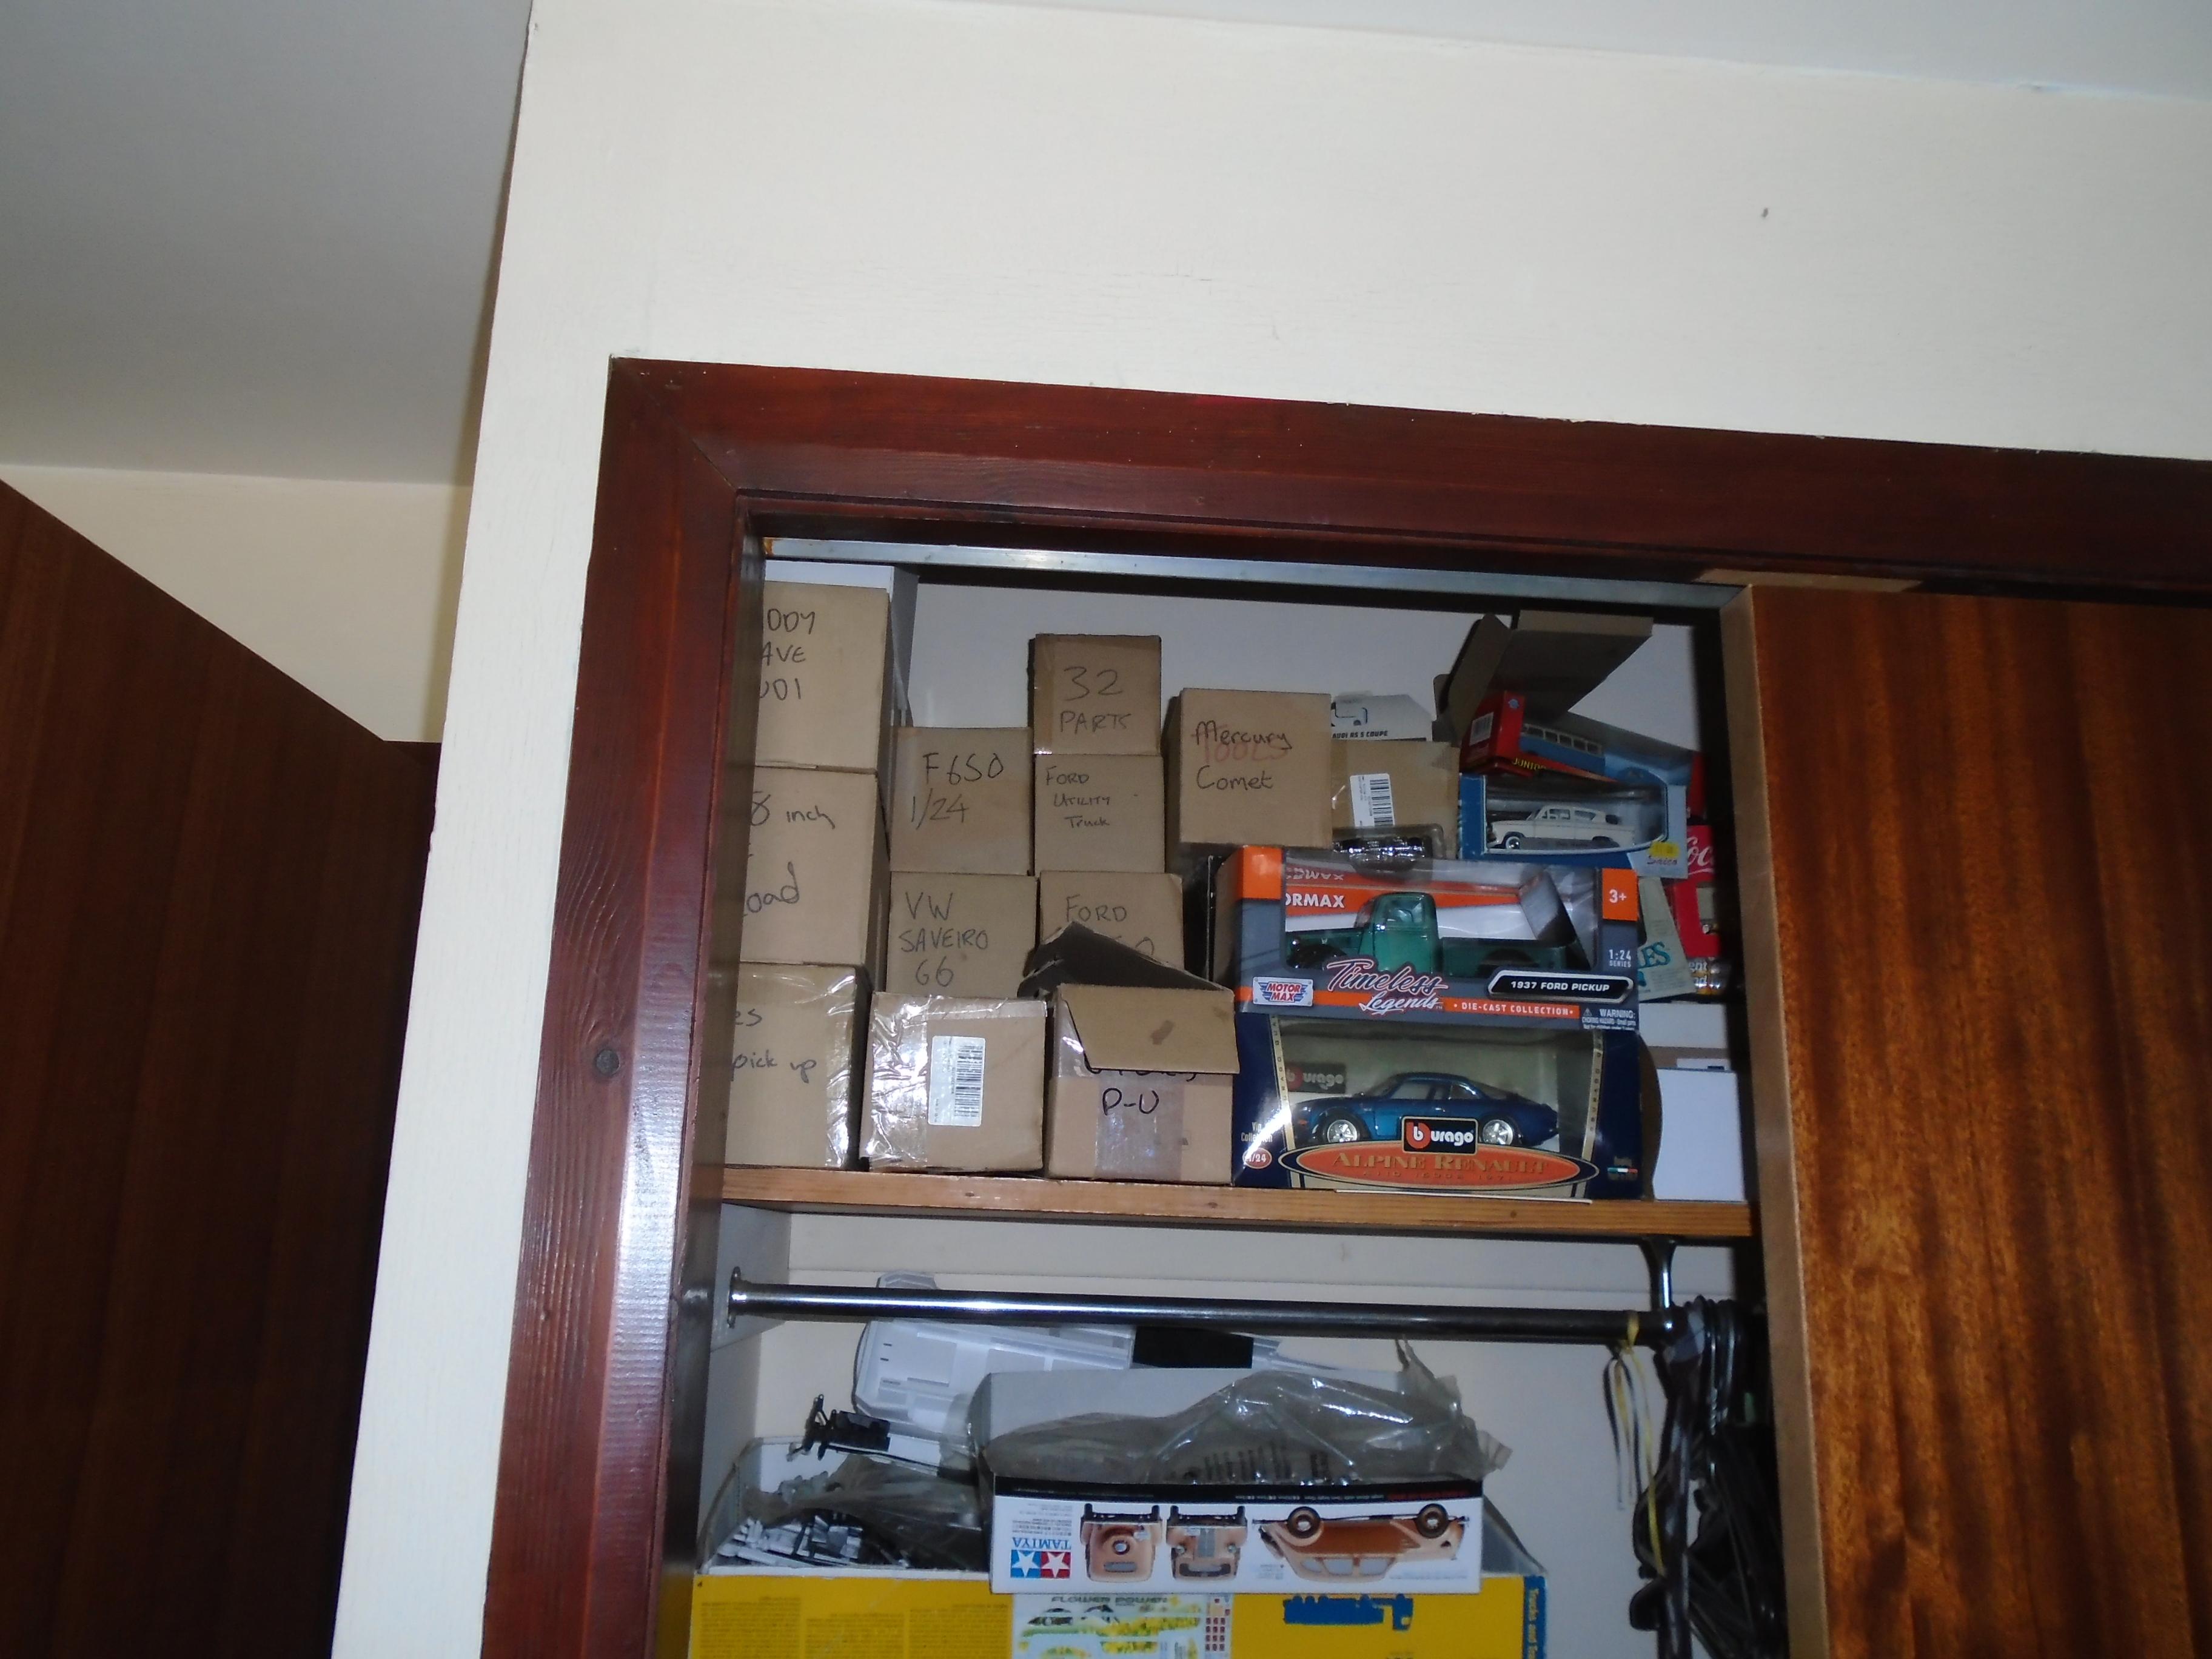
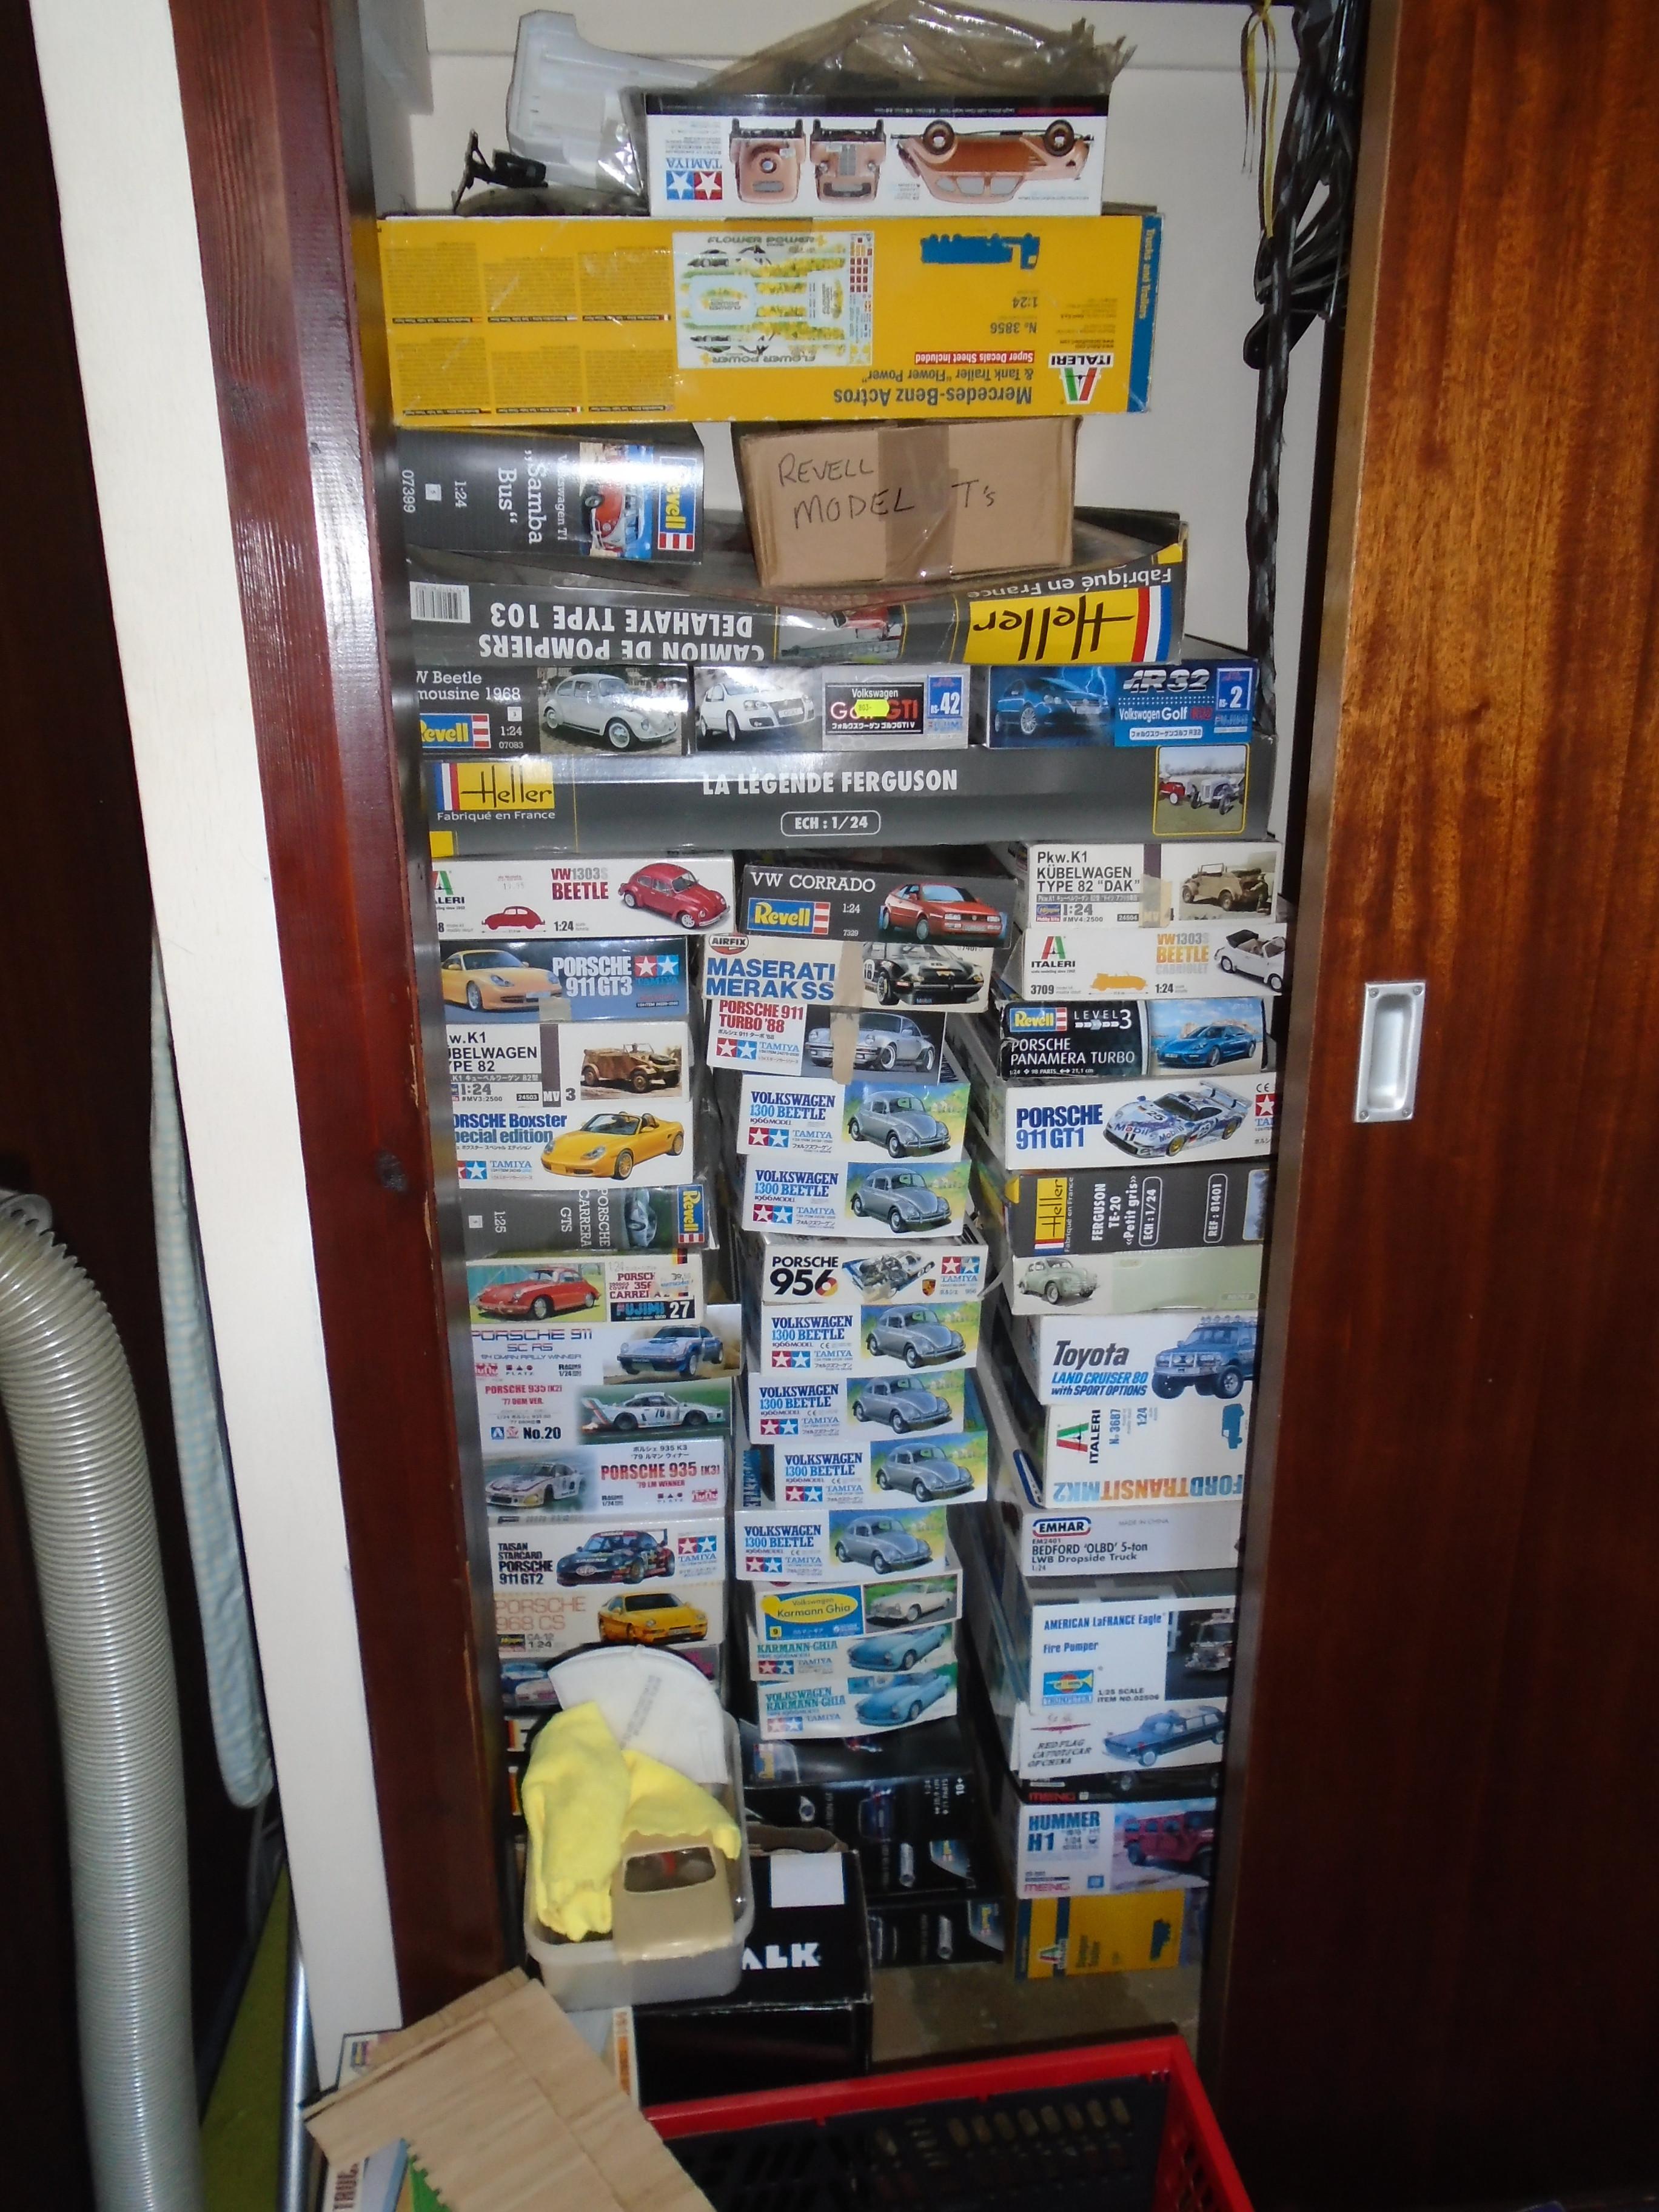
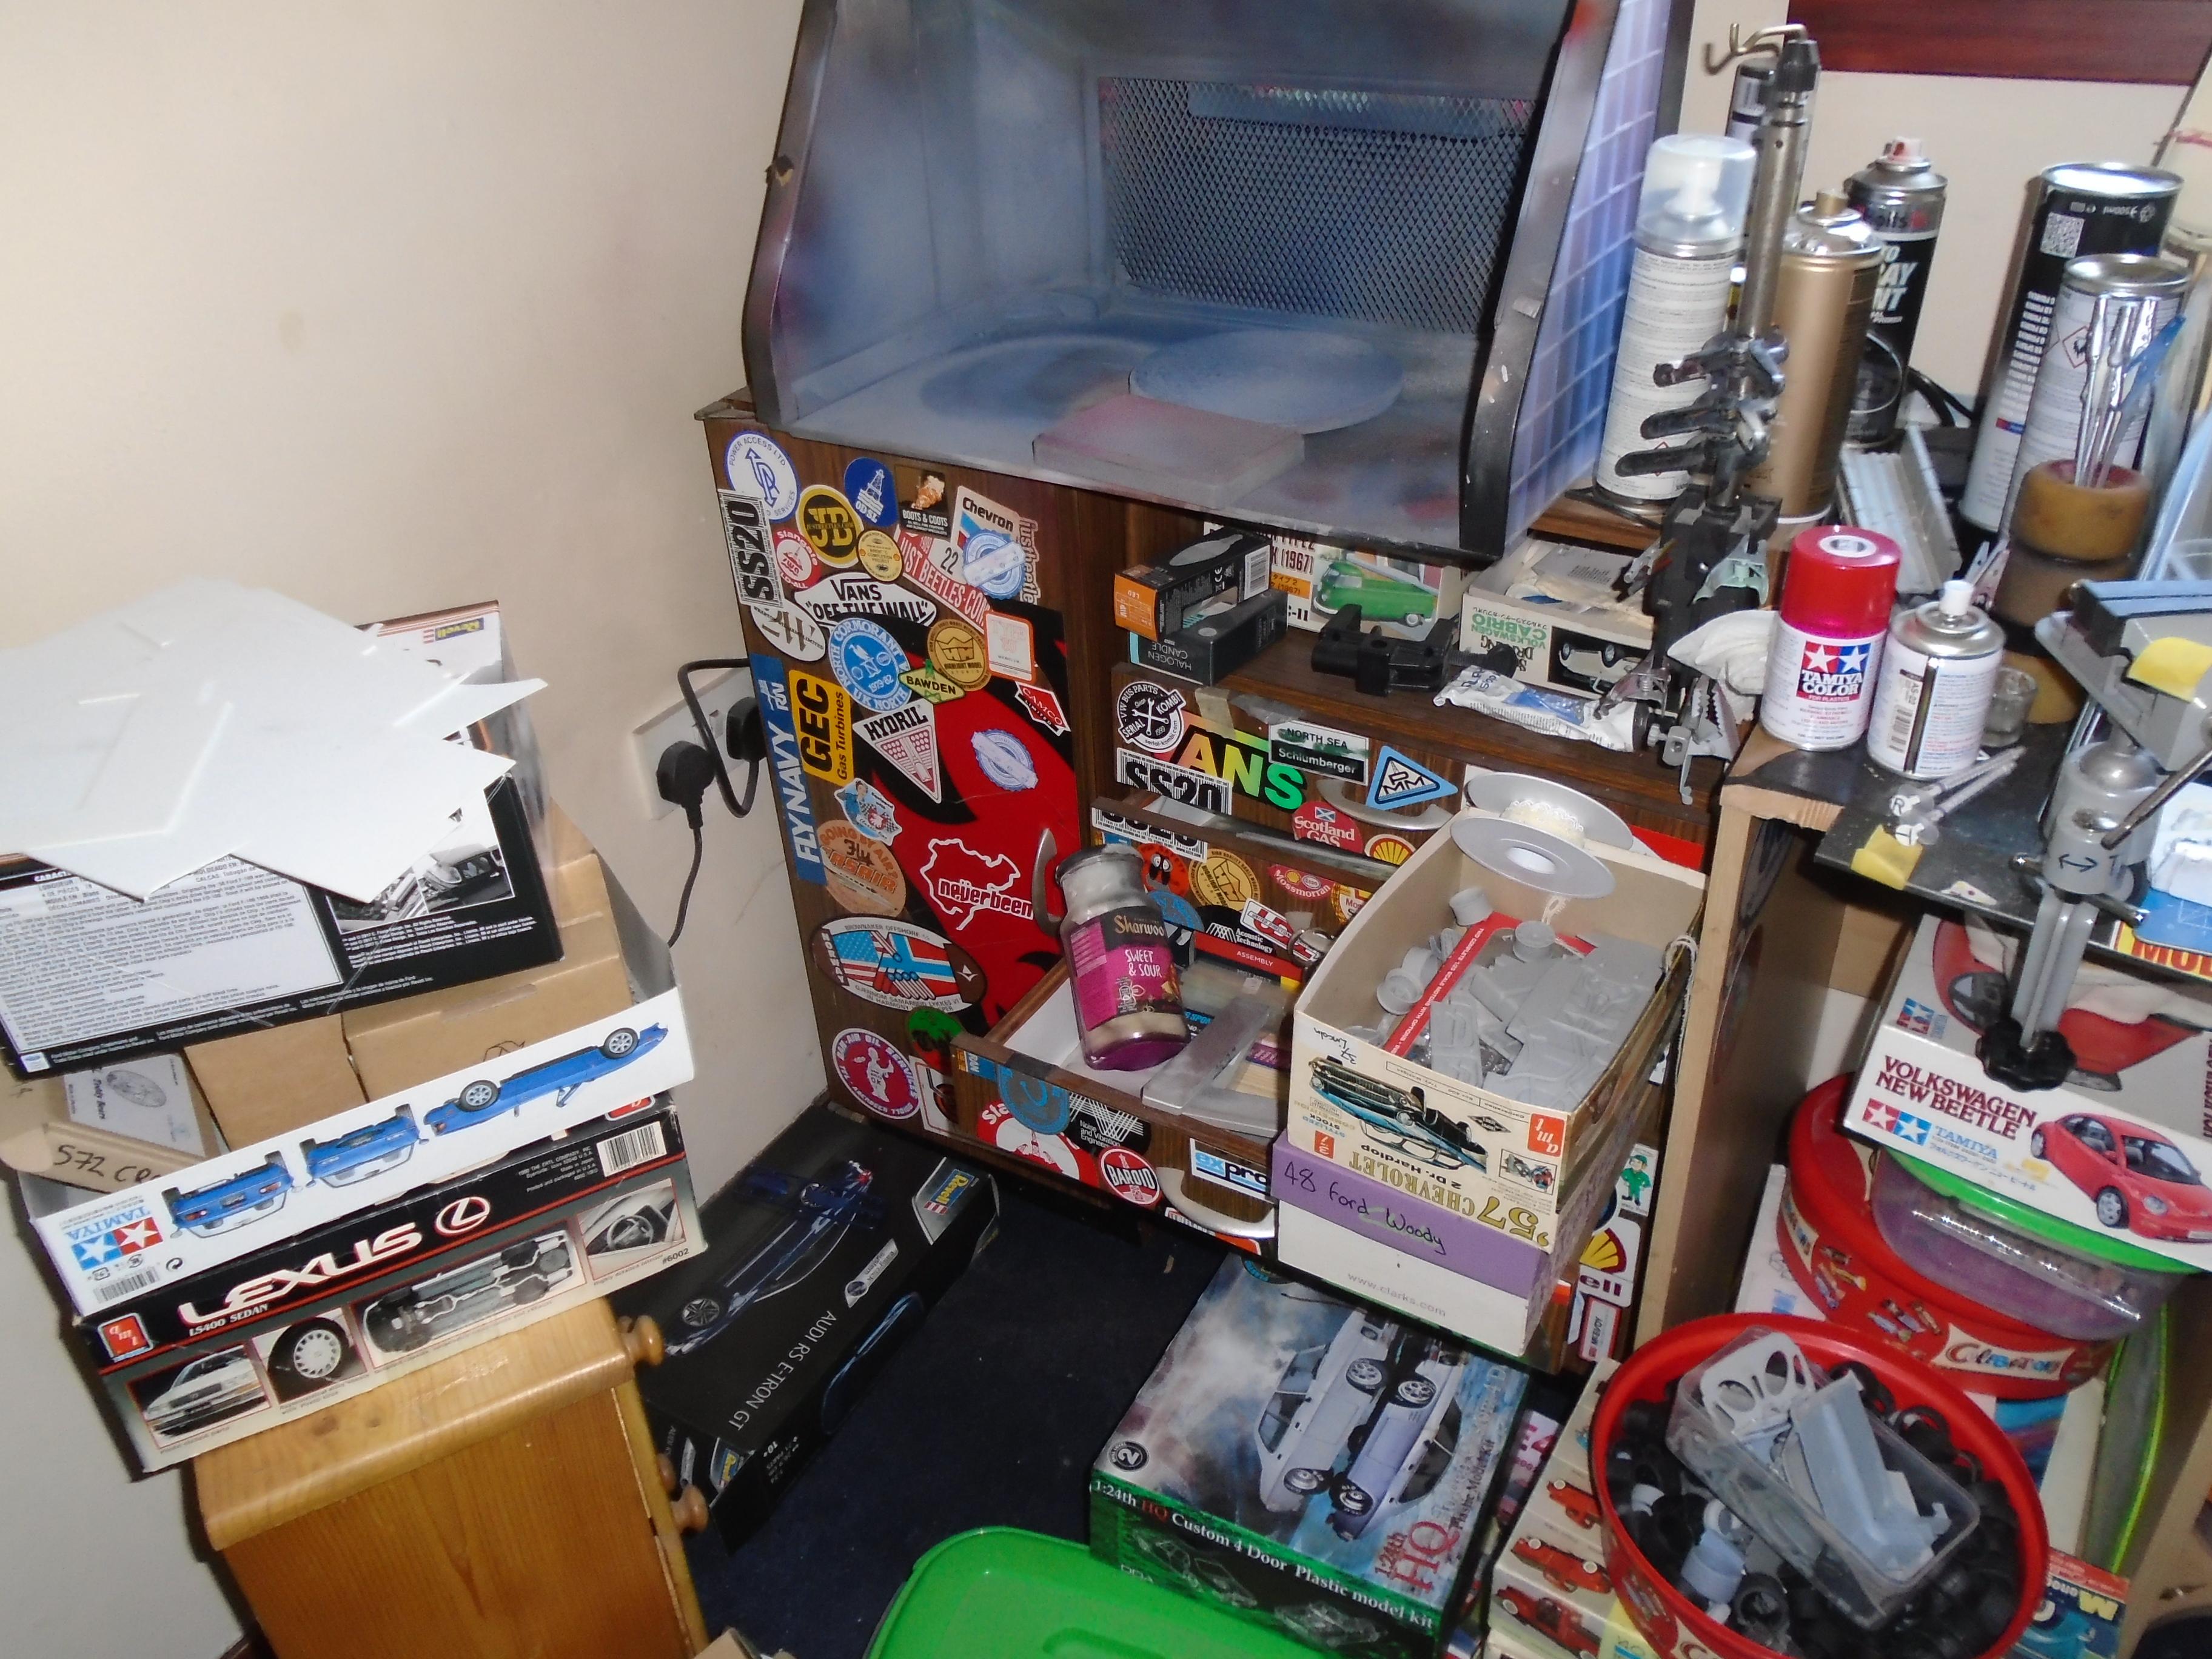
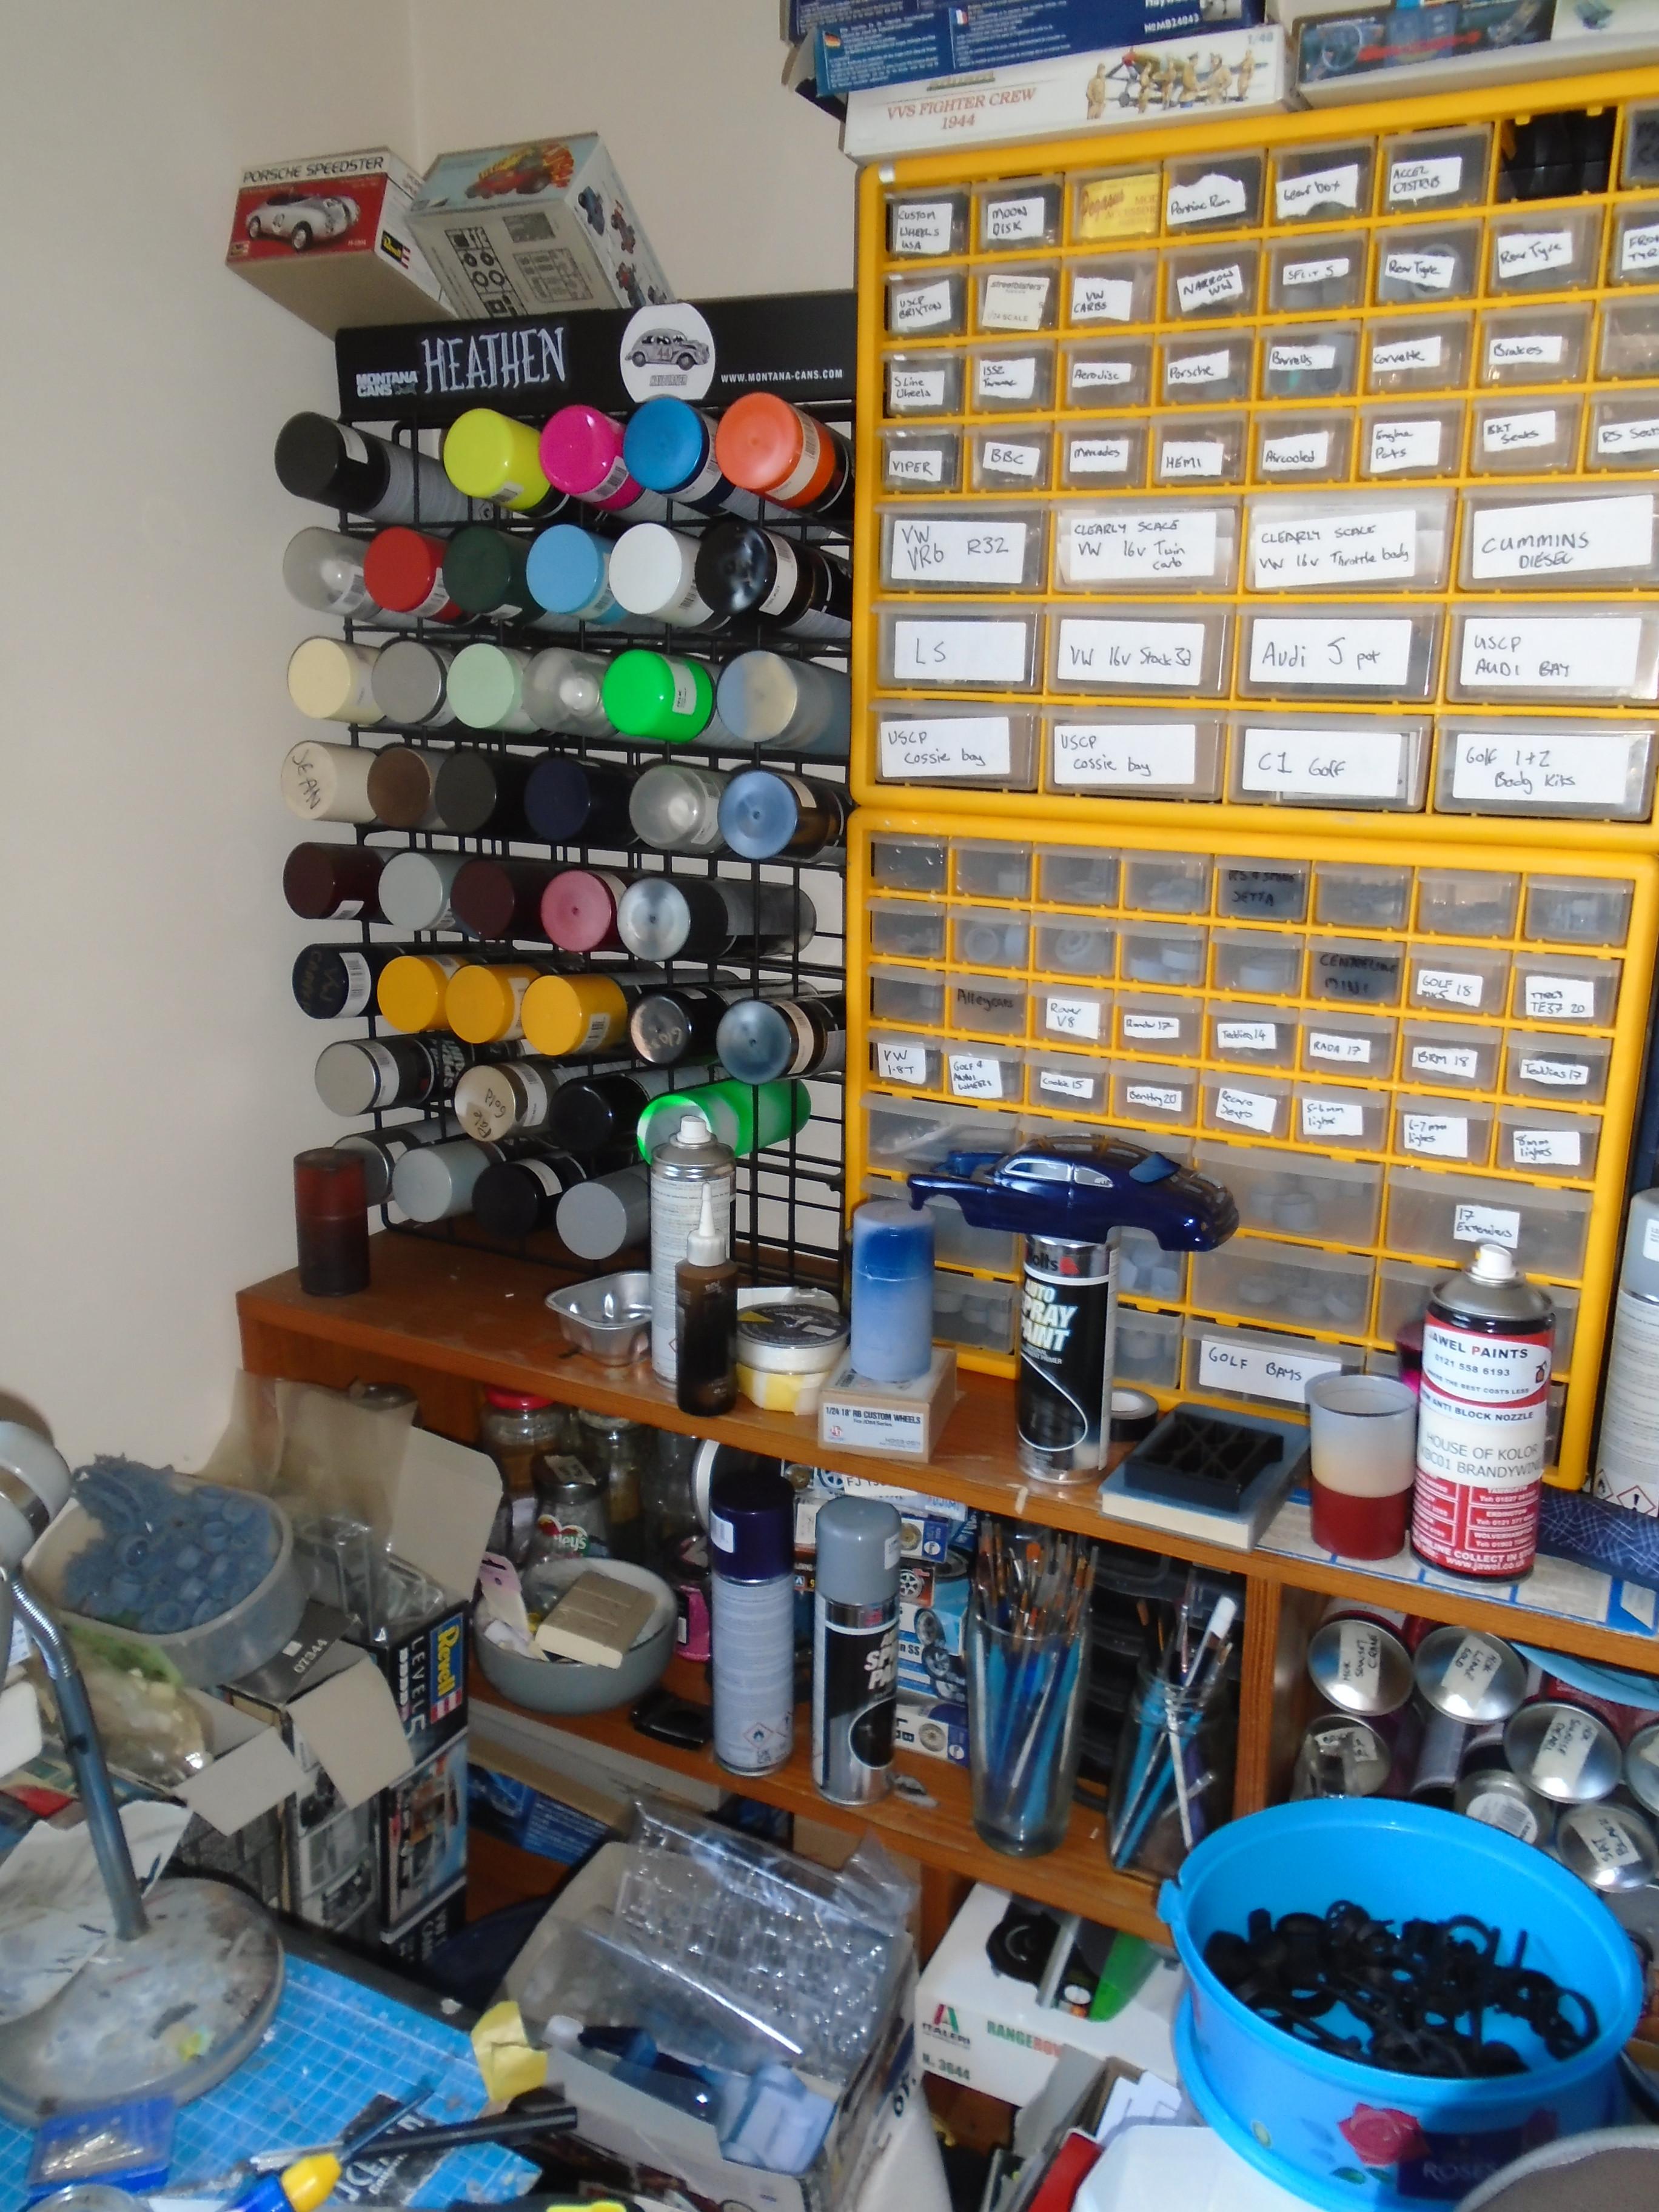
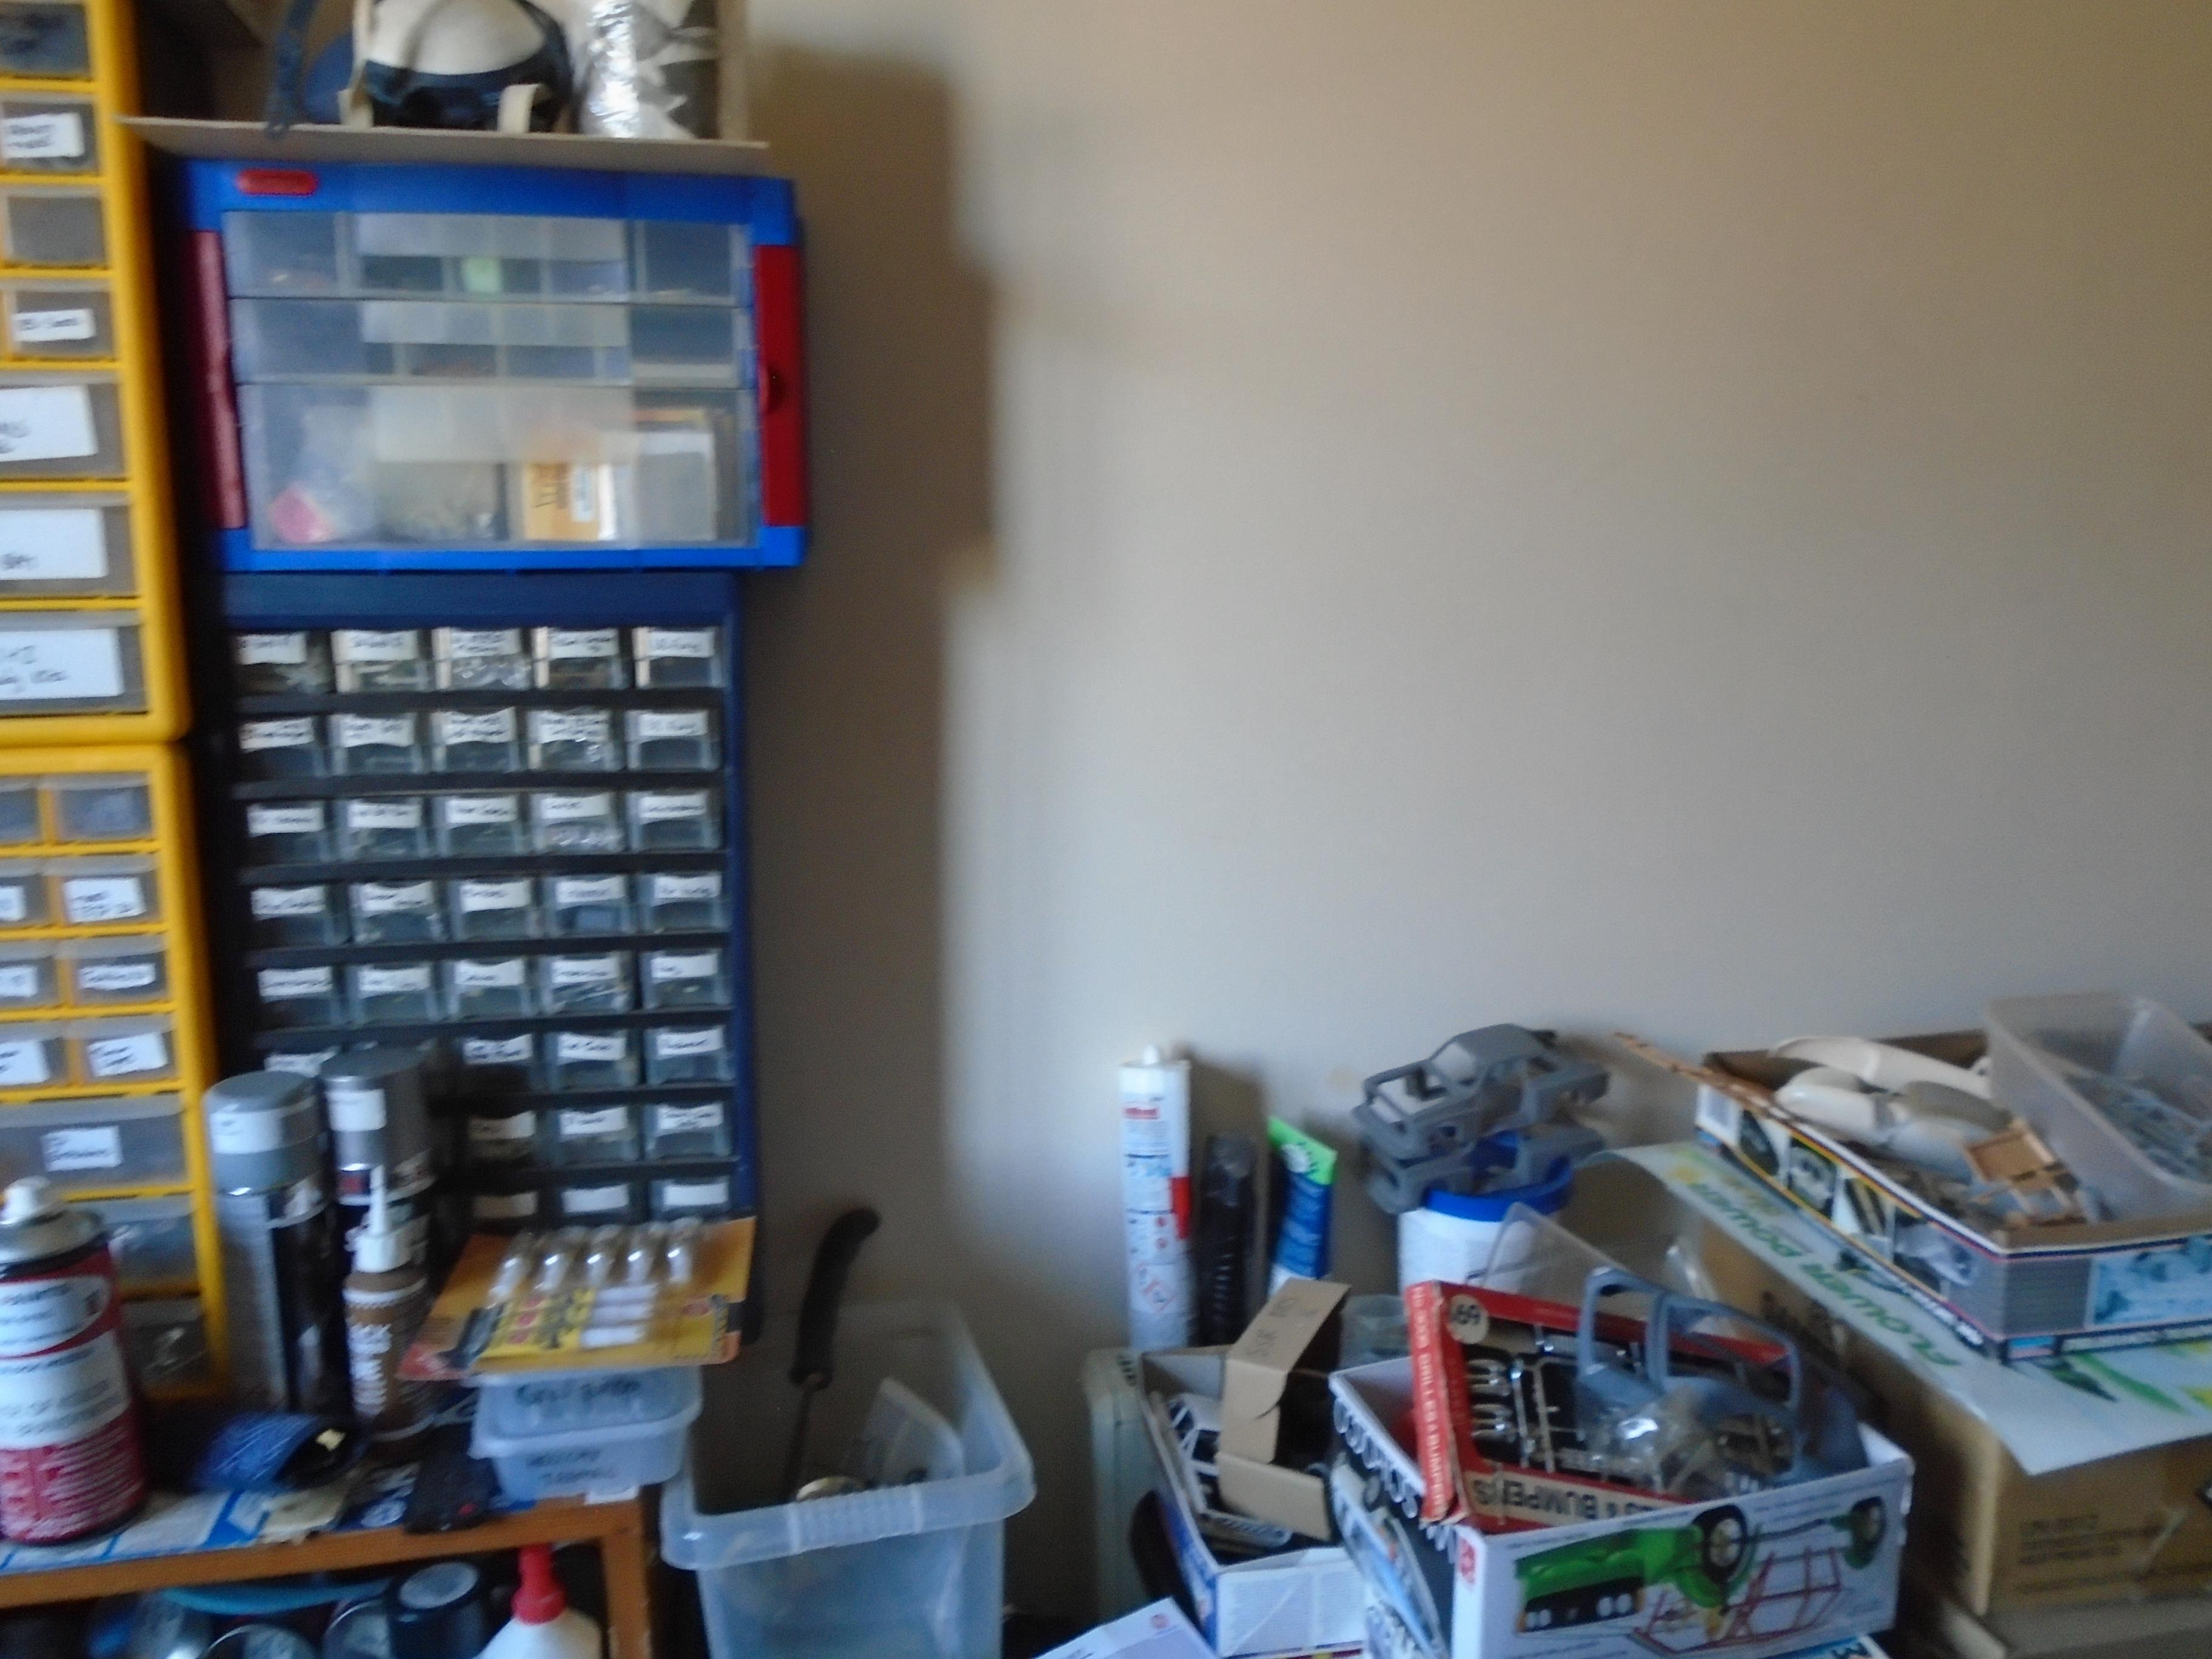
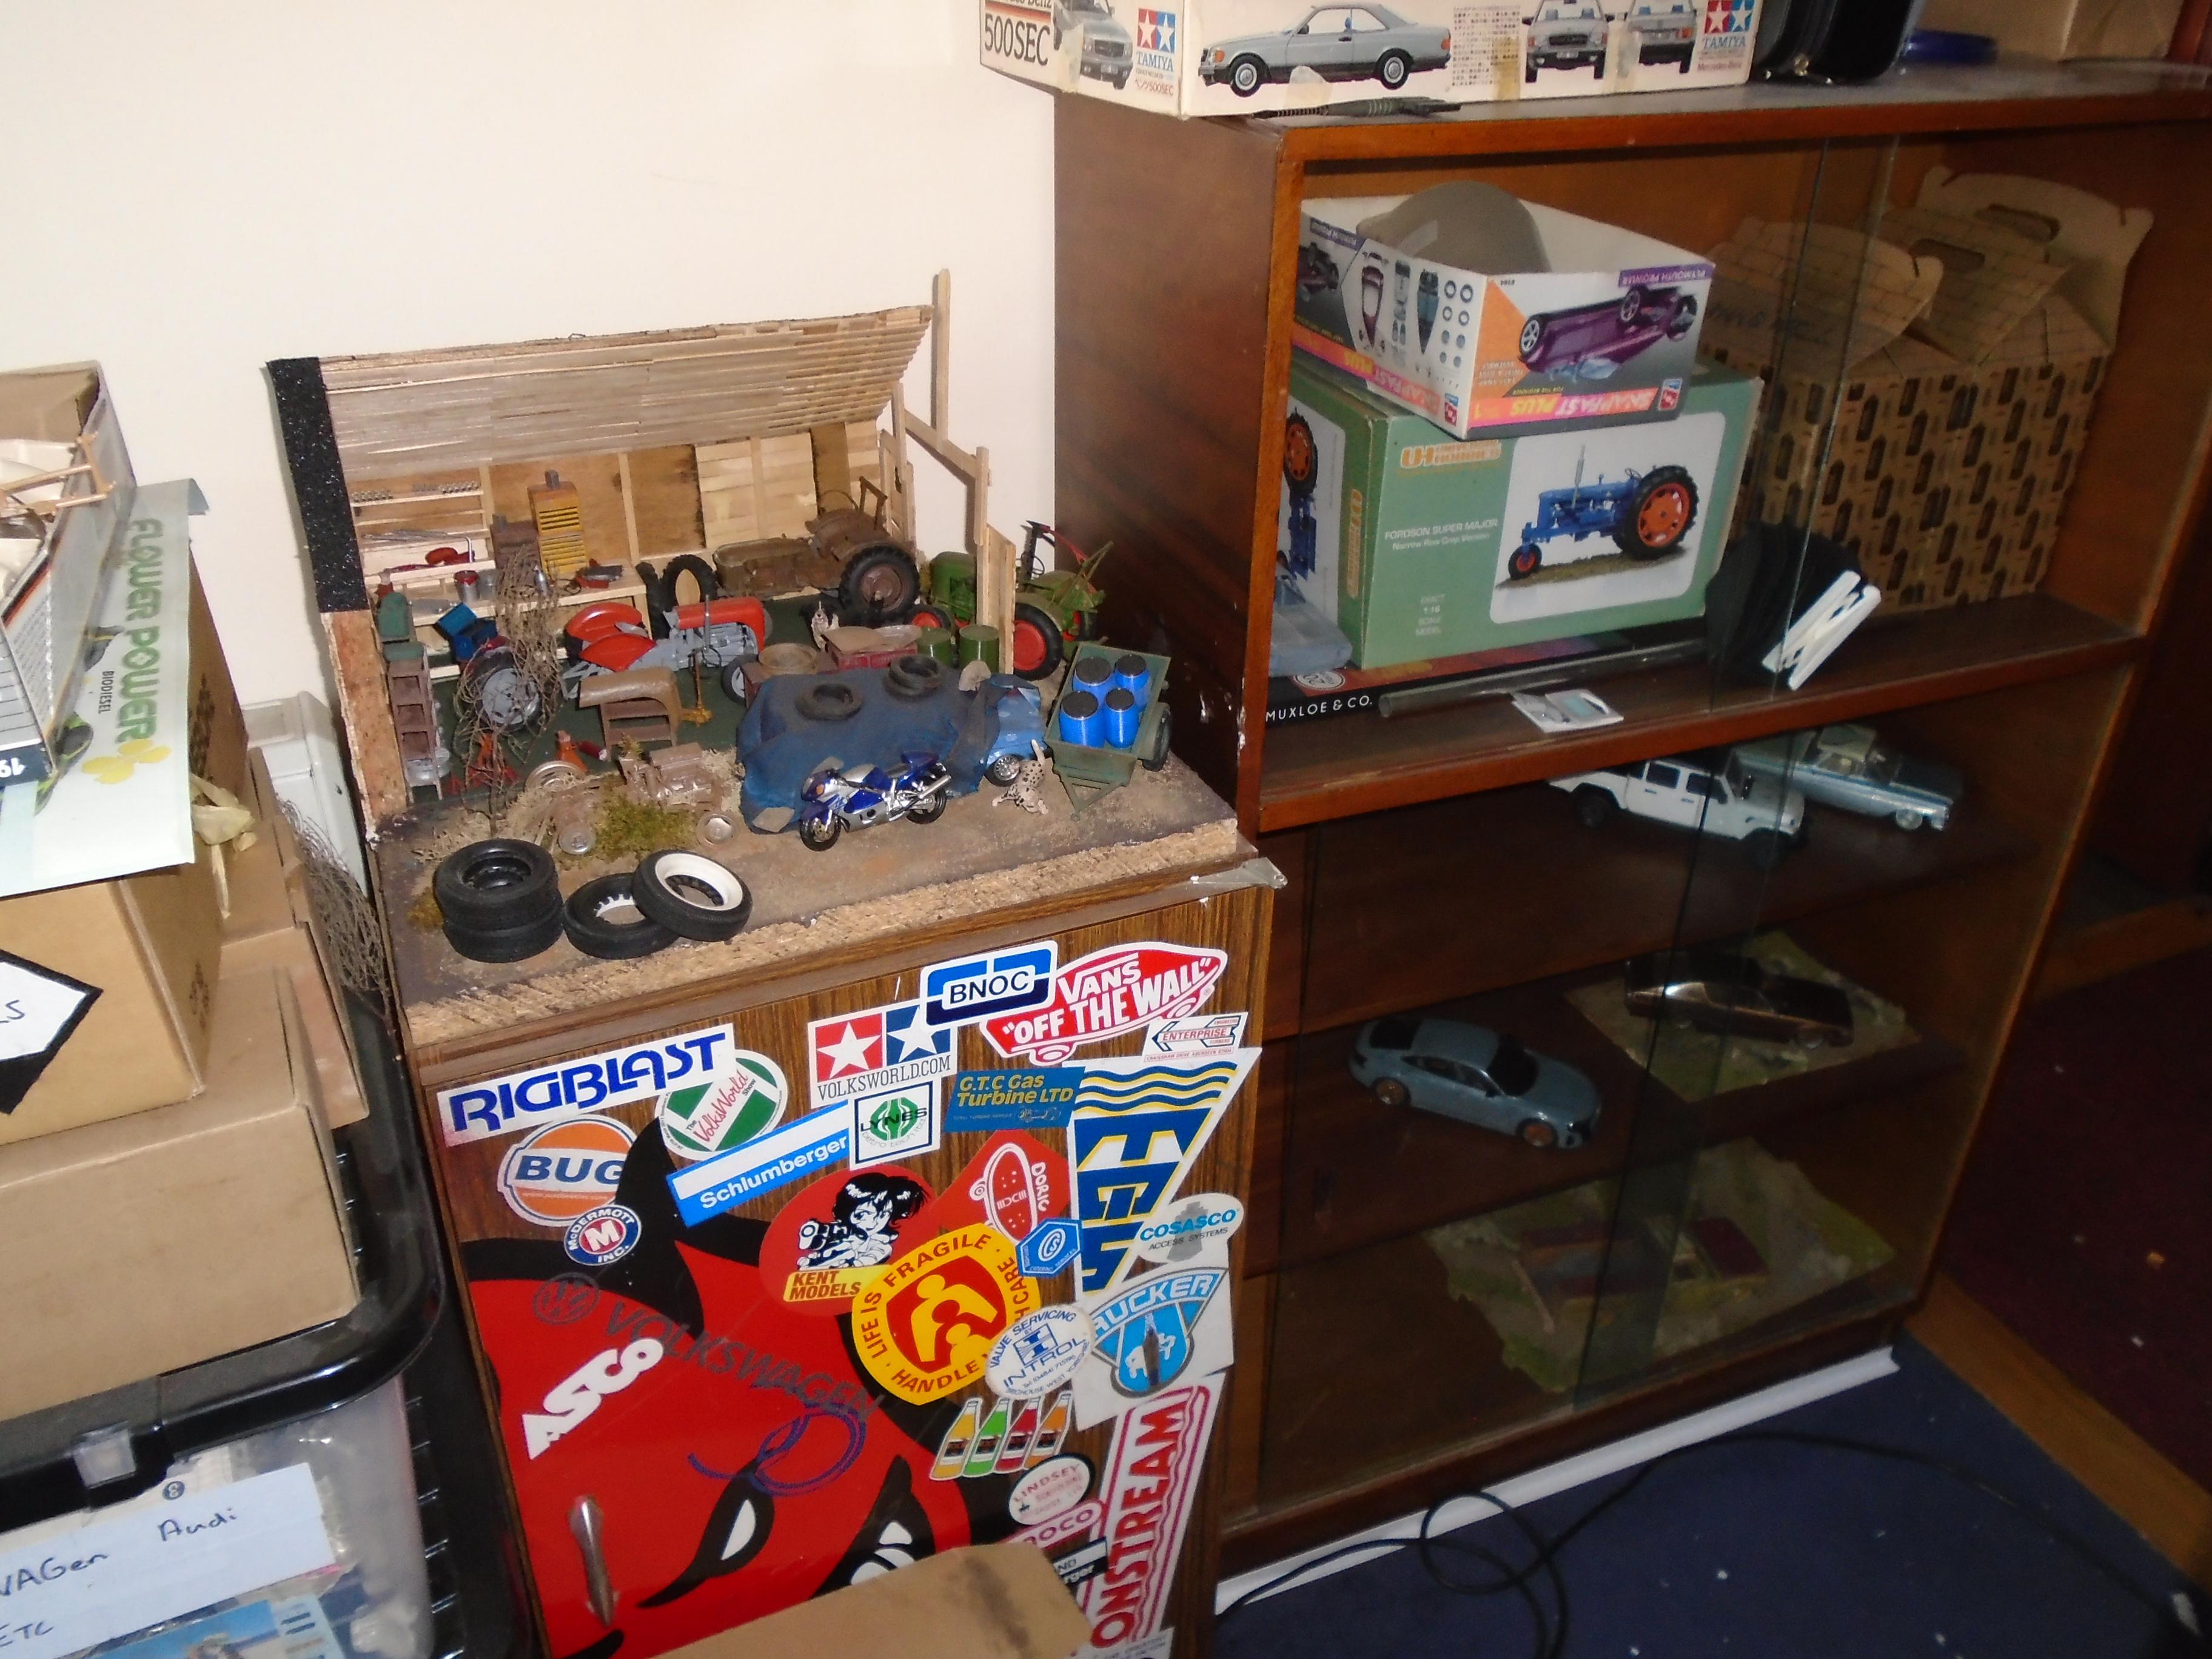
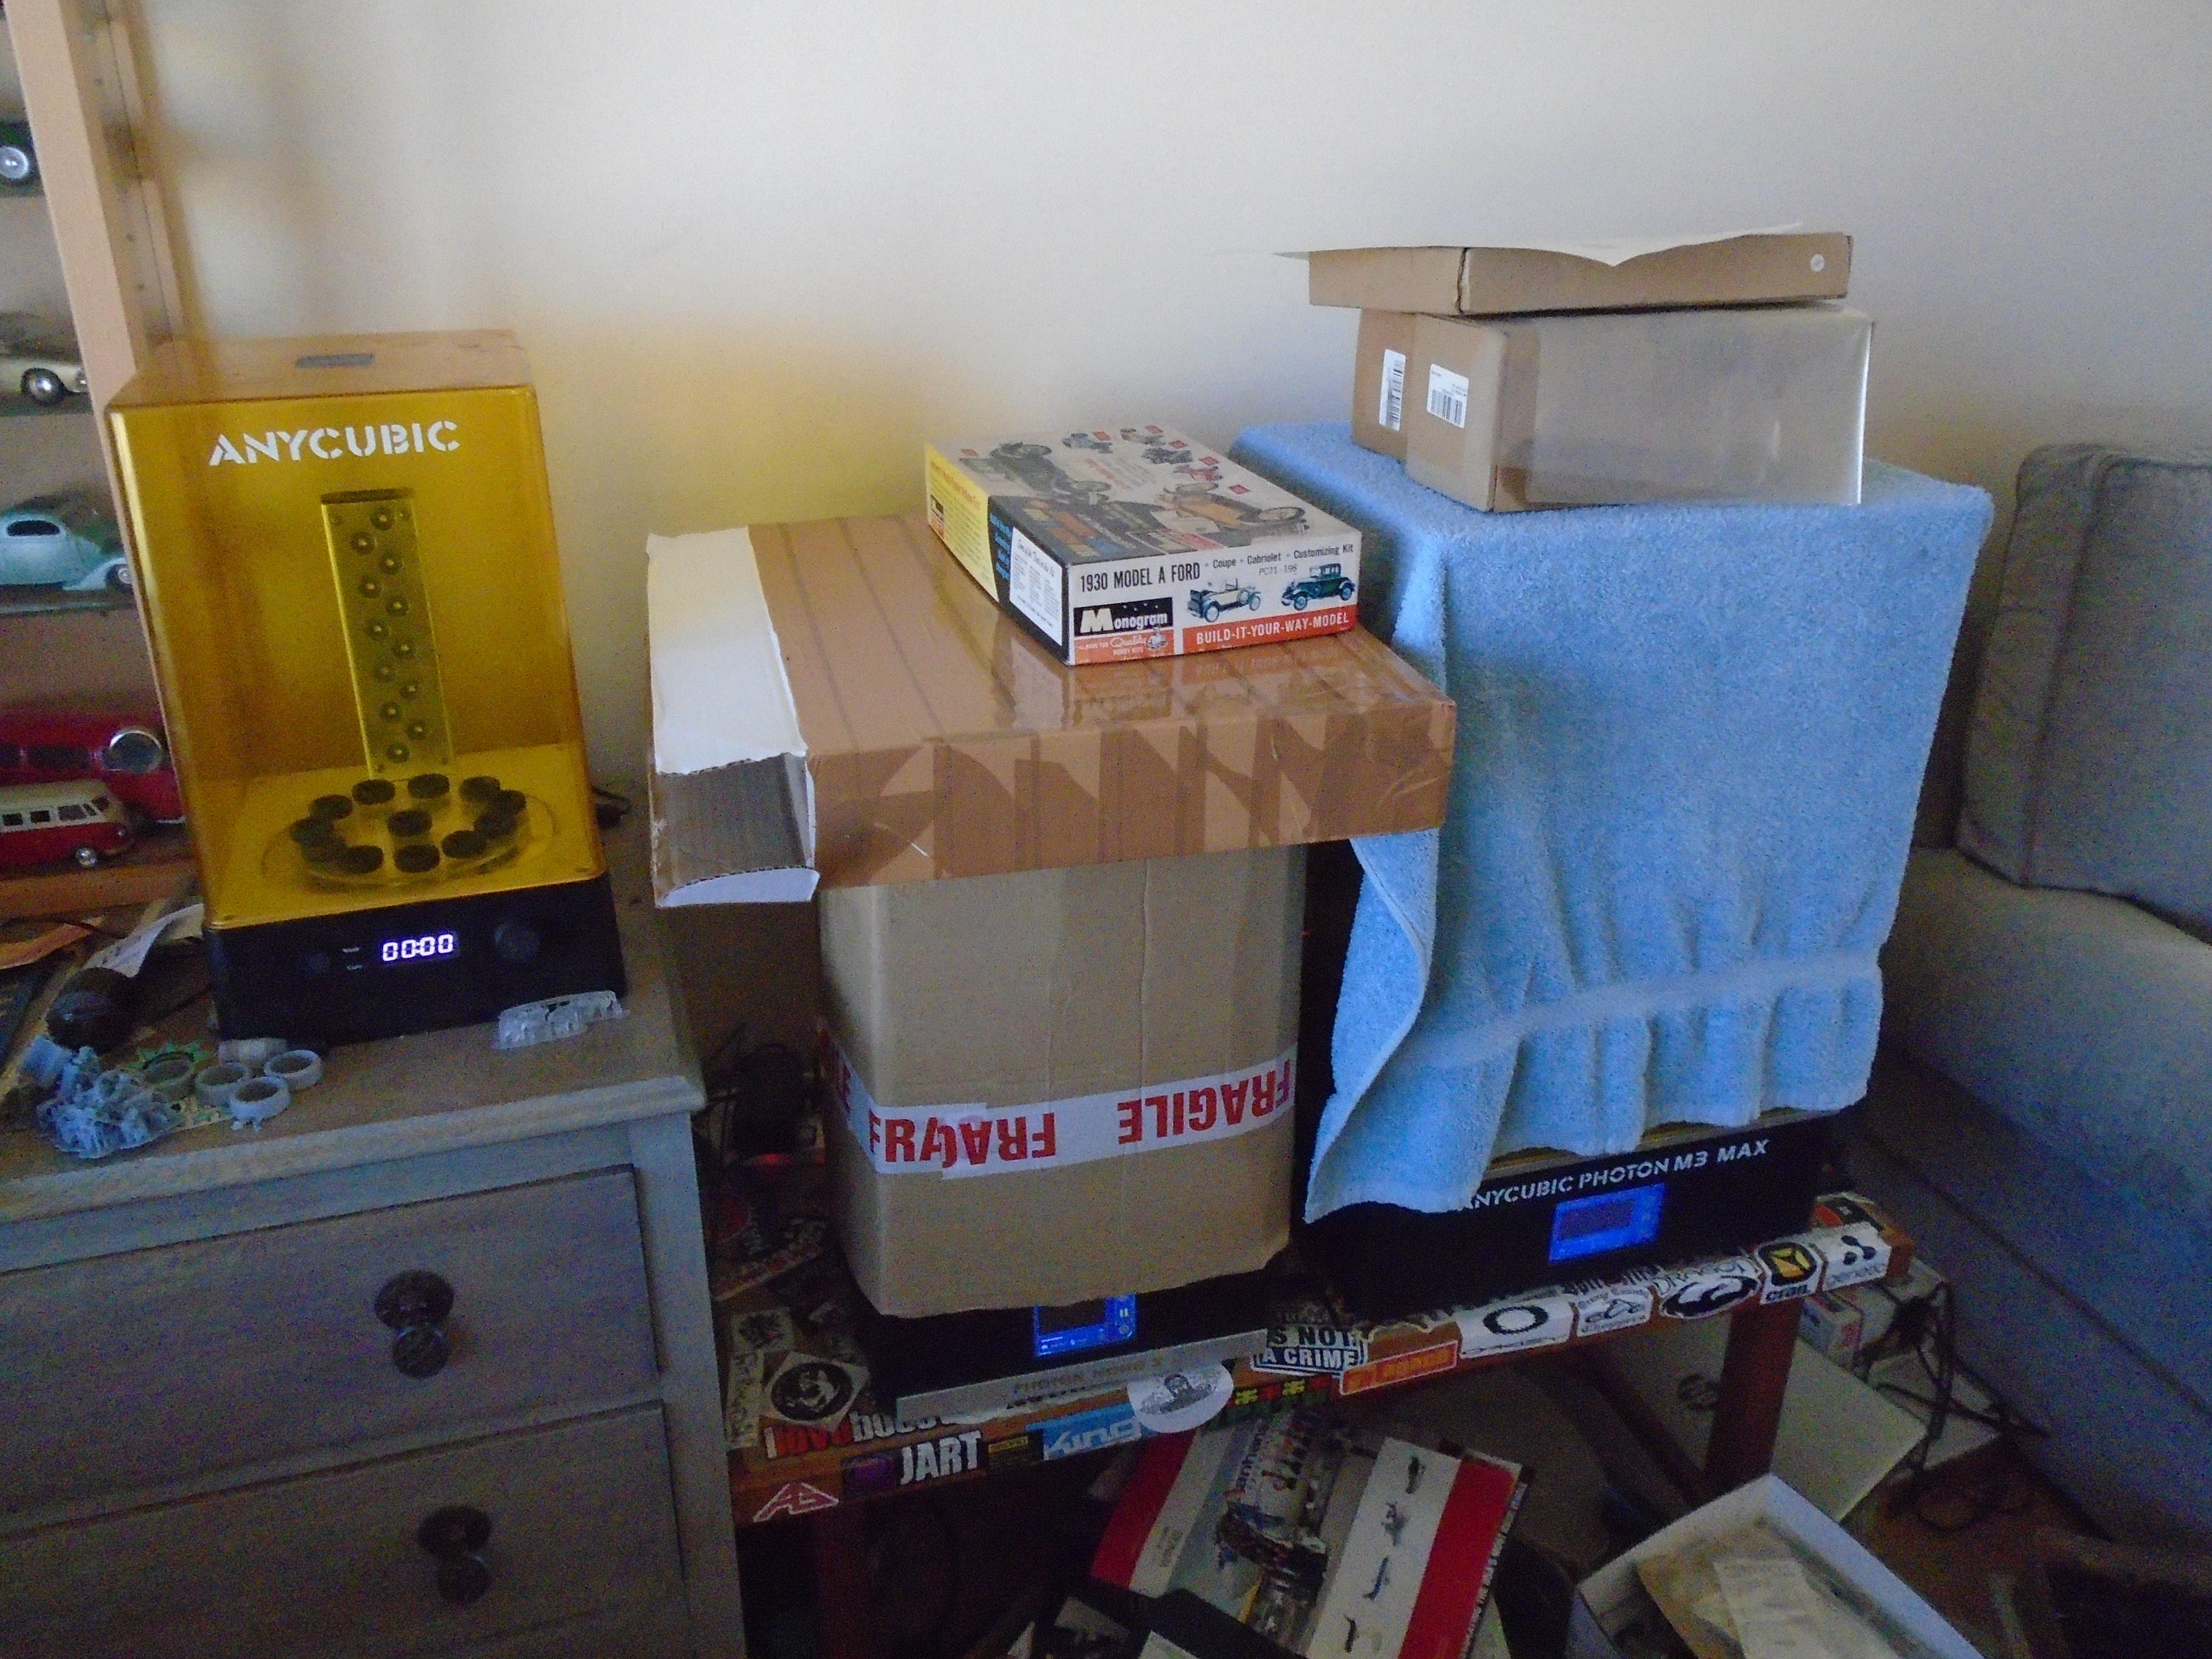
I dont know how you guys can work in such neatness. I have tried it and it just dont work for me. I have random parts scattered across my bench as i never know when an idea will take my fancy. If a kits within arms reach of my bench it being worked on currently, not necessaraly this week but i've done something recently with it. I'll start to the left of my model room door. It used to be my bedroom but i moved my bed into my front room as i rarely get visitors and i got sick of living in a stack of boxes and sanding dust and it also keeps my flat cleaner. inside the wardrobe is 3d kits and some larger kit boxes and some of my tamiya bug kits. theres a case of them at mums house too. next we move left to the start of the stash. i need more shelving, lol next up is the booth and bench. my airbrush is in the cupboard under the bench and the drawers are decals, detailing stuff, tools i dont use much, sand paper and evergreen rods and sheets. i did keep my rods in kitchen towel tubes stacked on my bench but they got squashed and i've not got around to getting some plastic sink pipe yet. My bench usually looks like this. Its and old computer desk and the keyboard drawer holds my big files, saws drill bits and other larger tools i use often. i have my small files stuck in a bit o polystyrene and my brush paints in the clear trays but they'll be moving to that small wooden drawers at some point. the filter is out of the booth for replacement but usually looks like cement, lol. to the right of my bench we have spray paints, detail parts, supplies, more kits and some large scale kits under the unit but not pictured, large totes of loosely sorted parts kits or bagged kits and finally for the model room another cupboard full of spray paints next we have my front room which also has a bench but its being used for my computers just now. i have a display unit for some builds and my 3d printing station. I keep my printers covered as we get a lot of uv light first thing in the morning with being so far north so this helps with that in summer and keeps them warmer in winter. I have another cupboard in my kitchen for my 3d printer stuff. Well thats it for this edition of cribs, you have seen the majority of my home as its very small I'm not tidy but i find this works for me
-
Is It Wrong to Hate My Neighbors?.....ALL OF 'EM!!!!
stitchdup replied to StevenGuthmiller's topic in The Off-Topic Lounge
fingers crossed, then i can say with surety that i've reached his standard