stitchdup
-
Posts
7,139 -
Joined
-
Last visited
Content Type
Profiles
Forums
Events
Gallery
Everything posted by stitchdup
-
Nice work, i like that you can put the lid on when its not in use to keep it clear of dust
-

Something interesting with my driving game.........
stitchdup replied to JollySipper's topic in The Off-Topic Lounge
if we had ps4 or ps5 we could. you can set up races in gt7 online. then we could do a real cannonball build and test them on the nurburgring or tracks to suit -
is this kit the right scale? i've been comparing it to other similar era monogram cars and this one just feels too narrow. the length feels about right compared to the others. it almost feels to me like its 1/25 scale for width but 1/24 for length. I've not measured anything, just done visual side by sides with a 36 and a cord.
-
Something interesting with my driving game.........
stitchdup replied to JollySipper's topic in The Off-Topic Lounge
that'll be the movie. the documentaries are kinda old so probably only on youtube now or possibly the gran turismo website -
Something interesting with my driving game.........
stitchdup replied to JollySipper's topic in The Off-Topic Lounge
yes, in the version i have the full dash and front doors are there for every car but its mostly the muscle cars and japanese stuff they did the rears for, not that yo u can see them anyway. when you use the in car view you can use the second toggle to turn your head and look at it. there a few sema cars too and i think the graphics in my game are better than those in the movie. I've been playing gran tourismo since 6 months before the first one was released as i sent back the registration card that was in the console. a few onths later i got a phone call on a sunday morning from sony asking if i would be interested in testing out possible internet for the playstation 2. as part of it they sent me a black net yaroze console with lots of computer stuff hard wired to it to allow me to use it online. this was back in dial up days so sony paid my phone bill for 6 months and sent me free advance copies of games. my local games shop could never understand how i was trading games in months befor ethey were released and often before they were in ps plus magazine. you couldn't play games online but there was a chat room and you could play music from some sony database. i still have the console and stuff that went with it out at my mums -
I'd like to see a more refined picture. in these pics it looks unfinished but i can see it as the start of something
-
Any chance this article could be found online somehow?
stitchdup replied to Monty's topic in The Off-Topic Lounge
hotrod have all their old issues online now. a member here went through them all and did a sumary post of them. you might find it in that thread, though he mostly posted about the car features. it was a good thread if you dont want to go through all the issues of hotrod -
Something interesting with my driving game.........
stitchdup replied to JollySipper's topic in The Off-Topic Lounge
theres a couple of documentaries on youtube about the making of the games. every real track had been scanned detailed enough that on the current game you can find the trees in the game on real photos. all the cars are scanned too including the interiors. some of the 3d files i've bought have been built up from the gran tourismo data but xbox games seem more popular for that. but then its supposed to be a simulator more than a game. i keep being told its even better with the steering wheel instead of the controller so i might have to try that. you should watch the movie too, its pretty good even if most of its not the real story, and more a combination of 3 different players to get the character for the movie. the race engineer for example is a totally ficticious person. its still a good movie -
walked across town in heavy rain and wind to get to a hospital appointment. Its tomorrow, sigh
-
Source for ‘33 Willys grill
stitchdup replied to dusty_shelf's topic in Model Building Questions and Answers
theres a 3d printed kit with the grille. i think its an andrei berezovski (probably spelled his name wrong) kit so should be decent quality. I dont know how accurate it is. i think i've seen a resin grille on ebay too -
browsers will do that sometimes while they are updating, usually towards the end of the data stream while its getting ready to install. i think it might be down to the processor getting overworked by trying to load the pics on the forum at the same time and just giving up. background processes can do it too. I get it on my 2 gig processor (that i use for most stuff) laptop but never on the 8 gig processor (only ever used for printer/slicer and cults)
-
want to try chat gpt but dont want to pay for a subscription?

-
I was a ford guy before i got into vws, i had a 4 dr mk2 escort that probably spent more time going backwards into ditches than forwards but that was down to cheap tyres, poor driving and a poorly fitted 2l pinto from a mk4 granada that hit the floor on left turns if you went too fast, lol. no mods to the brakes or suspension and it handled terrible but its probably the most fun car i've owned. fast enough to get in trouble but not fast enough to kill myself in it. i swapped a vw camper for the escort and the camper is still in the shed it got put in and nearly forgotten. i dont think it would even be a parts car now as the rust was really bad when i got rid of it.
-
have you seen the new ev concept, it looks really good imo and didn't do too bad on the goodwood hillclimb
- 39,171 replies
-
- 3
-

-
- johan
- glue bombs
- (and 1 more)
-
The Straight Six Community Build Rides Again
stitchdup replied to Chuck Most's topic in Community Builds
maybe we could get group builds moved to the in progress section, it seems a bit more suitable as the other categories are all more off topic type threads. -
Very cool
-
that would make a pretty useable daily as a 1/1, at least on this side of the pond where fuel is pricey
-
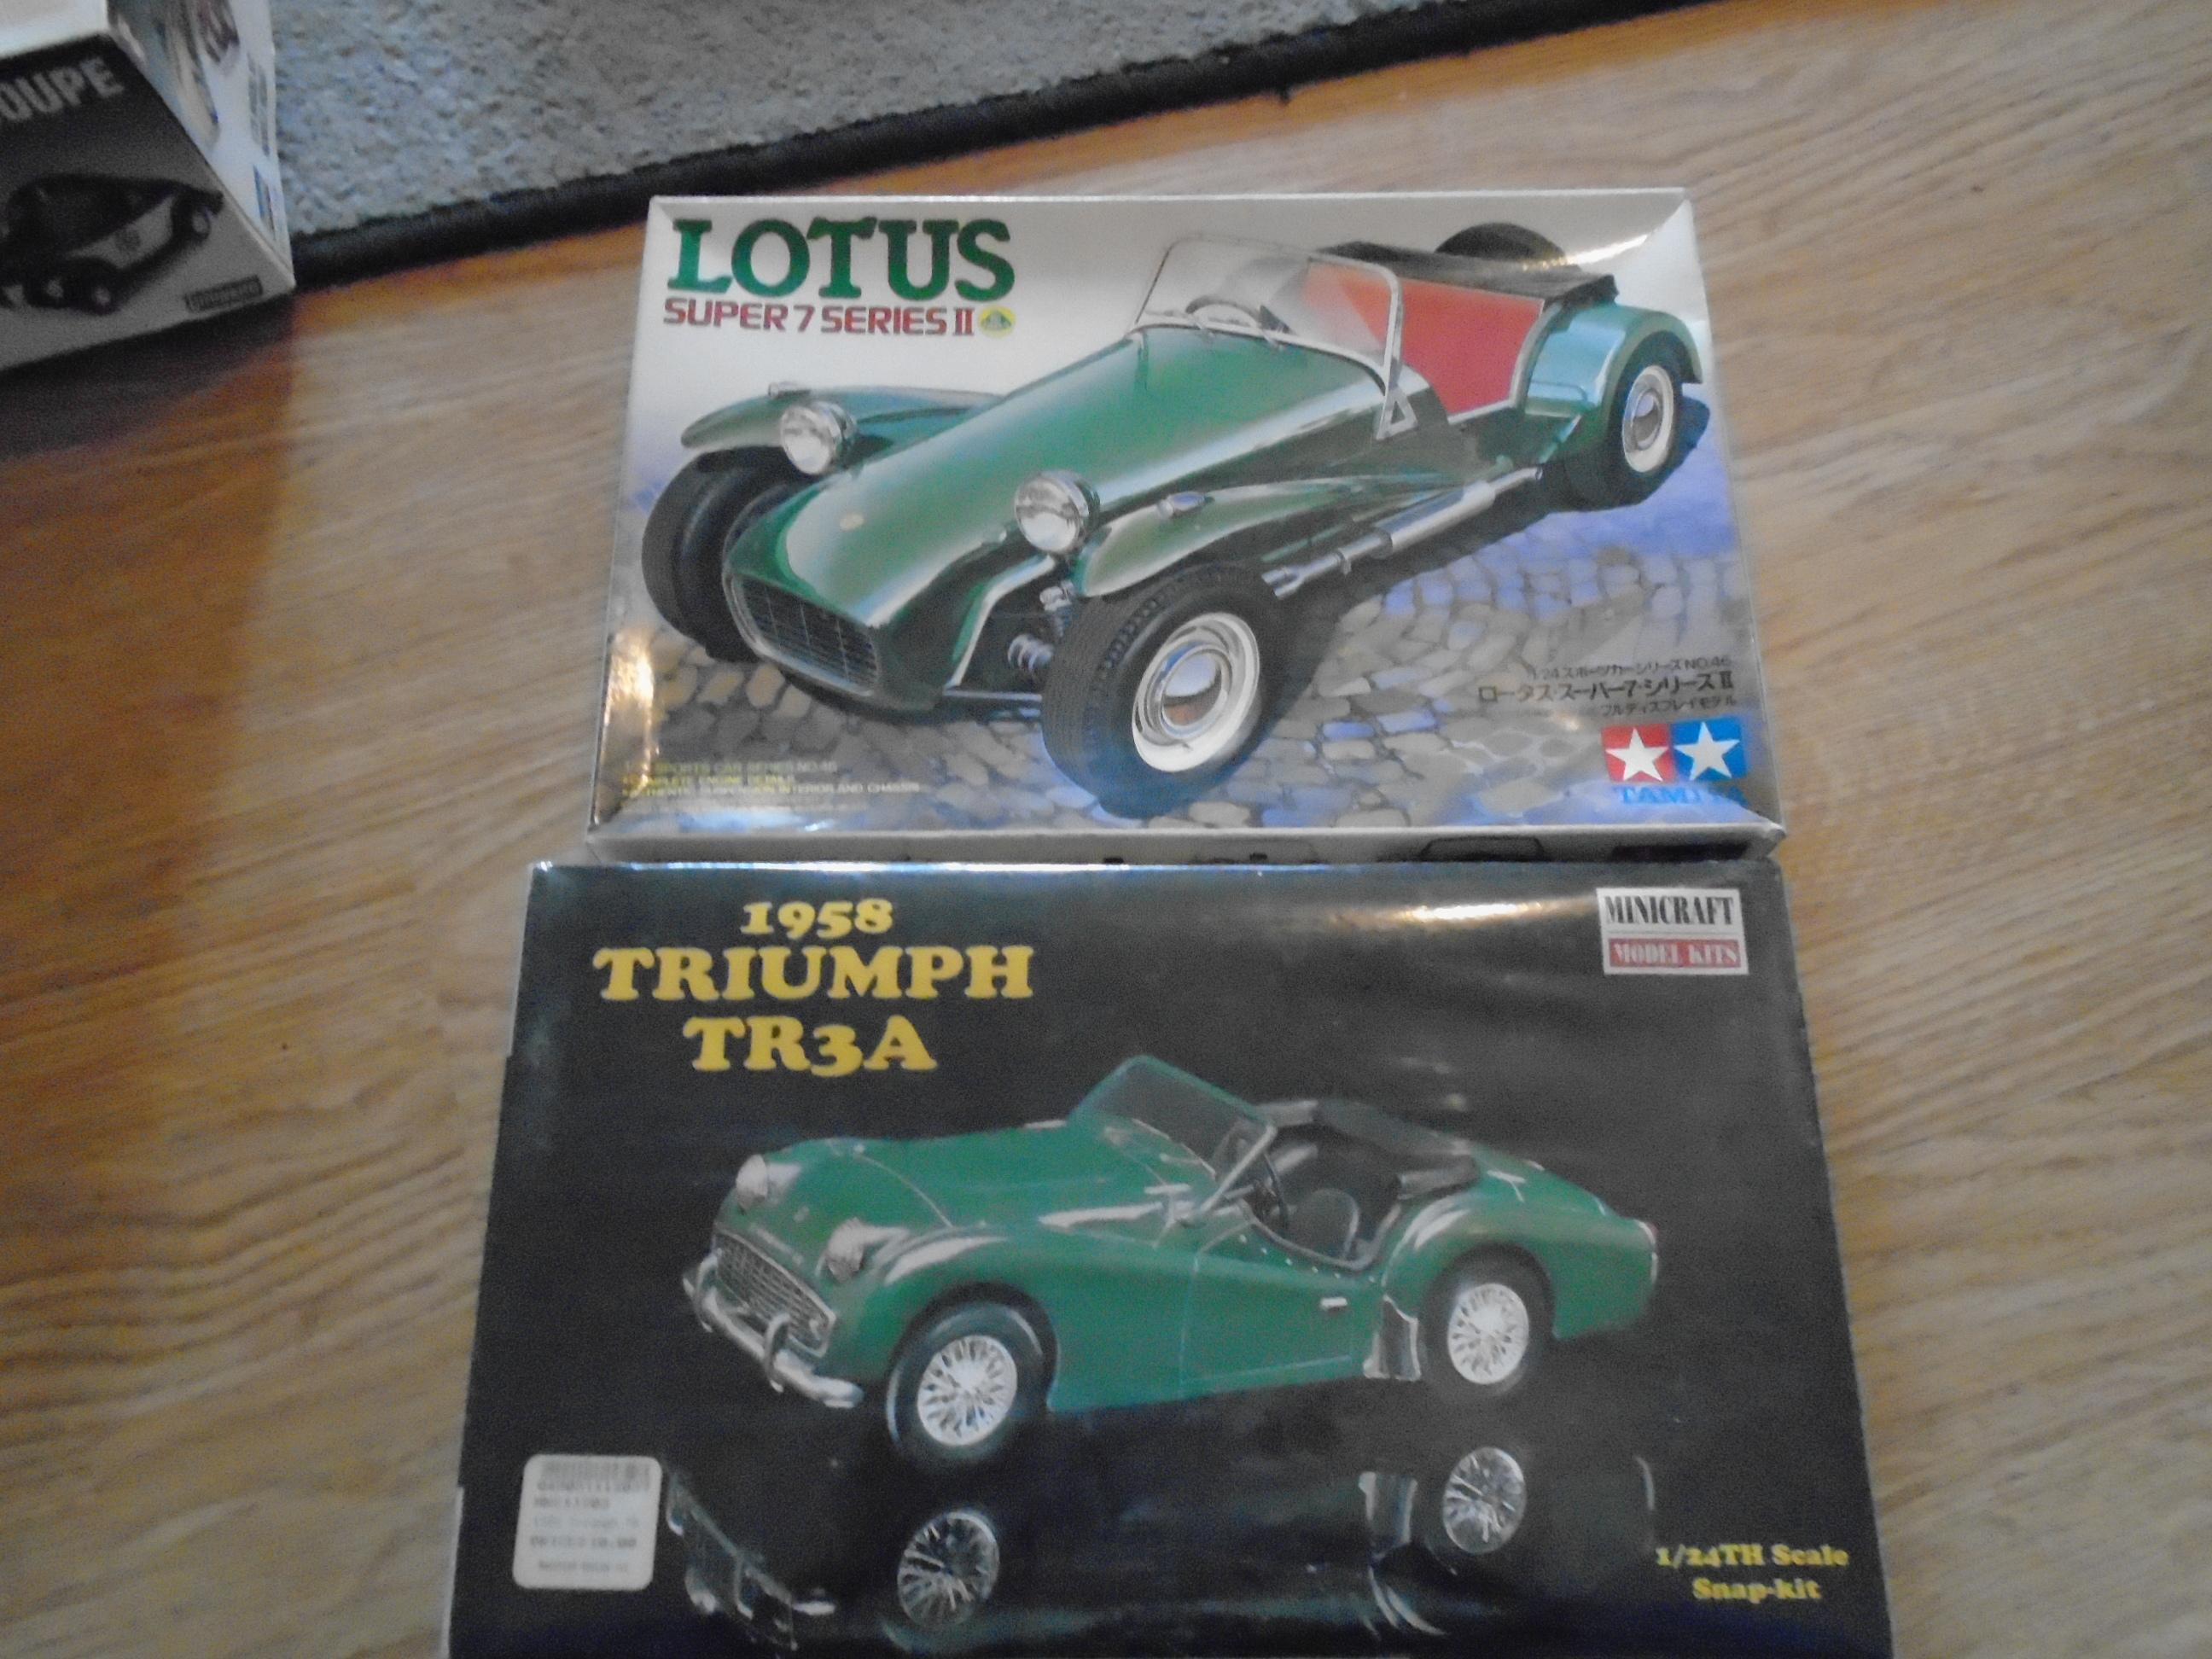
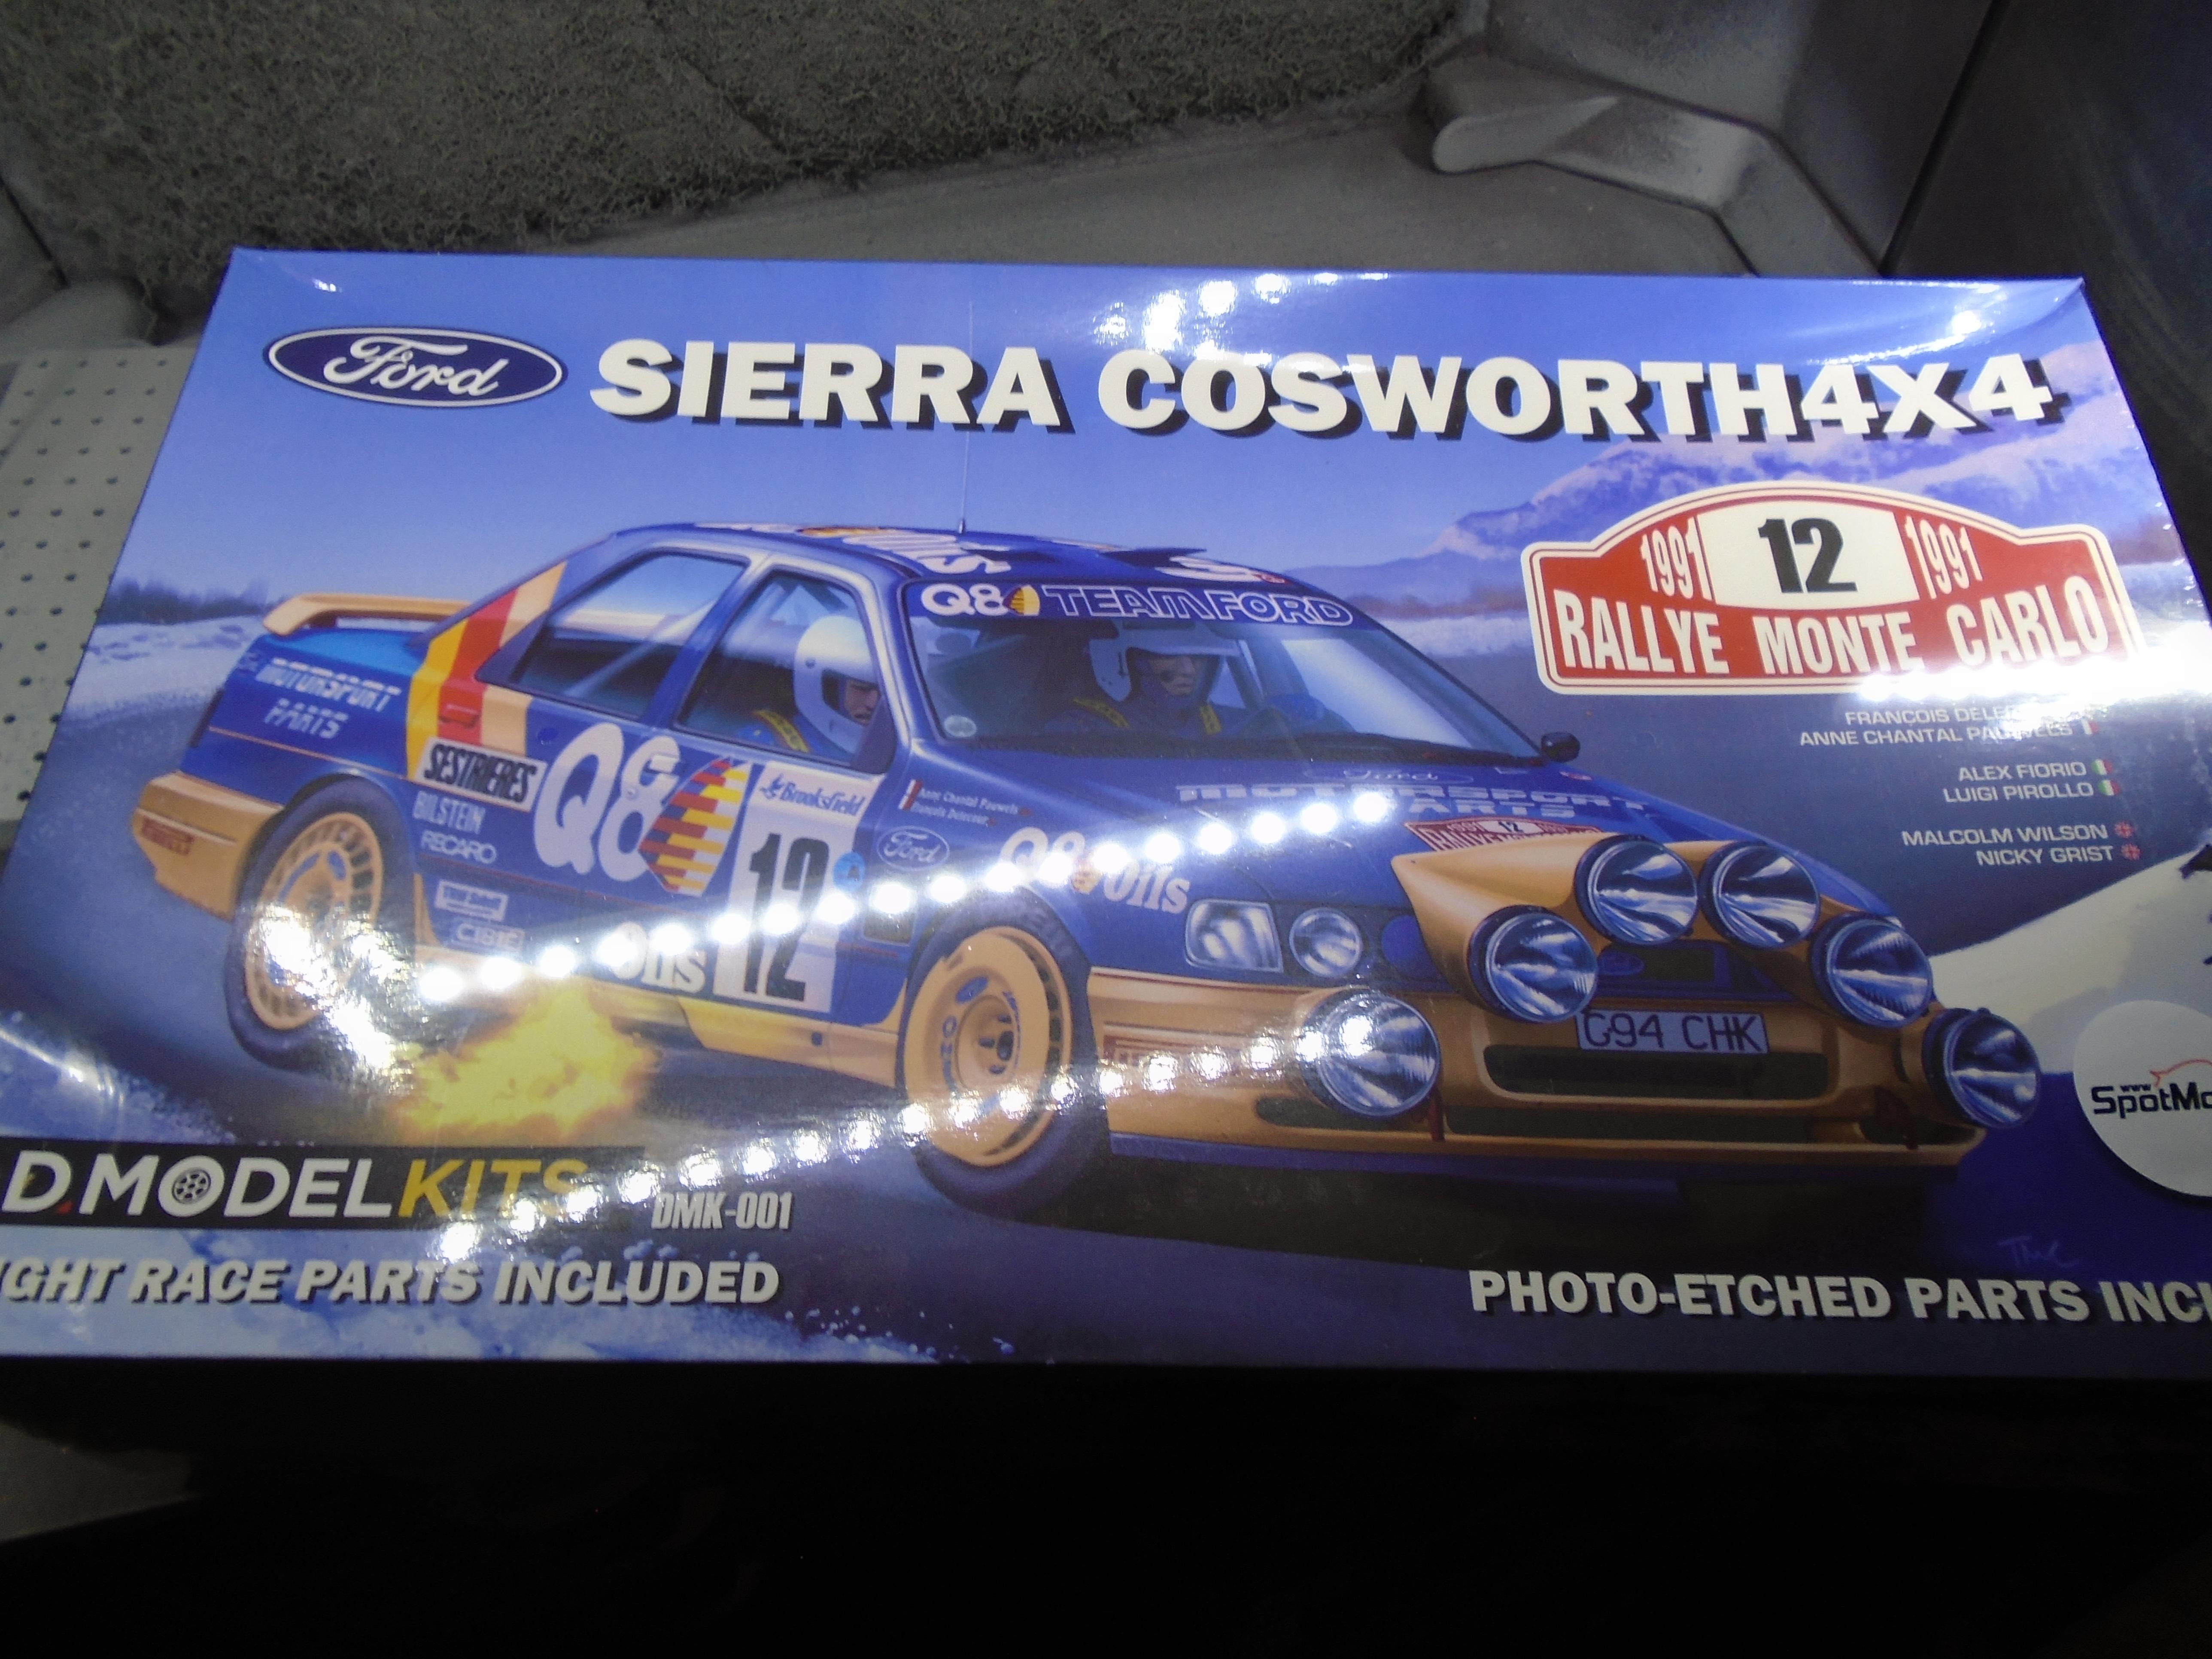
ok I'm in with at least two euro fords. the first wil be the tamiya lotus seven (it uses a ford crossflow) but I want that engine for another mk2 escort so will be swapping it for a 3d printed ford focus zetec on throttle bodies. the second will be a ford sierra saphire cosworth road car with one of uscp's escort cosworth engine bays which i fully expect to fit as the escort cossie was built on the sierra floorpan. I'll print out a road car interior for it. i need to get another of these before they disappear I might pull my old unfinished mk2 from the cannonball back out too
-
excitinting new kits for 2023 from Heller
stitchdup replied to ingema's topic in Car Kit News & Reviews
I've seen some of the trailers on ebay but i cant recall if it was pre order or not. I think the van kits are out too. its the farm stuff I'm waiting for, especially the 135 because i've restored one of them. I cant honestly say i've been looking out for the other stuff but i expect any that are just different decals would be out sooner than new kits. they sometimes have them on the revell germany site for sale too so they might have them faster -
What non-auto model did you get today?
stitchdup replied to chunkypeanutbutter's topic in The Off-Topic Lounge
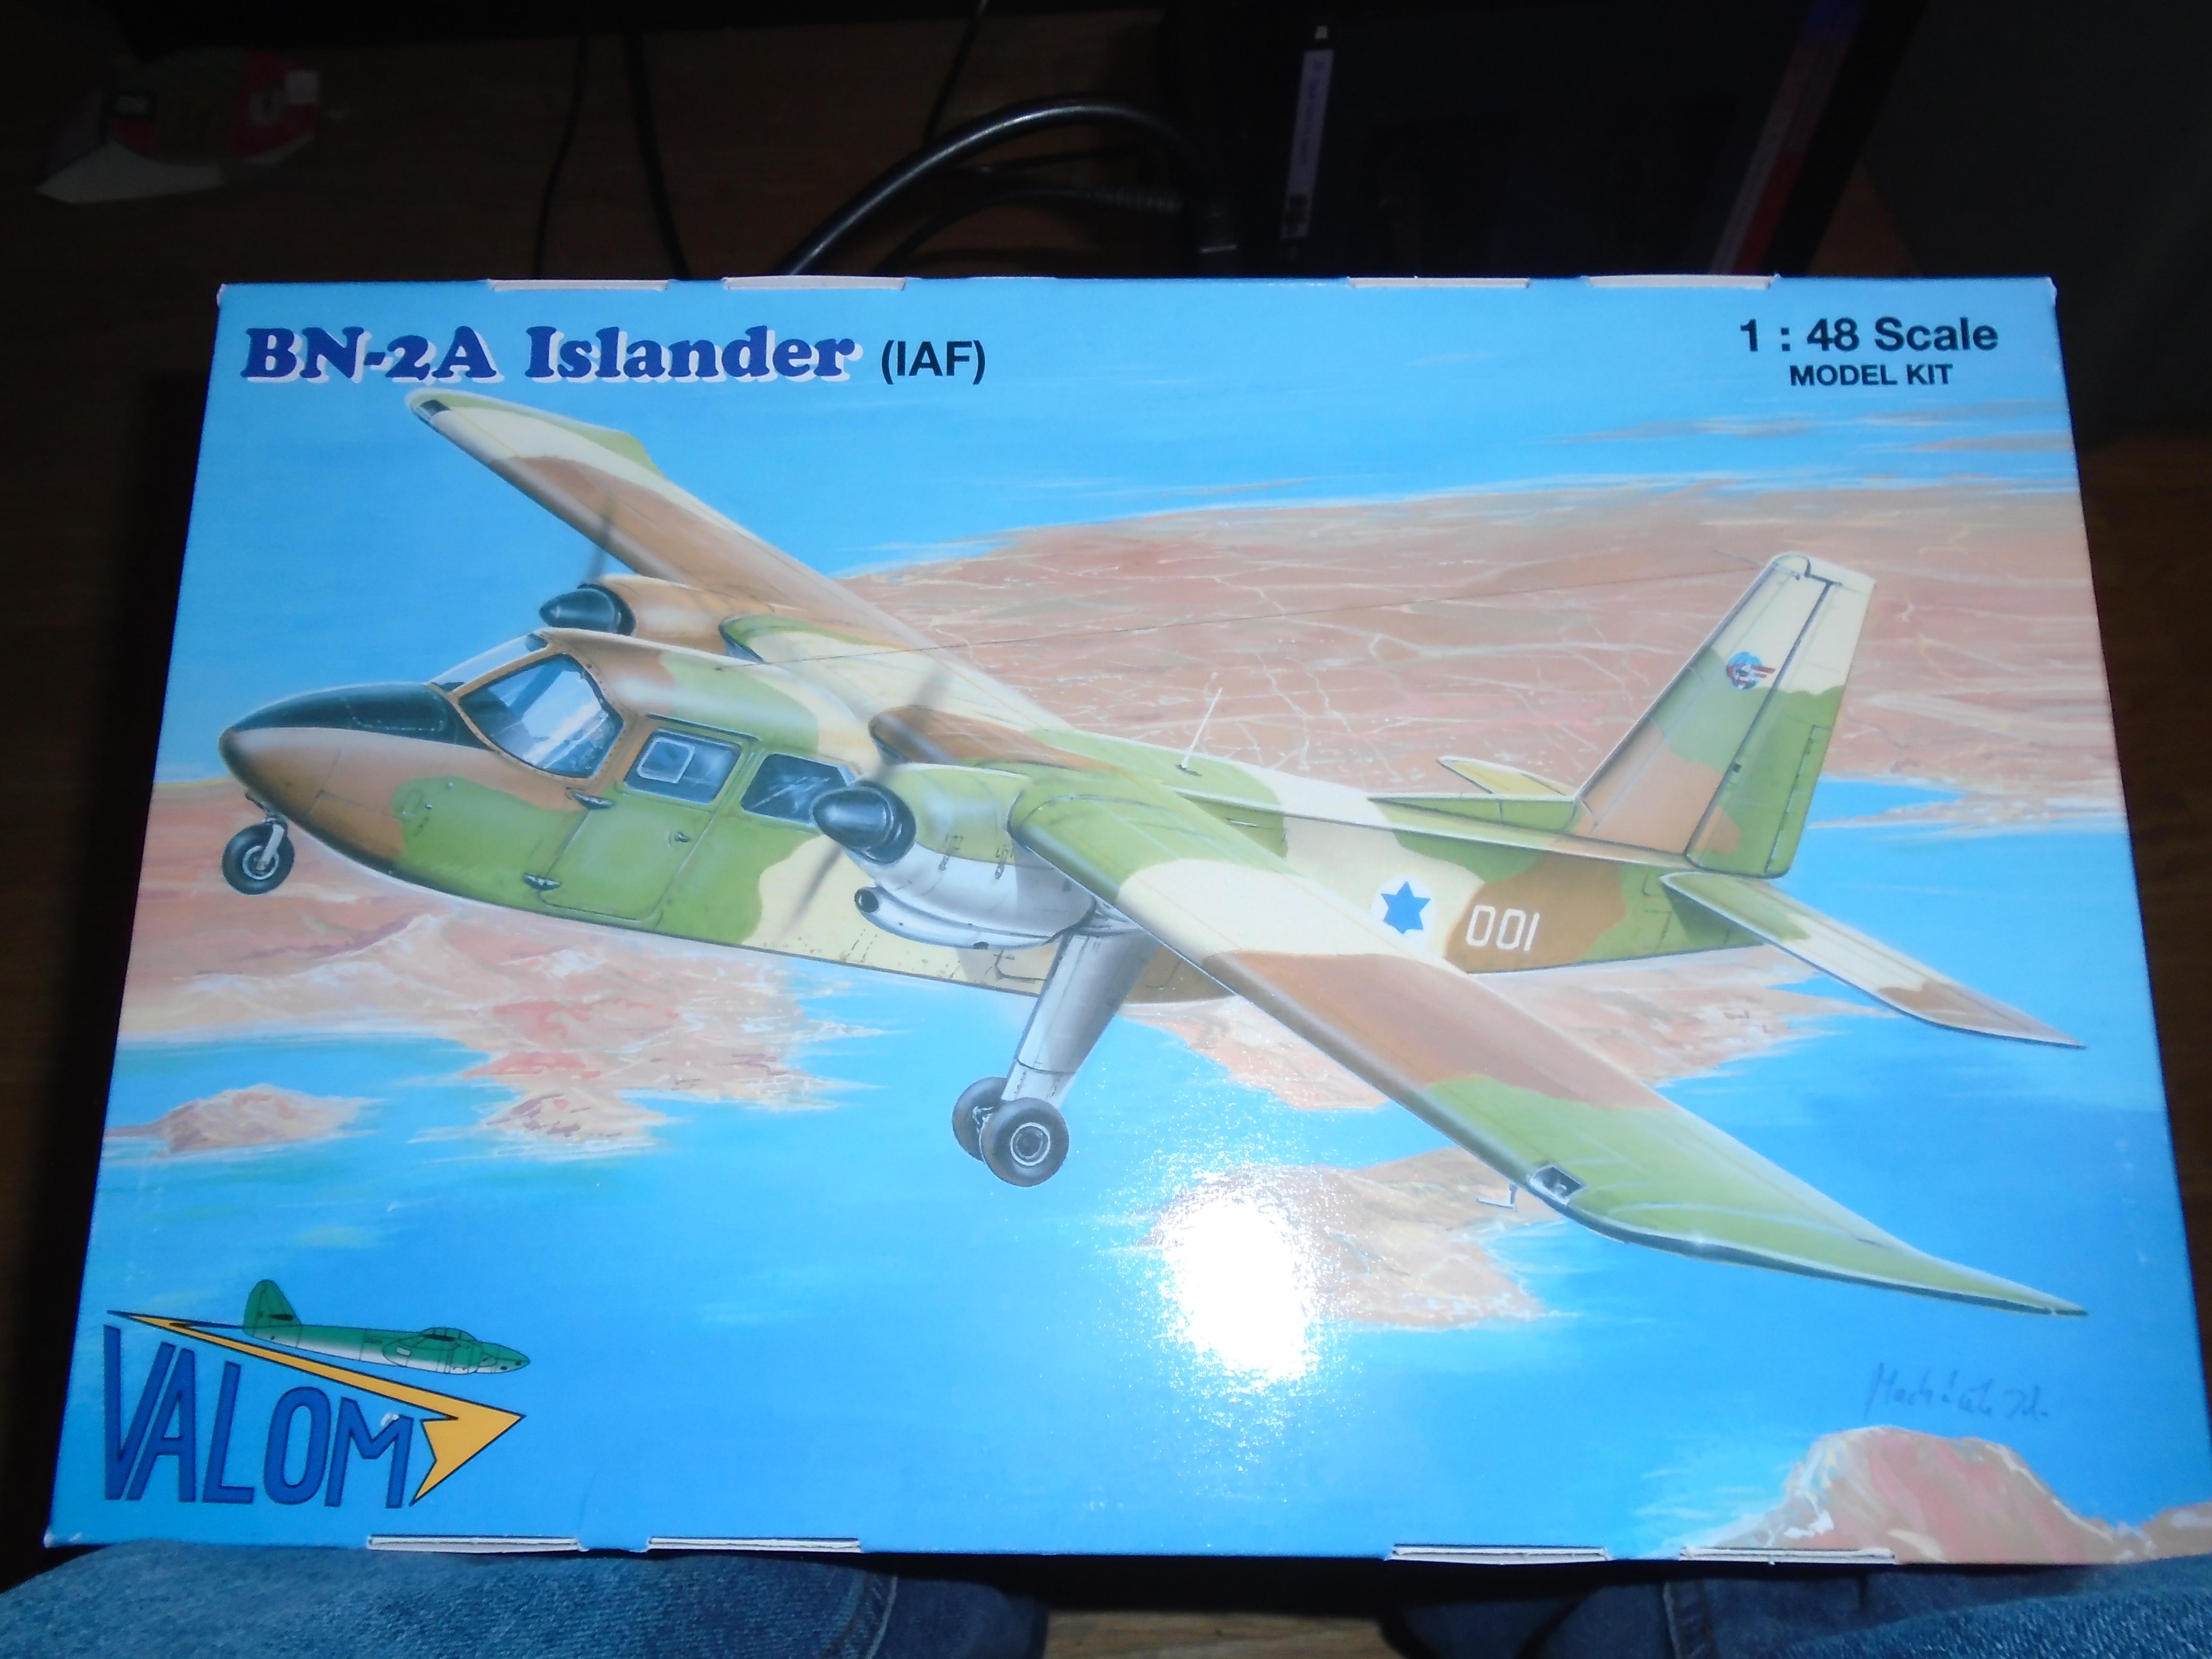
When I found this I knewI had to get it for my sister. She'll probably never build it but i know she'll have it on display as these are important planes in our lives. every holidays we would fly on these to our grandparents. theres nothing like as soon as the tyres touch the ground, all exterior vision is lost until the pilot pours the bottle of water he carries on the front window. this is because we didn't land on a runway, but just a farmers field that doubled as a runway. when there were no planes it was used for beasts and shups (cattle and sheep) so when the tyres hit the cow pies.... well I'm sure you get the picture and if you think this isn't crazy enough, if it was wet and windy the plane would be landing more sideways than forward still with no outside vision unless it was really chucking it down. these are sure tough planes, i saw one go through the fence on landing yet nothing important got broken so it flew back for repairs. another time there was a tourist who had never flown before before sitting nervously behind th pilots seat (its not got a partition cos then a stretcher wouldn't fit as these were also our ambulances) and the guy next him started getting more and more impatient next him (yet sounded really familiar) and after the pilot was 5 mins late declared loudly "well this idiots obviously forgot about us, but I've sat ahint (behind) hem (him) fur (for) a giuey feuy (a great many) times and hid disna luk yin herd (it doesn't look that hard)" and proceeded to climb into the pilots seats and start the plane before eventually turning around and declaring he really was the pilot and asking the nervous bloke if he was calmed down yet, lol. the same pilot was alleged to have landed the plane on one of the churchill barriers another time, yet could navigate to the islands during fog by spotting the various lighthouses. he was a highly skilled pilot in these planes and responsible for saving many lives with his skills
-
i'm pretty sure someone got a darwin award for the same thing a few years ago, or at least an "honorable mention" in one of the books
-
It was relaunched about 5 or ten years ago. I think the jalopy journal or hotrod did a feature on it when its first returned
-
203 Classic Cars Found In Texas Barn. Part One.
stitchdup replied to John M.'s topic in The Off-Topic Lounge
my uncles collection shows up on google earth, last count was over 500 vehicles that are in need of little work to be roadworthy or farm ready. some rare stuff among it including at least 2 xk120s and a short bodied e type. then theres the parts vehicles outside..... -
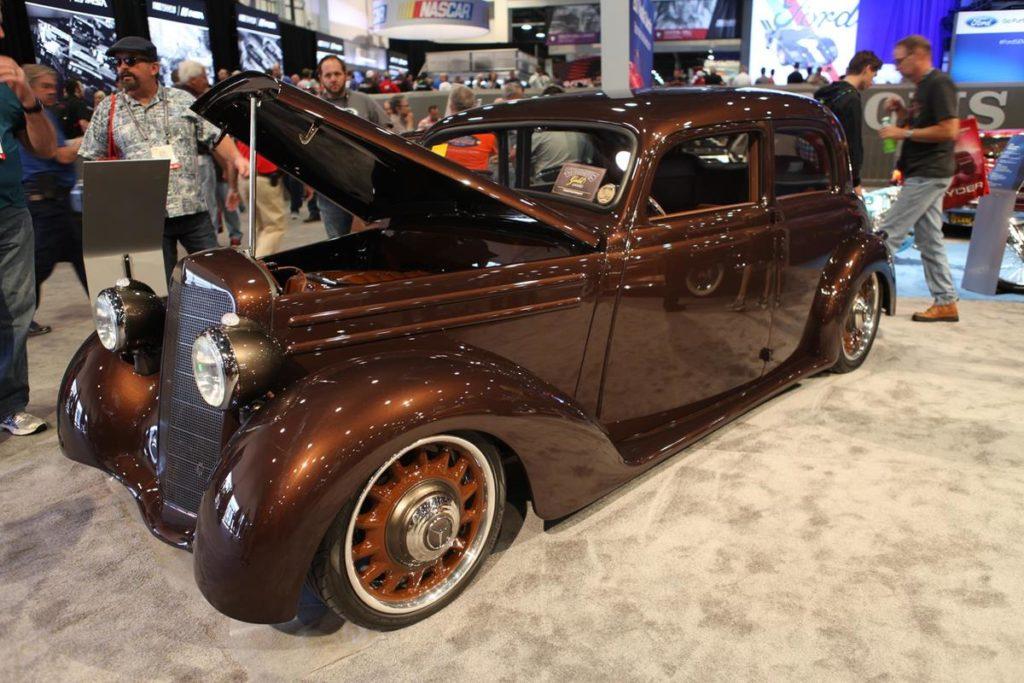
Mercedes Outlaws & Hot Rods
stitchdup replied to 89AKurt's topic in General Automotive Talk (Trucks and Cars)
i've seen a sedan rodded
- 130 replies
-
- 2
-
-
- mercedes benz
- outlaw
- (and 2 more)
-
https://www.conceptcarz.com/s11697/packard-model-1407-twelve.aspx