atomicholiday
-
Posts
2,281 -
Joined
-
Last visited
Content Type
Profiles
Forums
Events
Gallery
Everything posted by atomicholiday
-
How to get a good white paint job?
atomicholiday replied to Sonorandog's topic in Model Building Questions and Answers
Another vote for the Tamiya TS line. I recently shot a body with TS26 and it's probably the best paint job I've ever done straight from the can. -
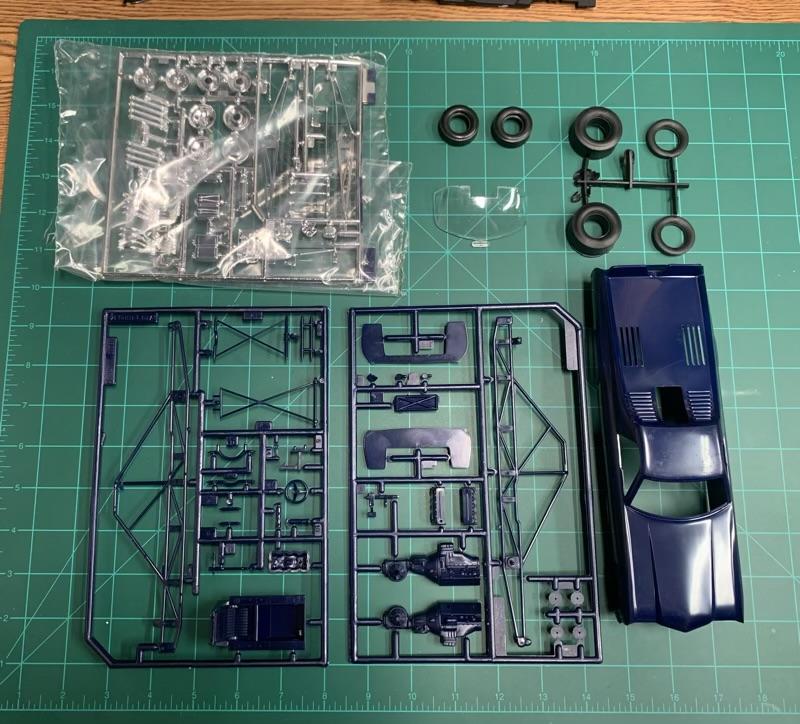
Four builds going and it seems like I’m waiting for something on every one of them. Or maybe I’m just bored and ready for something to clear my mind. Or possibly I have the attention span of a squirrel. Whatever the reason, I’ve decided it’s time for me to dig into this kit. If nothing else, just to get the parts cleaned up and ready for paint. I’ve wanted to build a Troublemaker kit for a long time now. Long before the Atlantis kit existed. When I saw it got reissued, I had to have it. Old Monogram kits are by far my favorite and this is just classic Monogram to me. I will say though, I’m not a fan of the color scheme or stripes of this reissue. To my eyes it’s a little gaudy. To that end, I’m changing the colors. I do want to use the “troublemaker” decal though. Thinking it might look good with something like a metallic orange or maybe go with the original concept and make it red. As I get close, I’ll probably be asking for opinions on that. Nothings done yet. But for anyone not familiar with this kit, here it is. You all know the drill. Questions, comments, and suggestions are always welcome! Thanks for playing along!

- 16 replies
-
- 1
-

-
- atlantis
- troublemaker
- (and 1 more)
-
Show us your summer toys! (Non-auto related)
atomicholiday replied to atomicholiday's topic in The Off-Topic Lounge
That’s an awesome bike.? I got to ride one of those back in the day. White with blue stripes. Fastest thing I’ve ever been on, in, or anywhere near. Scary. The owner fair warned me to lean out first before hitting the gas if wanted to pass a car. He wasn’t kidding. Felt like all I did was blip the throttle and that car was just a spec in the mirrors. -
Very clean build. Bike kits are just fun.?
-
Impressive! Bet that rigging took some time to complete.?
-
What was your first model car?
atomicholiday replied to Kit Karson's topic in General Automotive Talk (Trucks and Cars)
What a great story! This one really made me smile. -
That looks very realistic. I'll give it a shot. Thanks for the tip!
-
Review of Revell's new chrome spray paint
atomicholiday replied to Monty's topic in Model Building Questions and Answers
Yes. Do tell! Those last pics look crazy good! And how durable is it? -
That paint job is spectacular…. Wow.?
-
That looks terrific. Great build quality!?
-
That looks fabulous! Snap kits have come a long way from when I was a kid. As evidenced here, you can build a really nice looking model from many of them.
-
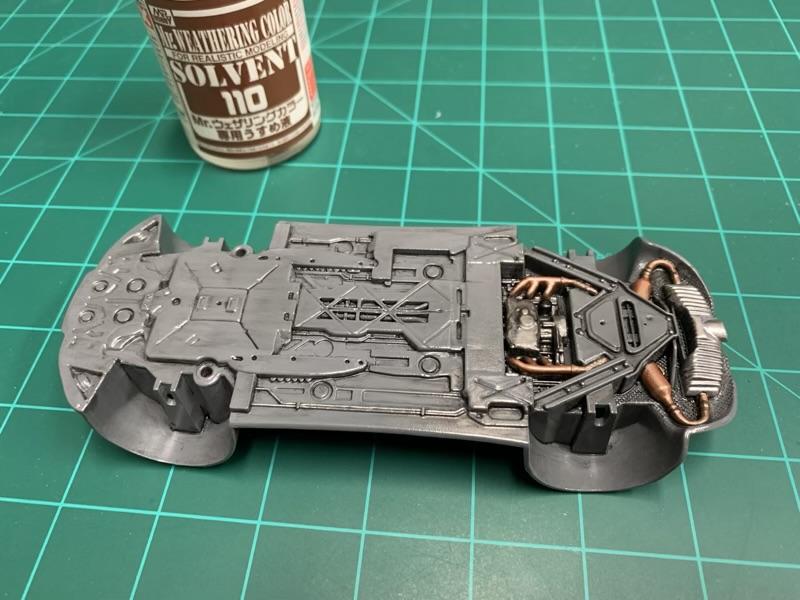
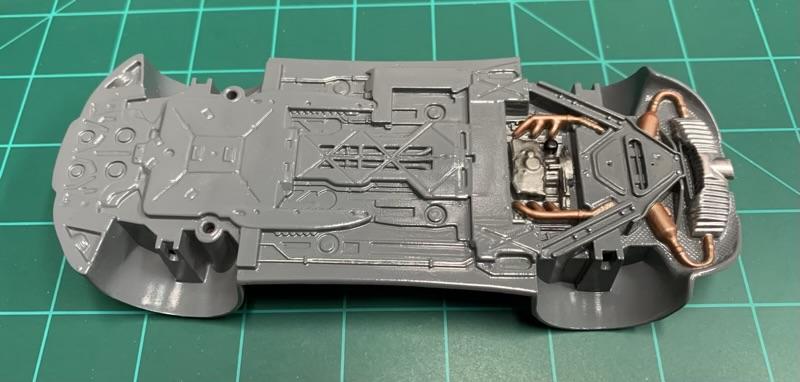
First real attempt at weathering. I’m not going heavy with this. Just lightly used. Think “track-day” car. This was done with Mr Weathering Color Multi Black. I’m going to let this dry for about a week and then I may add grayish brown from the same company. Then hit the whole thing with dull coat. Before After Opinions are welcome and would be appreciated!?
-
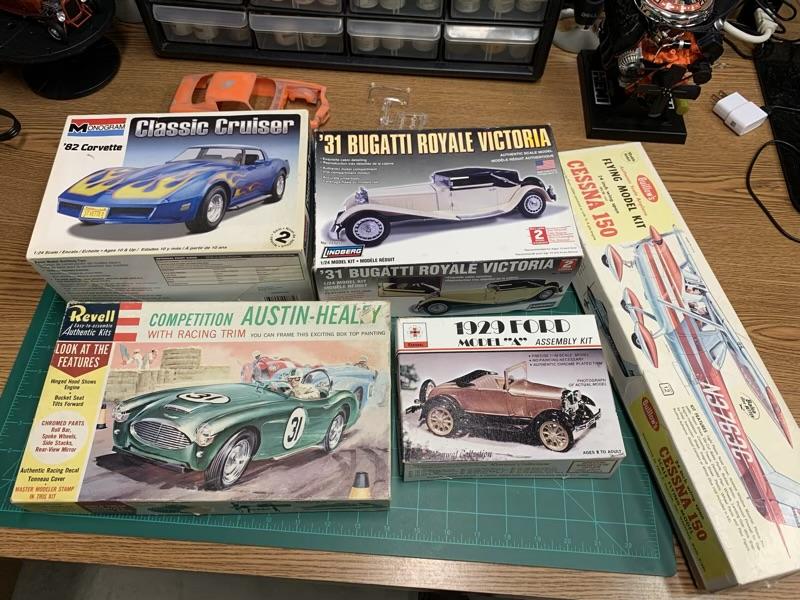
Nice haul!
-
Wow, does this bring back memories! I learned how to drive stick in one of these. I remember you had to hold the shifter in reverse to back up or it would pop out of gear.? Who makes this kit?
-
Looks awesome. I love this kit too. Built one when I was a kid and another when I first got back into building models. That was my first airbrush attempt too. Yours makes me want a third.
-
Looks great! I love seeing these older kits that rarely show up on here.
-
Too bad it was such a rough build, but looks like you overcame all the obstacles. It's gorgeous!
-
Hasegawa VW T1 pickup
atomicholiday replied to happy grumpy's topic in Model Trucks: Pickups, Vans, SUVs, Light Commercial
Terrific build quality. The wood decking in the bed looks awesome. -
At $8-9 for a box of 100, unless these I bought just fall through the plastic, I know what I’ll be getting next time.?
- 39,123 replies
-
- 1
-
-
- johan
- glue bombs
- (and 1 more)
-
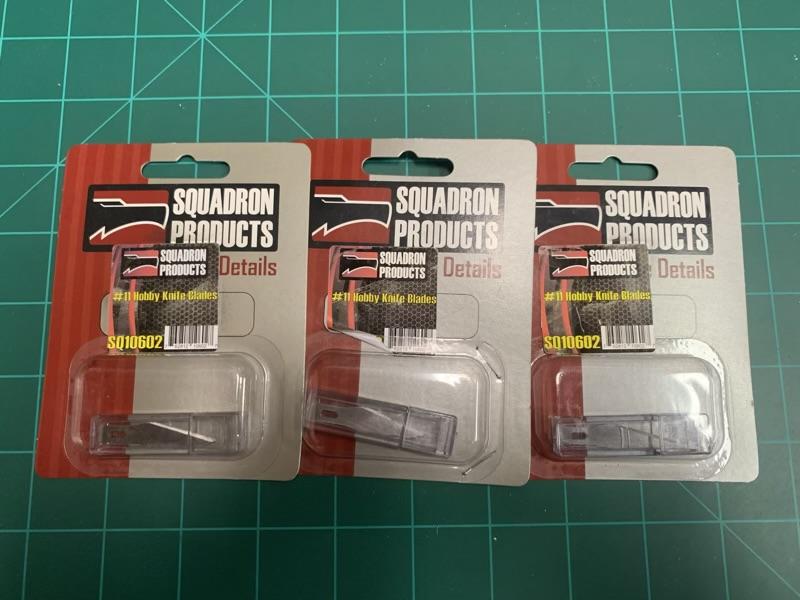
That’s how the Squadron blades are supposed to be. I wonder if hobbylinc sent me the wrong thing, or maybe Squadron changed their blades? I’m not going to get excited about it because it’s not that much money, but these aren’t what I expected.
- 39,123 replies
-
- 1
-
-
- johan
- glue bombs
- (and 1 more)
-
Fort Wayne area too. And if you’re not sure, you can check the sales flyer on their website.
-
Got some new Squadron blades to try for BMF. Curious though. The packaging is different than what they showed online.?
- 39,123 replies
-
- 1
-
-
- johan
- glue bombs
- (and 1 more)
-
Looks great! What kit is that?
-
I absolutely love the look of these. Great job!