Nosferatu
-
Posts
490 -
Joined
-
Last visited
Content Type
Profiles
Forums
Events
Gallery
Everything posted by Nosferatu
-
'34 Ford Pickup
Nosferatu replied to RT6PK's topic in WIP: Model Trucks: Pickups, Vans, SUVs, Light Commercial
Nice job! I love those darkened spokes on the wheels. Dave -
60 Apache mock up
Nosferatu replied to Fantom's topic in WIP: Model Trucks: Pickups, Vans, SUVs, Light Commercial
Two tone always looks great! I don't think I'd lower the roof as you may have an issue with the windshield. As far as the whitewall tires, they look good. The wheels would need to be black between the spokes just my opinion. Dave -
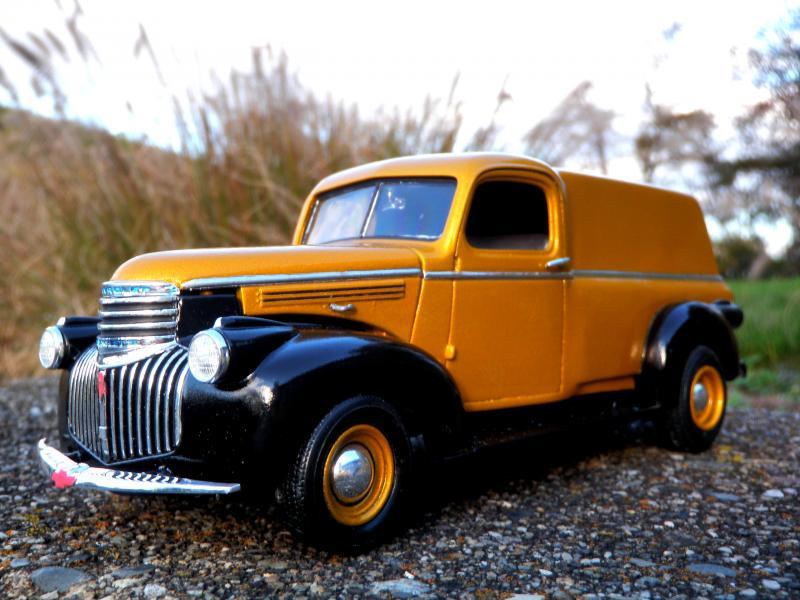
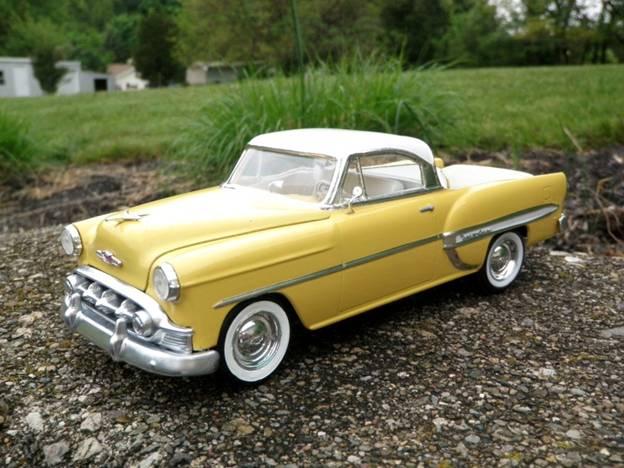
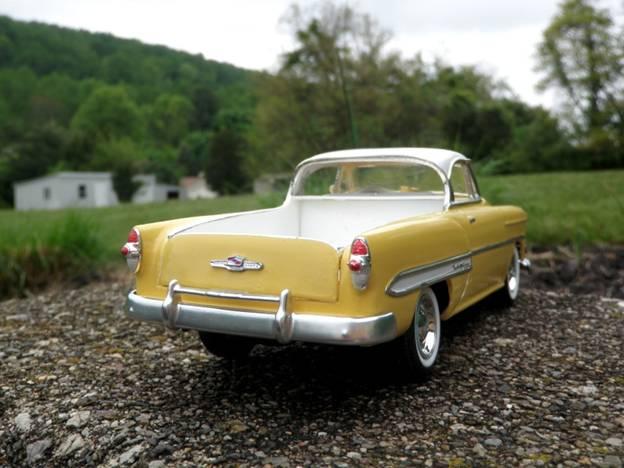
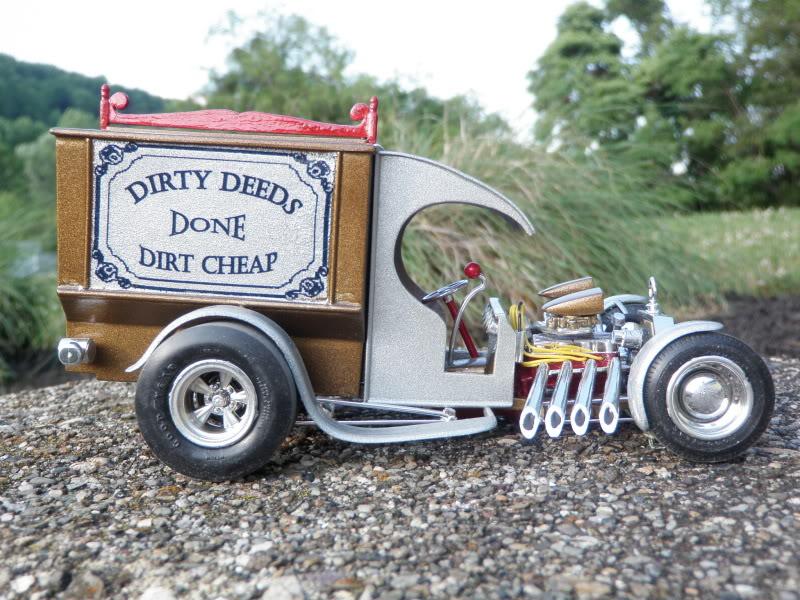
Here are a few of mine.

-
It's Like Driving A Tank!
Nosferatu replied to Nosferatu's topic in WIP: Model Trucks: Pickups, Vans, SUVs, Light Commercial
Steve, I first put a piece of painters tape on the glass then I used a very small drill in the center of where I wanted the star, but I didnt drill thru the glass. Then I used an exacto knife to cut the cracks by pulling the blade from the drill notch to the outside, then pull off the tape. You may want to try this on a piece of test glass. Dave -
Looks good! I agree, its good exercise for arthritic hands as well! Dave
-
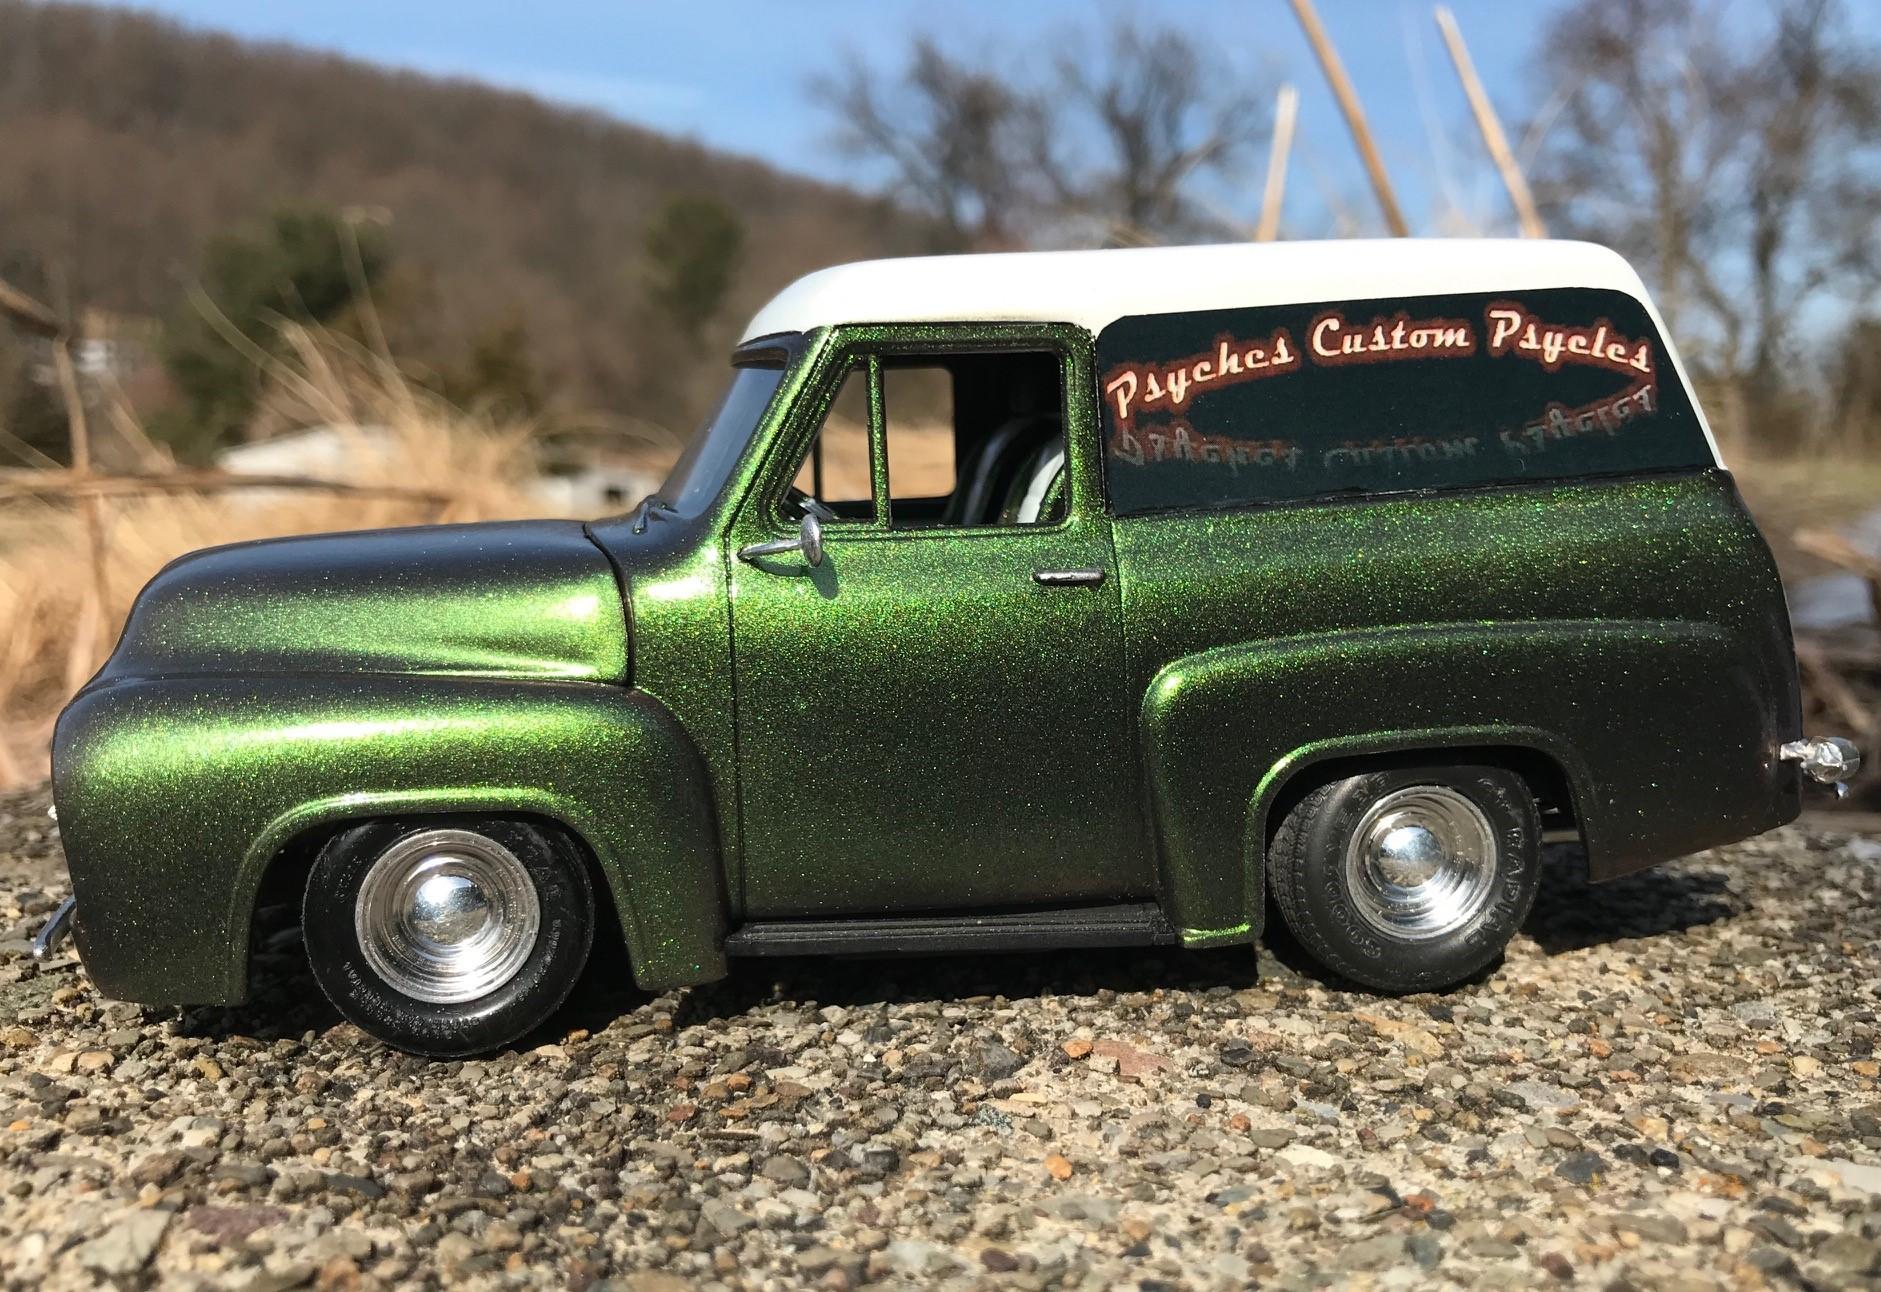
1956 Ford Pickup Pro Street
Nosferatu replied to Zippi's topic in Model Trucks: Pickups, Vans, SUVs, Light Commercial
Beautiful shiny paint! You did a great job on this one. Dave -
'25 Model T C-cab
Nosferatu replied to Slotto's topic in WIP: Model Trucks: Pickups, Vans, SUVs, Light Commercial
Nice C cab. Those look good as a stock build. Dave -
Here is the link to more pics of that one.
-
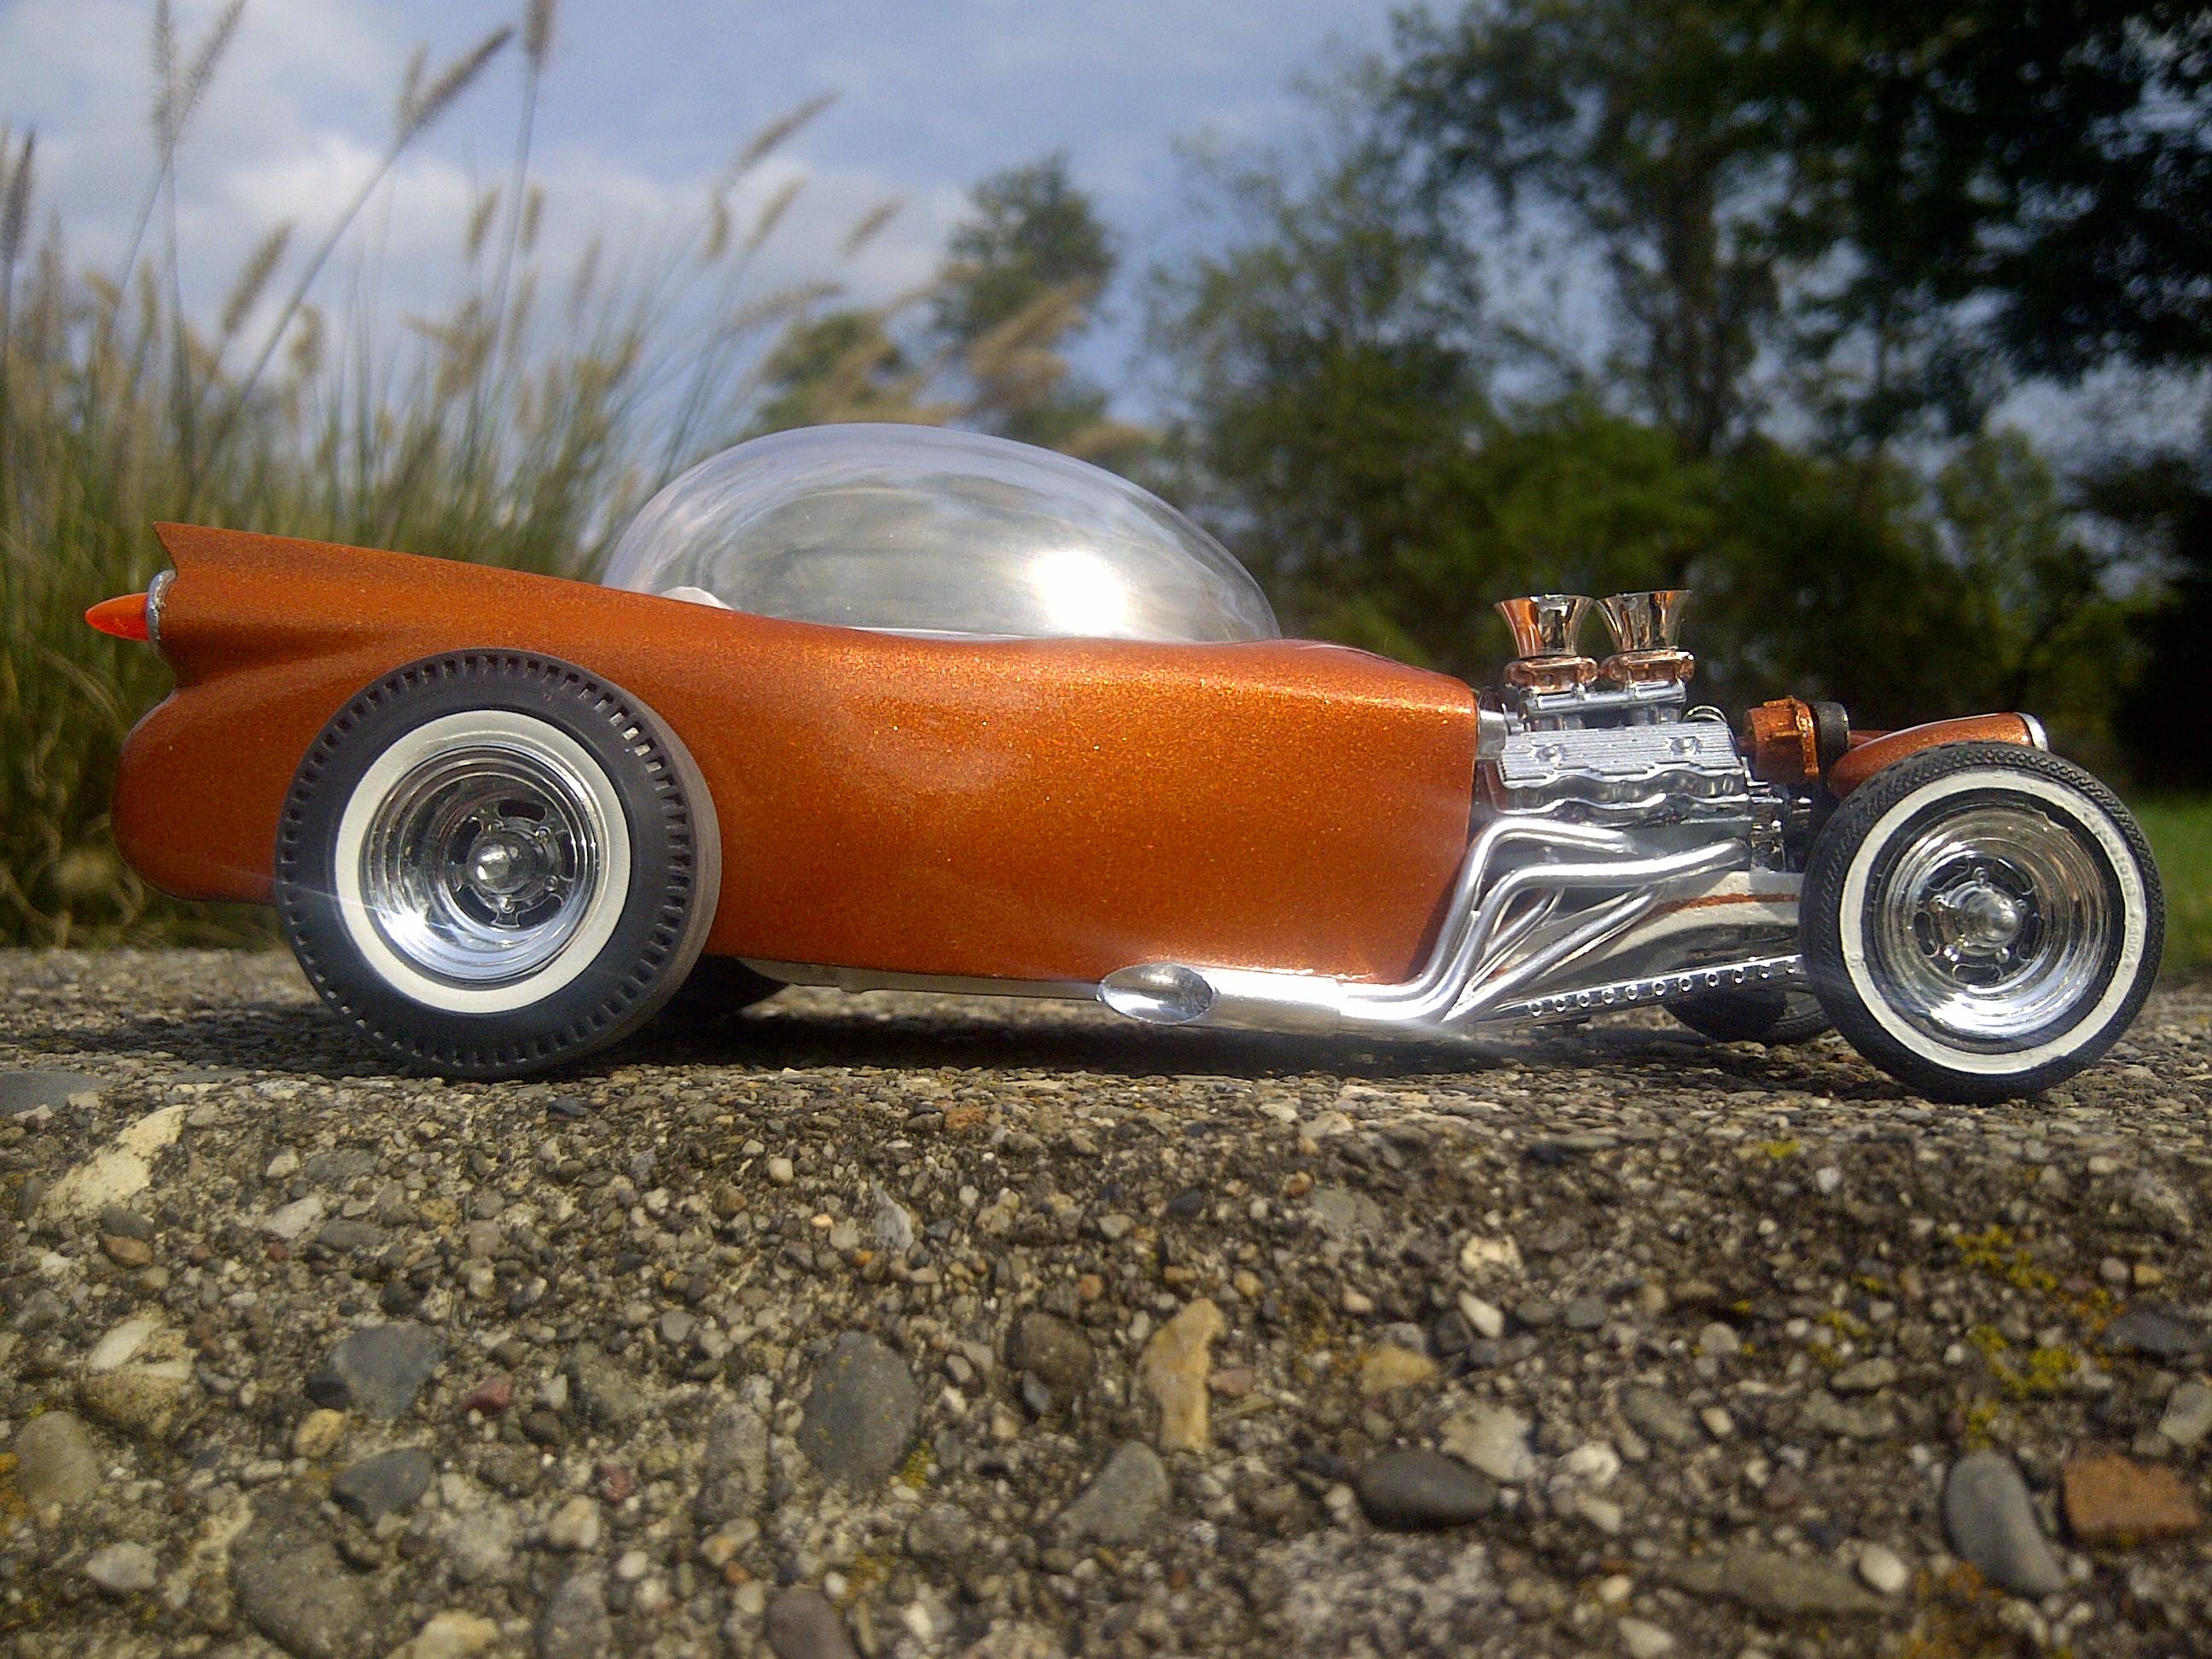
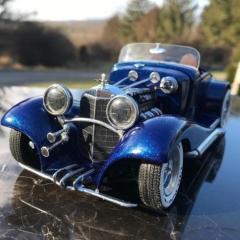
ea0863, Thanks for your post. I really like the truck!. I'll bet that '59 Imperial speedster took quite a lot of time to build. I have designed and built a few models like my Imperial Rod. Here are some:
-
Thanks guys! This will be an Aaron Grote type build.
-
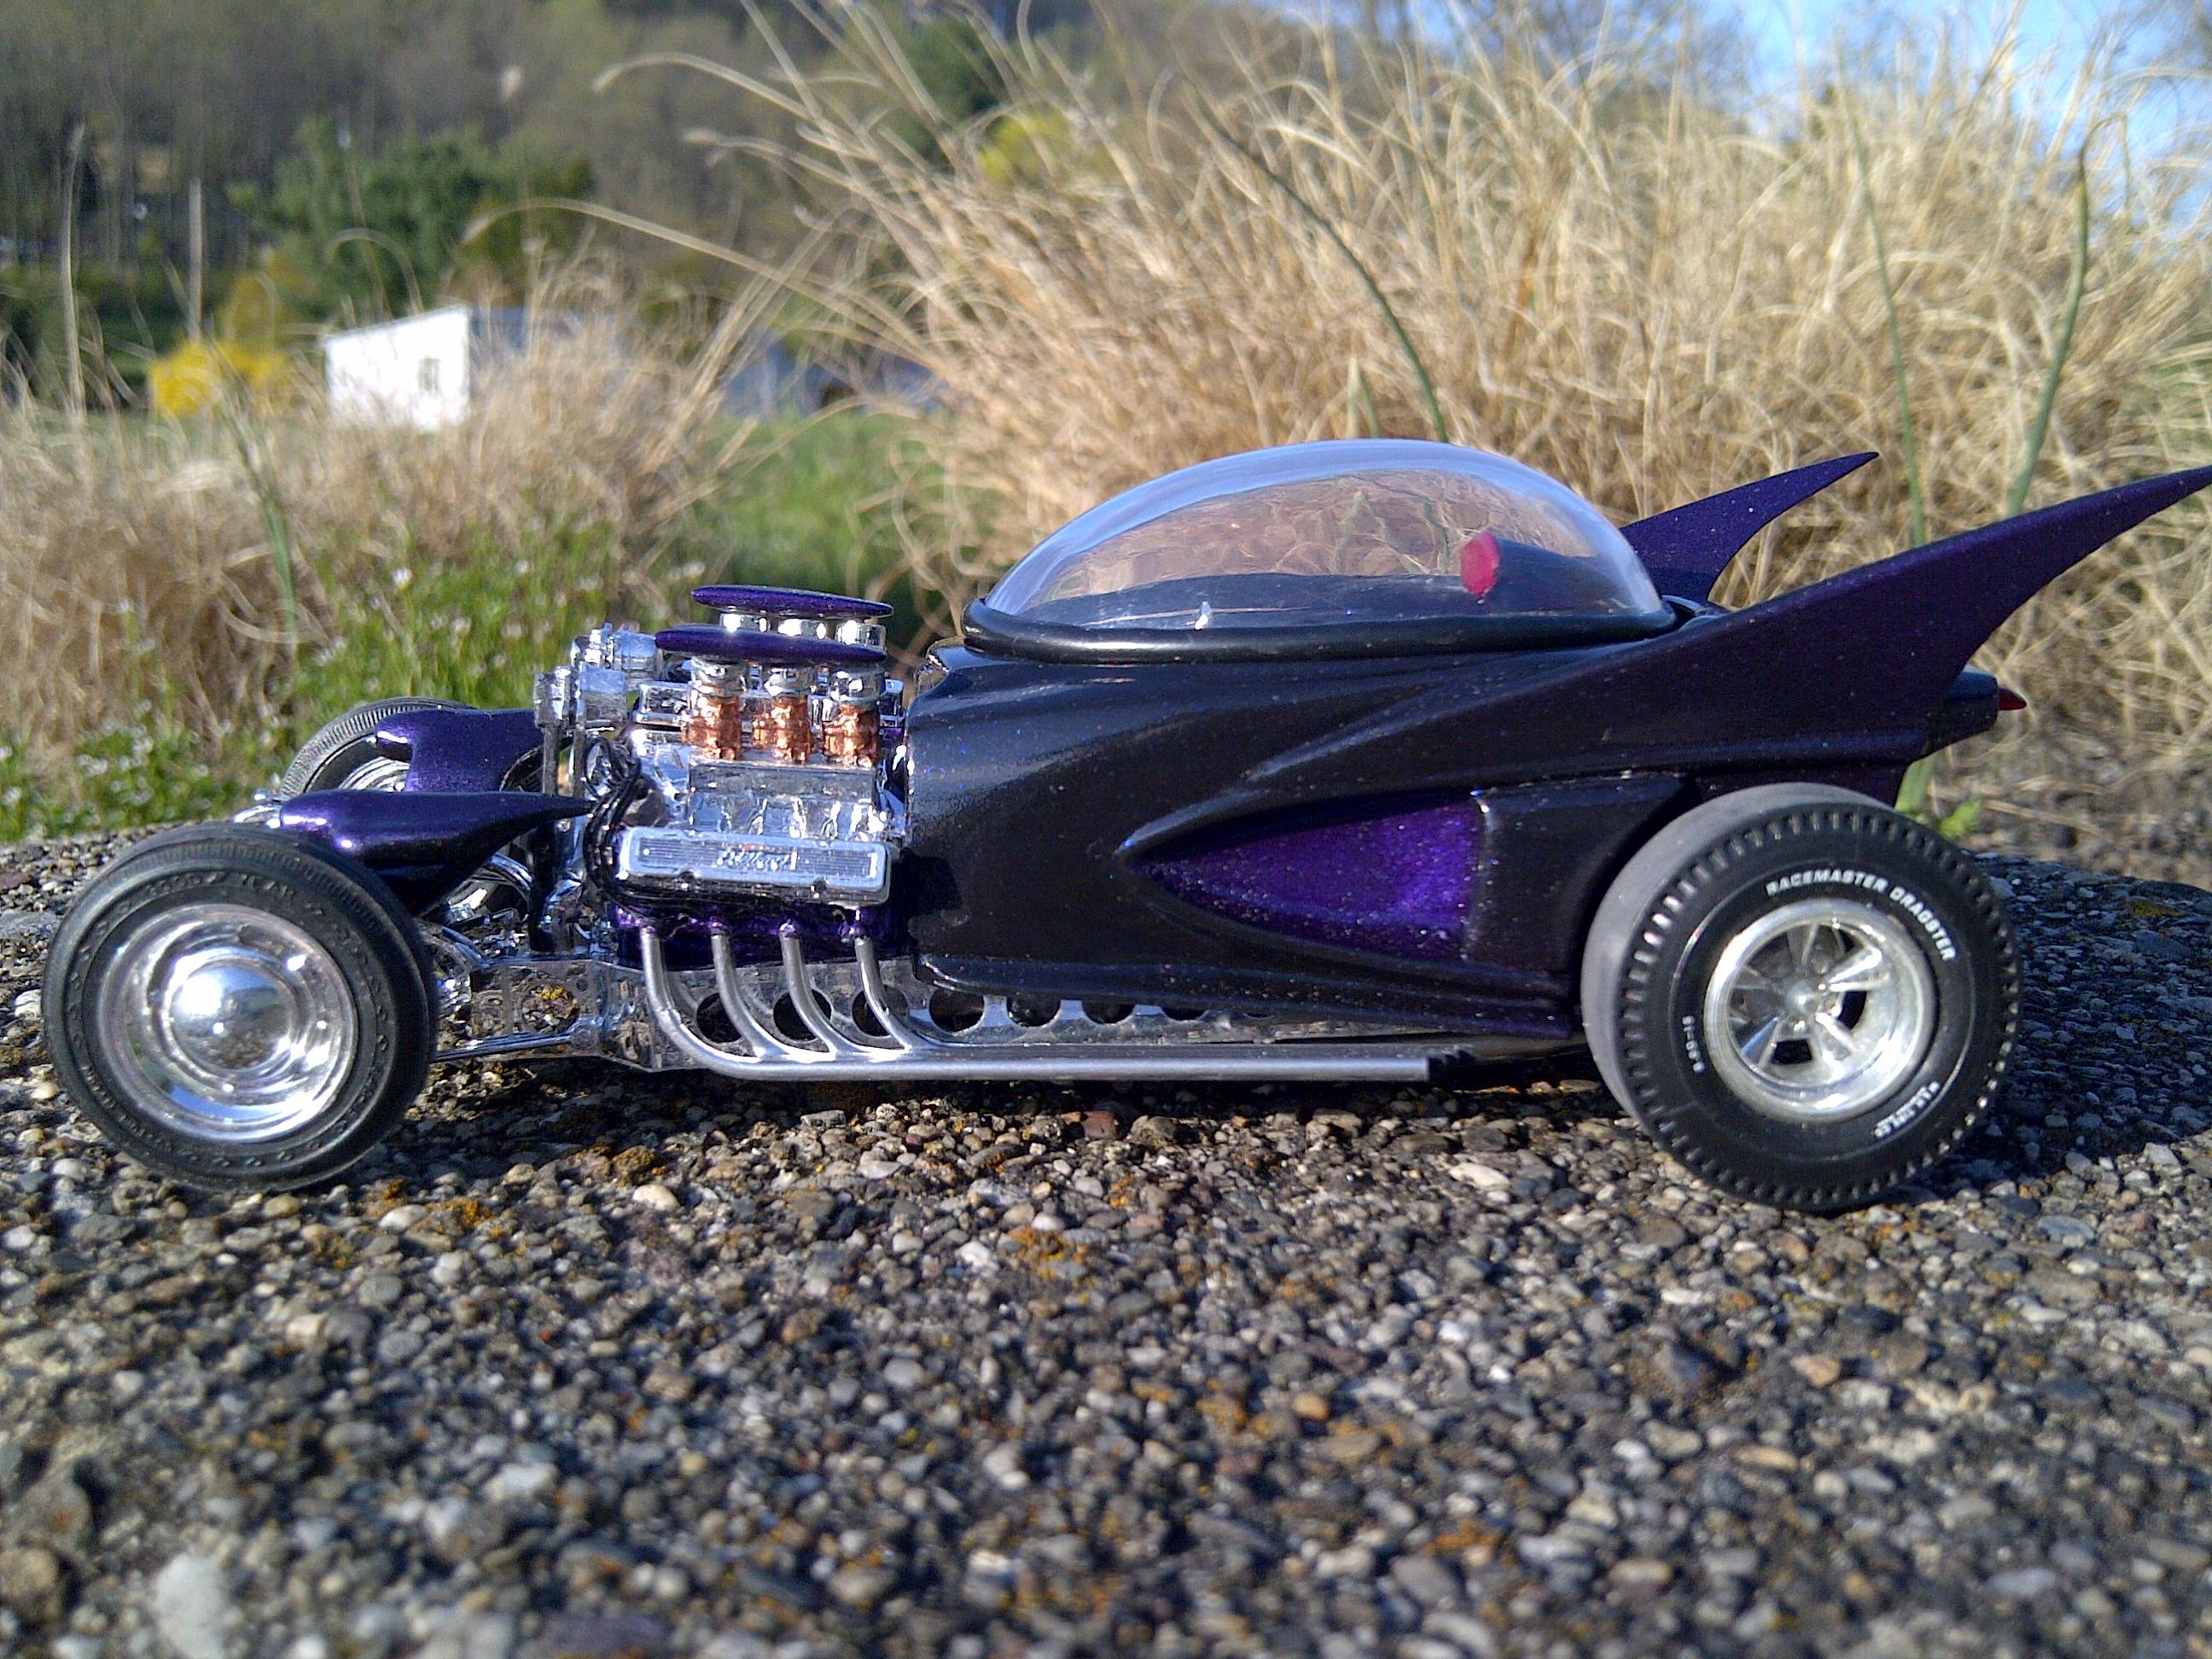
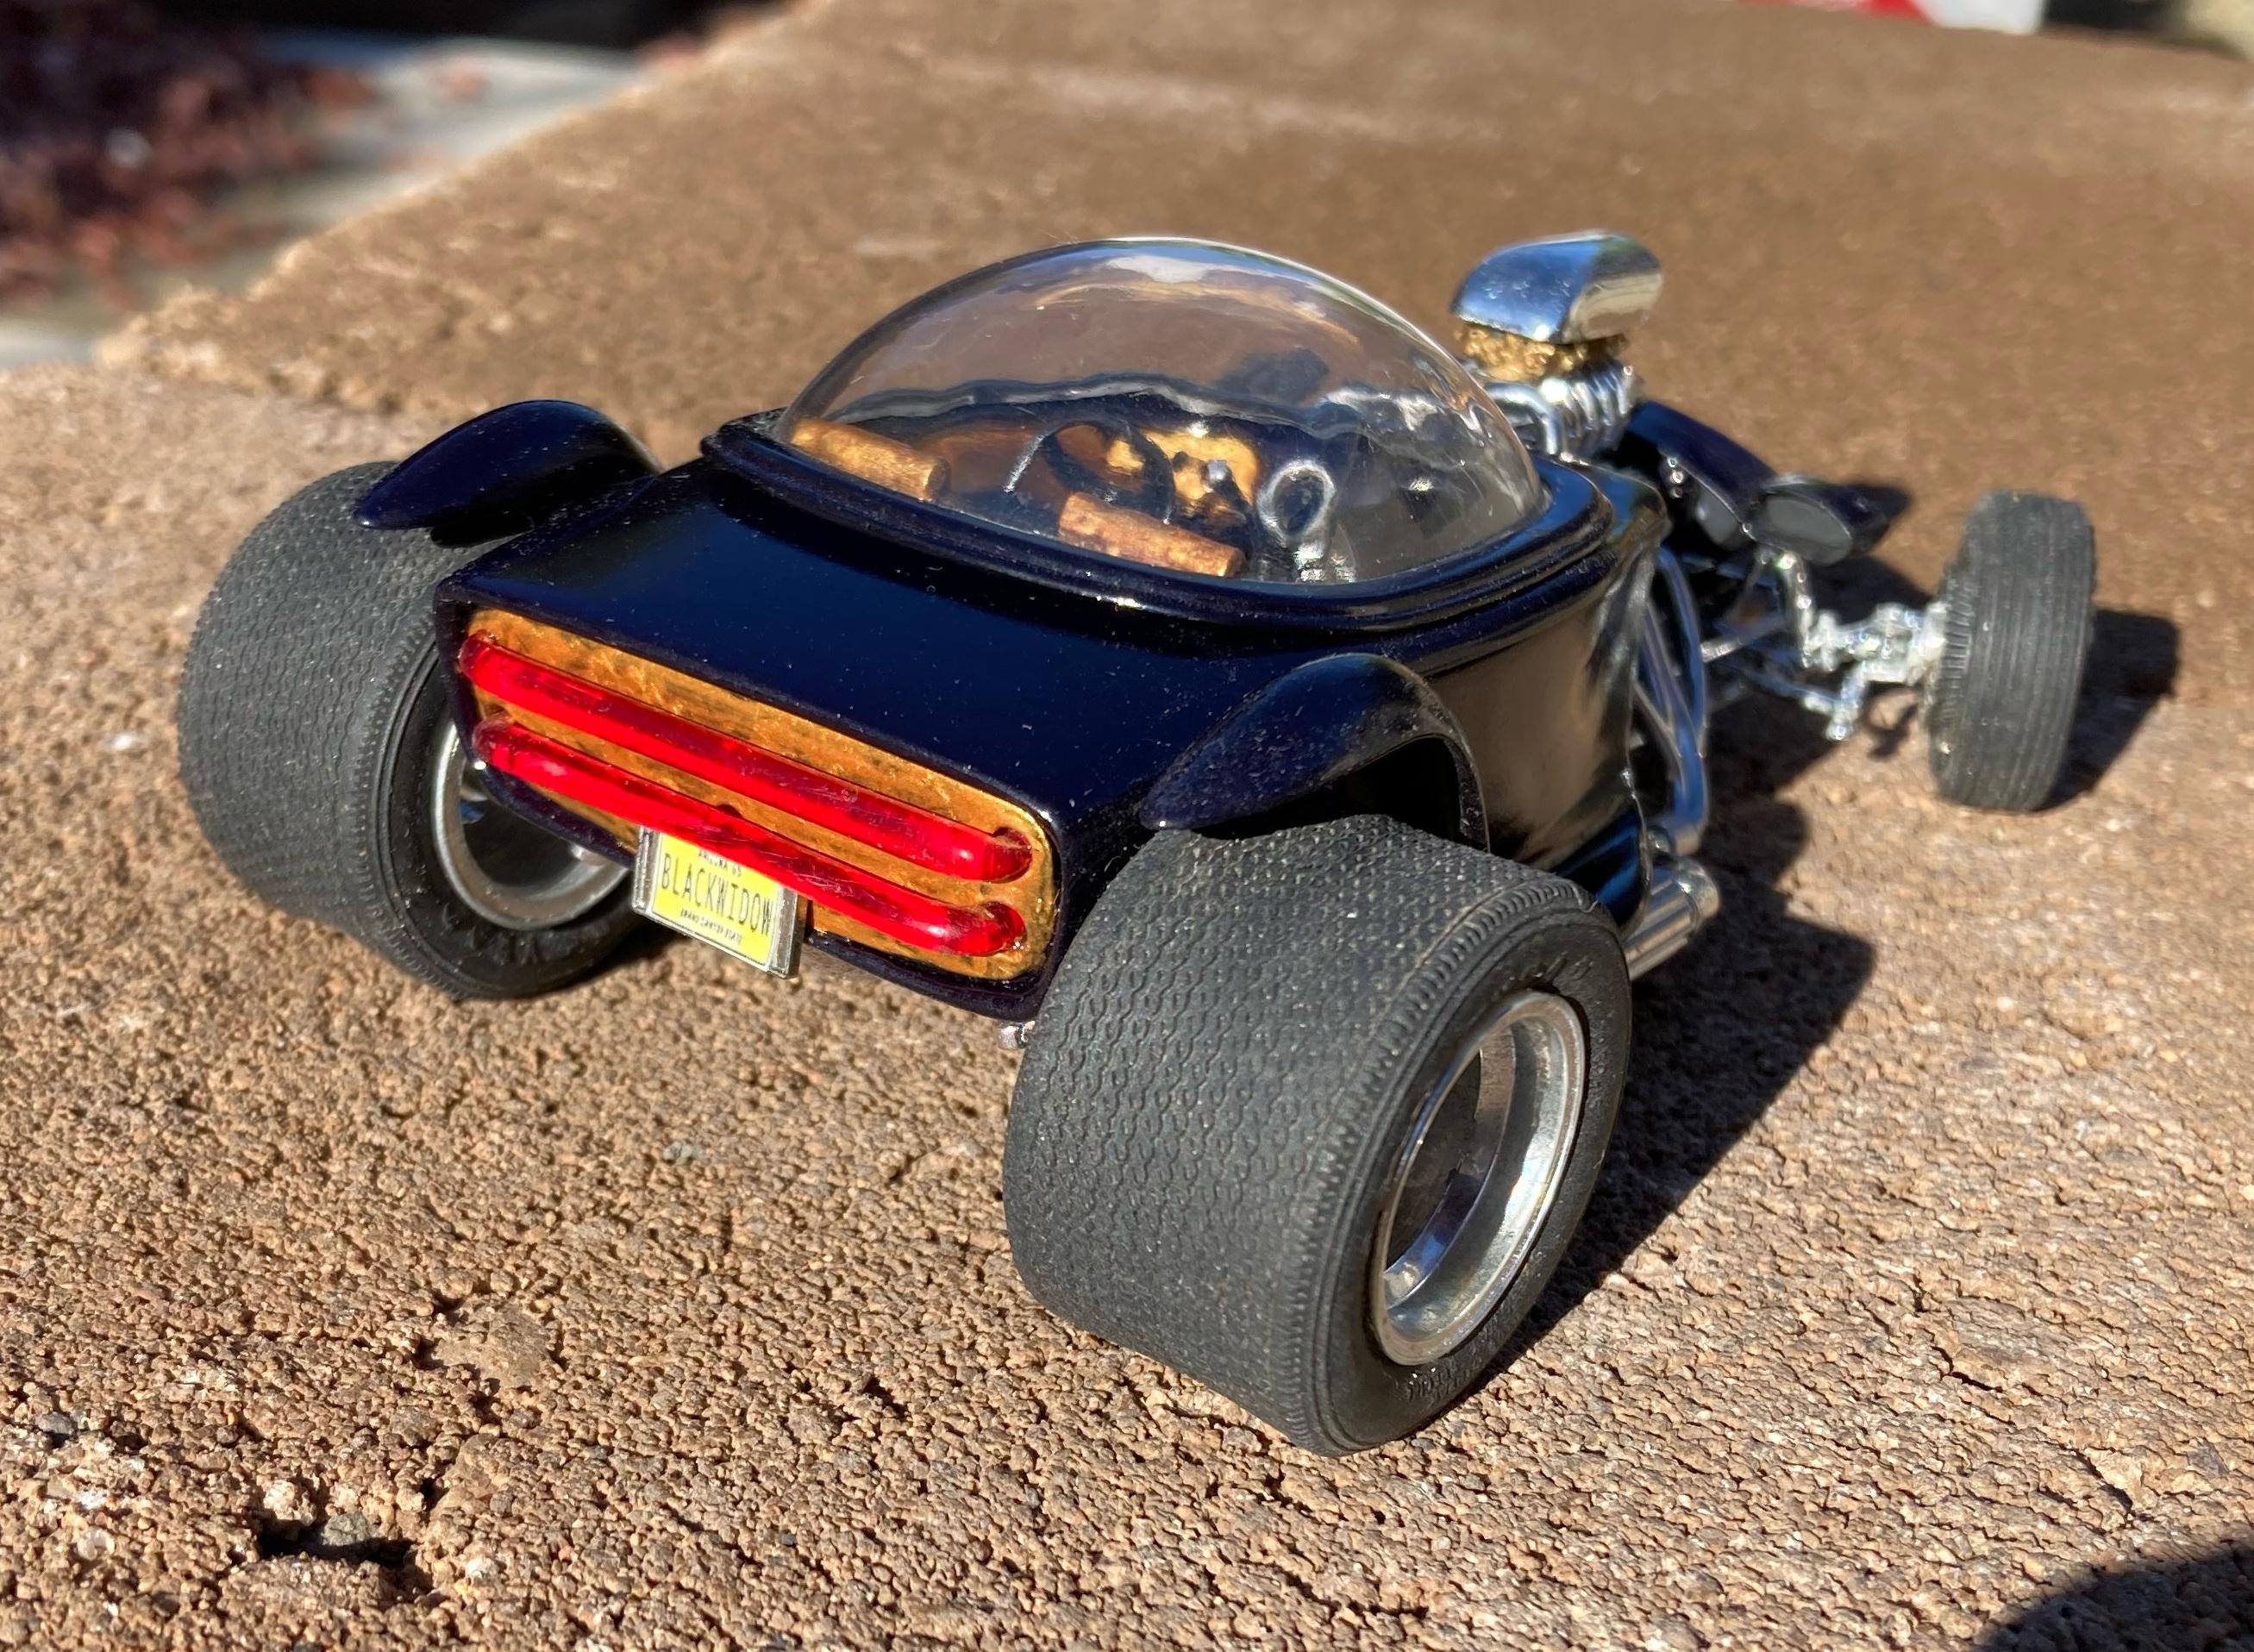
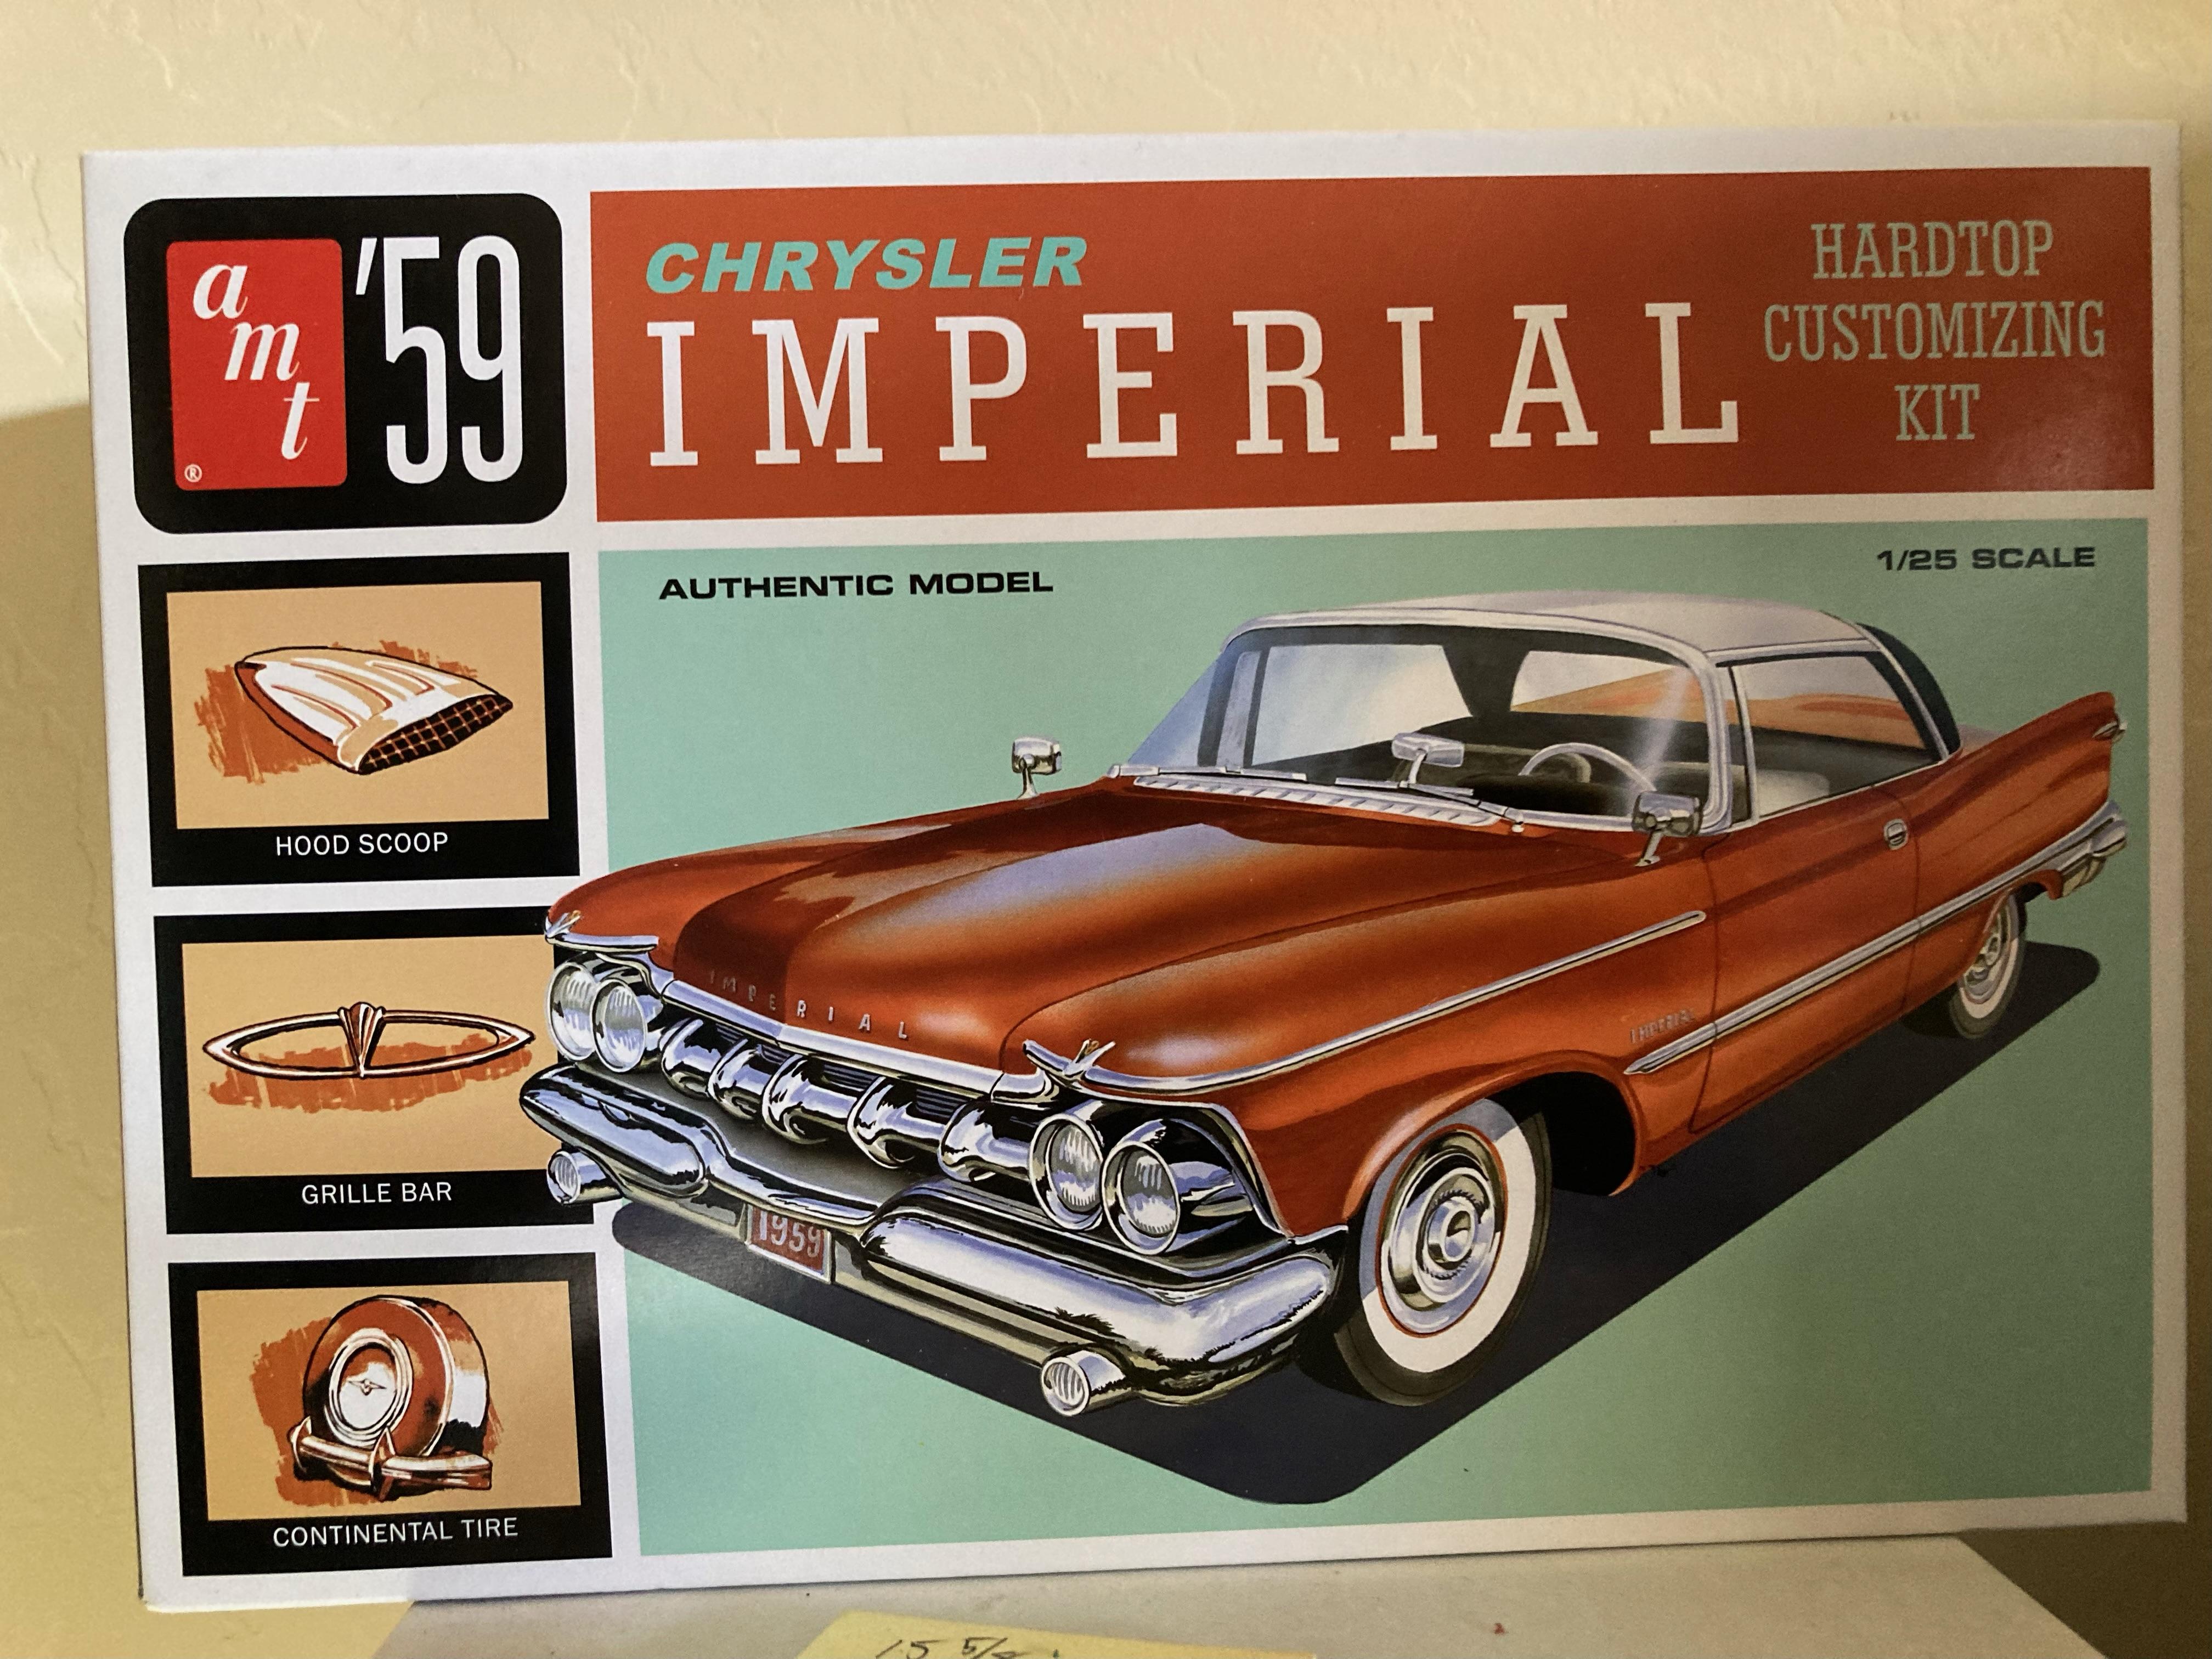
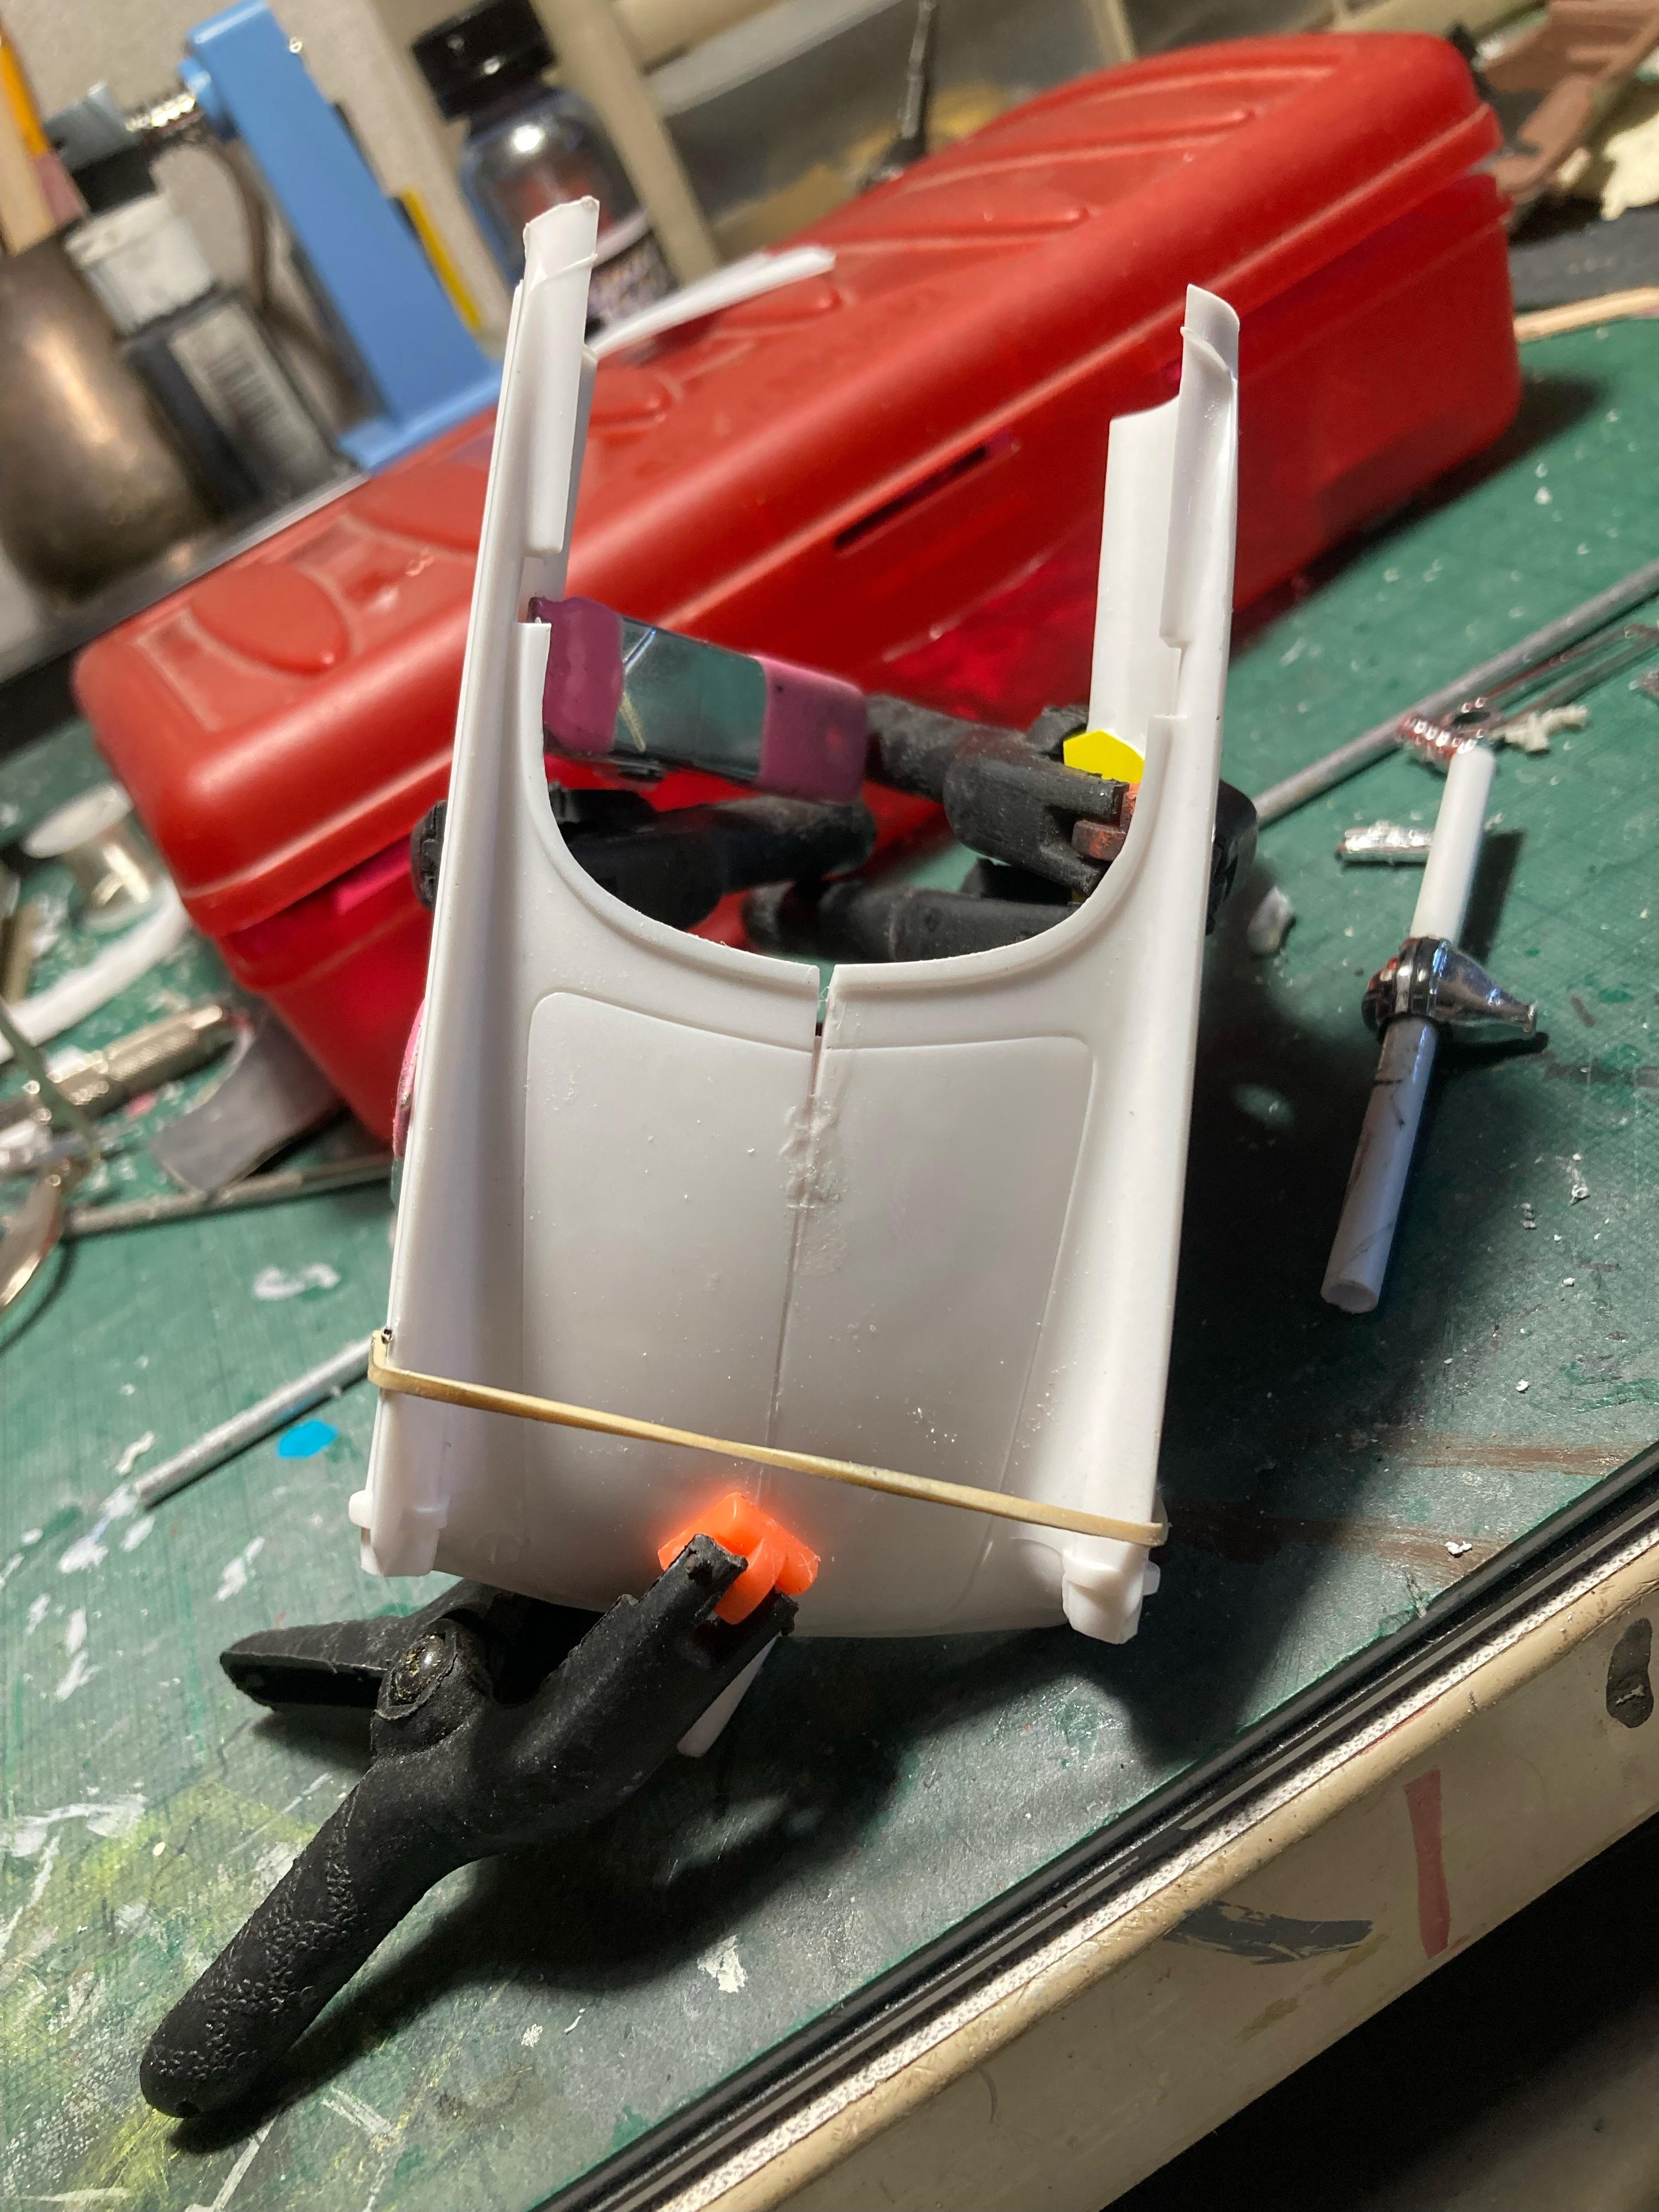
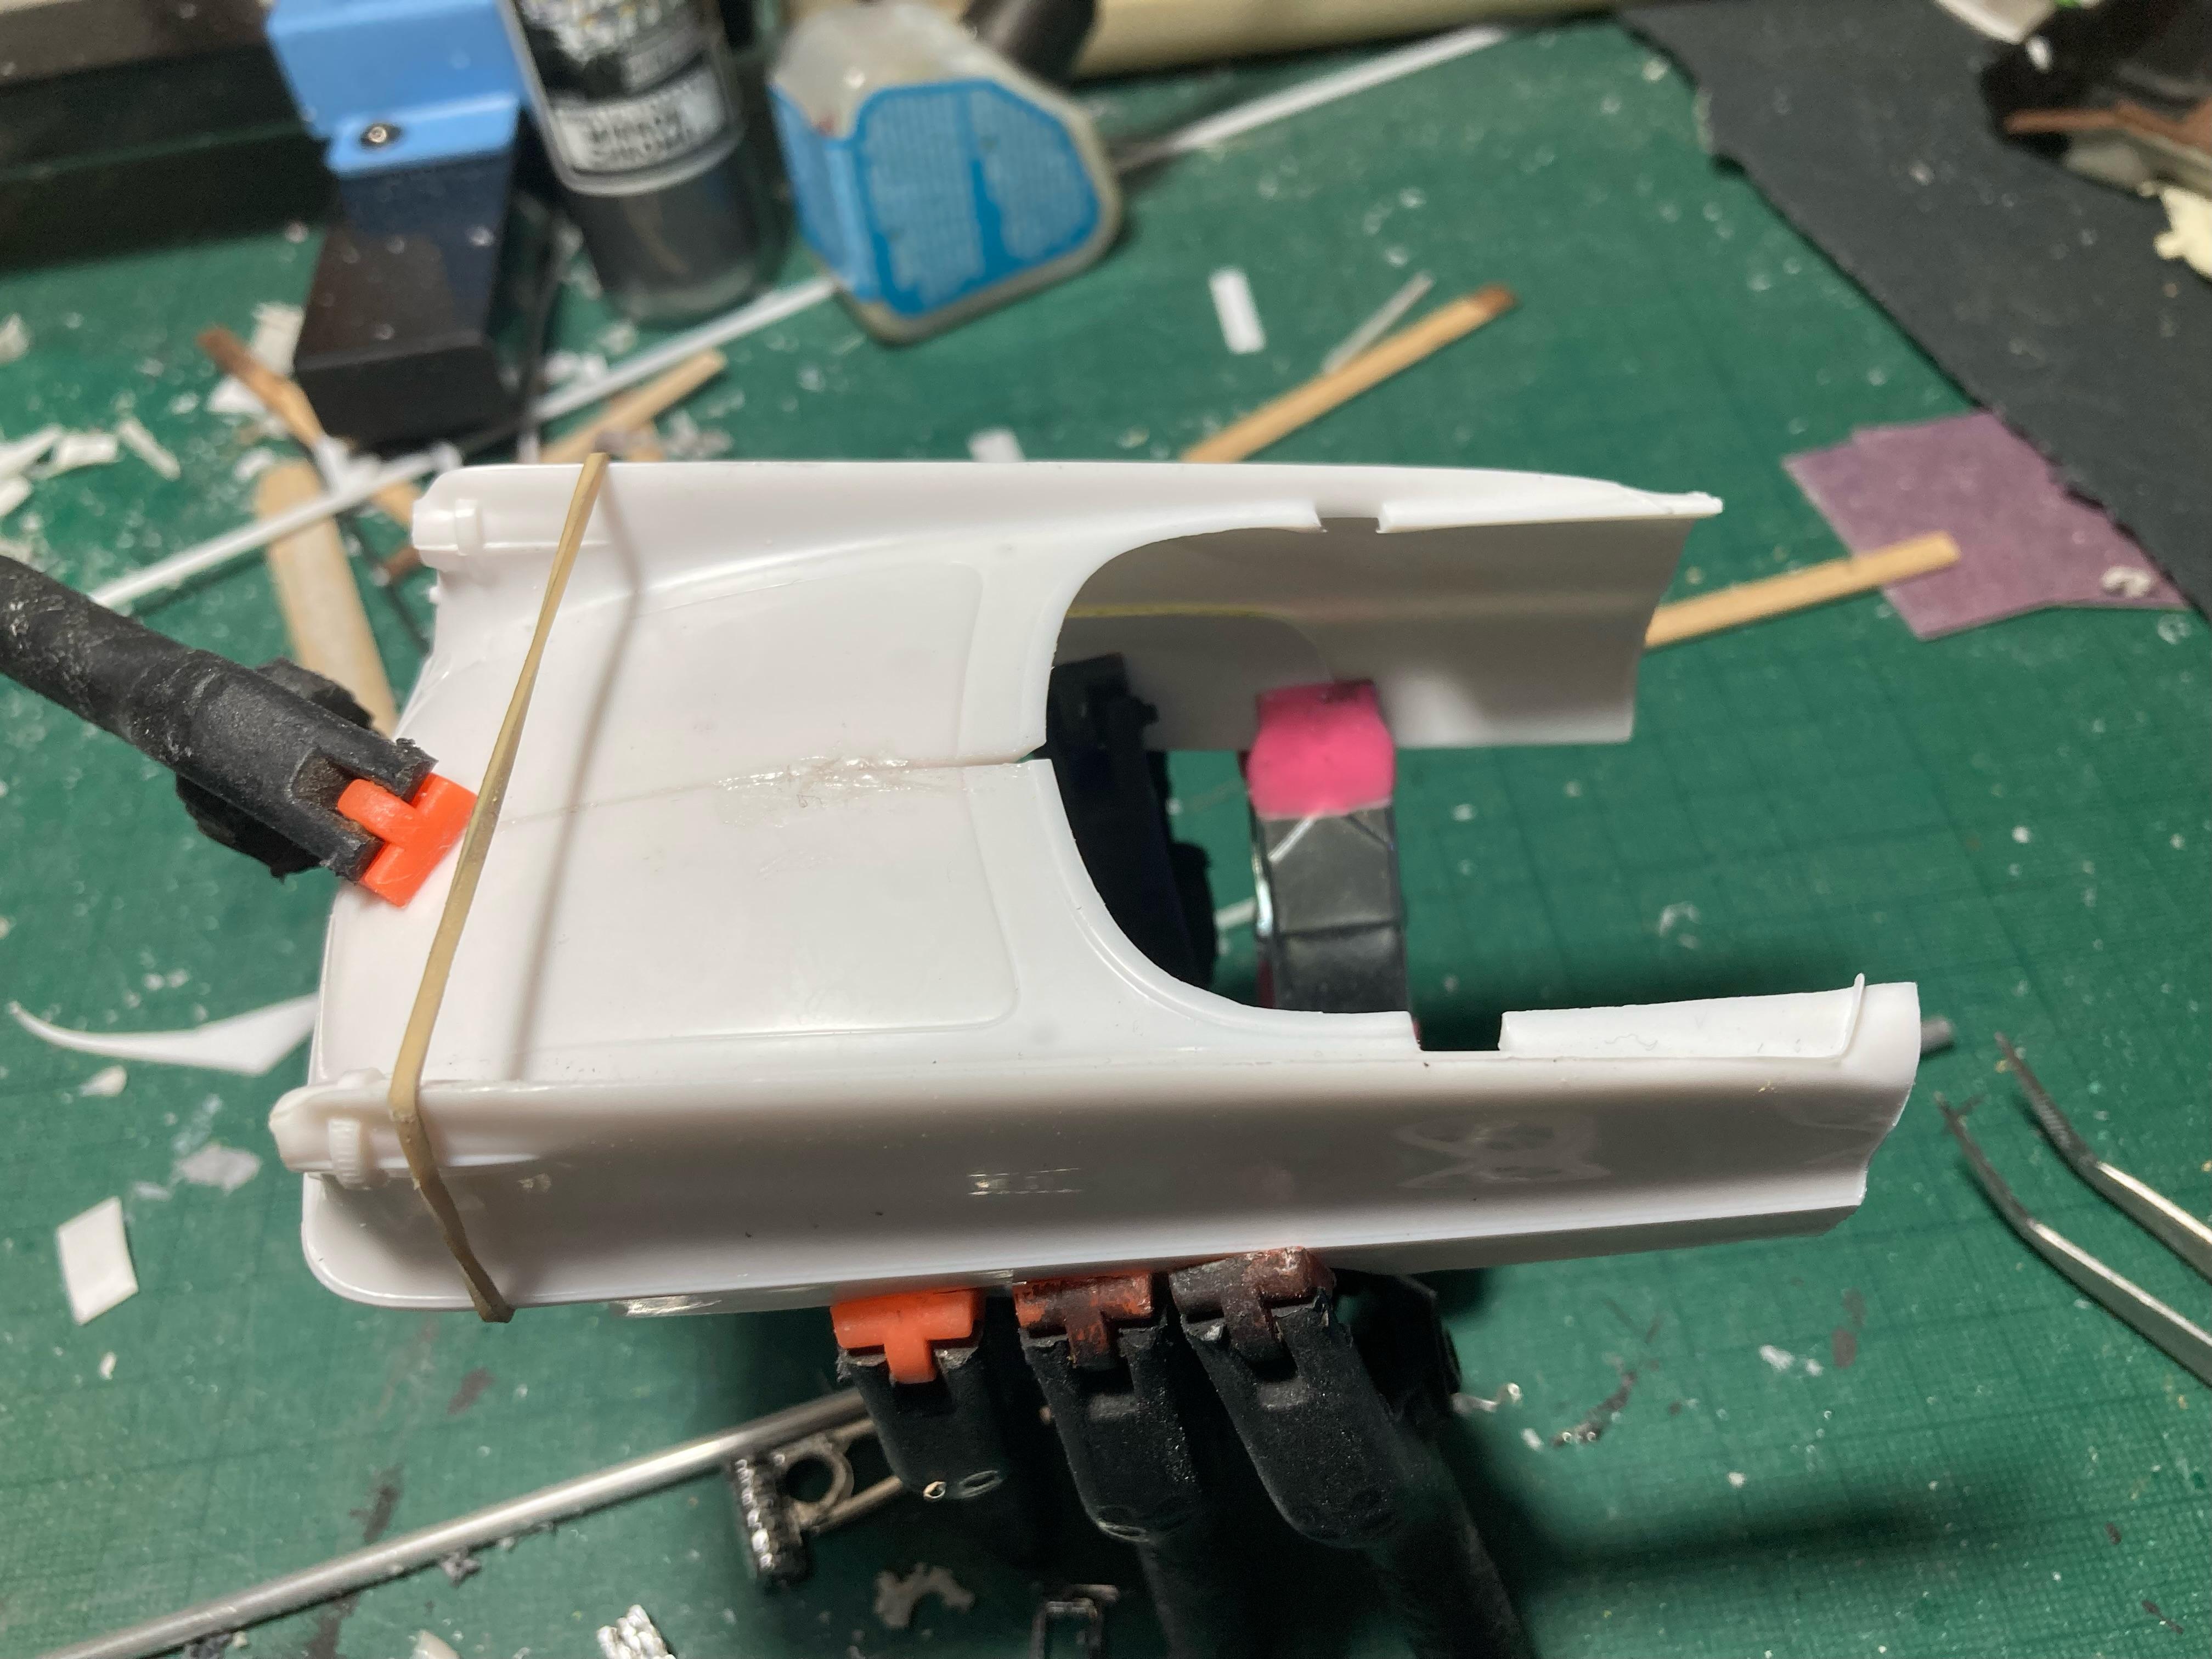
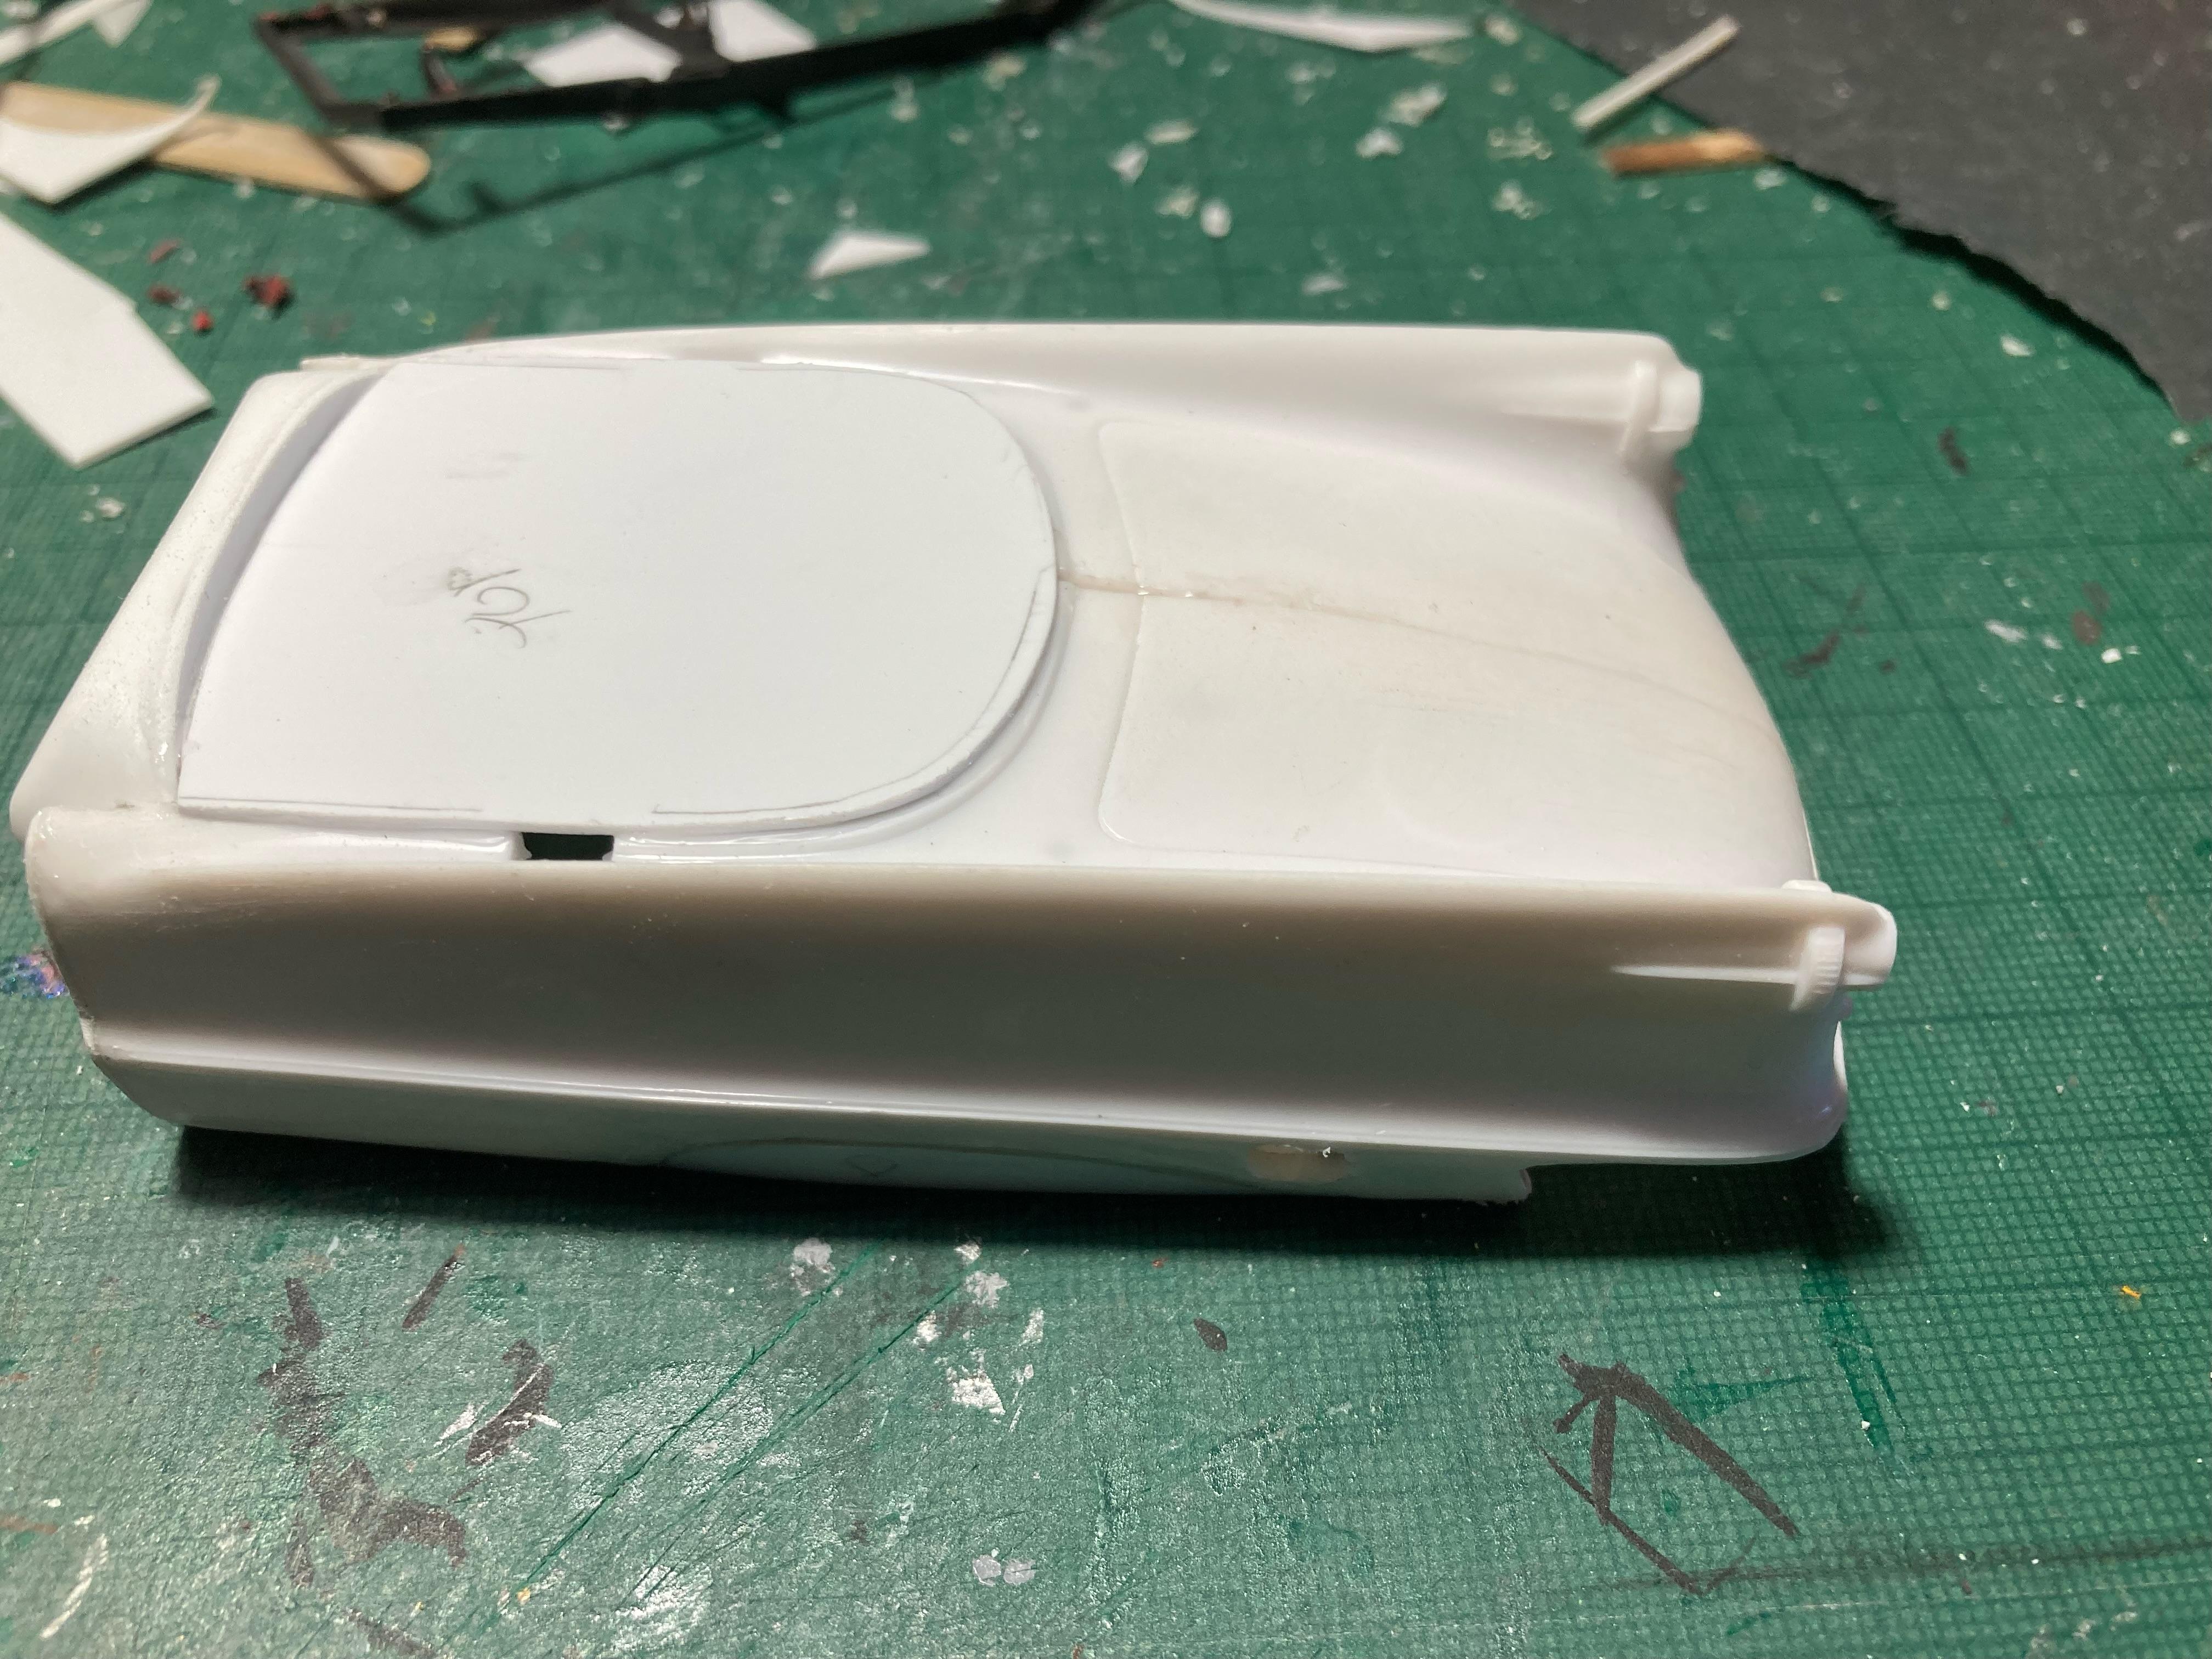
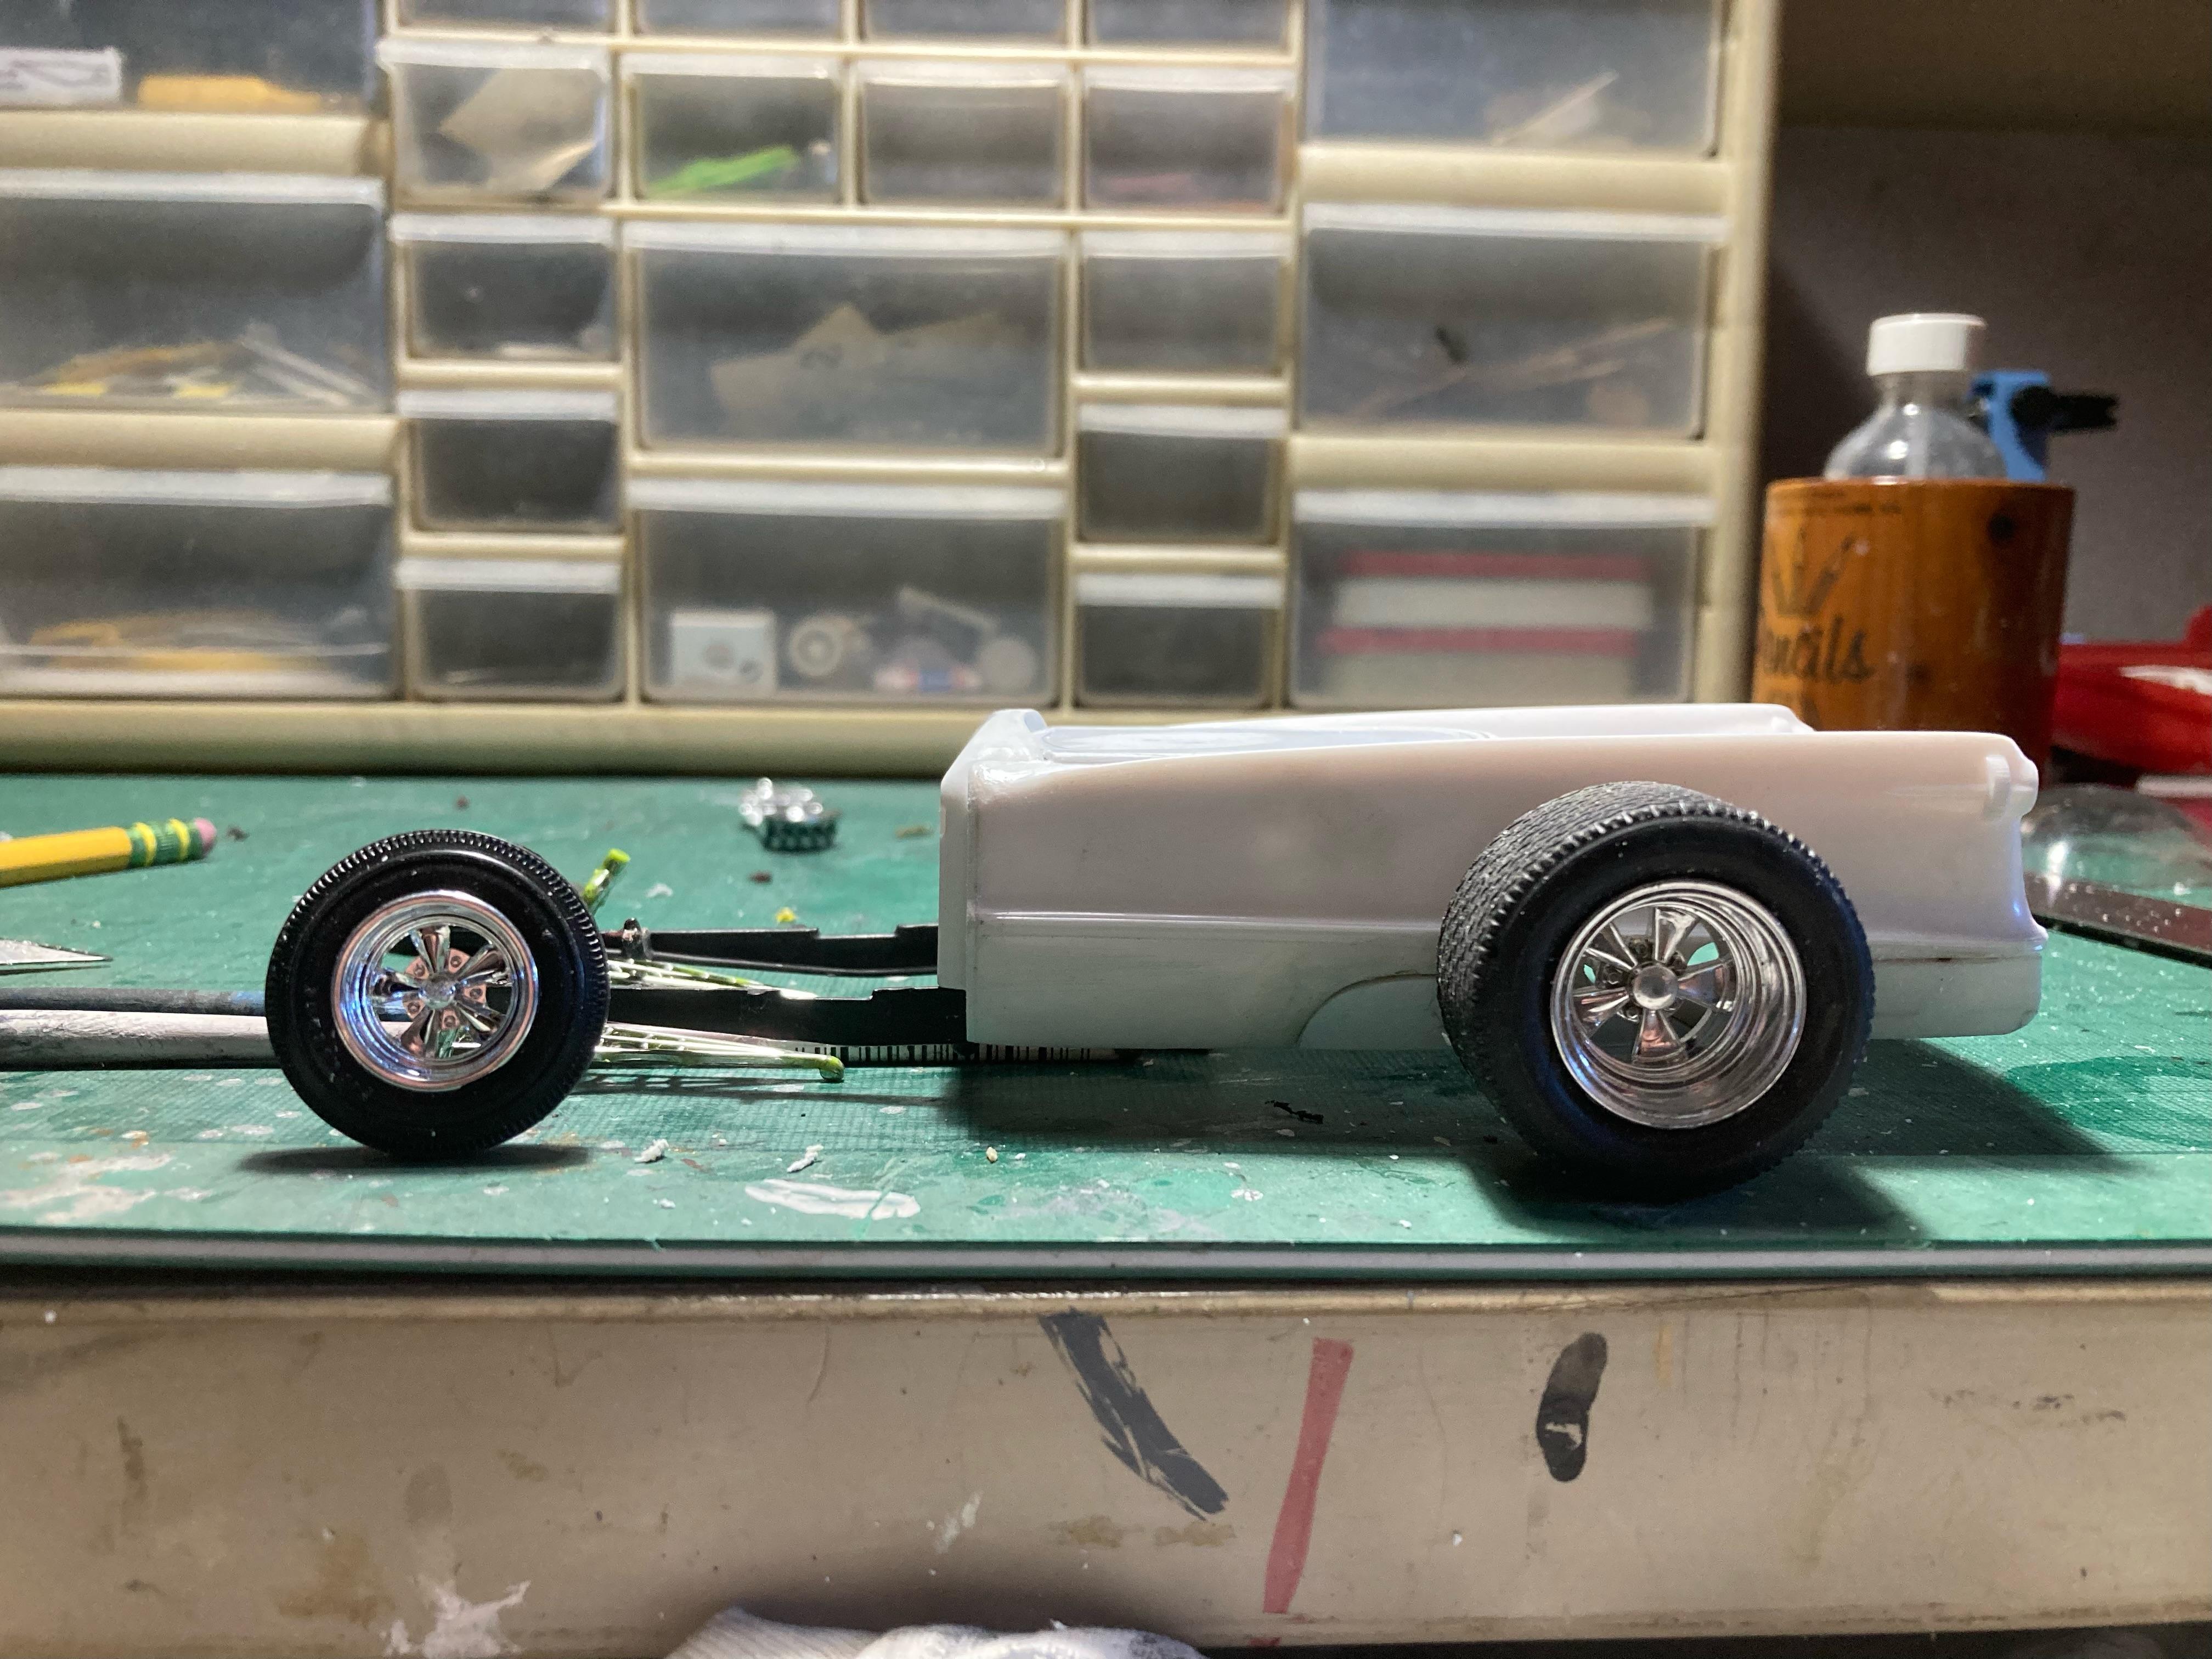
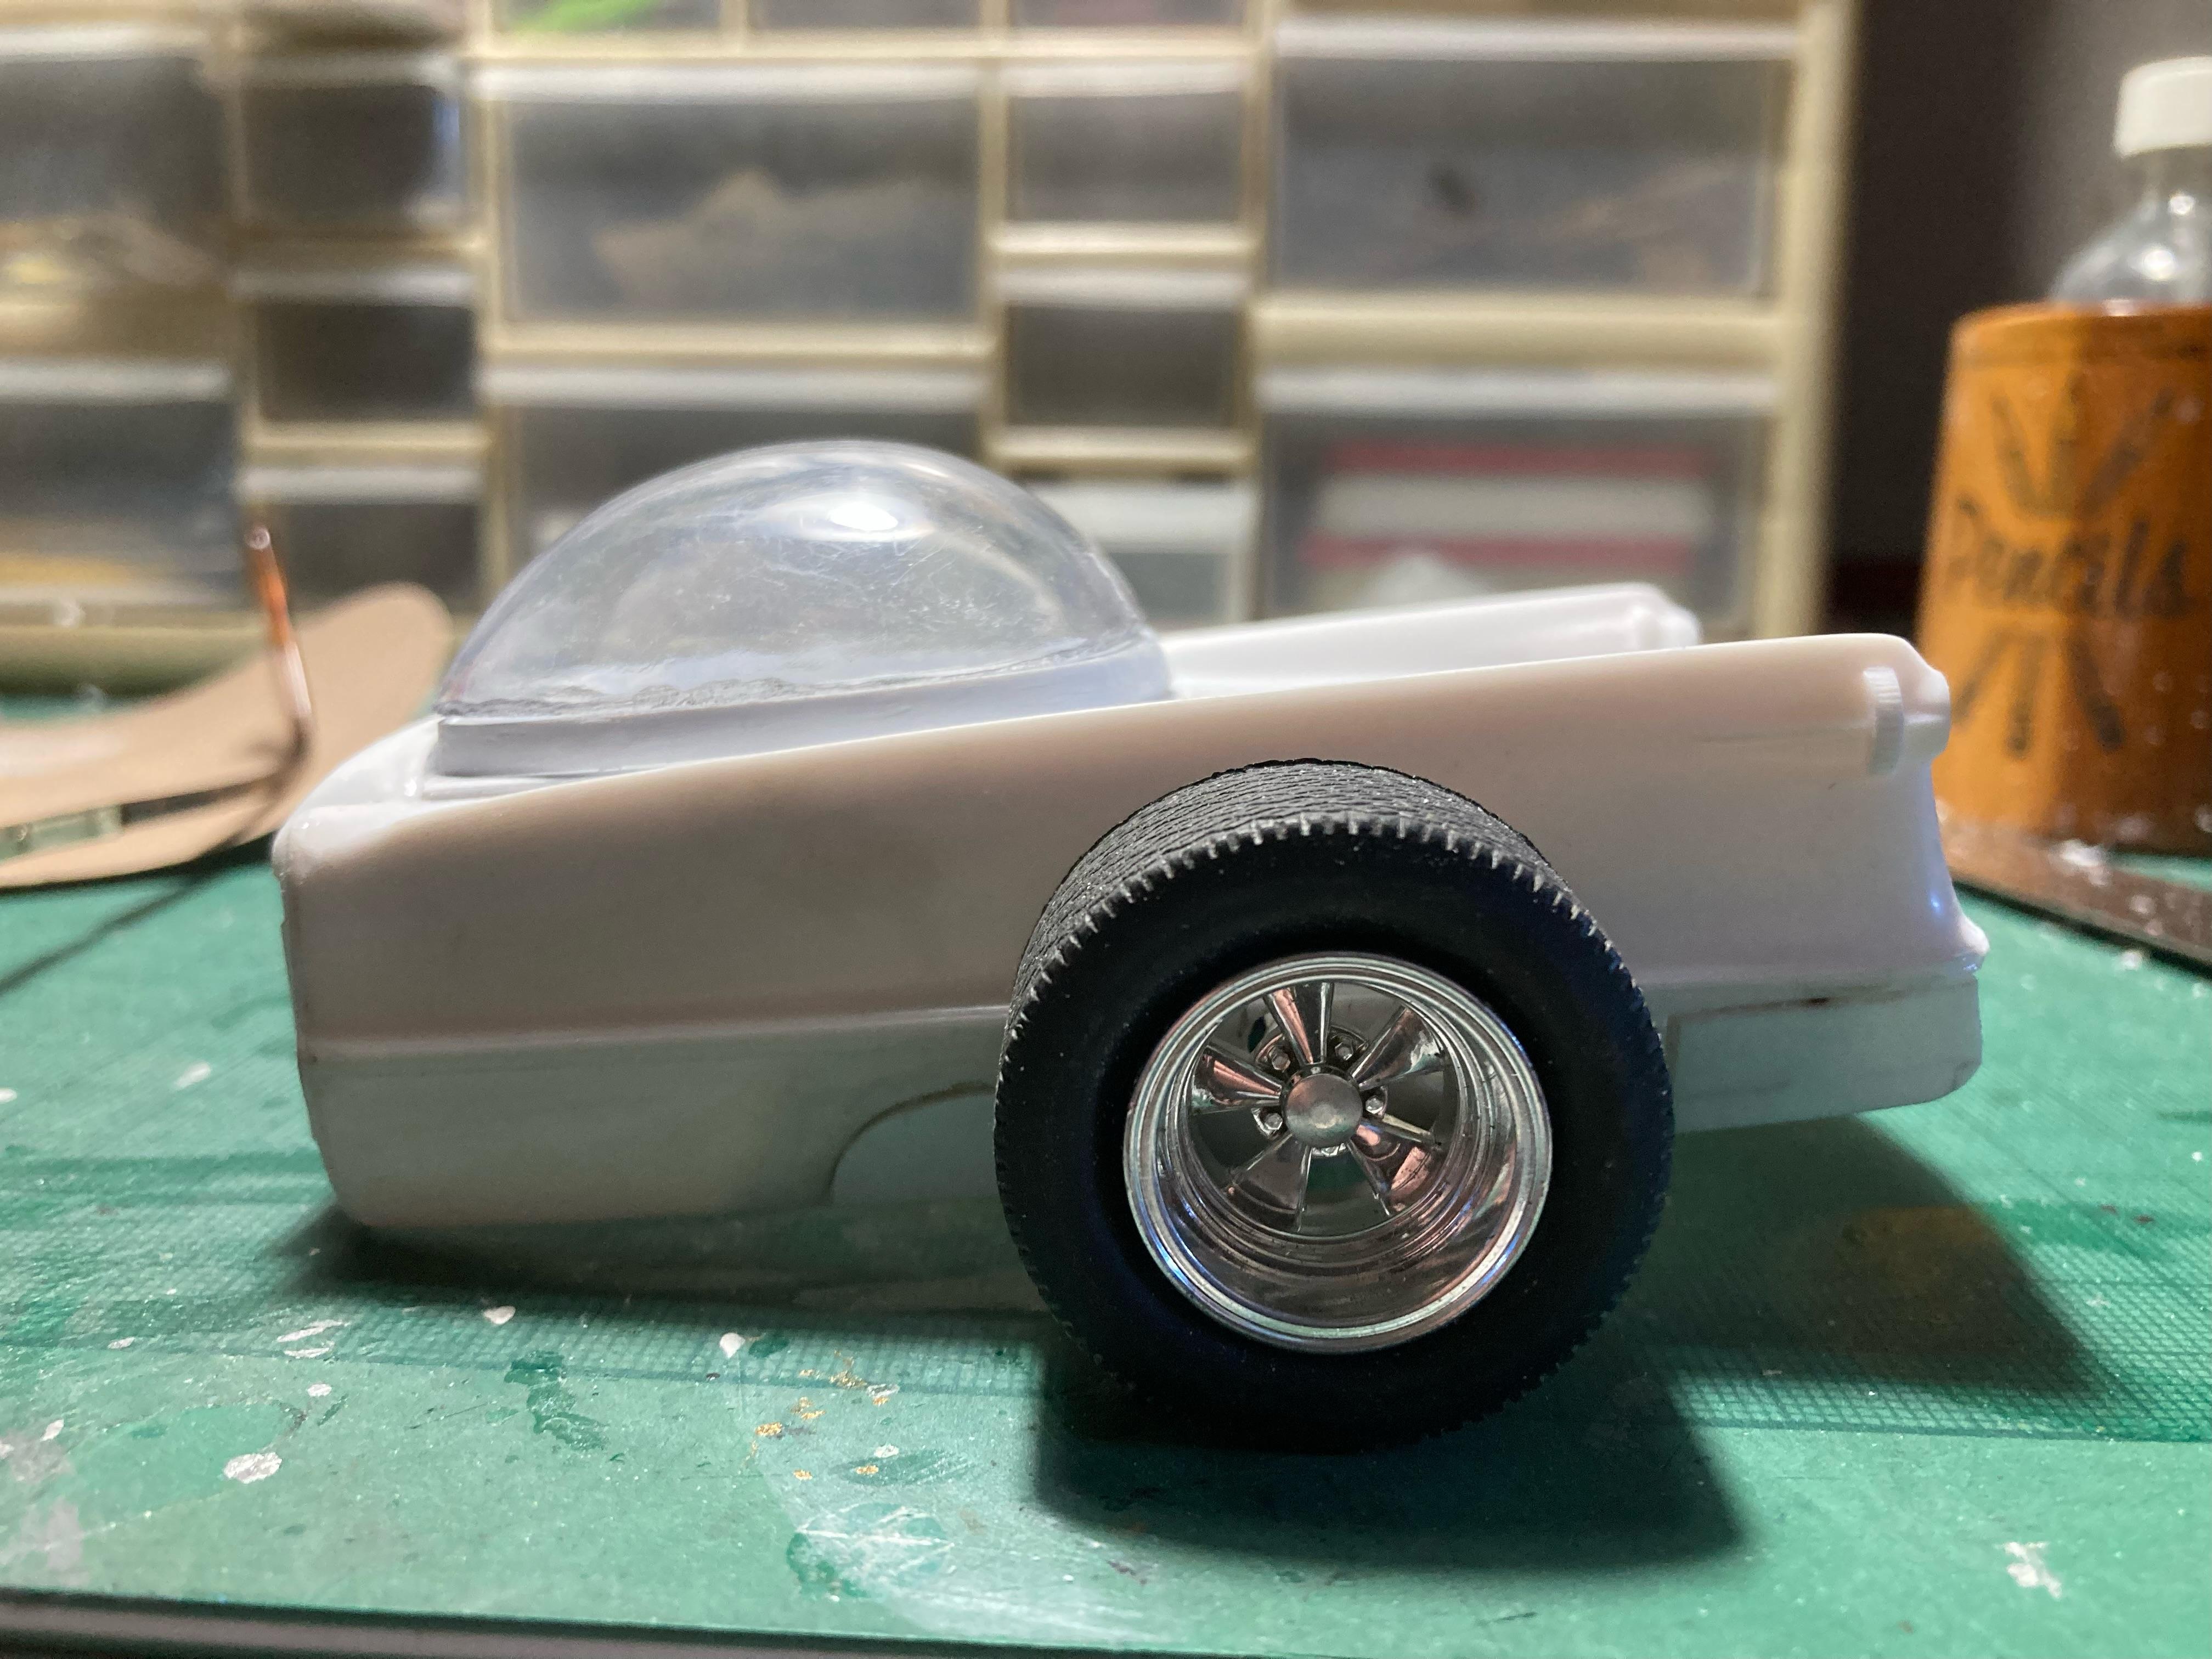
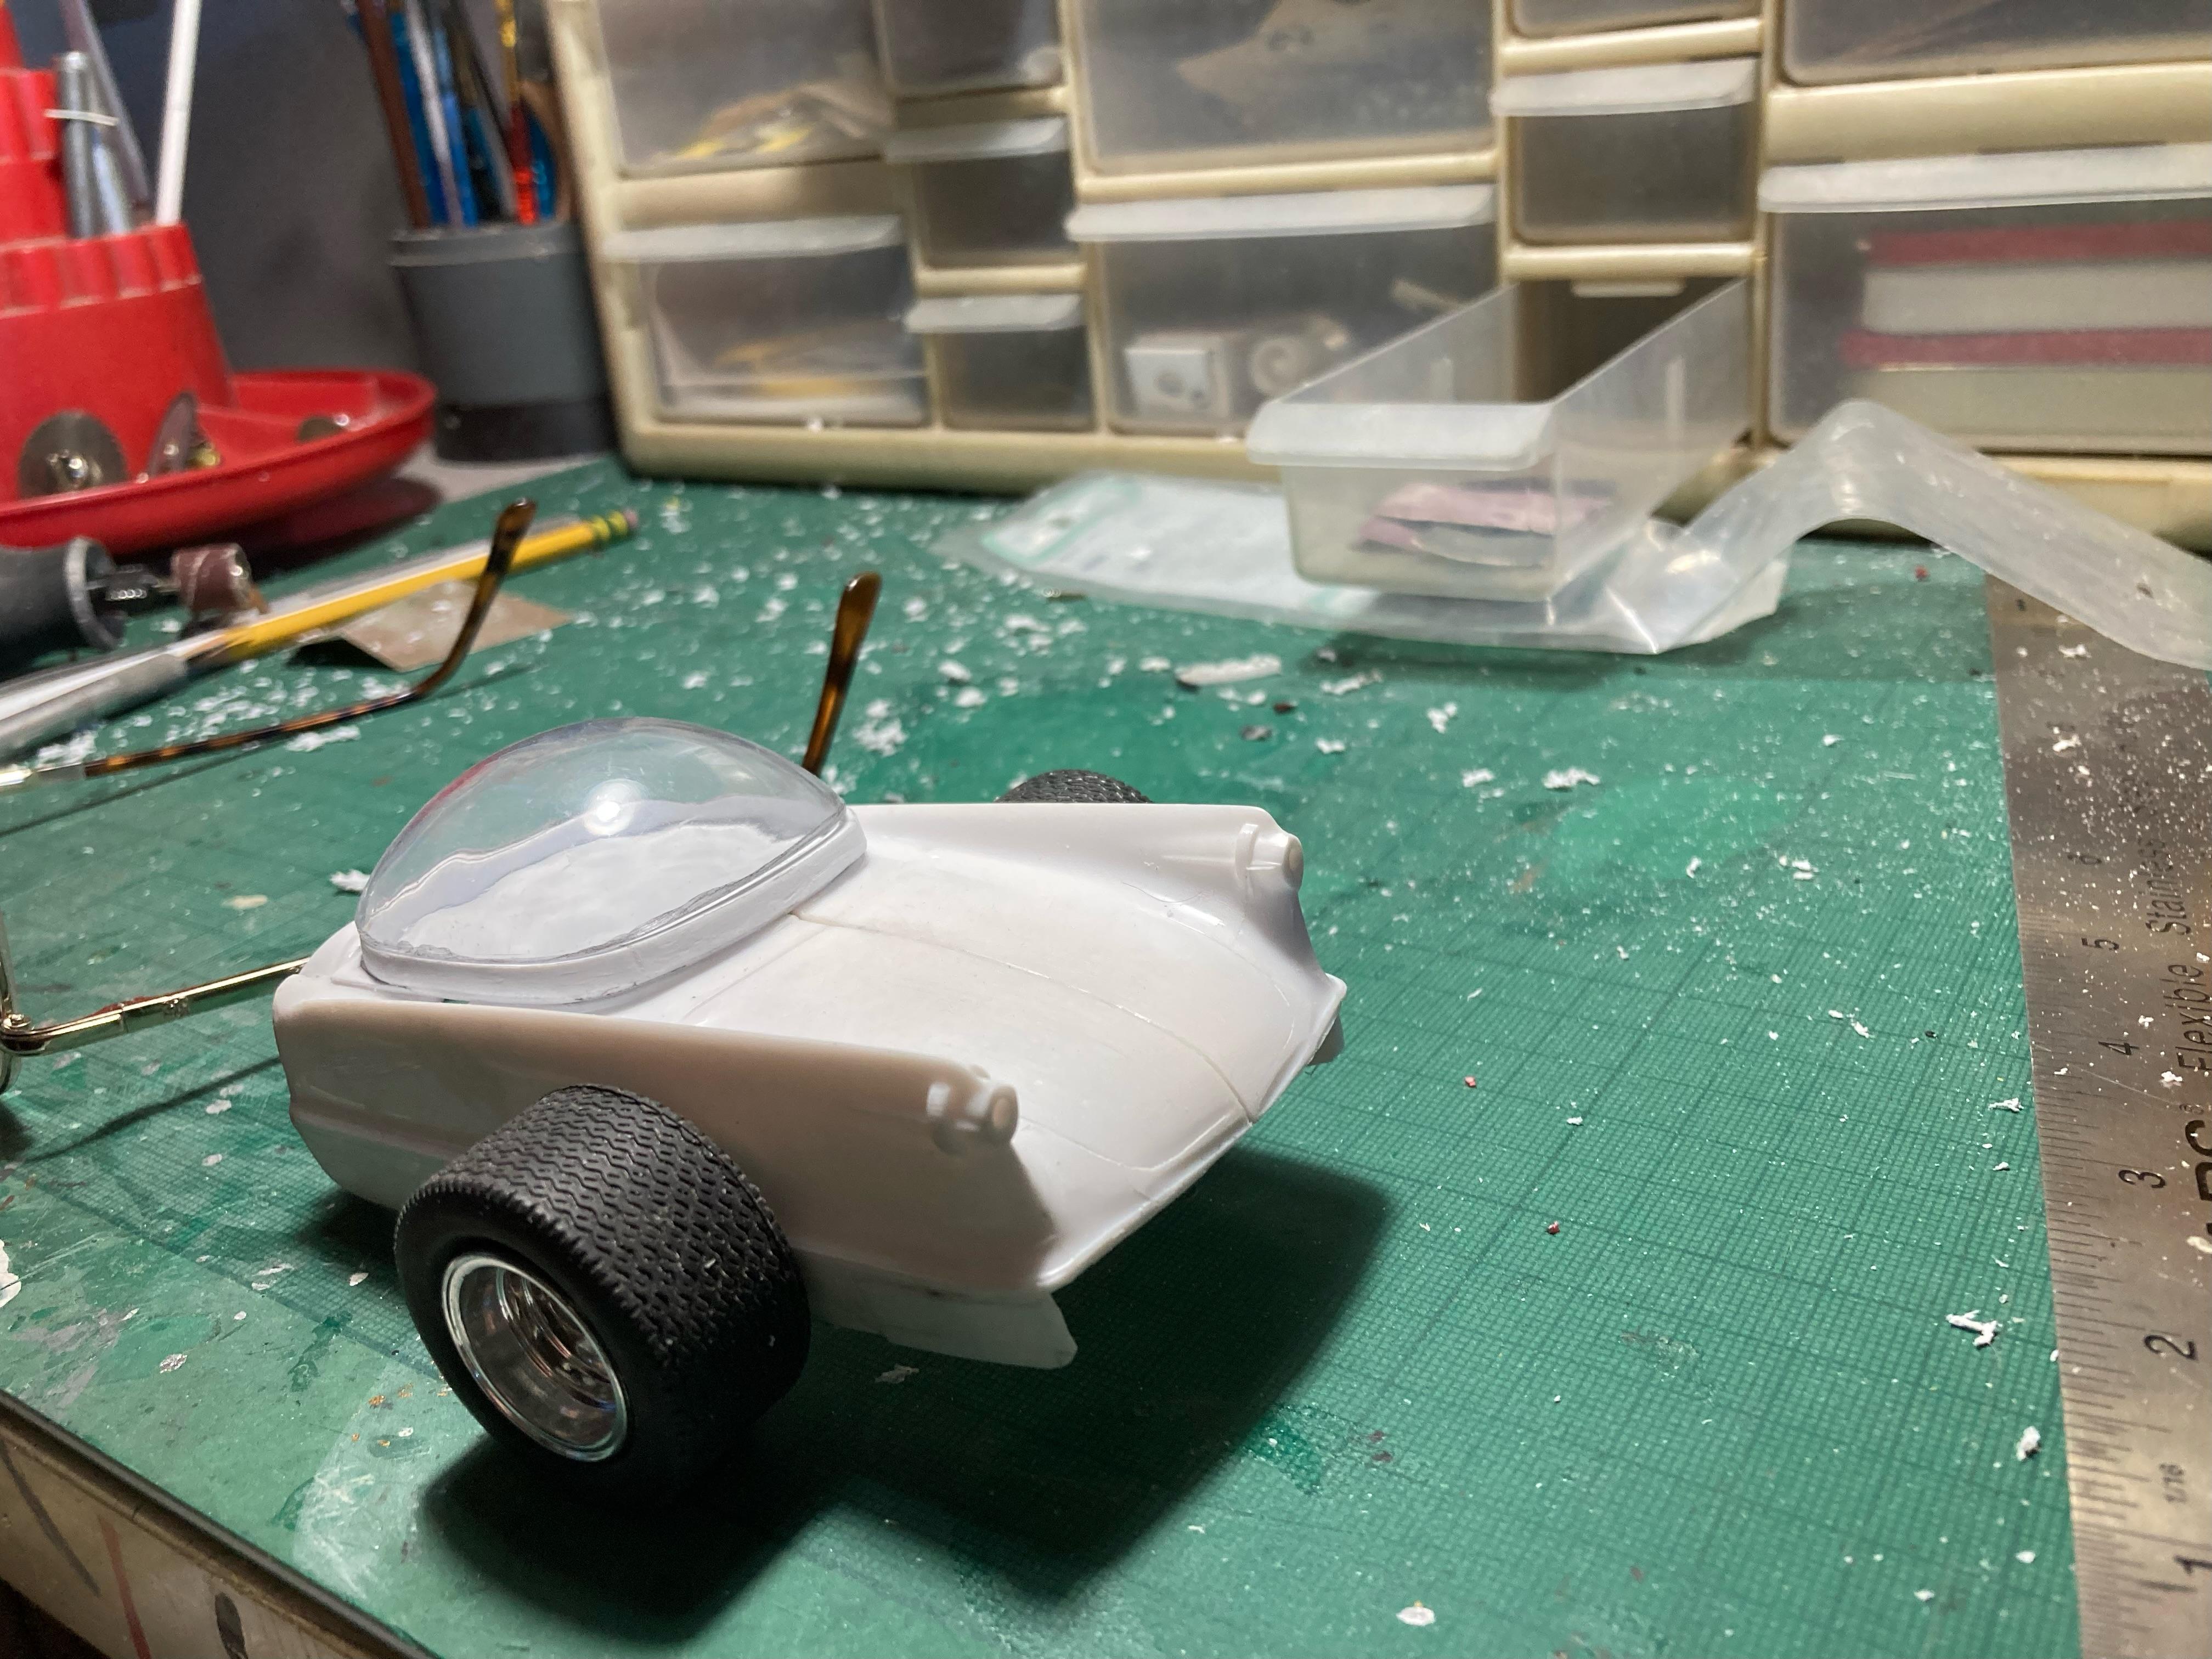
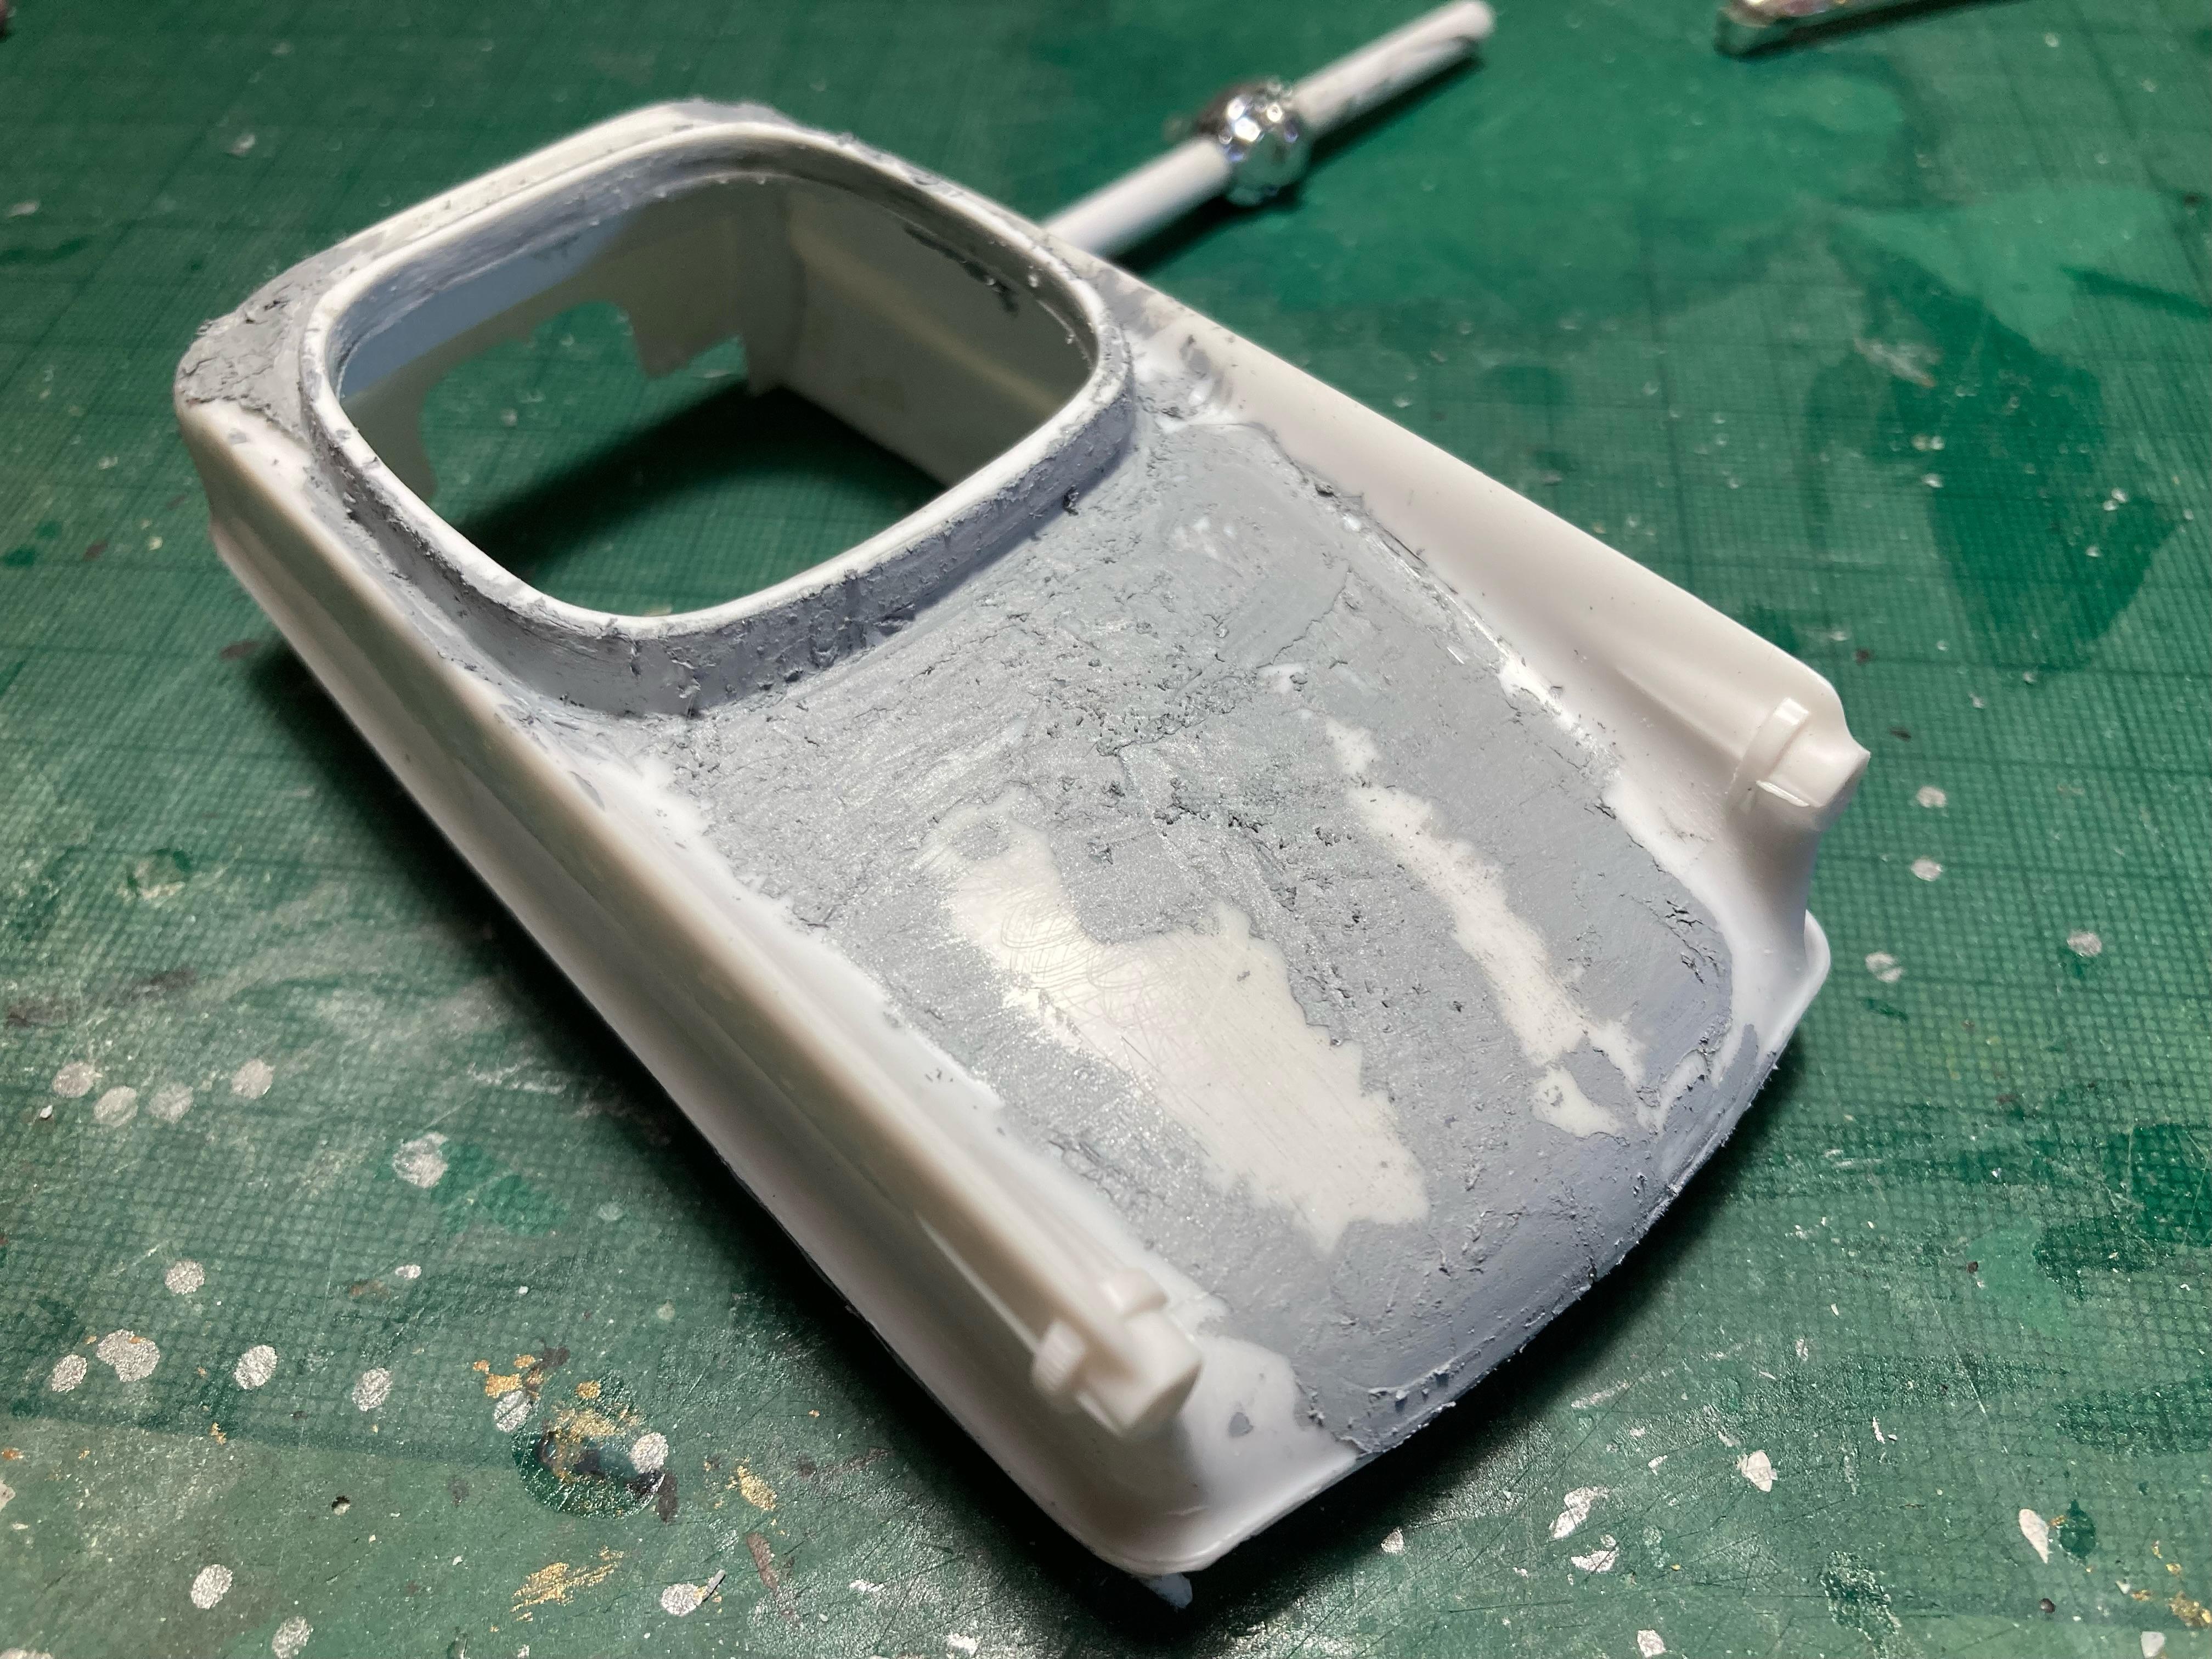
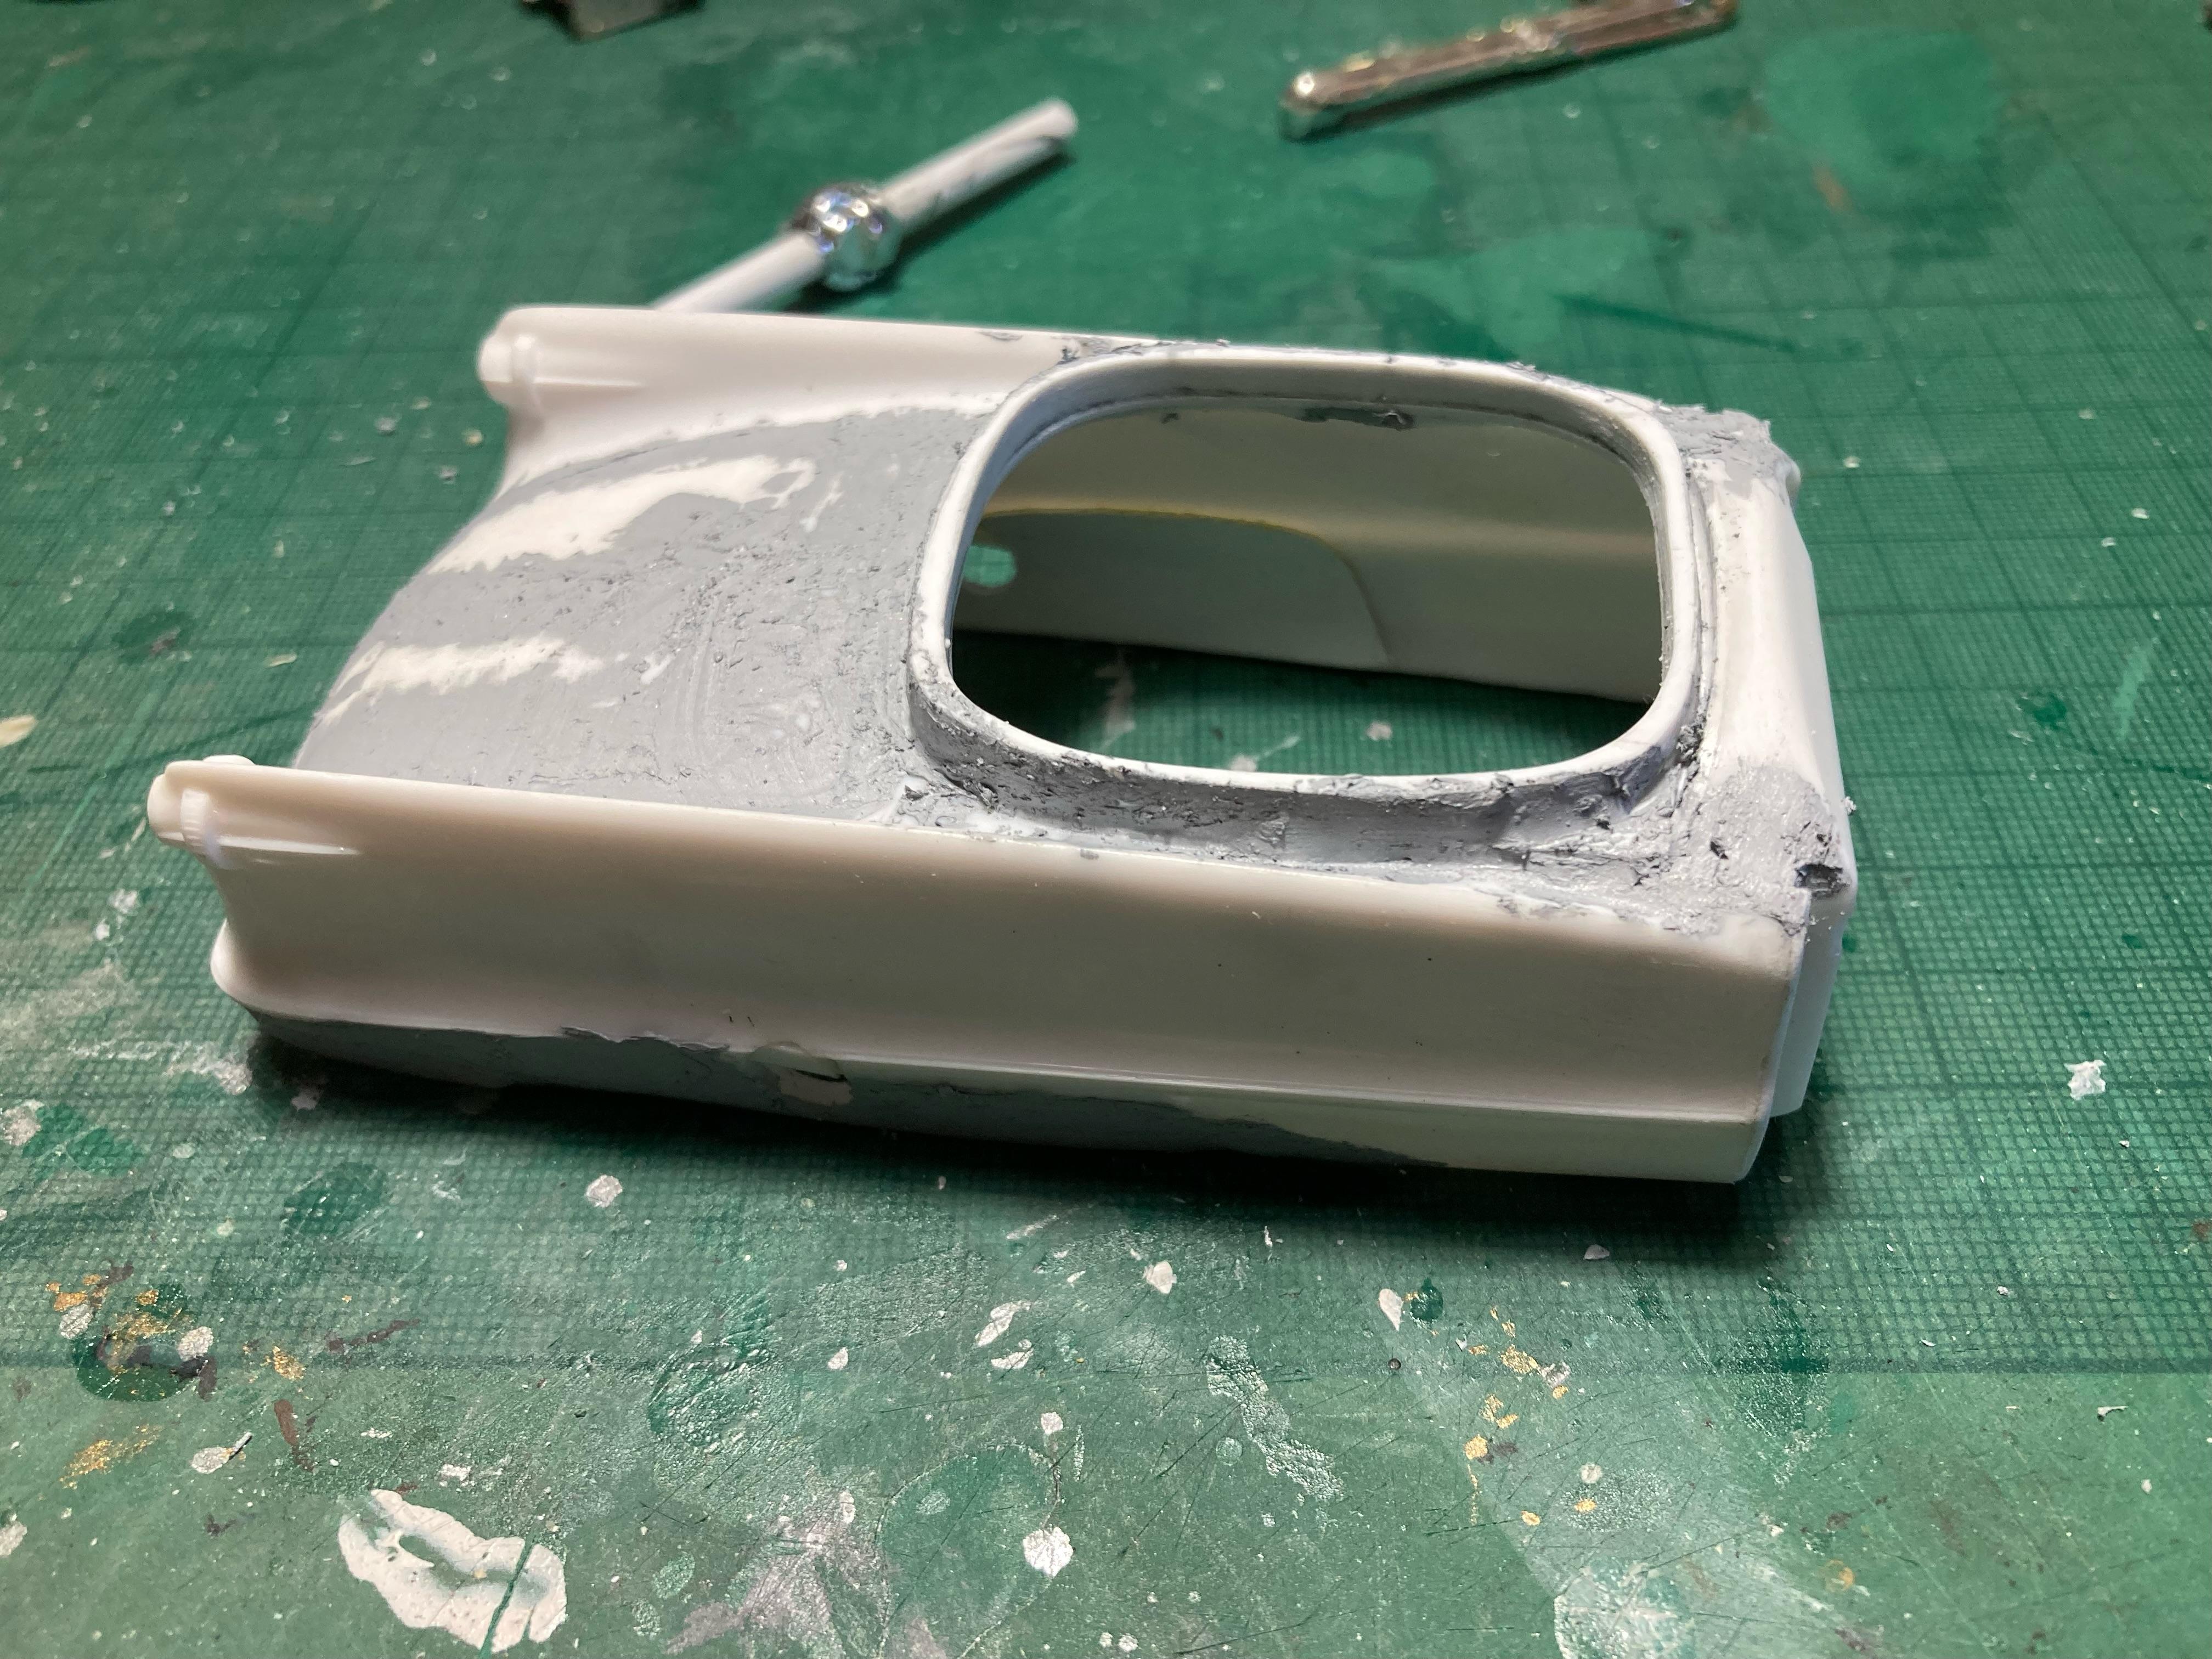
1959 Chrysler Imperial I needed to build another bubbletop, so I decided to use this 1959 Imperial as the base. I cut off the front and narrowed the rear section almost an inch and added the frame for the bubbletop. I also made a spot for the axle to go thru the body and used some wide tires with Crager mags front and back. I found a frame in the frame box. The power plant needed to be a Chrysler so I found an old Fire Power Hemi. I’m thinking about putting 6- 2bbl carbs on it. I’m looking thru the seat box for some seats. Once I get the front suspension picked out and mounted I will work on what grill I would like. Thanks for looking and I hope you like it. Dave
-
AMT/MPC/Revell 1973 corvette from scrap parts bin
Nosferatu replied to Whosurdaddy209's topic in WIP: Model Cars
This build is looking great! I love the color and how you transformed it to a '73. Dave -
for the cheapest seats
-
The Beast - Tank-truck
Nosferatu replied to Nosferatu's topic in Model Trucks: Pickups, Vans, SUVs, Light Commercial
Thats great Pat! I used modified semi truck wheels for the rear and something out of the wheel box for the front. Dave
-
The Beast - Tank-truck
Nosferatu replied to Nosferatu's topic in Model Trucks: Pickups, Vans, SUVs, Light Commercial
Thanks again guys! Dave -
It does remind one of Gilligans Island. How did you make the water? Dave
-
no cops around
-
56 Ford Truck Pro Street
Nosferatu replied to Zippi's topic in WIP: Model Trucks: Pickups, Vans, SUVs, Light Commercial
This is looking good! I love your use of other items like the pill bottles. Dave -
The Beast - Tank-truck
Nosferatu replied to Nosferatu's topic in Model Trucks: Pickups, Vans, SUVs, Light Commercial
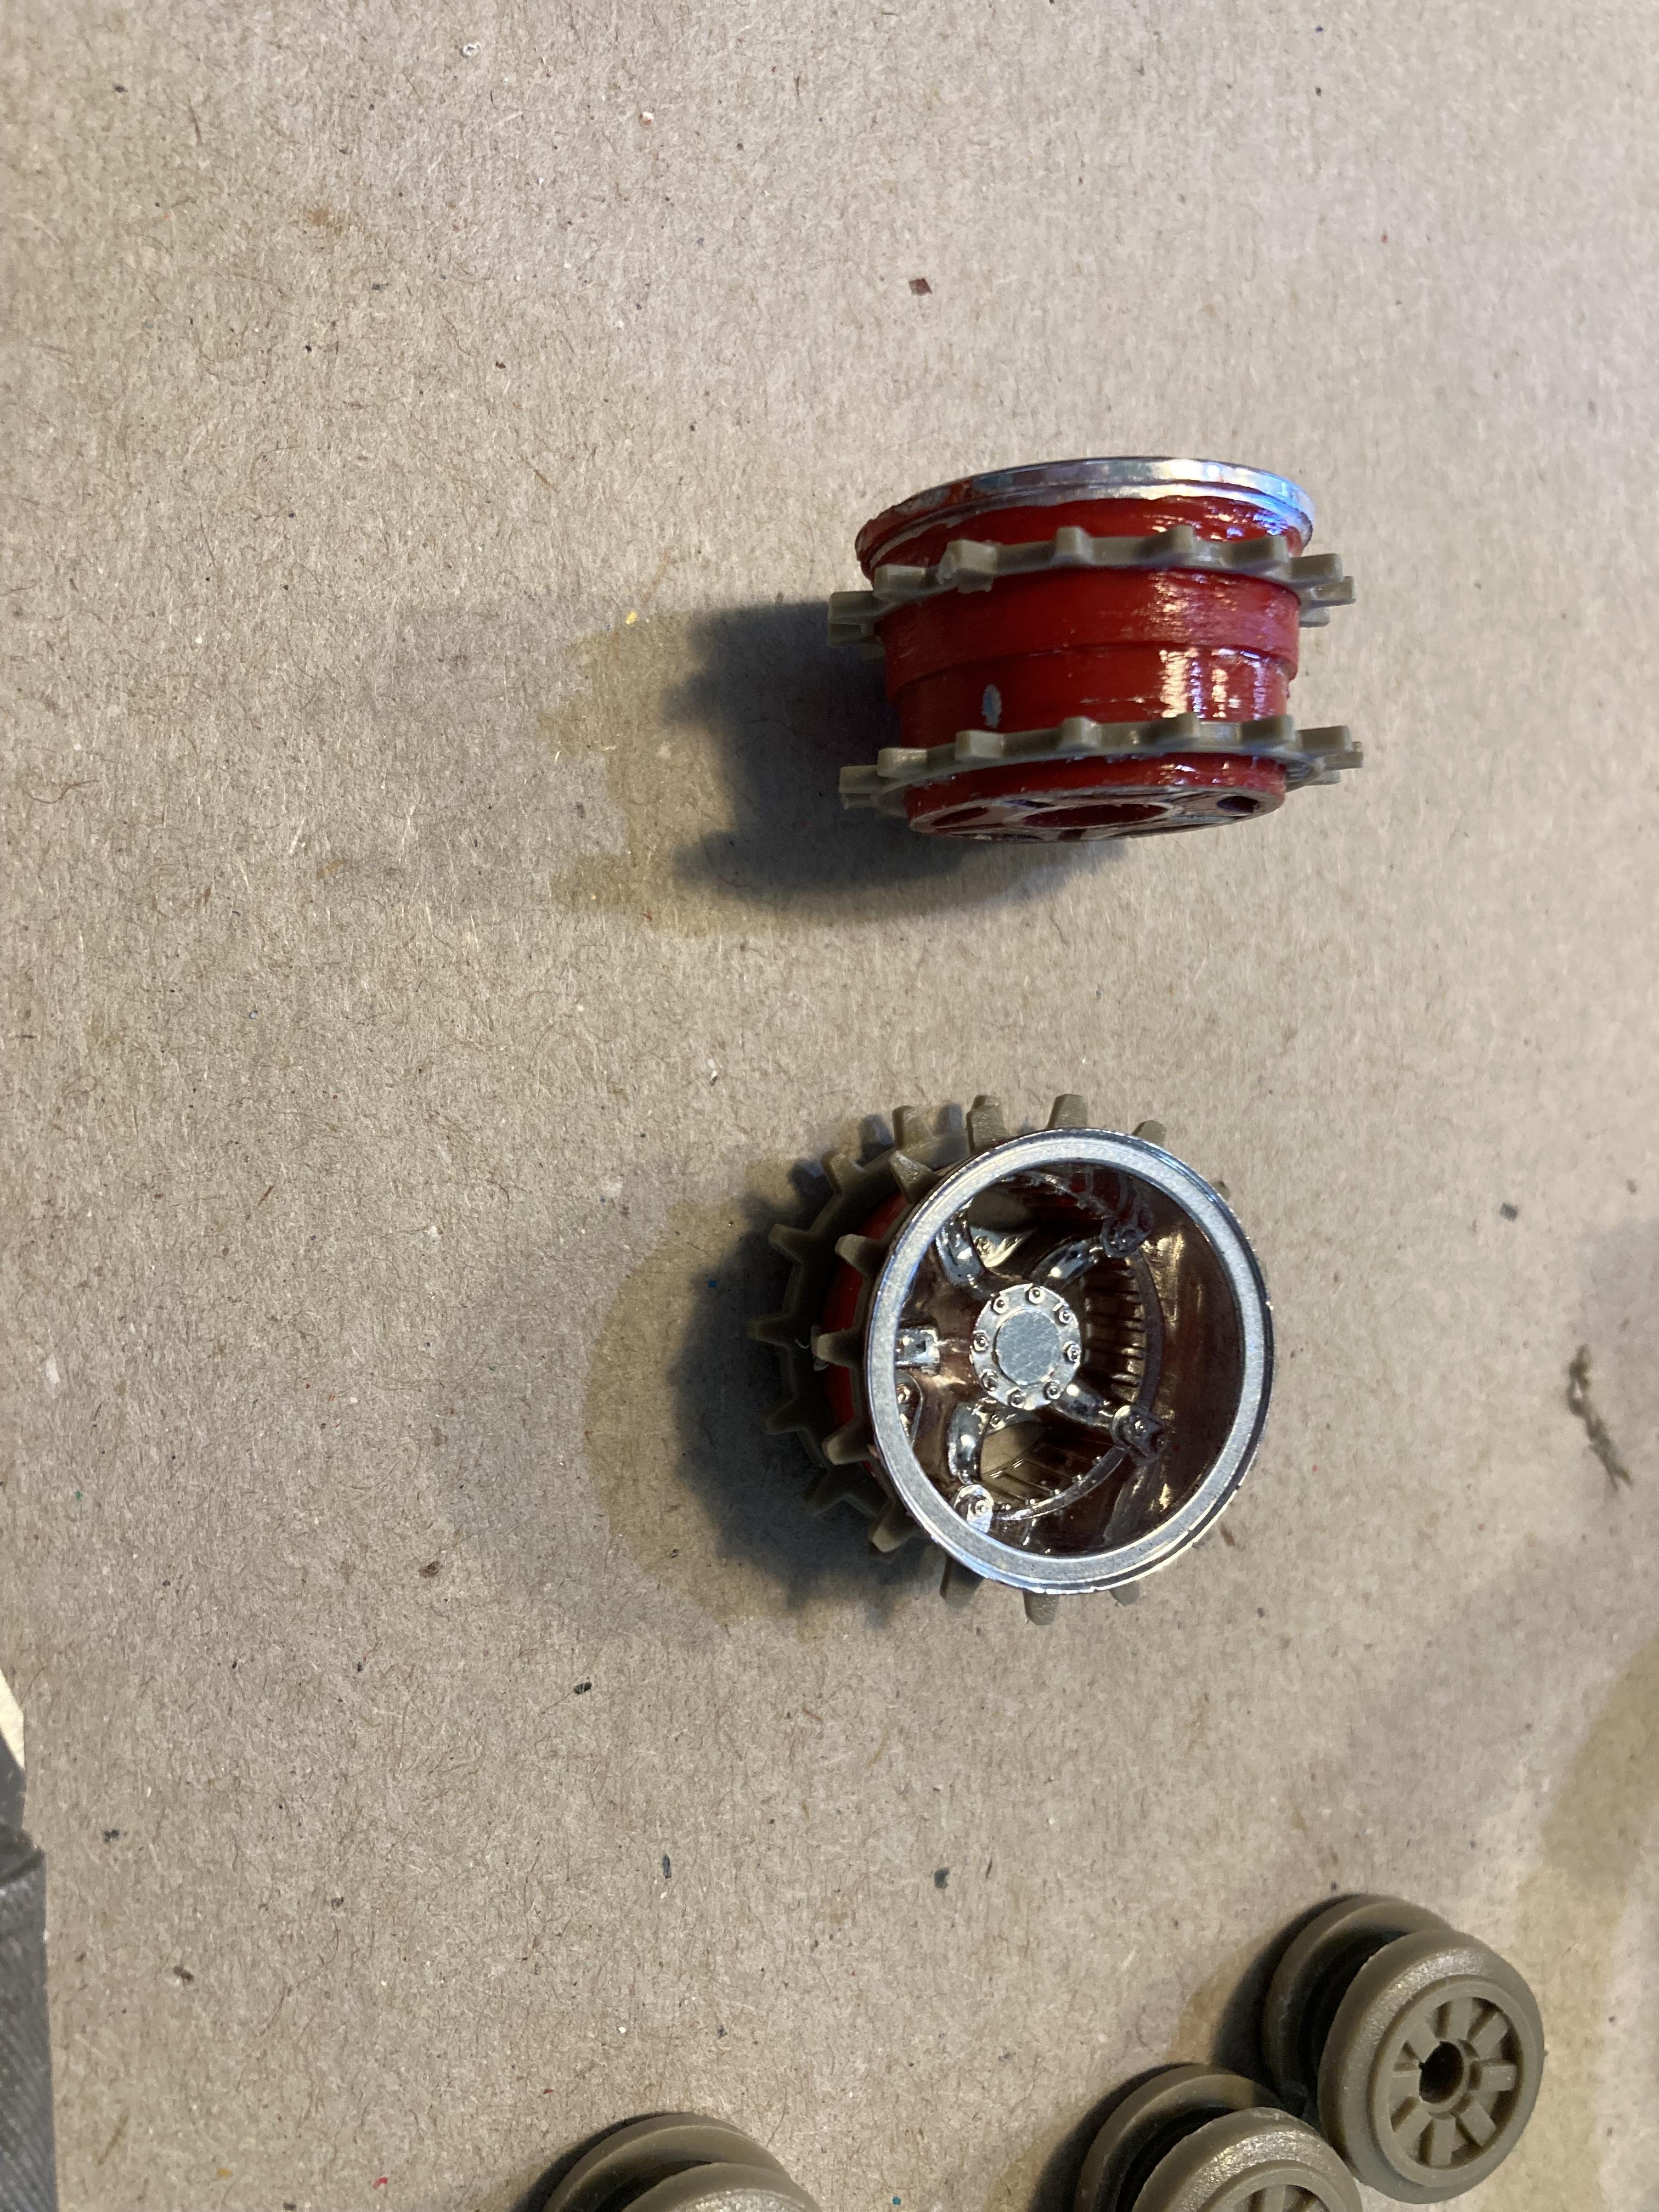
Hi Pat, Thanks again! I too, am retired and on a fixed income. I don't know what swap meets for models you have on the other side of the pond but I have gone to military model swap meets and picked up tank parts there for very reasonable prices. Also I mostly buy bagged parts from other model swap meets. Being that I like to scratch build I can use all the bagged parts. As for the tank treads I shortened them for this build. I actually stapled the cut ends together and hid the seam under the fender I fabricated. Dave -
The Beast - Tank-truck
Nosferatu replied to Nosferatu's topic in Model Trucks: Pickups, Vans, SUVs, Light Commercial
Pat, thank you for your comment! The tank parts are from a 1/30th scale tank model. The WIP is here - I titled it like that because I didn't have a name for it at that time. -
The Beast - Tank-truck
Nosferatu replied to Nosferatu's topic in Model Trucks: Pickups, Vans, SUVs, Light Commercial
Thanks again all of you for all your nice comments! Dave -
The Beast - Tank-truck
Nosferatu replied to Nosferatu's topic in Model Trucks: Pickups, Vans, SUVs, Light Commercial
Thanks Steve! This whole build was really fun! I looked online for seat weathering. Dave -
The Beast - Tank-truck
Nosferatu replied to Nosferatu's topic in Model Trucks: Pickups, Vans, SUVs, Light Commercial
Thanks again guys! I so appreciate your comments. Dave -
Hippy VW T2 Van
Nosferatu replied to PatW's topic in Model Trucks: Pickups, Vans, SUVs, Light Commercial
Nice! I love those VW vans! Dave -
“Gas Chamber” Gasser/Funnycar kind of thing…
Nosferatu replied to Mad Slammer's topic in Drag Racing
Beautiful work! A very nice VW gasser. Dave