DRIPTROIT 71
-
Posts
7,190 -
Joined
-
Last visited
Content Type
Profiles
Forums
Events
Gallery
Everything posted by DRIPTROIT 71
-
B.R.B.O Mack DM600 Dump
DRIPTROIT 71 replied to dodgefever's topic in WIP: Model Trucks: Big Rigs and Heavy Equipment
Looking Good!! -
Extended cab Fl Coe.
DRIPTROIT 71 replied to clayton's topic in WIP: Model Trucks: Big Rigs and Heavy Equipment
Very nice looking start!! -
Peterbilt revell of Germany
DRIPTROIT 71 replied to Ken Gilkeson's topic in Model Trucks: Big Rigs and Heavy Equipment
What he said!! -
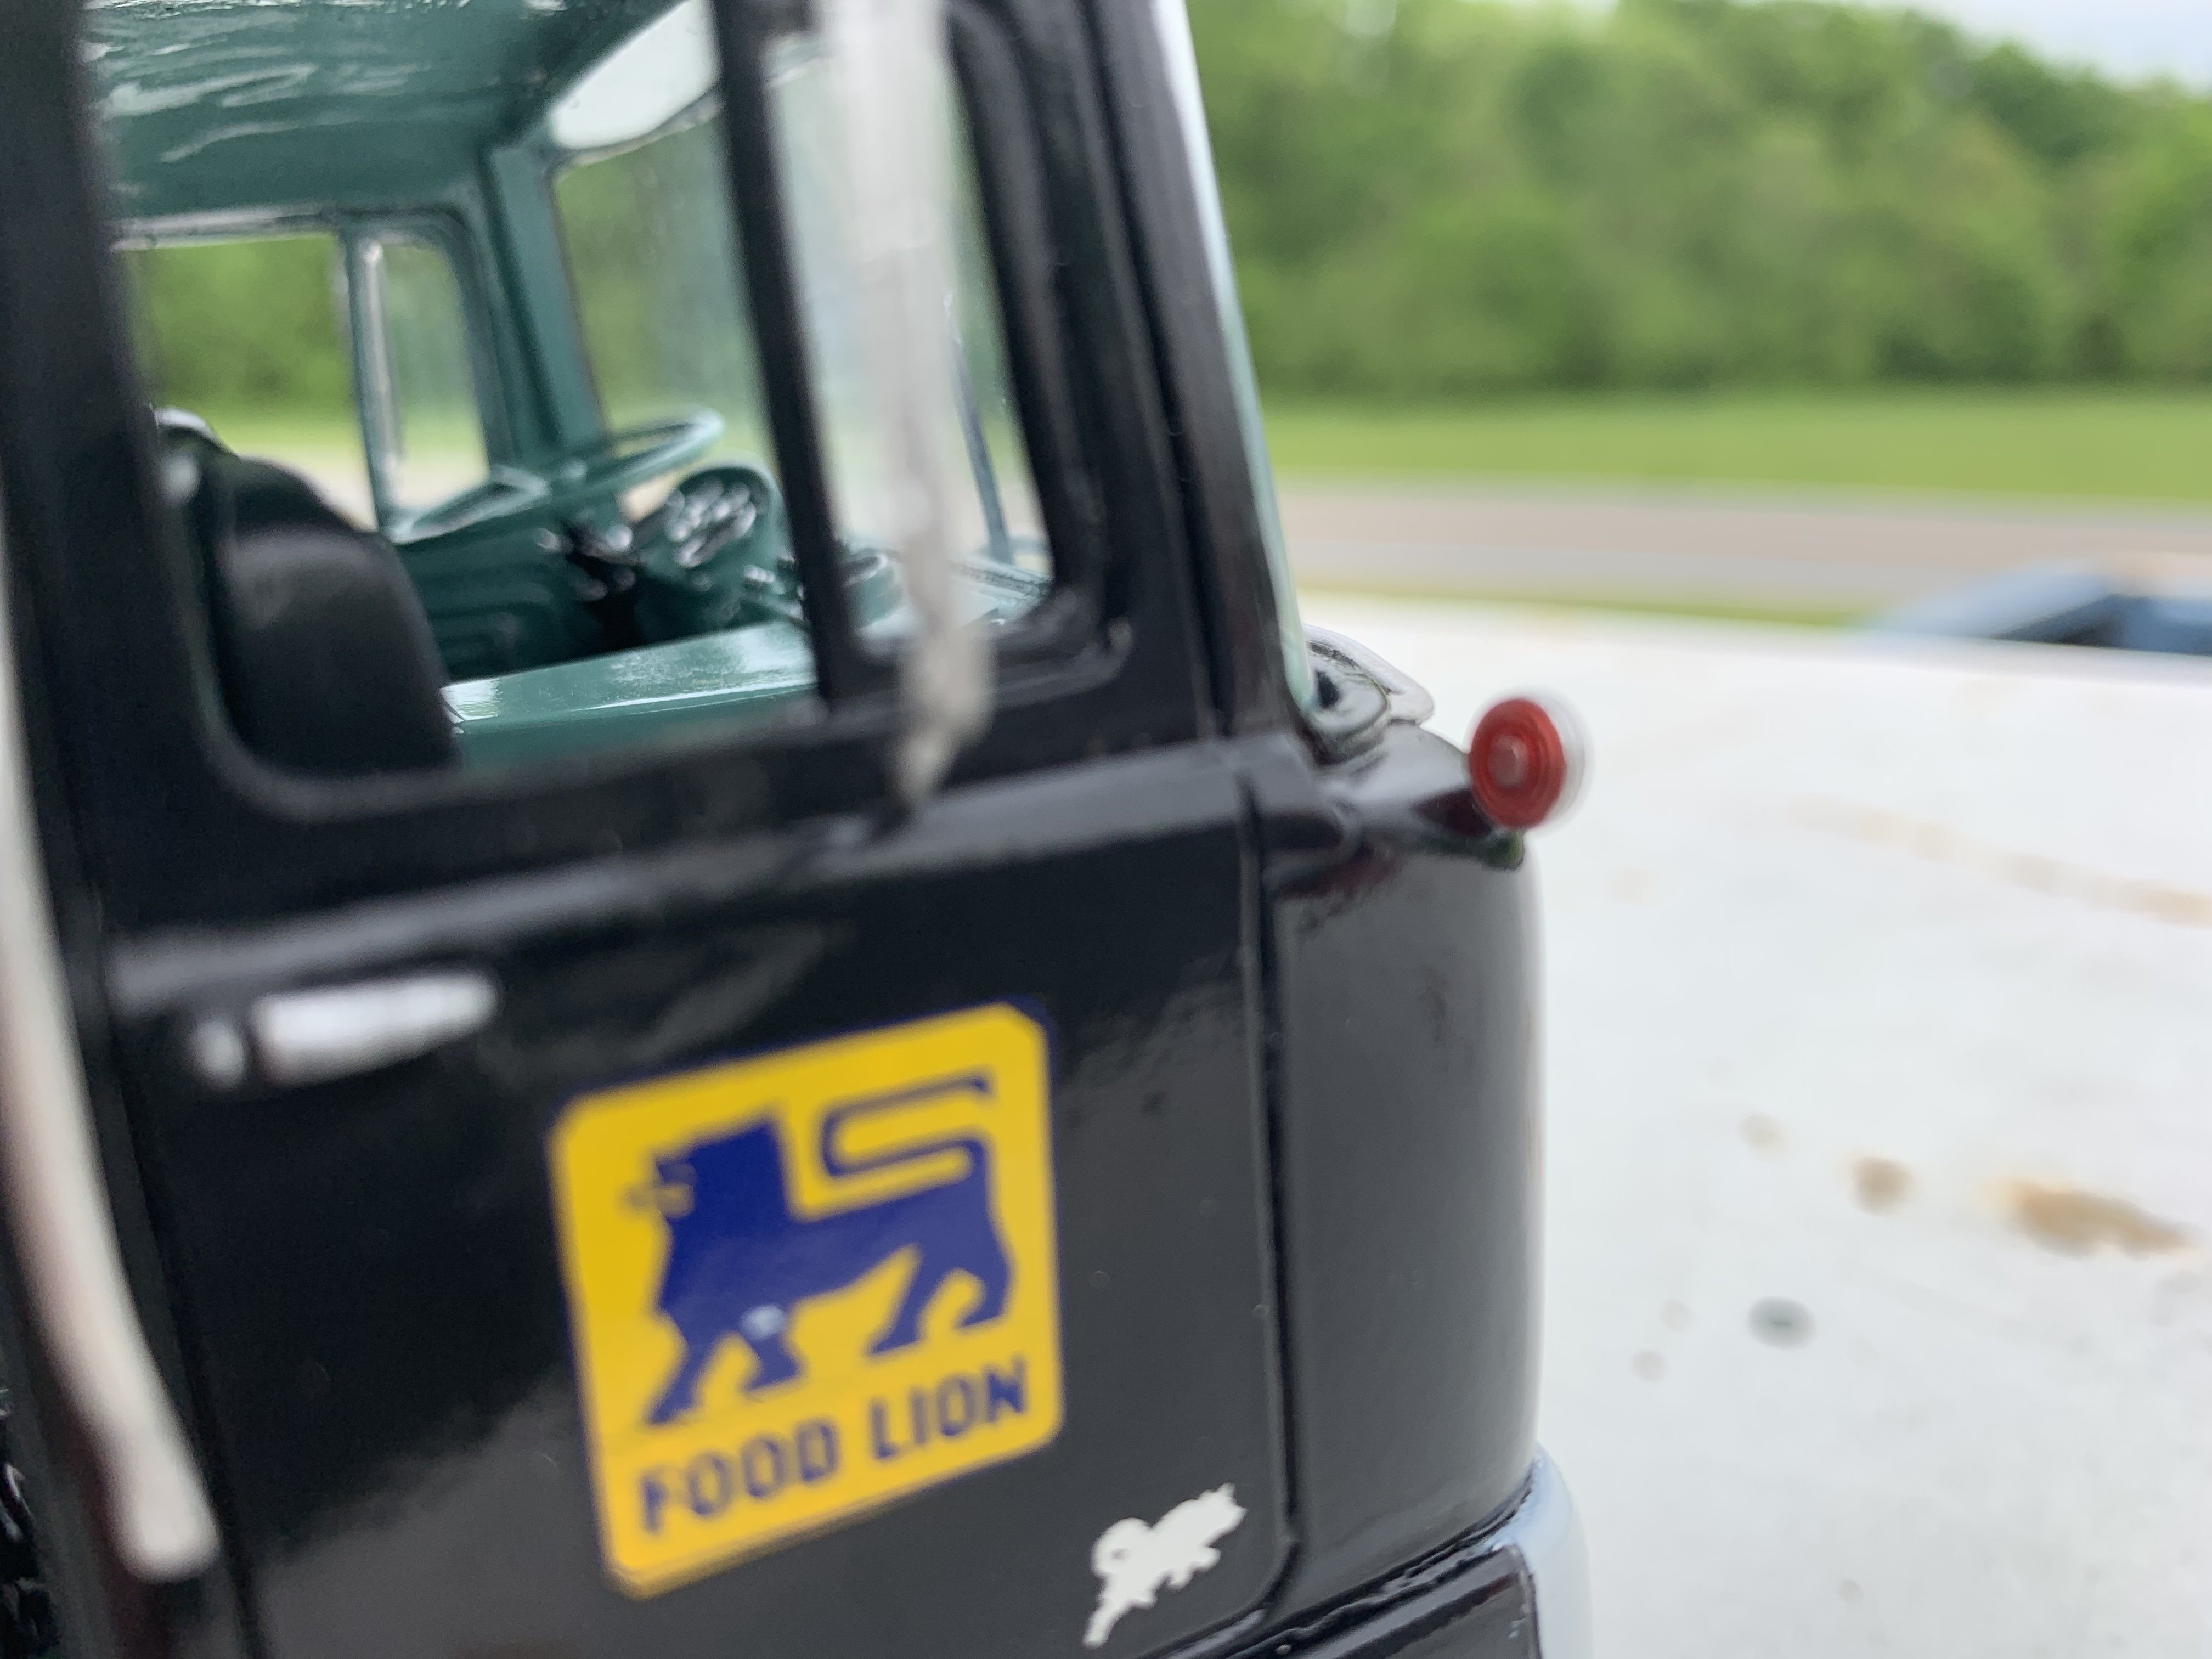
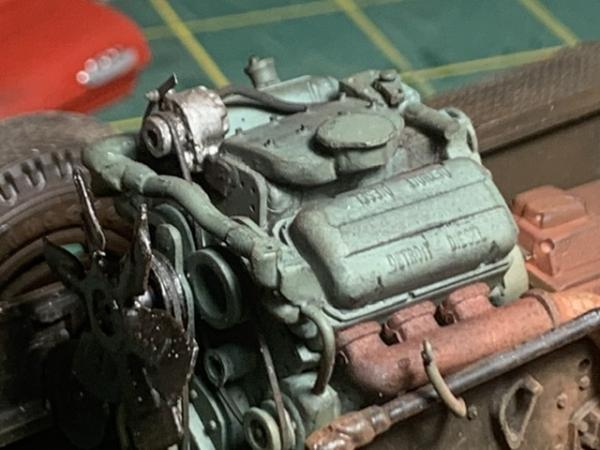
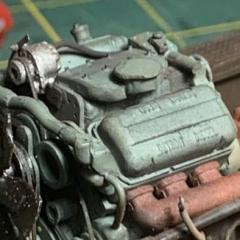
"Food Lion" Brockway 457 Daycab
DRIPTROIT 71 replied to DRIPTROIT 71's topic in Model Trucks: Big Rigs and Heavy Equipment
Thanks! I've liked the daycabs since I was a kid because the engine stuck out the back! -
Italari American wrecker truck
DRIPTROIT 71 replied to kpnuts's topic in Model Trucks: Big Rigs and Heavy Equipment
Nice build! -
best beginner amt truck model
DRIPTROIT 71 replied to Constructiongeek's topic in General Automotive Talk (Trucks and Cars)
I agree 100%! The Ertl kits were and still are the best to assemble. Although I do still like the old AMT kits too. They require a little more patience though. -
Kenworth snap kit rebuild
DRIPTROIT 71 replied to KJ790's topic in WIP: Model Trucks: Big Rigs and Heavy Equipment
Looks Awesome!! Who does your decals? -
1936 Opel Blitz S (1/24 IT 773)
DRIPTROIT 71 replied to Ack! Ack-ack!'s topic in Model Trucks: Big Rigs and Heavy Equipment
Very nice, very clean, and it looks like the real thing. Very nice work! -
1994 Volvo FH 16
DRIPTROIT 71 replied to Ack! Ack-ack!'s topic in Model Trucks: Big Rigs and Heavy Equipment
Nice, clean and realistic looking build! -
Thanks for all the help guys! Unfortunately, the red cab is junk. All of the areas that were troublesome before began to soften back up. On the other hand the "crater cab" (green one pictured before) is in usable condition now. So this project is back to moving forward. My original plan was a farm truck that was a little banged up, so I think this cab will work now. At least it's dry and not soft. The bed is mostly done. I need to paint it before I install the belt, and I have to install the belt before I can install the spreader assembly. Then I can finish with the hoses.

-
scrath built dumper
DRIPTROIT 71 replied to cheyenne93's topic in Model Trucks: Pickups, Vans, SUVs, Light Commercial
Very nice build!! Great Work!! -
57 Chevy Wrecker
DRIPTROIT 71 replied to mchook's topic in Model Trucks: Pickups, Vans, SUVs, Light Commercial
I'm going to have to get you to give me a class on weathering. Great work as usual!! -
53 Ford single seater
DRIPTROIT 71 replied to DumpyDan's topic in Model Trucks: Pickups, Vans, SUVs, Light Commercial
Very cool build!! Excellent work on an interesting subject. -
Jeep Gladiator pickup
DRIPTROIT 71 replied to landman's topic in Model Trucks: Pickups, Vans, SUVs, Light Commercial
Very nice build! A friend of mine had one of these back in the day. I always thought that it was a cool truck. Great work Pat! -
WOW!! This thing looks Amazing!! Excellent work!!
-
The Longest VOLVO ( F-12 )
DRIPTROIT 71 replied to Сергей's topic in WIP: Model Trucks: Big Rigs and Heavy Equipment
Wow!! Looks Awesome!! -
Rubber Duck Mack Update 8/16/18
DRIPTROIT 71 replied to Warren D's topic in WIP: Model Trucks: Big Rigs and Heavy Equipment
Looks great! -
I shake too much to put them together on the cab. I draw a templet of the door area and assemble the mirrors on the templet and then glue the whole assembly to the truck at once.
-
I received such an offer in my inbox on Ebay last week on a Peterbilt kit and bought it at the offered price and received it with no problem.
-
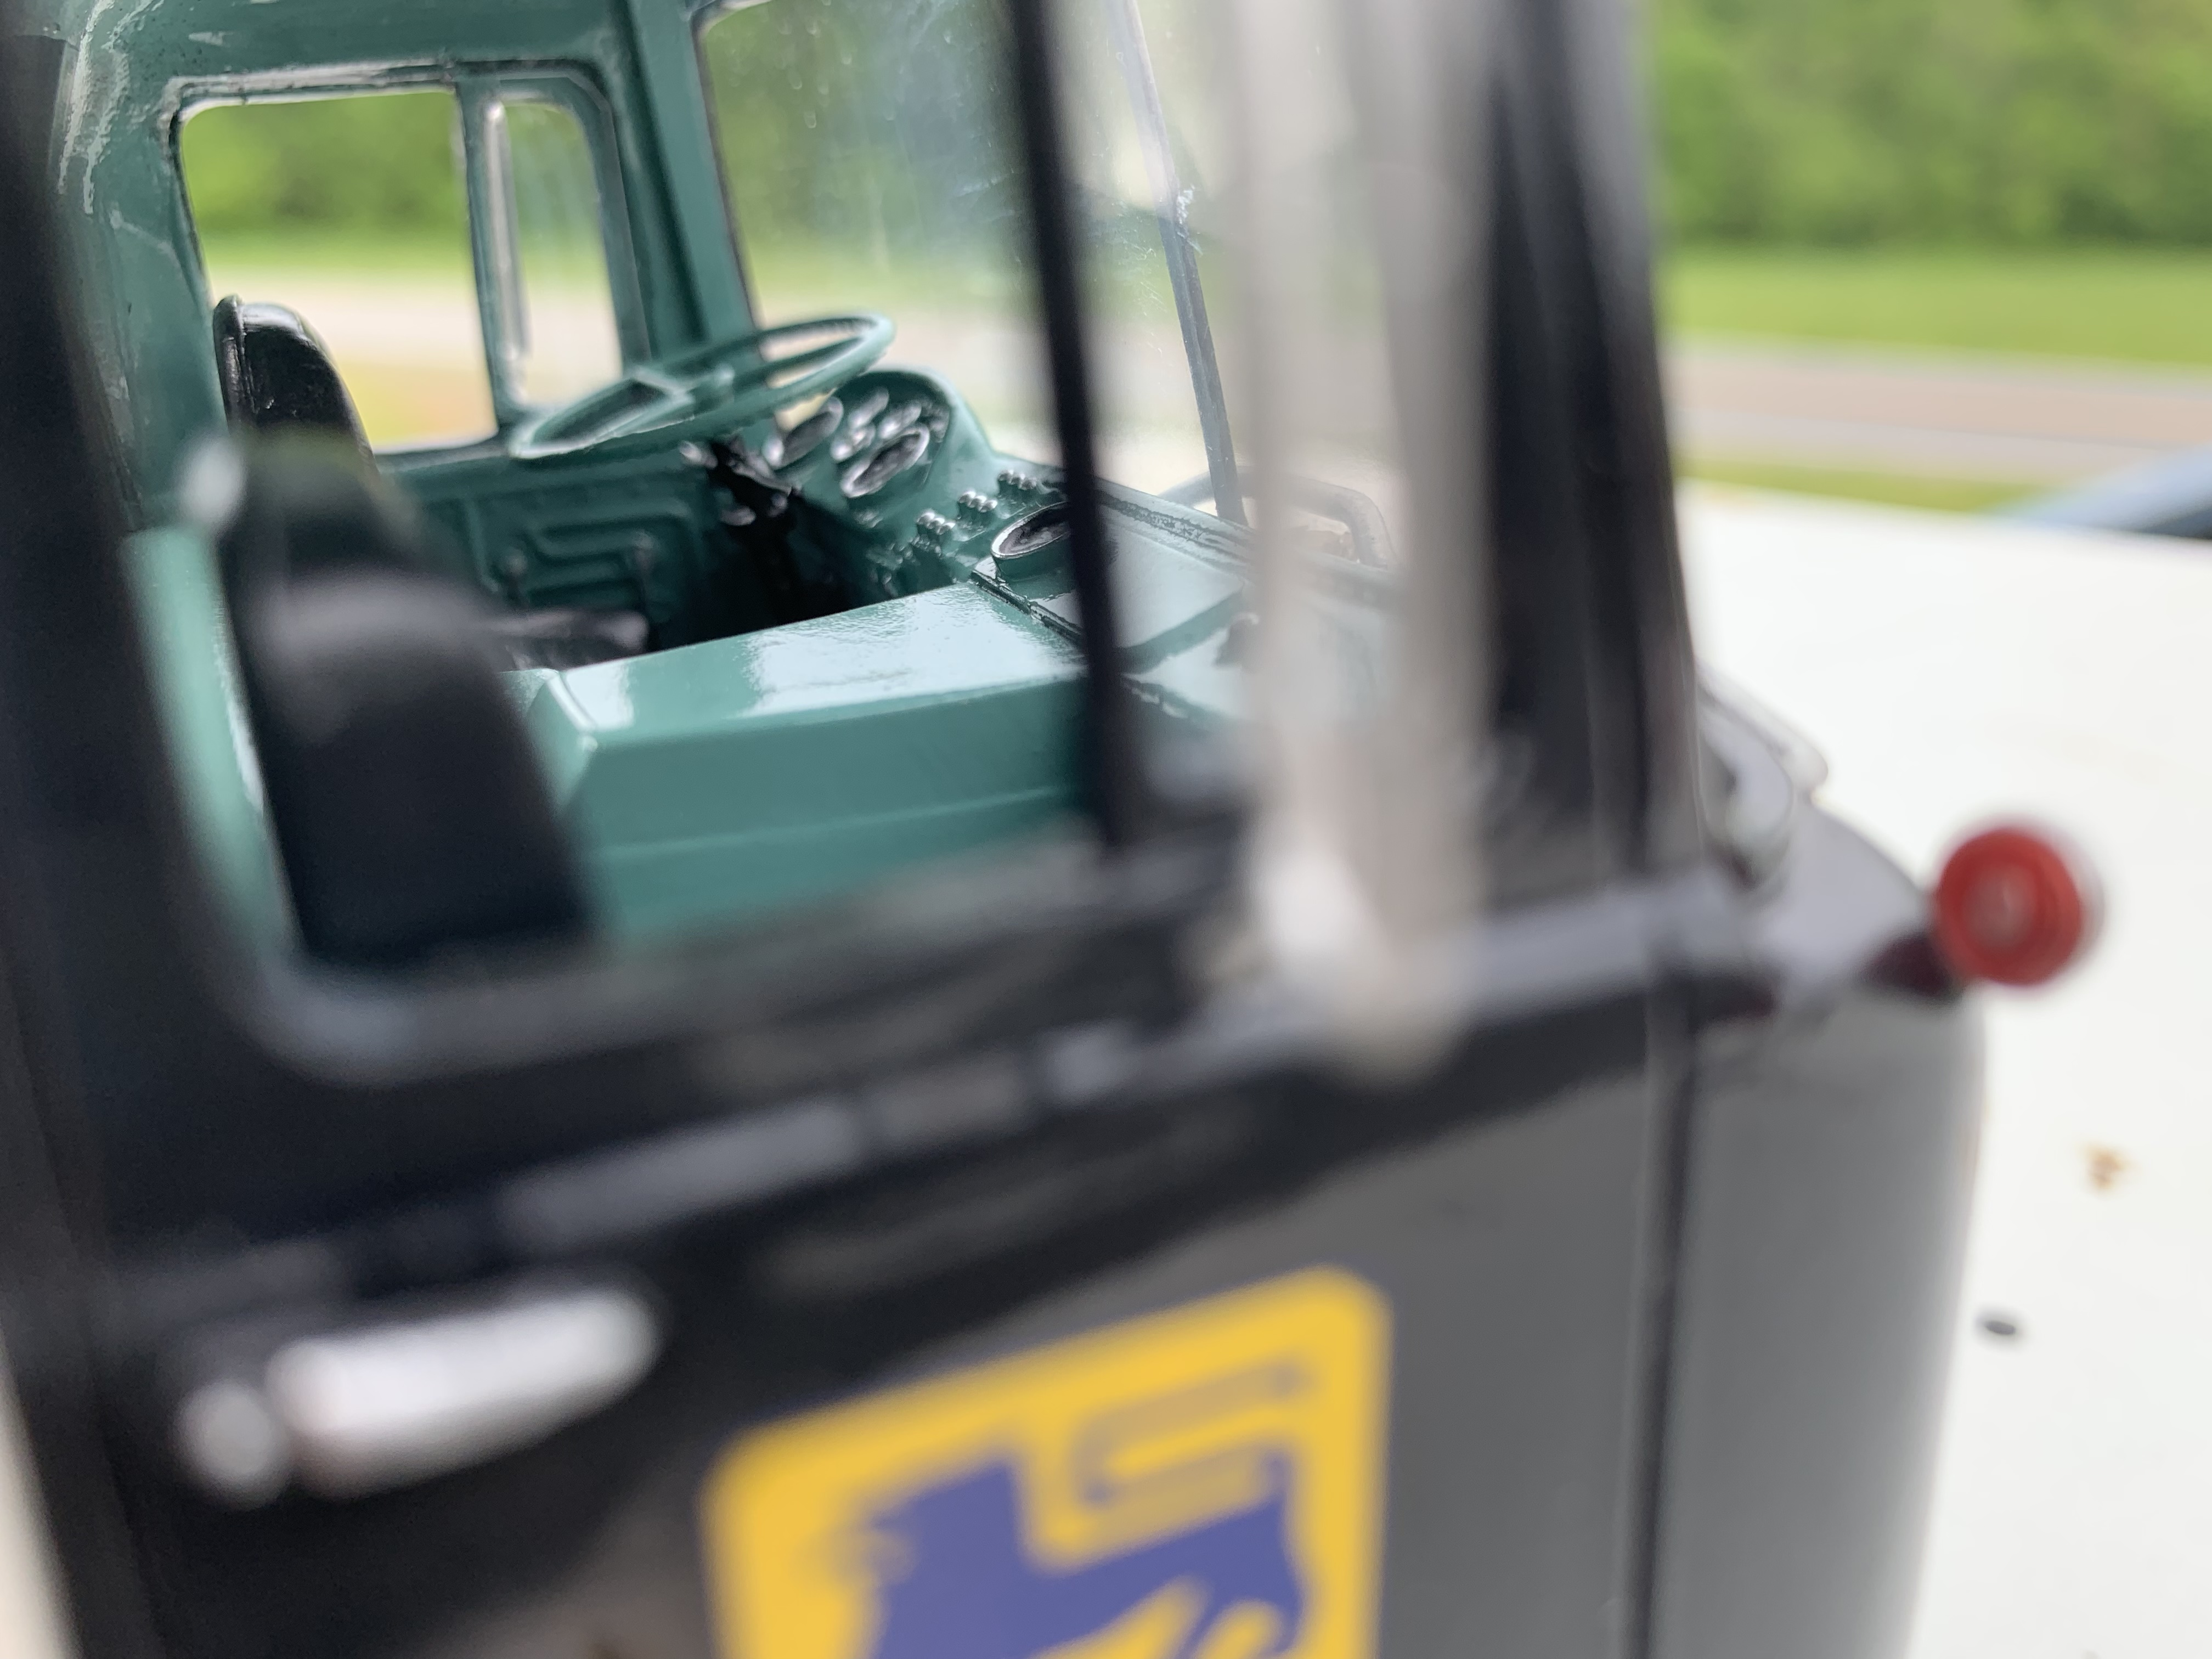
"Food Lion" Brockway 457 Daycab
DRIPTROIT 71 replied to DRIPTROIT 71's topic in Model Trucks: Big Rigs and Heavy Equipment
Thanks! Thanks Charles! -
Peterbilt 359 California Hauler
DRIPTROIT 71 replied to Brutalform's topic in Model Trucks: Big Rigs and Heavy Equipment
Looks Great!!! Very nice clean looking Peterbilt. -
Starting my IH 4300 Transtar
DRIPTROIT 71 replied to JerseeJerry55's topic in WIP: Model Trucks: Big Rigs and Heavy Equipment
I use evergreen styrene angle or channel made into angle. If you look through the window of my Brockway you can see the channel as the windshield post. The top was rectangle stock that I shaped like the inside of the cab leaving a groove for the windshield to fit into.
-
Starting my IH 4300 Transtar
DRIPTROIT 71 replied to JerseeJerry55's topic in WIP: Model Trucks: Big Rigs and Heavy Equipment
You have to be careful with super glues because they will fog any finger prints that are on the glass. I do use it sometimes, but I also use two part epoxy. There are also some canopy glues as Jeff said which are basically a white glue, but I've never tried them. You may not want to go to this much trouble, but I sometimes make a frame for the window to slide into without using any glue on the actual glass itself. -
Starting my IH 4300 Transtar
DRIPTROIT 71 replied to JerseeJerry55's topic in WIP: Model Trucks: Big Rigs and Heavy Equipment
Did it snap right down the middle. If it did you could just use the two halves since you have a center post. I use clear lay film from Hobby Lobby on my resin builds. That would work too. -
R model, the last hoorah
DRIPTROIT 71 replied to signguy2108's topic in Model Trucks: Big Rigs and Heavy Equipment
Very nice! What did you make the sleeper vents out of?