Dann Tier
-
Posts
8,151 -
Joined
-
Last visited
Content Type
Profiles
Forums
Events
Gallery
Everything posted by Dann Tier
-

Fully detailed Airfix James Bond Aston Martin DB-5
Dann Tier replied to Dann Tier's topic in WIP: Model Cars
Thanks, David! -
Fully detailed Airfix James Bond Aston Martin DB-5
Dann Tier replied to Dann Tier's topic in WIP: Model Cars
You are totally right, JC!! -
…..I don't even know what to say about this BLAH_BLAH_BLAH_BLAH...…..

-
Otaki 1/12 Lamborghini Countach Twin Turbo...Mission Statement
Dann Tier replied to Dann Tier's topic in WIP: Model Cars
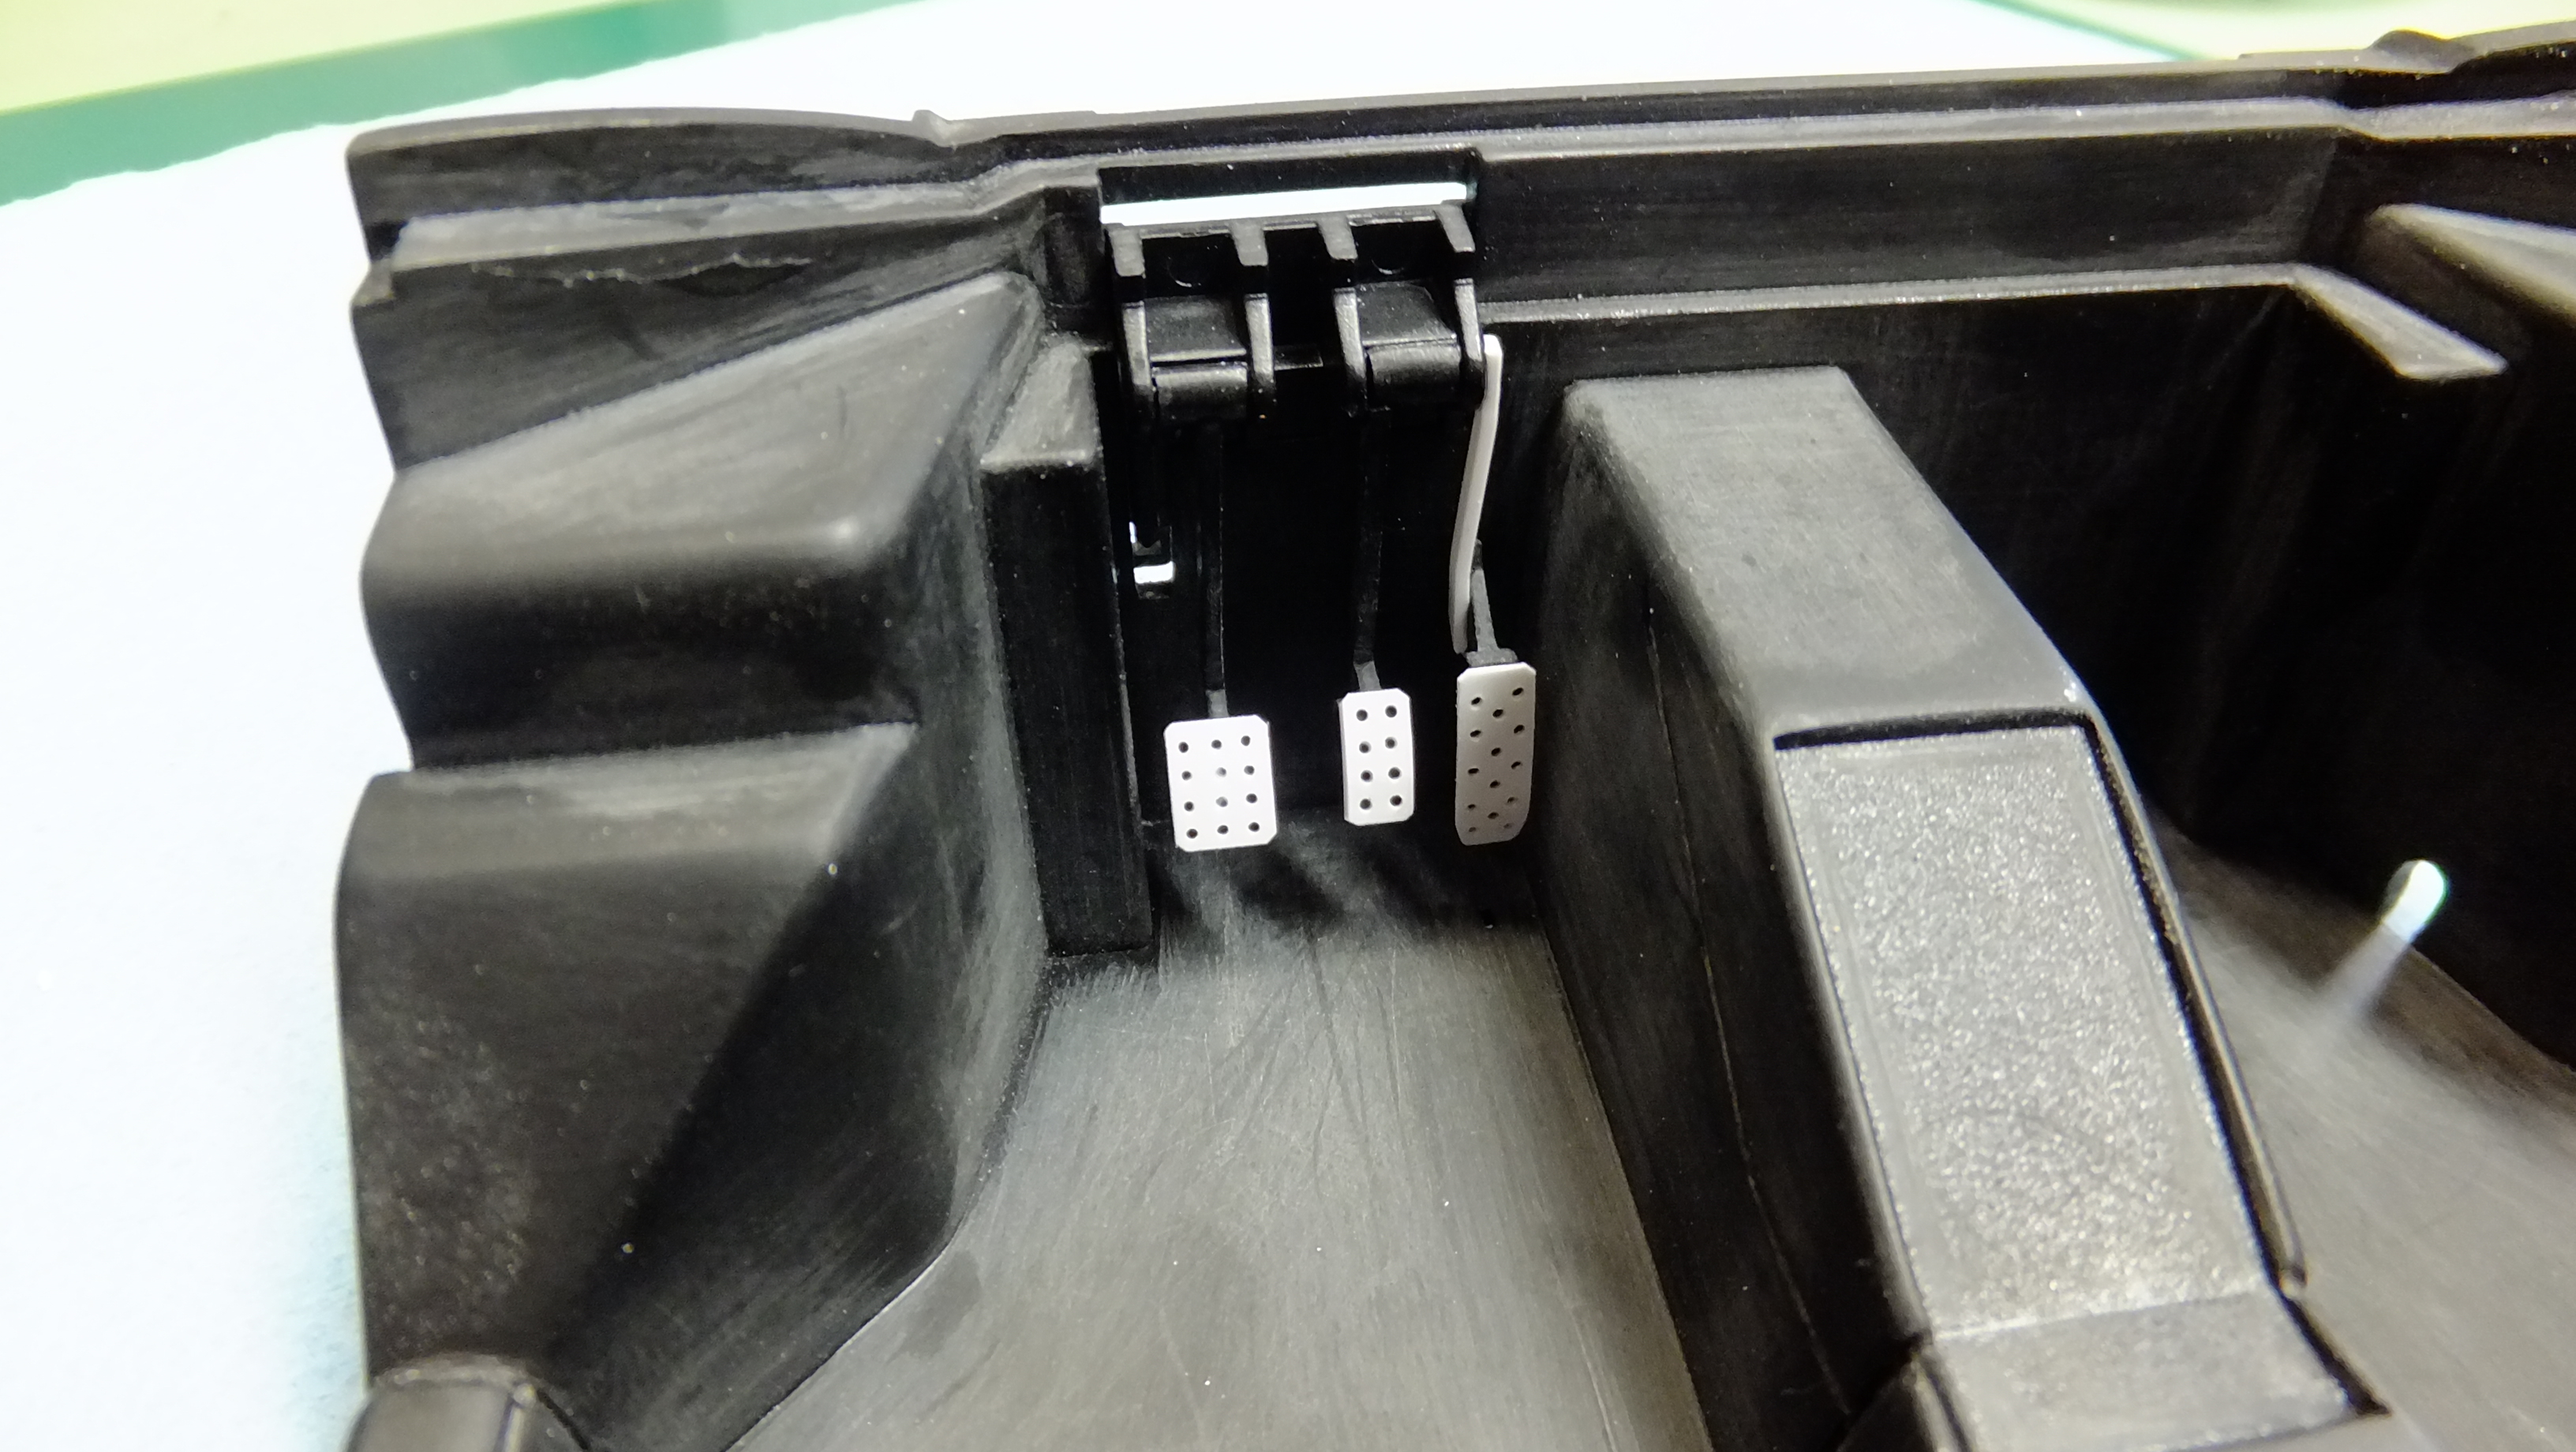
Just got a bit more done! -Photo 1; Door locks -Photo 2; Side mirror adjustment toggle -Photo 4; I made peddles to cover the really boring ones.
-
If You Could Only Have One?
Dann Tier replied to jaxenro's topic in General Automotive Talk (Trucks and Cars)
Mine would have to be an Aoshima Countach kit......its my favorite car, and apart from not having a complete motor, its THE best Countach kit to date......hands down!! -
Otaki 1/12 Lamborghini Countach Twin Turbo...Mission Statement
Dann Tier replied to Dann Tier's topic in WIP: Model Cars
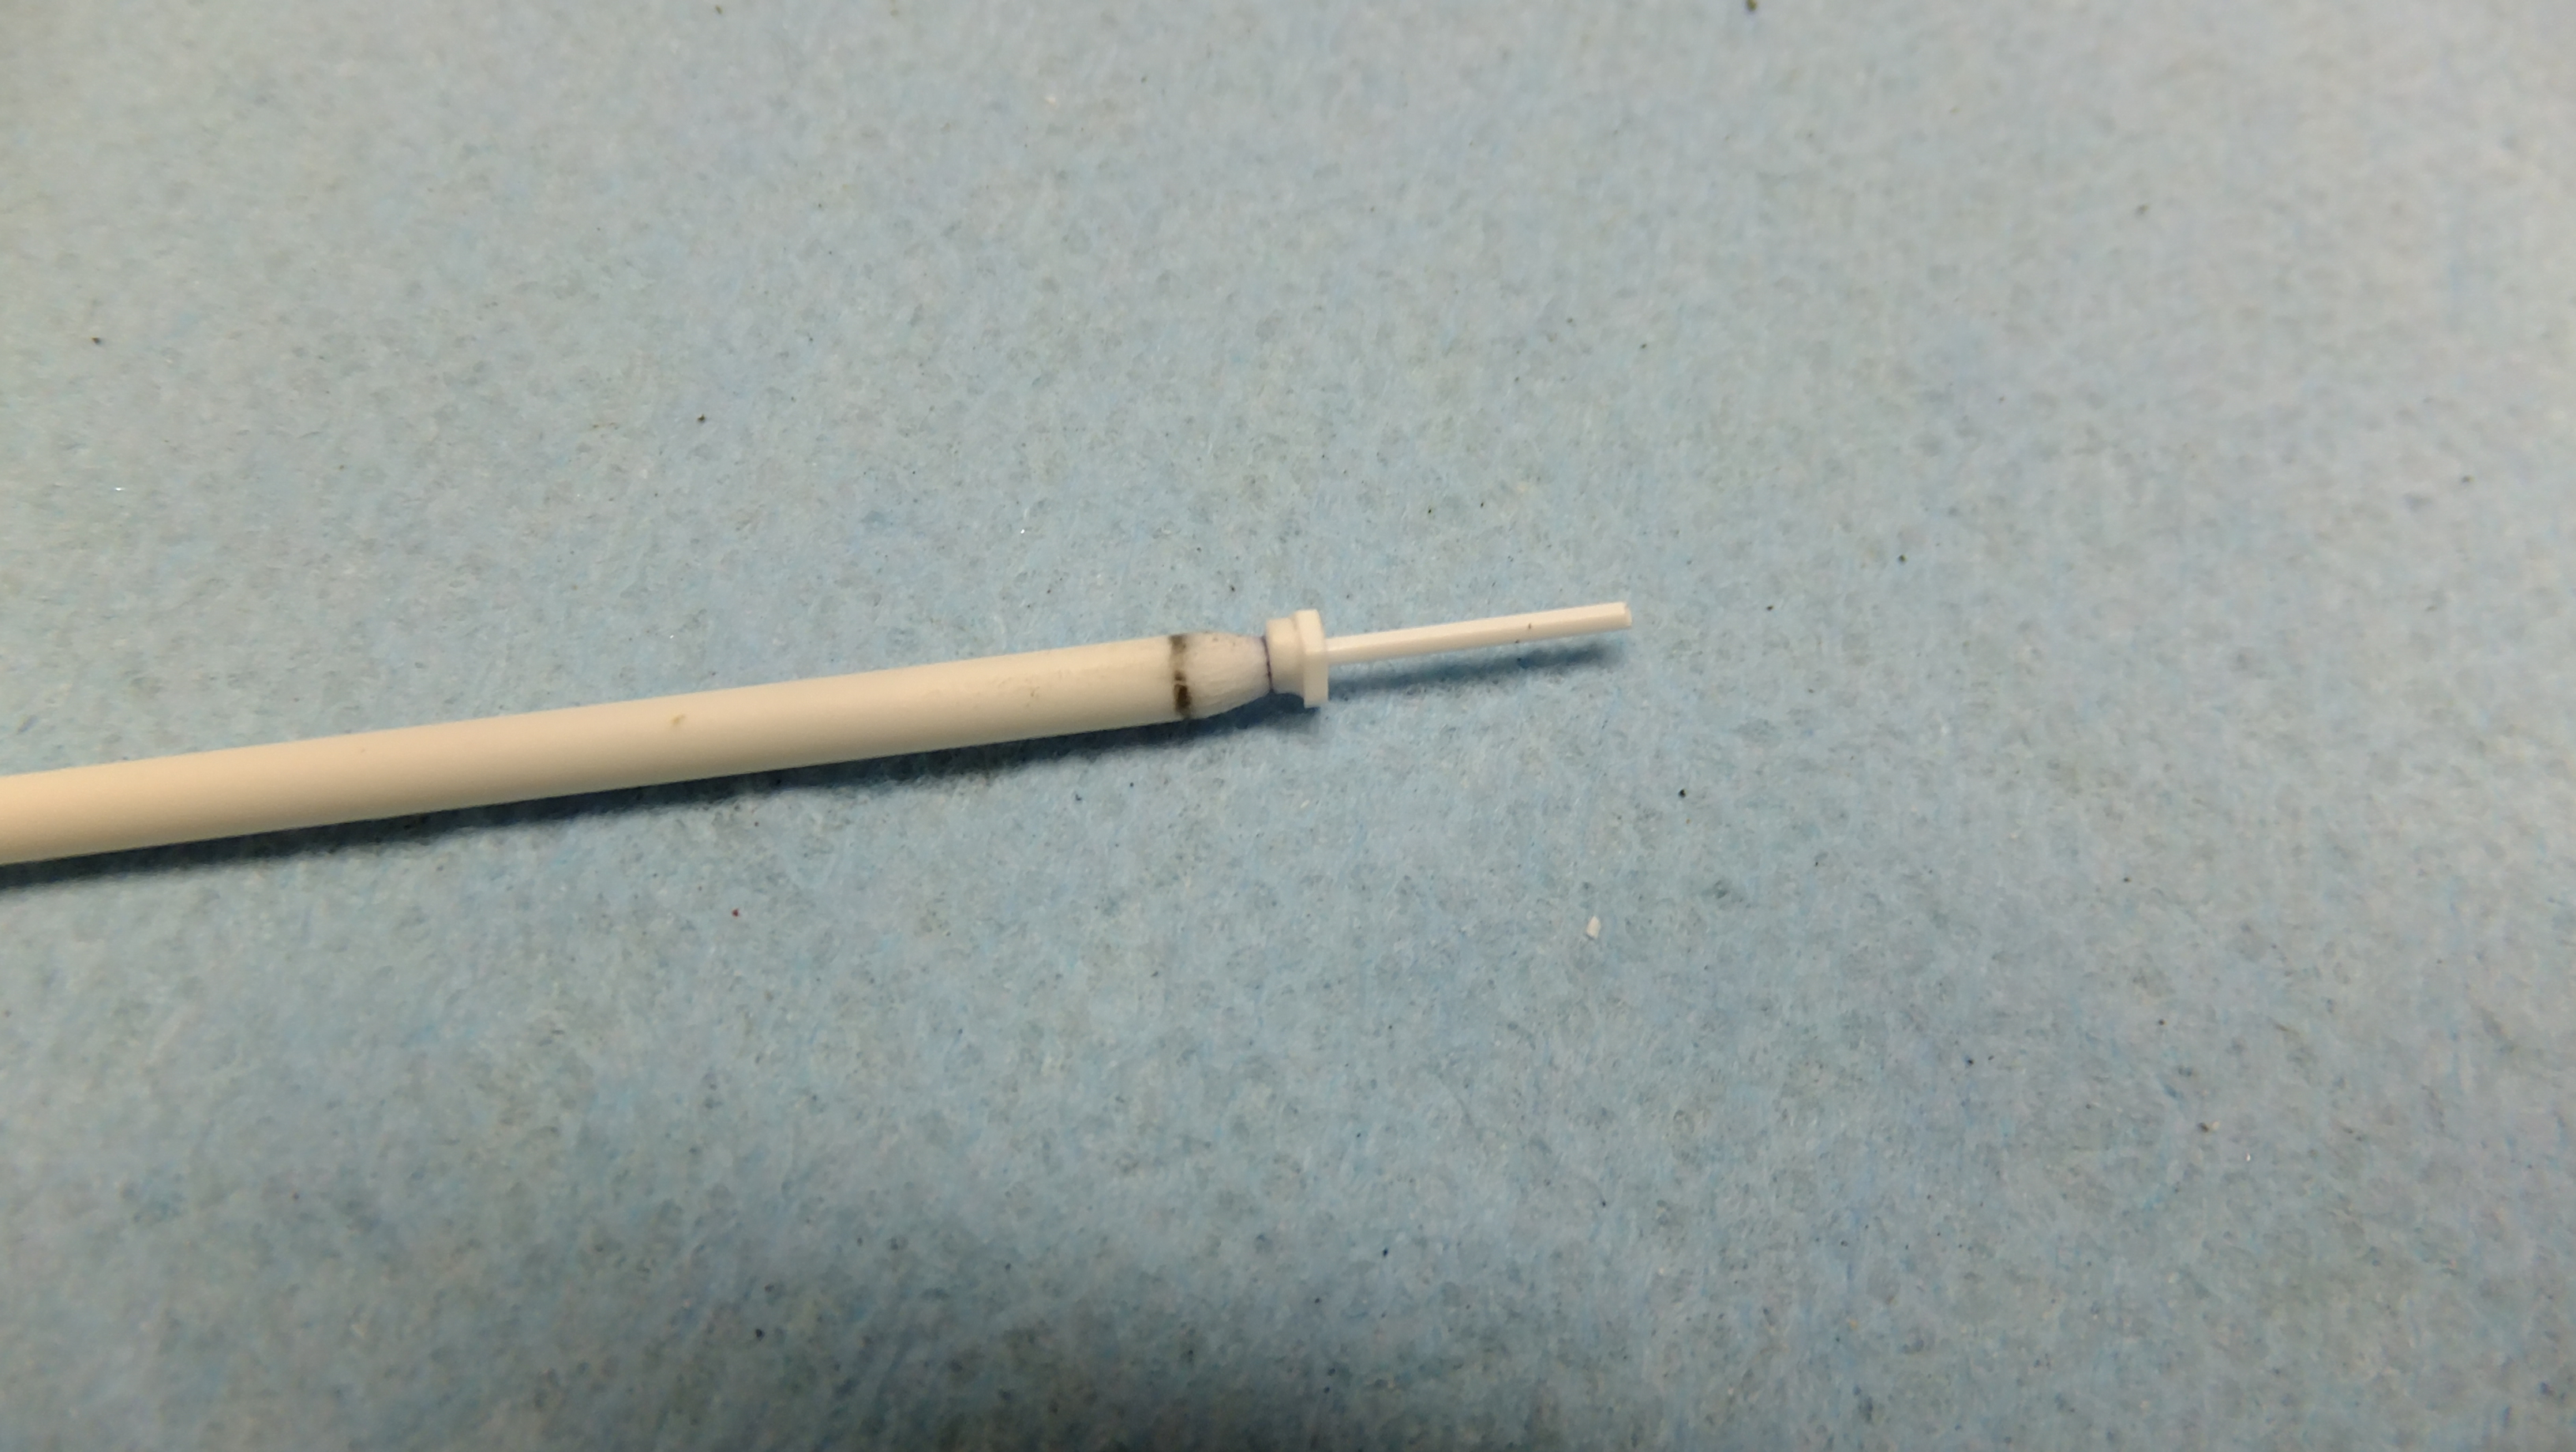
Heres a little progress update; -Photo 1; The making of the cigarette lighter... -Photo 2; here i'm making the climate control knobs, I just need to sand them a little shorter. -Photo 3; Everything in its proper spots, the two bottom rings, are indicator light bezels. -Photo 4; here I've made the proper foot rail...
-
Fully detailed Airfix James Bond Aston Martin DB-5
Dann Tier replied to Dann Tier's topic in WIP: Model Cars
Here you can really see the difference that my etching has made....notice the back of the seat.....the left side still needs to be done....
-
Thanks, JC!, i'm pretty happy with it so far
-
Otaki 1/12 Lamborghini Countach Twin Turbo...Mission Statement
Dann Tier replied to Dann Tier's topic in WIP: Model Cars
That's cool!!….you got it, bud!!….just find your groove!! -
LOL!!!!…...this is what I see...….
-
Fully detailed Airfix James Bond Aston Martin DB-5
Dann Tier replied to Dann Tier's topic in WIP: Model Cars
Ive started to etch the rear interior area...
-
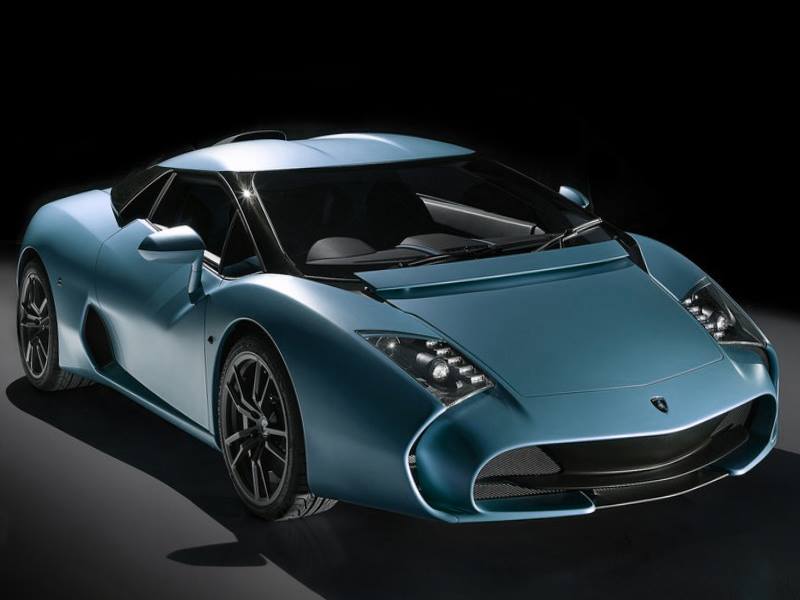
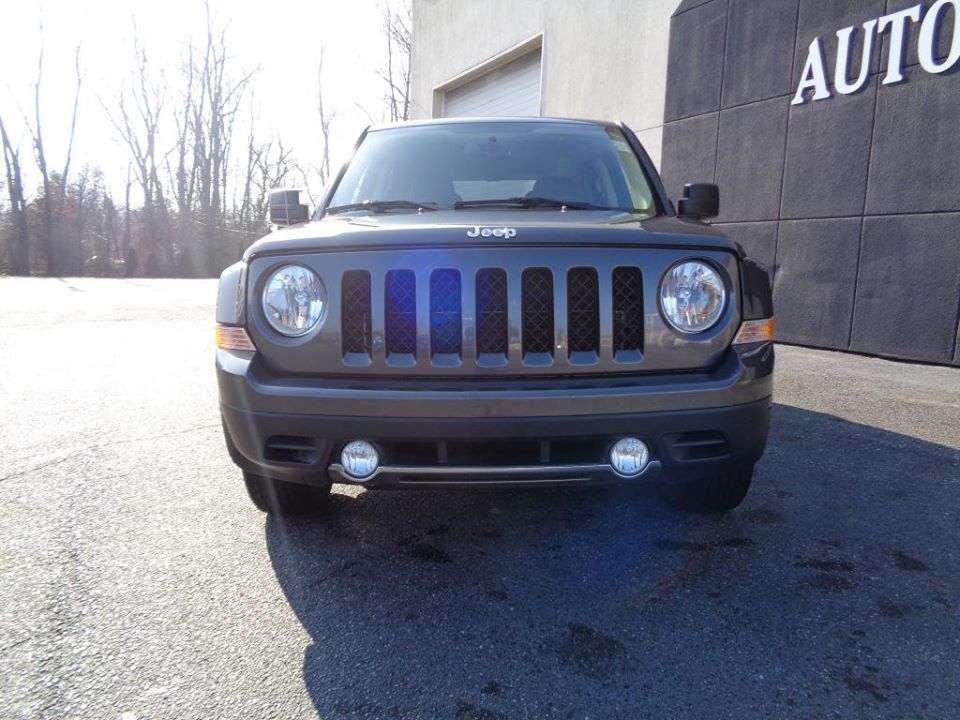
Do you often wonder whats going through the heads of auto designers these days?!….where do they come up with there crappy.....I mean, "winning designs"?...….I think I can help out with a couple here.....First is a Lamborghini design, and the second is one of those FAKE jeeps......i'm so glad its not a real one!!
-
Otaki 1/12 Lamborghini Countach Twin Turbo...Mission Statement
Dann Tier replied to Dann Tier's topic in WIP: Model Cars
Thanks, William!!, I will, its not as bad as I thought doing seven builds at the same time....just have to find a good system of rotation!! -
Fully detailed Airfix James Bond Aston Martin DB-5
Dann Tier replied to Dann Tier's topic in WIP: Model Cars
Thanks, Pat!, I will!......that is one BEAUTIFUL Aston Martin!! -
Hasegawas Lamborghini Miura SV....new update!
Dann Tier replied to Dann Tier's topic in WIP: Model Cars
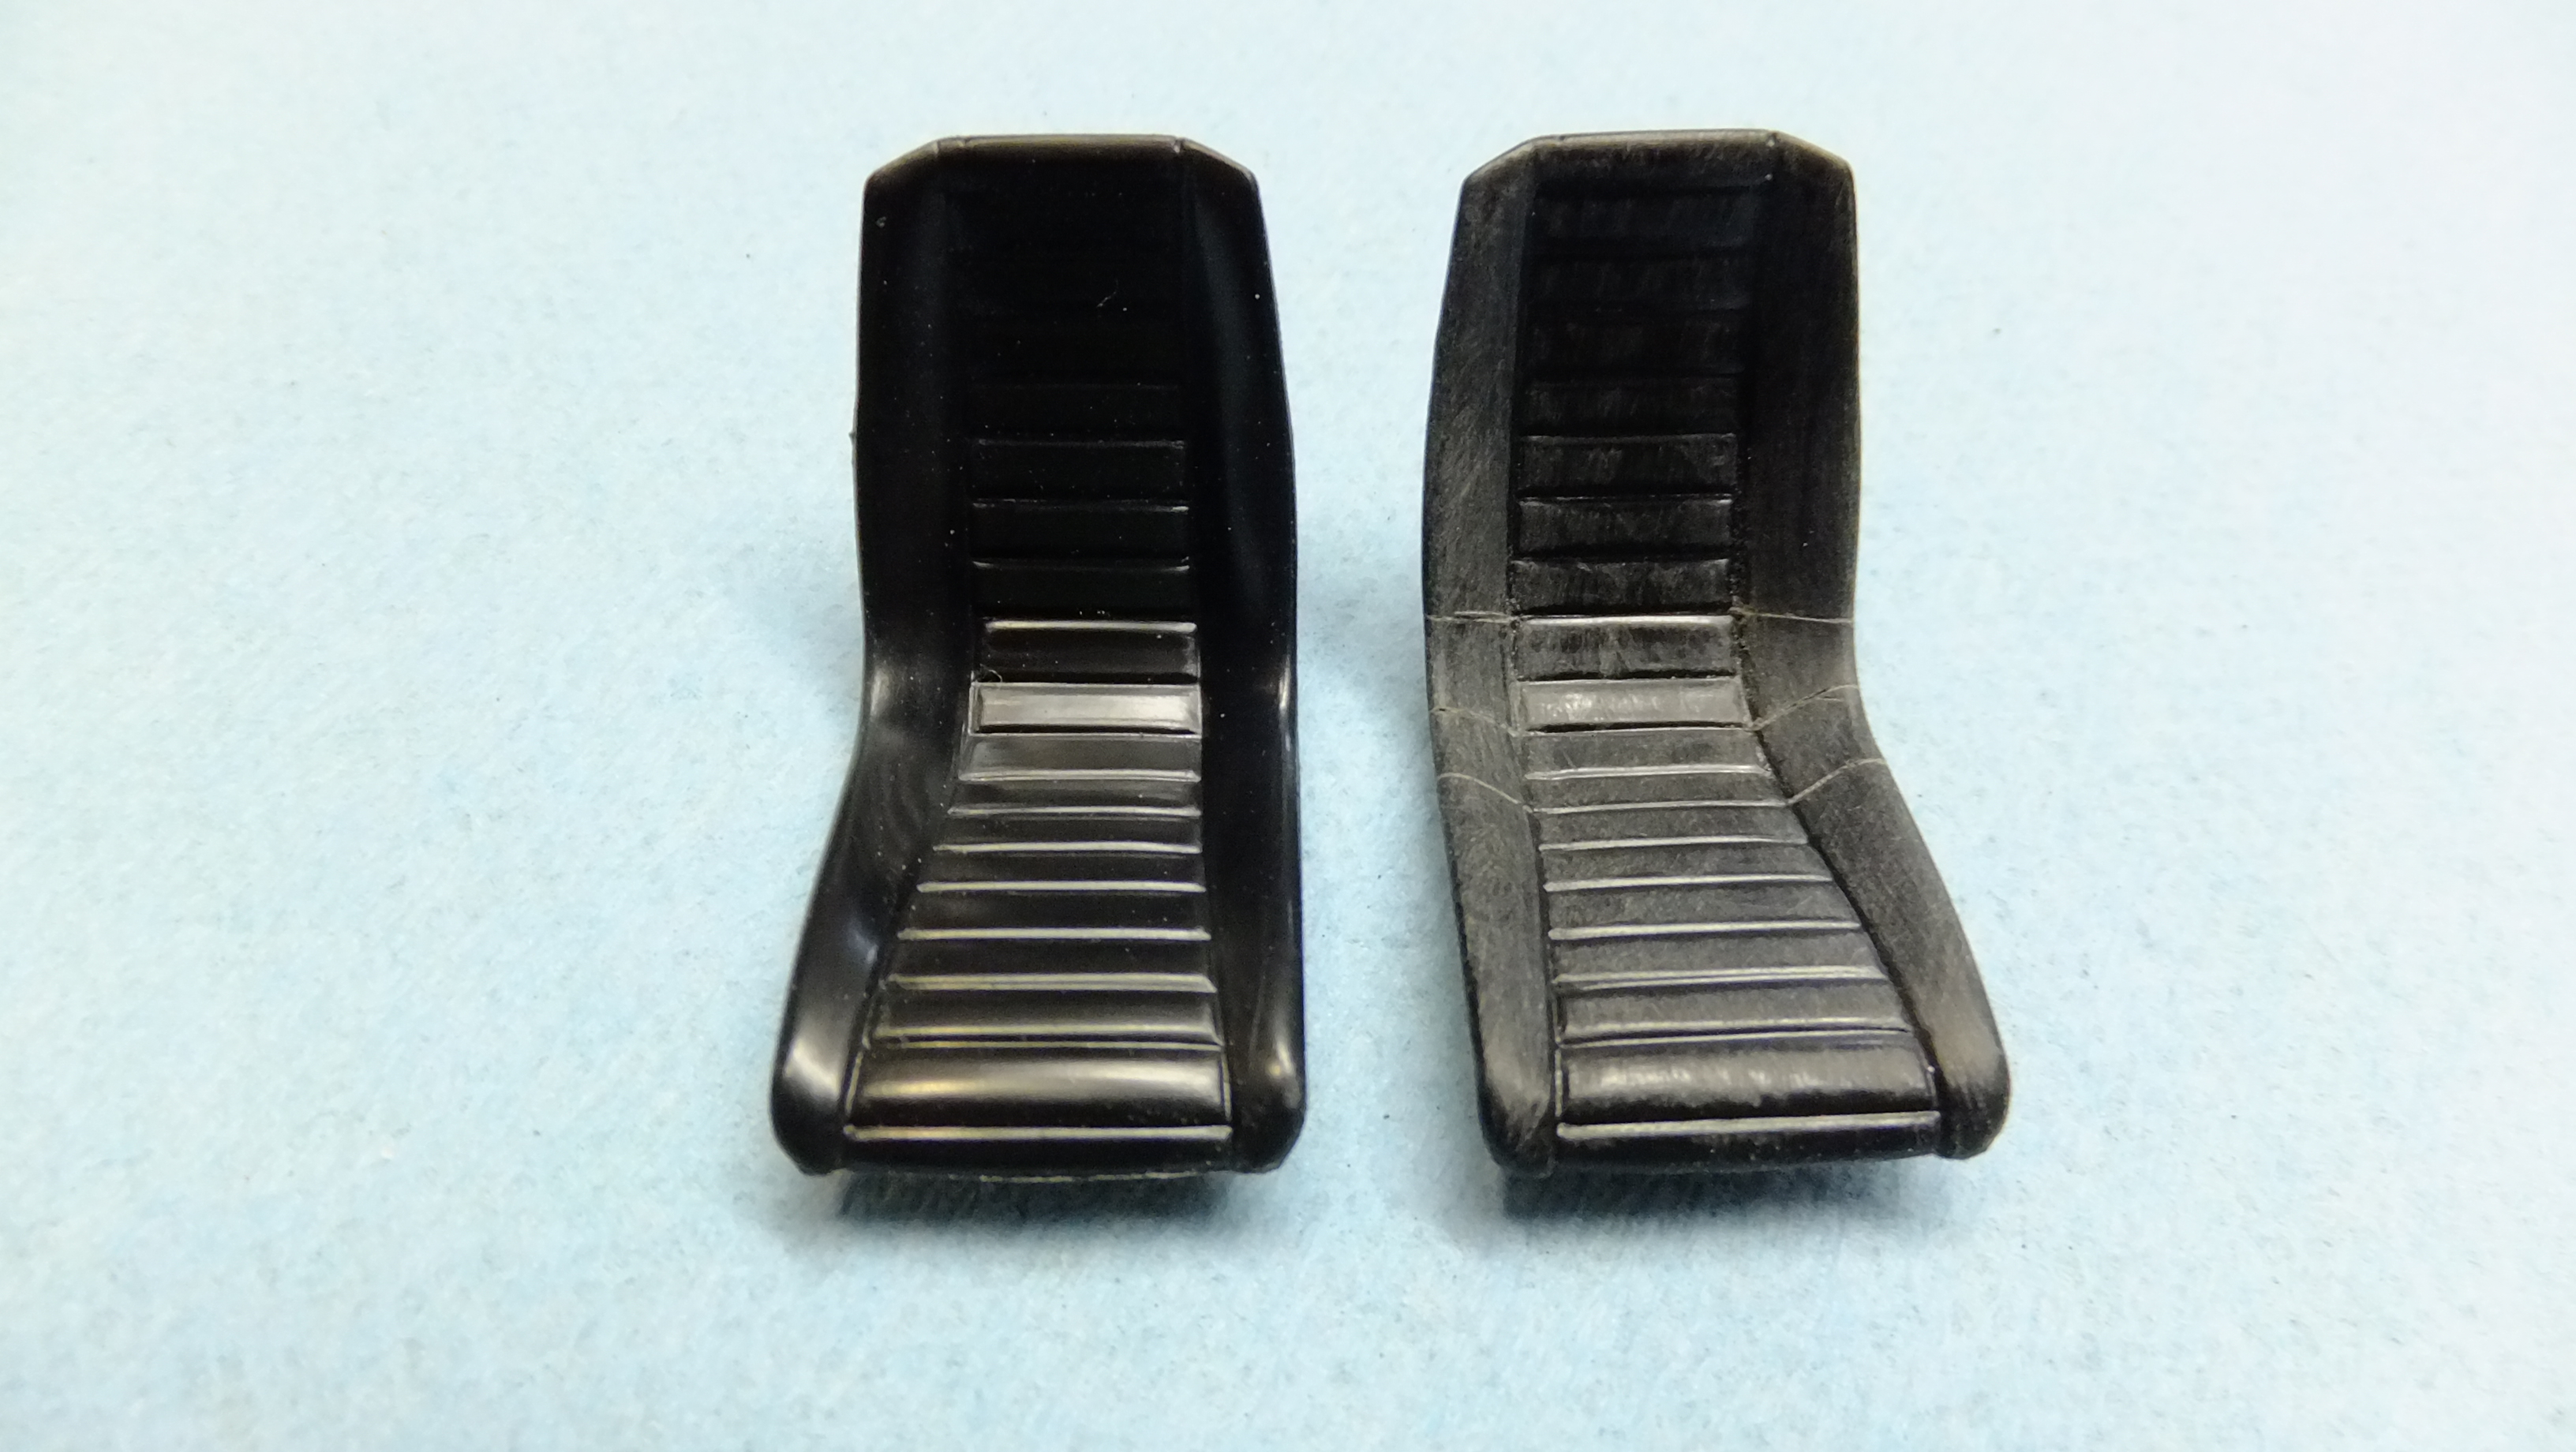
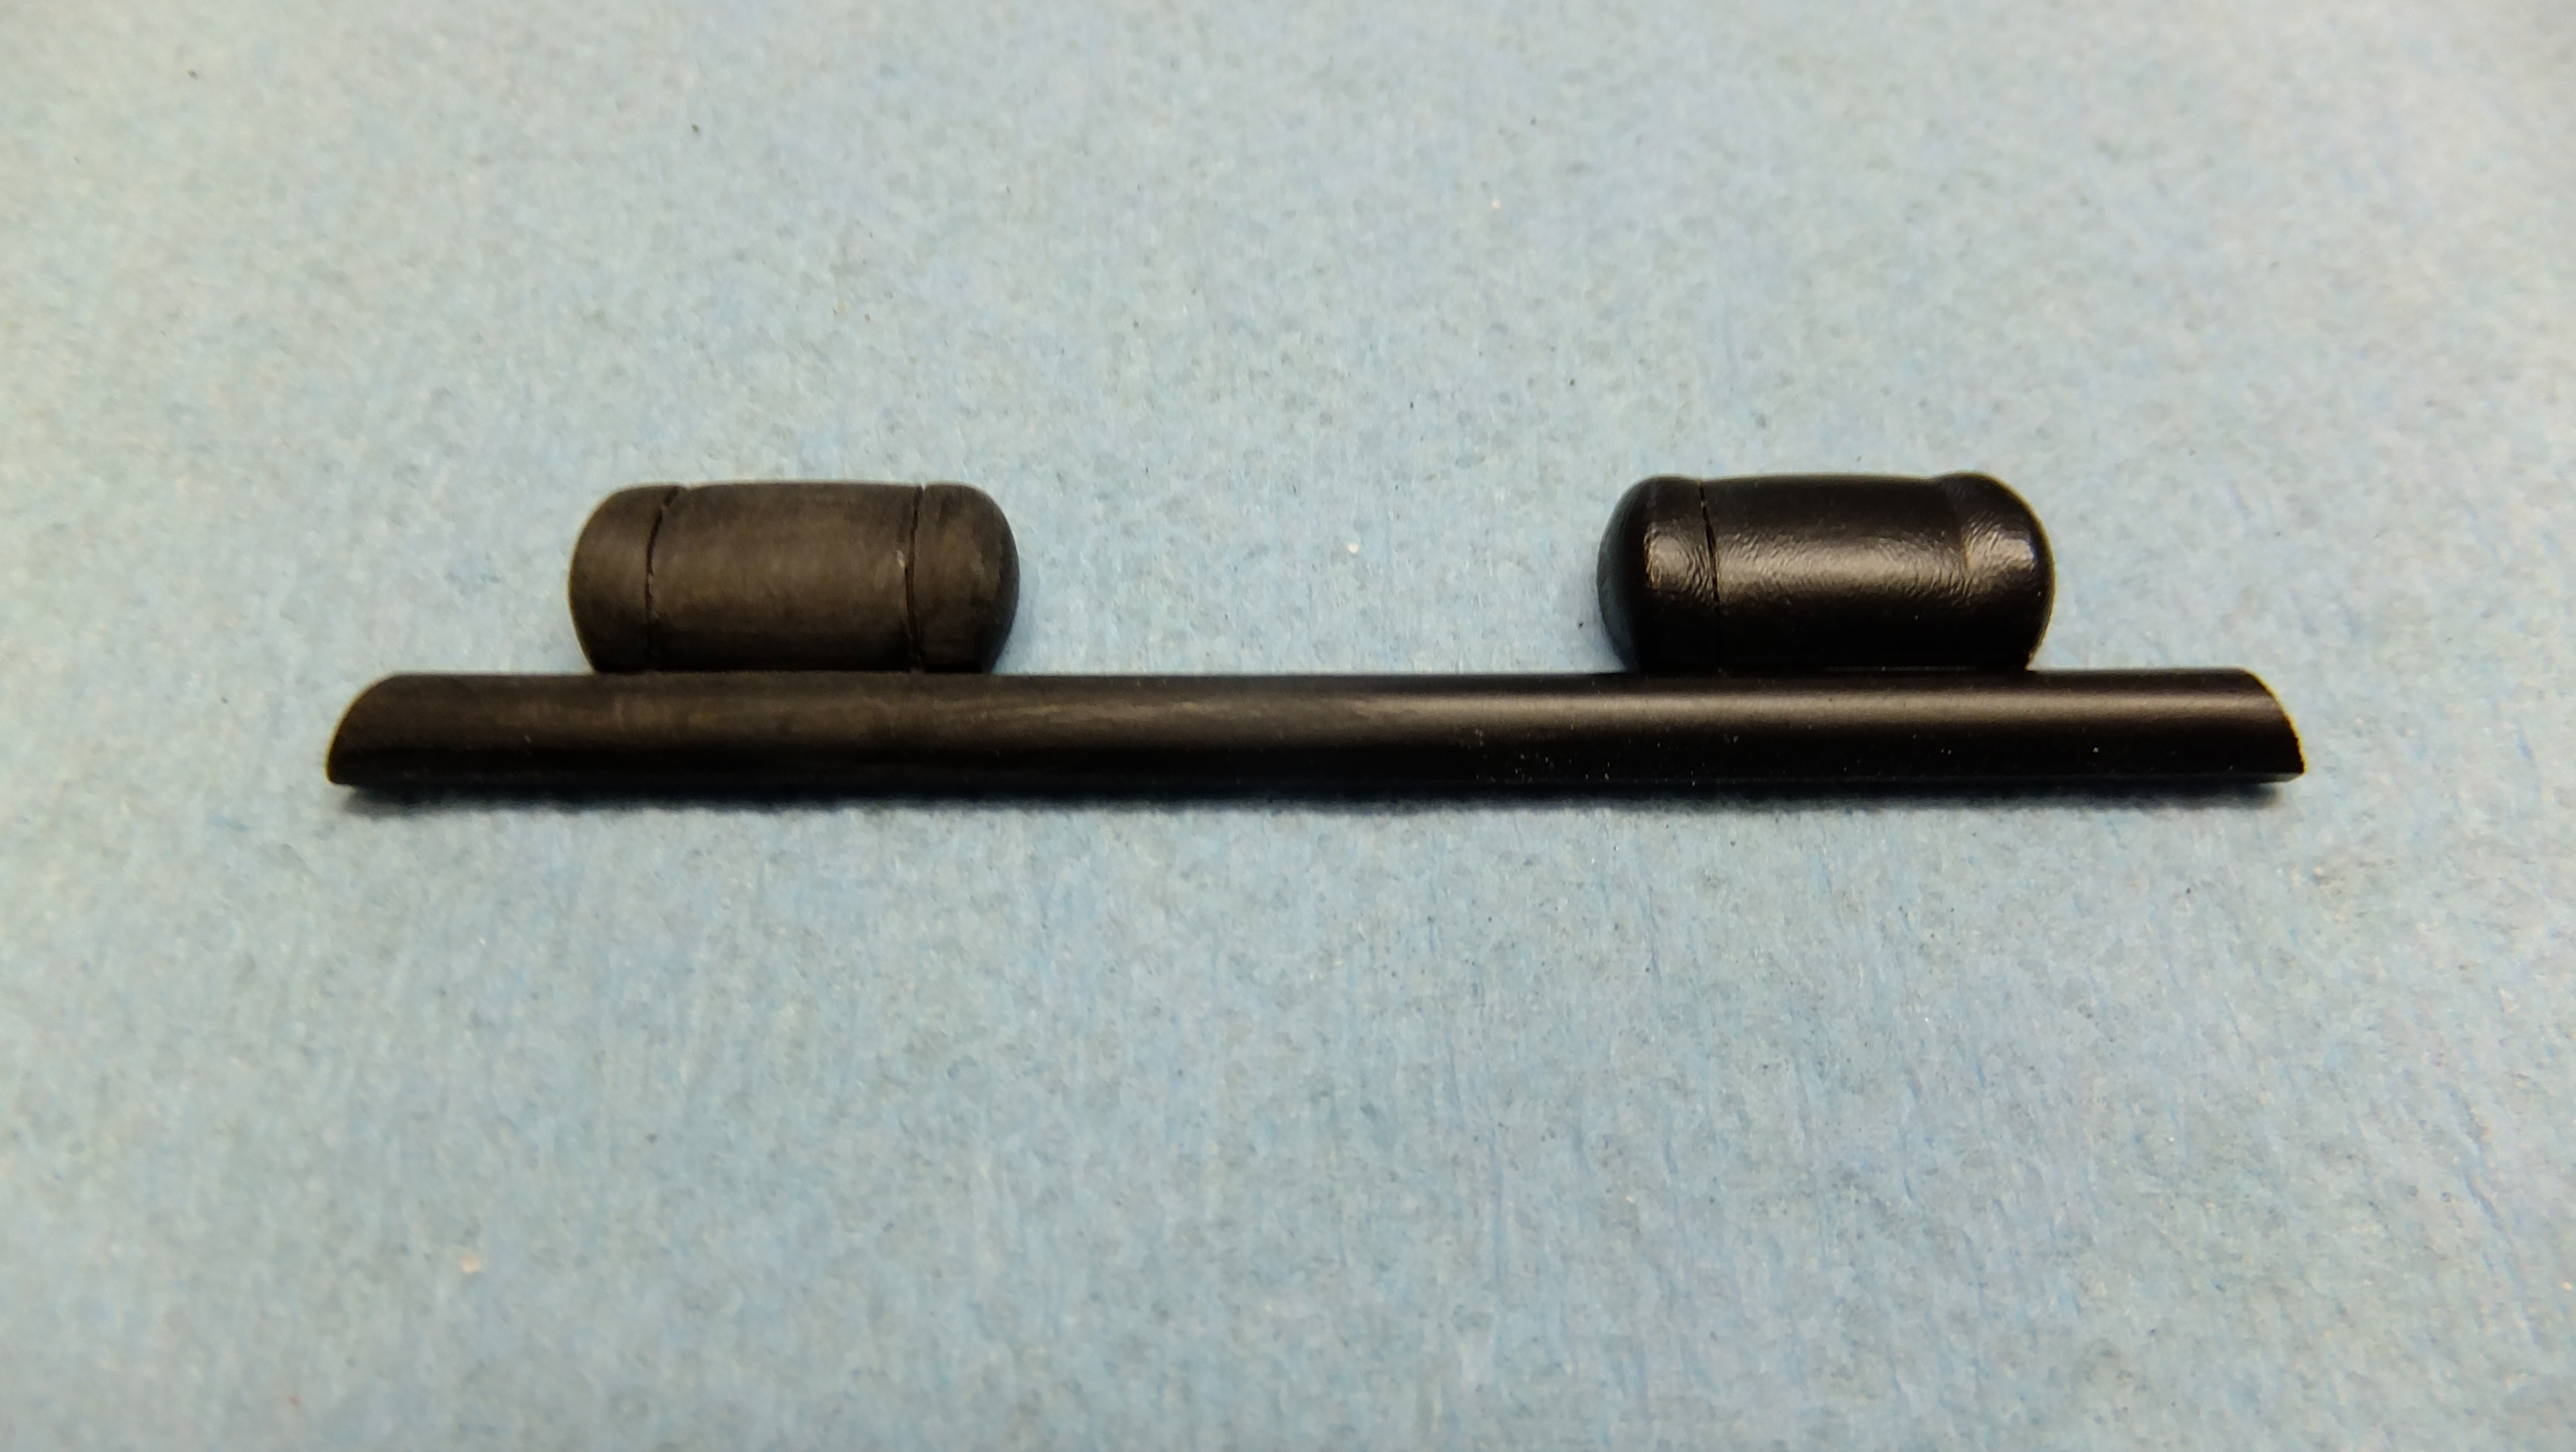
Hey, everyone!, I have another Miura update!....Everything is still in the rough... -Photo 1; The seat on the left is missing seams, so I added them. -Photo 2; Notice how much better the headrests look when they have the proper seam depth. -Photo 3; The real car has these vertical doorjam trim pieces, so I needed to make some. -Photo 4; There are actually trim pieces like these on the real car.
-
Fully detailed Airfix James Bond Aston Martin DB-5
Dann Tier replied to Dann Tier's topic in WIP: Model Cars
I think I prefer it over the Zagato as well, JC. -
Thanks, Ron, its been a favorite of mine for a LONG time now.
-
Funny you should say that, because the list of people interested in this as a resin kit is growing!.....I think I will totally build it so that I can do that for people who want it.
-
Thanks, Tim!
-
This I will follow!!…..If you ever need parts, let me know, I have a complete kit extra...
-
This is looking great!!, I have the Accurate Miniatures version, so I will be following!!
-
Fully detailed Airfix James Bond Aston Martin DB-5
Dann Tier replied to Dann Tier's topic in WIP: Model Cars
-
Fully detailed Airfix James Bond Aston Martin DB-5
Dann Tier replied to Dann Tier's topic in WIP: Model Cars
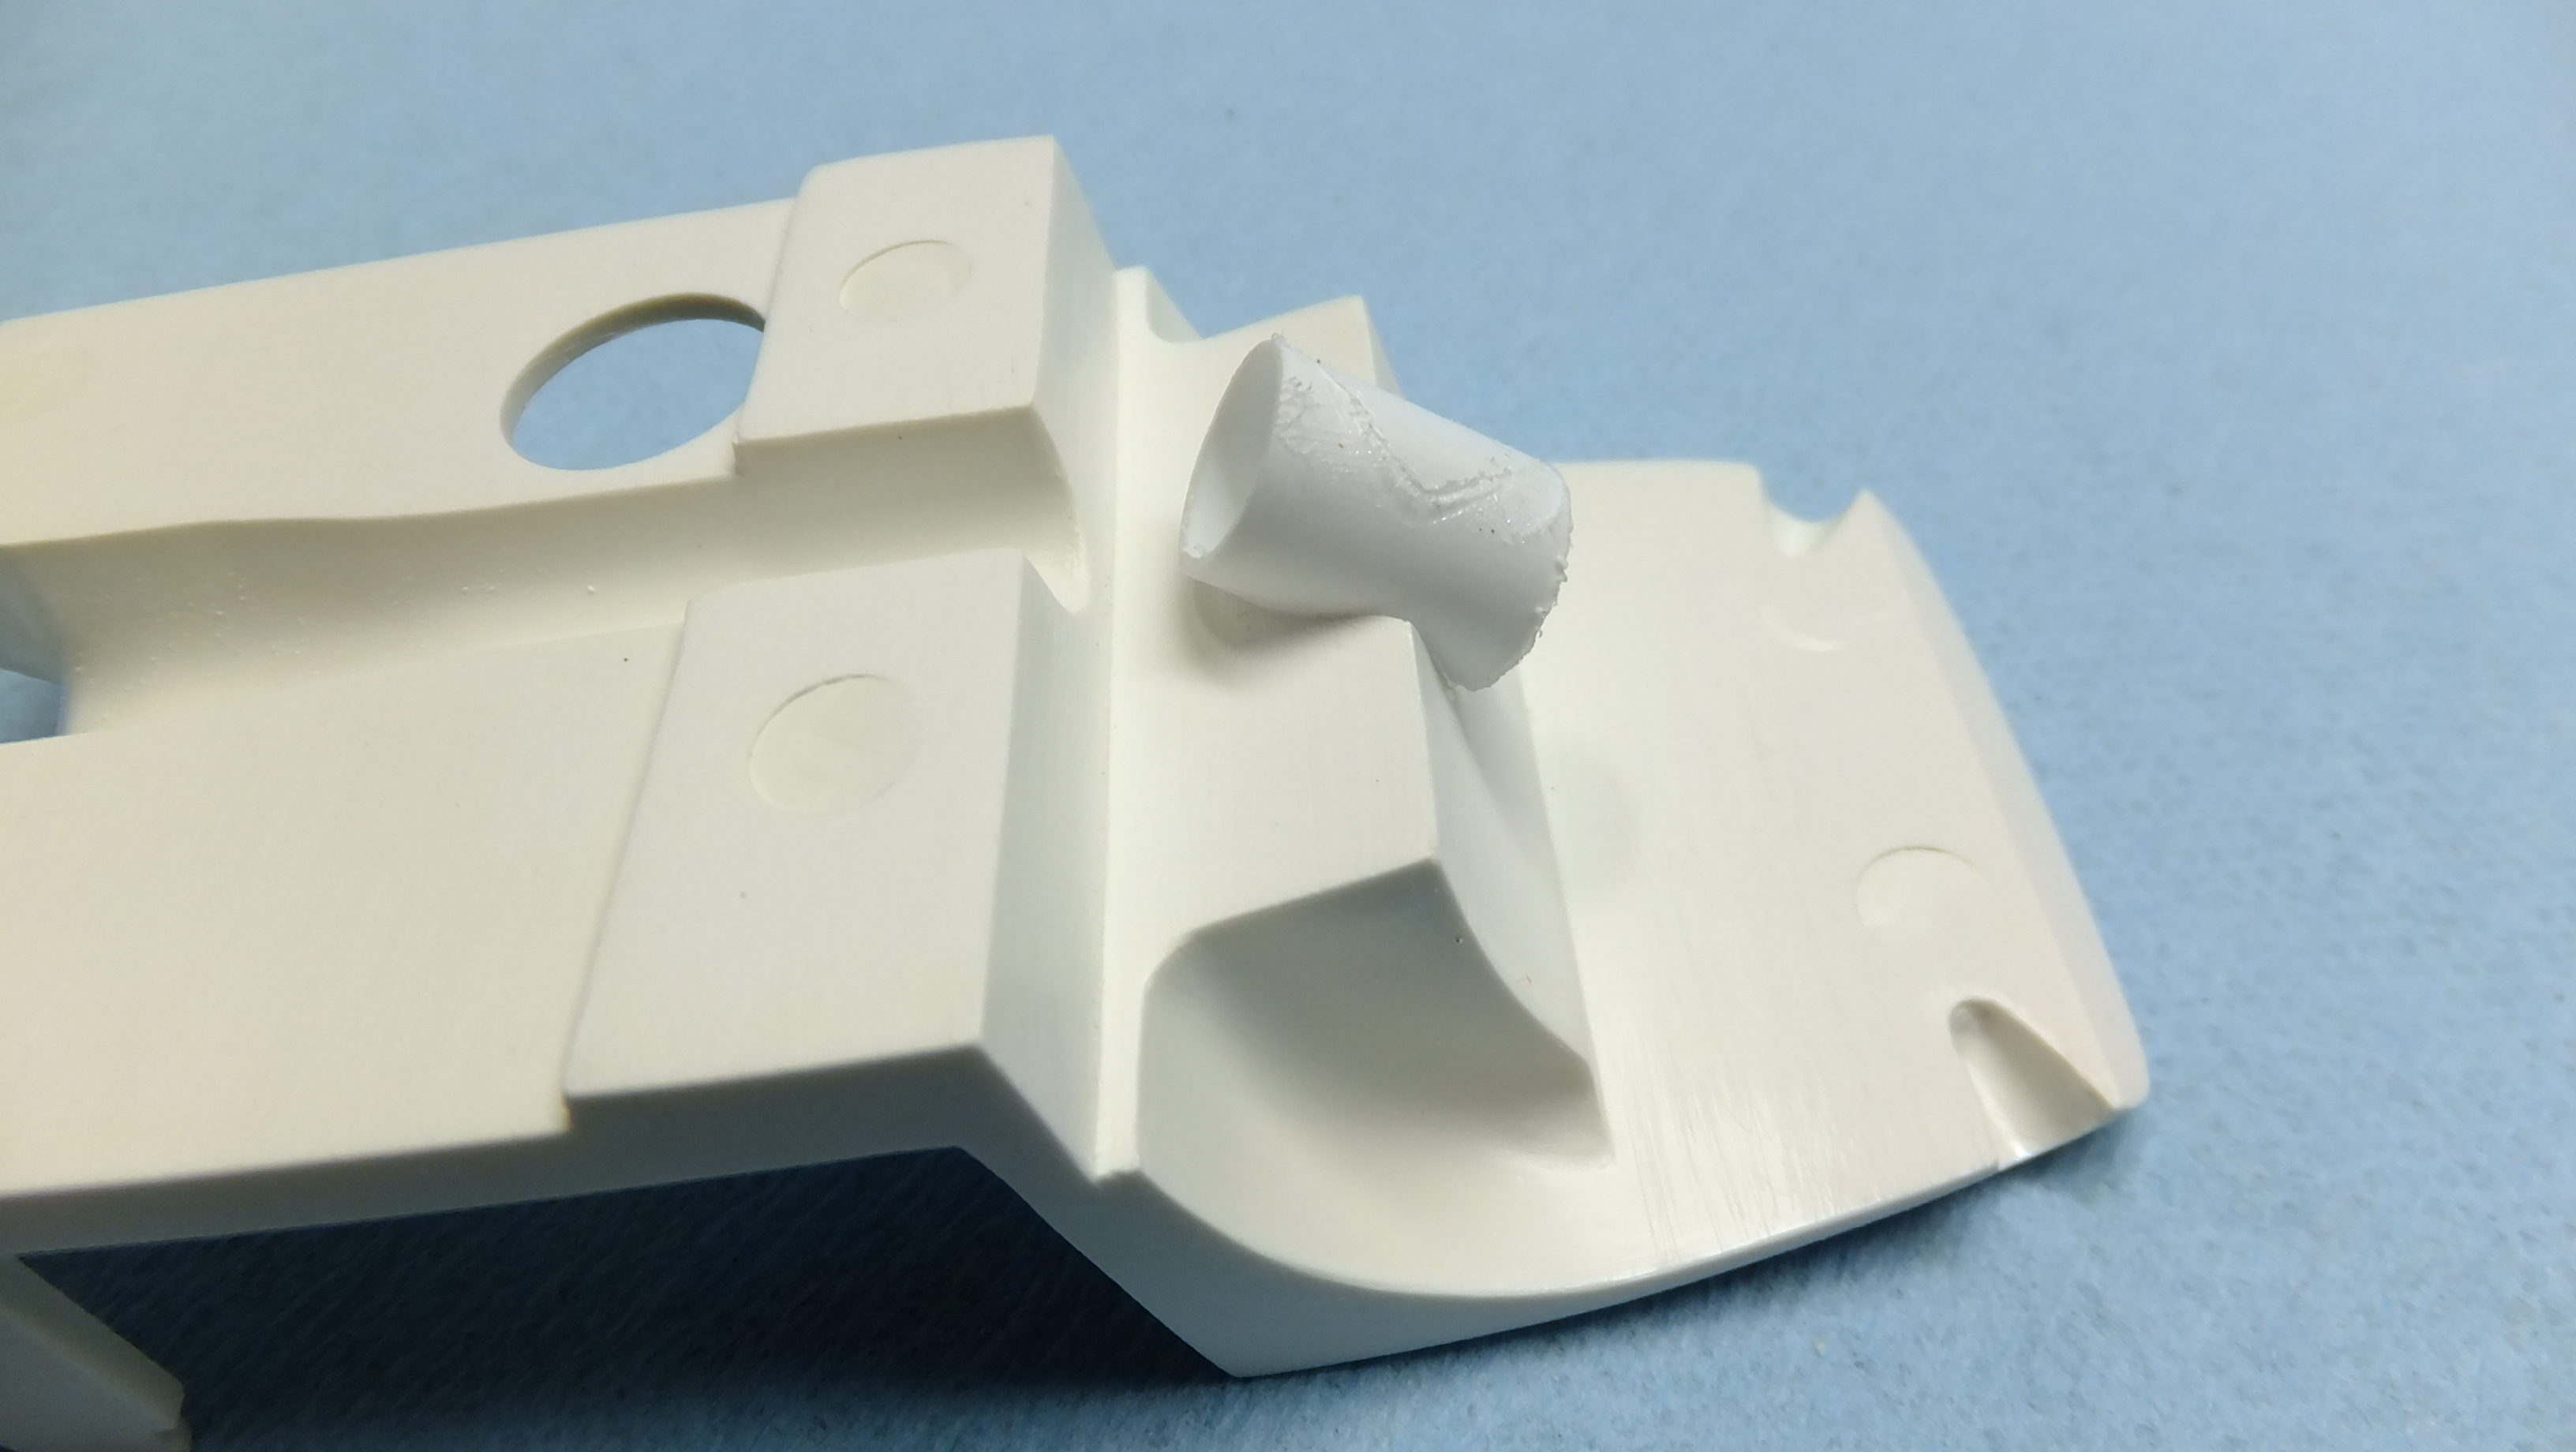
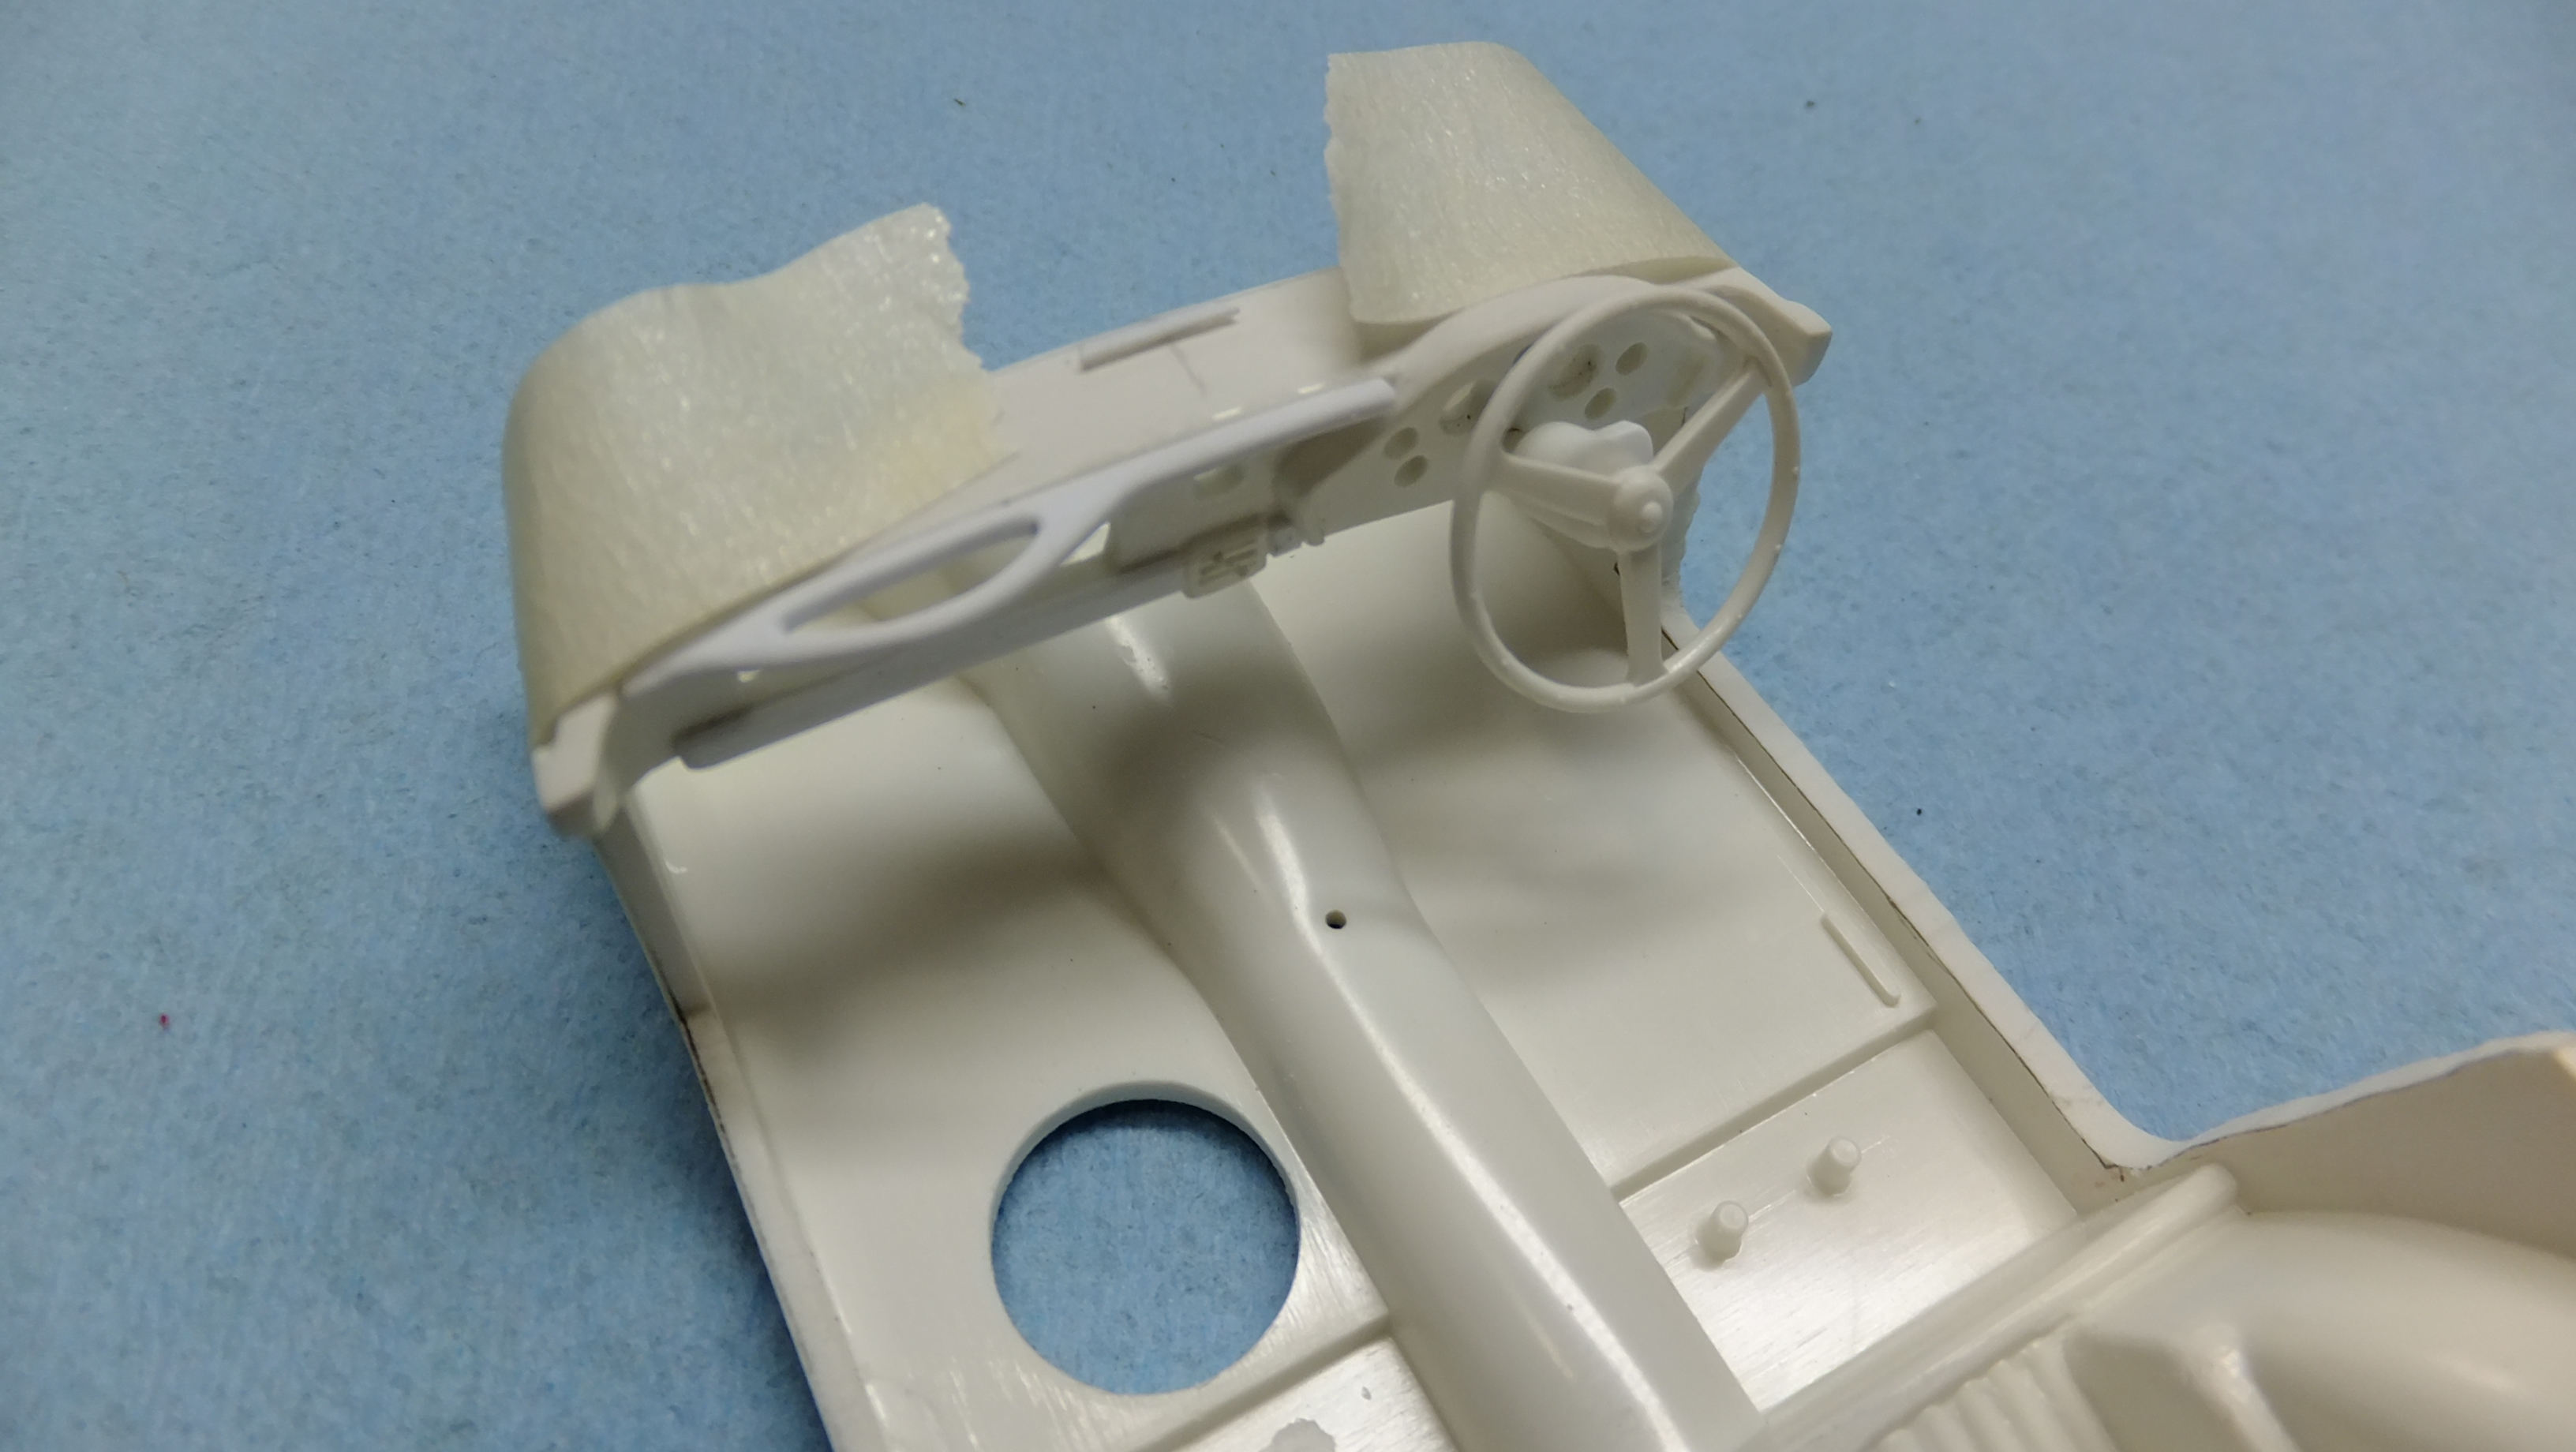
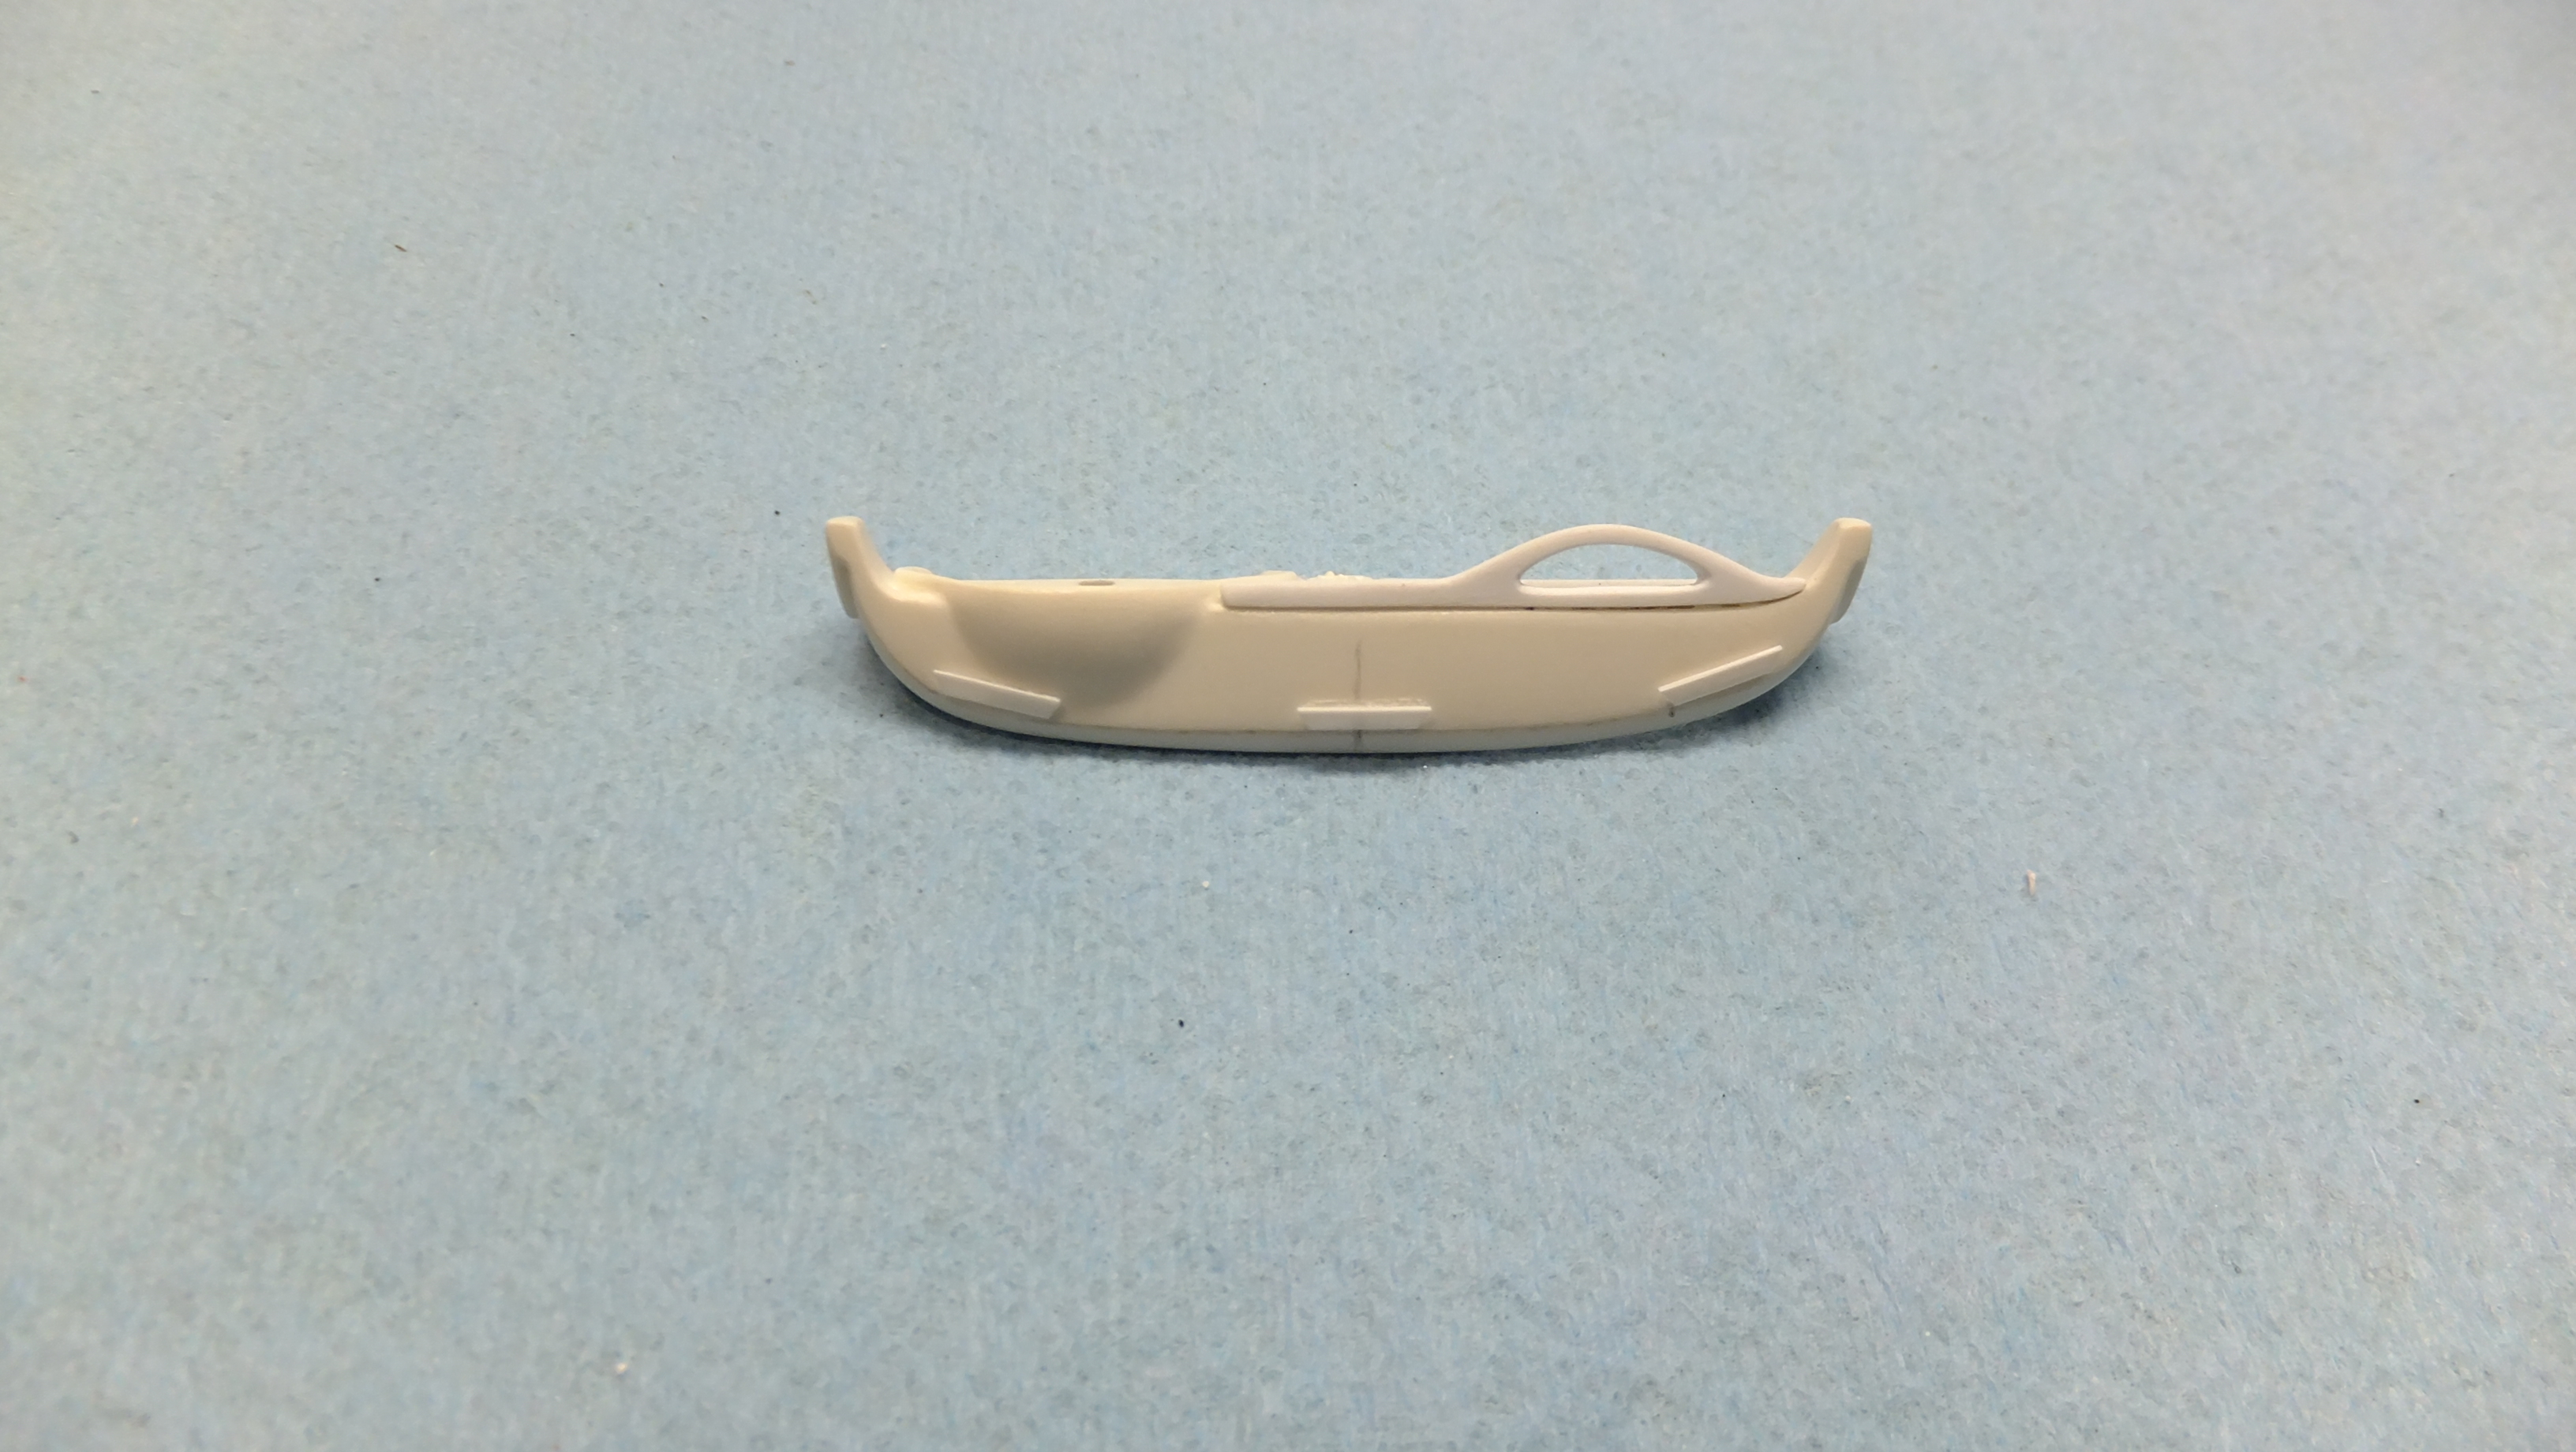
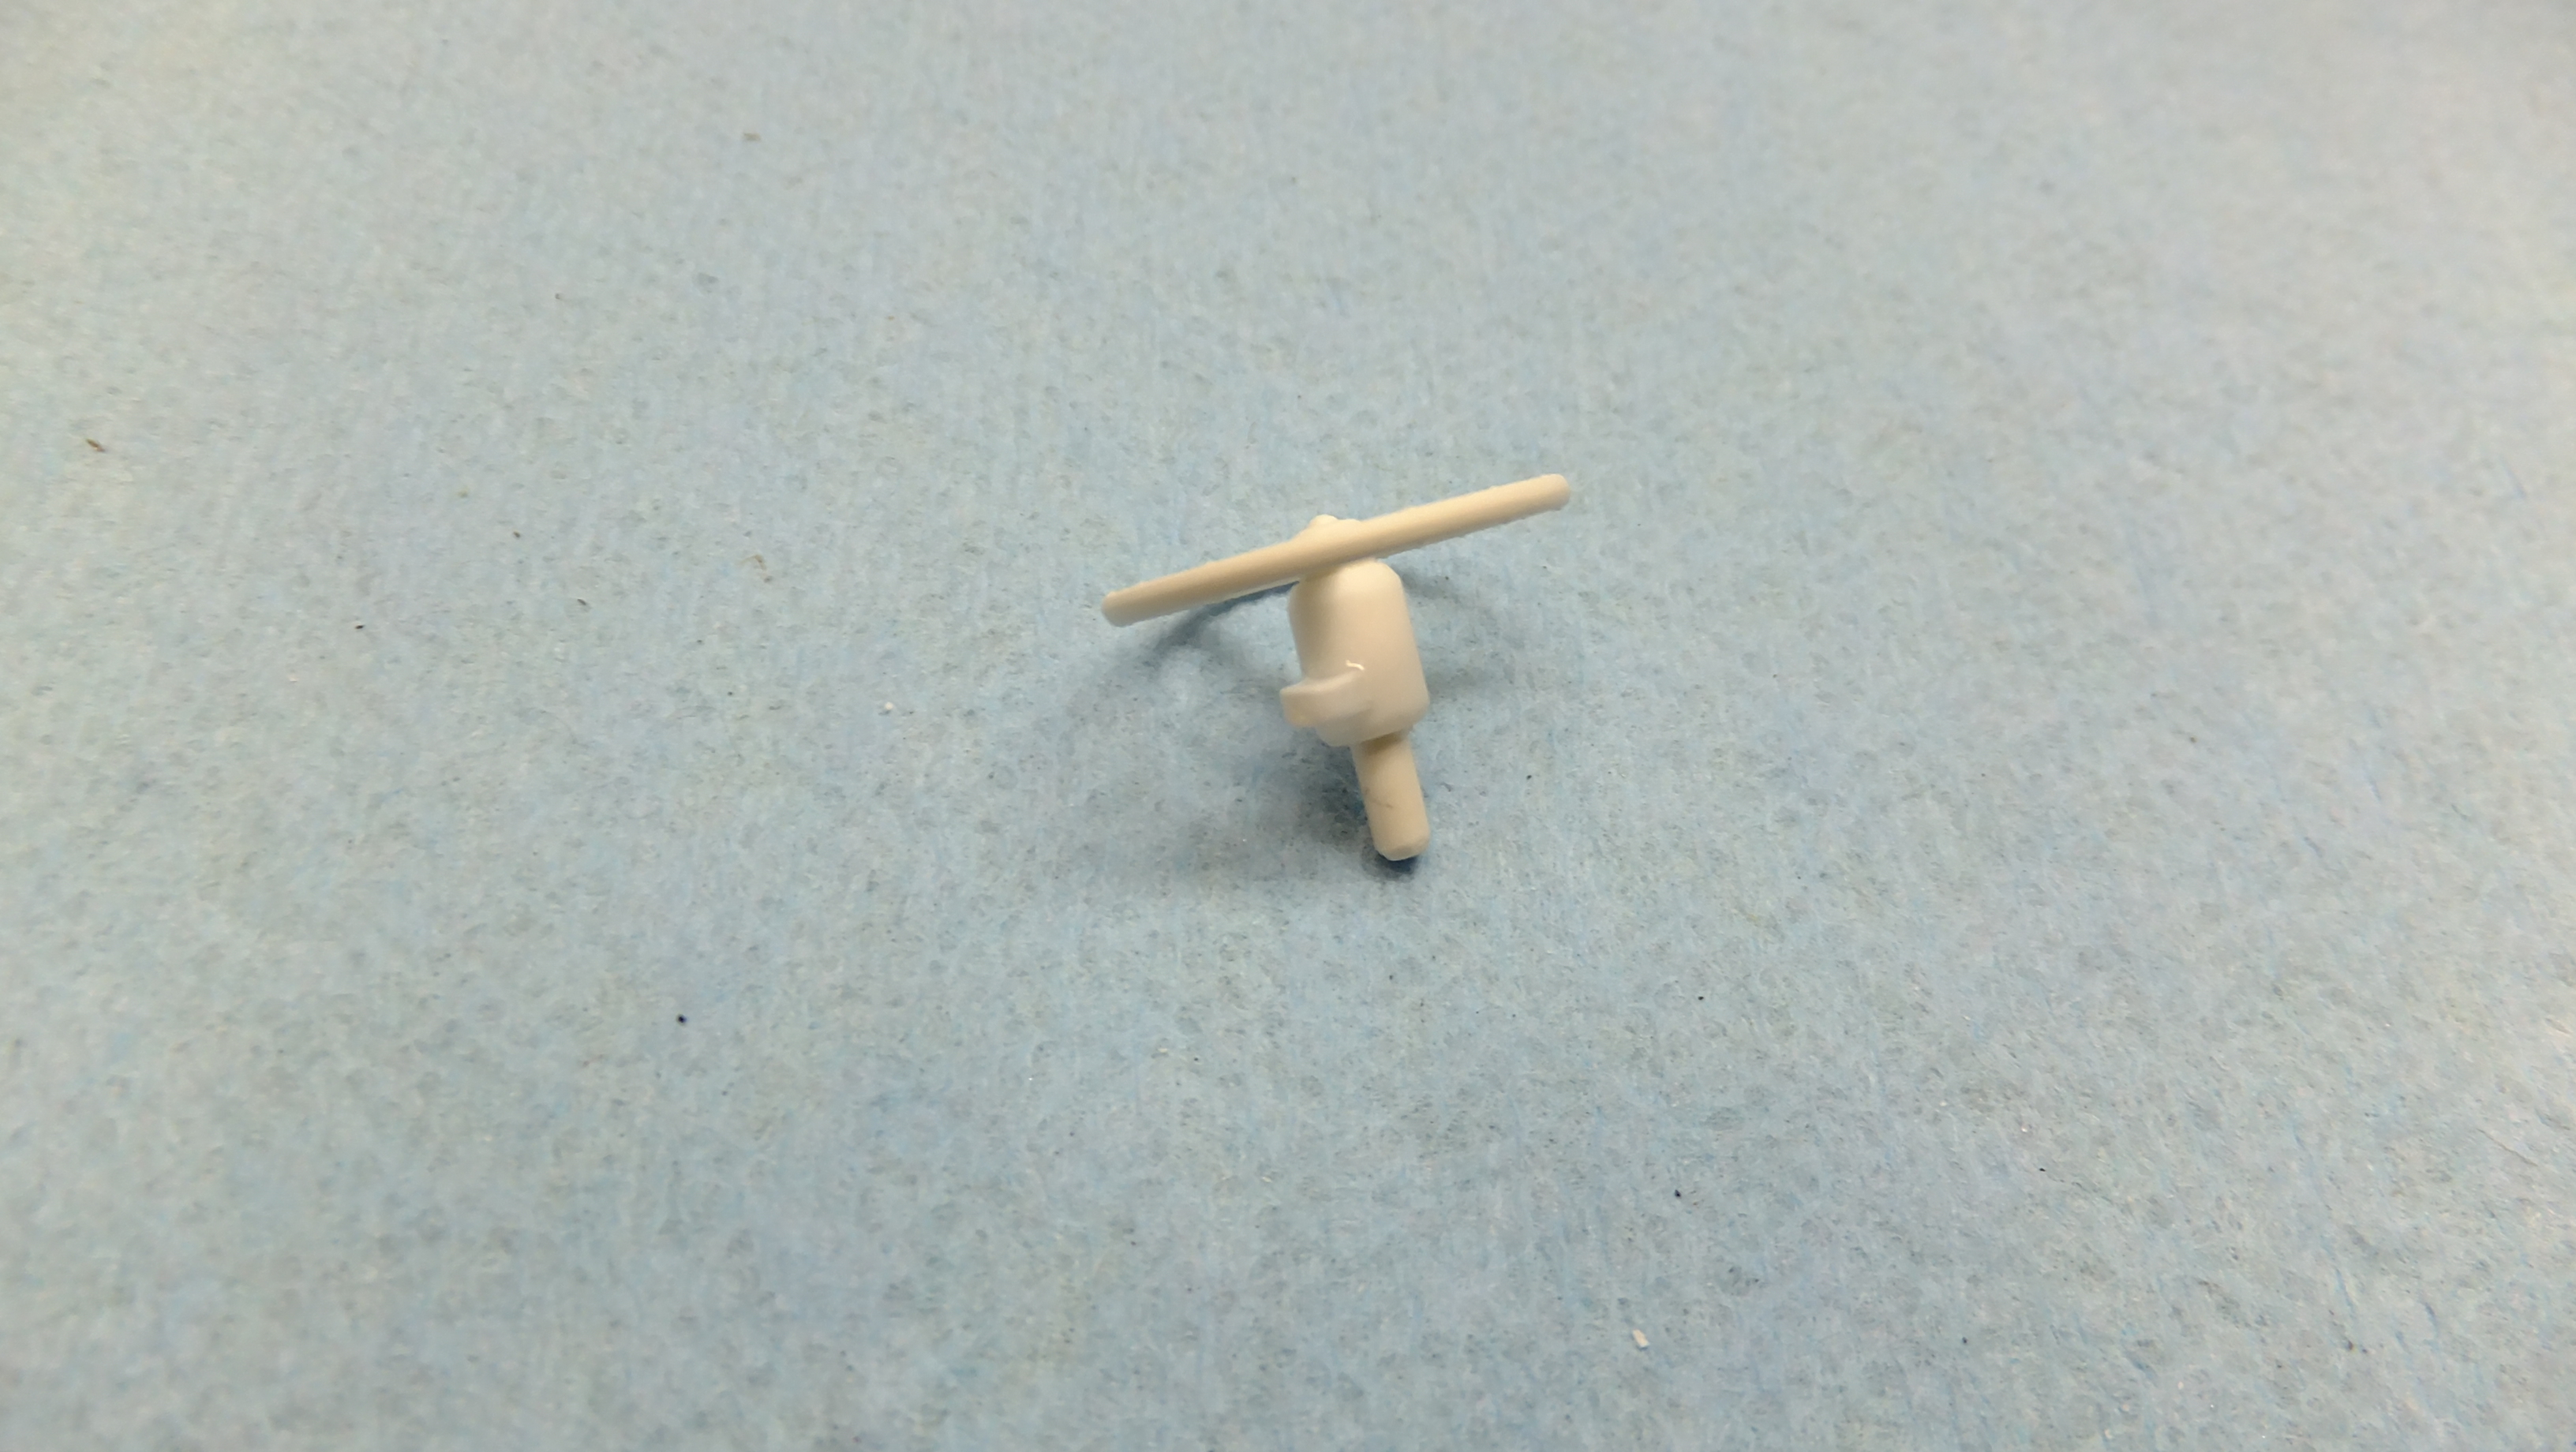
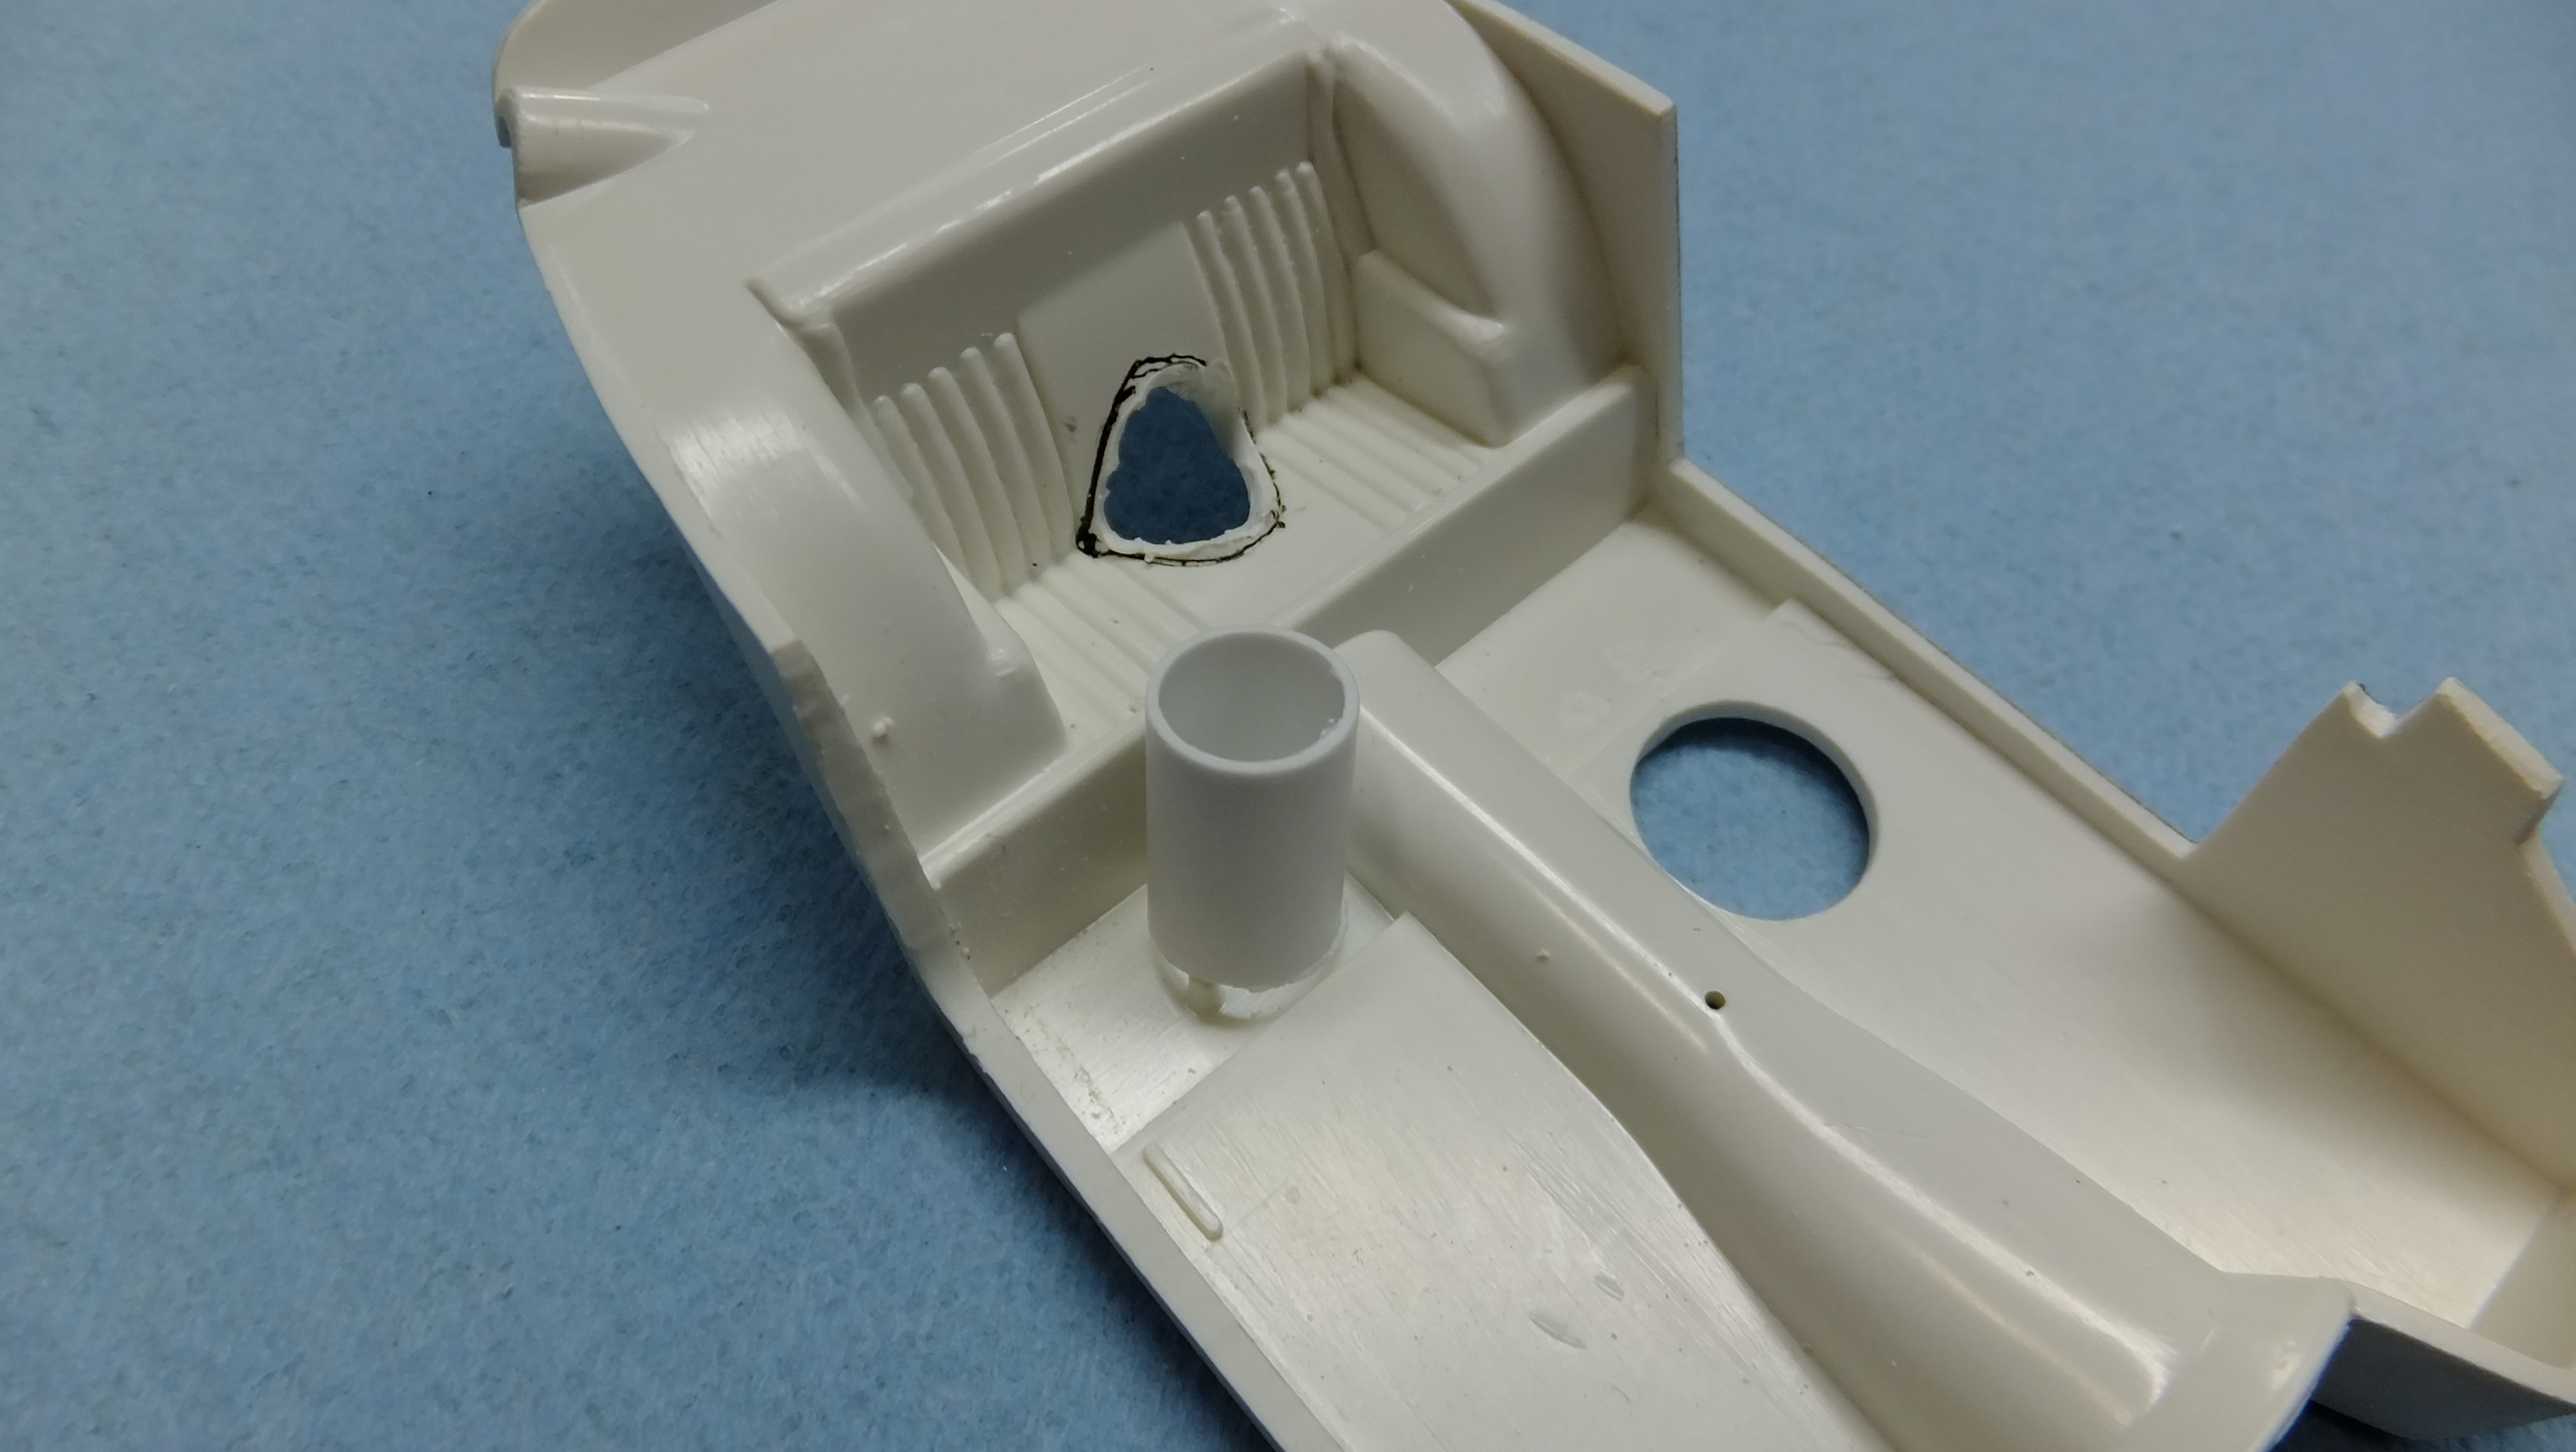
I have some new updates on this one finally! I've been doing a lot of the rough work, and its getting there. -Photo 1; Here I made the glove box door with hinge, and insert, and according to photos, there is suppose to be a trim piece across the lower edge of the dash, so I added it. -Photo 2; The glove box all assembled, and in place under the dash handle I made. -Photo 3; I scratchbuilt the three dash vents. the oly thing left to do ,is to fold the sides down when their dry. -Photo 5; Here is the kits steering wheel. I had to cut an 1/8 0f an inch off the end.....it was two long. -Photo 6; I needed to make a realistic steering column, and turn signal switch. -Photo 7; Getting ready to get rid of that second plain door card, and about to remove the rear seat hump....it doesn't look very real either... -Photo 8; In order to start making the rear seat more realistically cushioned, I removed the hump, and will round-off the opening, then add a piece of styrene tube to help creat a better look. -Photo 9; Here you can see its already starting to look better, but I have a lot more to do yet.
-
Thanks, Bill, to me it seemed the logical way to do it. Its way easier to adjust things AROUND a good base, then to do it in reverse, also kinda like not building a house right, if you don't have a good foundation, the rest will suffer.
-
Thanks, Bob!...enjoy!