Dann Tier
-
Posts
8,151 -
Joined
-
Last visited
Content Type
Profiles
Forums
Events
Gallery
Everything posted by Dann Tier
-
FANTASTIC!!…..I really love that roof!!
-
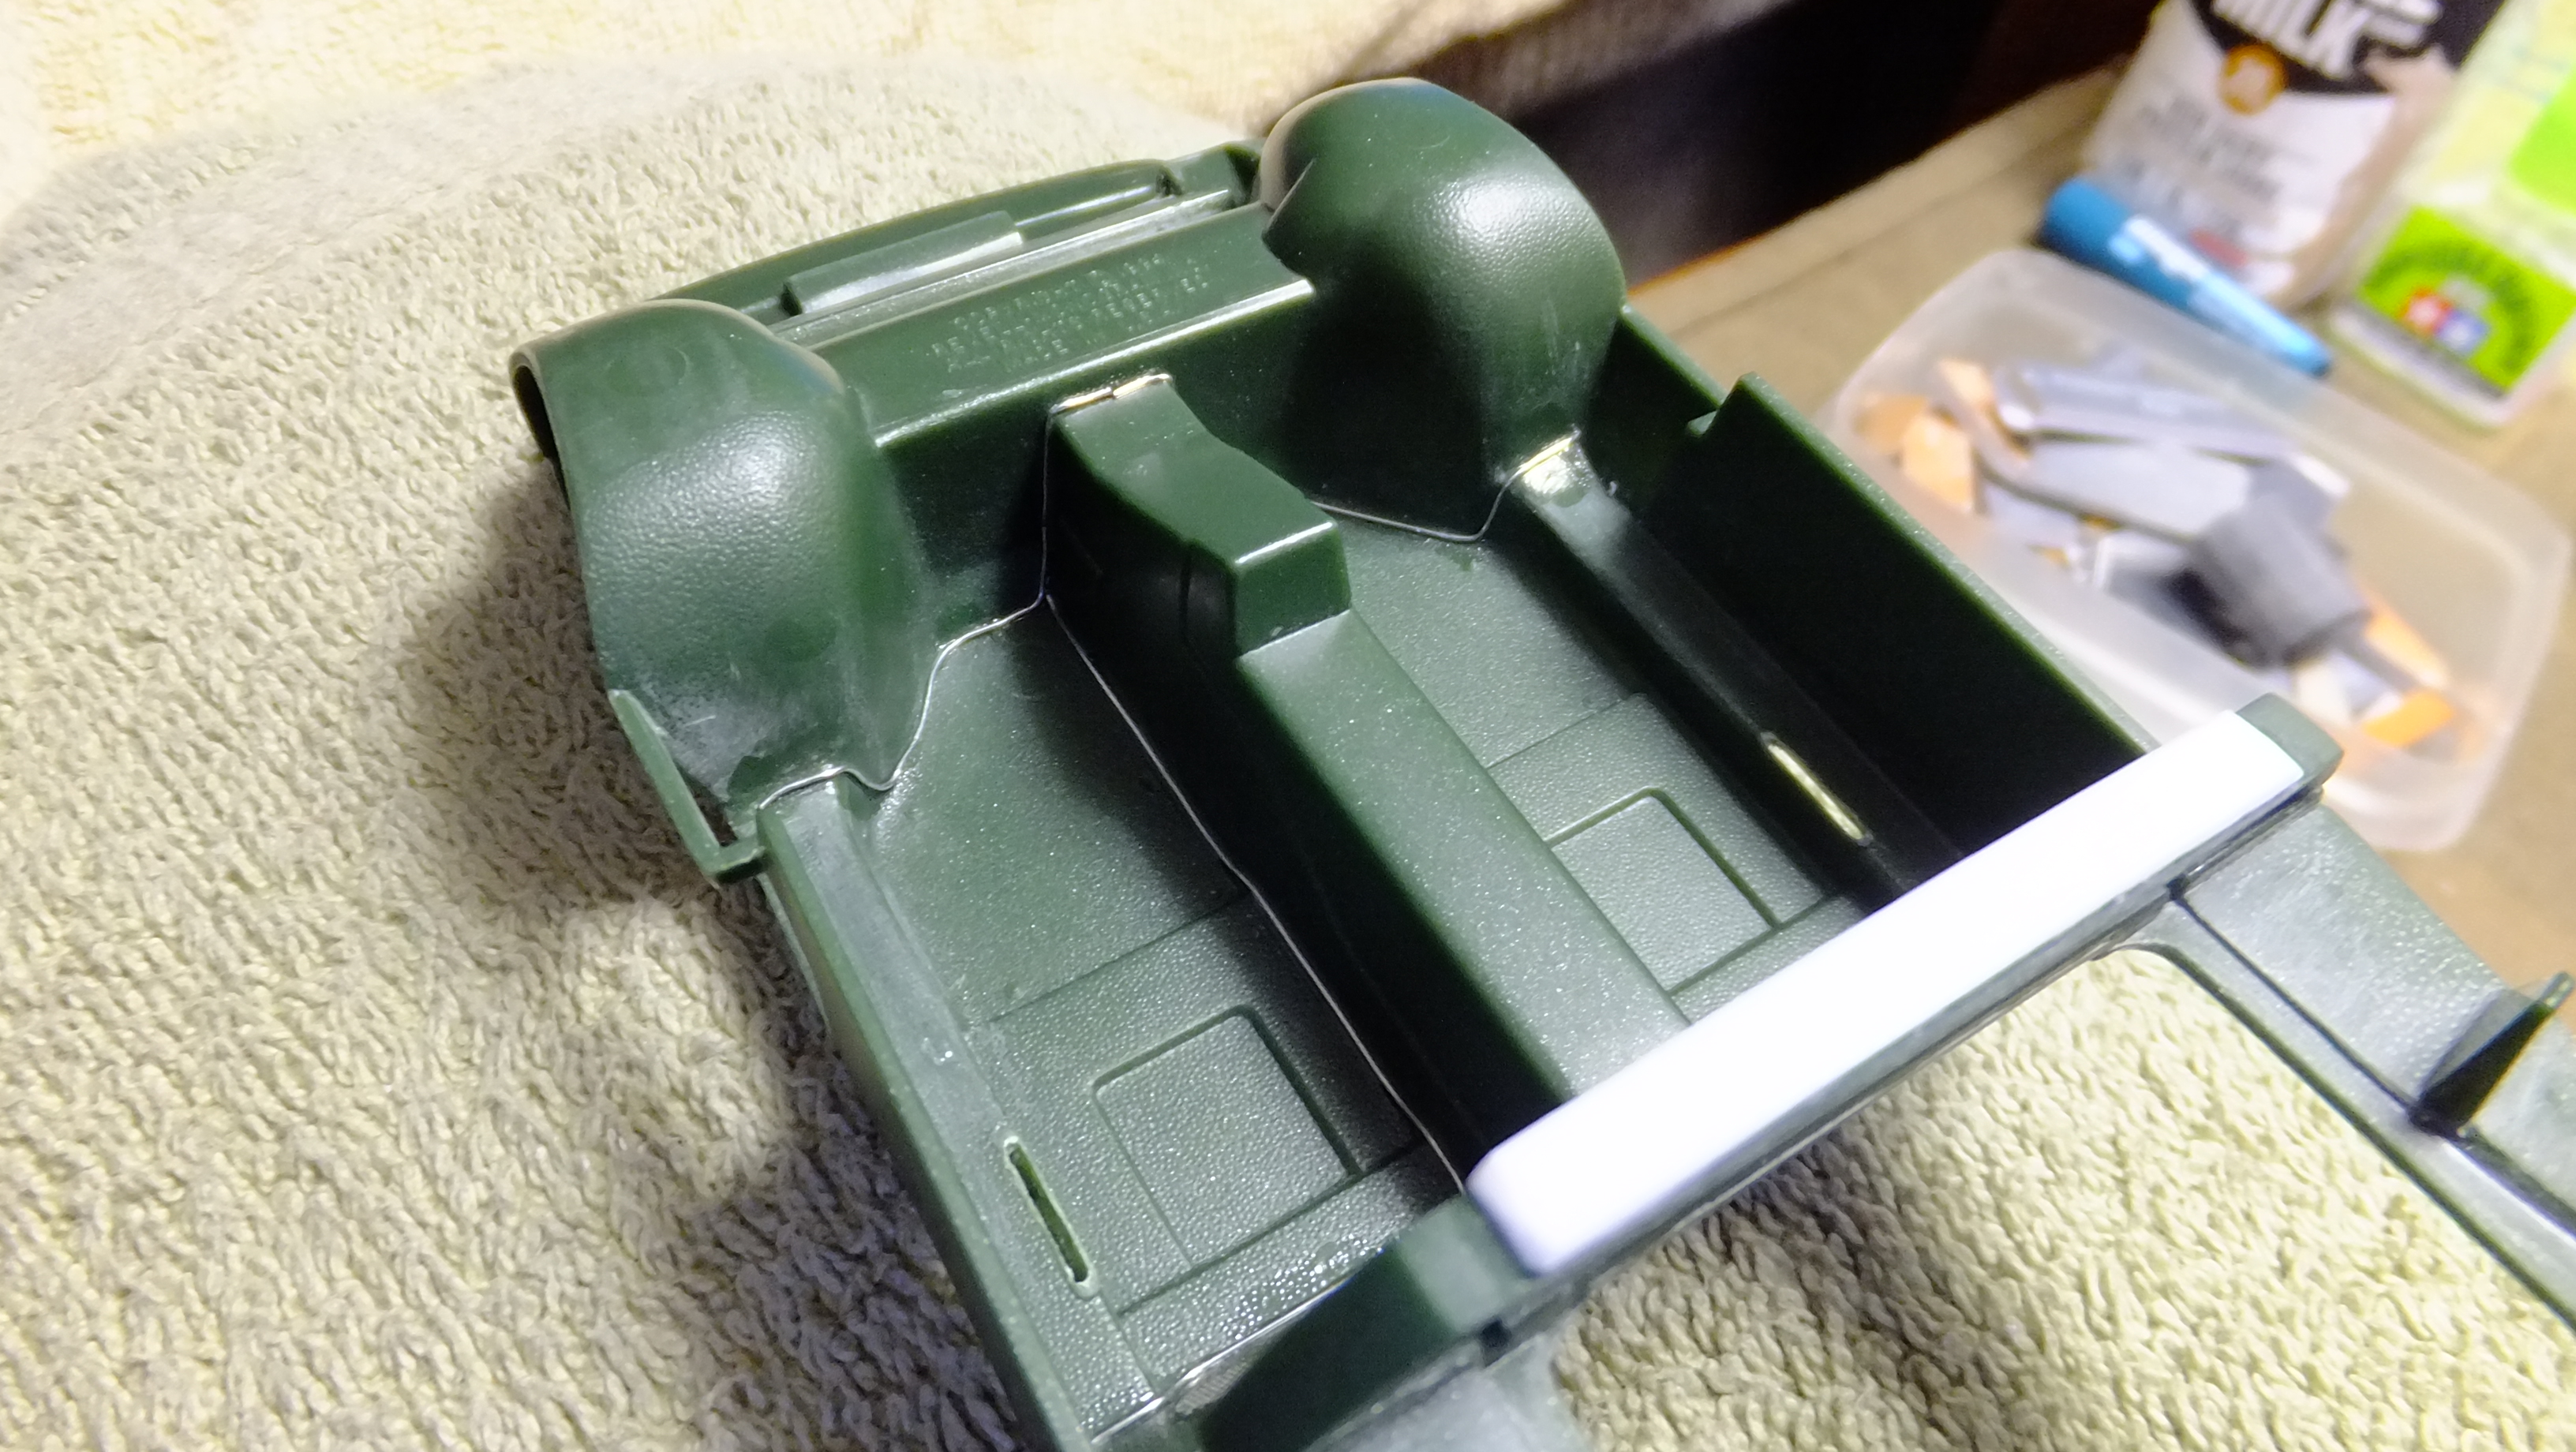
Thanks, Jason!, yes they are, but for some stupid reason, the back side of the "lunch boxes" are open, so I had to fill them with Milliput……..they WILL be seen when the model is finished!
-

Re-engineering Monograms Lotus Esprit...new update!
Dann Tier replied to Dann Tier's topic in WIP: Model Cars
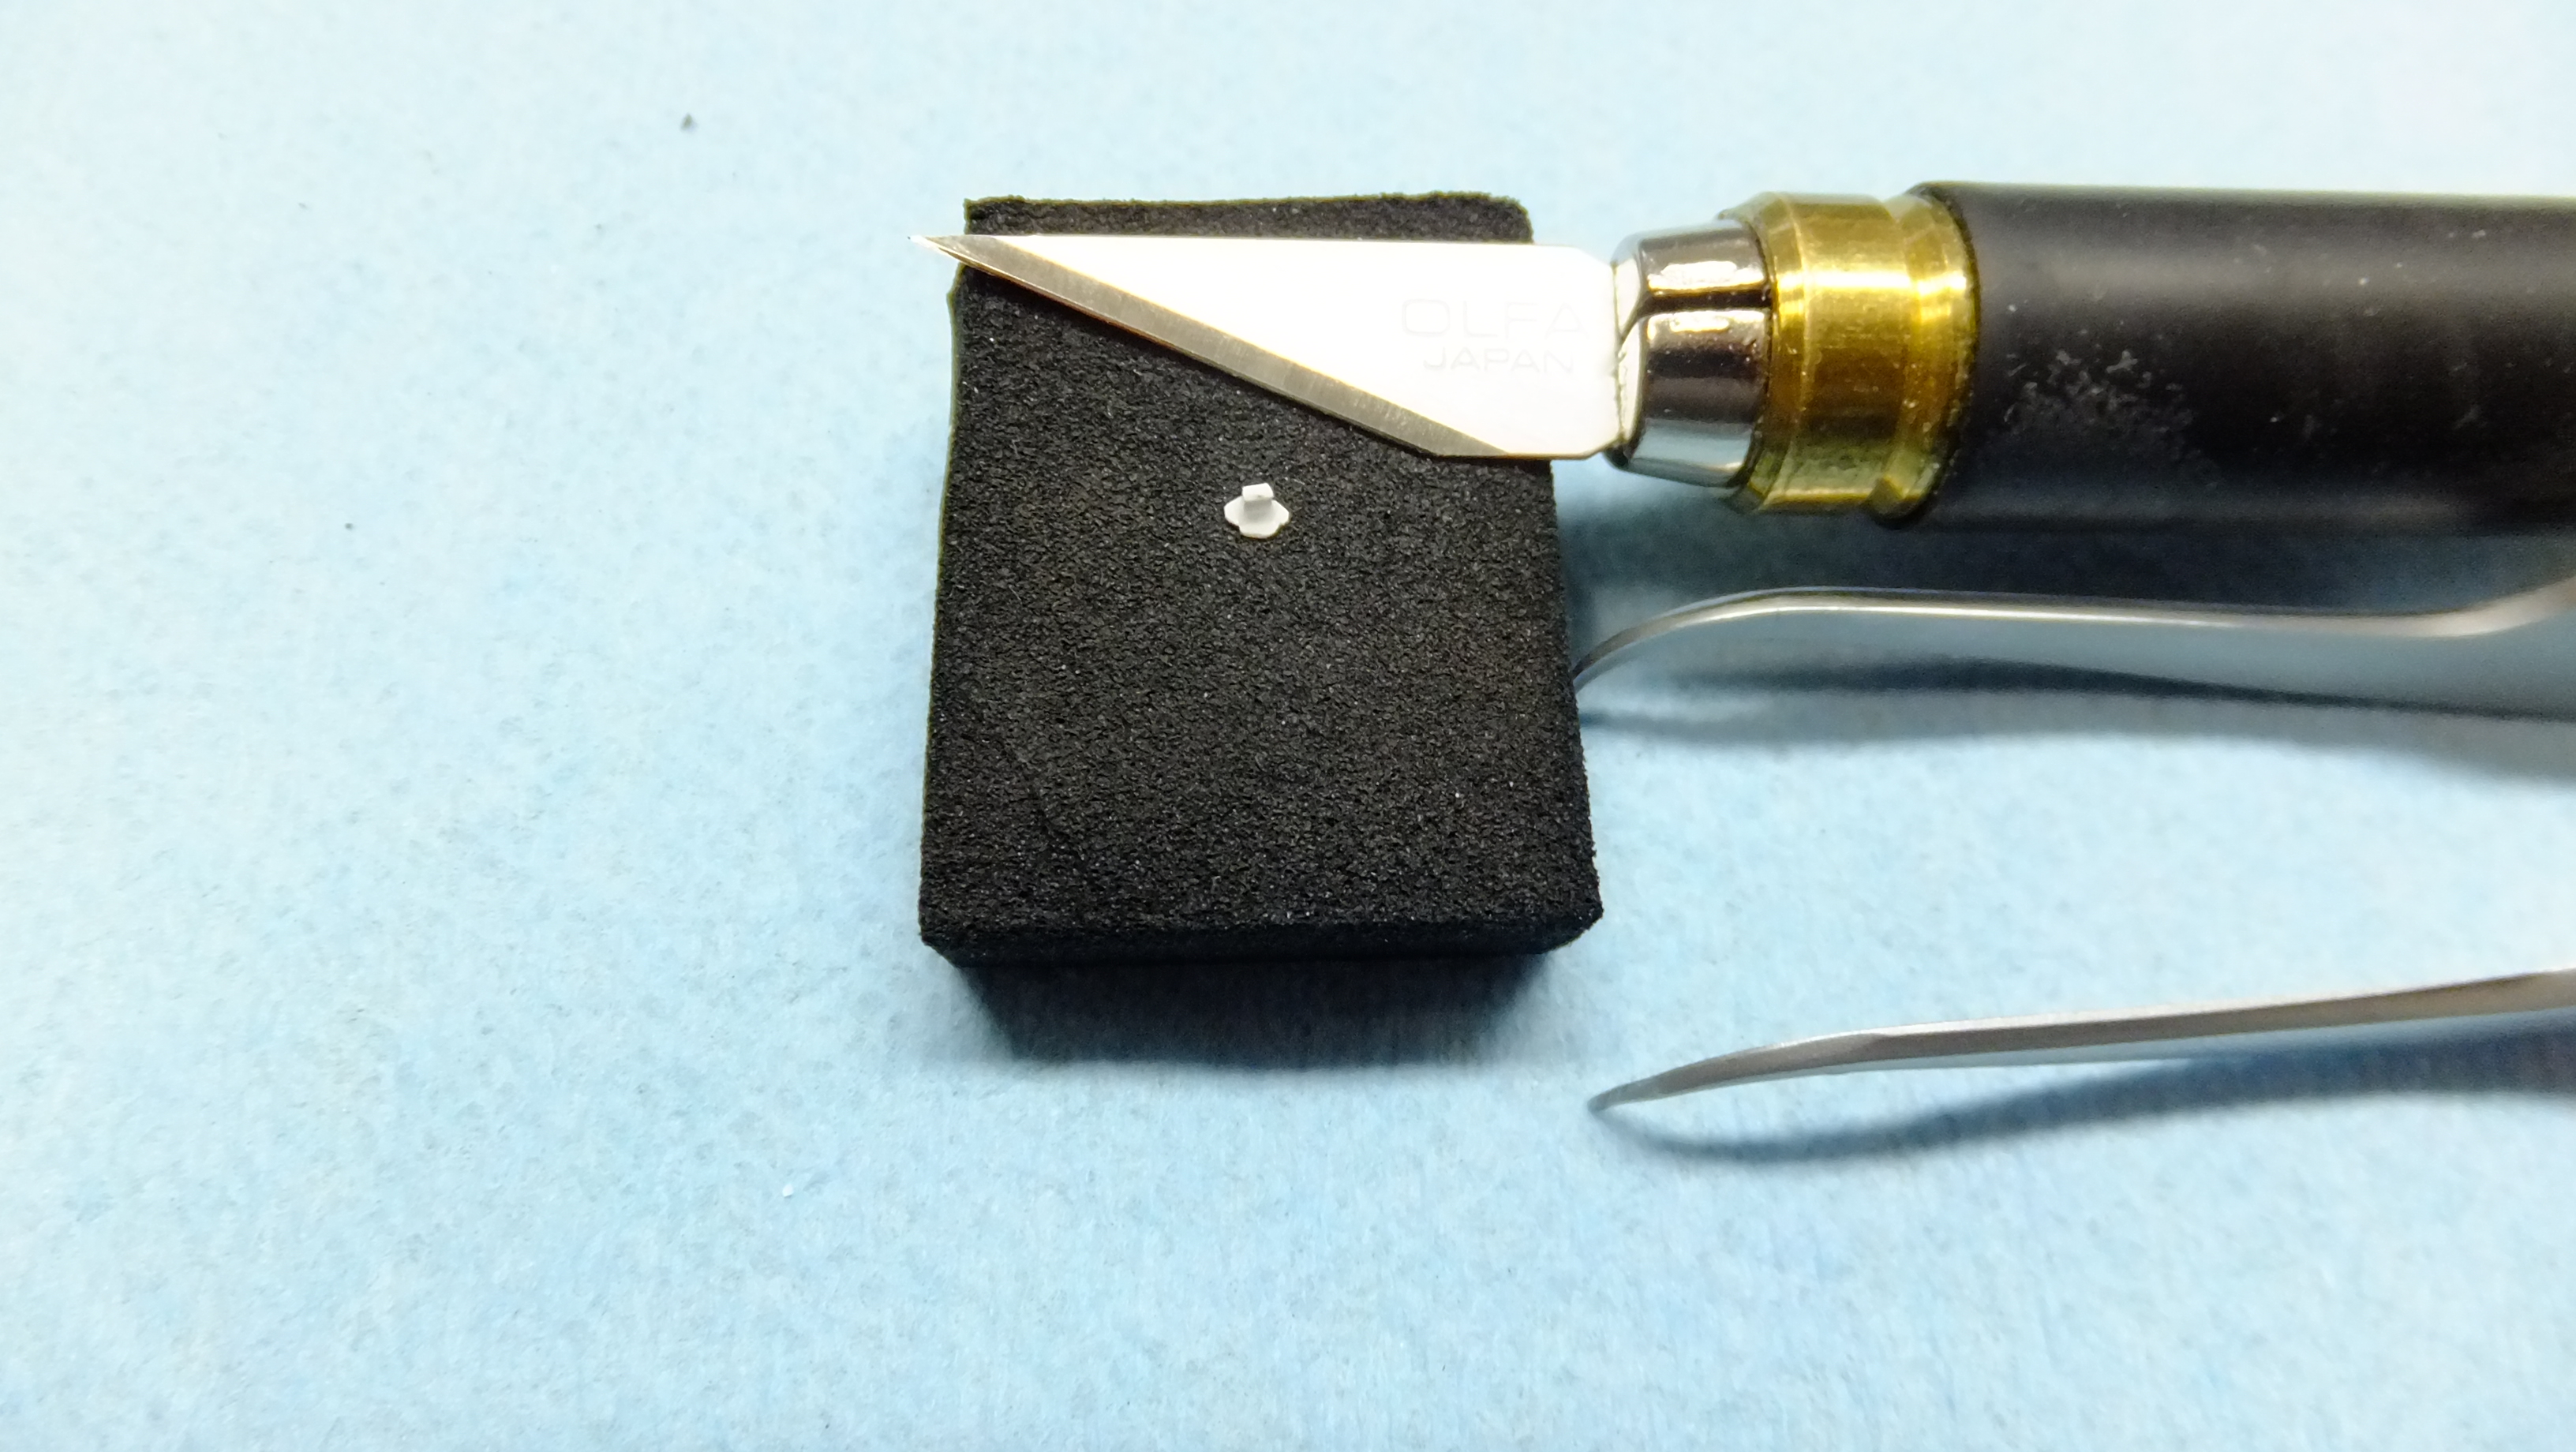
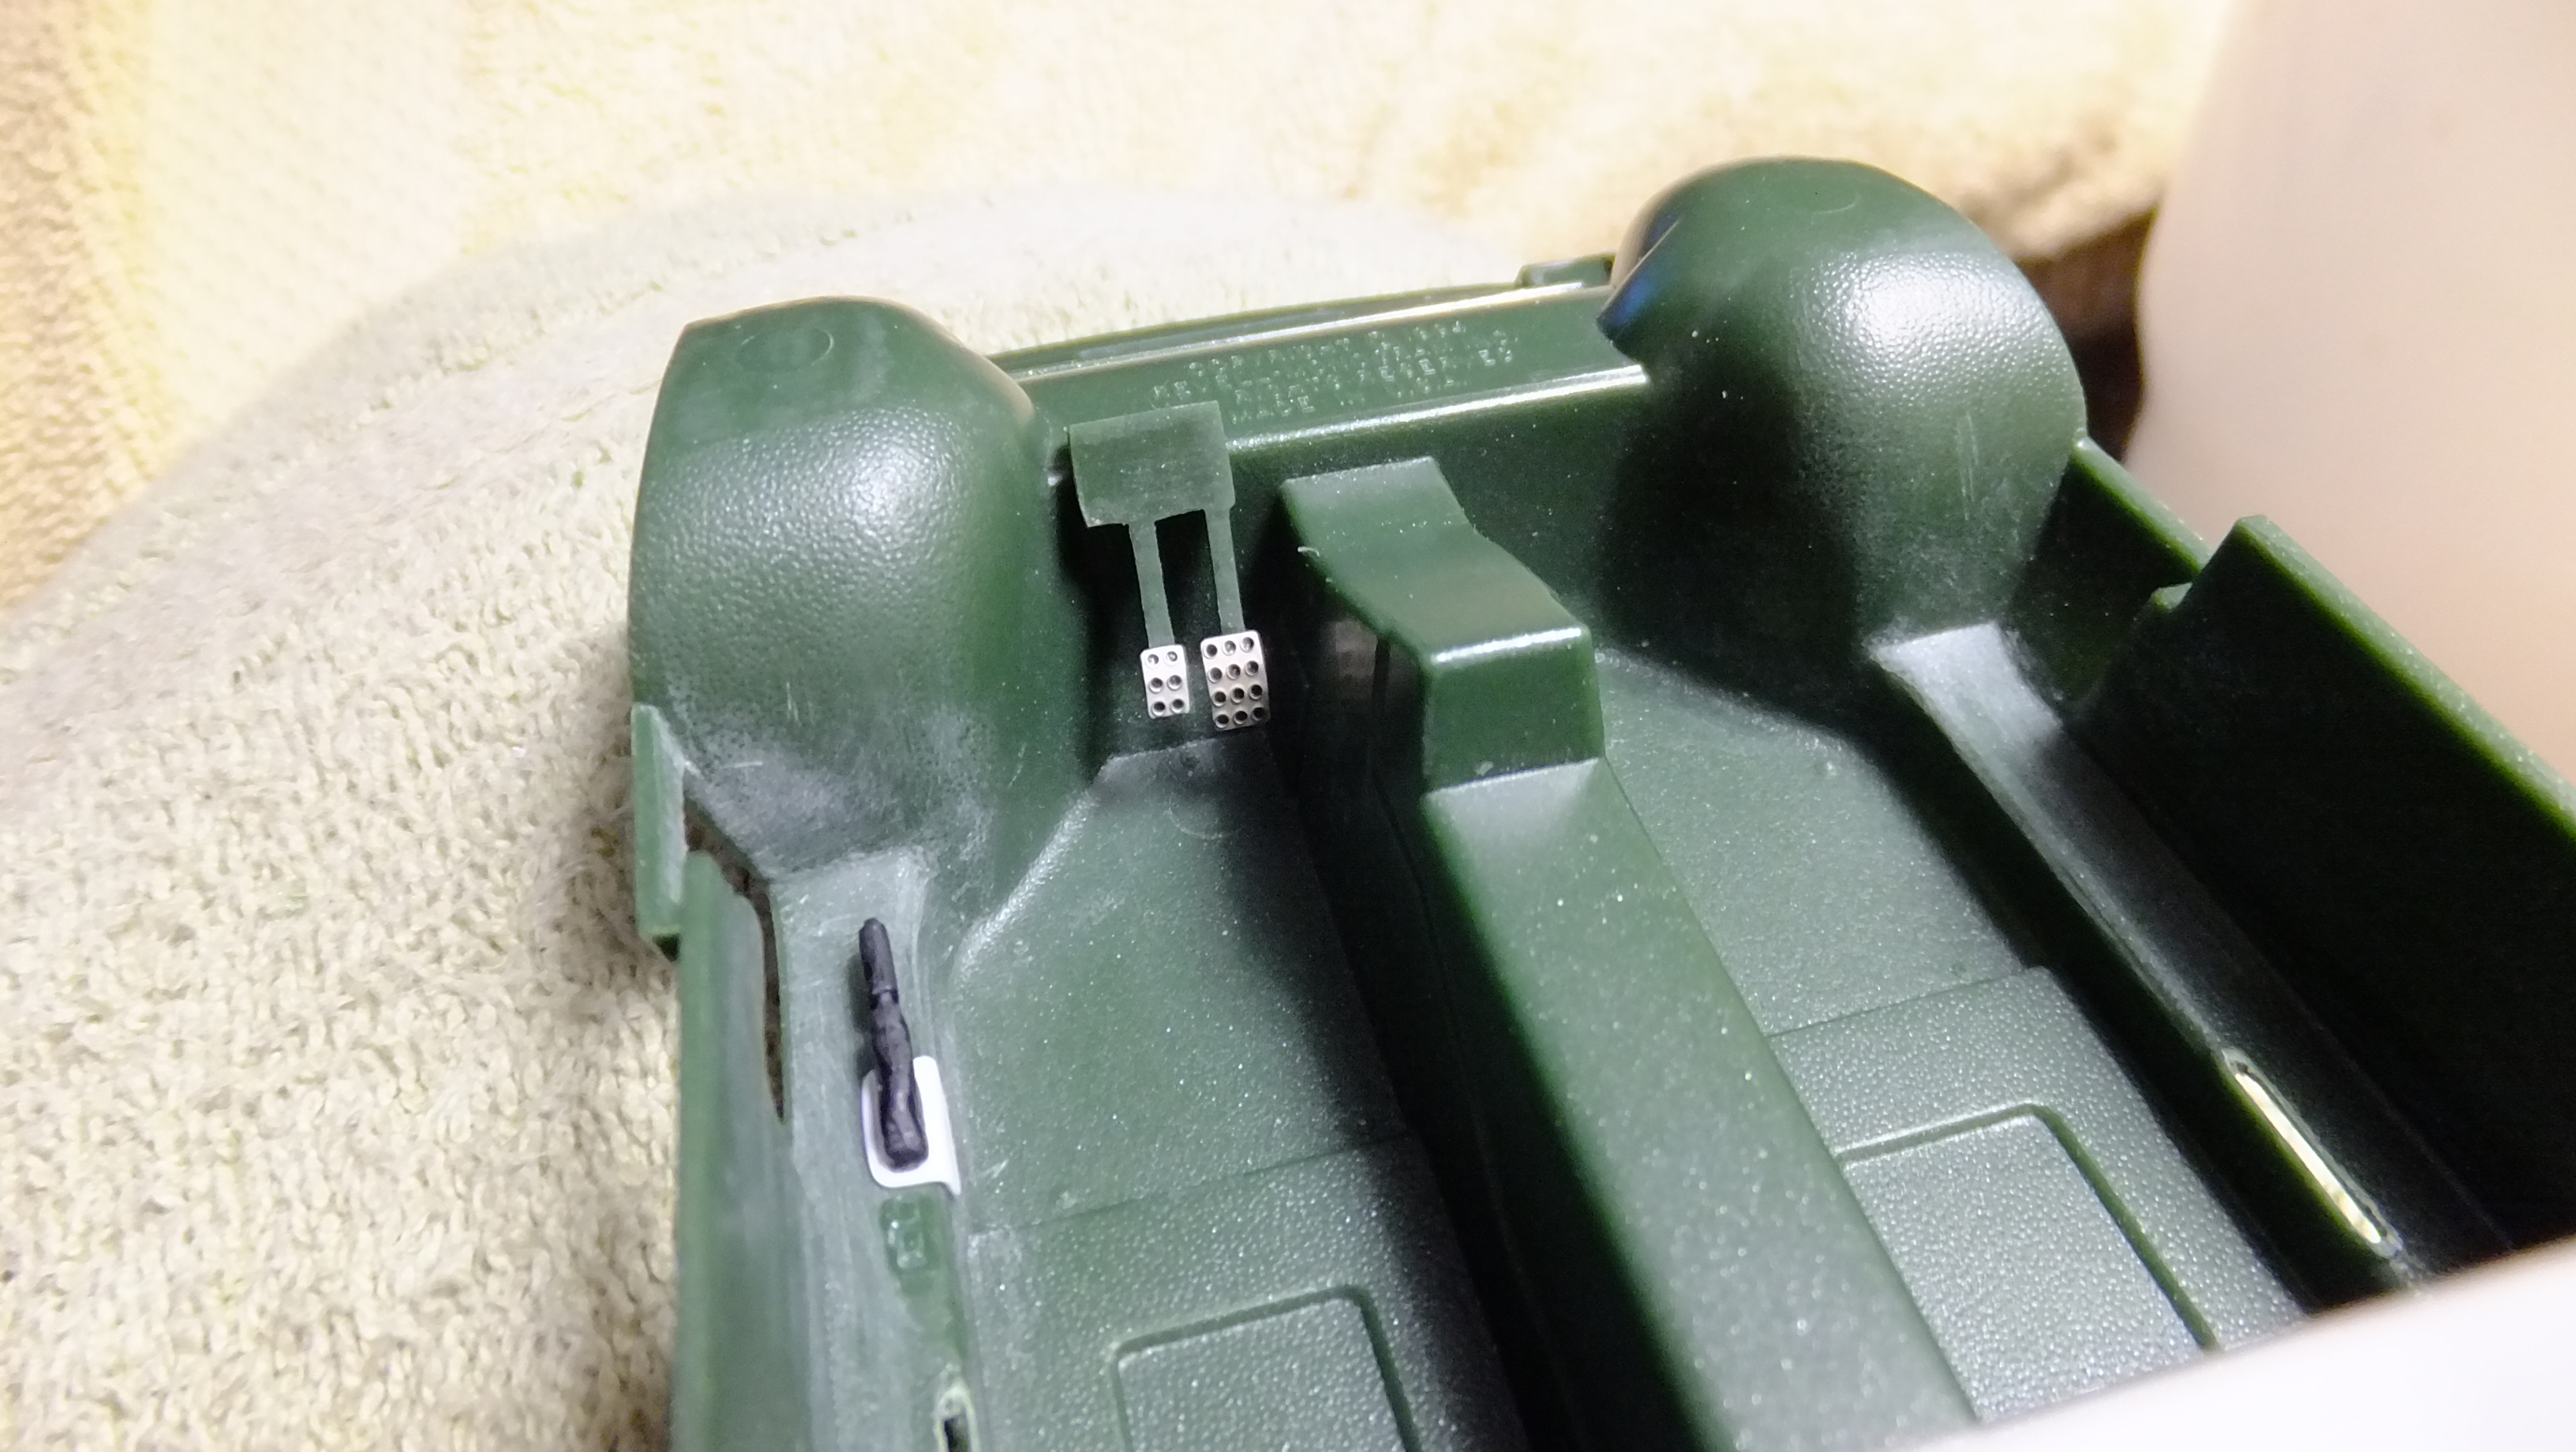
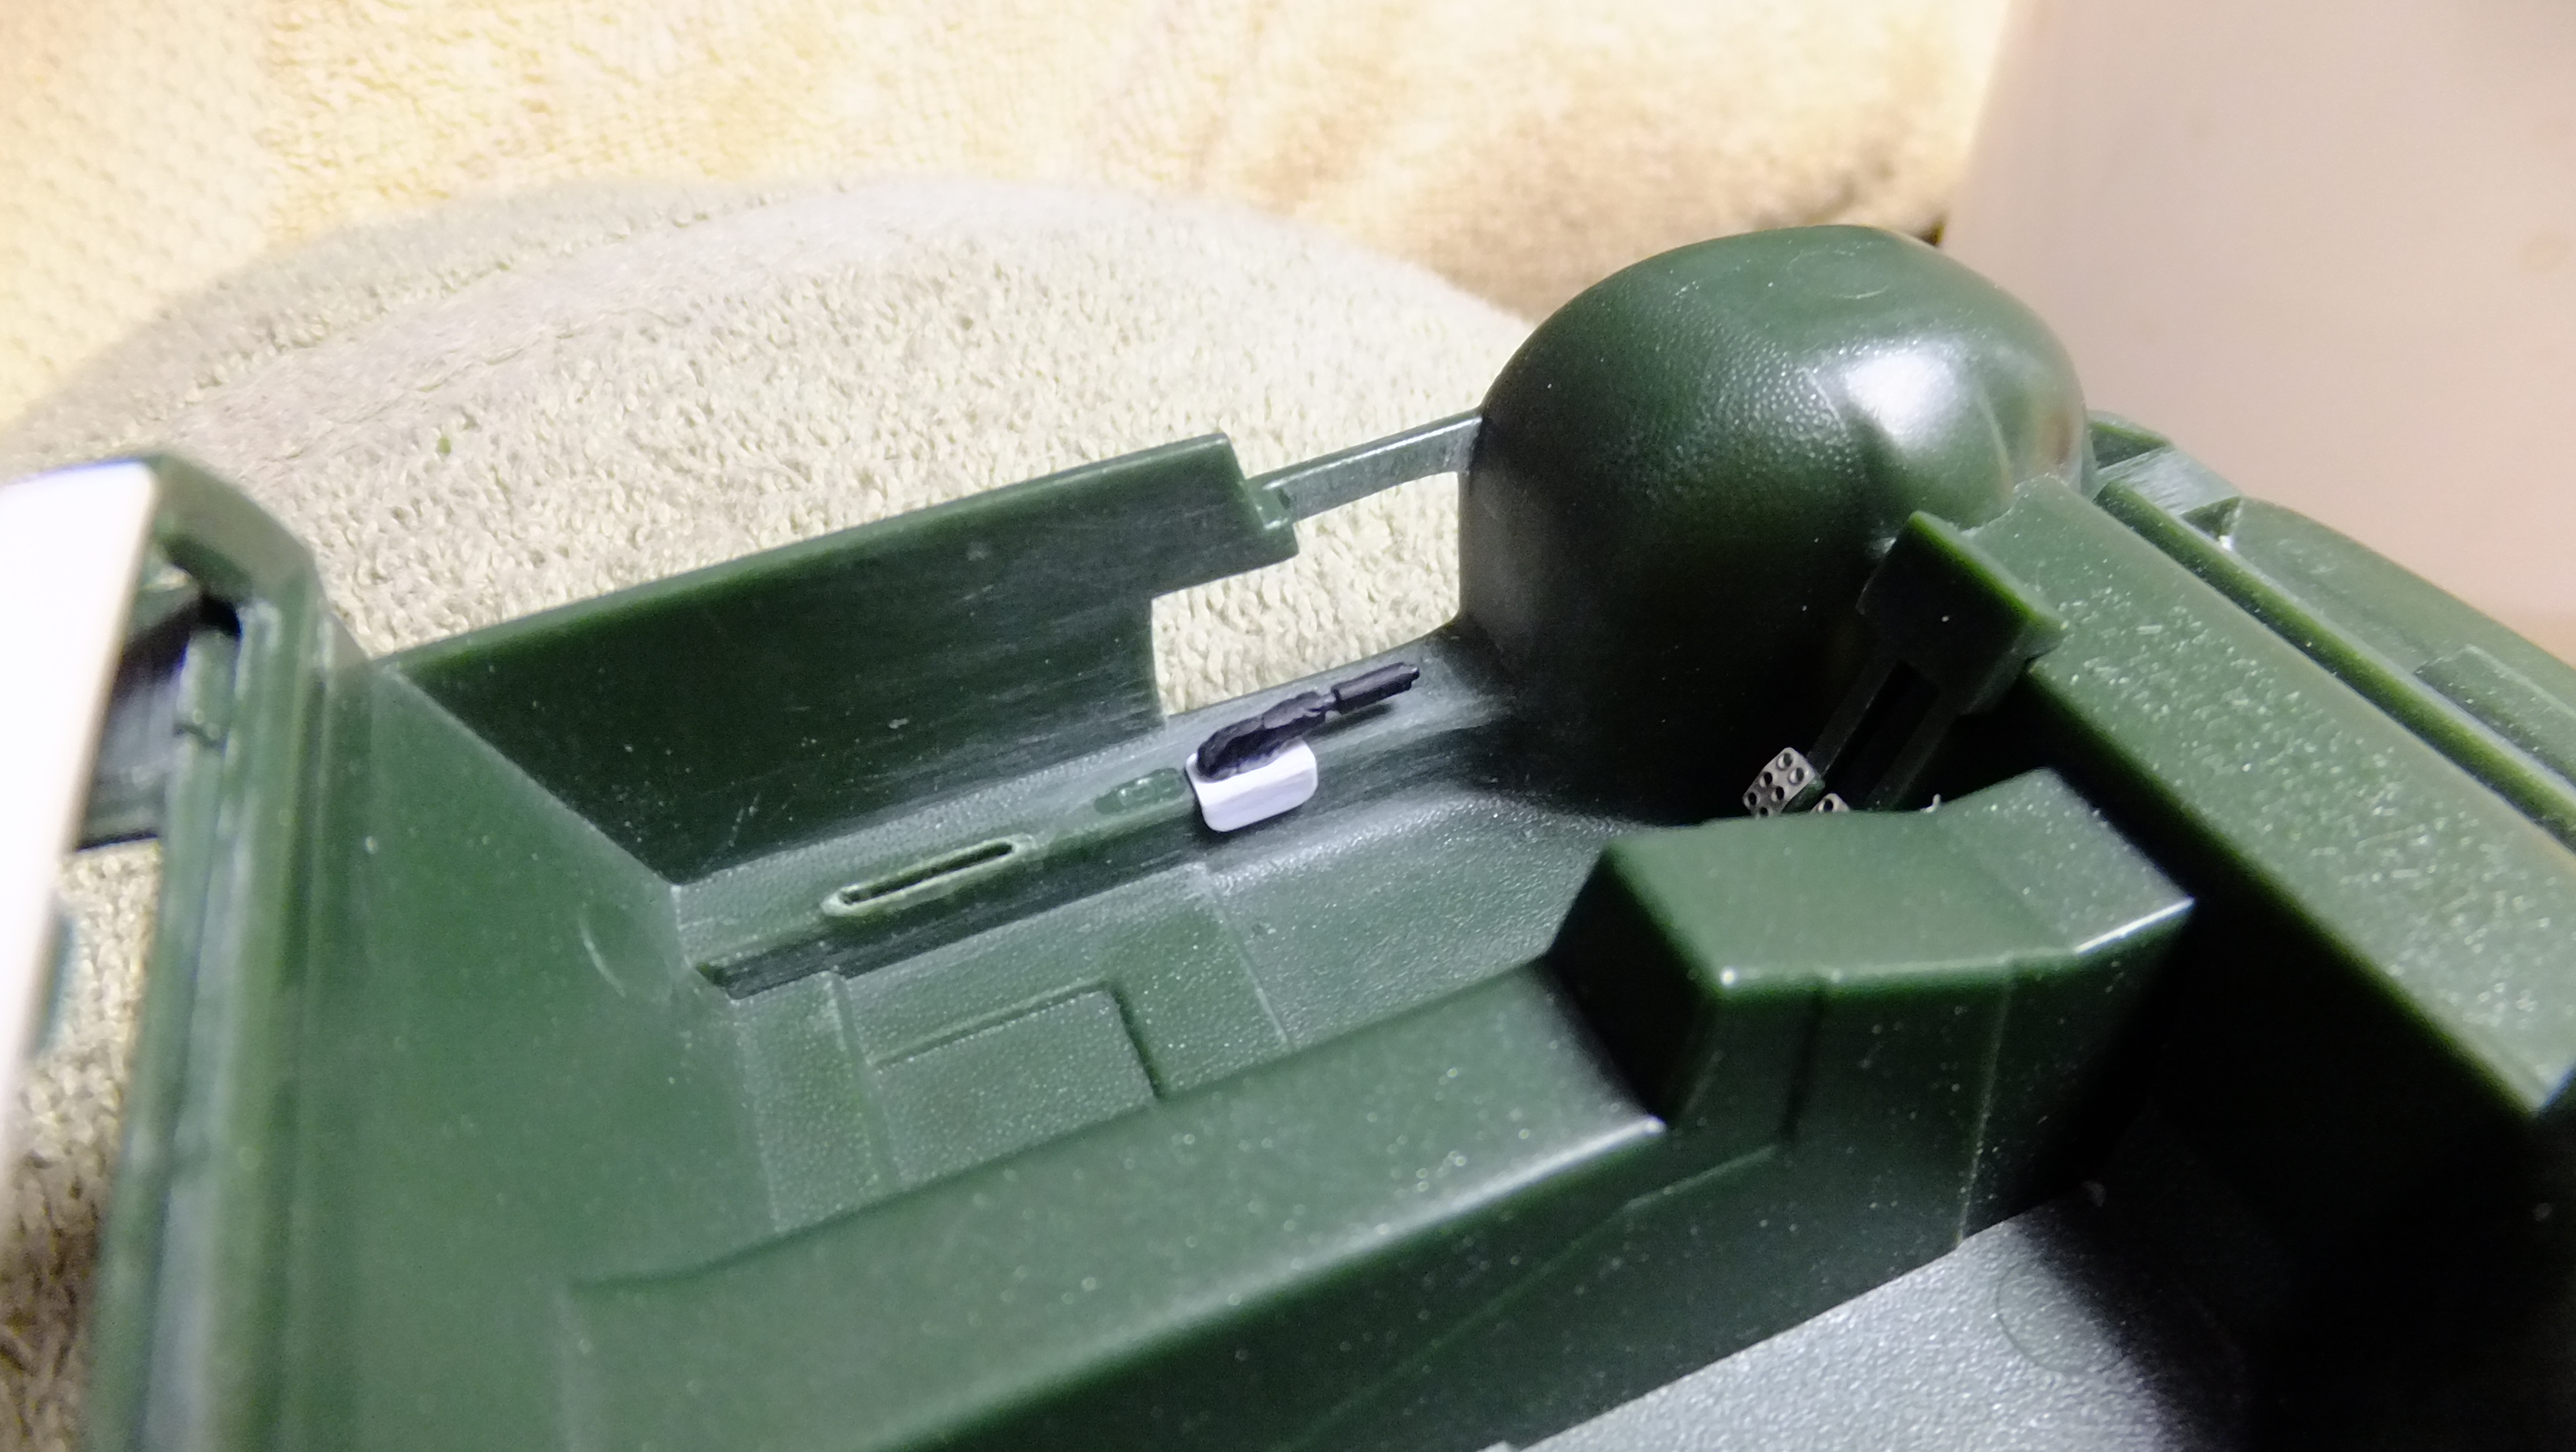
Okay, guys, i'm trying something new...thought about it a few years ago, but never tried it yet.....I've decided to try to replicate the carpet pipping. I didn't have any styrene rod that was small enough, so I decided to use solder, and it works great! I didn't want to use super glue, since my chances of having detail-loss, and klean-up were too high for my liking. I decided to try Tamiyas Super-thin Quick-set glue, and it actually held it down good enough!...….even though its the wrong kind of glue!! The trick here is to also NOT make things perfectly straight...they never are in this situation.
-
Thanks, that's gut!....so am I!!! In a day or two I will be up to my nose in sheet styrene!!!! lol
-
Thanks, Justin!, I really like helping people with modeling.
-
Nice!!...I NEED to get one ofthose!!!....wish they'd make a Chrysler Conquest...
-
How Many Do You Work On At Once?
Dann Tier replied to jaxenro's topic in General Automotive Talk (Trucks and Cars)
I usually only do one at a time, but a friend of mine proved that it IS possible to do more, so I have 7 active, and 7 that I work on in between, so I guess I have 14 going on right now. -
Otaki 1/12 Lamborghini Countach Twin Turbo...Mission Statement
Dann Tier replied to Dann Tier's topic in WIP: Model Cars
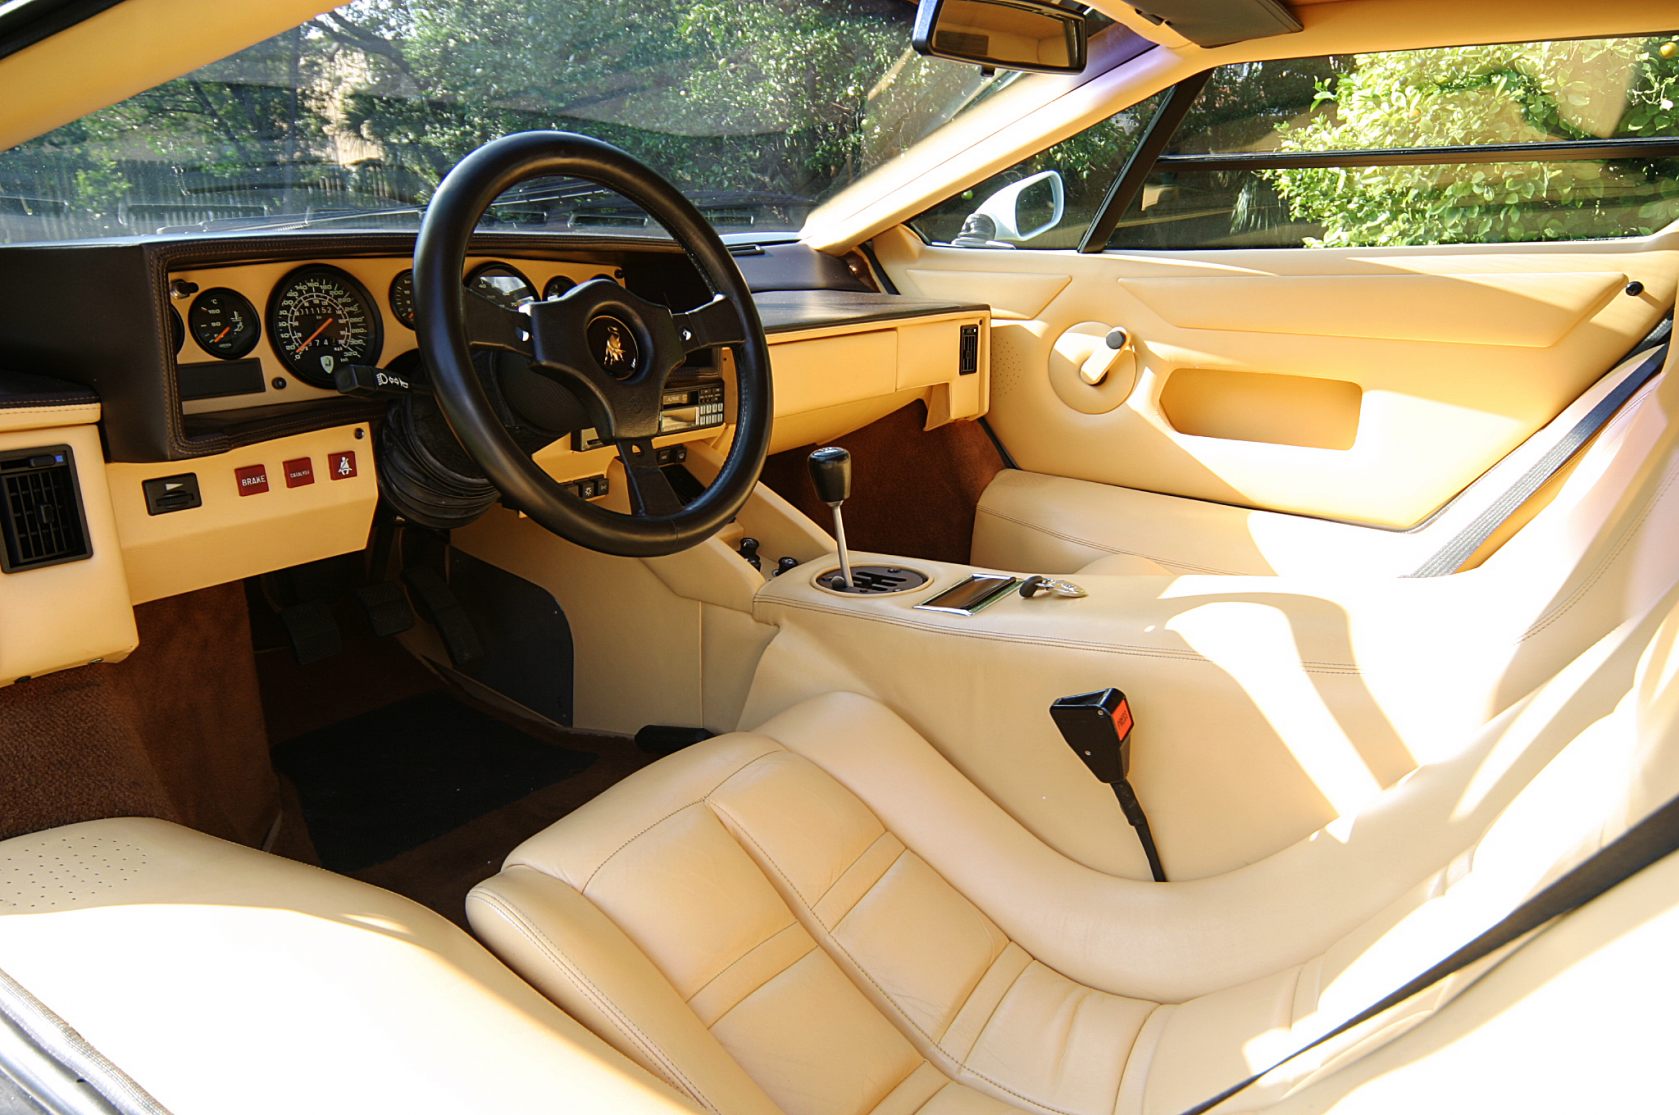
this will be the kolor of the interior I think....
-
A work of art in the makings!!….that's gonna be one "to scale", HEAVY model!!...lol
-
One more part done for the night, its the part on the center column that holds the cap to the key. Its crazy small!! if you look just infront of the stick shift. you can see it. Not all Huayra's have them.
-
Thanks, Tim!
-
I got a TON of different styrene for my Isdera Imperator build!
-
That Supra is awesome!!!!
-
Thanks again, Chris!....MUCH appreciated, bud!!
-
I think I've got a good system of rotation now between these seven kits i'm building now, and its FINALLY back to the Pagani for a bit! Here are the "lunch boxes all finished, its hard to tell, but I painted the zipper flat black first, then I used semi gloss black to paint the "teeth".....I used a pin, and spaced-out tiny dots of paint to help simulate the teeth, instead of just painting a line of paint. The zippers themselves are made of two pieces of VERY thin aluminum...I found it curious that the pulls weren't shaped like the rest of the cars Pagani emblems. The handles are made of masking tape, with super thin aluminum tie-downs. Now i'm going back in to add all the under-the-body decals, and to scratchbuild the last few vacuum , heater, and AC lines!
-
Re-engineering Monograms Lotus Esprit...new update!
Dann Tier replied to Dann Tier's topic in WIP: Model Cars
Thanks, Chris!, i'm ready to start slingin some paint down on this bad-boy!! -
Otaki 1/12 Lamborghini Countach Twin Turbo...Mission Statement
Dann Tier replied to Dann Tier's topic in WIP: Model Cars
…...or maybe this kolor…….
-
I only use the blade to make a channel for the other tools to follow. Sometimes I overscore, but I use a special tool to apply a very thin amount of super glue to fill in the scratch.....BARELY any sanding to make it disappear.
-
Re-engineering Monograms Lotus Esprit...new update!
Dann Tier replied to Dann Tier's topic in WIP: Model Cars
He's movin right along now!!
-
It sure is, Christian!, I even have a Tamiya seated driver figure to help-out. Two days ago I got my large order of different sizes of sheet styrene in, i'm ready to go!!
-
Hasegawas Lamborghini Miura SV....new update!
Dann Tier replied to Dann Tier's topic in WIP: Model Cars
I like that kit too!....I have a couple, but this is THE kit to get if you want a Miura!! -
Re-engineering Monograms Lotus Esprit...new update!
Dann Tier replied to Dann Tier's topic in WIP: Model Cars
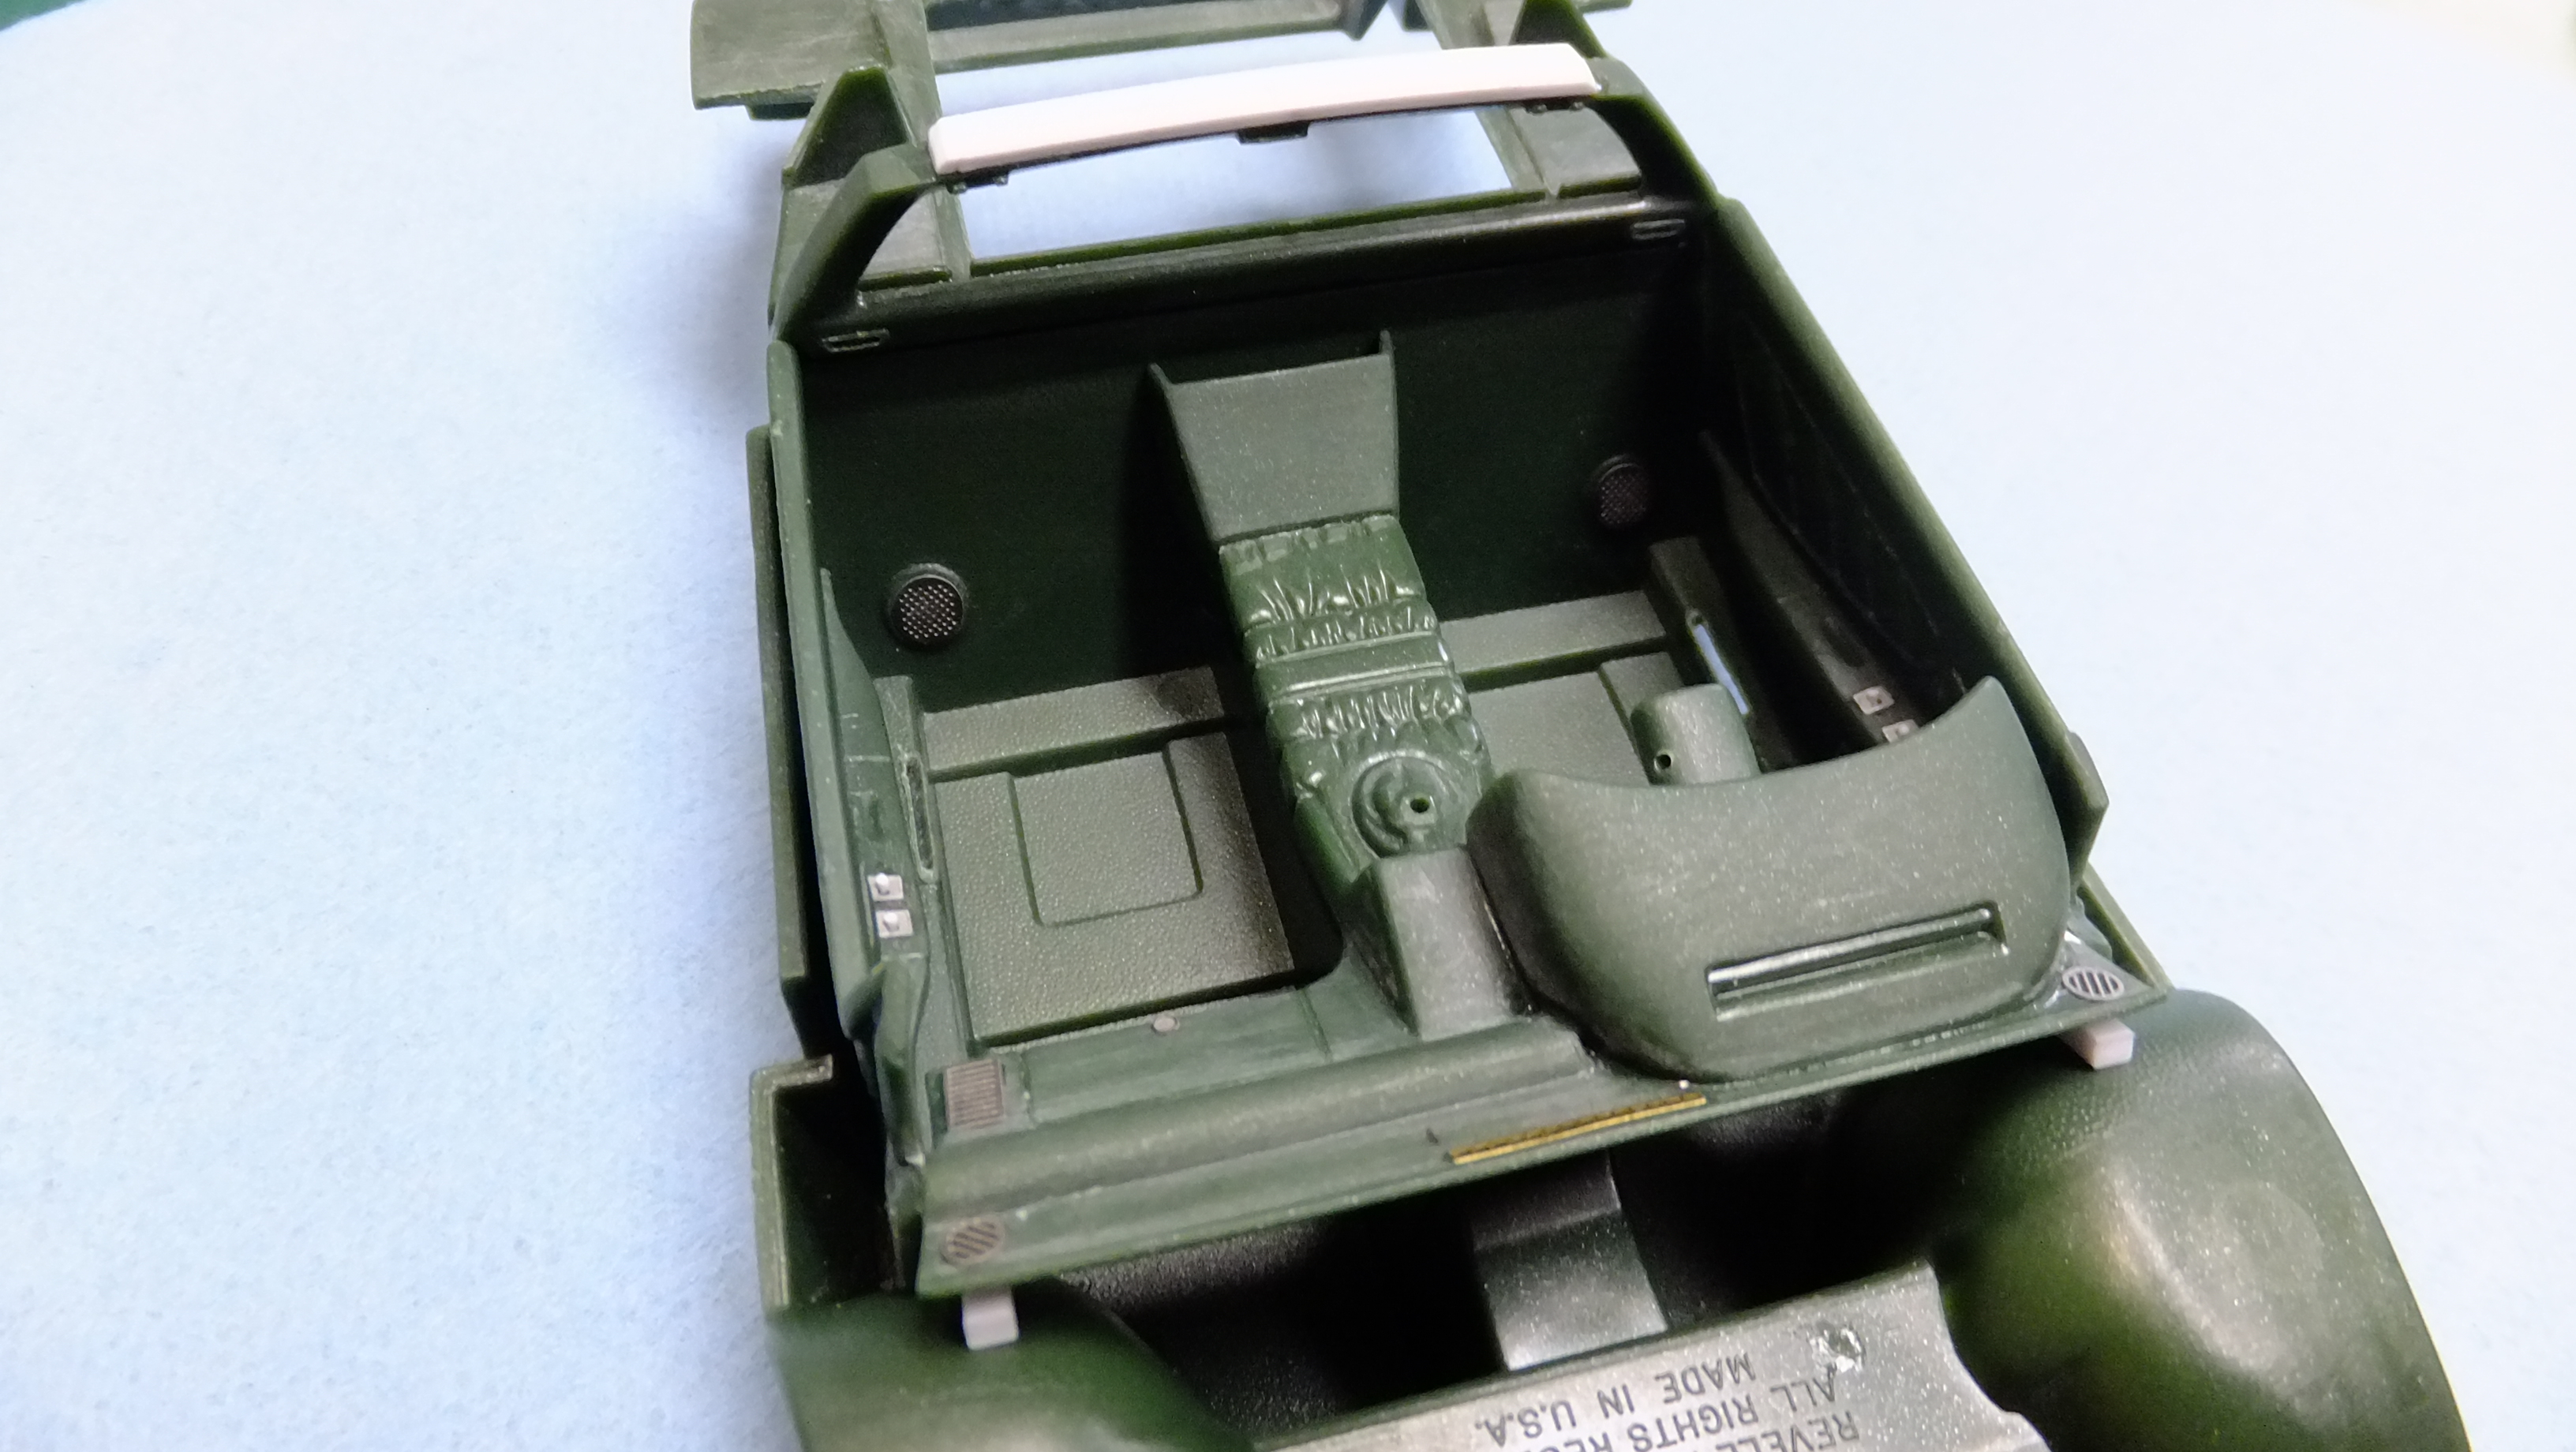
This interior is now soooo close to being painted! Heres what I have going on: -Photo 1; I finished cutting out the four seatbelt slots. -Photo 2; I added PE racing peddles to the VERY plain kit ones, and got rid of the clutch. -Photo 3; After grinding off that stupid molded-in E-brake, I found a spare one that fits perfectly, but I had to scratchbuild the factory base to it. -Photo 4 & 5; These show the gauges being drilled out, and PE stereo, speakers, and vents being added. Now its time to klean it all up, and final sand for painting.
-
Thanks, Anders!, I will have more to post on it tomorrow!
-
Hasegawas Lamborghini Miura SV....new update!
Dann Tier replied to Dann Tier's topic in WIP: Model Cars
Thanks, bud! -
Otaki 1/12 Lamborghini Countach Twin Turbo...Mission Statement
Dann Tier replied to Dann Tier's topic in WIP: Model Cars
Maybe I should make it this kolor!!…...