Dann Tier
-
Posts
8,151 -
Joined
-
Last visited
Content Type
Profiles
Forums
Events
Gallery
Everything posted by Dann Tier
-

WIP Hasegawa taqa-Q Toyota 88c Finished 8/27/18
Dann Tier replied to jchrisf's topic in WIP: Model Cars
Looking great!, keep it up!!! -
Otaki 1/12 Lamborghini Countach Twin Turbo...Mission Statement
Dann Tier replied to Dann Tier's topic in WIP: Model Cars
Today, I started to convert the old model door panels, to the newer ones......
-
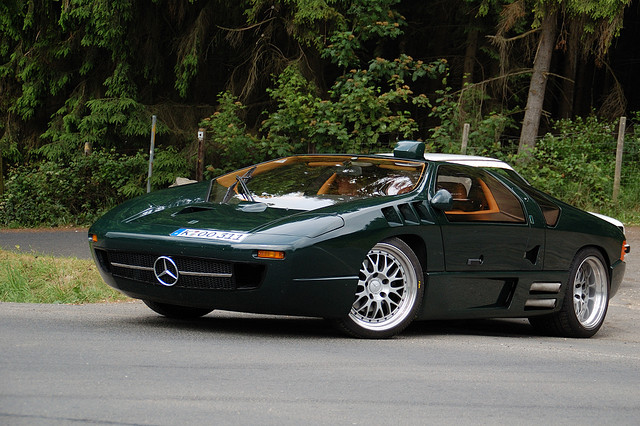
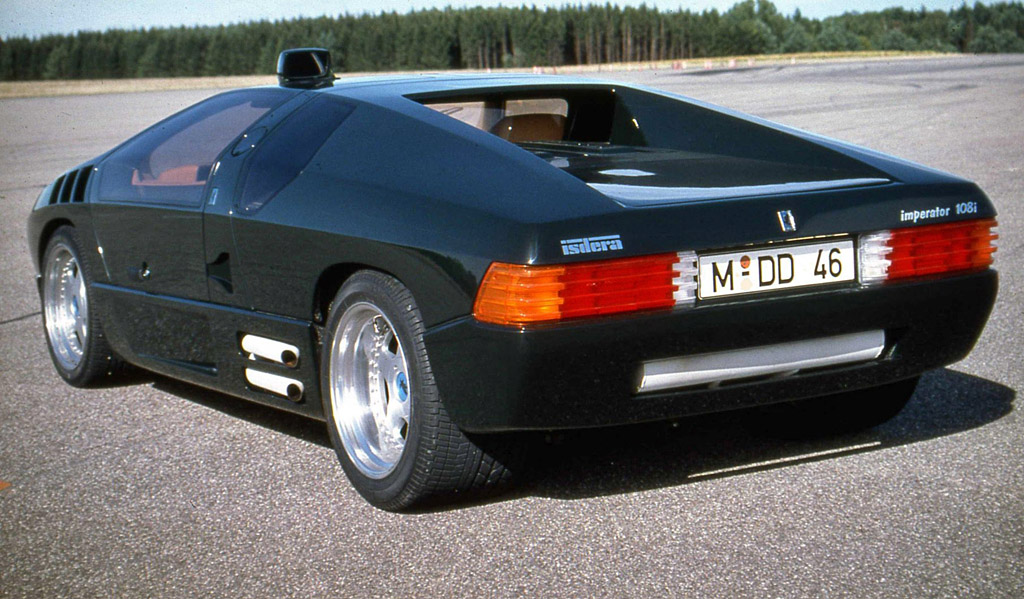
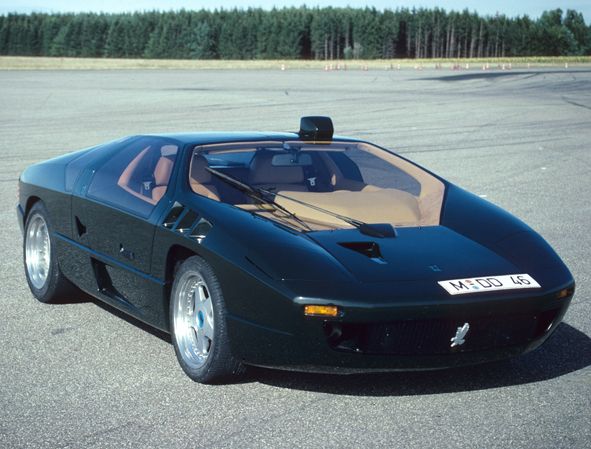
Hi, everyone!! I decided that I cant wait any longer to see if this car will ever be kitted, so I've decided to TOTALLY make it myself. I'm pretty sure that the majority of people out there haven't even heard of it before, but its a very unique automobile, powered by Mercedes. Its kinda like the C111 concept, but waaaaay cooler!!
-
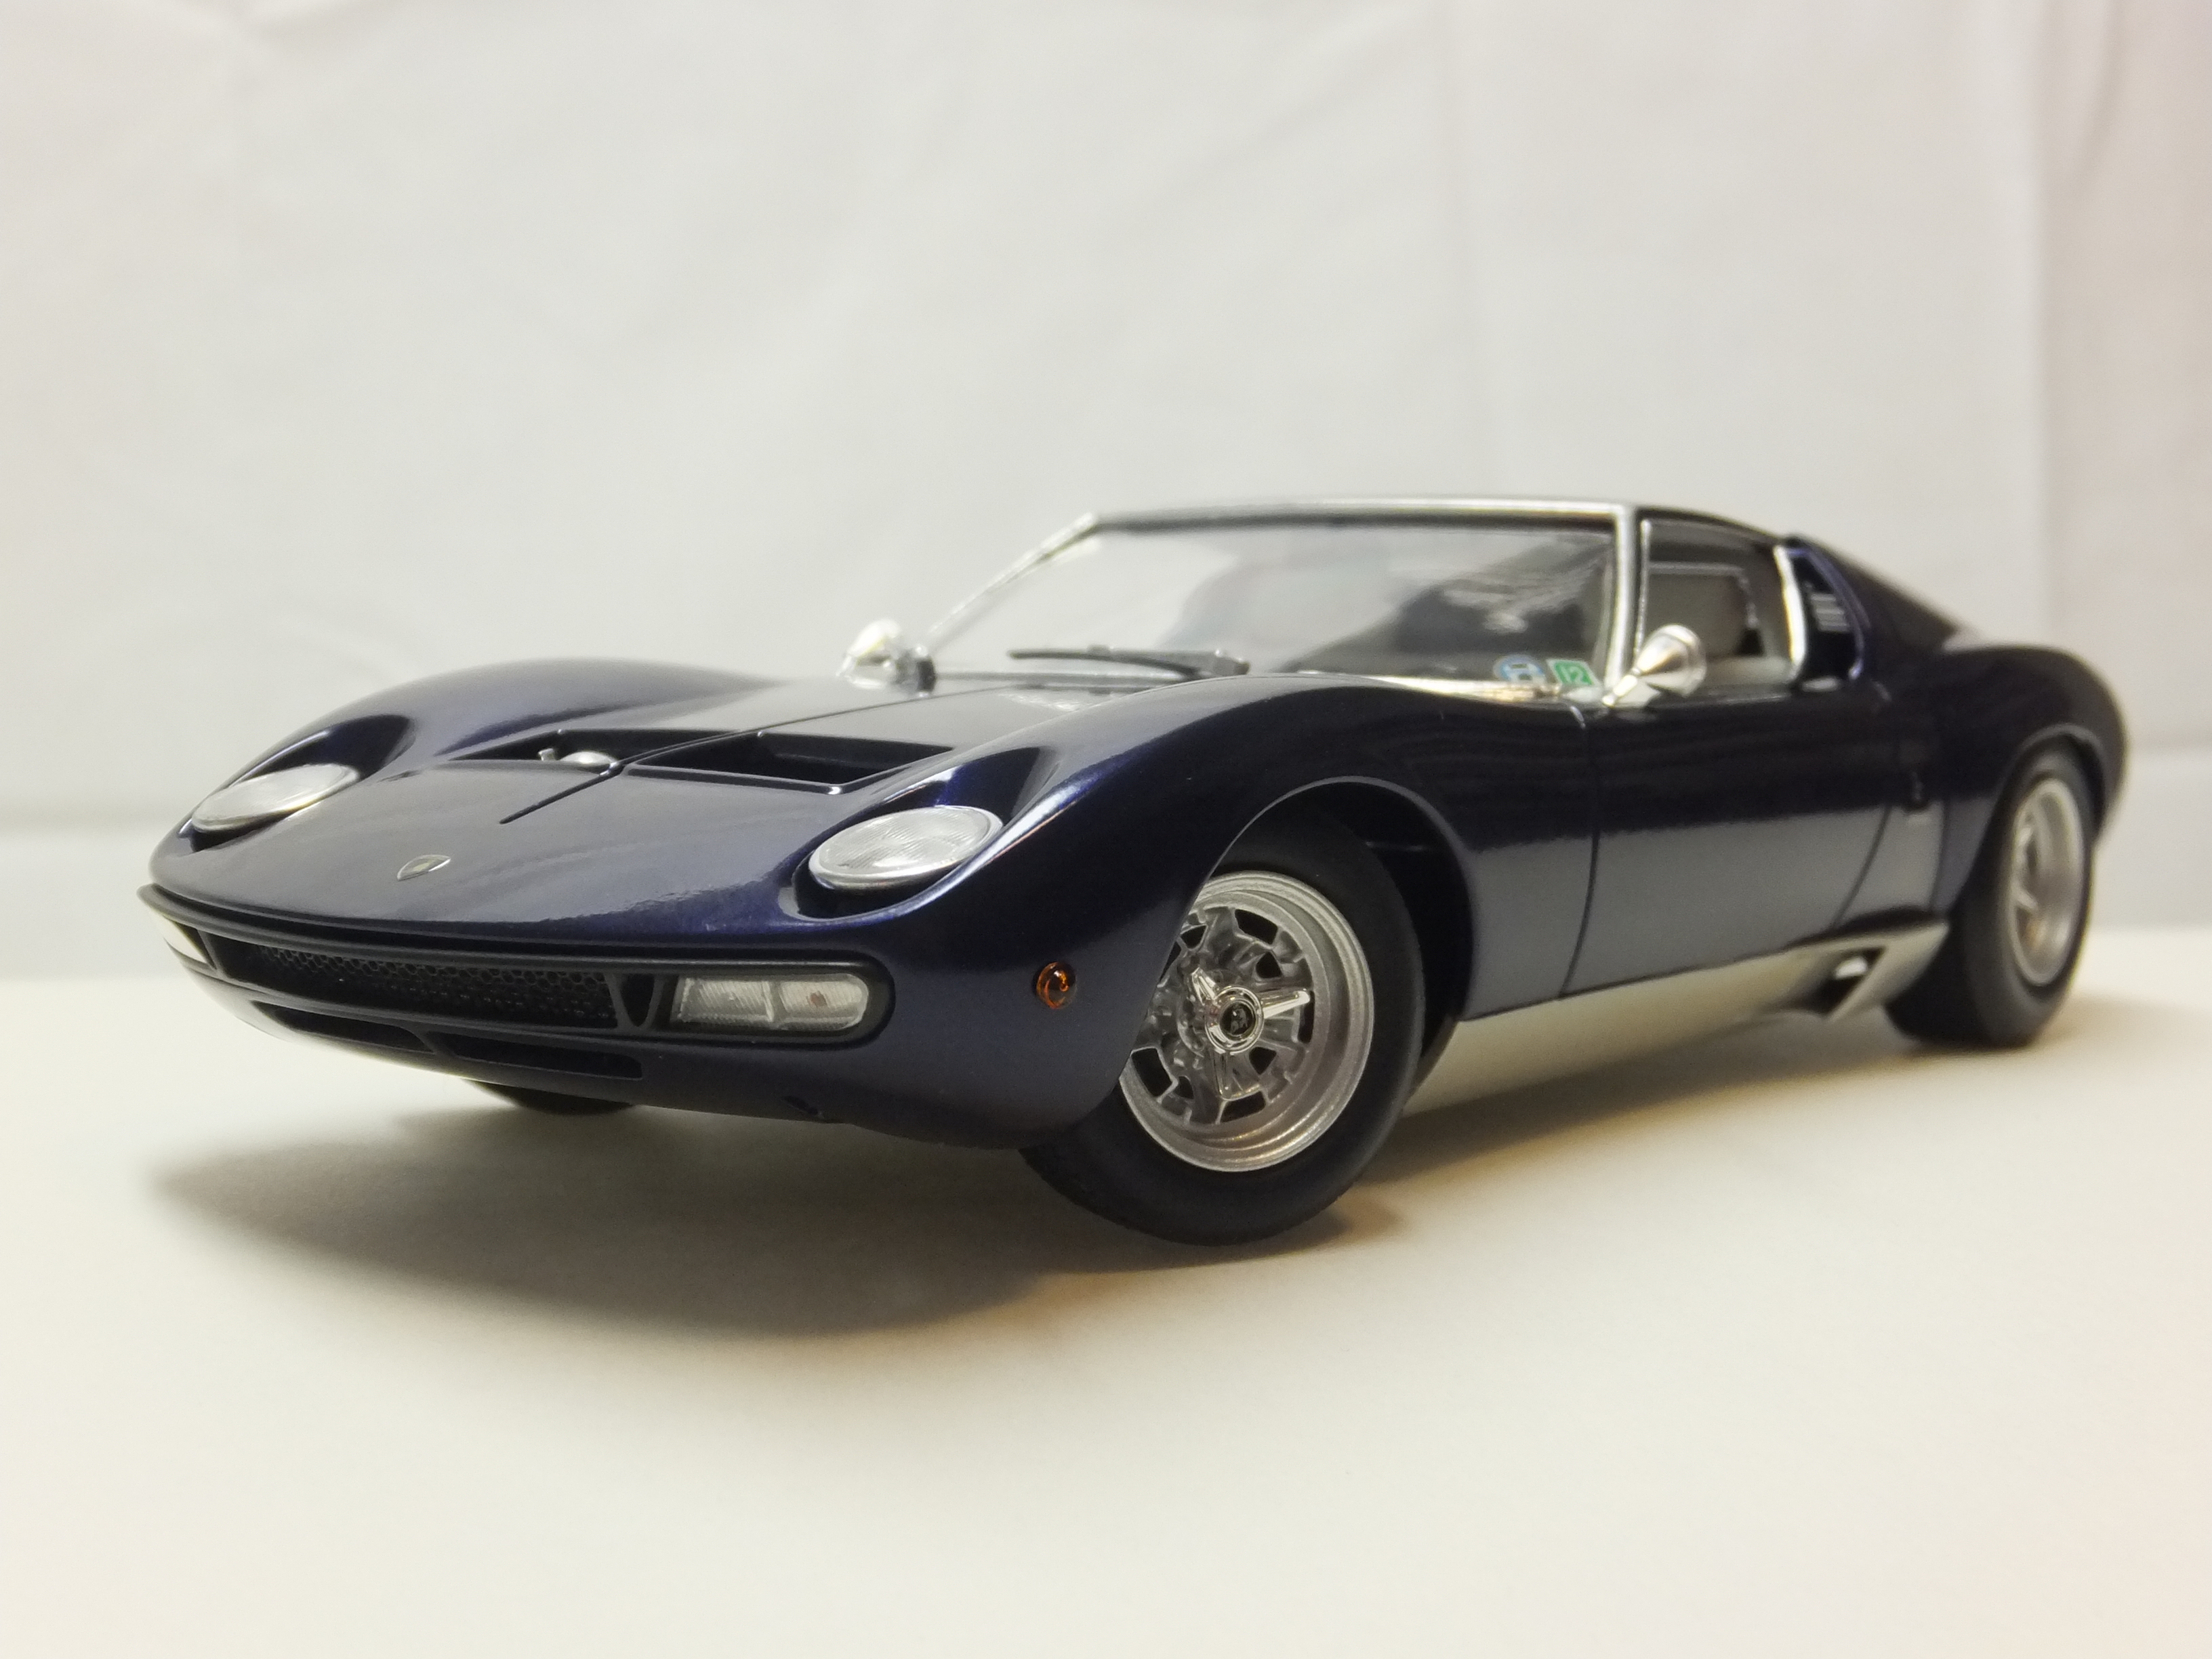
Hasegawas Lamborghini Miura SV....new update!
Dann Tier replied to Dann Tier's topic in WIP: Model Cars
Thanks, Shaun!, You will love the kit!!…..its way easy, and NO fit, or assembly issues!!, and there are ALOT of decals, and choices!!…..I've already built one a while ago, but it bugs me because I tried a new semi-gloss clearcoat over my interior, and it made it WAAAAAY too glossy, so i'm gonna redo it, and ditch the old one! -heres the old one....
-
Hasegawas Lamborghini Miura SV....new update!
Dann Tier replied to Dann Tier's topic in WIP: Model Cars
Thanks, William!, I have 7, but i'm about to post another one i'm working on, a TOTALLY scratchbuilt car, that i'm pretty sure barely any people even know about, but its been a favorite of mine for a long time. -
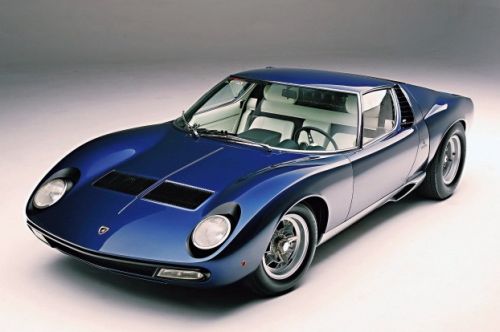
This week I will be starting to build my Lamborghini Miura. This photo shows how it will look when its done.....hope you enjoy!
-
Now those are beauties!!….got one in my stash as well!!
-
Fantastically unbelievable!!
-
You did a GREAT job on this little car!!
-
Now that is sweet!!
-
VERY nice job on this!!...love the kolors!!
-
WIP Hasegawa taqa-Q Toyota 88c Finished 8/27/18
Dann Tier replied to jchrisf's topic in WIP: Model Cars
Nice kit!! -
looking GREAT!!
-
now that's cool!!
-
Nicely built Land Rover!!, I have yet to build mine...
-
Re-engineering Monograms Lotus Esprit...new update!
Dann Tier replied to Dann Tier's topic in WIP: Model Cars
Thanks, Mark!, glad you like it! -
LOL!, Thanks, Thomas!, i'm in the process of painting th body now.....usually takes me two weeks, but I will be posting more SB details VERT soon!! -i'm glad you like it!, if you are interested, I have made three videos on building it so far. They can be seen at; Scale Models And Figurines.....youtube
-
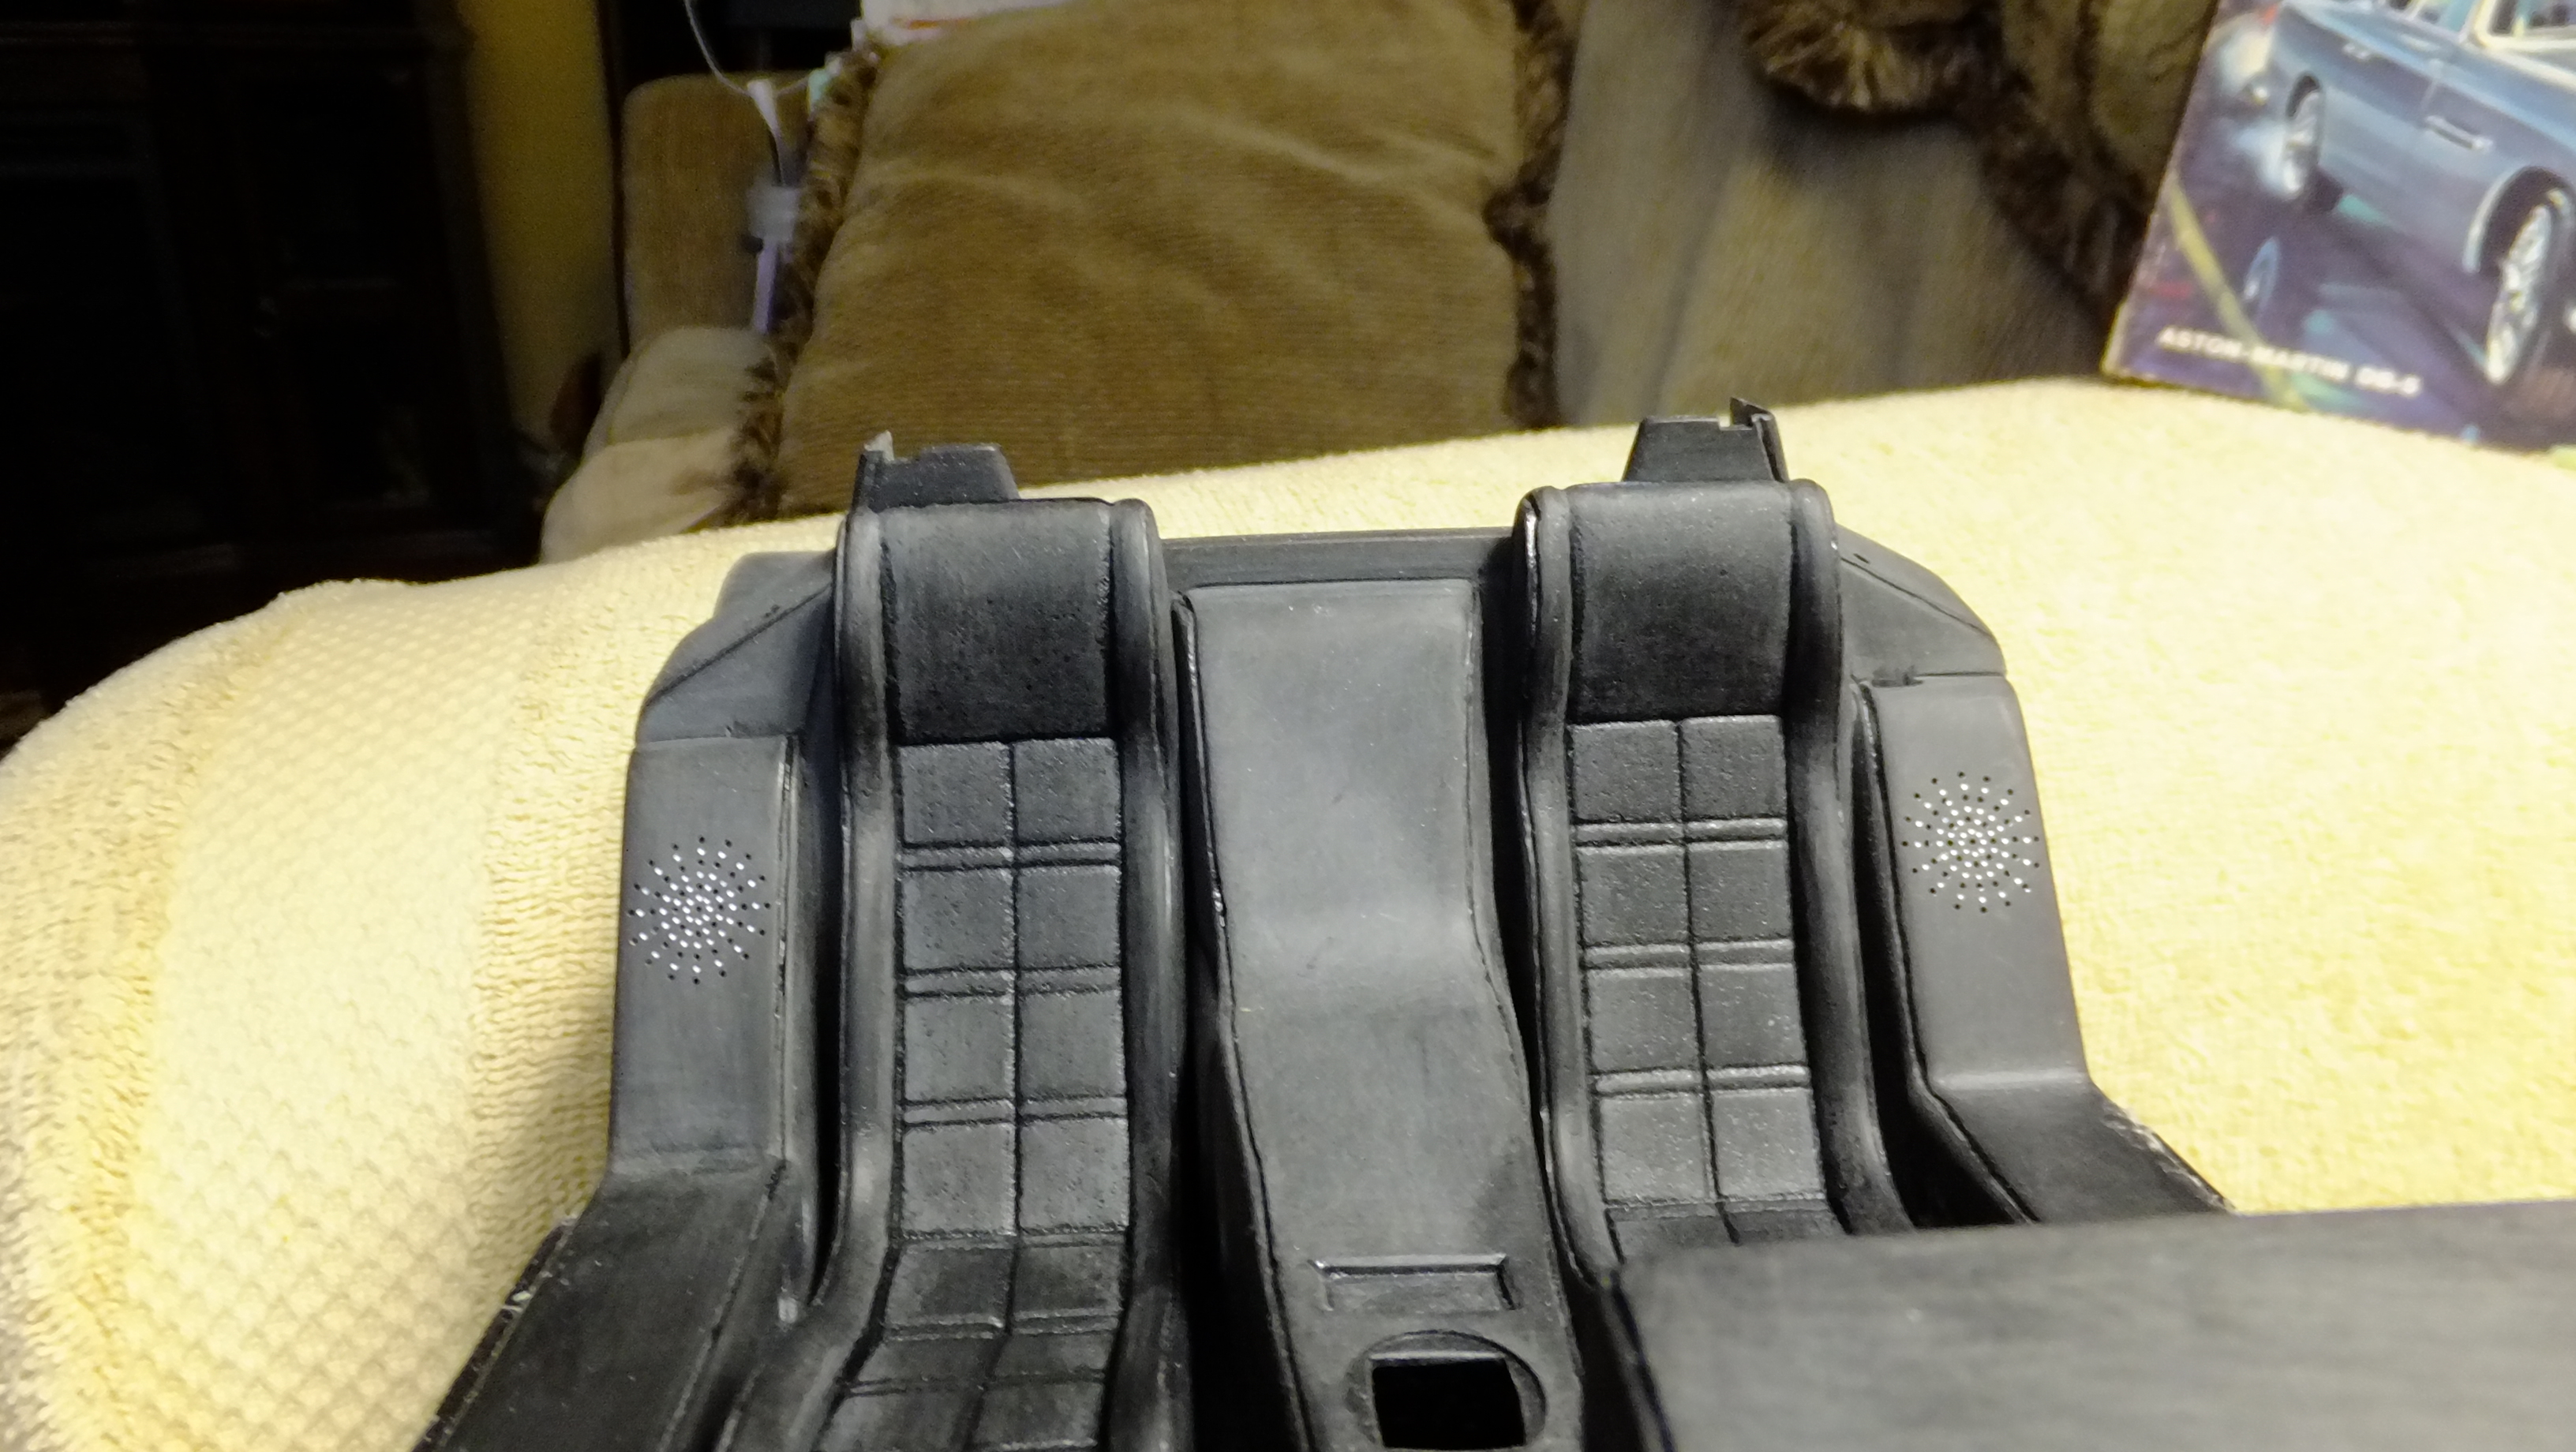
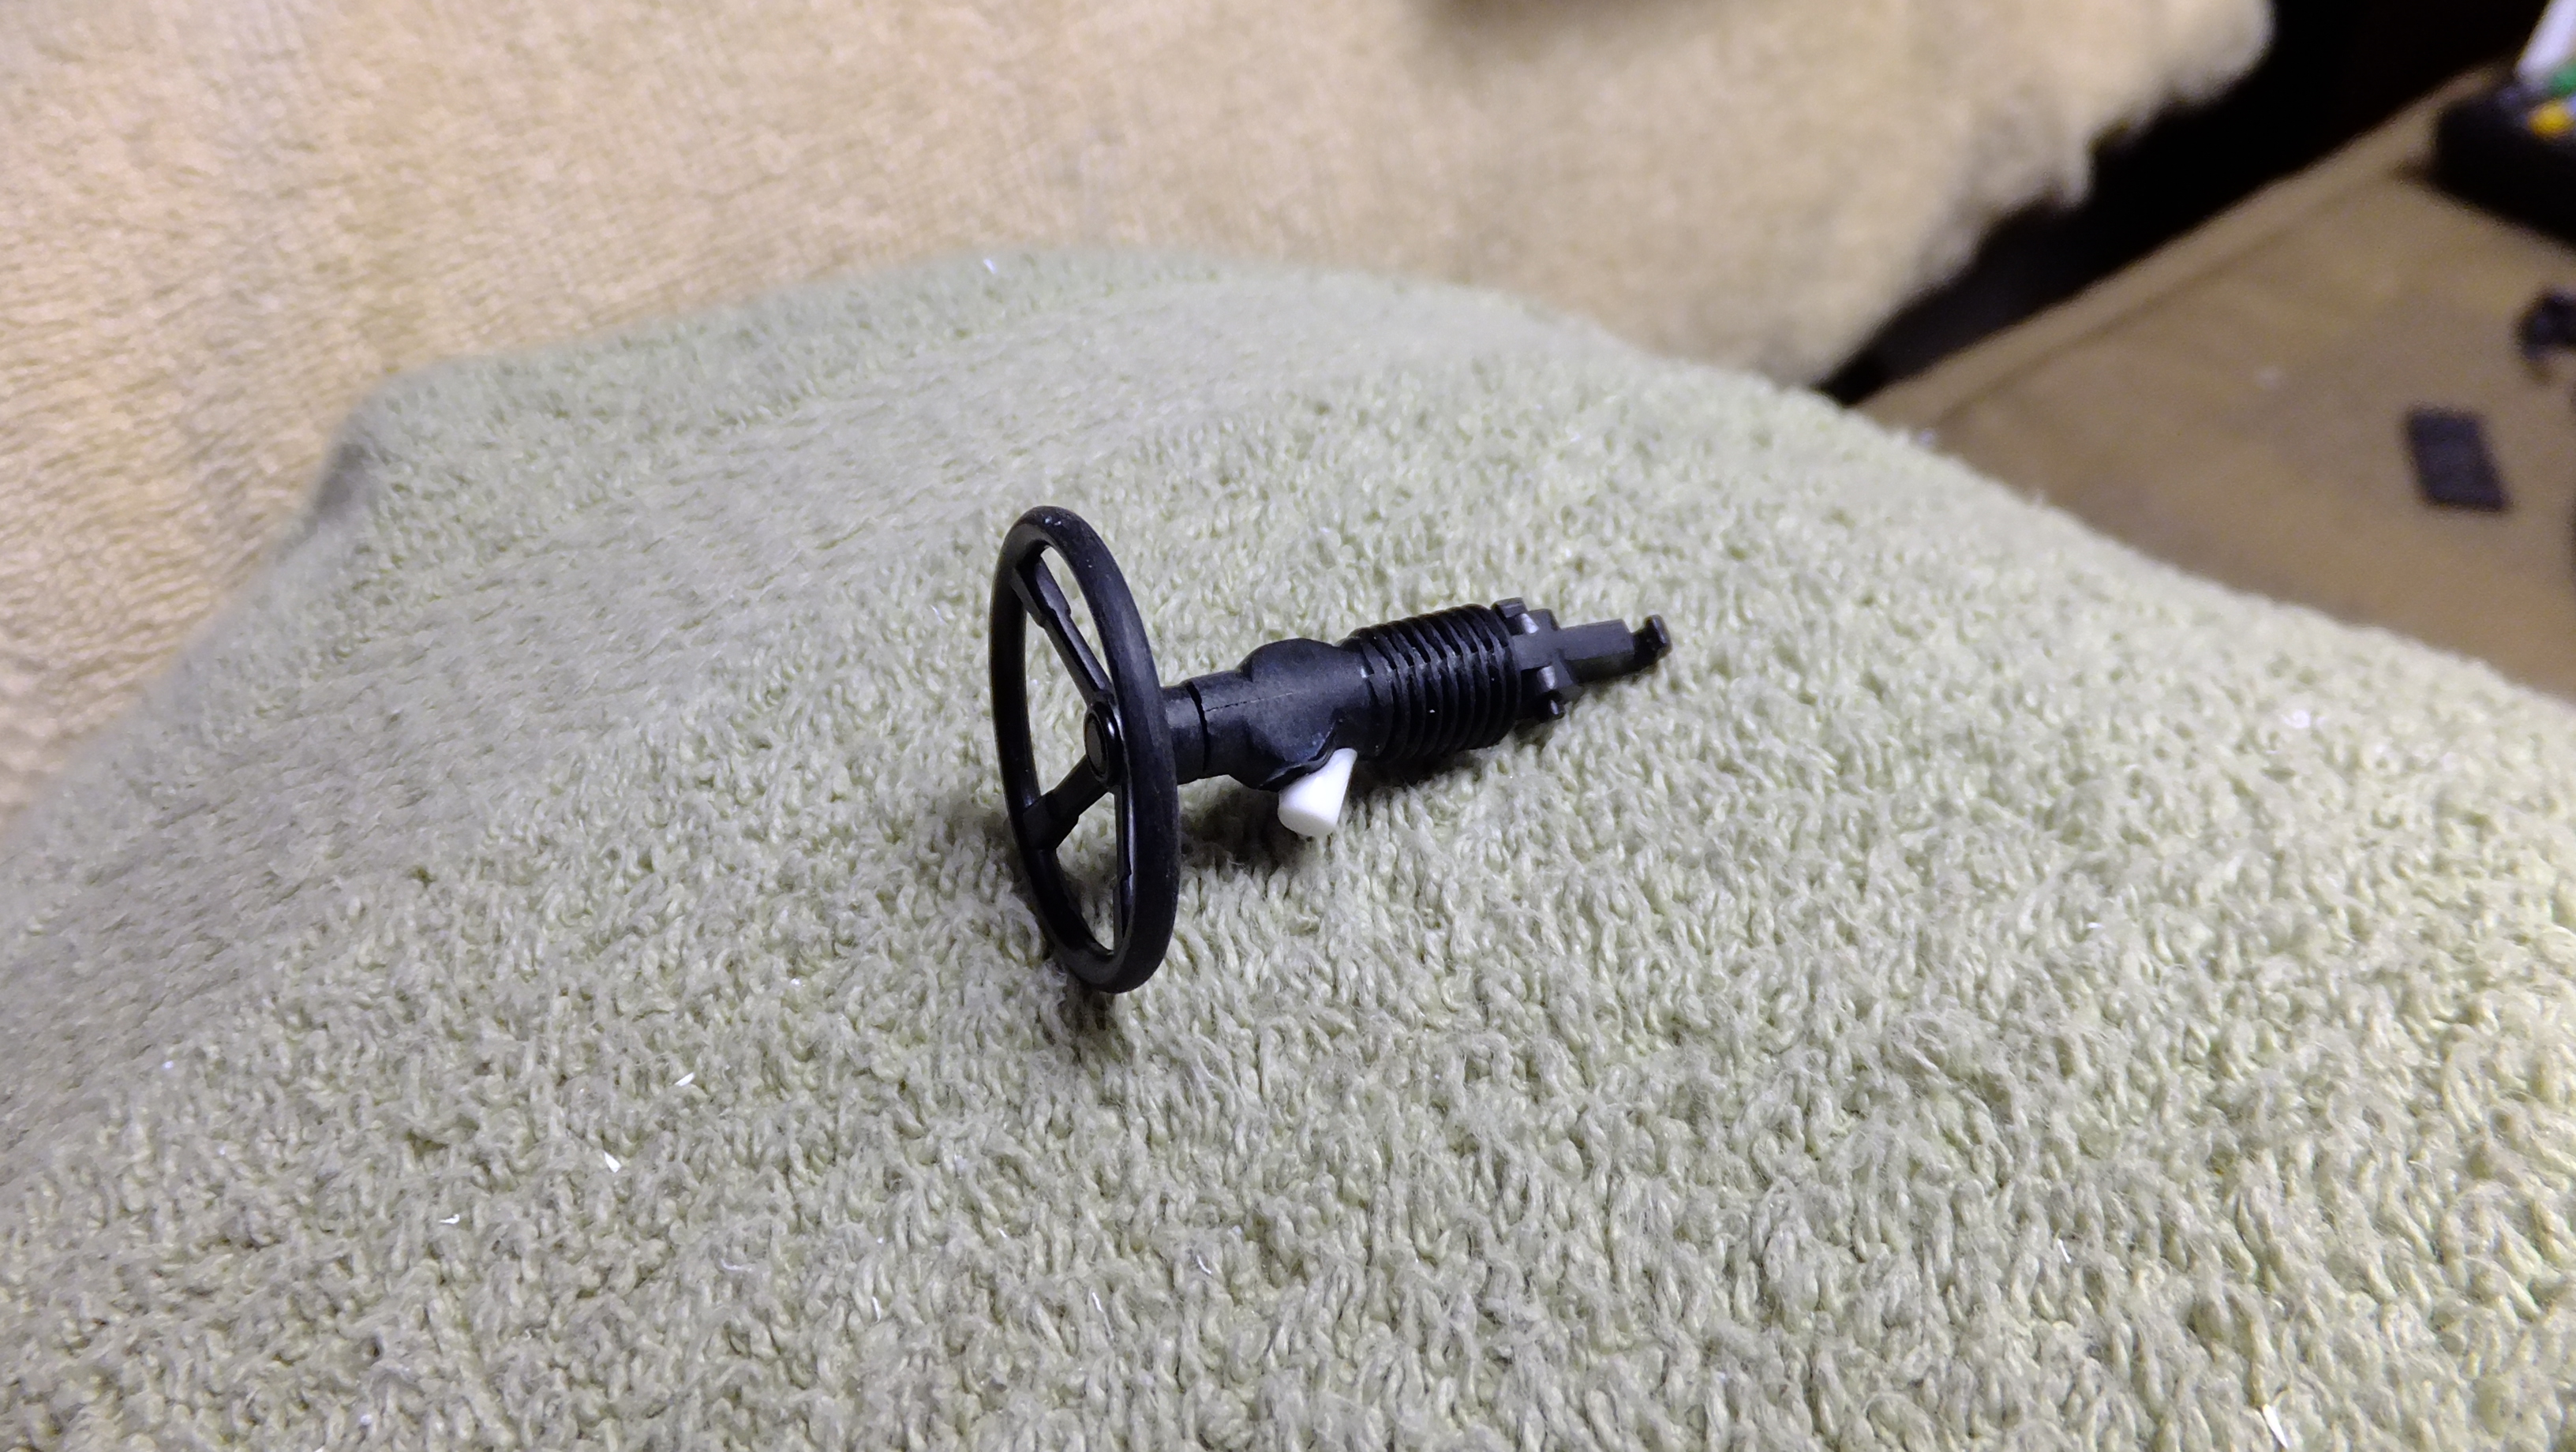
Otaki 1/12 Lamborghini Countach Twin Turbo...Mission Statement
Dann Tier replied to Dann Tier's topic in WIP: Model Cars
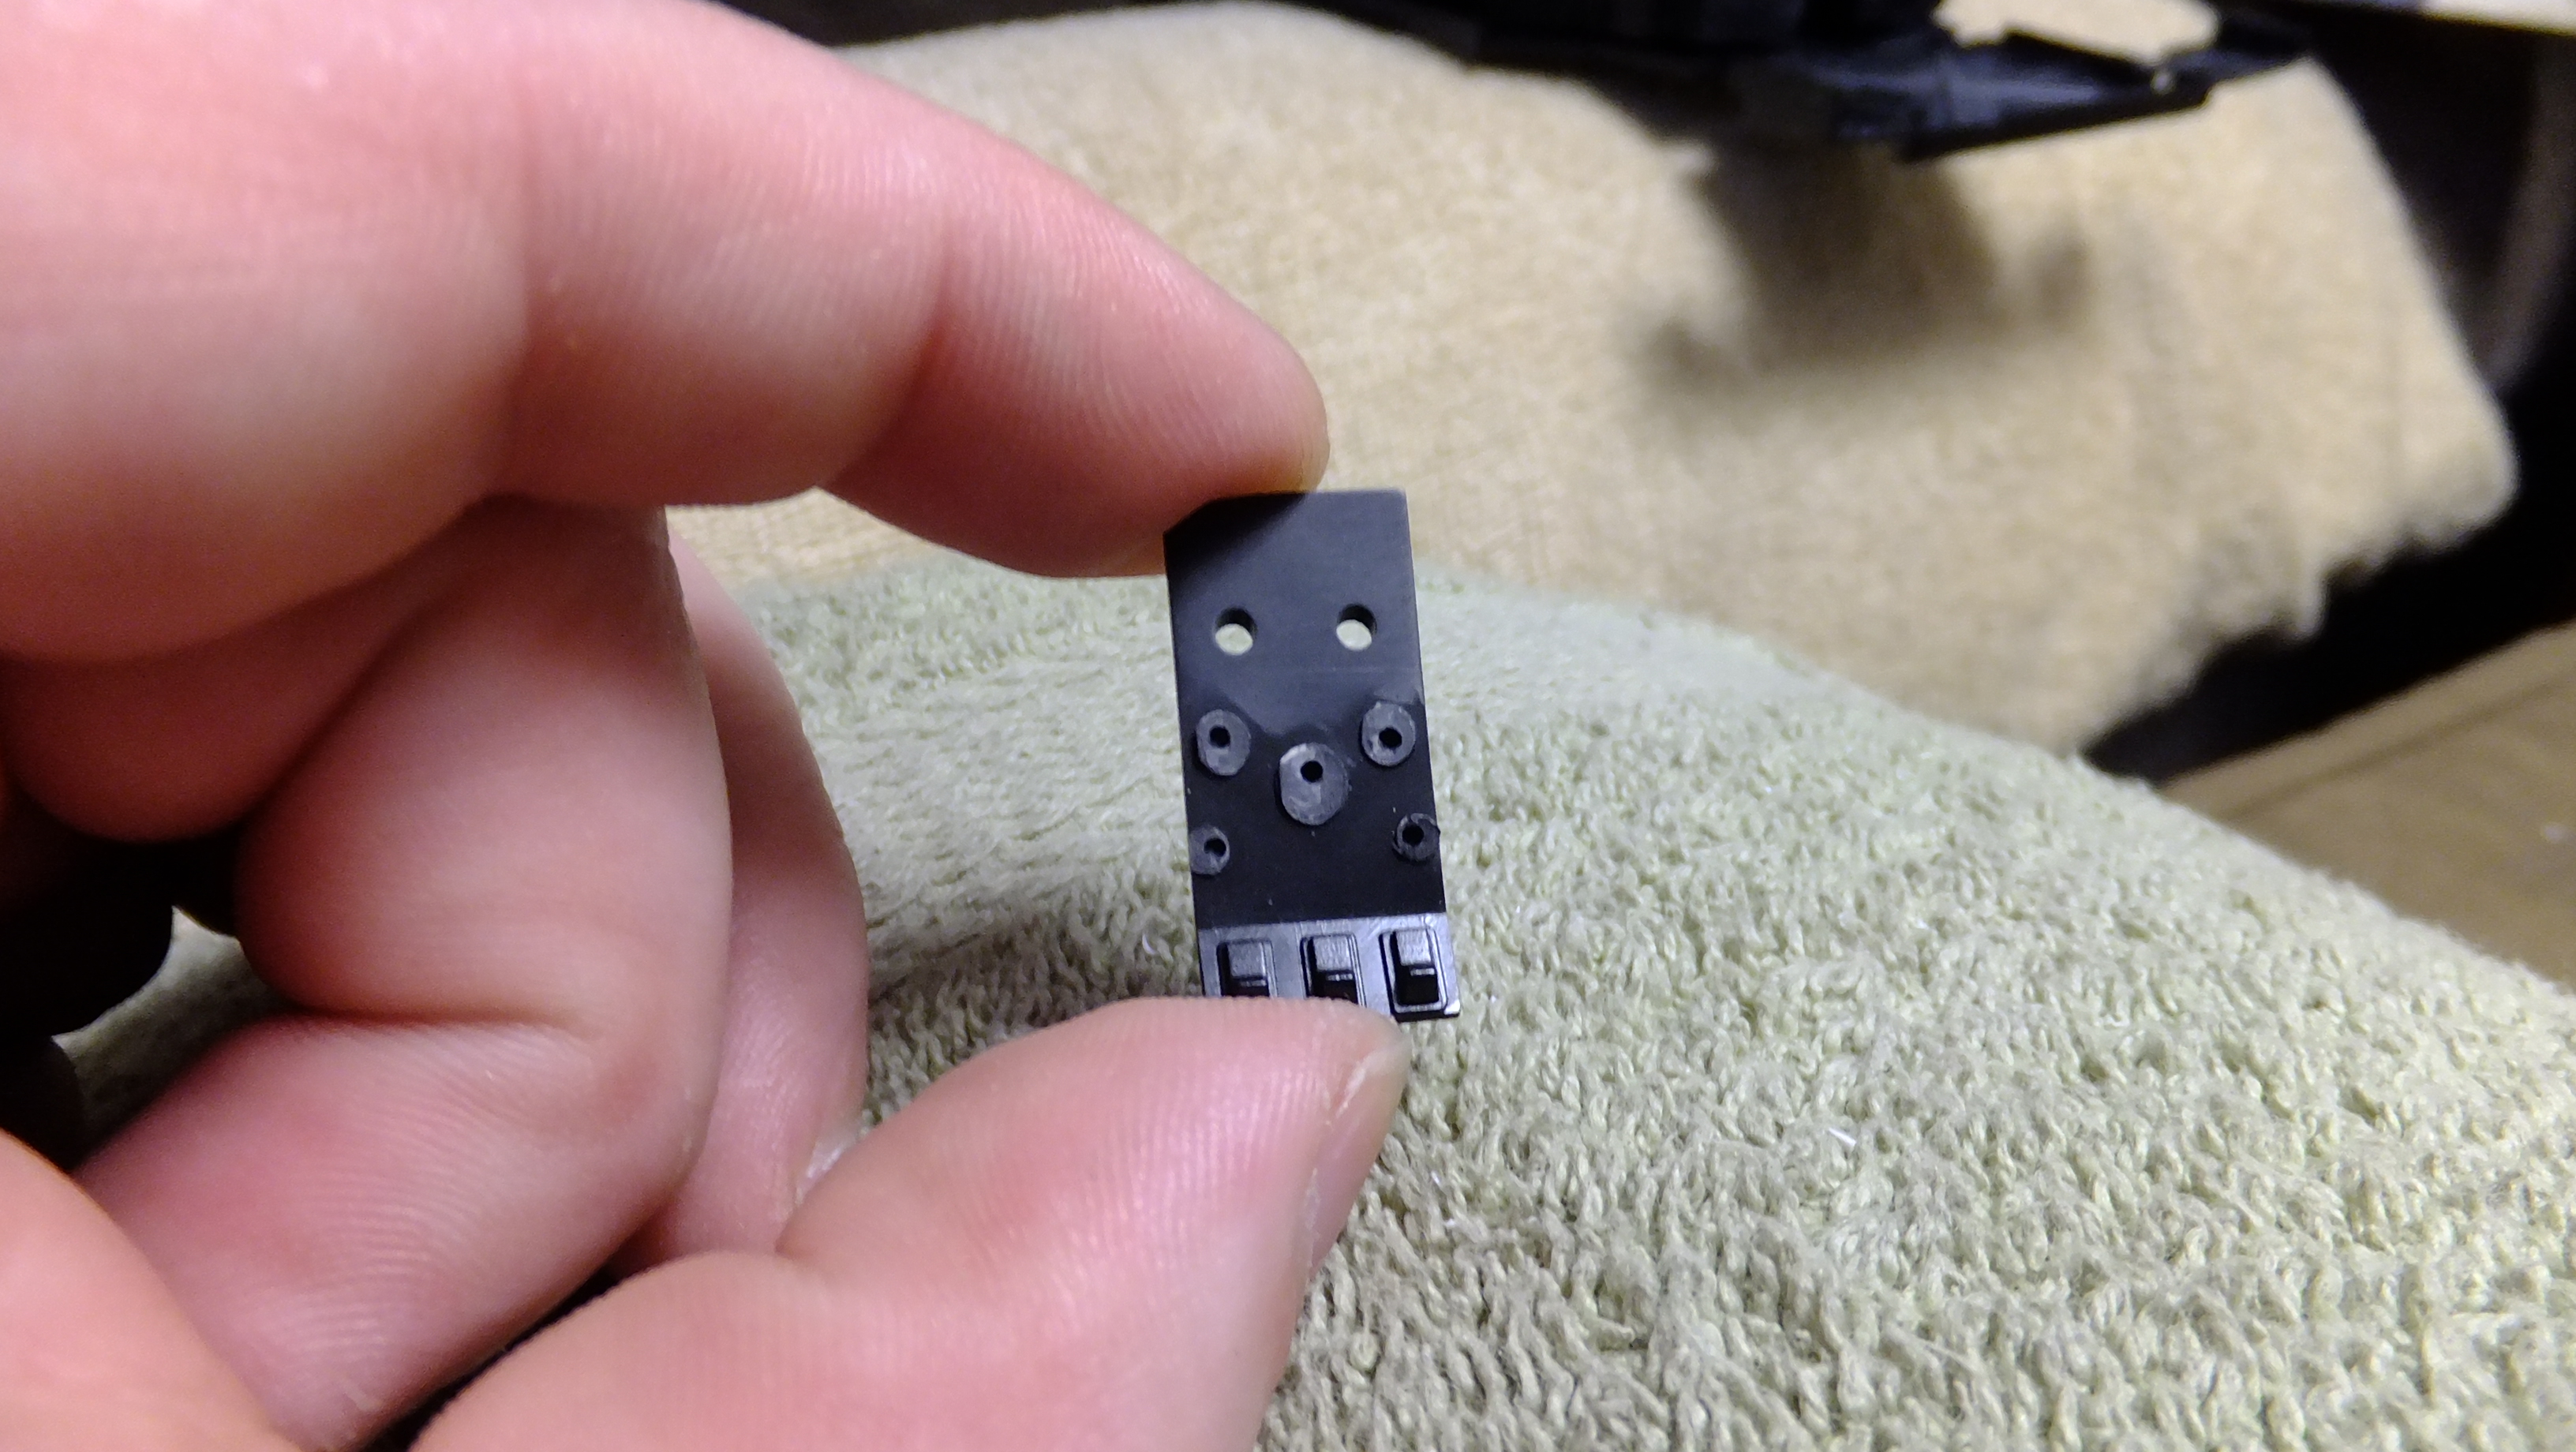
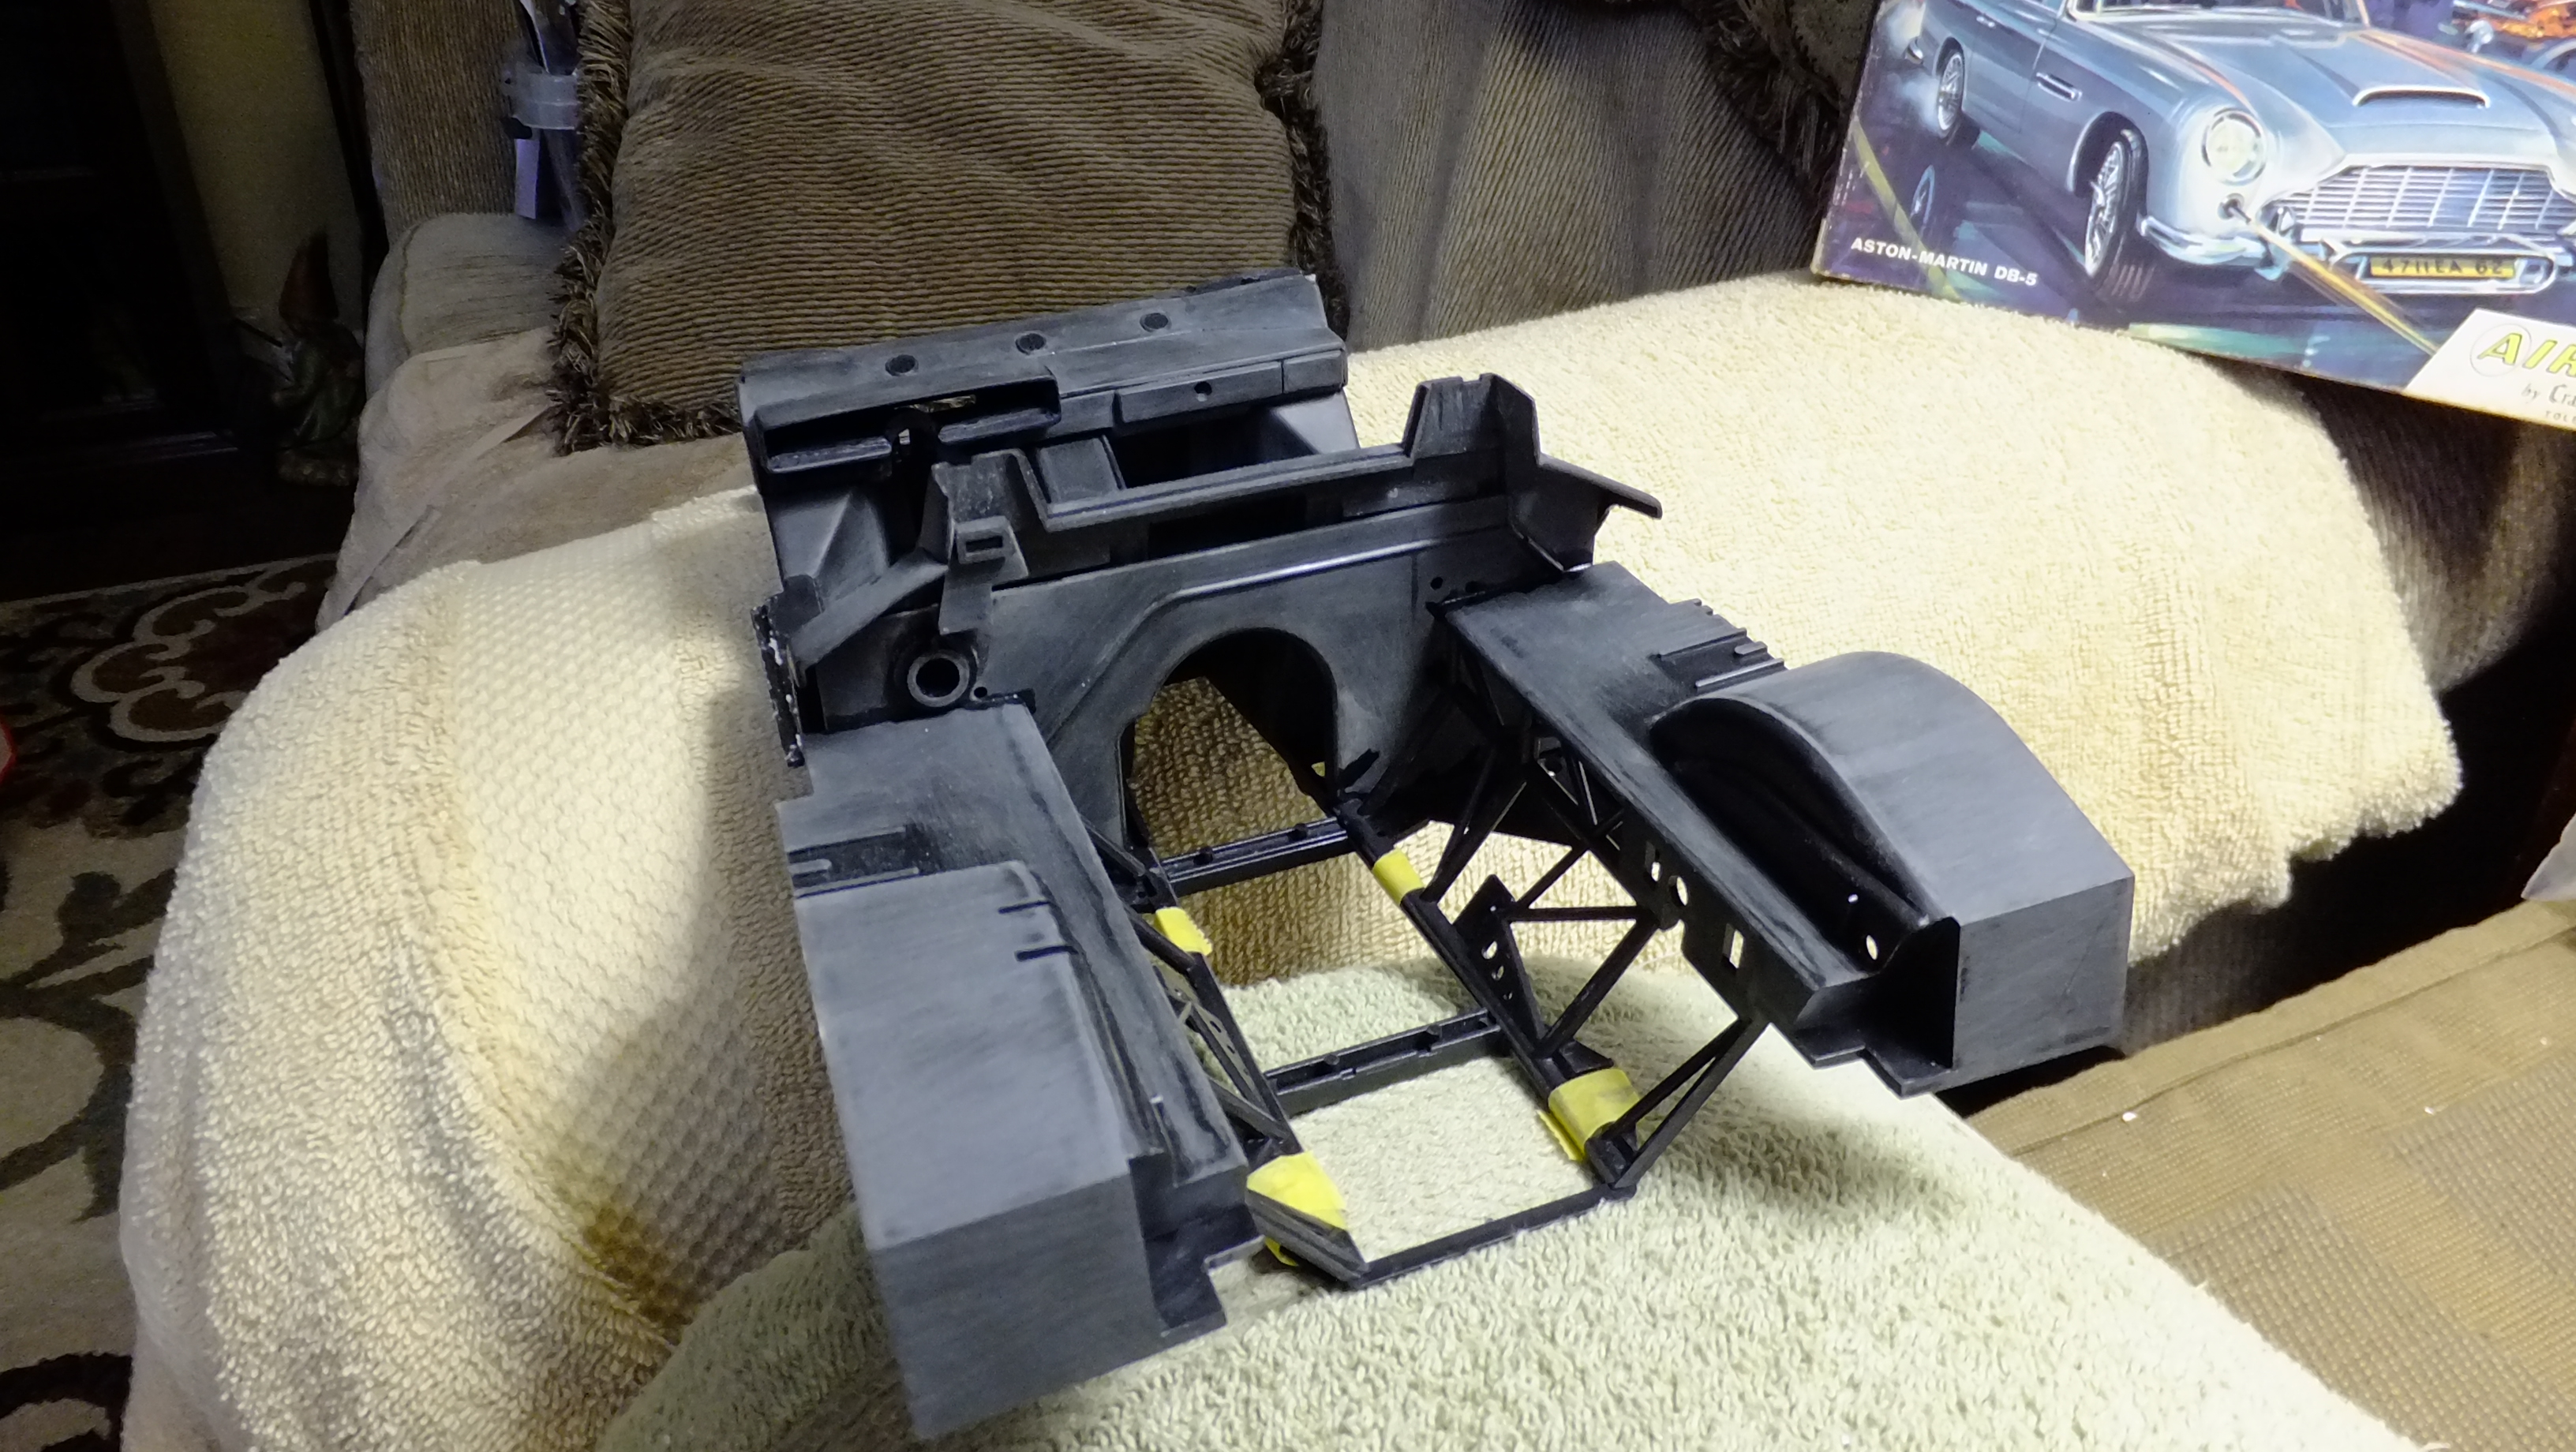
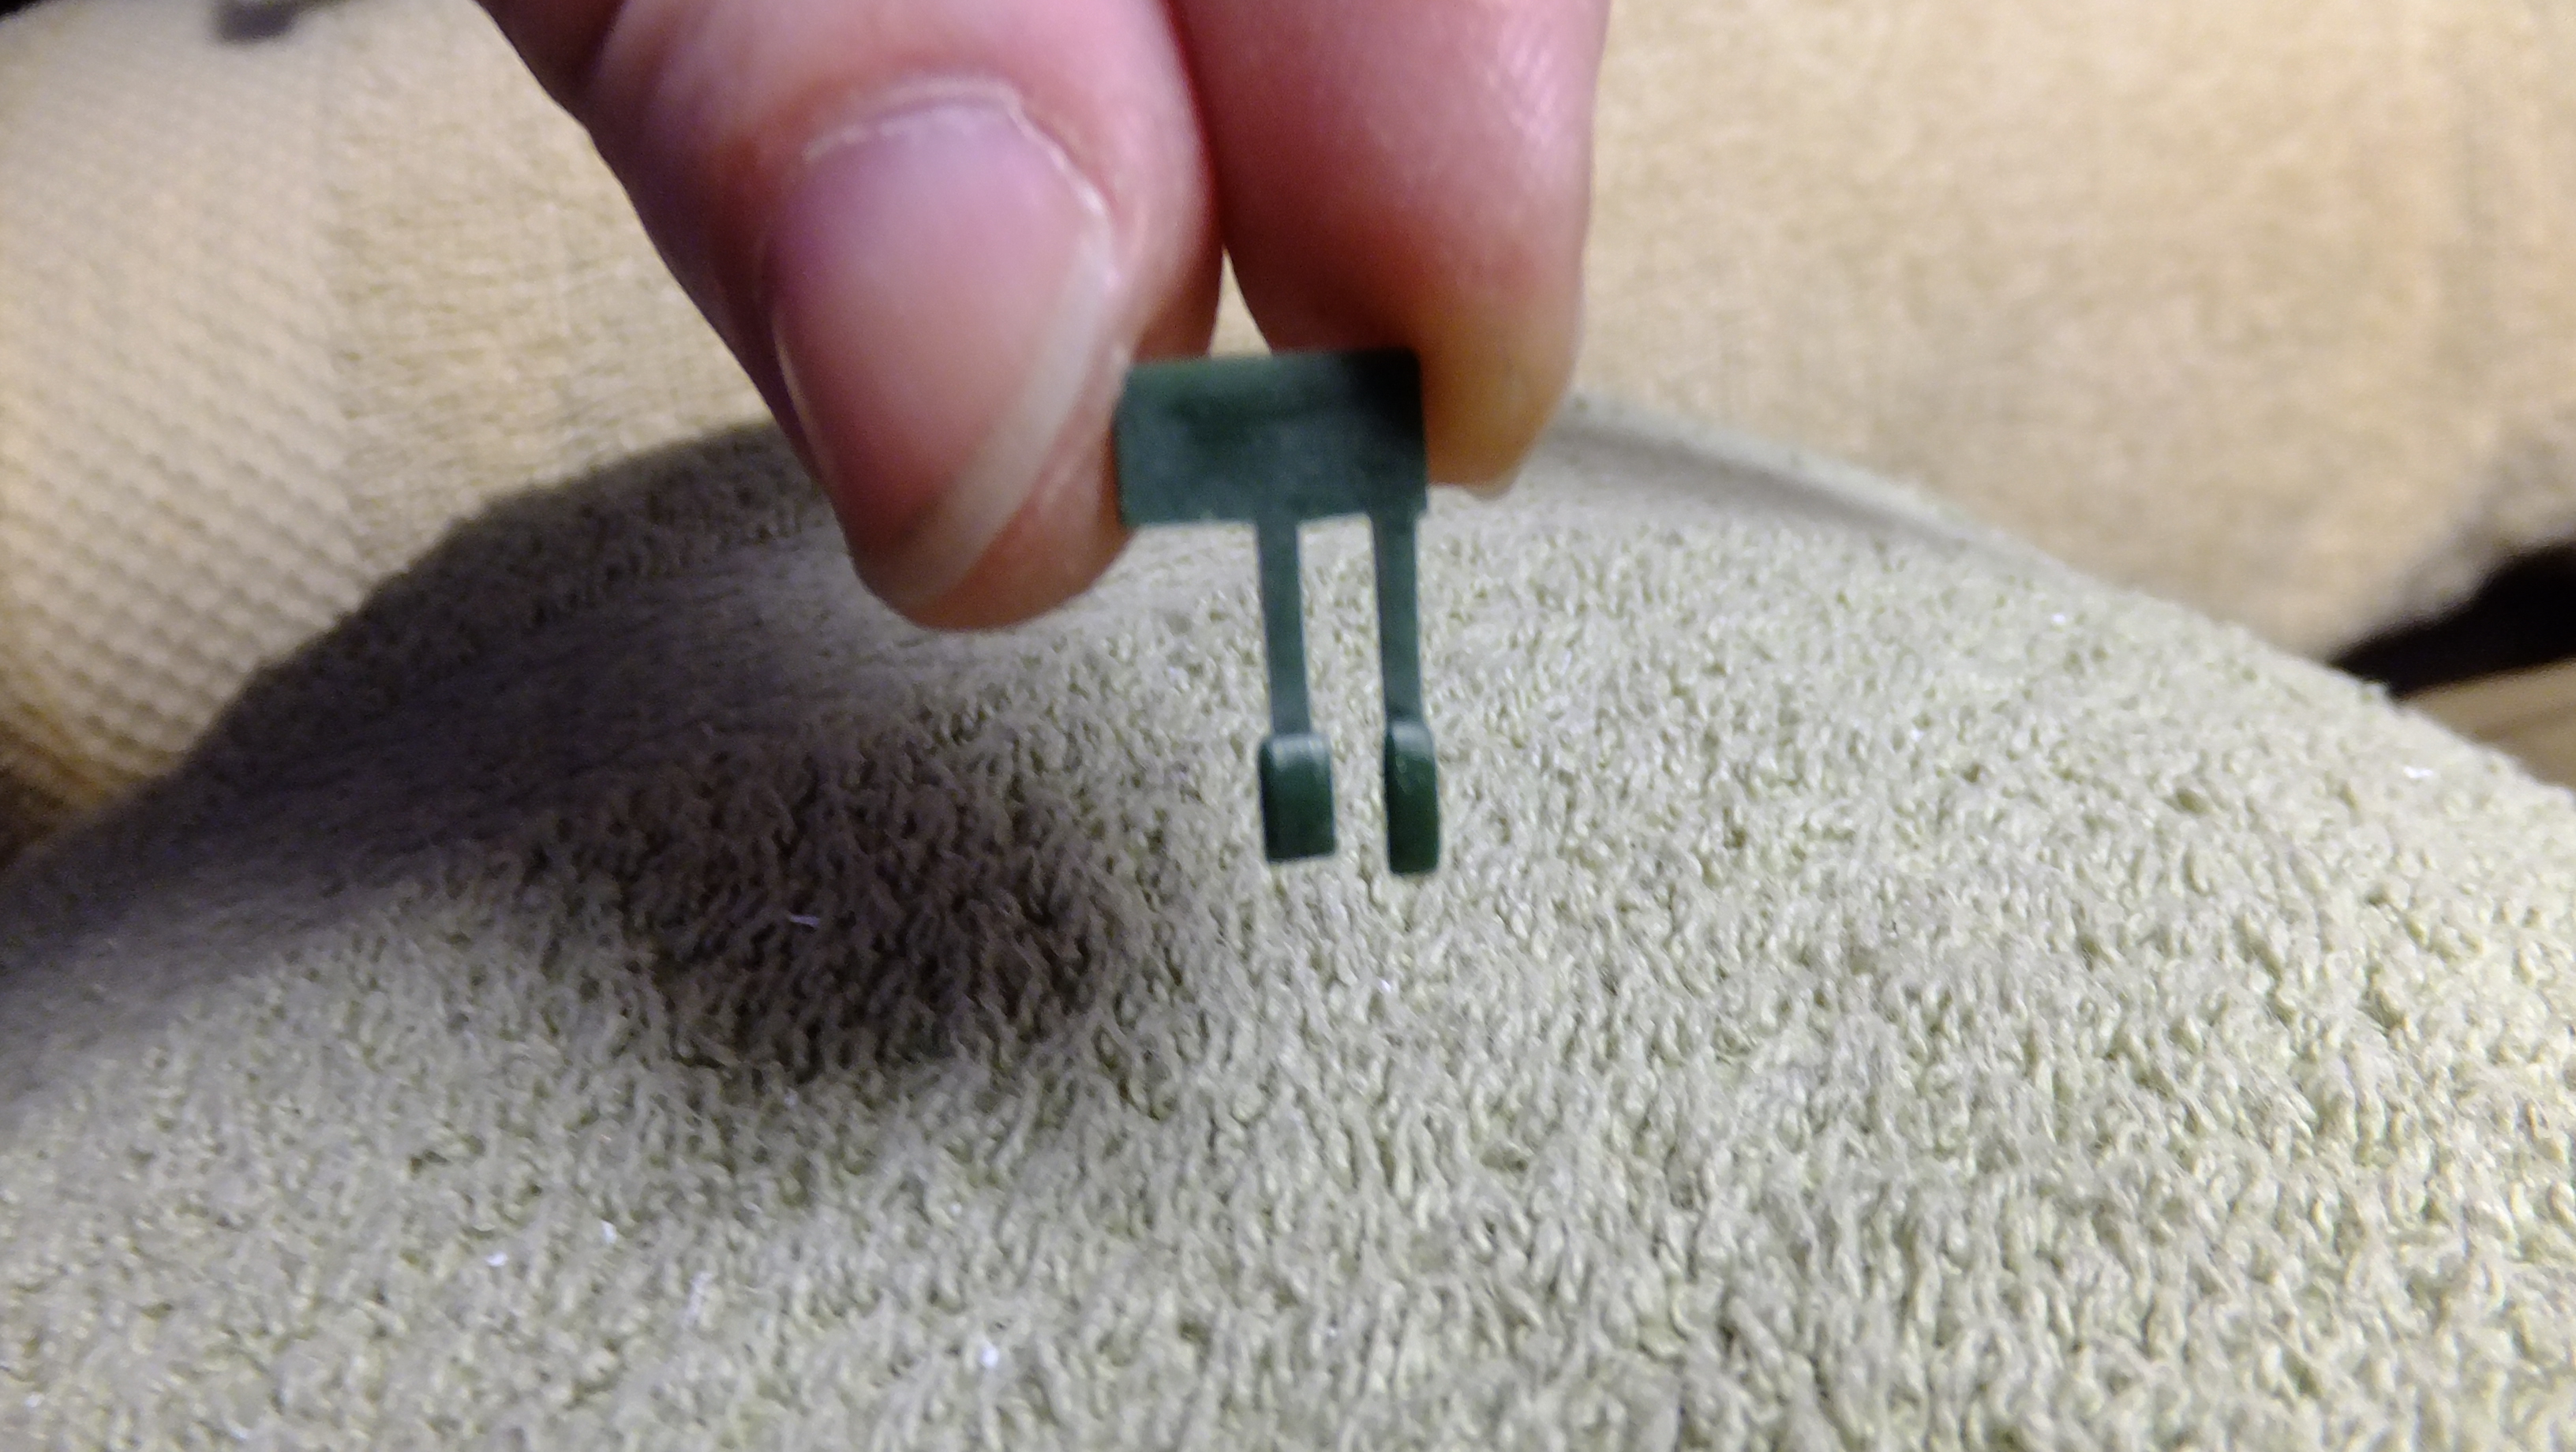
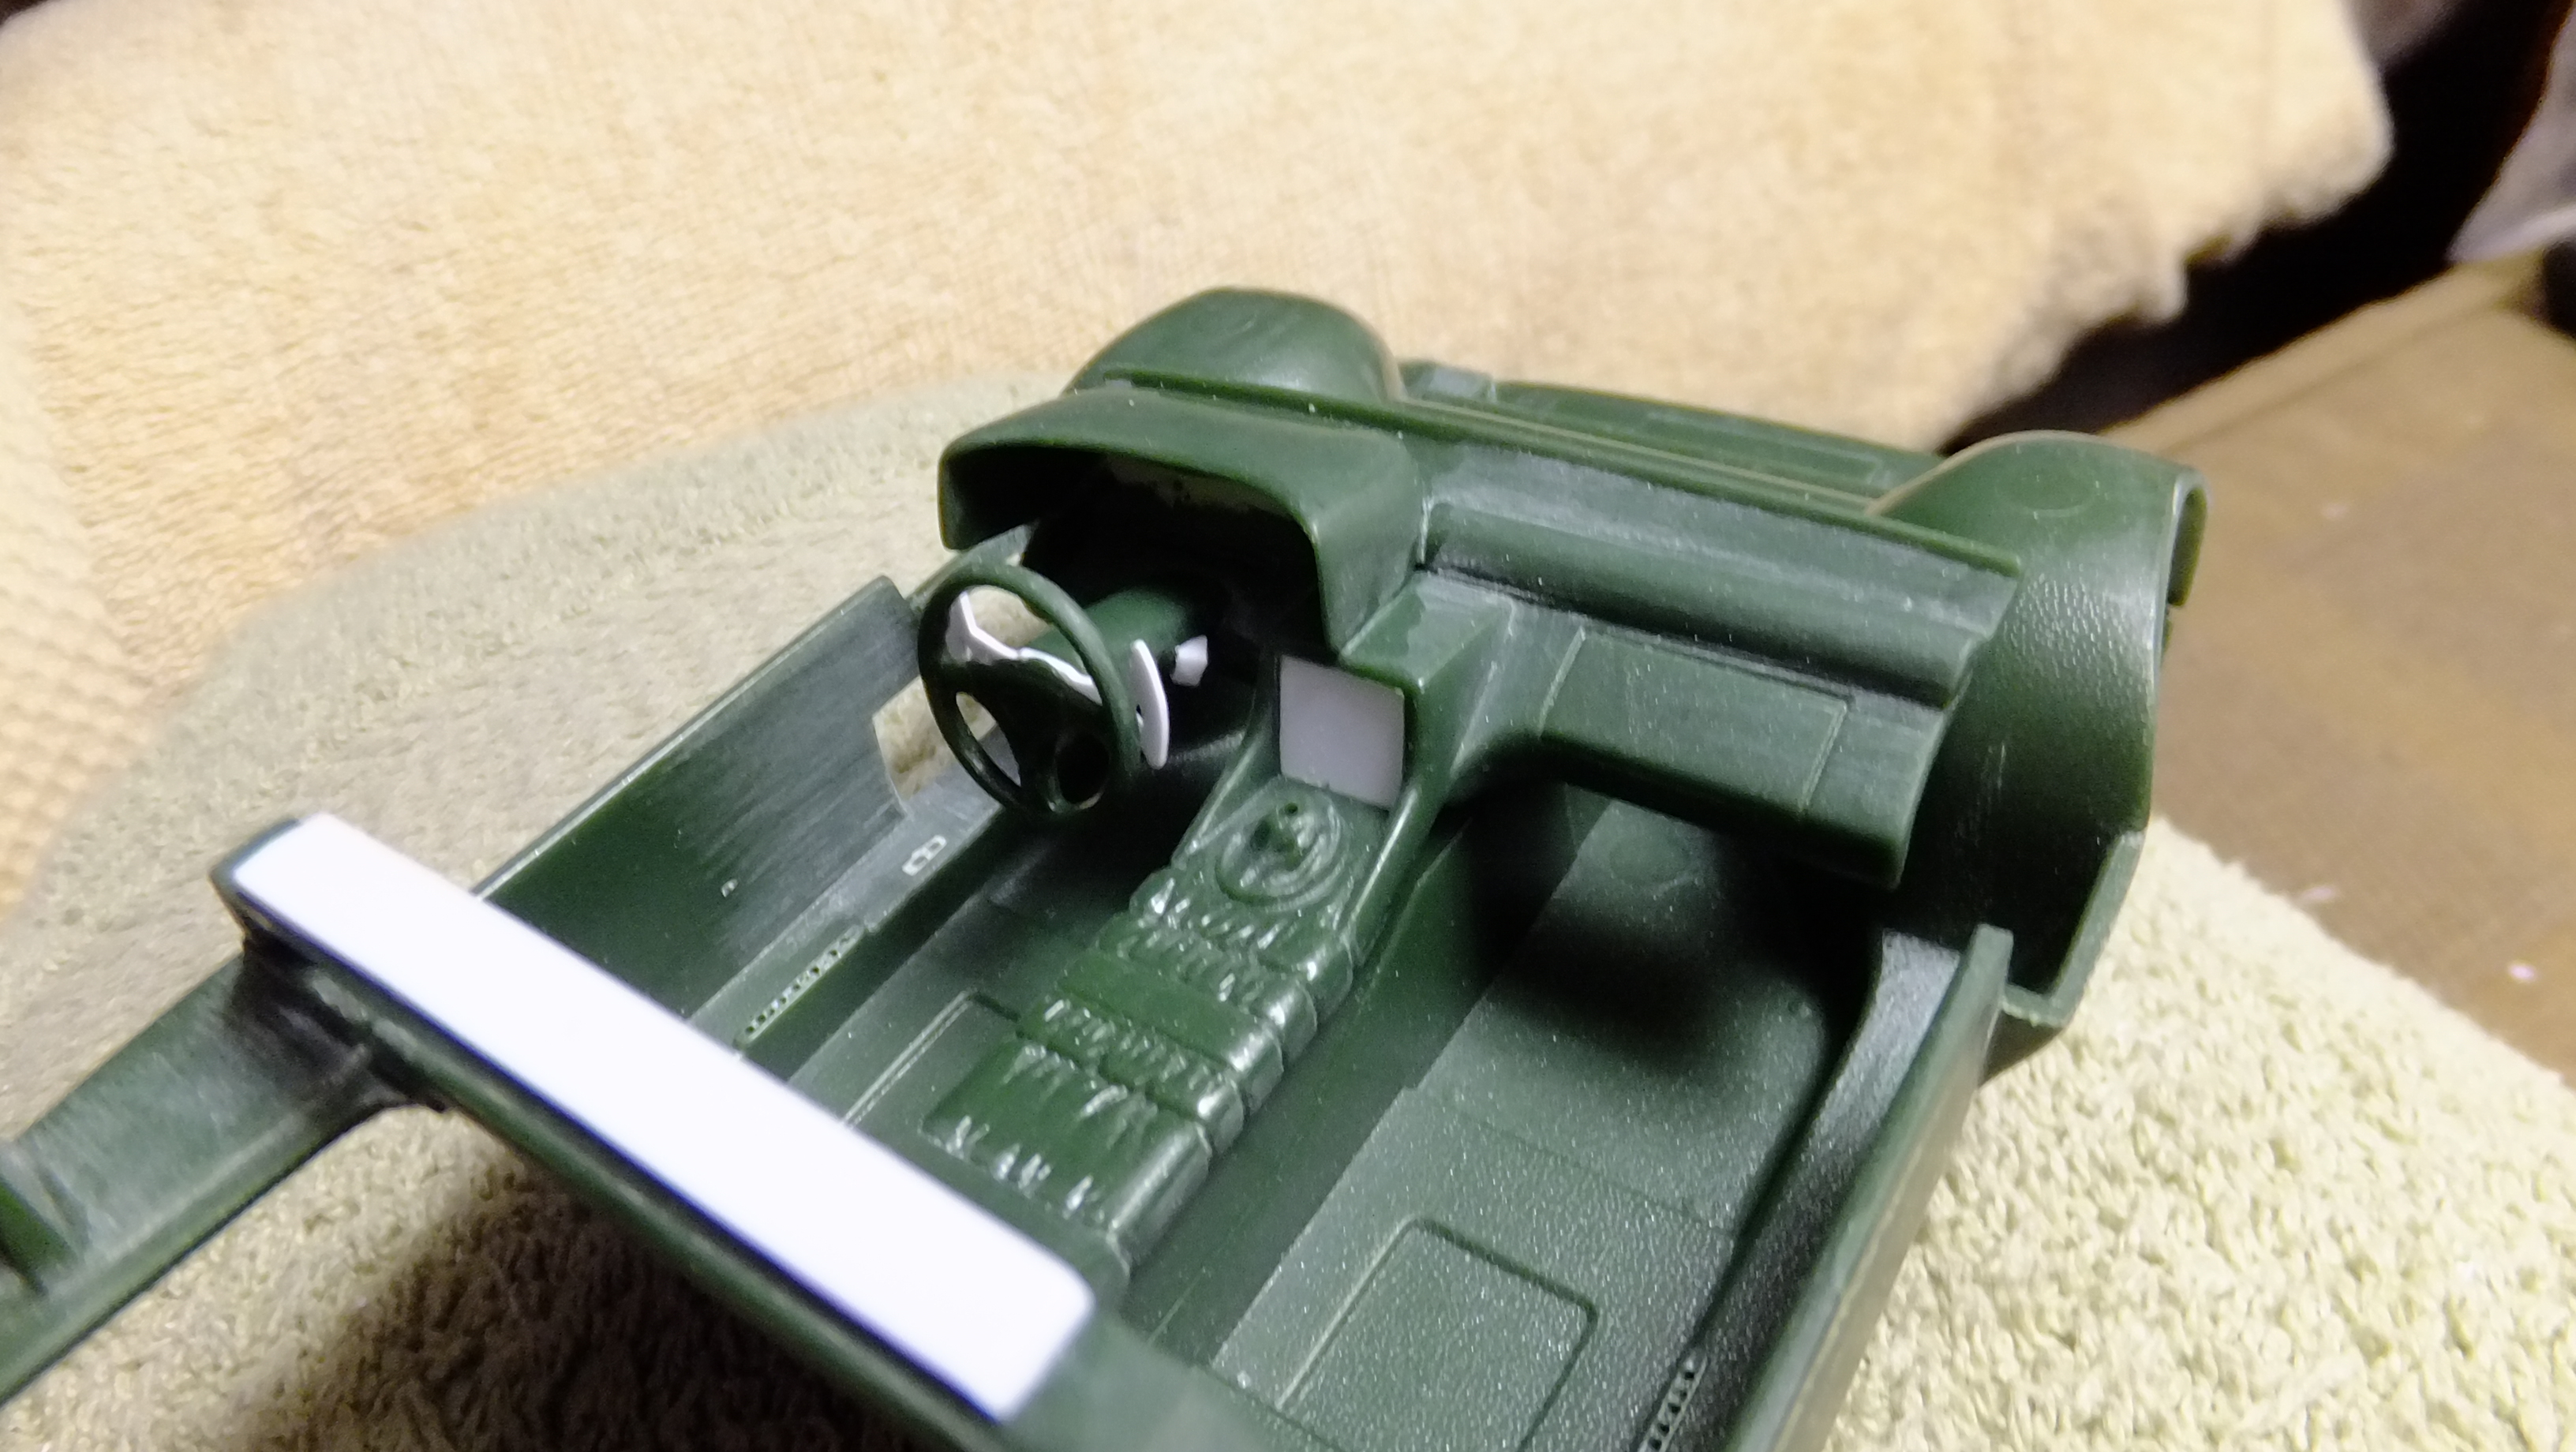
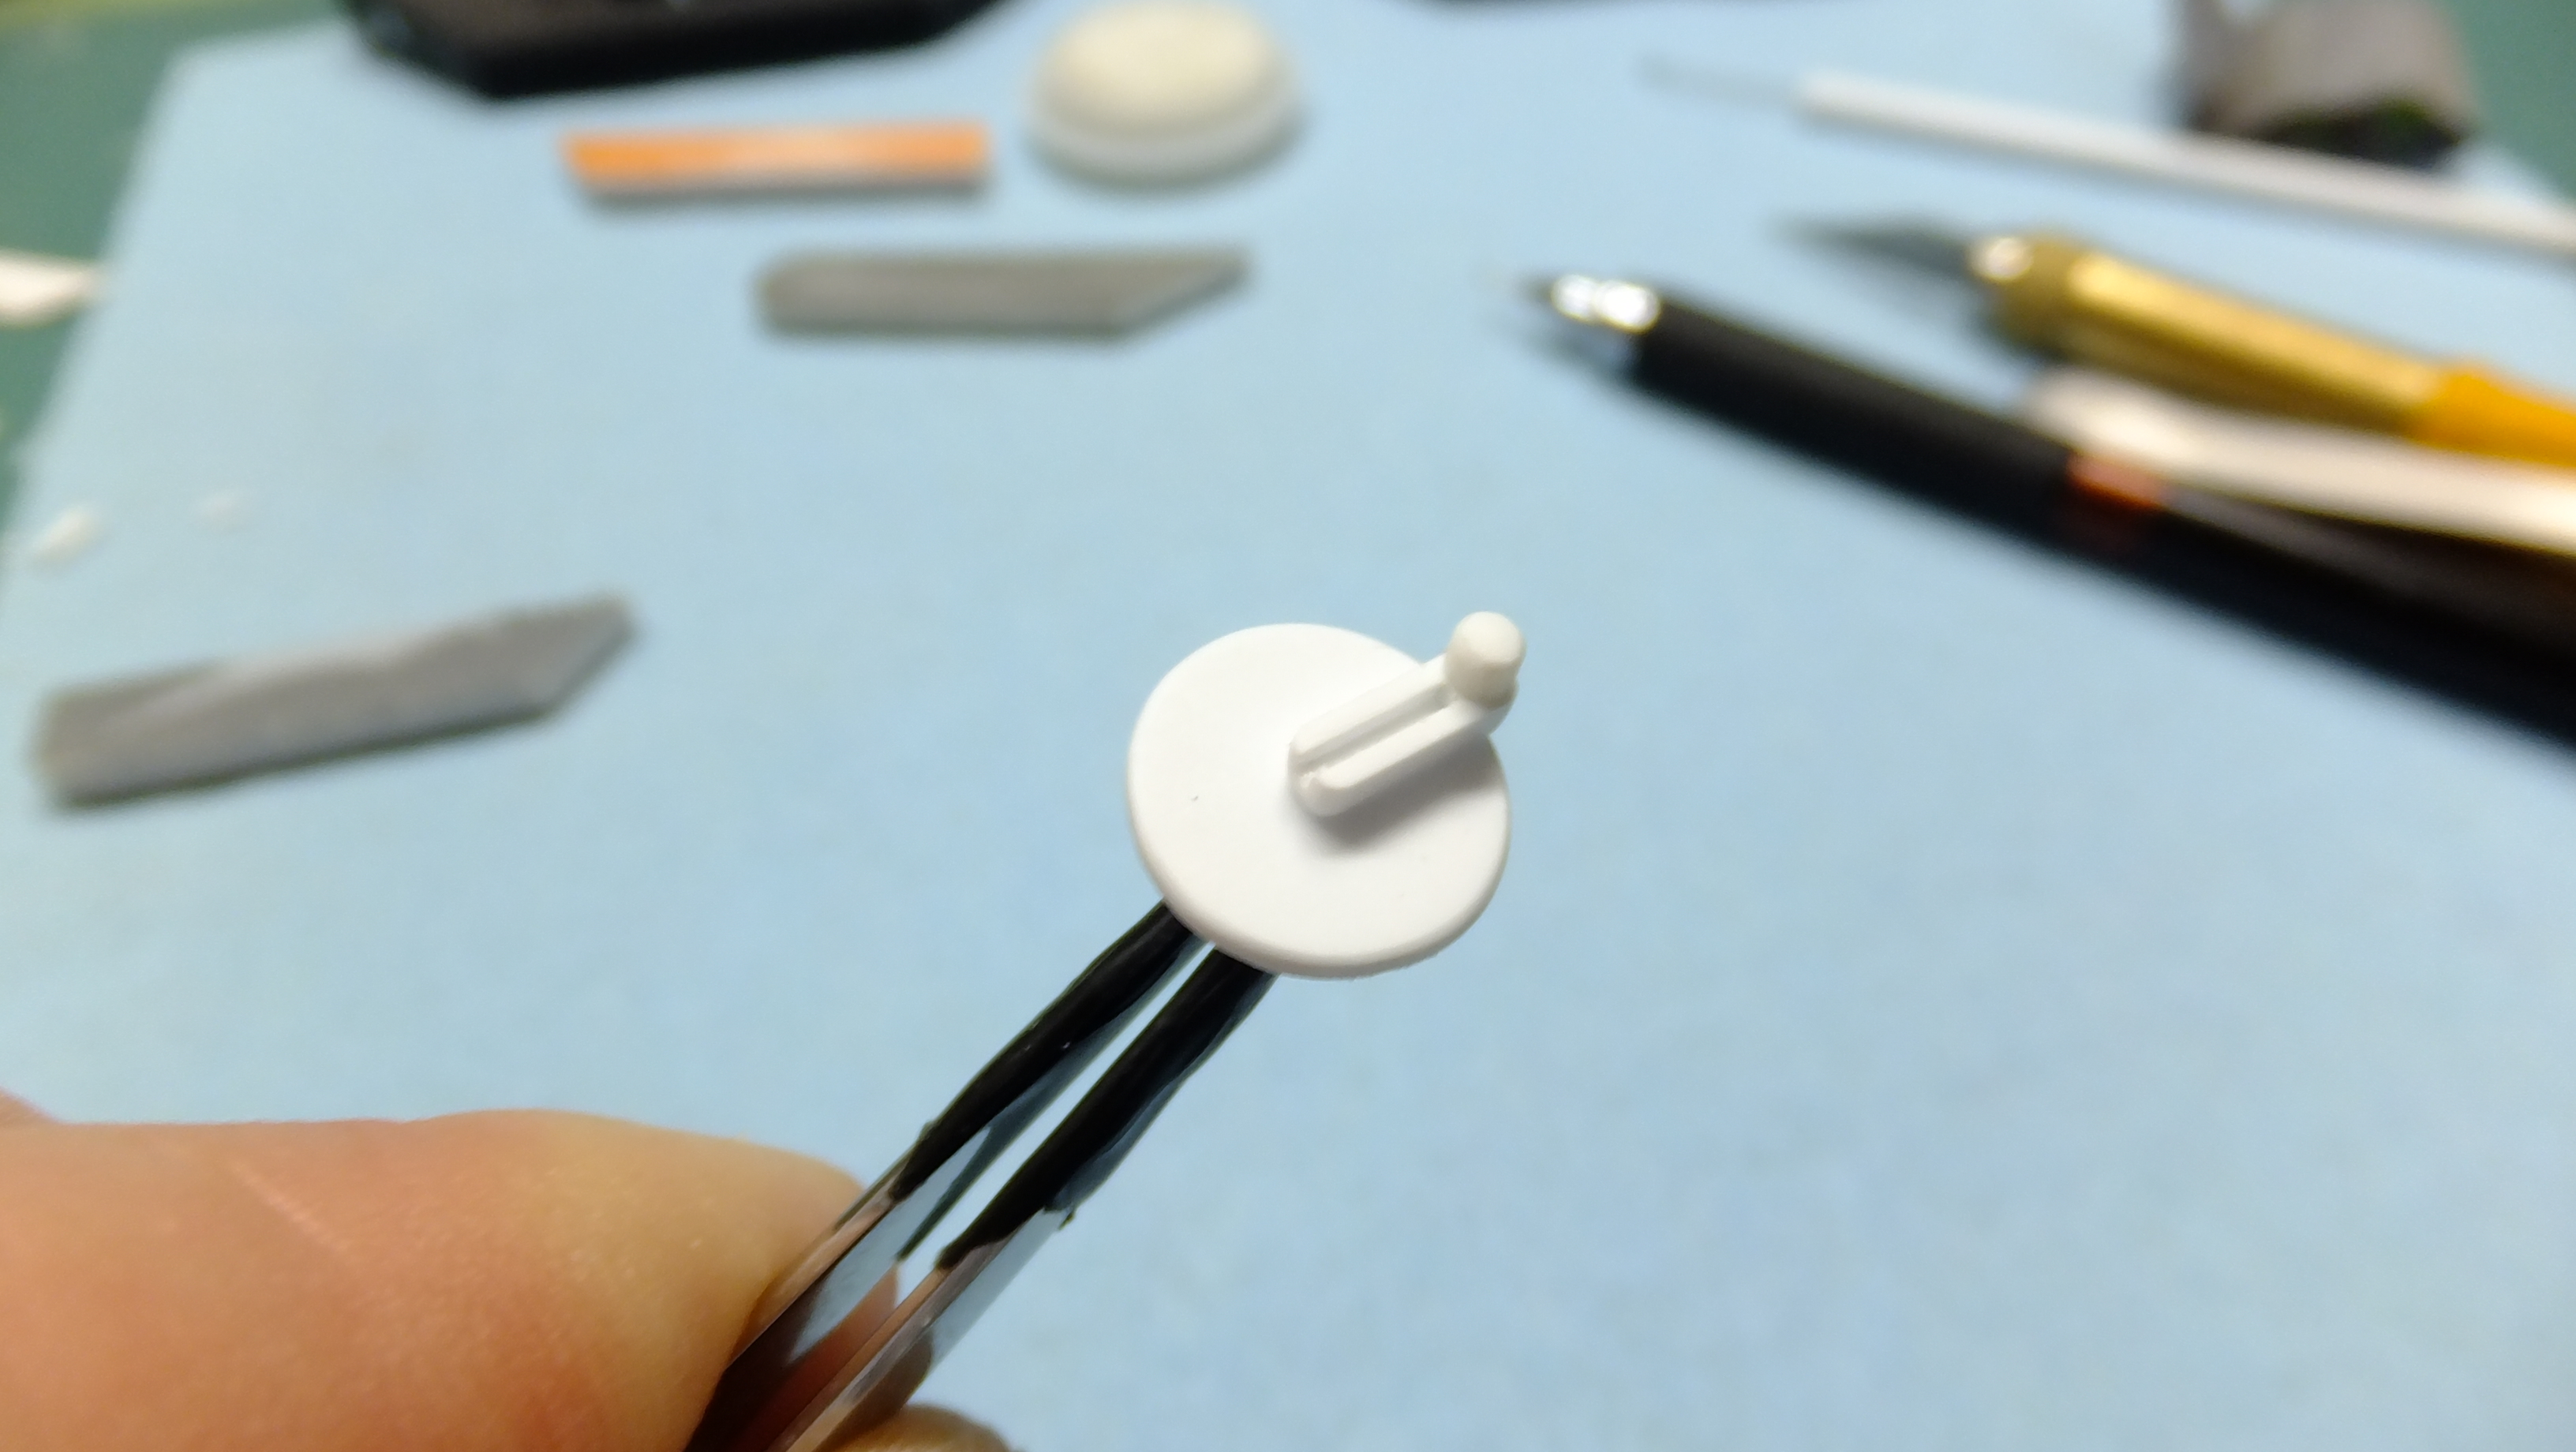
Actually got some more done on this! -Photo 1; To level the seats, I had to make brackets, which in turn, also helped provide a better glue point. Next step, will be making the slides, and adjustment levers. -Photo 2; Notice the now level seats. -Photo 3; I scratchbuilt the ignition switch, but like everything i'm posting today, it too needs to be kleaned up...….also shortened. -Photo 4; I fixed the peddles by moving the brake one slightly to the left, and then attaching the gas peddle the way it shoulda been done in the first place. I used Super glue to fill-in the sink holes. -Photo 5; I cut off those fake-looking knobs, and drilled locating dimples for when I make better knobs. -Photo 6; I thought it was a good idea to assemble the firewall and rear frame work, since even at this scale, the lower frame IS very fragile. However, I couldn't glue the vey end yet, due to the fact that the control arms still need to be sandwiched between those frame halves first......so I taped them, -Photo 7; I had almost forgot to etch-in the seam that separates the inner door panel from the door frame itself.
-
Re-engineering Monograms Lotus Esprit...new update!
Dann Tier replied to Dann Tier's topic in WIP: Model Cars
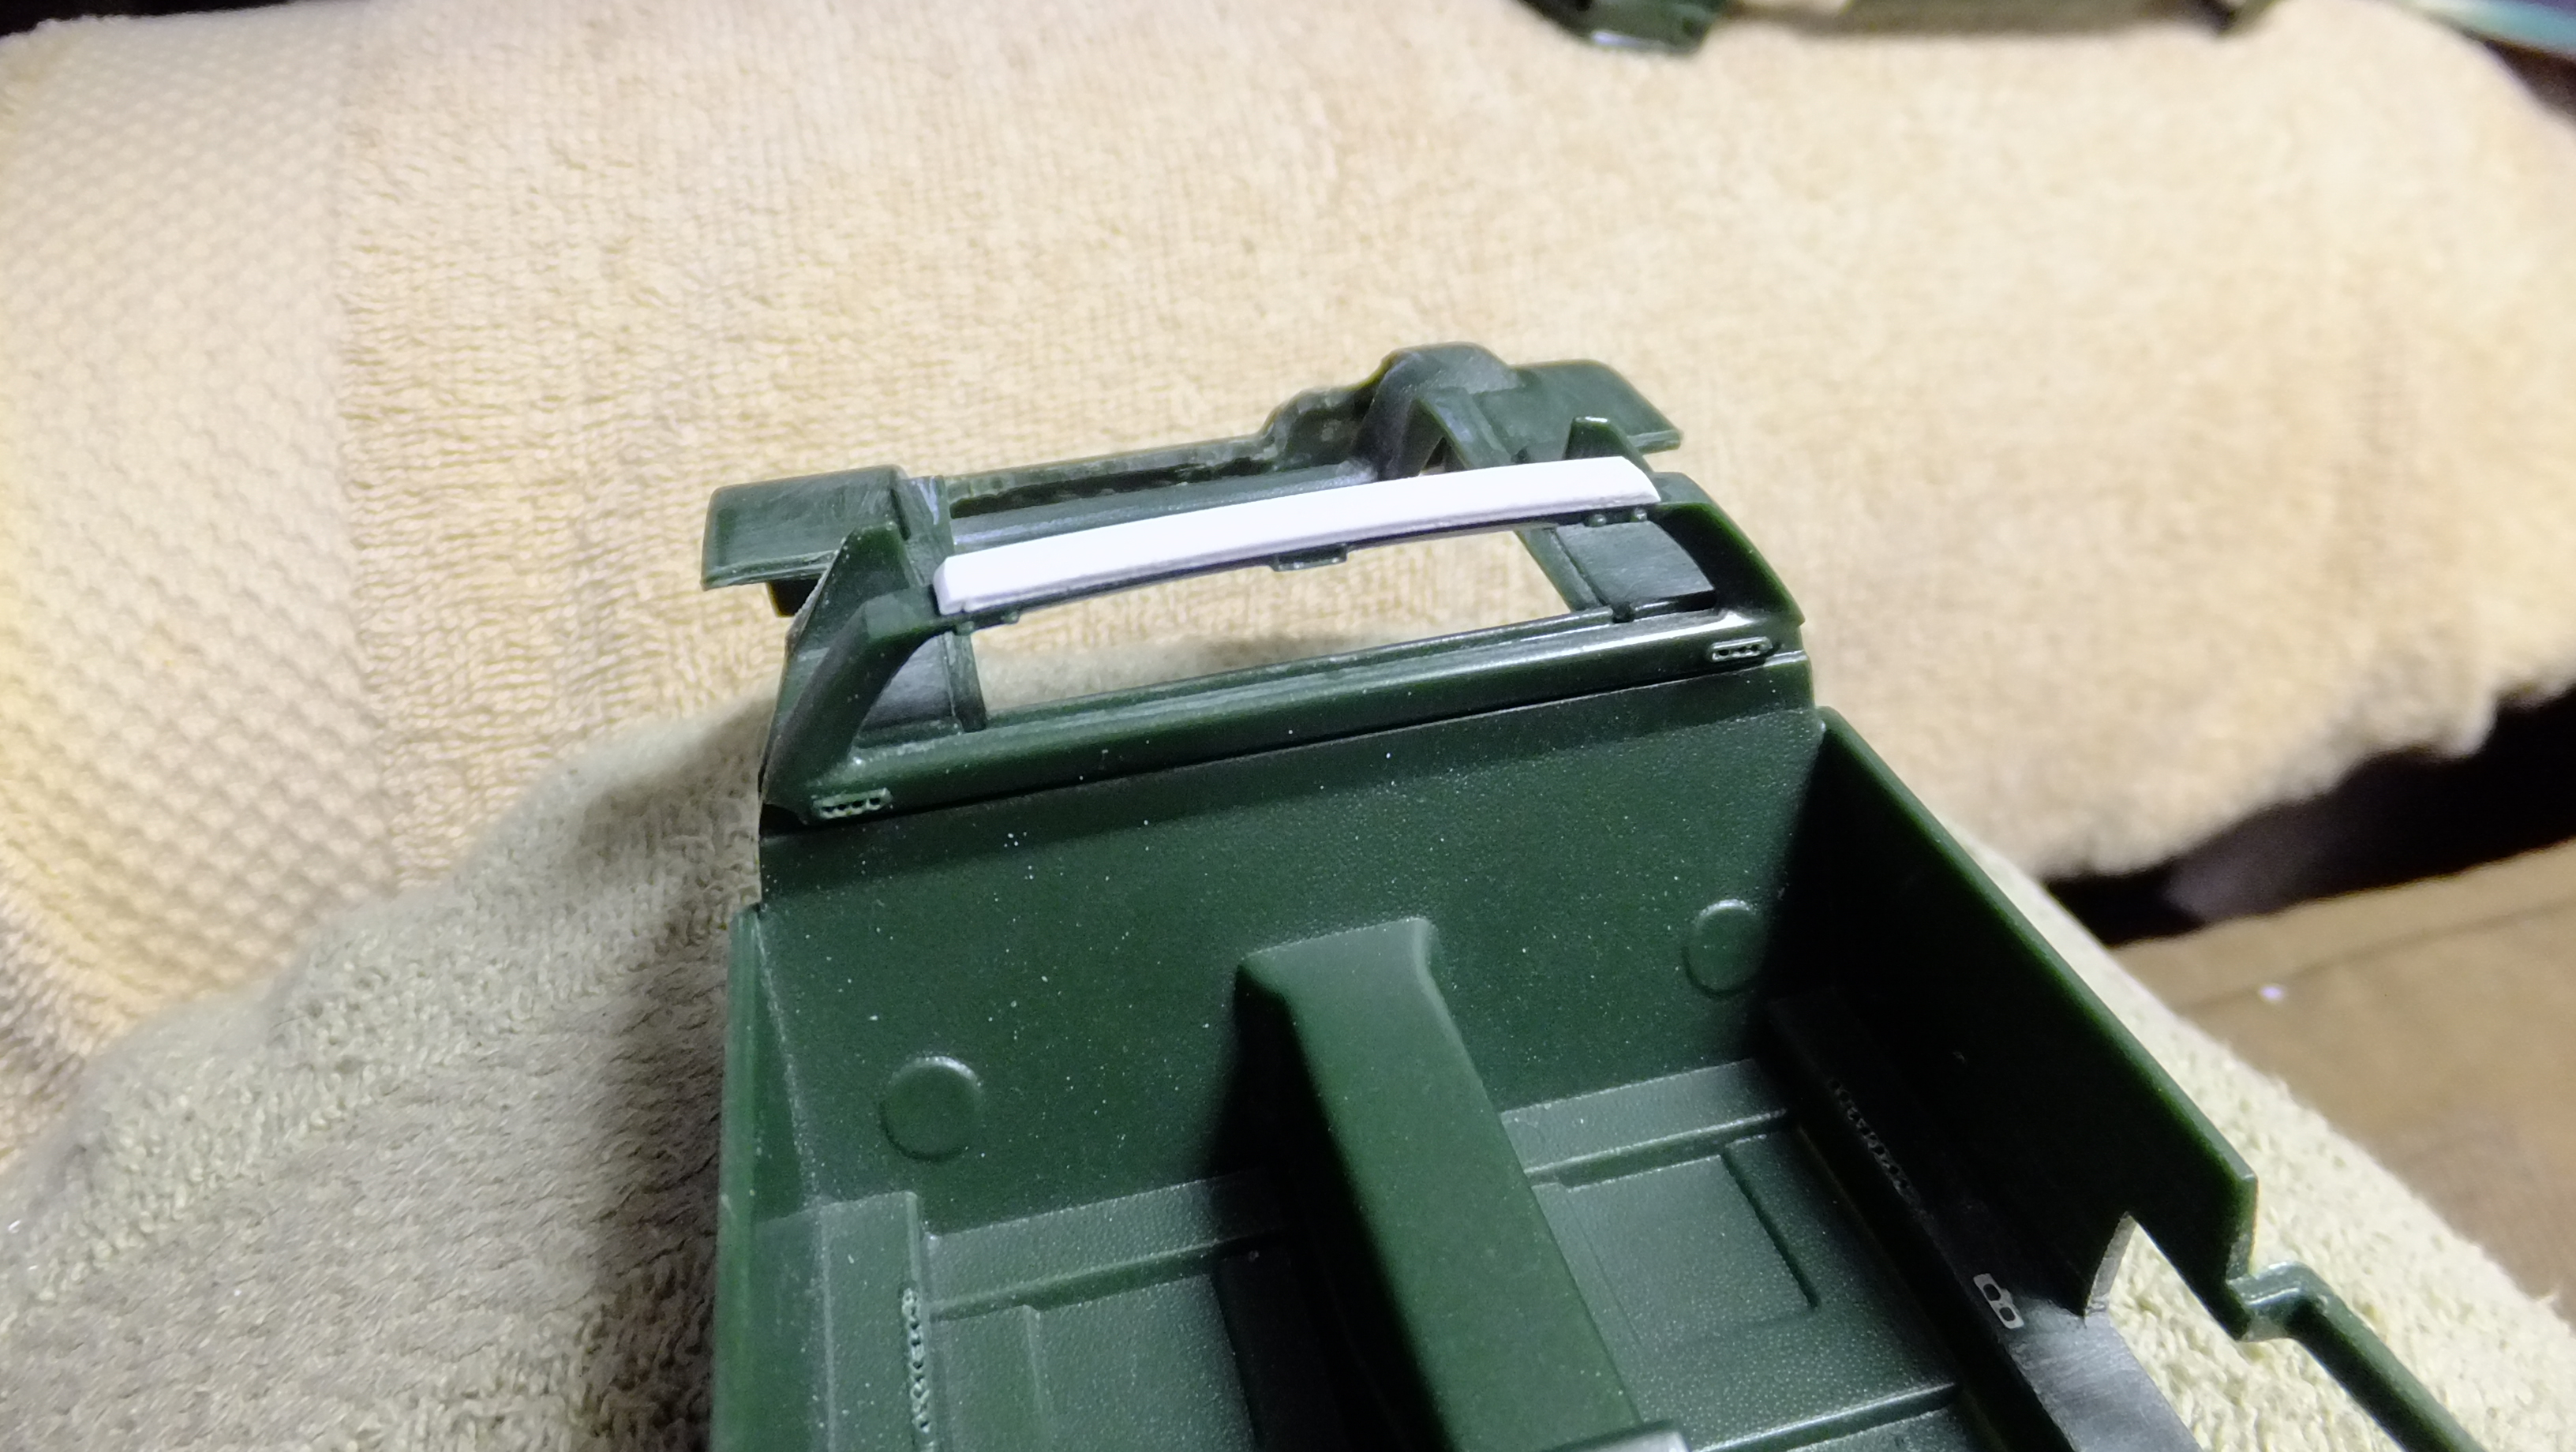
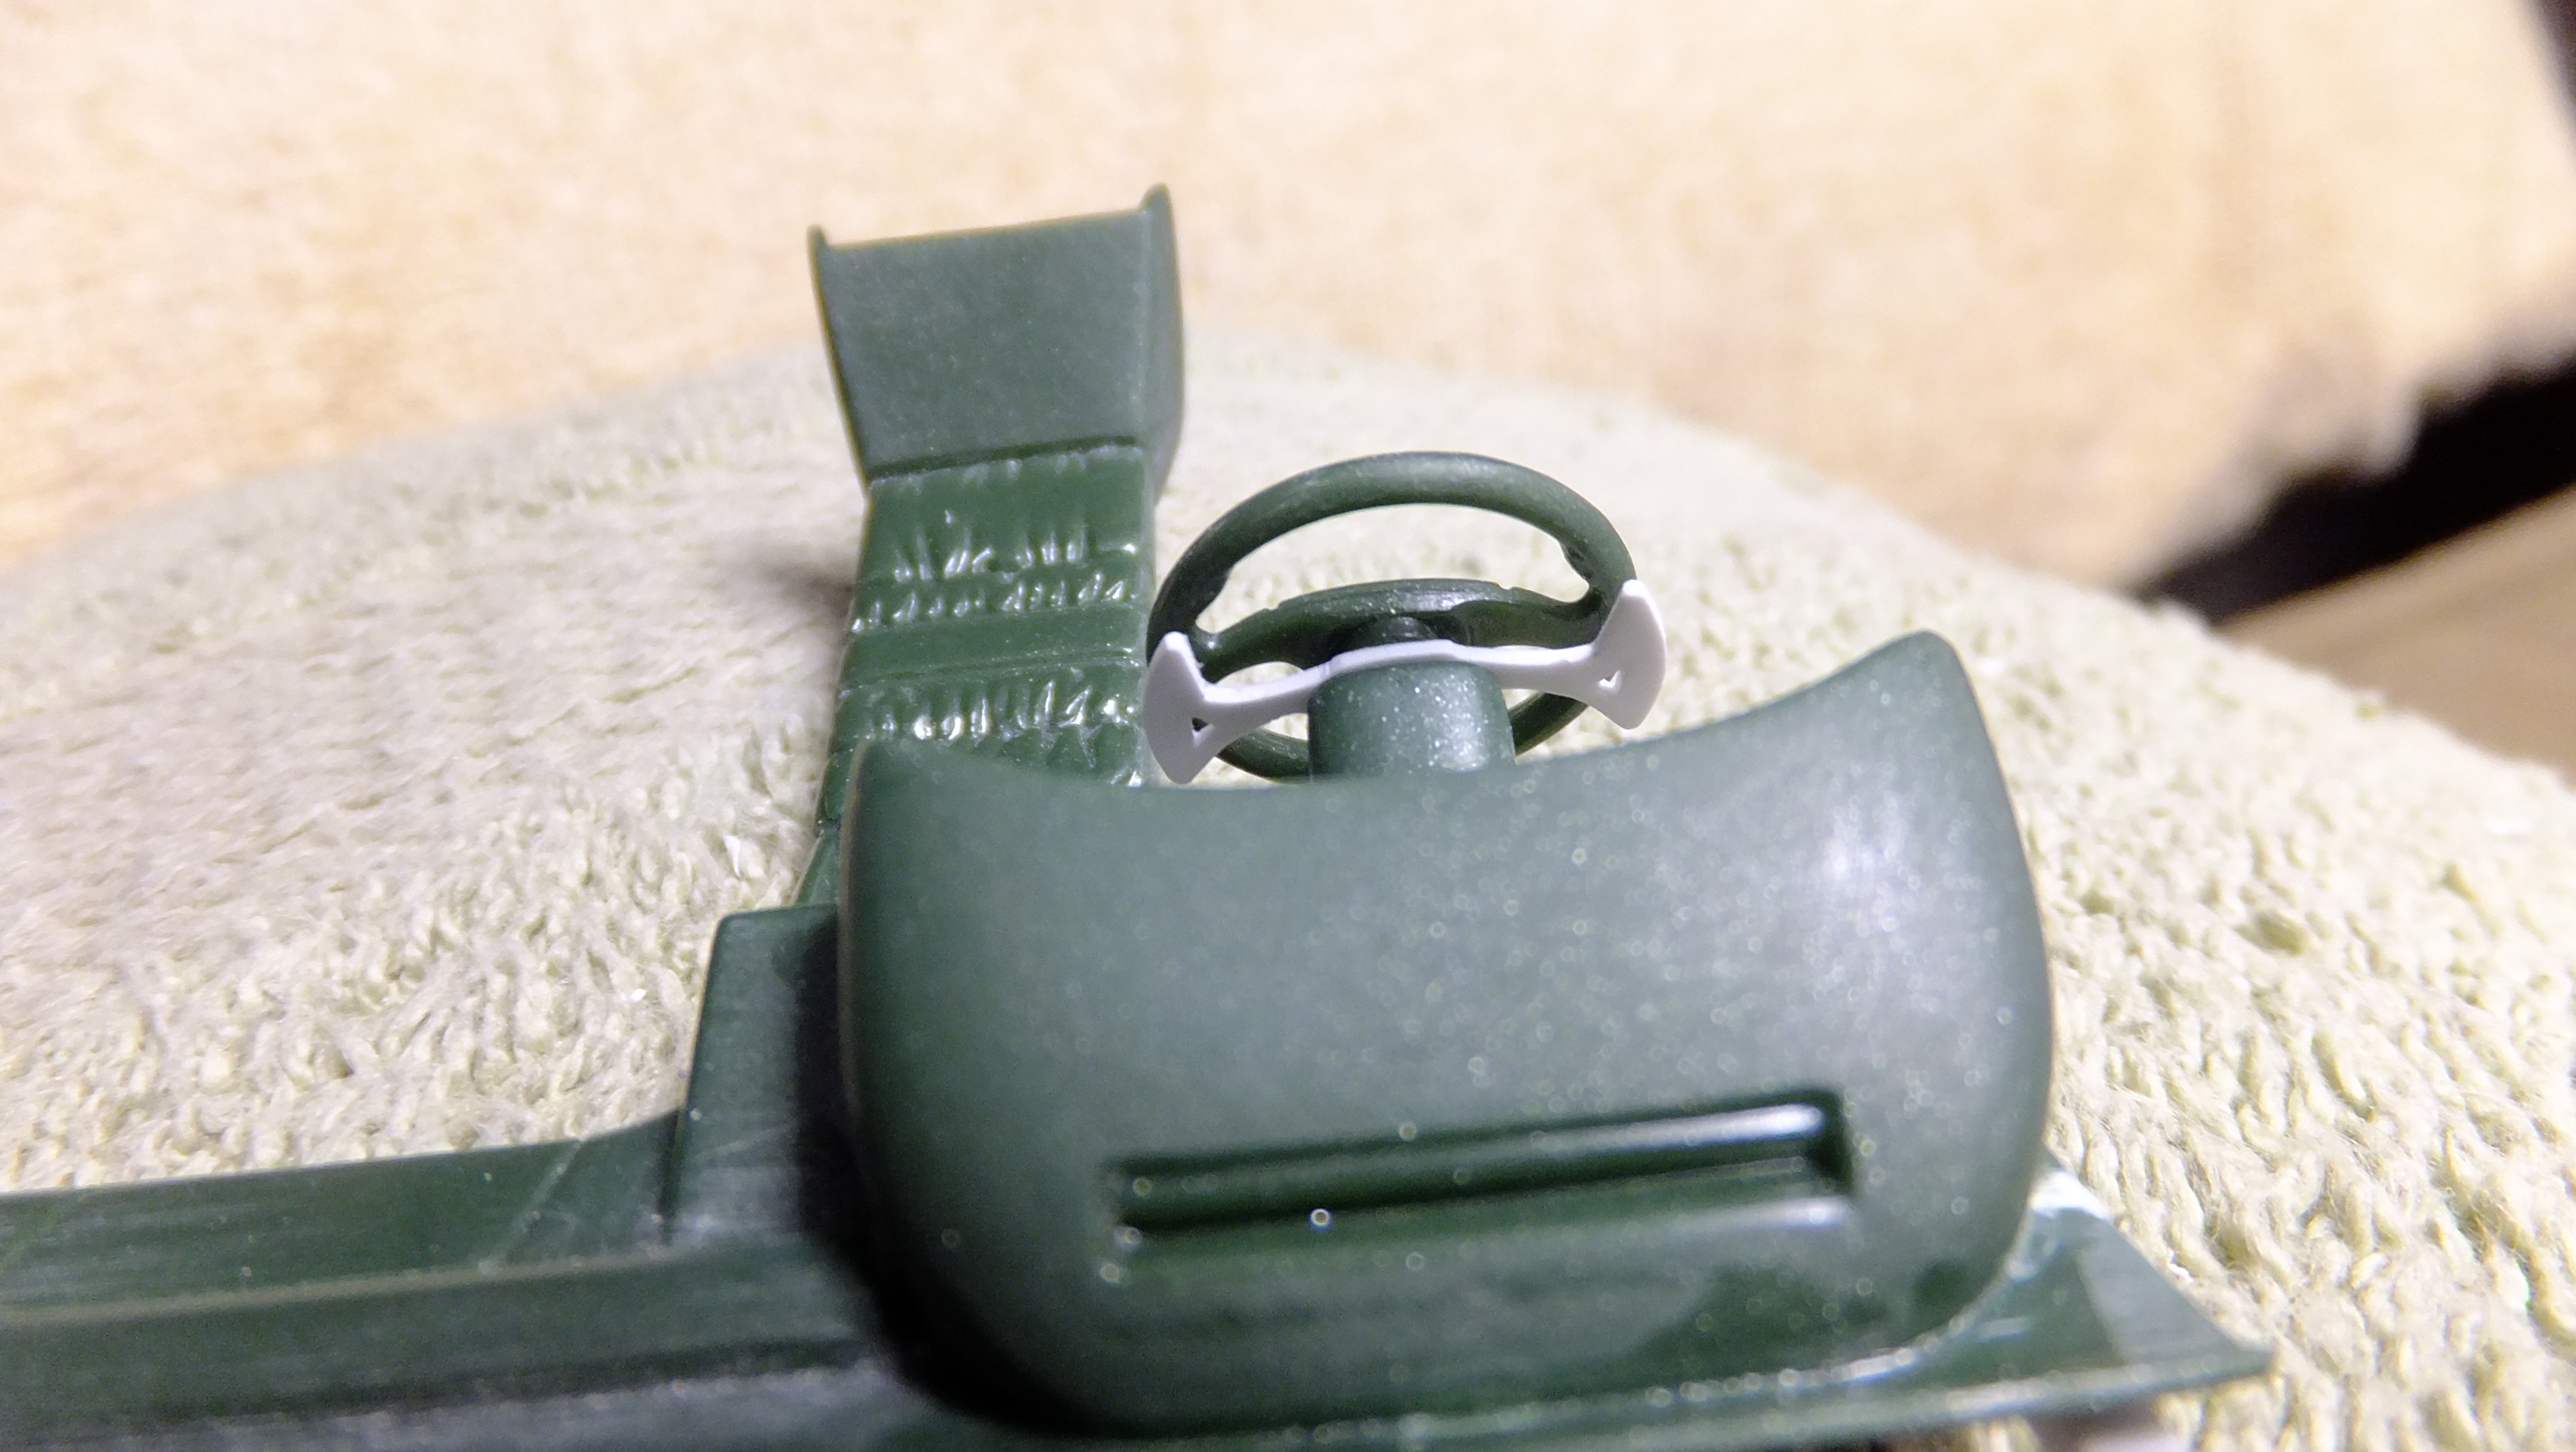
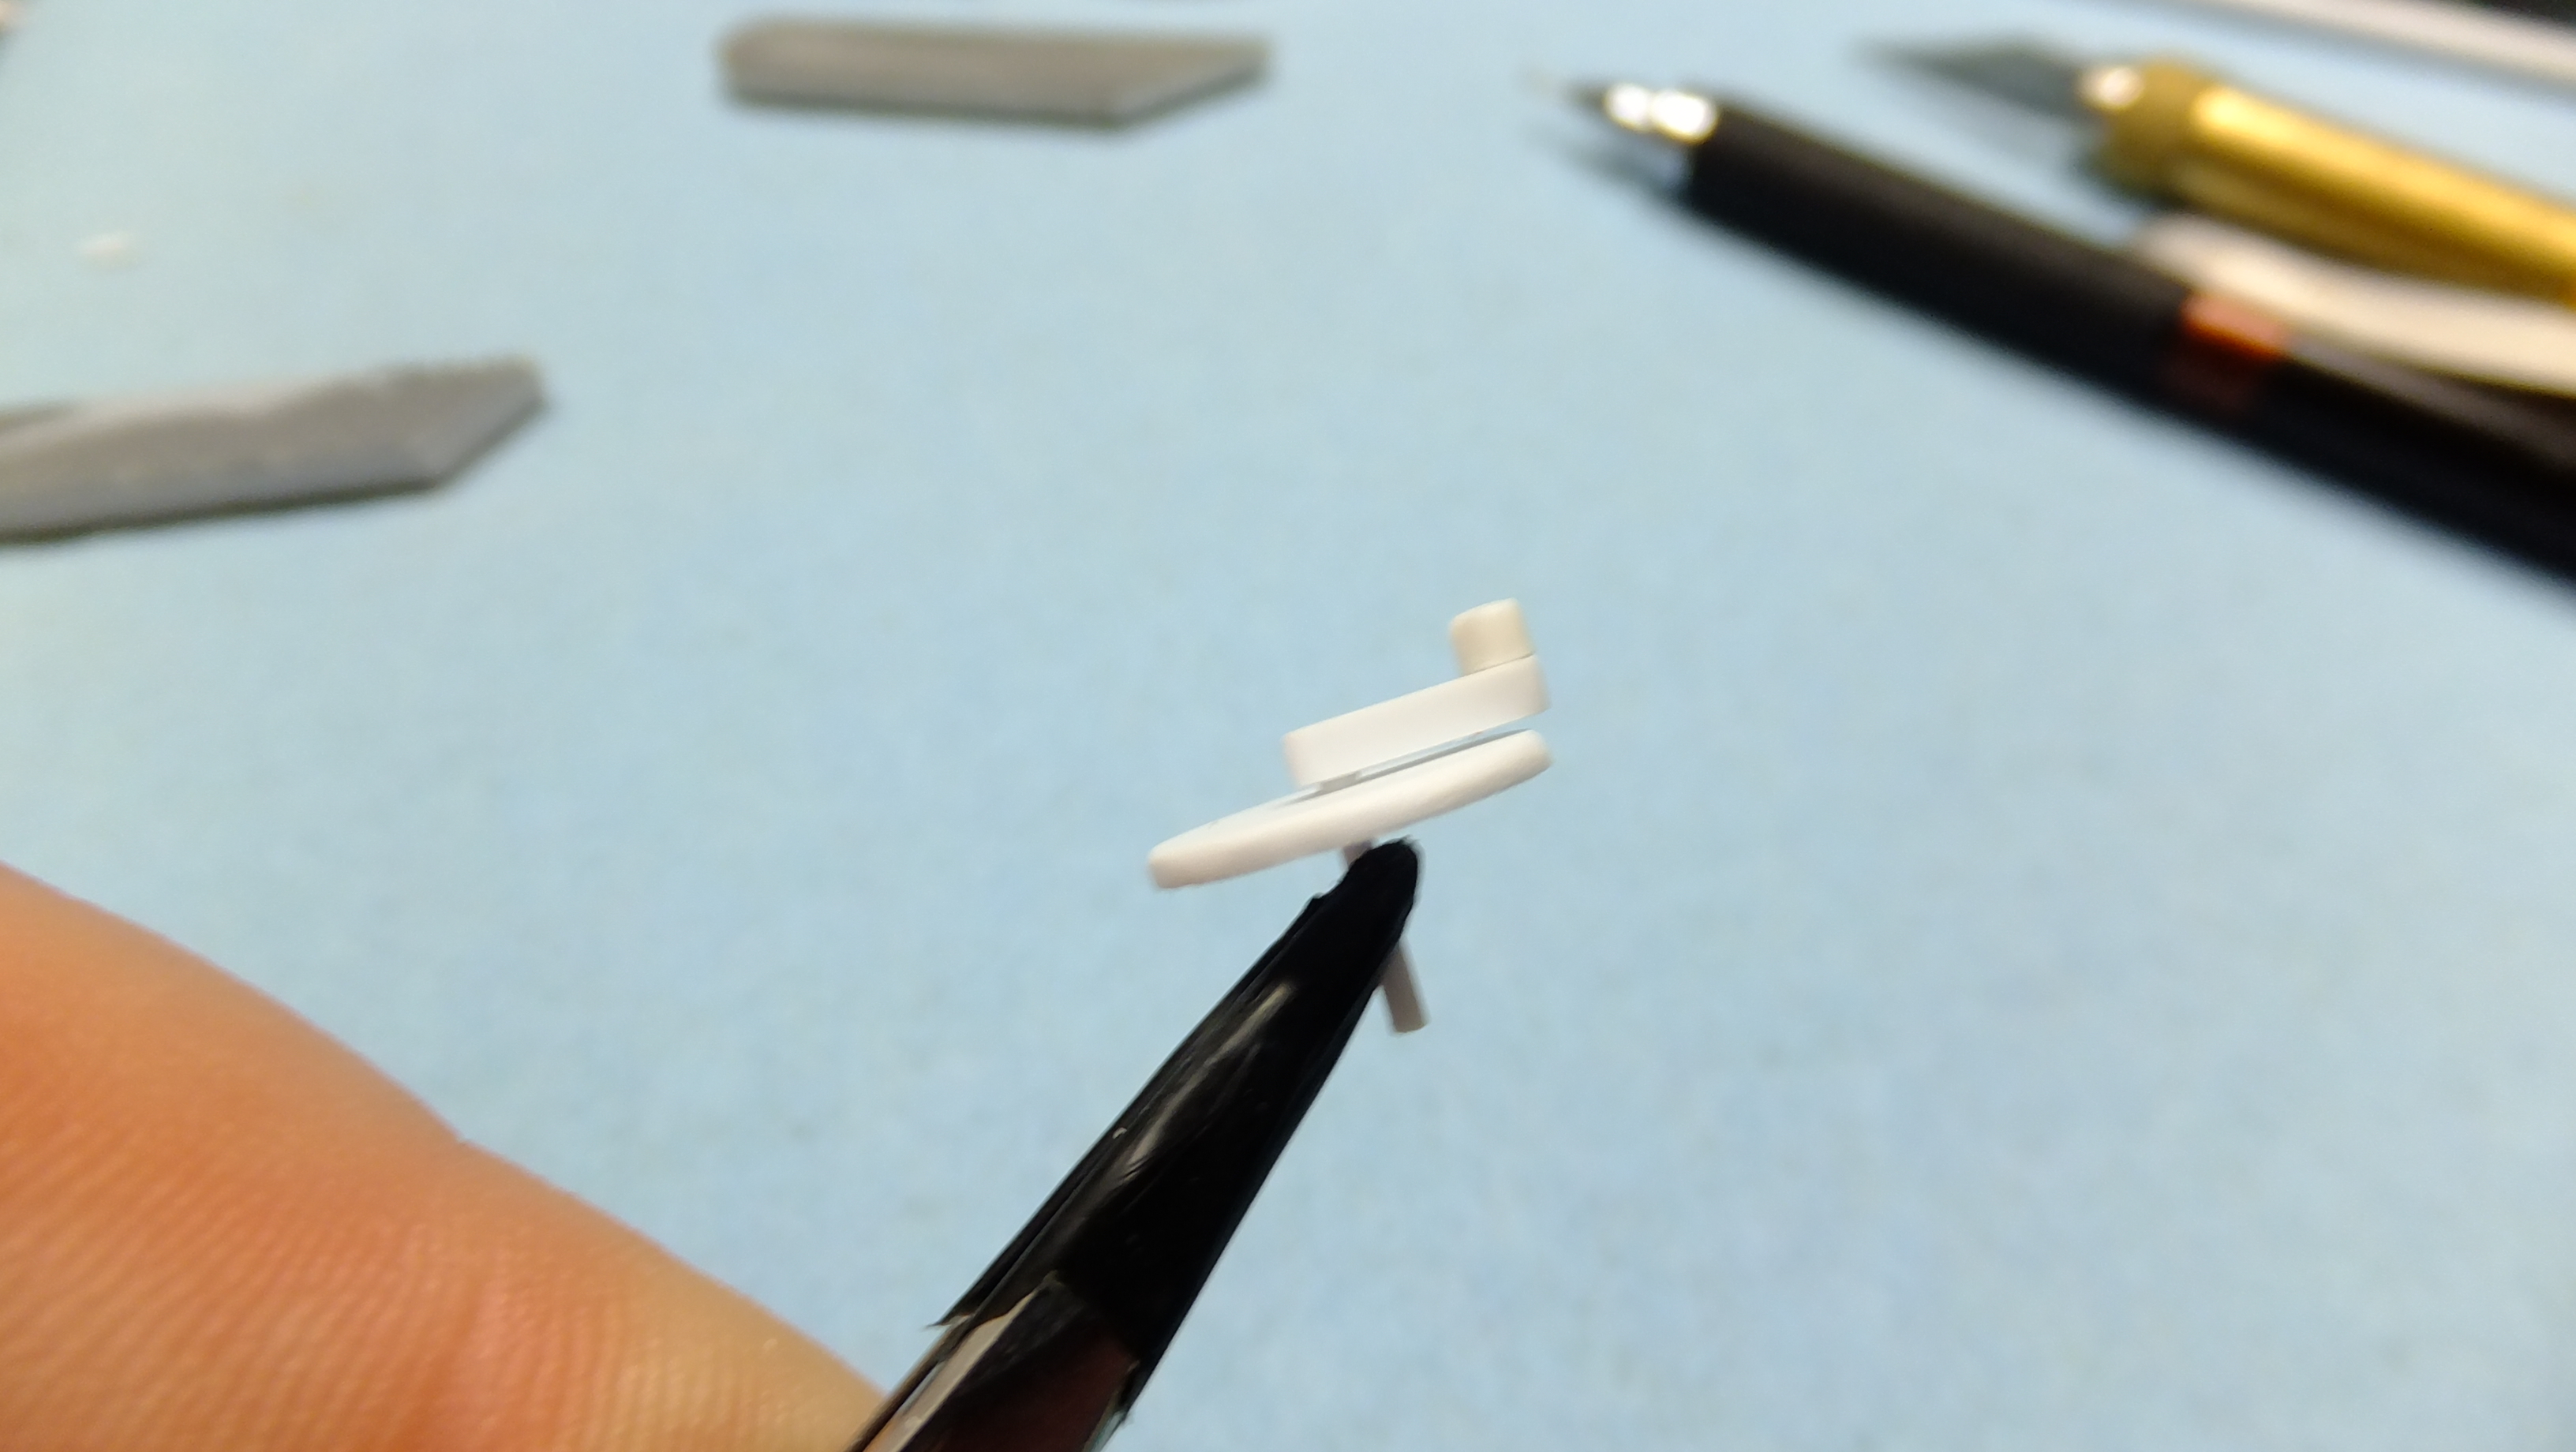
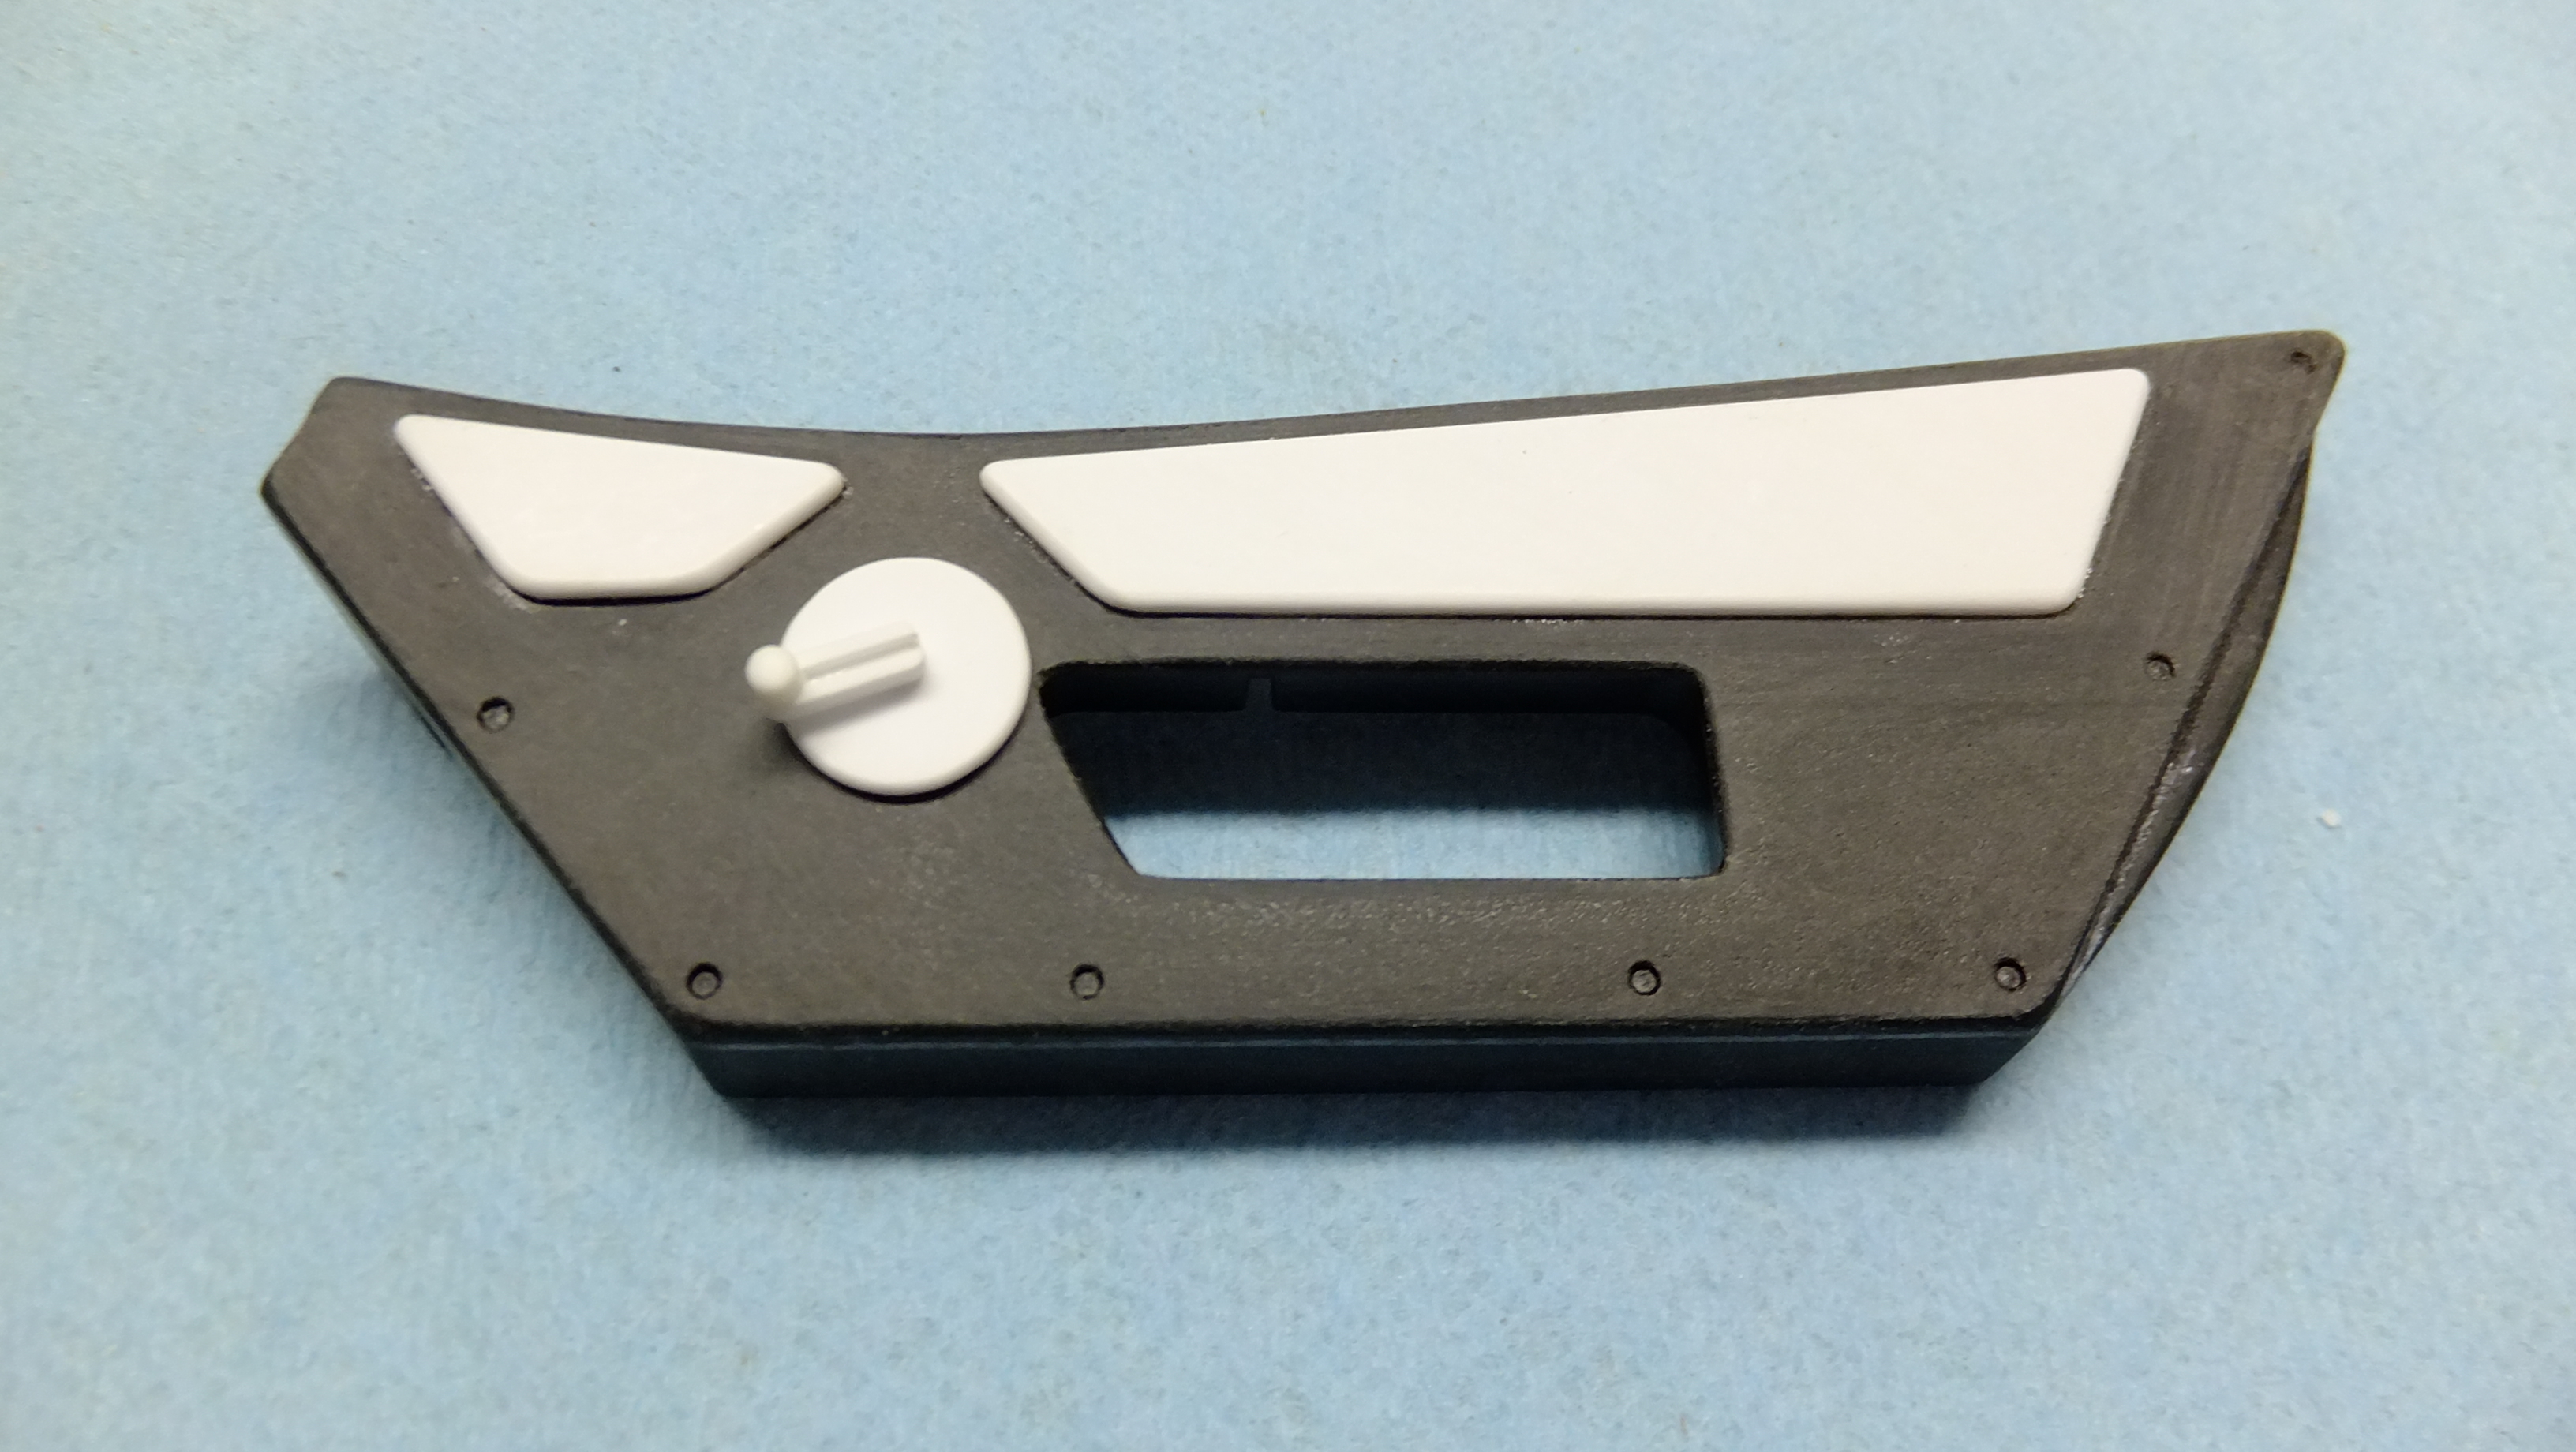
I was finally able to get some more work done on this one! All of the work here needs to be kleaned up still. -Photo 1; This shows two things; the strip of styrene that I added to fix the roof-interior gap, and that I drilled holes to start the job of opening up the seatbelt slots...upper, and lower. -Photo 2; notice the roof-interior gap IS fixed. -Photo 3; Here you can see that I decided to cut-out the boot to make room for the exhaust and intercoolers. Also note that I cut-out two triangular sections at the tops of the fender wells......these should have been attached to the body as the bottoms of the side vents. -Photo 4; I found that the best way to grind-out that stupid molded-in E-brake, was to cut an access hole in the side of the tub. This will NOT be seen anyway. -Photo 5; Here I scratchbuilt the ignition switch, center column stereo plate, and taking an idea from Pagani, scratchbuilt paddle shifters. -Photo 7; I decided to start drilling out the shallow, weakly detailed gauges. -Photo 8; I didn't need the clutch peddle anymore, so I cut it off. These have to be THE plainest, most boring peddles I've ever seen, but i'm gonna fix that!
-
It is pretty impressive!!….fantastic job!!….its also great to see more exotics!!, I love my muscle cars, but lately I've been SOOOOO burned-out on them, that I don't know if I will even build anymore of mine. Maybe I should sell them, or trade them off for MORE exotics!! Keep up the great work!!!!
-
Another nice one!!, apart from painting the hardest kolor, your attention to details is looking good too!!…...love that you turned it into a Targa Top!!…..I will be doing the same thing to one of my ROG Ferrari 288 GTO's...
-
Nice!!, those monogram / Revell kits are notorious fror things like that happening!, i'm working on their Lotus Esprit kit now, and the way they designed the rockers on it, are just as bad.
-
NICE!!!!!, I love panteras!!…..I have the Fujimi one, as well as three of the Testors GTS's...….the black one. The Mangusta kit needs a TON of work.
-
…..and....
-
Nice job!....creative!!, I love these kits!


_1984-1993_(1991-1993)_(01)_-CA2-.jpg.8d07f13614fd8949d63585fda73b2526.jpg)