Dann Tier
-
Posts
8,151 -
Joined
-
Last visited
Content Type
Profiles
Forums
Events
Gallery
Everything posted by Dann Tier
-

Hasegawas Lamborghini Miura SV....new update!
Dann Tier replied to Dann Tier's topic in WIP: Model Cars
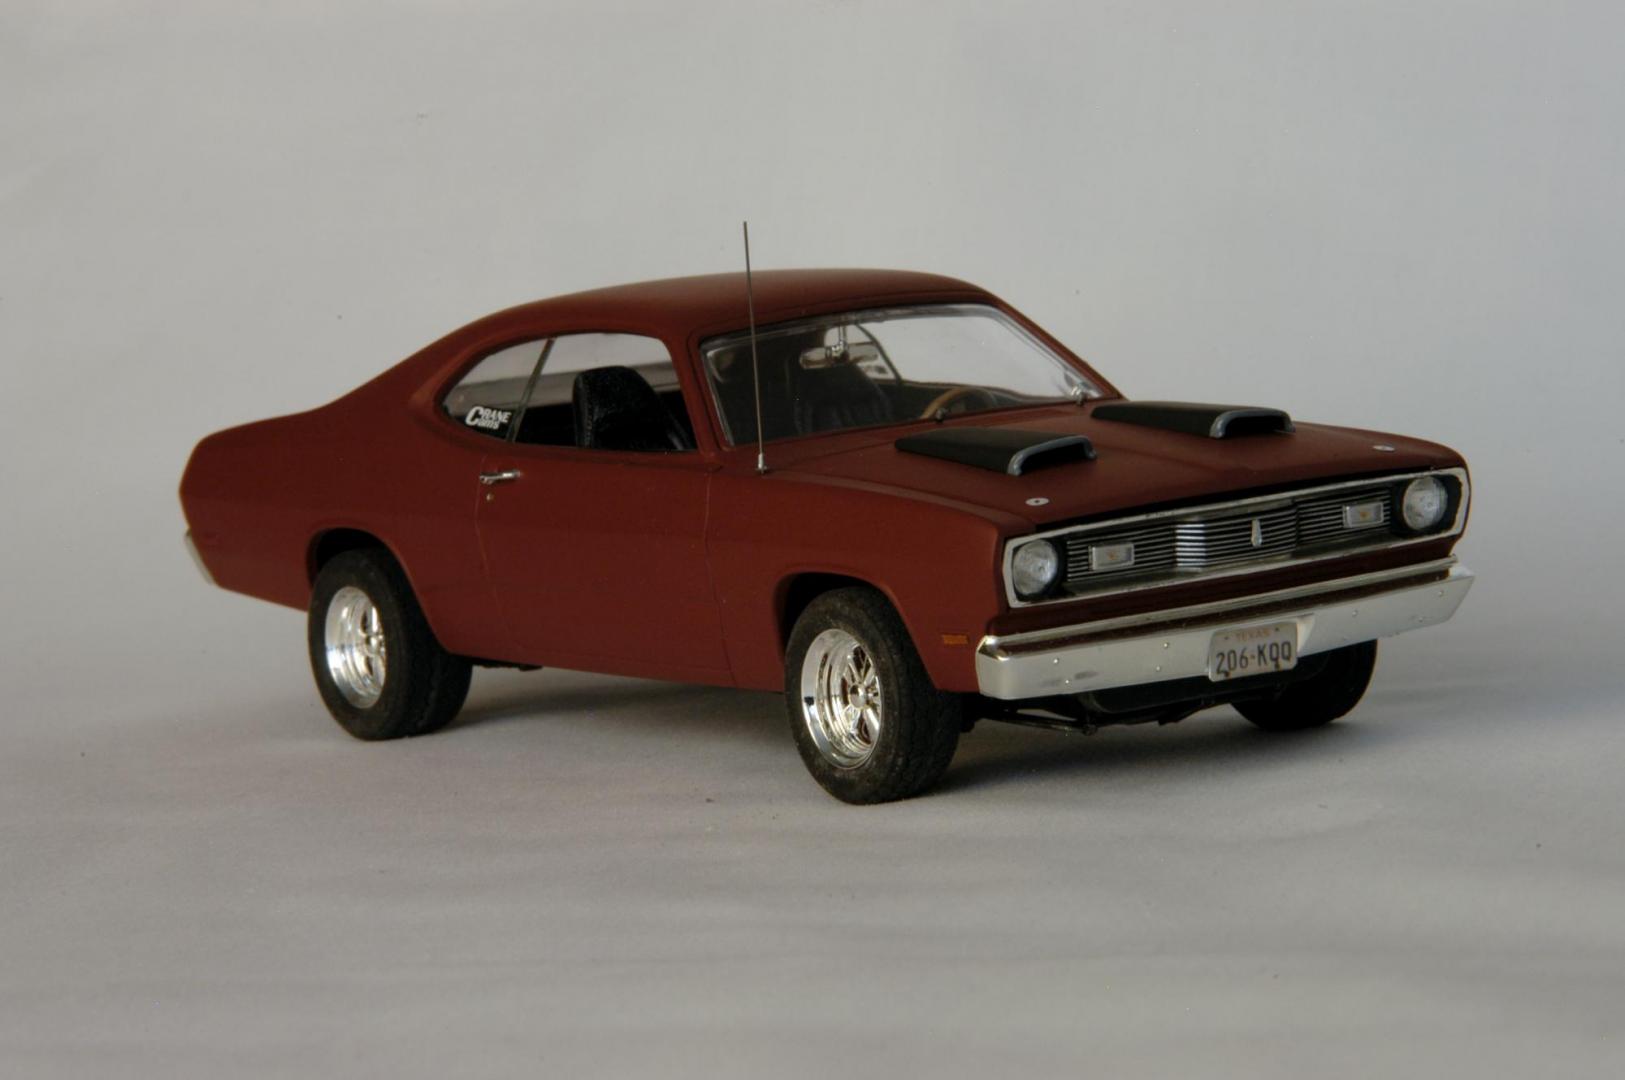
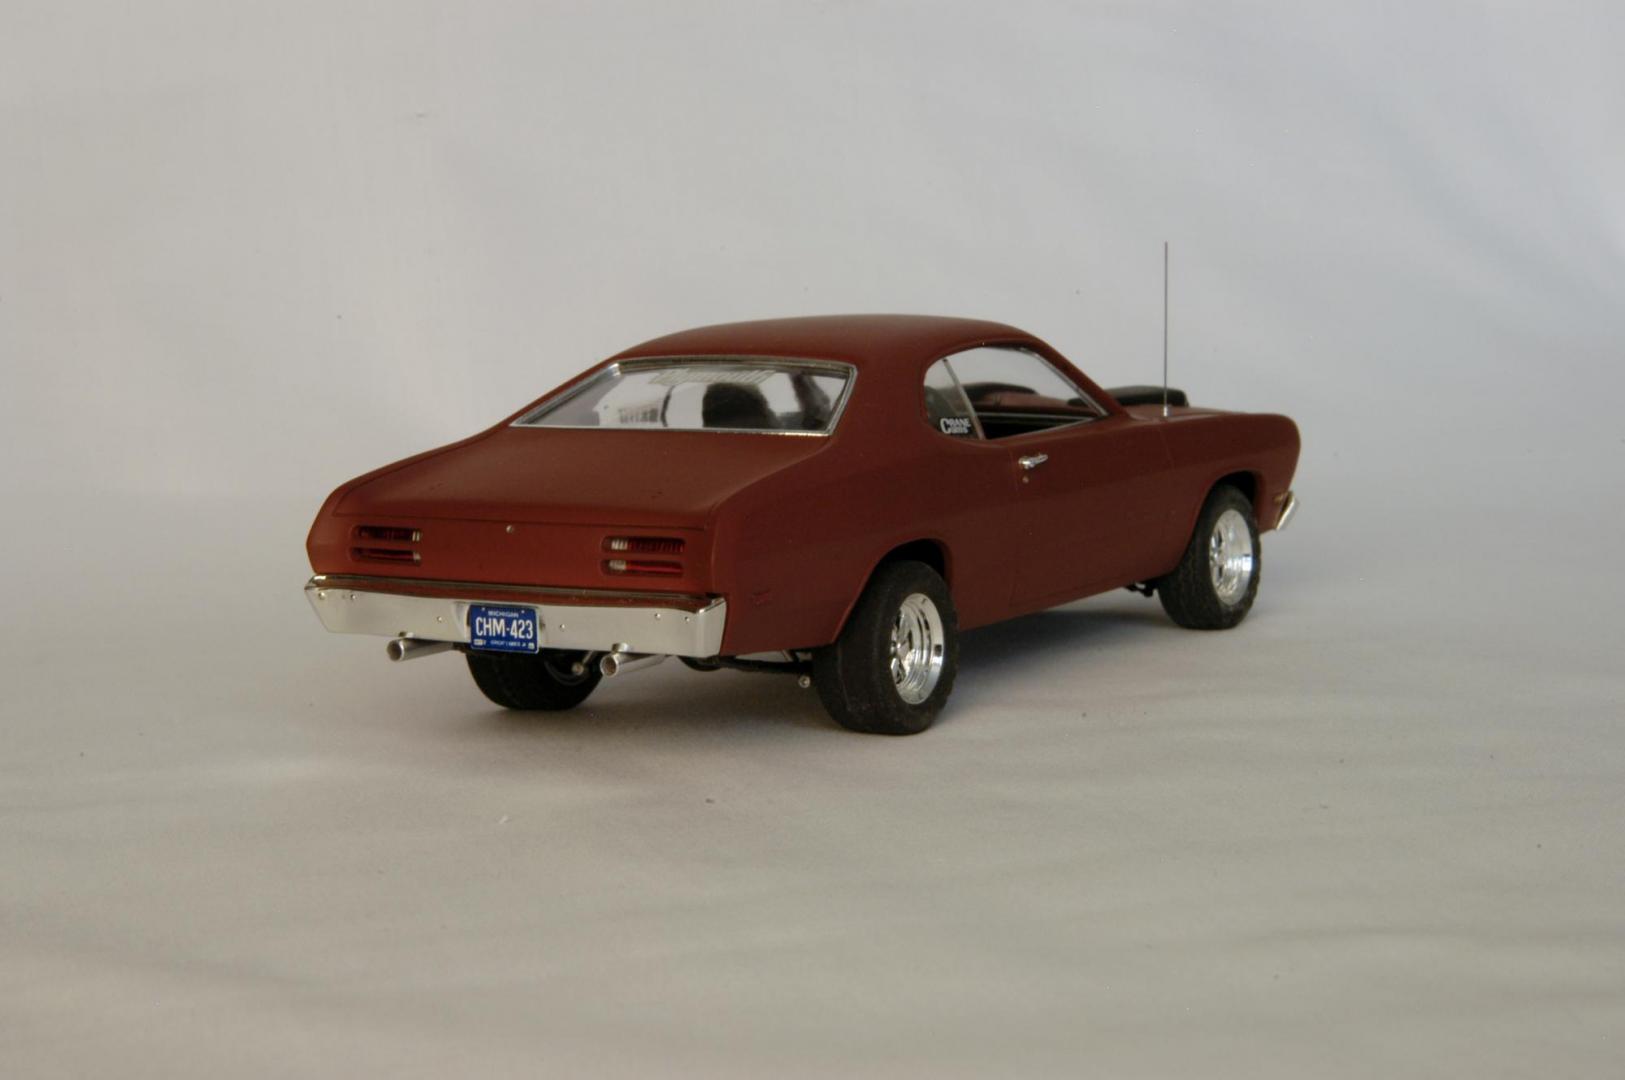
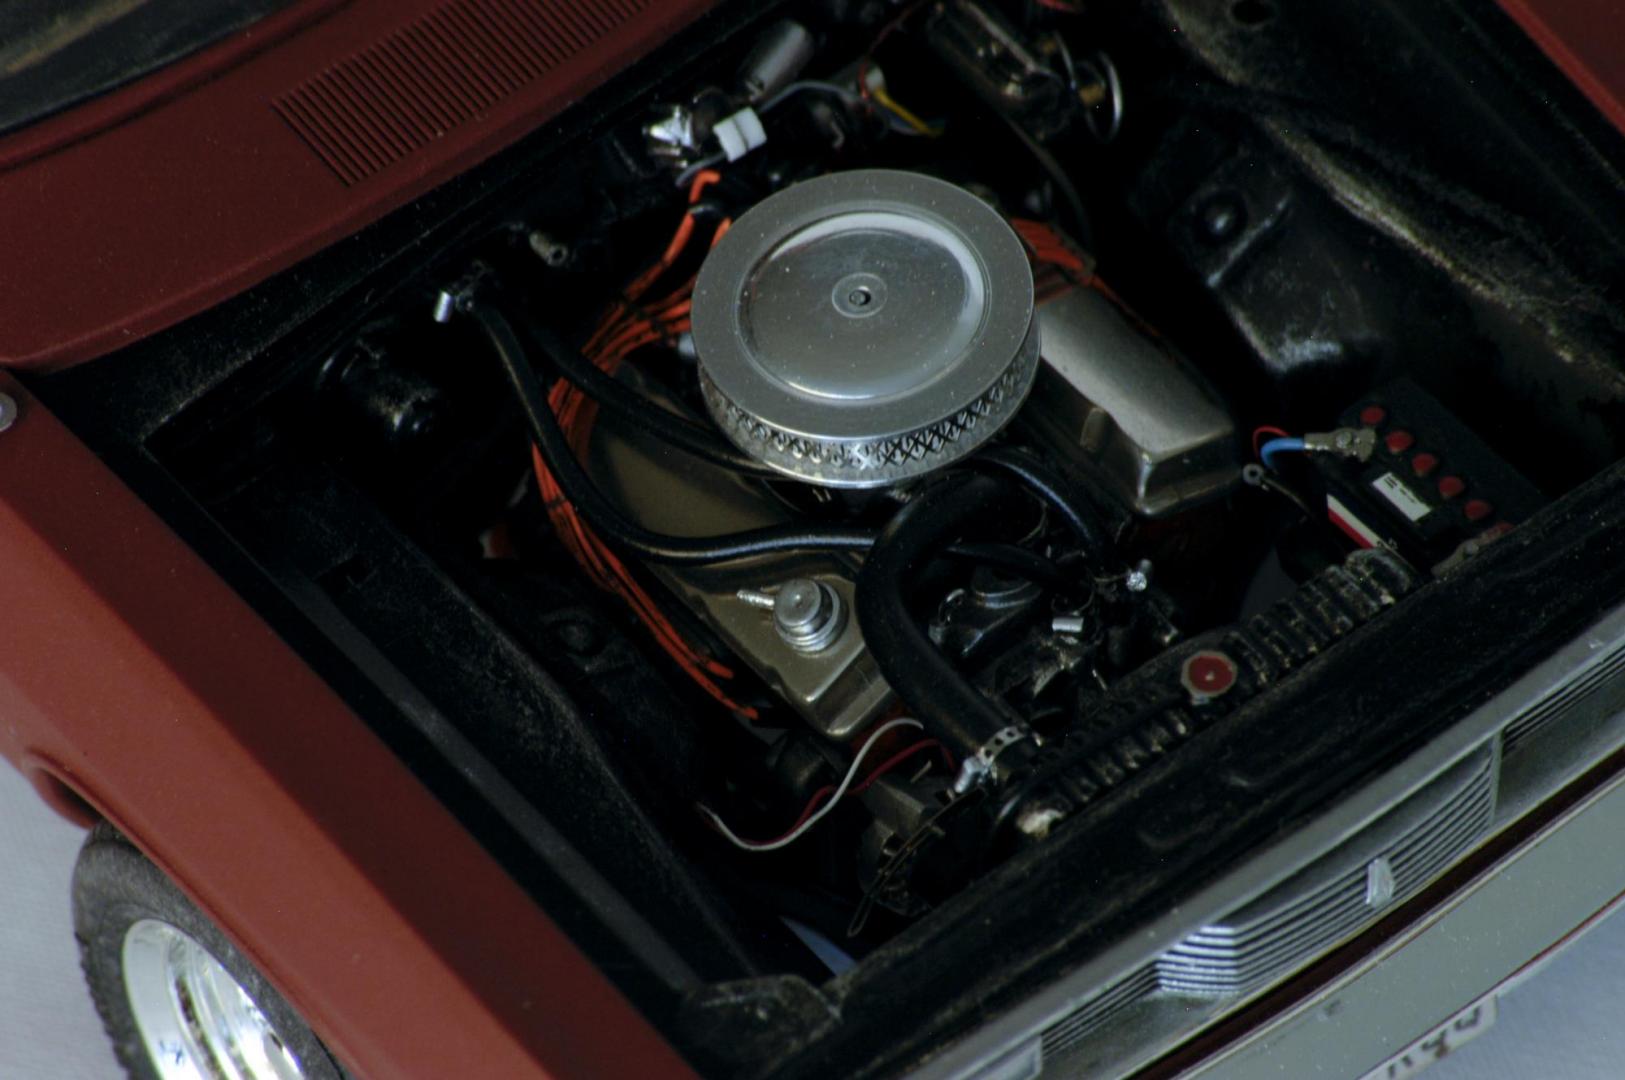
OUTSTANDING!!!, you will LOVE this kit! that's cool about your birth year, I was born in 70, and I built a model of my real 1970 Plymouth Duster 340 wedge. I intended to build two of them, one for how it looked before the paint job, and one to show how it looks after its all painted. So far, I've only managed the first one...lol
-
Looks like it was meant to be, JC!!
-
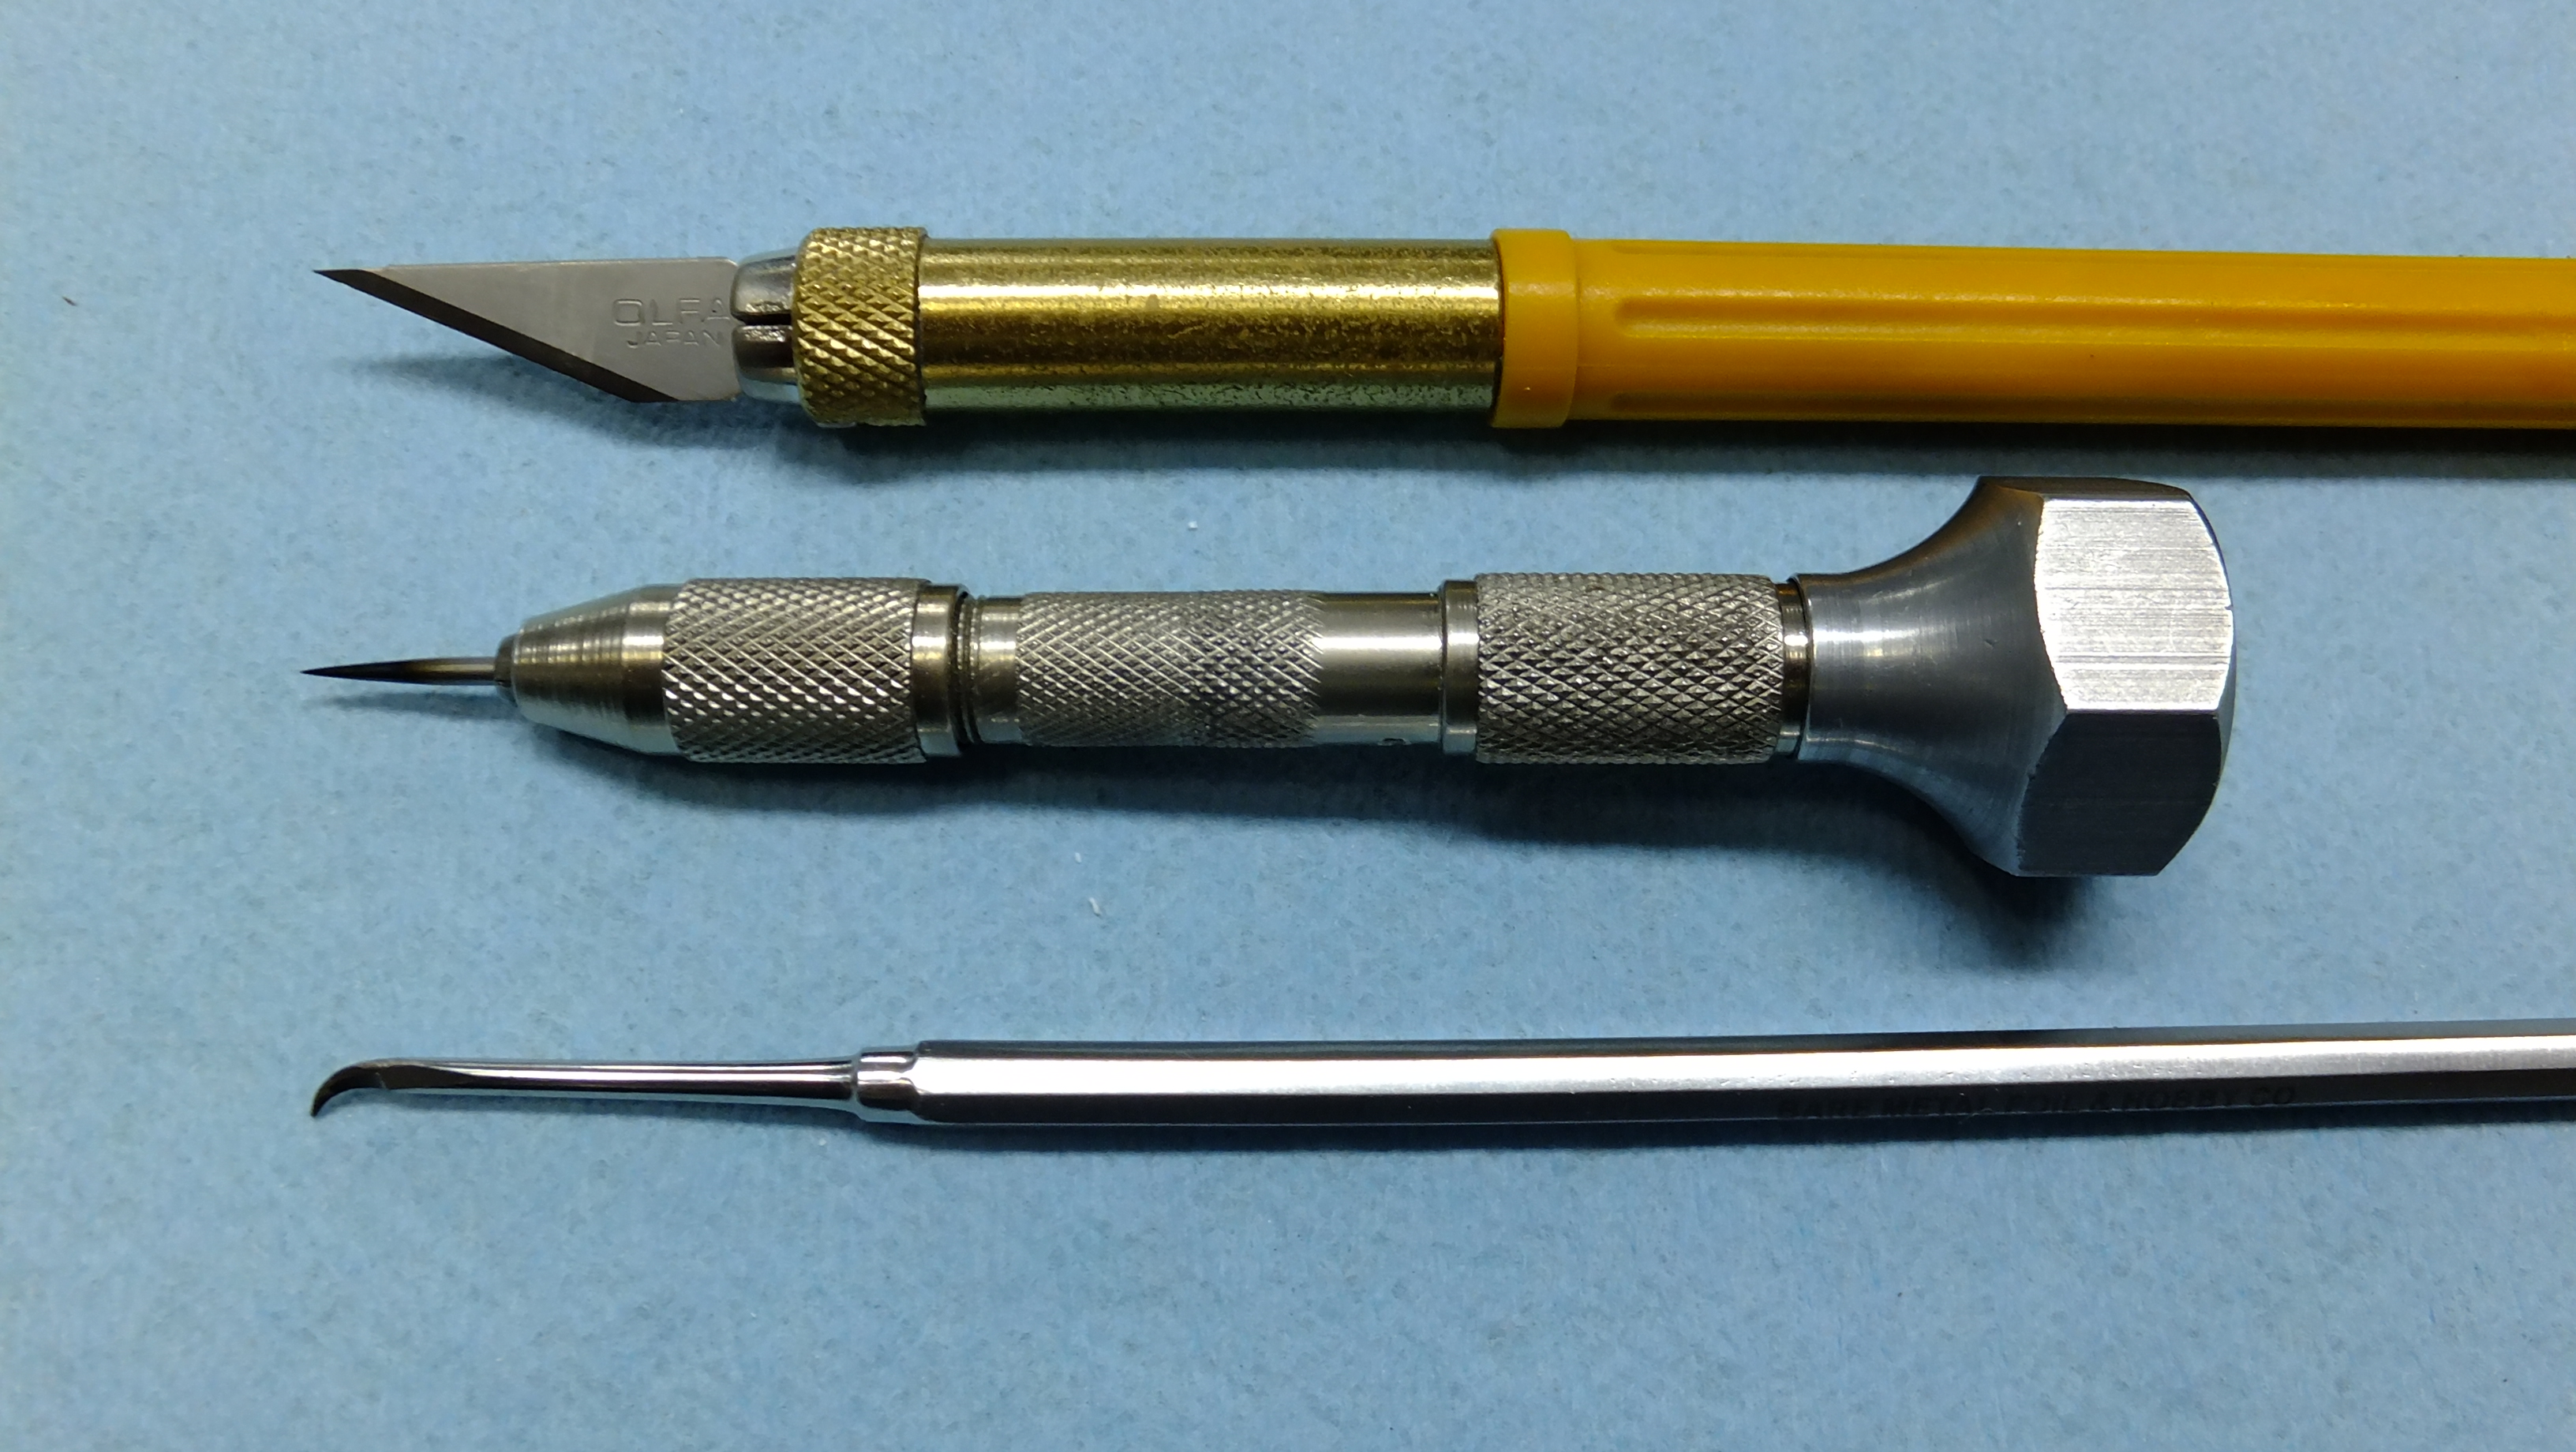
Thanks Atin!, here are my preferred tools for etching/ scribbing; For this build, I started off with two scores with my blade ( first pass is light, second pass is a little harder, then I follow it up with a tempered steel point put in my pin vise. these tools I use for fine lines, the last tool I use is a Bare Metal Foil scribber that I use for standard seam lines.
-
Otaki 1/12 Lamborghini Countach Twin Turbo...Mission Statement
Dann Tier replied to Dann Tier's topic in WIP: Model Cars
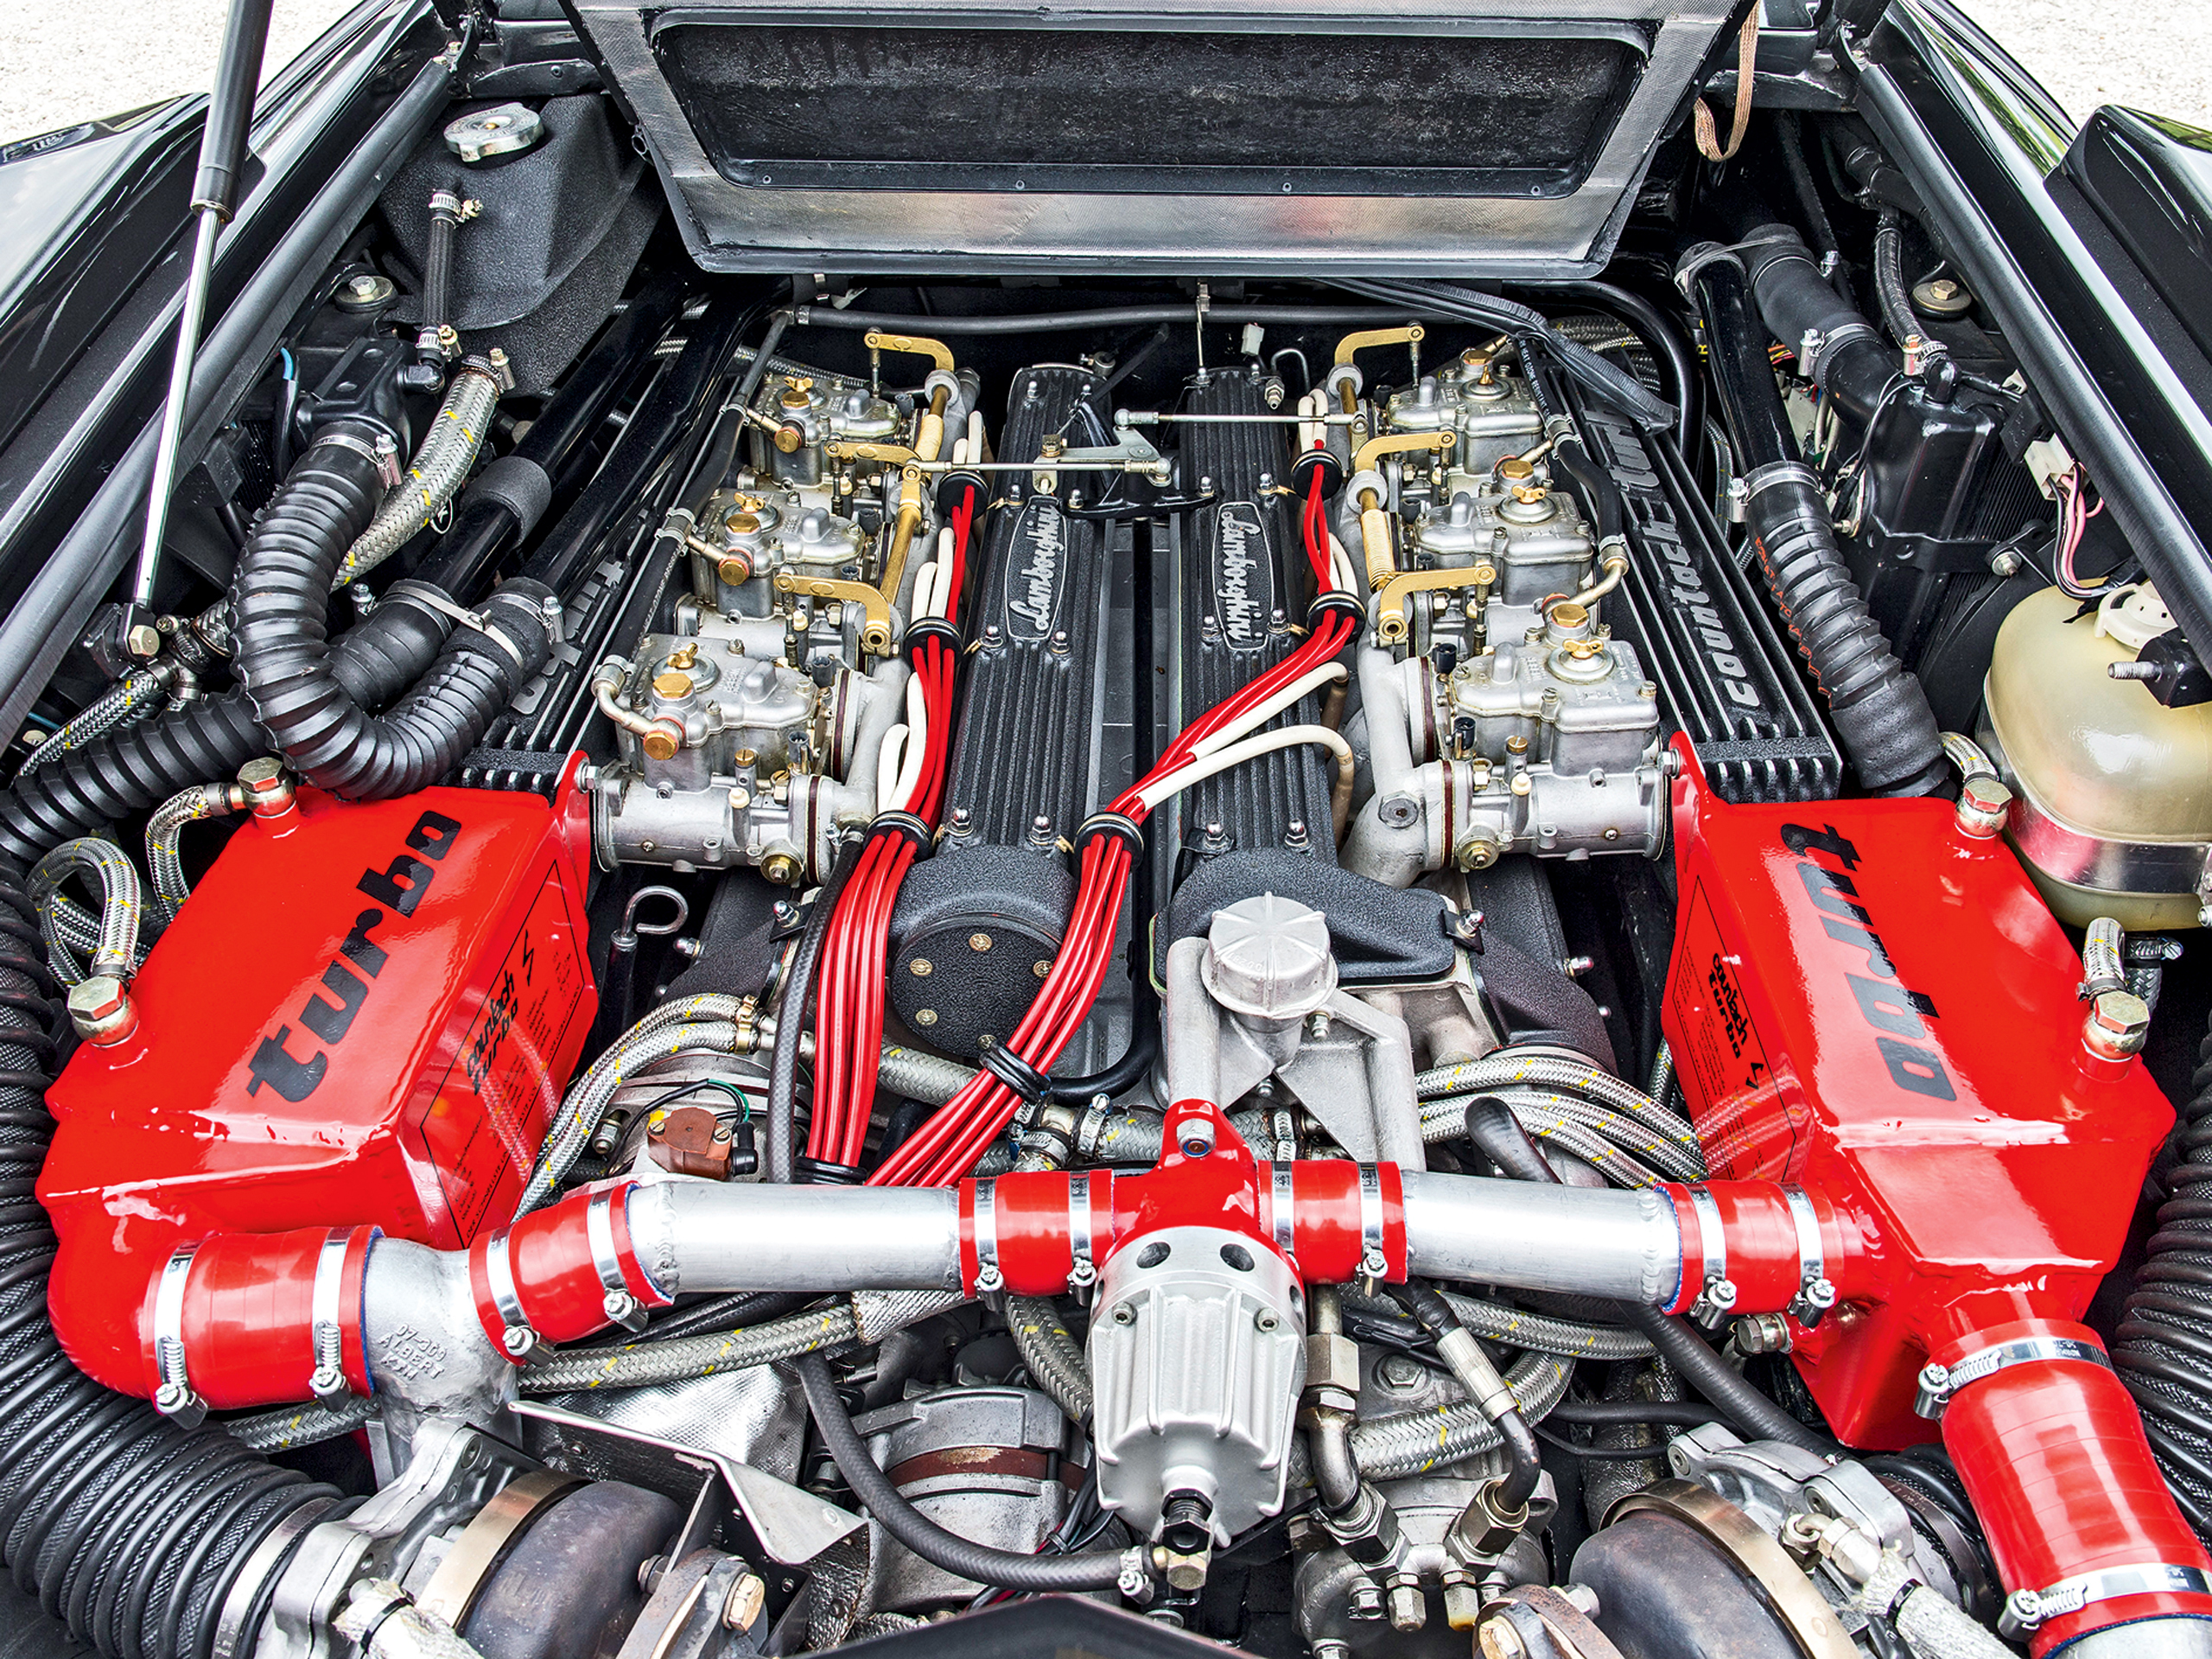
Here is my inspiration for the engine!, its a one of a kind, original factory prototype......the Twin Turbo Countach!!
-
Jason, I did it again, I was wrong, the main styrene used was .020...…..sorry, AGAIN lol
-
Thanks, Seth!, you are right, I have an inability to "settle" for things...lol
-
Hey, Jason!, sorry it took so long getting back to your question. I used .015 sheet styrene to make my final firewall padding, along with a center of .010, and a pre-made strip-stock across the top. Sorry again for the delay.
-
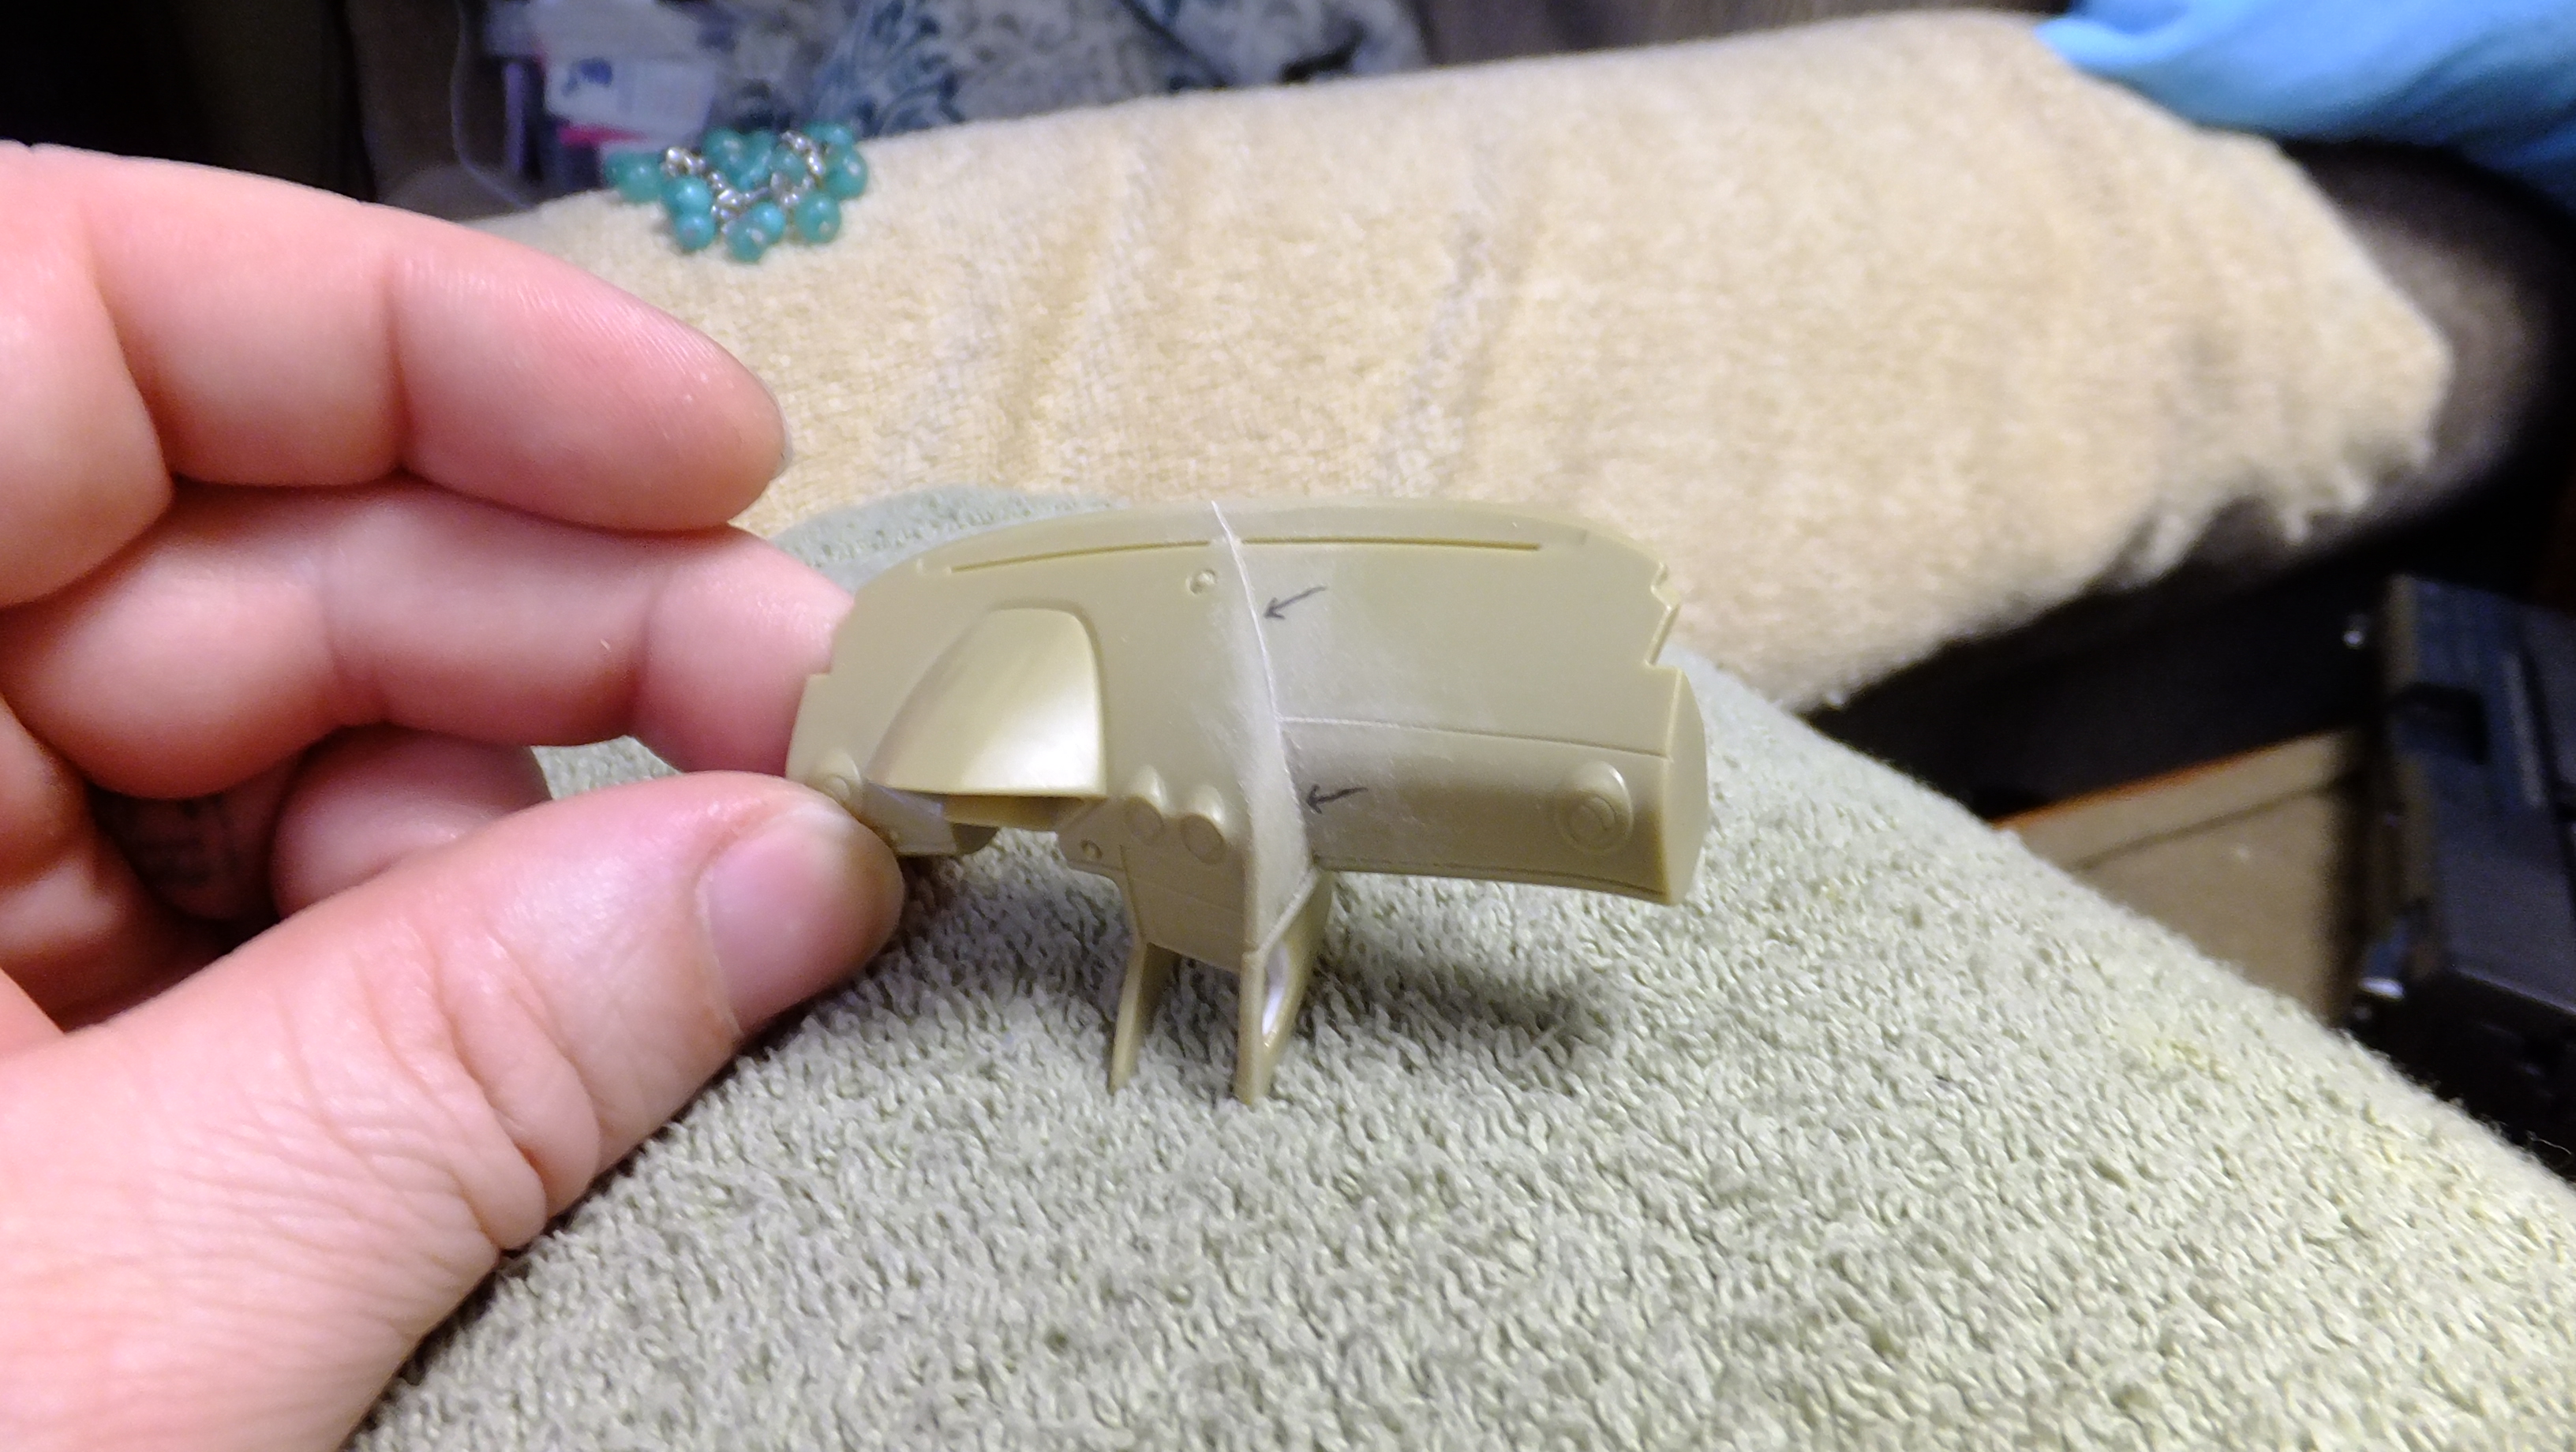
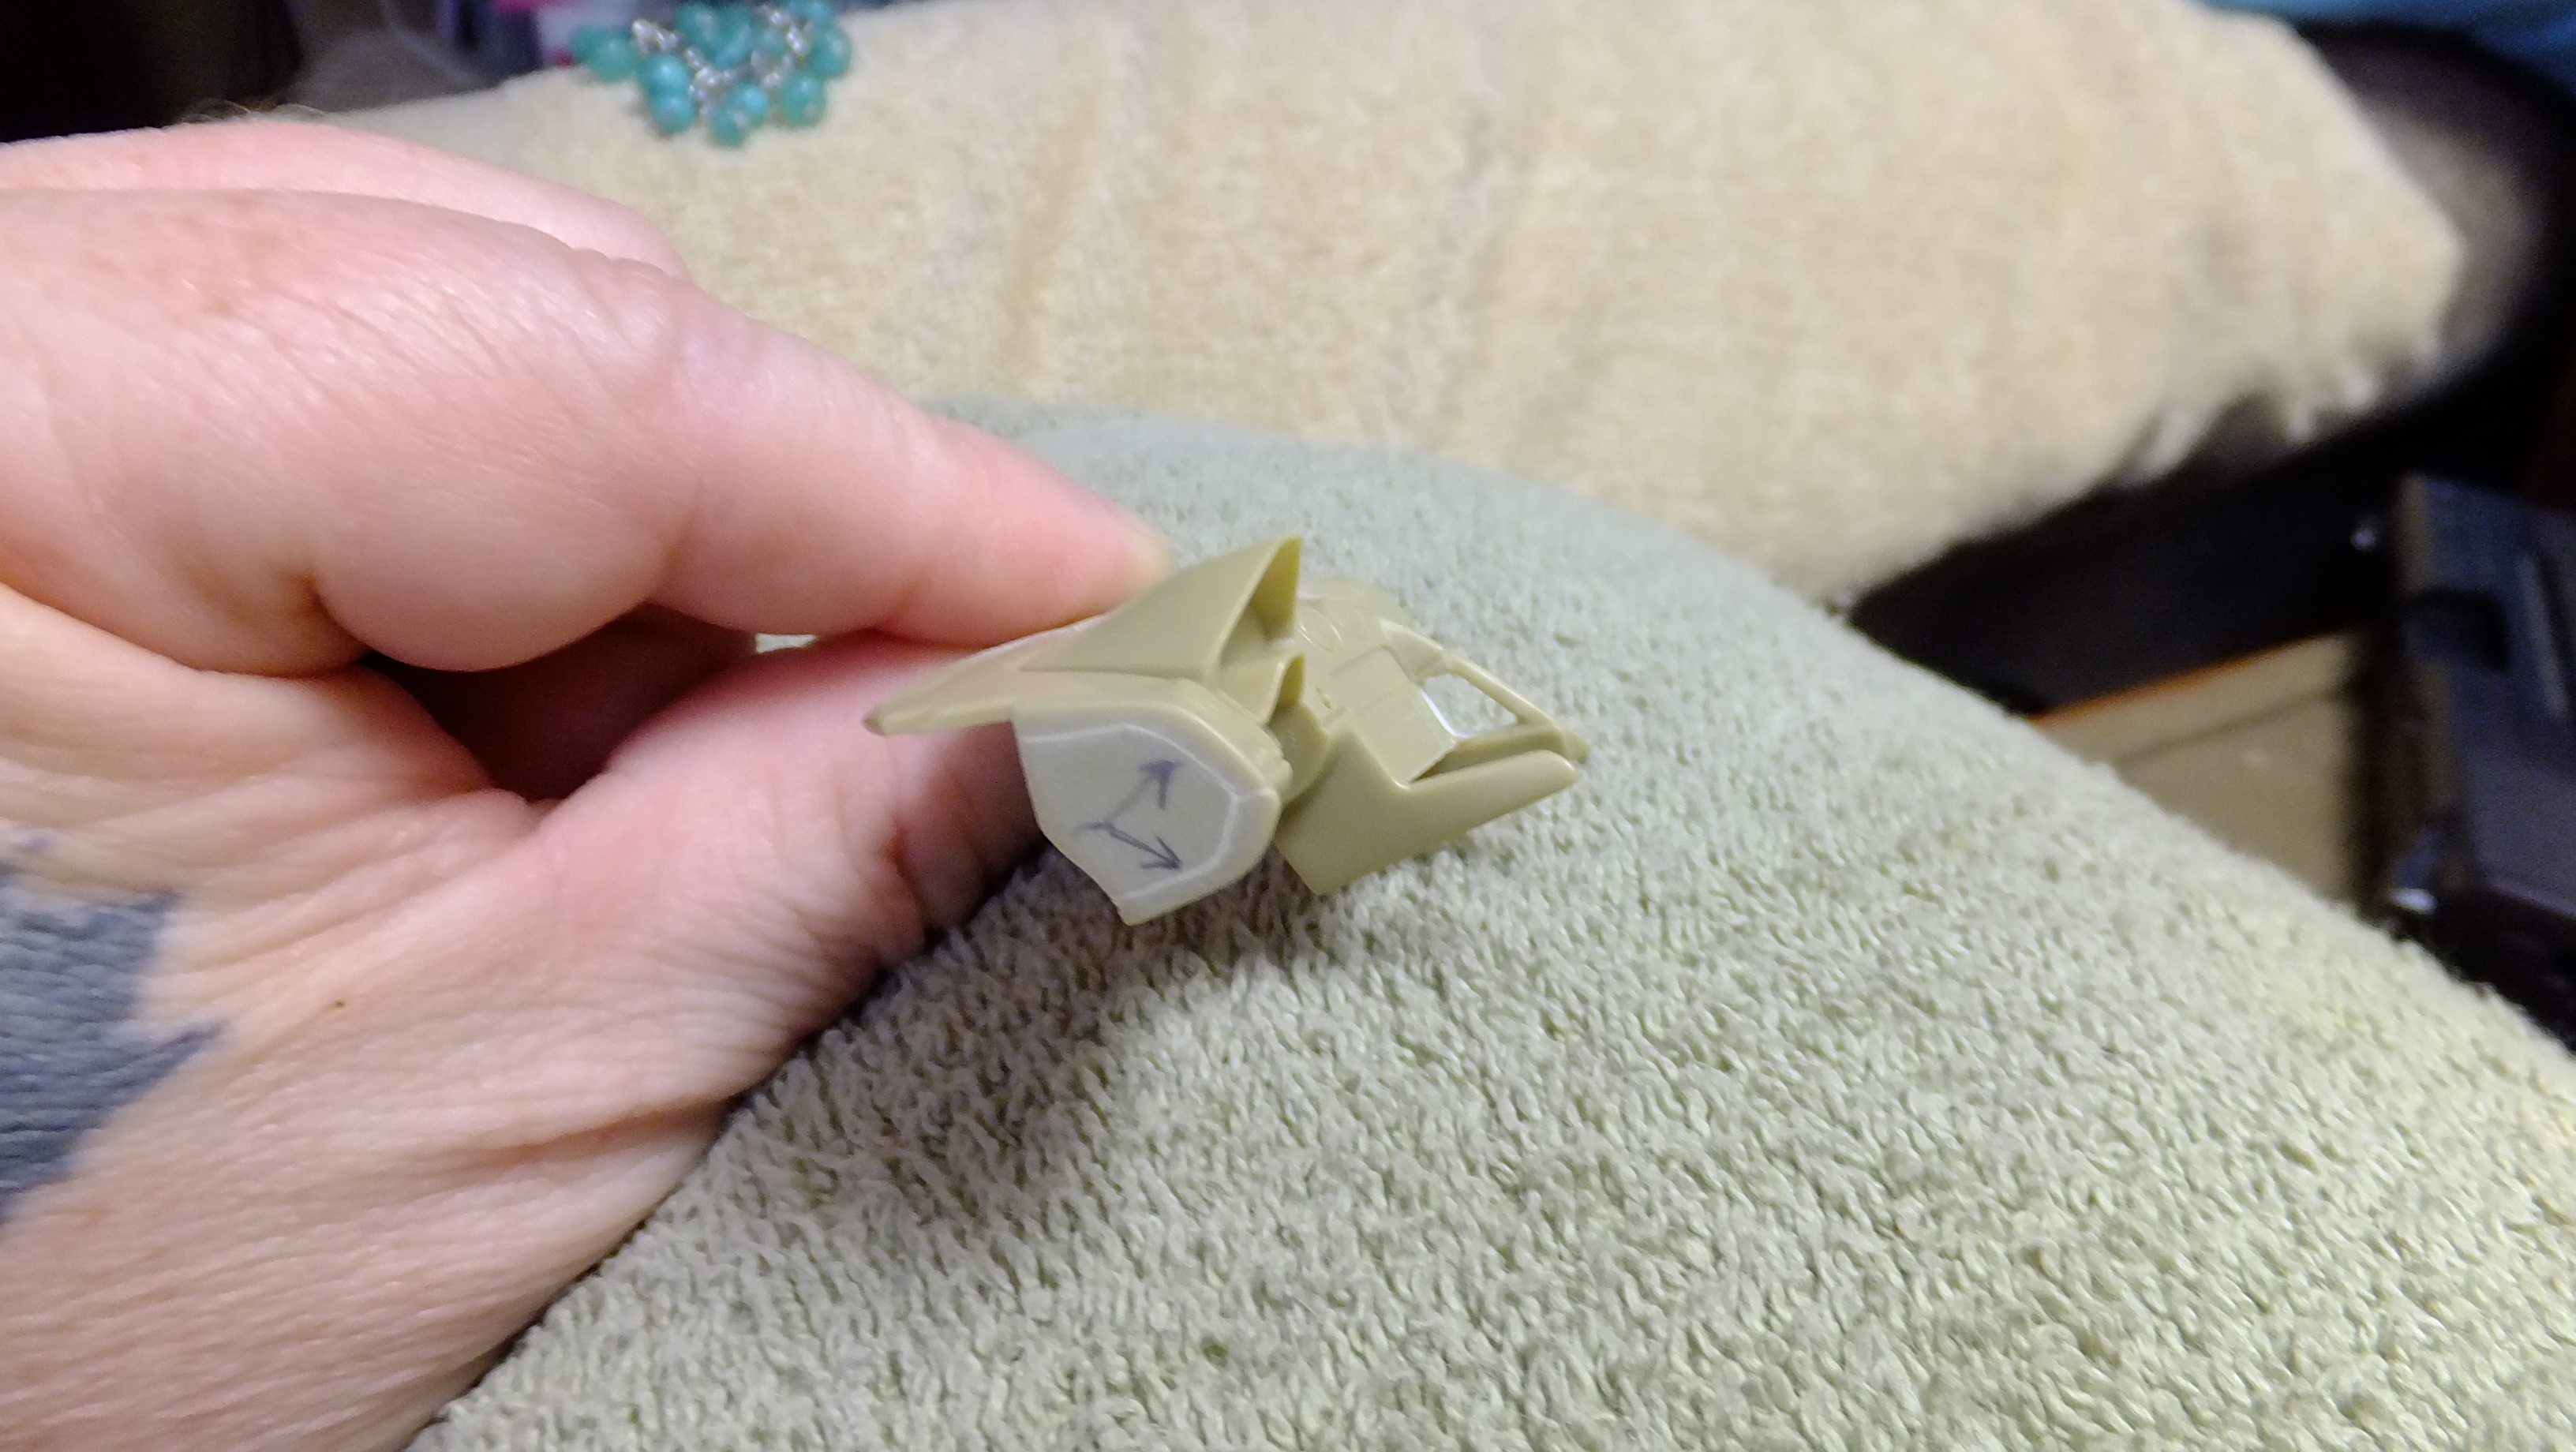
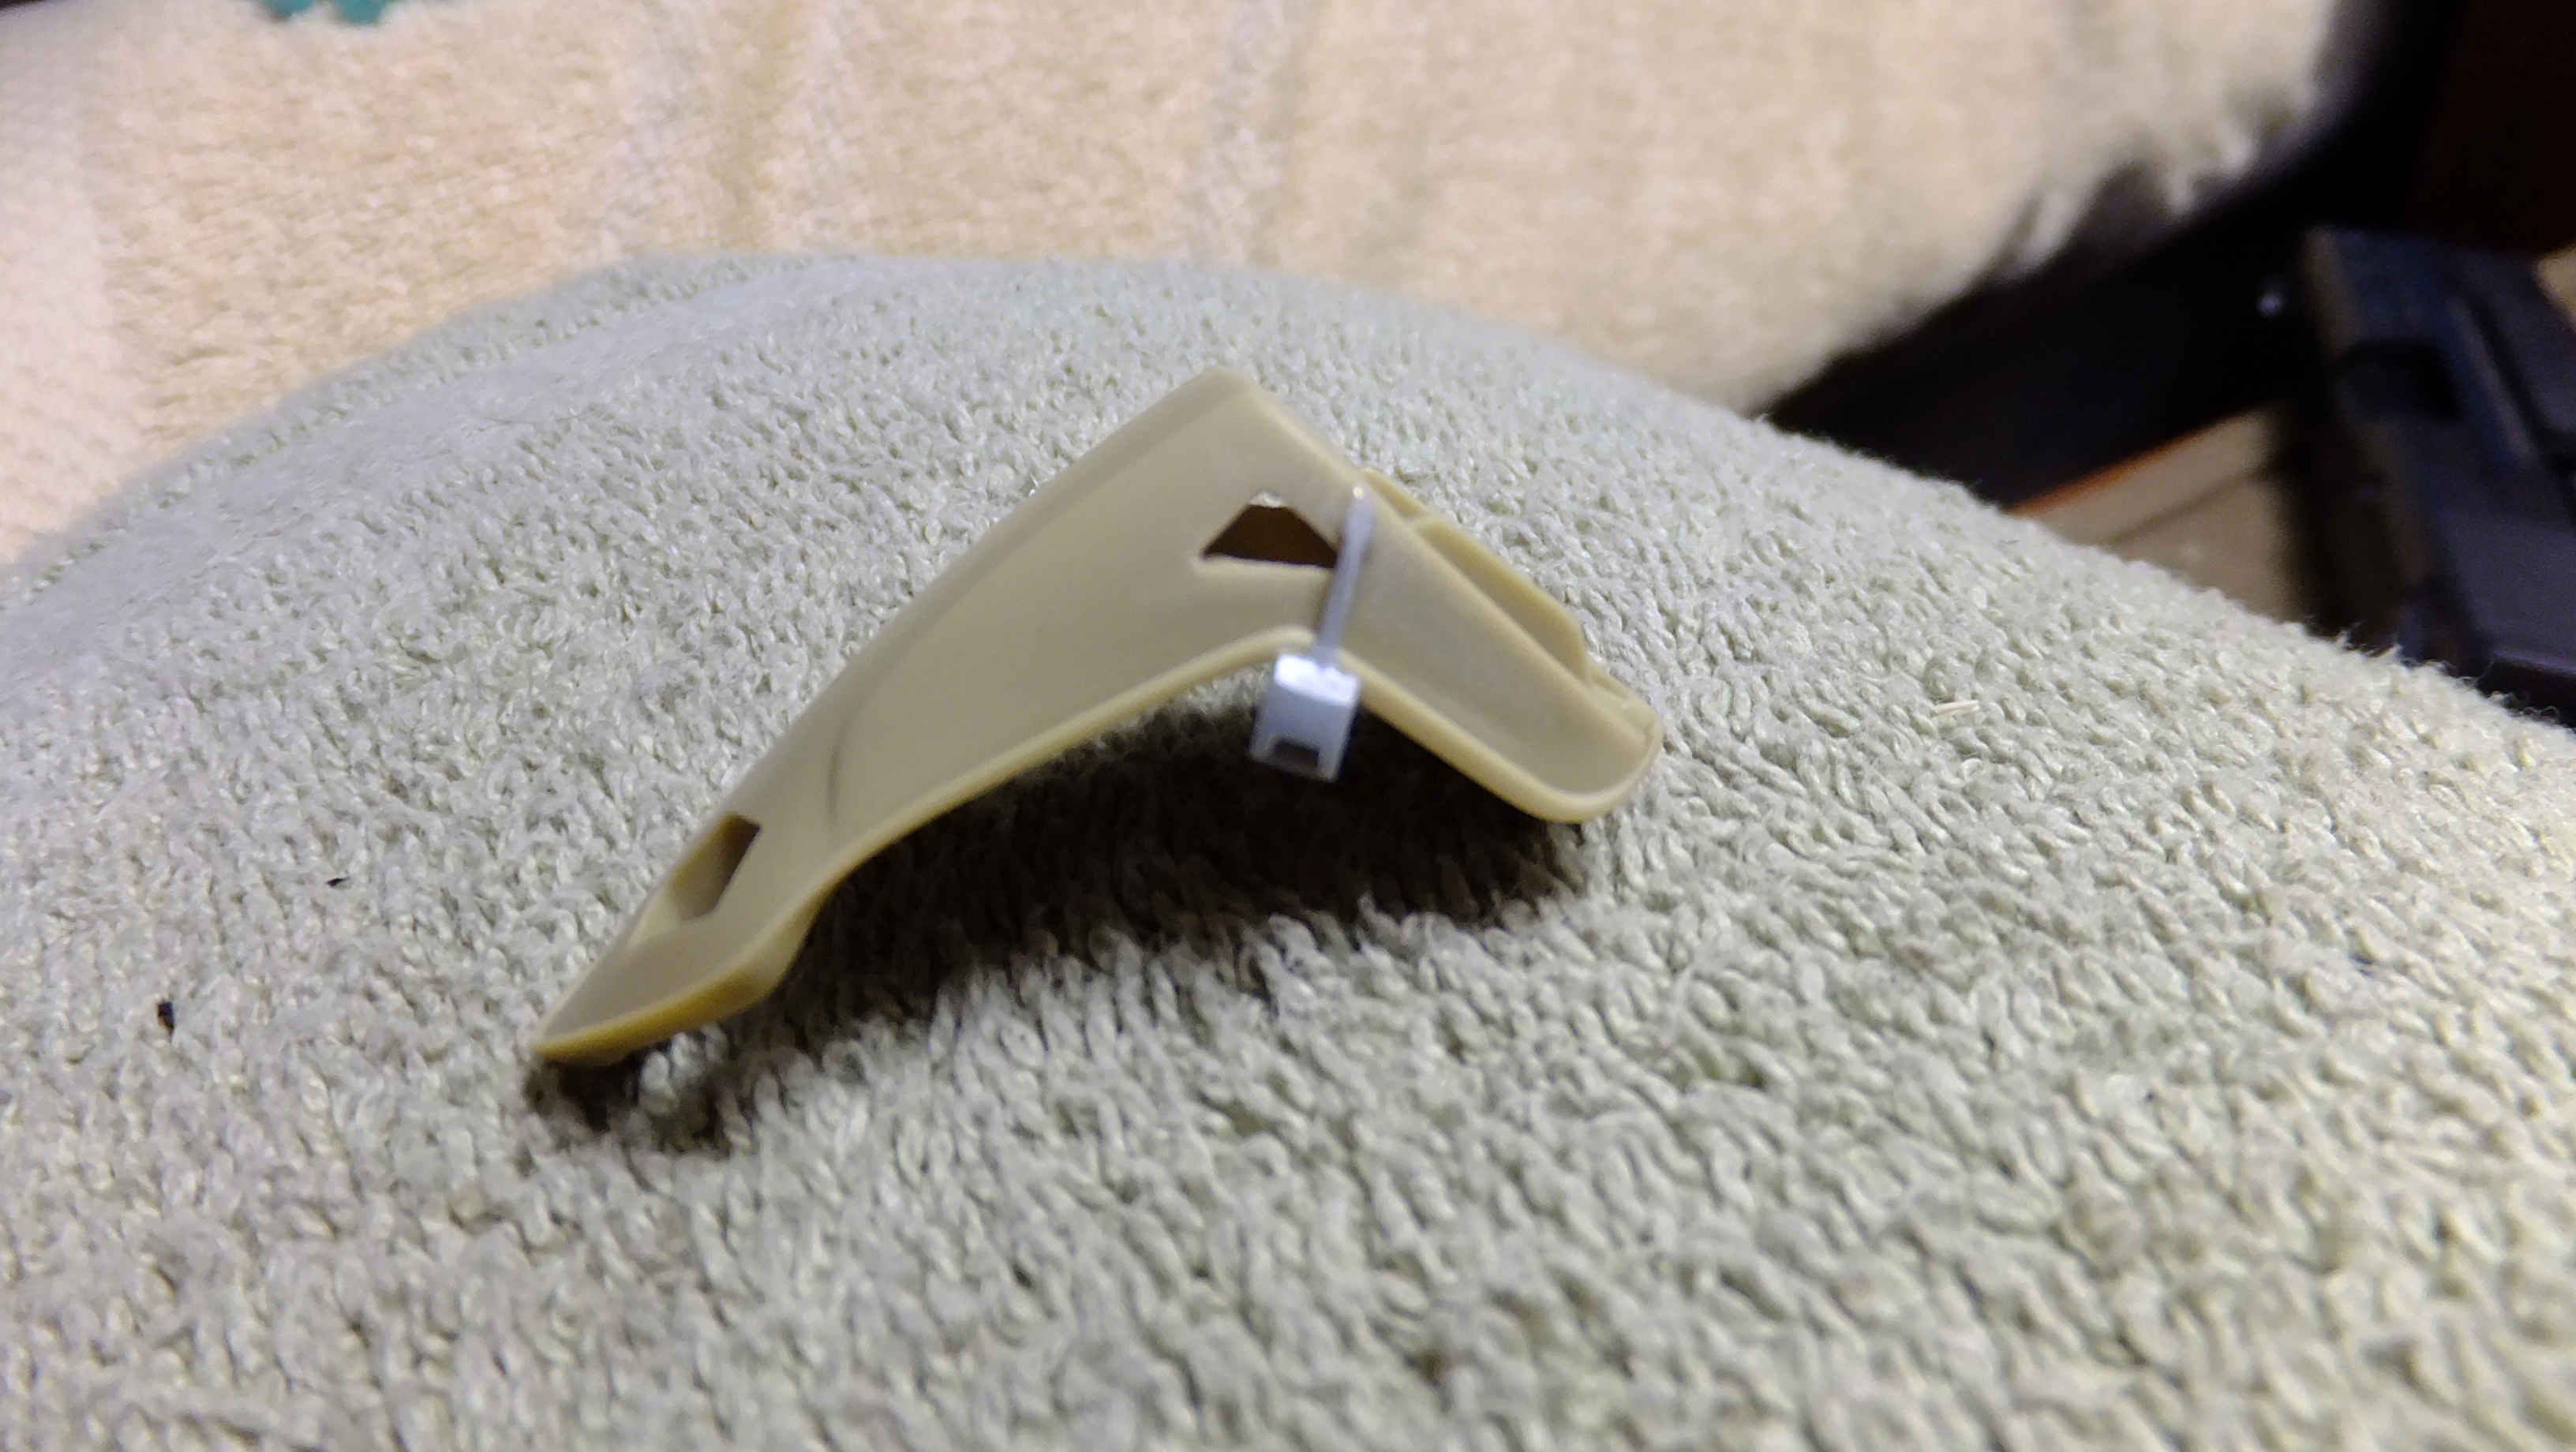
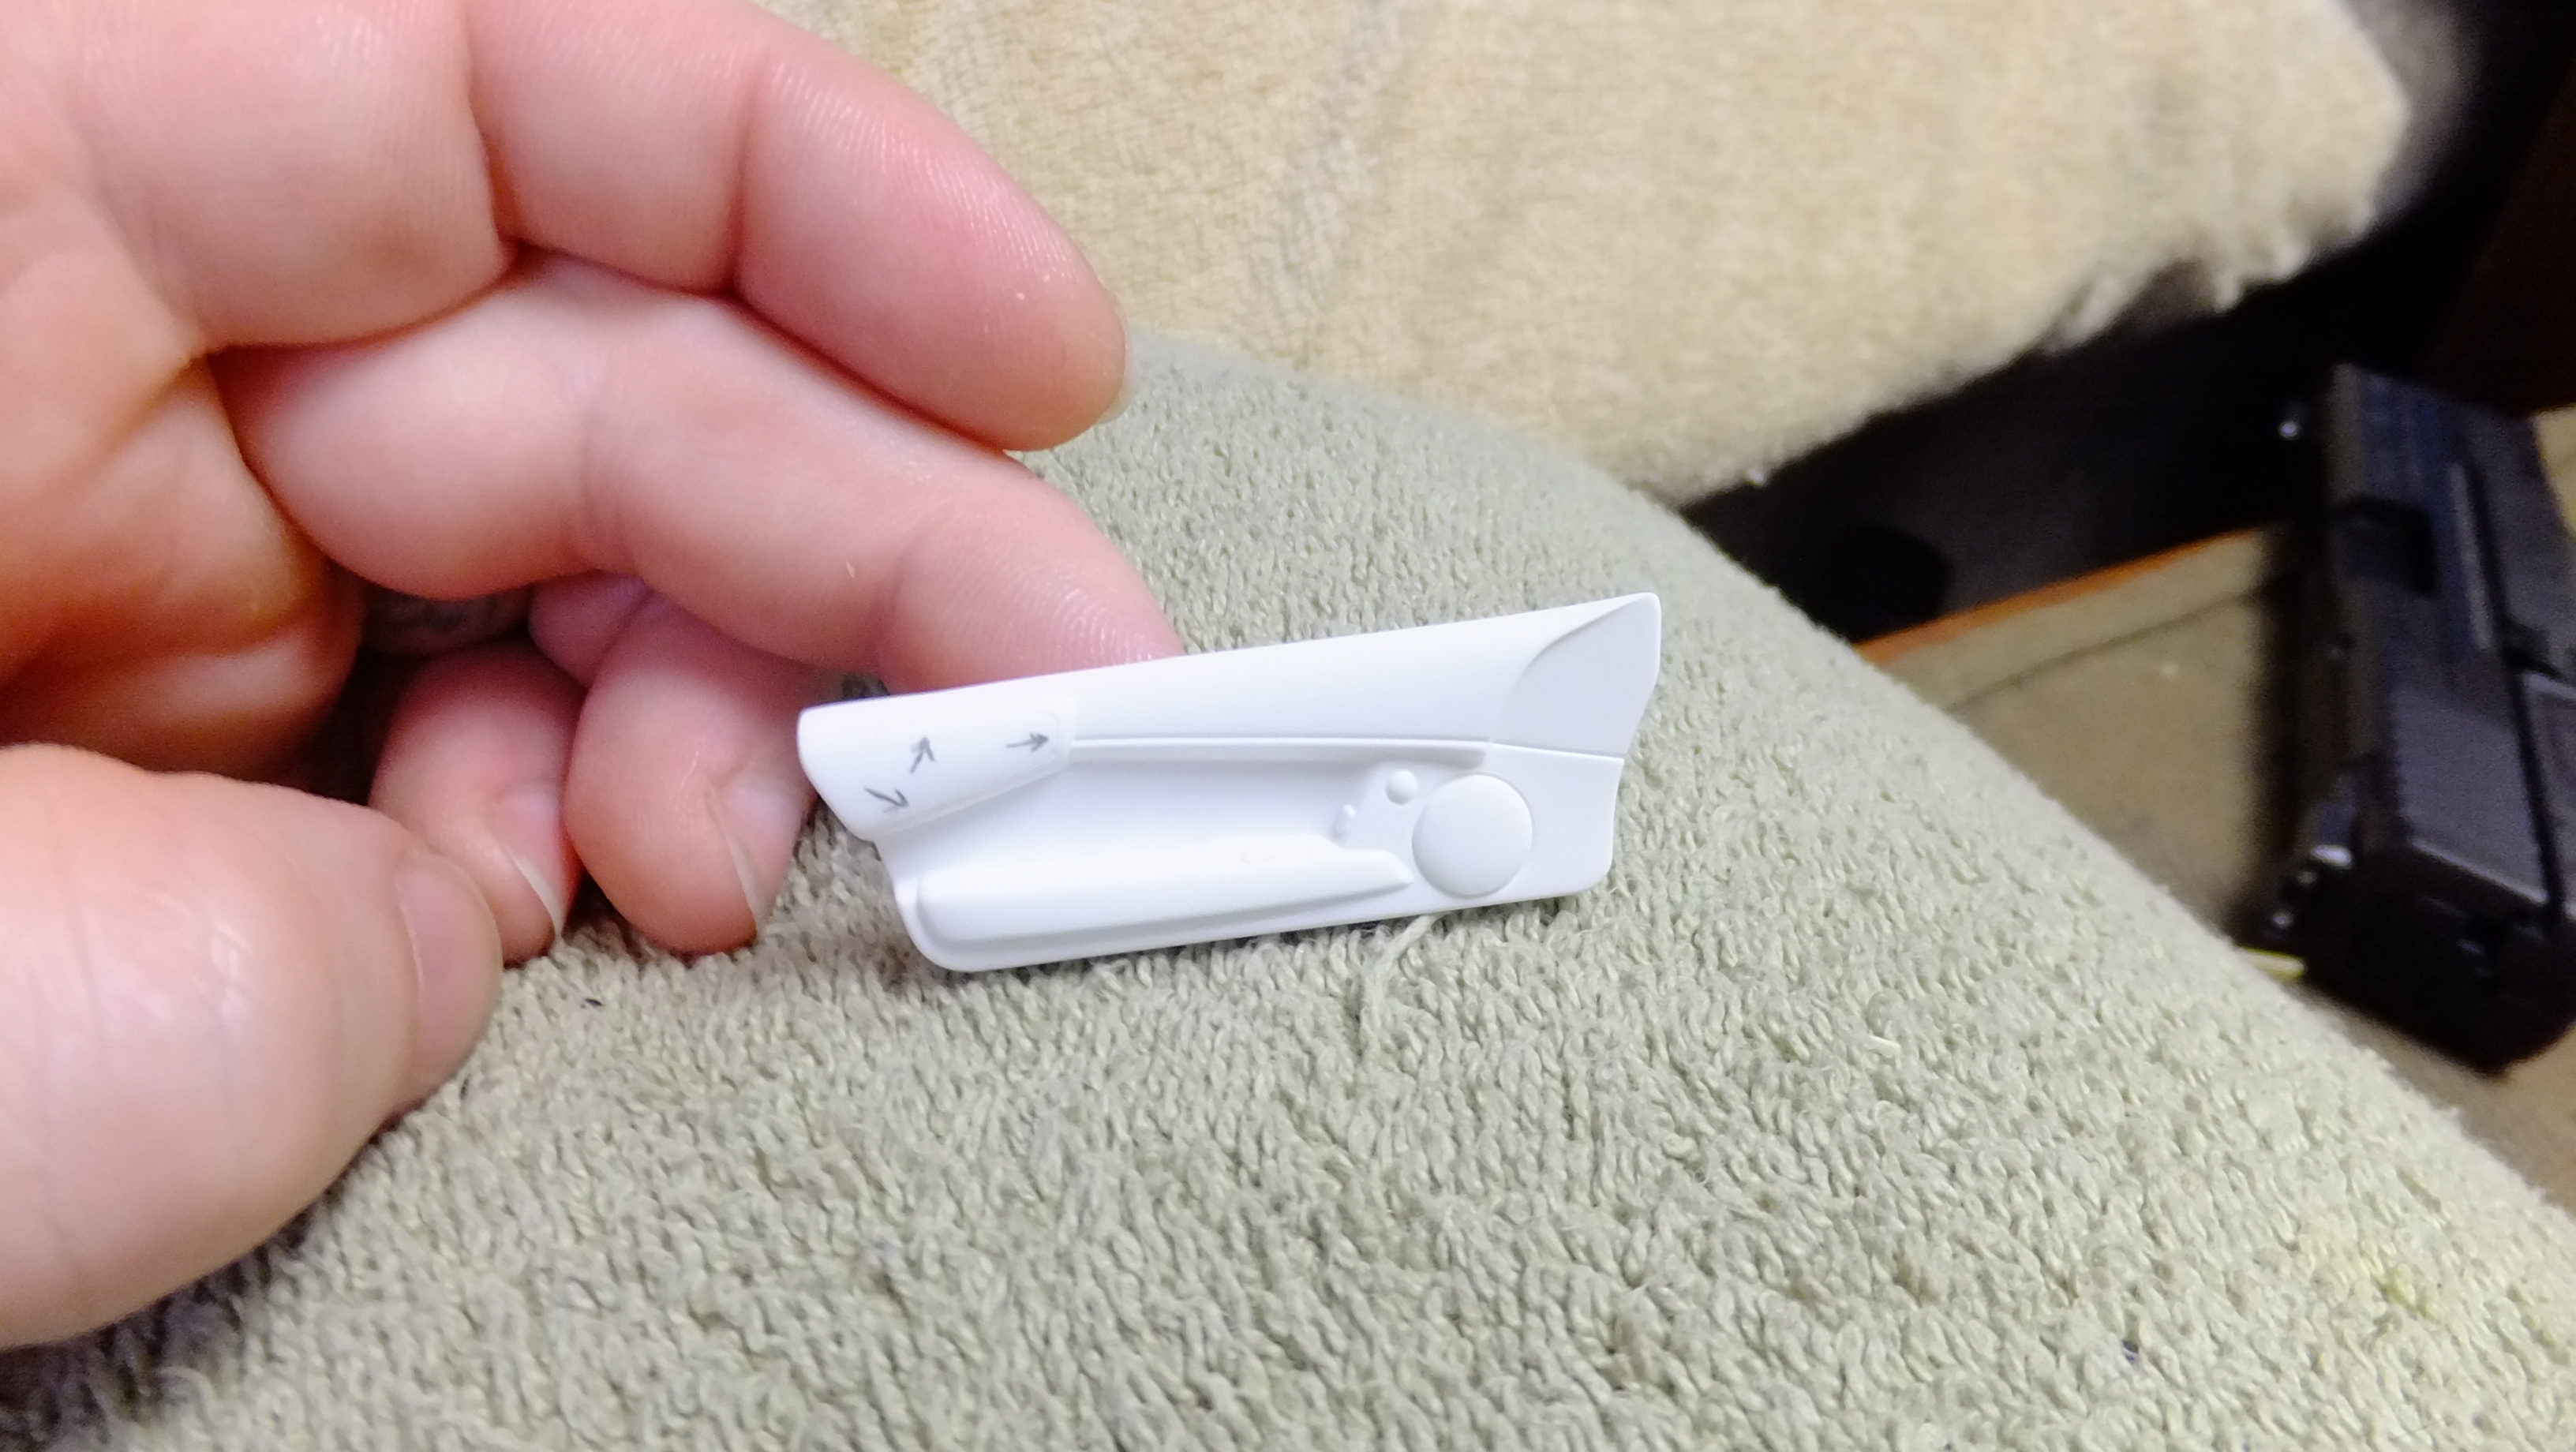
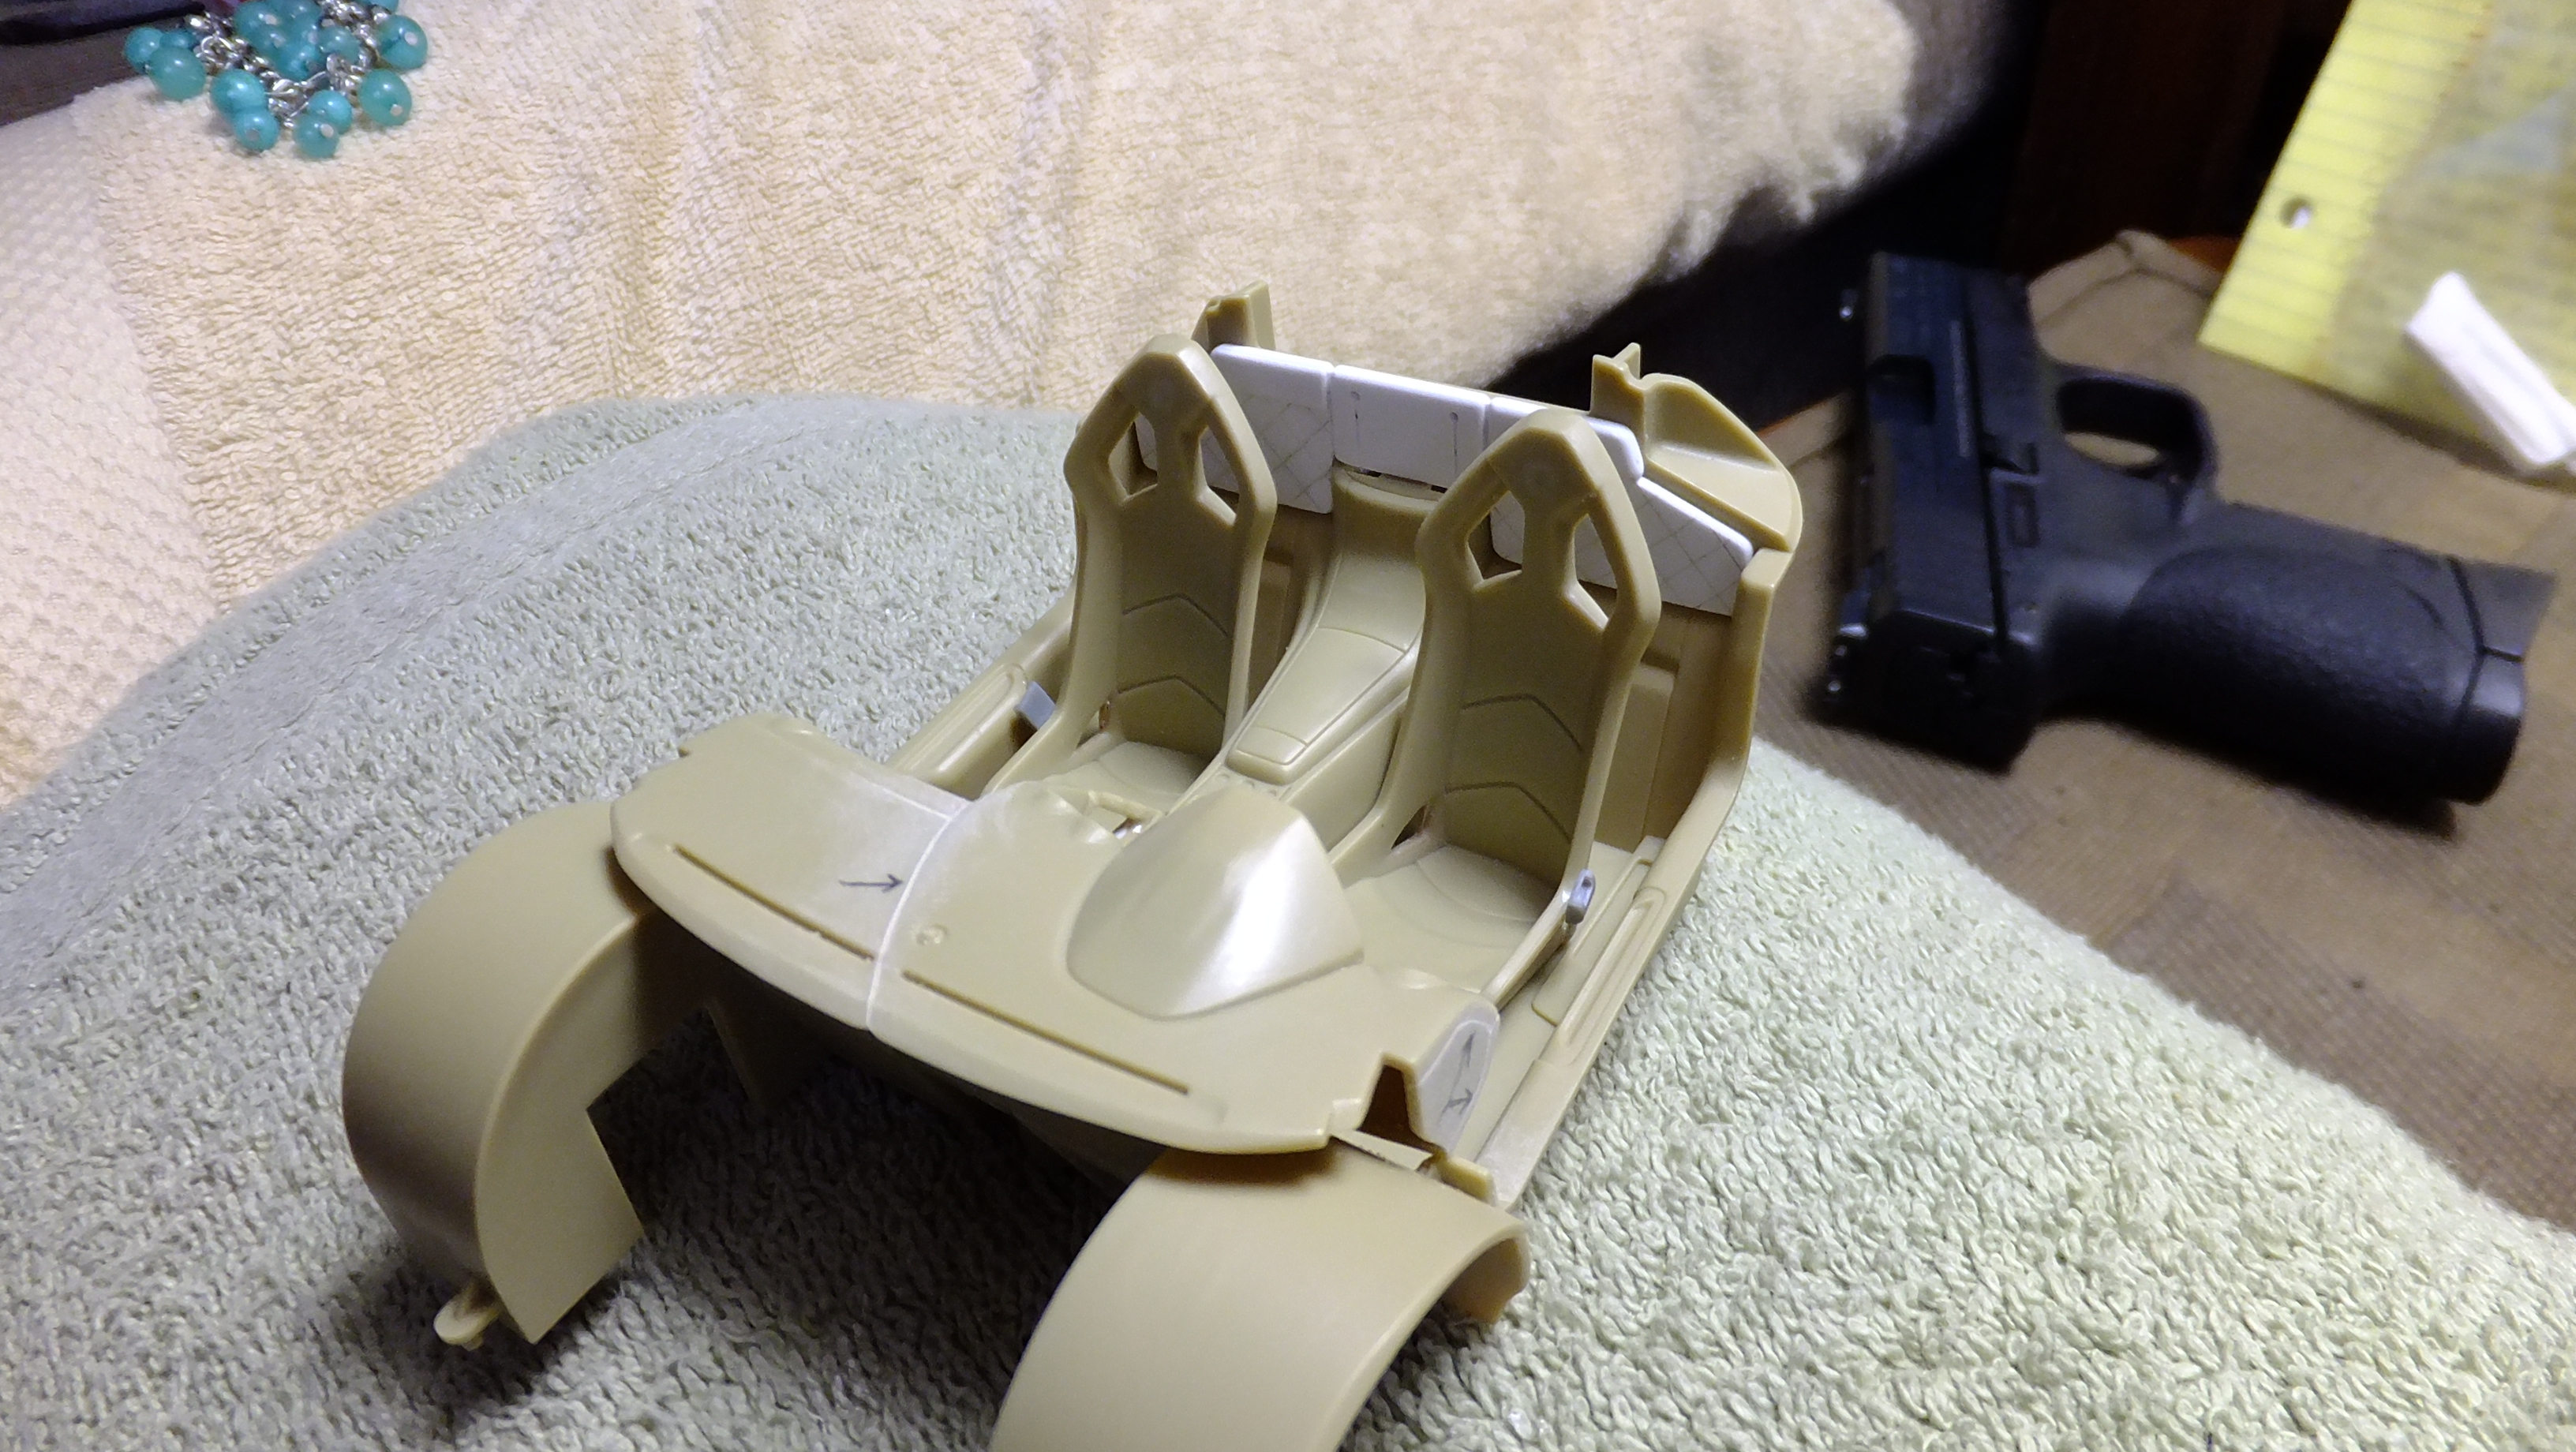
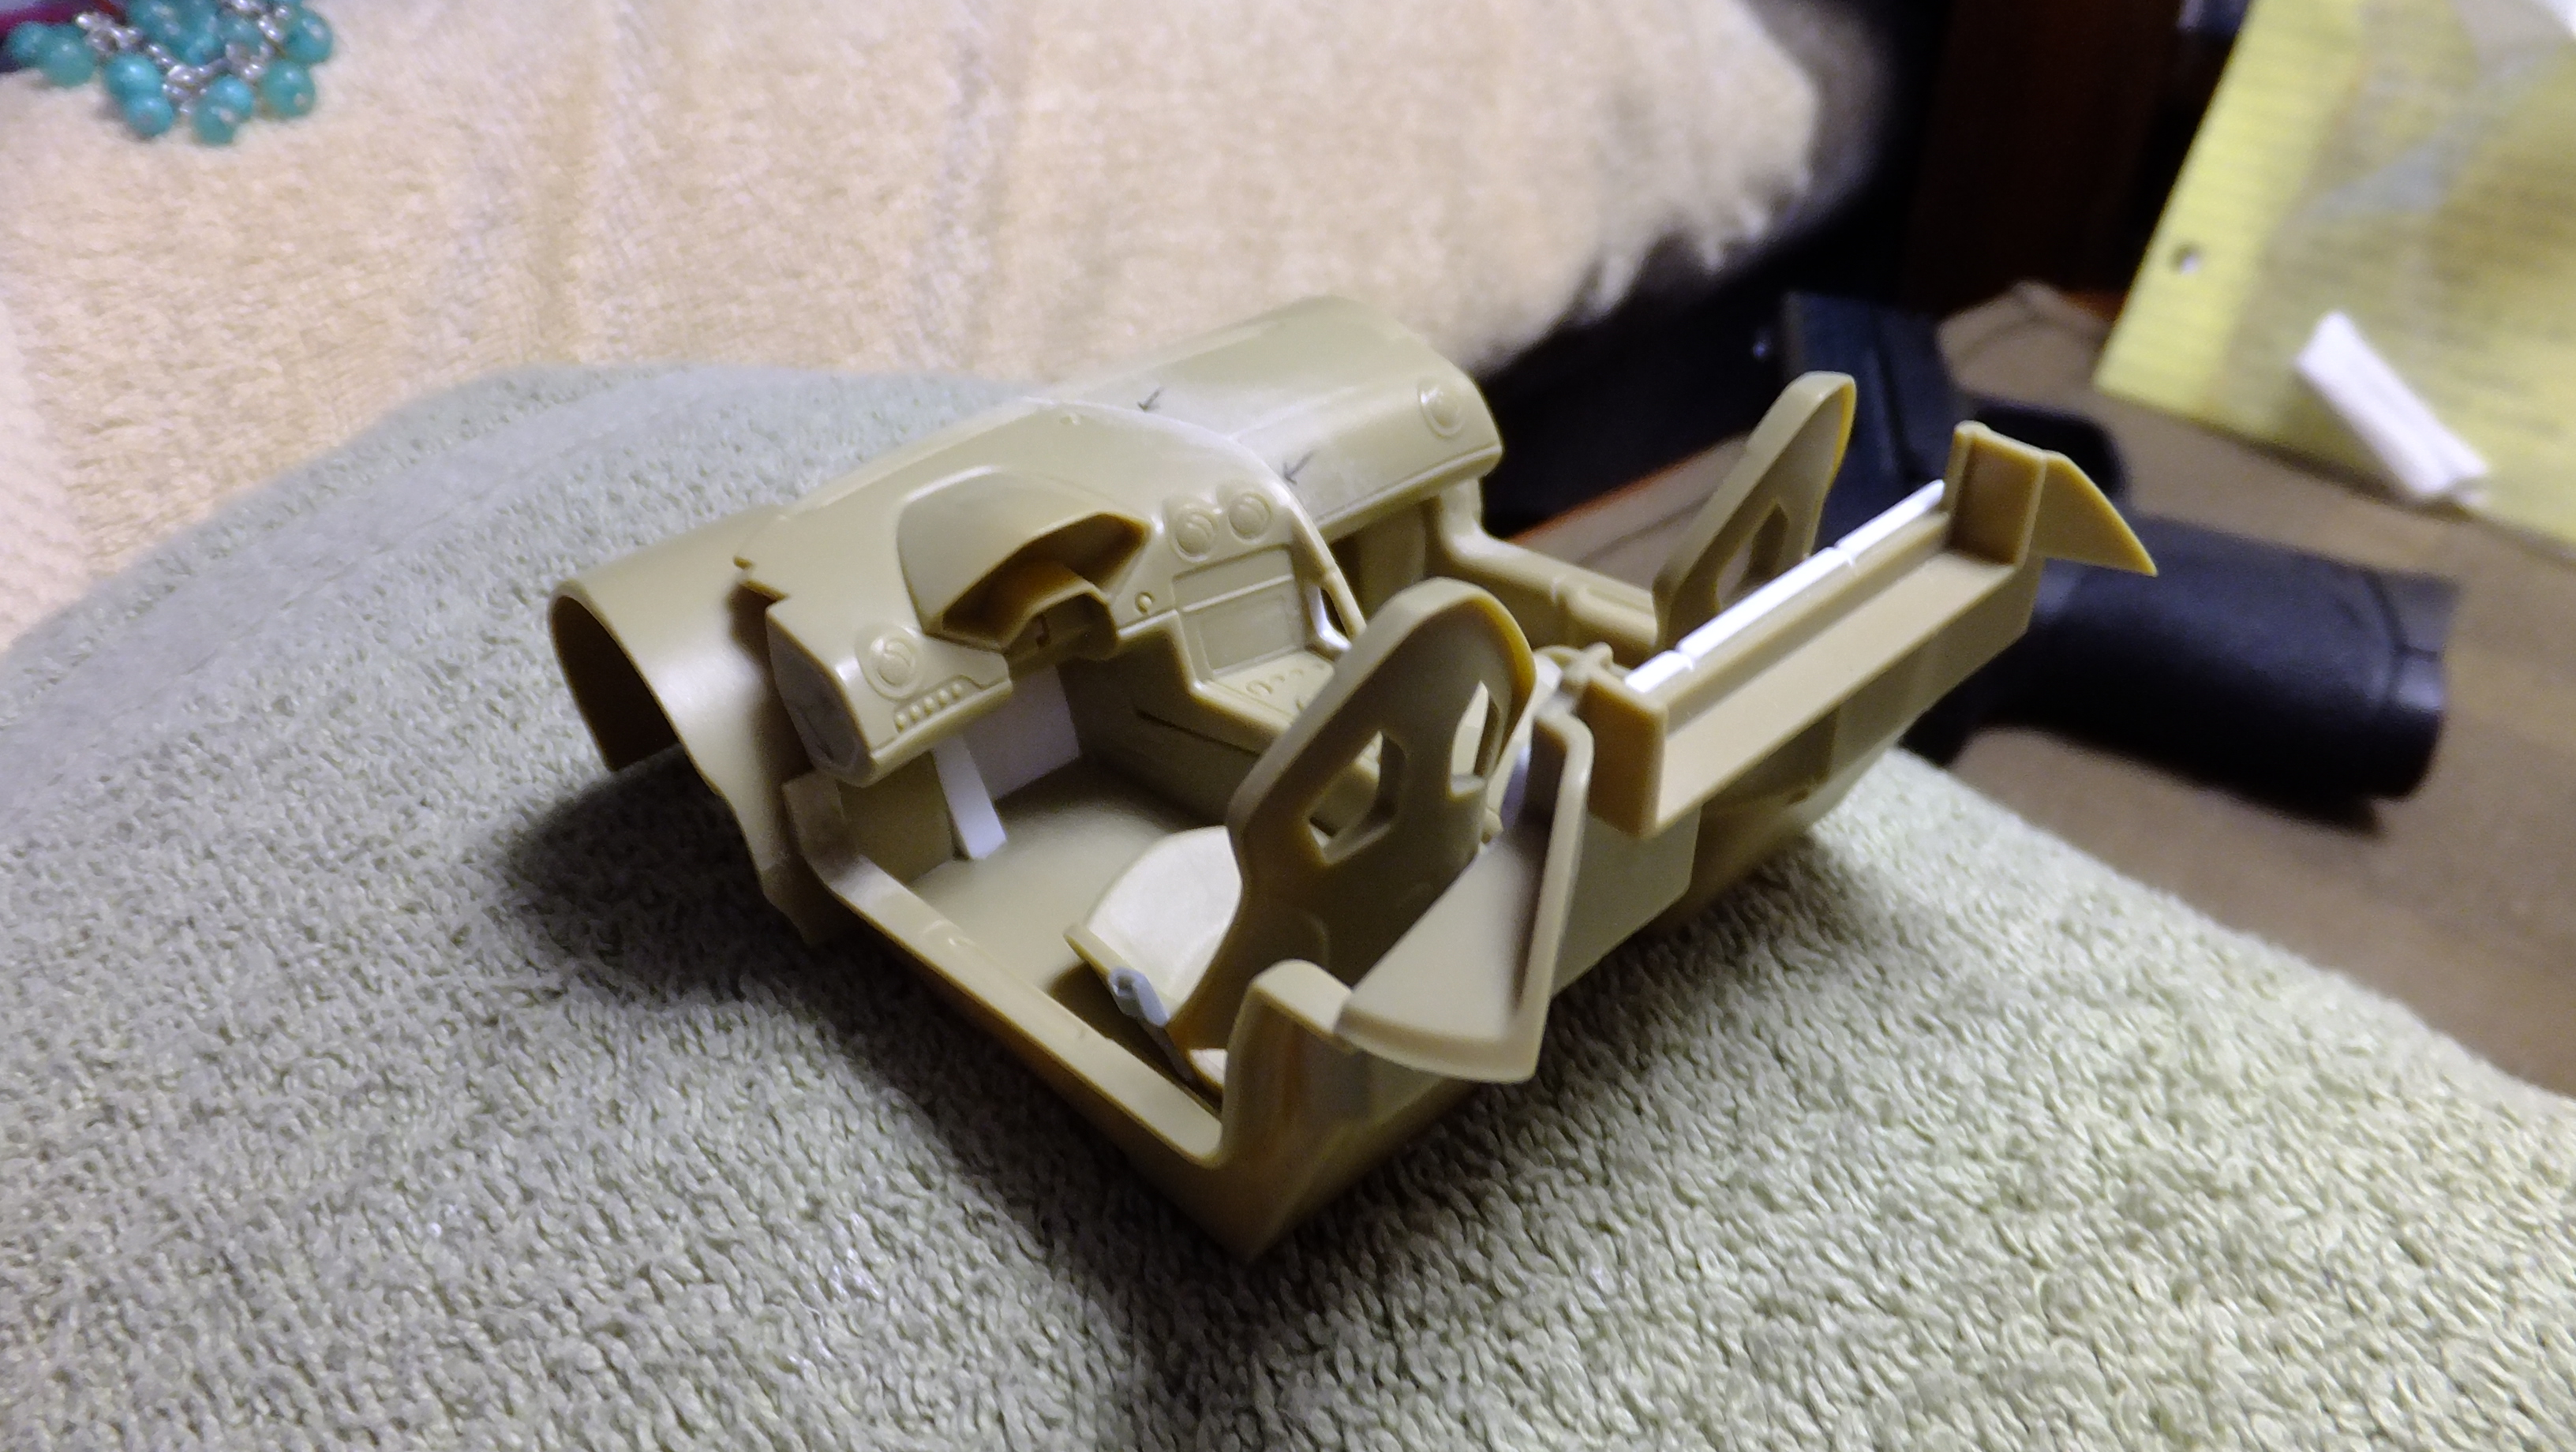
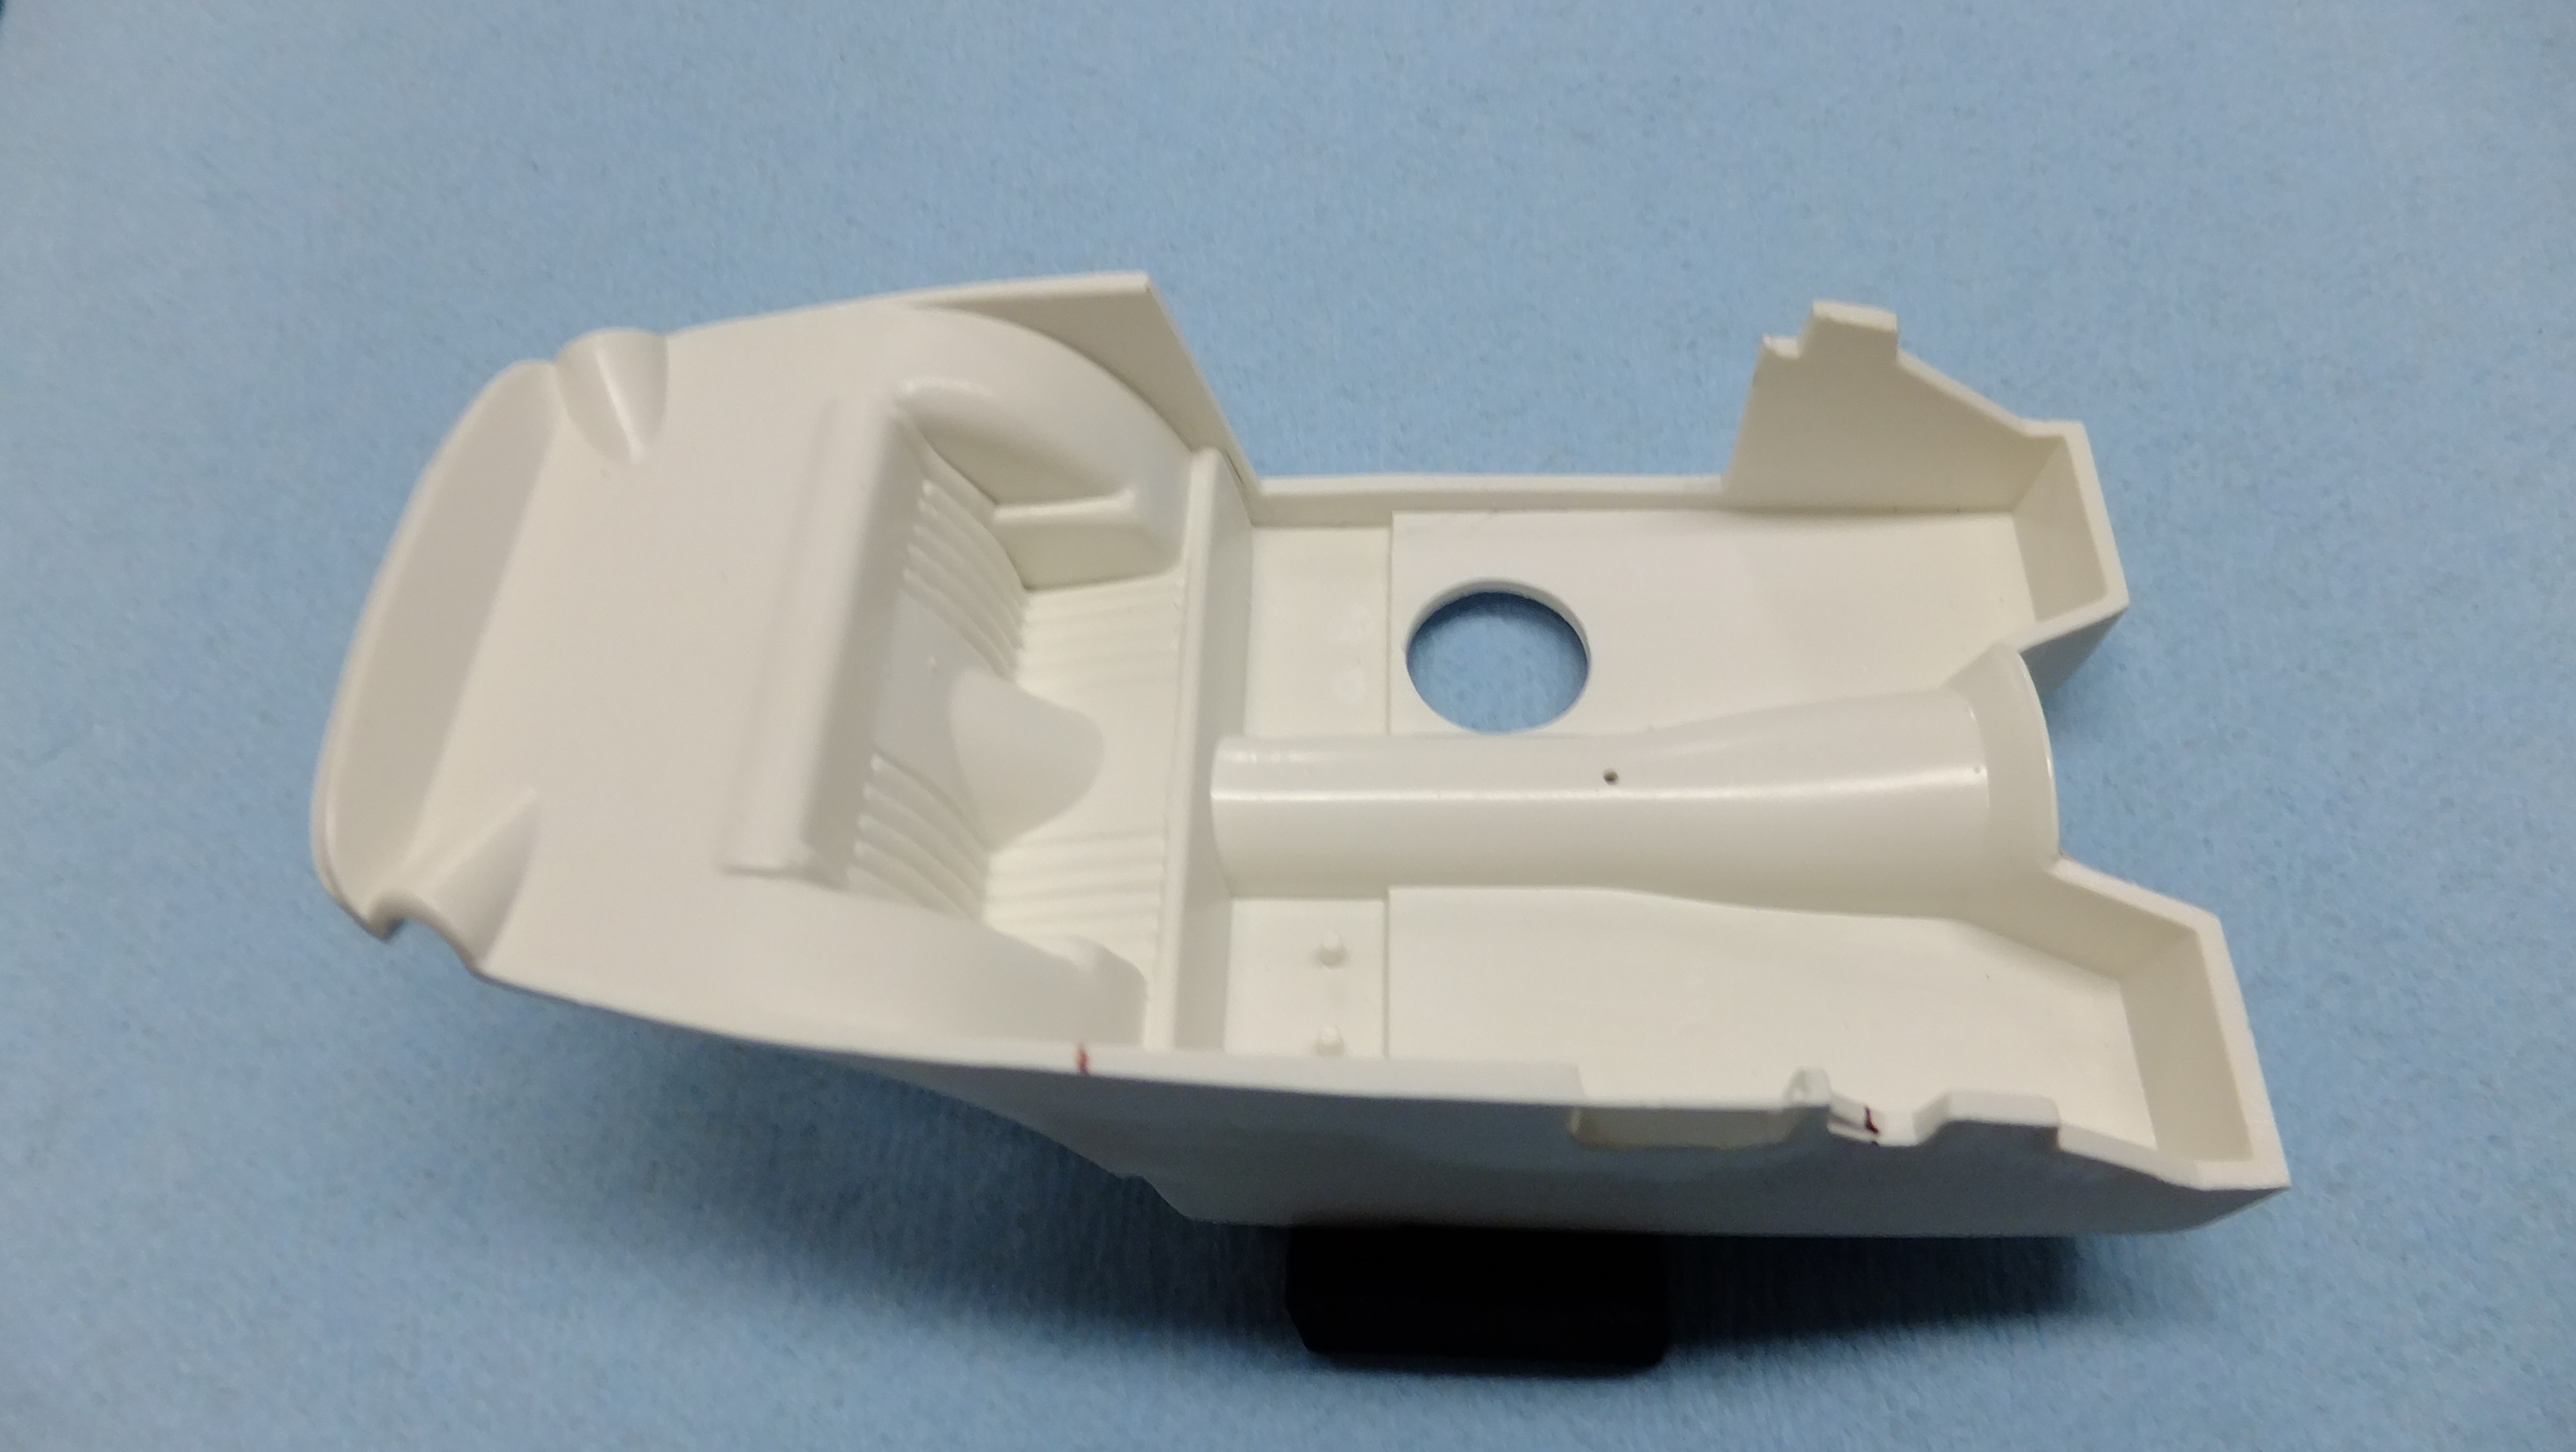
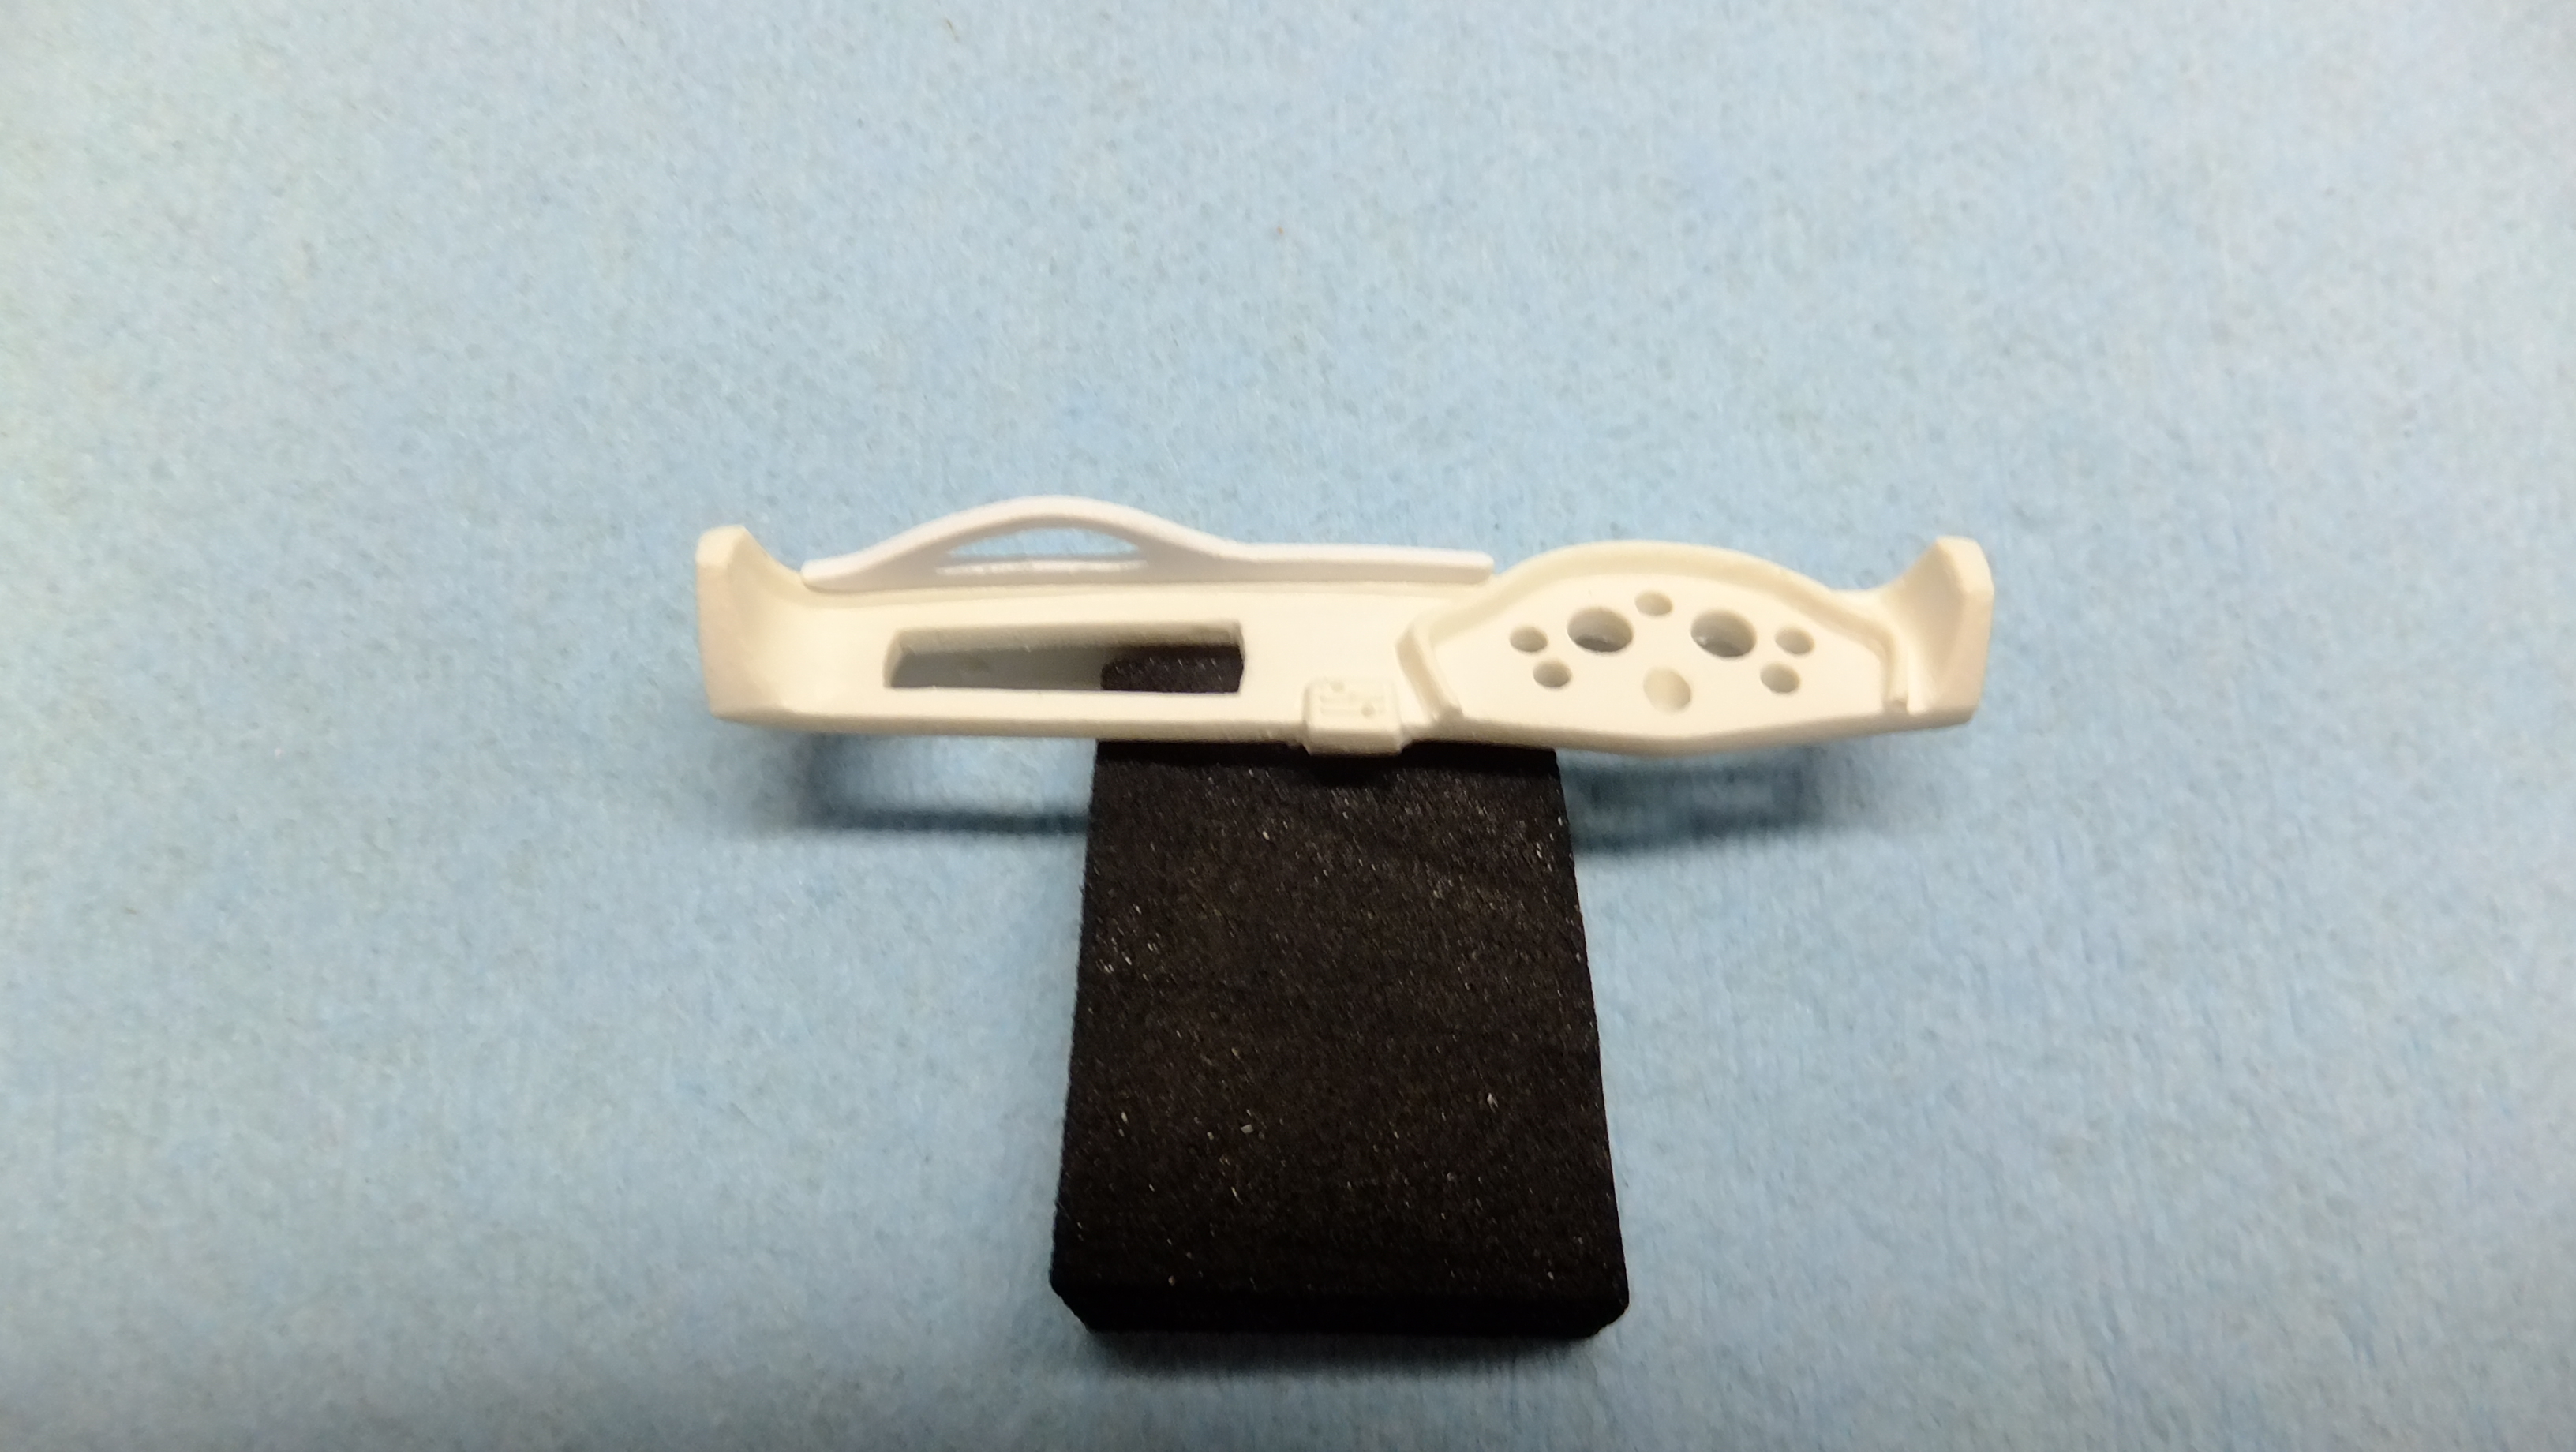
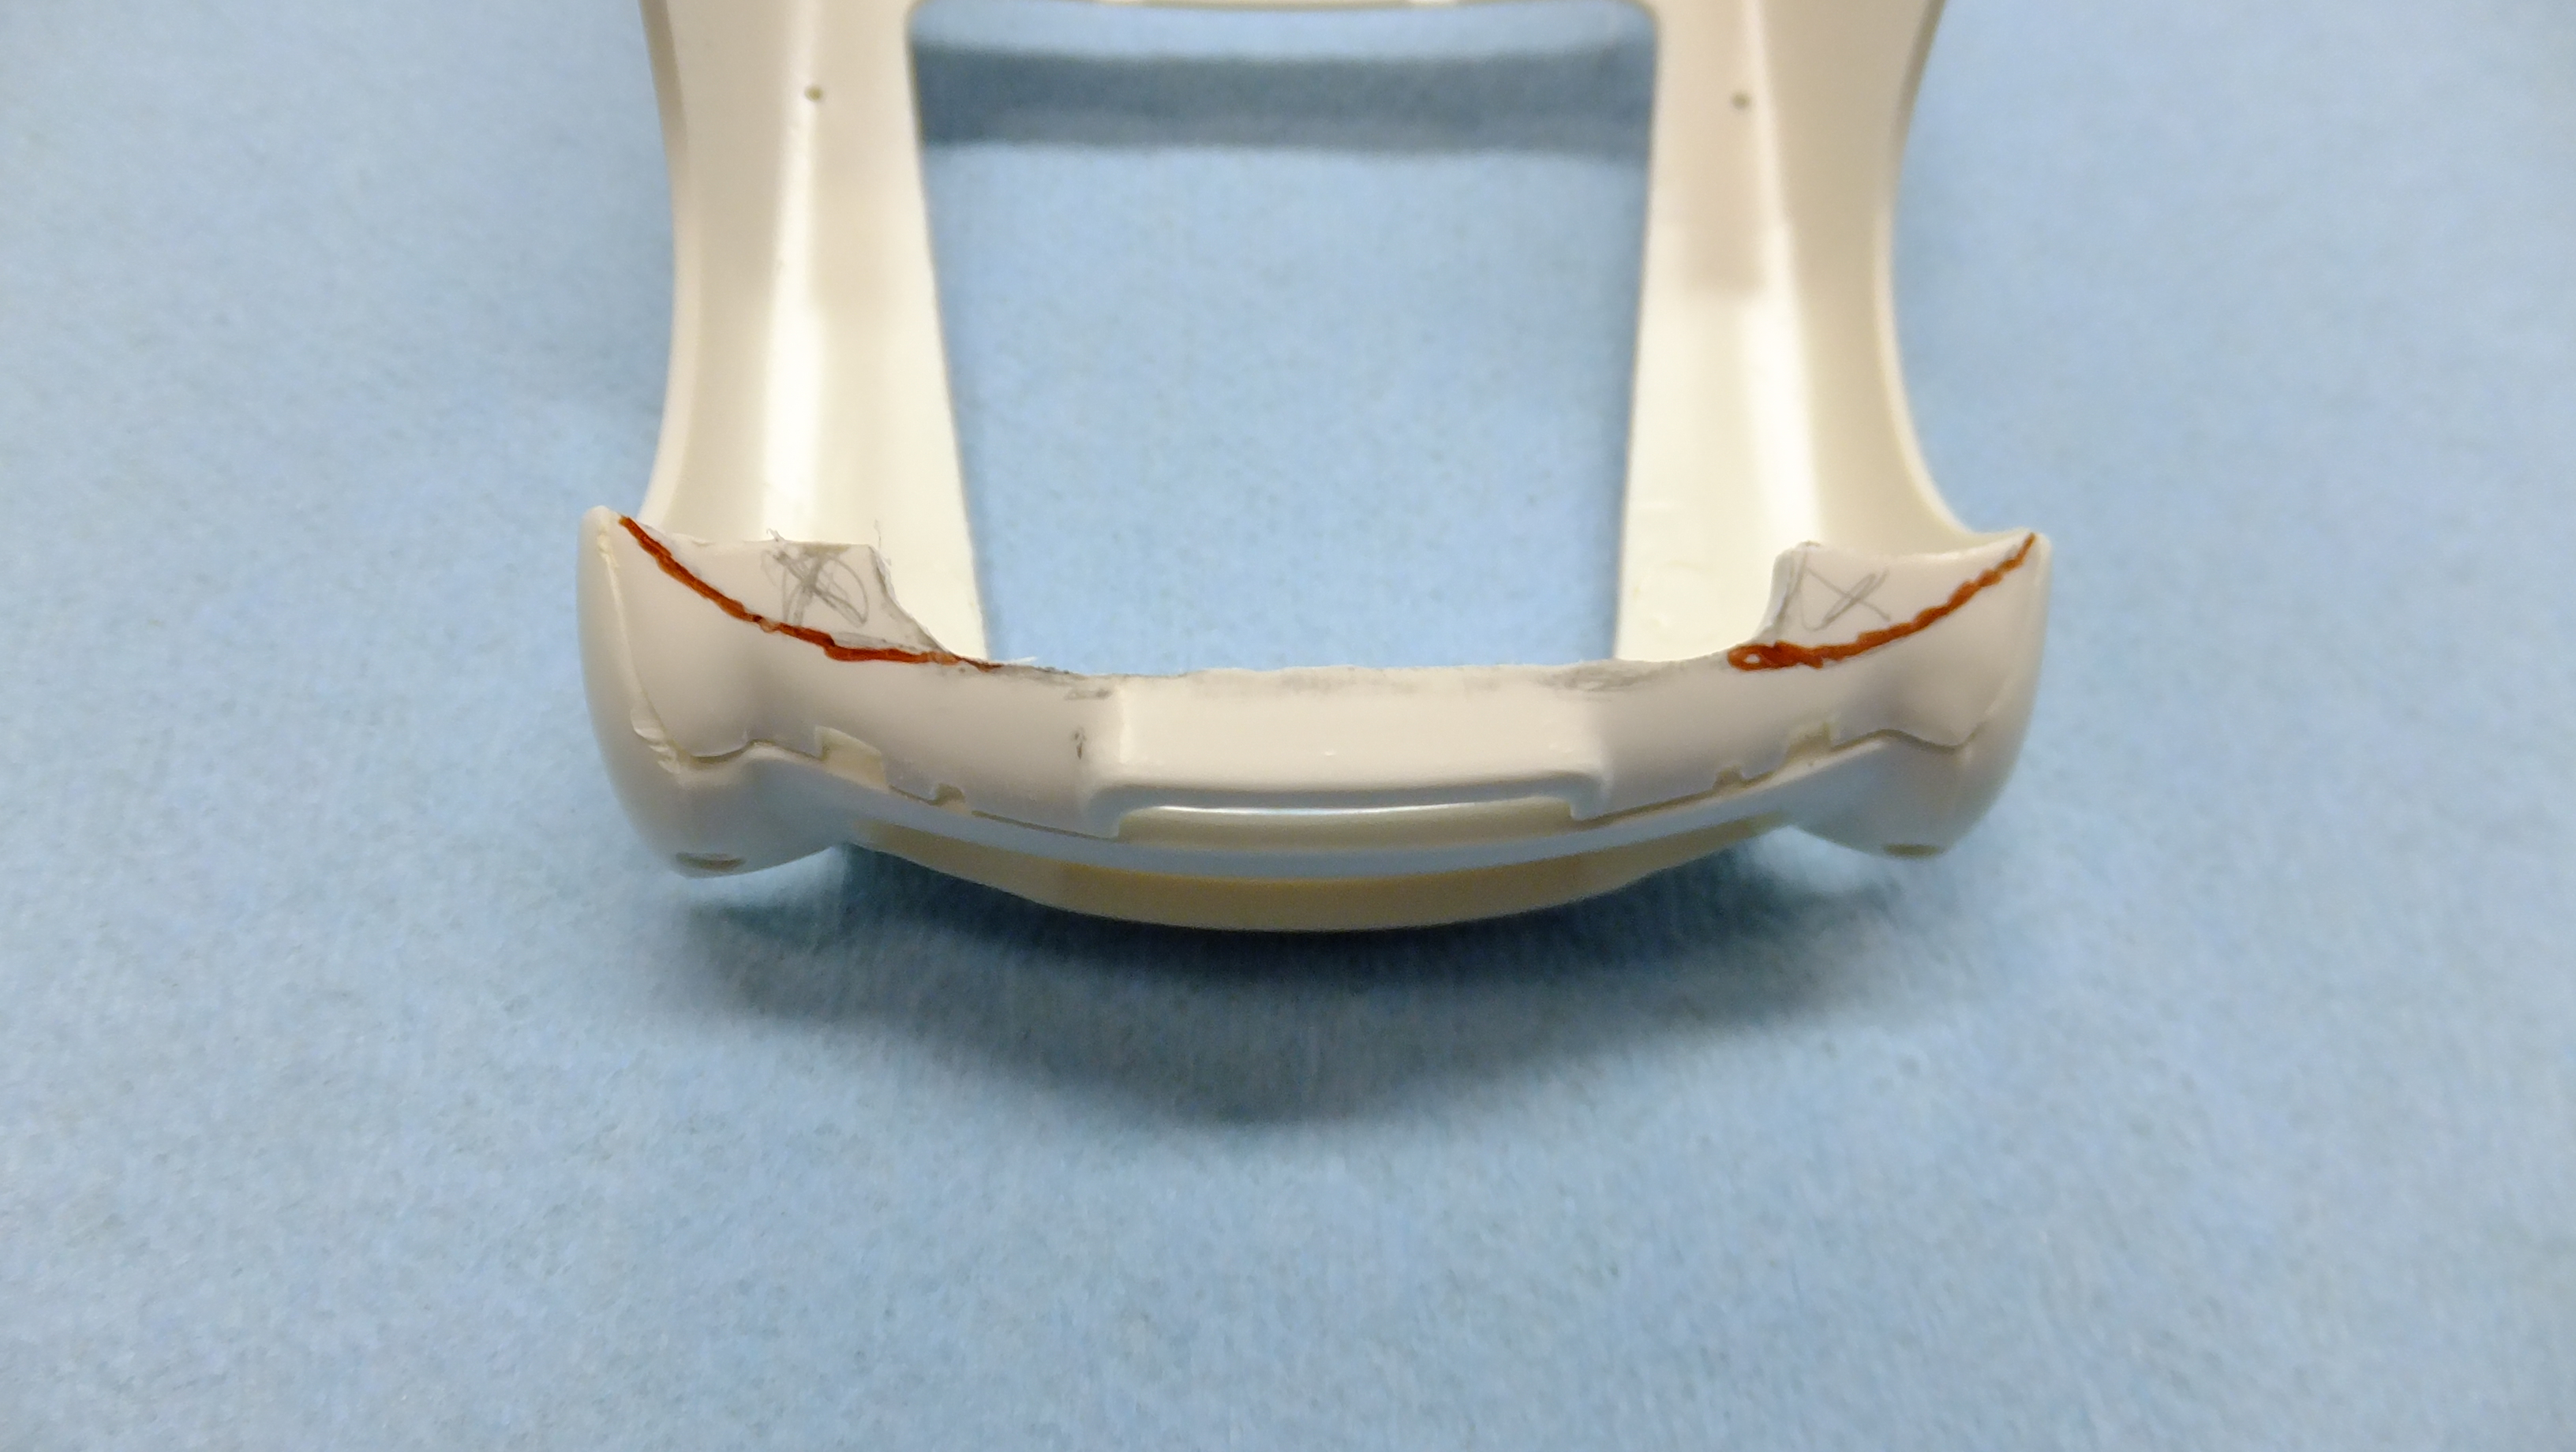
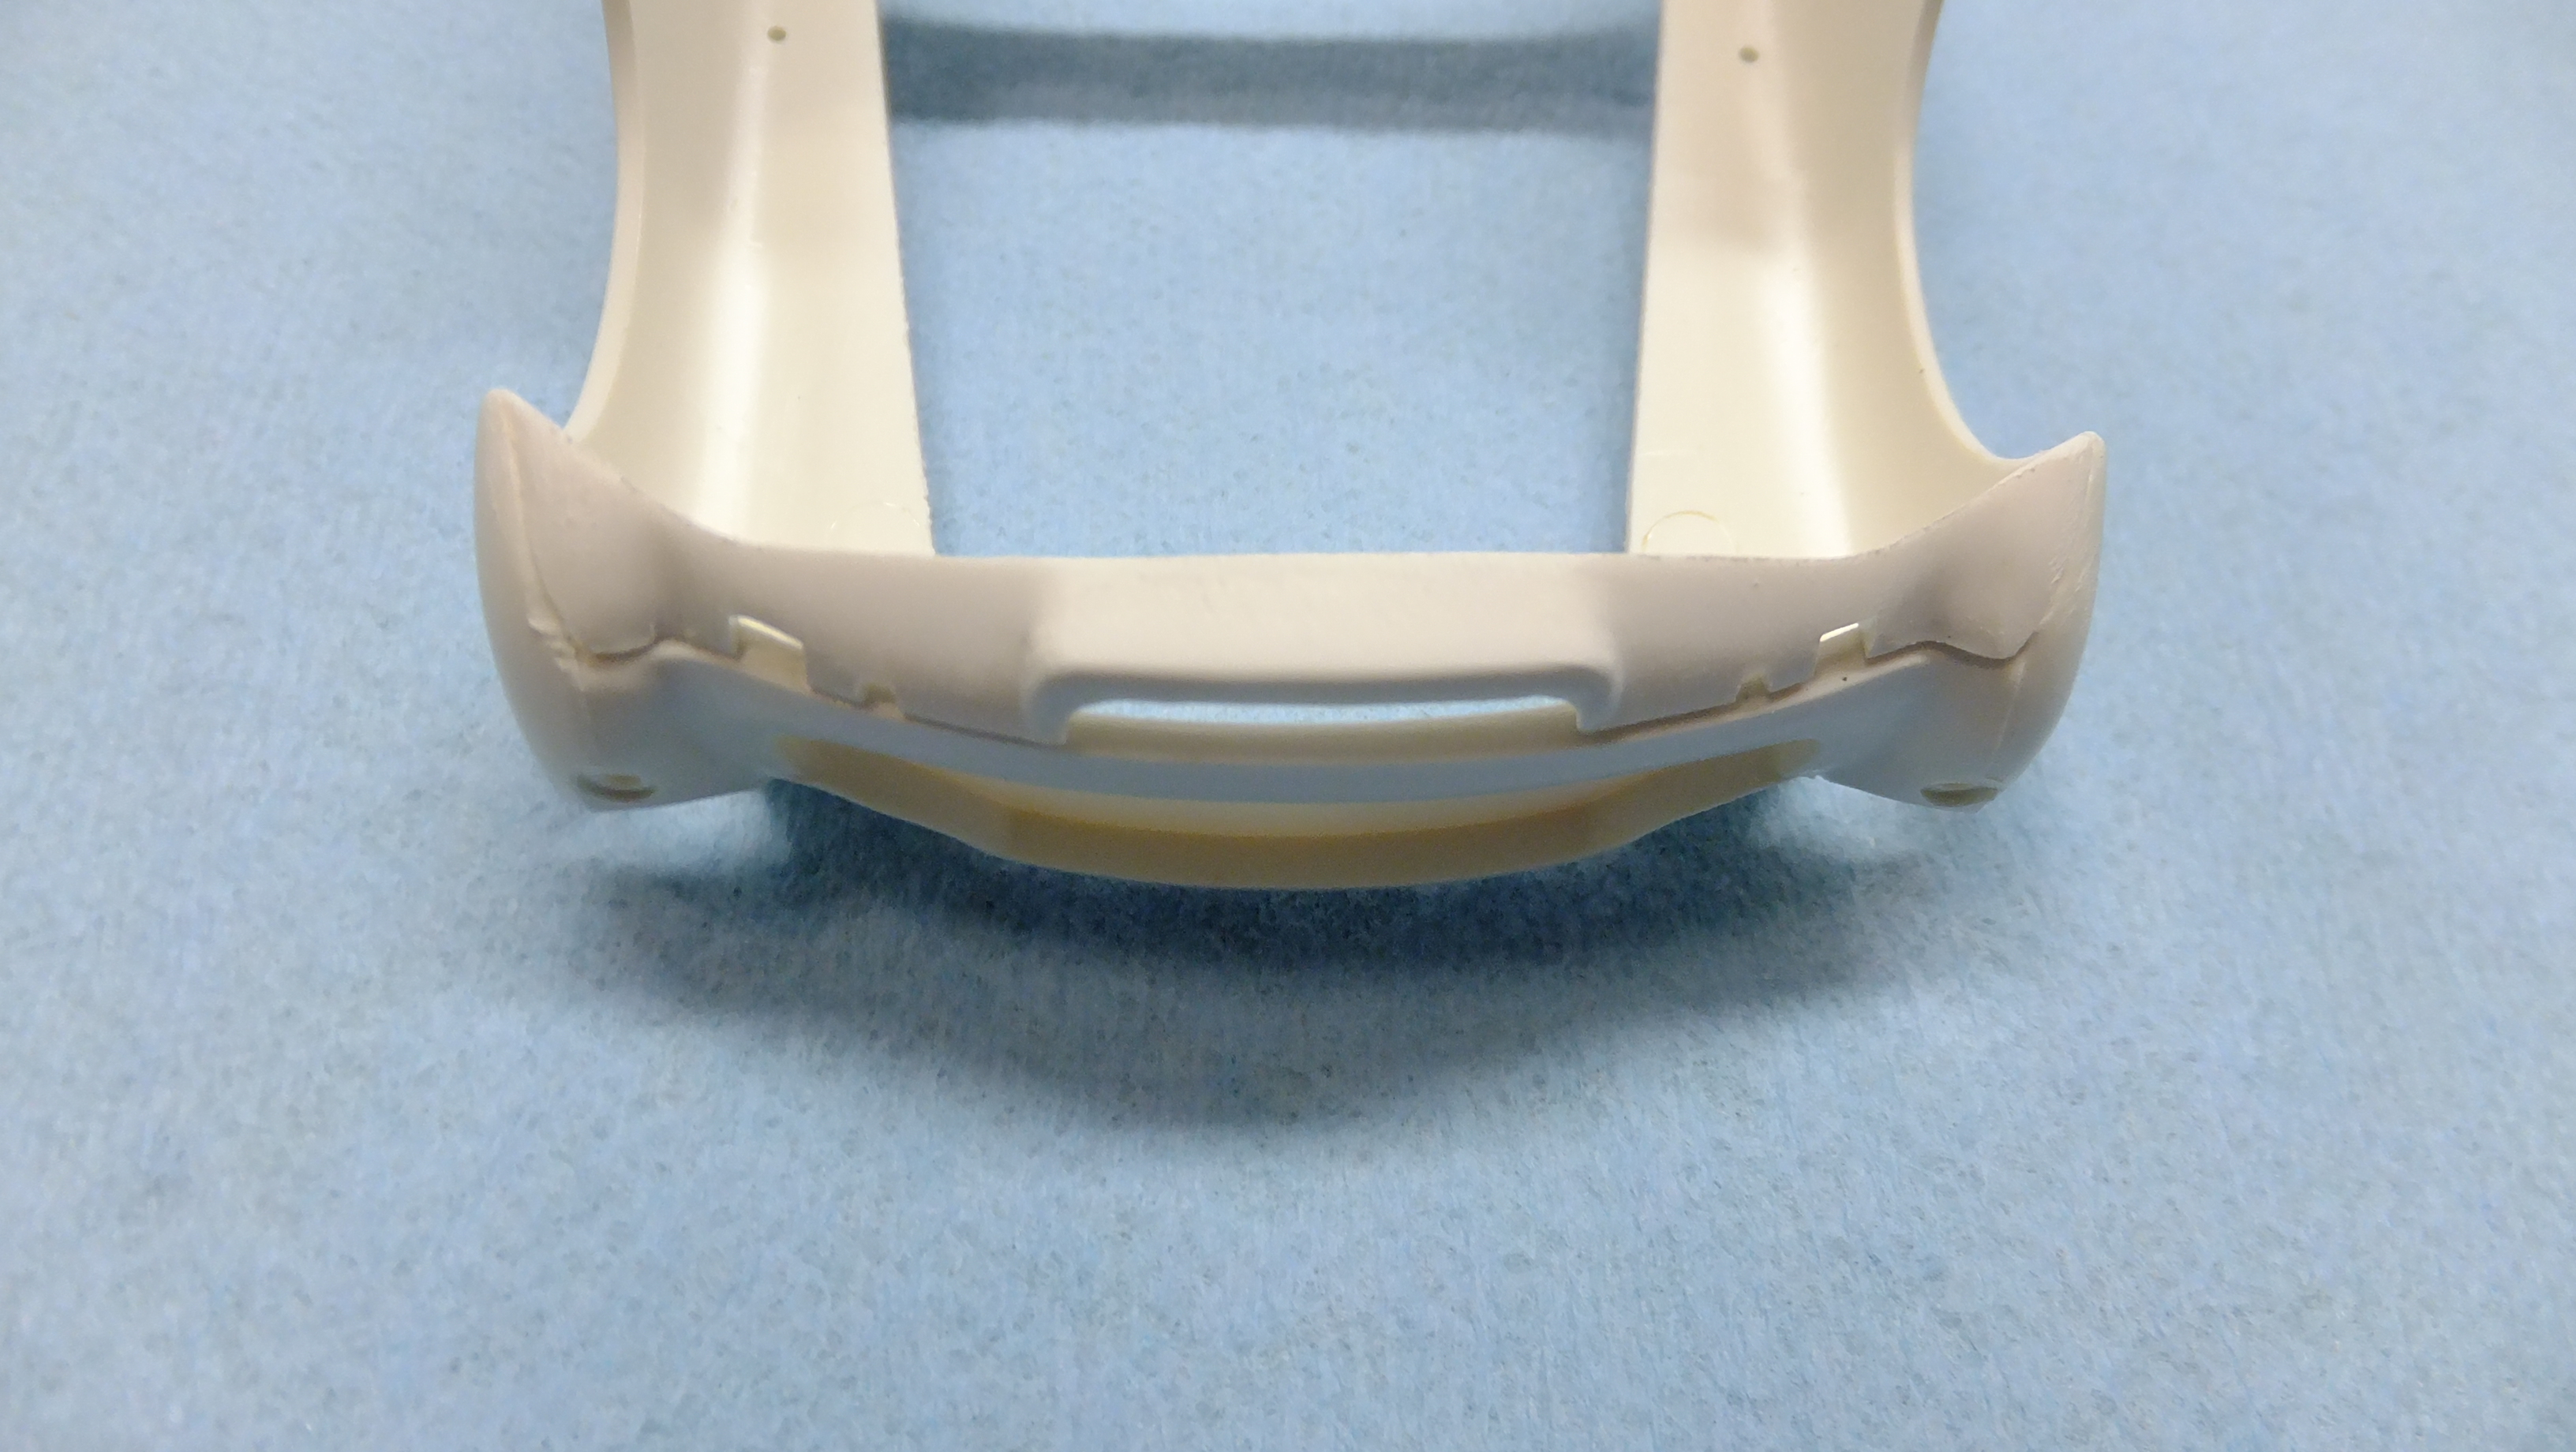
Got some more work done today!; -Photo 1; I had to cut off the lower part of the paddles, because the real car didn't have them. Srange thing to have to do.... -Photo 4; I had to etch a seam line across the top of the dash, as it is on the real deal. -Photo 5; Since the doors open, I needed to etch-in the seam lines on the sides of the dash. -Photo 6; Fortunately enough for me, the buckles from a Fujimi Countach kit provded what I needed. It my seem that i'm all about scratchbuilding, but i'd rather NOT have to. -Photo 7; Its really hard to see, but I needed to etch a stitching seam line around the shoulder pads on the door panels.
-
This is a sweet car!!, I will be following!!
-
Fujimi Nissan Skyline R34 25GT Turbo 1:24
Dann Tier replied to Funkychiken's topic in WIP: Model Cars
Glad your back at this one, Atin!....its looking BRILLIANT!!!!...its soooooo klose!!! -
Otaki 1/12 Lamborghini Countach Twin Turbo...Mission Statement
Dann Tier replied to Dann Tier's topic in WIP: Model Cars
I finished the seatbelt hardware, and moved on to a factory E-brake, instead of using that weird looking black one that came in the kit...
-
Otaki 1/12 Lamborghini Countach Twin Turbo...Mission Statement
Dann Tier replied to Dann Tier's topic in WIP: Model Cars
Thanks, Chris!! -
Otaki 1/12 Lamborghini Countach Twin Turbo...Mission Statement
Dann Tier replied to Dann Tier's topic in WIP: Model Cars
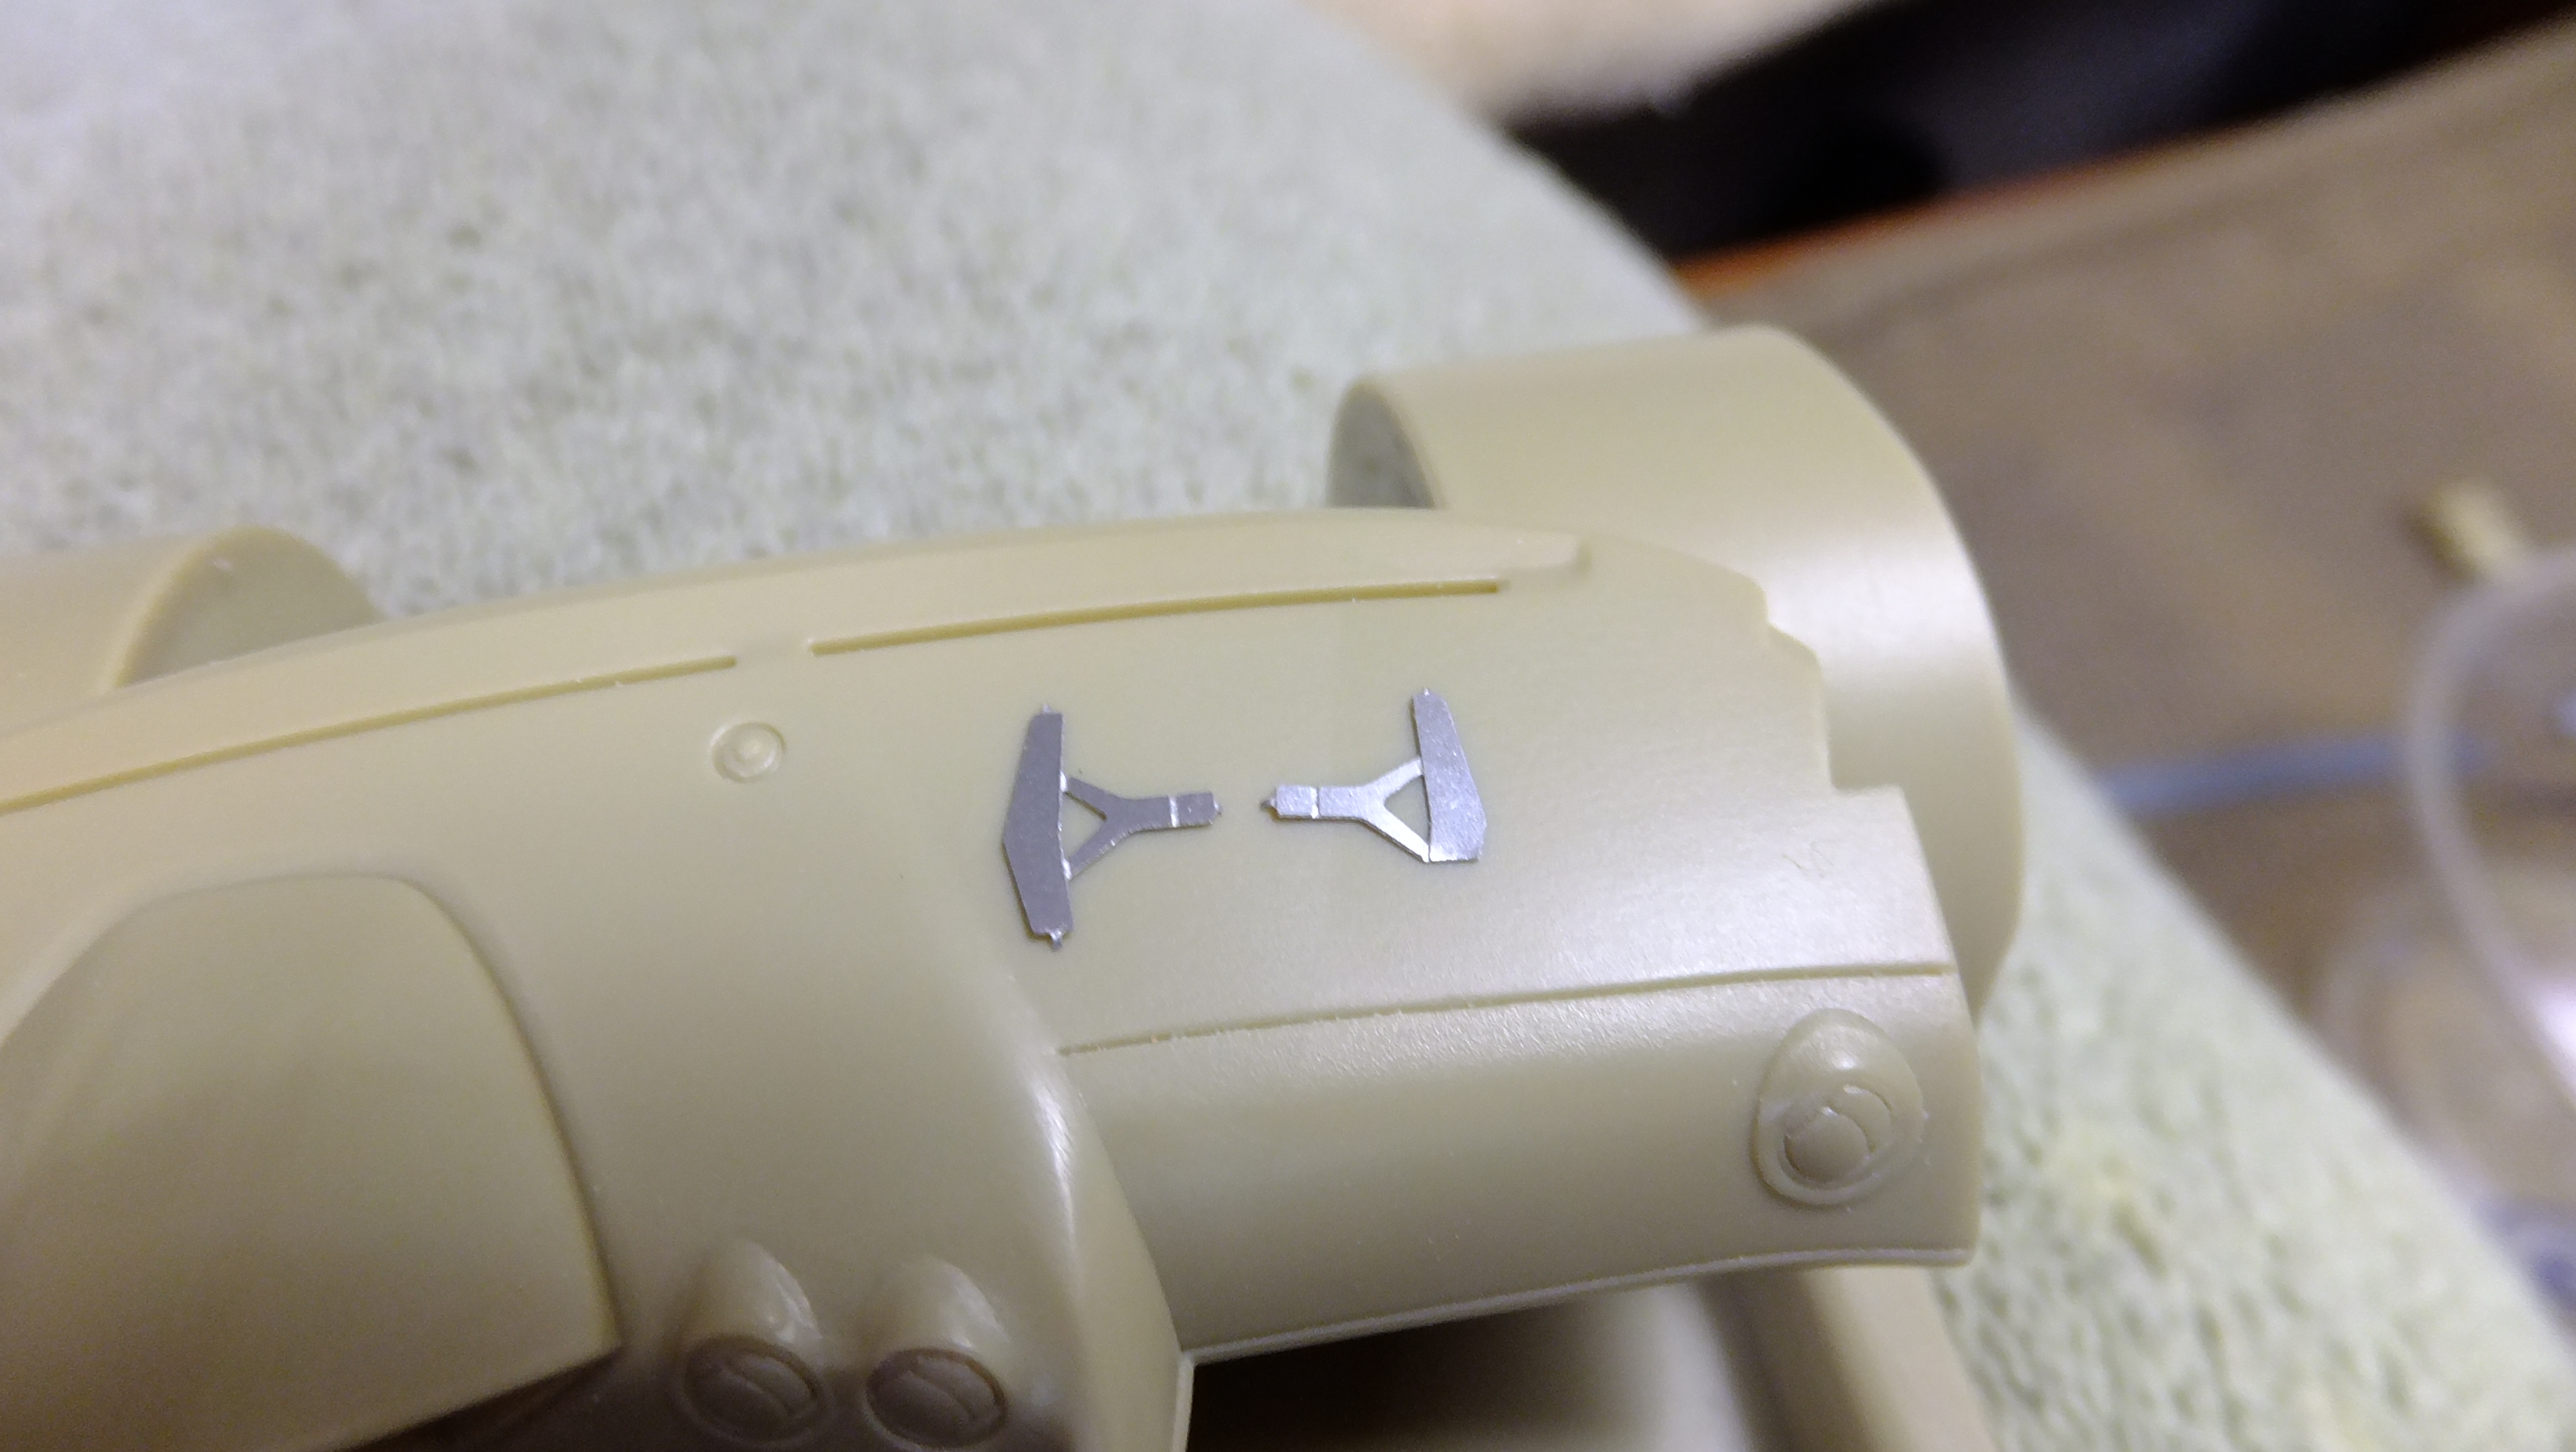
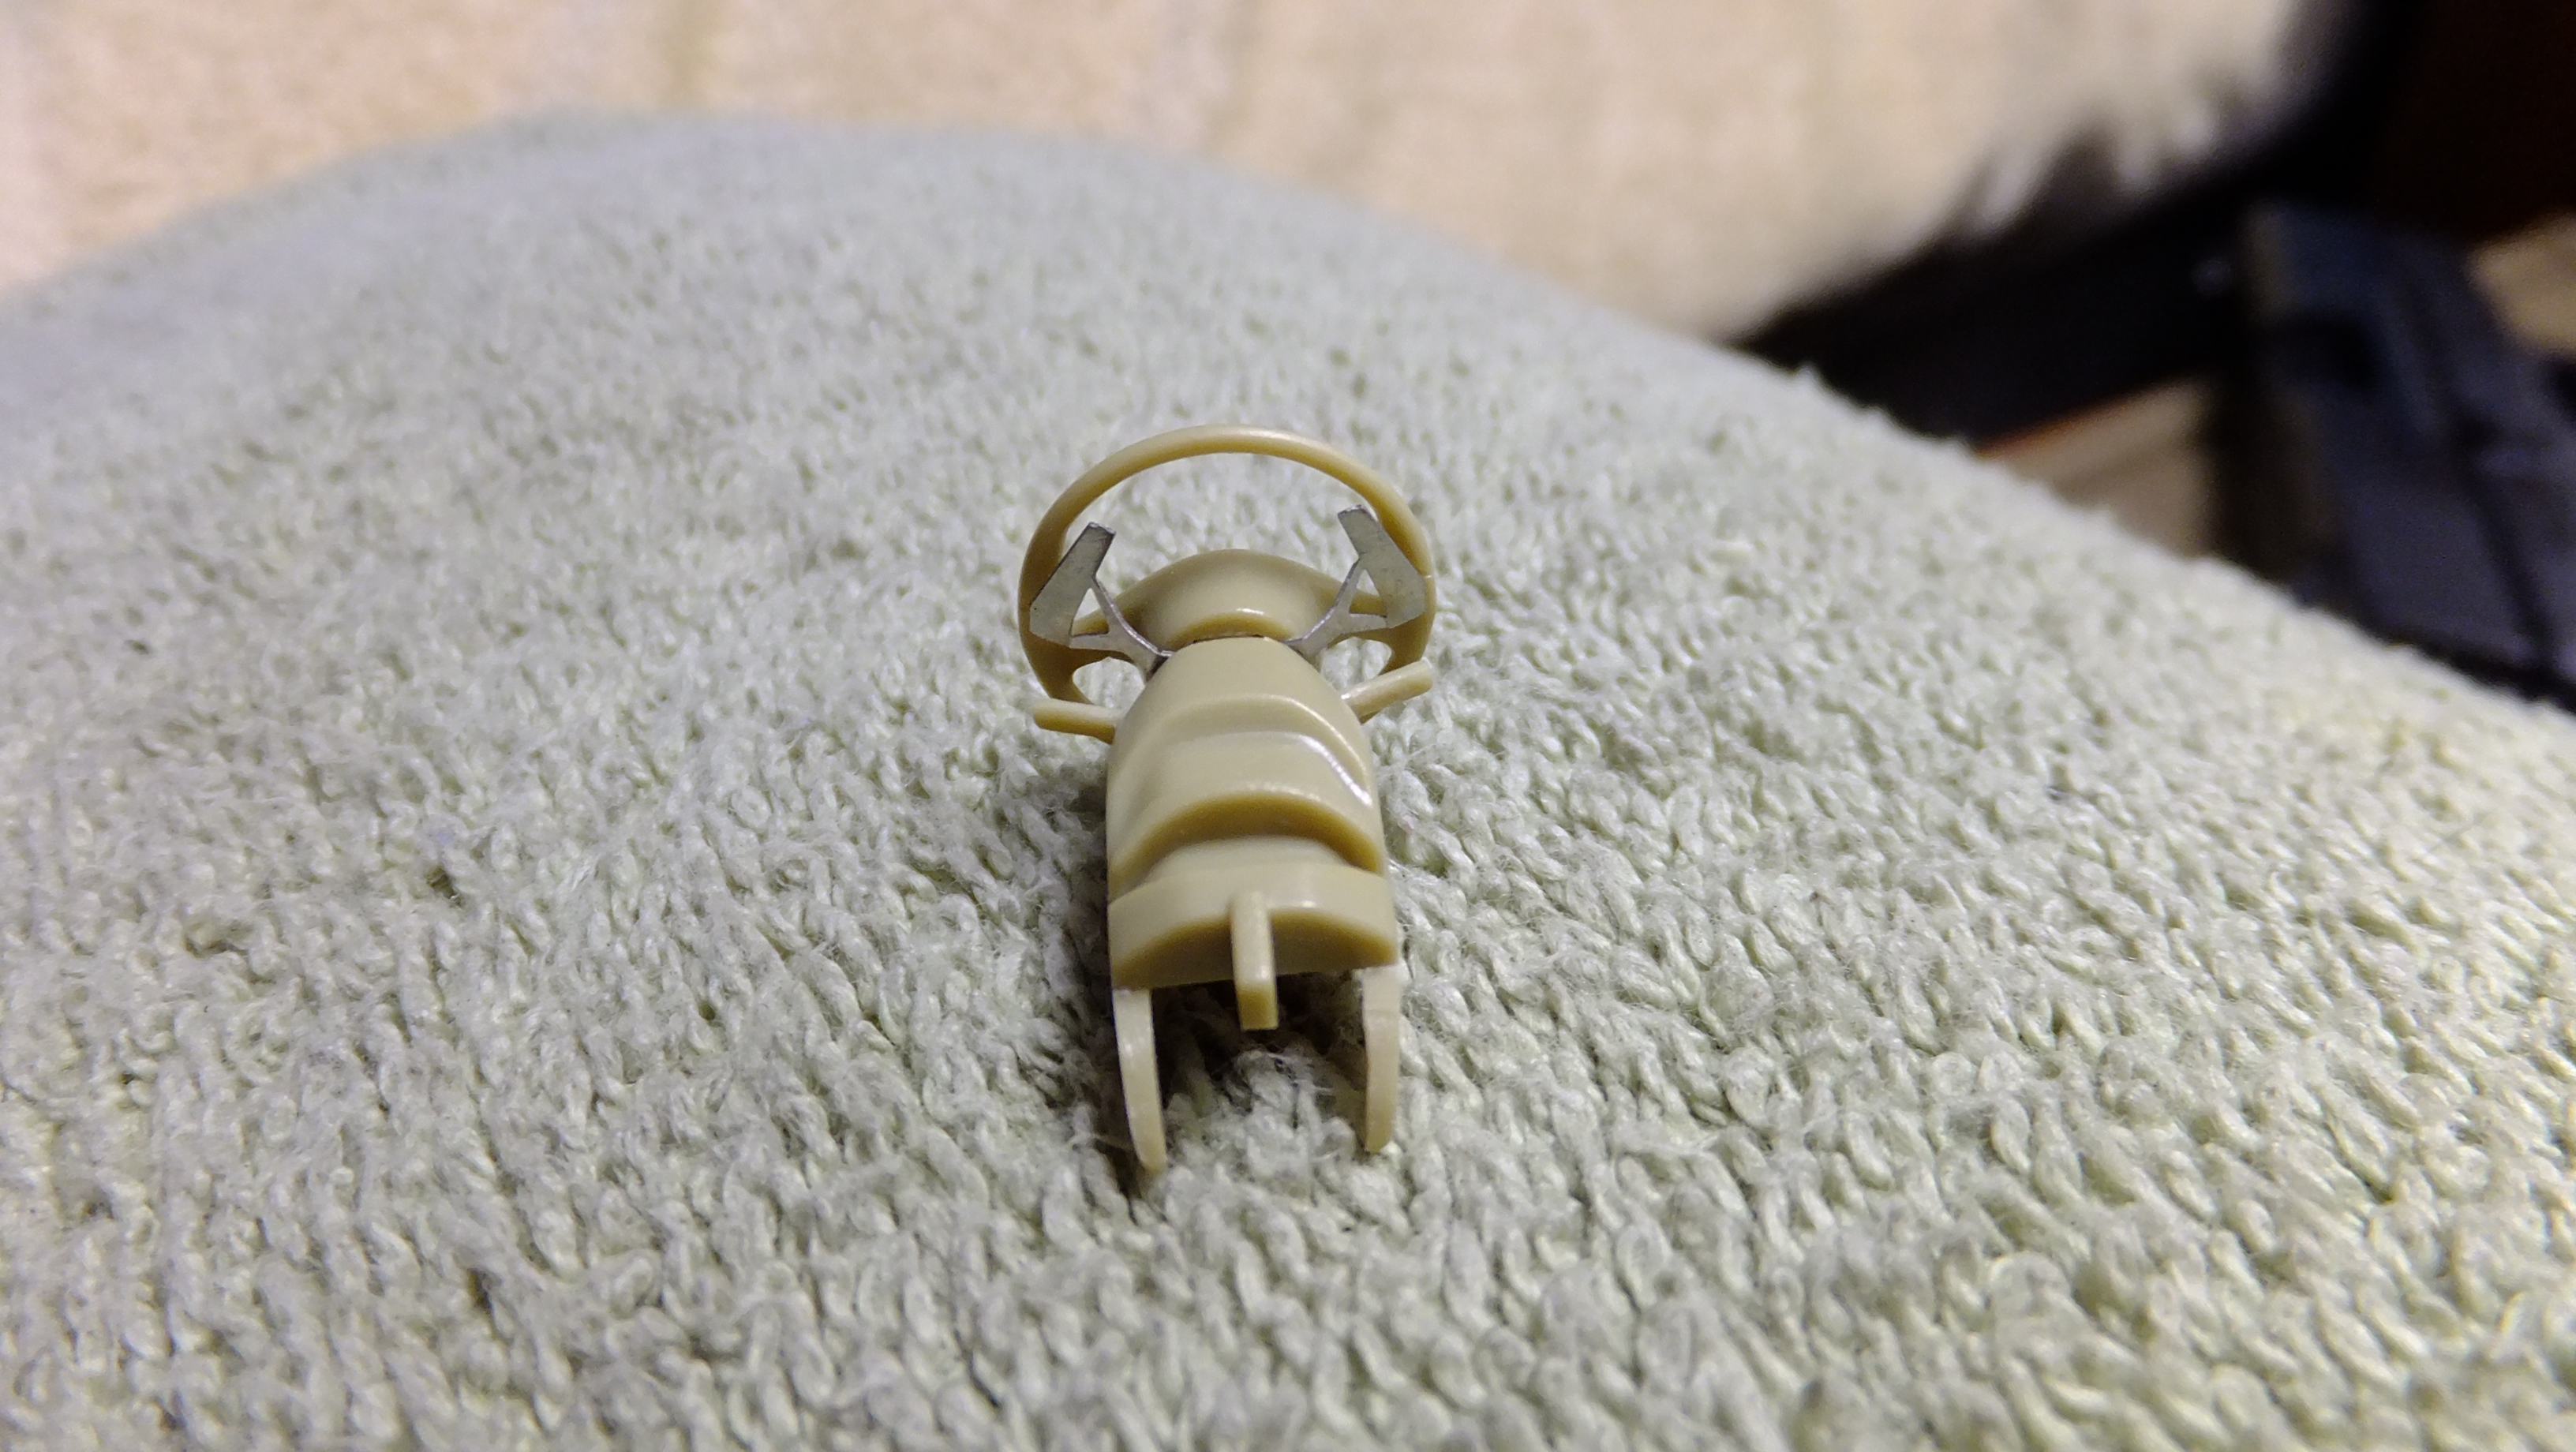
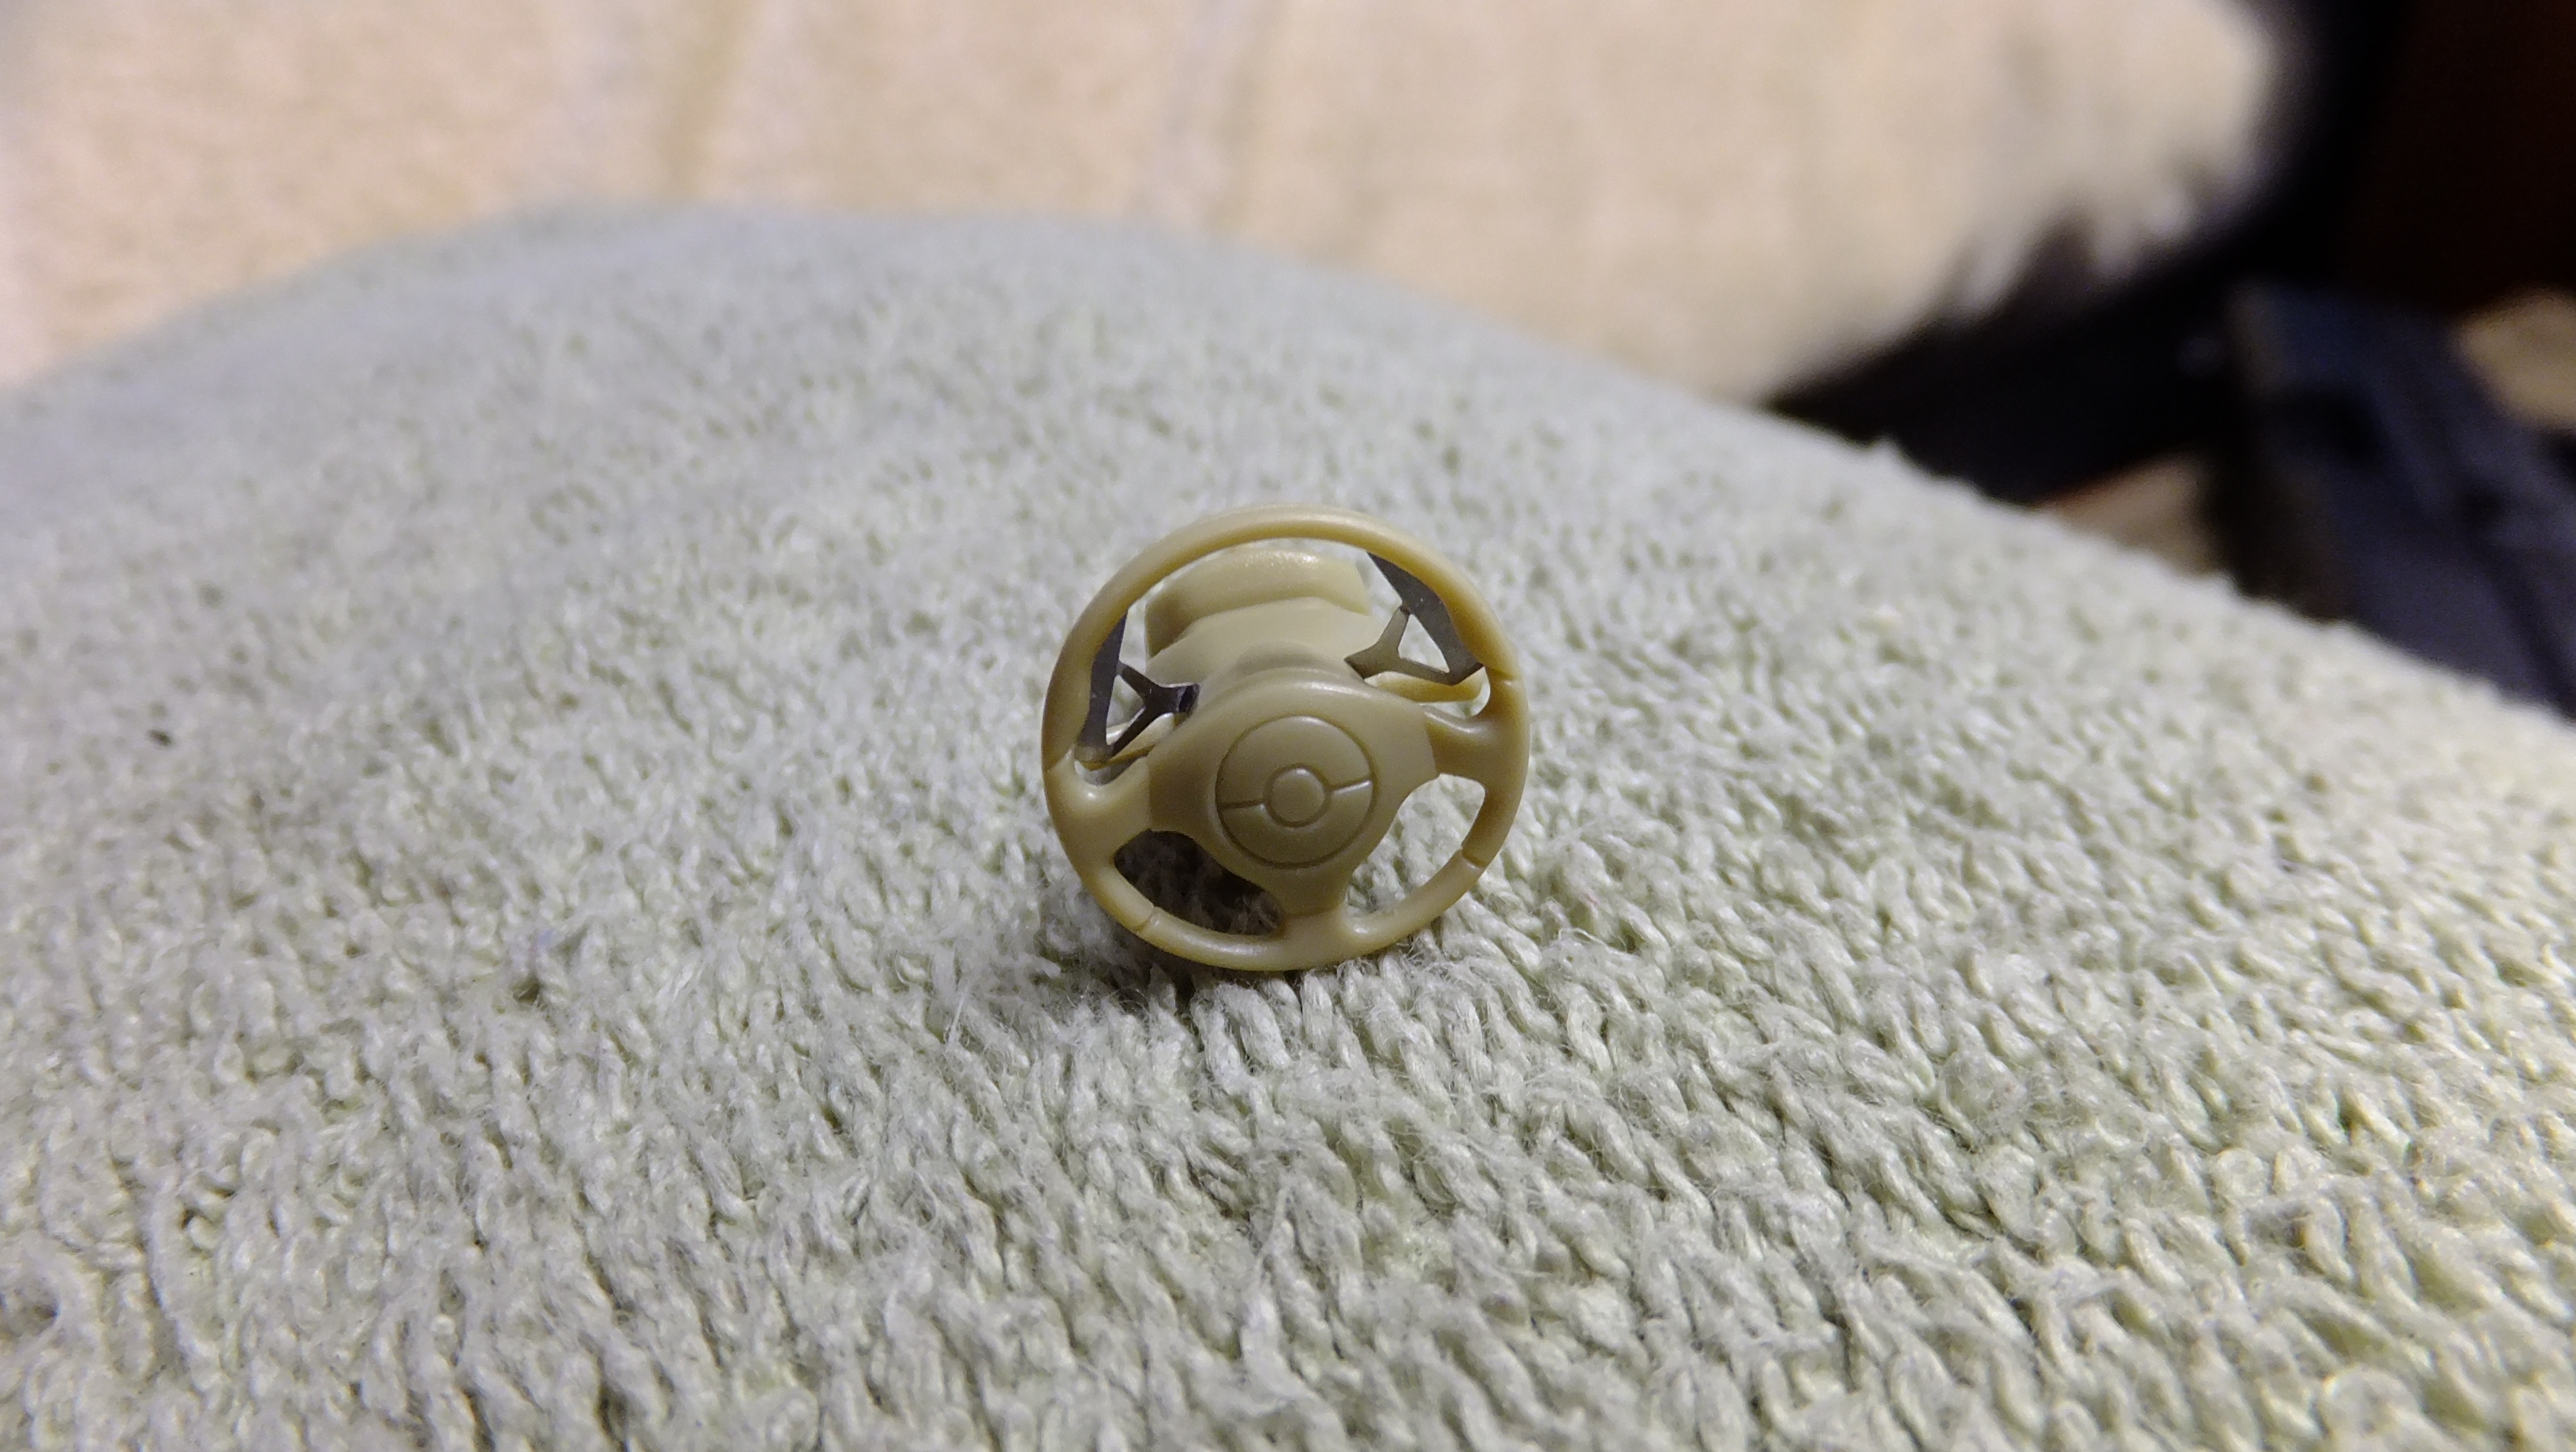
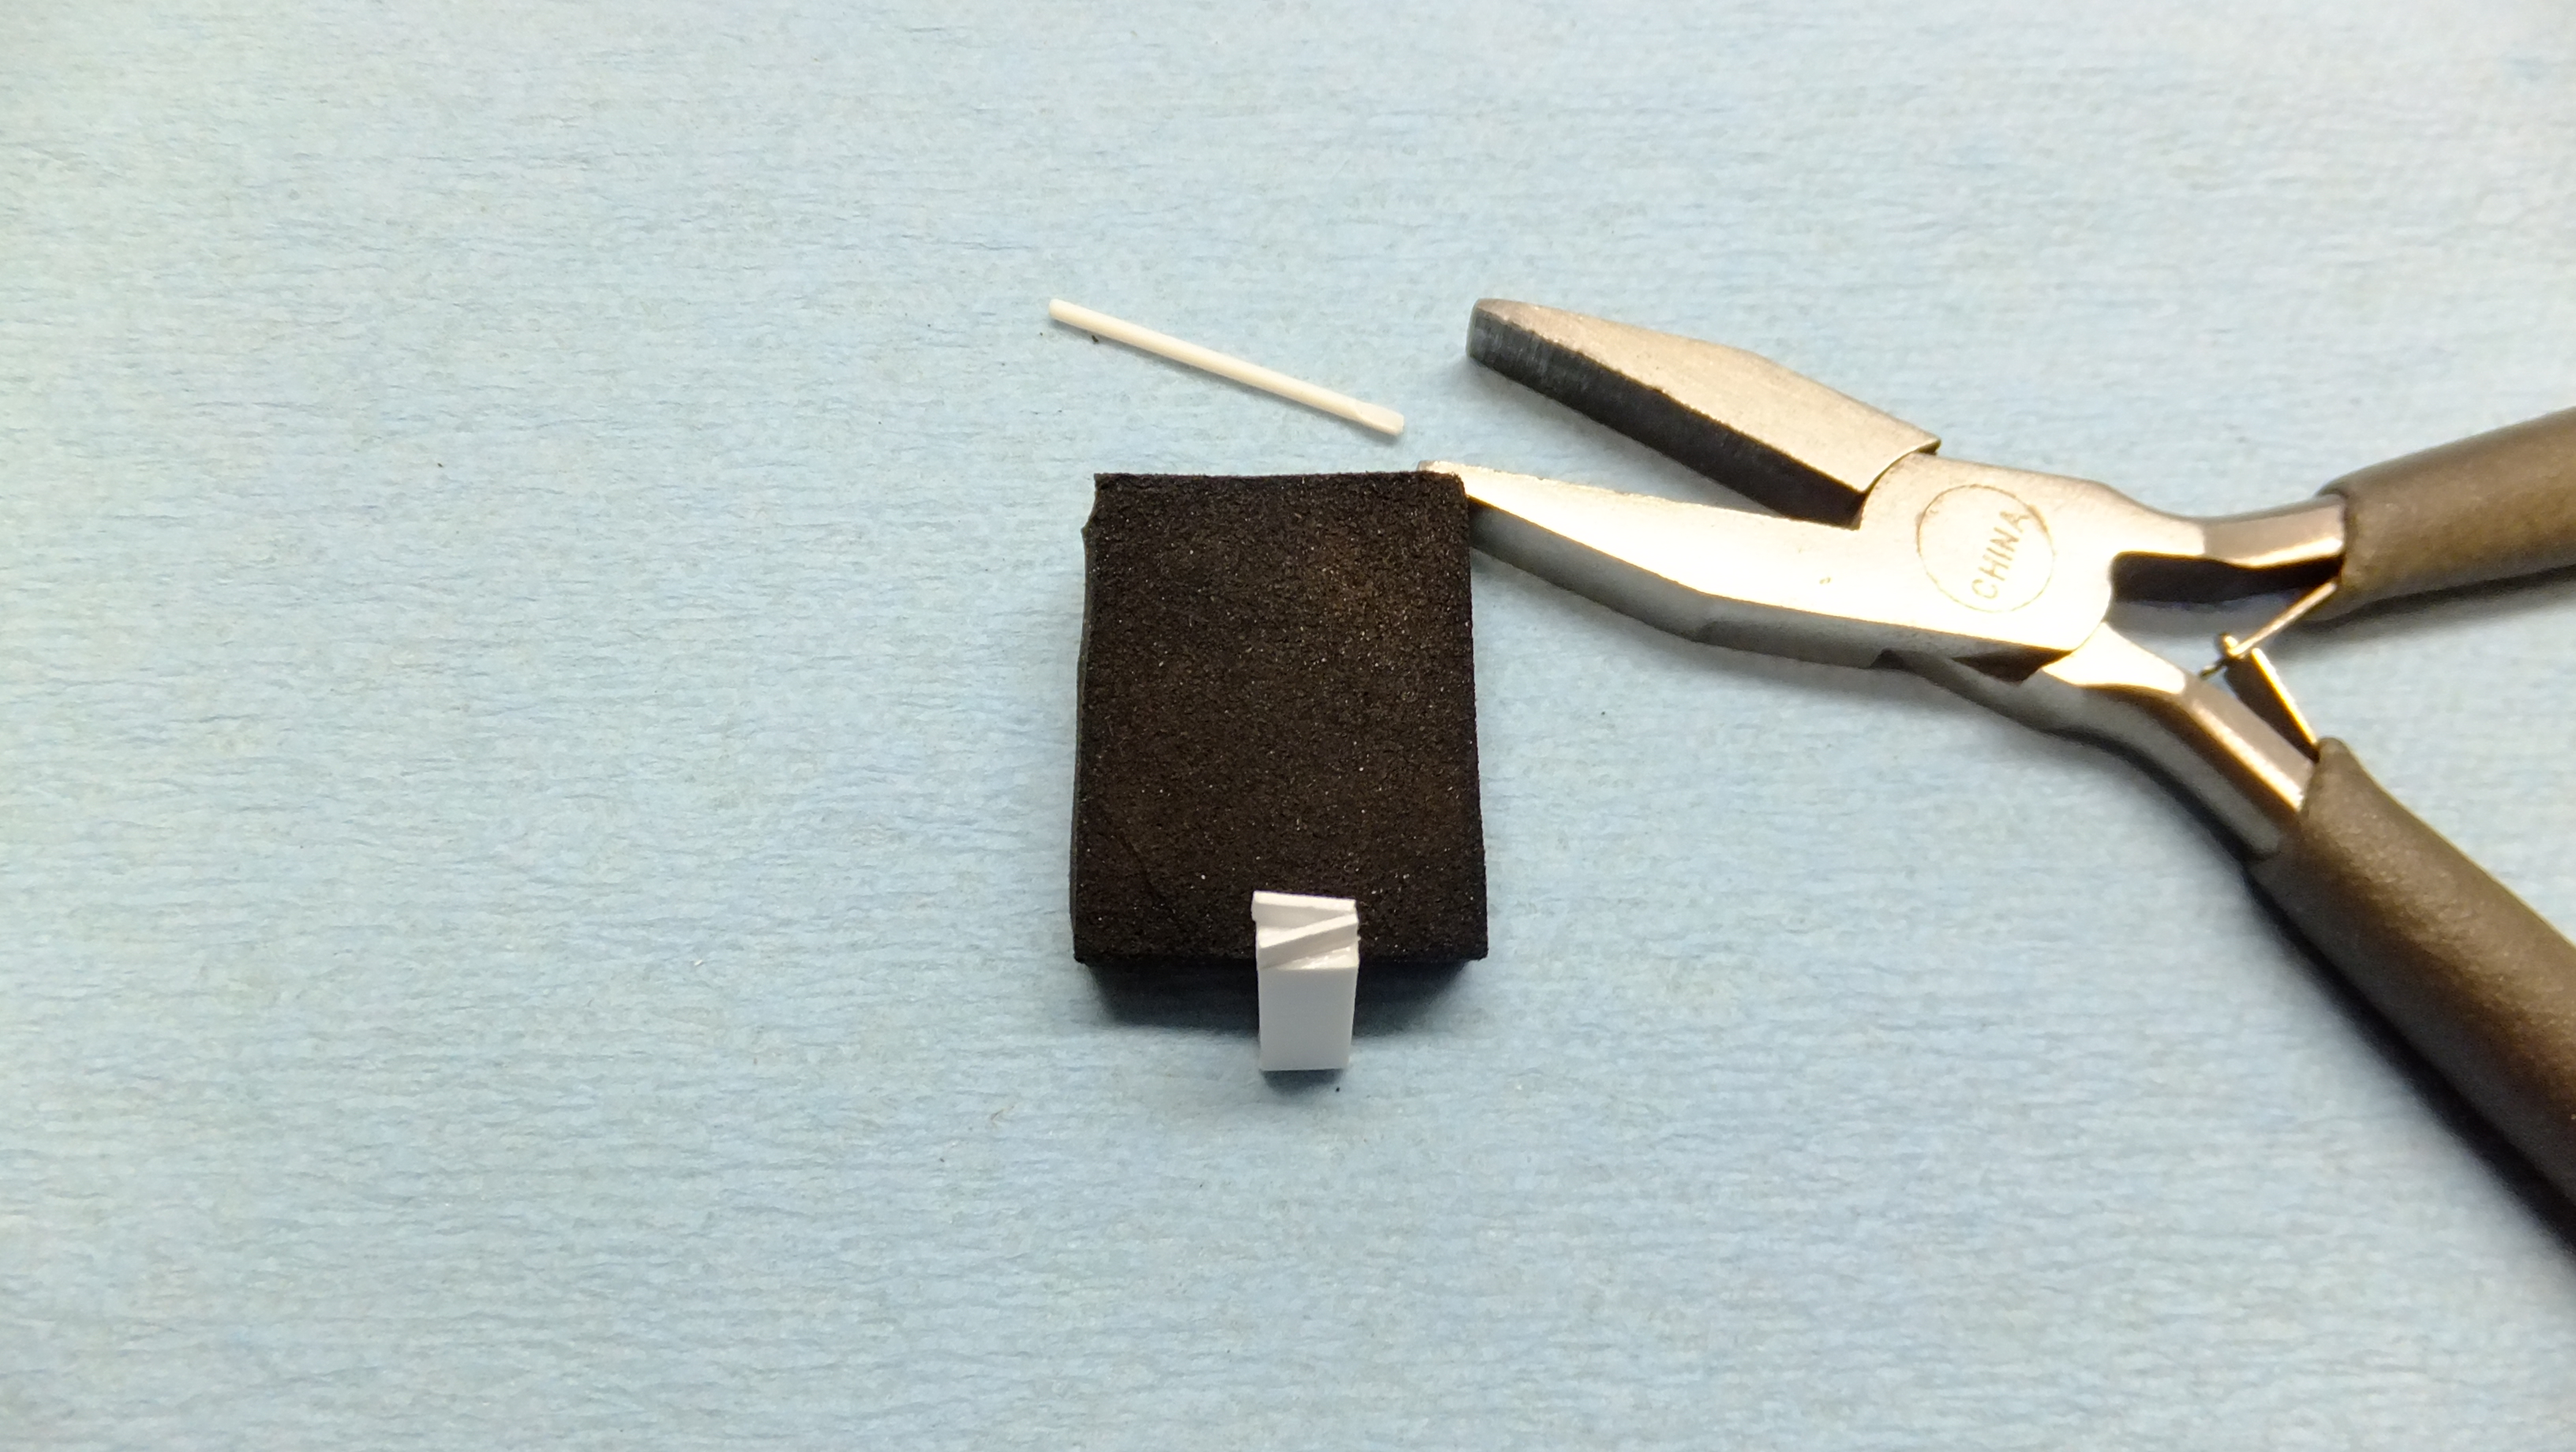
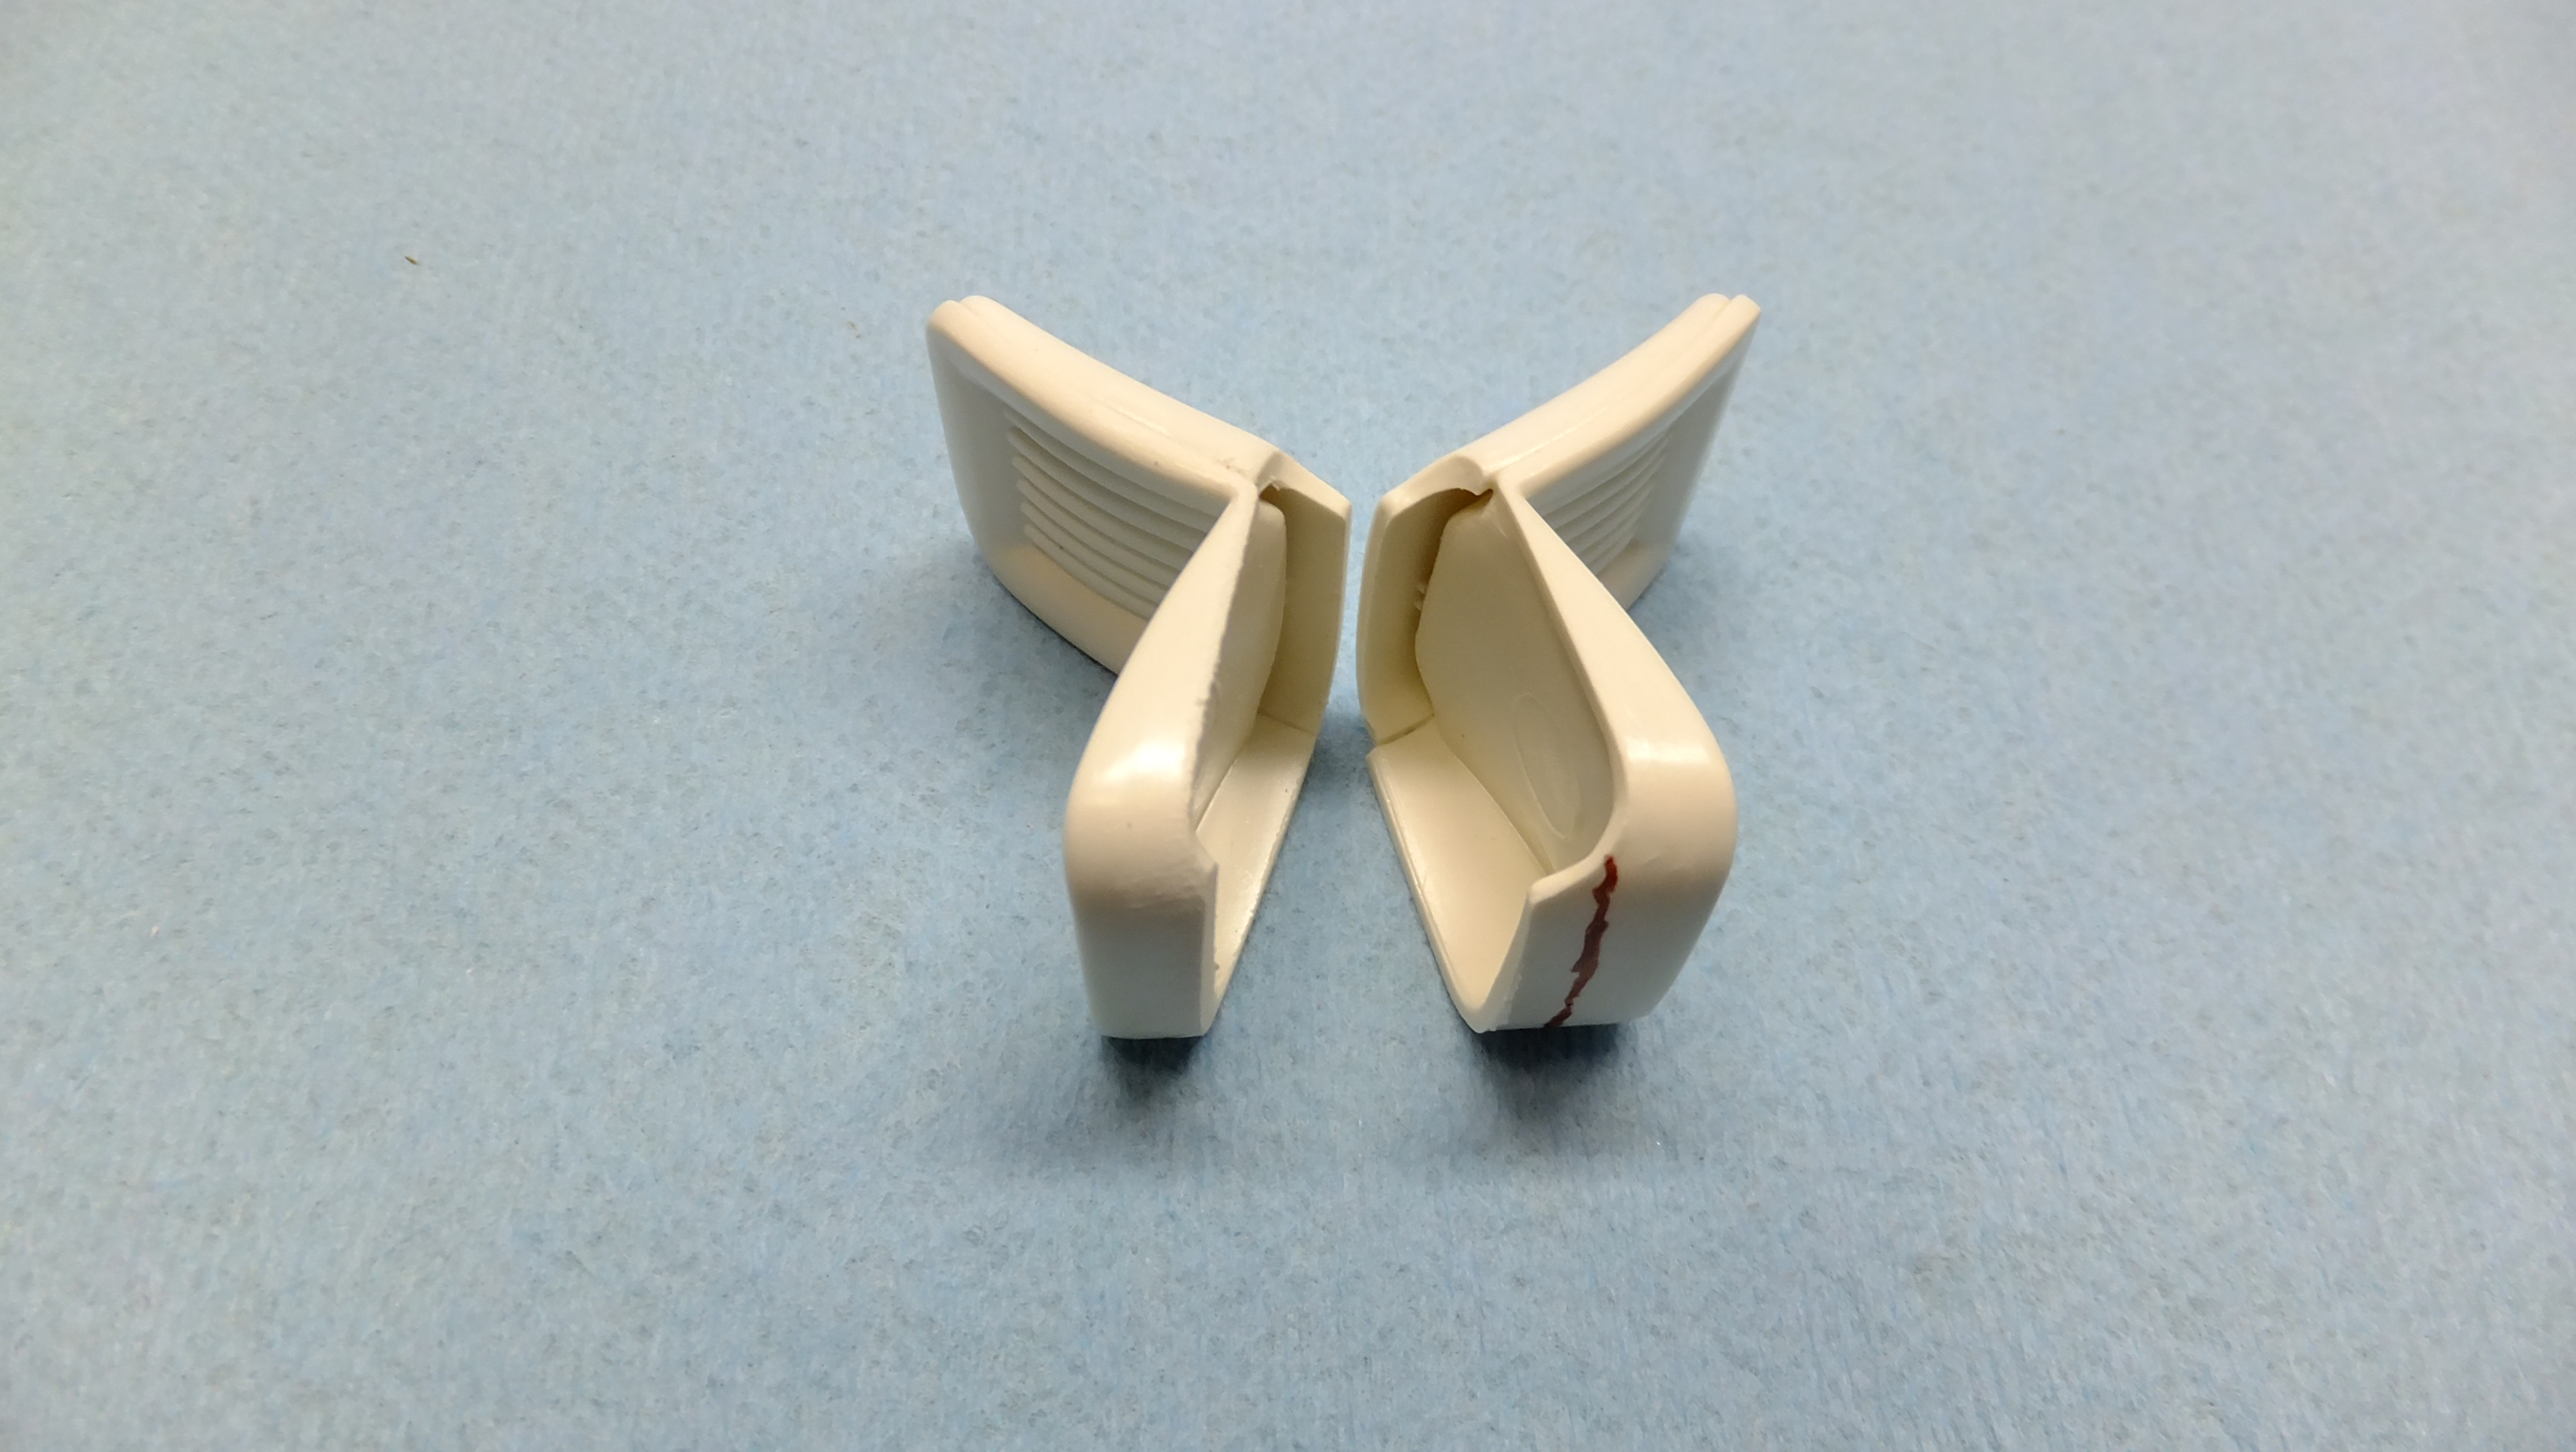
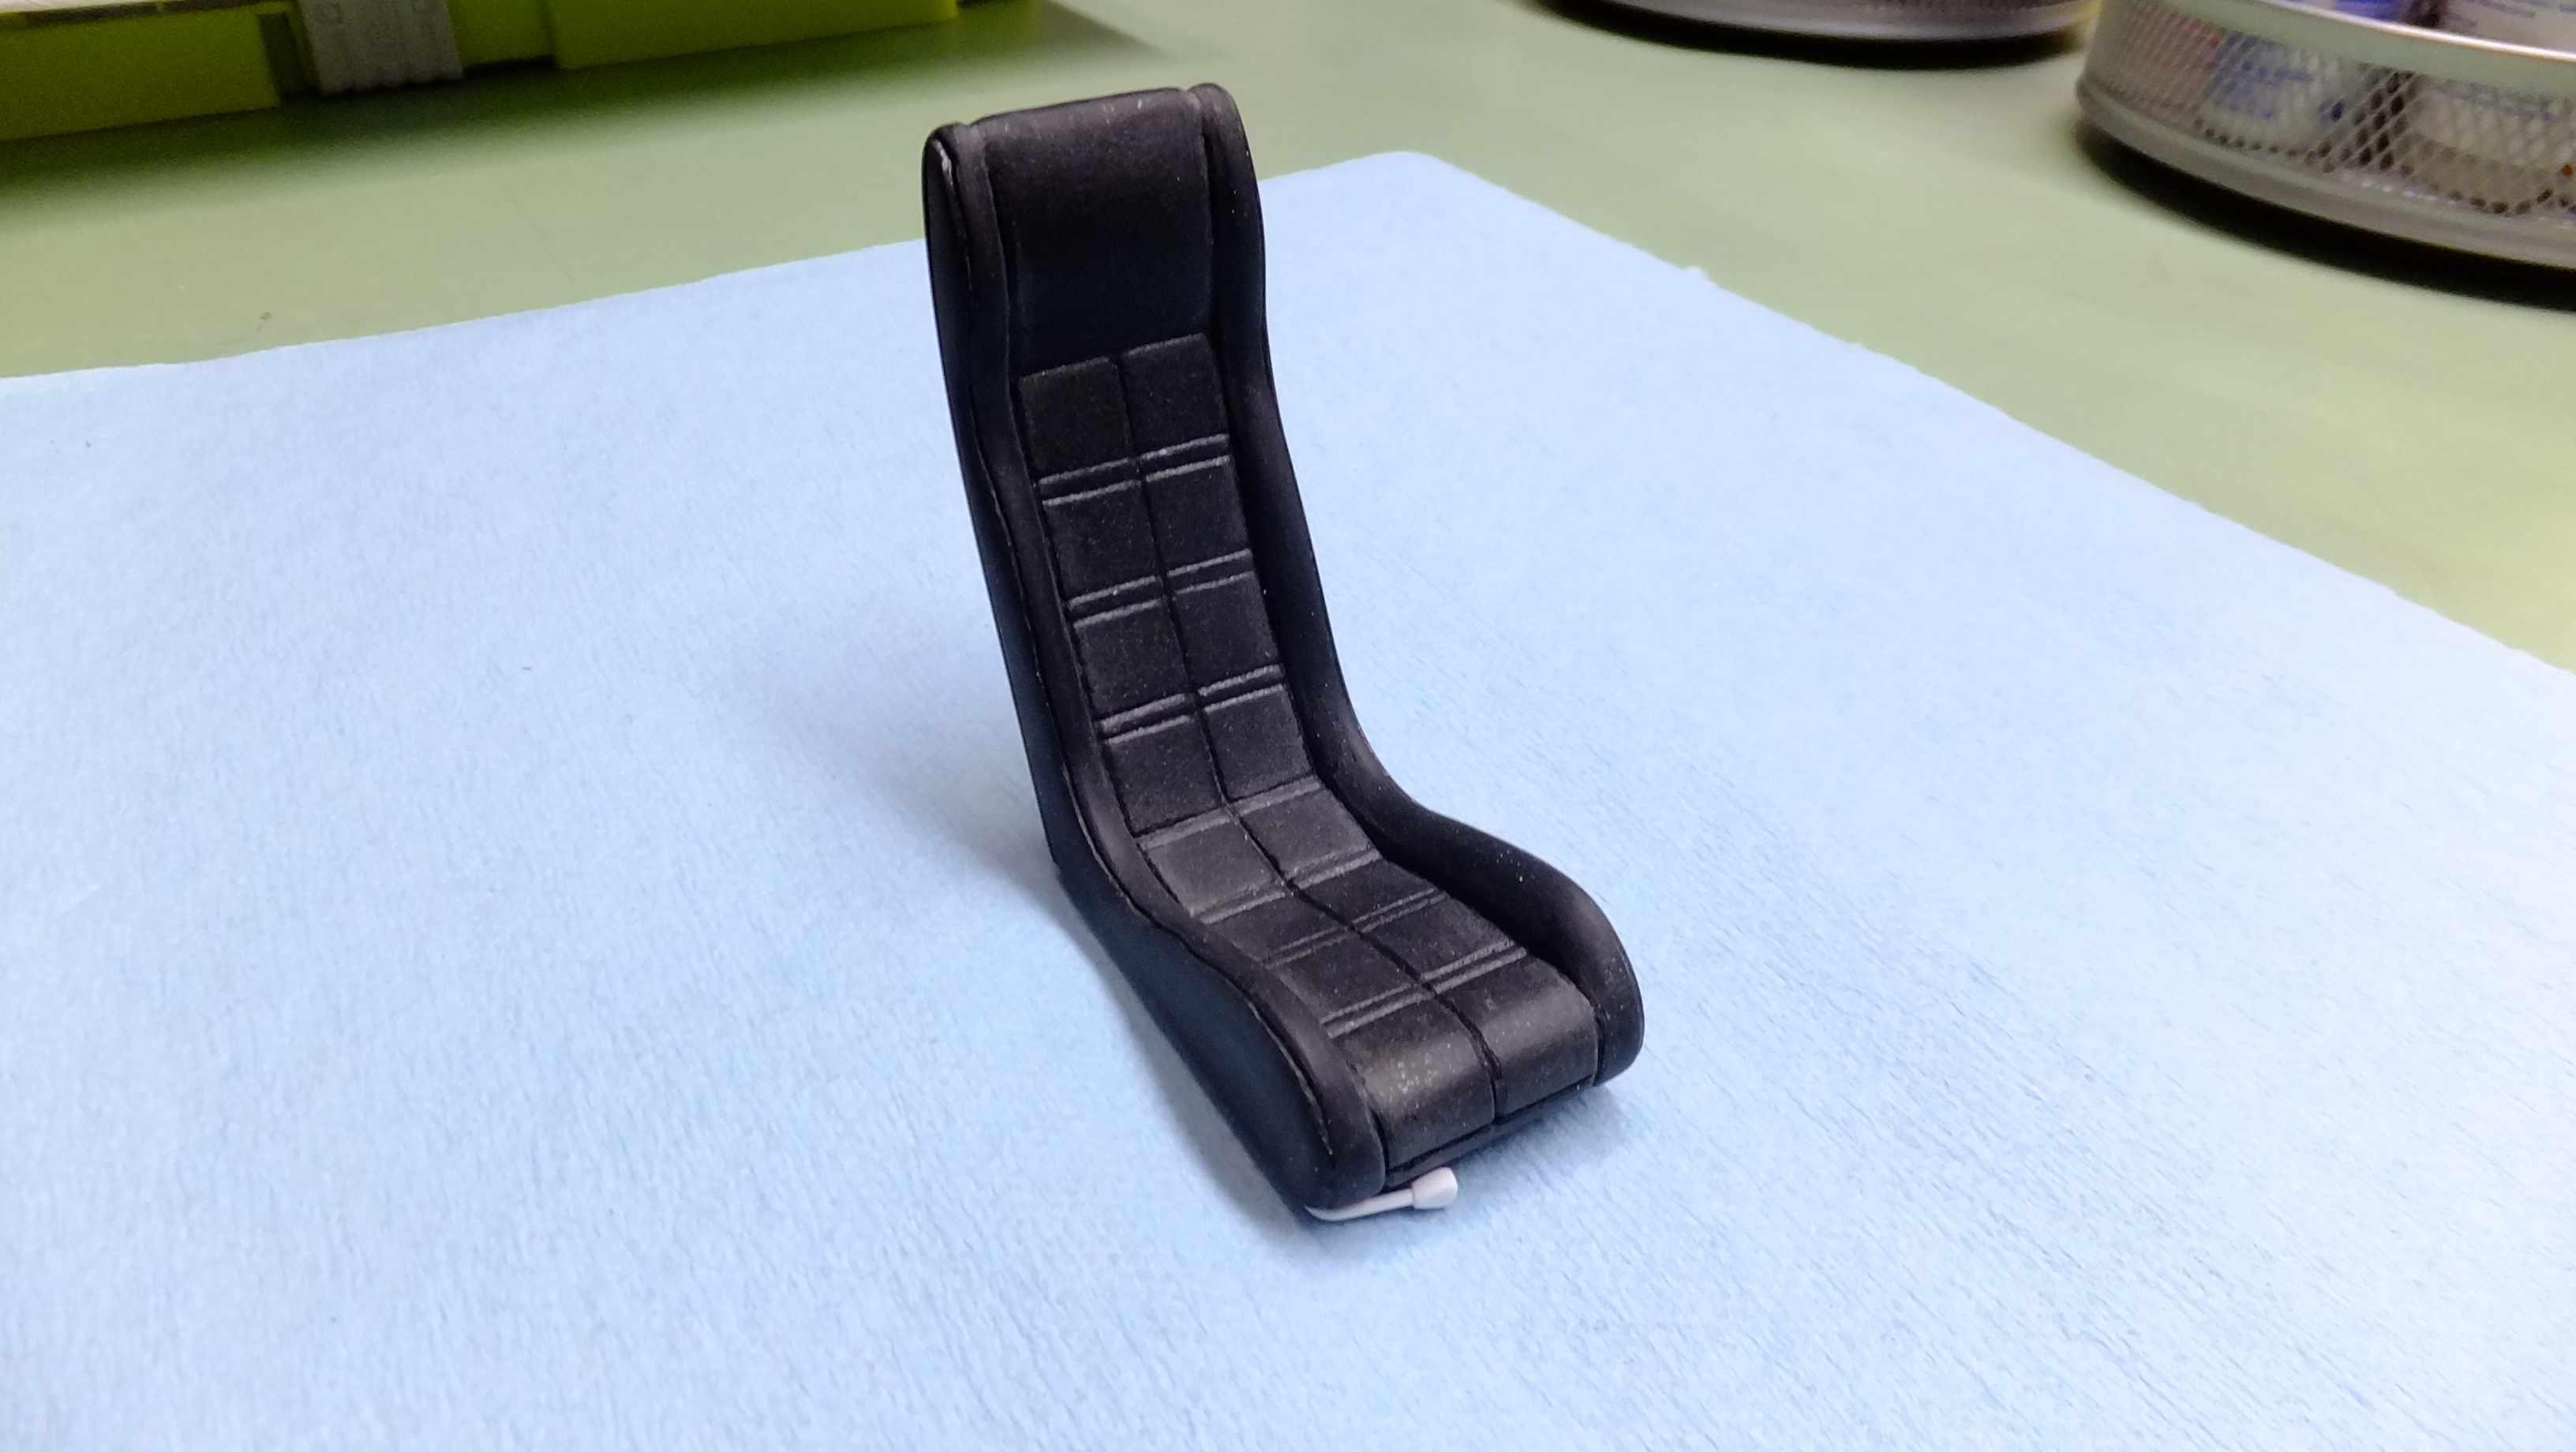
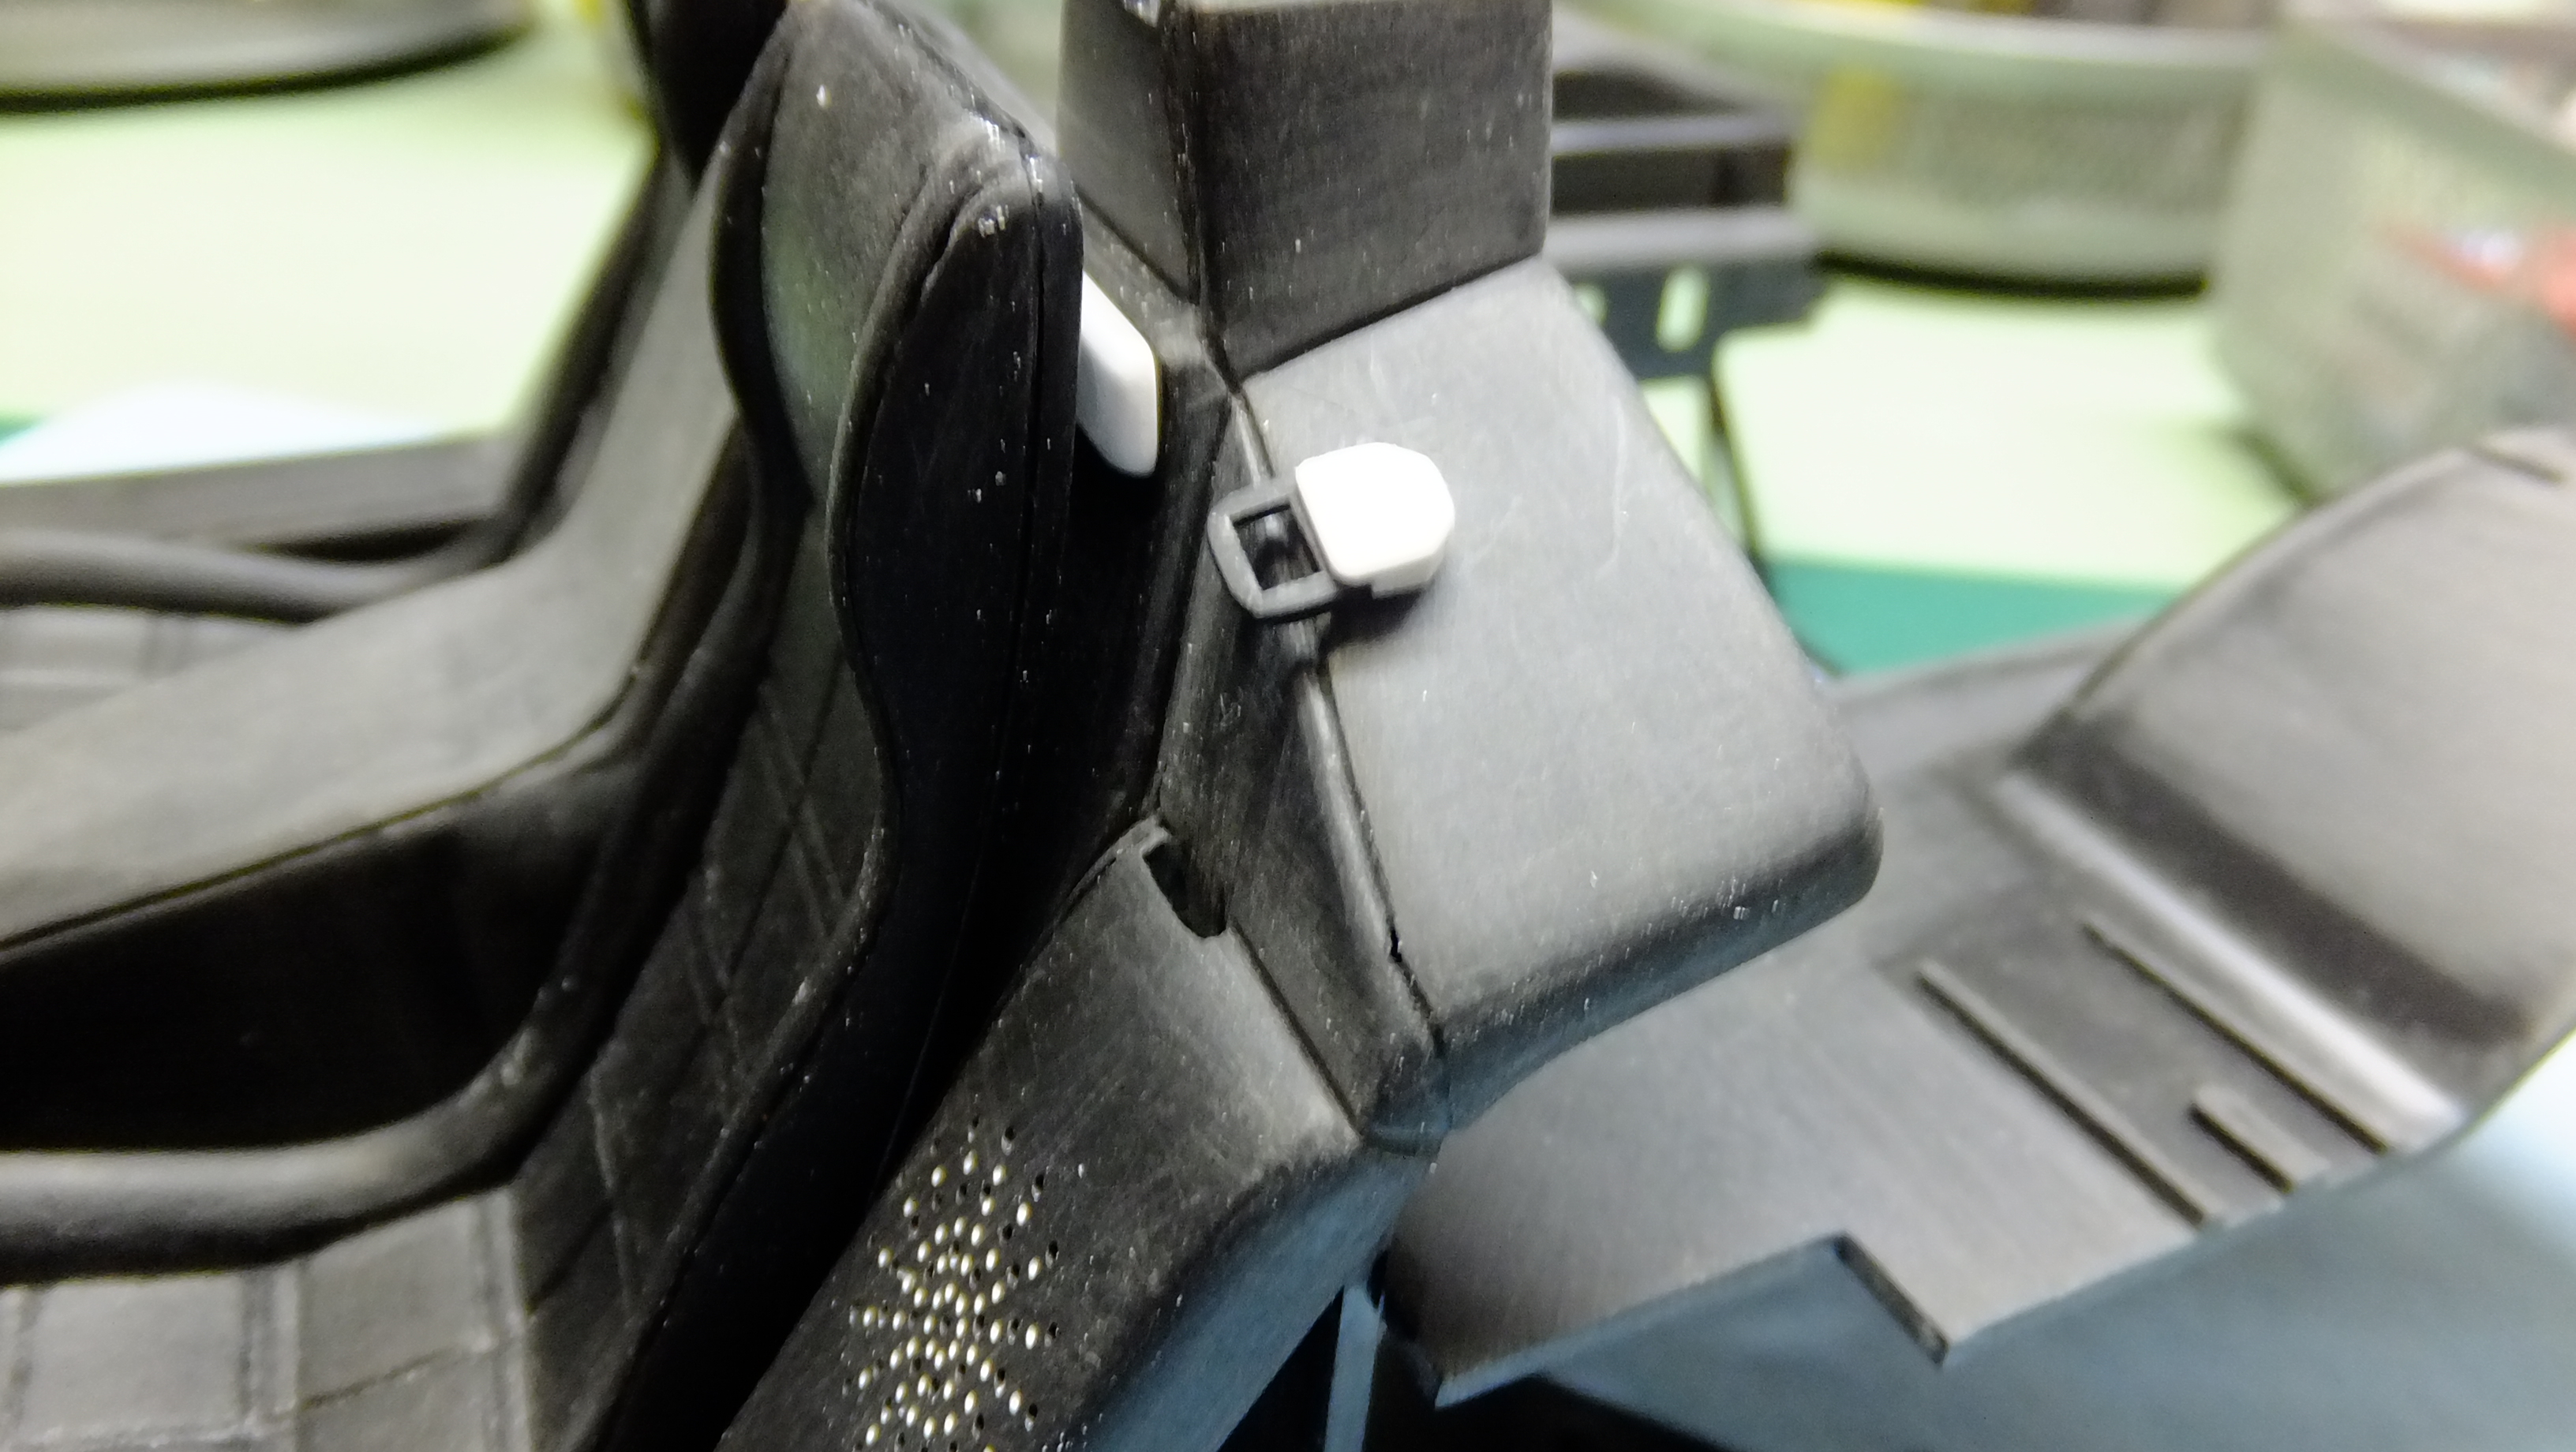
Hi!, another update here; it took me longer, and more parts than I thought to make my seat buckles....two hours to be exact, but here they are in the rough....the little piece laying next to it is the release button.
-
NICE!!...hope you'll like them!!
-
Much appreciated, Justin!...just to let you know, if you go to Scale Models And Figurines on facebook, and youtube, I have videos on my Pagani....if you're interested.
-
Got you a front row seat, Justin!!
-
Hasegawas Lamborghini Miura SV....new update!
Dann Tier replied to Dann Tier's topic in WIP: Model Cars
Thanks, Justin! -
Fully detailed Airfix James Bond Aston Martin DB-5
Dann Tier replied to Dann Tier's topic in WIP: Model Cars
Got some more done today!!
-
Otaki 1/12 Lamborghini Countach Twin Turbo...Mission Statement
Dann Tier replied to Dann Tier's topic in WIP: Model Cars
Got a few more things done today; seat brackets, adjustment levers ,and the shoulder tie-down loops for the seat belts.
-
Thanks again, Chris!
-
Hasegawas Lamborghini Miura SV....new update!
Dann Tier replied to Dann Tier's topic in WIP: Model Cars
Thanks, Chris!...I hate the interior shine... -
Beautifully done!!
-
Cant wait to see more, JC!!!
-
LOL
-