Dann Tier
-
Posts
8,151 -
Joined
-
Last visited
Content Type
Profiles
Forums
Events
Gallery
Everything posted by Dann Tier
-

Re-engineering Monograms Lotus Esprit...new update!
Dann Tier replied to Dann Tier's topic in WIP: Model Cars
Thanks, Bud!!, i really appreciate you, and everybody else who follows my builds!! -
Re-engineering Monograms Lotus Esprit...new update!
Dann Tier replied to Dann Tier's topic in WIP: Model Cars
Thanks, bud!, the first one i built a loooong time ago WASNT fun, so it took a trip across the room. You woulda thought that 20 years later someone would have made a better one -NOPE, so, since i love this car, and couldnt wait anymore, i decided to dive in, and fix all the issues, and share them, so that others could have an easier...fun time of it. -
Love seeing these get built!!, and yours is looking Great so far!!!
-
Thanks for following, Bud!...after i clear out a couple more projects, i will get back to this one.
-
Thanks alot, Maxx!
-
You are so welcome!!, the engine is out of Revells 66/67? kit -its VERY nice.
-
Man that is looking FANTASTIC, Bud!!!!
-
Hey, everyone!, i have decided to use the engine from my Aoshima kit to put into this Fujimi build.....hopefully i will be painting all the bits up today.....i was sent this kit by accident anyway, so might as well use some of it, right?

-
Otaki 1/12 Lamborghini Countach Twin Turbo...Mission Statement
Dann Tier replied to Dann Tier's topic in WIP: Model Cars
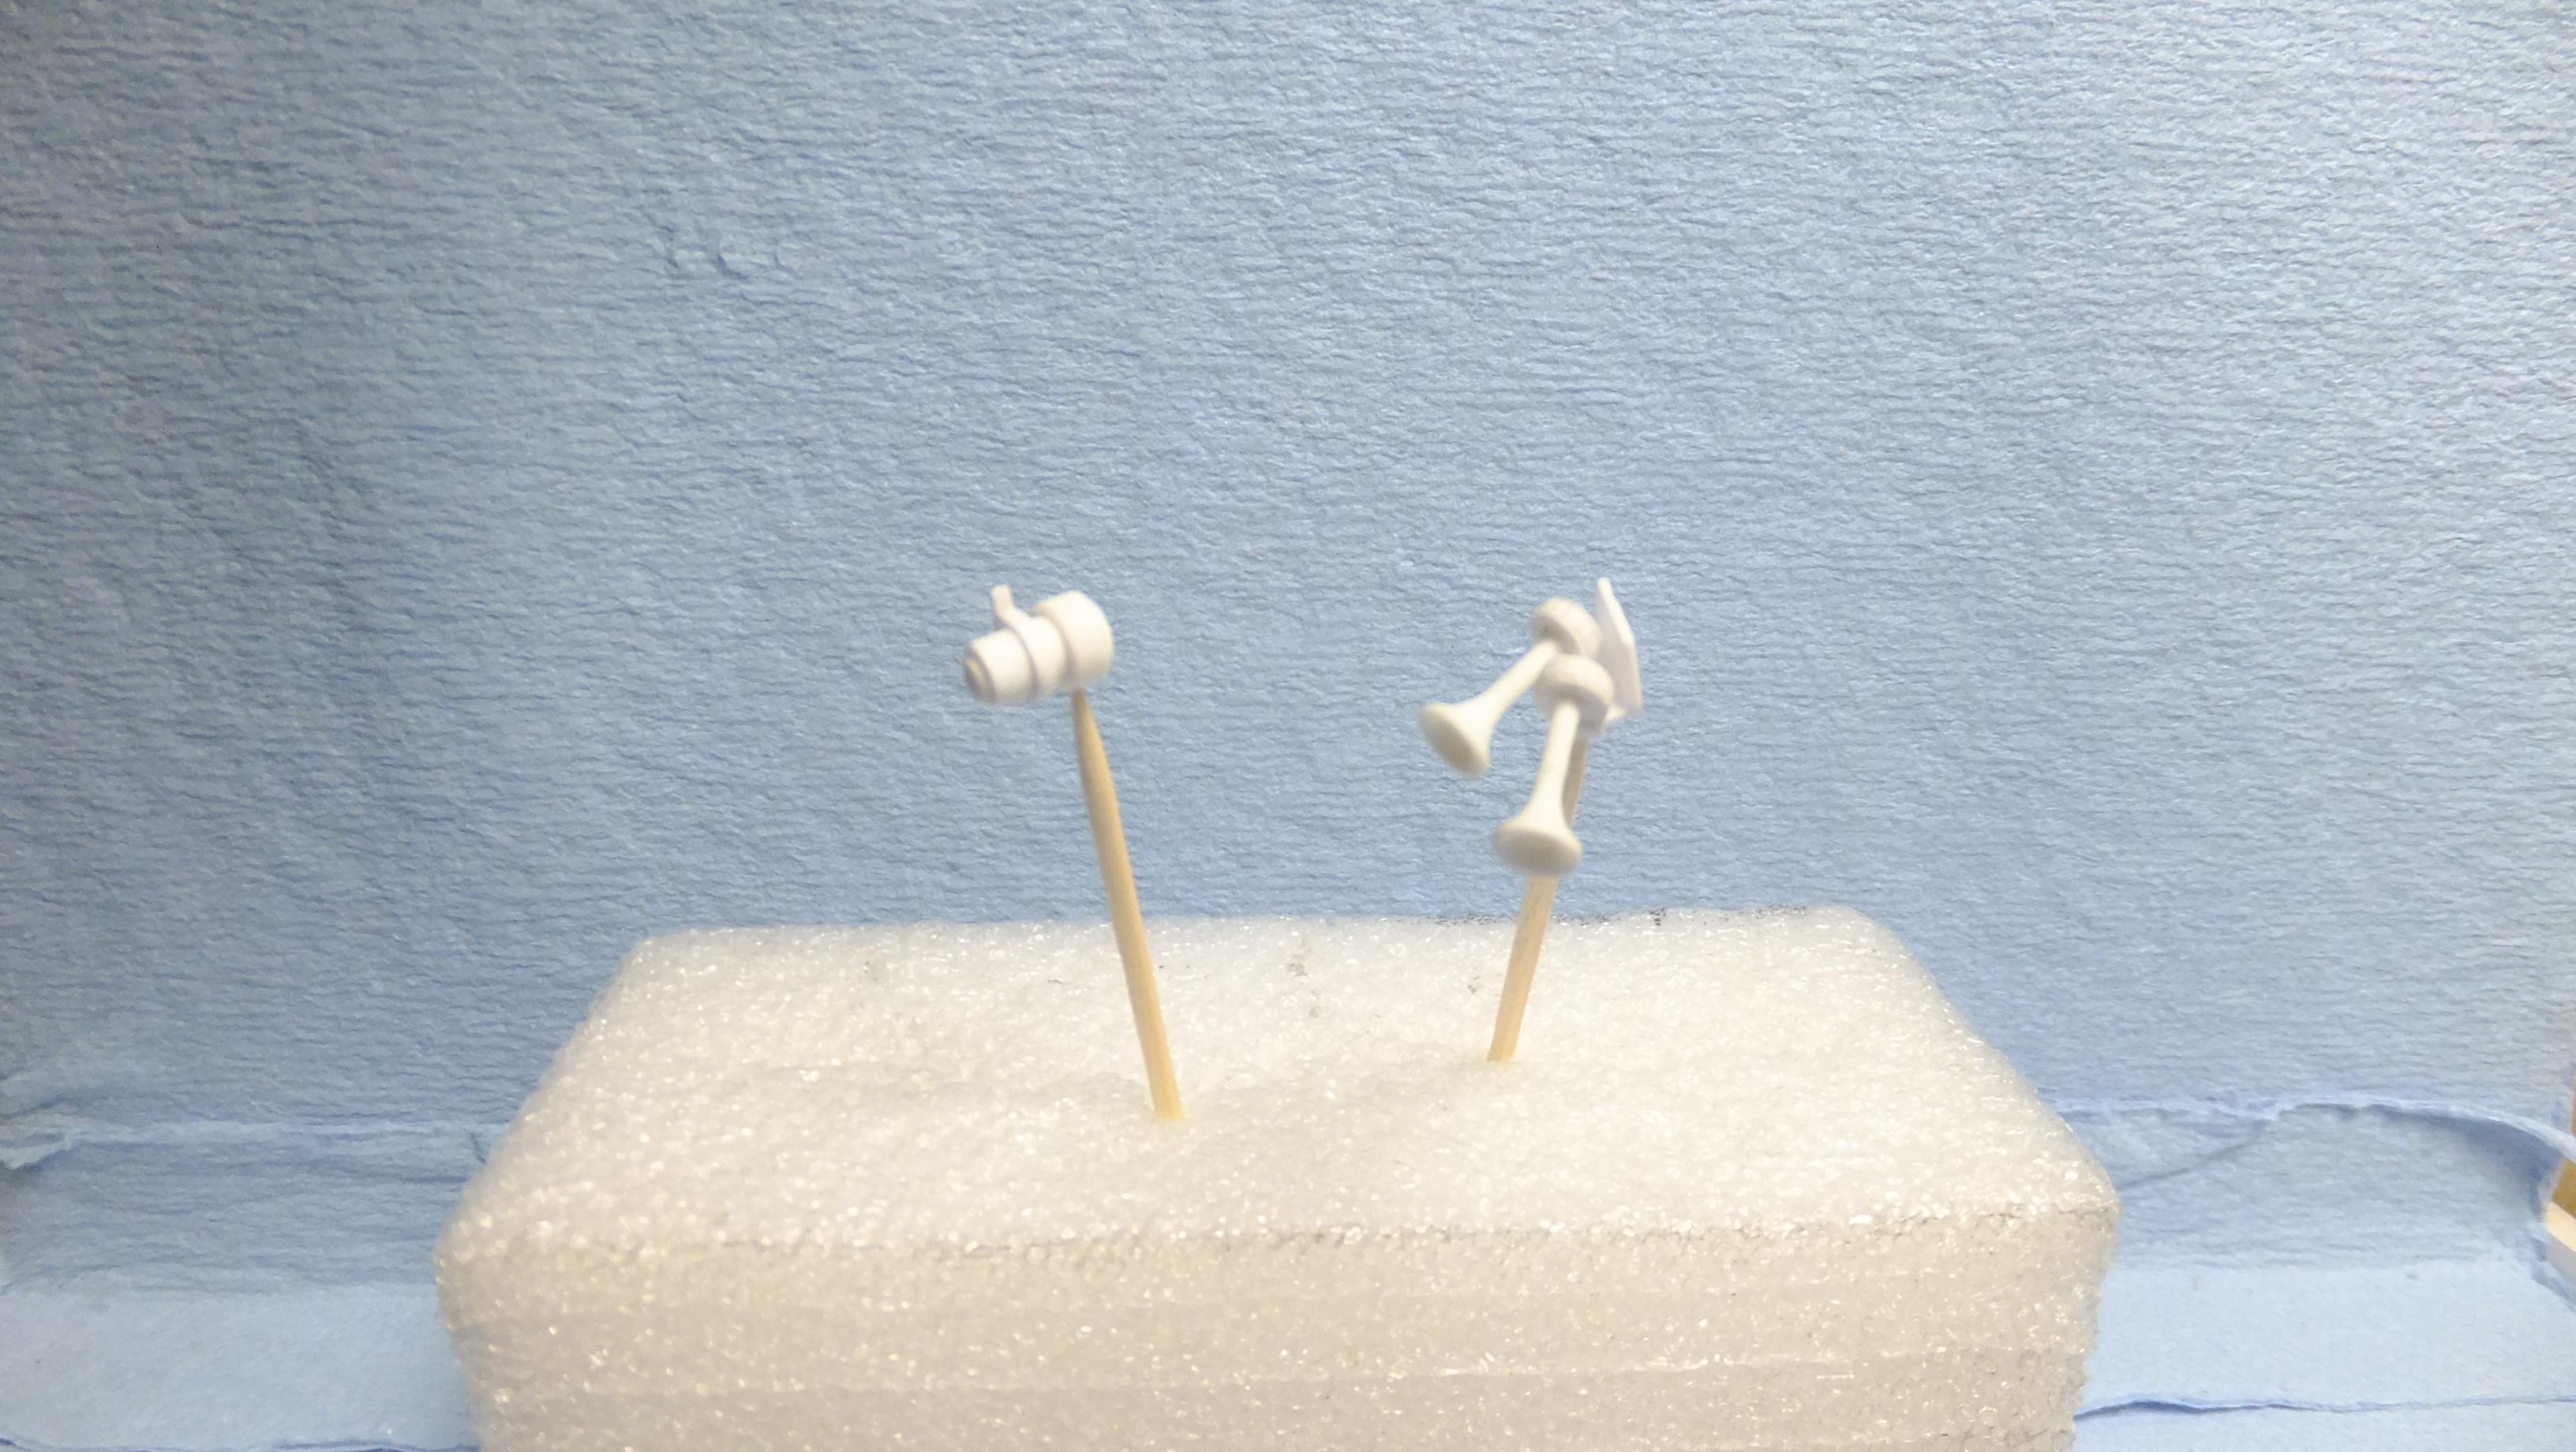
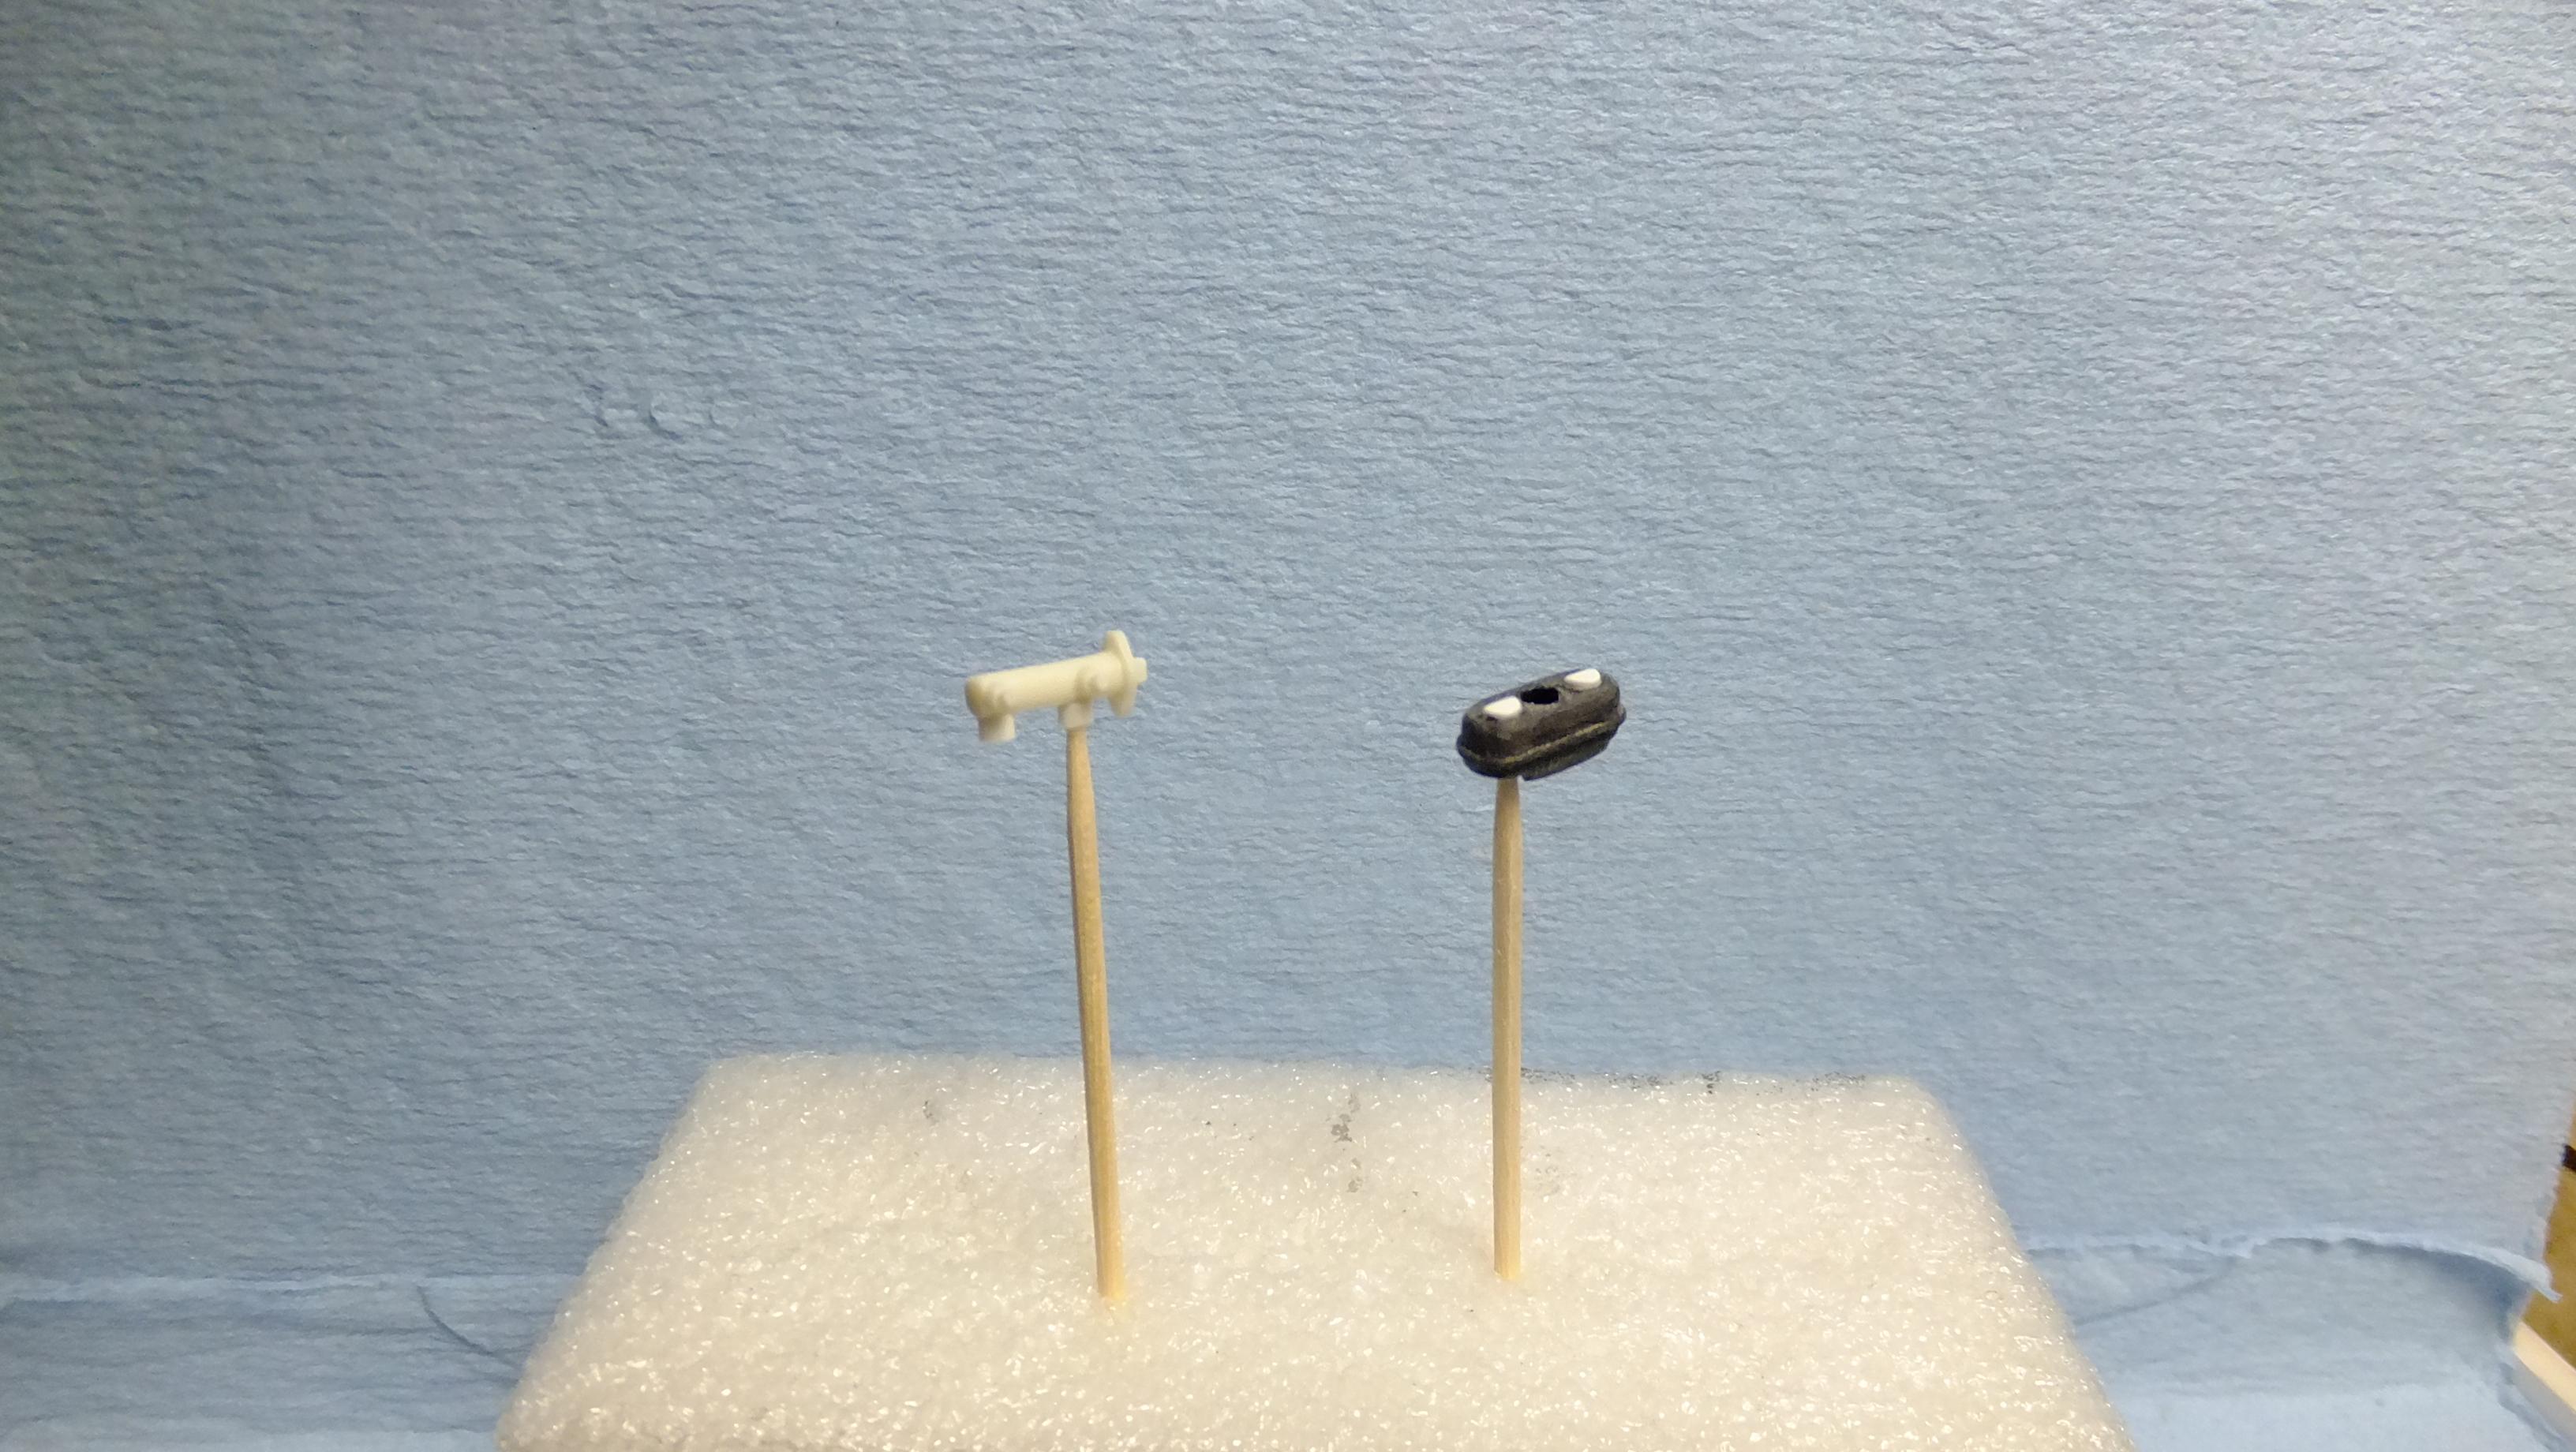
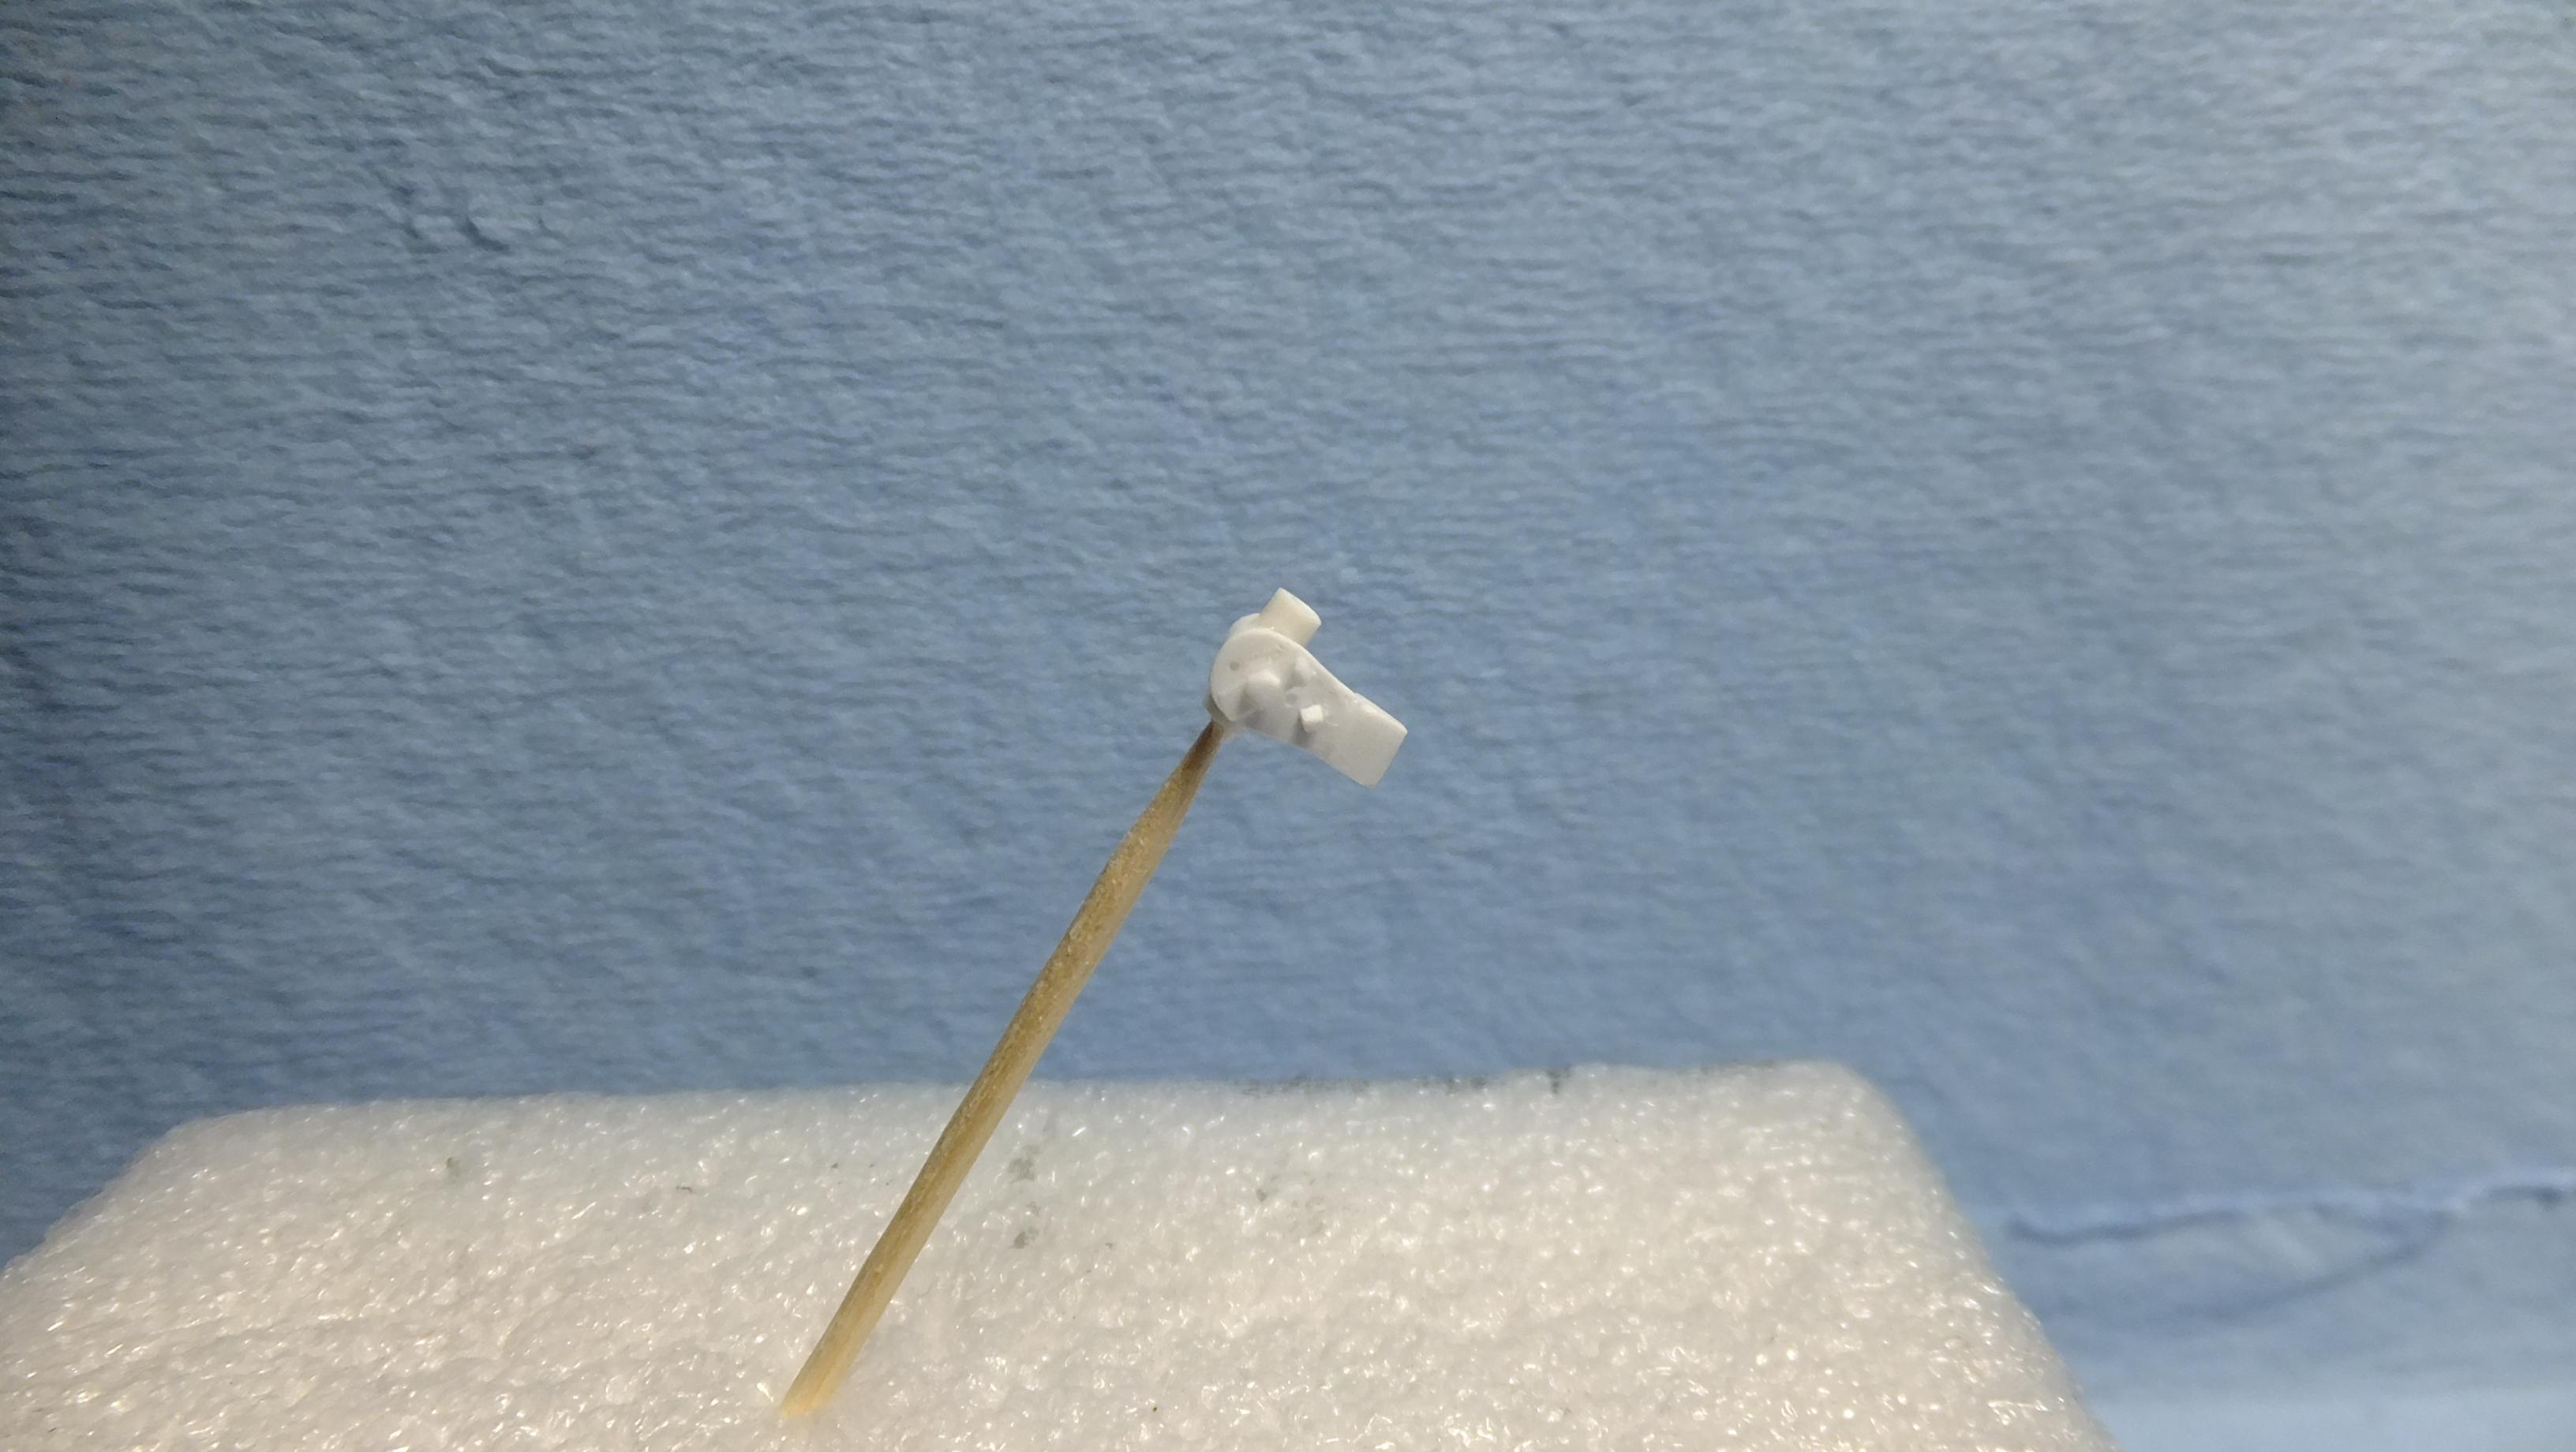
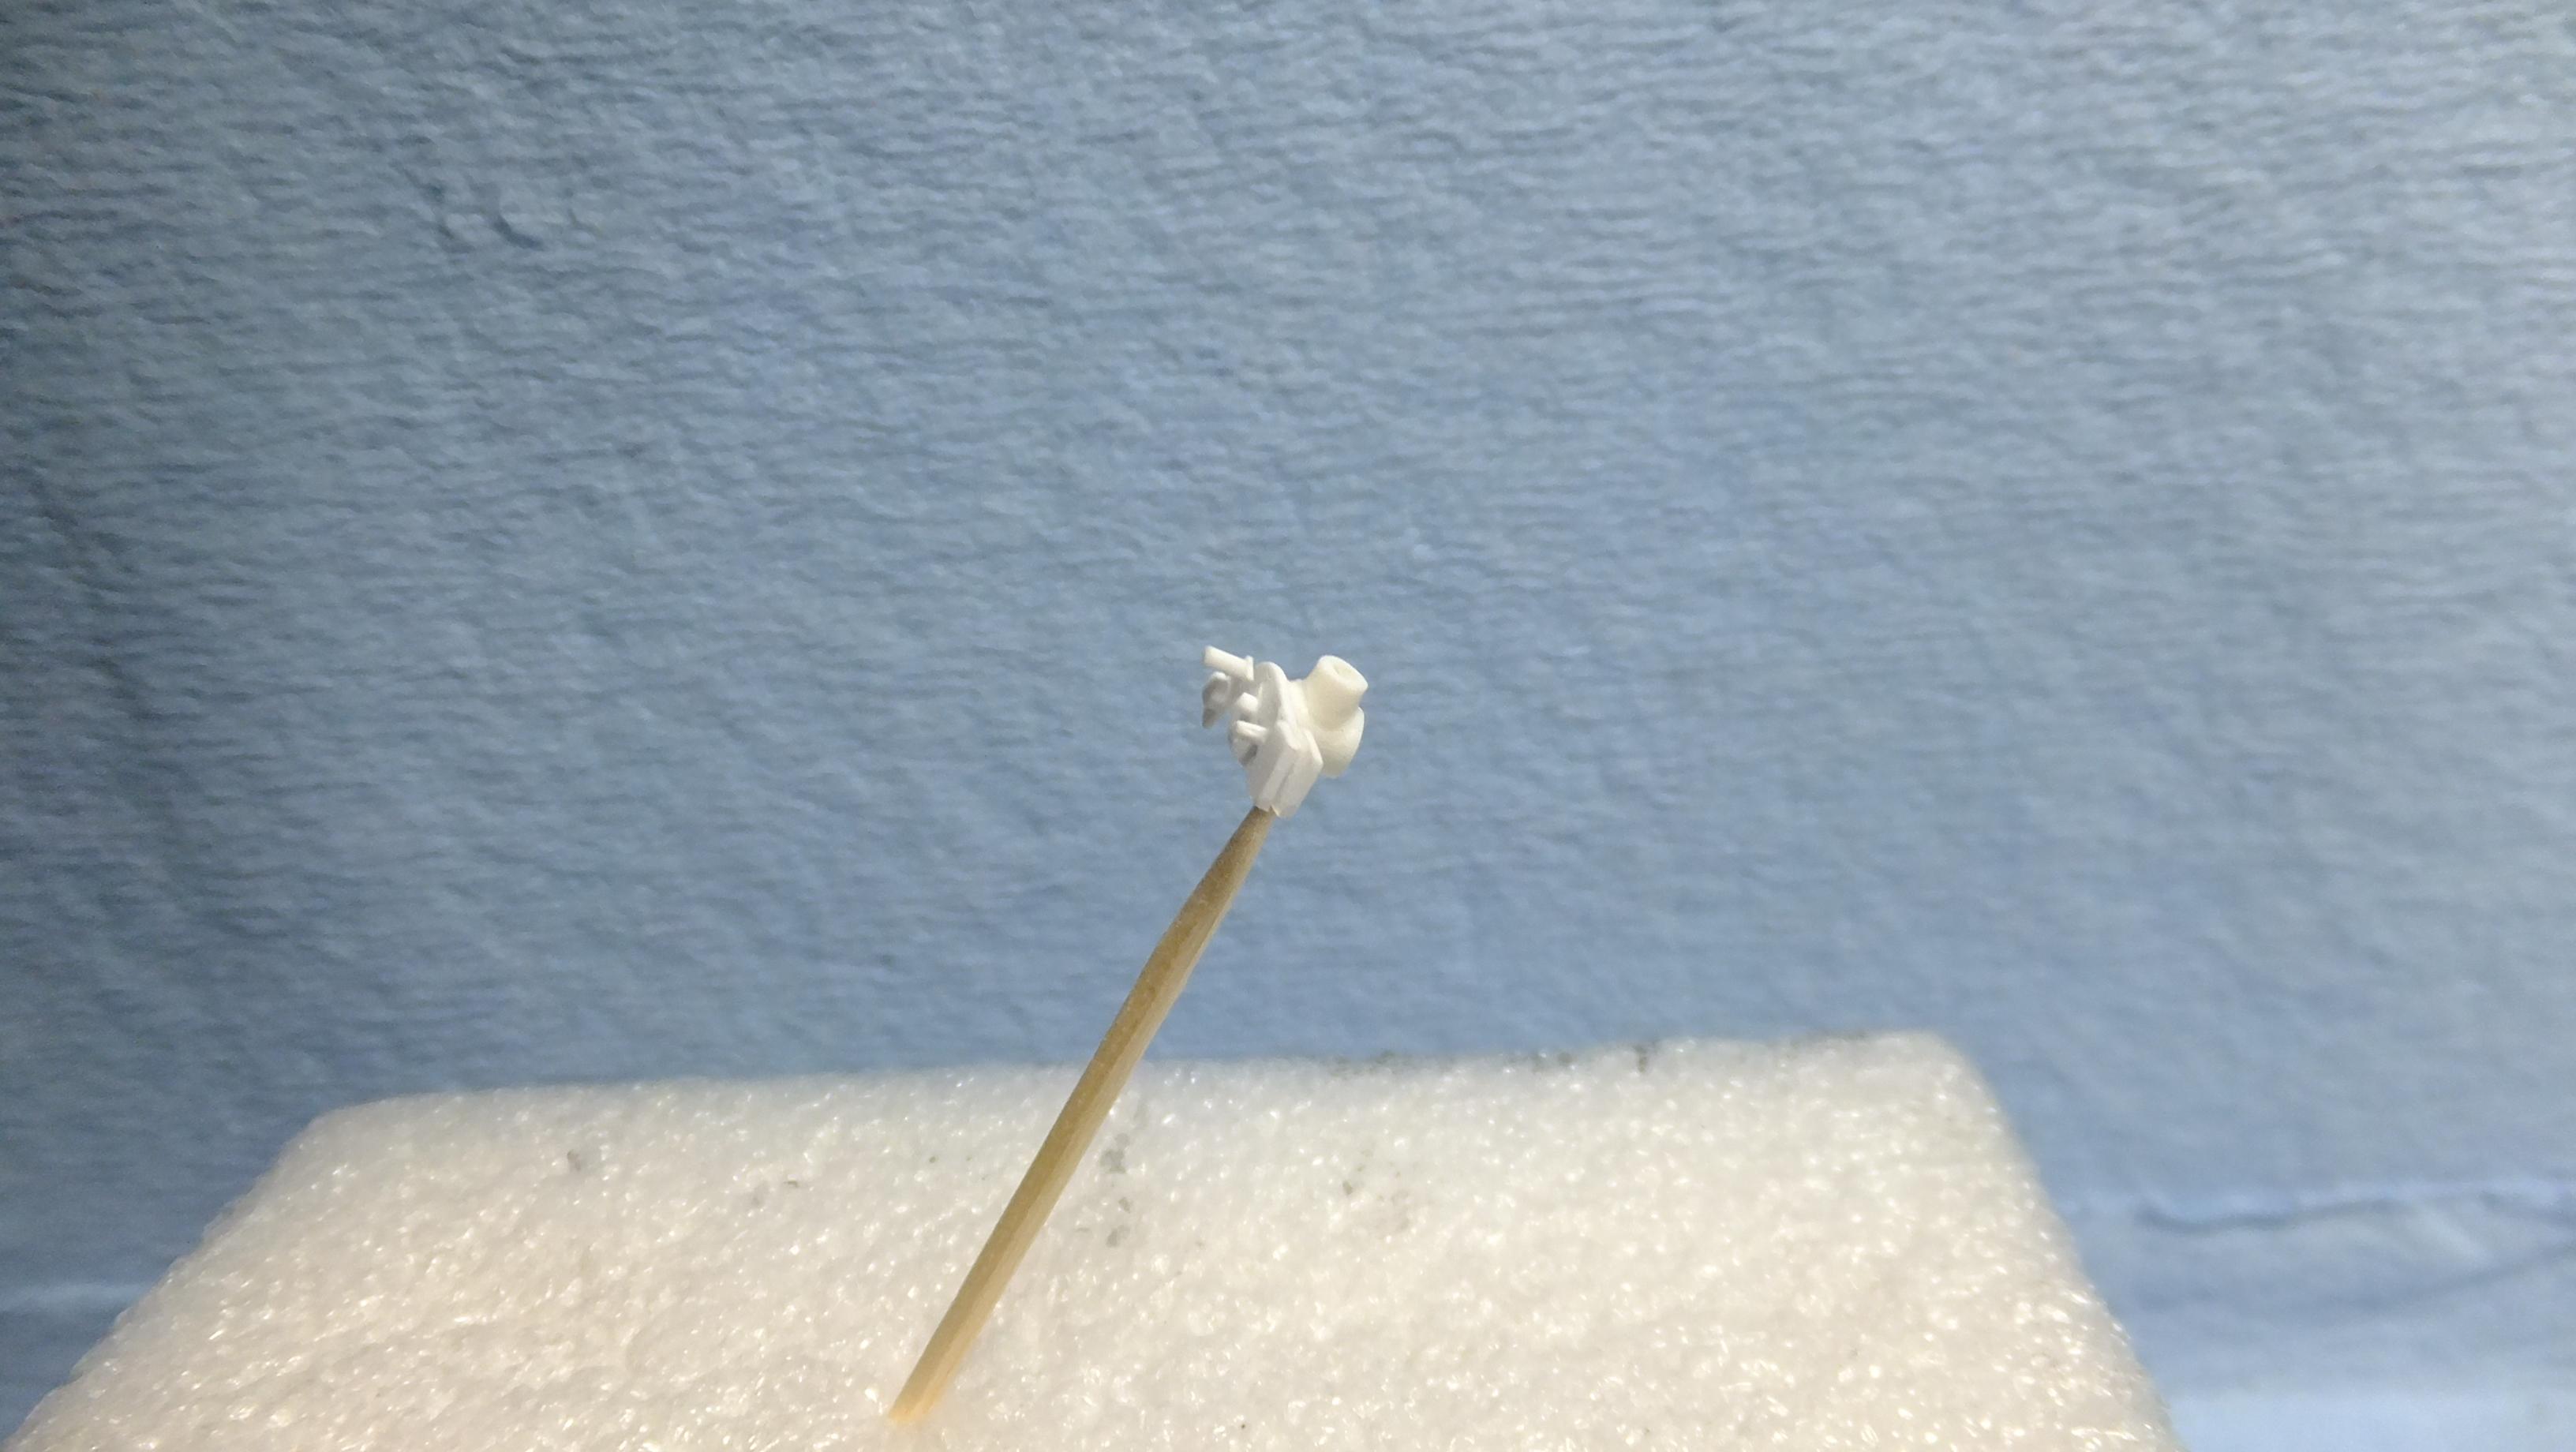
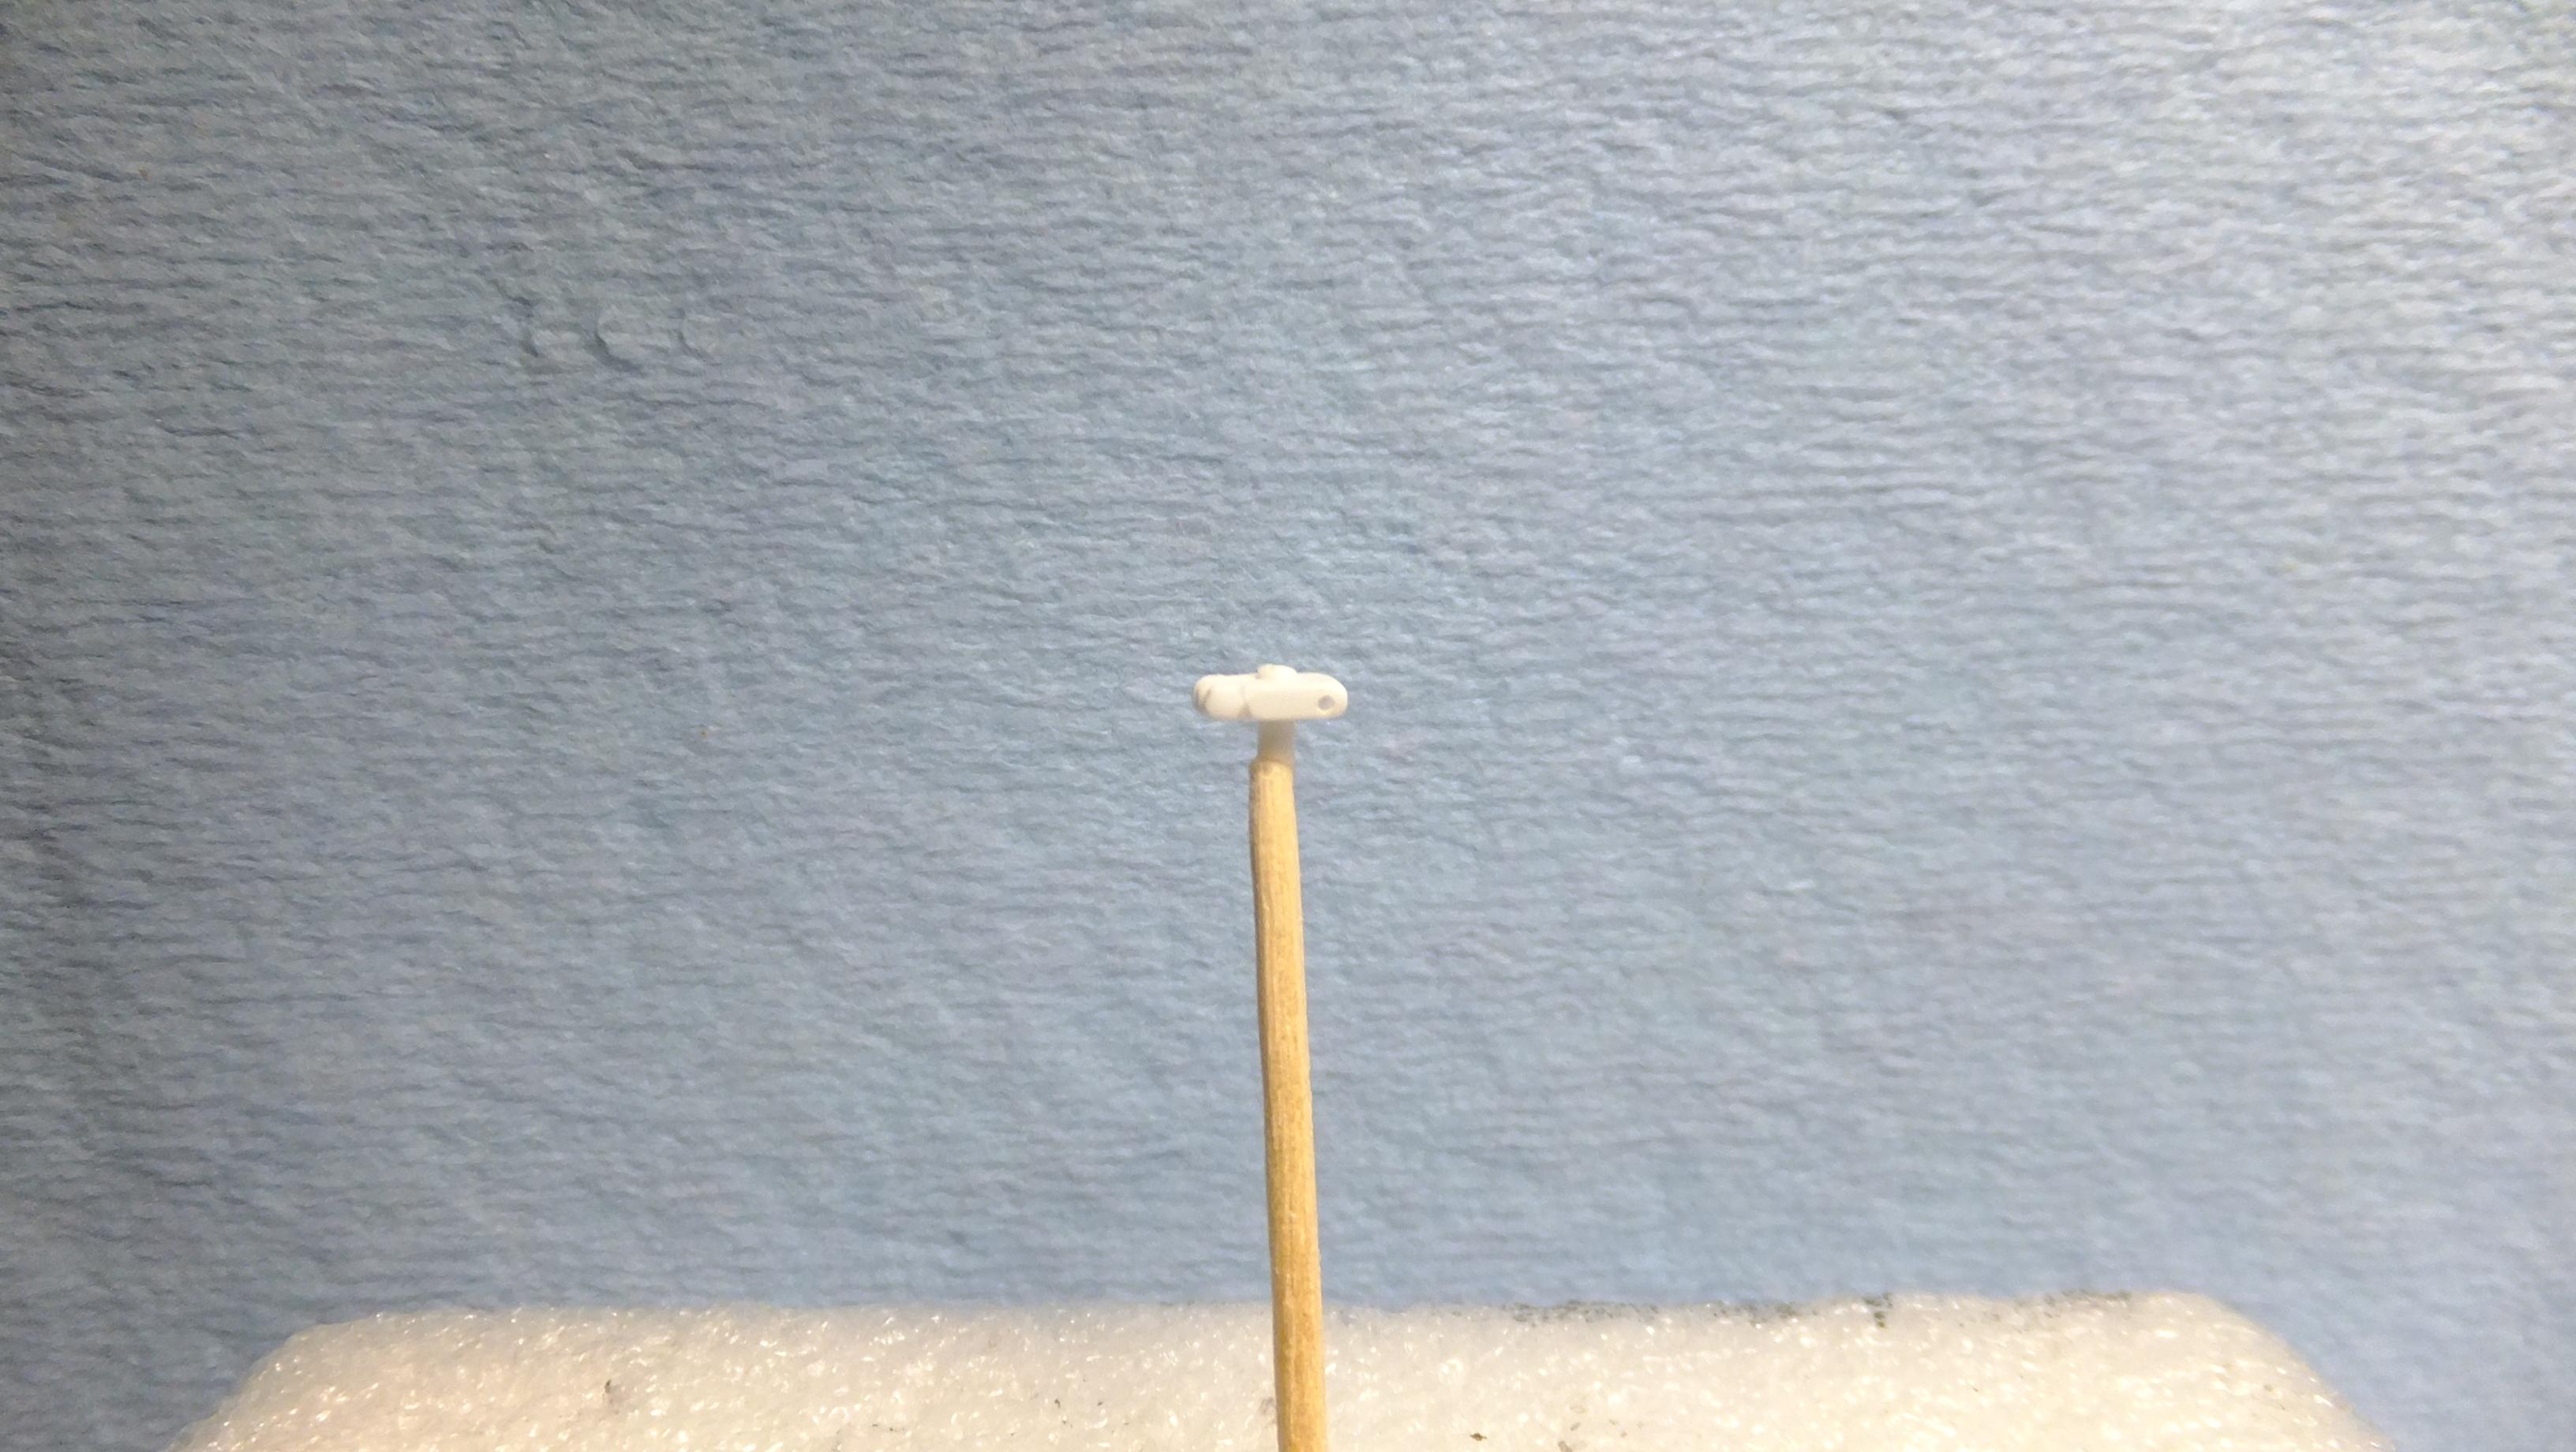
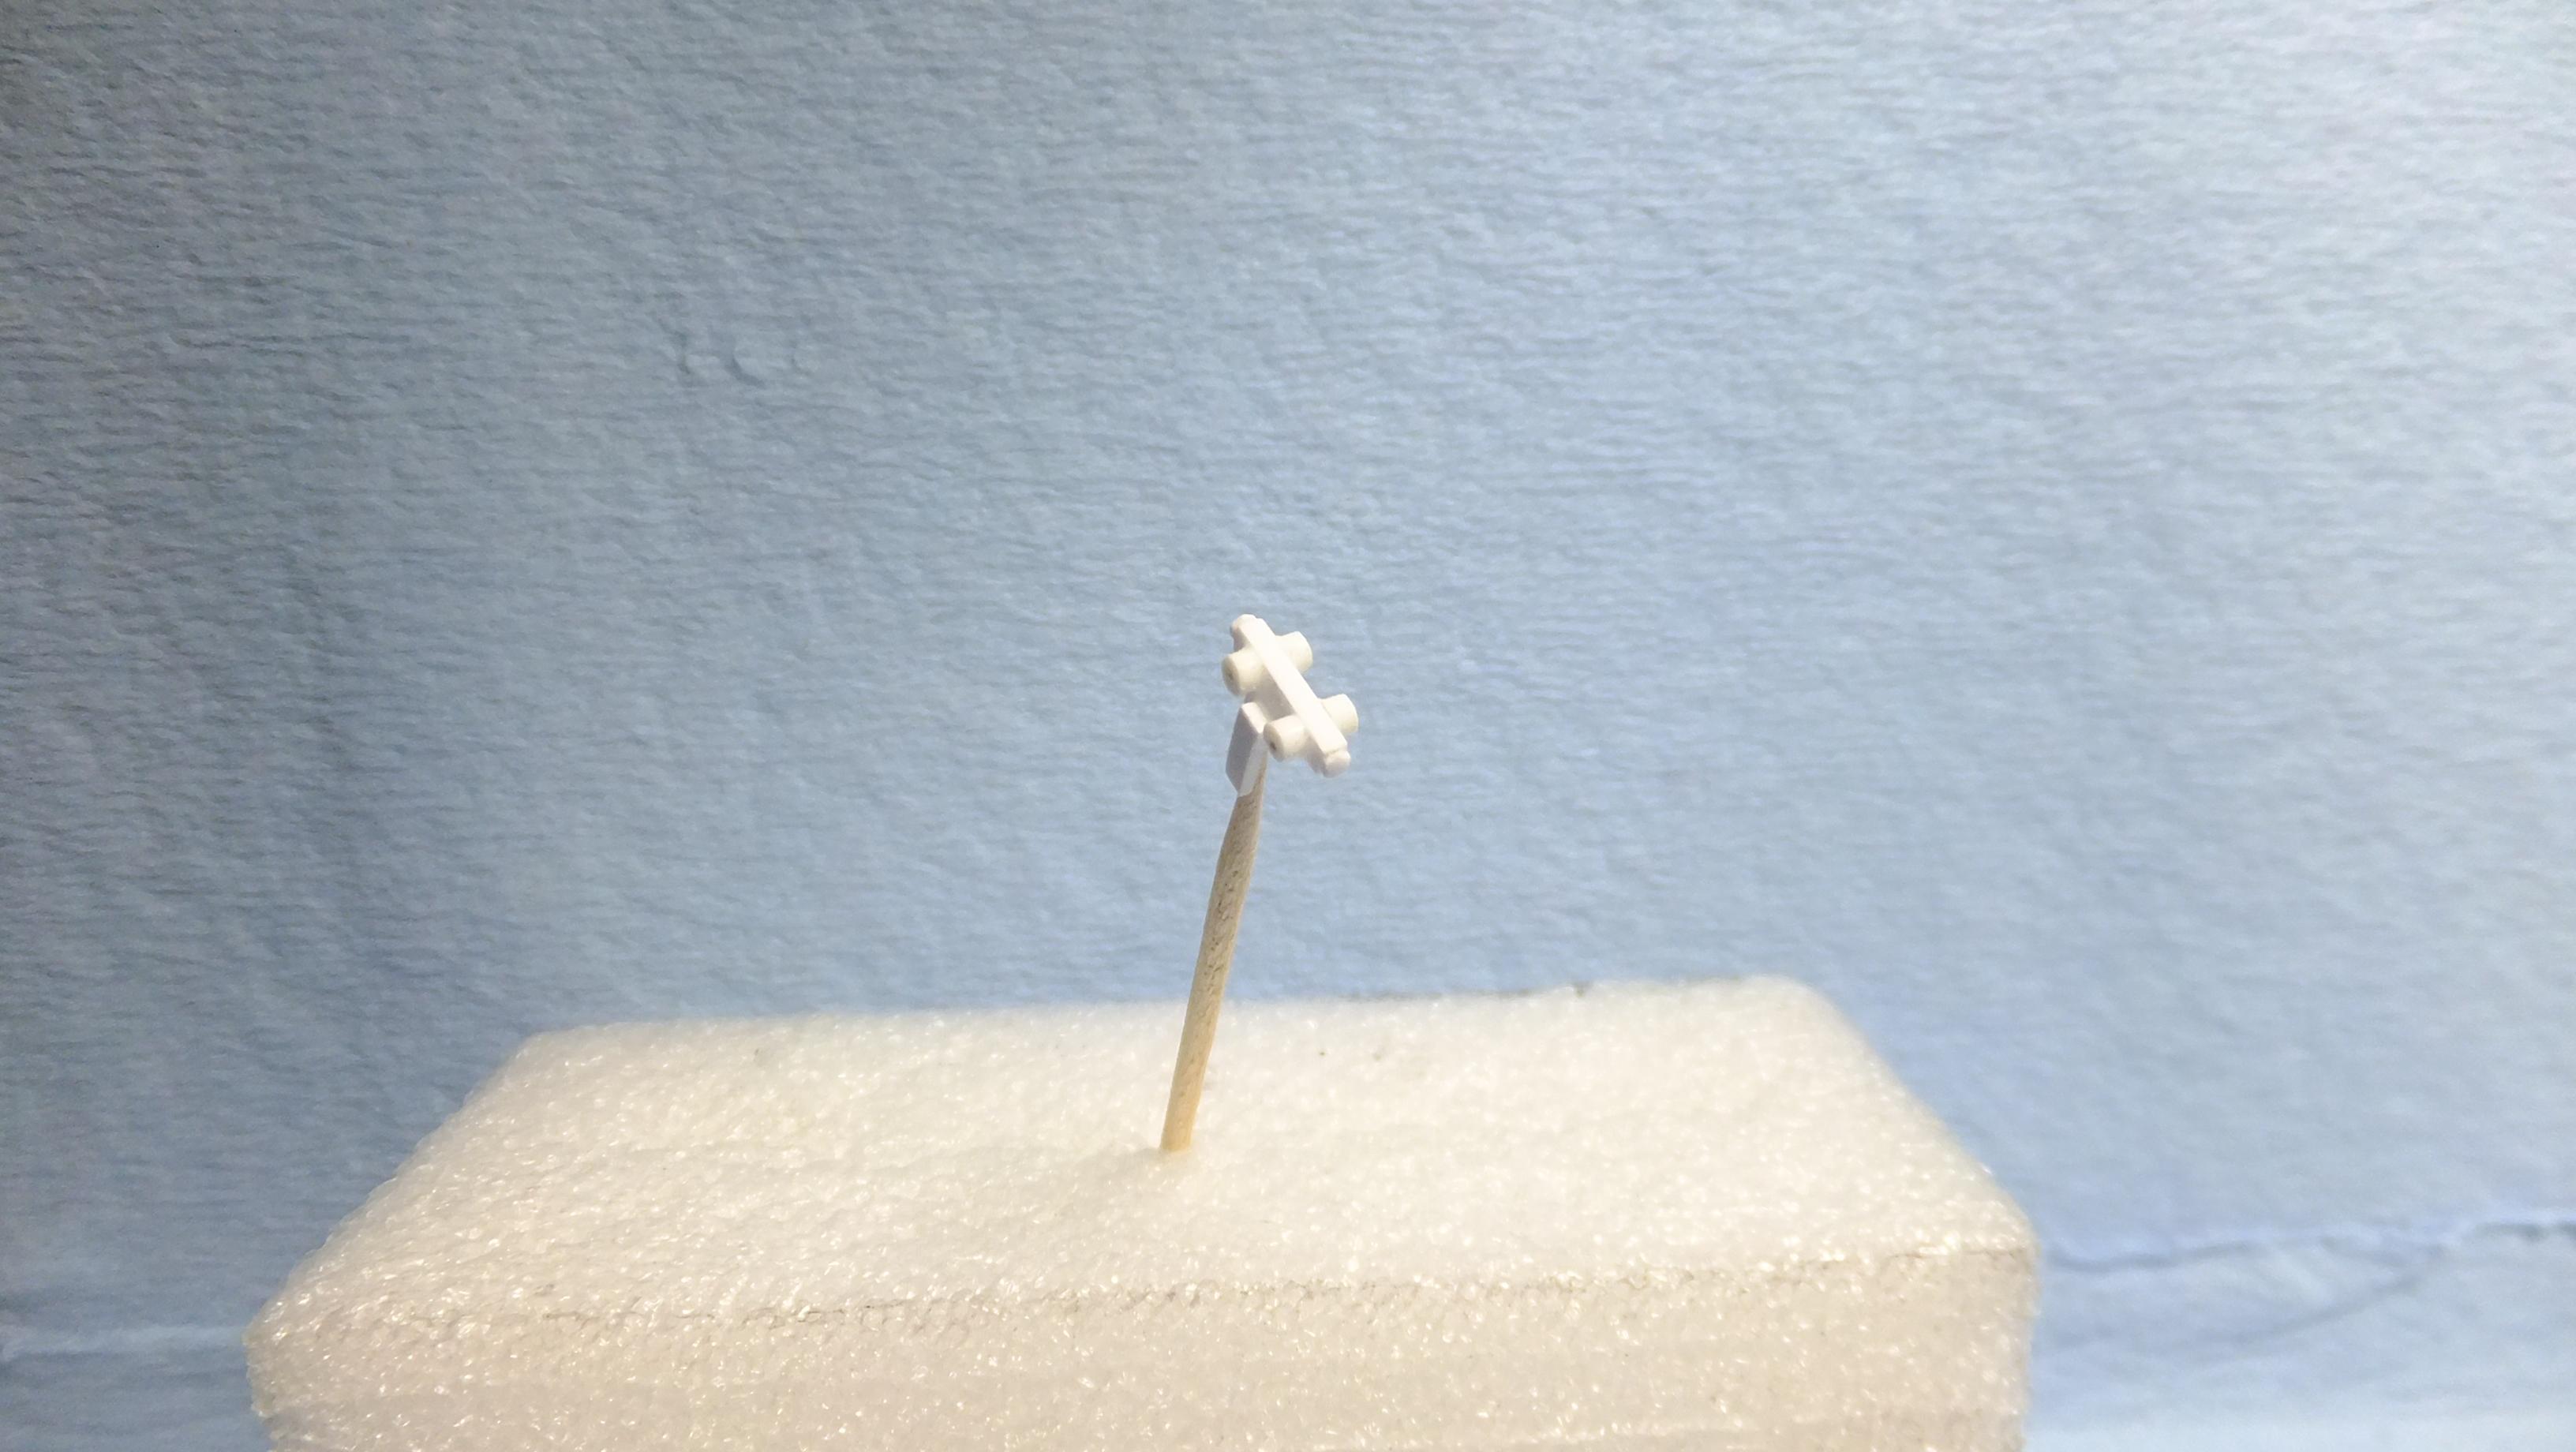
Hey, everyone!, i'm back at this Beast!....continuing on with the front end bonnet work -got a bunch of bits made, and ready for paint!! -Photo 1&2; The black bit is whats suppose to be the heater blower unit....as you can see, it was wrong in EVERY single way, so i made my own. -Photo 3; This is the windshield washer fluid container i made -needs a cap later. -Photo 4; I decided to make the often overlooked A/C condenser unit. -Photo 5; This is all you get for a horn... -Photo 6; ...this is what you shoulda got... -Photo 7&8; These are the master cylinder bits you get in the kit...not bad, but i still needed to modify them for realism. -Photo 9-11; Here i made the climate control valve unit. -Photo 12-14; I decided to upgrade the battery, and make my own realistic side-mount clamps on standard posts. -Photo 15; Here is my brake line proportionating valve. There are several, but this will be the only visible/main one. -Photo 16; And lastly, i made the brake booster vacuum line plug.
-
VERY sorry i didnt see this earlier, Bud.........thanks so much!!!
-
Re-engineering Monograms Lotus Esprit...new update!
Dann Tier replied to Dann Tier's topic in WIP: Model Cars
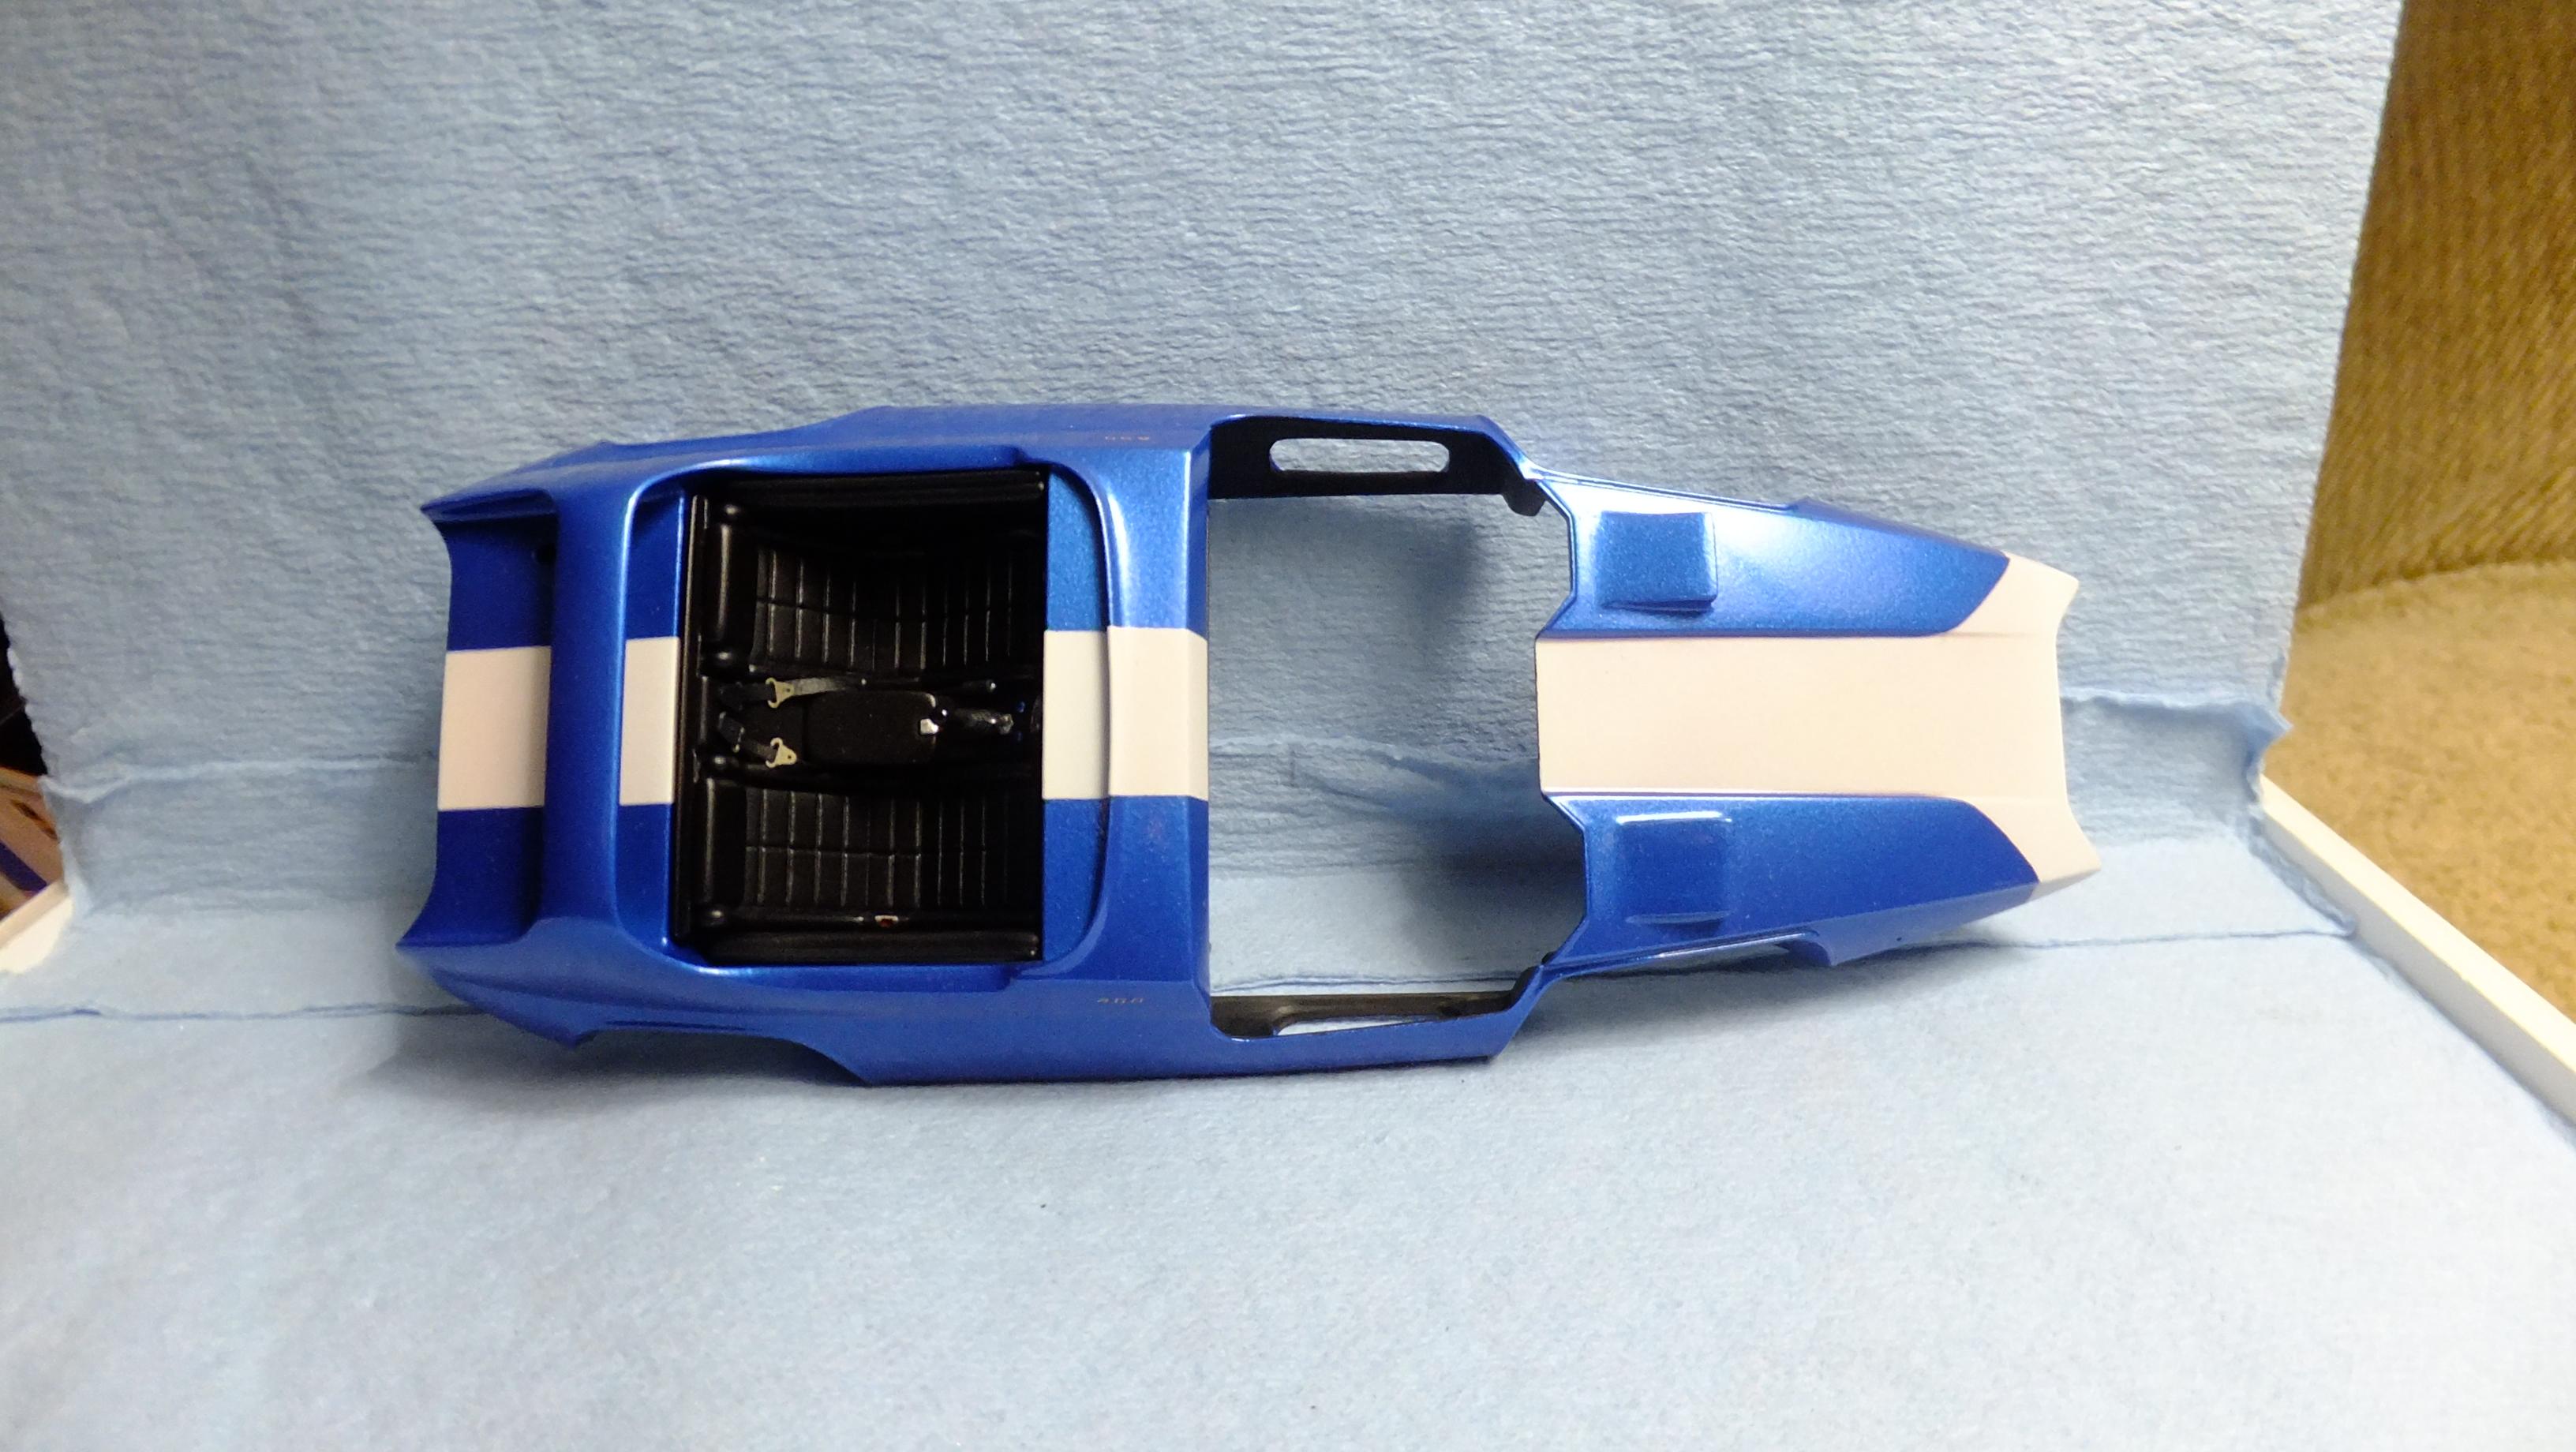
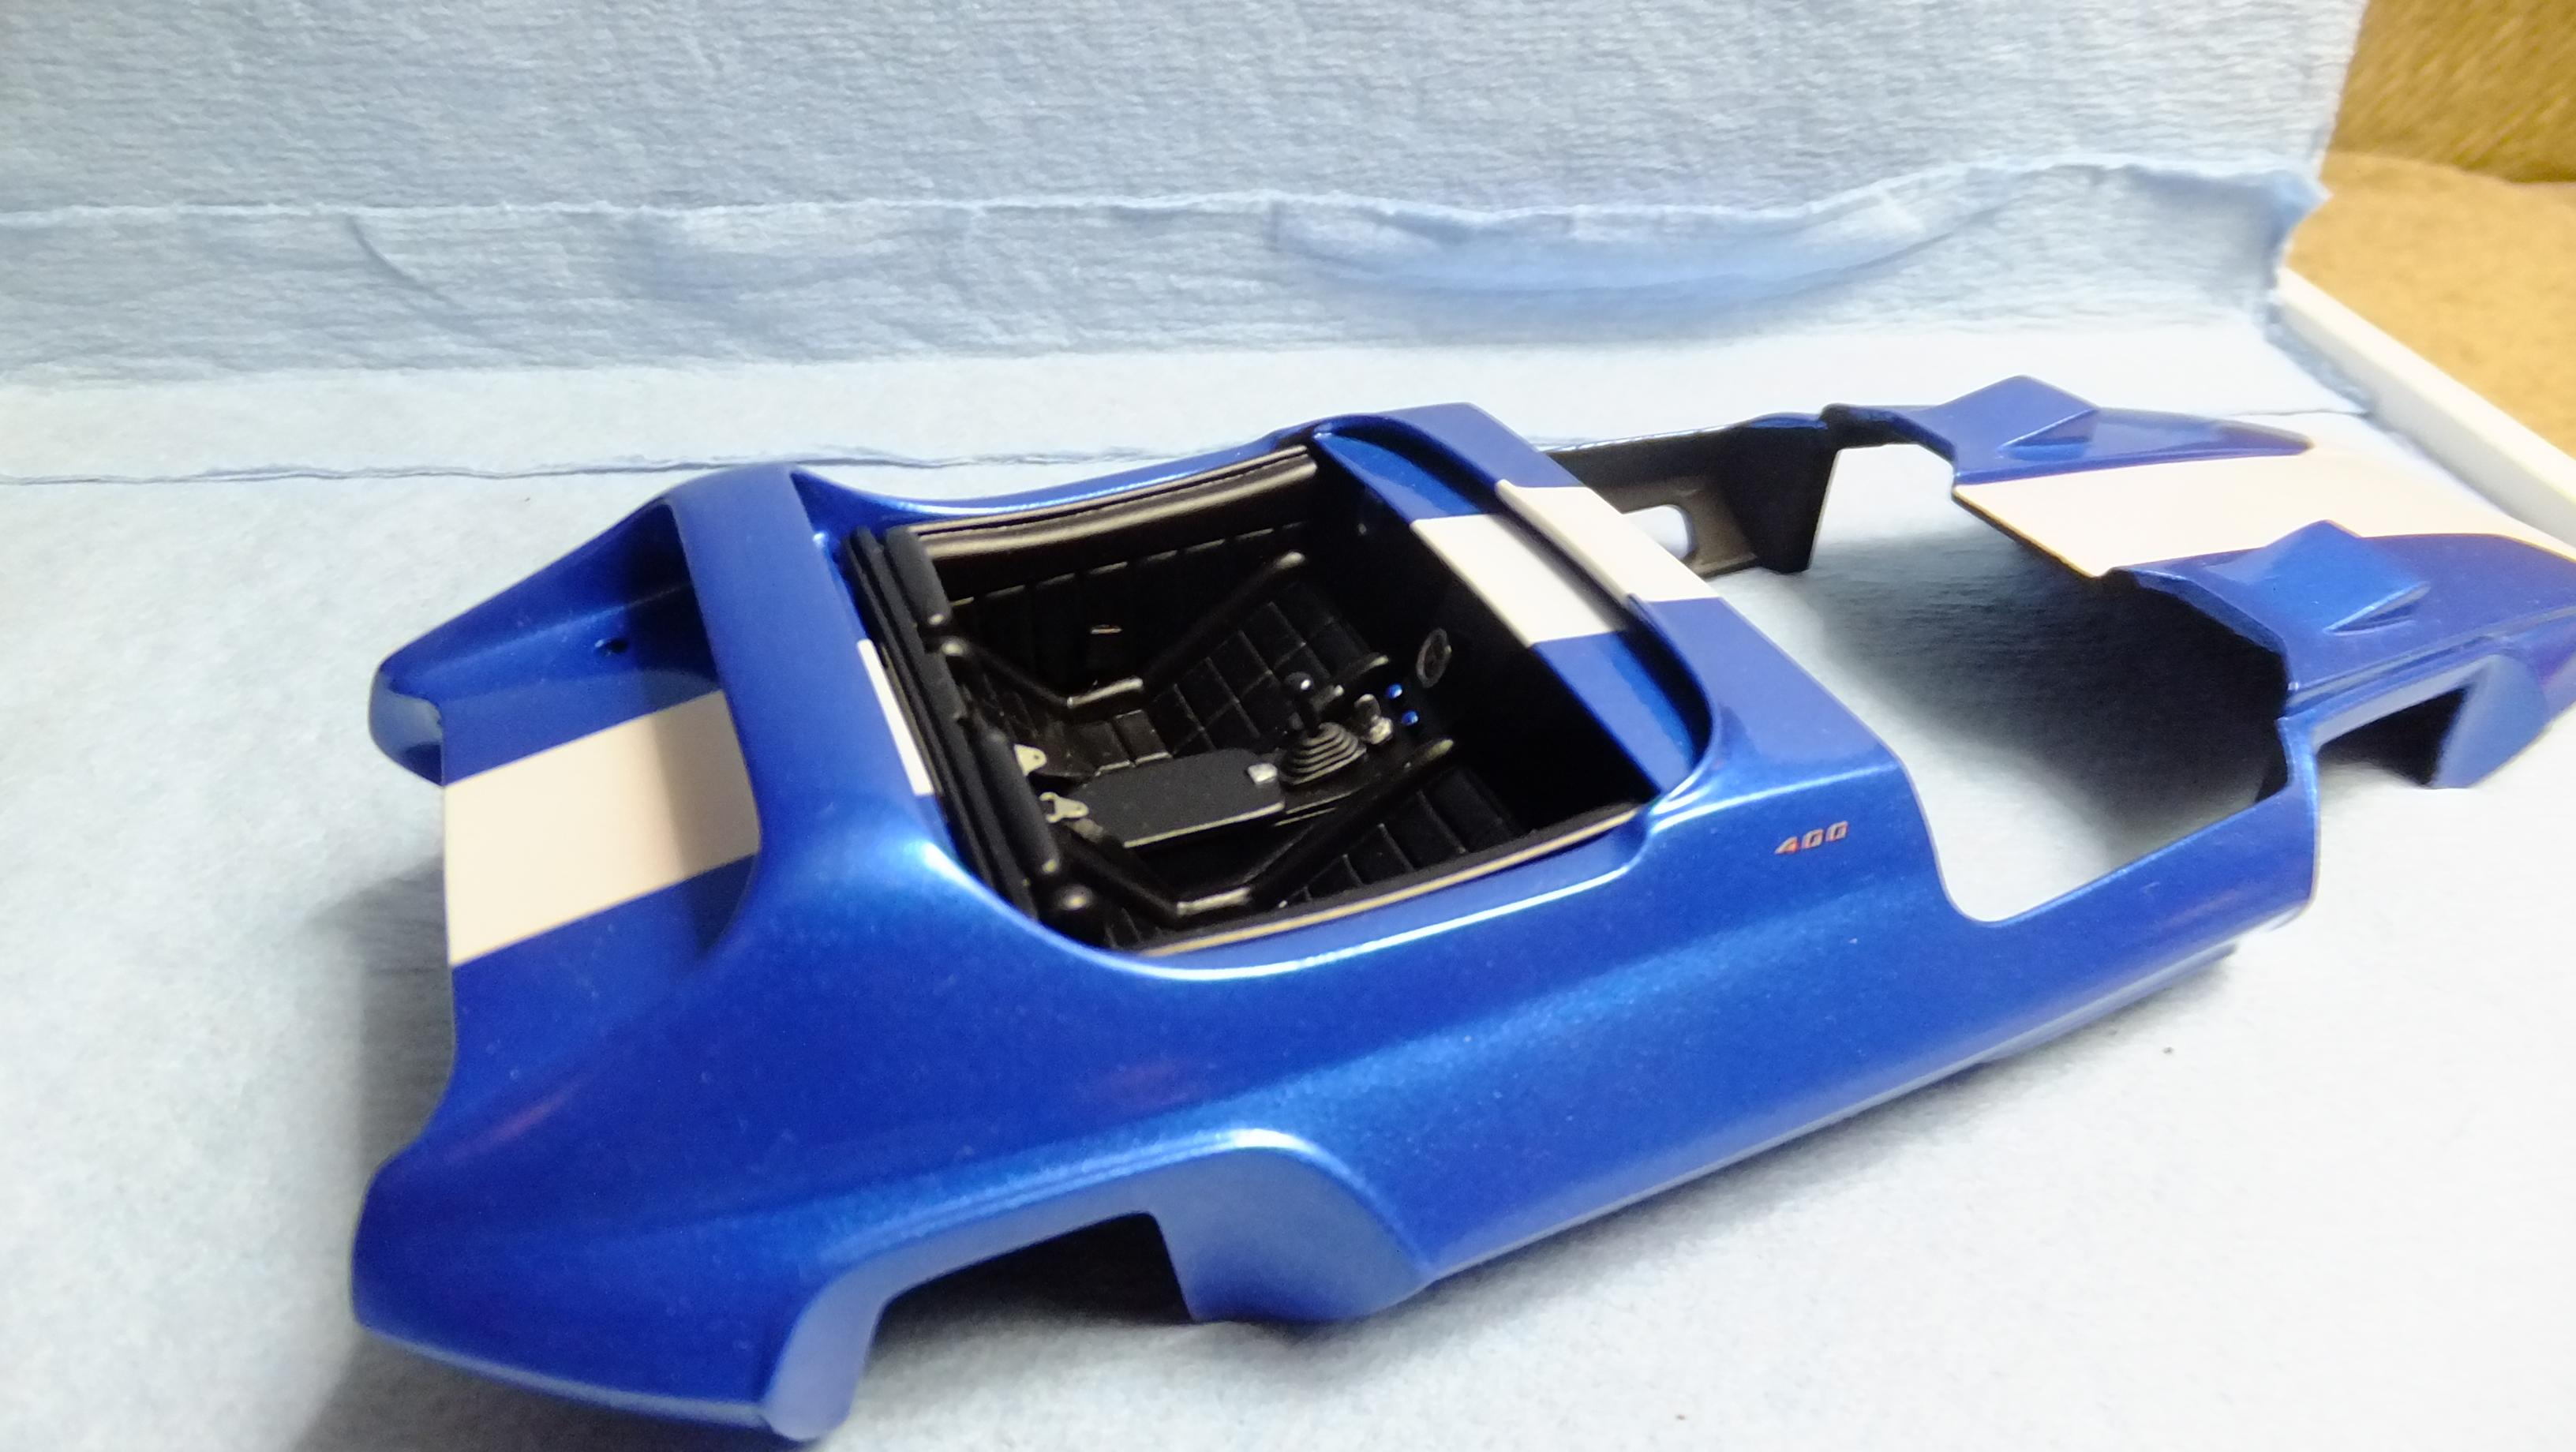
Hey, everyone!, The interior is perminantly installed , as is the mesh. The windows are just set in, and wont be attached til the very end, for obviouss reasons. I also tacked on the rockers, and as you can see, they need to be tweaked a bit to fit properly....no worries.
-
Hey, everyone!, i got a bit more done here; inside the body painted, and the interior installed.....time to start wiring things up!
-
Hey, everyone!, i just wanted to say; thanks for following!!, this bugger is done, so i will post it under glass as soon as i can......God bless!!!!
-
Looking GREAT, Bud!!!......i'm still stuck in the garden sadly.
-
Well, you you did it, Bud!!!!.....everything looks Fantastic!!!!
-
Loving it, Bud!!!!
-
CONGRATS!!!!....still turned out BRILLIANT!!!!!!
-
Looking VERY good, Bud!!!!
-
It still IS looking BEAUTIFUL -well done, Bud!!!!
-
WOW!!!, you're really cracking on!!!!! -looks Brilliant!!!!
-
Coming together VERY nicely, Bud!!!!
-
ABSOLUTELY STUNNING!!!!!.....love the detail!!!
-
I owned a few of these too...my first car!....i even owned a Ghia version, but it had a 302. Its gonna be cool watching this!!!
-
This is gonna be COOL!!!!!!!
-
....i think i just came up with a way!!!