bill lanfear
-
Posts
686 -
Joined
-
Last visited
Content Type
Profiles
Forums
Events
Gallery
Everything posted by bill lanfear
-
Moebius 4x4 Ford
bill lanfear replied to bill lanfear's topic in Model Trucks: Pickups, Vans, SUVs, Light Commercial
Thank you everyone! -
If its the same mold as the 71 Ranger which I am sure it is, it will require some grinding to get everything to fit right. I had to grind away lower portion of windshield, lower portion of interior tub where it meets the firewall and some on the firewall as well (backside). The goal for me was to get the interior tub up as close as possible to the vent windows. This will also aid in getting the bed to line up with the cab. here is a pic to show how the tub should fit in relation to the vent window. Hope it helps!

-
Rearend Identification Help Needed, Please
bill lanfear replied to Casey's topic in Model Building Questions and Answers
Definitely a Ford 9 inch...don't know from what kit though, sorry. Fords offered this rear end on production models from 1957-1986 on both cars and trucks, not to mention it being reproduced for all sorts of racing applications in the aftermarket world . Hope you find the mystery kit....good luck! -
lovin it!
-
Turning out nice!
-
This is looking sharp!
-
Very well built Camaro! Great detail and it looks very realistic!
-
Two great looking B bodies! Excellent shop scene as well!
-
Great diorama! Great story, well executed!
-
-
Very VERY nice! Excellent work! You nailed it!
-
50' Chevy pick-up
bill lanfear replied to DeeCee's topic in Model Trucks: Pickups, Vans, SUVs, Light Commercial
Beautiful! -
1972 Ford Pickup
bill lanfear replied to Gerald Haney's topic in Model Trucks: Pickups, Vans, SUVs, Light Commercial
Nicely done! Great weathering! I had the same issue with the 71 Ranger. I had to grind away where the dash and windshield meet as well as where the firewall and interior tub join together. It looks like you have the same issue with the interior tub being pushed down away from windshield which won't allow the cab to sit completely down to line up with the bed. Probably a little late advice now but from what I understand, its a common problem with these kits and you may want to build another. Anyways, nice job! -
1950 Ford Pickup
bill lanfear replied to Gerald Haney's topic in Model Trucks: Pickups, Vans, SUVs, Light Commercial
Very nice! Nice subtle weathering! -
1966 CHEVY SUBURBAN
bill lanfear replied to yura1961's topic in Model Trucks: Pickups, Vans, SUVs, Light Commercial
That is beautiful! Well done throughout! -
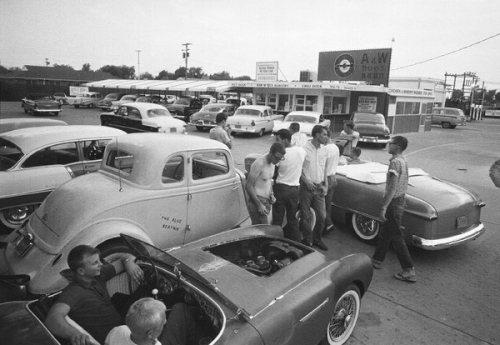
David, you have an outstanding ability to capture realism in your diorama...especially your figures! The buildings and little details throughout are excellently crafted as well as the vehicles you are portraying! Well done overall! If I may ask, do you create your own figures? They seem to fit the scene perfectly and capture the moment so well that I am intrigued as to how you accomplished this difficult task.
-
Very nice!
-
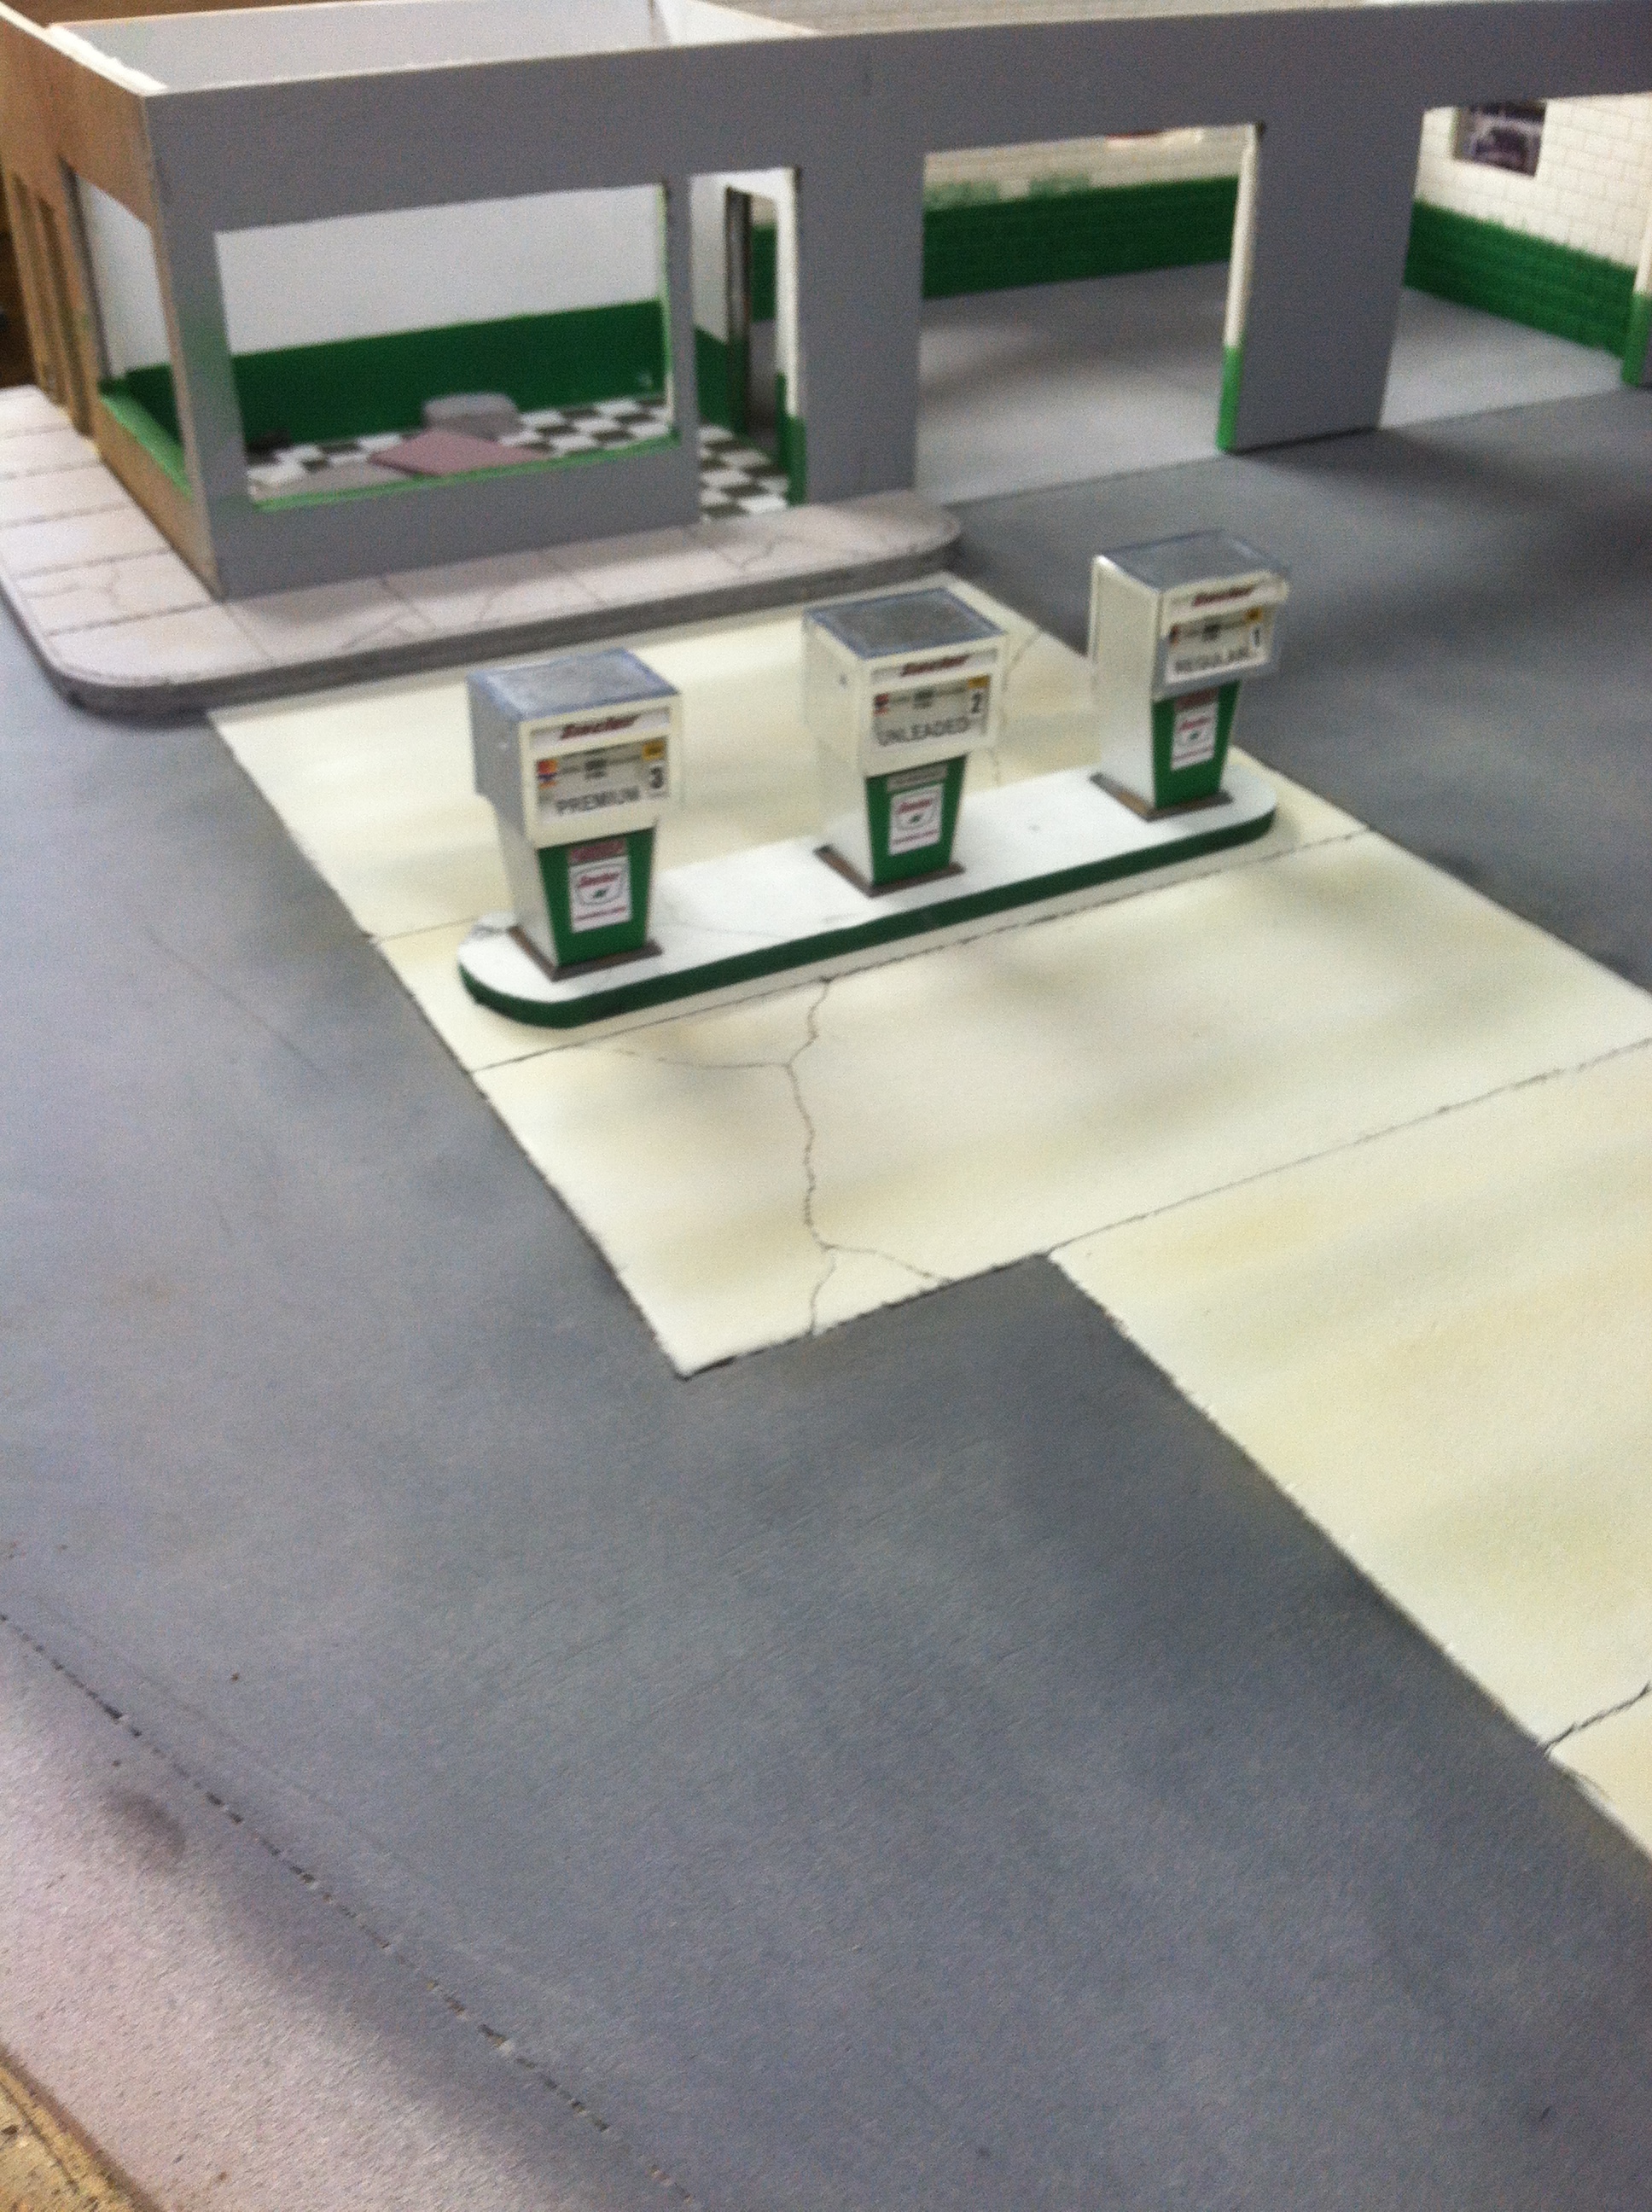
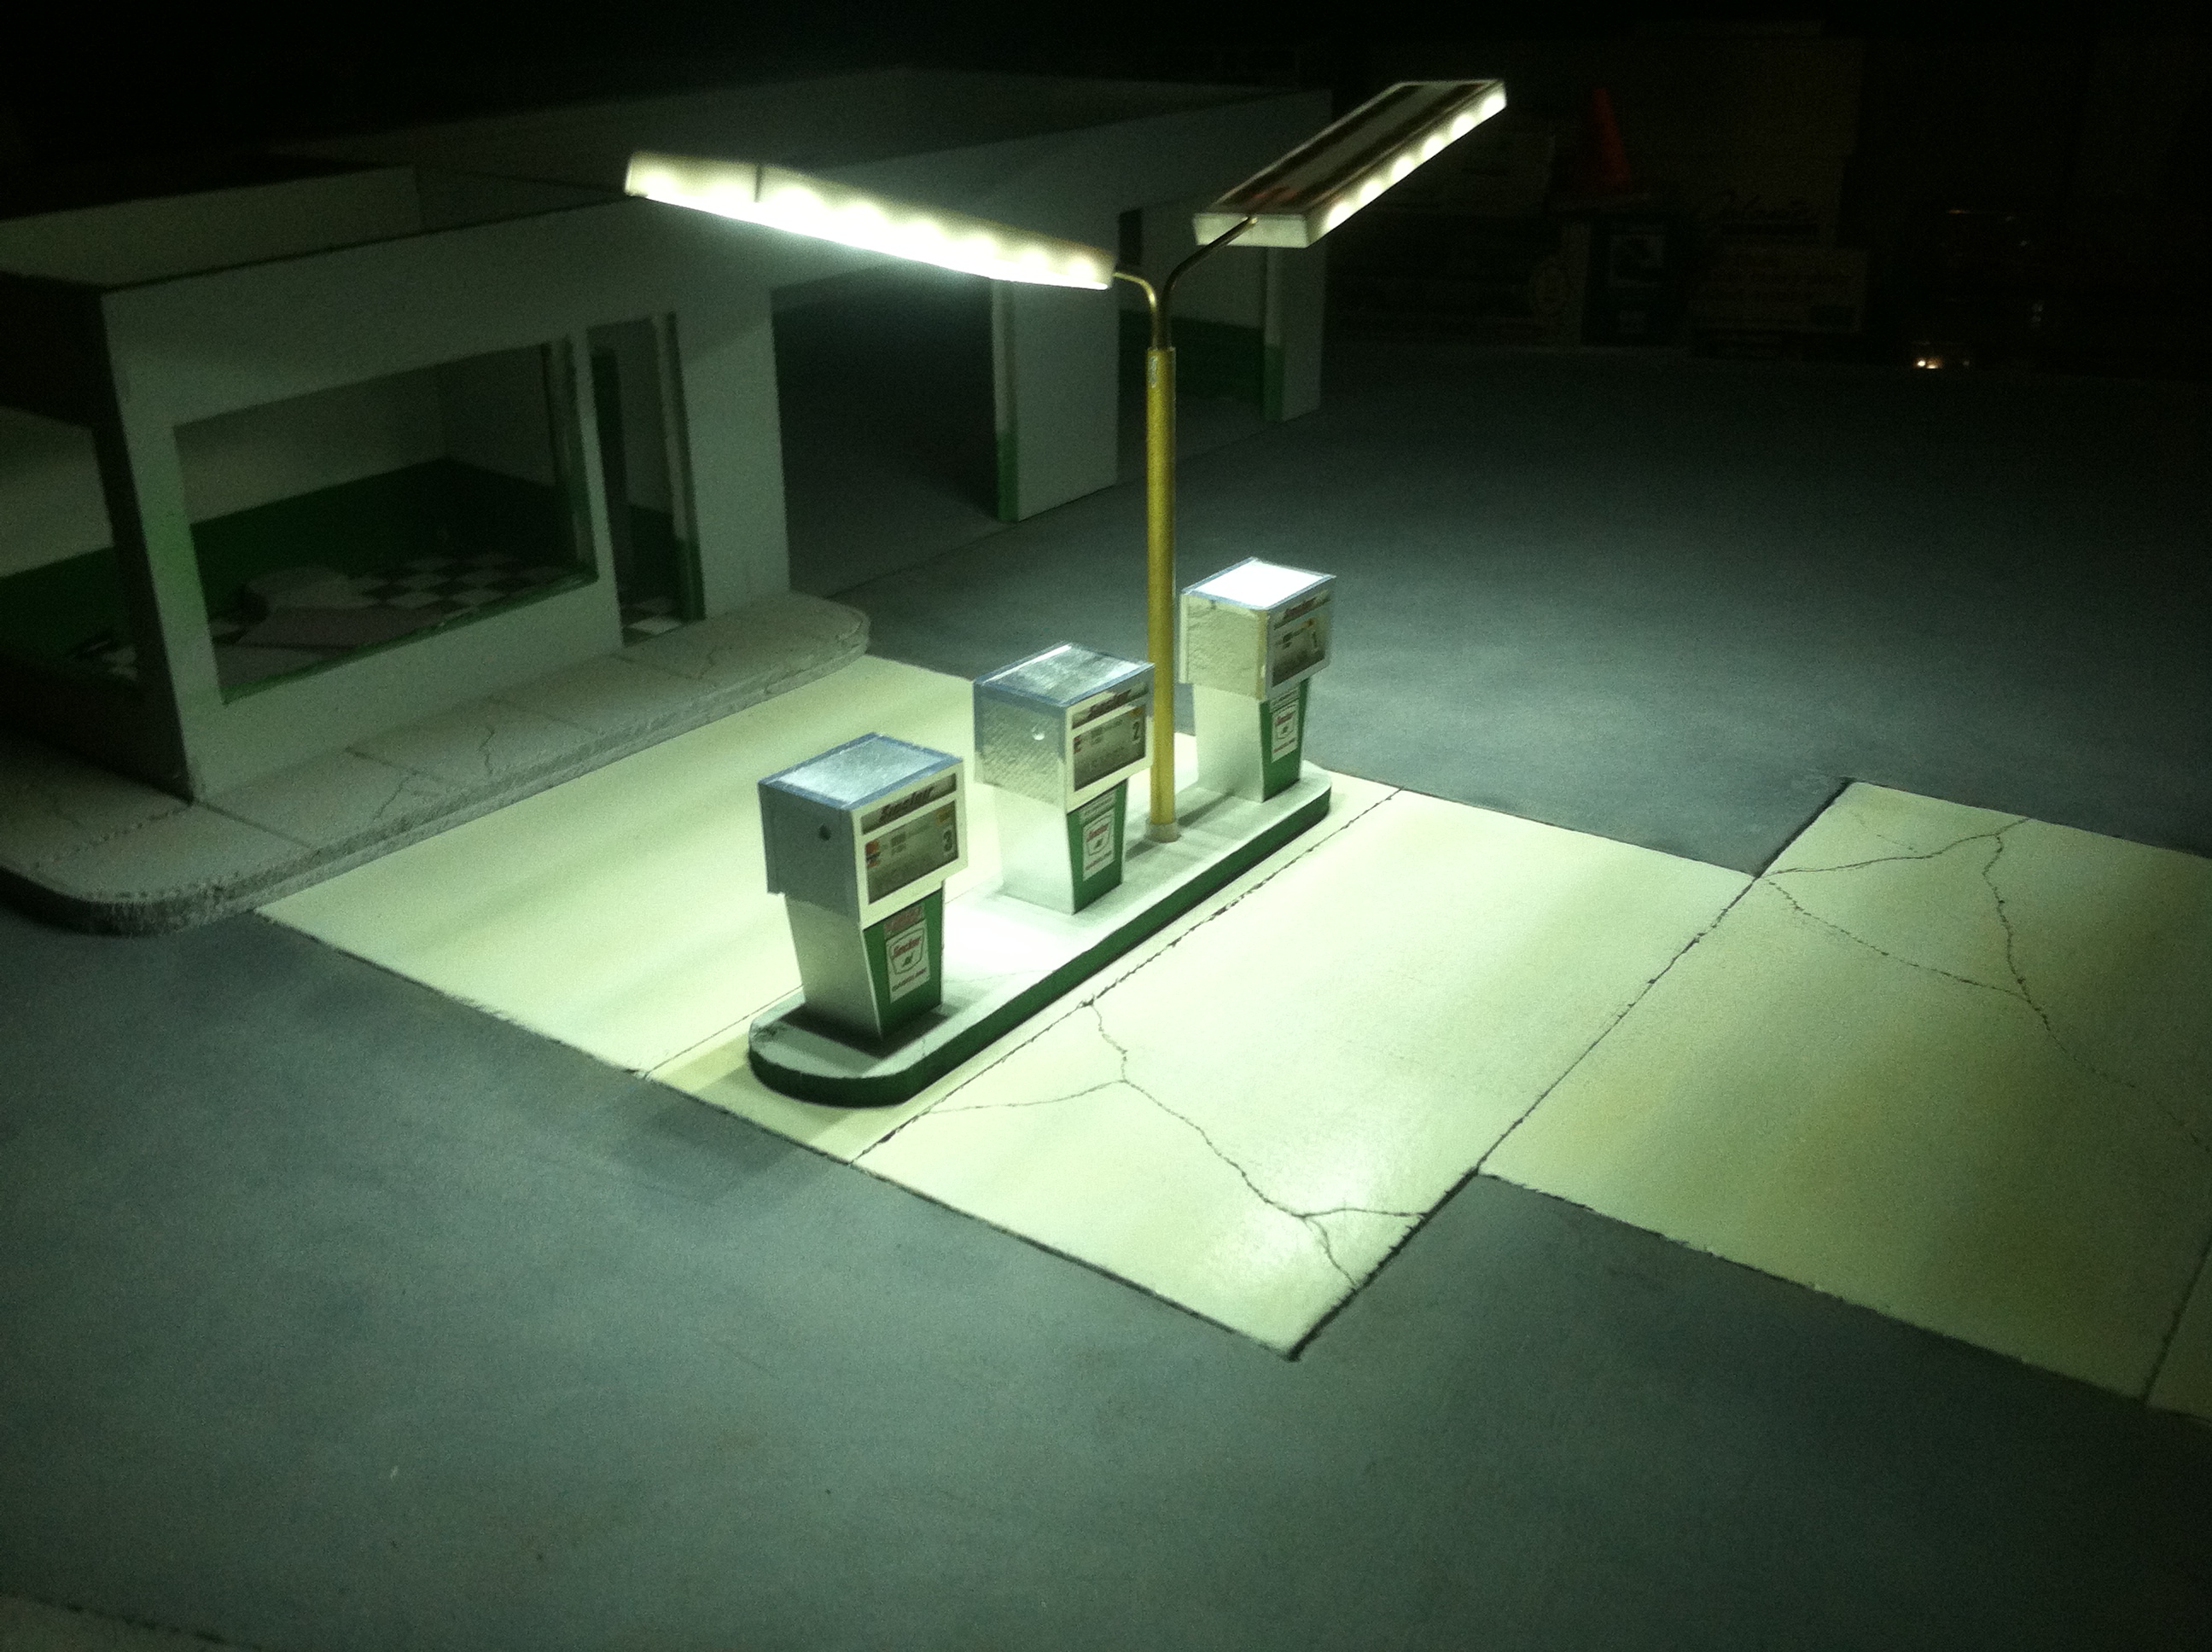
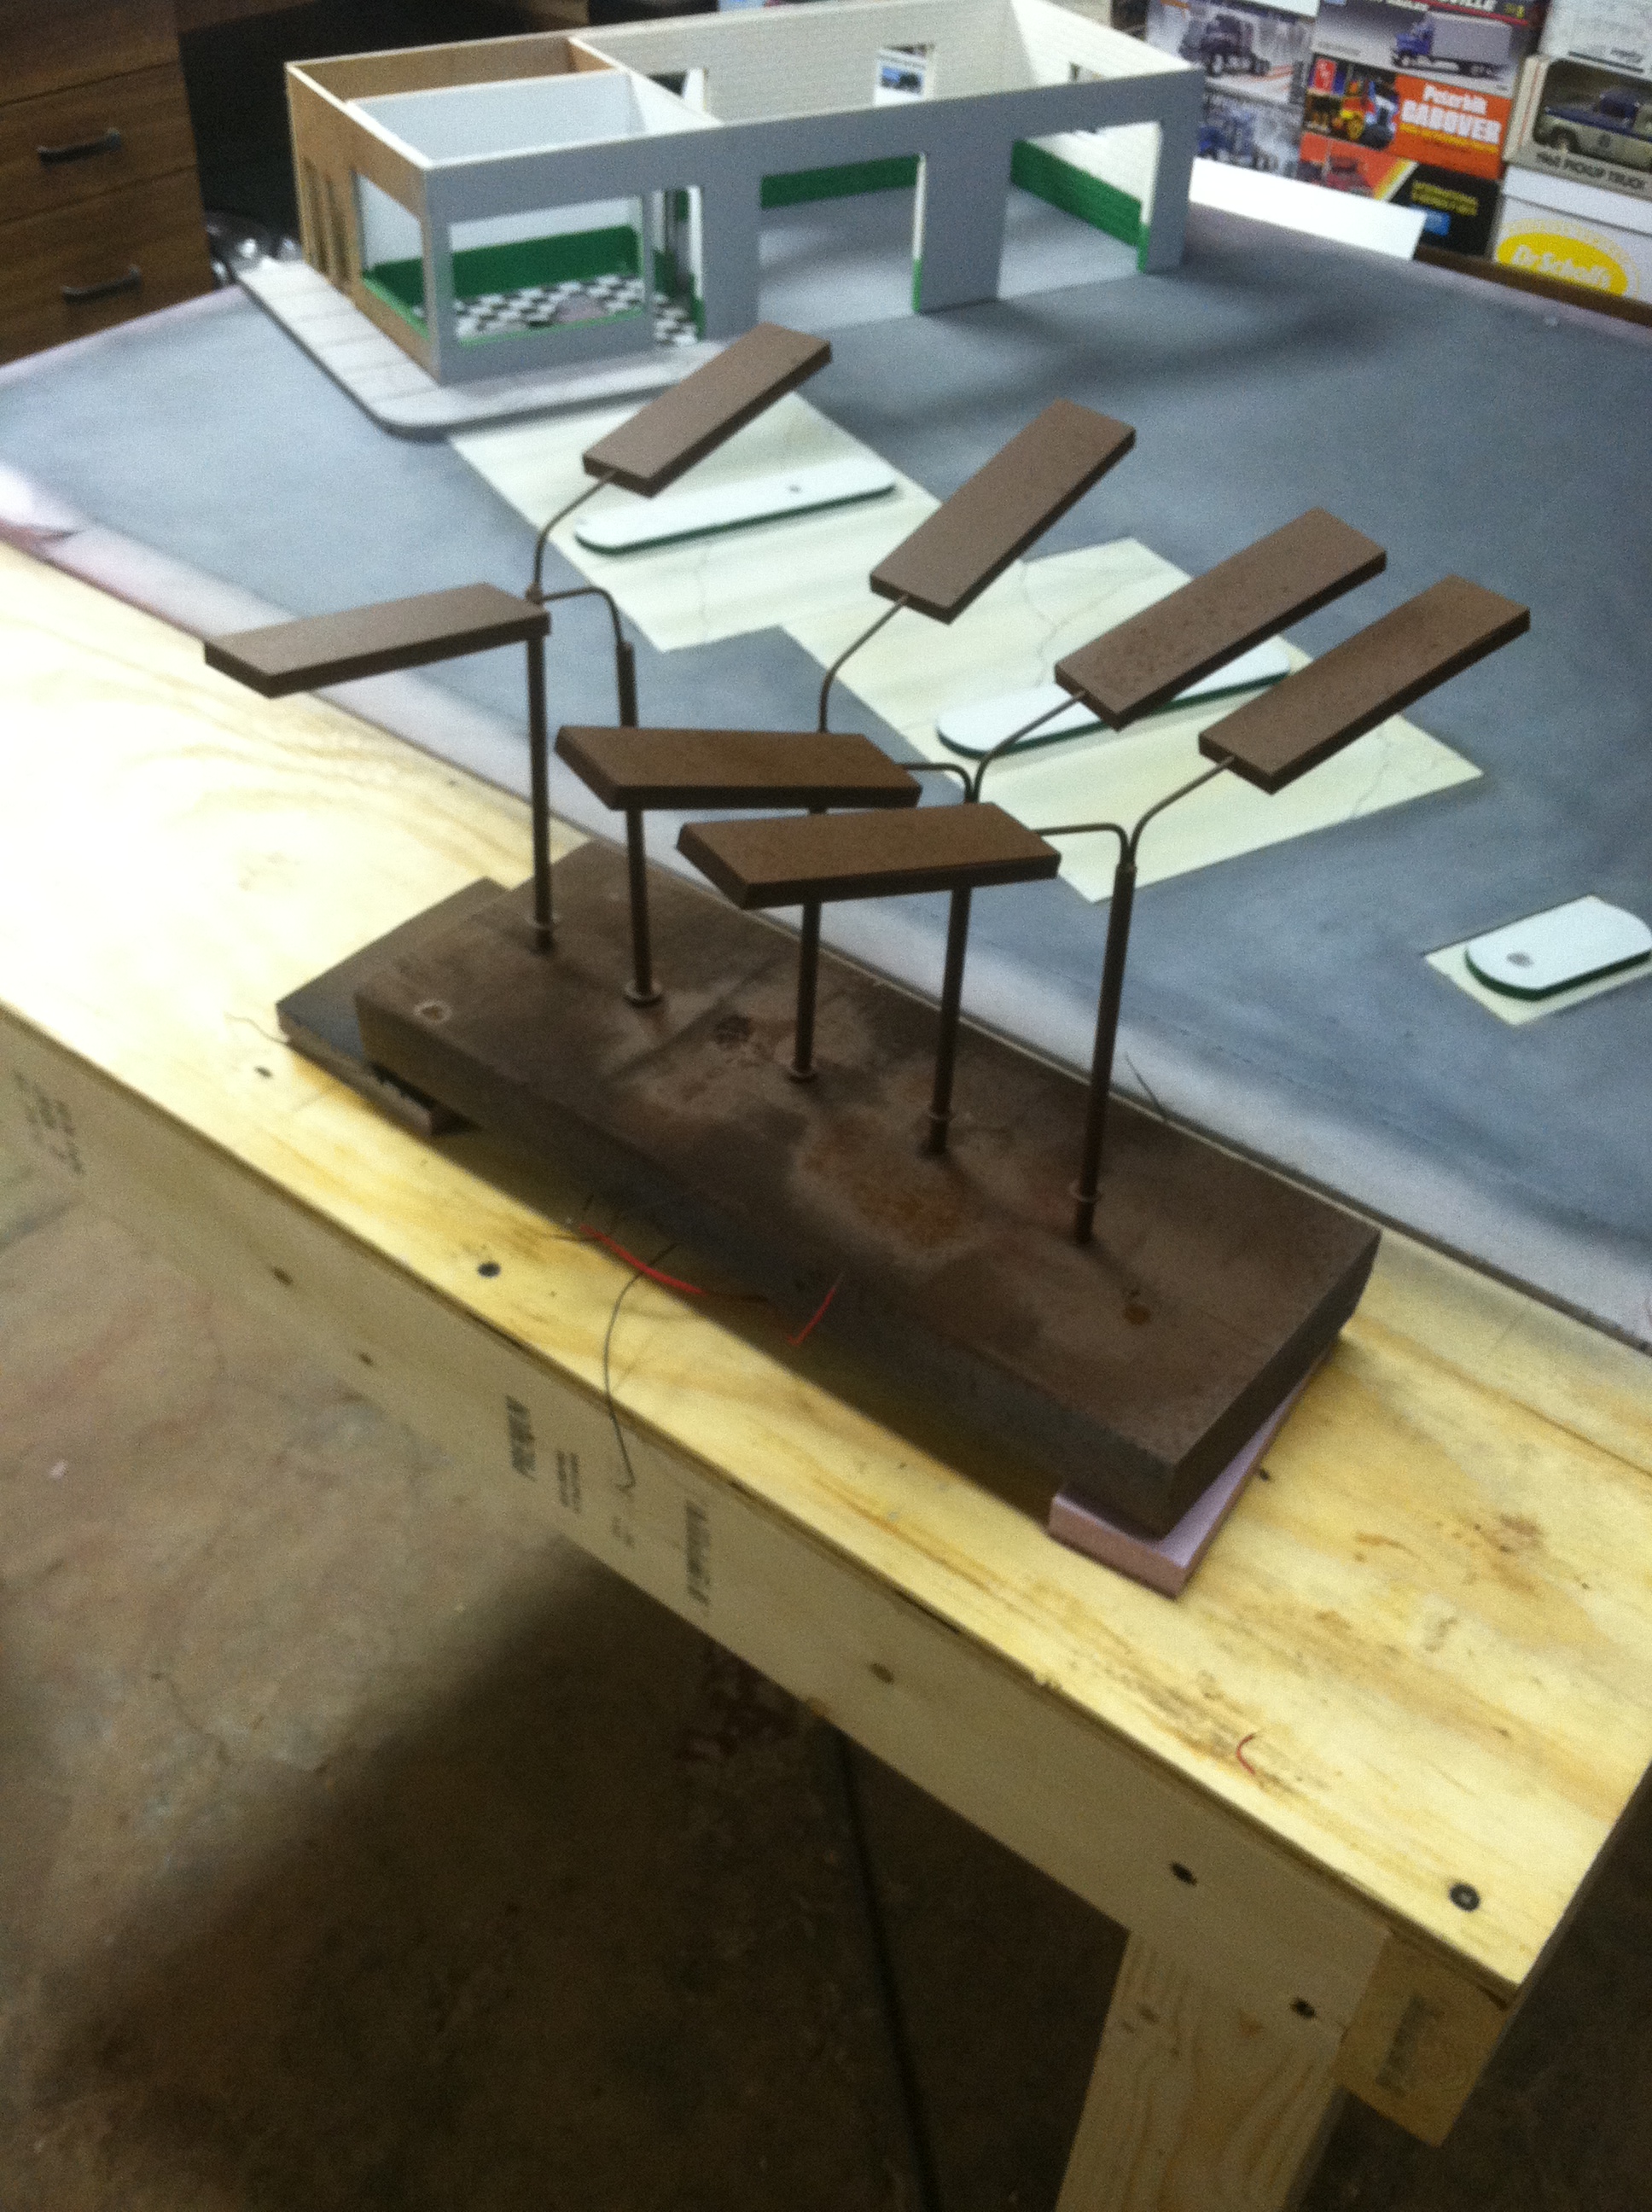
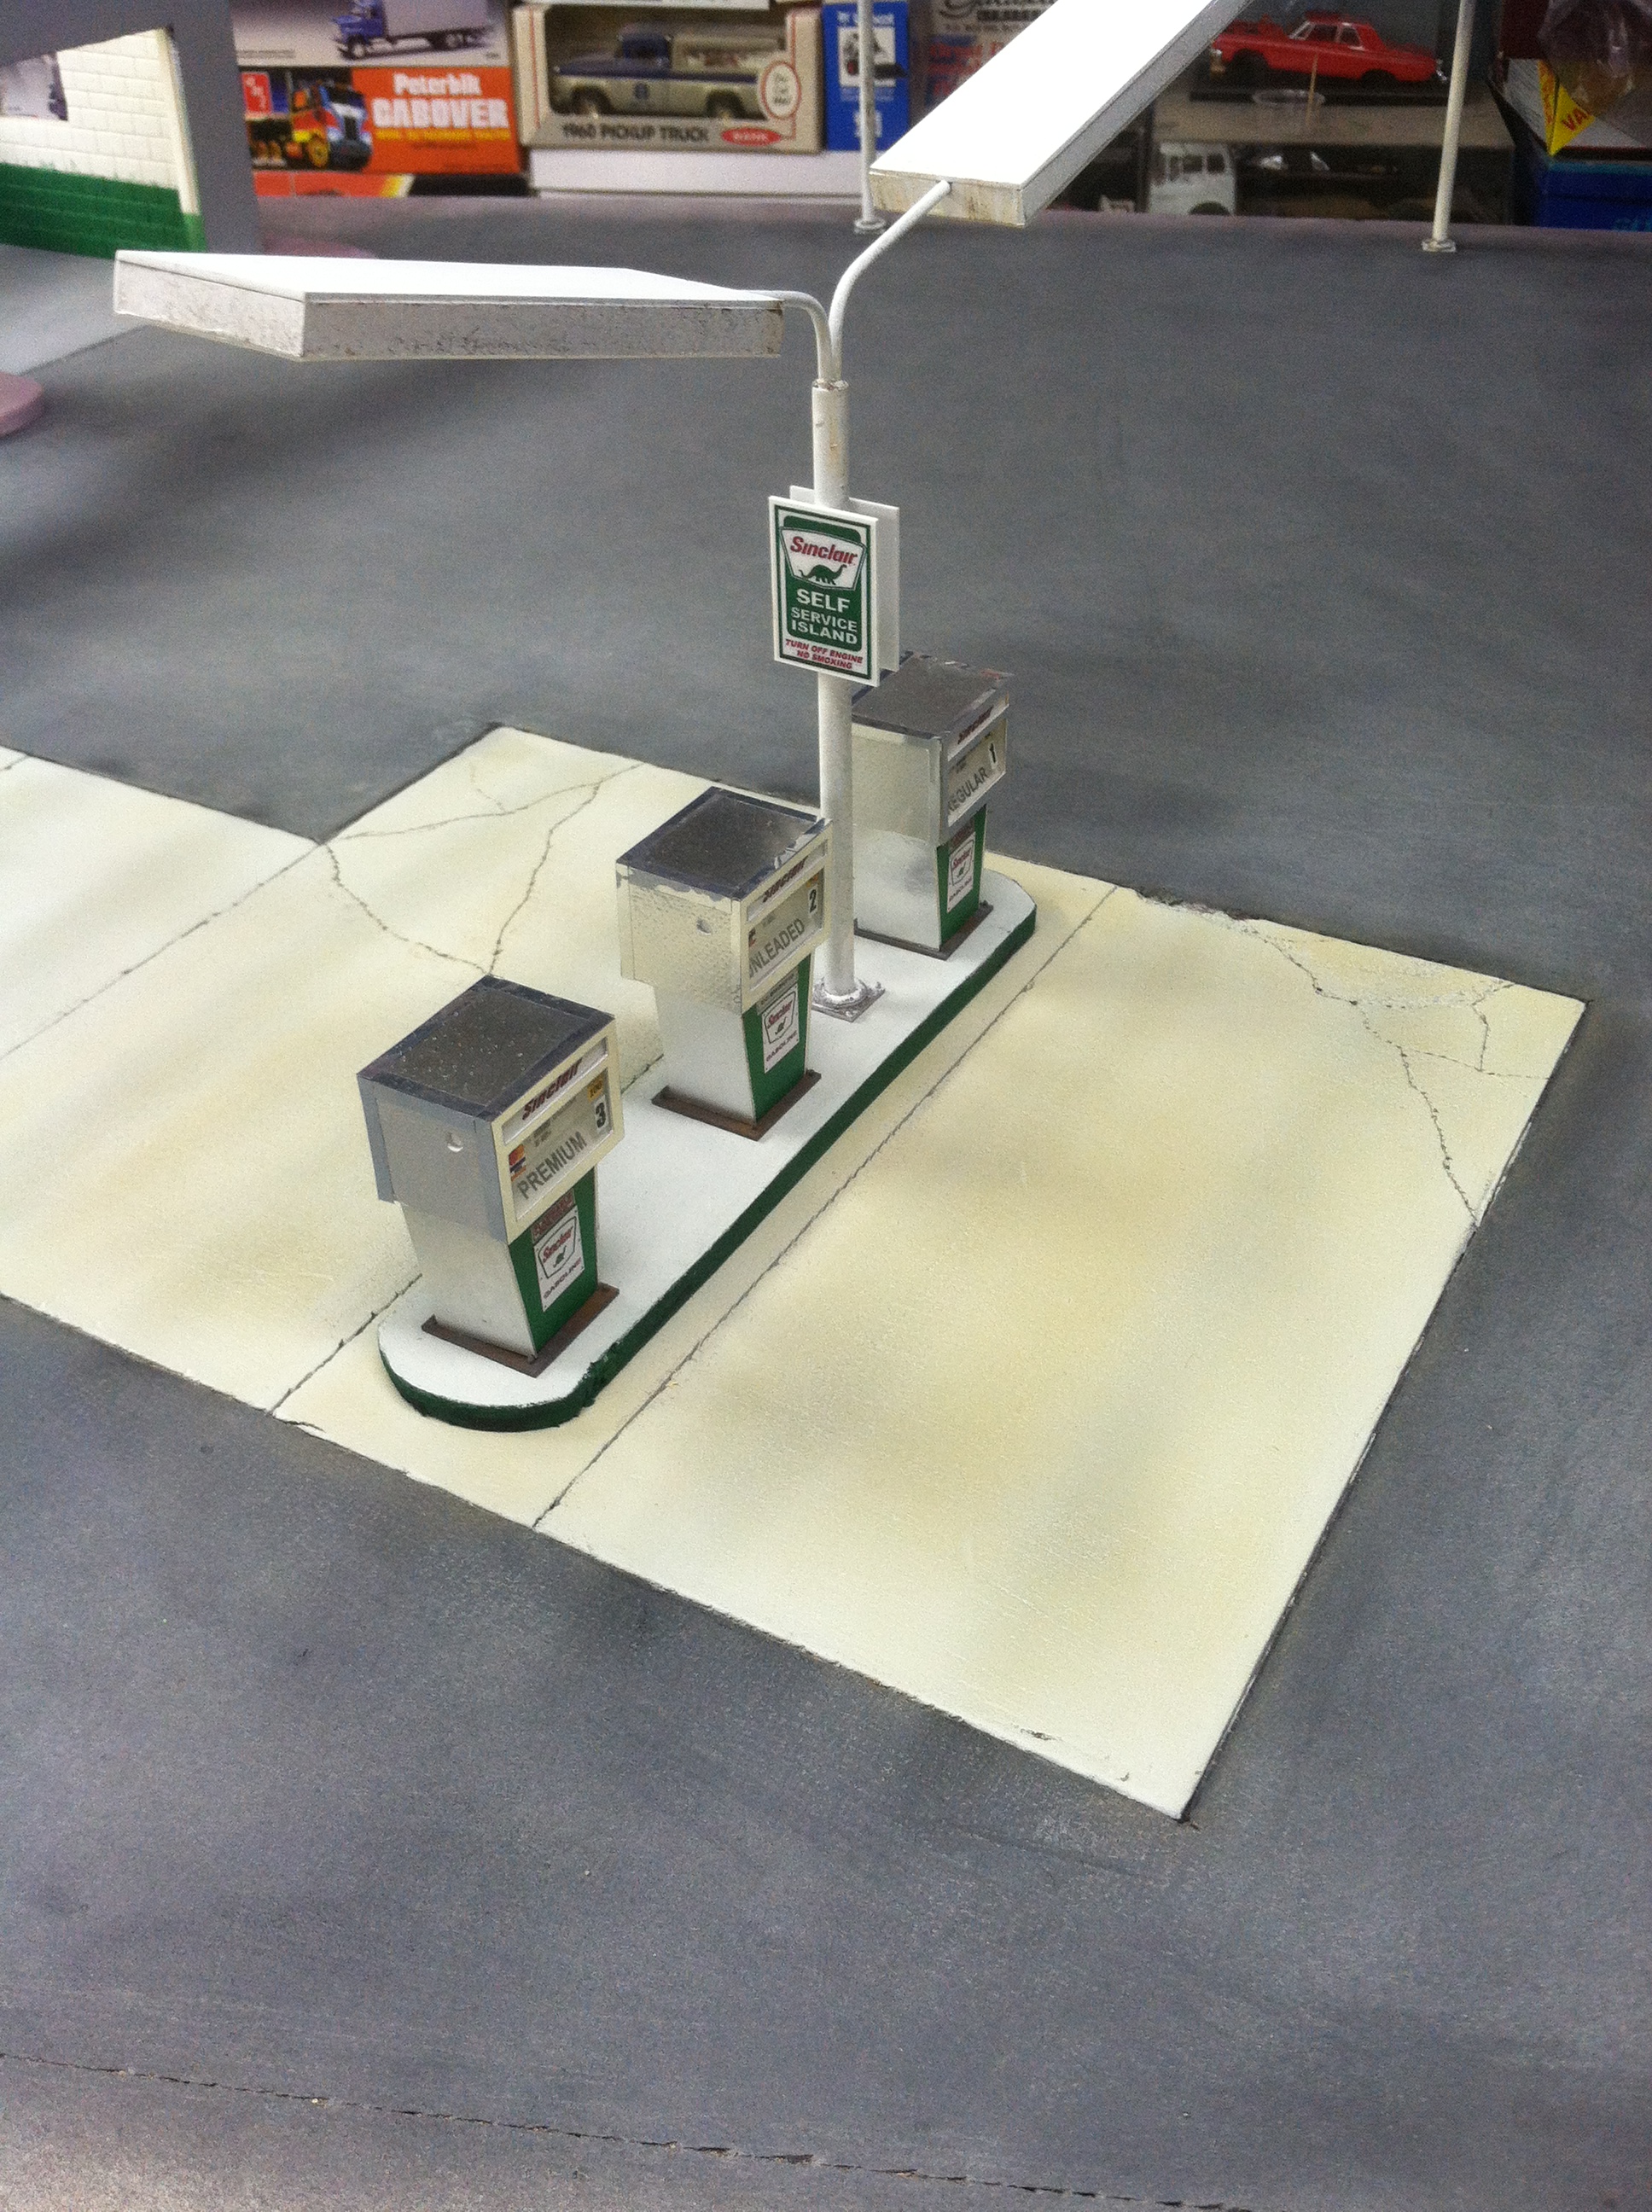
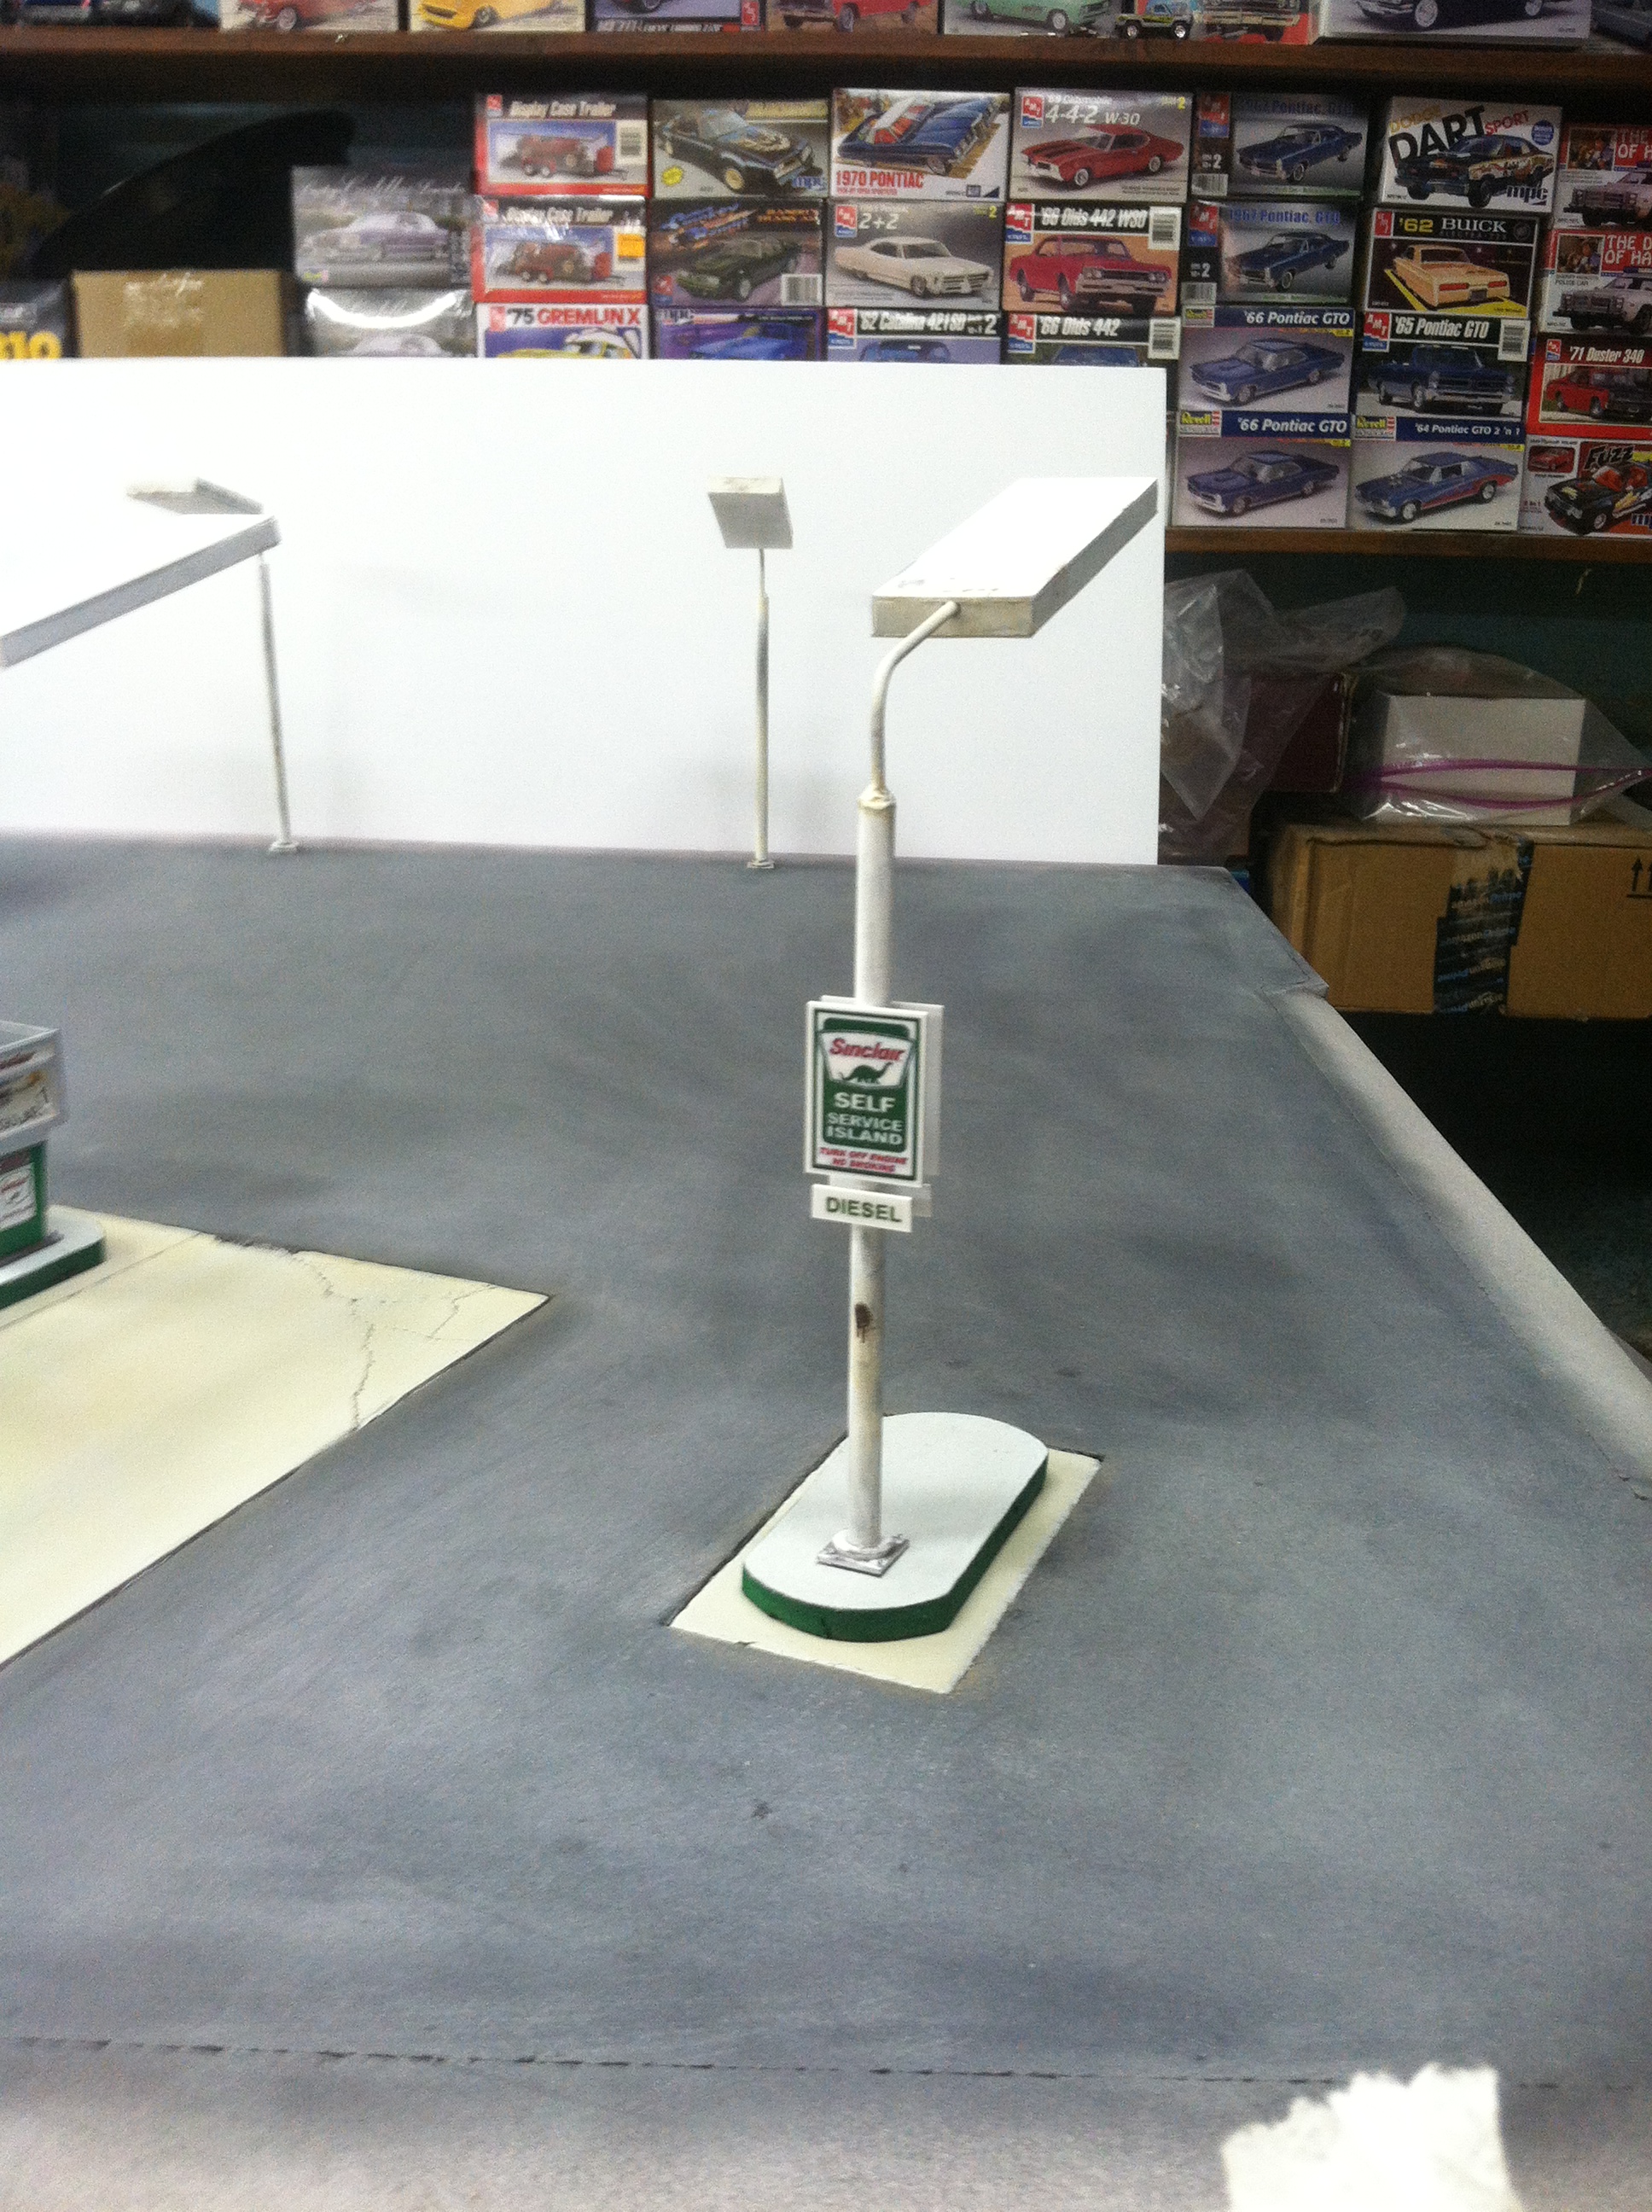
Another update on my progress. I painted the asphalt, smoothed up the concrete pads a little, tested, completed, and painted all of the island lights. The test photo shows light bleeding through the sides a bit so I put some reflective foil tape inside the light to solve this issue. The lights were painted with a dark brown base color topped off with white, then weathered slightly. The lens's were made from a cheap cutting board material from the dollar store that blurs things just enough to not see the led strip lights when off, but allows light through when on. The asphalt was too black at first so I rubbed baby powder into the foam and a little fine dirt to give it a slight used look. I set up another mock up to see if I am on track. I will keep posting my progress. Thanks for following!
-
Nice work !
-
Pure talent! Wow! Very nice!
-
Yeah it is a lot of plastic! A bit of a challenge to cut down to workable pieces but otherwise awesome! I get frustrated with the prices of things in hobby shops and am always looking for different ways around it. Most moderate sized cities probably have some kind of a factory that makes plastic sheets for signage and such so it is worth looking into. I live in South Dakota where the largest city is only 175.000 people. The place I found near me makes all kinds of sheets in different thicknesses and materials from aluminum reinforced to clear plastics, styrene, abs, and more. The sheet I got, rolled up nice into a 18-20 inch tube so transporting was easy. When I got it home I just unrolled it and cut it in half and so on.
-
The thicker "House" sign is styrene. The pain is sanding off the red. I recently looked up (googled) and visited a plastic shop about 45 min from my house. I scored a 4ft by 8ft sheet of white styrene about 1mm thick for $17.00 so the thicker for sale signs will be no more. The island lights are made of that material. The cheap super thin signs are styrene also I believe. They have a use but are not as rigid. Those are only a few bucks and the white portion is transparent to a point. That is what I used for the top "Sinclair" signage on the gas pumps so they light up nice and disperse the light well without seeing the light bulb behind it.
-
I love where your going with this! Looking great so far!
-
Mighty fine Mopar! Looking great!
-
Jacked Up GMC/Weekend Warrior CBP
bill lanfear replied to KWT's topic in Model Trucks: Pickups, Vans, SUVs, Light Commercial
Normally not my style but your paint on this is flawless! Well done!