bill lanfear
-
Posts
687 -
Joined
-
Last visited
Content Type
Profiles
Forums
Events
Gallery
Everything posted by bill lanfear
-
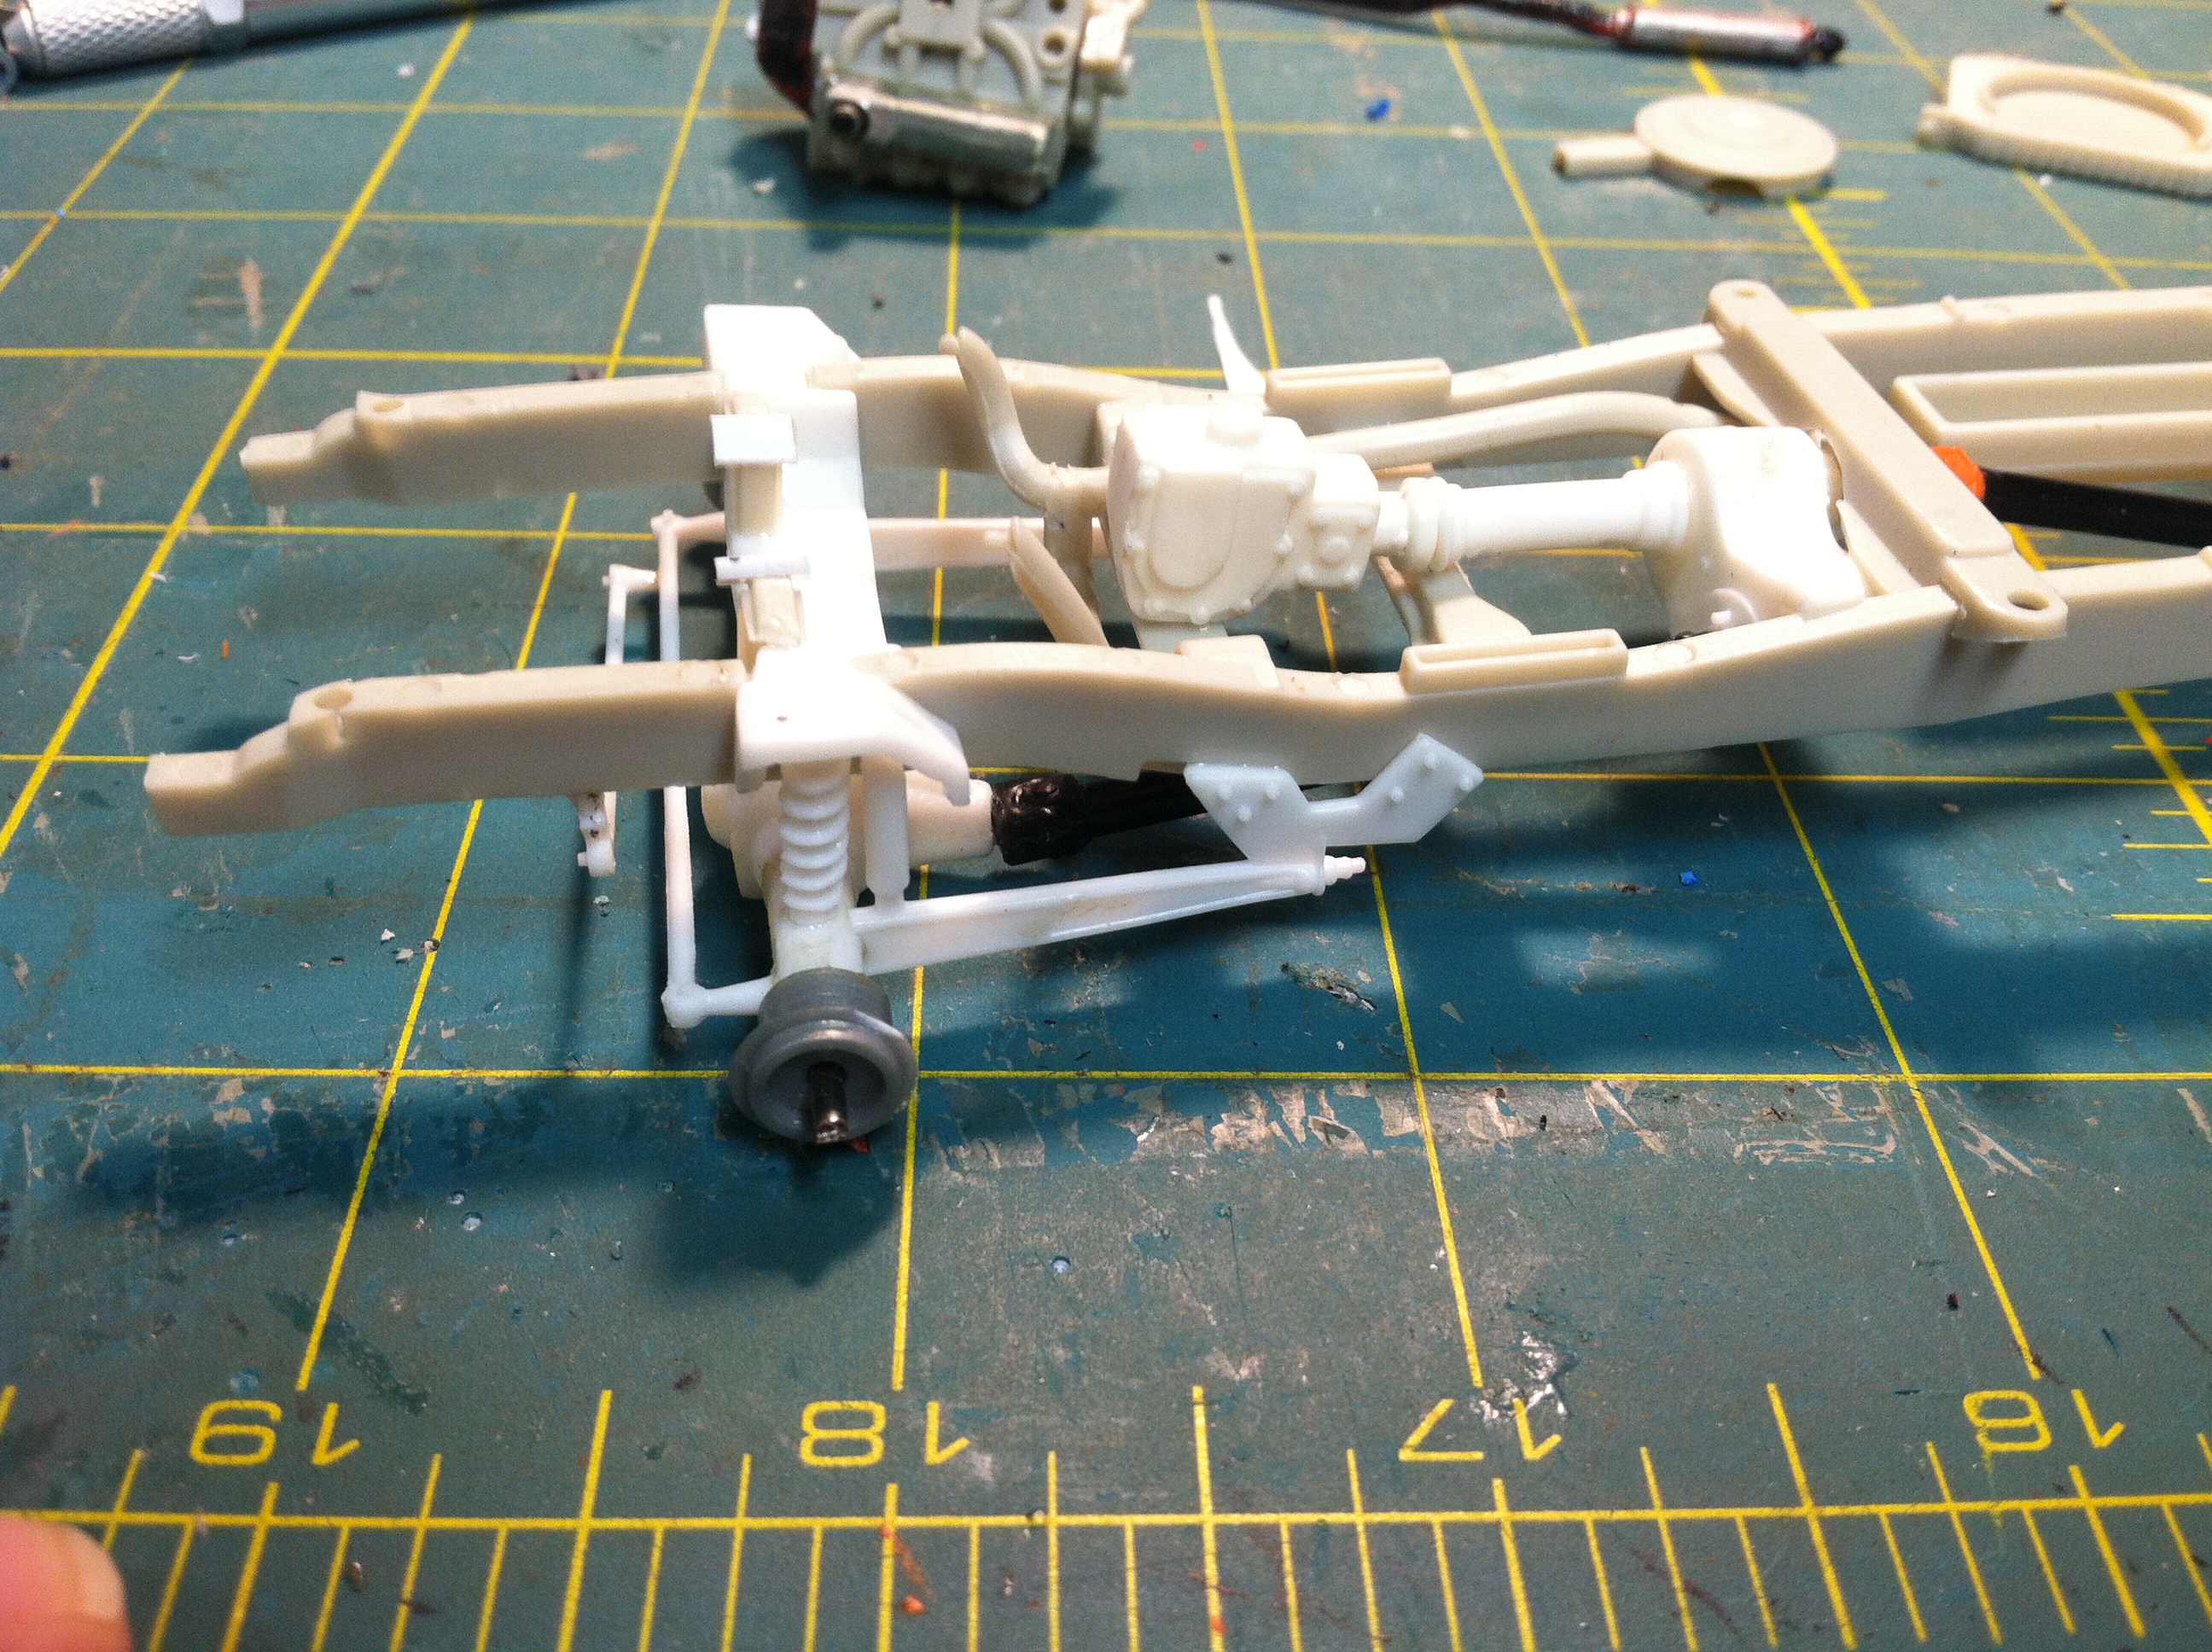
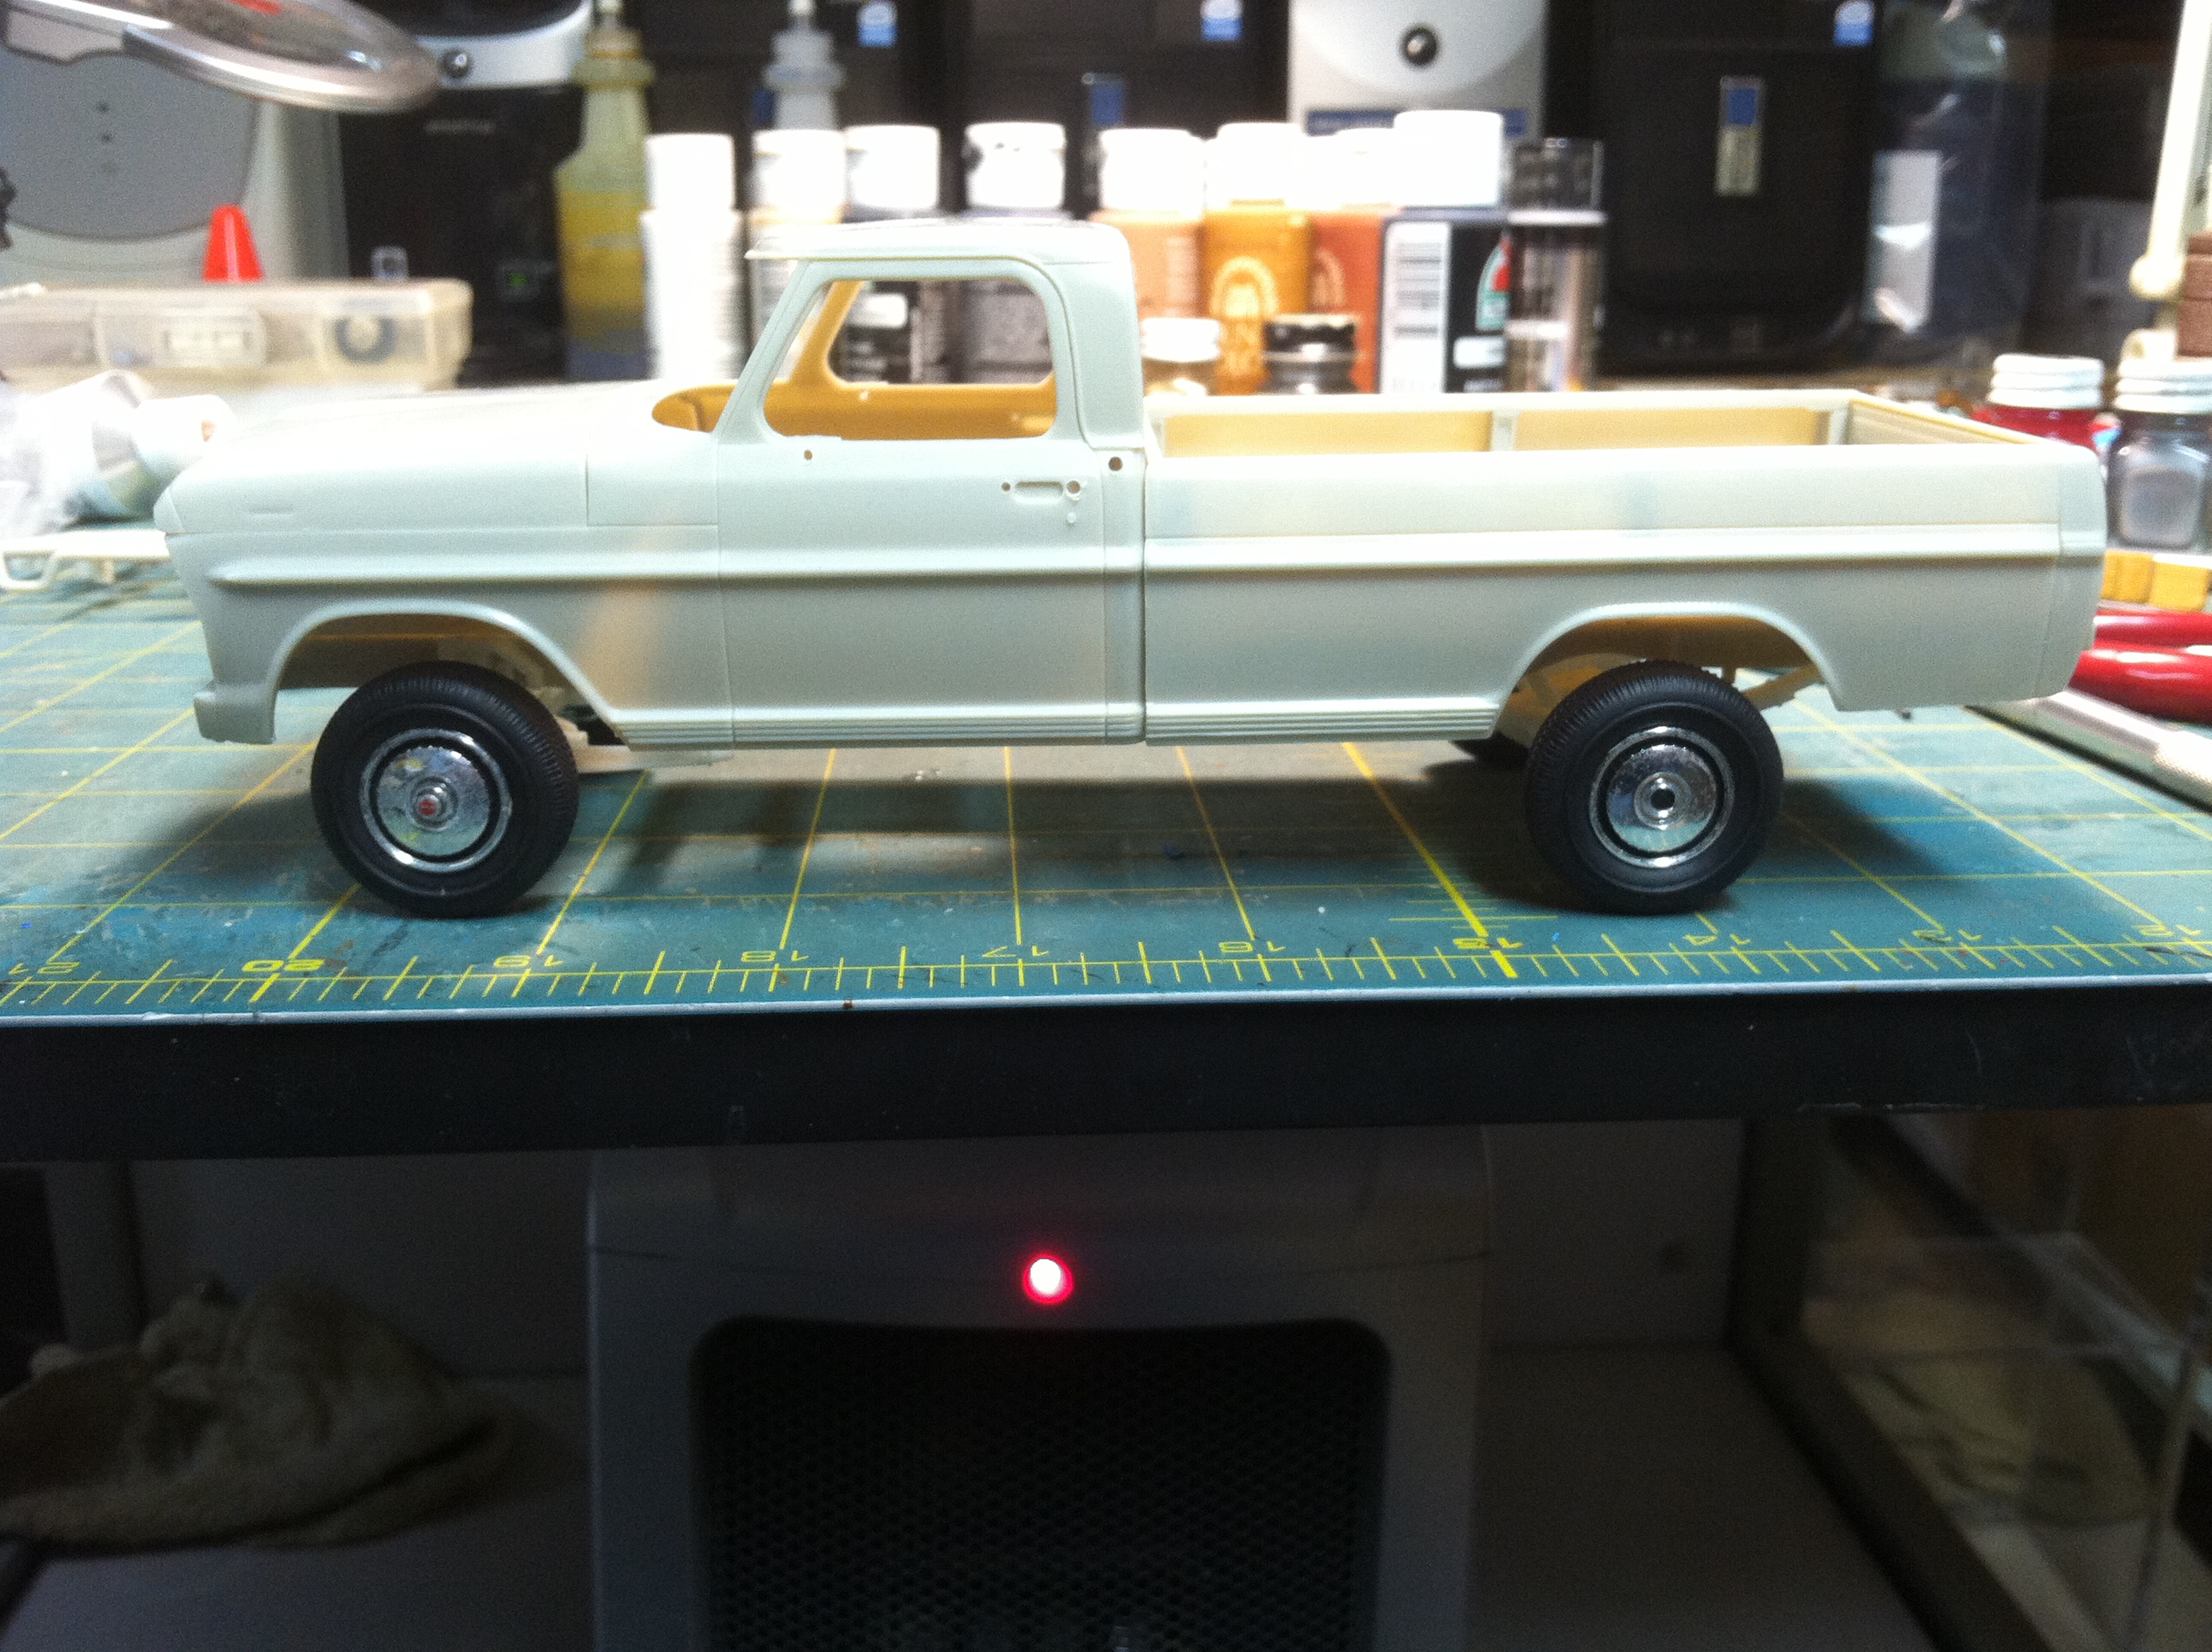
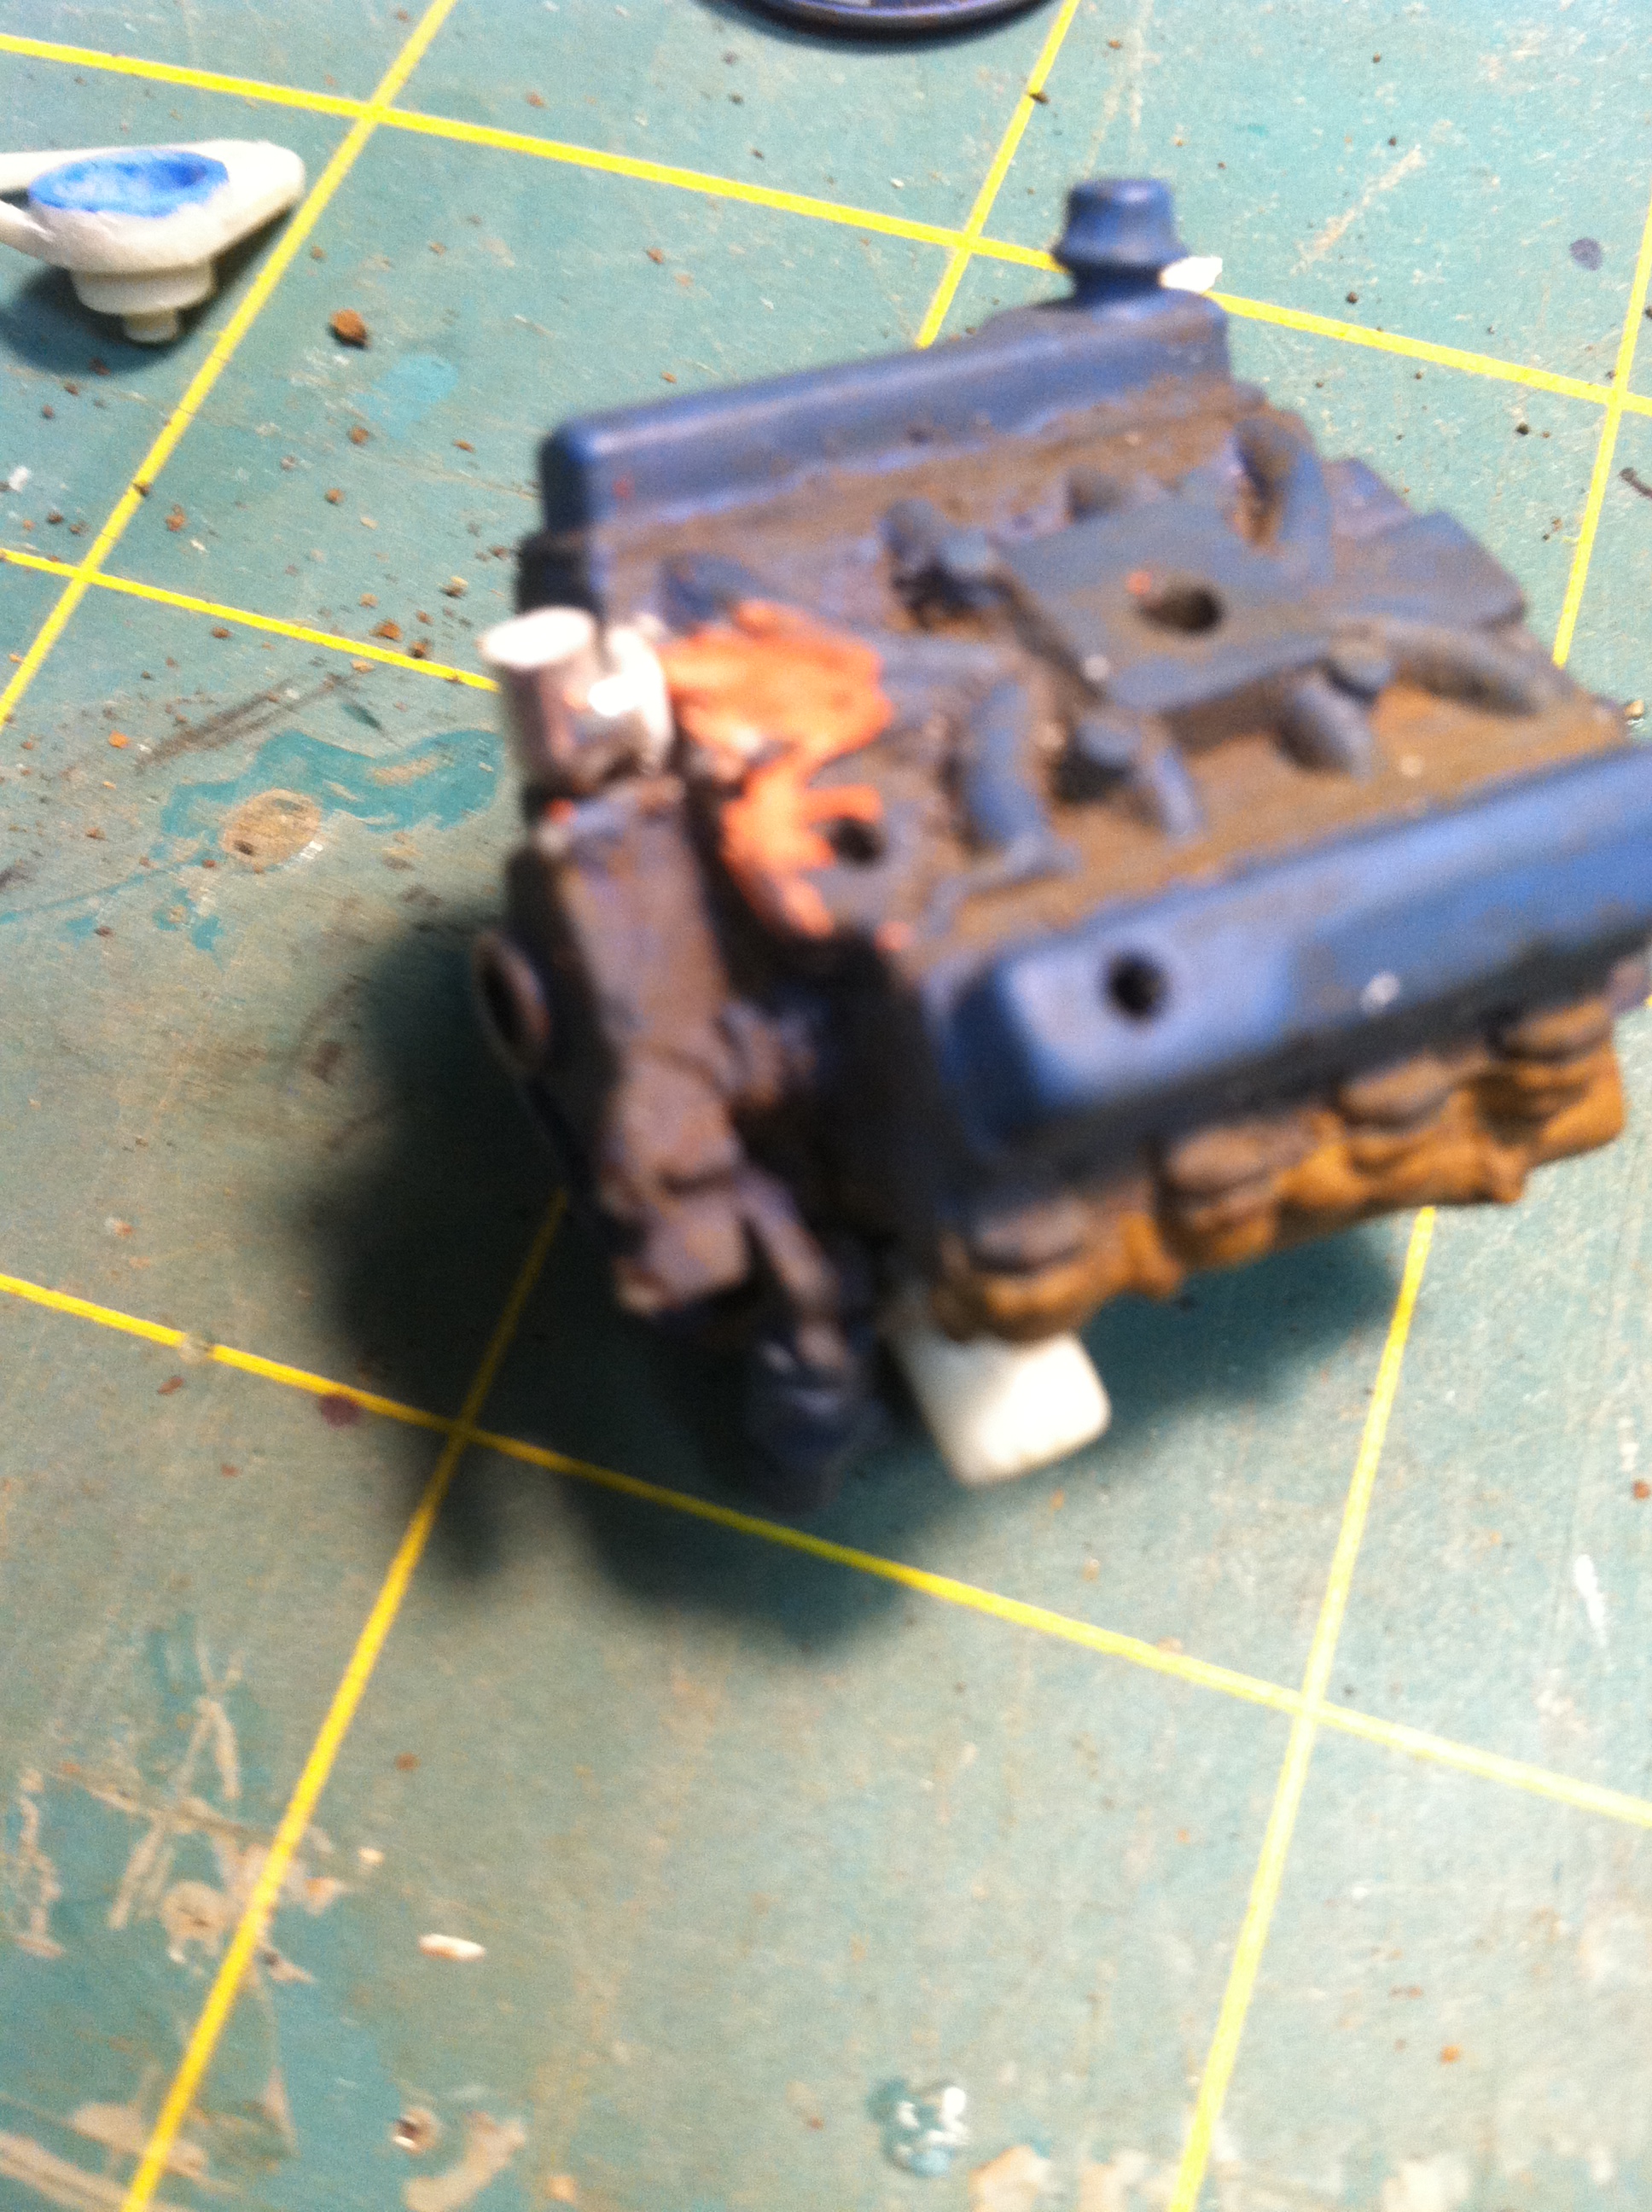
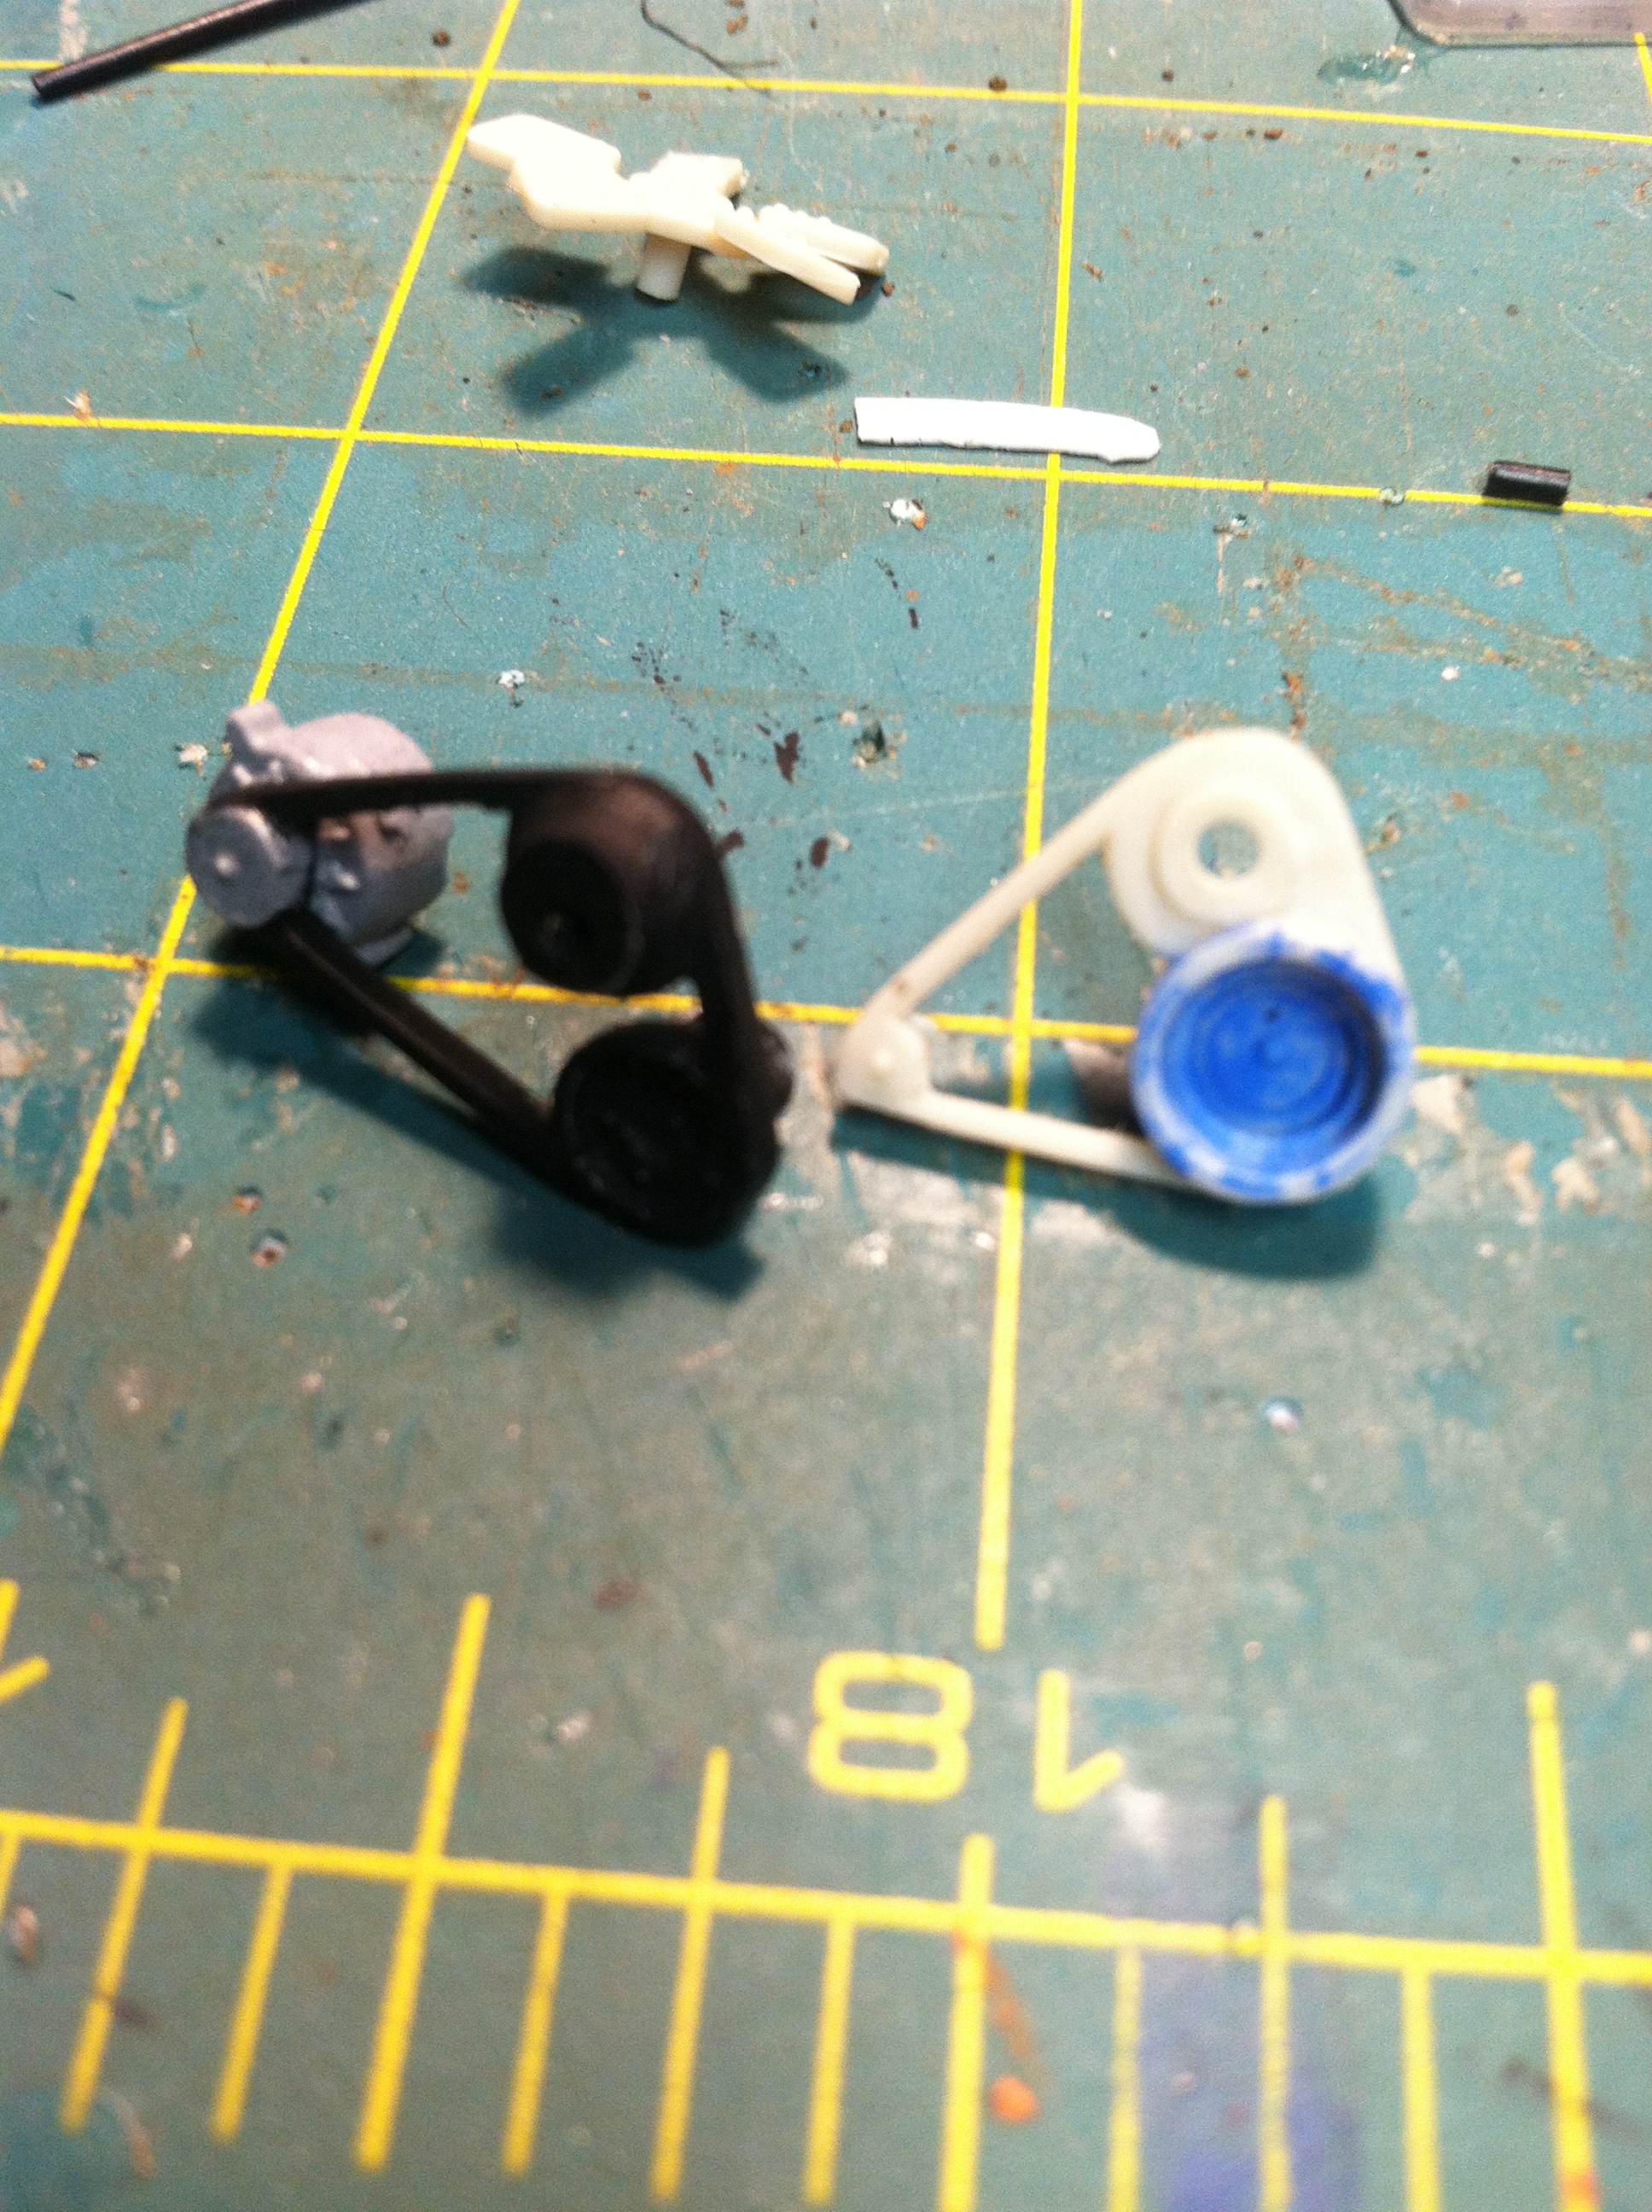
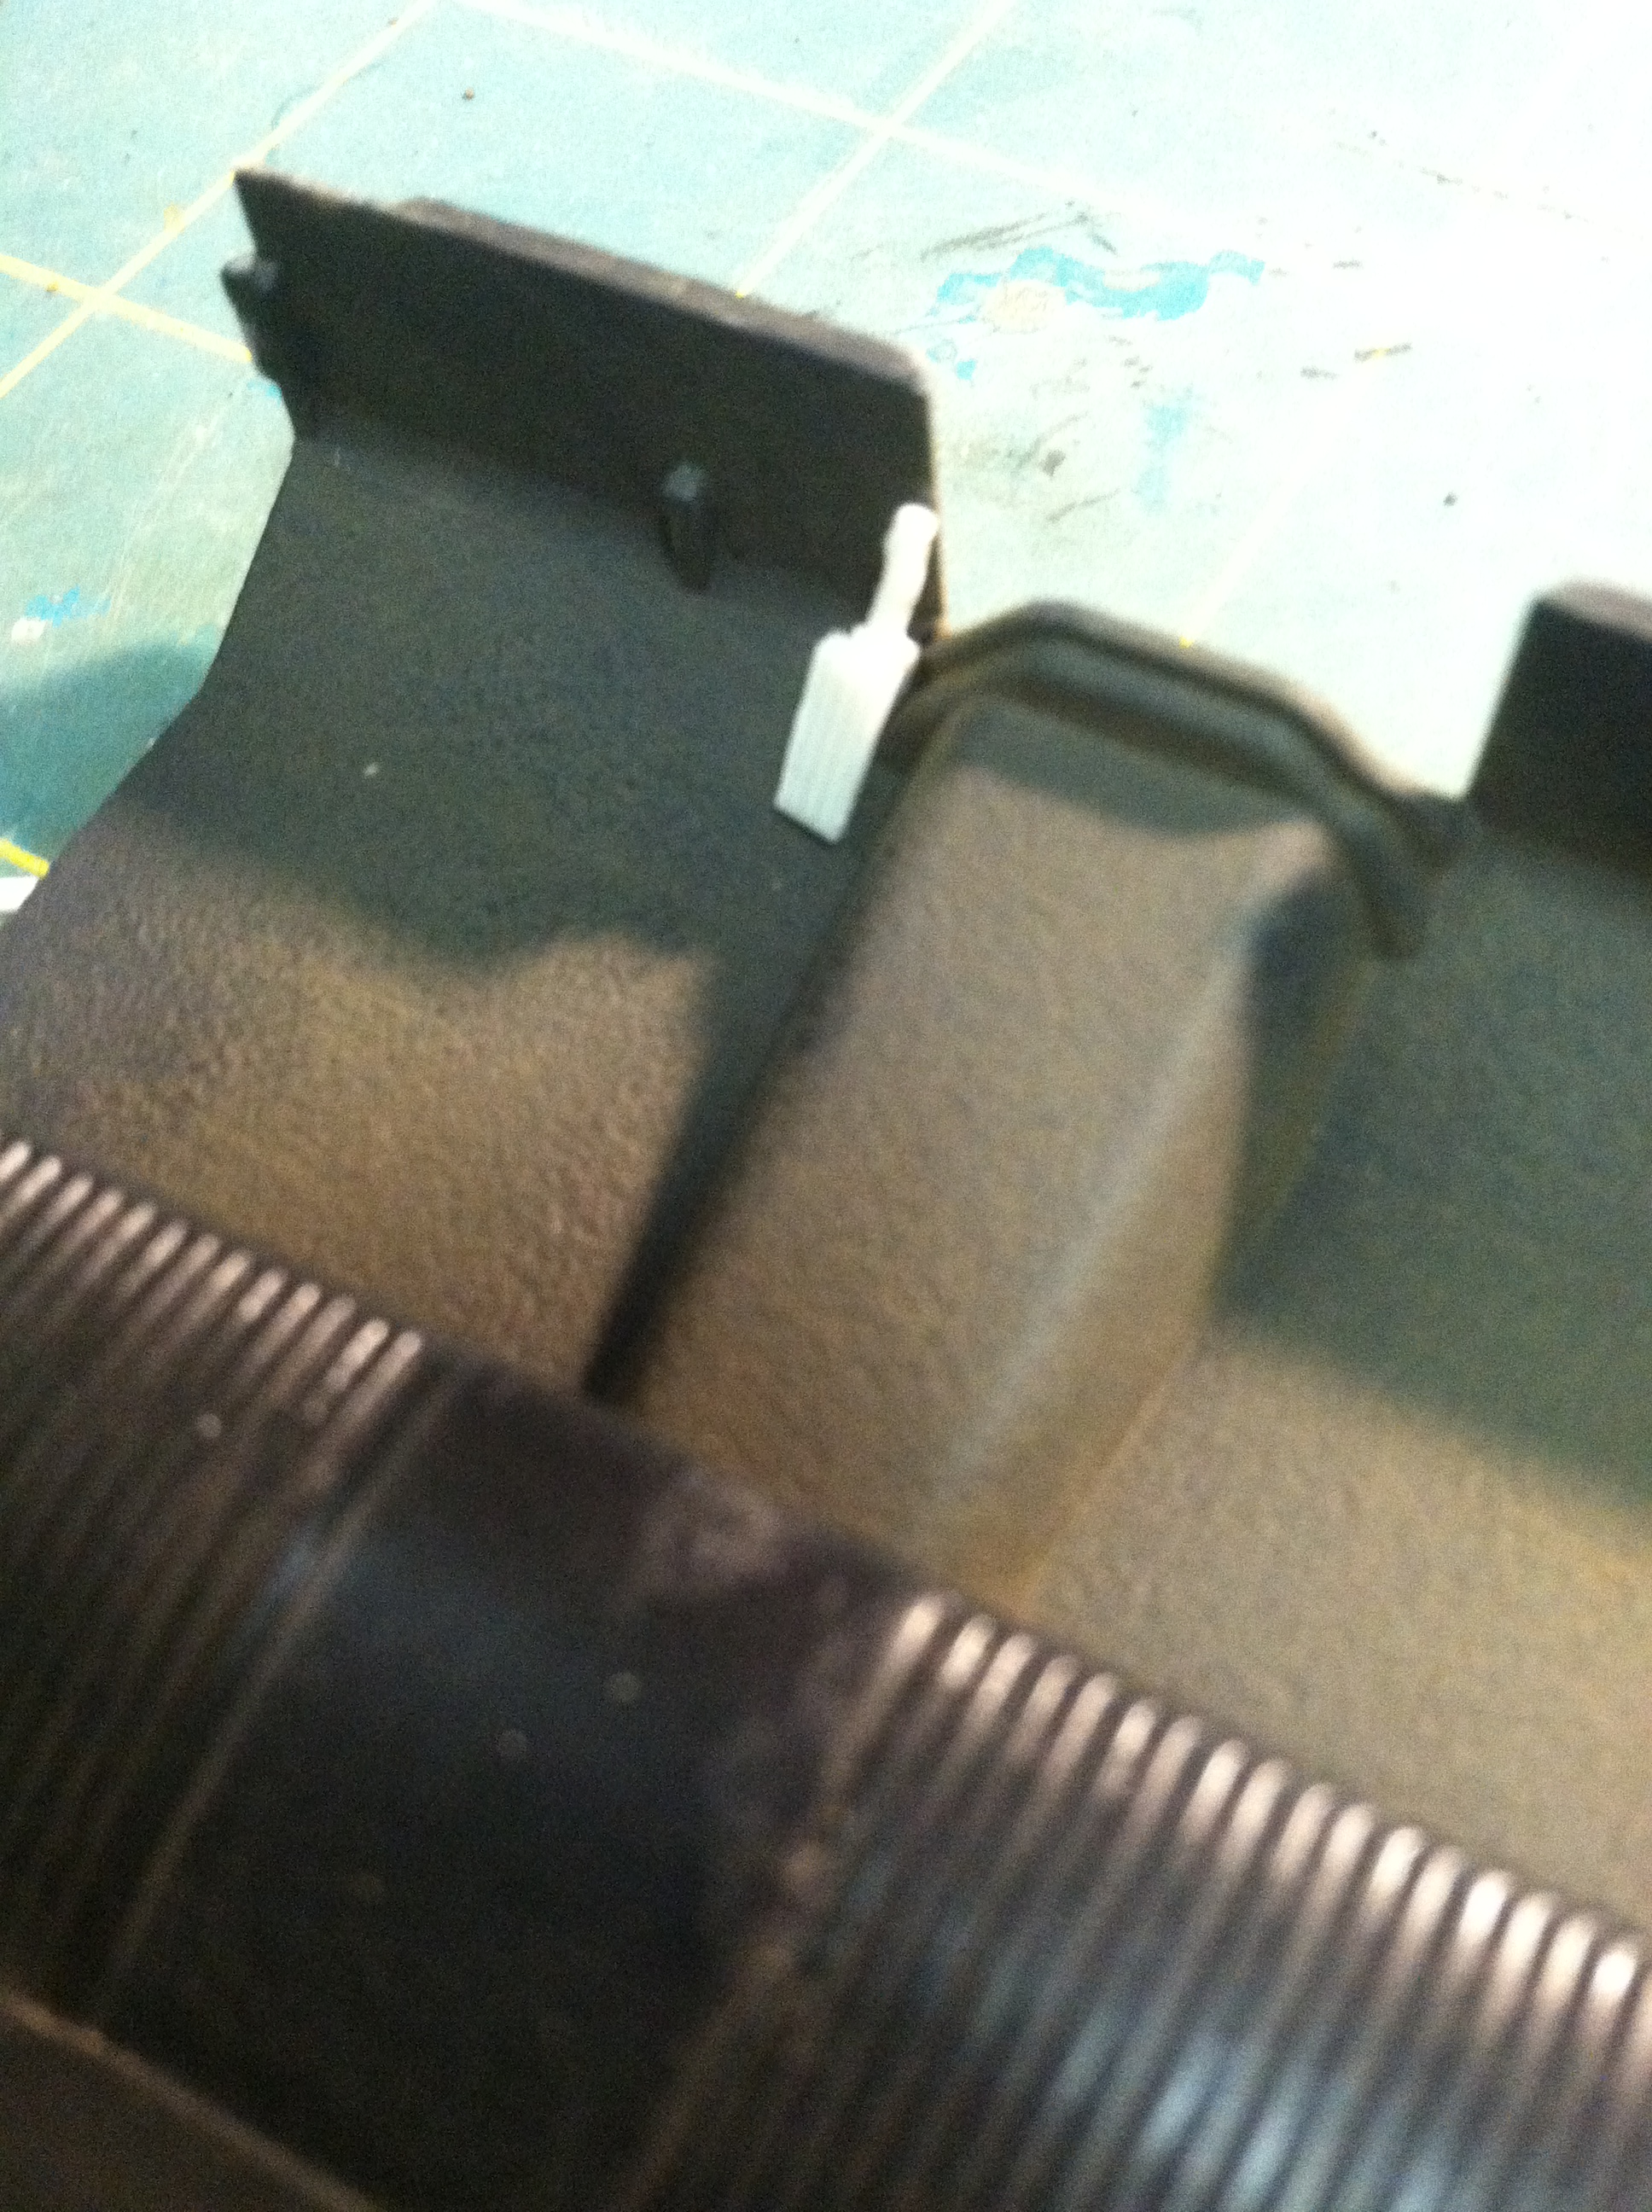
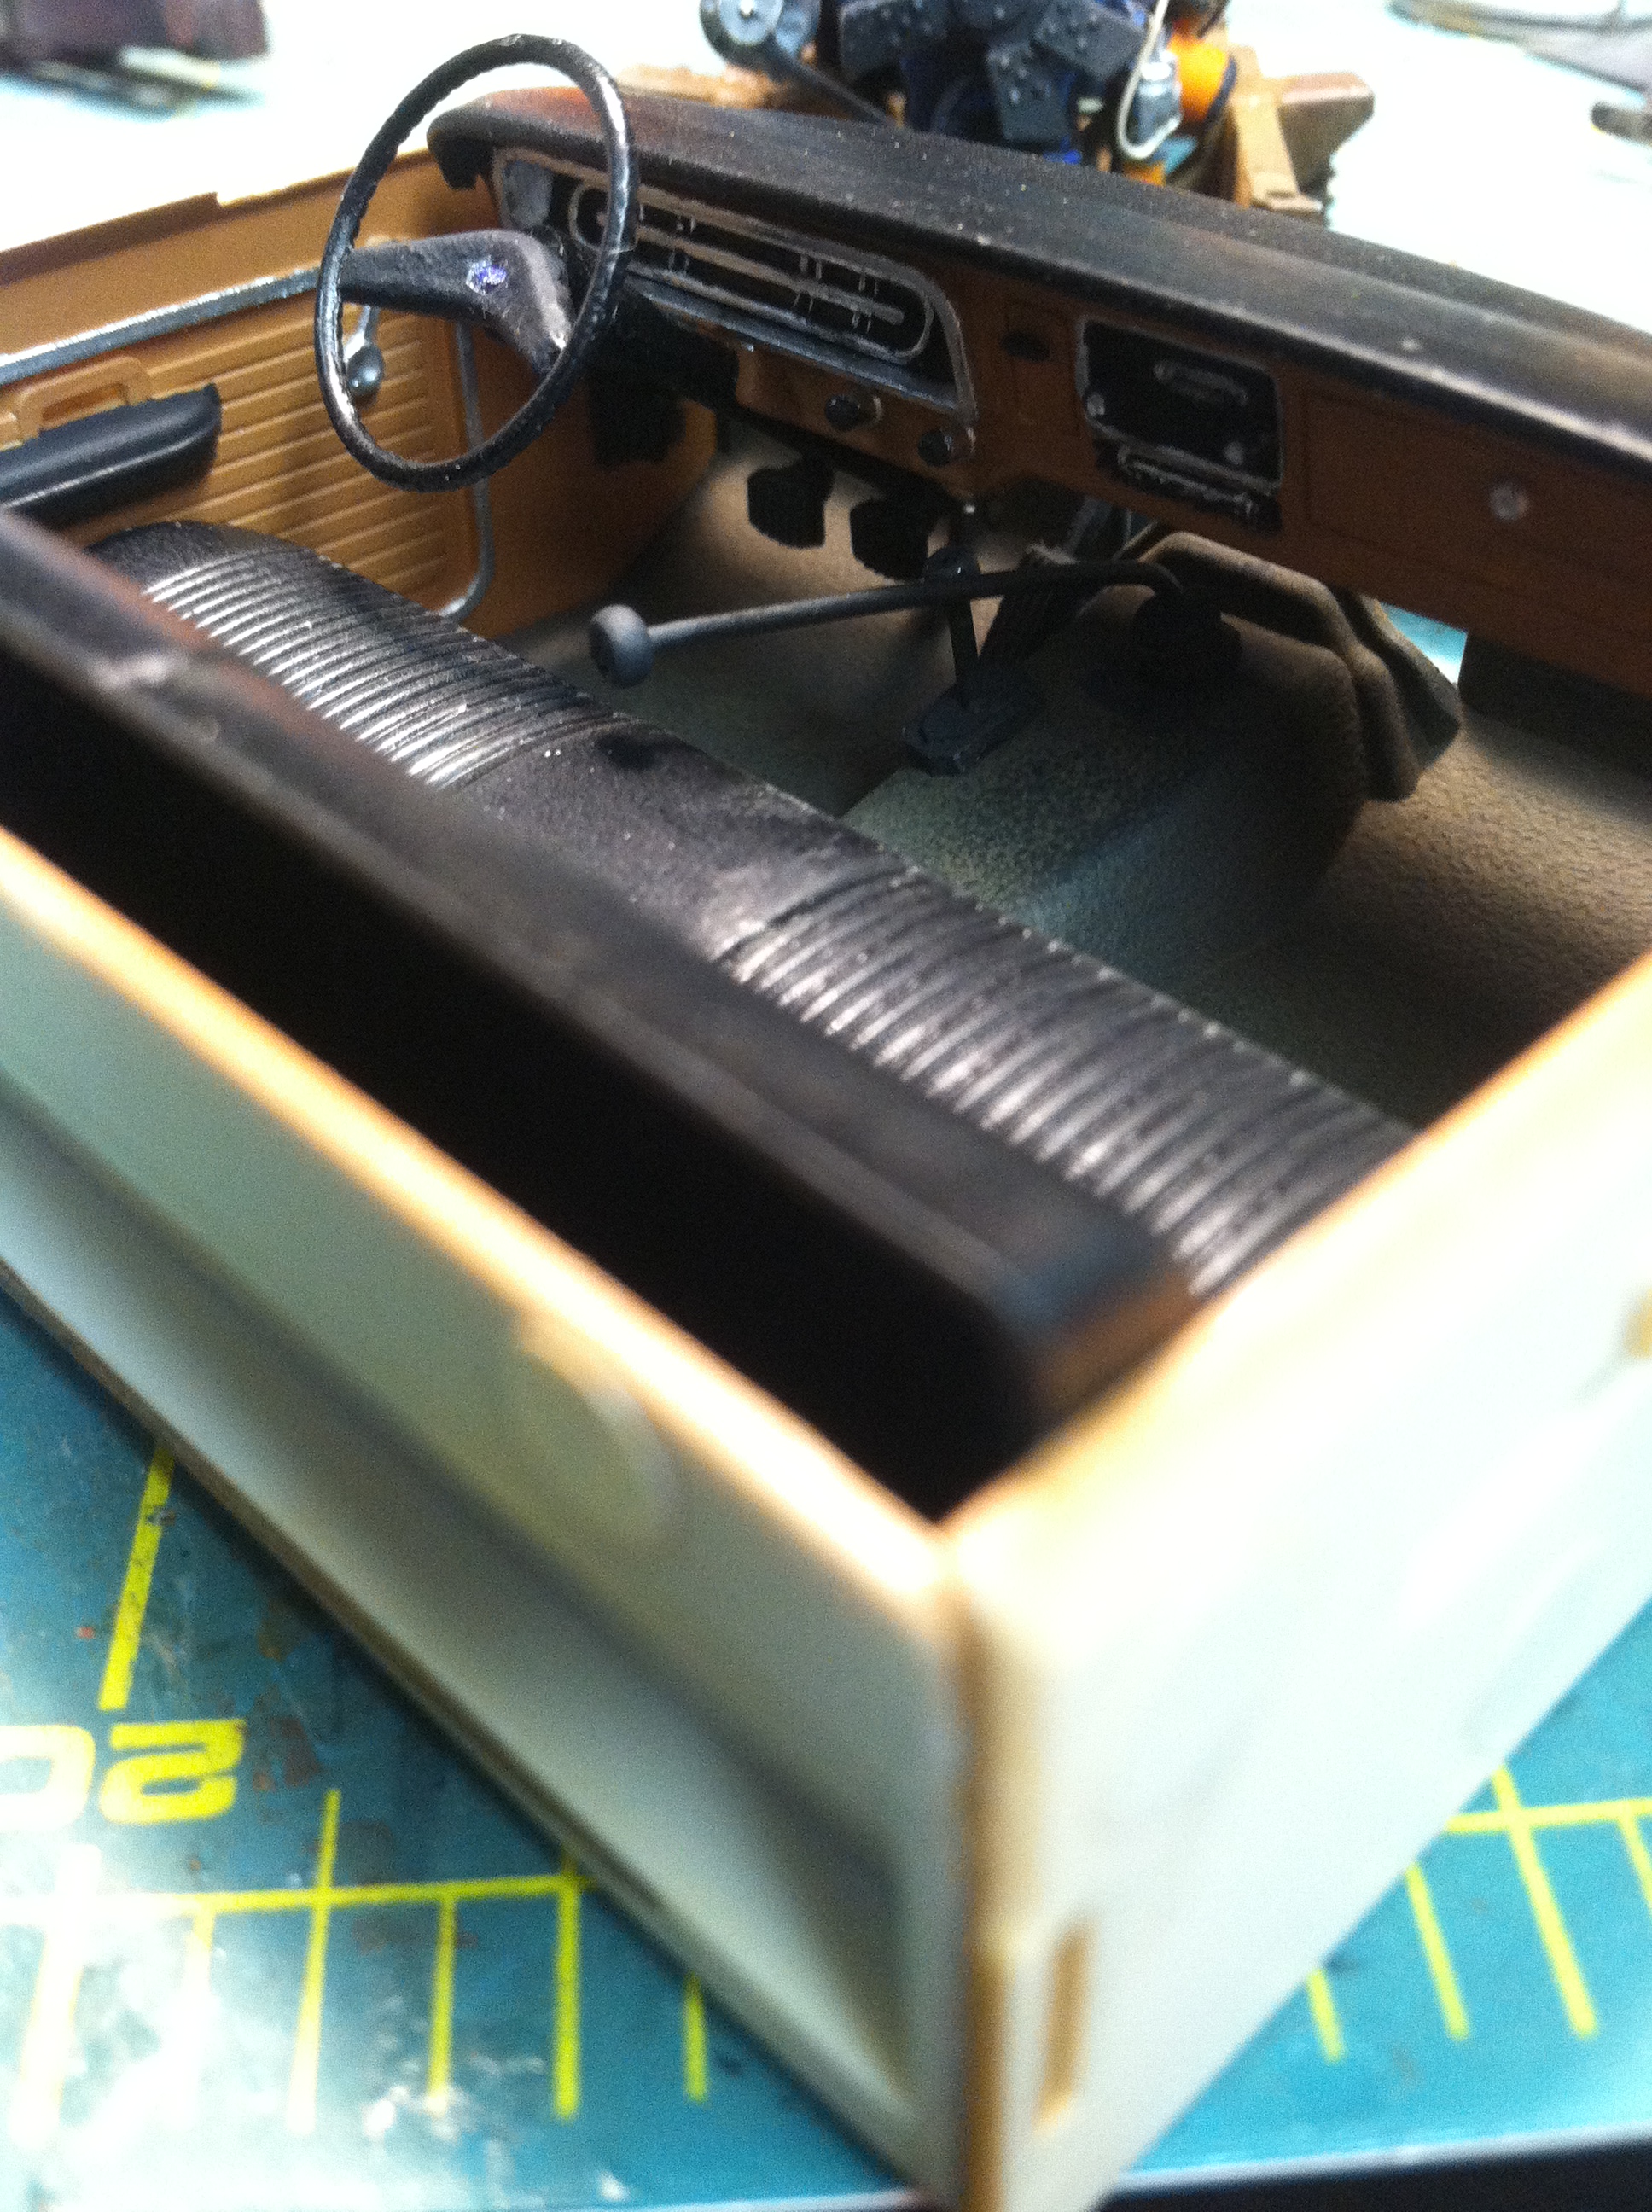
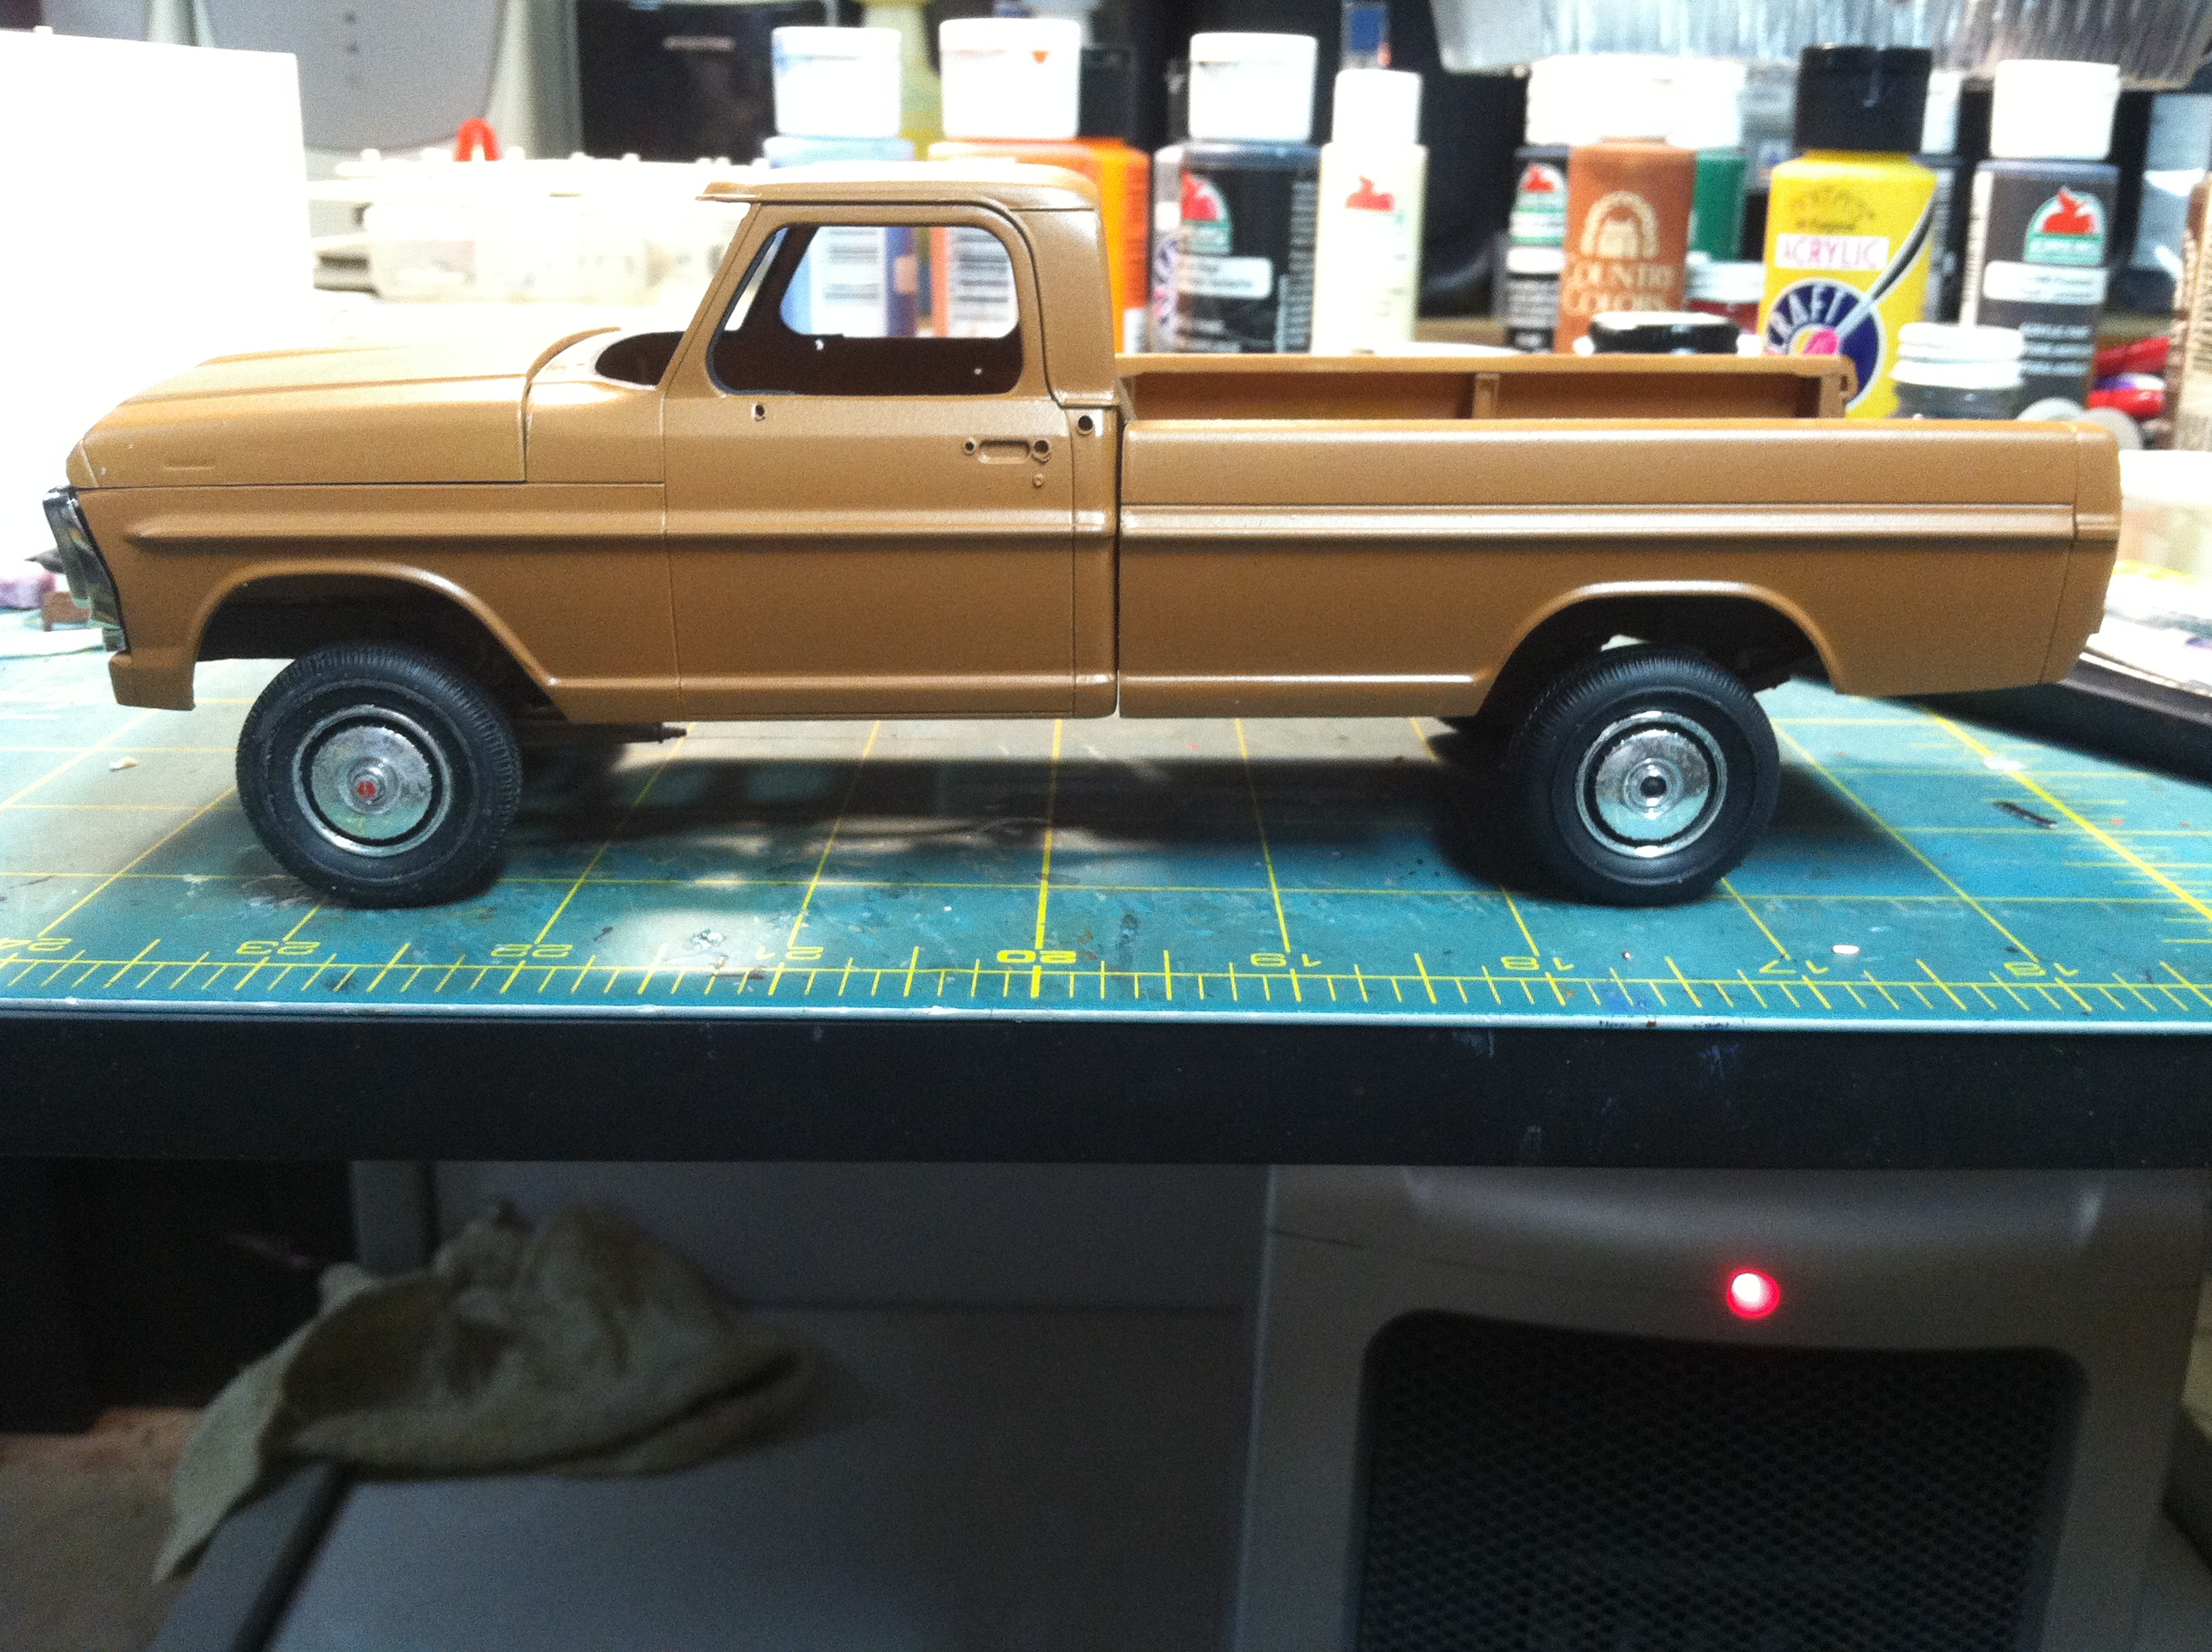
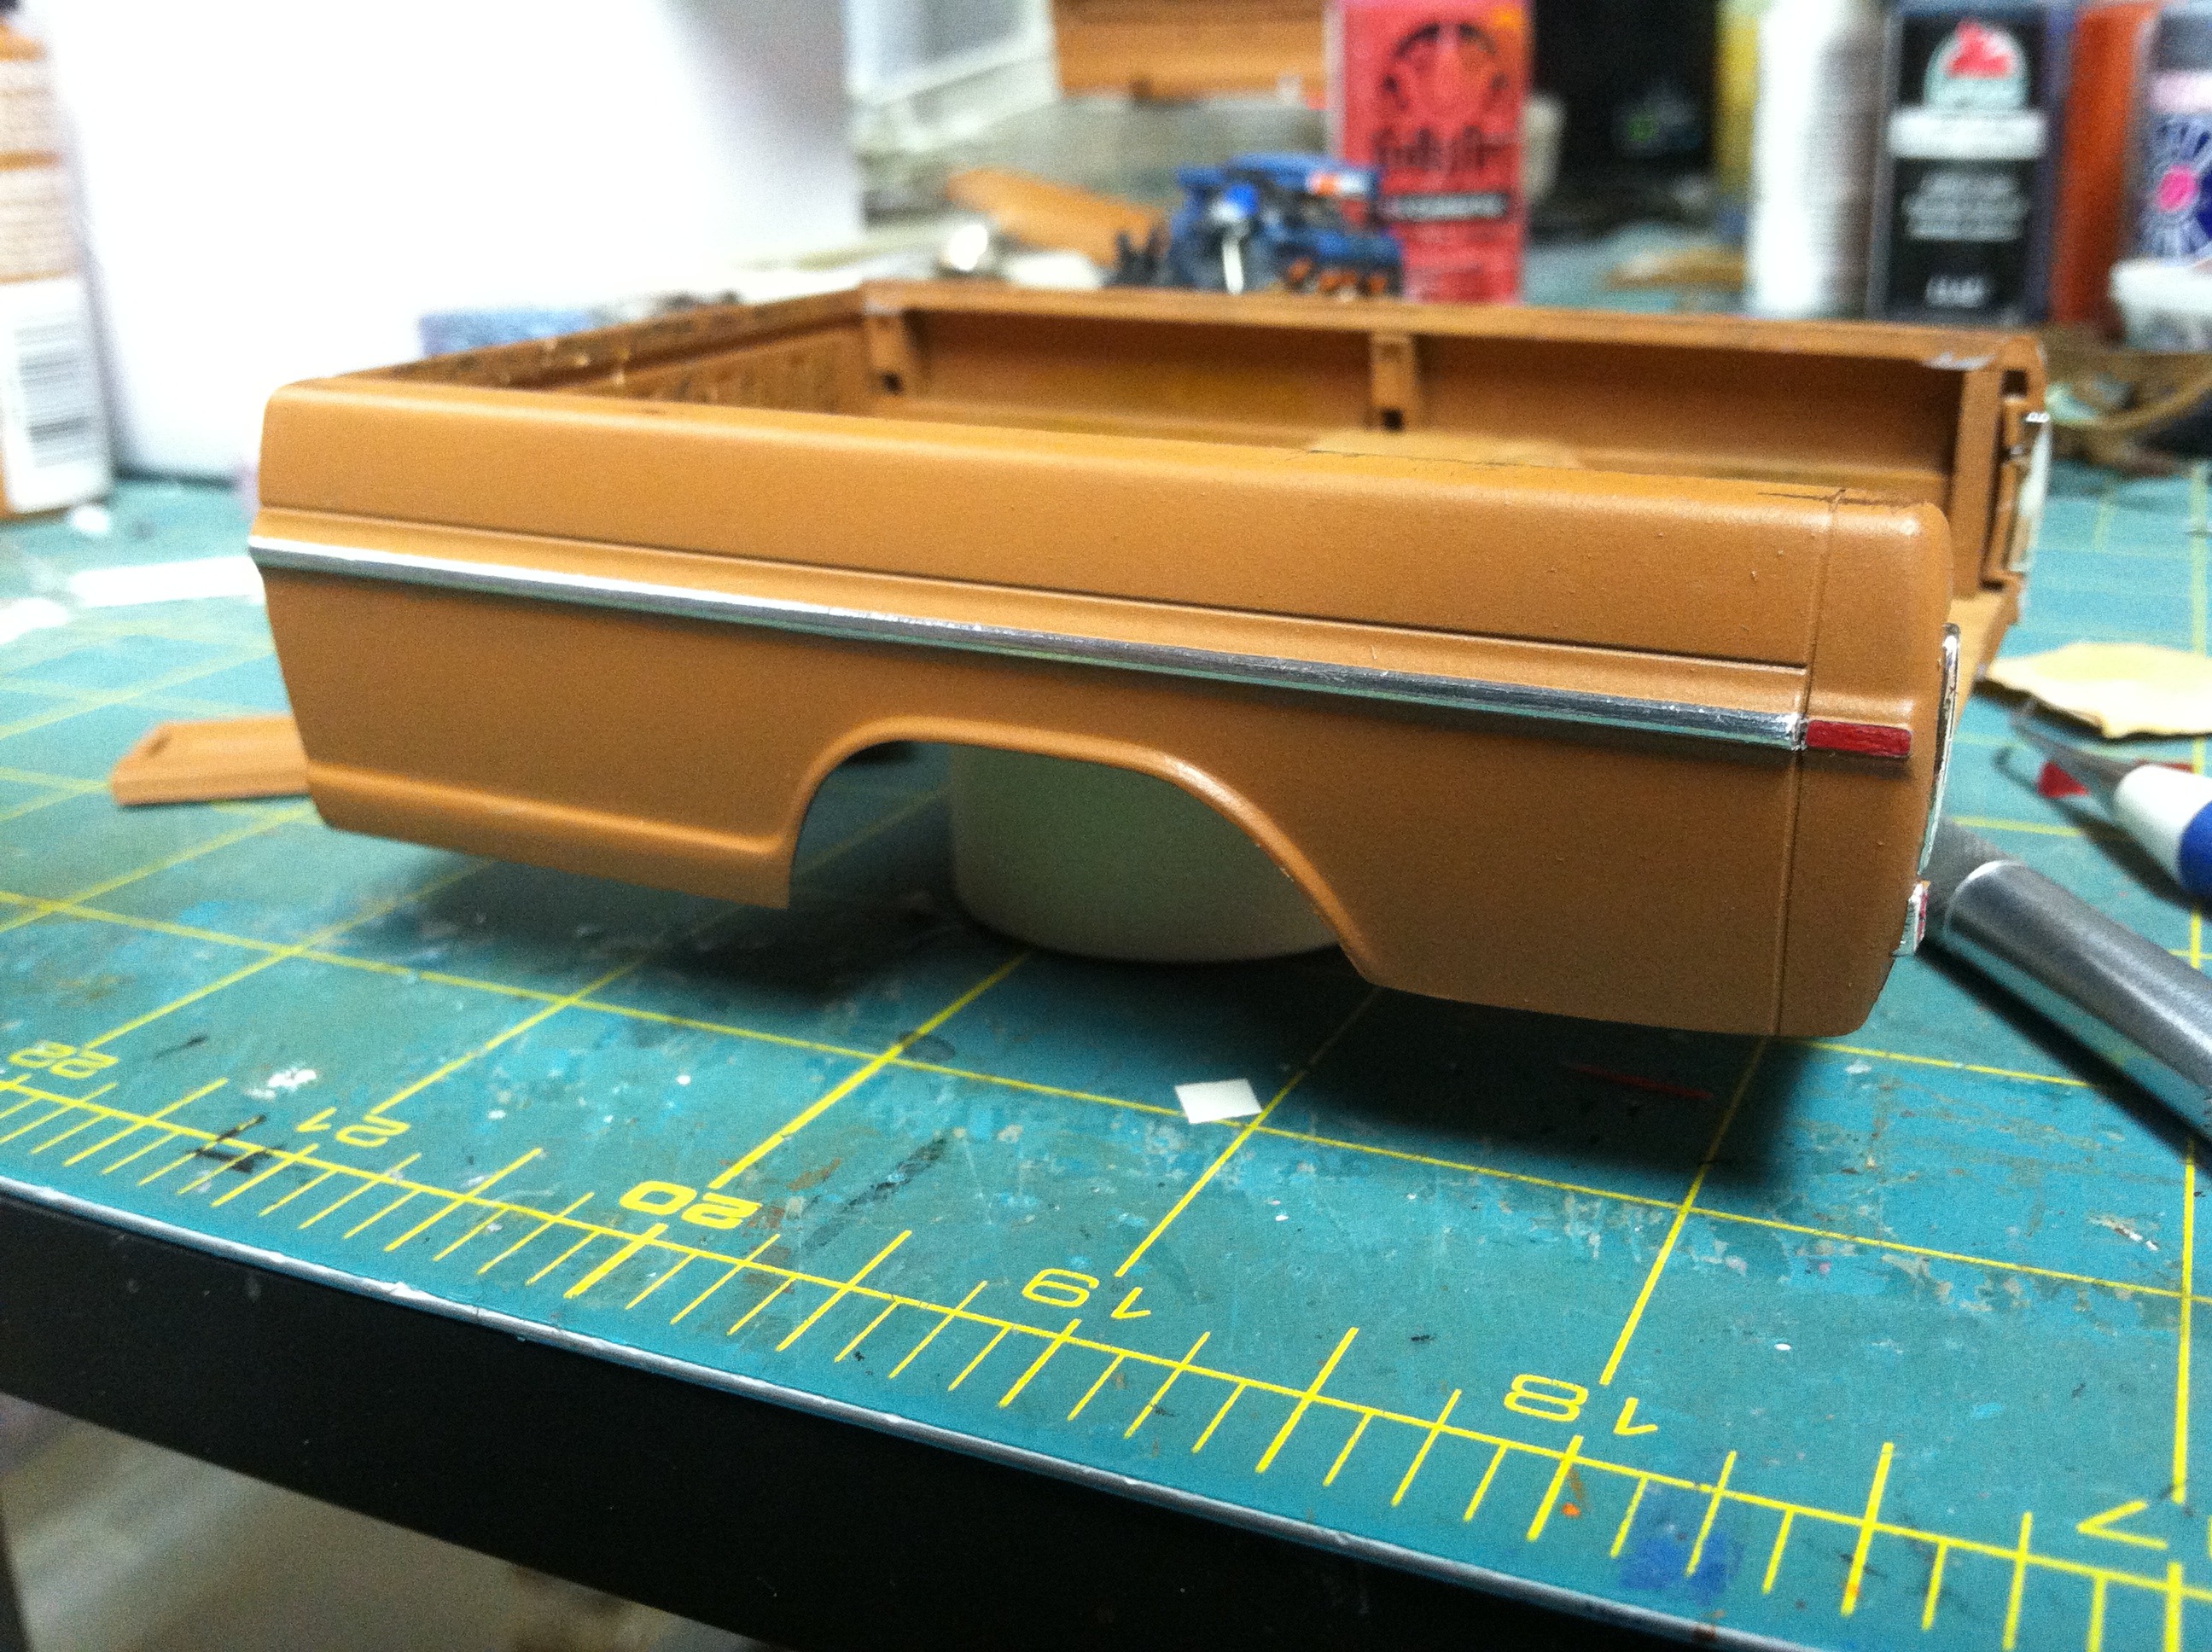
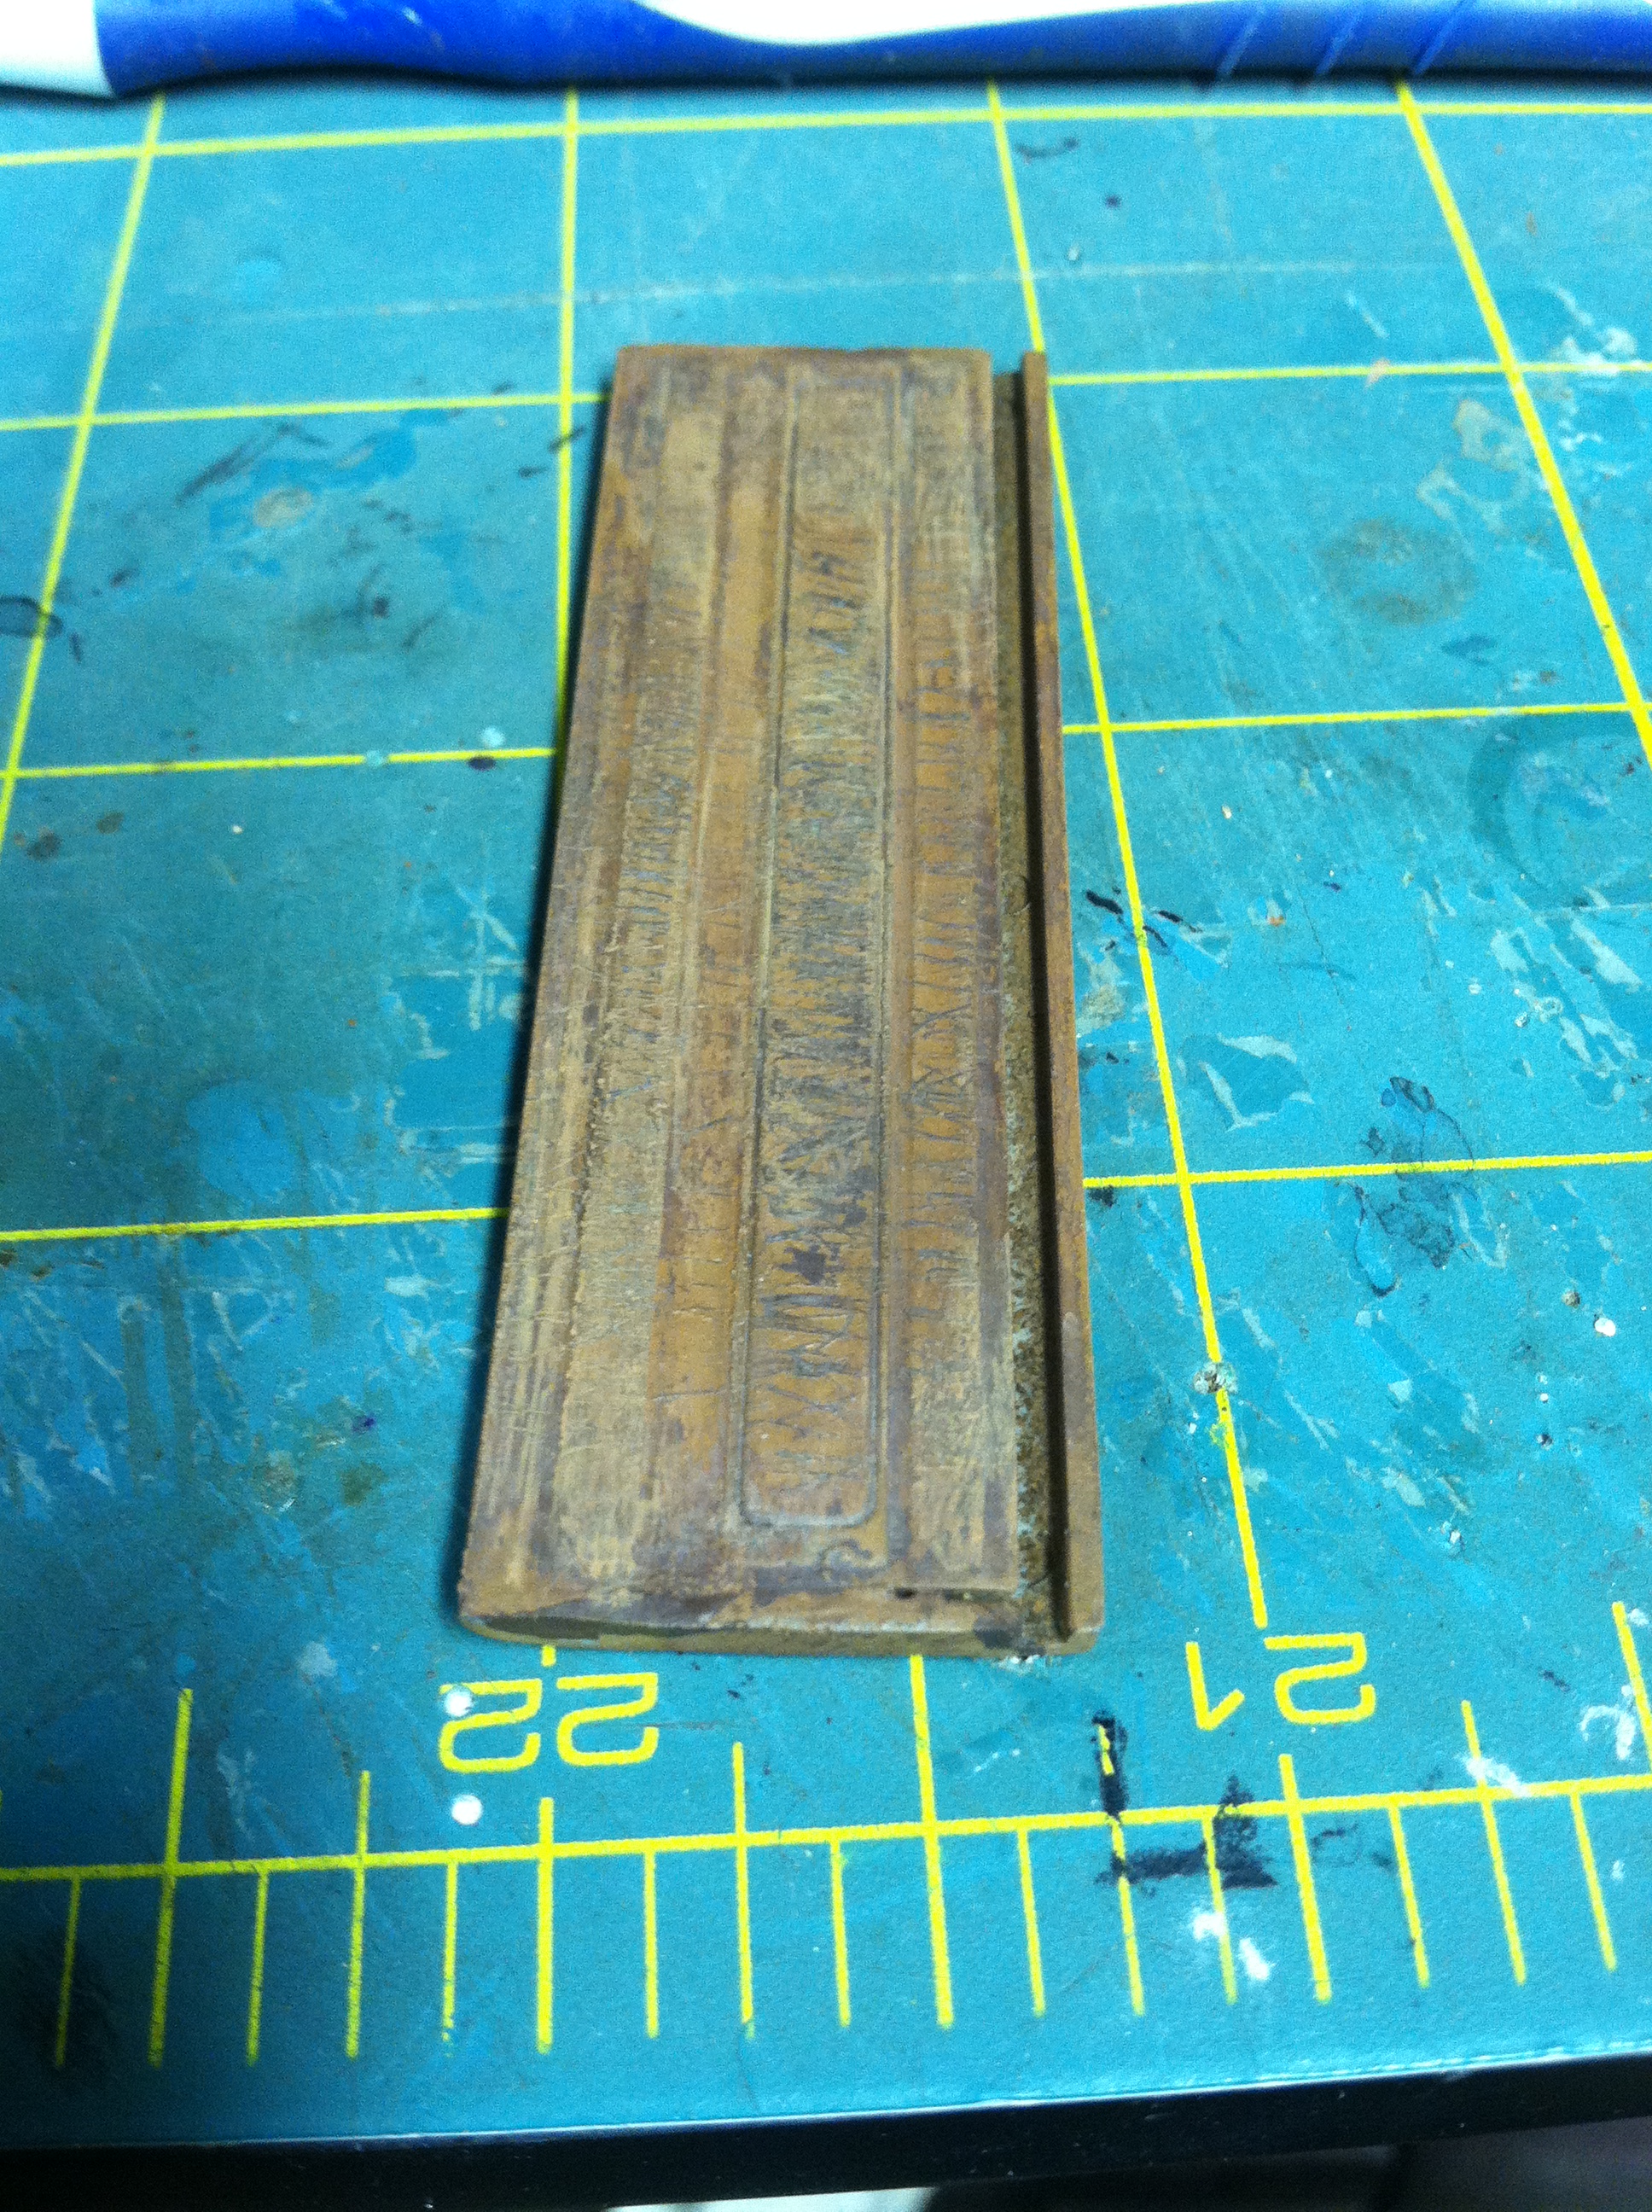
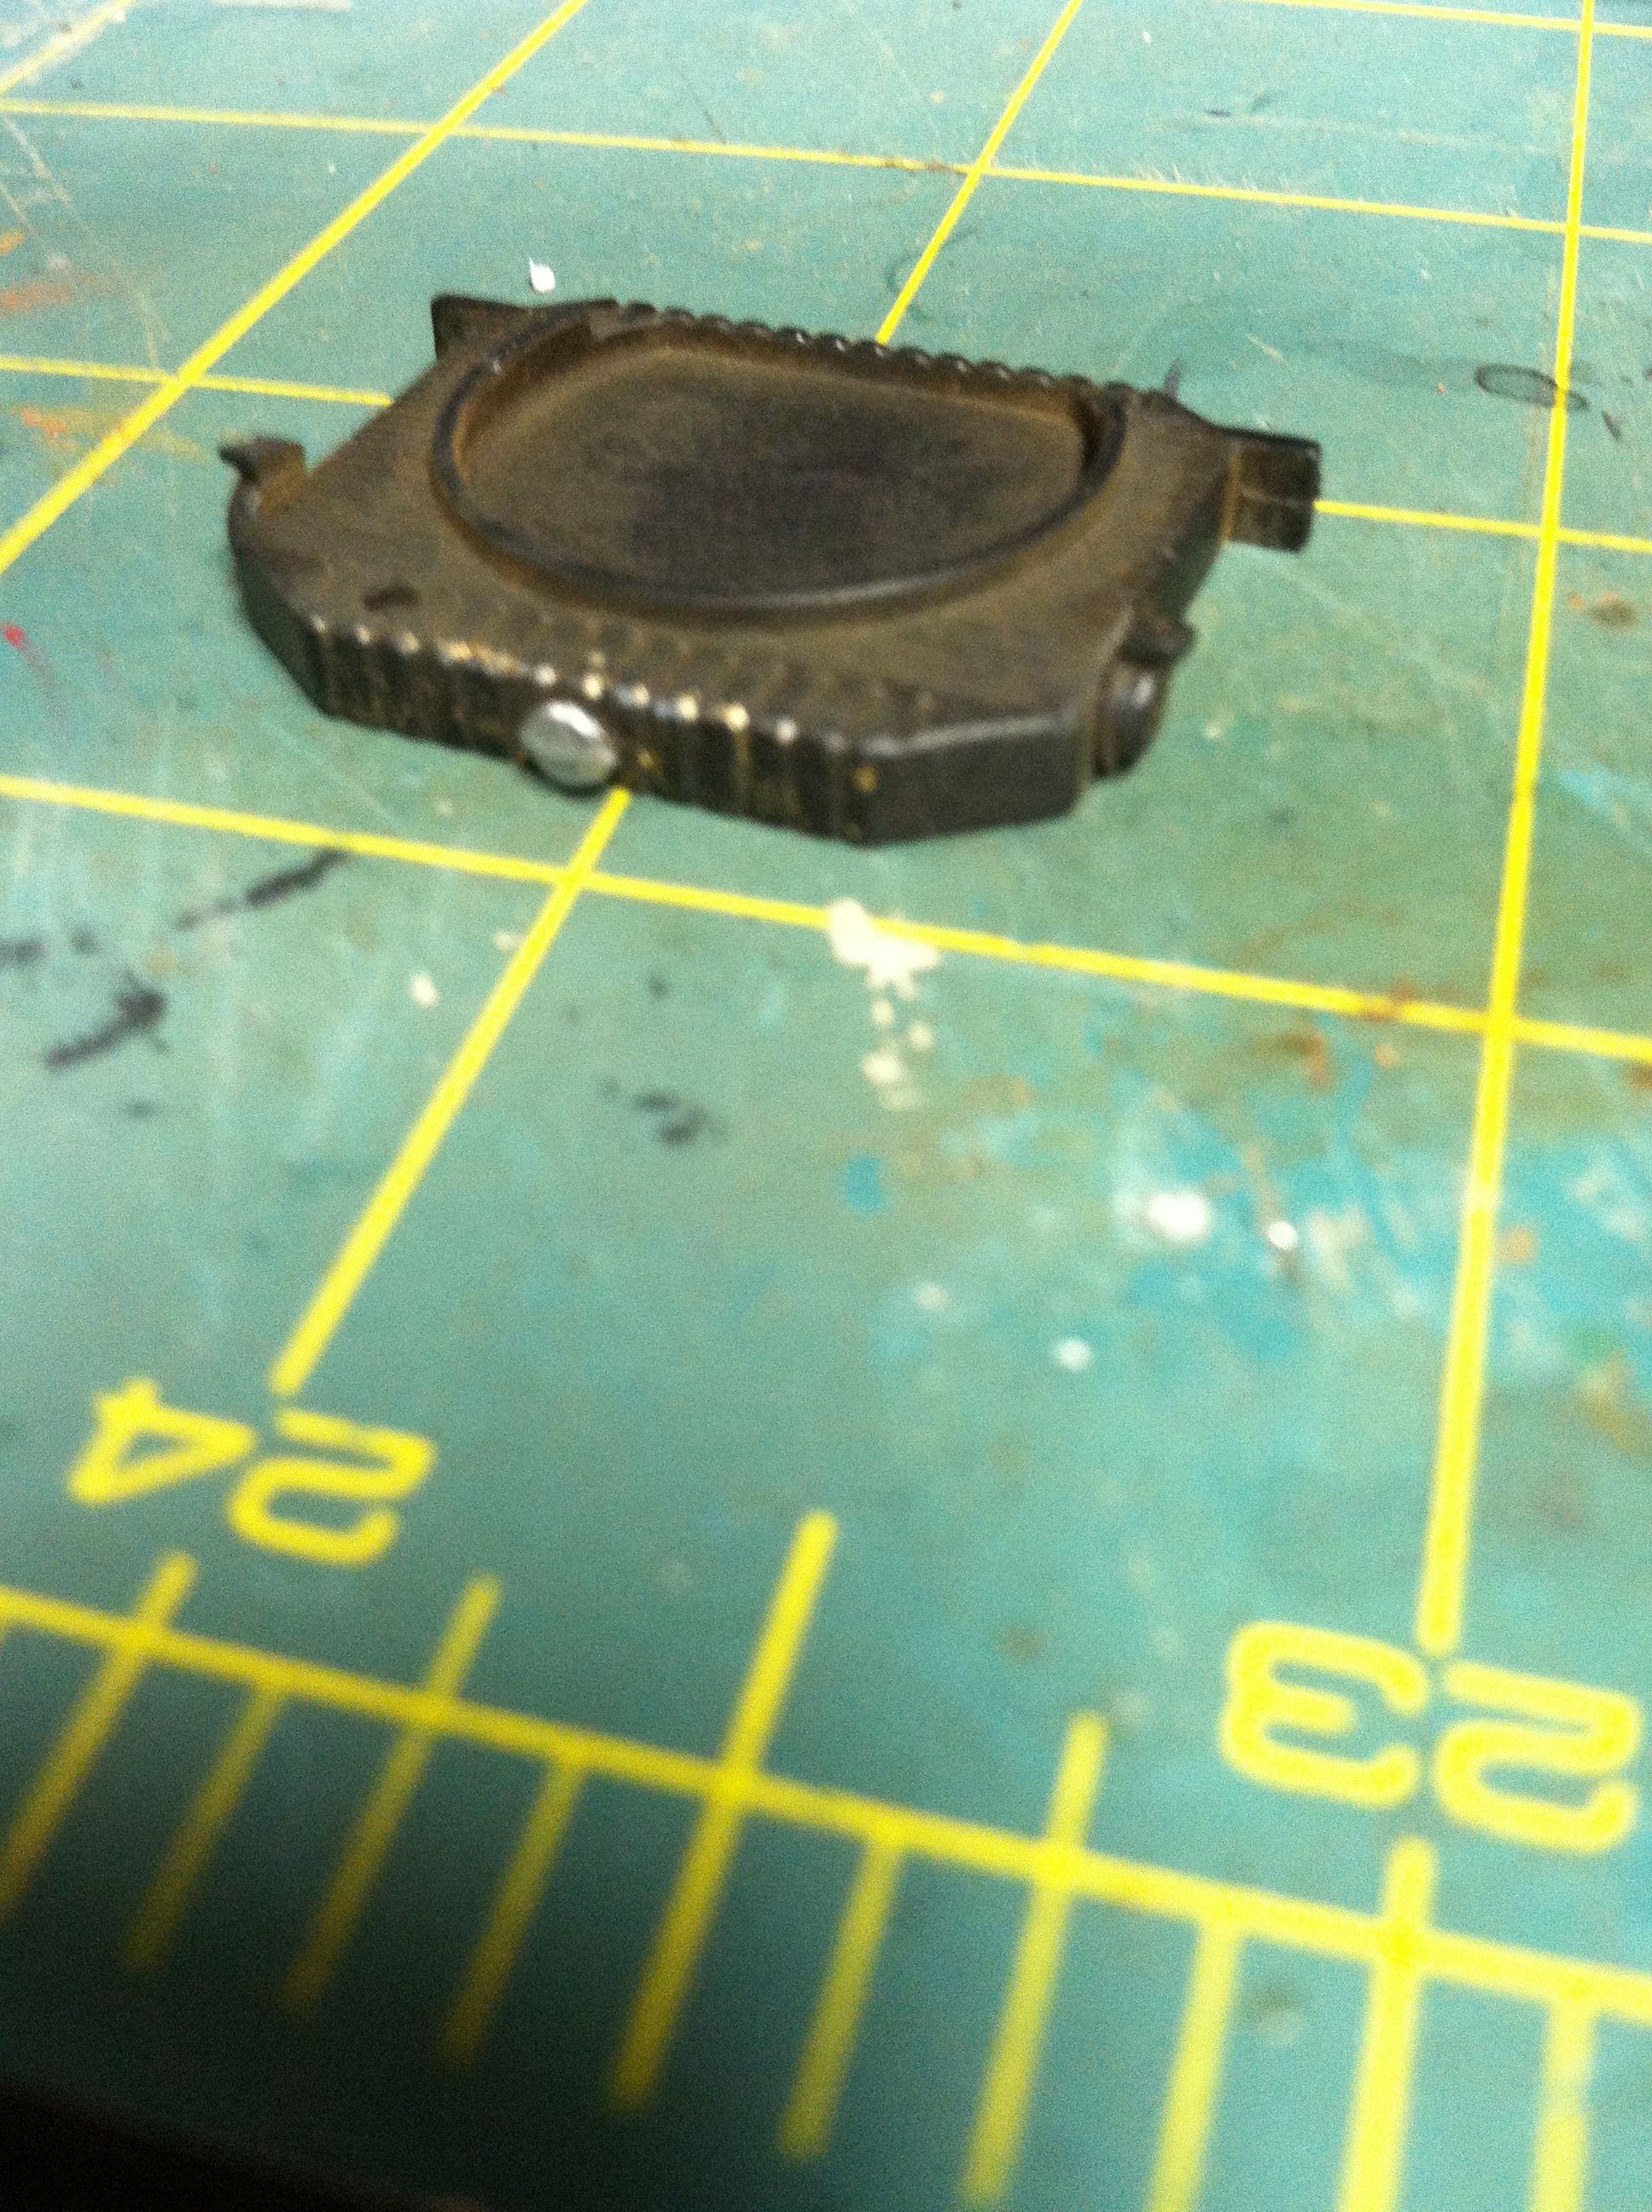
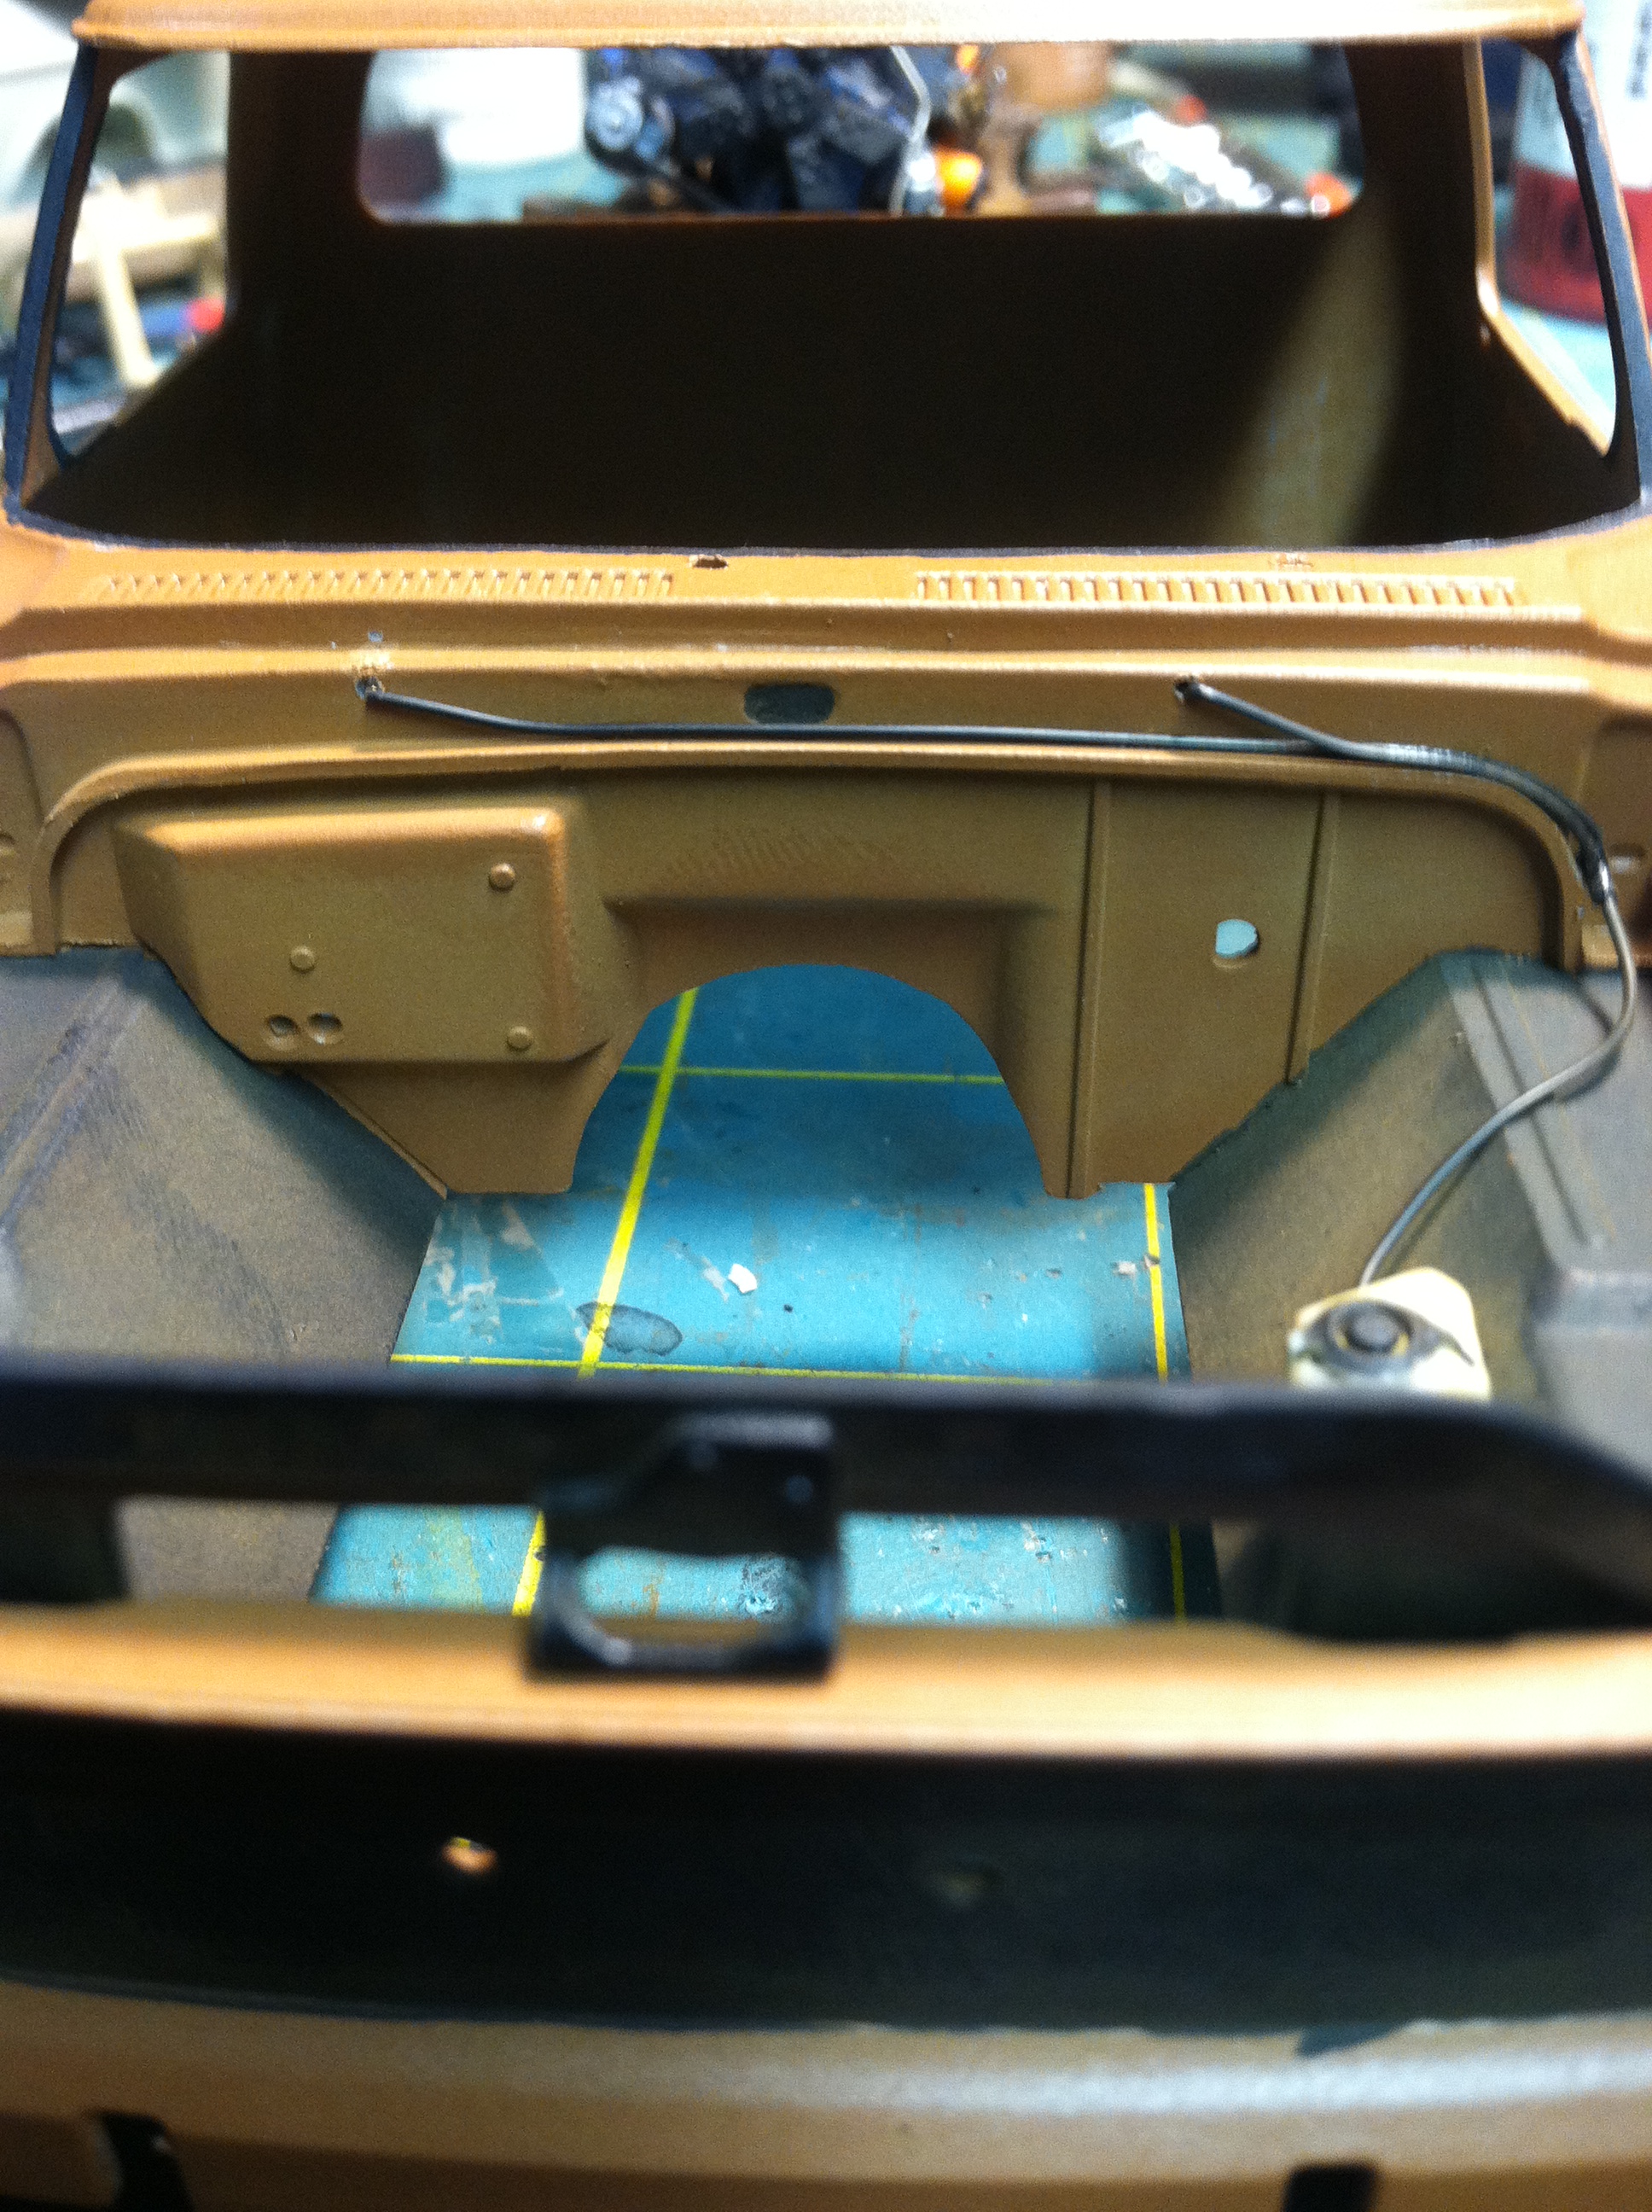
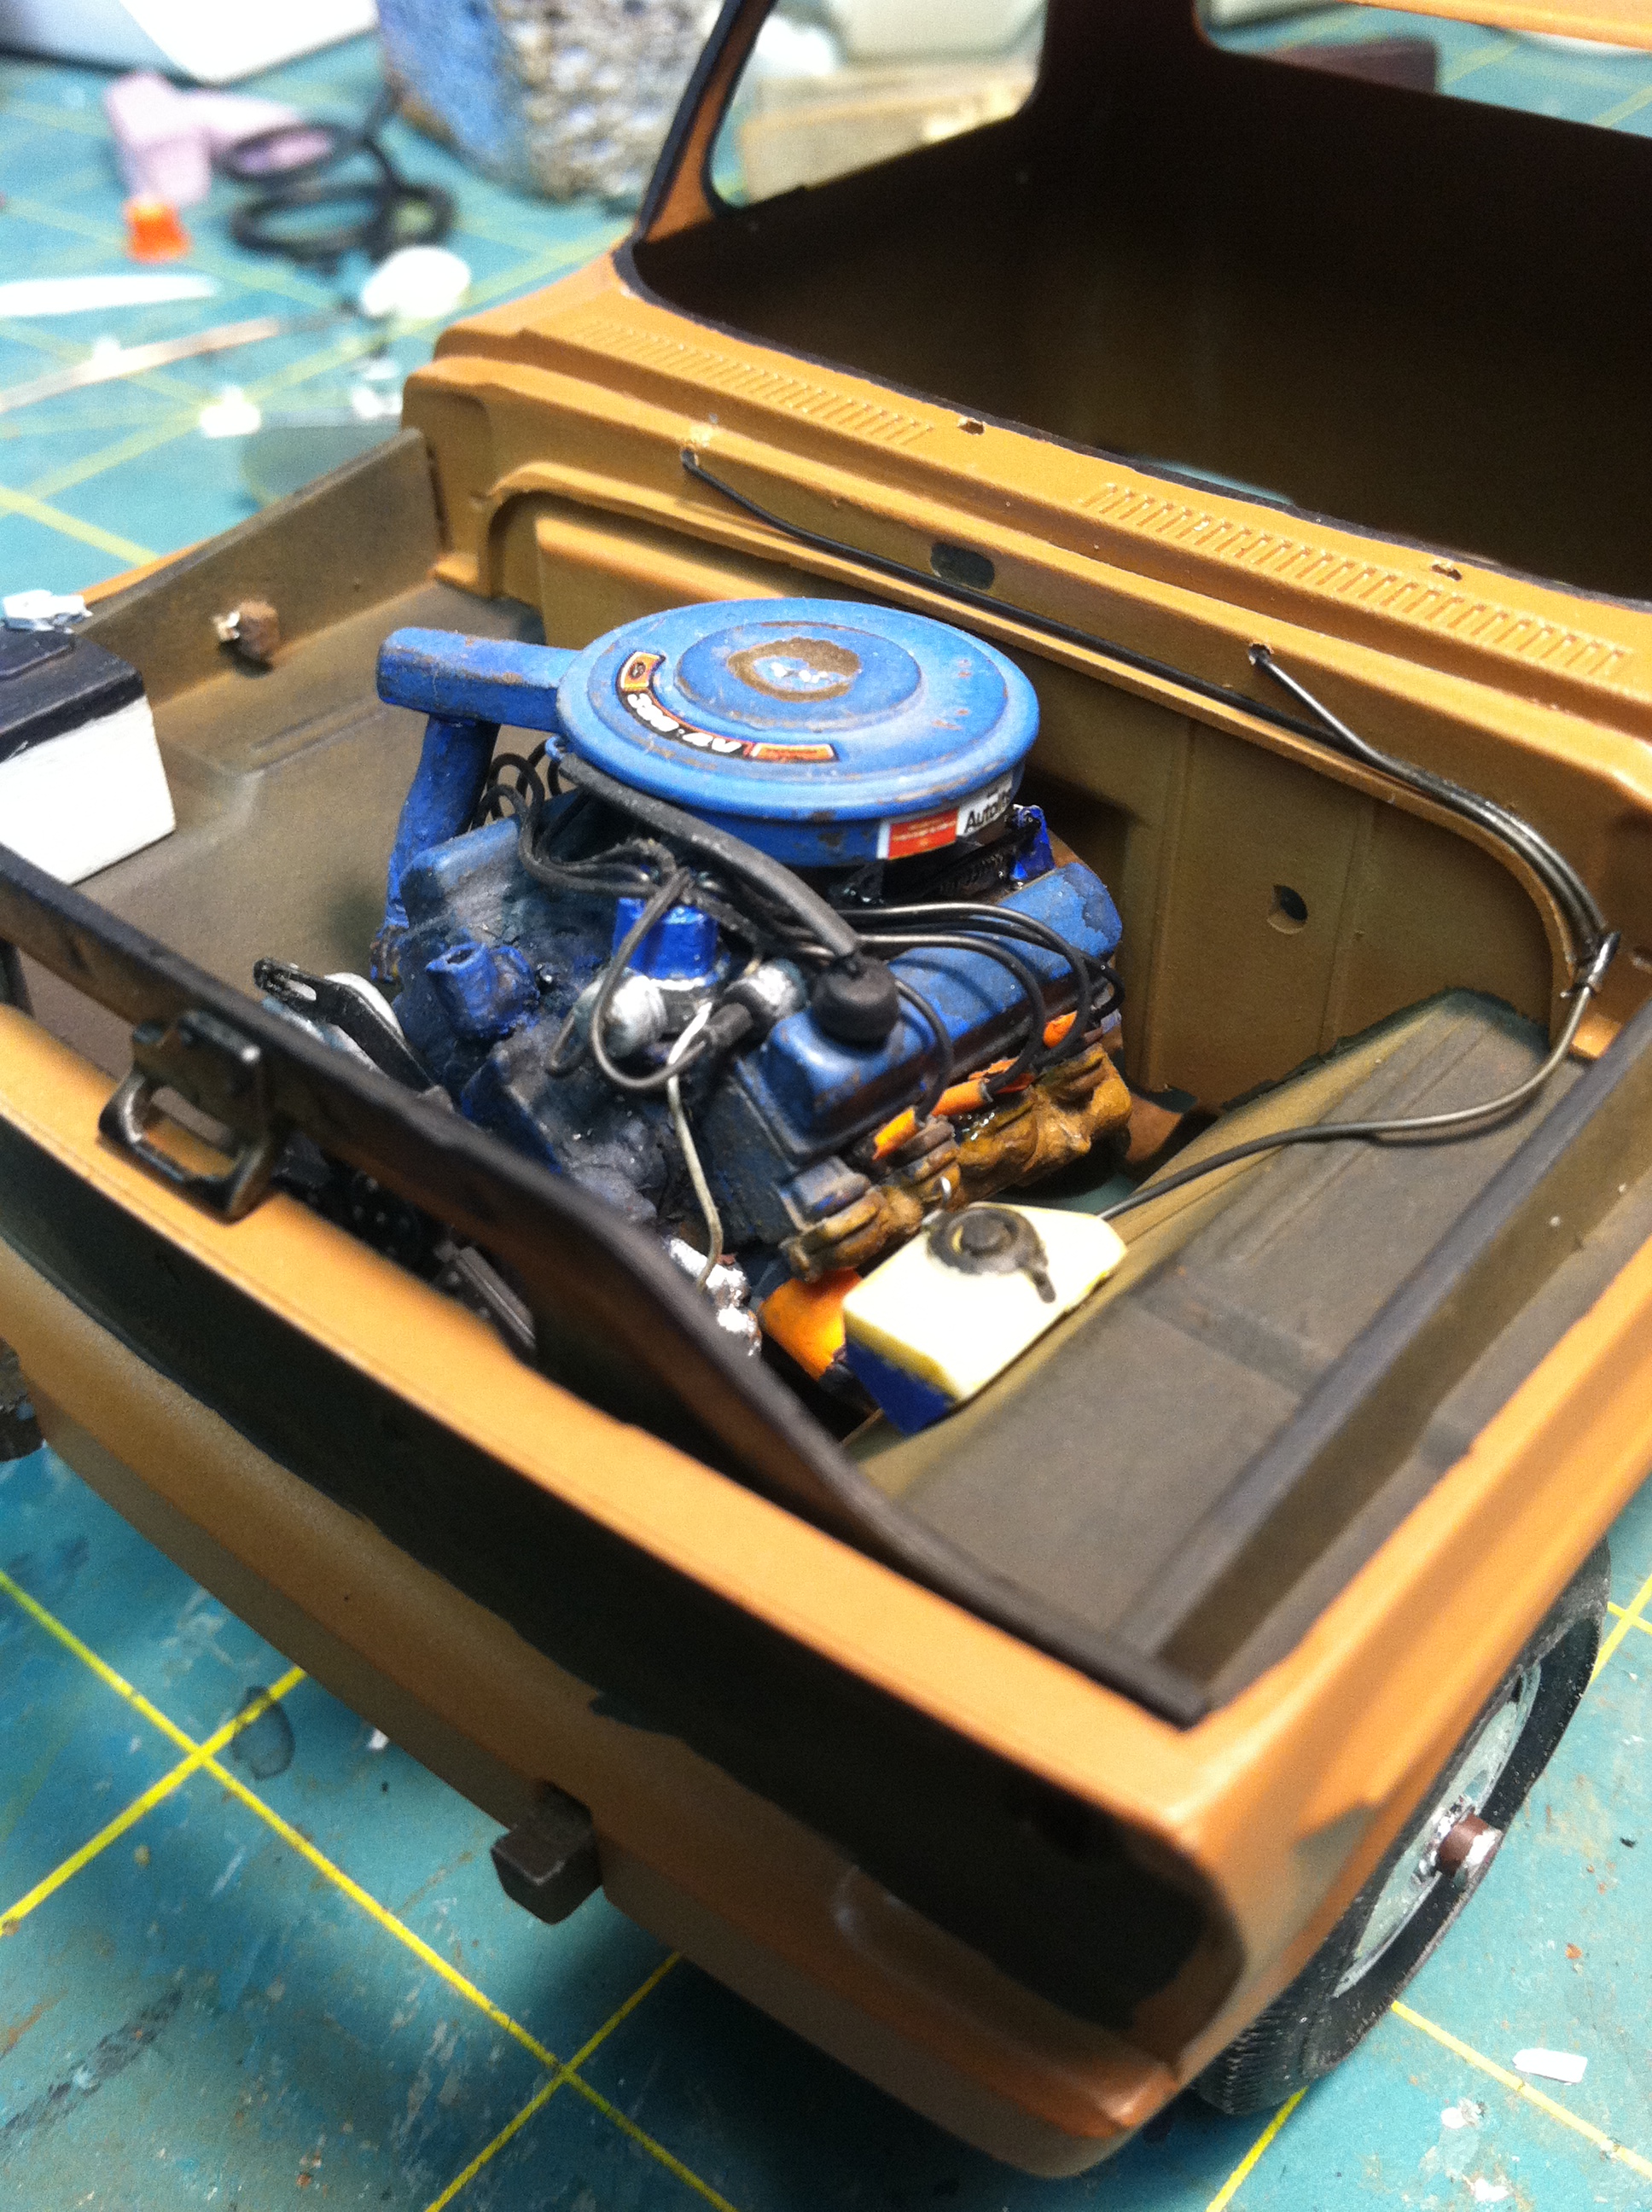
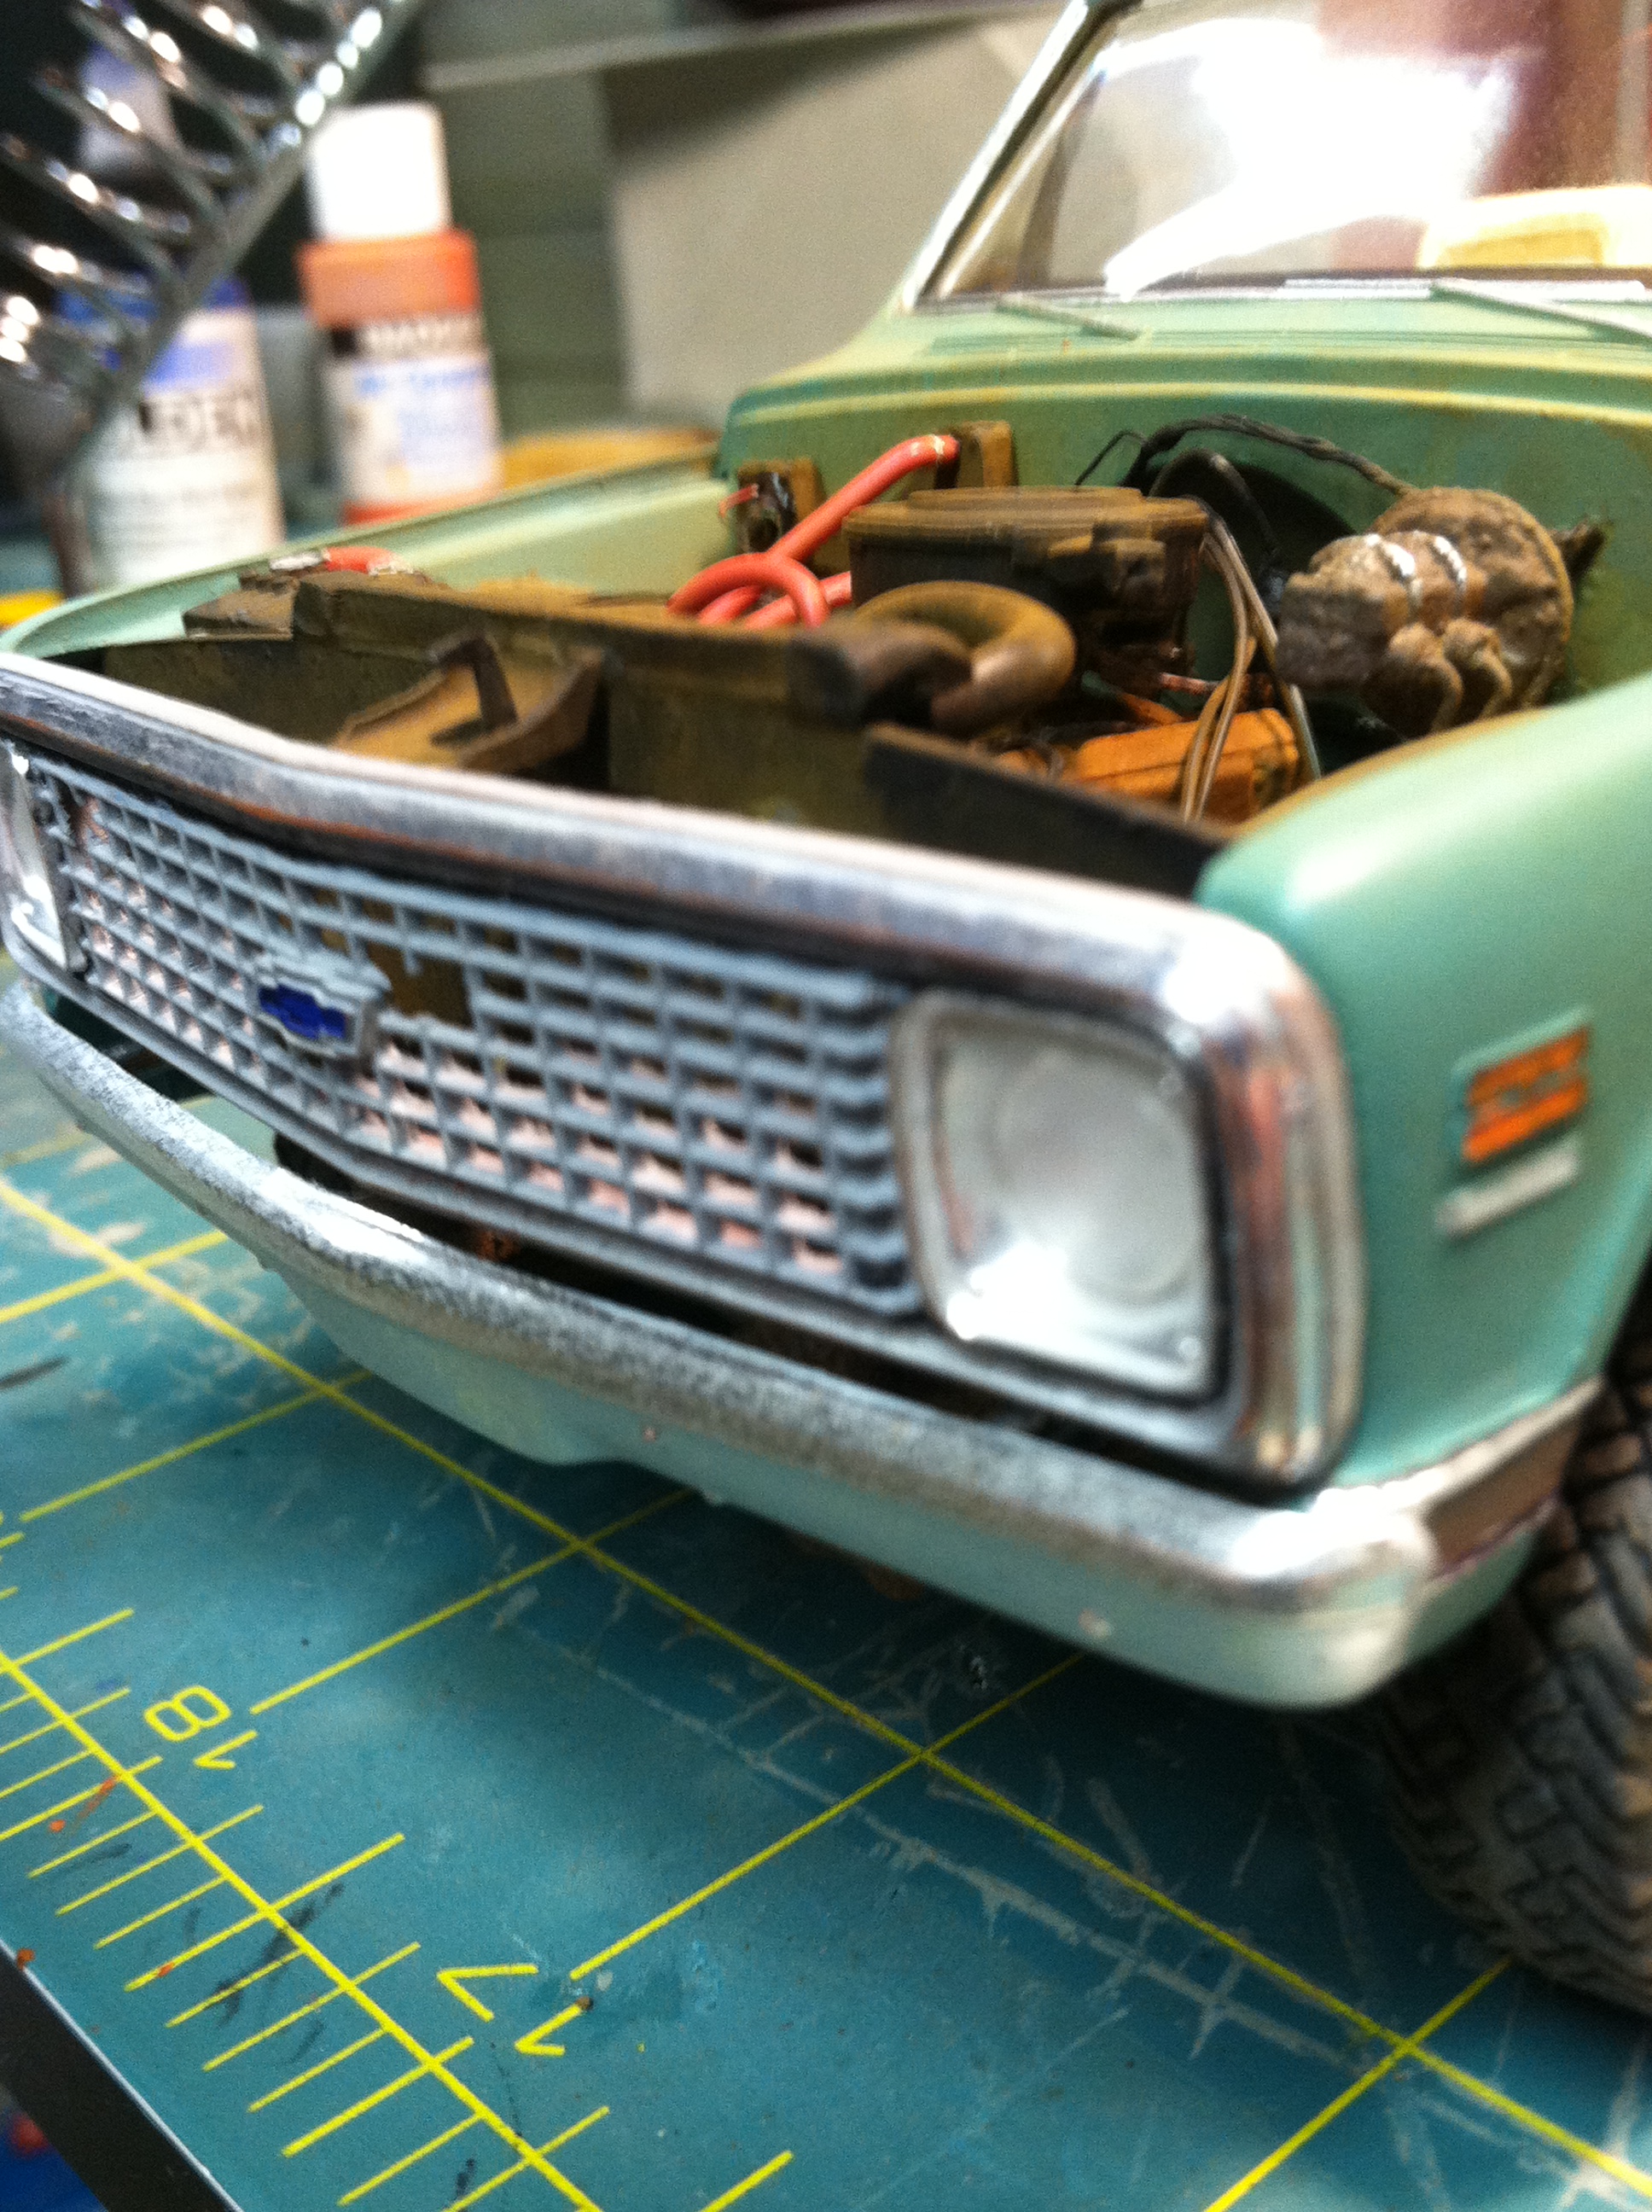
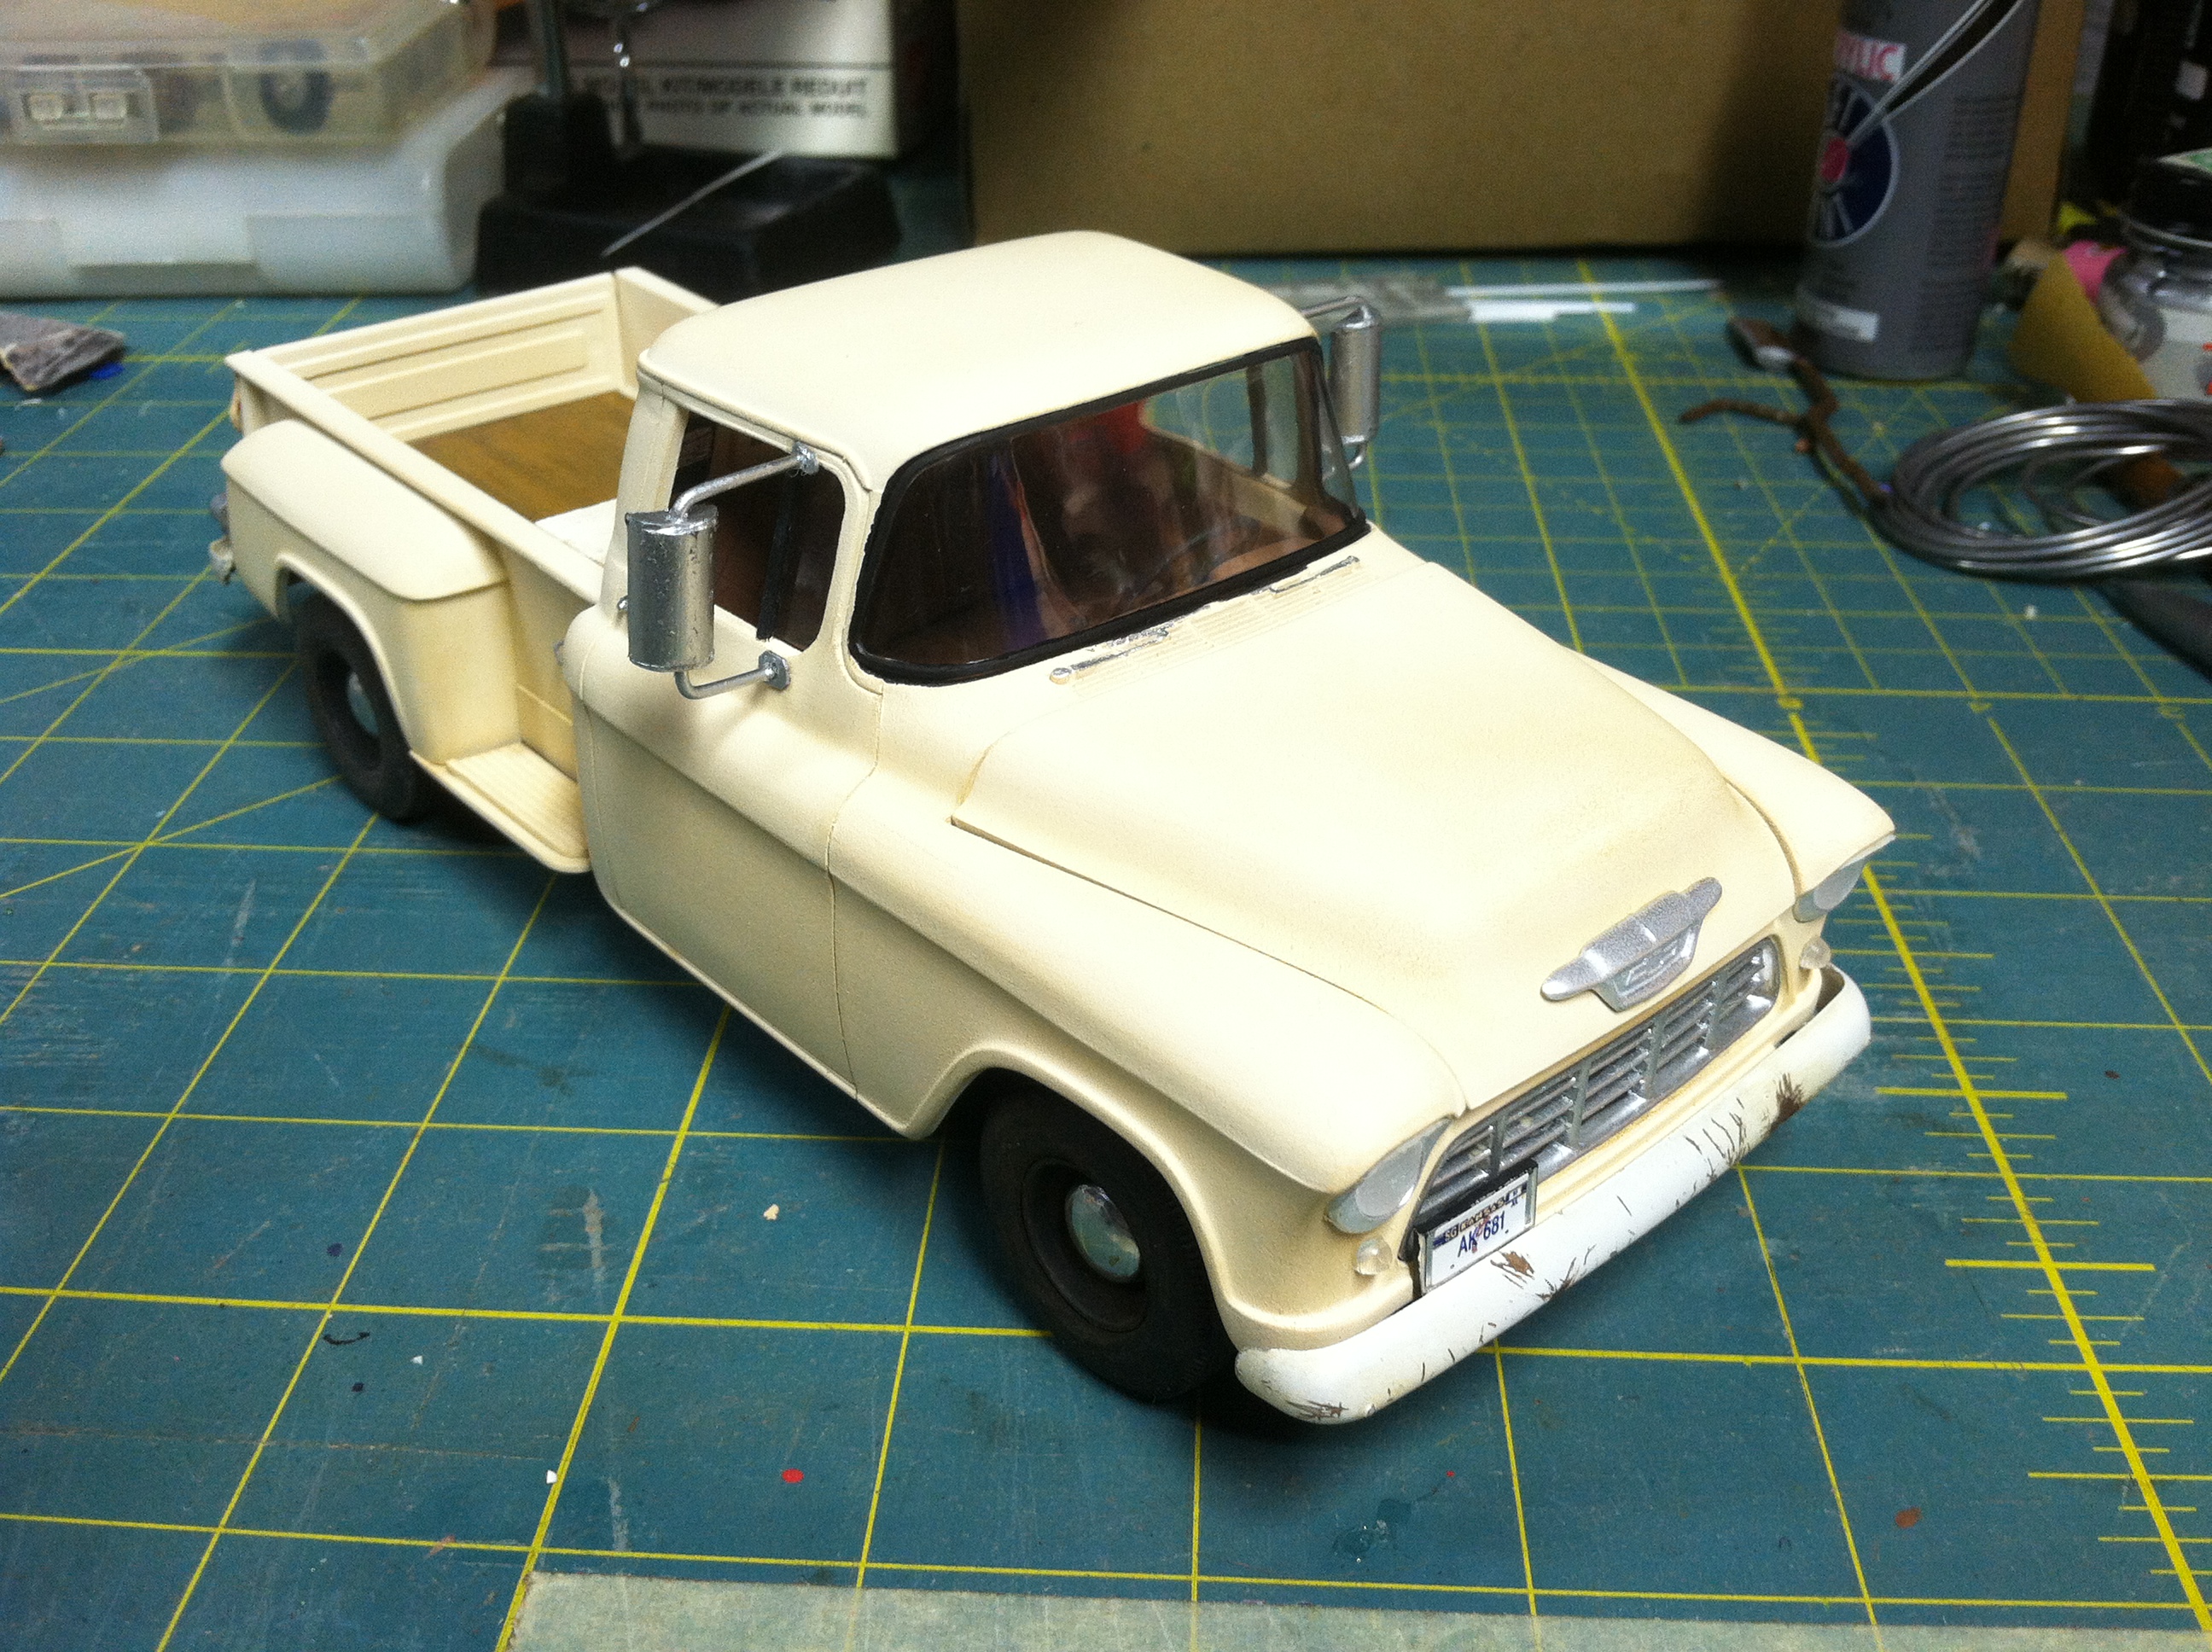
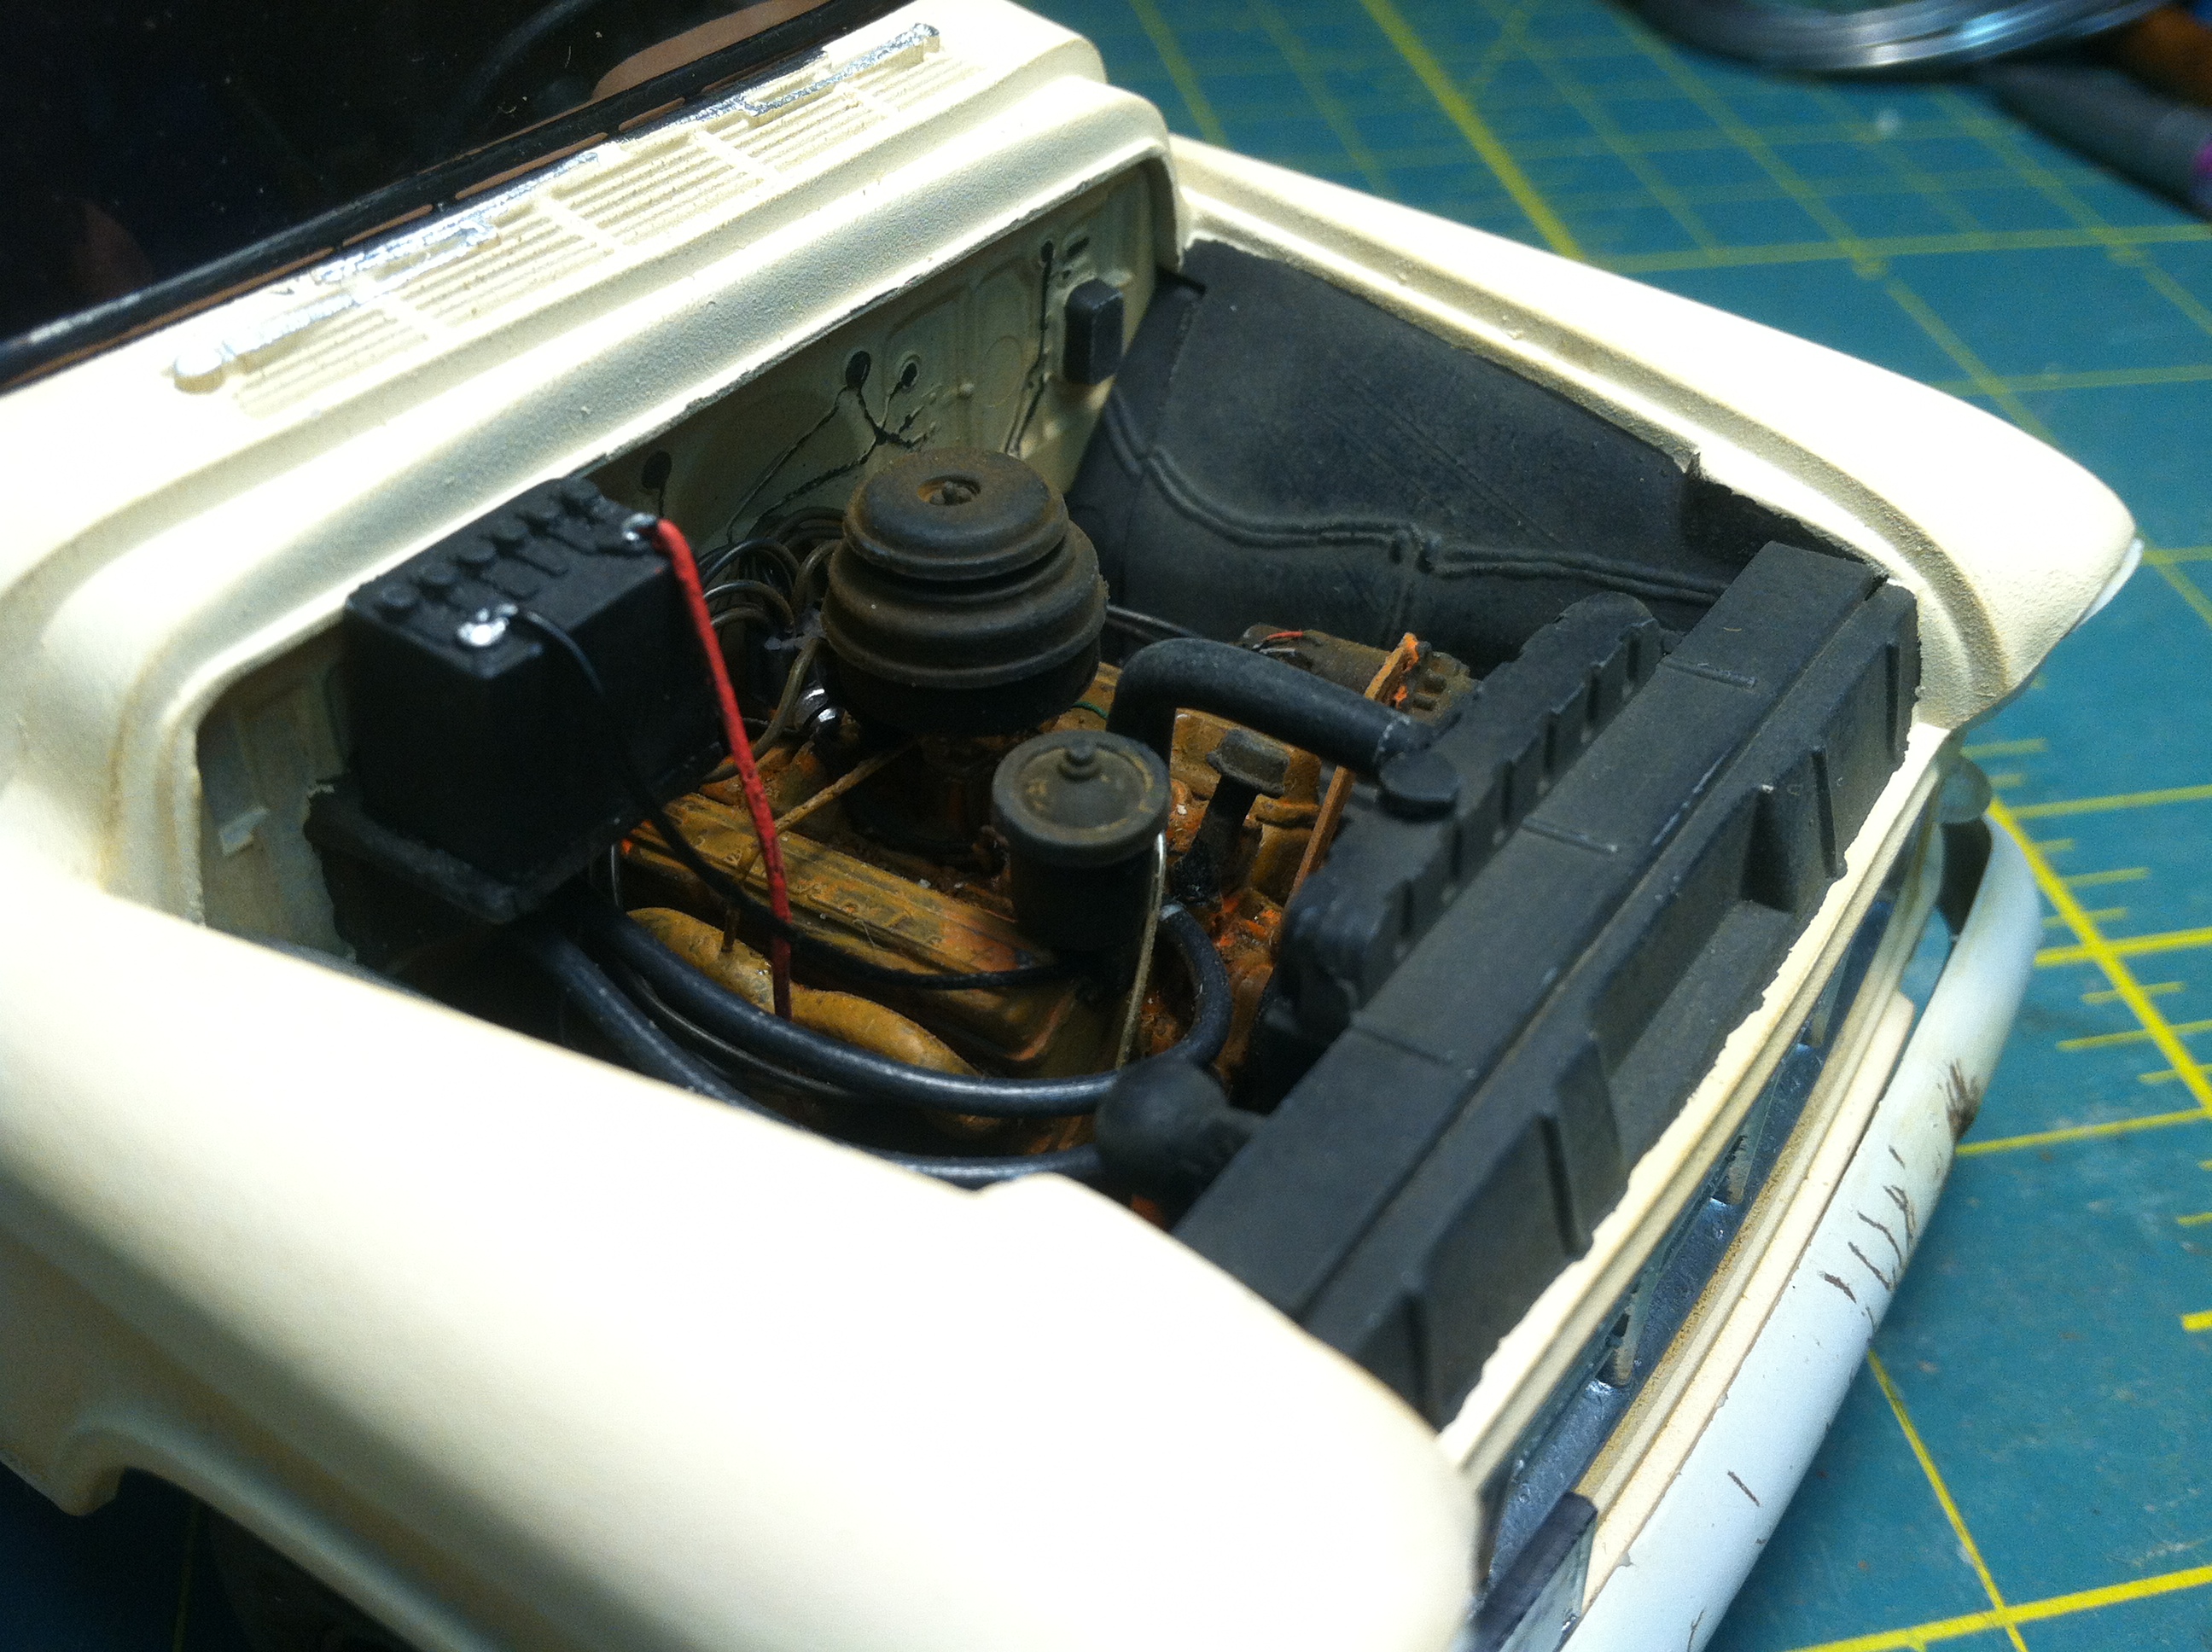
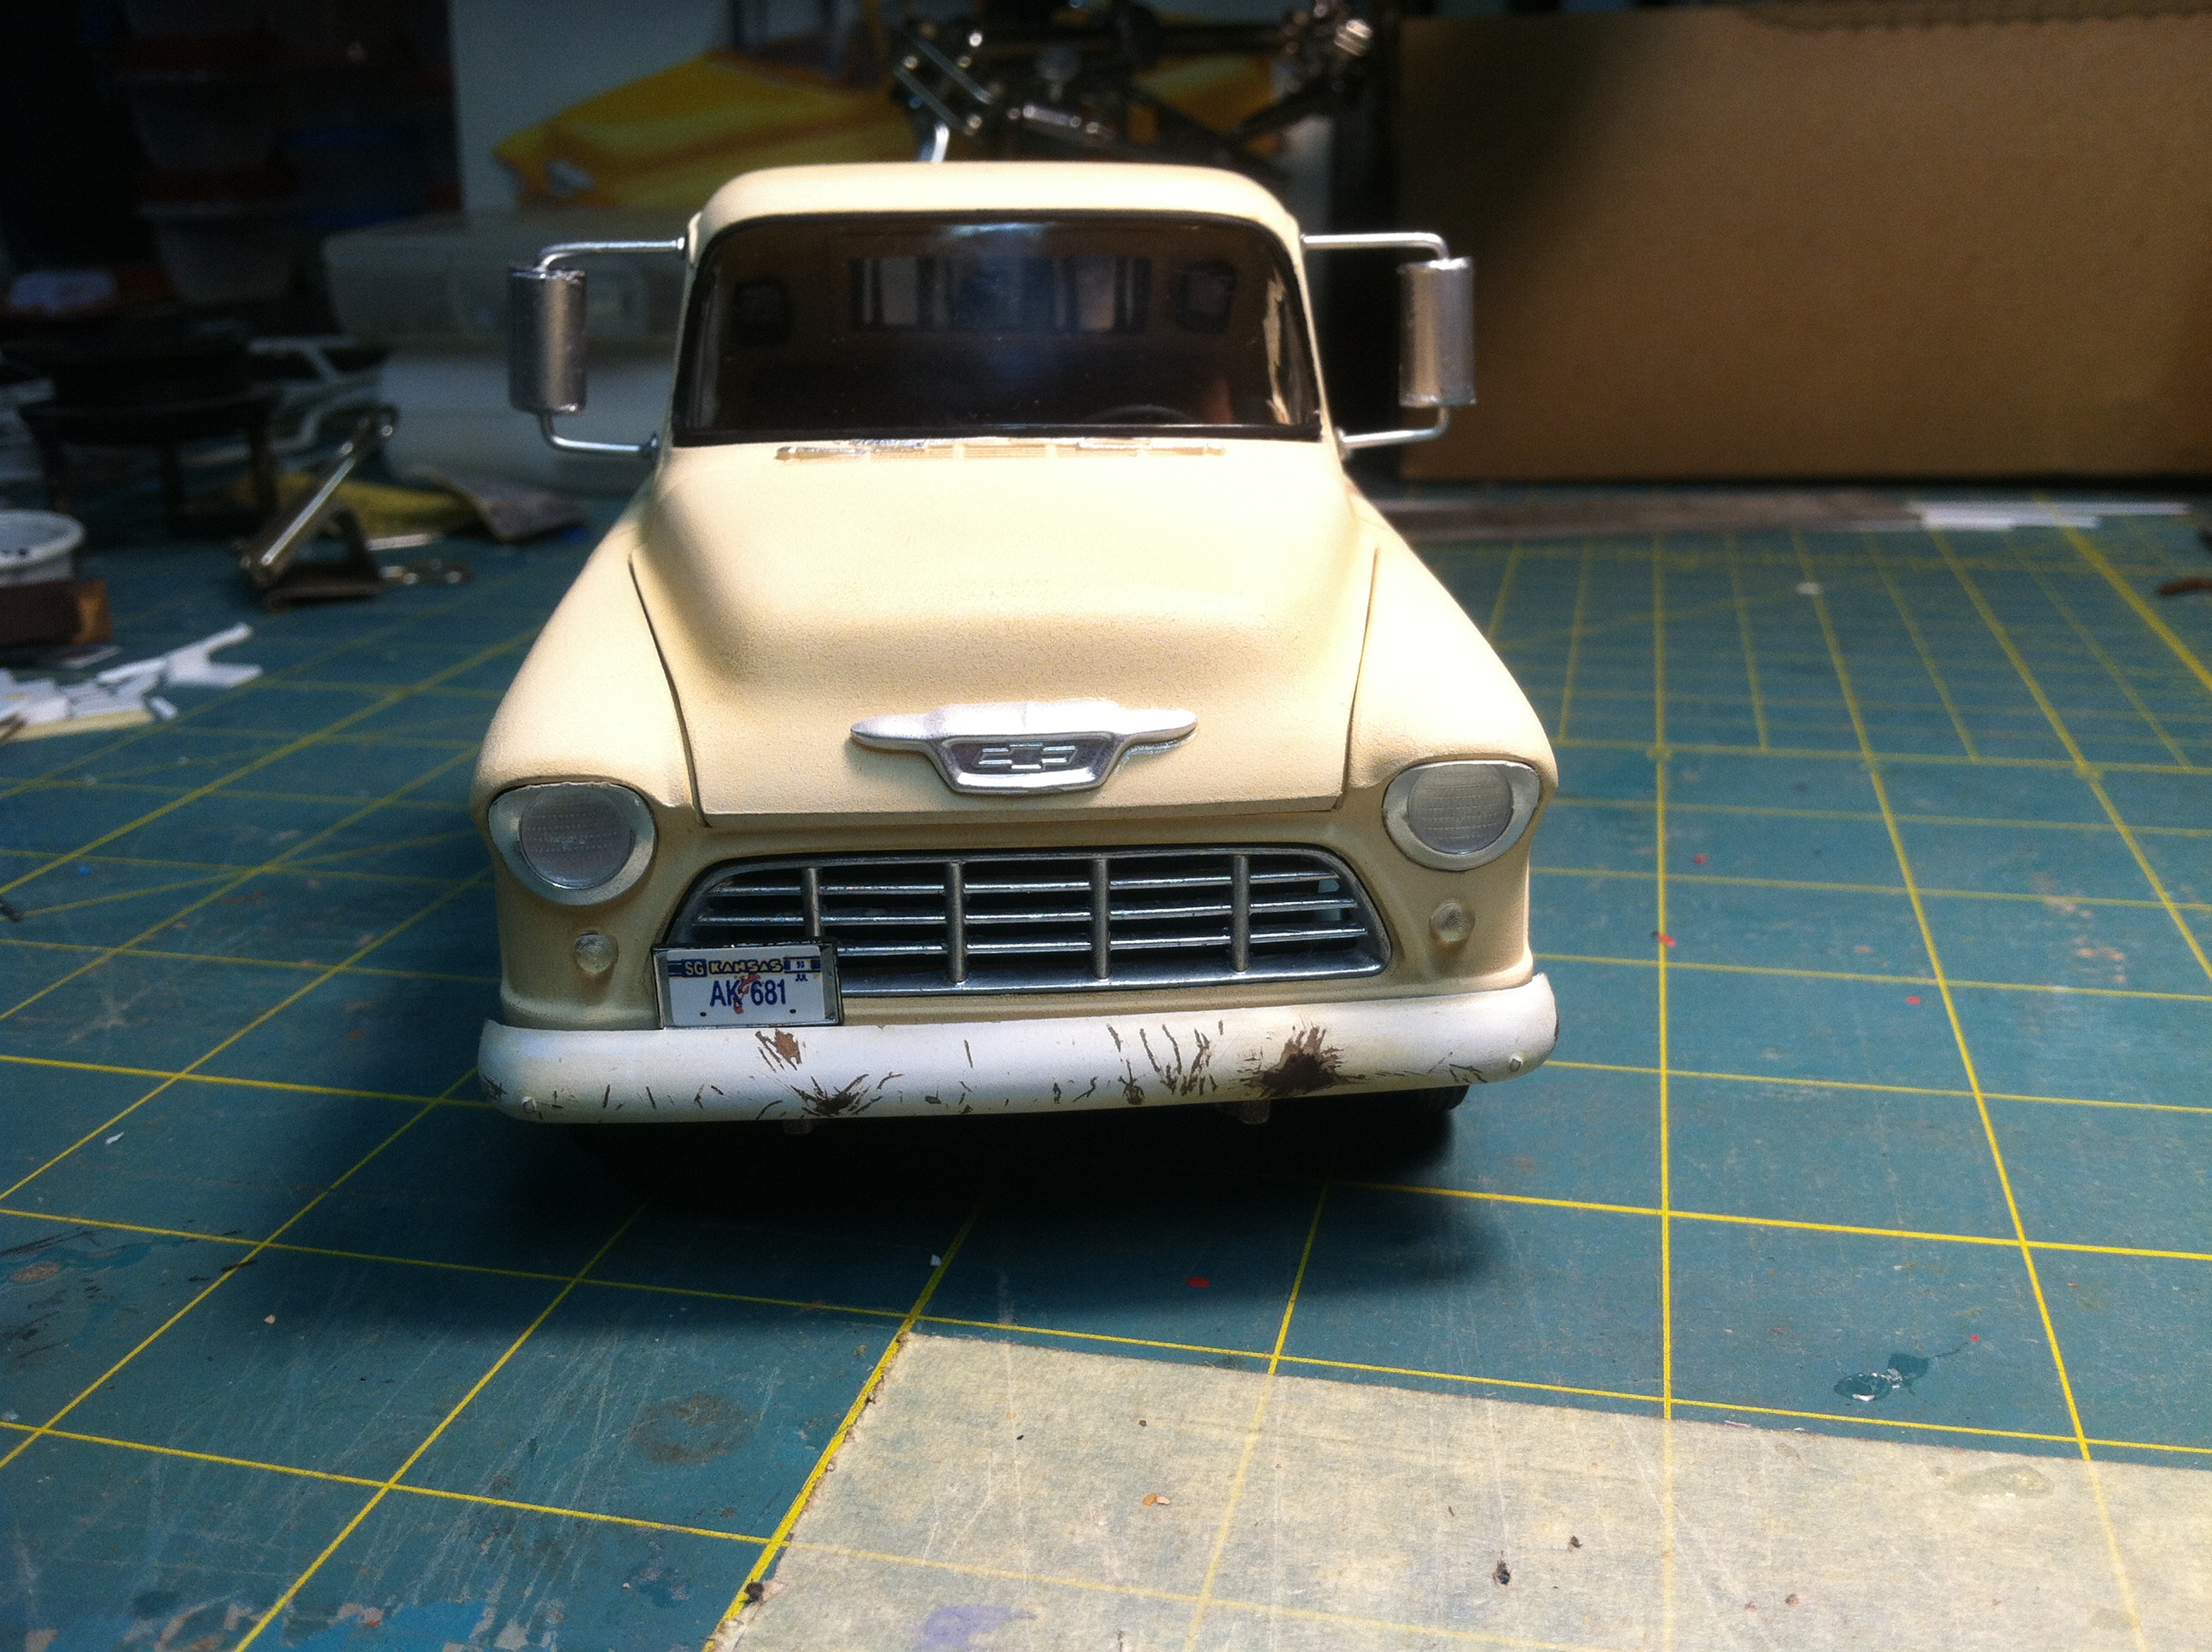
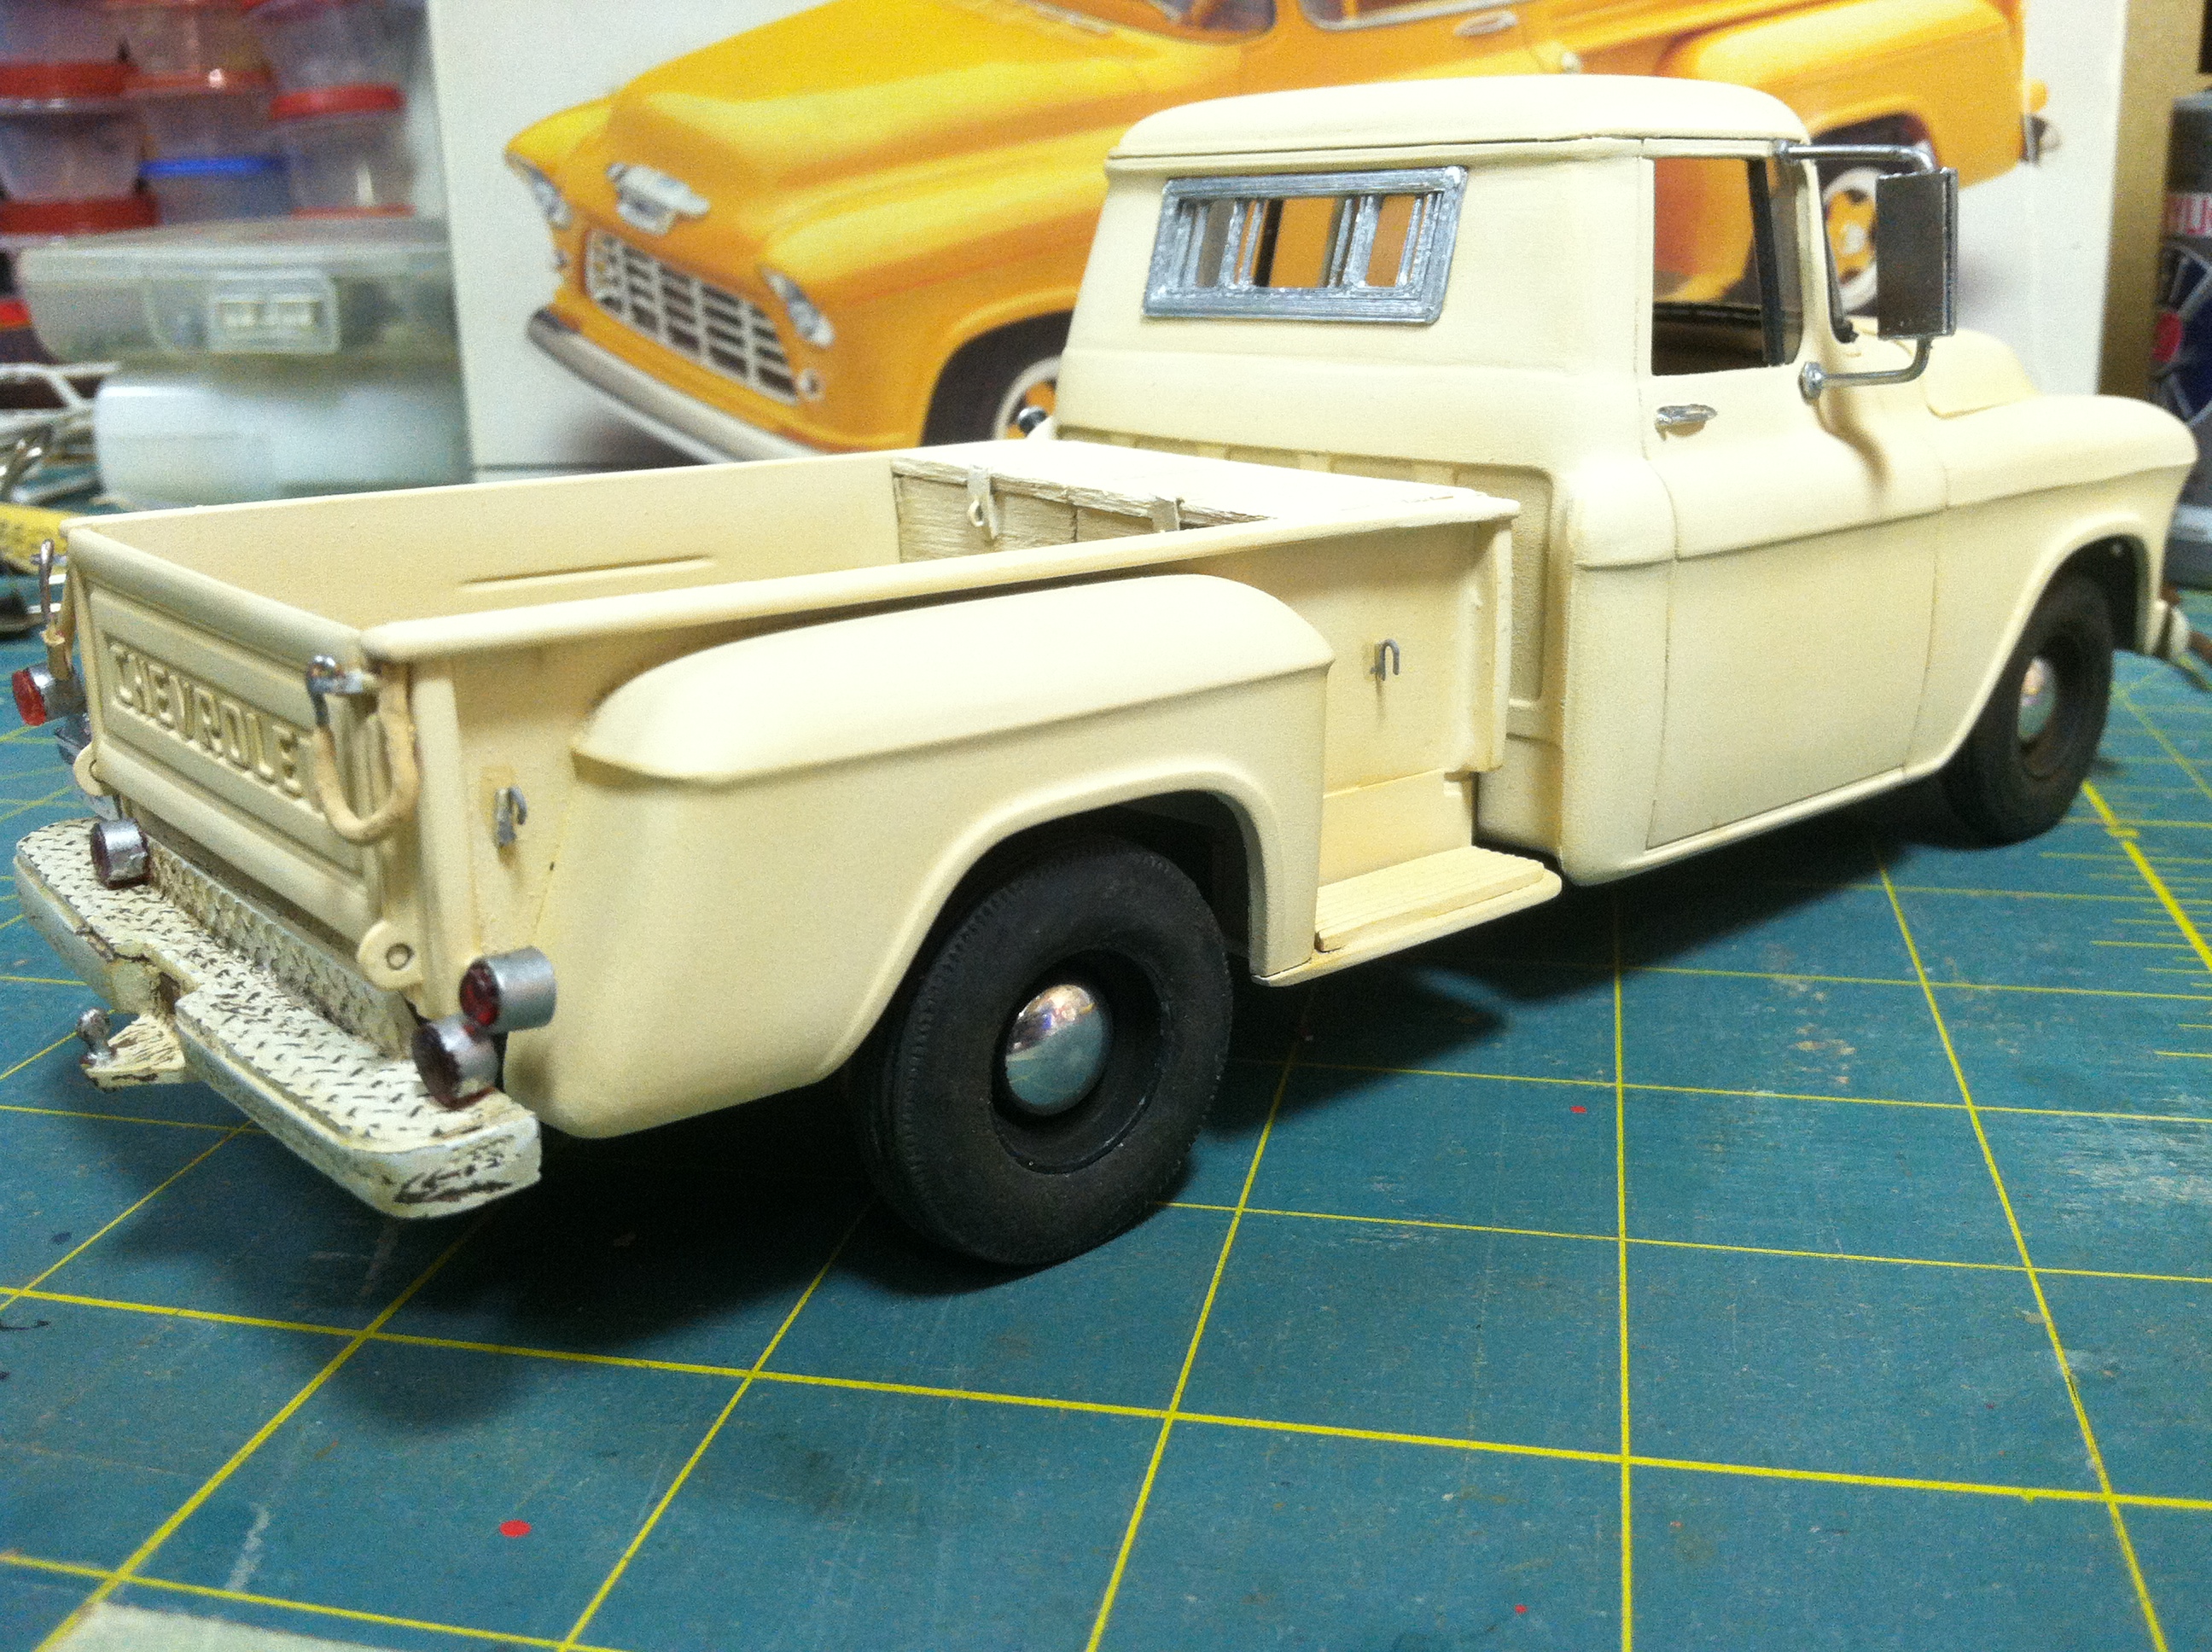
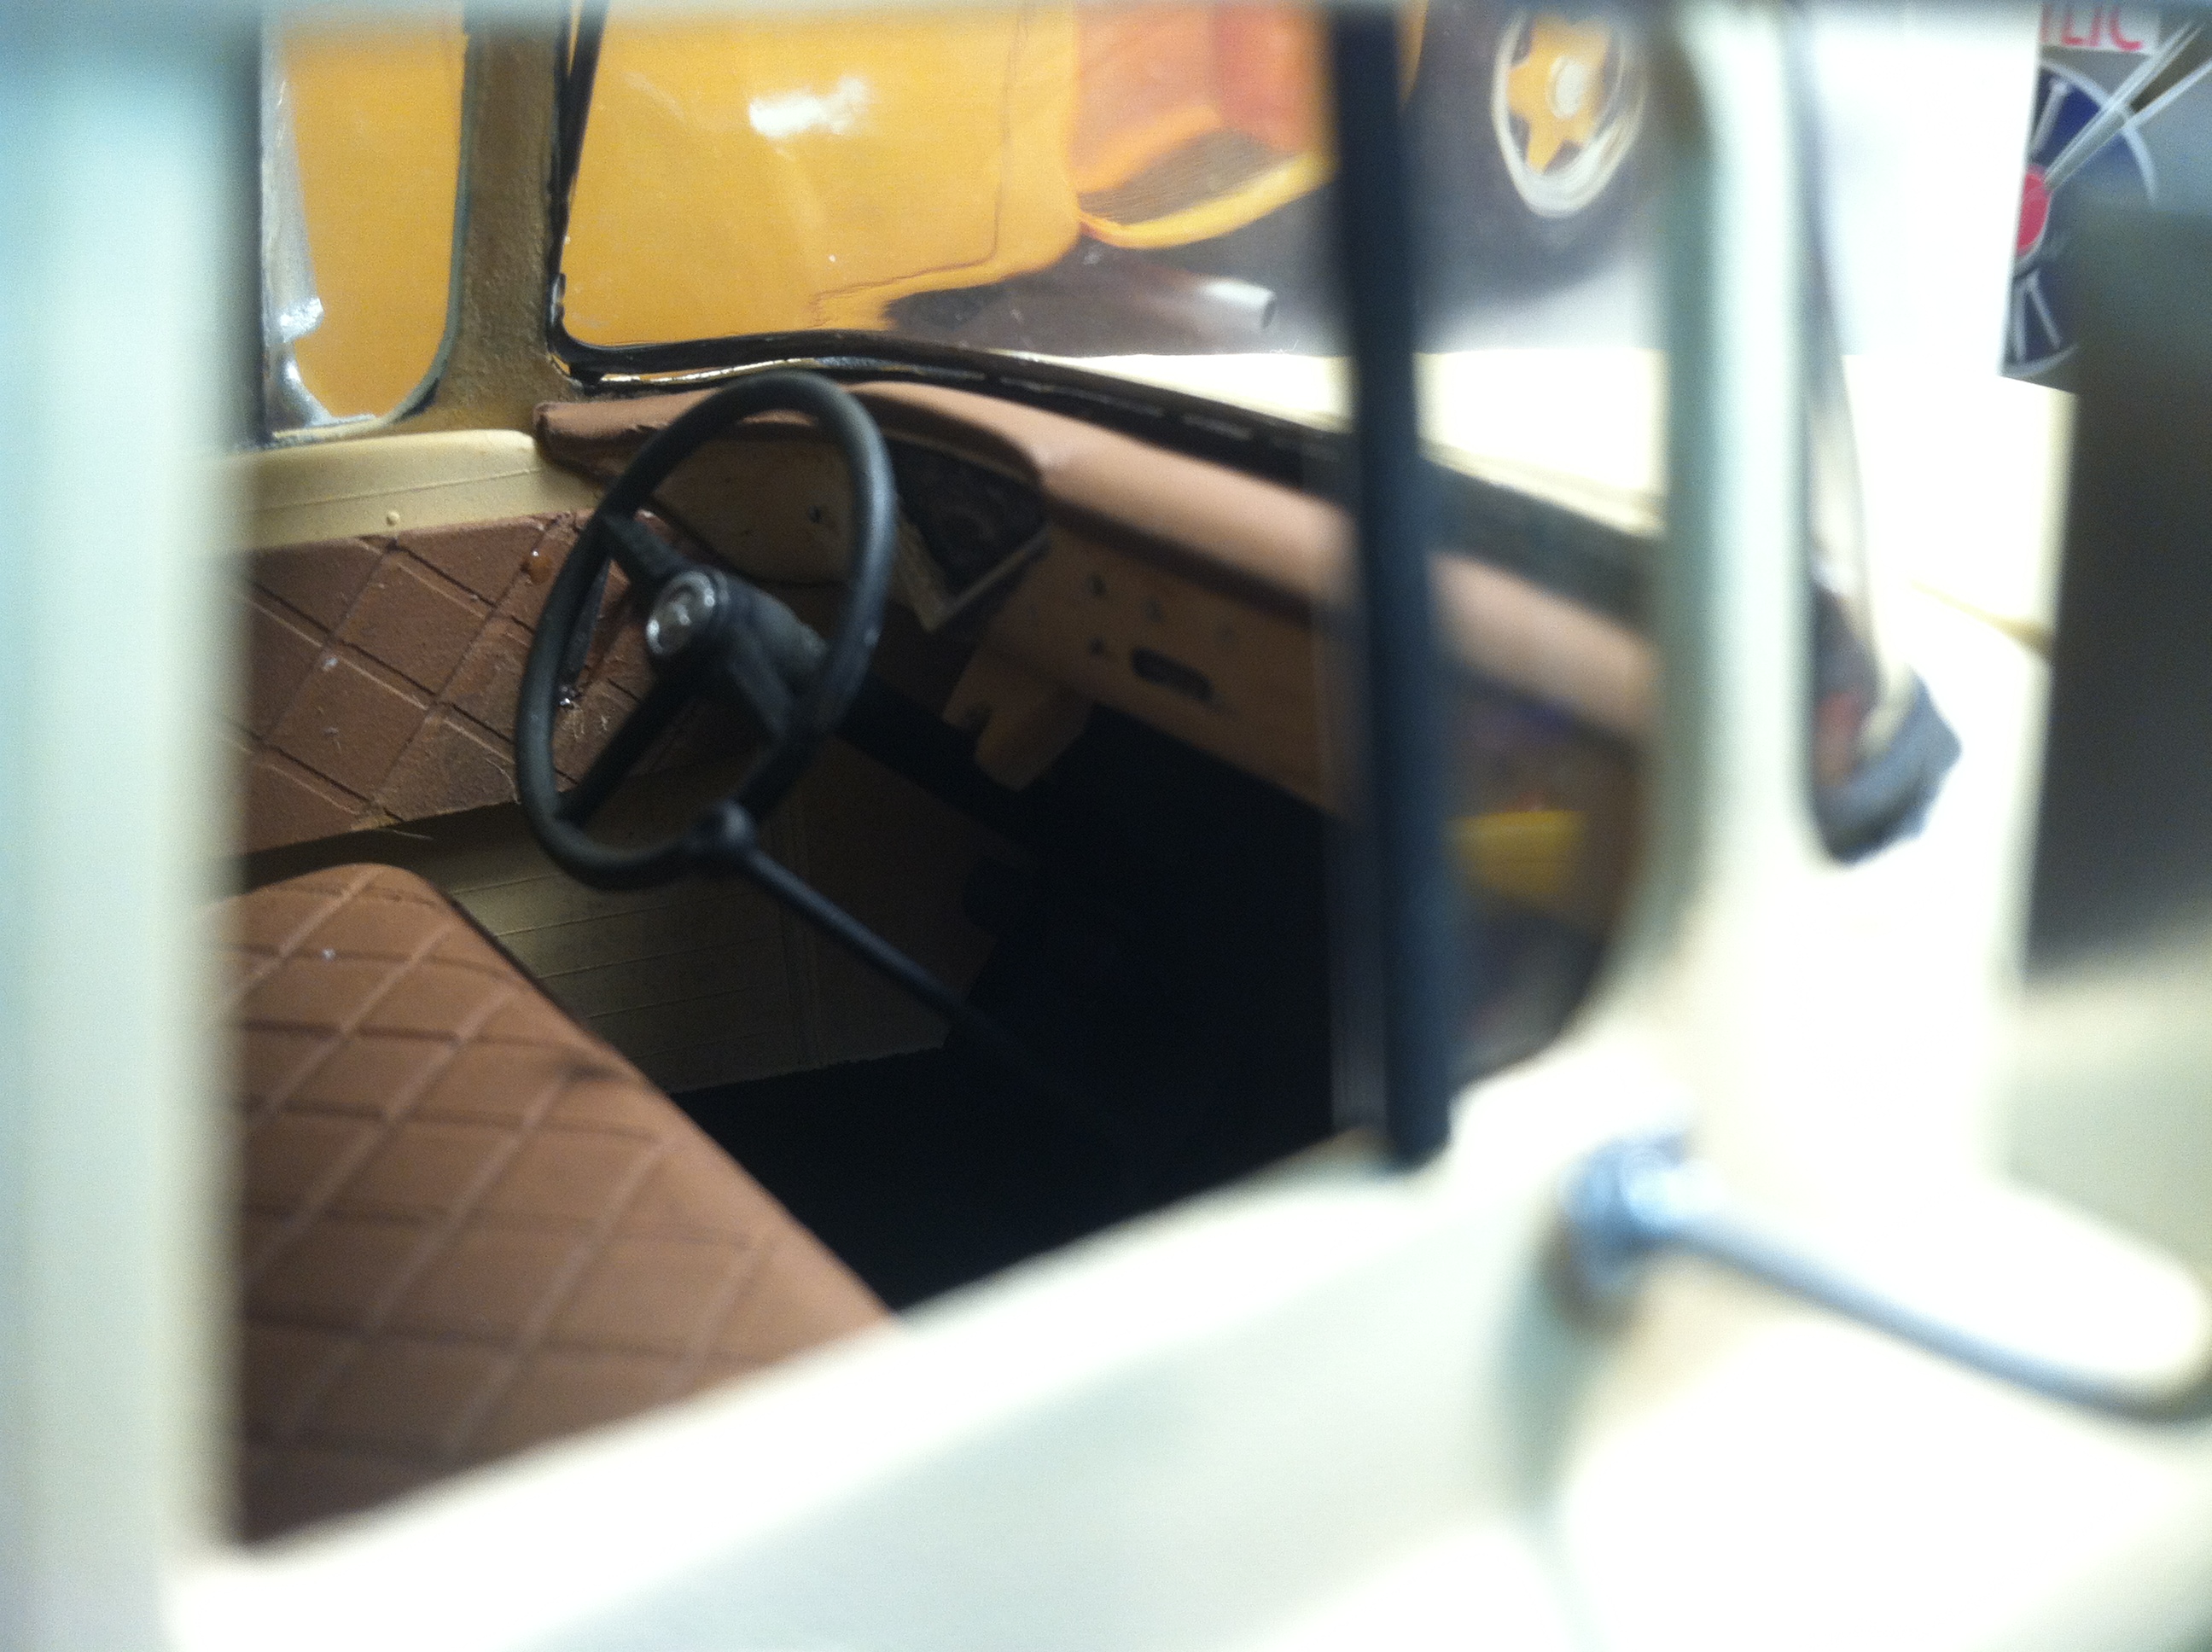
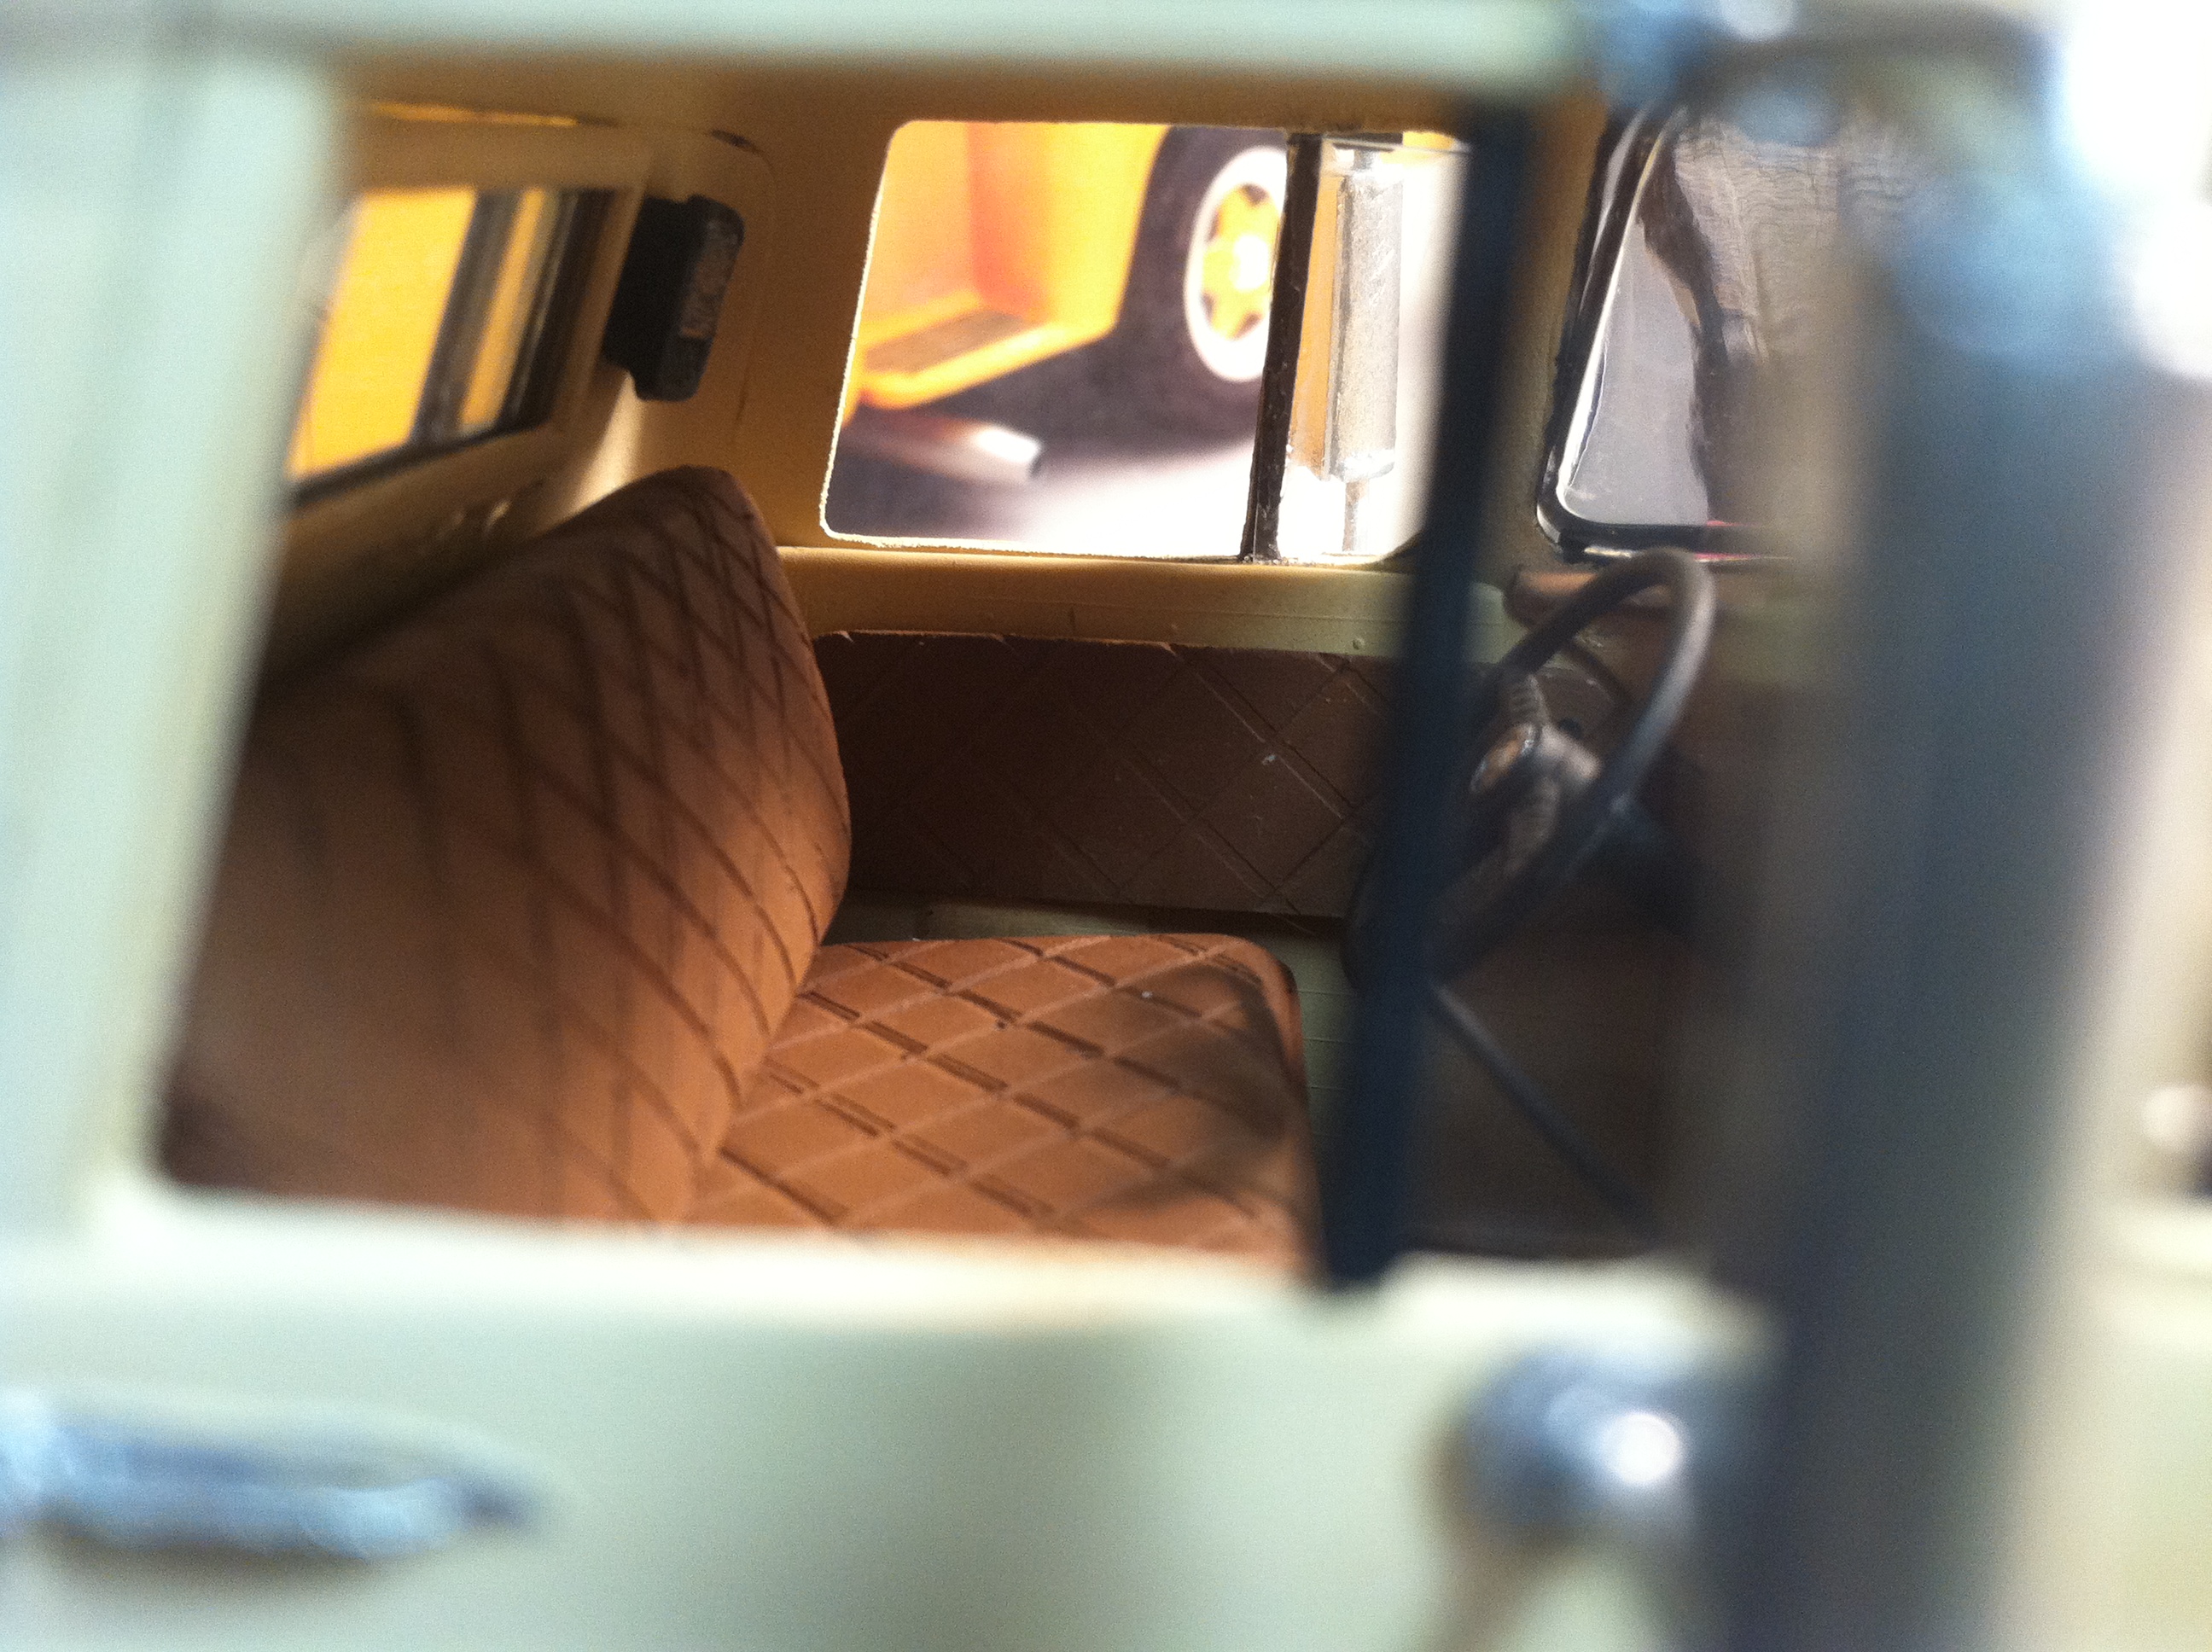
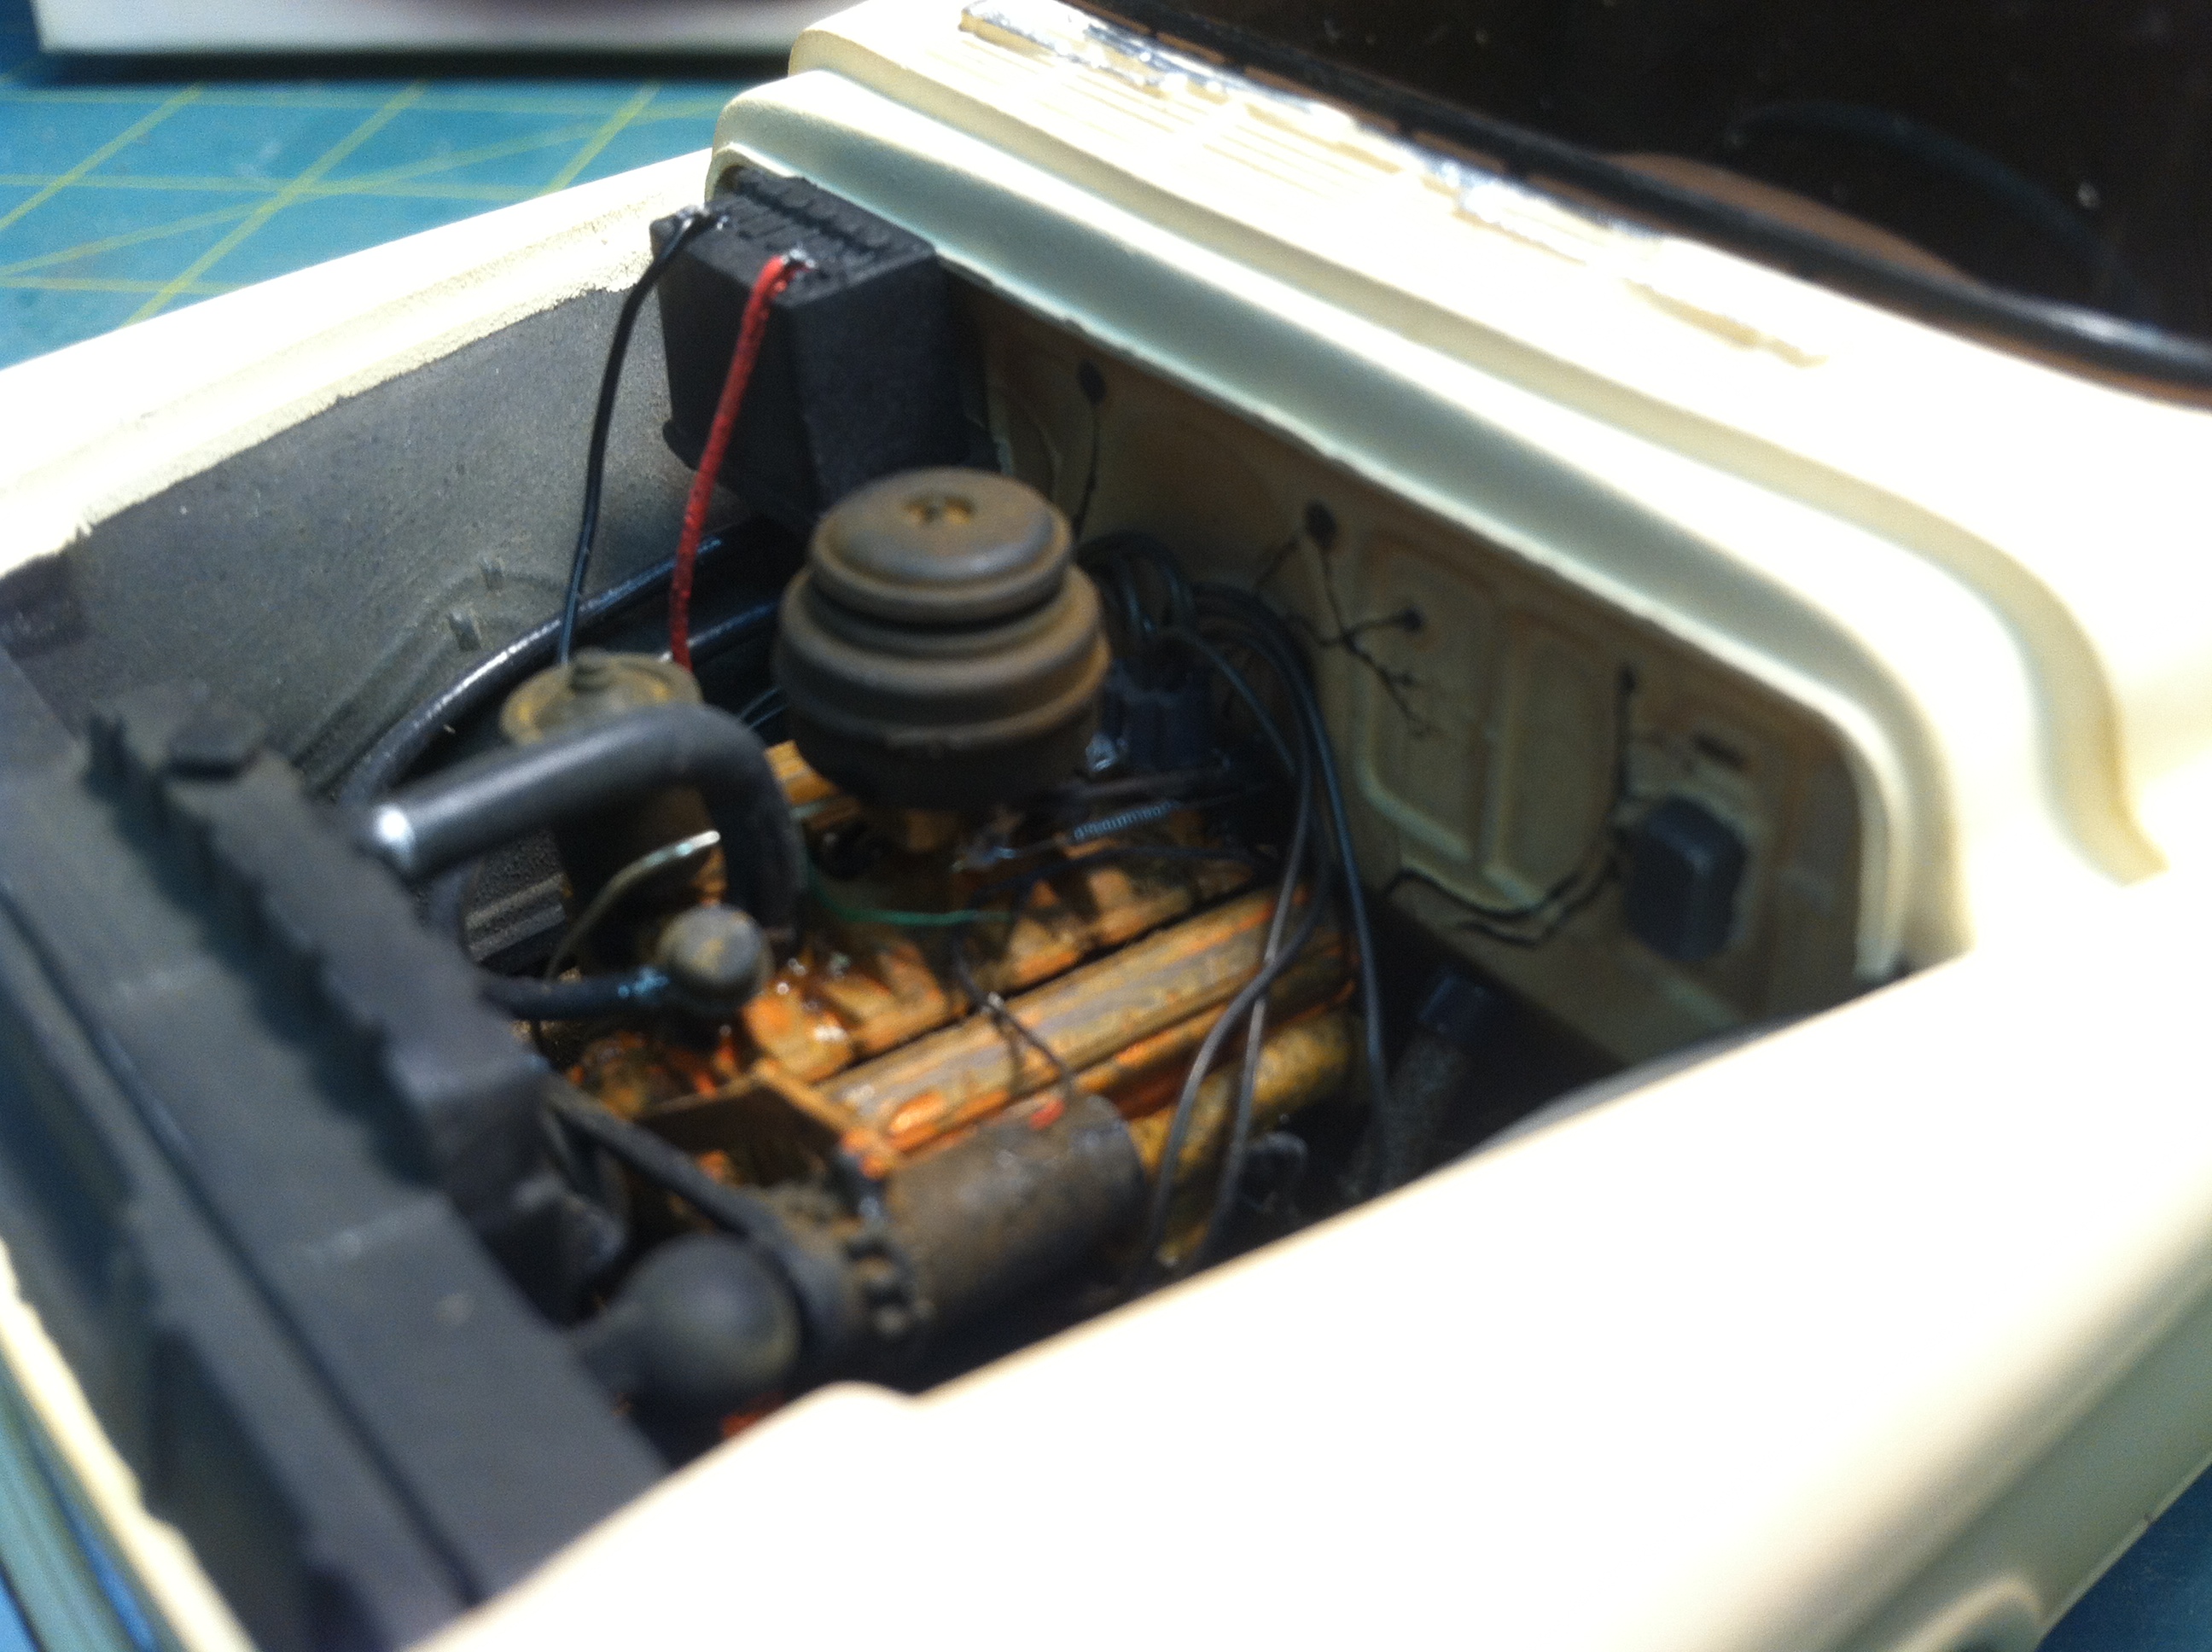
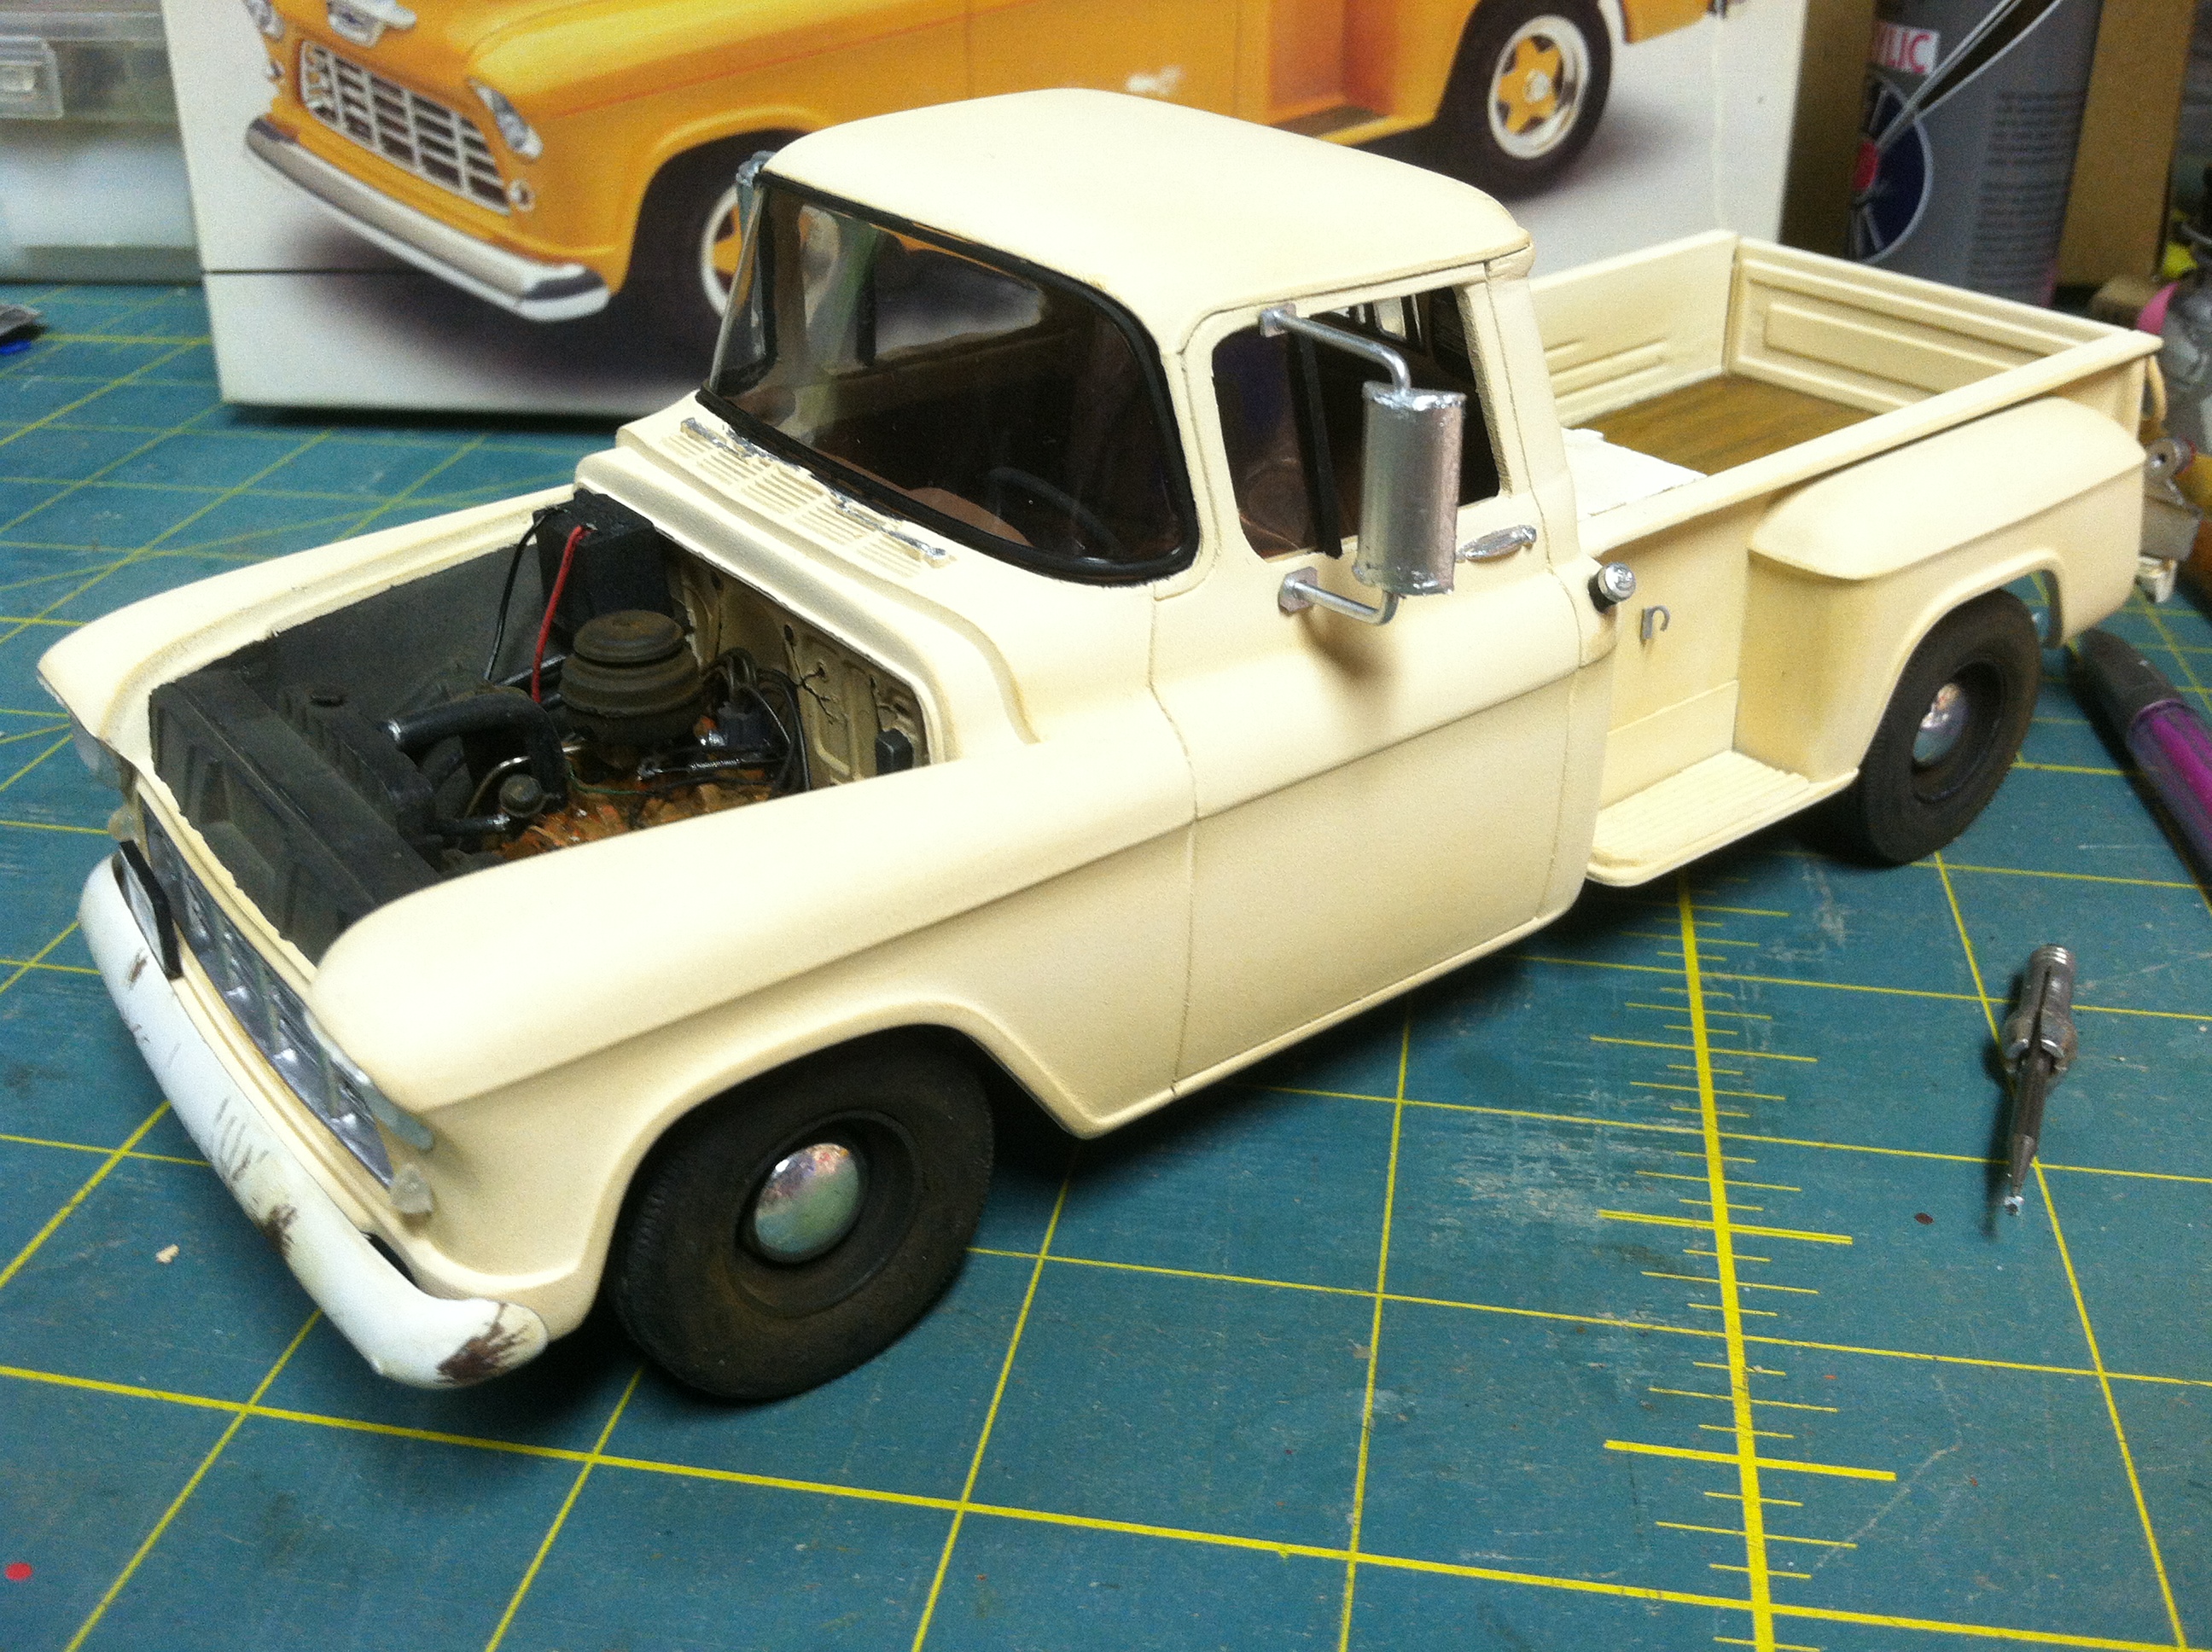
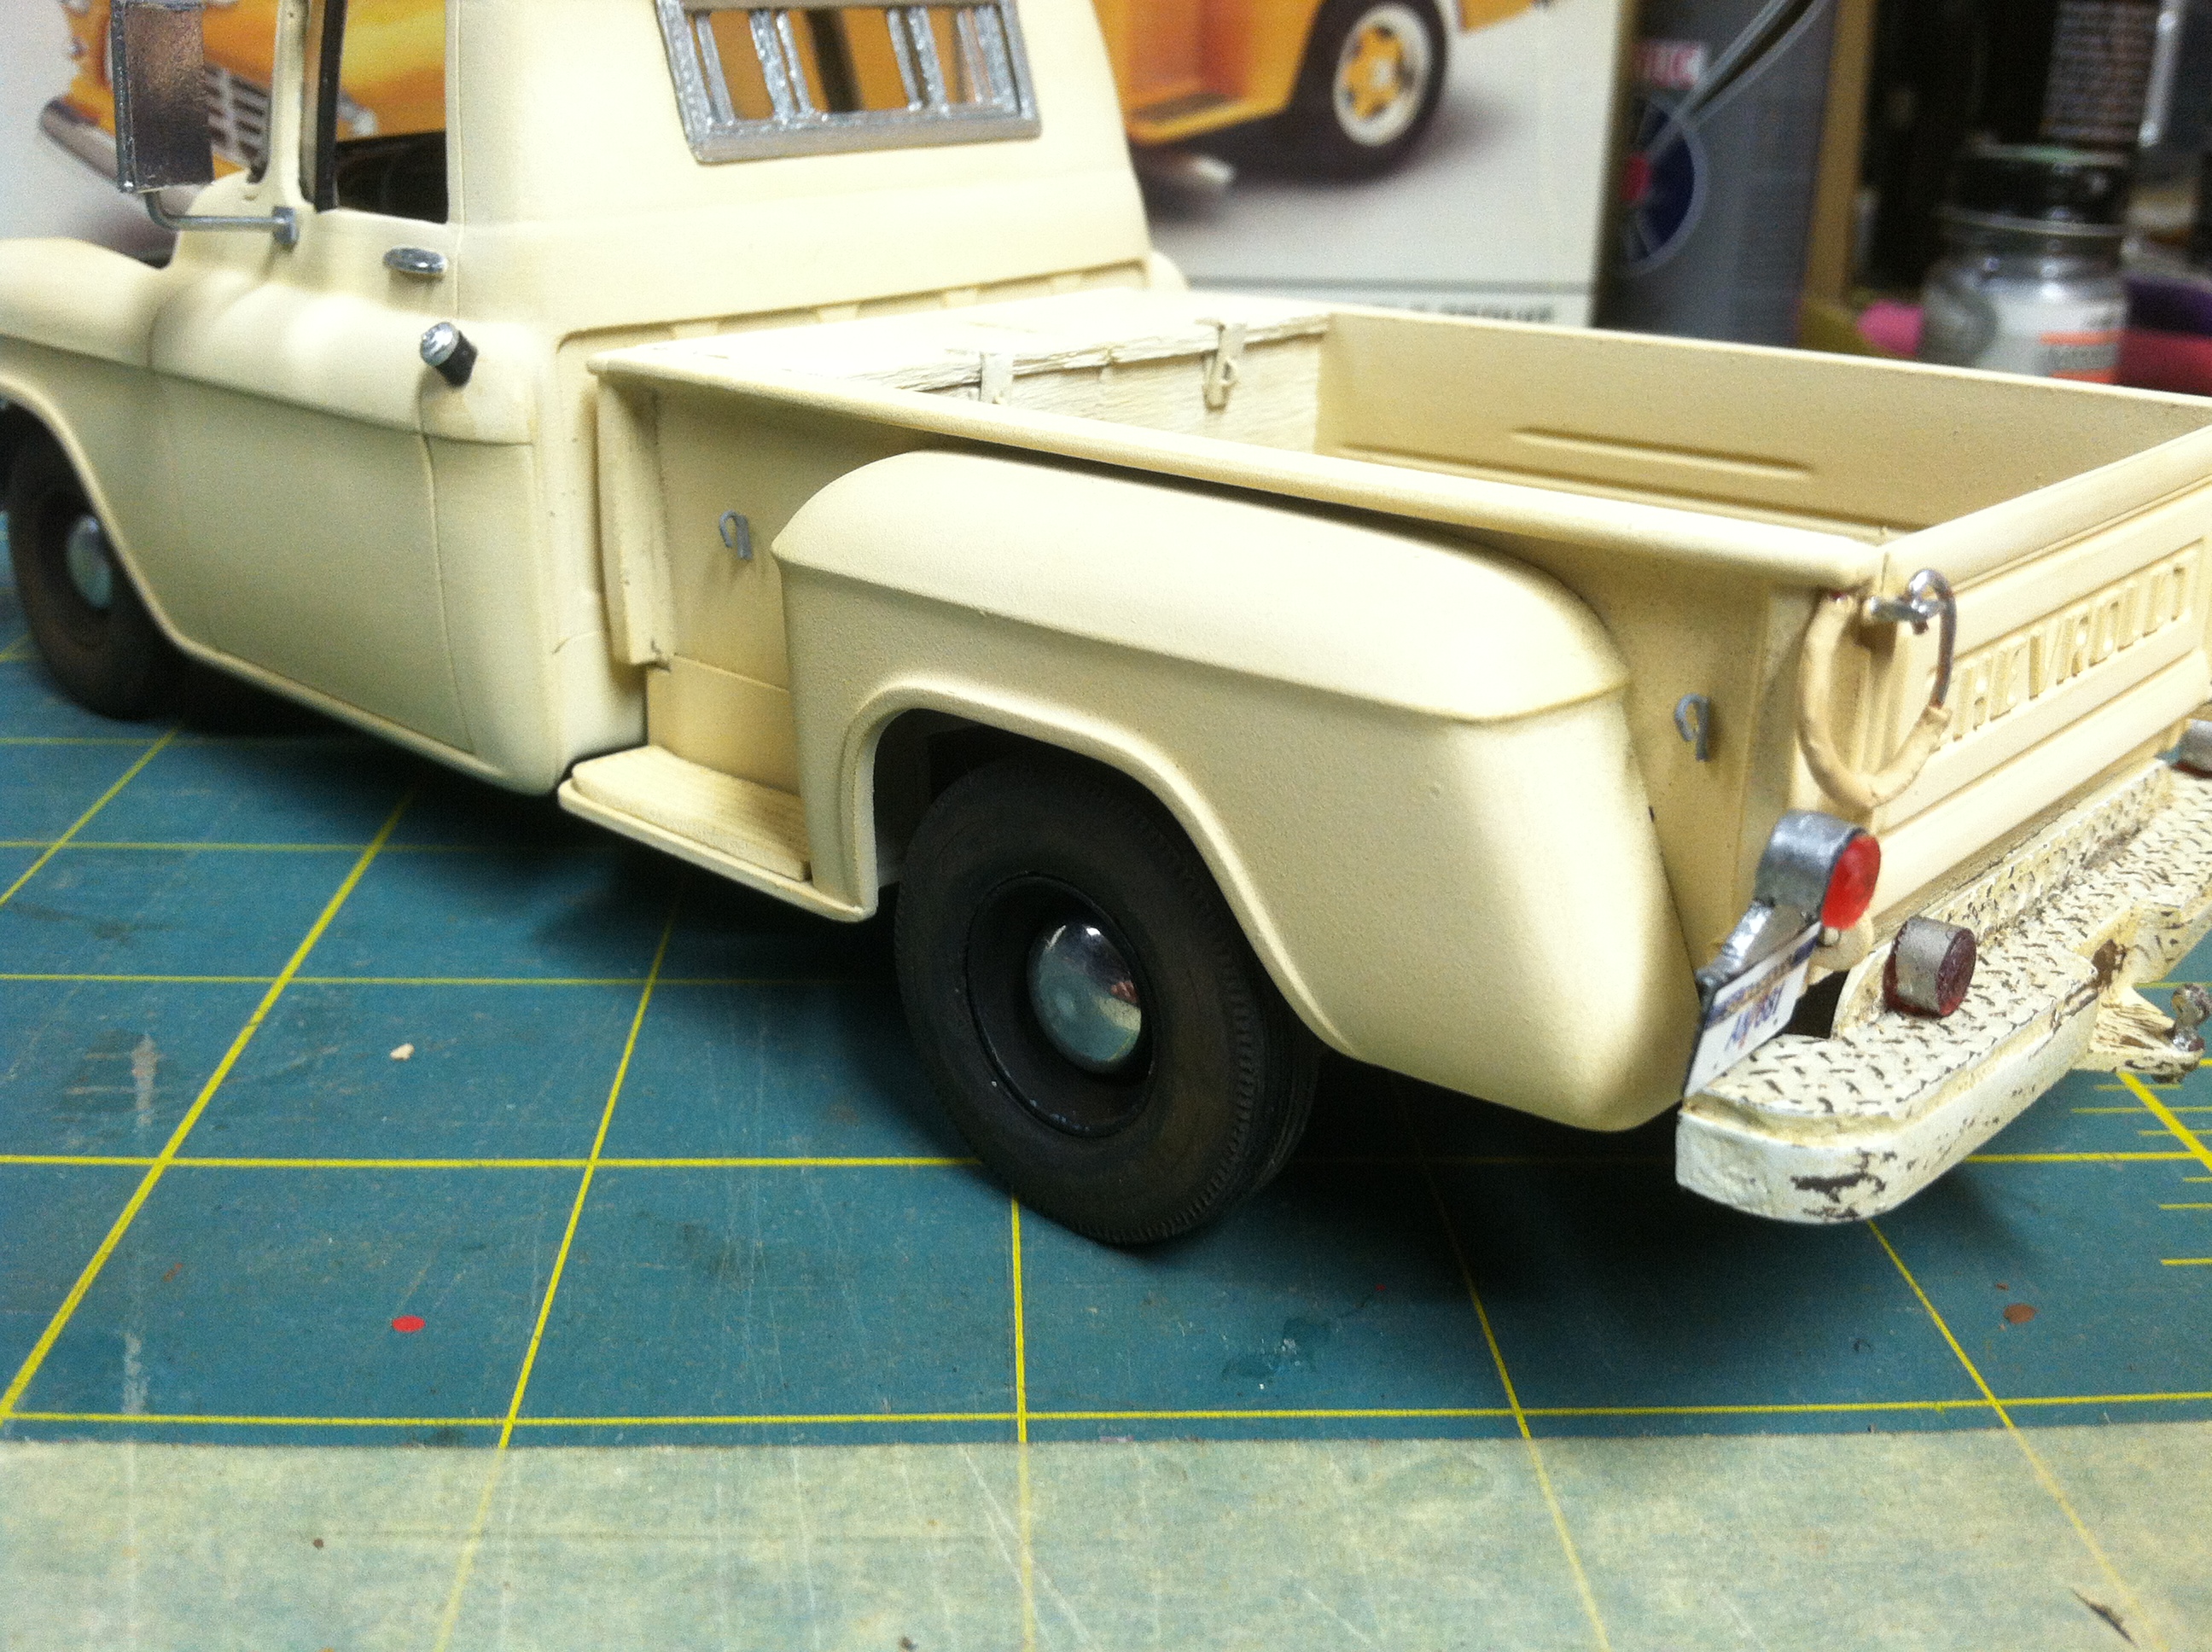
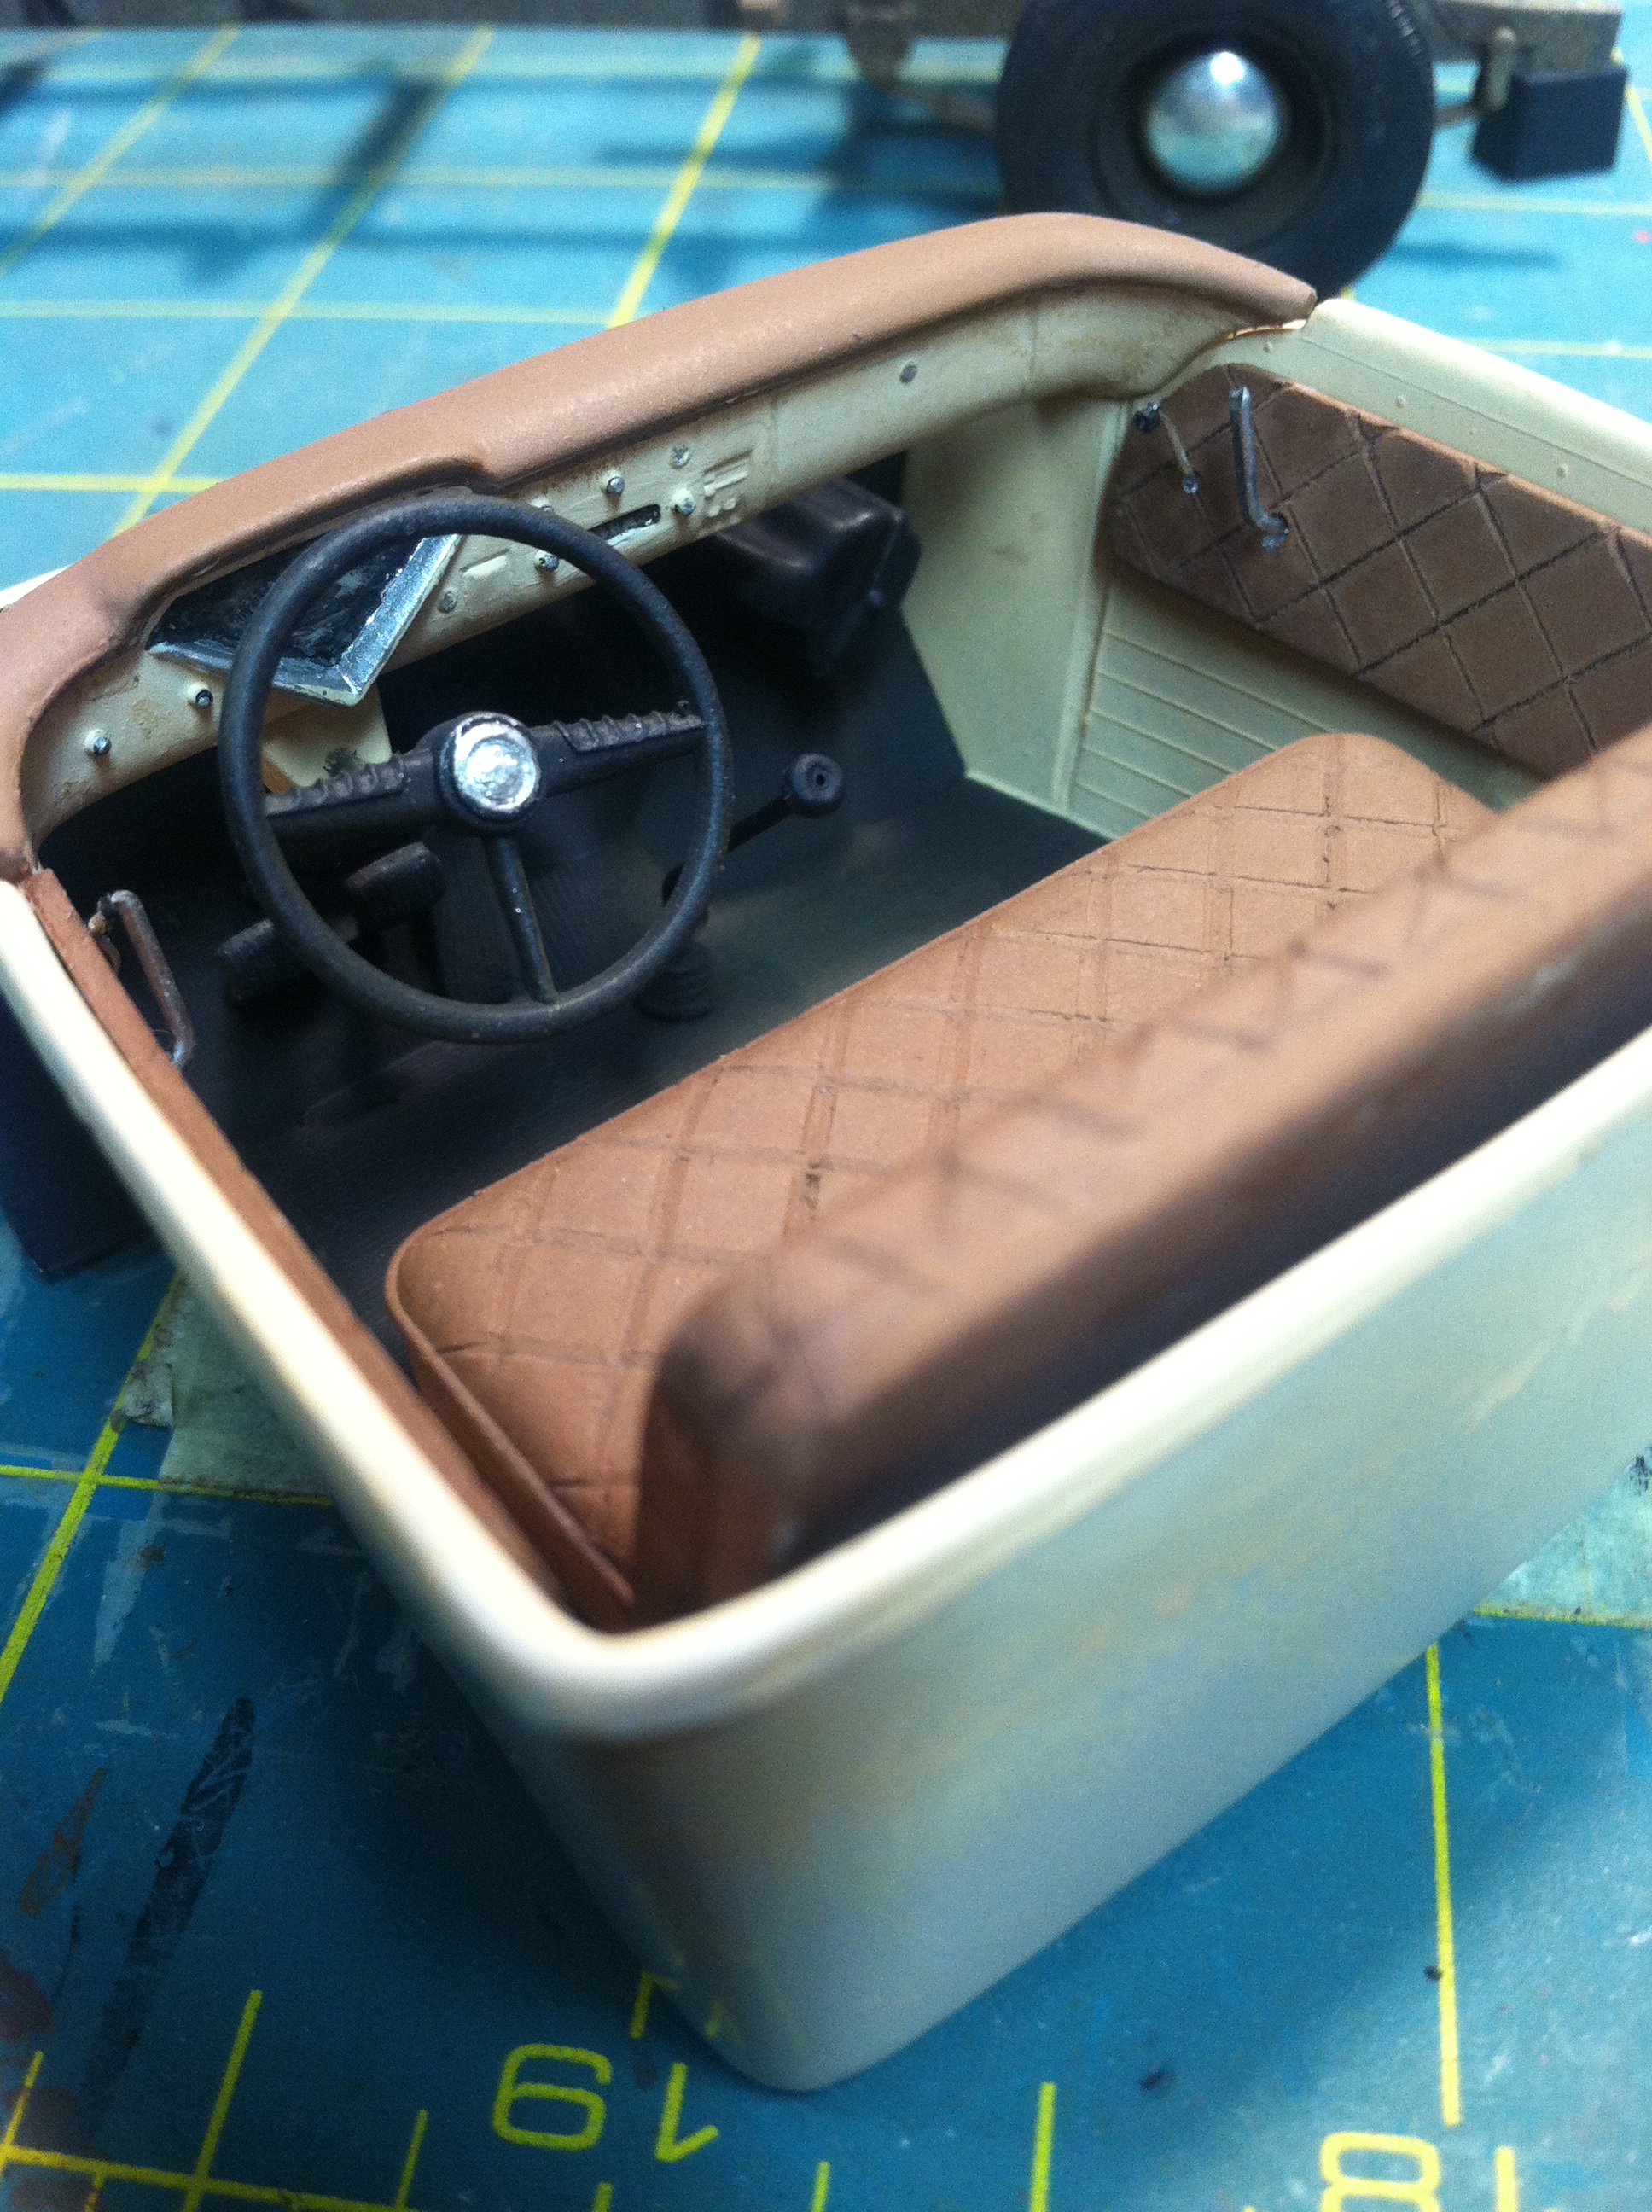
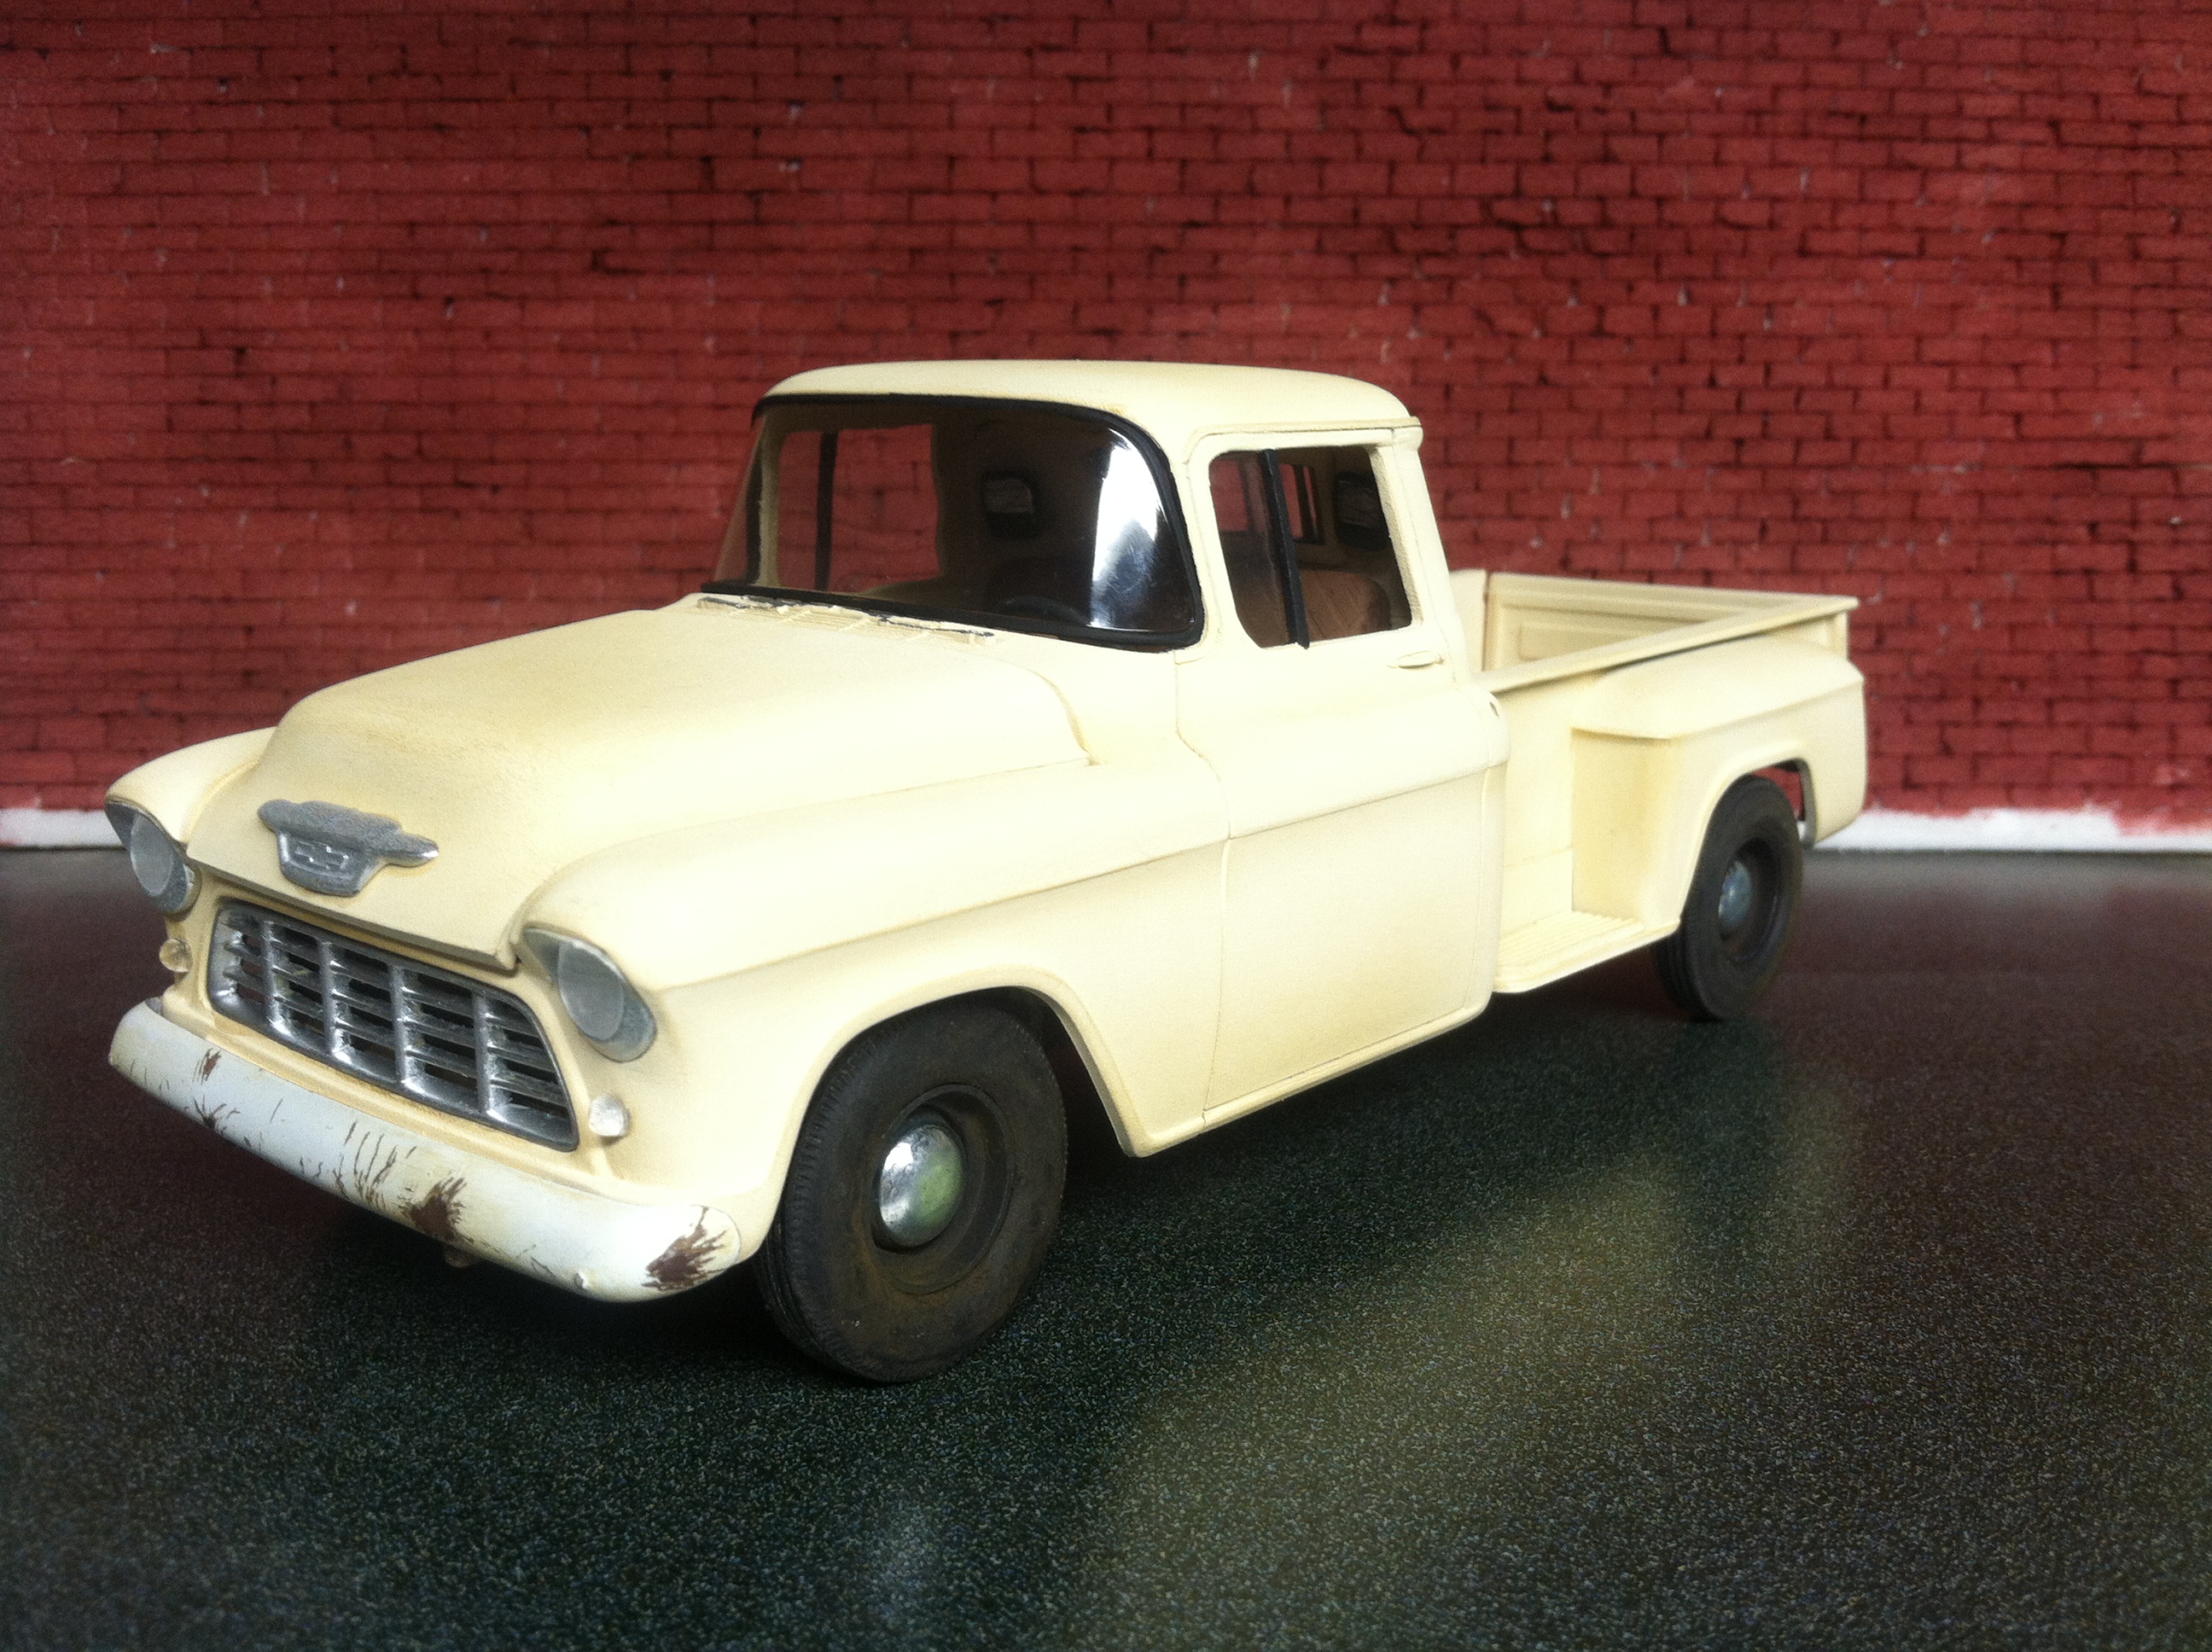
 I would like to share my version of the Moebius 71 Ford. I like to build models of vehicles as I remember them back in the day. This build will represent images from my memory of a 1971 Ford 4x4 Custom that is roughly 10 yrs old (used but well taken care of). My grandfather had this pickup and I remember it being almost pristine in condition but as I said earlier also signs of being used as a truck. For this build I combined AMT's 78 Ford 4x4 with the Moebius kit. The 4wd components fit very well to the Moebius frame with very little work. I did not fill in the slots in the frame for the Moebius suspension pieces as I don't think they will be seen once the kit is complete. I had to extend the axles a little to get the wheels to look right without being too narrow. One noticeable inaccuracy is that the transfer case is mounted a little forward from the real thing but I am ok with that. I wanted a manual transmission and when I started this, I didn't have one for a truck, so I found something from my parts boxes that closely resembles the heavy duty 4 speed used on these trucks. The drive lines are spare parts with the ends cut off and I used straws I grab from the local fast food places I visit. I heated up the exhaust and bent it so it comes out behind the rear leaf spring. I extended the exhaust with a small coffee straw so it looks right. I do not use any aftermarket items except spark plug wires and other wire from old phone cords or electrical stuff. I apologize for the quality of the pictures...I am limited to my phone for pictures (apple I4). I will explain my work as I go in case anyone is interested. Hope you enjoy, comments welcome. Quick test fit to check for height and alignment. Weathered the chassis and frame using textured rattle can paint and 2 other colors of brown spray paint. For the engine I puttied the radiator hose inlet because 390's have the housing coming off the front of the intake. I used a piece of spru that had a 90 degree elbow and drilled out the opening. I then used a piece of my trusty for sale sign for the flange. I painted and weathered the engine before I realized the hose location was wrong. For the fan belt assembly, I went to my parts bins again as I didnt like how low the alternator was on the Moebius kit. Pictures I studied in research always showed the alternator up towards the valve cover. The white with blue paint is the Moebius part. Added some detail to engine and test fit on the chassis. I added throttle linkage and spring, fuel line, air breather to air cleaner now runs across the front, added pcv valve to back valve cover. I turned the coil around to face the front as almost every ford I ever worked on, someone flipped it around to ease access to the wiring. I used the kits oil filler cap for the vacuum advance unit on the distributor and ran a hose to the carb. I fabricated a dipstick and put it to the rear of the oil filter. Alternator bracket is made from my trusty for sale sign. Heat riser from manifold was too small I felt so I fattened it up a bit. One thing that bothered me from the start was the lack of a dash pad on these kits. Every picture out there of this generation of Ford pickups shows a dash pad that comes out over the bezel. I went to my trusty thicker for sale sign and heated up the tips (carefully as it wants to curl) formed it to the dash and glued it then followed up with some putty. I painted the dash (no decals). Extra detail painting on the exhaust pipe extension as this is the part seen in normal view. The interior is pretty straight forward. This will be a basic "custom cab" Ford so I picked up another Moebius kit (70 Ford) for the base model door panels, tailgate, and seat. I fabricated the two shifters from scratch. The pedals are original to the kit but they were a little "thick" for my taste. I simply trimmed them down and glued them to the under dash piece supplied. The gas pedal was also thinned down and trimmed to lay it down on the floor of the tub so it looks correct. The kit steering column was straight but where the steering wheel attaches, it was seriously not right as shown in the picture. I trimmed it to get it straight and removed the automatic shift lever. Another test fit and body now is painted. I sanded off the bottom trim as this is a base Ford "custom" . I started on the BMF on the side trim. The rear reflector light was trimmed down, then painted, topped off with some clear glue. I will have to create my own "Custom" decals for the rear. The hub caps used are accurate for 2wd Fords for sure and I only found one picture of a 4x4 with these hubcaps so I dont know how accurate they are, I like how they look anyway and fabricated some lockout hubs for the front. Inside the bed was given that "I use this truck" look with some good old fashion layer painting and removing. I splattered some paint up front for that time when some paint slid forward when you hit the brakes a little hard! The tops of the bed rails got some scratches as well as the tailgate. The radiator got some weathered treatment with a little gold and dirt. Rear bumper is a plain grey with some mild wear. I painted the tailights as I wanted them to be recessed into the housings instead of flush. The tailgate decal ripped a little on me (I was being pretty vigerous with it). I will take it off and probably paint the panel. I started on the engine compartment with giving the washer bottle a yellow wash and ran the hoses up to the cowl. I still have some touching up to do where the hoses enter the cowl. Made a starter soleniod from spru. Another test fit to make sure everything fits! Sorry for the LONG post and so many pics! Will post more as I progress! Thanks for looking!
-
1969 Mobieus Ford
bill lanfear replied to fordf-100's topic in WIP: Model Trucks: Pickups, Vans, SUVs, Light Commercial
Lovin it! Nice work on the interior! The clutter, the worn torn seat...awesome! -
1969 Mobieus Ford
bill lanfear replied to fordf-100's topic in WIP: Model Trucks: Pickups, Vans, SUVs, Light Commercial
I'm following this one close as this is my kind of build and love how its turning out...Great idea removing the gauges and the rack looks great! -
Bronco
bill lanfear replied to Hard_2_Handle_454's topic in Model Trucks: Pickups, Vans, SUVs, Light Commercial
Very nice! Great work on the detail painting! -
1969 Mobieus Ford
bill lanfear replied to fordf-100's topic in WIP: Model Trucks: Pickups, Vans, SUVs, Light Commercial
I am still experimenting with dulling down the chrome as well. For my blazer, I sprayed it with dullcoat but it looked like I just painted it silver, so I then took a damp soft sponge and dabbed and very carefully rubbed some dullcoat off here and there to allow some shine to come through. I was much happier with the end result. I did not dab the bumper. You can see the difference in this pic.
-
1969 Mobieus Ford
bill lanfear replied to fordf-100's topic in WIP: Model Trucks: Pickups, Vans, SUVs, Light Commercial
I like it! Amount of weathering is spot on! If I had to suggest anything, I would consider thinning the roof paint a little to let some primer through as they are typically bleached out some on something this worn. Maybe some scratches in the bed from years of loading and unloading those bottles. I assume you will hit the chrome with some dull-coat to take away the "new" shine. The engine compartment should be more dirt and grime vs paint failure or chipping in my opinion. I think you've done a great job so far and special thumbs up on the decals! The weathering you have done is very realistic and is just the right amount I think. Hope these suggestions help! -
Excellent work! Details are fantastic!
-
Thanks everybody! I built it as I remember them back in the day! I remember working on this era of blazer in real life...always cussing when the points needed changed as you had to literally climb inside the engine bay to reach them!
-
1972 Chevy Blazer
bill lanfear replied to mikemopar70's topic in WIP: Model Trucks: Pickups, Vans, SUVs, Light Commercial
I like it! Love the wheels and tires especially! The kit has a few things missing that was easy to remedy. master cylinder, radiator top to name a few. I used a plastic spoon to fill in the excessive hole in the firewall on mine. I built it with the same theme as yours. check it out under workbench or under glass (amt 72 k5 blazer). If you need any pointers on the spoon method, let me know! -
Glad to help Adam, I am very cautious and don't normally try to correct anyone but I could tell from your other sight that you are dedicated to those details! I too am a fan for building stock models or at least as of recently, I build them to appear realistic or as you would see them on a day to day basis on the road as daily drivers with mild weathering, road grime etc.
-
71 Ford 4X4 Truck
bill lanfear replied to Sly Fox Racing's topic in WIP: Model Trucks: Pickups, Vans, SUVs, Light Commercial
I started this conversion myself a while back and I found that using the 71 frame was pretty easy (maybe easier than cutting the 78 as the wheel base wont be correct anyway). I used the 78 springs and axles and engine cradle, the crossmember for the transfer case will be located for the 71 interior tub mounting point as the pieces are almost identical between the kits. The 78 uses it for a cab mount and the 71 uses it for the tub as mentioned. They should be pretty close to the same location. I am using a custom made heavy duty 4 speed for mine so I haven't figured the lengths just yet but here is a mockup of mine so far. I know Moebius is coming out with a 70 4x4 but I am impatient and can't wait!
-
Sorry Adam, I just looked a little harder and it is a 60 Bel-Air steering wheel that was used for the deluxe...not Impala.
-
Very impressive Adam! I think I have the answer to your steering wheel problem...it looks like the kit gives you a standard wheel, which I believe you have up side down, but a "deluxe" wheel was available which was a re-use of a 60 Bel-Air steering wheel or an Impala. Check out this link http://www.oldchevytrucks.com/blog/index.php/tag/deluxe-steering-wheels/ see what you think. It shows some pics of these wheels also. You may be able to grab the wheel from a revell 60 impala kit to solve your issue if the info I gave you is legit. I am anxious to see this come together as I appreciate the level of detail your incorporating. One other note, if I may without seeming critical...the handle on the ash tray above the radio should be black. I hope that I am not coming off as some jerk picking apart your work, that is not my intention! Just trying to help before you assemble!
-
'63 427 F 100 - XL
bill lanfear replied to johnwitzke's topic in WIP: Model Trucks: Pickups, Vans, SUVs, Light Commercial
I like this idea! Cant wait to see it come together! -
I like where this is going, looking great!
-
Project "Every Which Way"
bill lanfear replied to bill lanfear's topic in Model Trucks: Pickups, Vans, SUVs, Light Commercial
Thanks everybody for the nice comments. Its great to share with people that appreciate the hobby! -
1950 Chevy pickup
bill lanfear replied to crazyjim's topic in Model Trucks: Pickups, Vans, SUVs, Light Commercial
The paint job on that bed is excellent!, love the interior as well! Nice job on the engine transplant, love the colors used.....Well Done! -
Well this one was fun! This is my rendition of Philo Beddoe's pickup from the movie "Every Which Way But Loose". Its not perfect but it is what it is. I used different plates and the mirrors are bigger than the movie truck but over all I am pretty happy with how it turned out. This is my third build in a really long time. The build can be seen under the work bench section. Thanks for looking!
-
Suburban kitbash
bill lanfear replied to Randy Meyer's topic in WIP: Model Trucks: Pickups, Vans, SUVs, Light Commercial
love this idea!! Ive been waiting to get my hands on a 60 chevy kit, I missed the opportunity and regret it. I prefer the wrap around windshield and like the older hoods! If you need some reference pics, I have a 1:1 62 GMC truck . -
Moebius 71 Ford Ranger XLT
bill lanfear replied to David G.'s topic in Model Trucks: Pickups, Vans, SUVs, Light Commercial
Very nice clean build....great representation! -
78 CHEVY SHORT BED
bill lanfear replied to plasticfrog's topic in Model Trucks: Pickups, Vans, SUVs, Light Commercial
very nice build! -
Chev K5 Blazer
bill lanfear replied to iamsuperdan's topic in WIP: Model Trucks: Pickups, Vans, SUVs, Light Commercial
I am anxious to see this come together, I like where you are going with it! -
Last update before going to under glass section...finished the interior, got the engine all nestled in place, glass installed, grill, headlights etc....getting close. To do list is toolbox, bed chains, taillights, mirrors, license plates, some detail painting, bmf the door handles, and build an antenna. Thanks everybody for your comments and taking a look.
-
Nice looking Mopar! Well done!
-
thanks everybody! I will be posting more soon! I just realized I have posted a lot of pics for this........too many maybe?????