R. Thorne
-
Posts
1,260 -
Joined
-
Last visited
Content Type
Profiles
Forums
Events
Gallery
Everything posted by R. Thorne
-
Boy, you sure build clean, highly detailed cars. Another nice one. Job well done.
-
Very nice, clean, pretty build, but, inevitably, leads to questions. Three speed manual trans? Not a 4 speed in Leal’s car? The coil wire(?) leading from the inner passenger side fender appears to be unusually large? The chassis is exceptional.
-
Grey primer is easier to see imperfections. White primer gives the color coat more “brightness” as the base coat (primer) affects the color coat.
-
1969 Nova F/SA NHRA Stock Eliminator
R. Thorne replied to R. Thorne's topic in WIP: Drag Racing Models
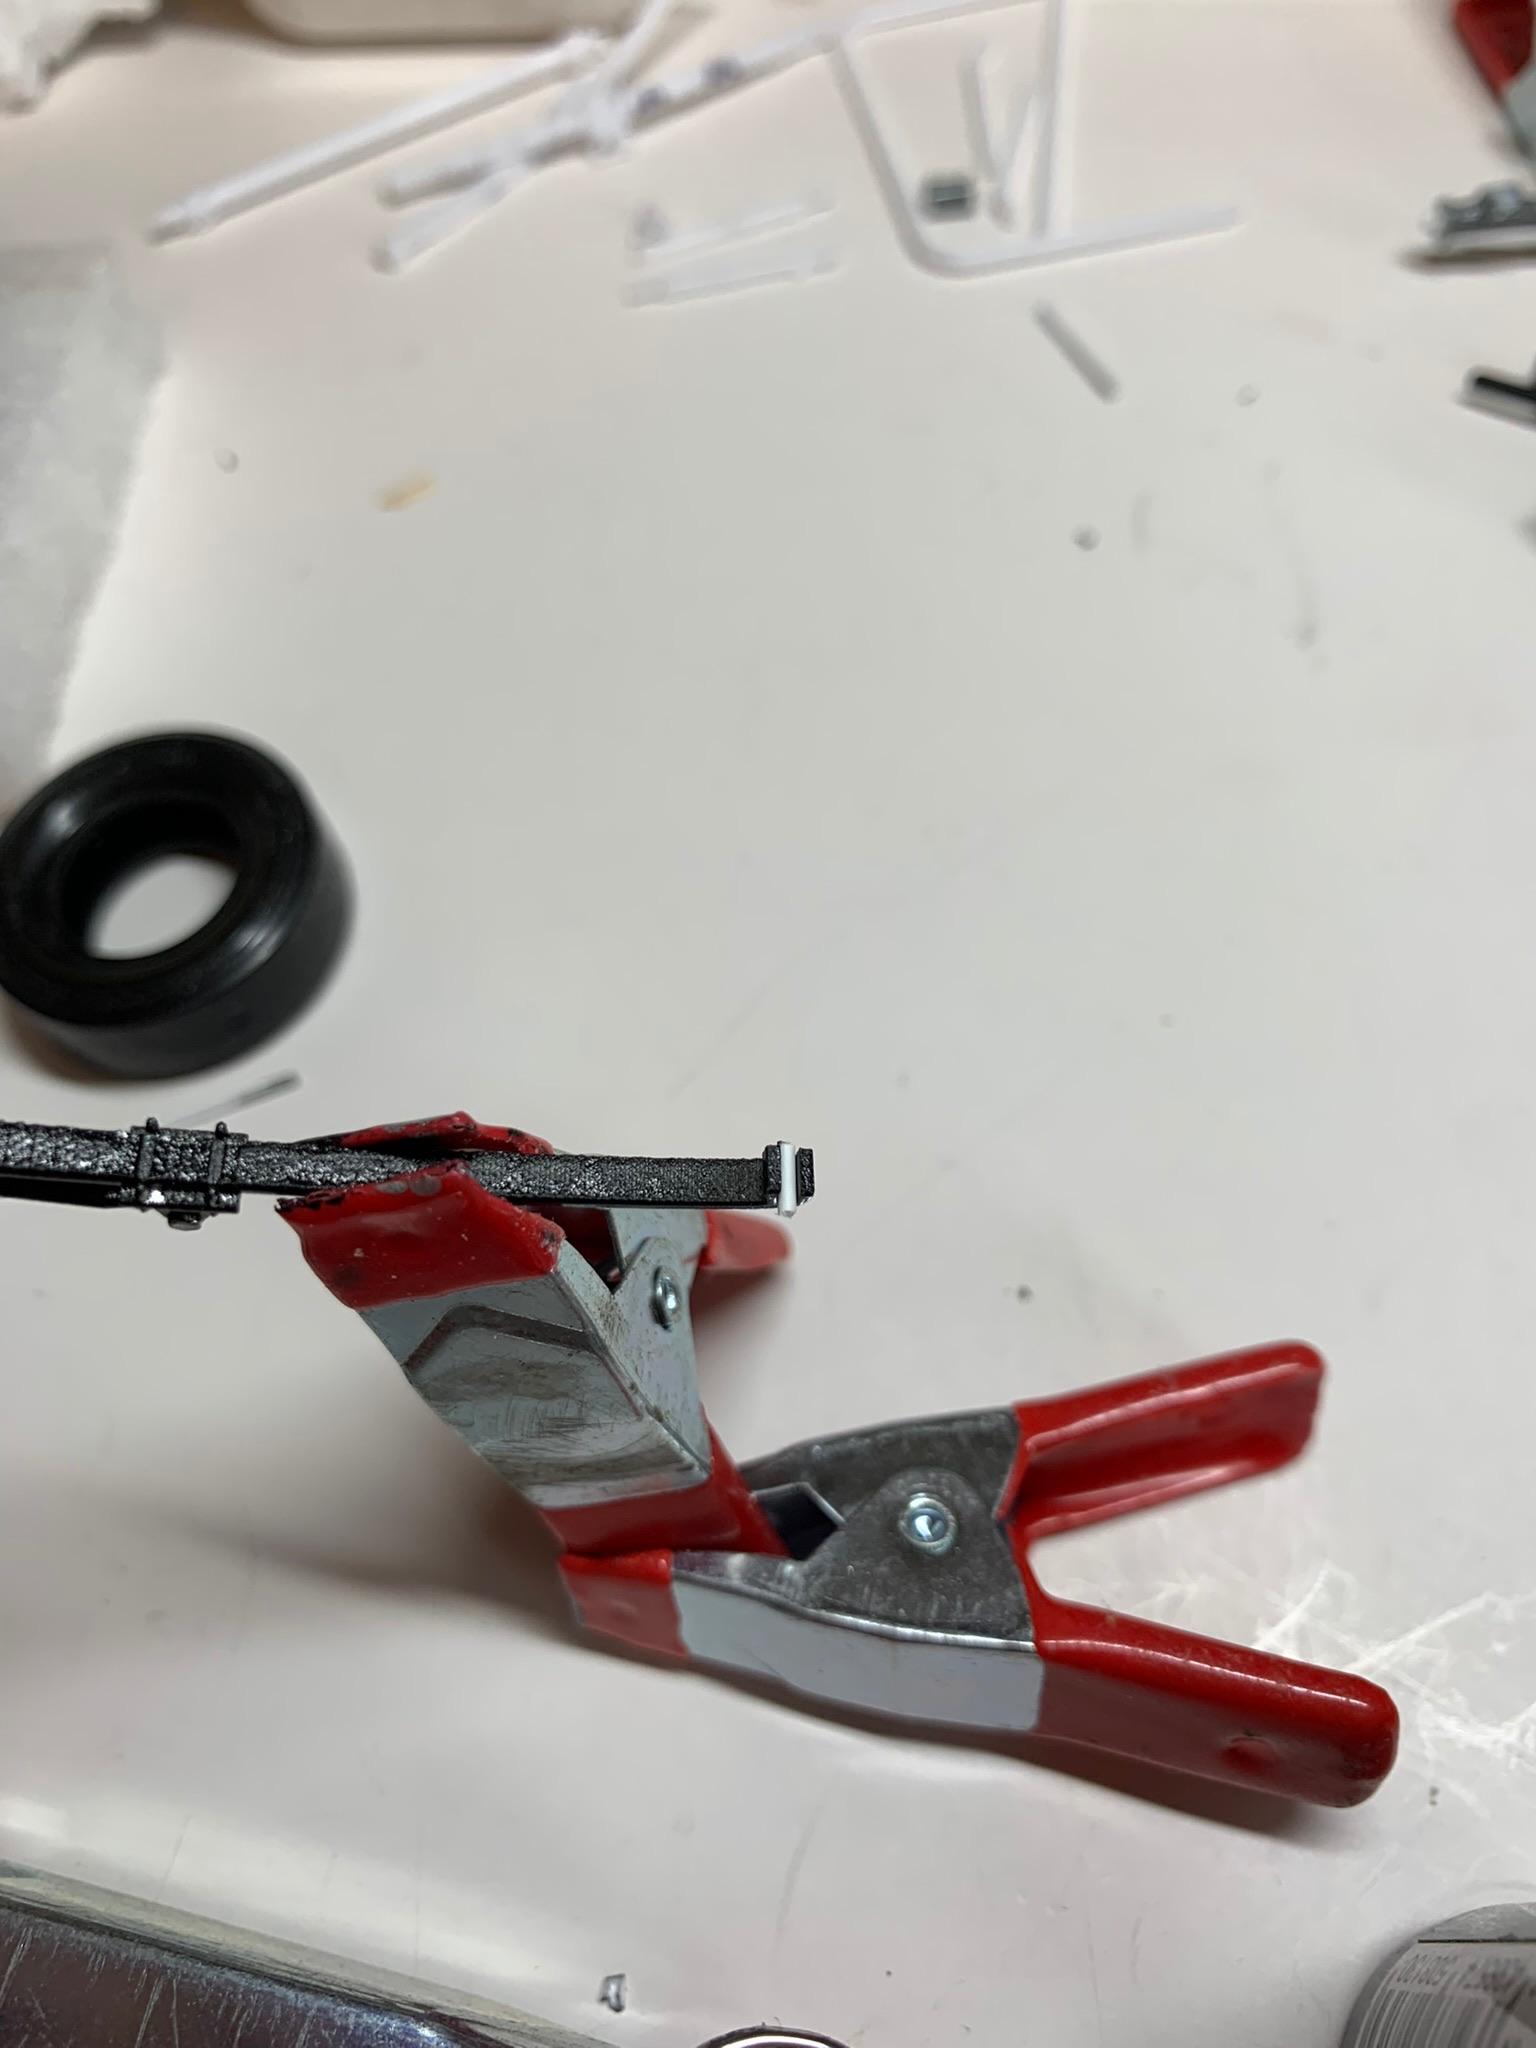
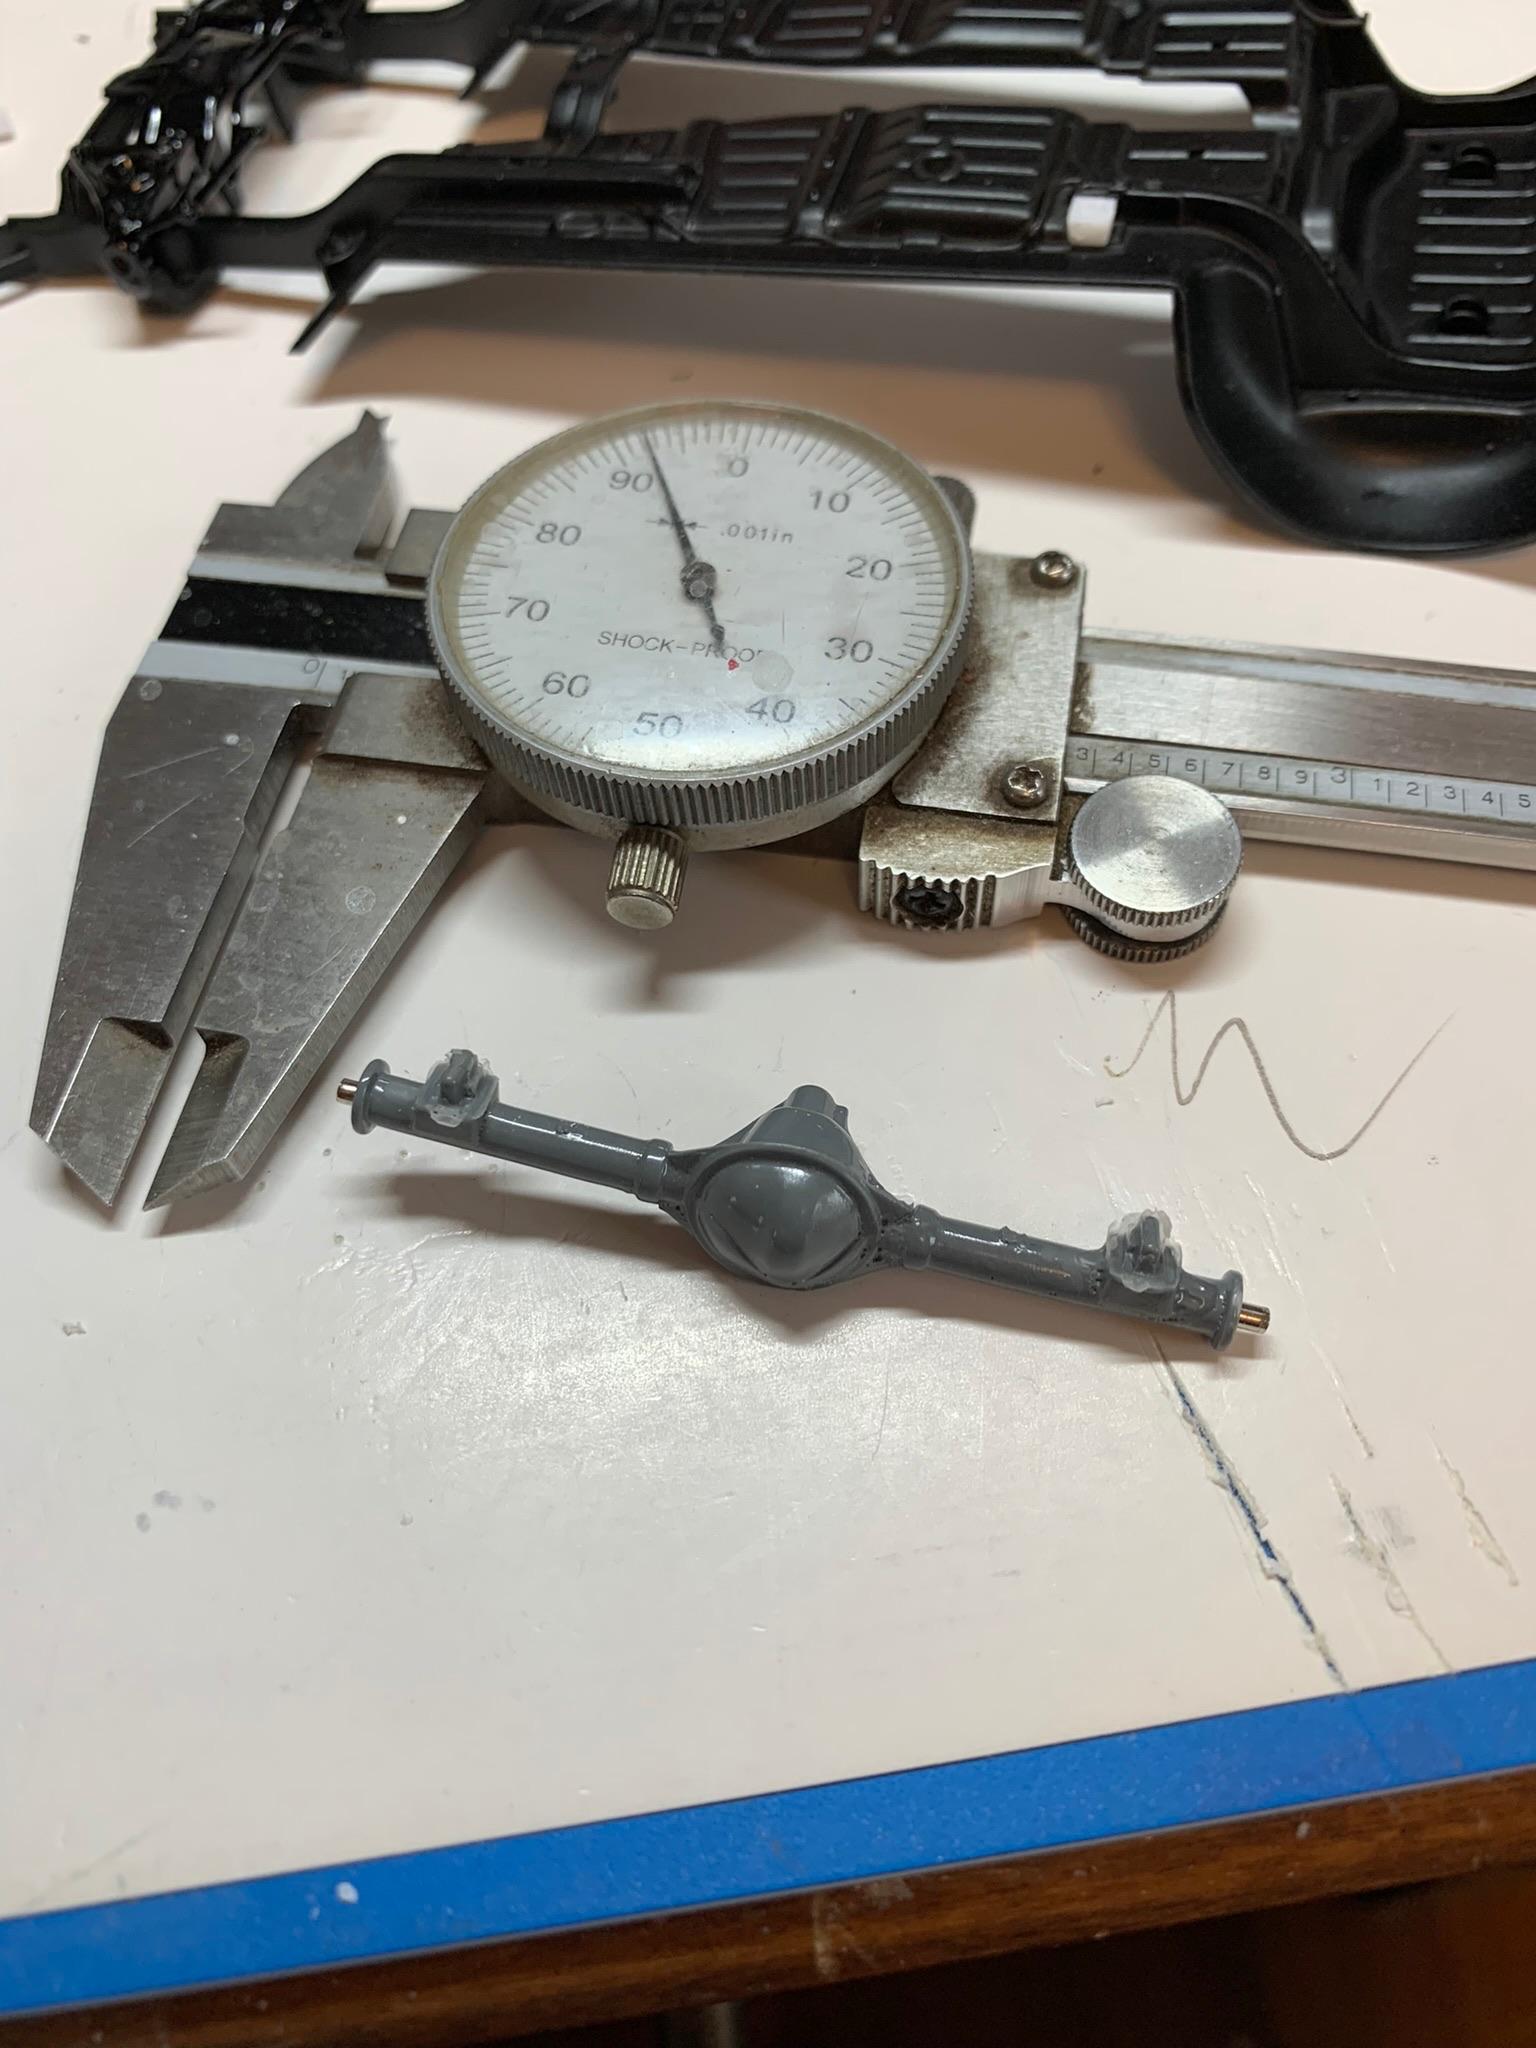
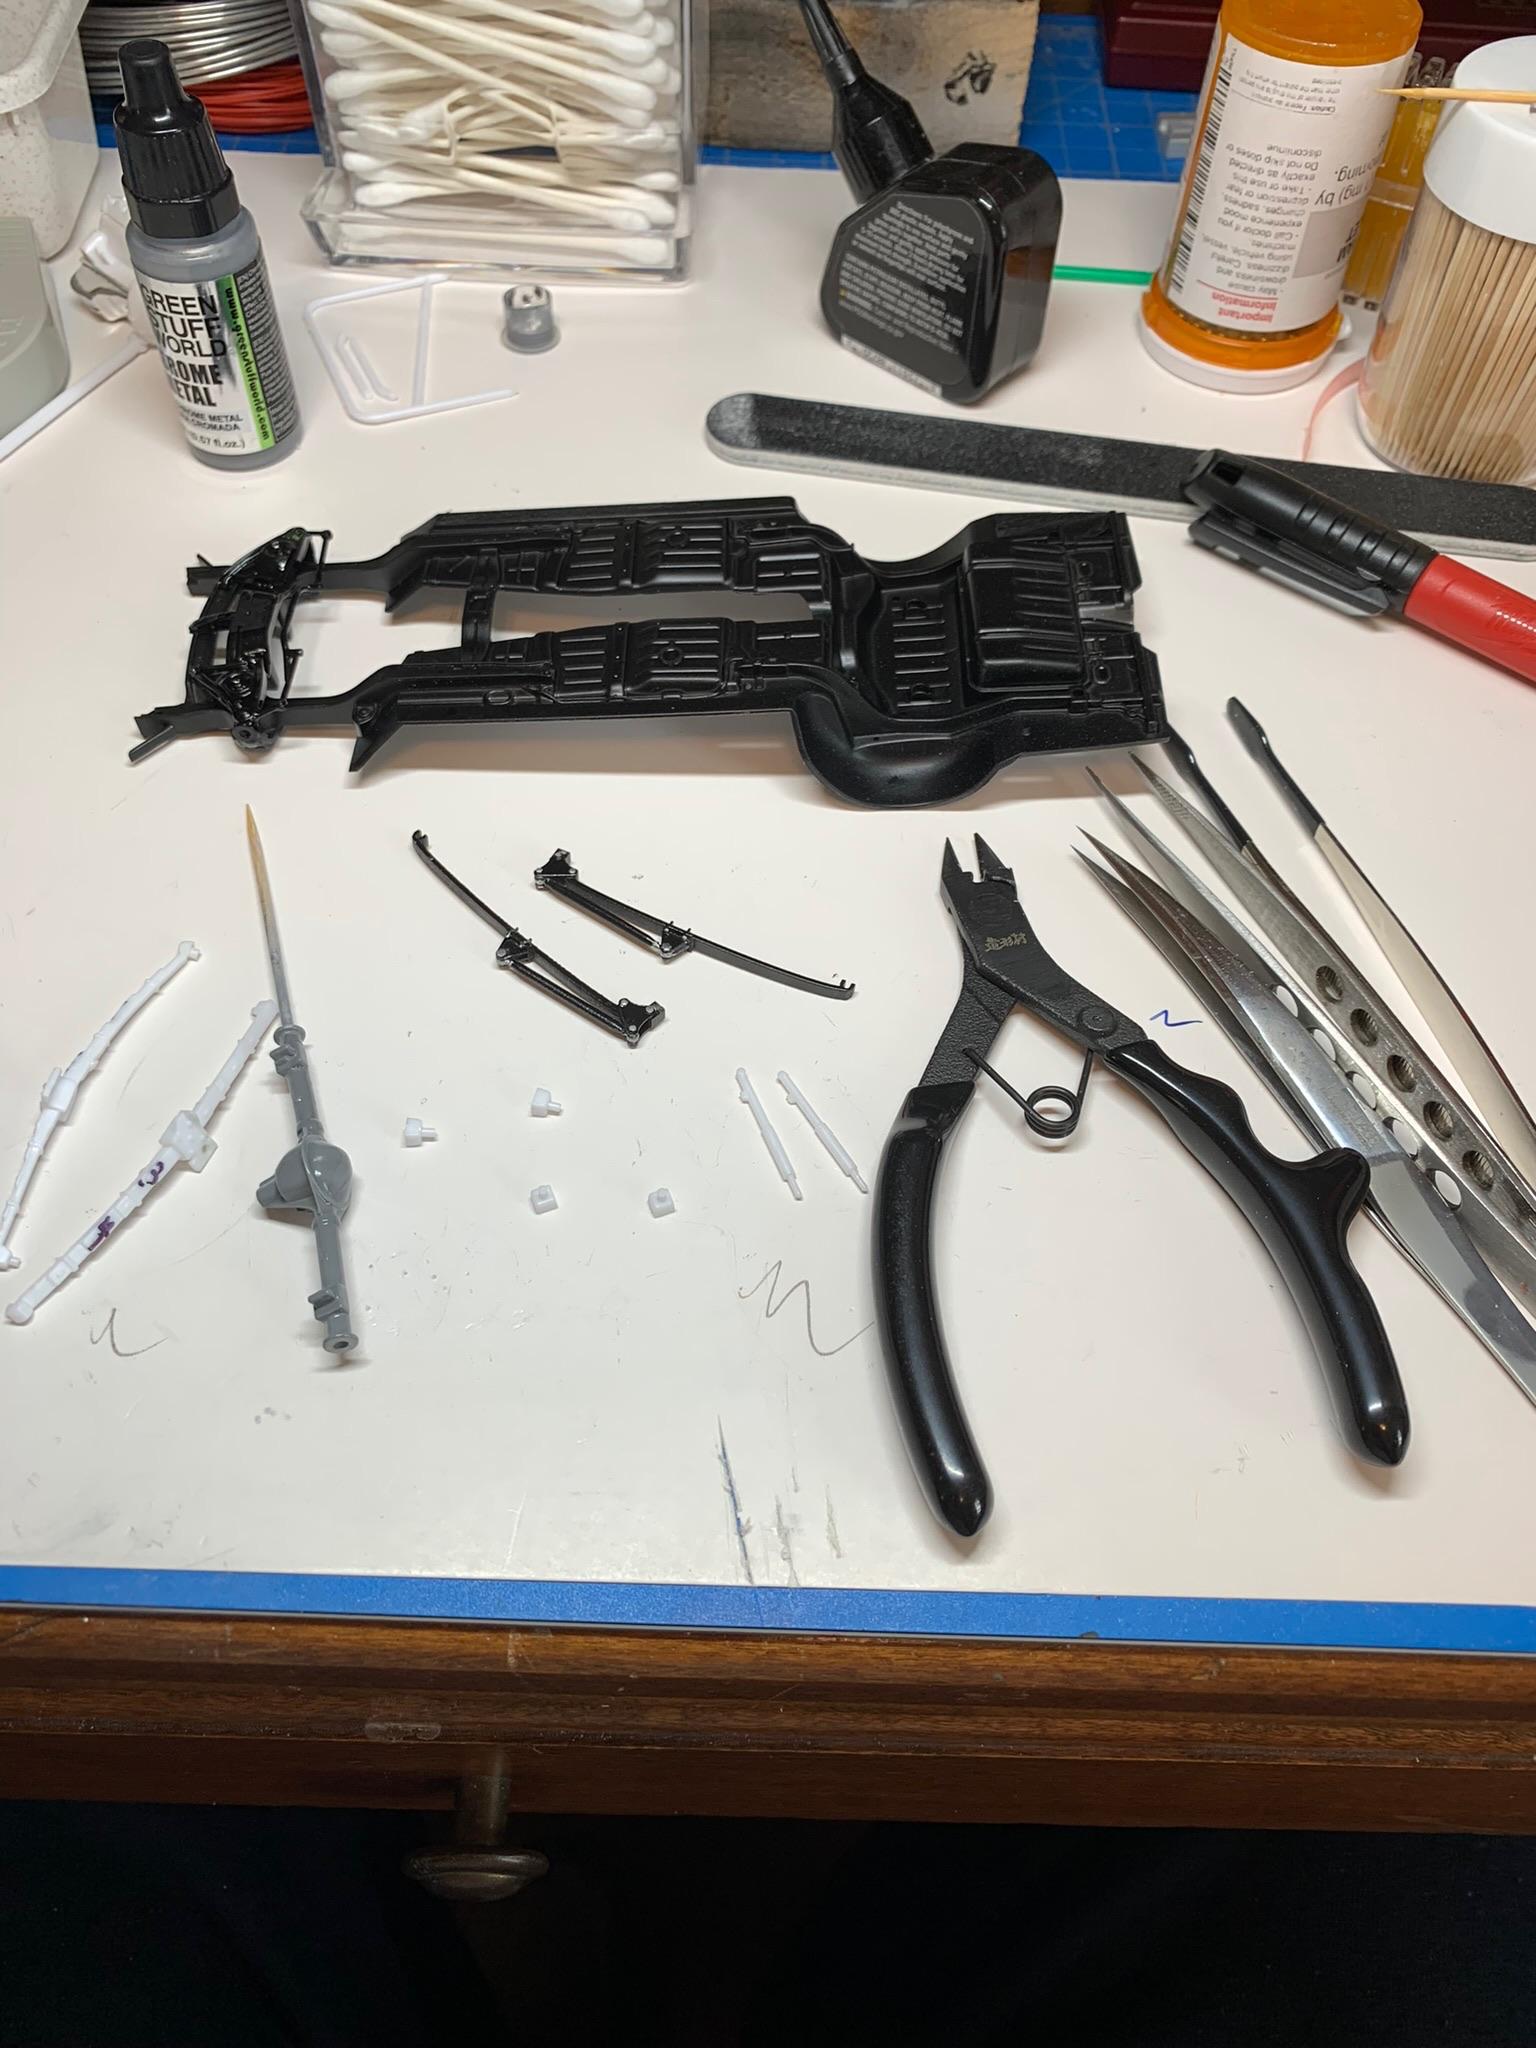
Glued the rear axle back together, hopefully properly aligned. Touched up the outer rim of the wheels with some GreenStuff and a micro brush. Put some 1/32” rod in the springs. The reason the springs look so rough is they are not the smoothest castings you can get from Shapeways.
-
1969 Nova F/SA NHRA Stock Eliminator
R. Thorne replied to R. Thorne's topic in WIP: Drag Racing Models
Thanks much, Daniel. Trial fit for width of axle with slicks. Looks close.
-
1969 Nova F/SA NHRA Stock Eliminator
R. Thorne replied to R. Thorne's topic in WIP: Drag Racing Models
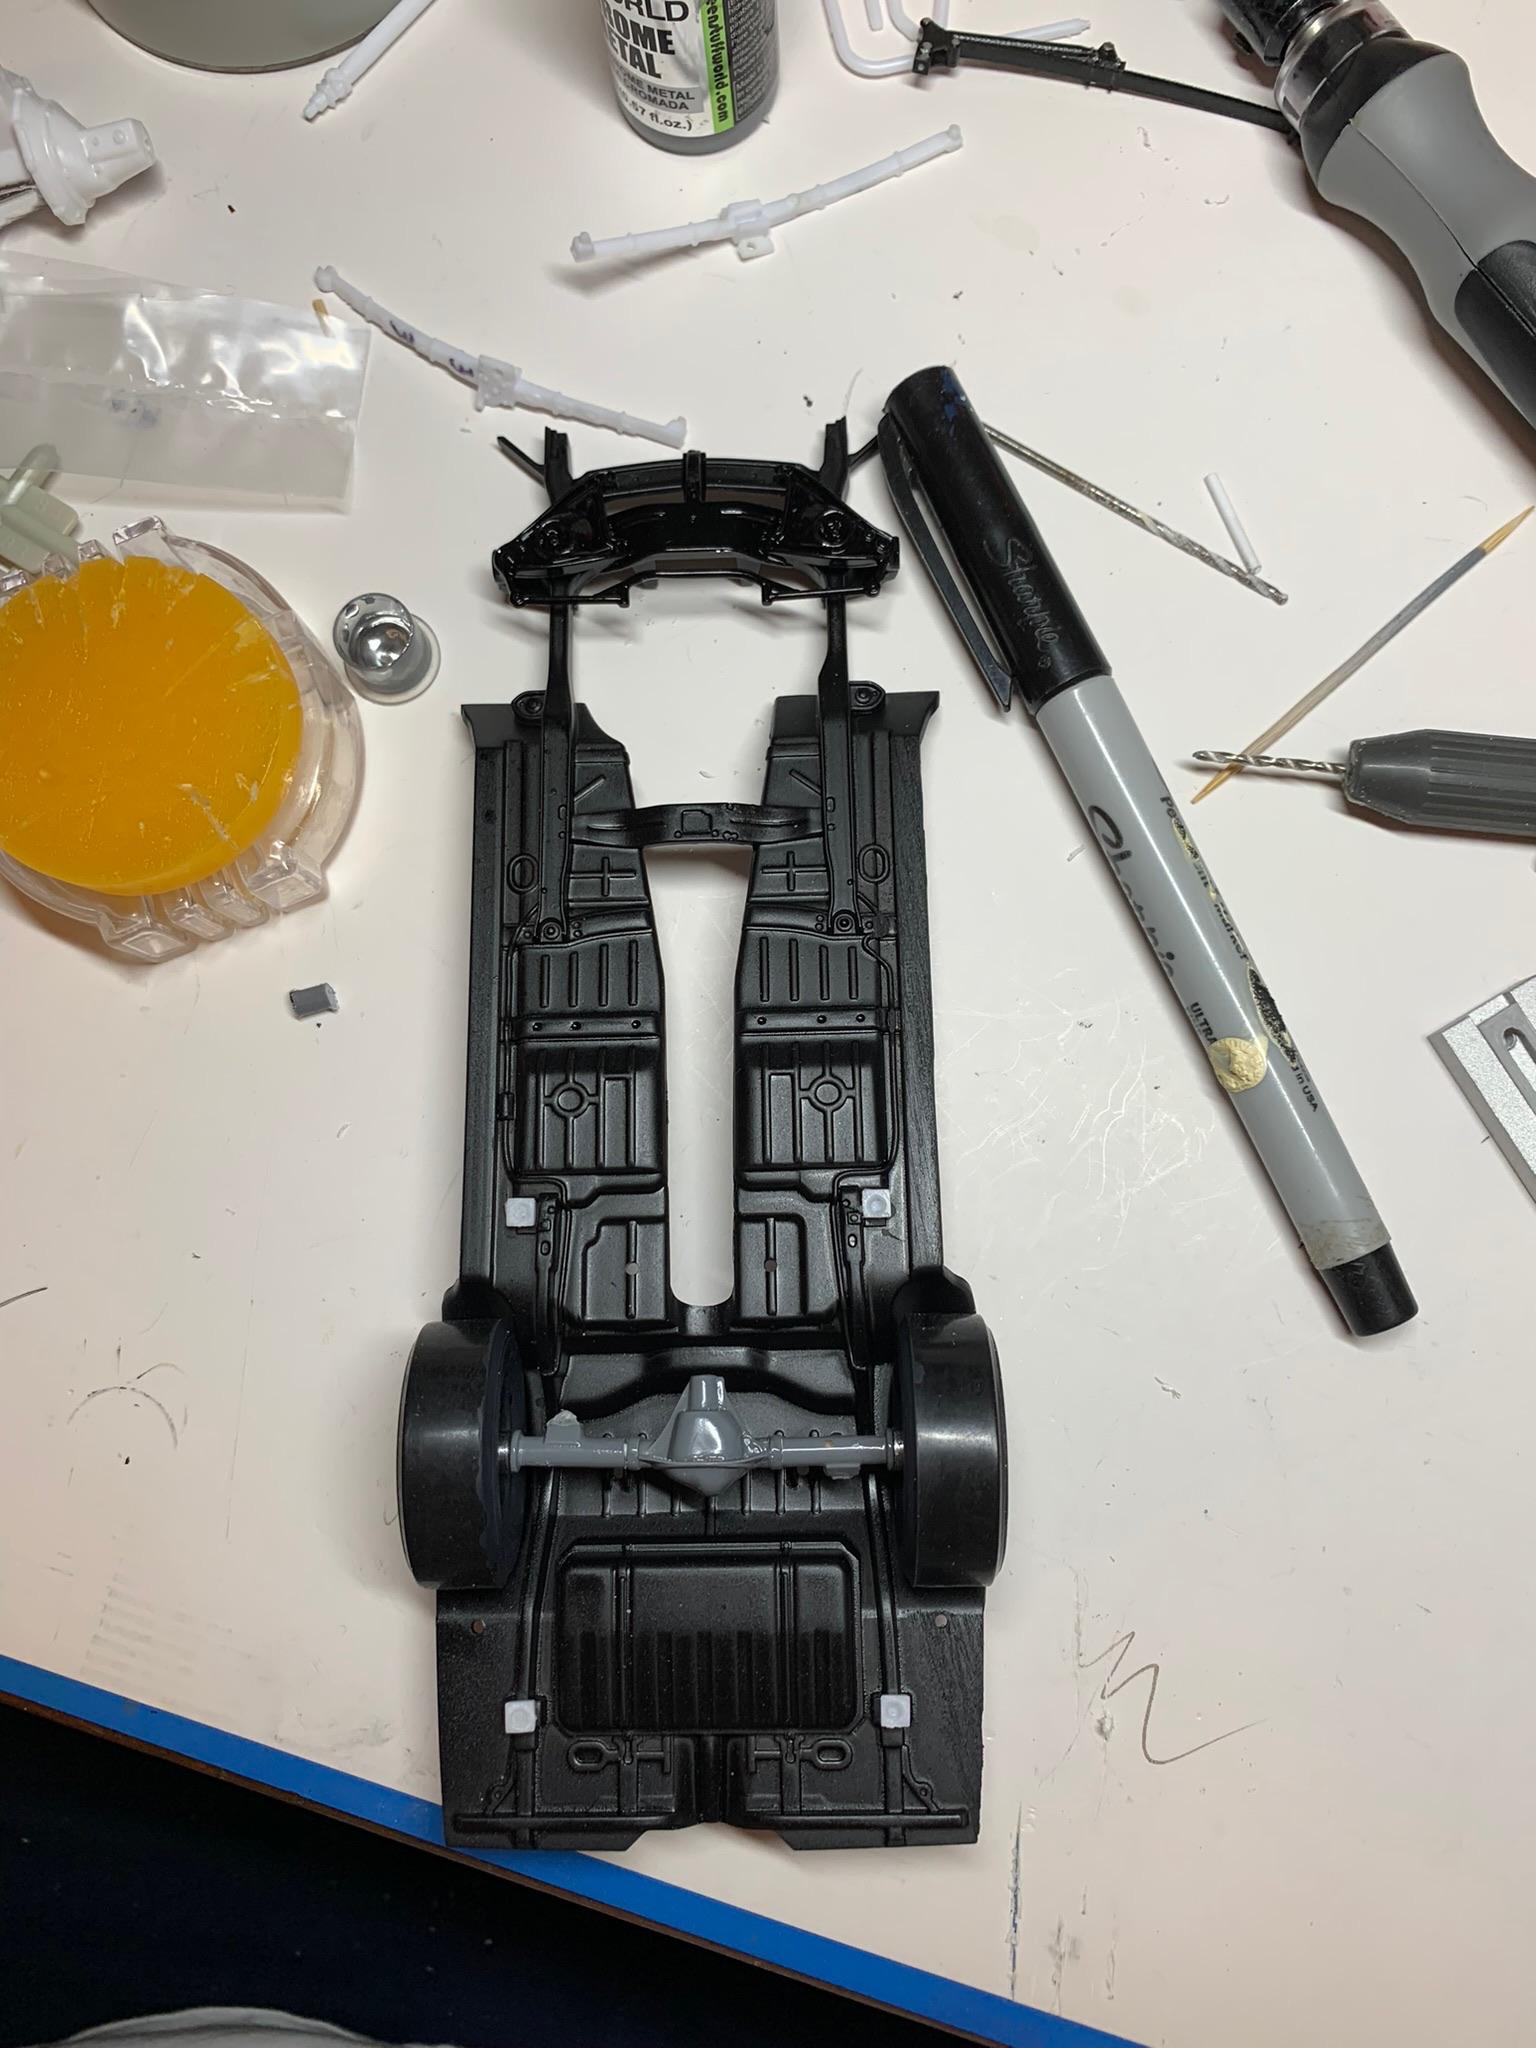
Thanks, gentlemen. You help to keep me motivated to finish this one. I, however, have no excuse for this last delay. Anyway, I got the rear end drilled out for a metal axle, shortened .200” on each side, in order to use the rear wheels (thanks again, Roger). I then decided to use plastic rod instead (easier to cut). That’s it for today.
-
1969 Nova F/SA NHRA Stock Eliminator
R. Thorne replied to R. Thorne's topic in WIP: Drag Racing Models
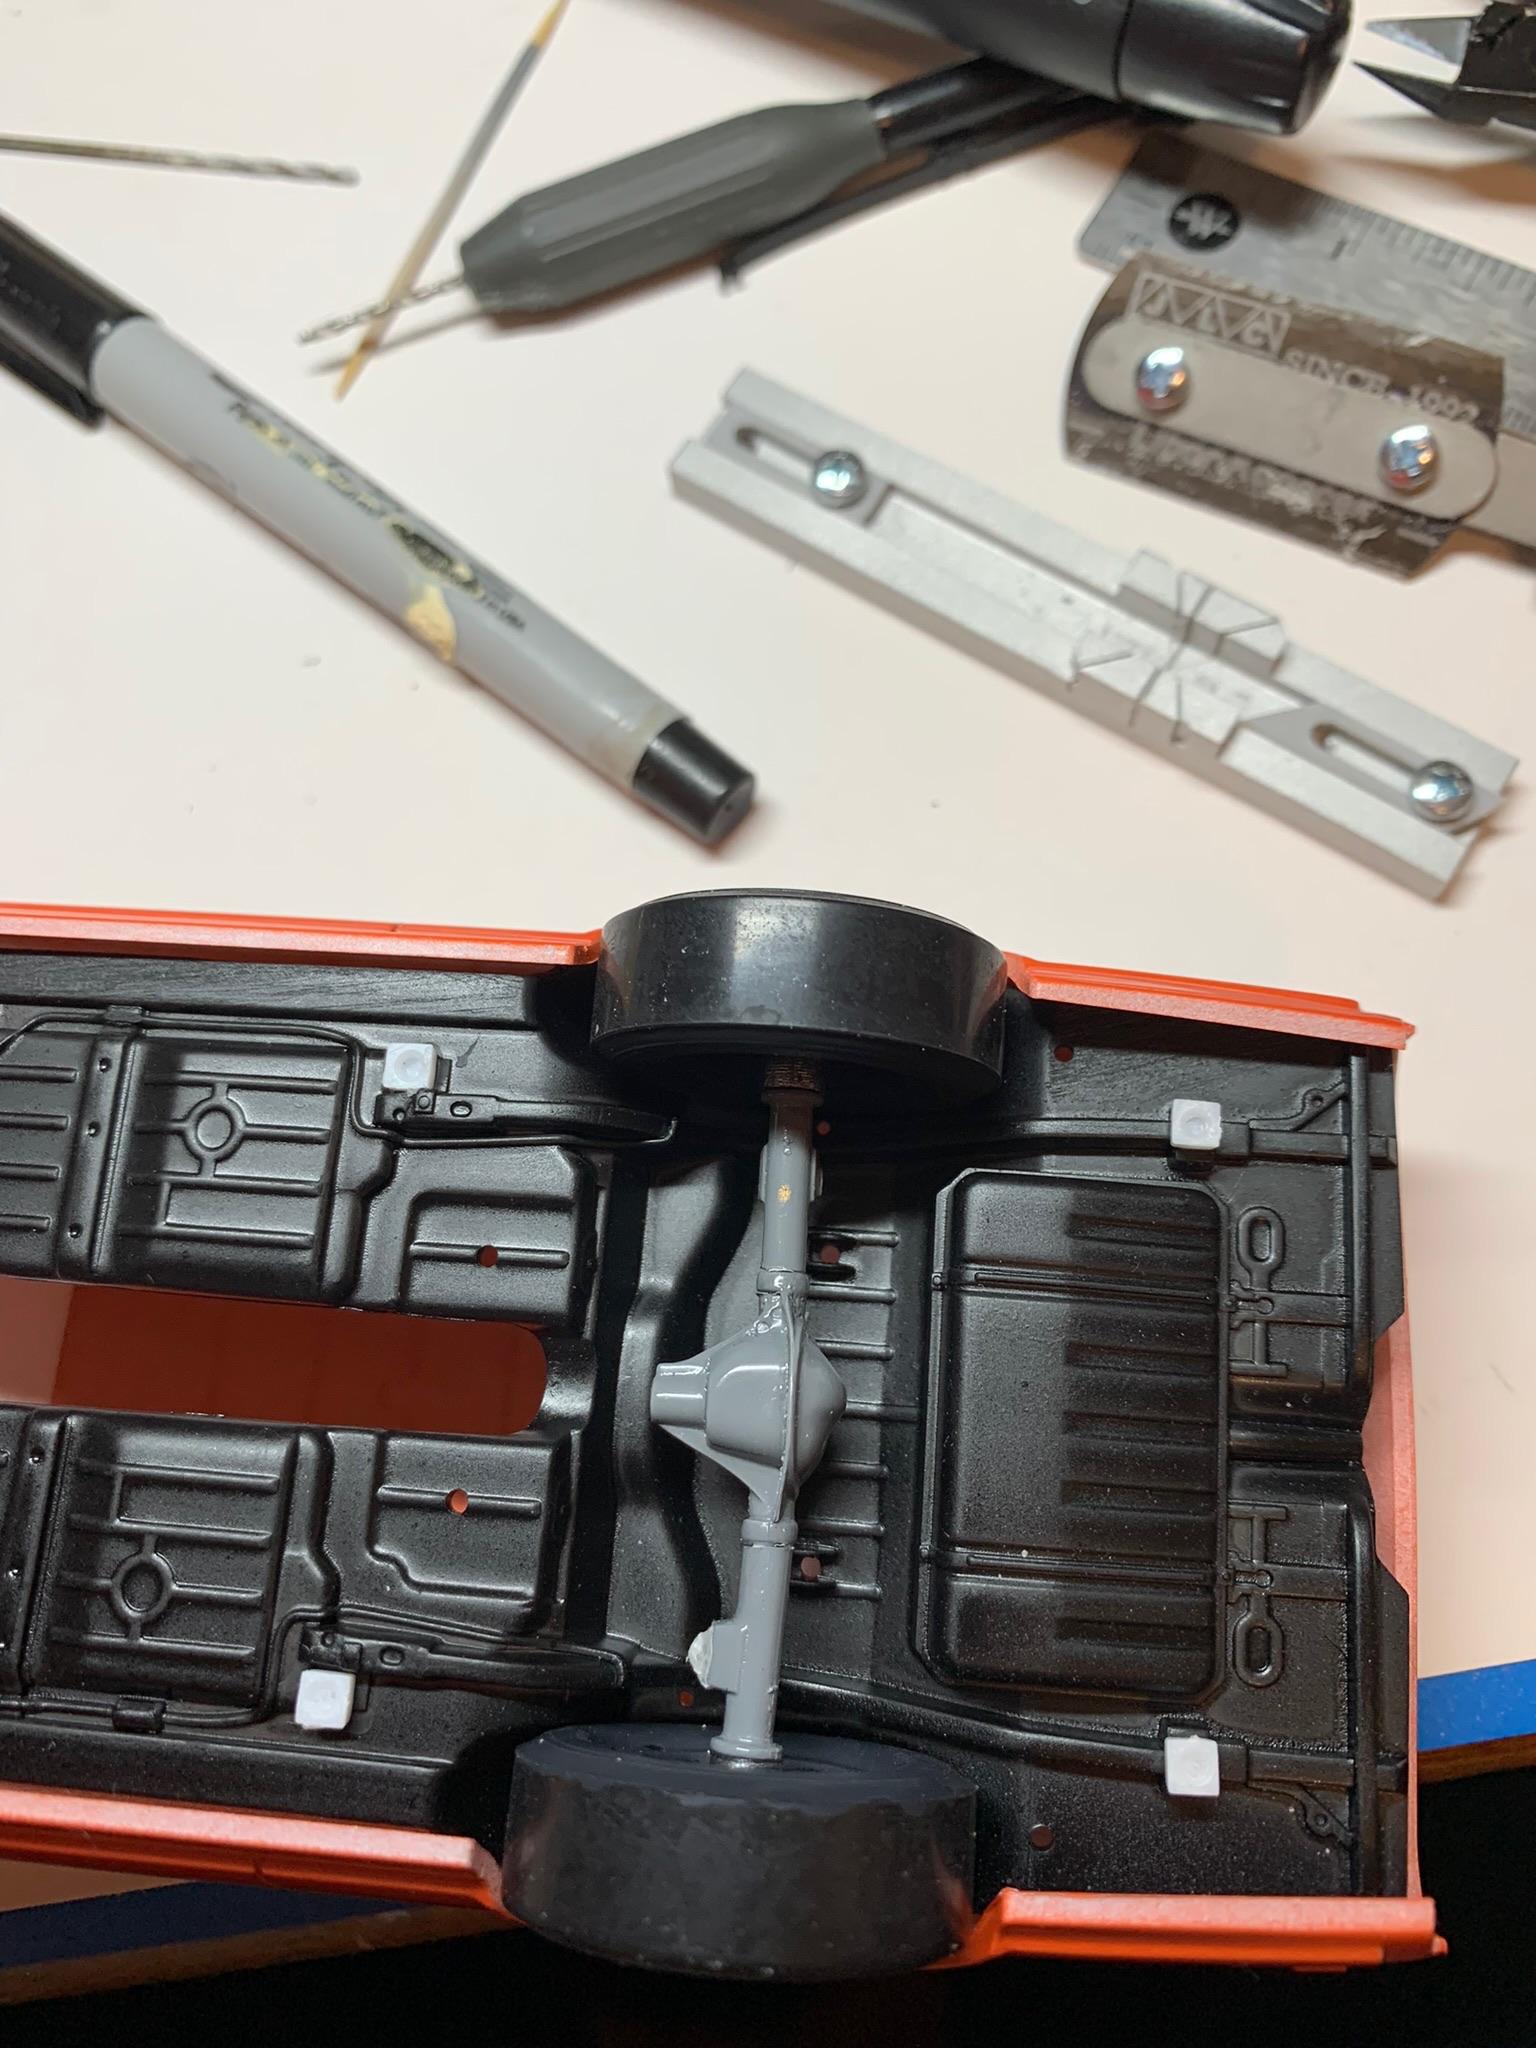
I am back at it. Working on the rear suspension.
-
A 1 barrel on a v6? Sure it isn’t a 2 barrel carb?
-
I like beeswax, myself.
-
1969 Nova F/SA NHRA Stock Eliminator
R. Thorne replied to R. Thorne's topic in WIP: Drag Racing Models
Thanks, guys. Much appreciated. -
Try using beeswax.
-
1969 Nova F/SA NHRA Stock Eliminator
R. Thorne replied to R. Thorne's topic in WIP: Drag Racing Models
Almost forgot, happy 4th to everyone. -
1969 Nova F/SA NHRA Stock Eliminator
R. Thorne replied to R. Thorne's topic in WIP: Drag Racing Models
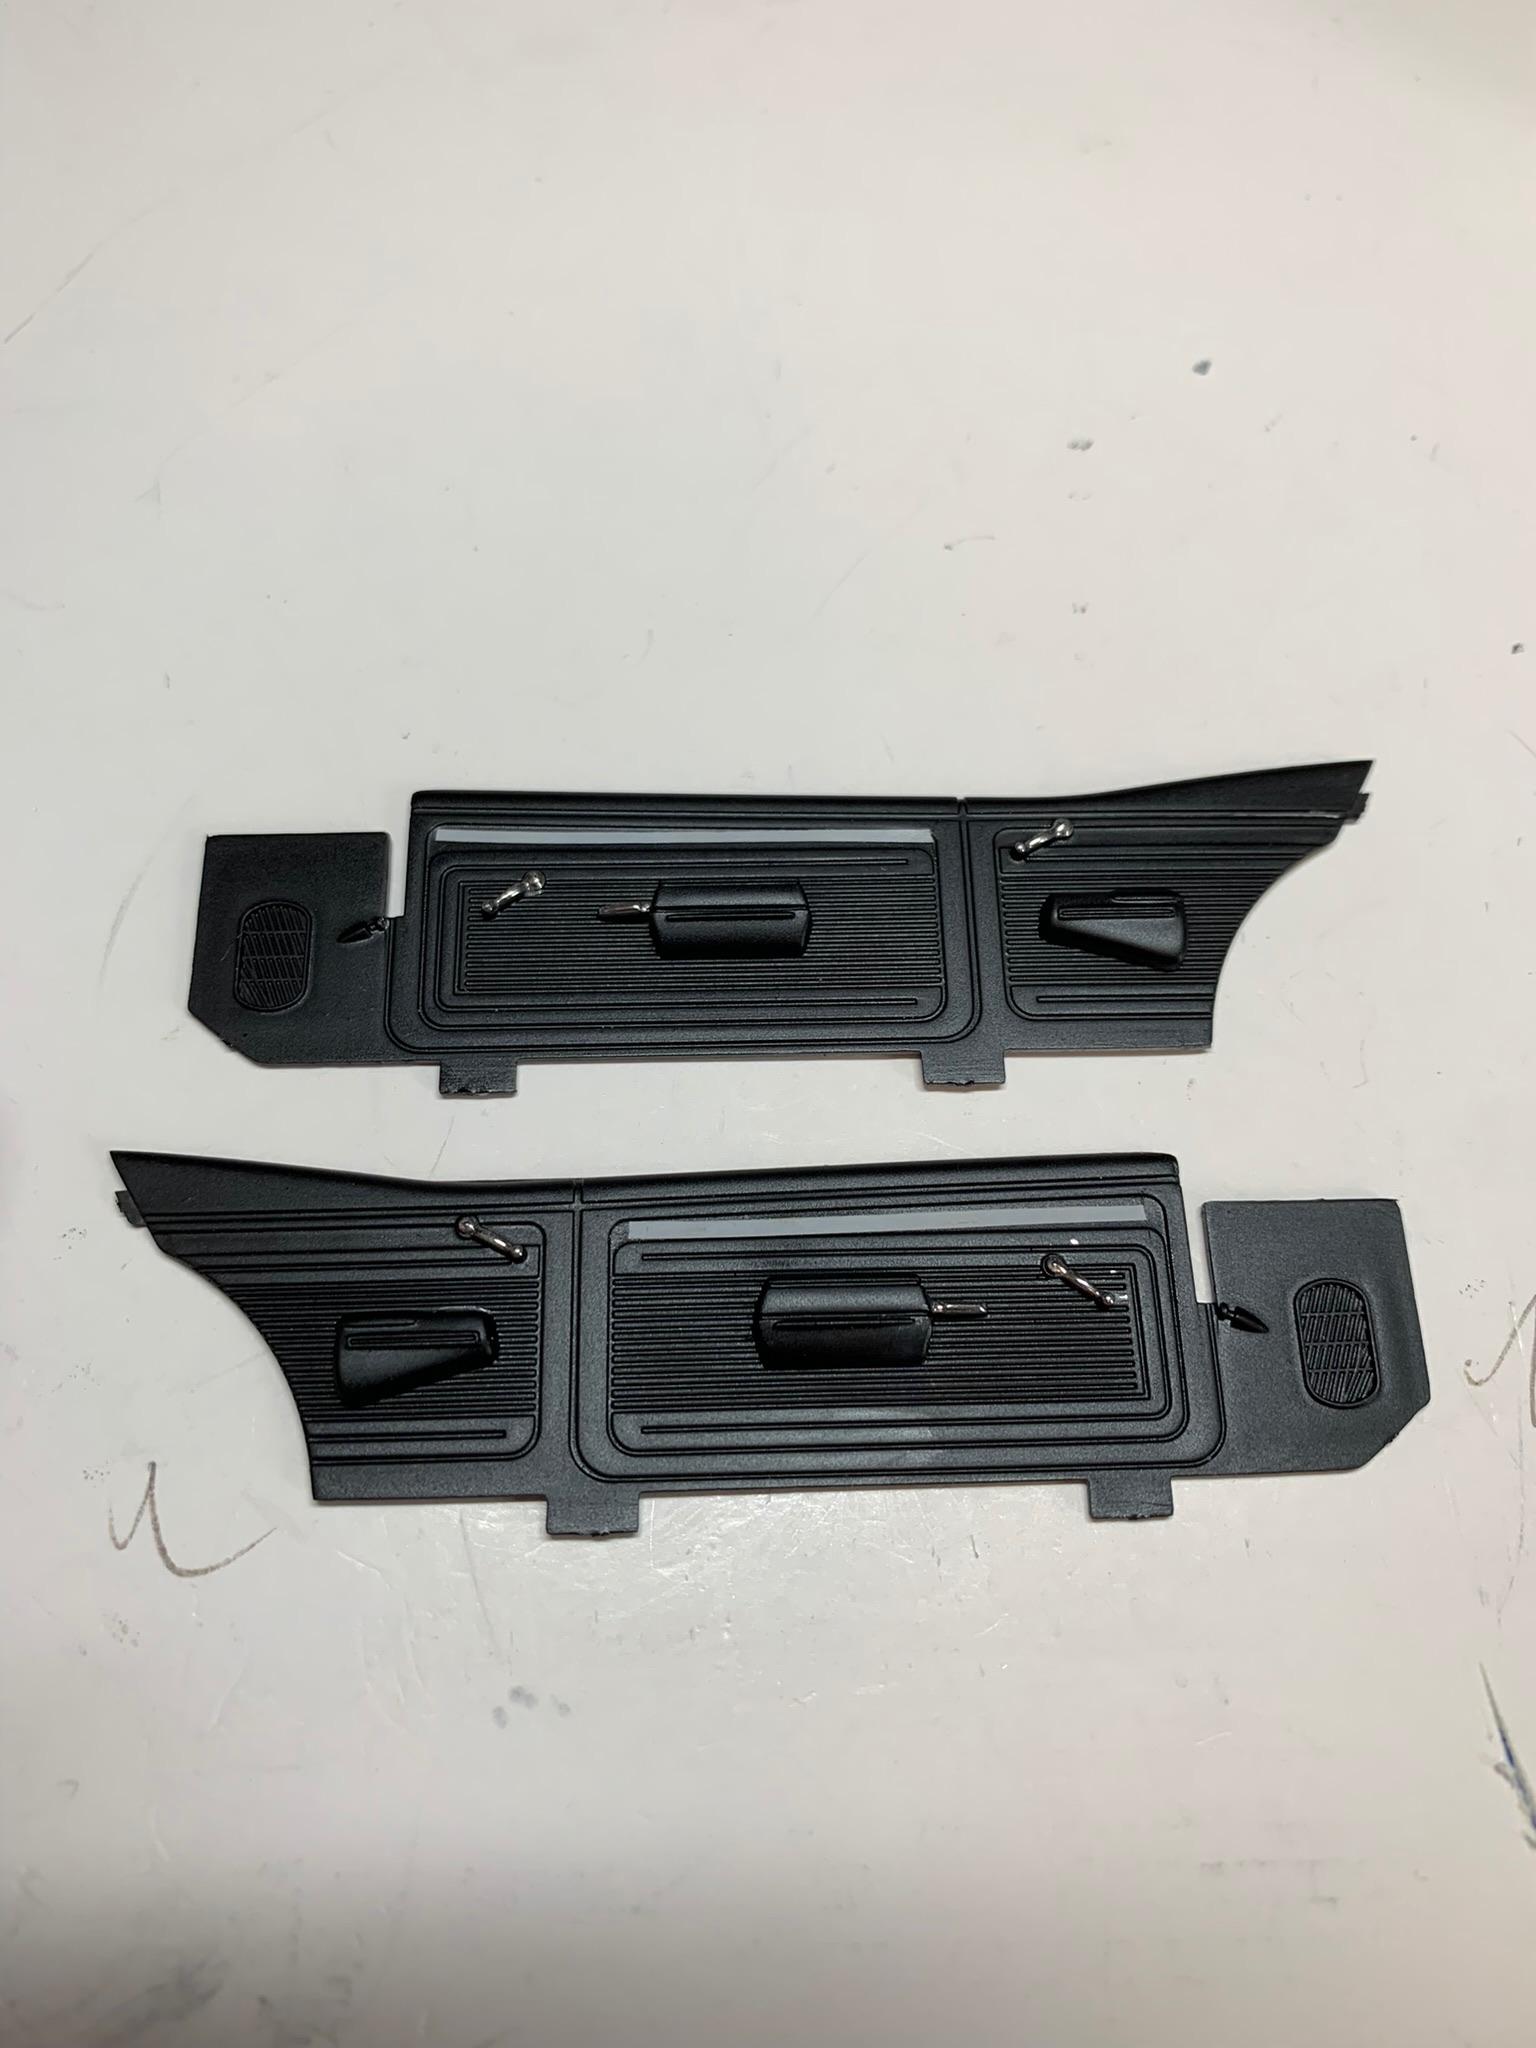
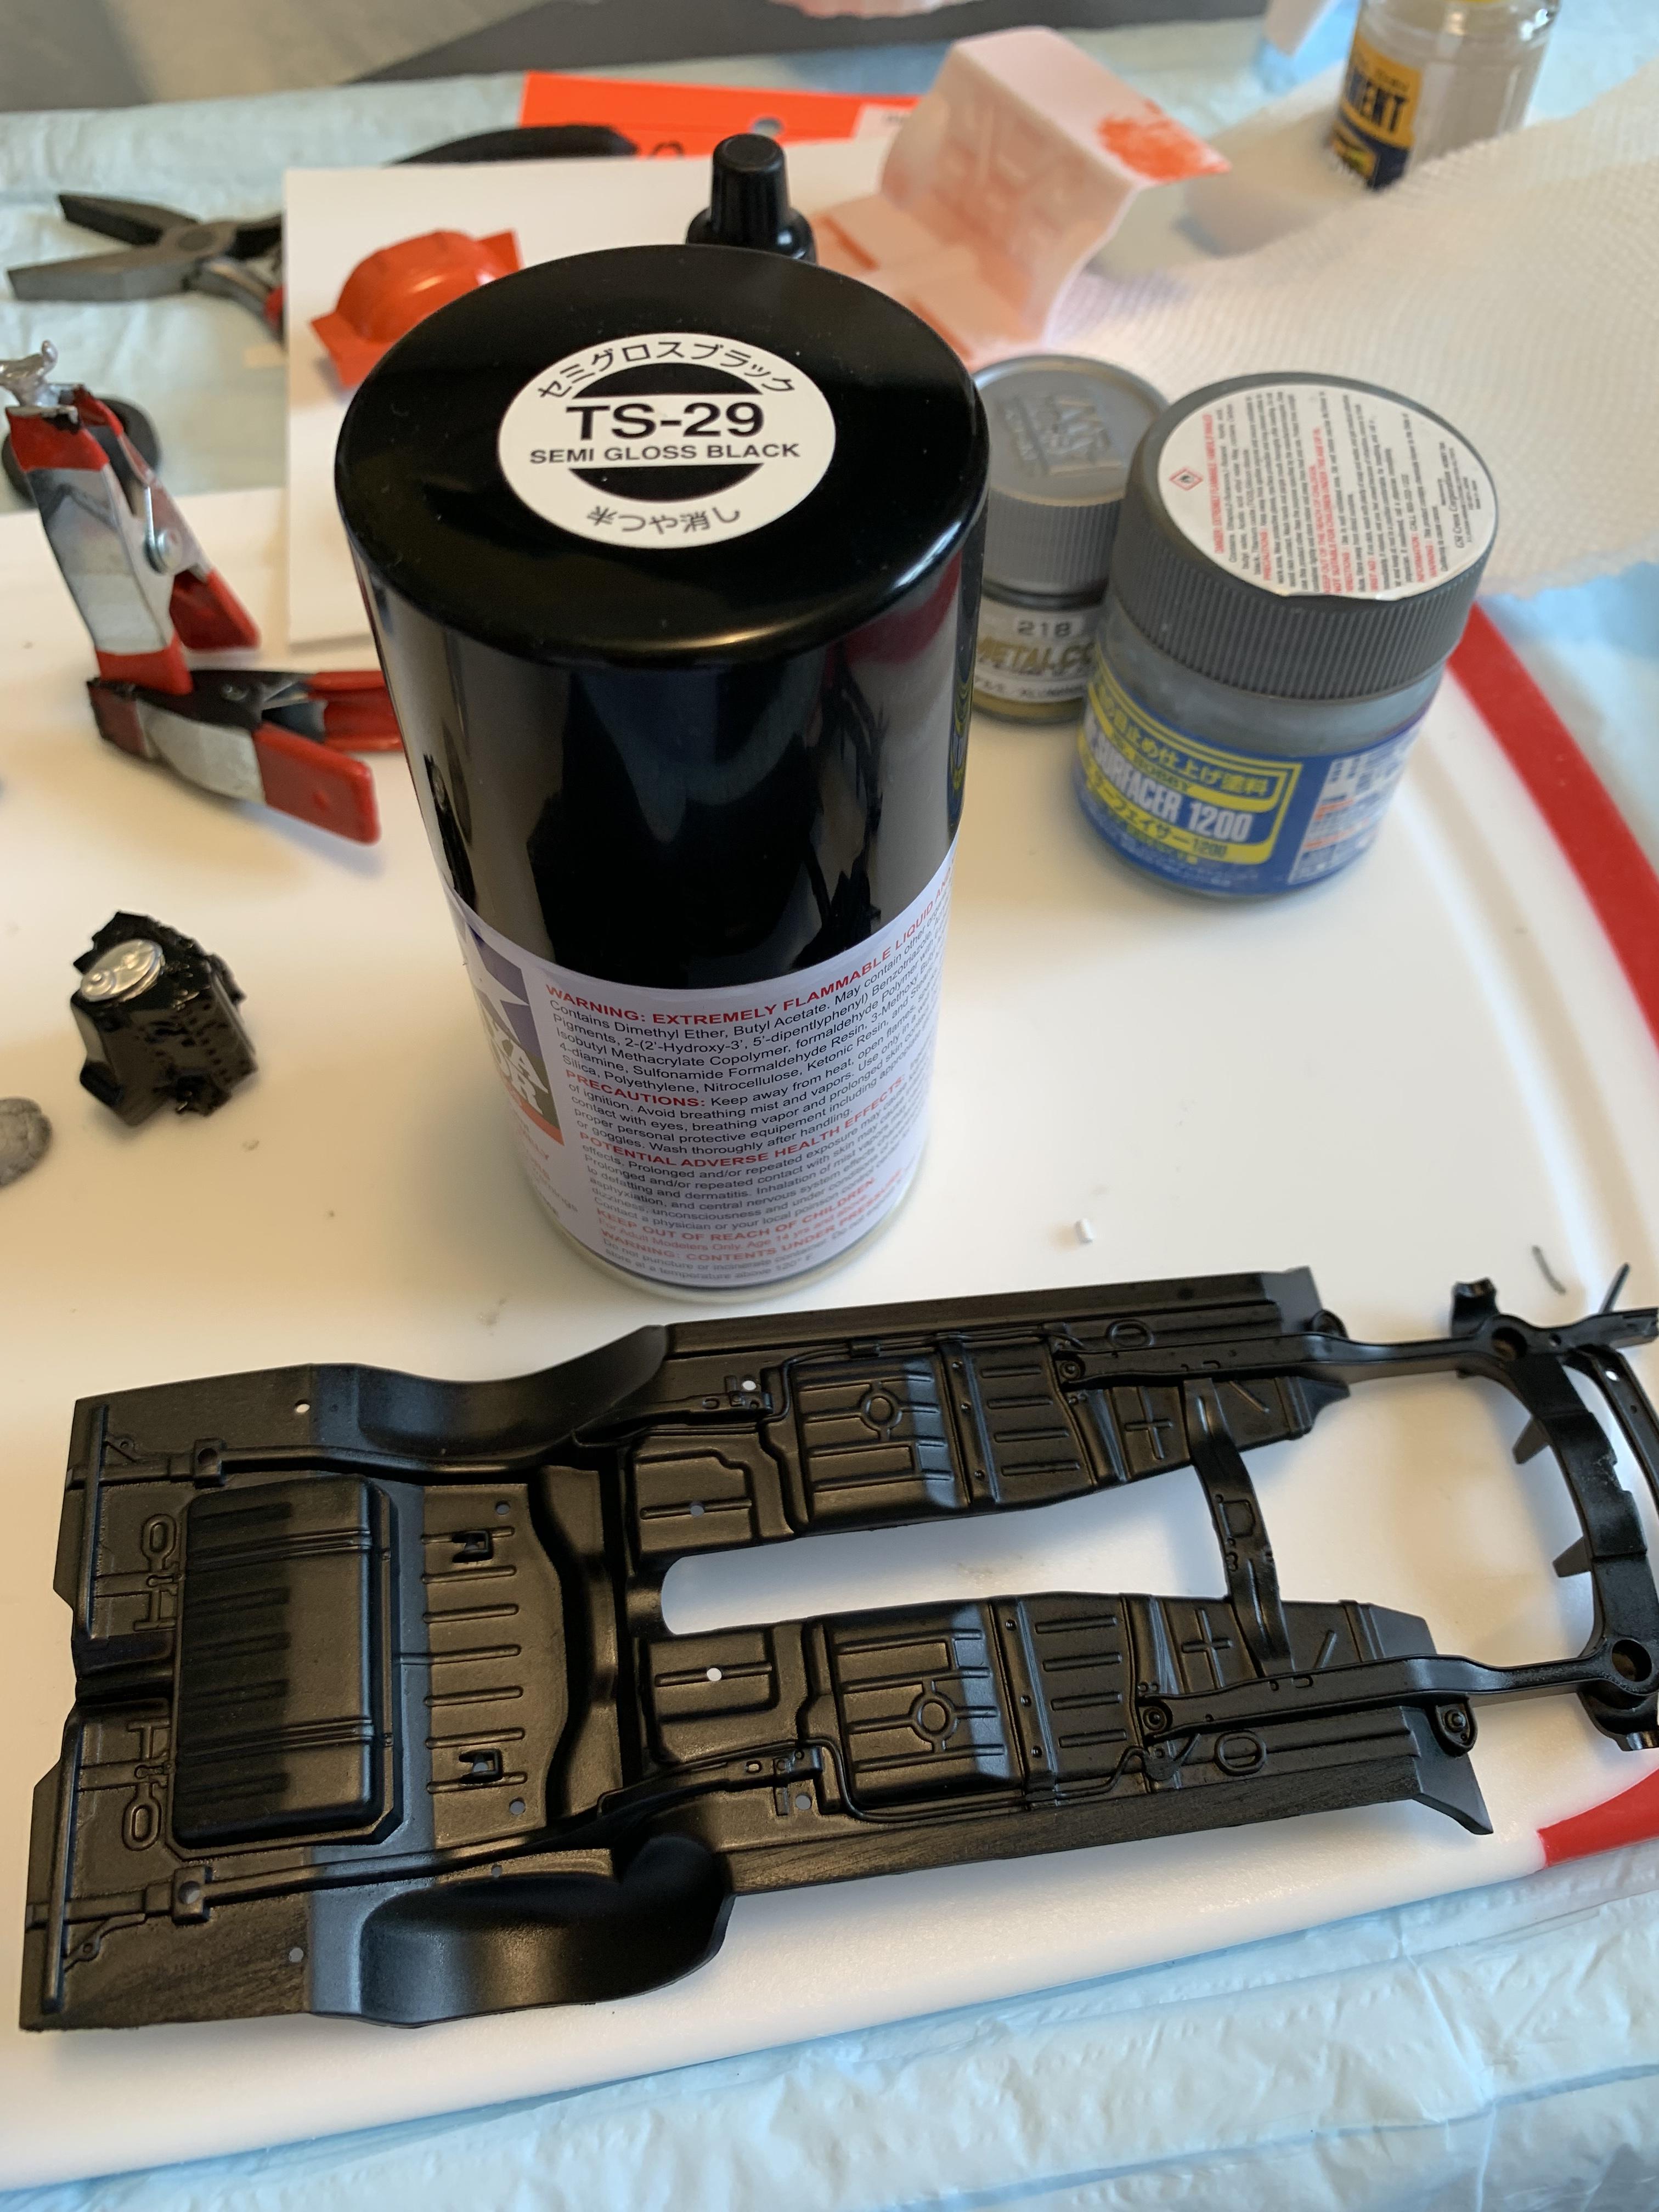
Some pieces painted mostly yesterday. Did some door panel detailing with Tamiya tape cut with dual bladed knife, painted with primer to emulate Mike’s car.
-
1969 Nova F/SA NHRA Stock Eliminator
R. Thorne replied to R. Thorne's topic in WIP: Drag Racing Models
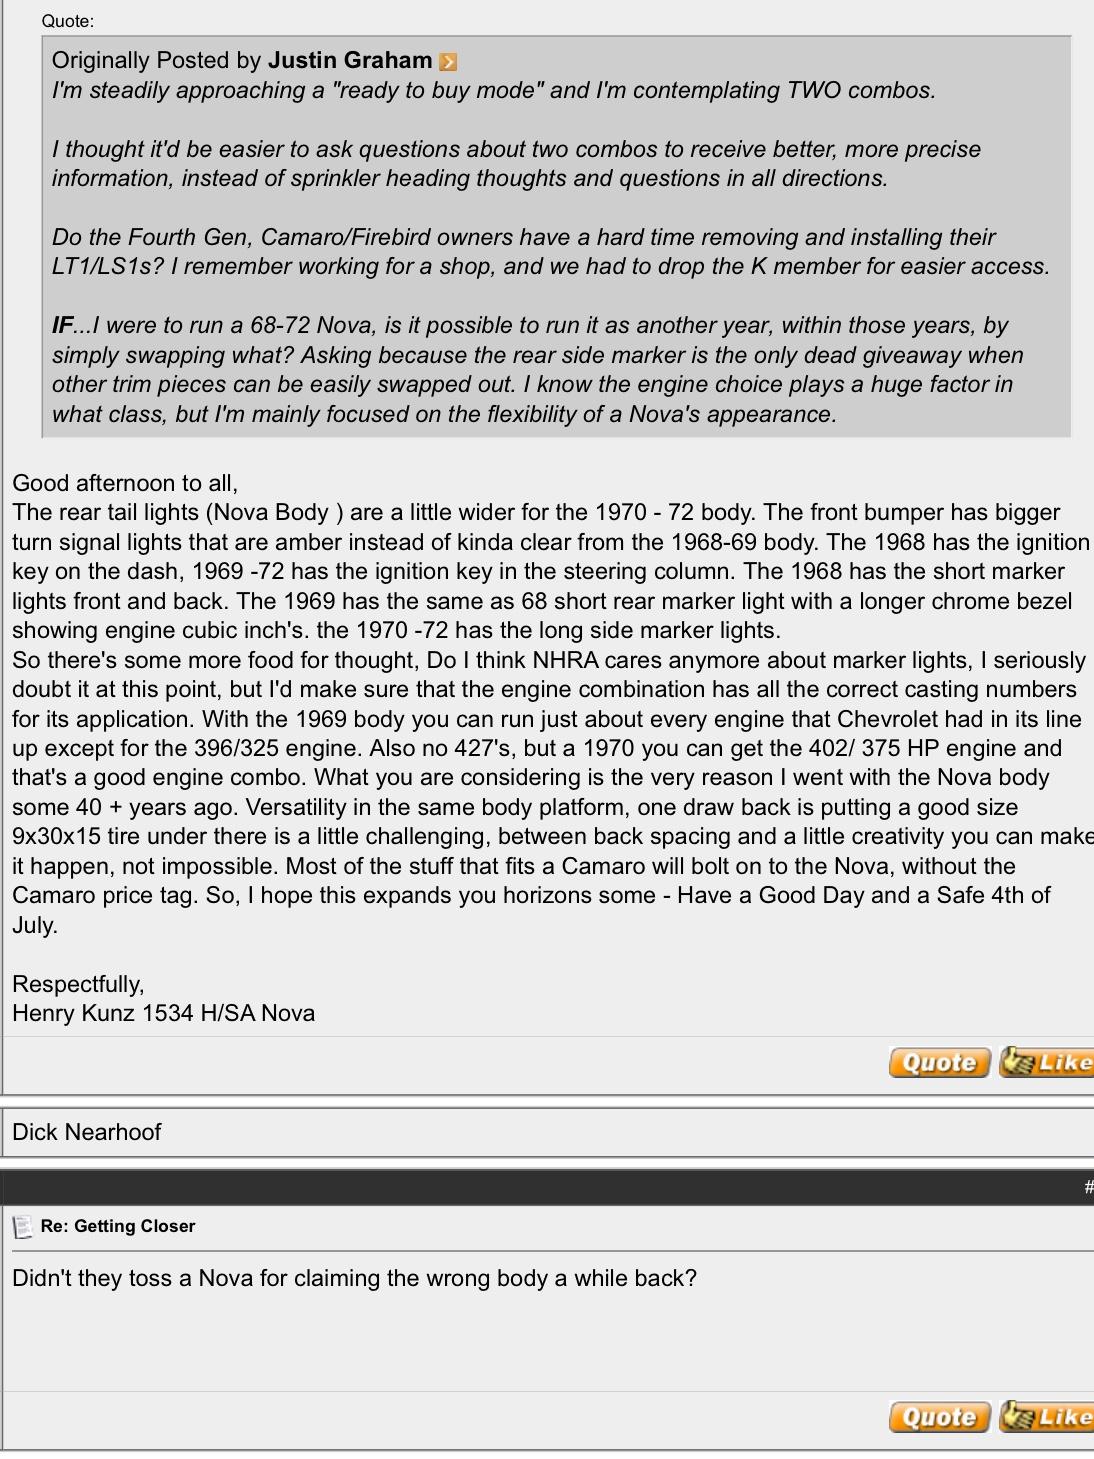
A quick synopsis of the 68-72 Novas for Nhra class racing, courtesy of Henry Kunz and Classracer.com. Sanded of the Delco on the battery and painted it and some other “fiddly bits” today. Also, some hood filling, sanding, and priming. Will post some pics tomorrow.
-
1969 Nova F/SA NHRA Stock Eliminator
R. Thorne replied to R. Thorne's topic in WIP: Drag Racing Models
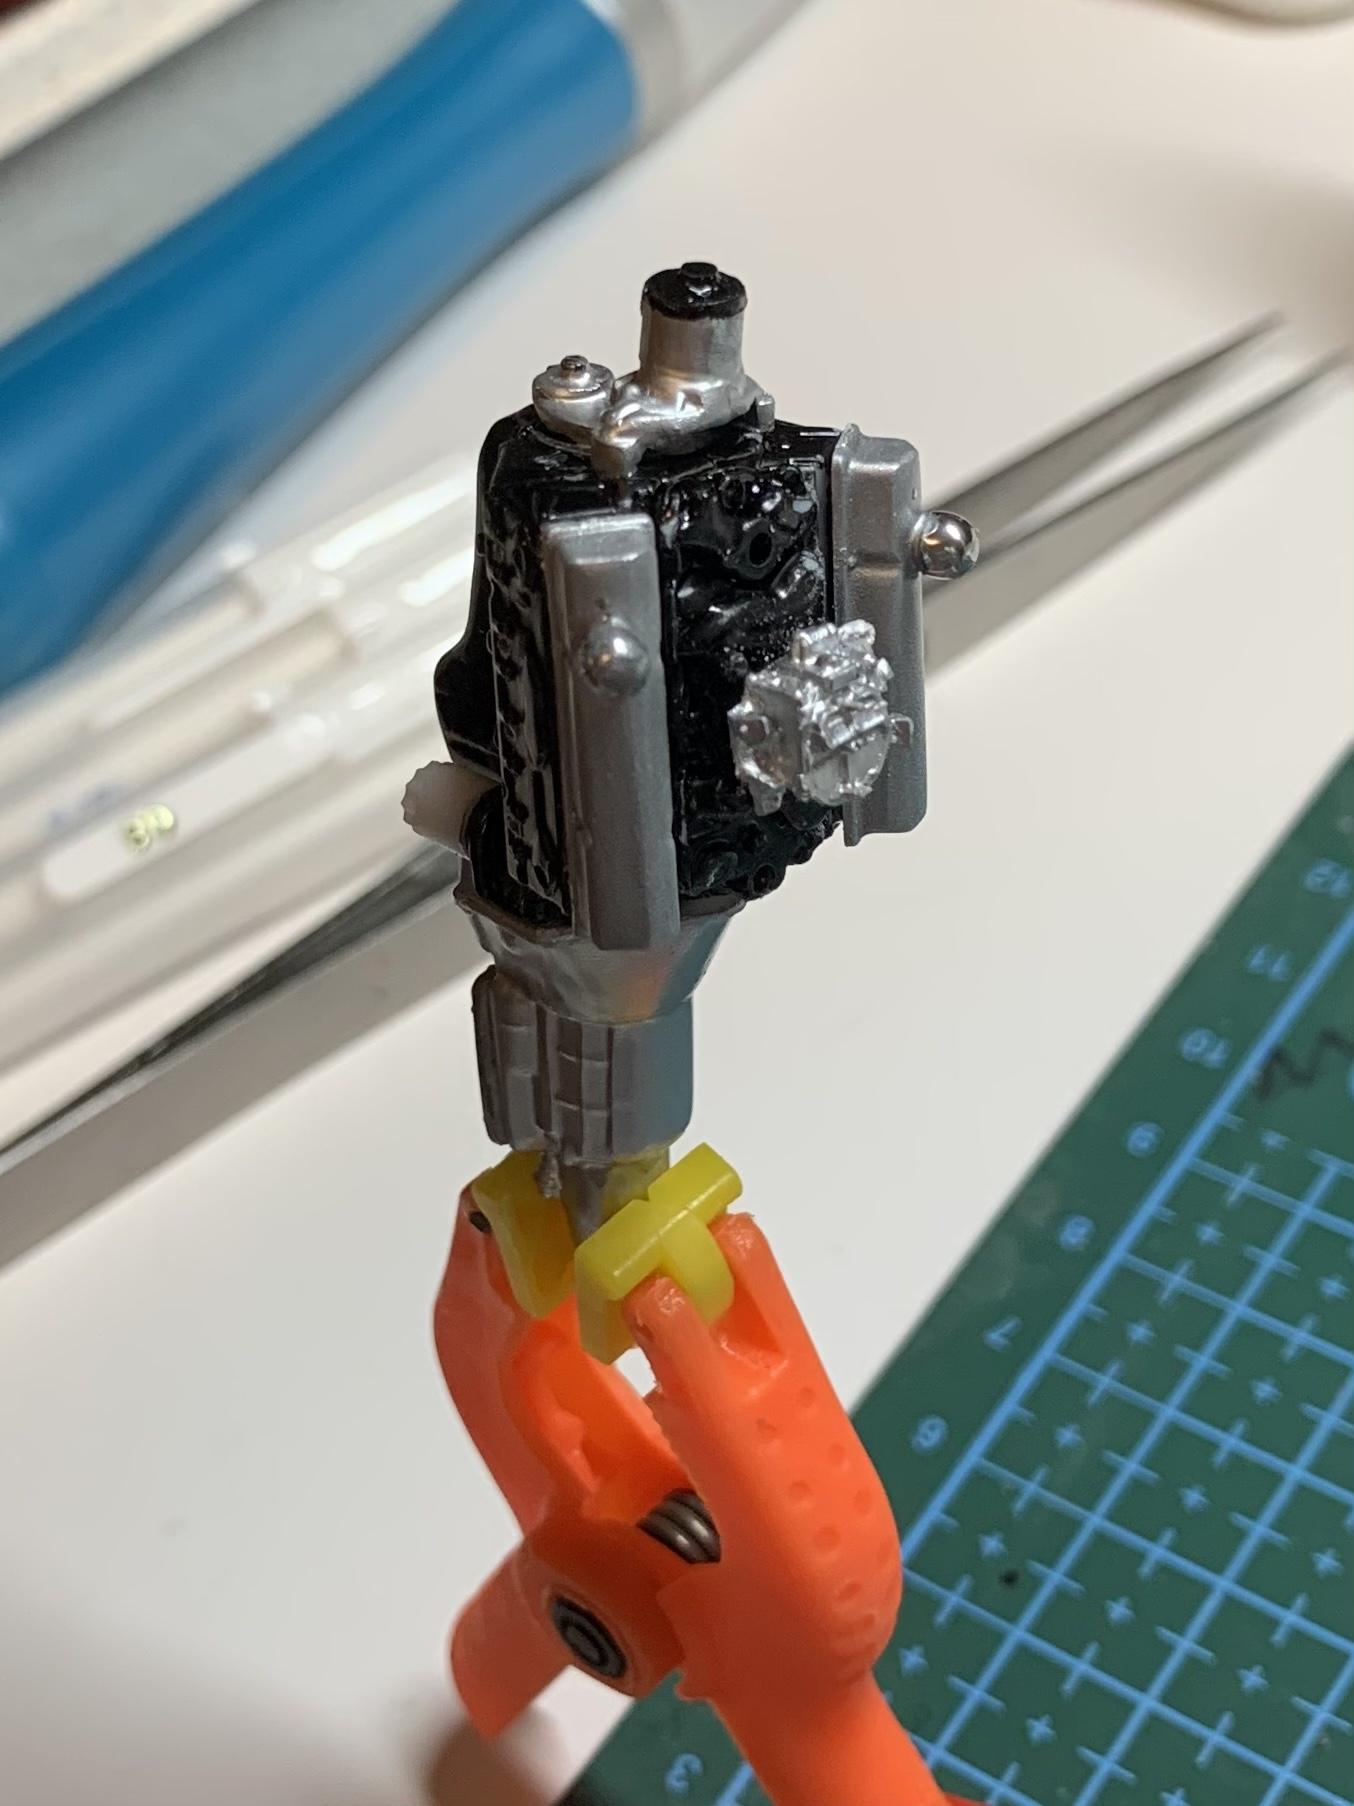
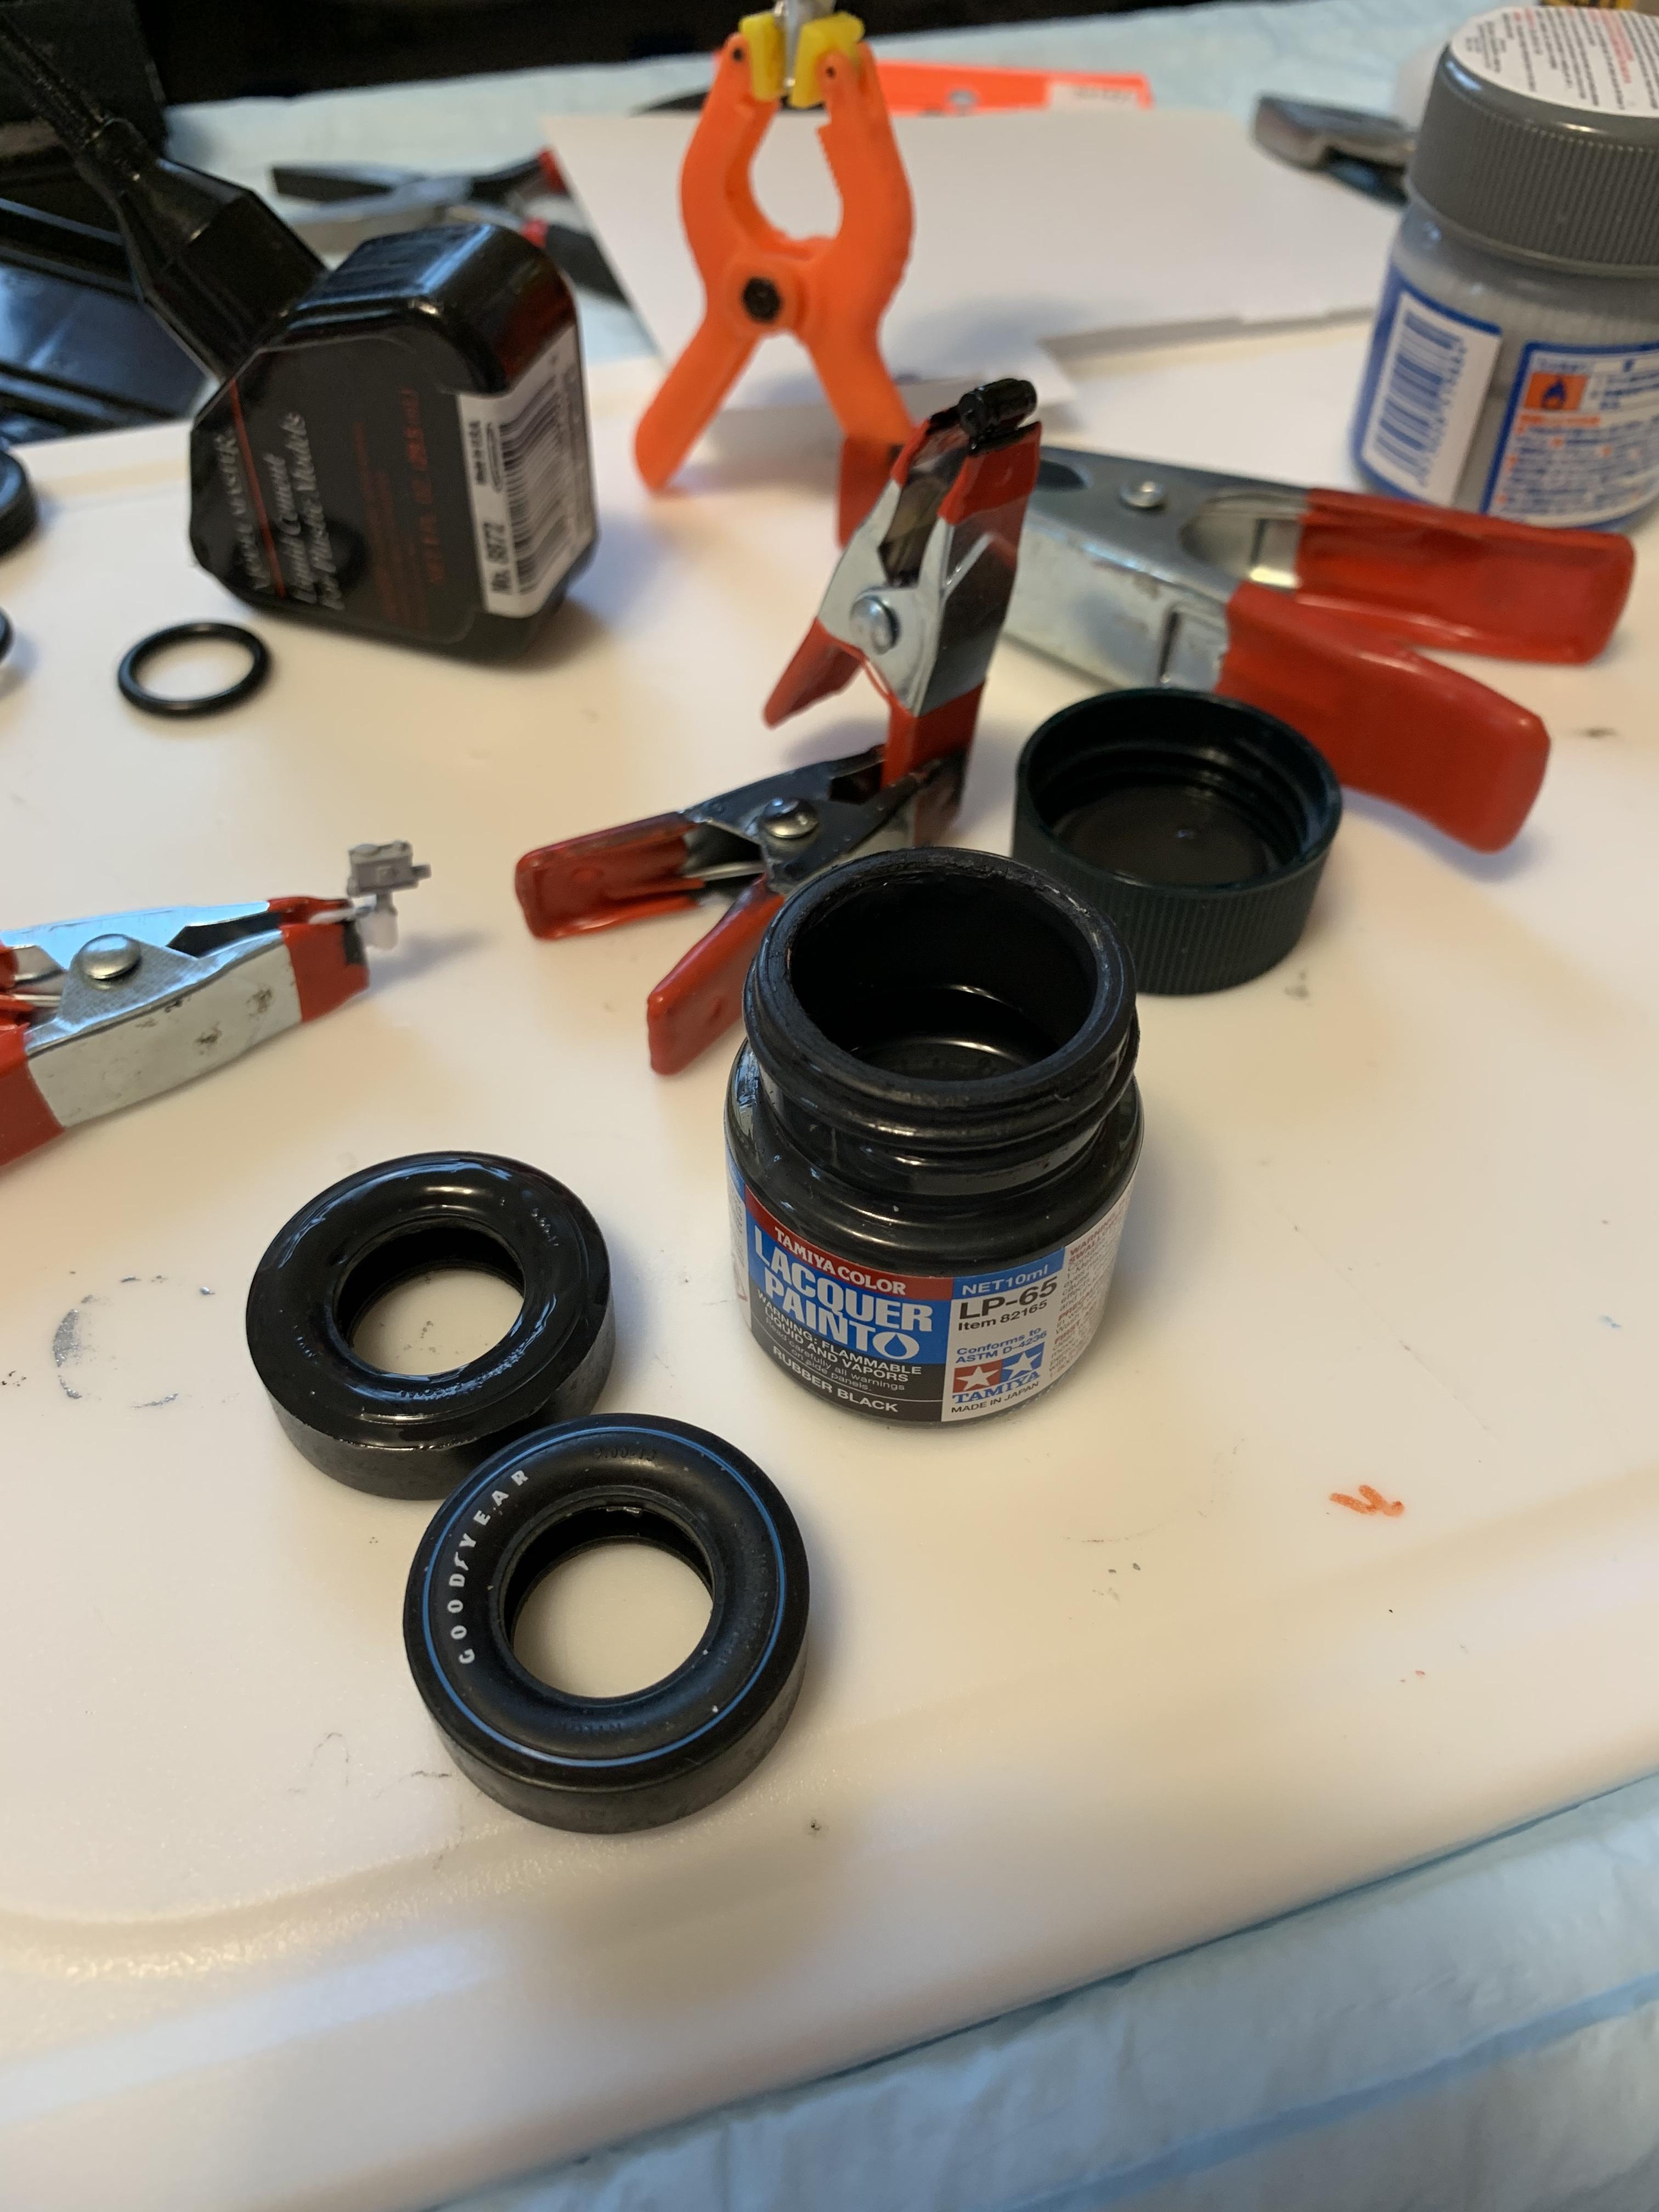
A little motor assembling and some rubber black on the inside of the 9” slicks.
-
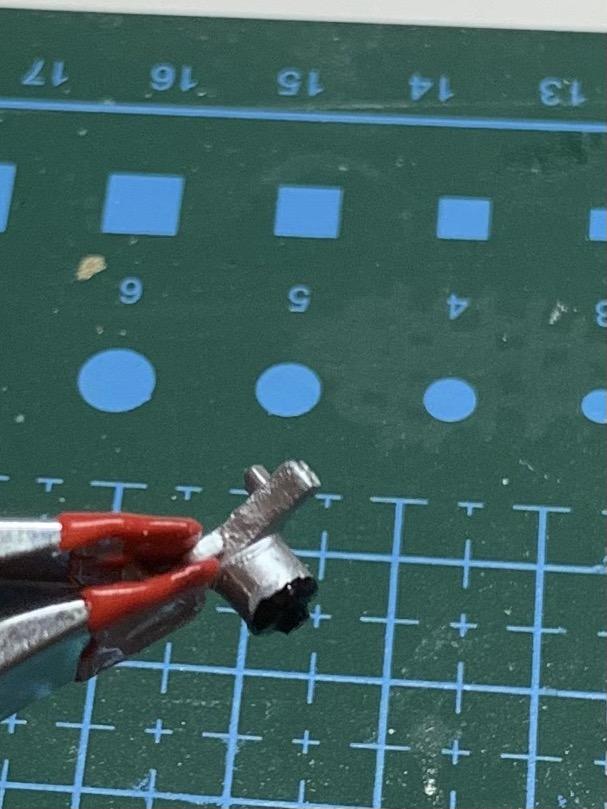
1969 Nova F/SA NHRA Stock Eliminator
R. Thorne replied to R. Thorne's topic in WIP: Drag Racing Models
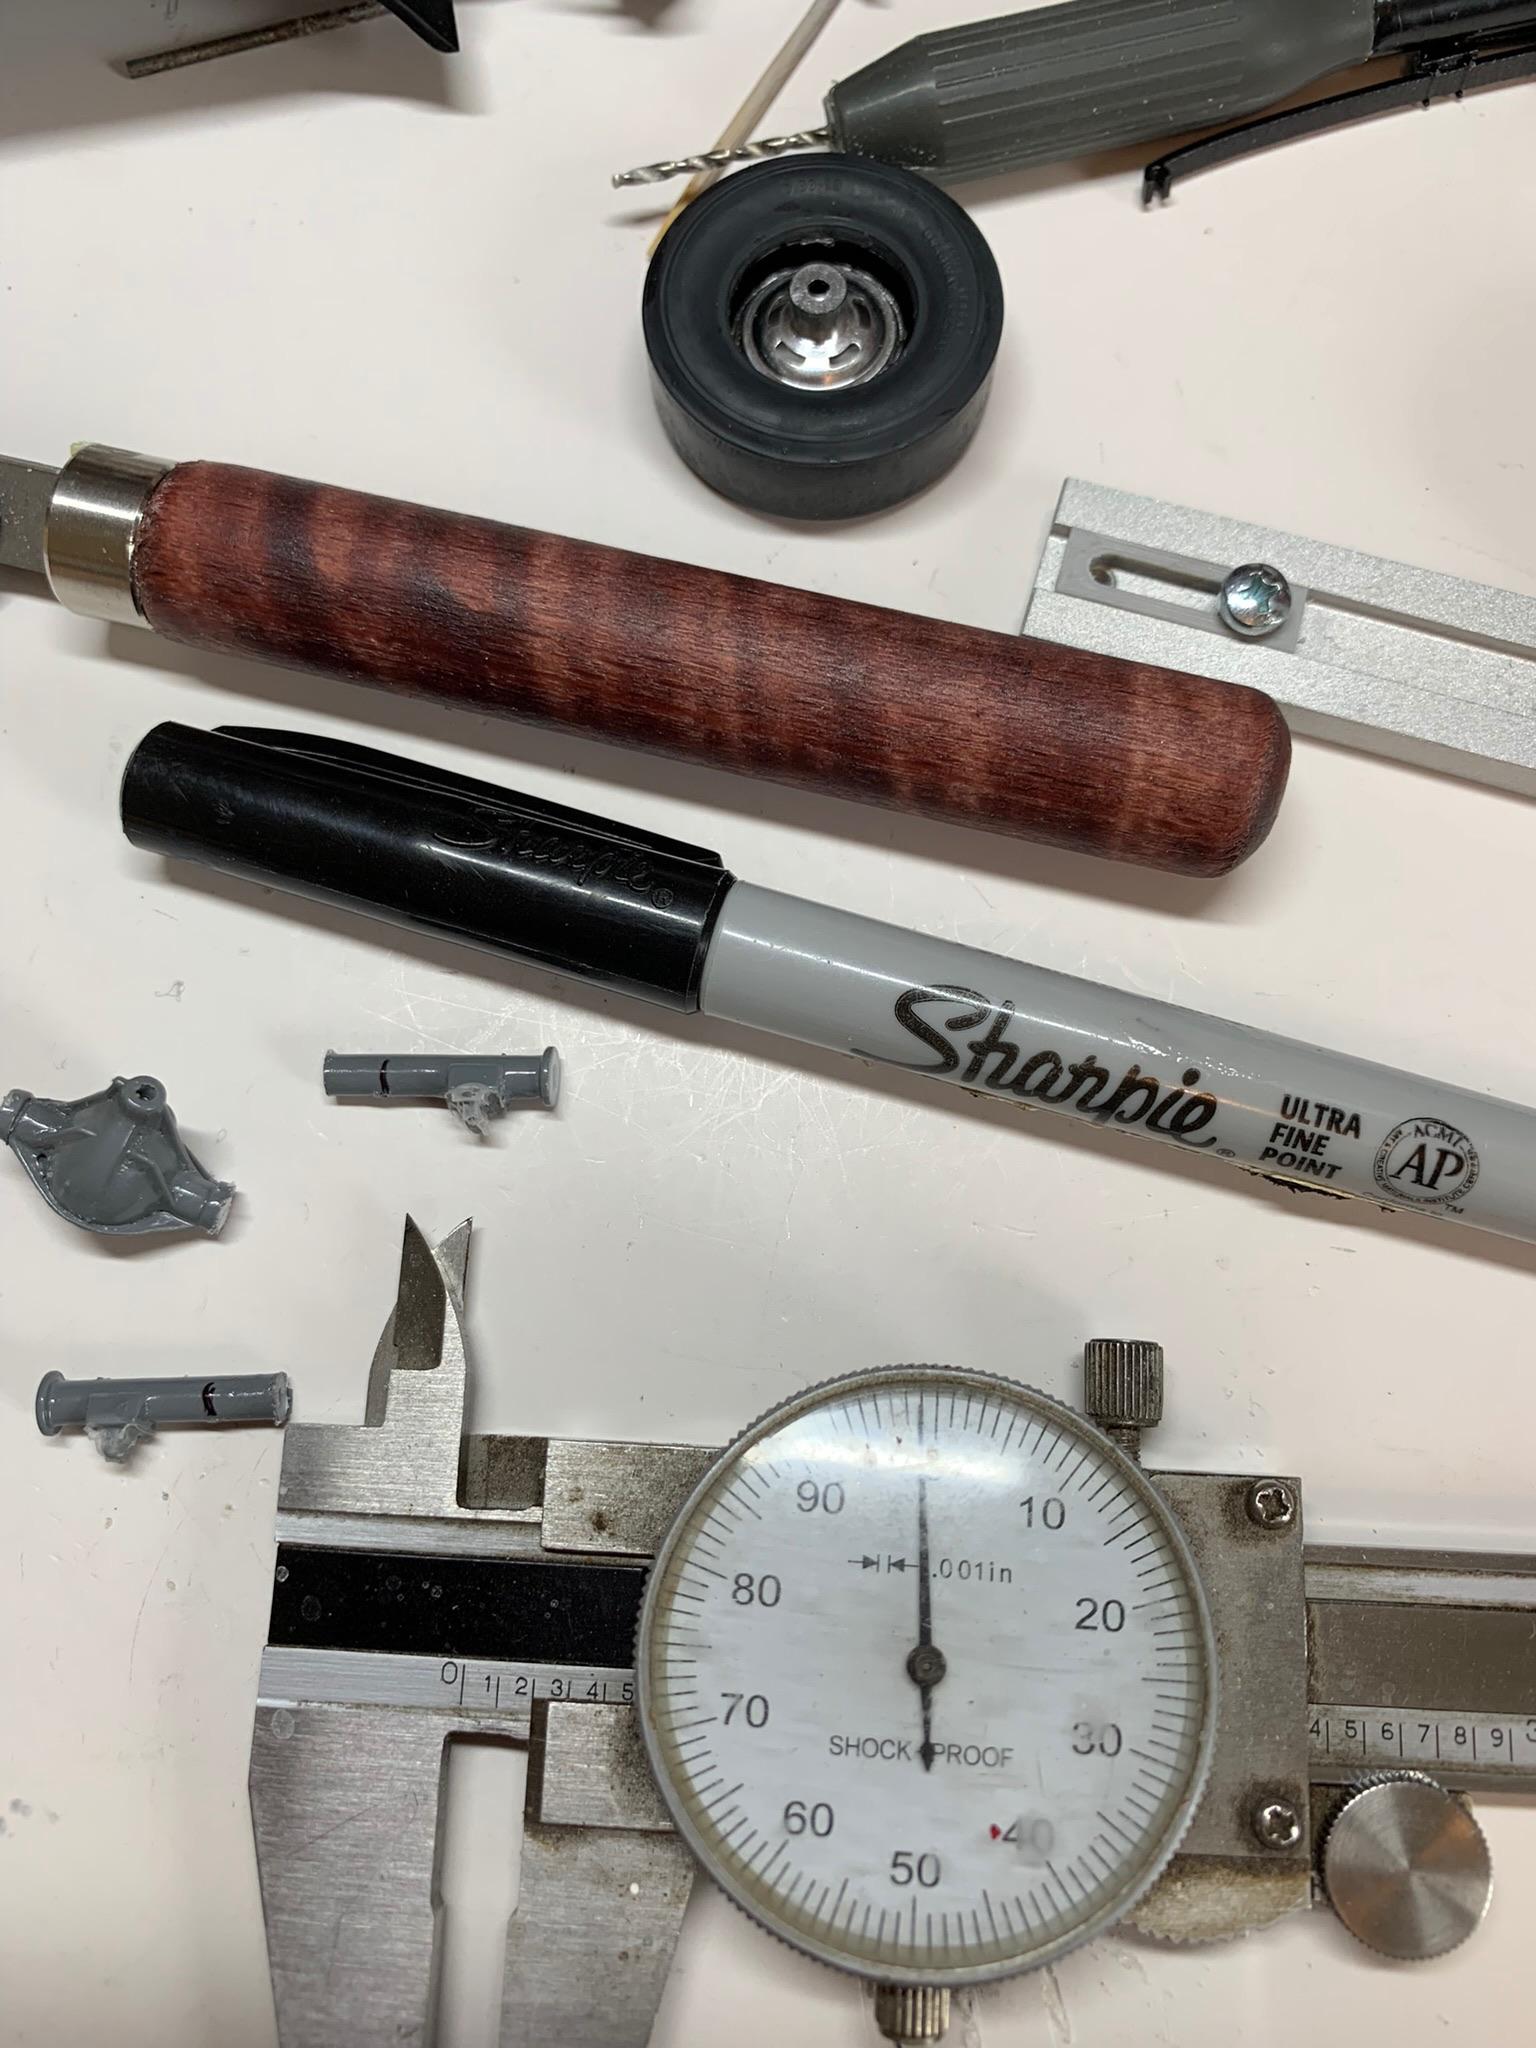
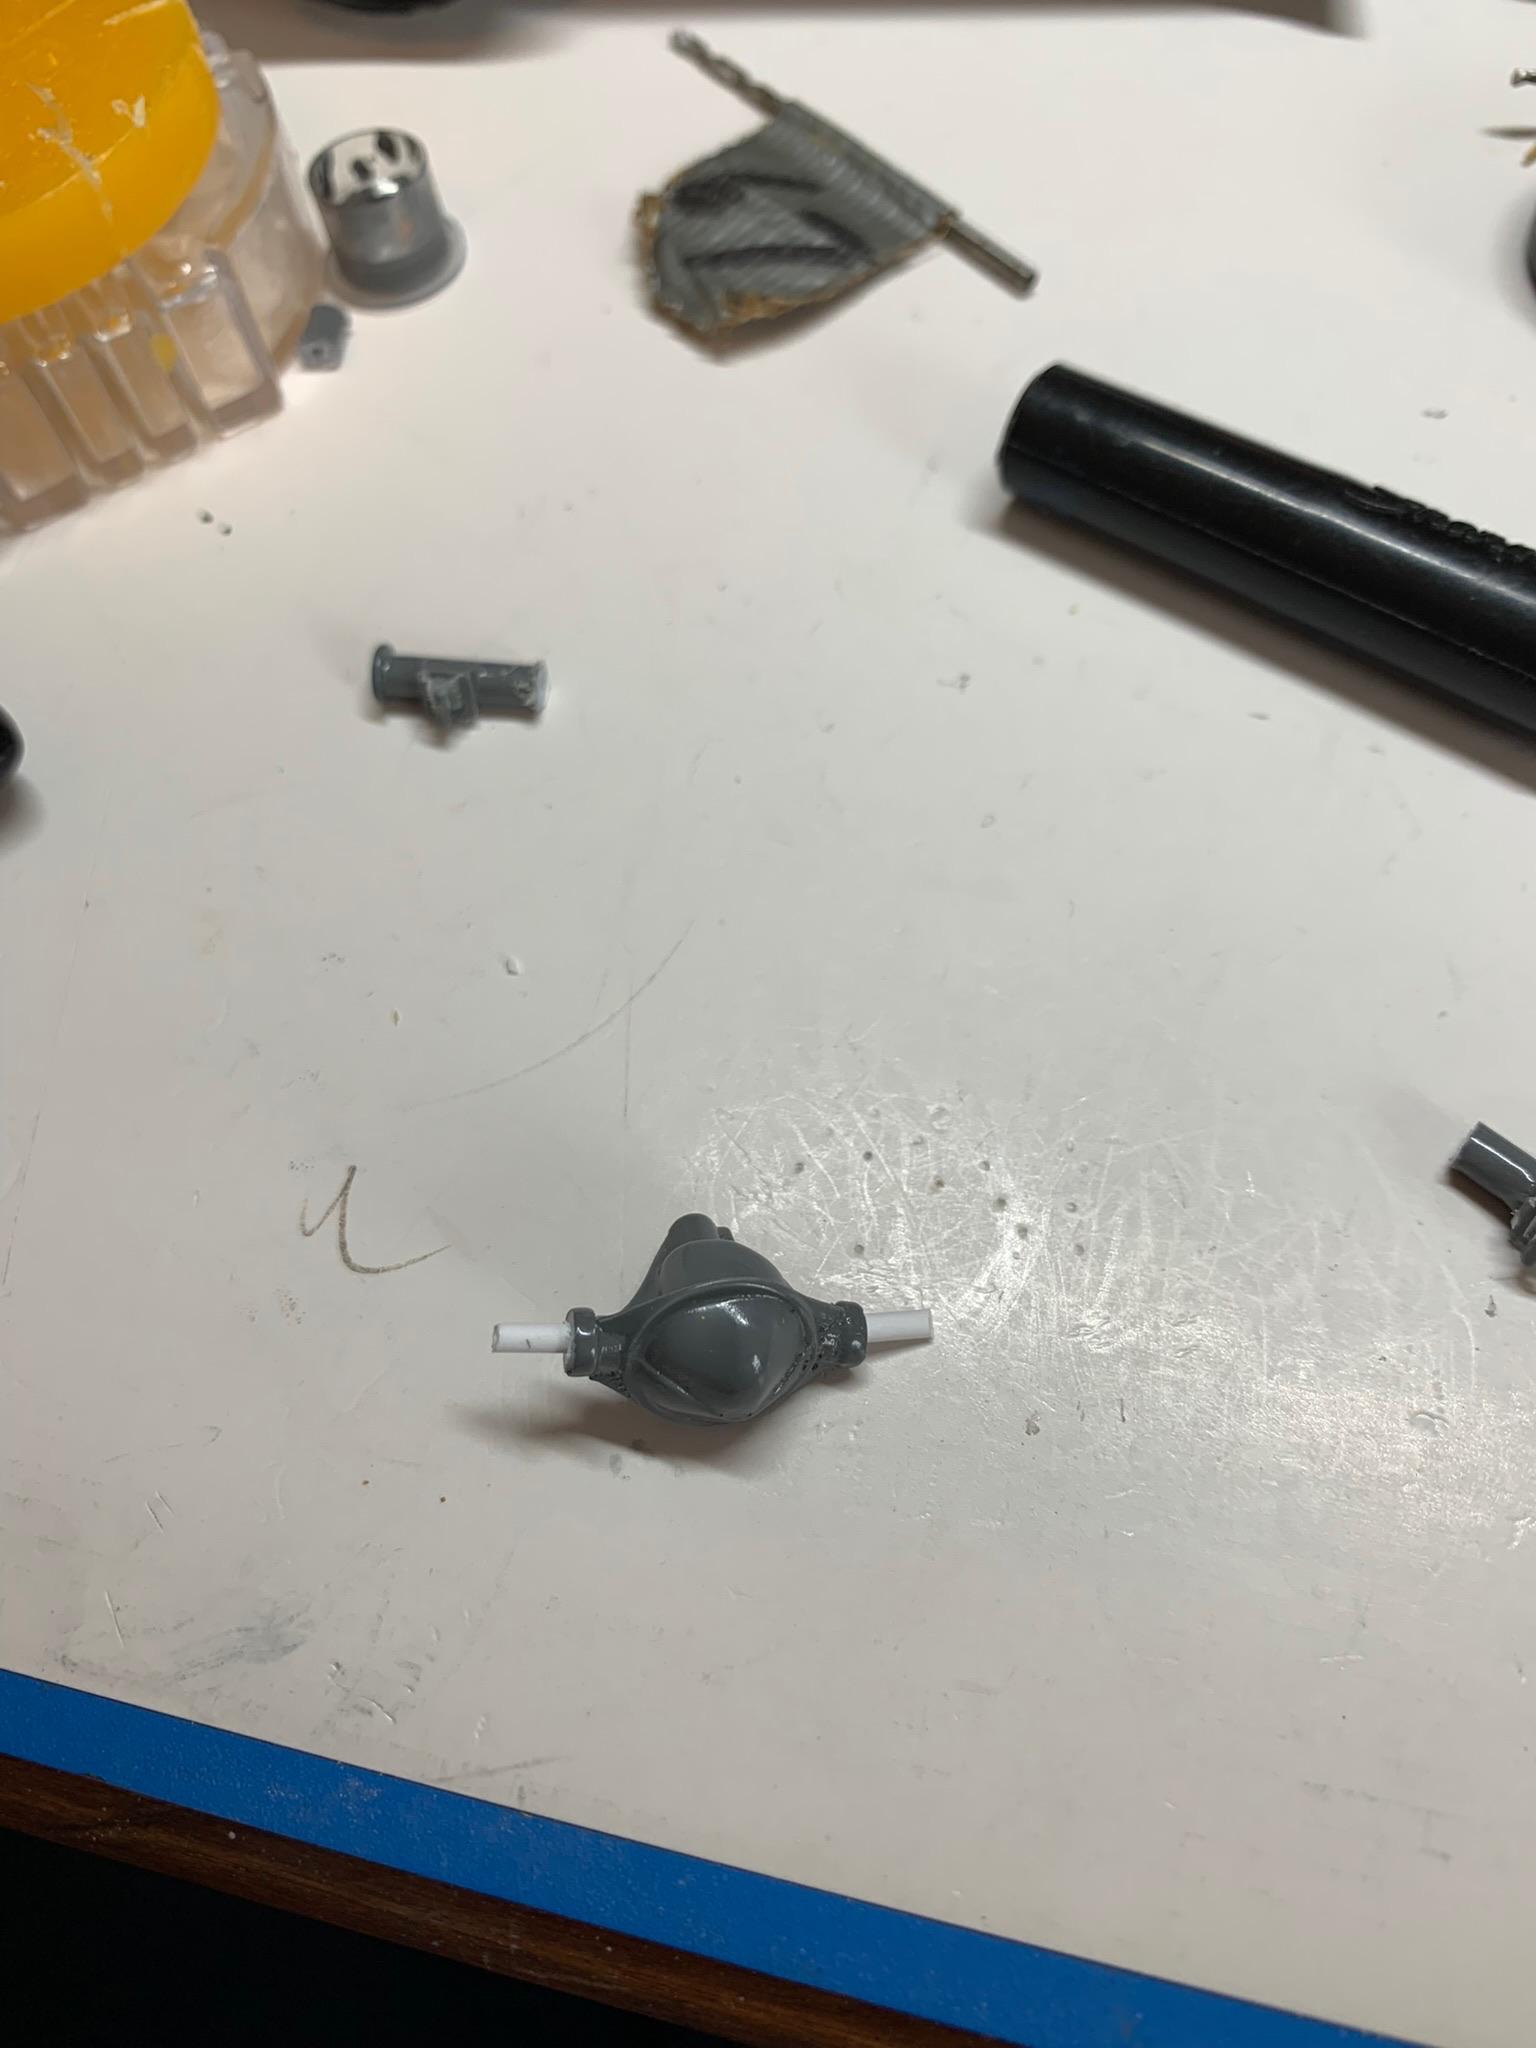
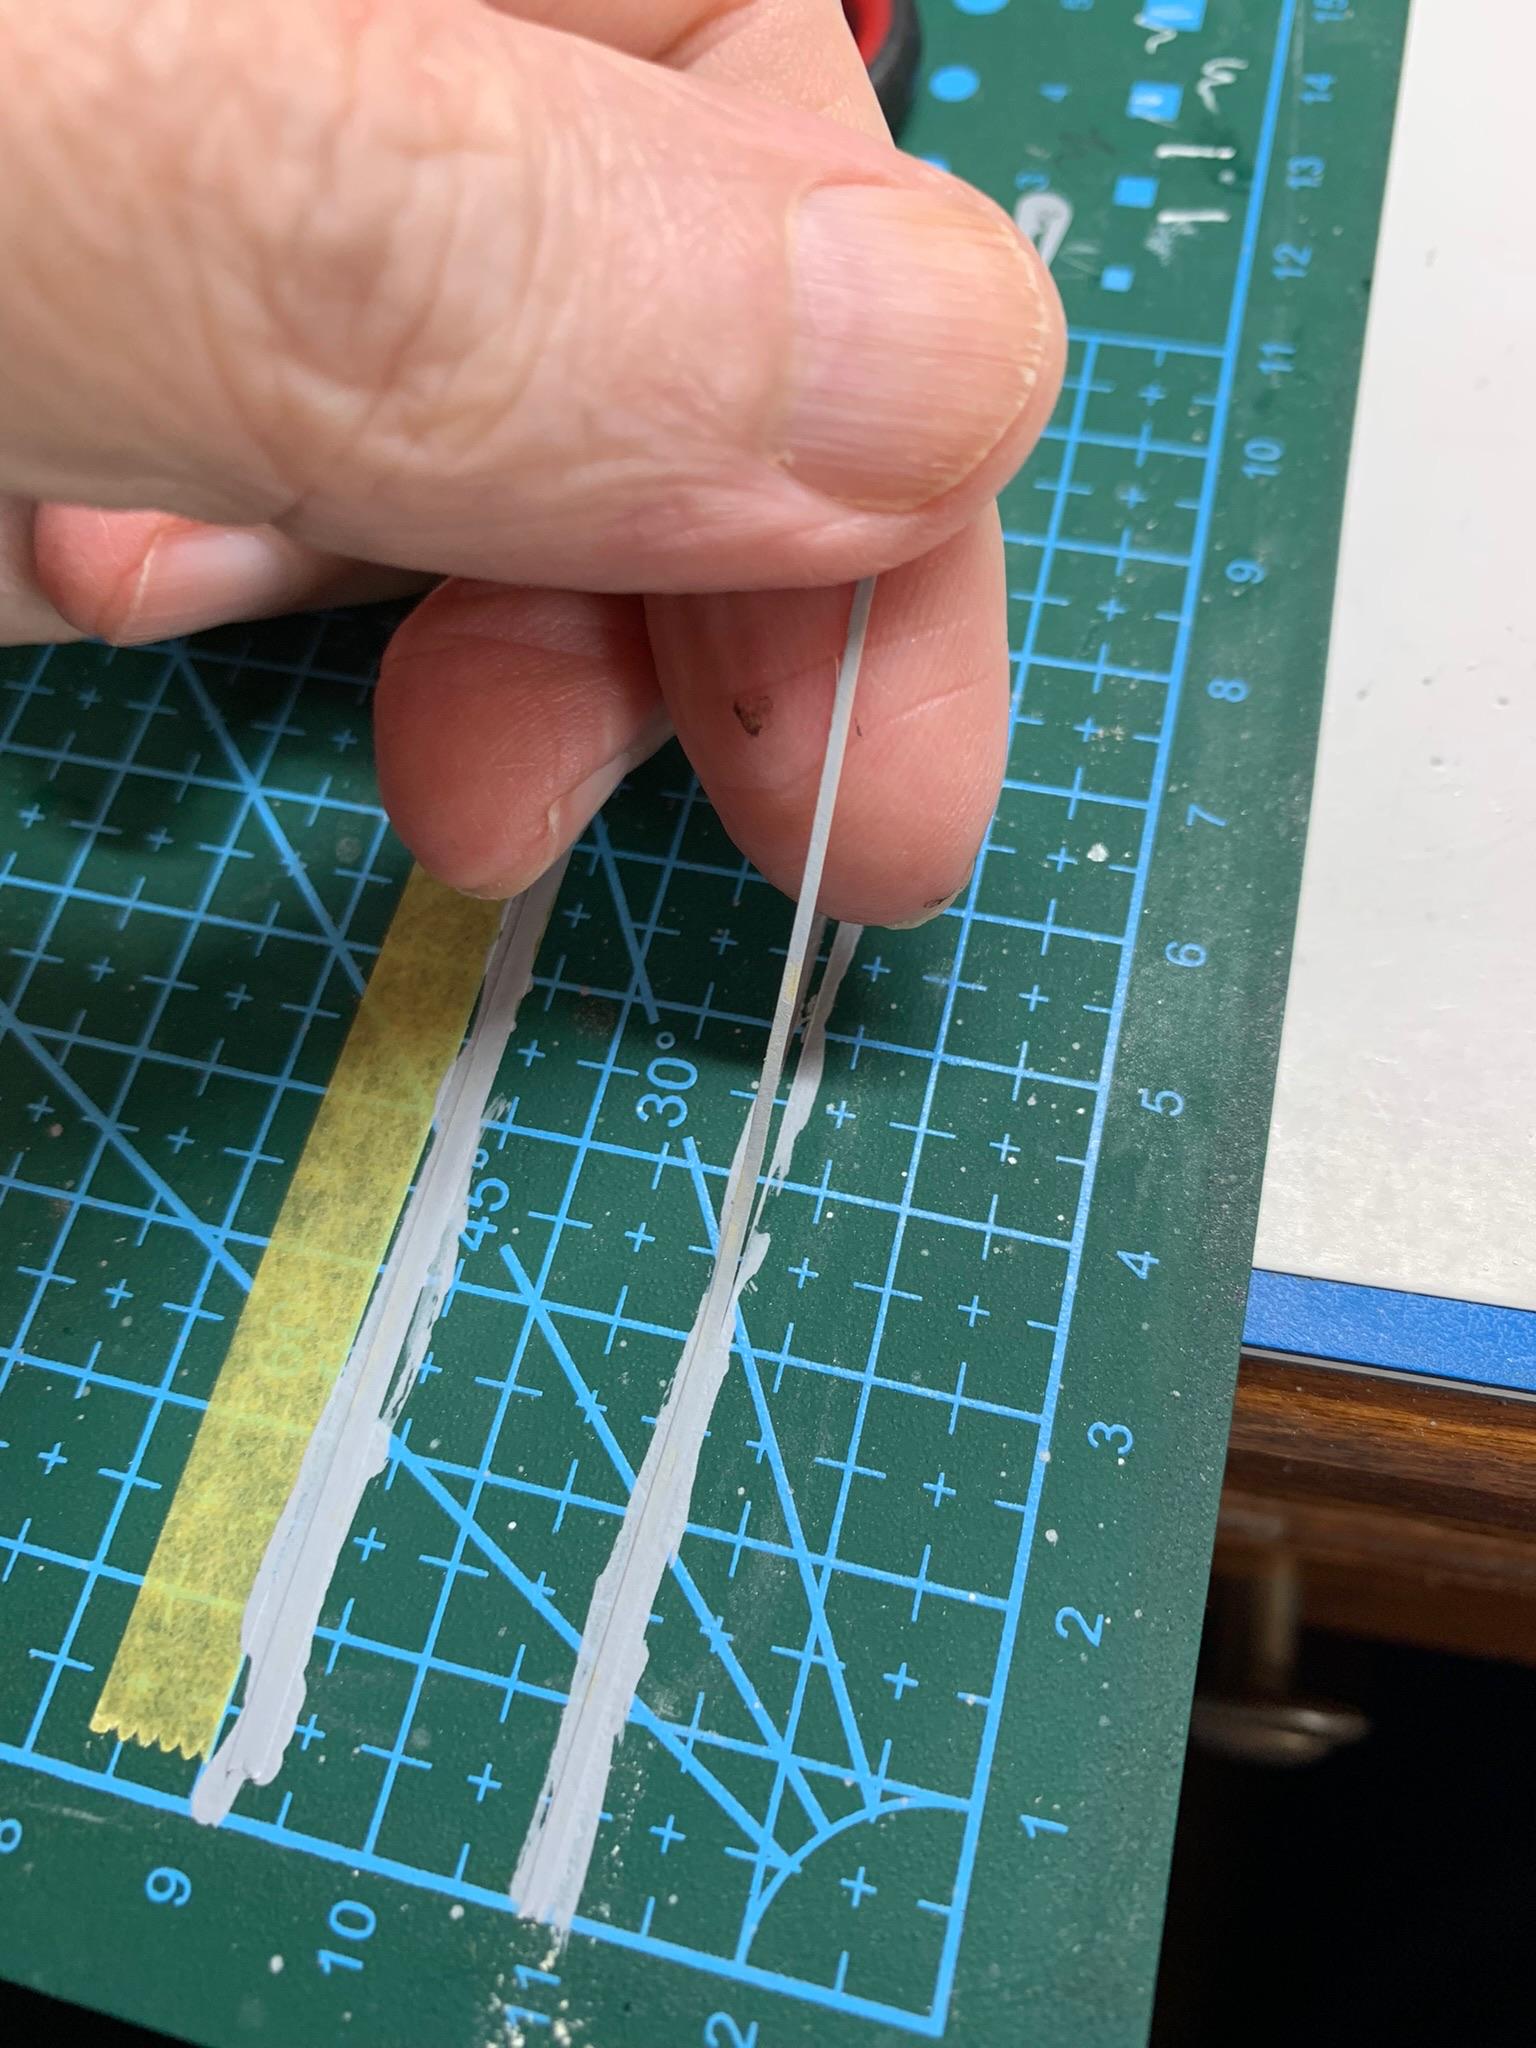
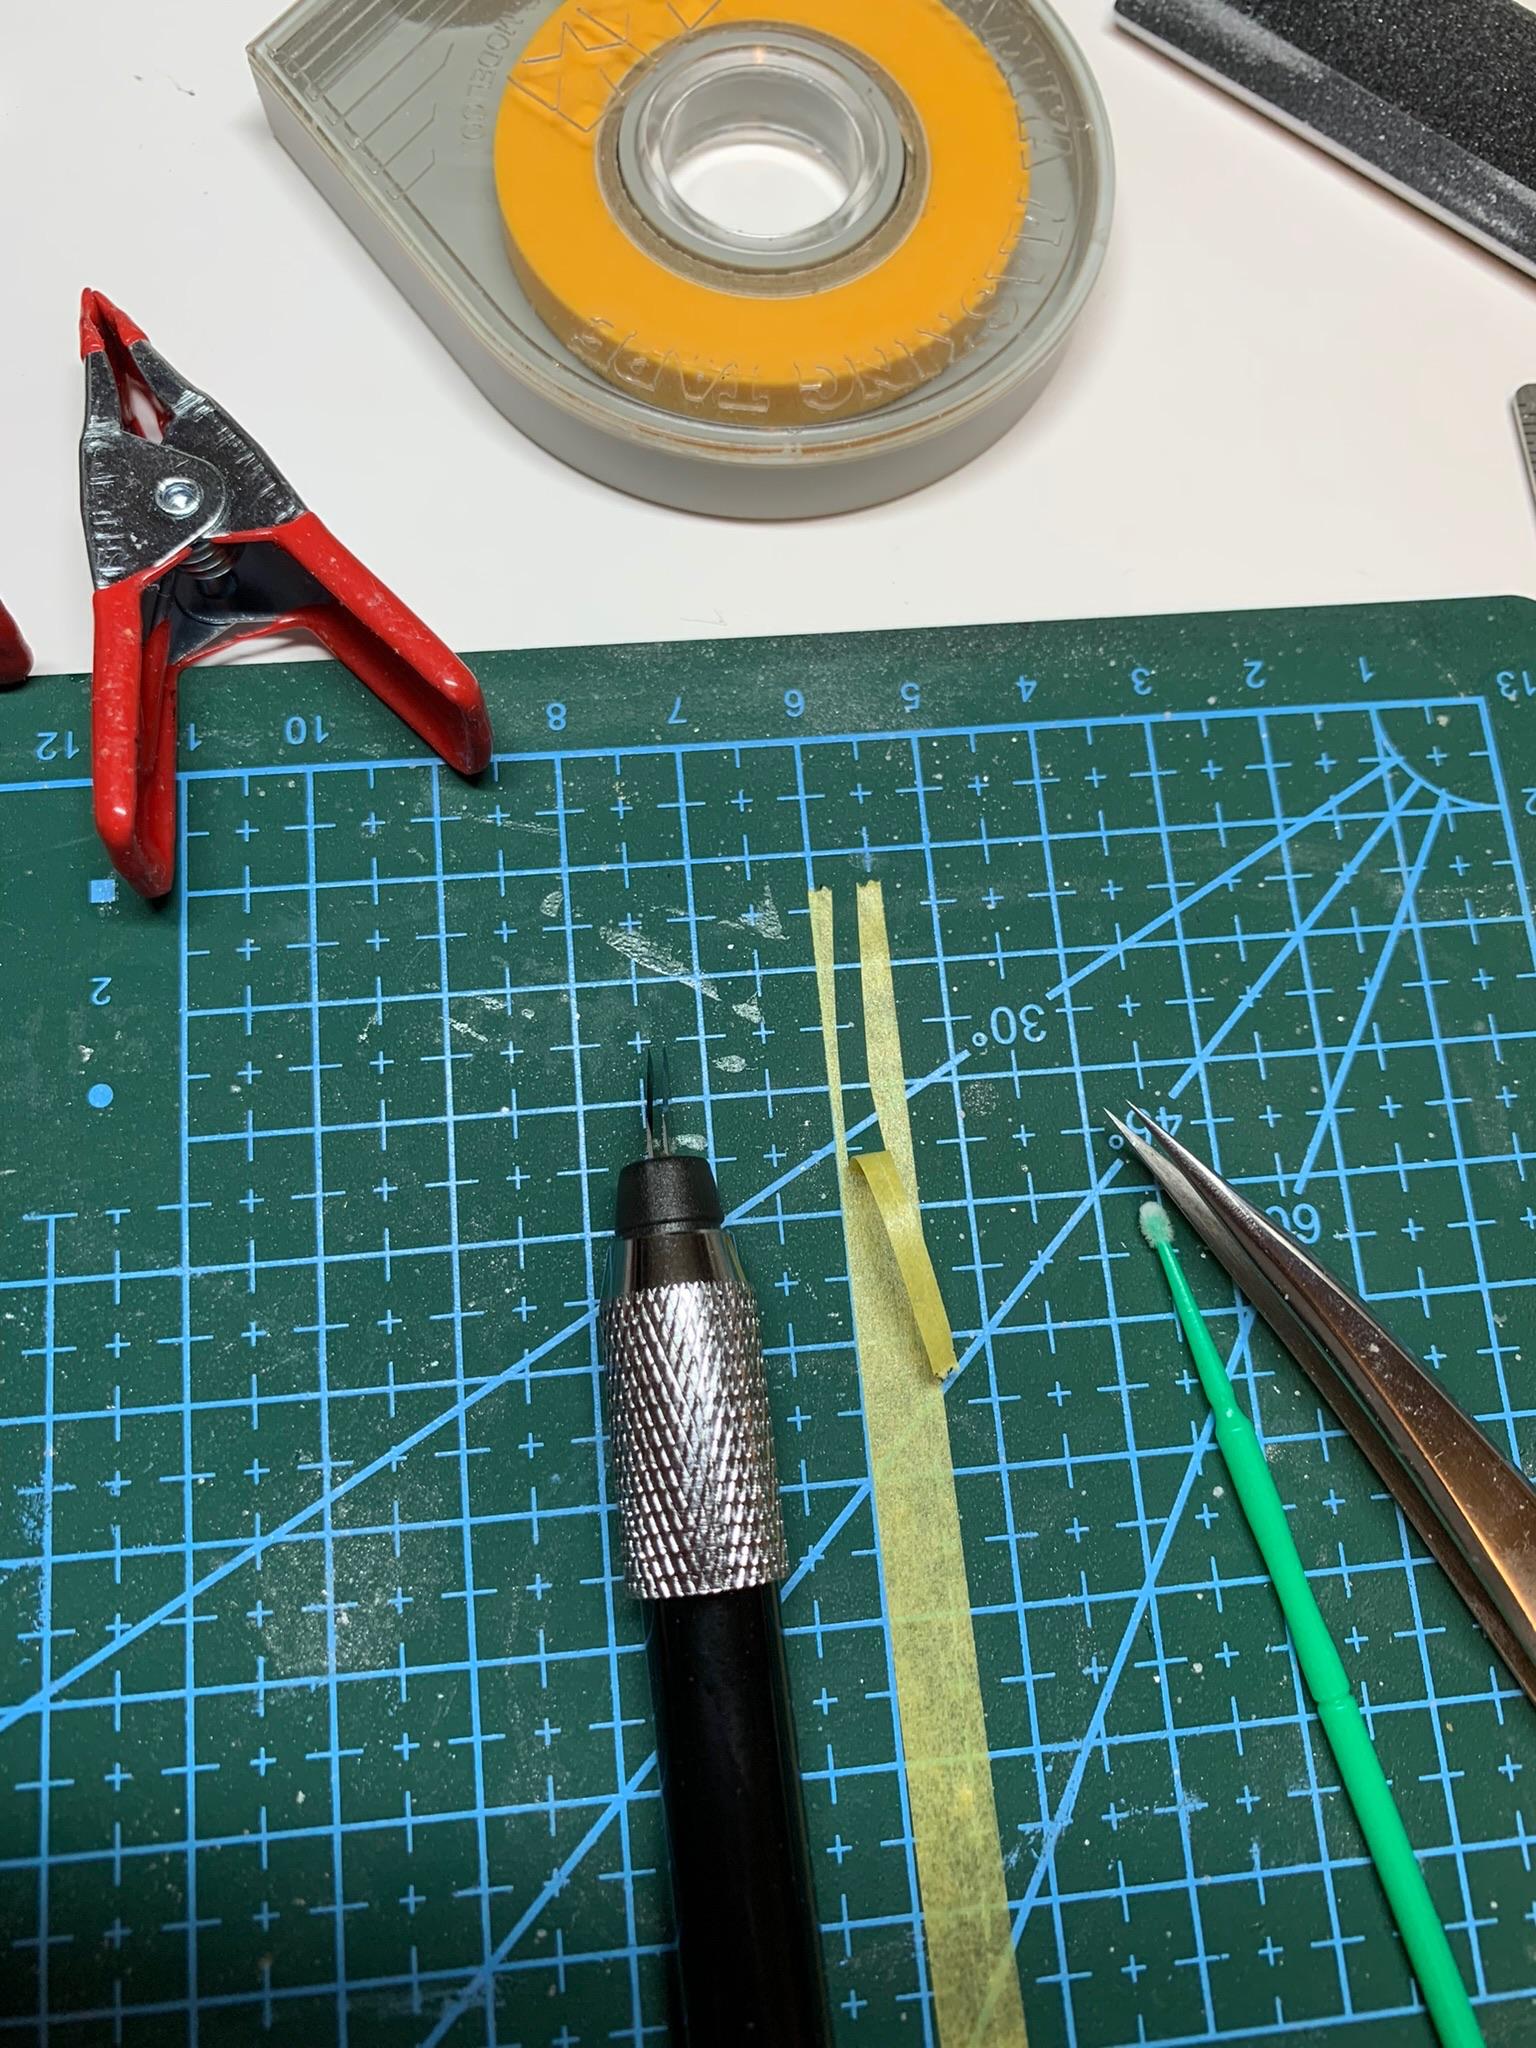
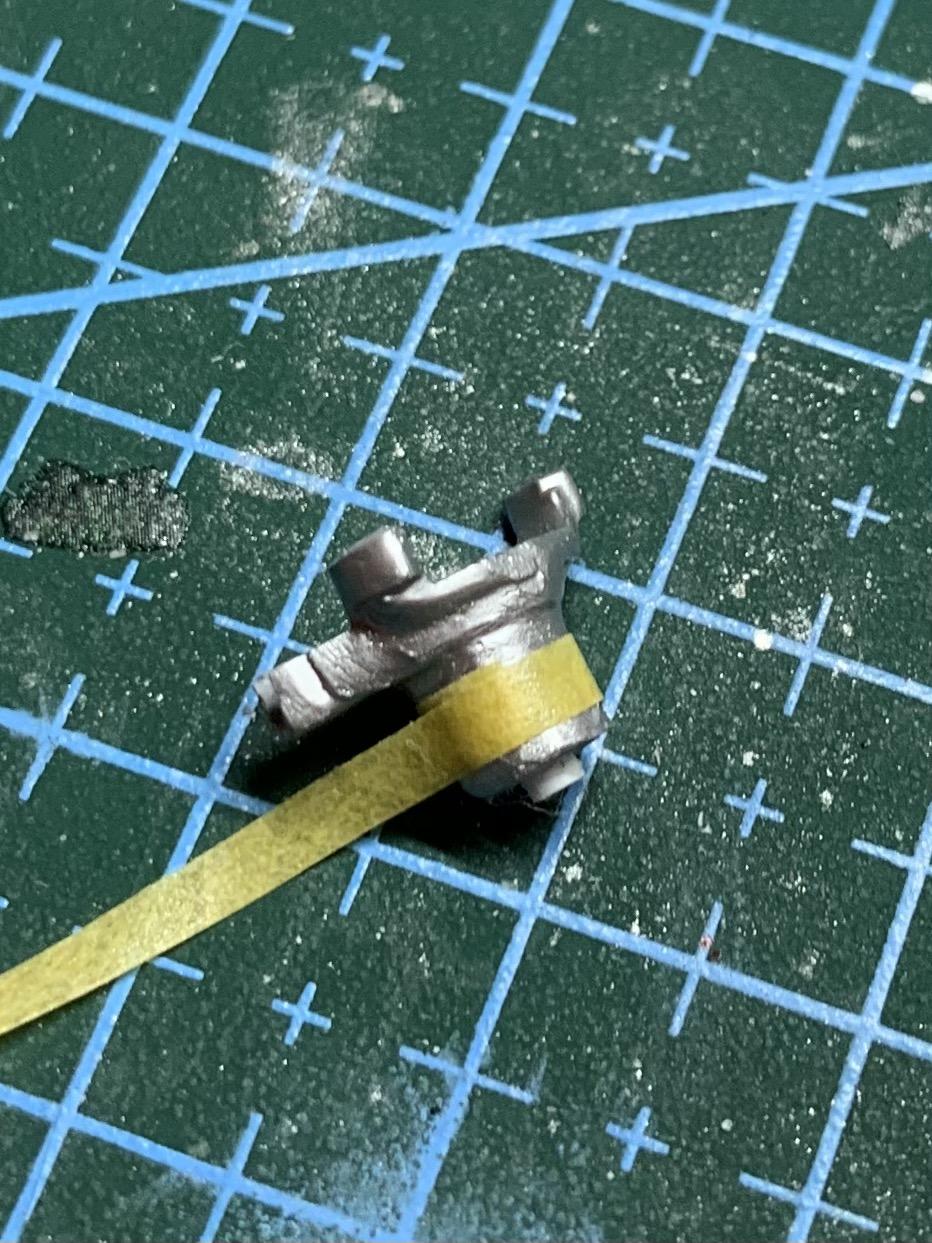
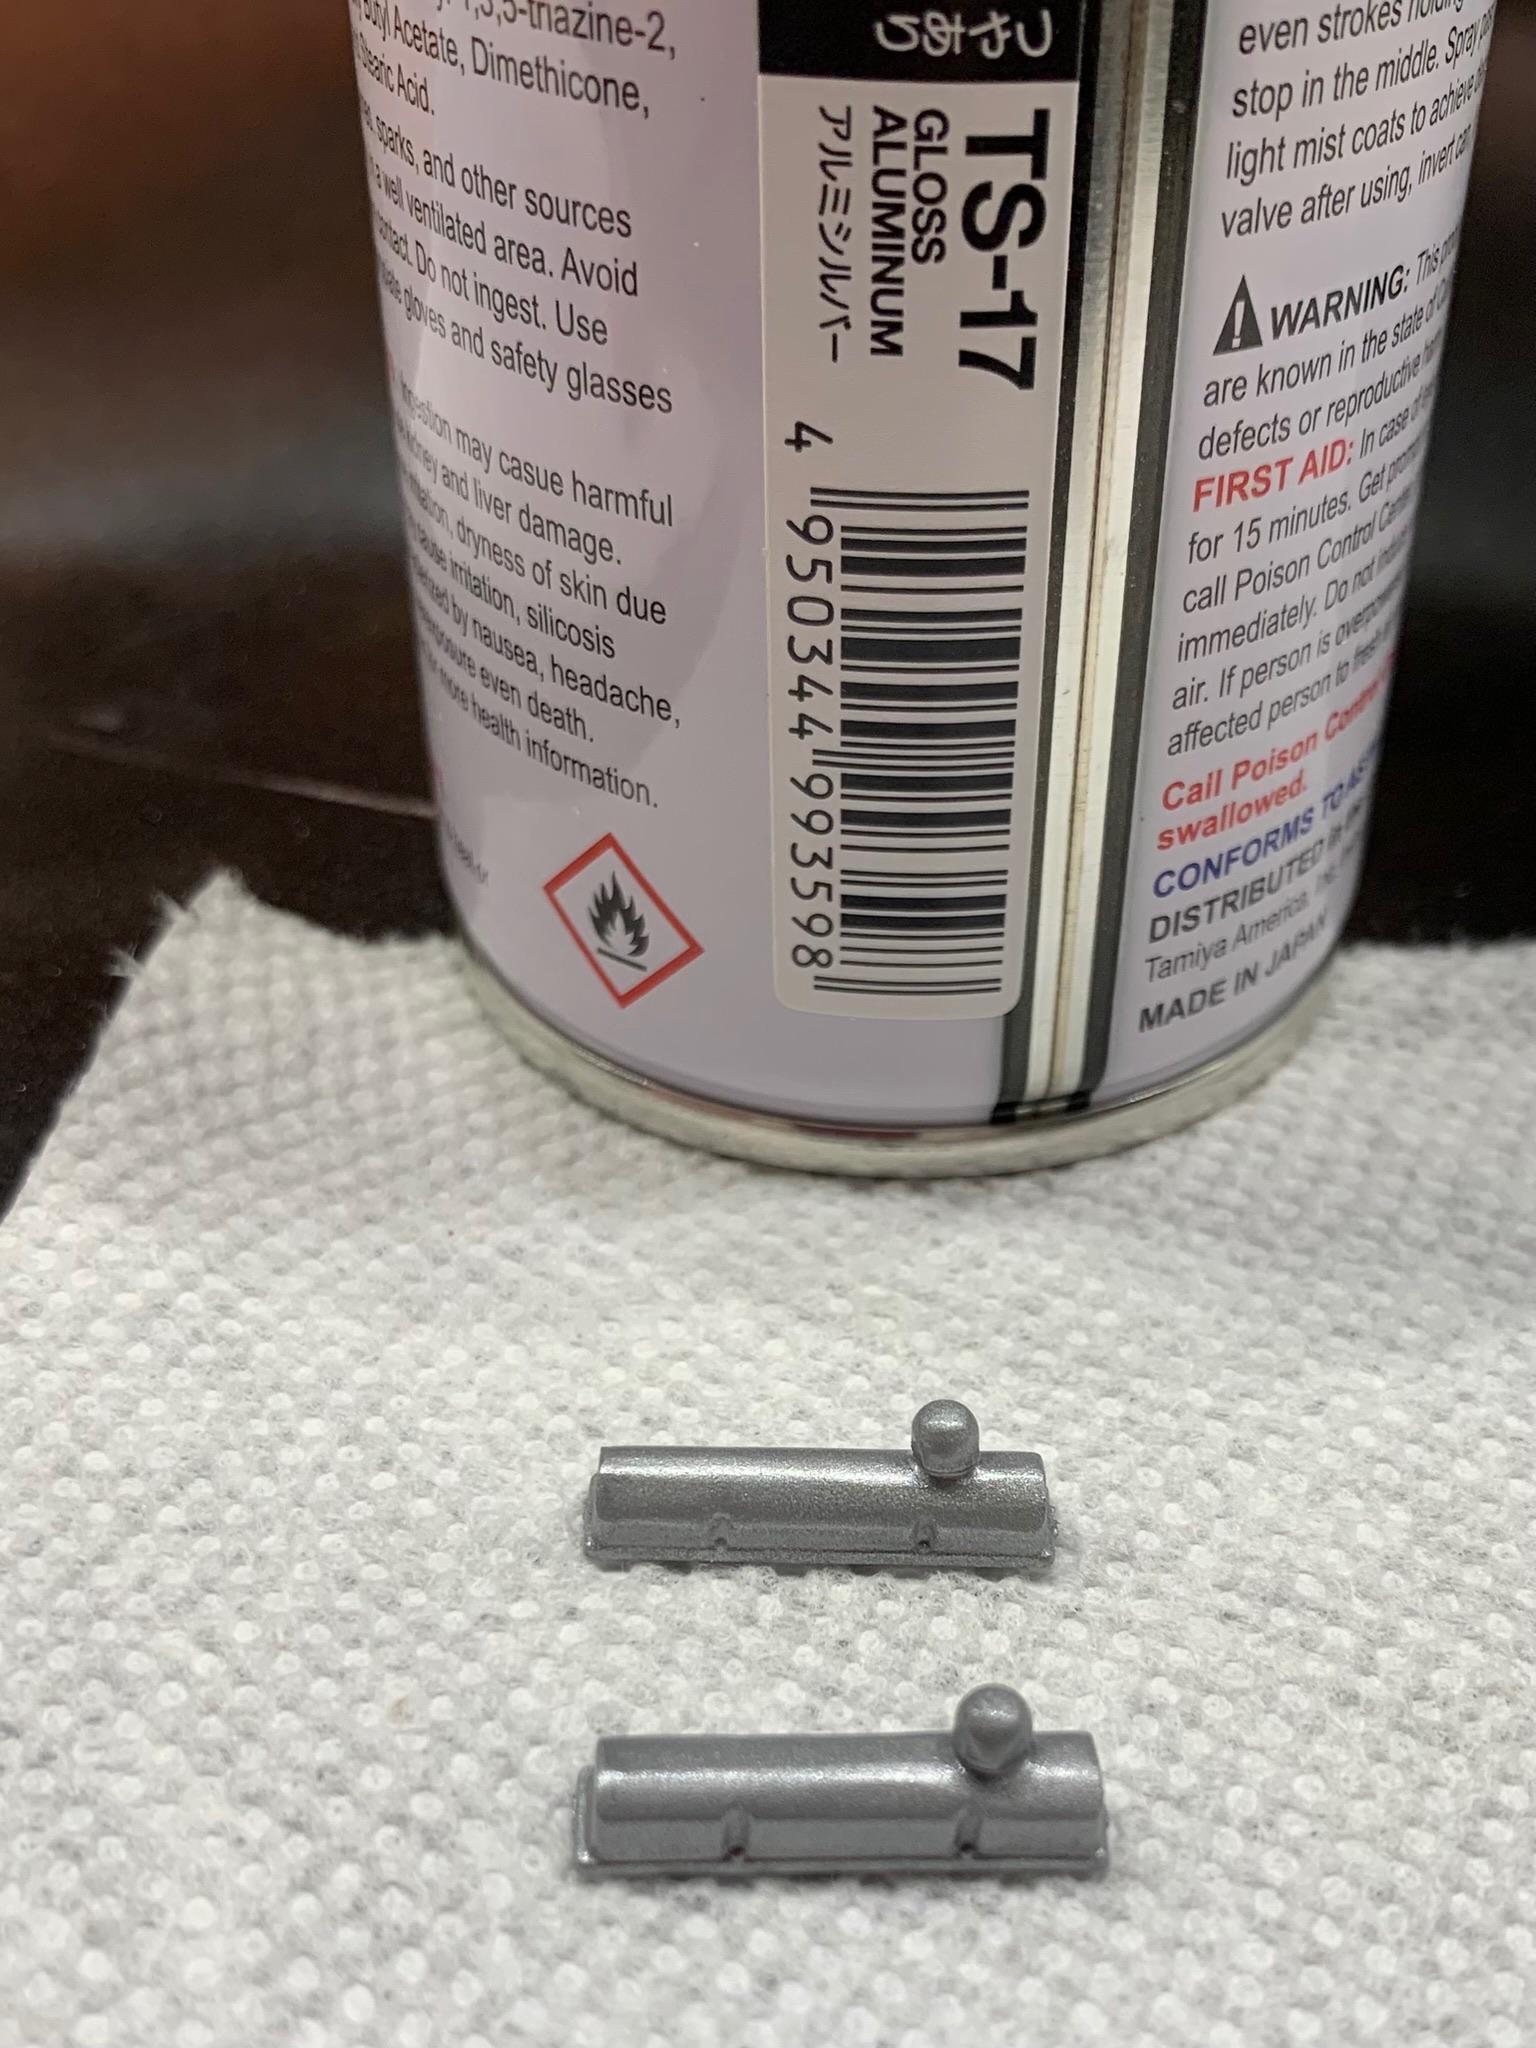
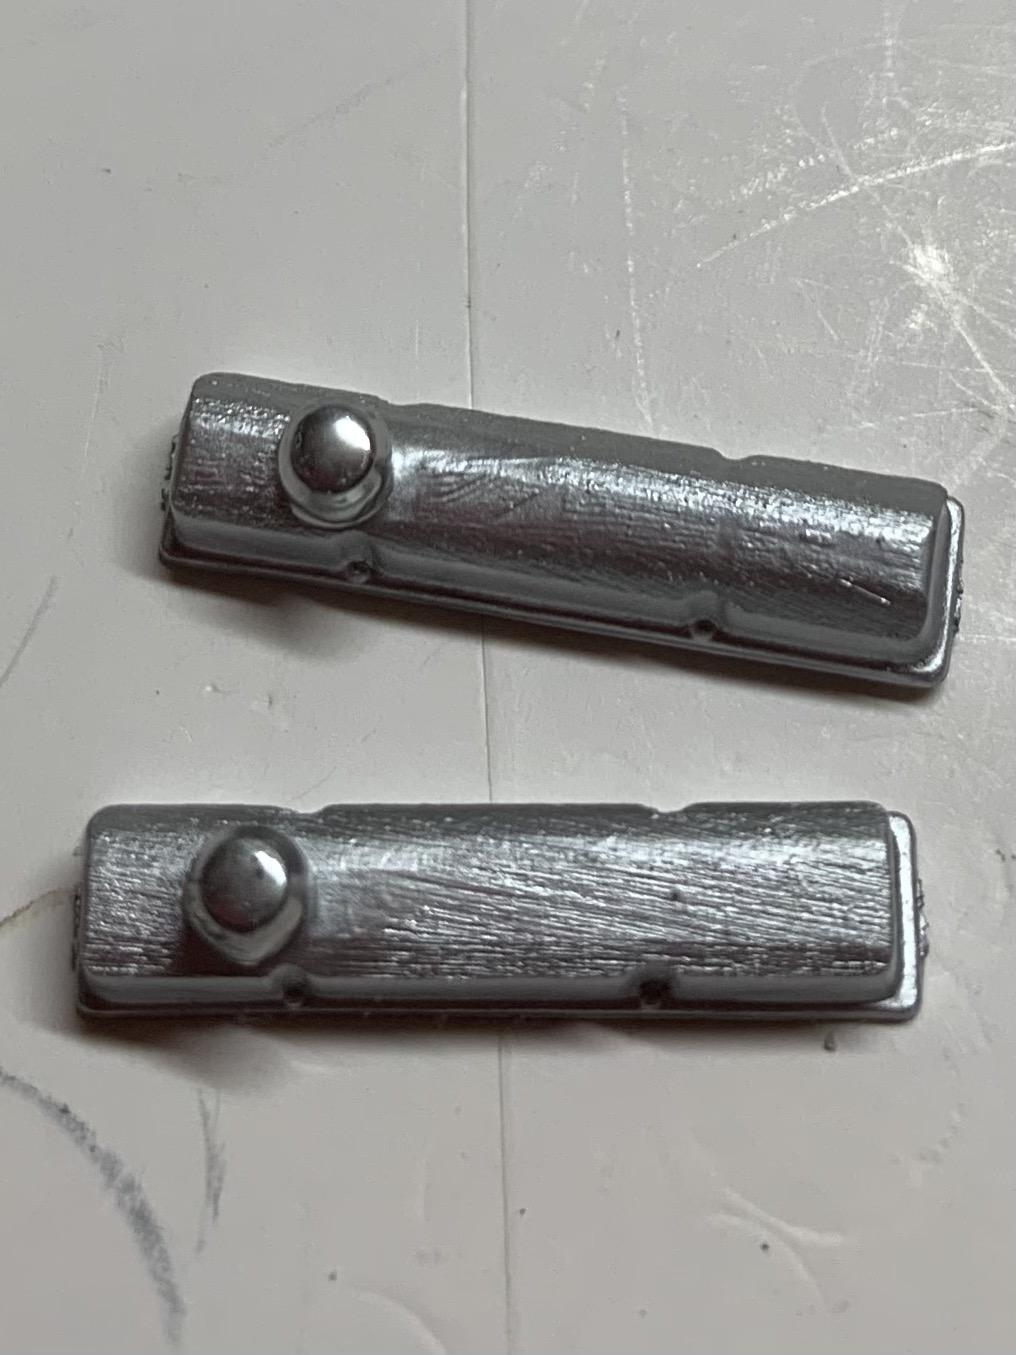
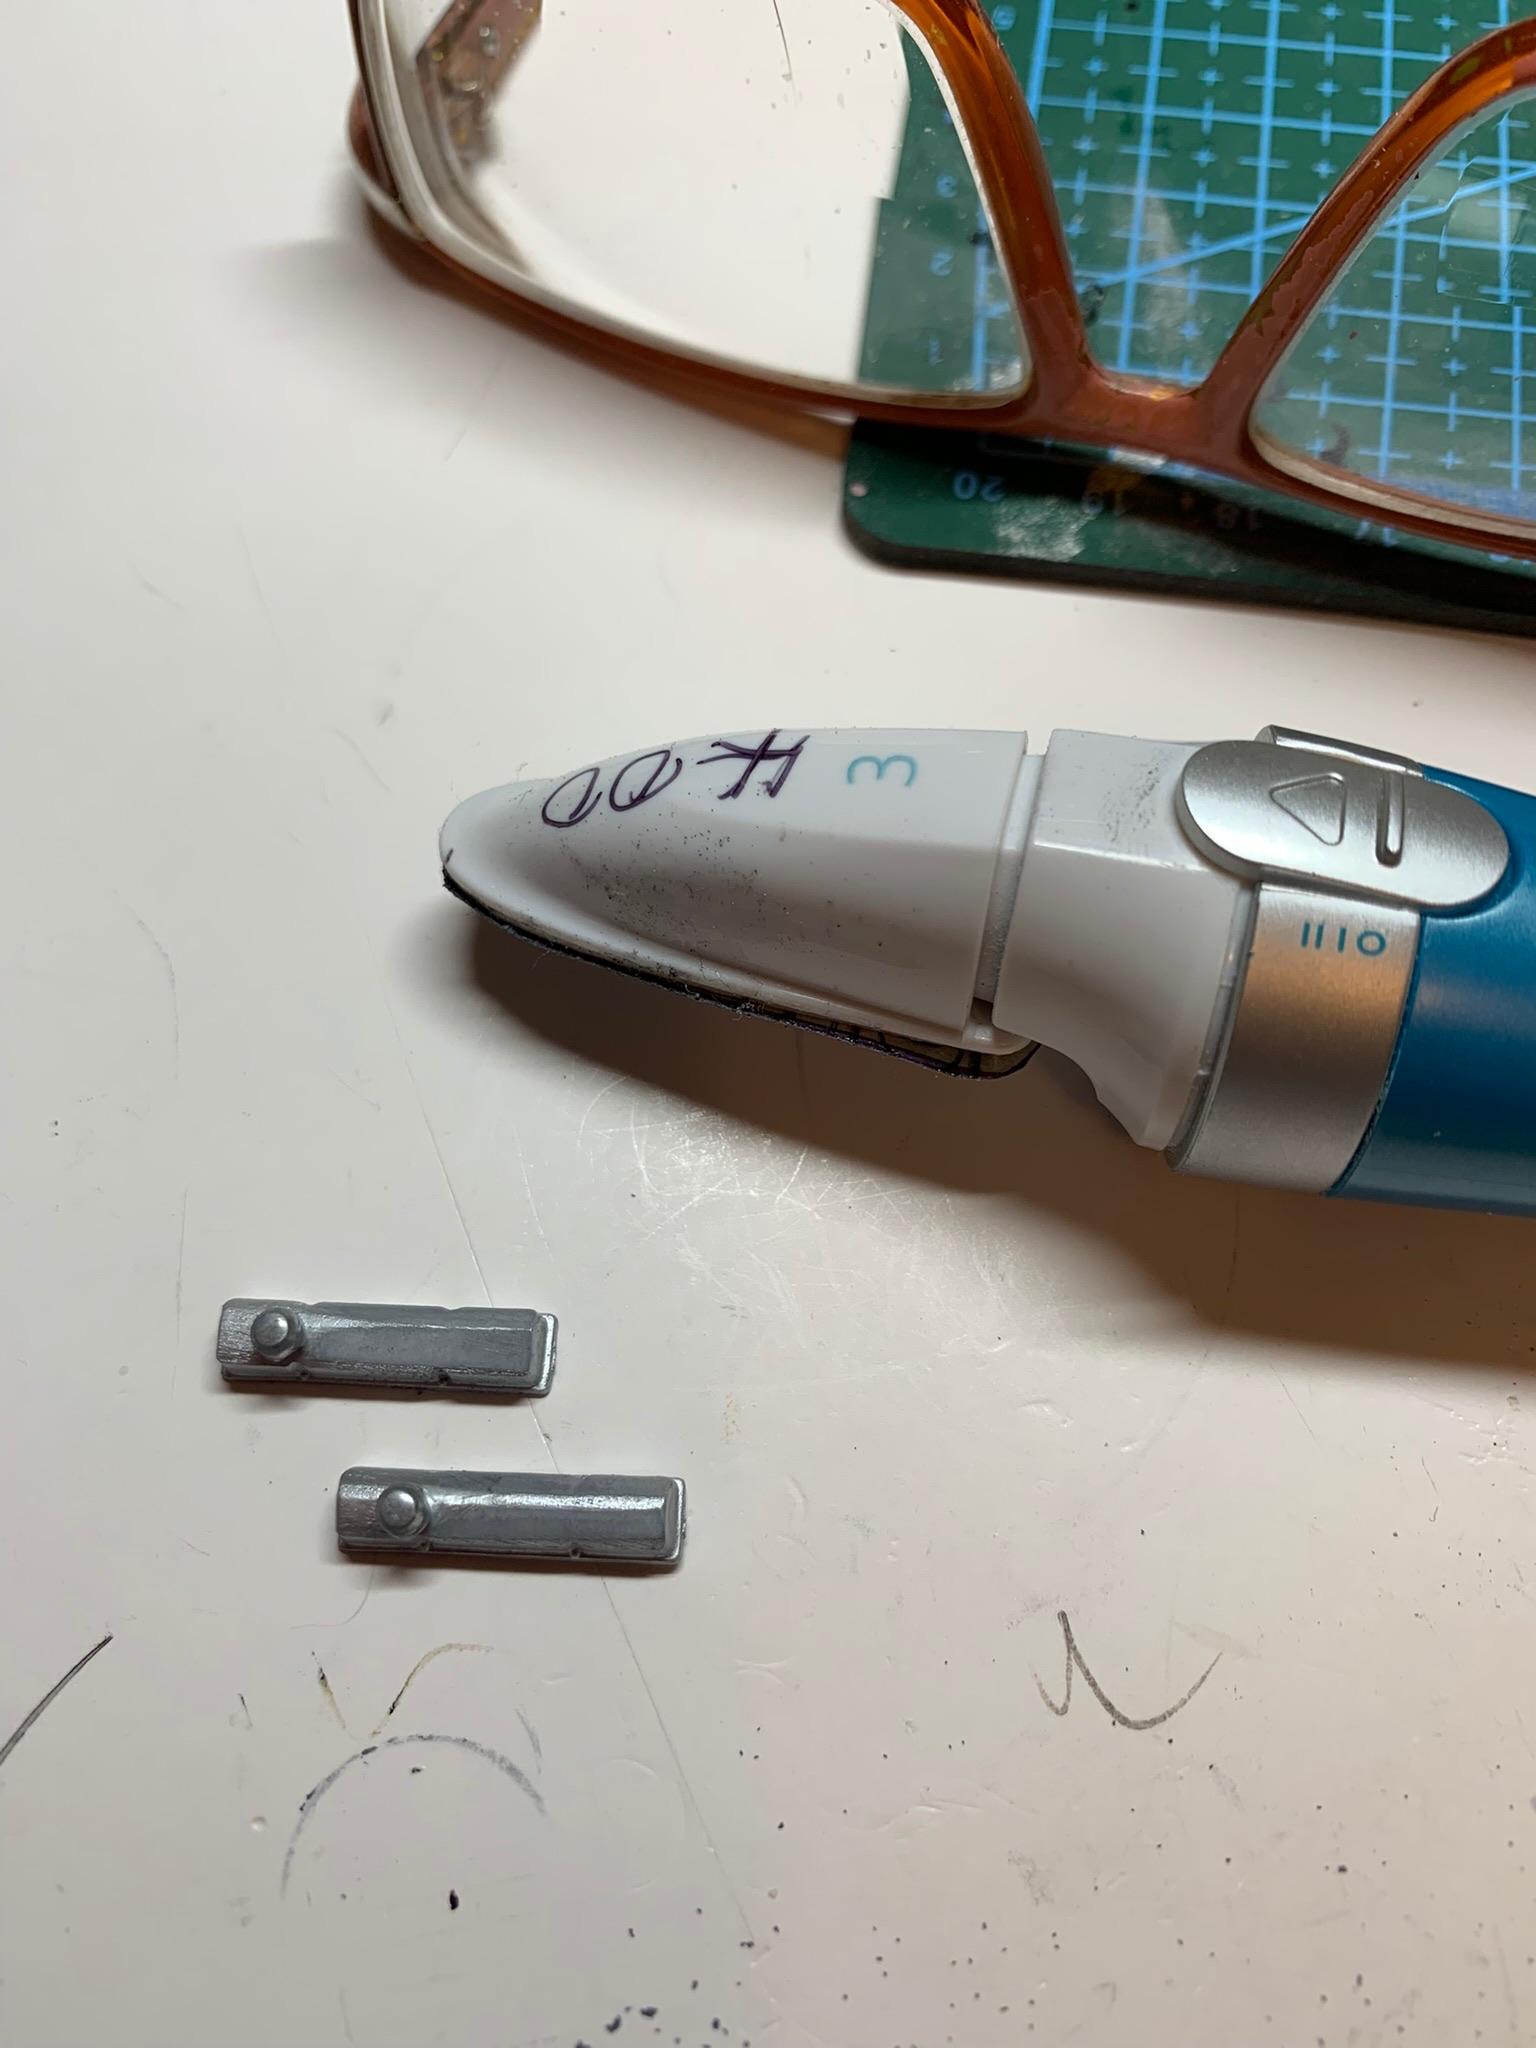
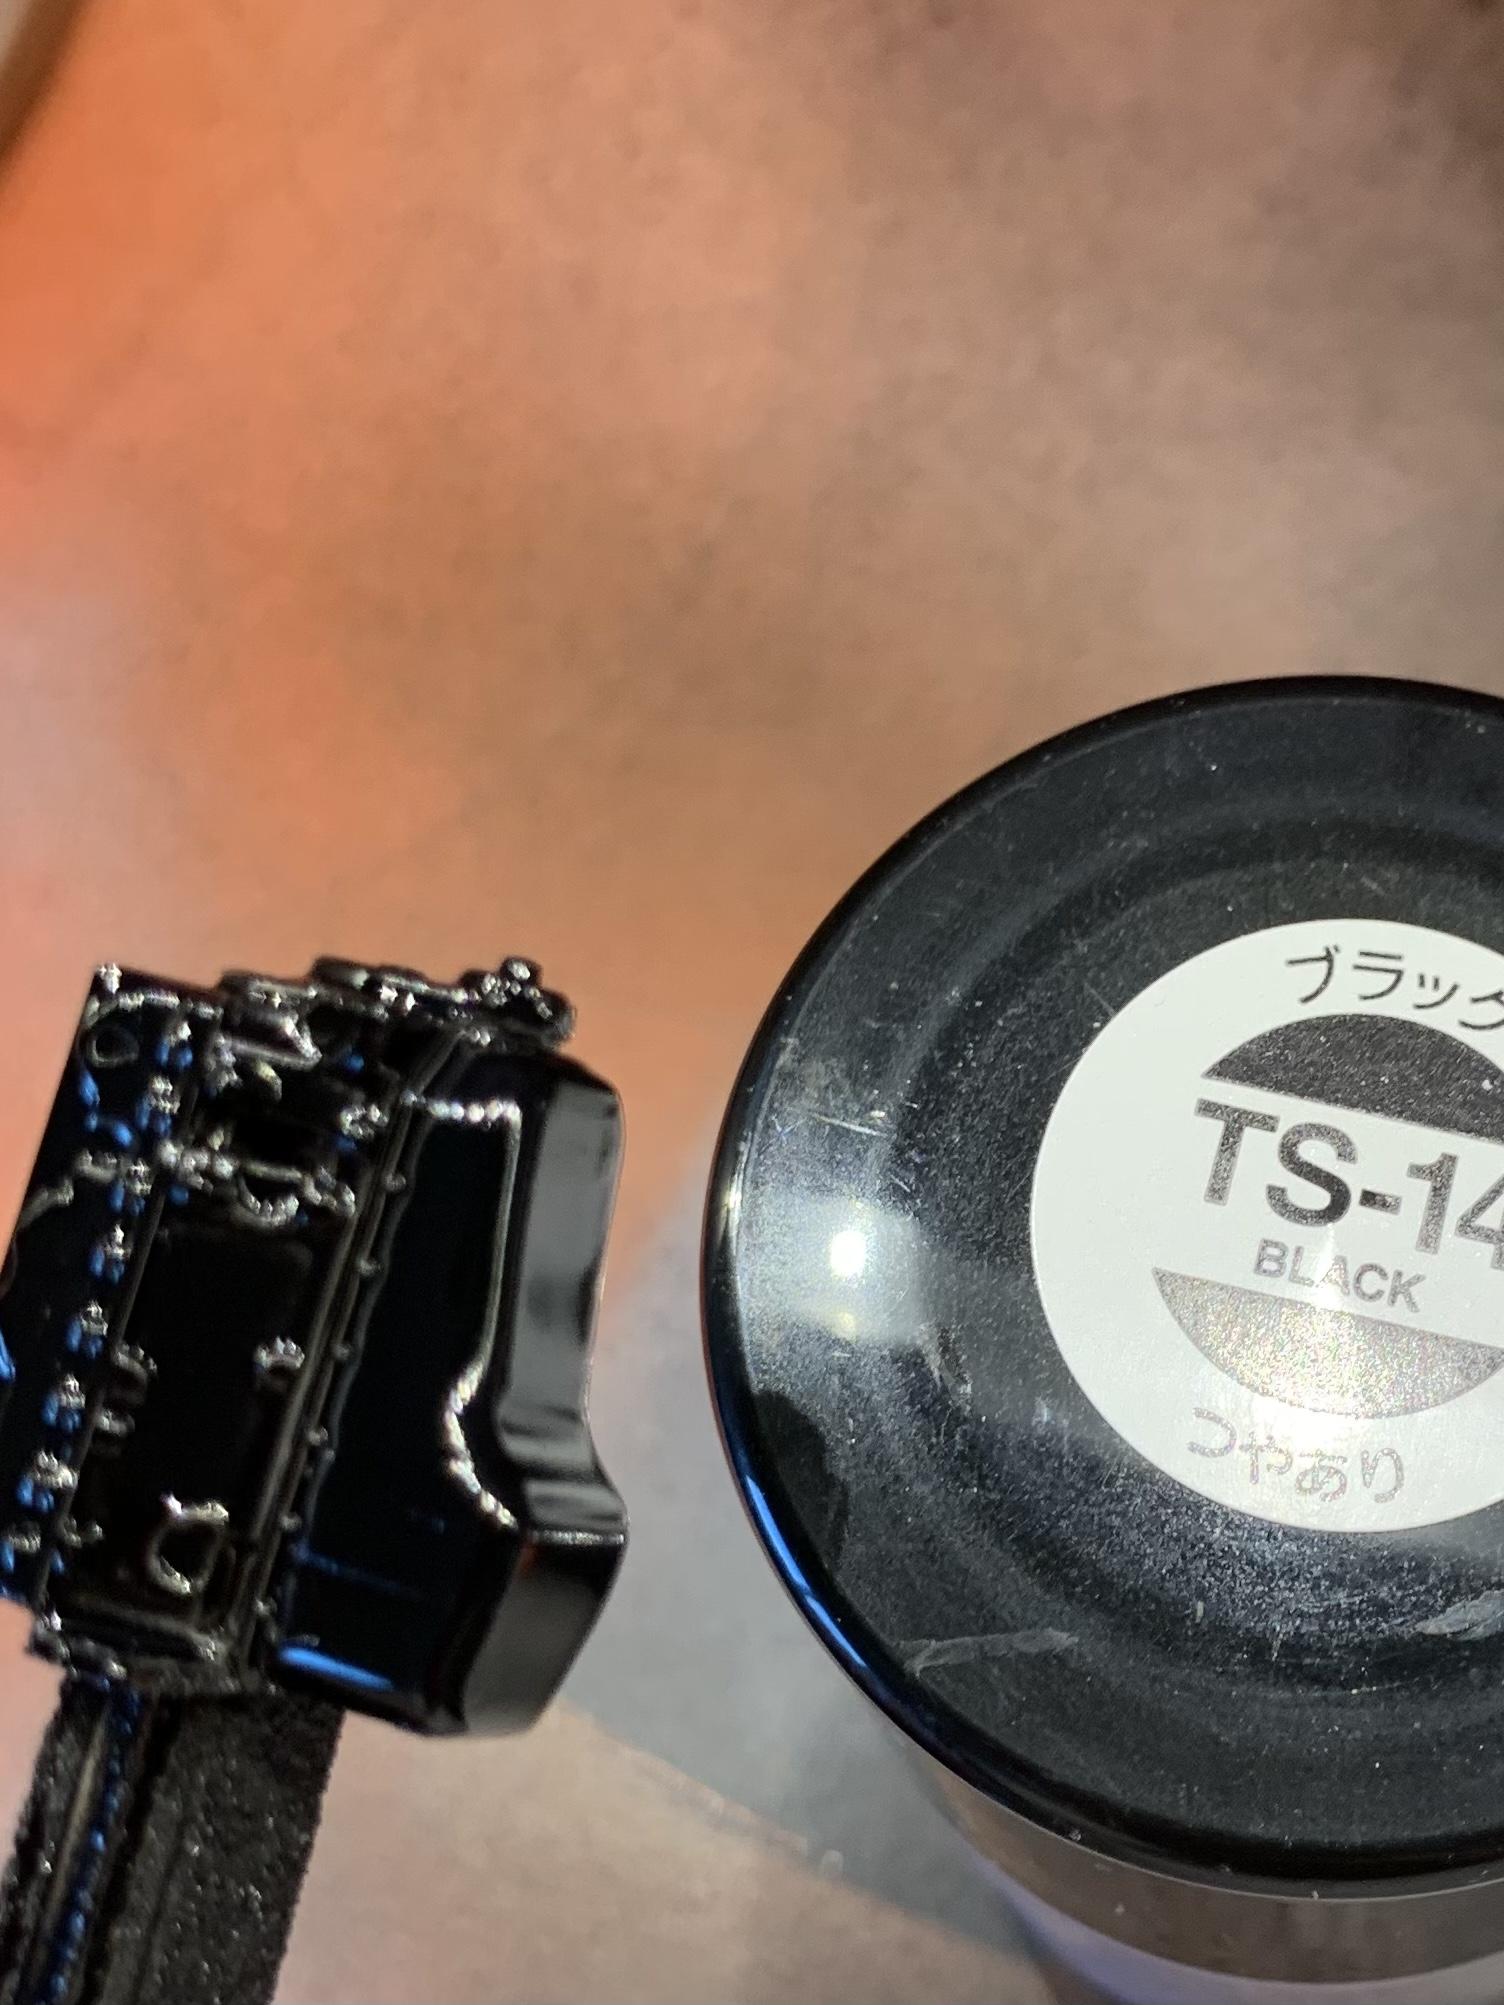
Thanks, Daniel. Some piddling work done. Terrible picture of the electric water pump after adding some 1/16 rod rod to the end. Then cut some narrow masking tape strips with my handy dandy dual knife blade that I previously have used for bare metal foil strips. Then a little black paint from mr. Color. Not the best job, but, ok, I guess. A little eBay research to verify my old brain on spark plug location. Finally, my modified ultra high dollar sander that I got from Amazon a couple years ago. Wouldn’t recommend it as a powerhouse sander, but it helped me out this time. I am also going to try it out on the hood(s). The valve covers after some ts17 Tamiya.
-
1969 Nova F/SA NHRA Stock Eliminator
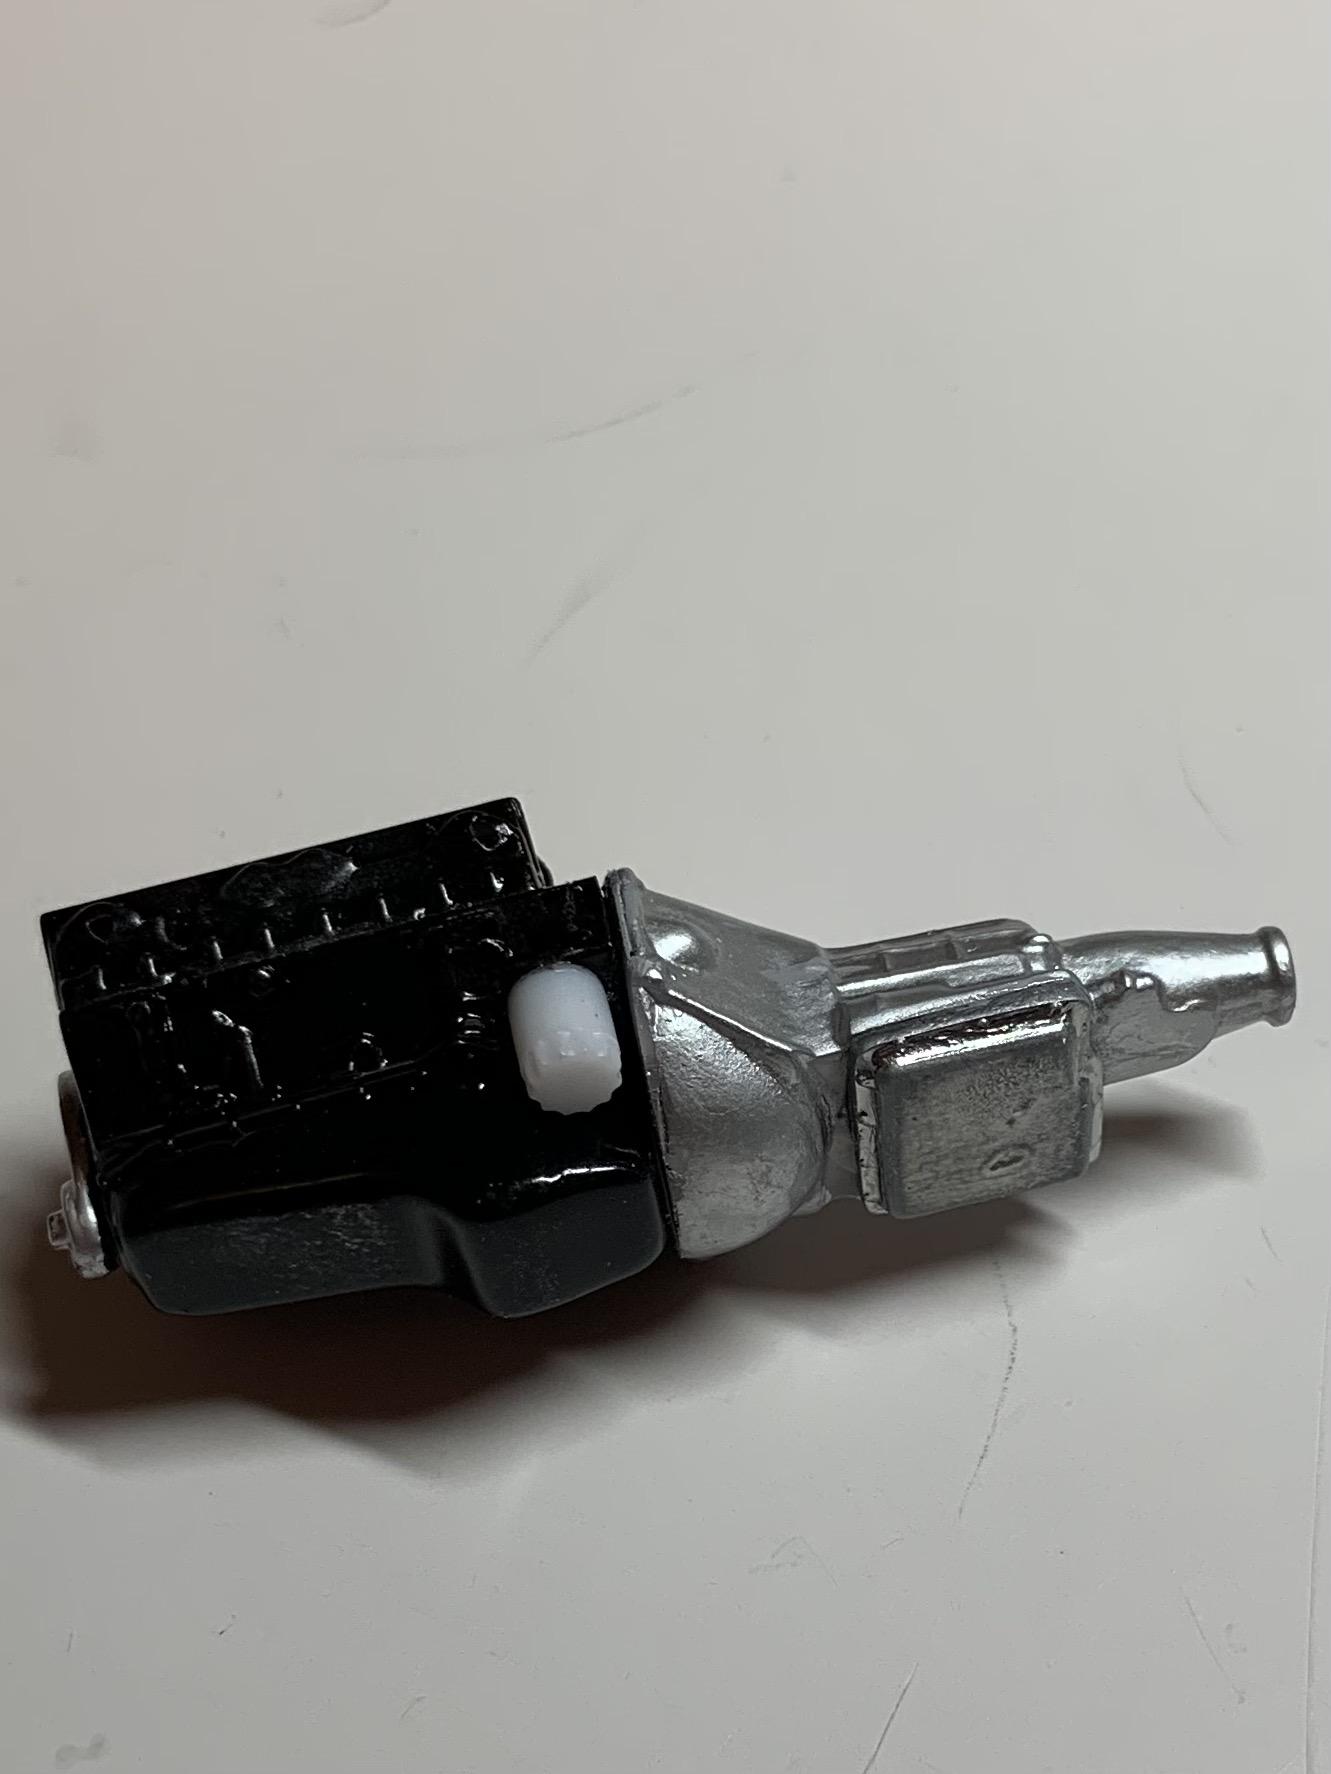
R. Thorne replied to R. Thorne's topic in WIP: Drag Racing Models
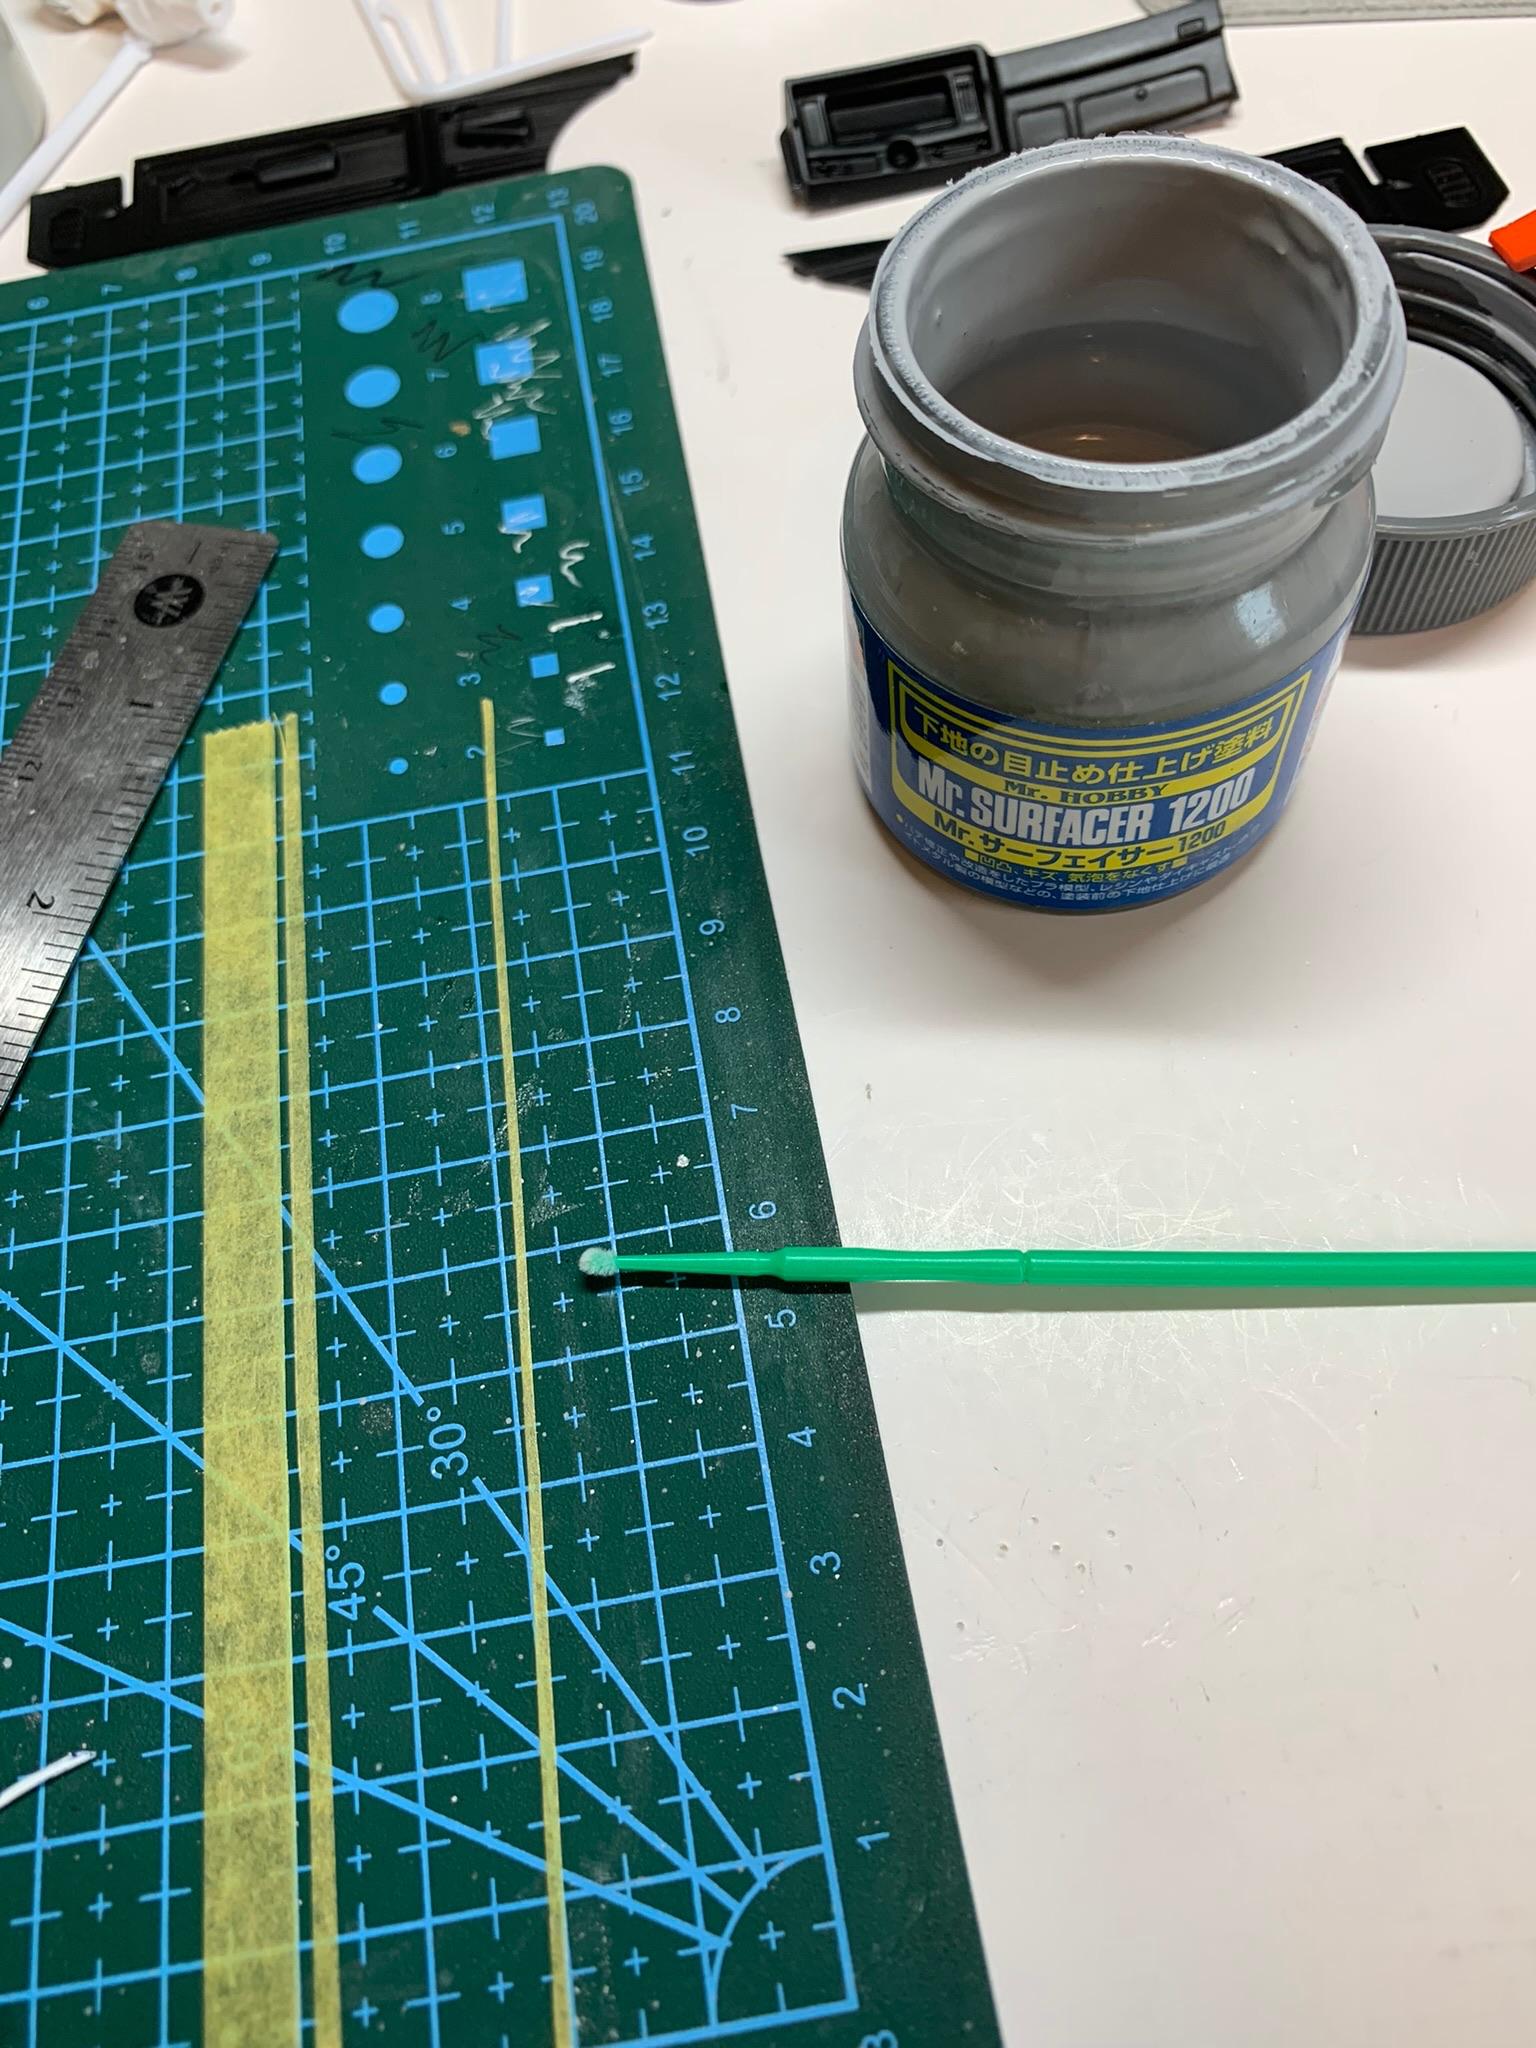
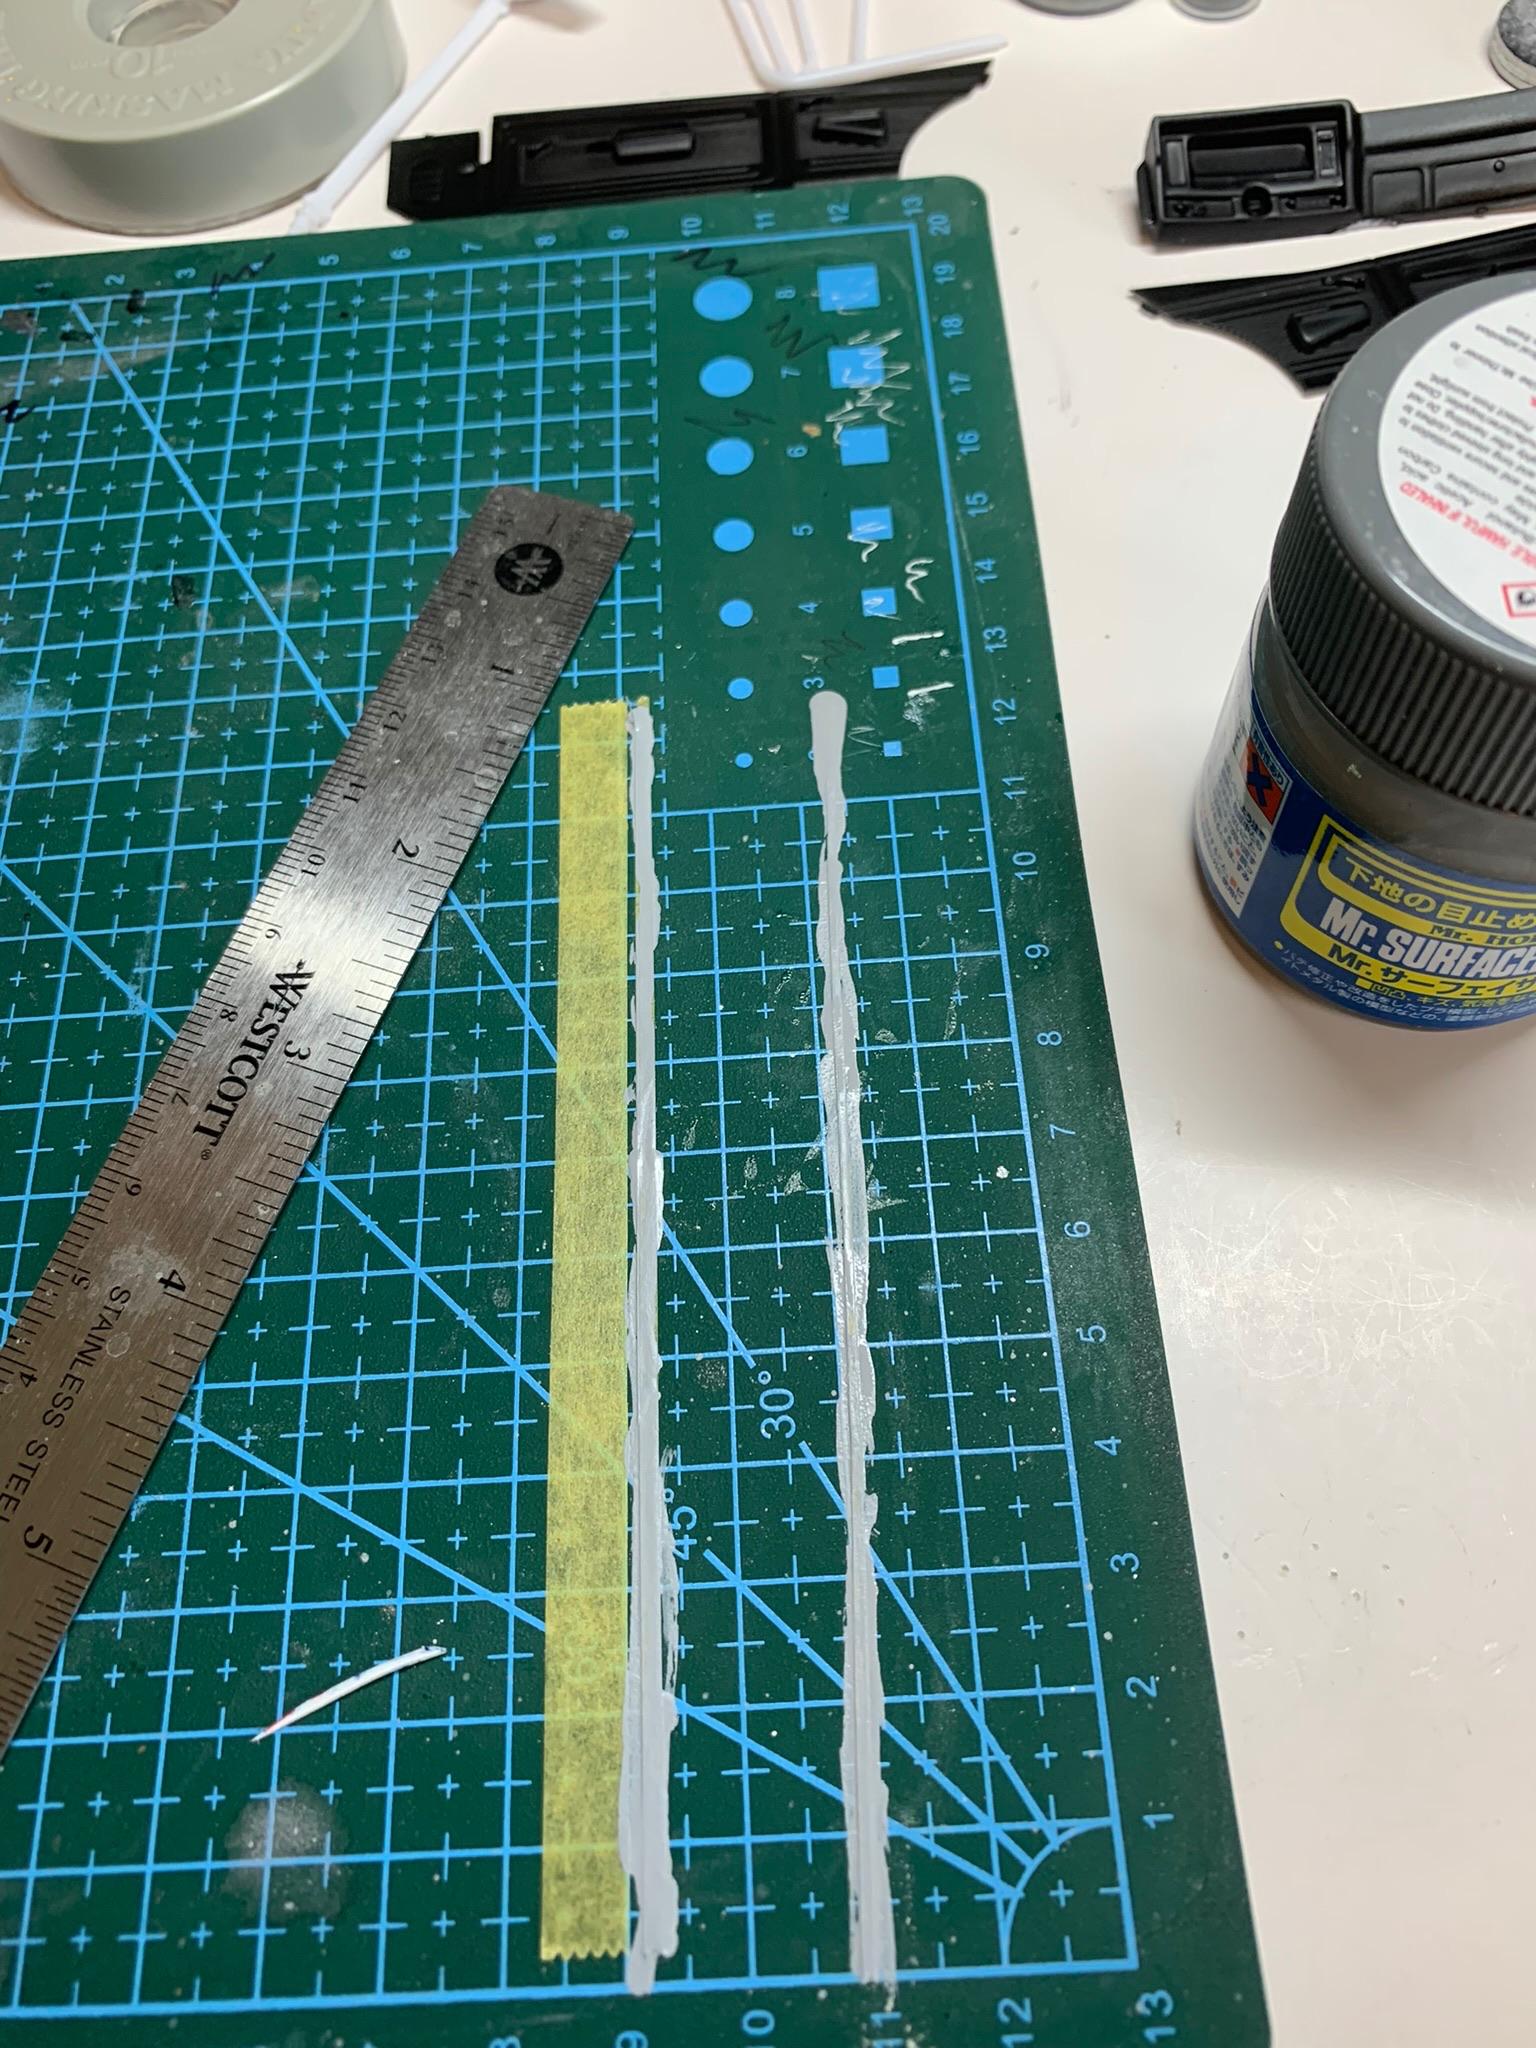
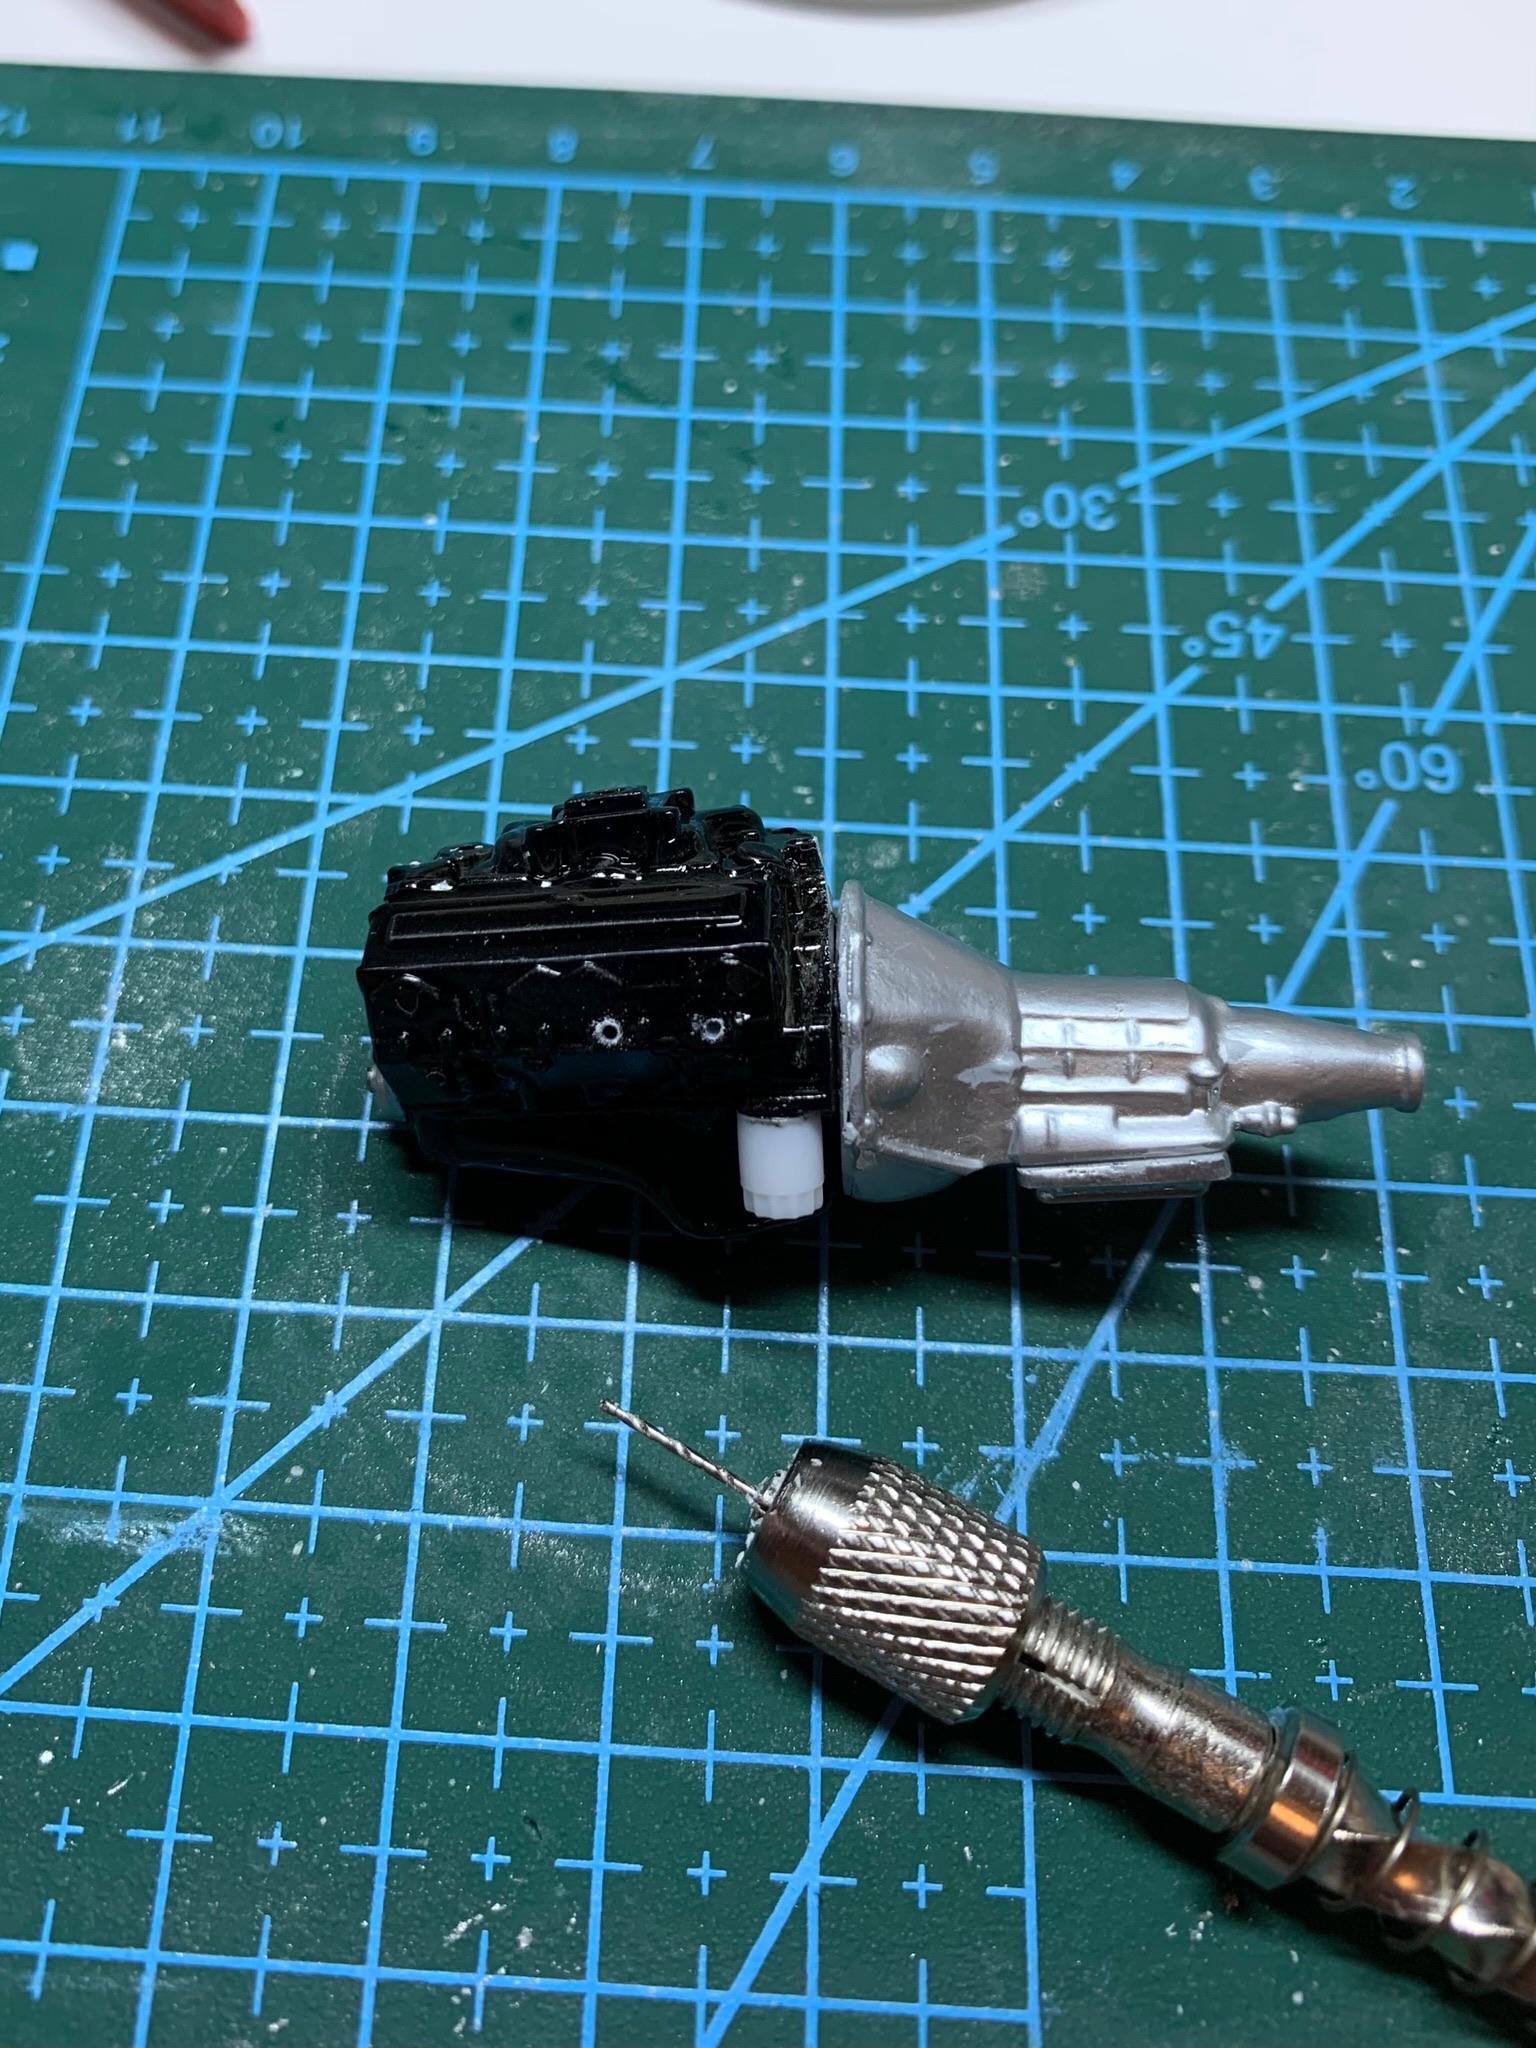
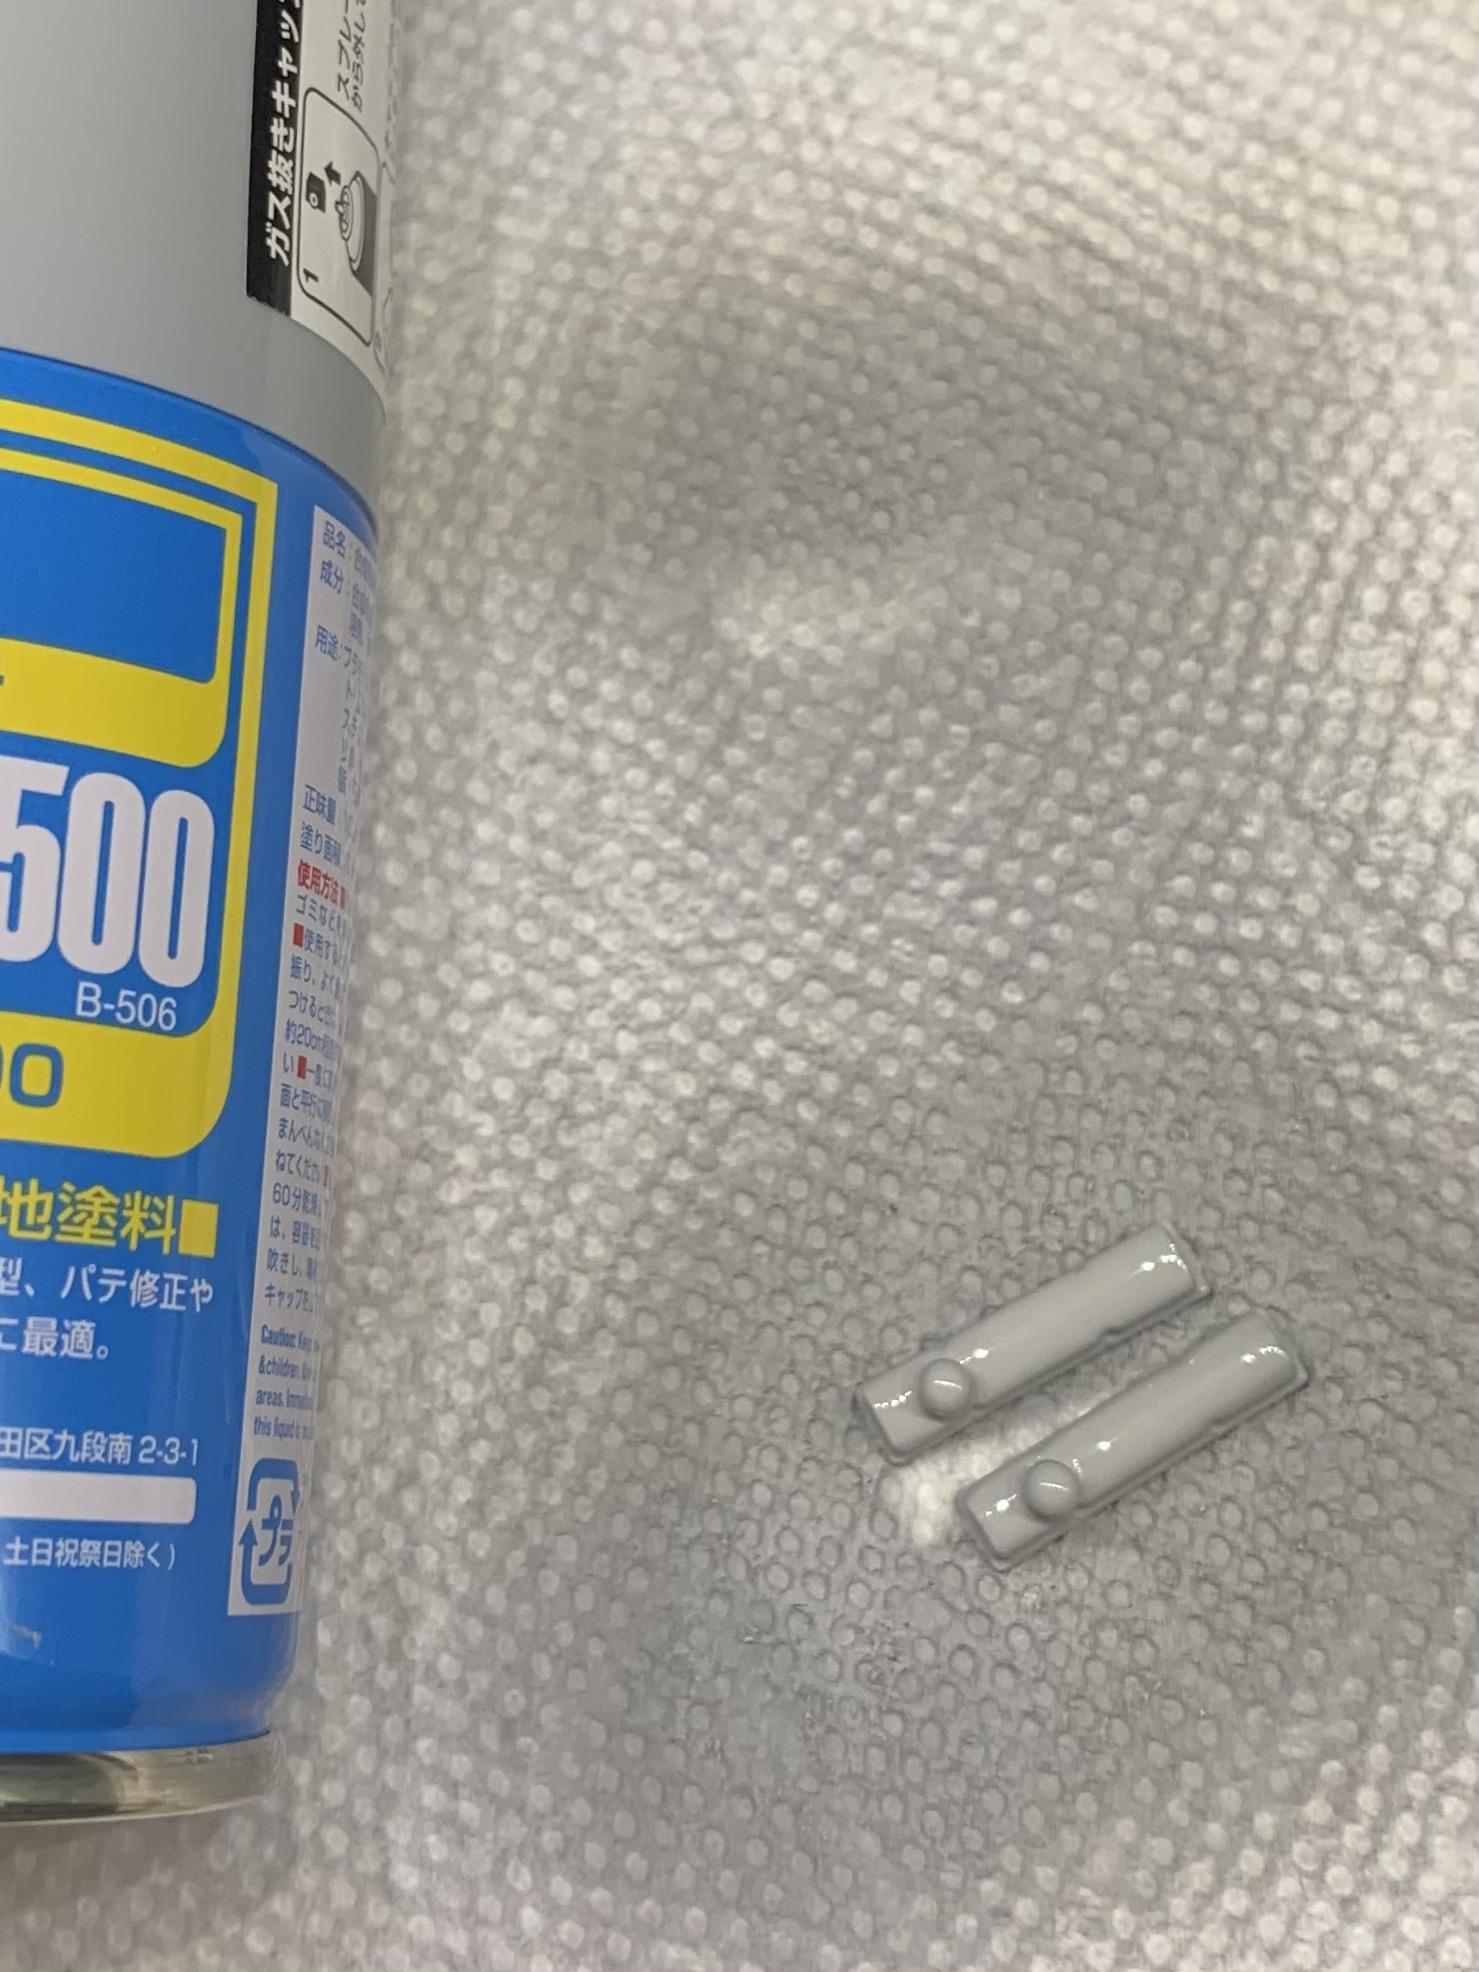
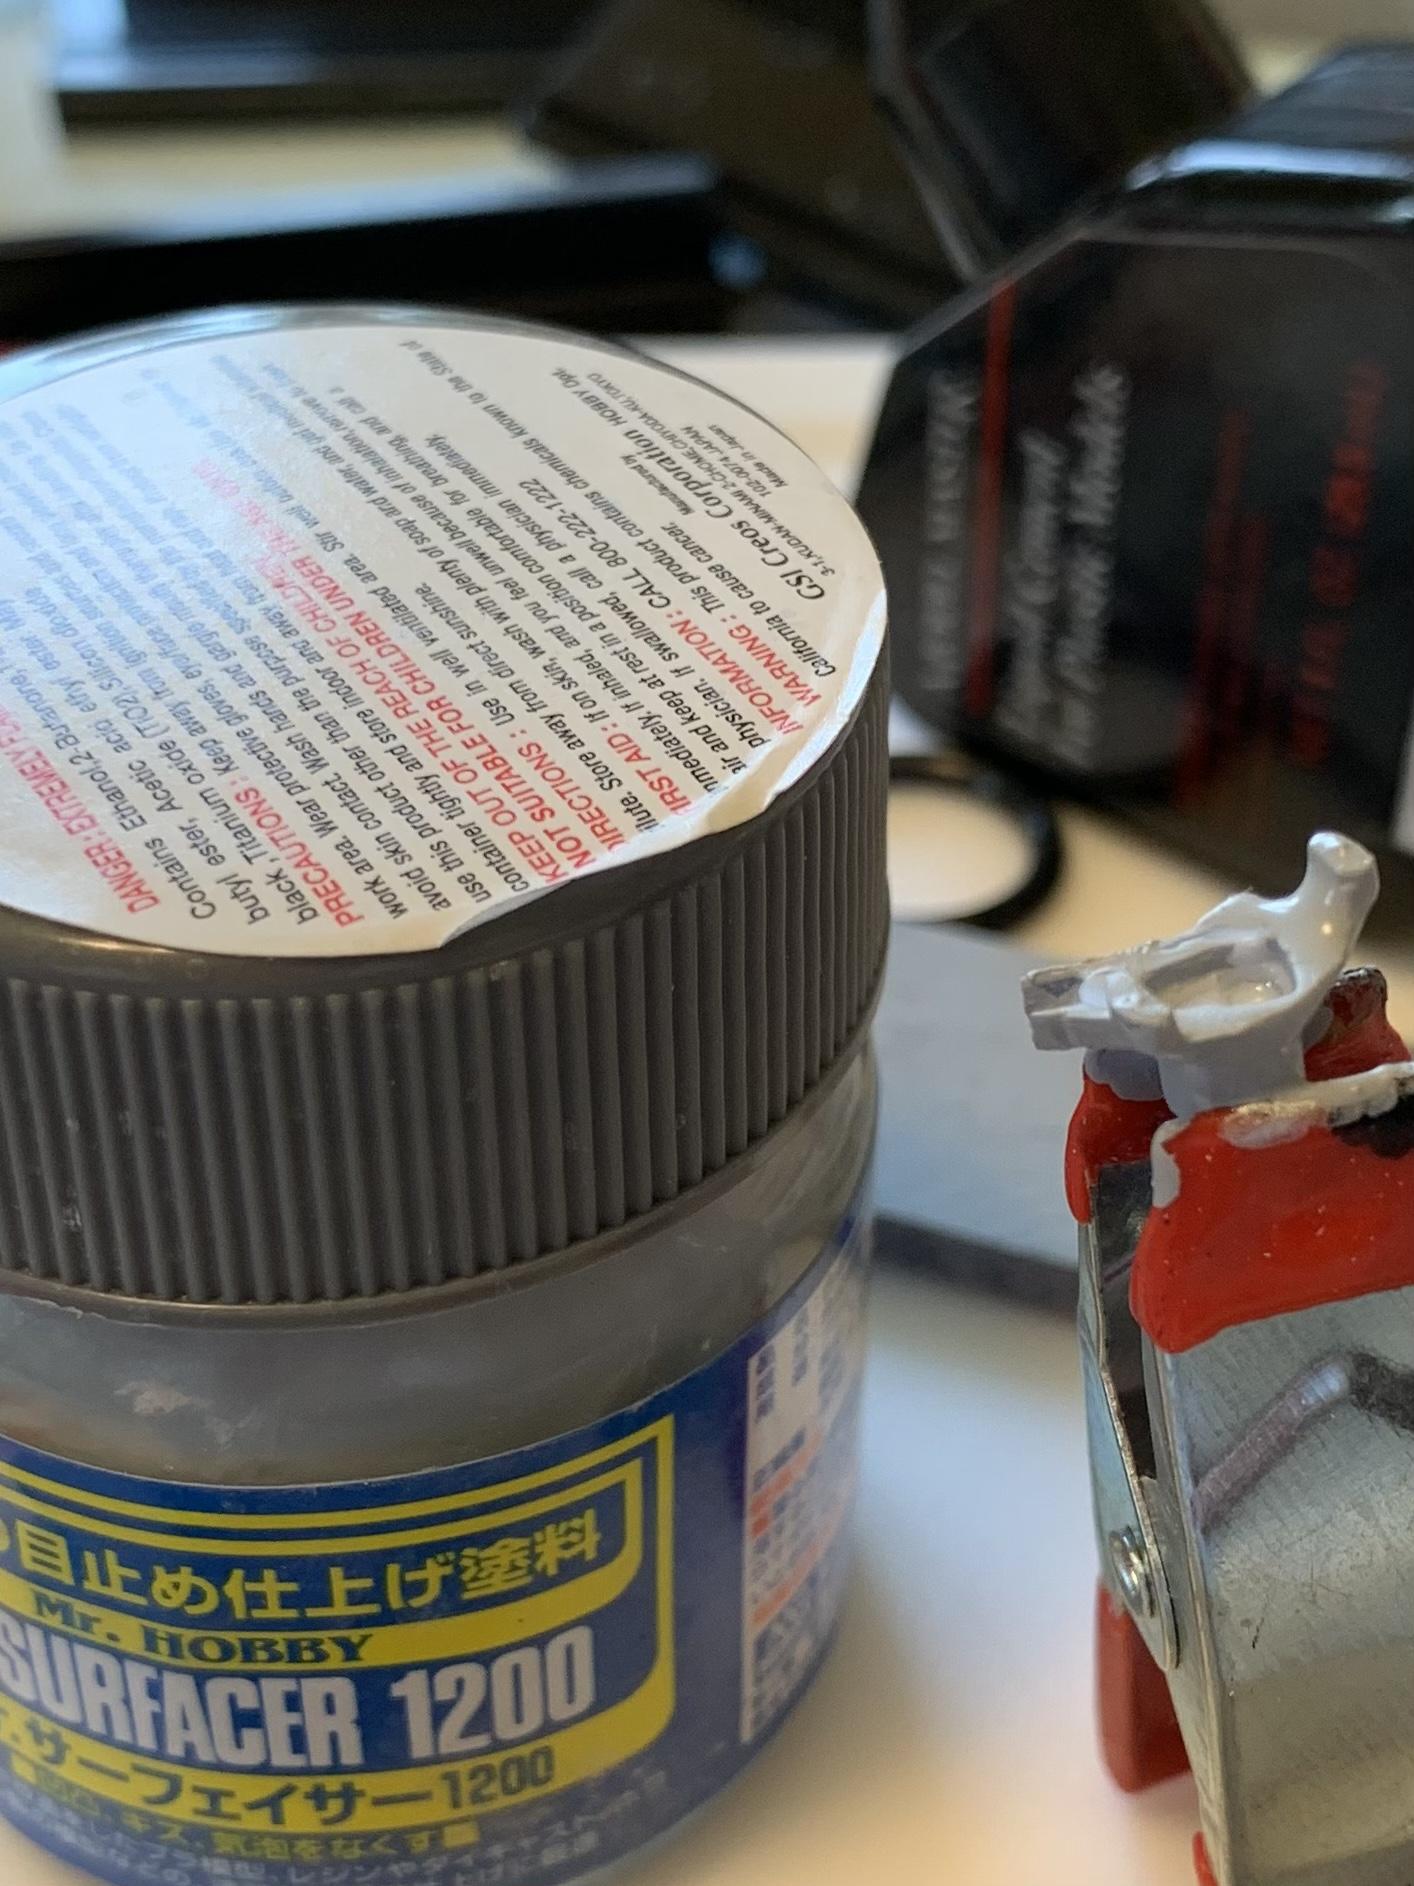
Installed the oil filter and transmission (with super glue). The valve covers looked like BLAH_BLAH_BLAH_BLAH (too rough sandpaper). Was going to hand sand the paint off and smooth the scratches off, but, upon looking in my sandpaper drawer, I spied a small reciprocal sander that works off a aa battery. I don’t remember where I got it from, but, with some 400 grit paper, it was a lot easier and quicker than hand sanding. Sprayed with a heavy coat of #500 mr. Surfacer primer. We’ll see how it turns out.
-
1969 Nova F/SA NHRA Stock Eliminator
R. Thorne replied to R. Thorne's topic in WIP: Drag Racing Models
Thanks in part to you, Roger. Took a day off for other stuff. -
1969 Nova F/SA NHRA Stock Eliminator
R. Thorne replied to R. Thorne's topic in WIP: Drag Racing Models
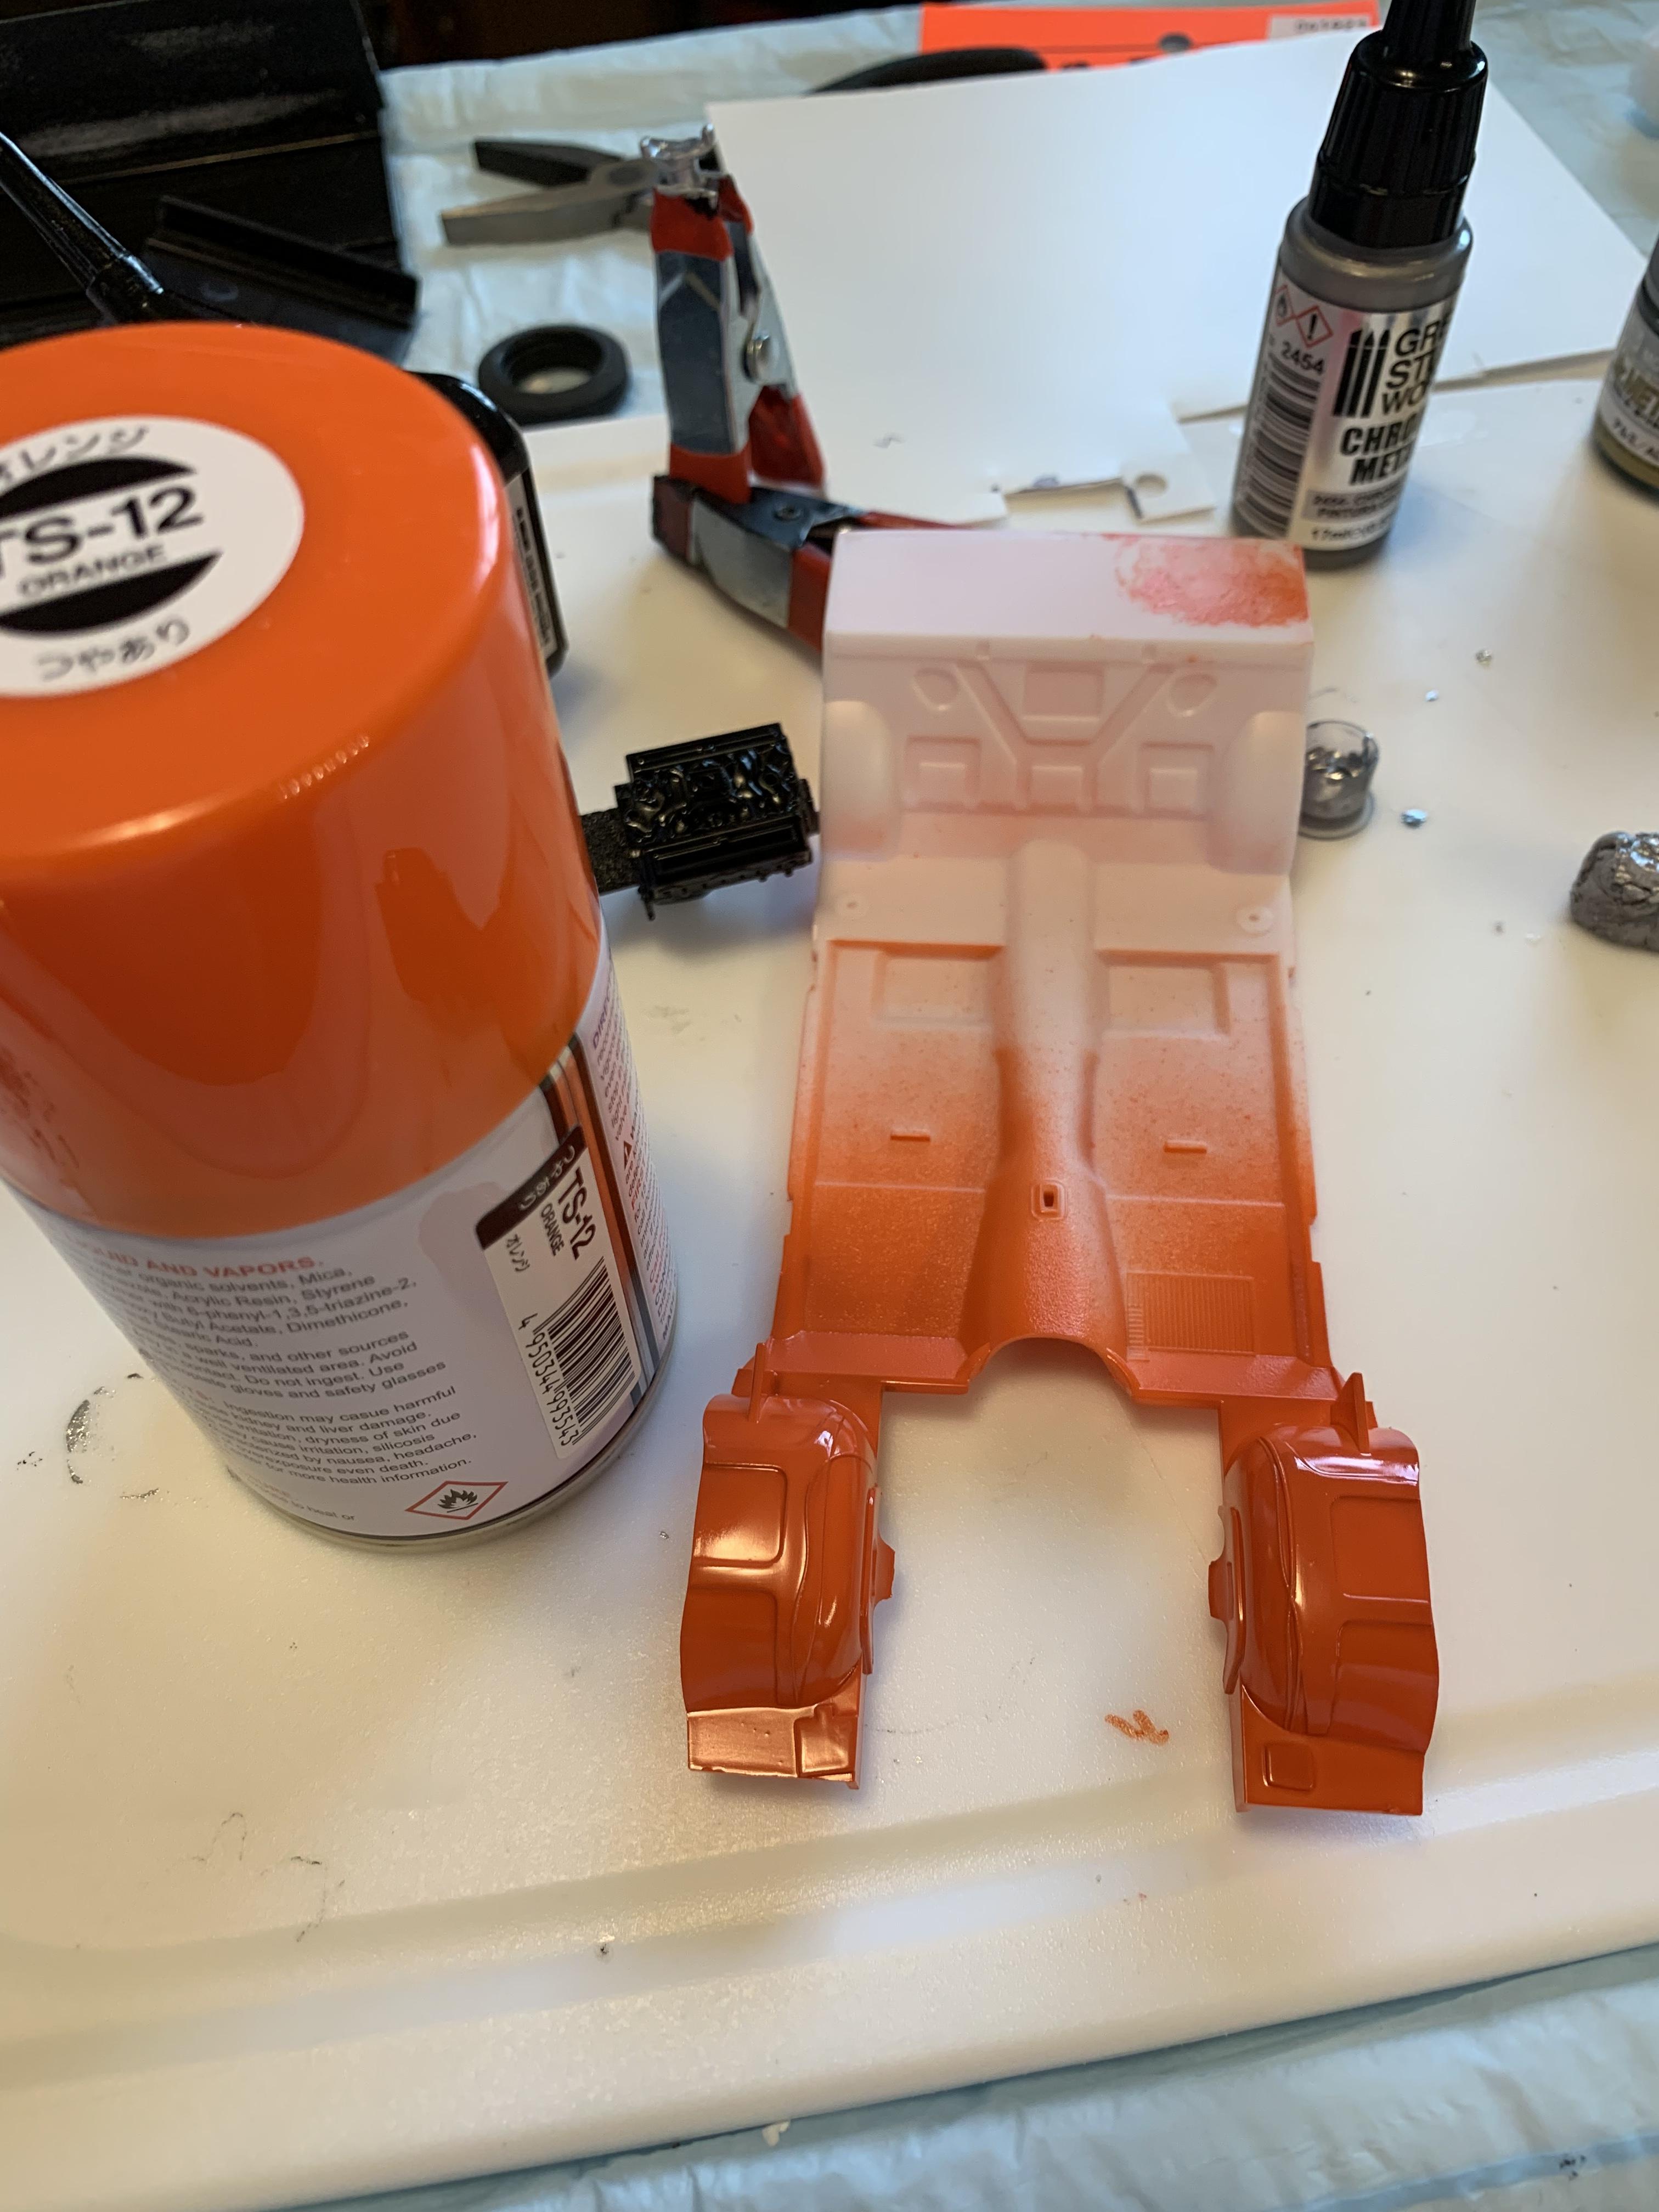
Some more painting I did yesterday.
-
1969 Nova F/SA NHRA Stock Eliminator
R. Thorne replied to R. Thorne's topic in WIP: Drag Racing Models
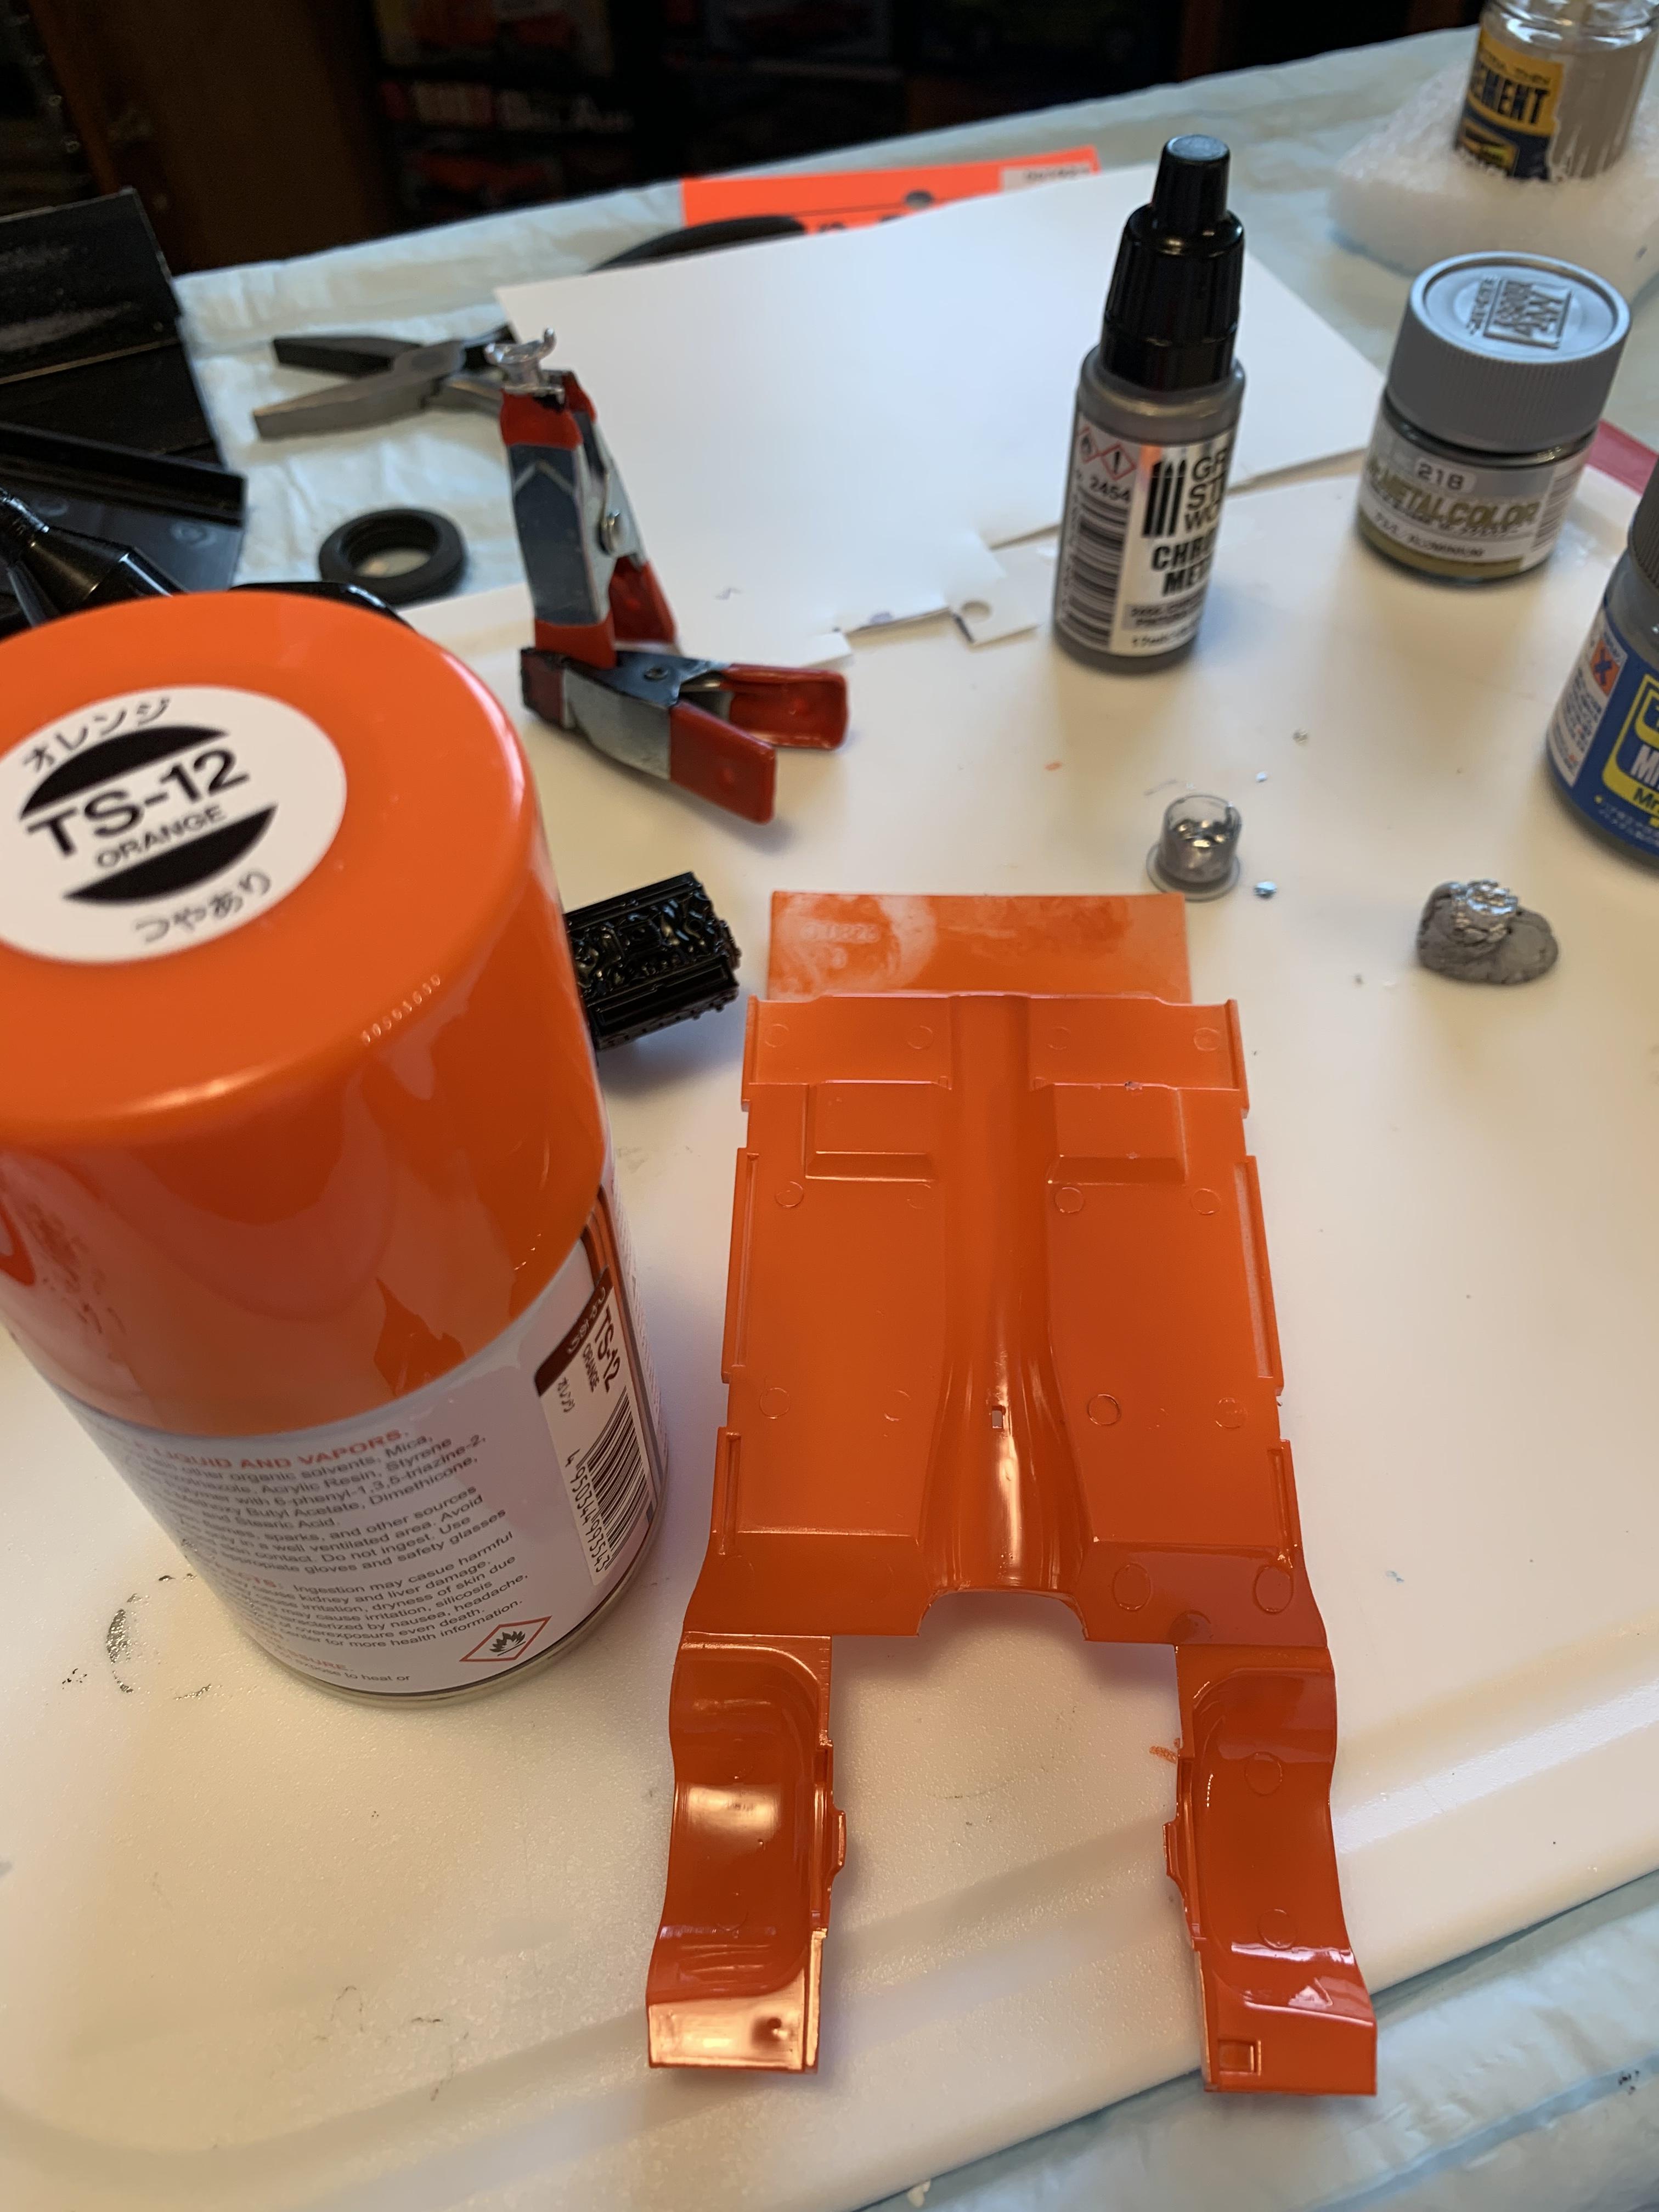
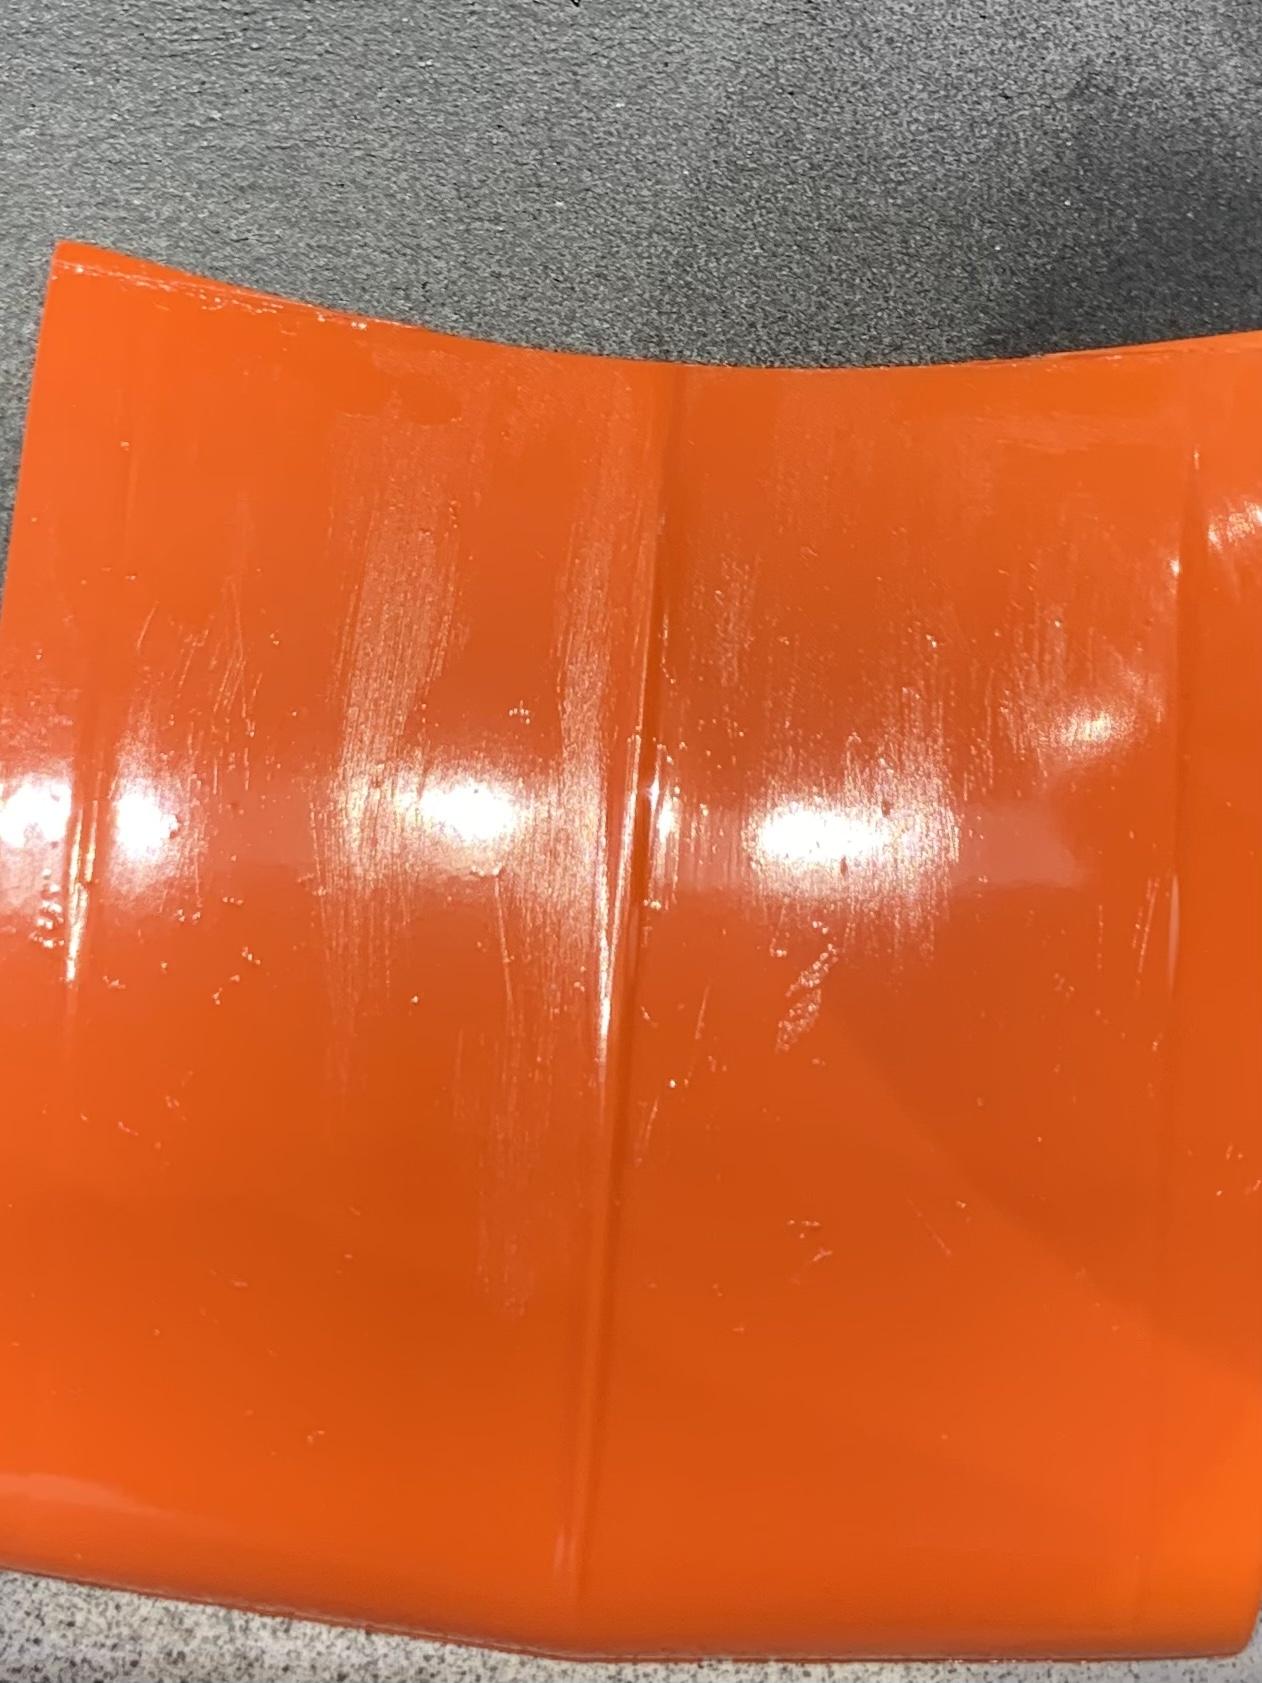
Sometimes, I just keep messing up on the same part on a build, and you just have to work through it. I was painting the front wheel wells and, as I often do, I looked around for anything else that needed to be painted that color, also. Grabbed the (2nd) hood and sprayed it. Then I remembered I had not primed it after sanding off the emblems. Well, let’s just say it’s taking a bath in 91% alcohol.
-
1969 Nova F/SA NHRA Stock Eliminator
R. Thorne replied to R. Thorne's topic in WIP: Drag Racing Models
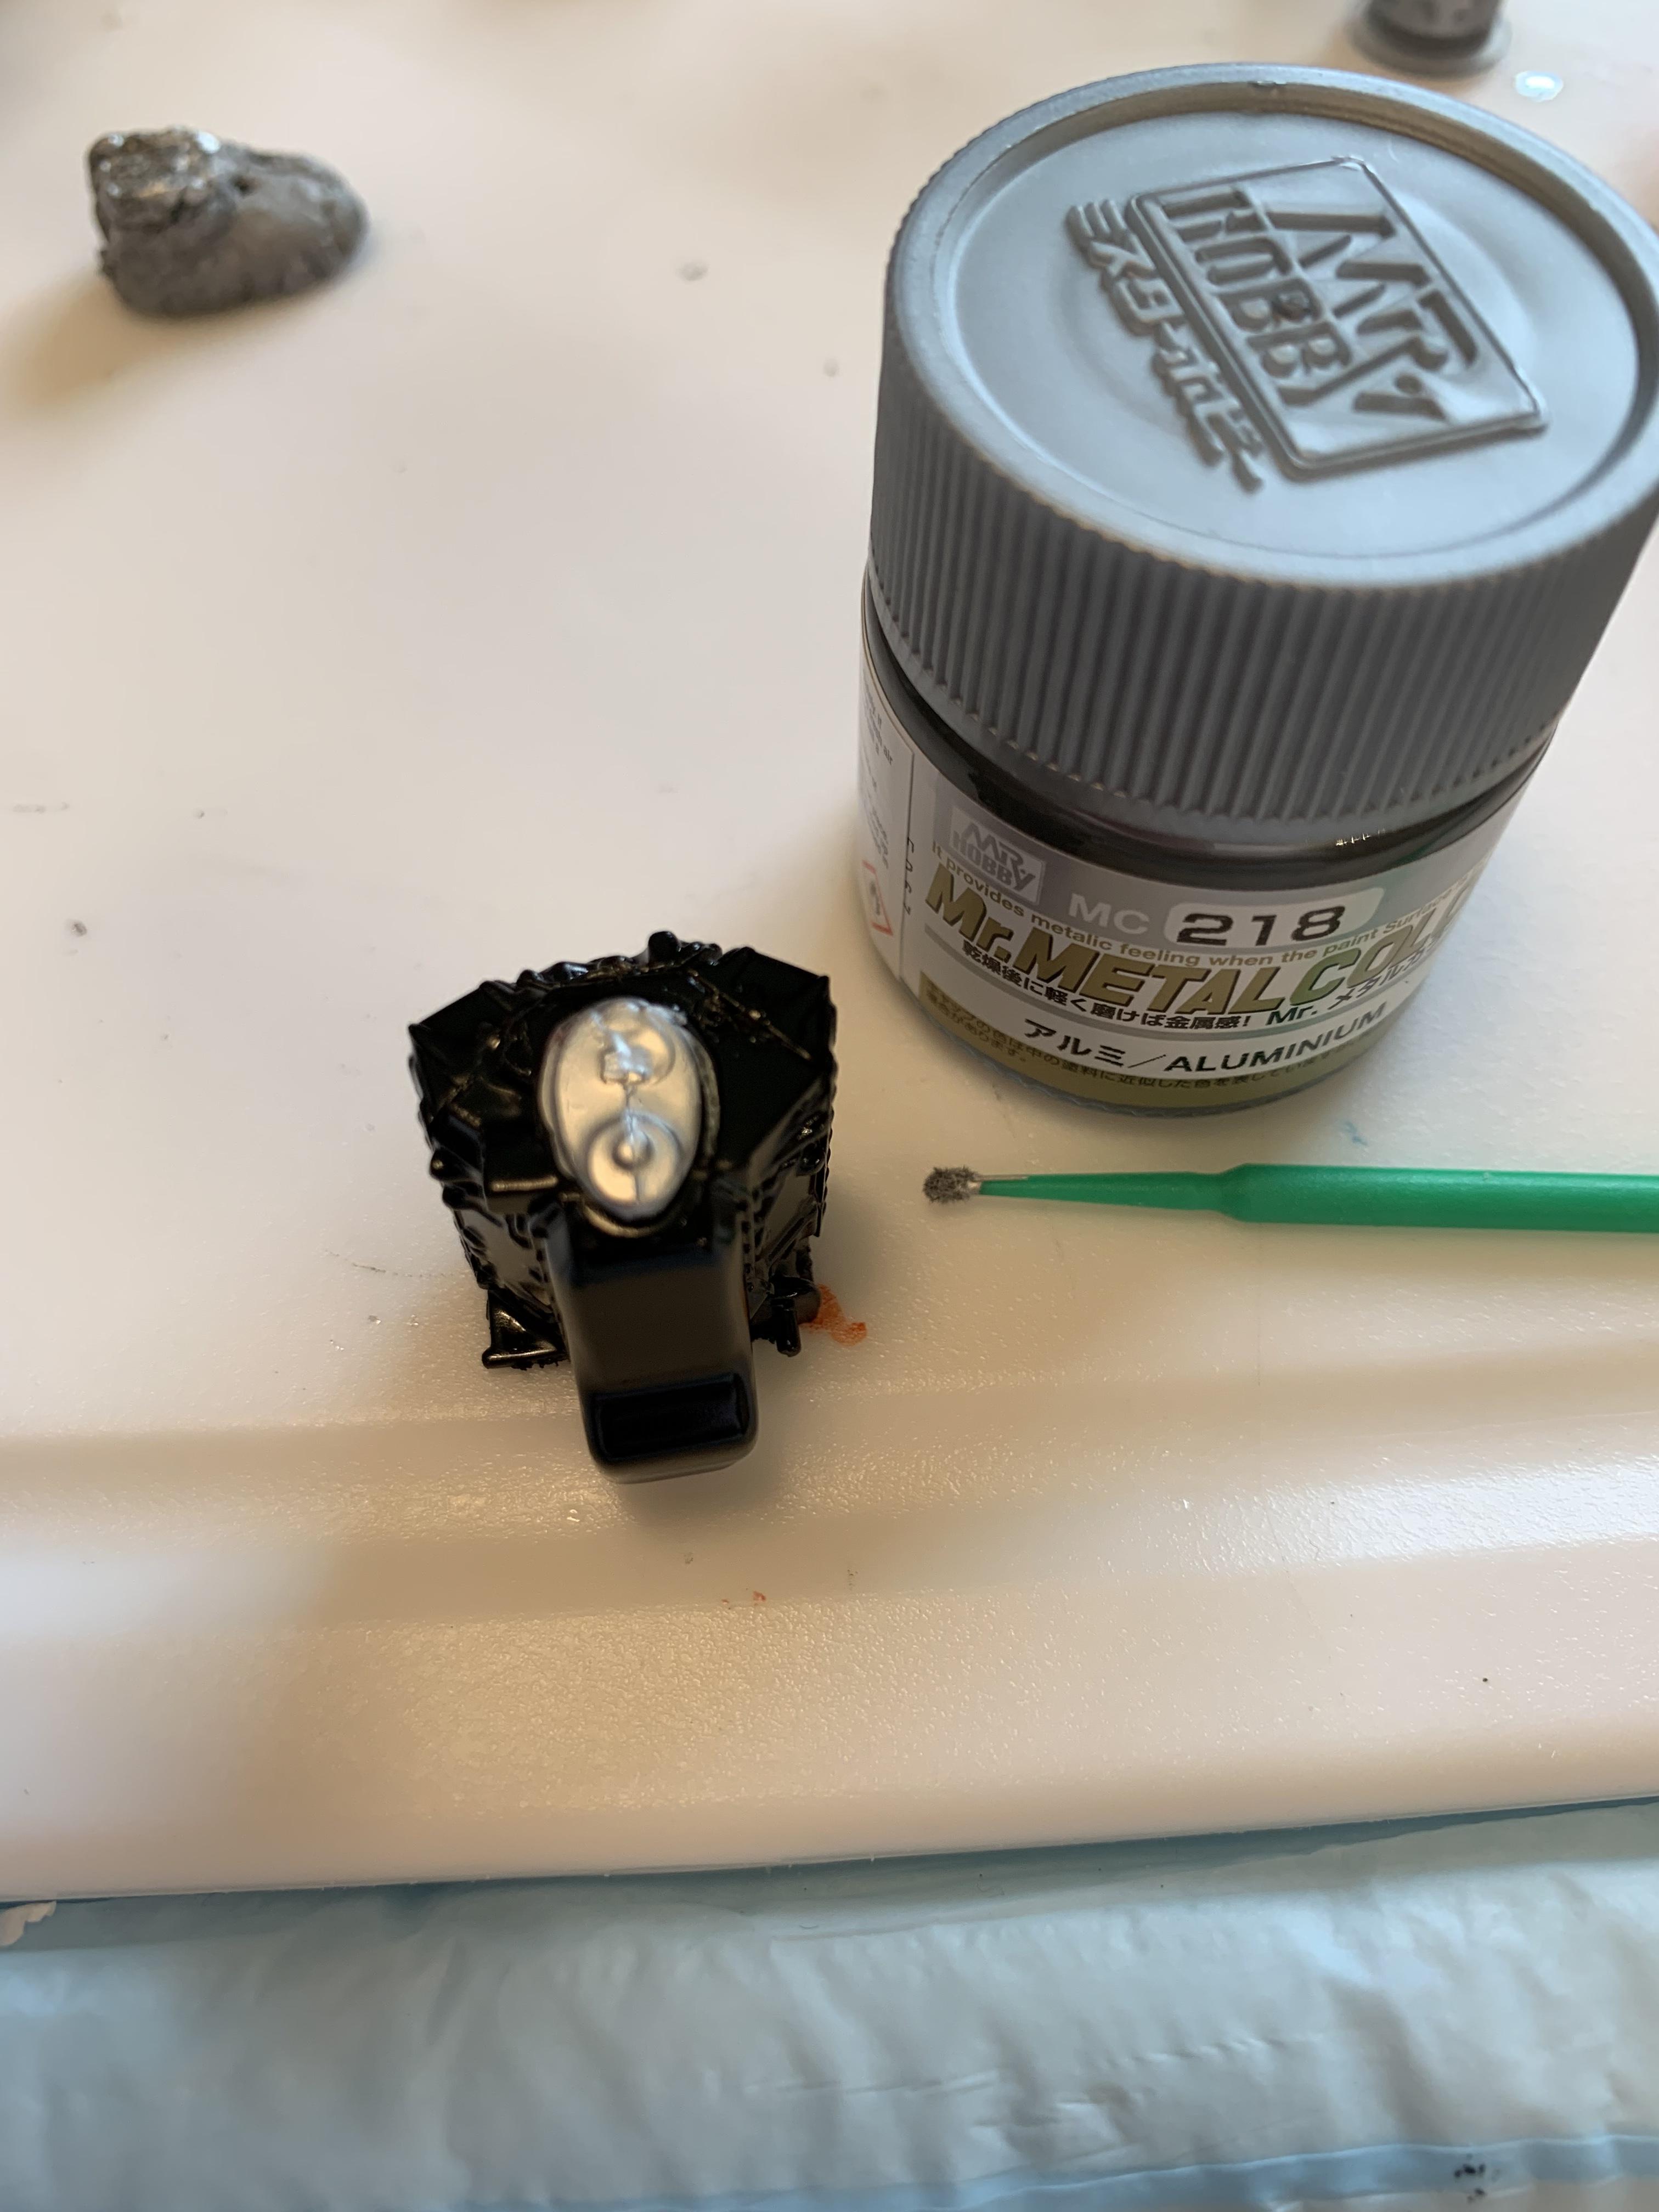
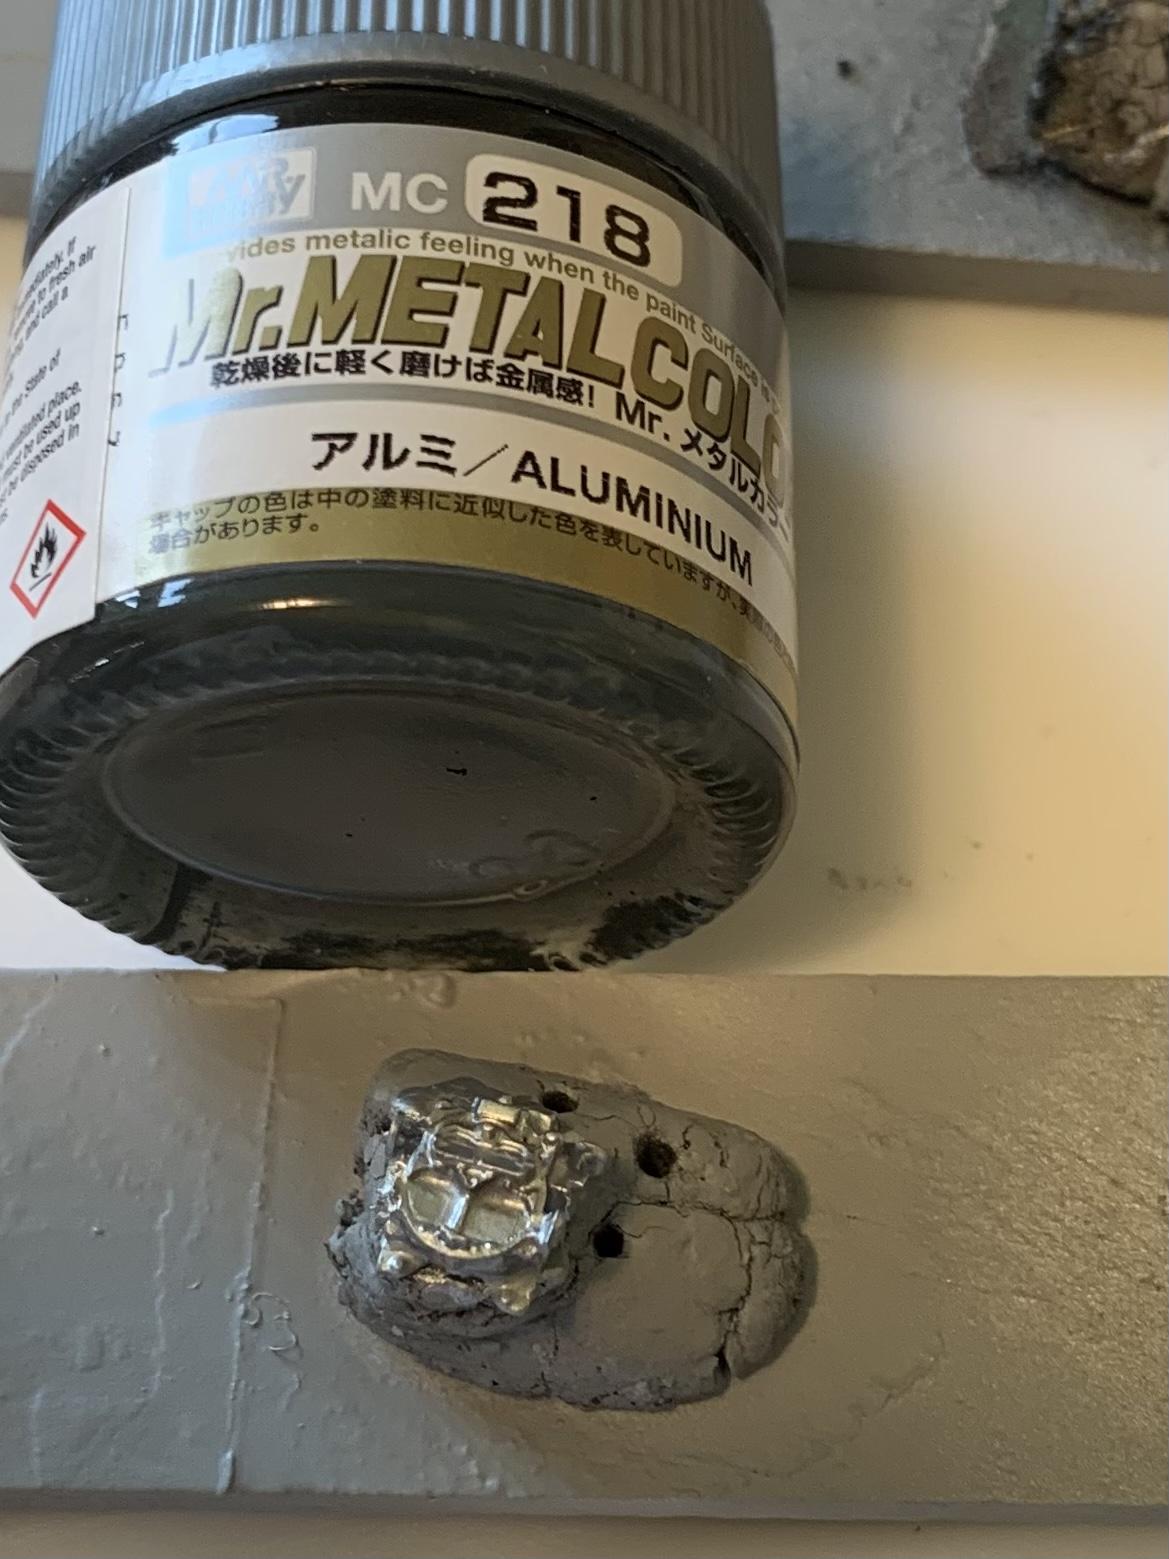
Some aluminum paint applied to the Chief Joseph quadrajet and the water pump. Plus some black paint on engine.
-
1969 Nova F/SA NHRA Stock Eliminator
R. Thorne replied to R. Thorne's topic in WIP: Drag Racing Models
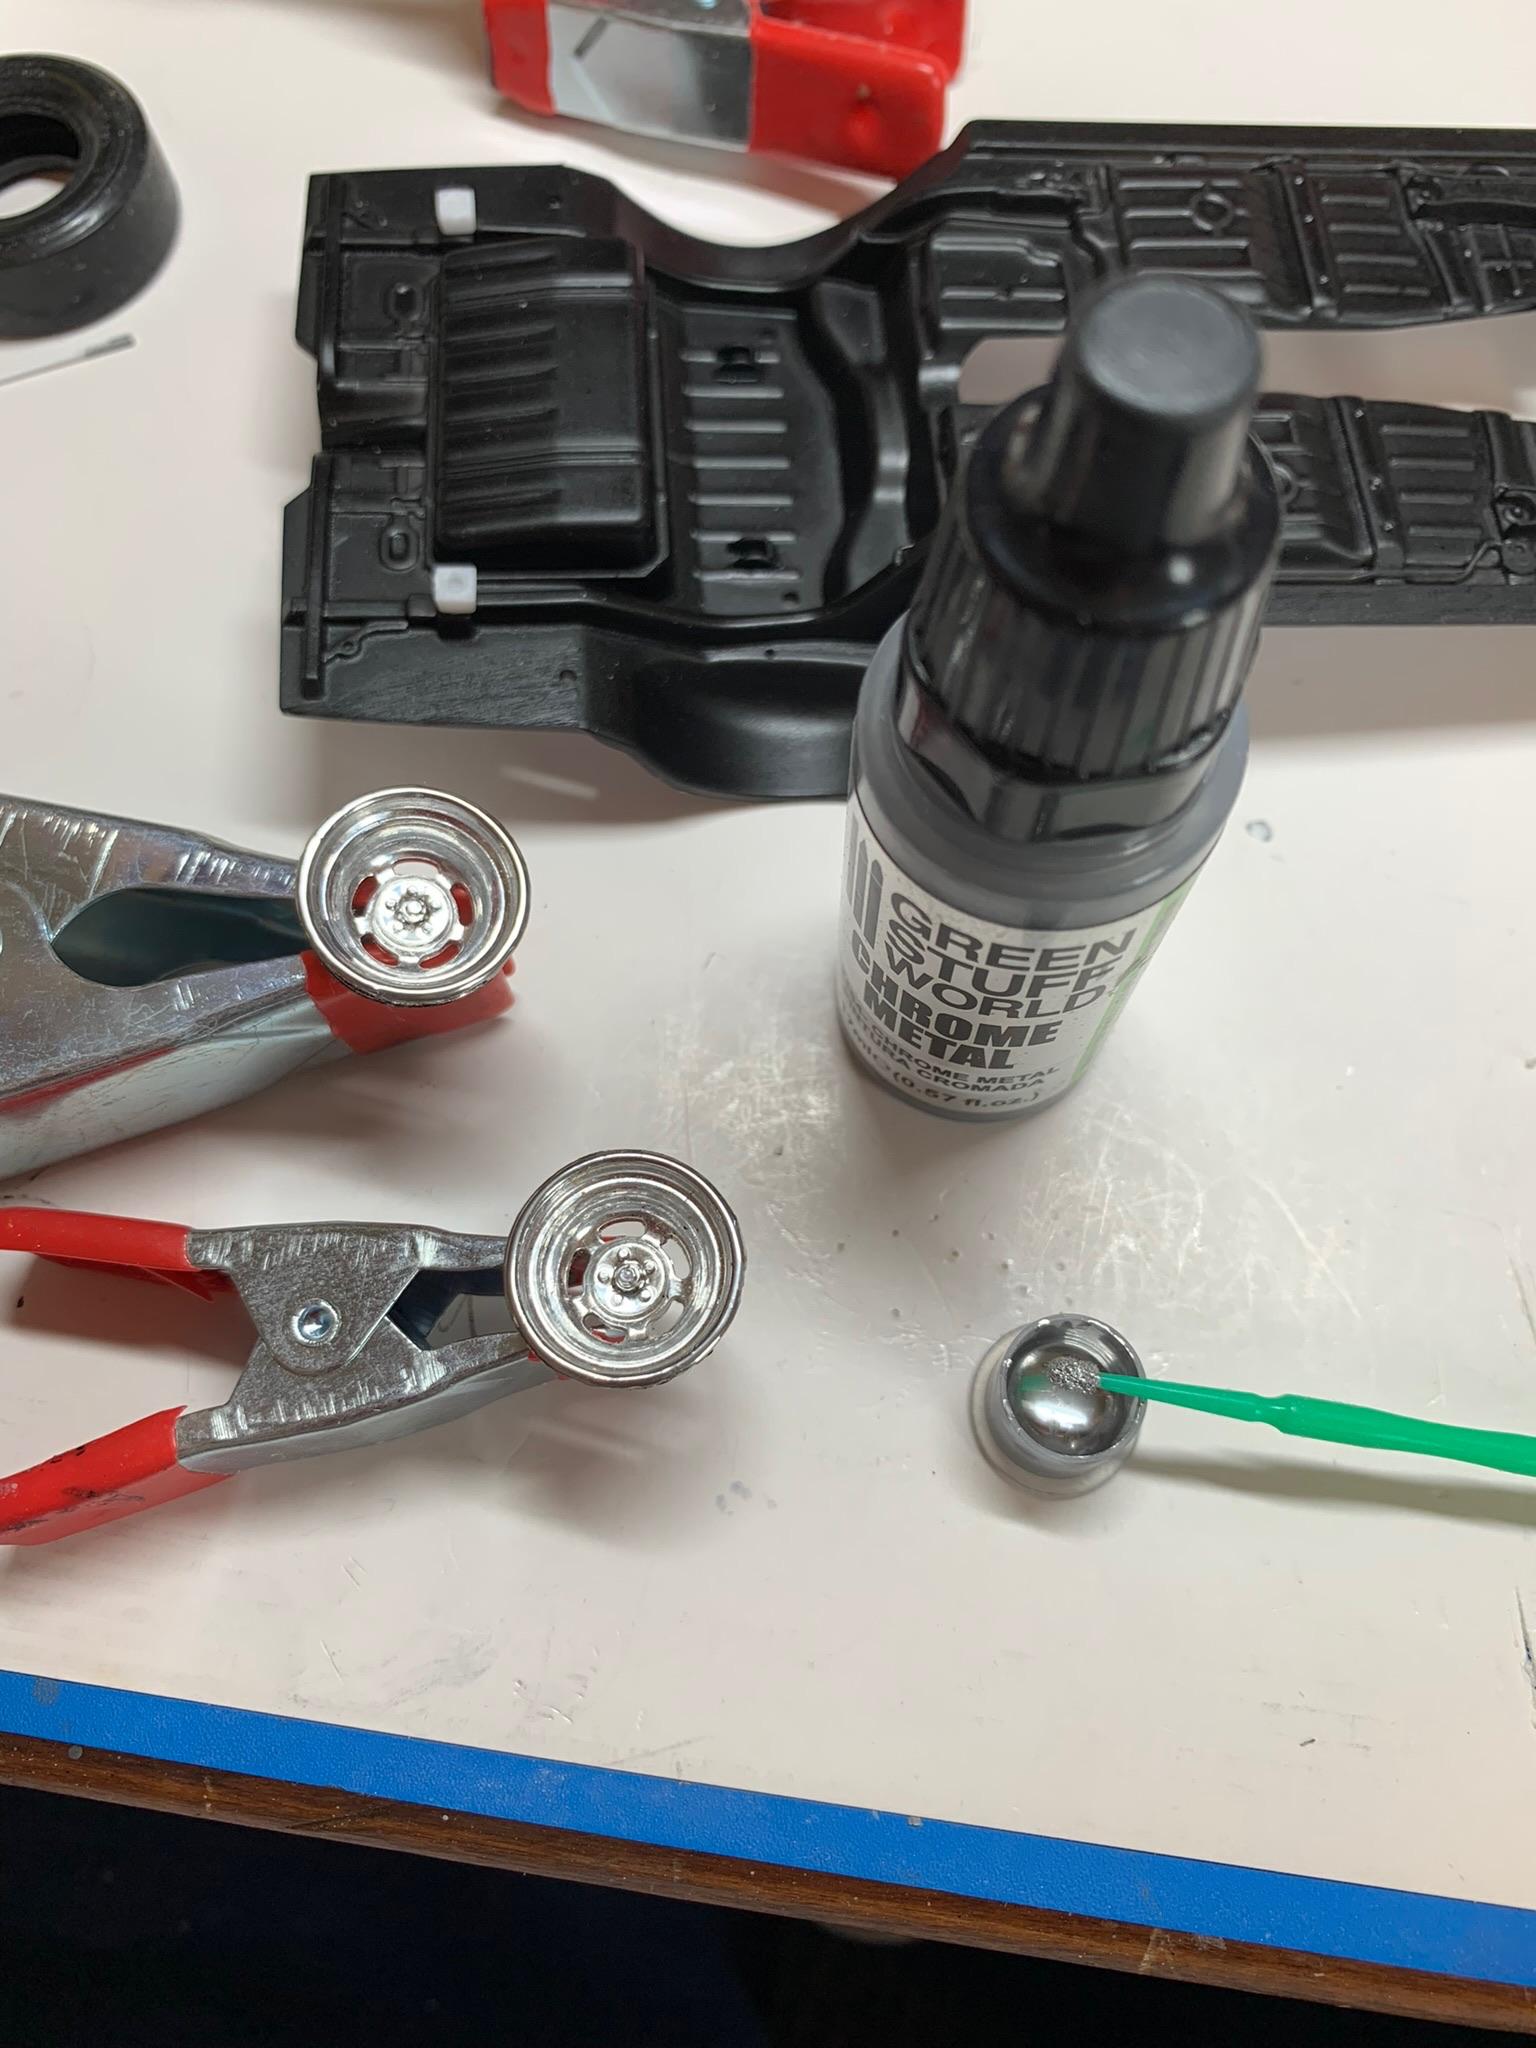
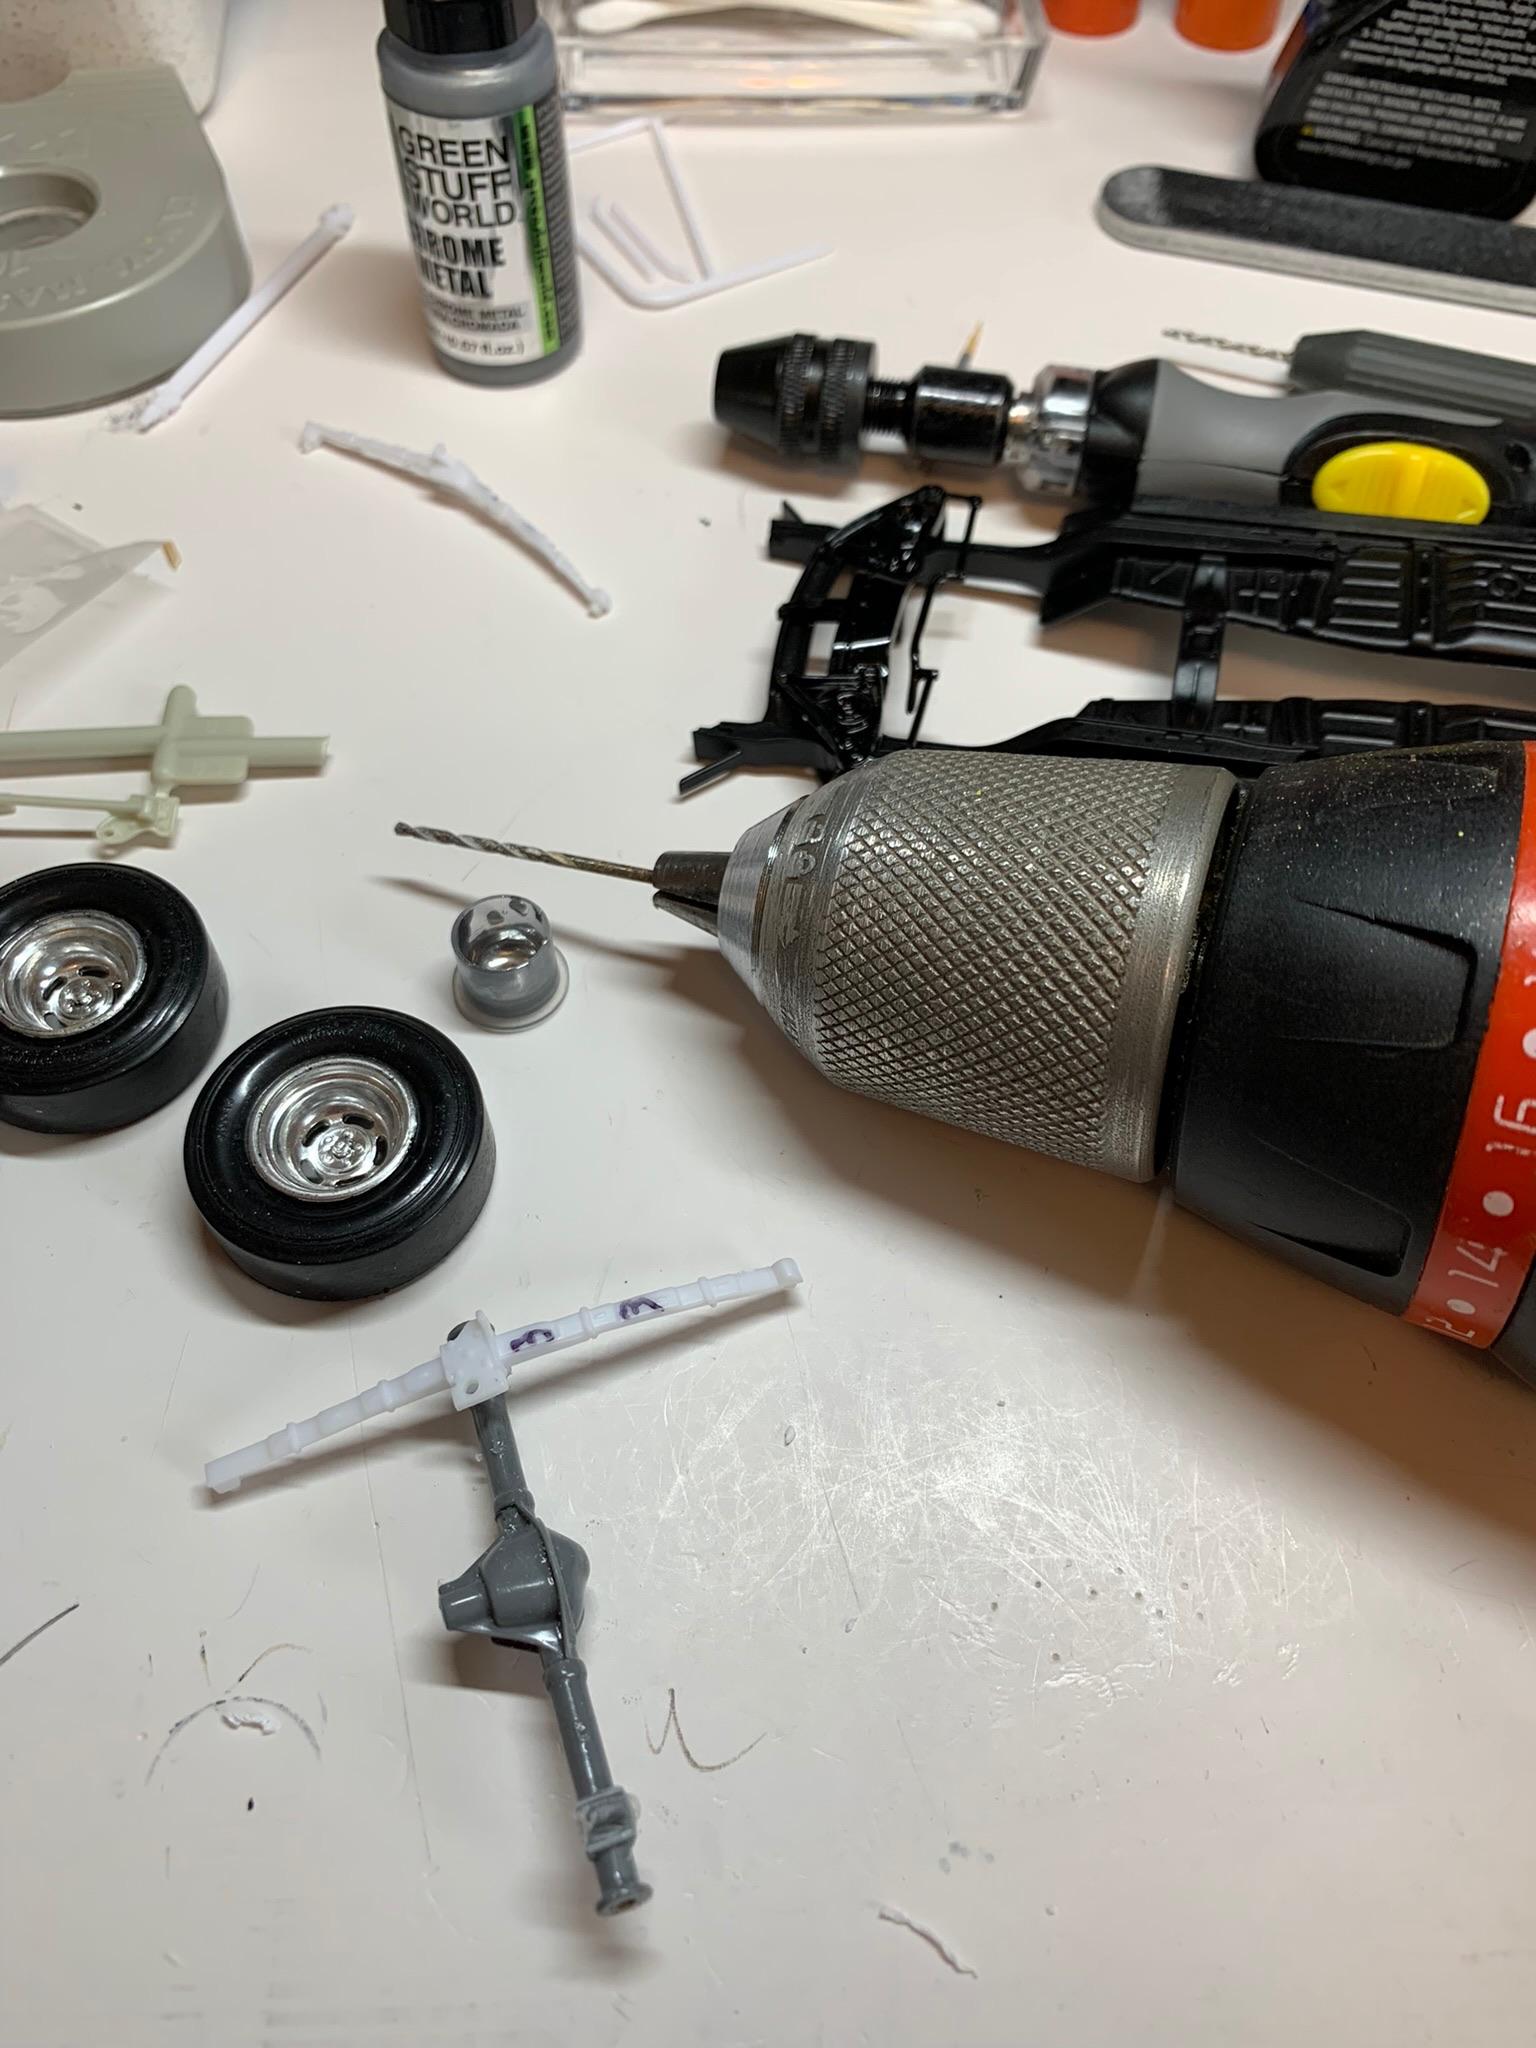
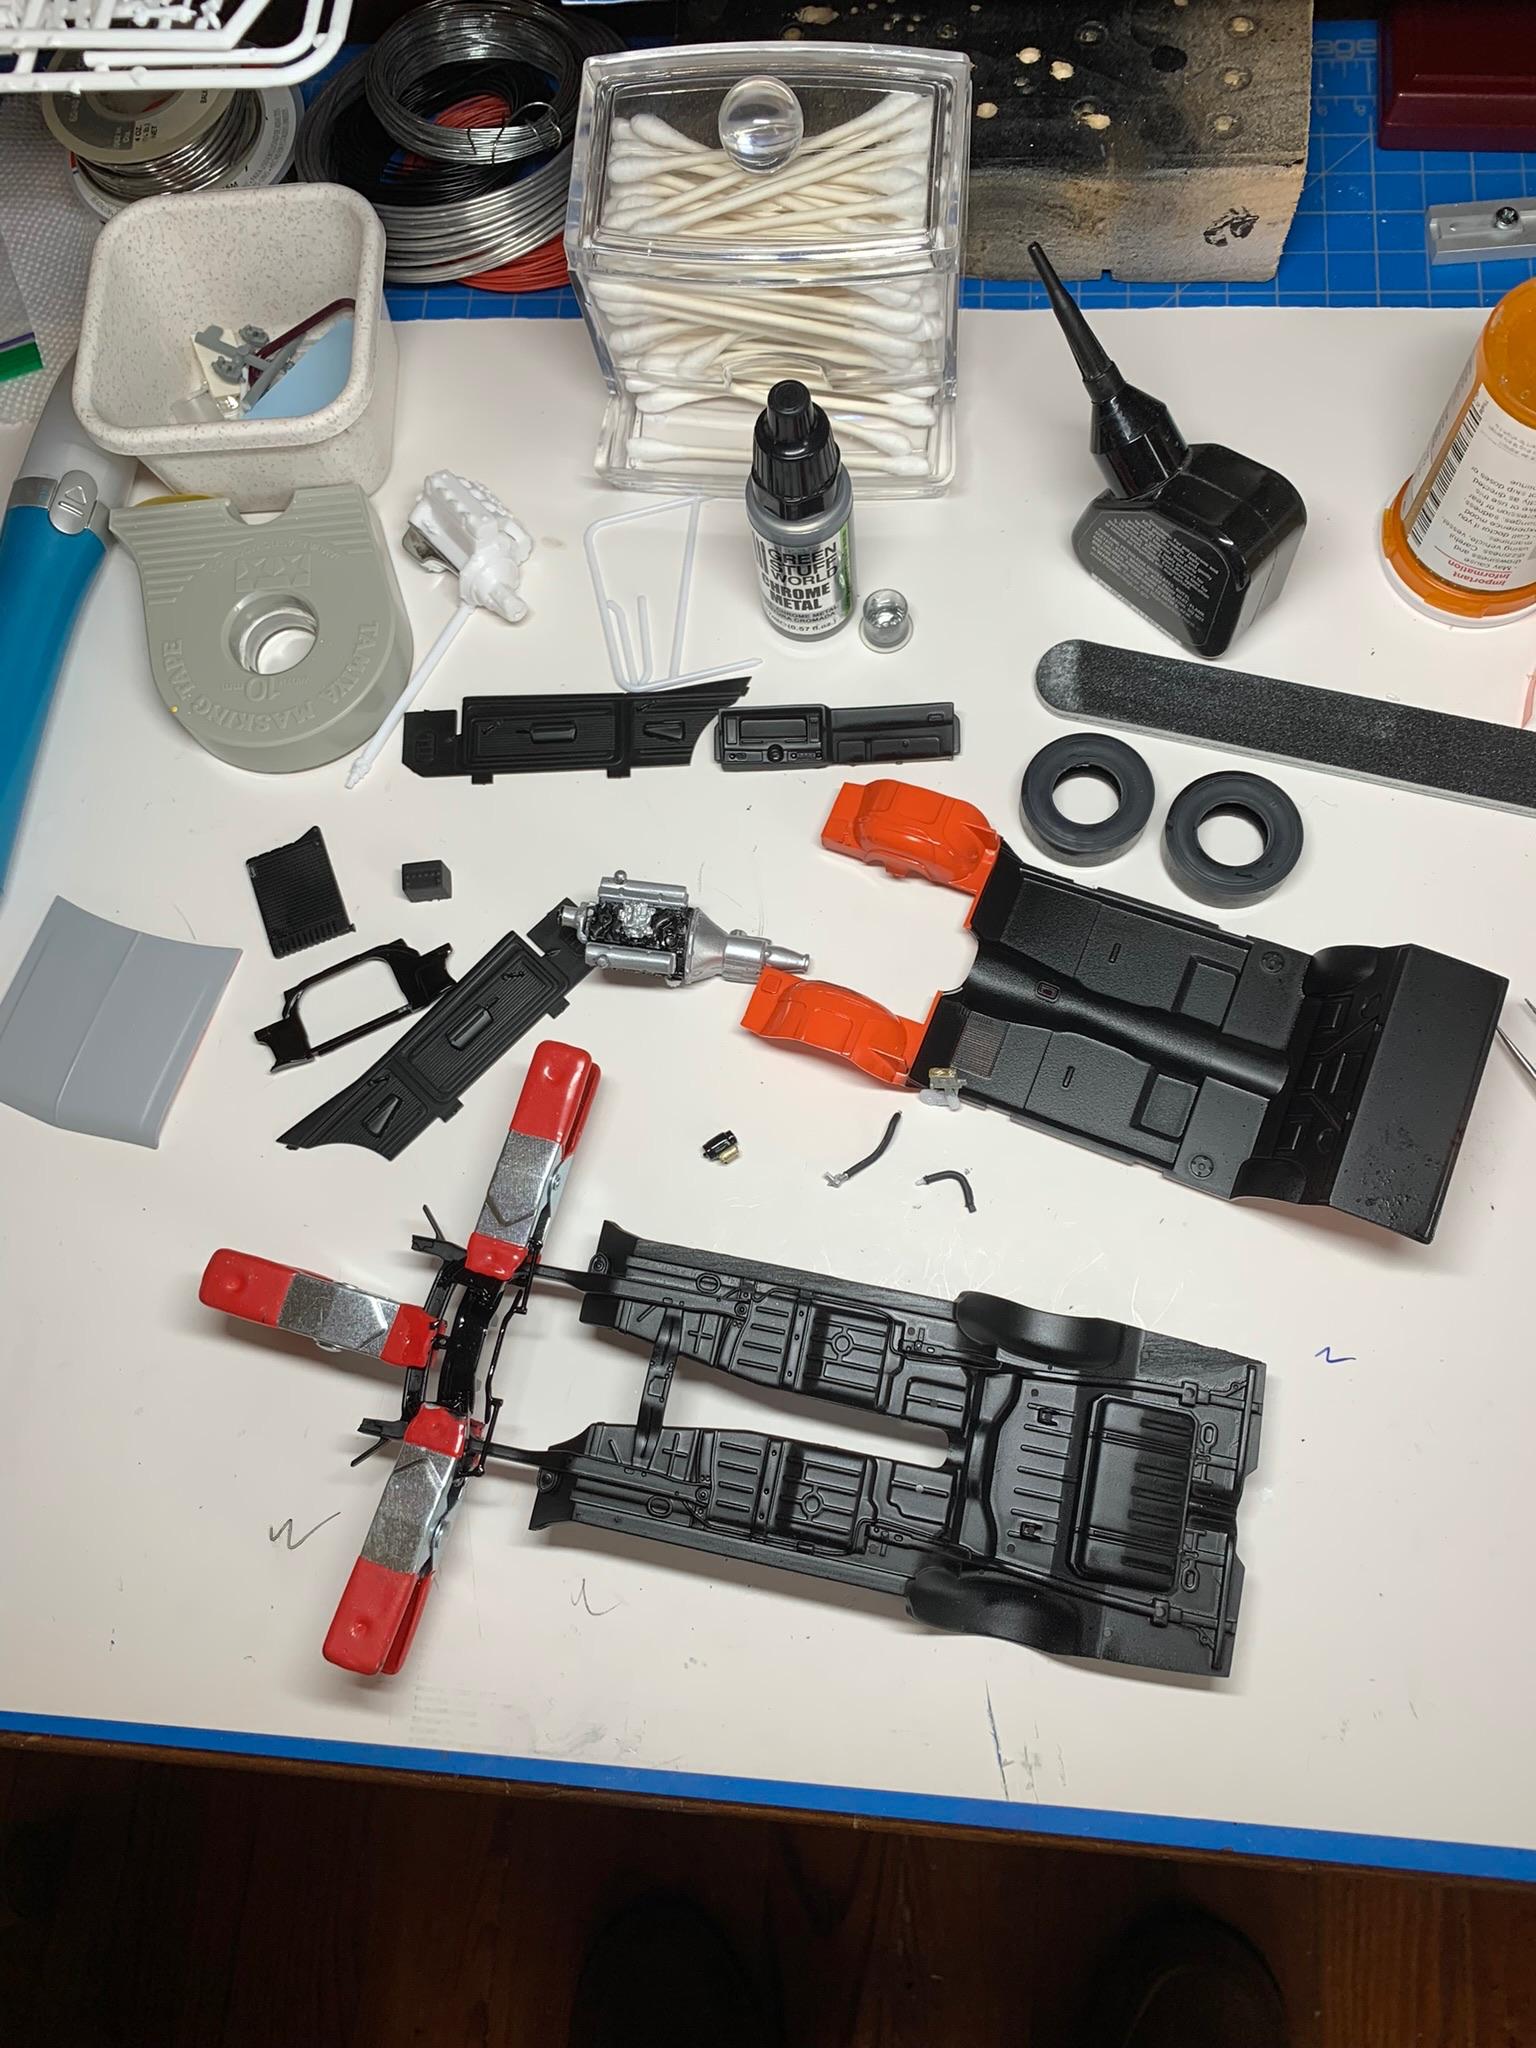
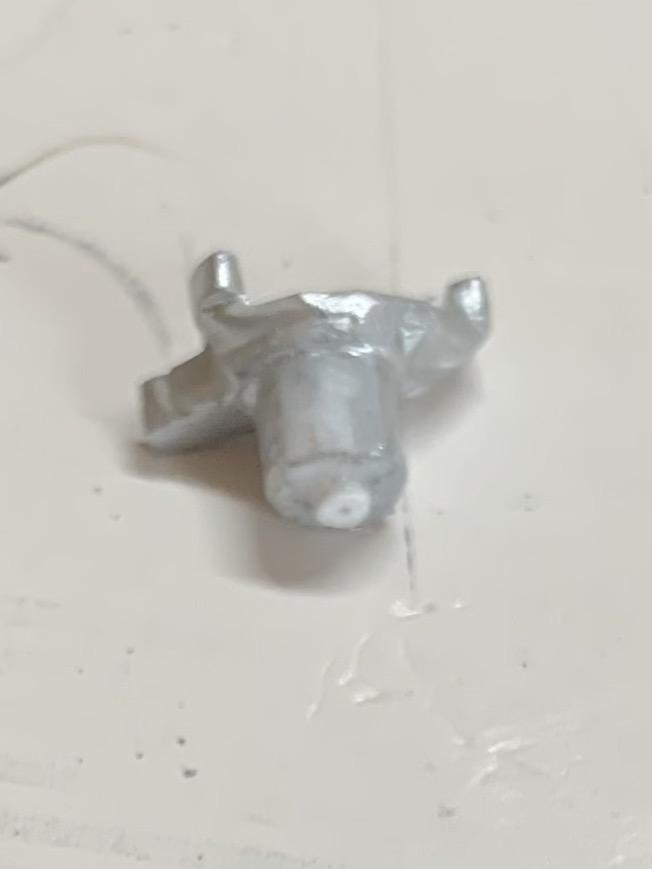
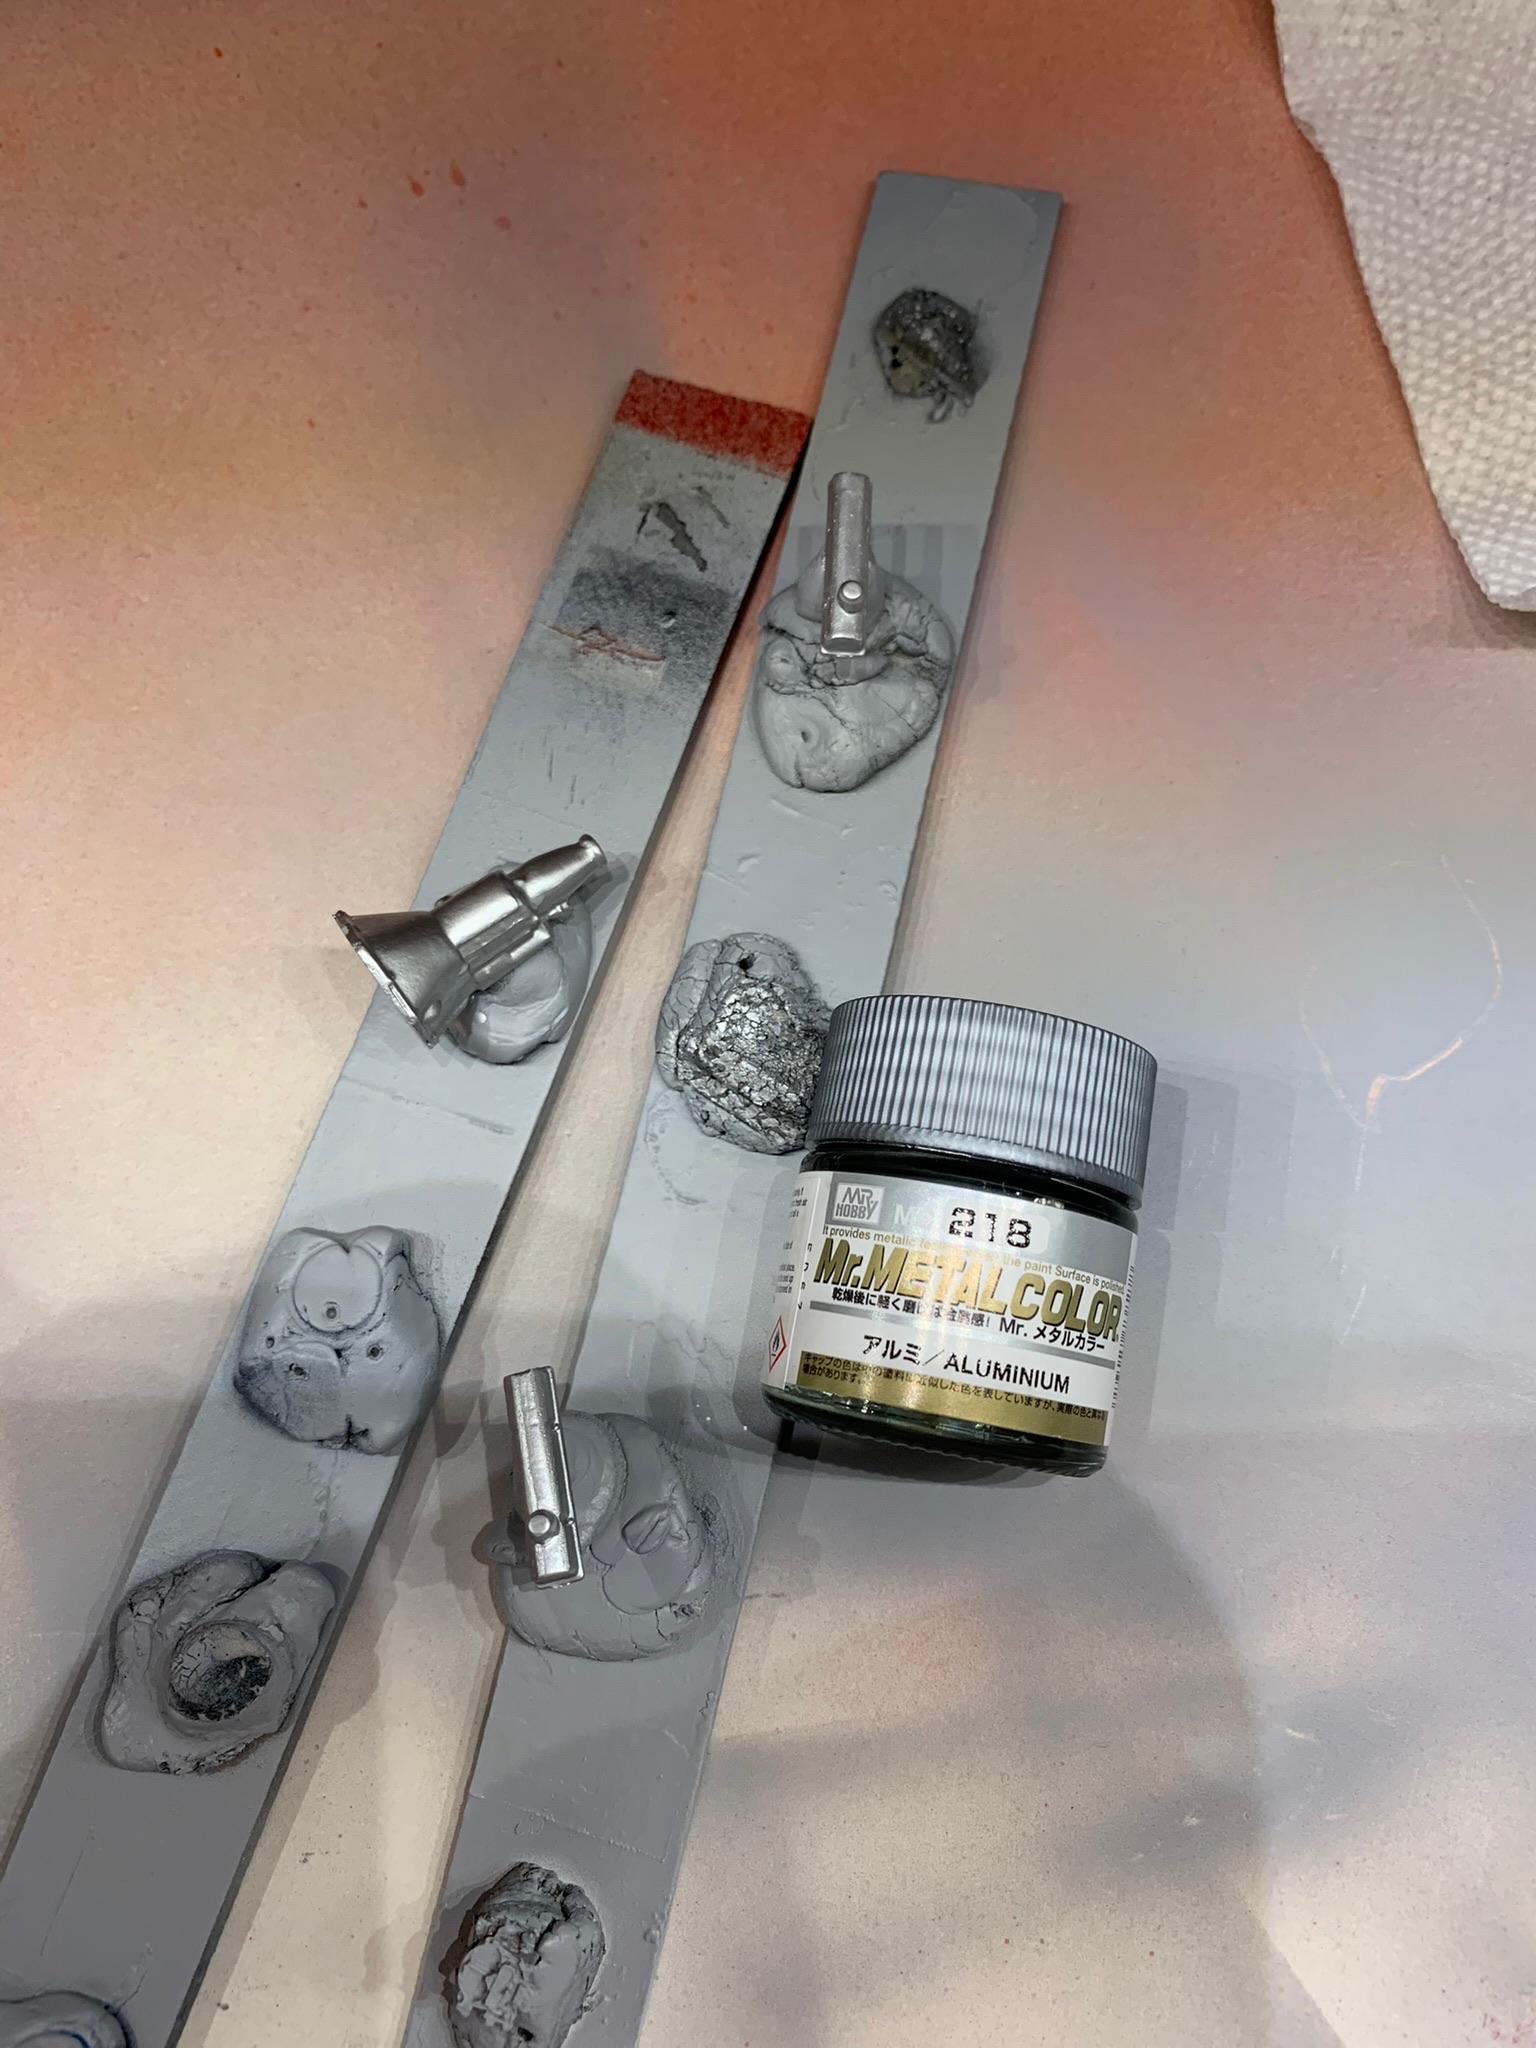
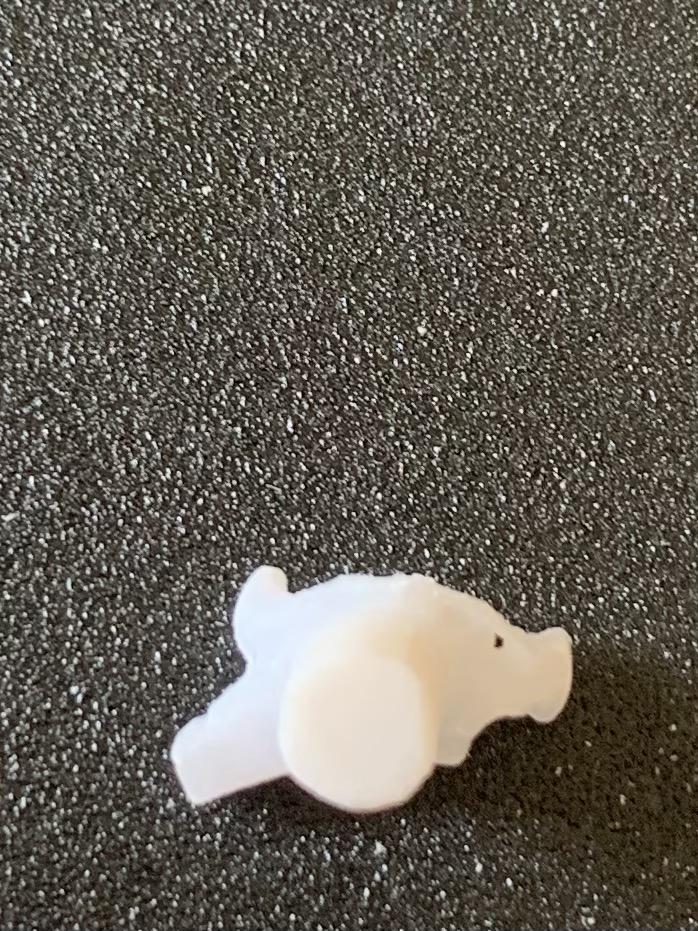
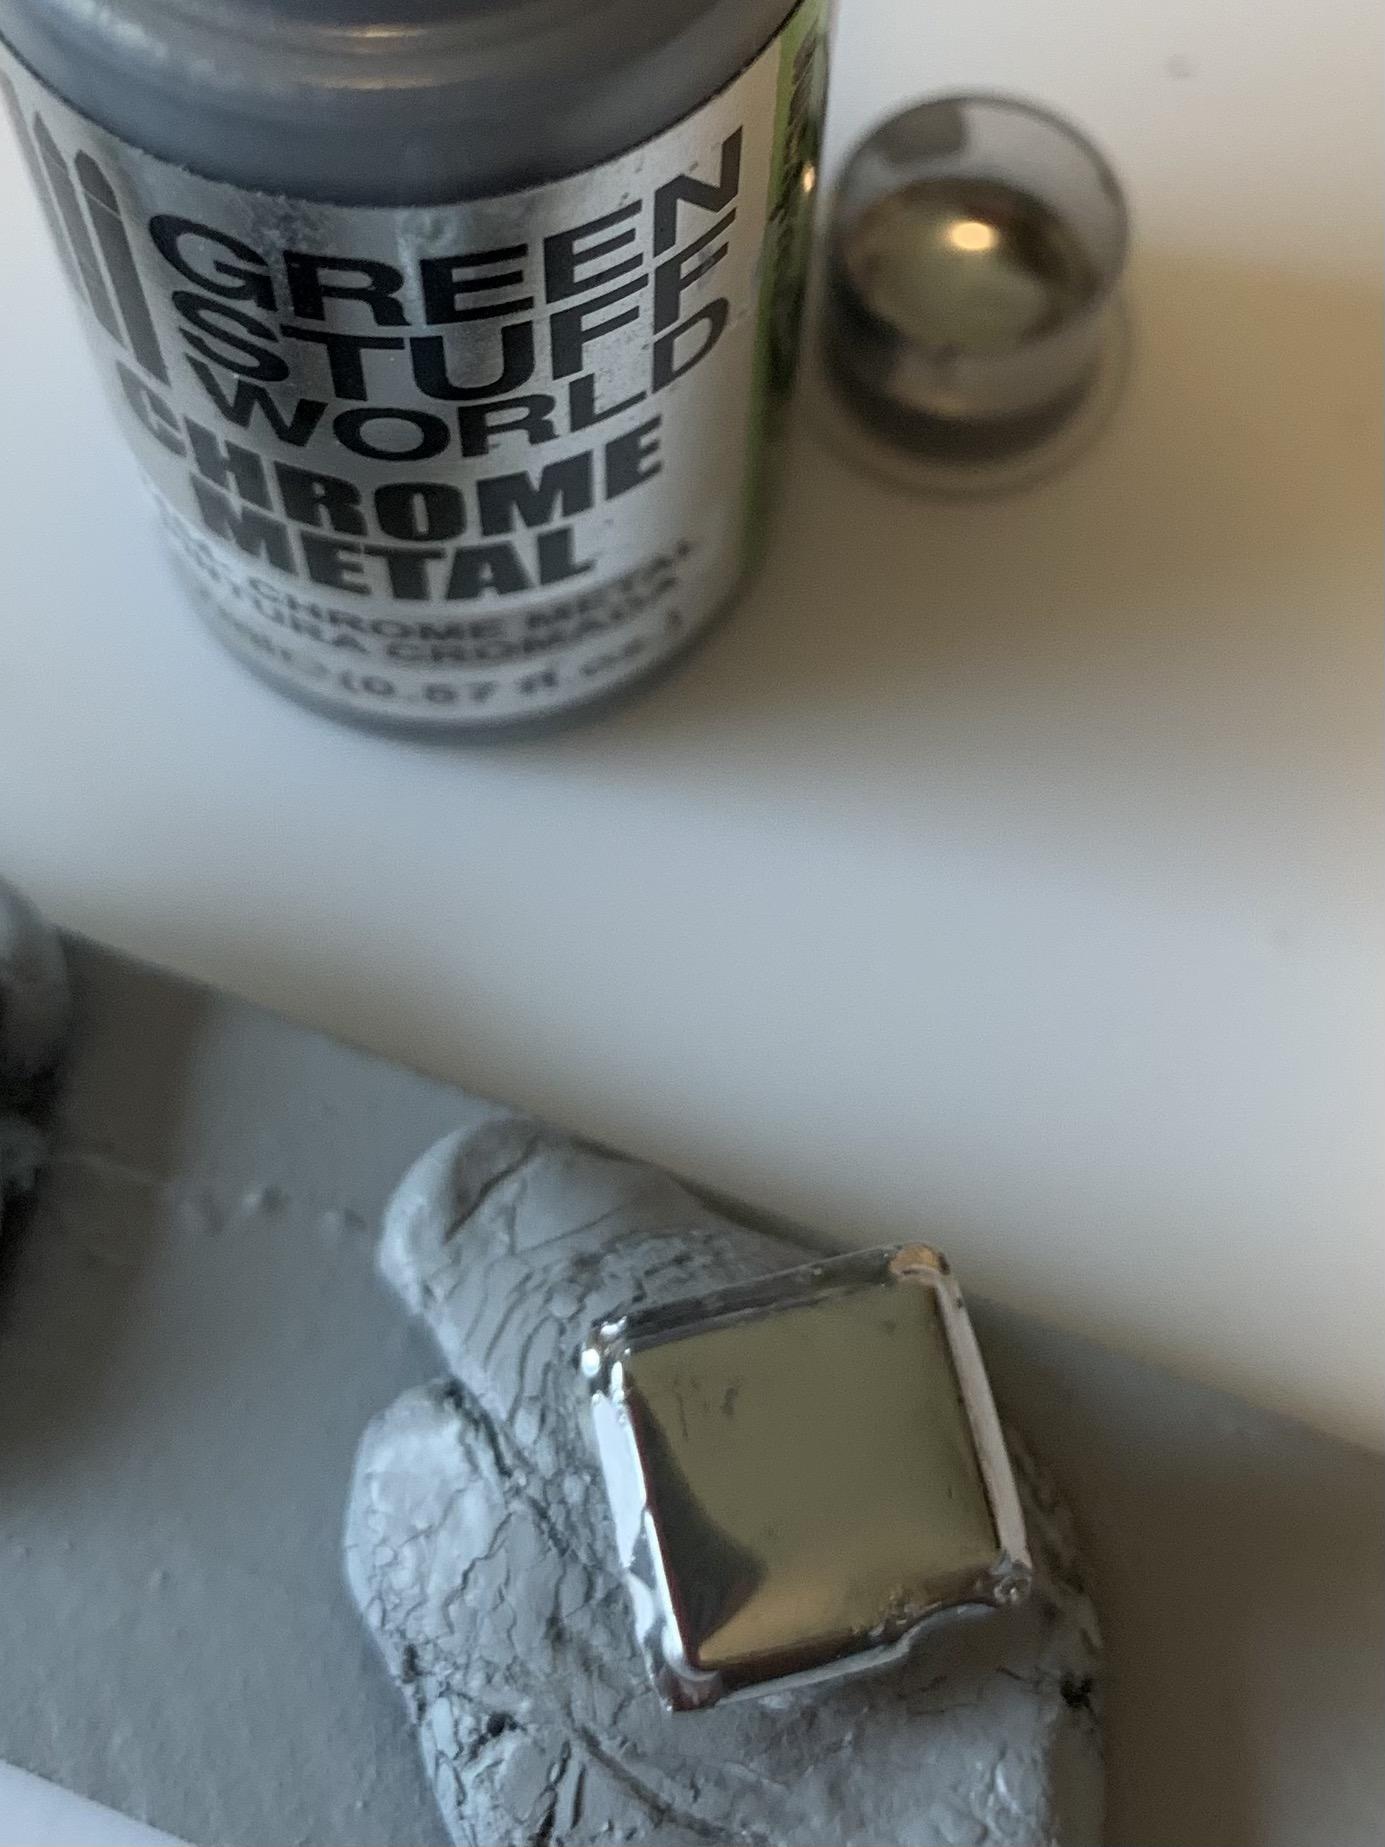
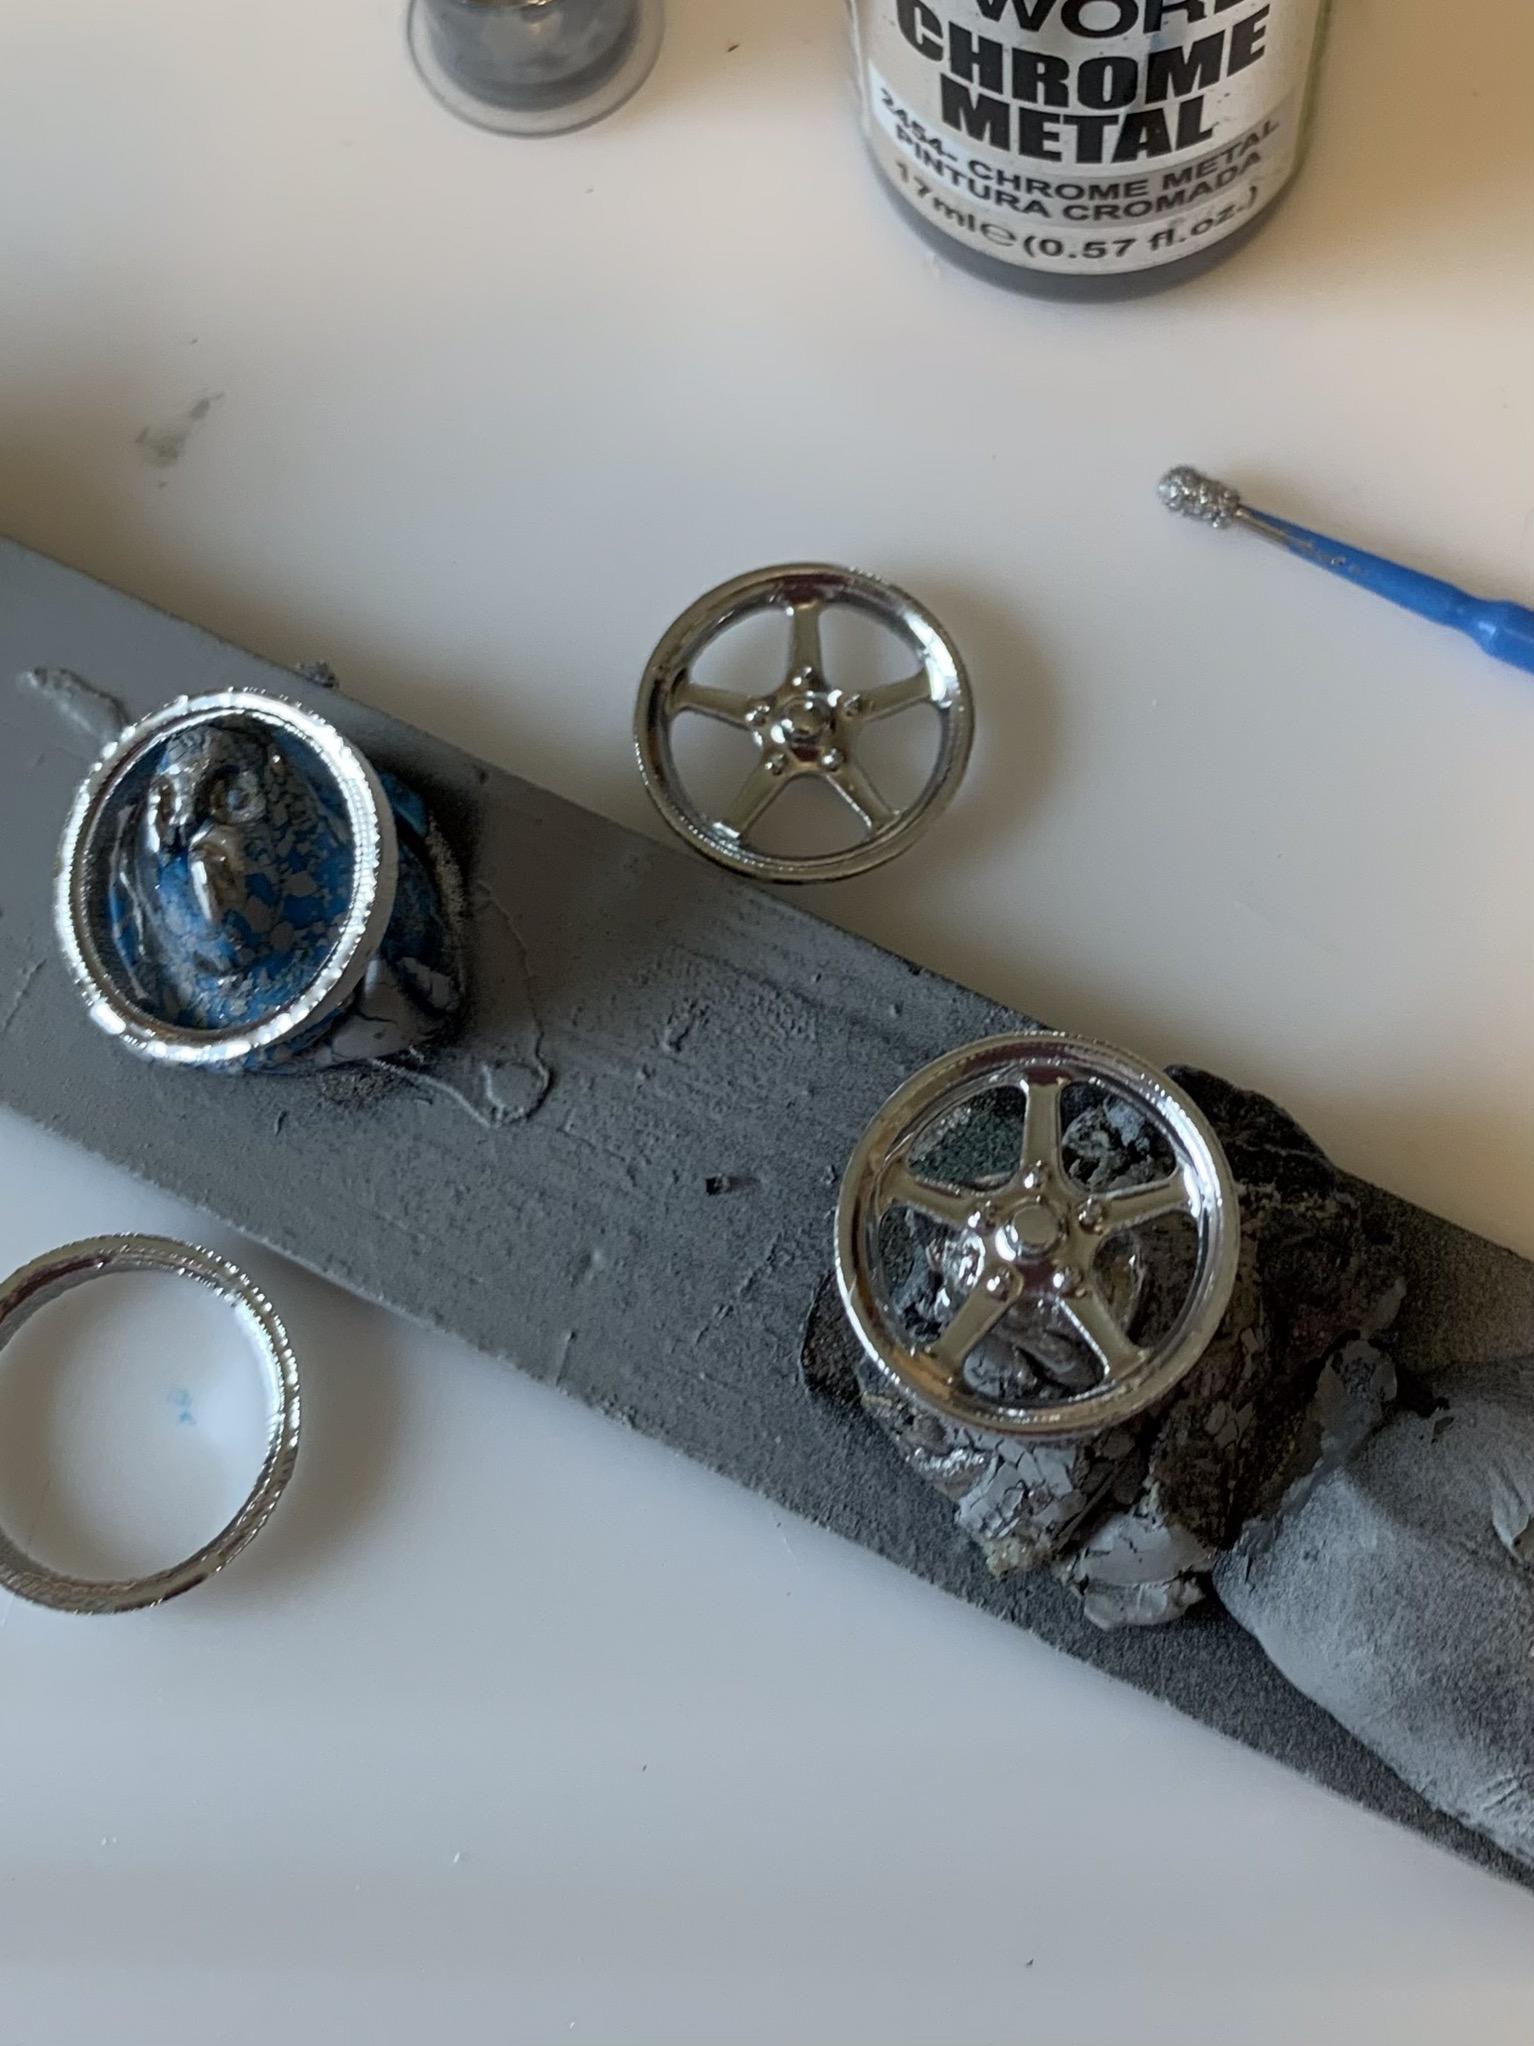
Started scratch building a water pump, then decided to modify the stock pump that came with the kit. Put some aluminum paint on the trans and valve covers with my handy dandy micro brush, then some GreenStuffWorld chrome on the headers, trans pan, and breathers. Also, patched the hole in the timing cover. Had some chrome left, so did up some wheels I may possibly use on this build.
-
1969 Nova F/SA NHRA Stock Eliminator
R. Thorne replied to R. Thorne's topic in WIP: Drag Racing Models
Sent you a pm, Roger. Thank you. -
1969 Nova F/SA NHRA Stock Eliminator
R. Thorne replied to R. Thorne's topic in WIP: Drag Racing Models
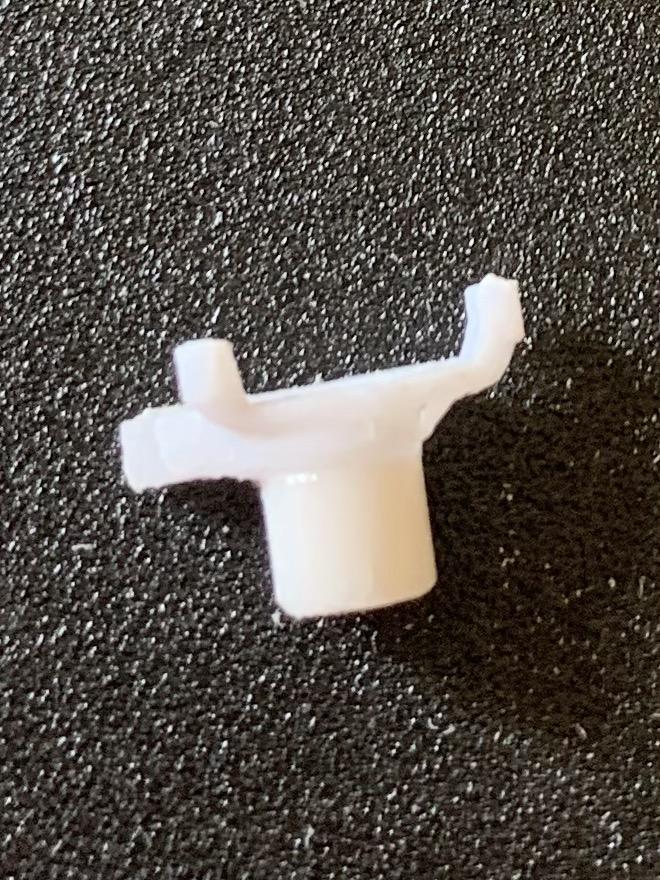
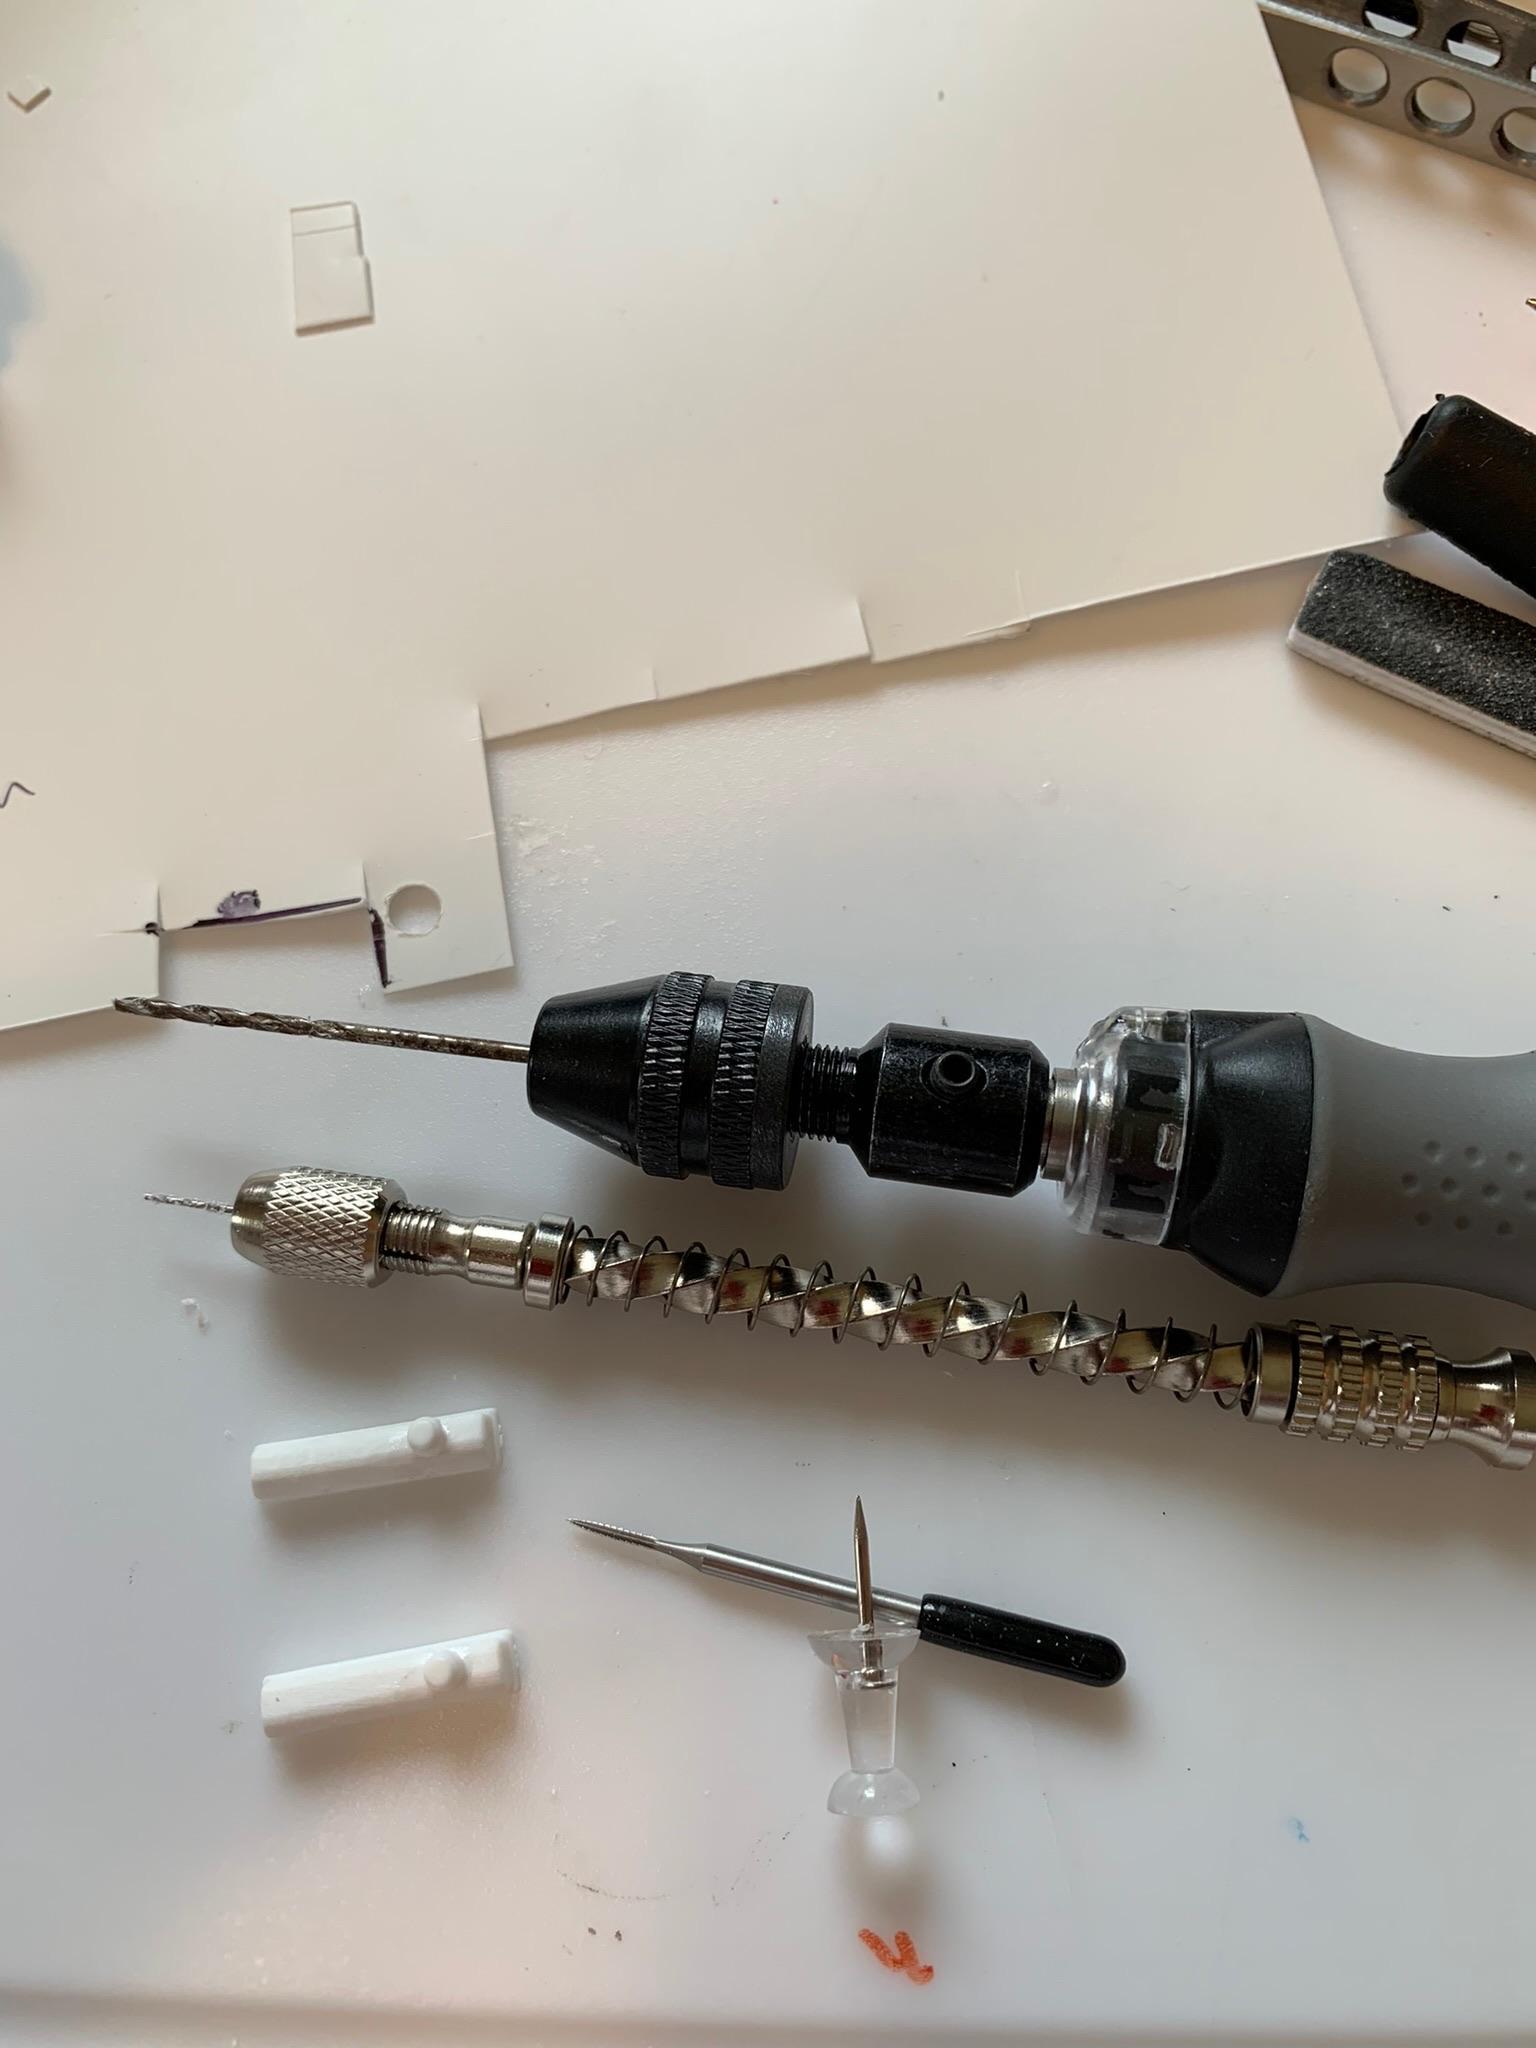
Marked, drilled, and installed breathers on valve covers.
-
1969 Nova F/SA NHRA Stock Eliminator
R. Thorne replied to R. Thorne's topic in WIP: Drag Racing Models
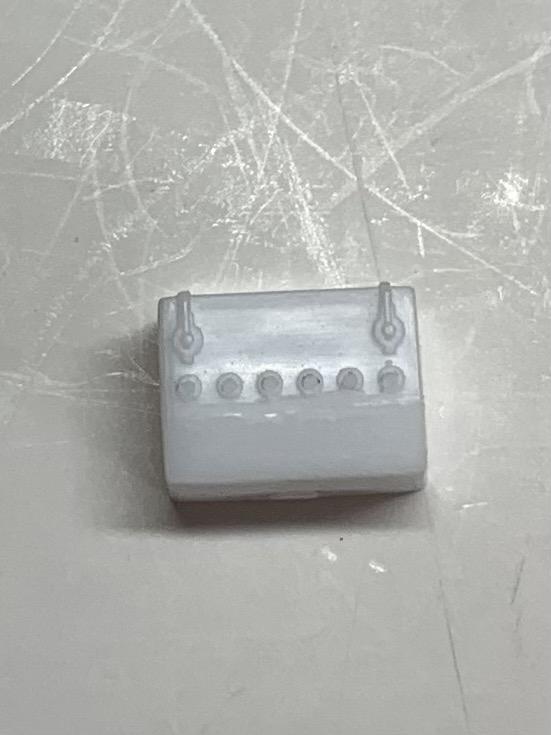
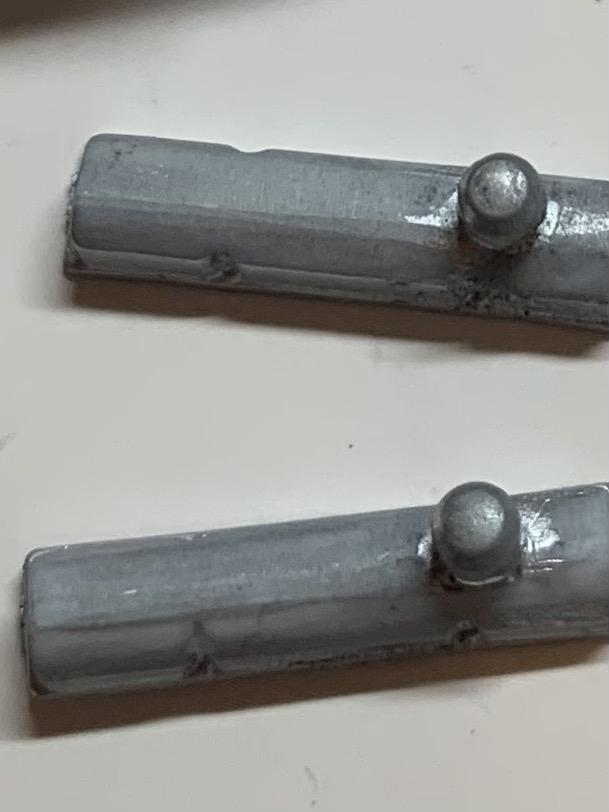
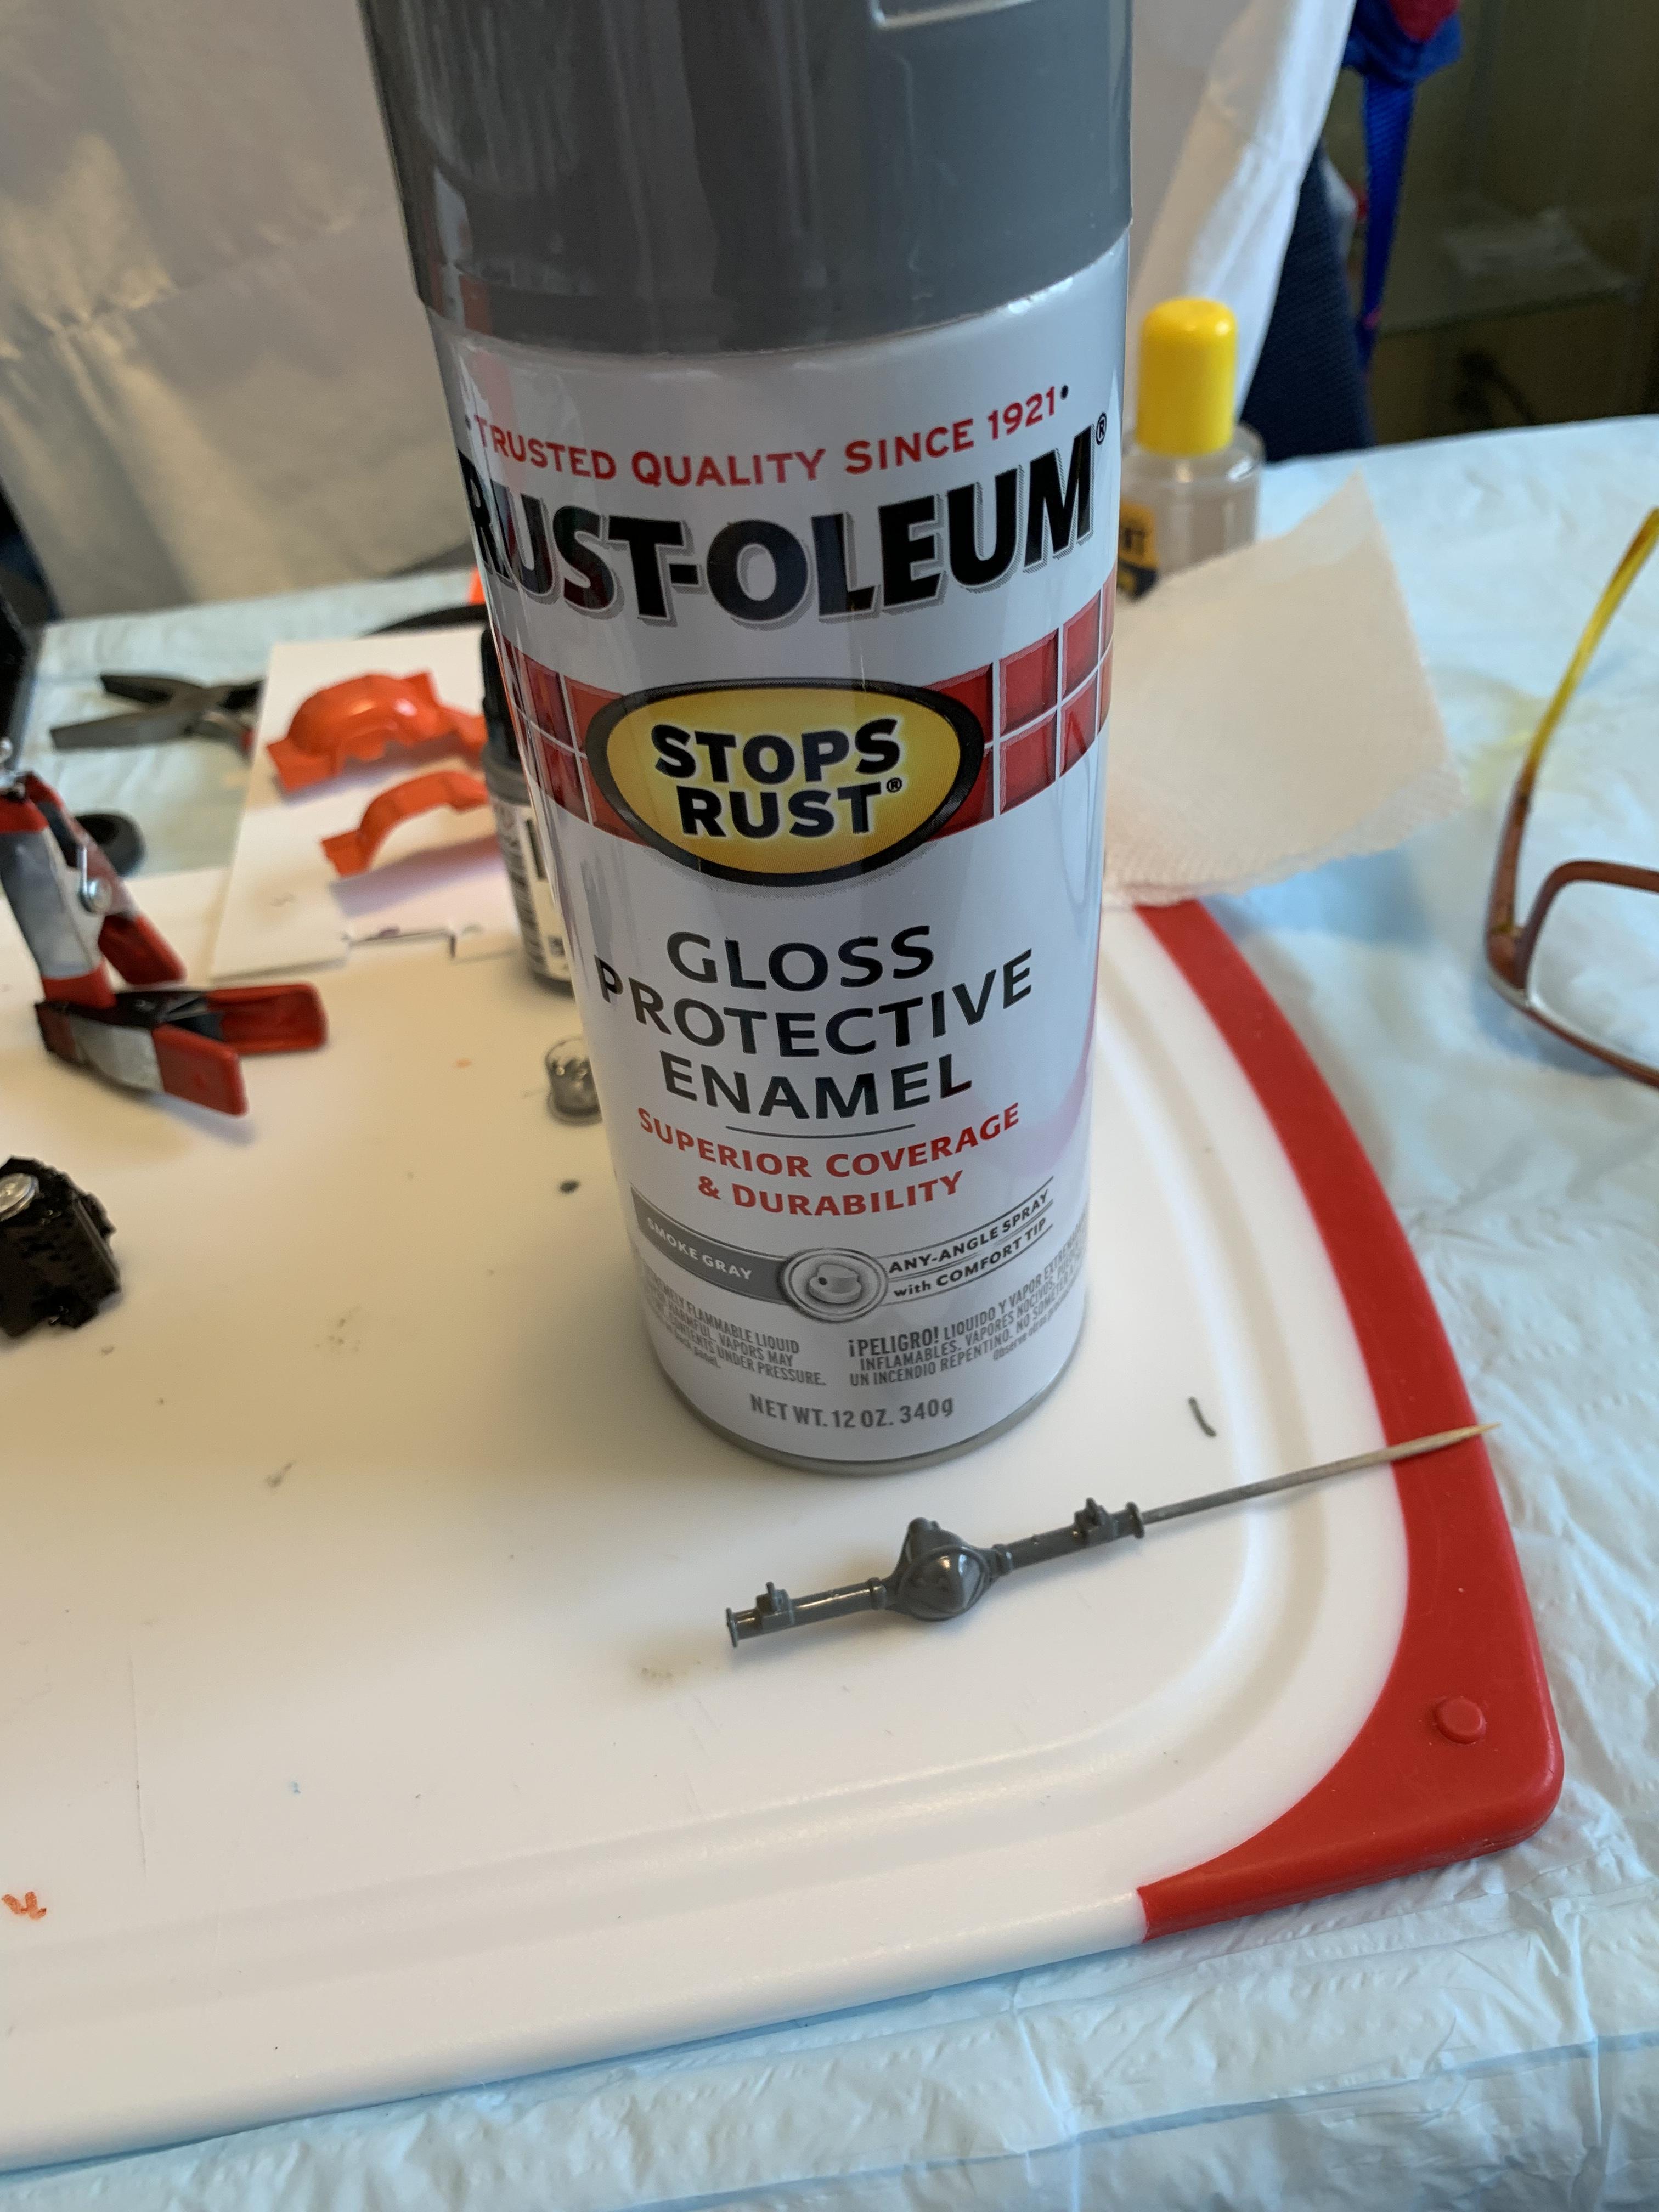
A coat of gray primer on some small parts.