89AKurt
-
Posts
8,426 -
Joined
-
Last visited
Content Type
Profiles
Forums
Events
Gallery
Everything posted by 89AKurt
-
and hot puppies!
-

Resin Rivet question (Archer or Micro Scale)
89AKurt replied to Sledsel's topic in General Automotive Talk (Trucks and Cars)
Good job on that! Patience is required, isn't it? I tried MicroMark's rivet decals recently, did okay with them, but you need the patience of a Saint. -
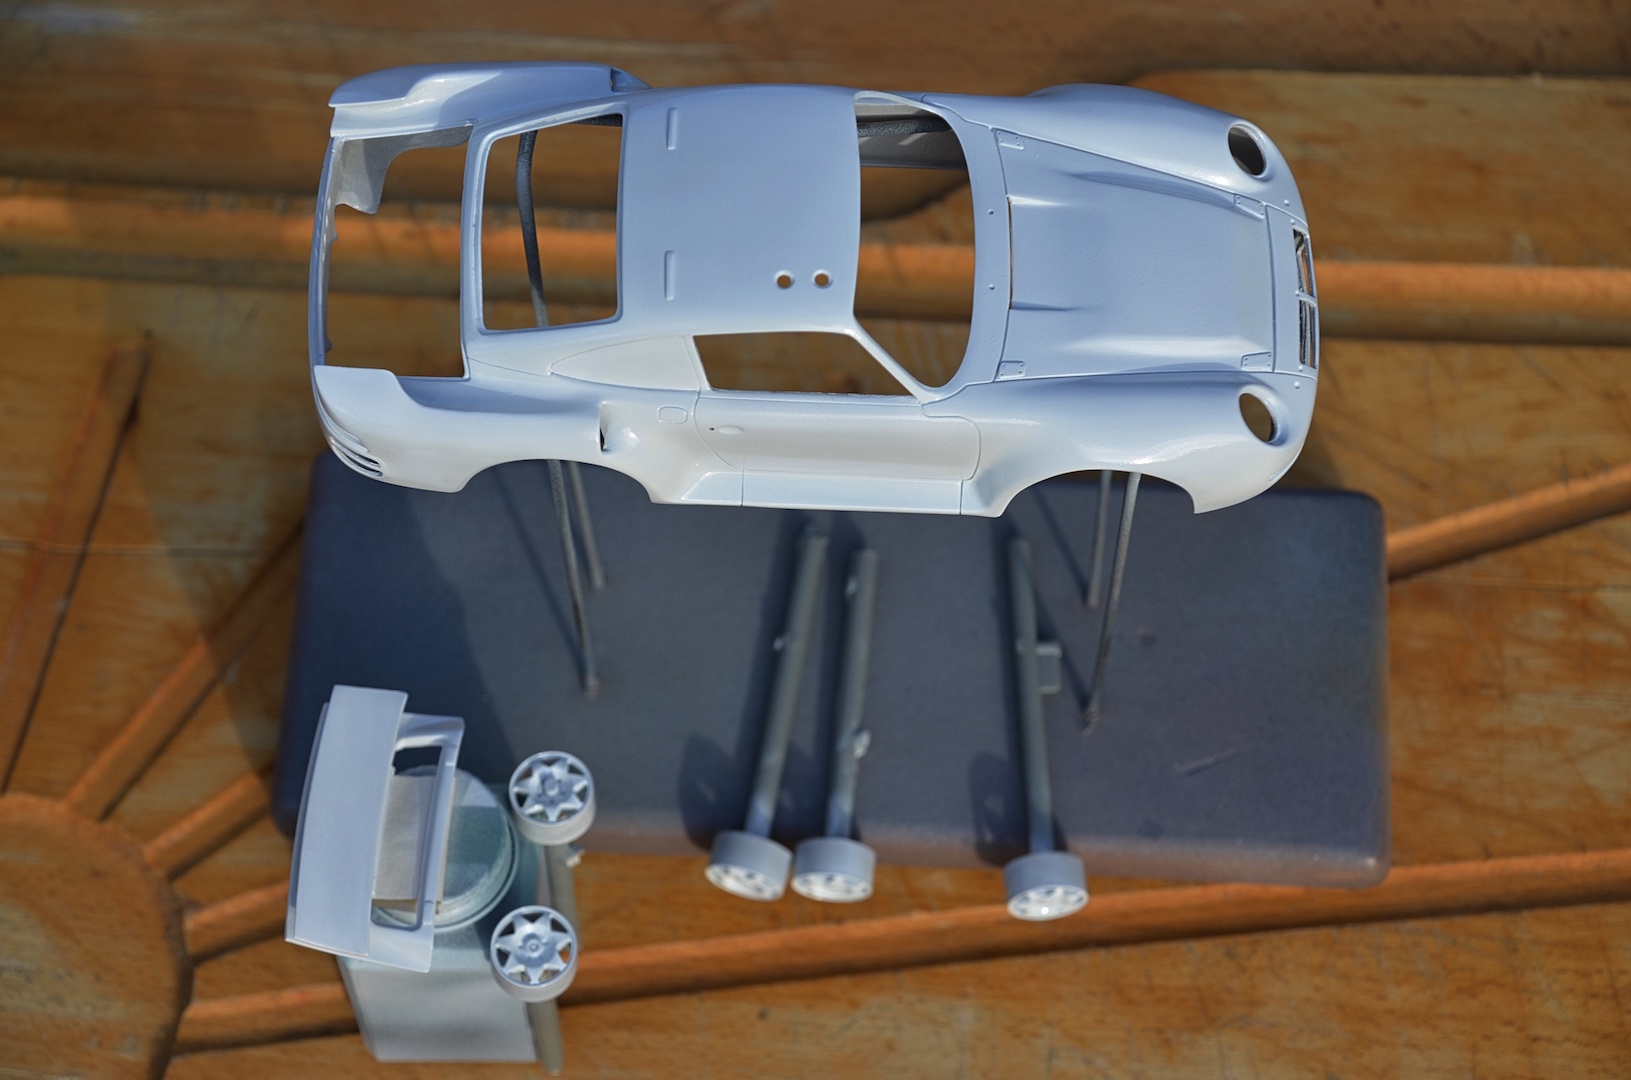
Restarting the Paris-Dakar, I really began April 2018, I did finish the Club Sport (correct name) camera car. It's been a case of analyzed until I'm paralyzed, made several errors, and am stumped on the details of the turbo plumbing. I'm jonesing to start a new model, but this has a little voice that whispers "you better finish me you dog!" It's one thing to dream up details and engineer something that does not exist, quite another to find out enough information without buying an expensive book, it's interesting how there are no pictures of the turbos and pipes through the single intercooler there are, so I guess nobody will be able to tell me I did it wrong, will they? I was futzing with the interior when I stopped, the panel under what was the back window needs adjusting, *after* I had painted everything. I want to fill the interior with stuff, and have no idea what was used for water, I'm sure disposable water bottles were not invented yet, and they would fly all over, so should I just make a canteen? Stupid stuff, so I just need to jump and git'er done man! Looked over the body one more time, wet-sanded it. I wanted to short-cut doing primer, which must be a mistake, because when the Testors gloss white was going on, it was almost like there was oil on the body. Some of it will be painted blue, and lots of decals, and lots and lots of dirt and dust and mud are going on this puppy, so move on I must!

-
Appreciate that! I could spend weeks building camera gear, and doing figures. I want to move on.... Thank you too! Sorry I neglected answering everyone way back. I am trying to move on, have made some progress on my Bring Out Your Dead '48 Chevy Canopy Express, started *and* finished the Ferrari 275P/360M Mongrel, started *and* finished the Porsche 904 + March Indy = PORNDY, AND the Tamiya VW Beetle GSL Common Kit build - Tribute of parent's 1960 in the meantime. Pleased to say it got an award!
-
Oh good, I was sort of being lazy picking this color. Oh heck yes, lots of scraping in! Thank you! Thank you!
-
Fourth of July Chevy pick up
89AKurt replied to GLMFAA1's topic in Model Trucks: Pickups, Vans, SUVs, Light Commercial
Very cool gift! I see you duplicated the license plate too. And changed the hubcaps. I owned a '48 last century, and have built 3 of this kit. Have a great 4th! -
fireworks too close
-
amounts of orange
-
insulting names, that
-
offering a contract
-
Most beautiful cars of all time
89AKurt replied to El Roberto's topic in General Automotive Talk (Trucks and Cars)
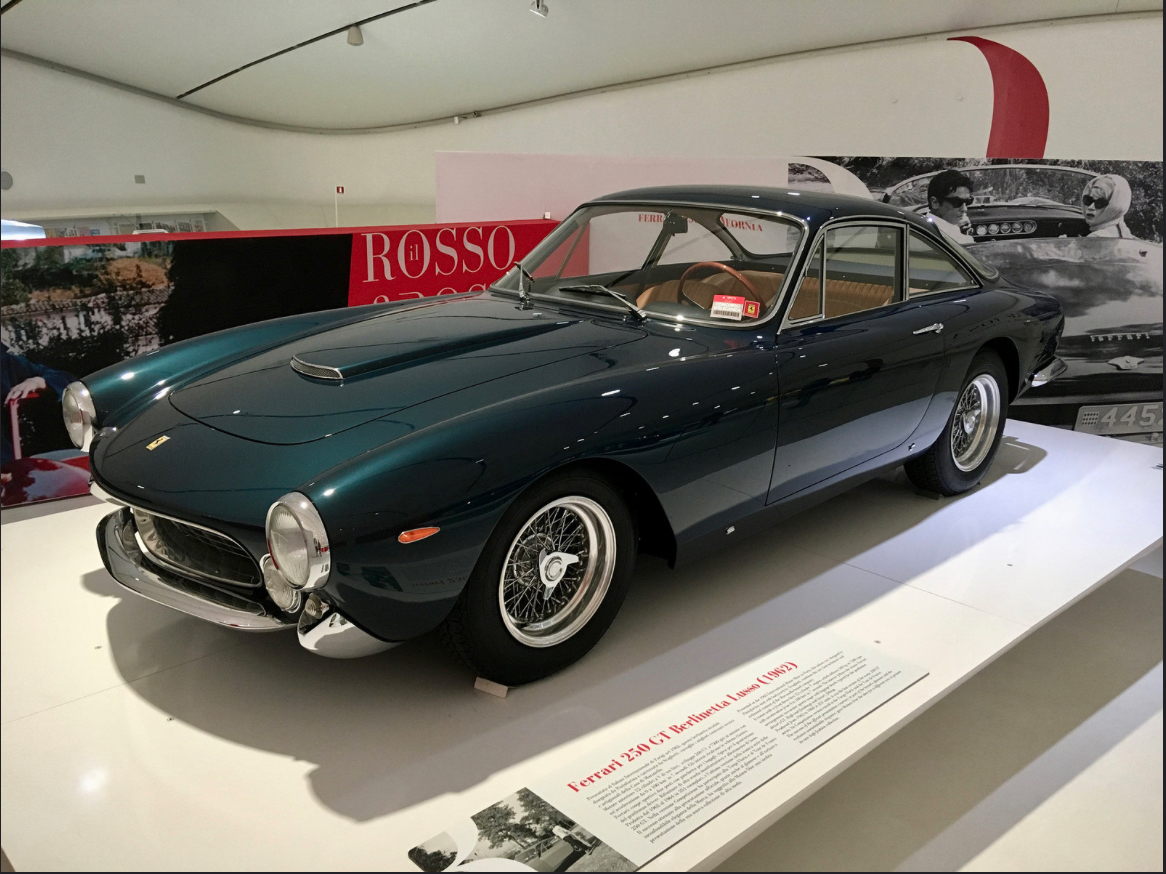
Lamborghini 350 GT, their first car had normal headlights for the USA market, I had not seen the hidden headlight design before, when I stole the picture. -
left by trolls
-
Most beautiful cars of all time
89AKurt replied to El Roberto's topic in General Automotive Talk (Trucks and Cars)
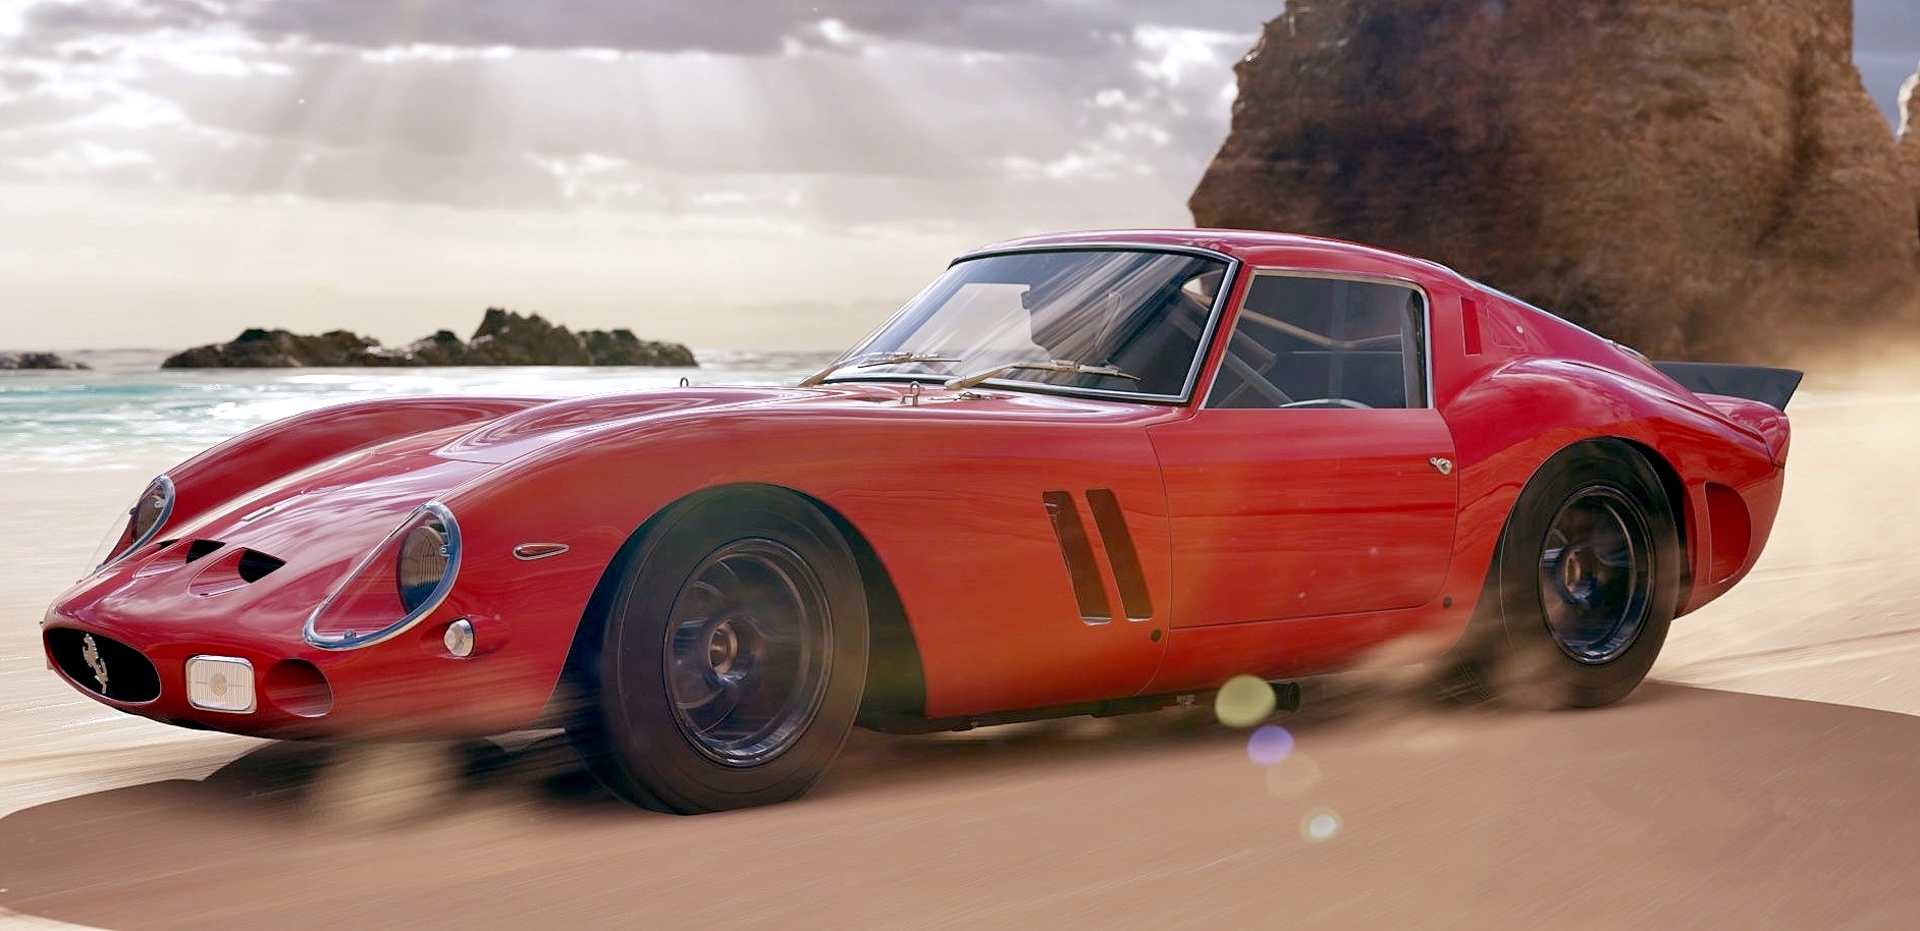
Y'all are wet under the ears about this very objective and subjective topic. Whenever big name manufacturers wanted something sexy, they hired Italians. Pontiac blatantly stole the GTO label, just because Ferrari made it legendary. Owners and fans have what amounts to orgies at events such as the Monterey Weekend, just the sounds of the engines are enough to imprint the desire to become very successful in ones life, and when we don't, we build models of said cars. So when you start a topic with "beautiful", this is what I think of.
-
tire testing lab
-
le couronne
89AKurt replied to Ken Gilkeson's topic in WIP: All The Rest: Motorcycles, Aviation, Military, Sci-Fi, Figures
Ship building is an art unto itself. Someone brought a book to a model meeting, about ship models in museums, they used to build models before blueprints were done. I'm sure all the real ships are long gone, but the models remain. More power to you! -
Nice job on those! Fitting tribute to the resin construction. Every time I see "Fisher" I wonder how he is doing......
-
wax dripping on
-
Thanks! Thanks for the number decals! I'm milking the gas station every chance I get.
-
Porsche Outlaws & Hot Rods
89AKurt replied to afx's topic in General Automotive Talk (Trucks and Cars)
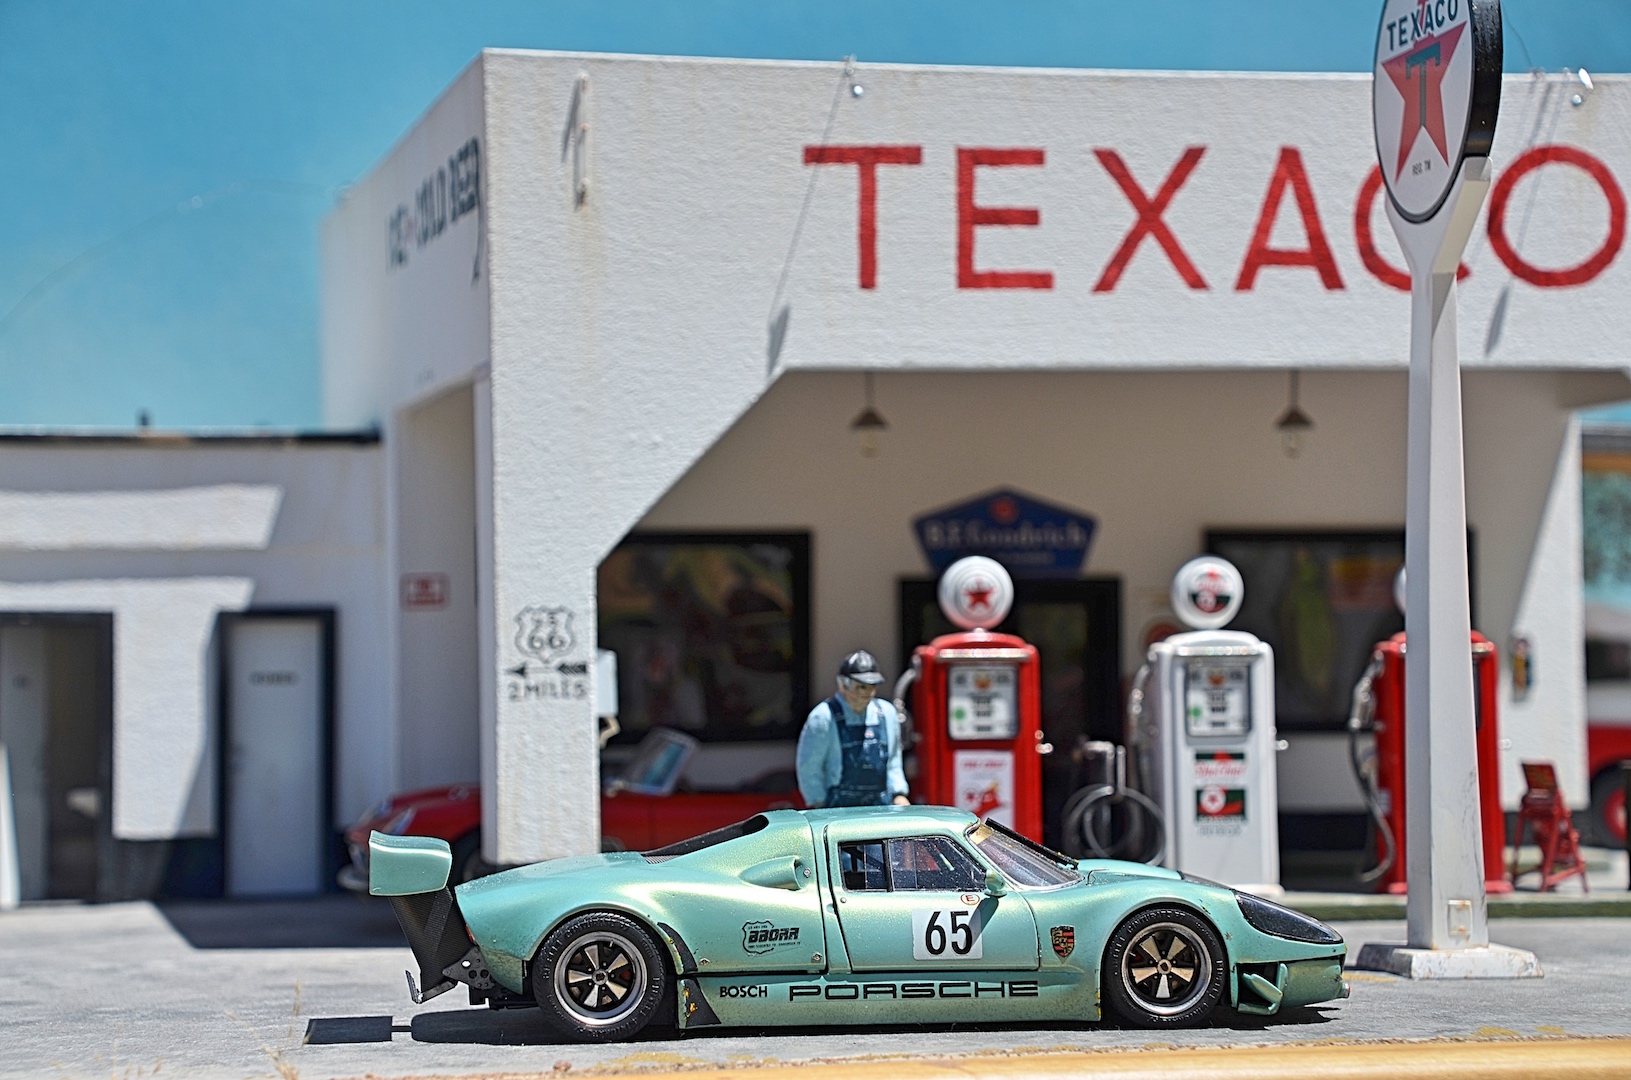
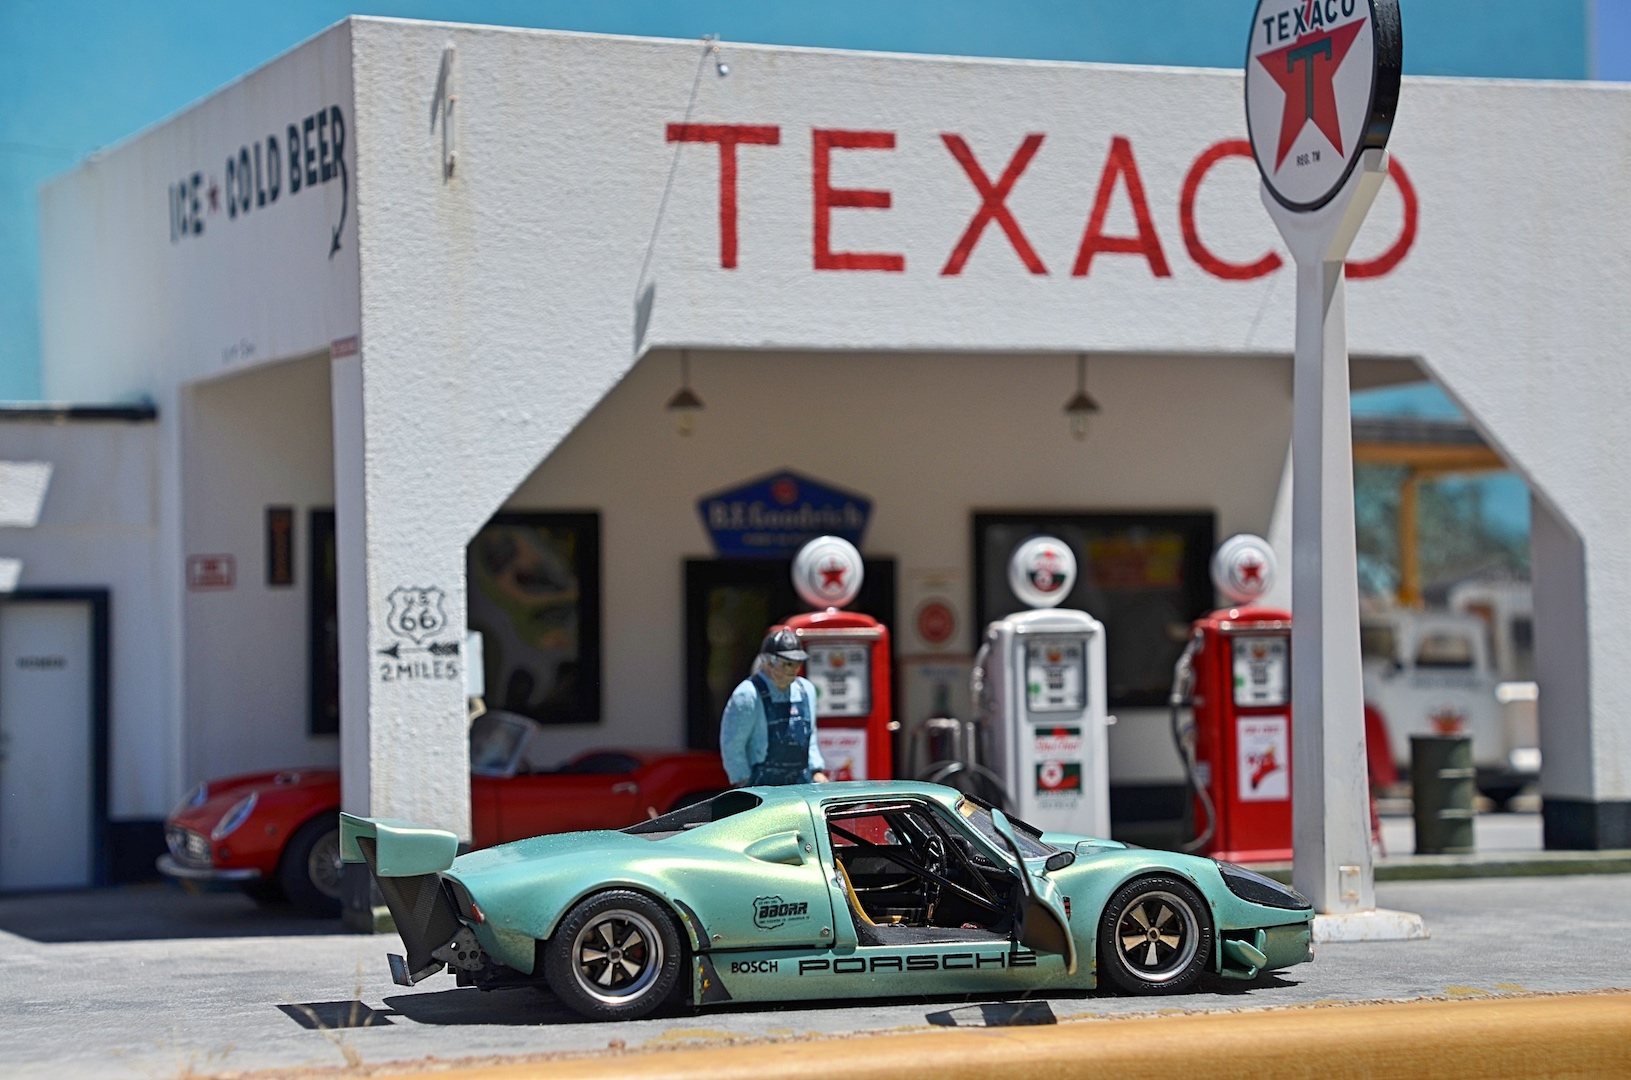
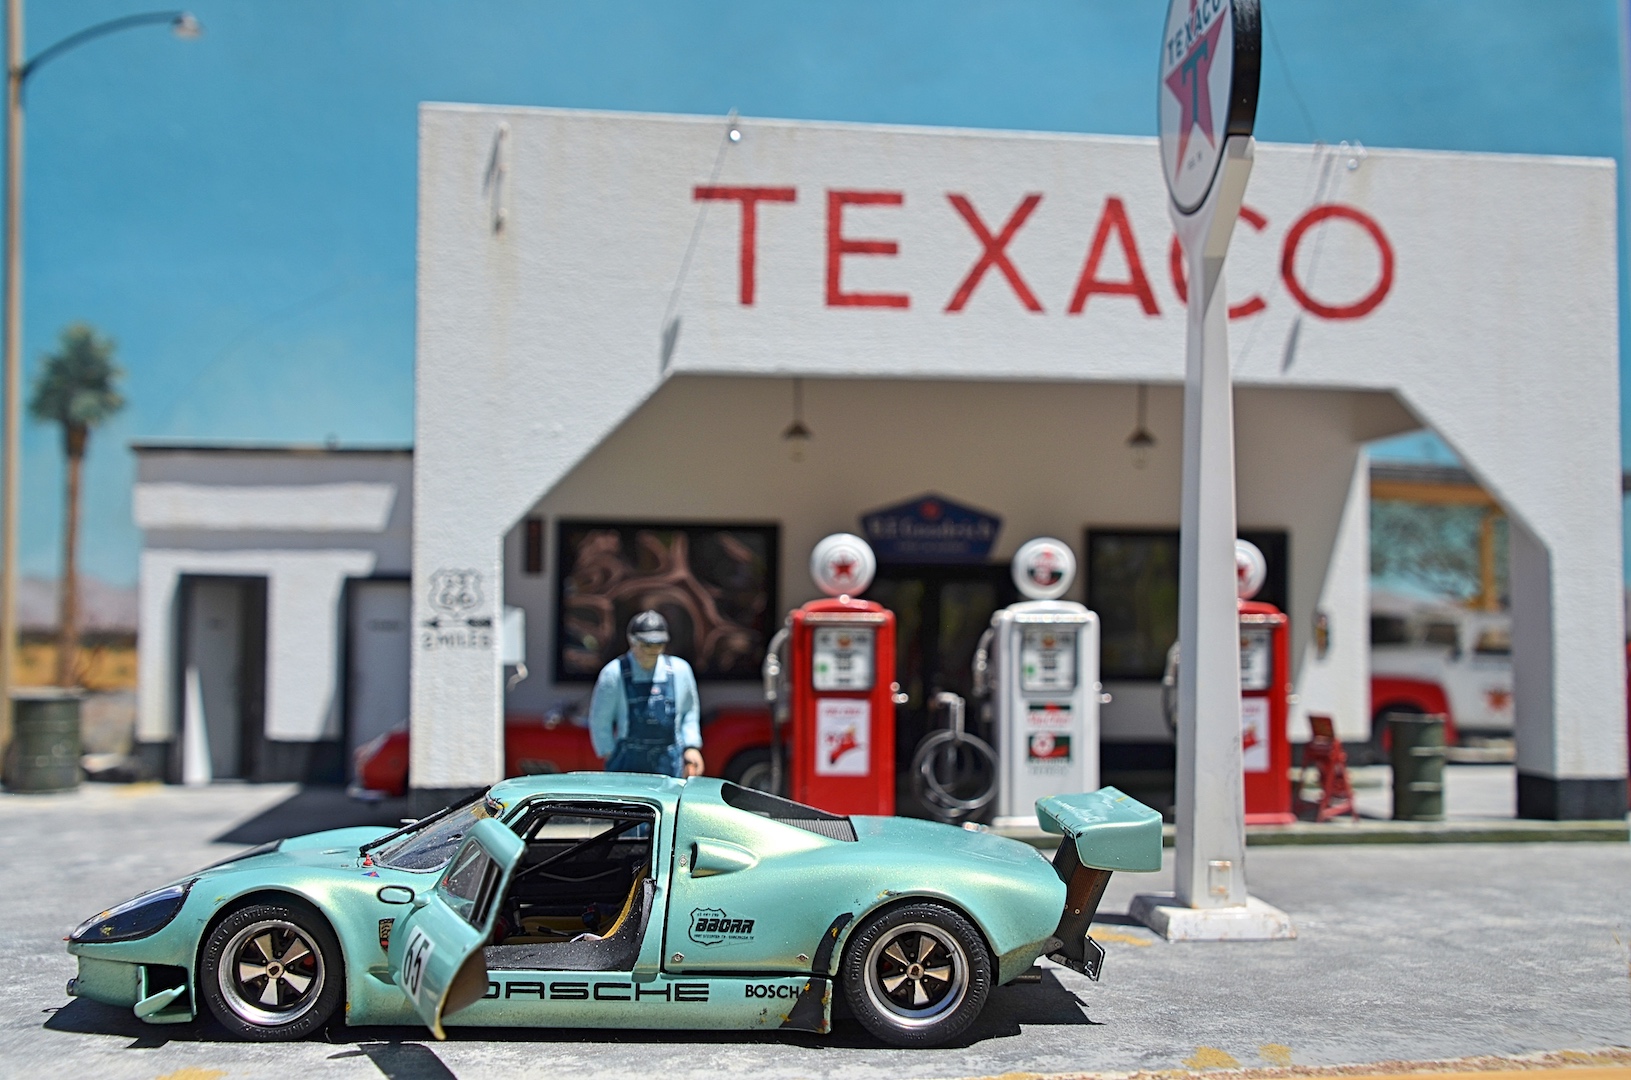
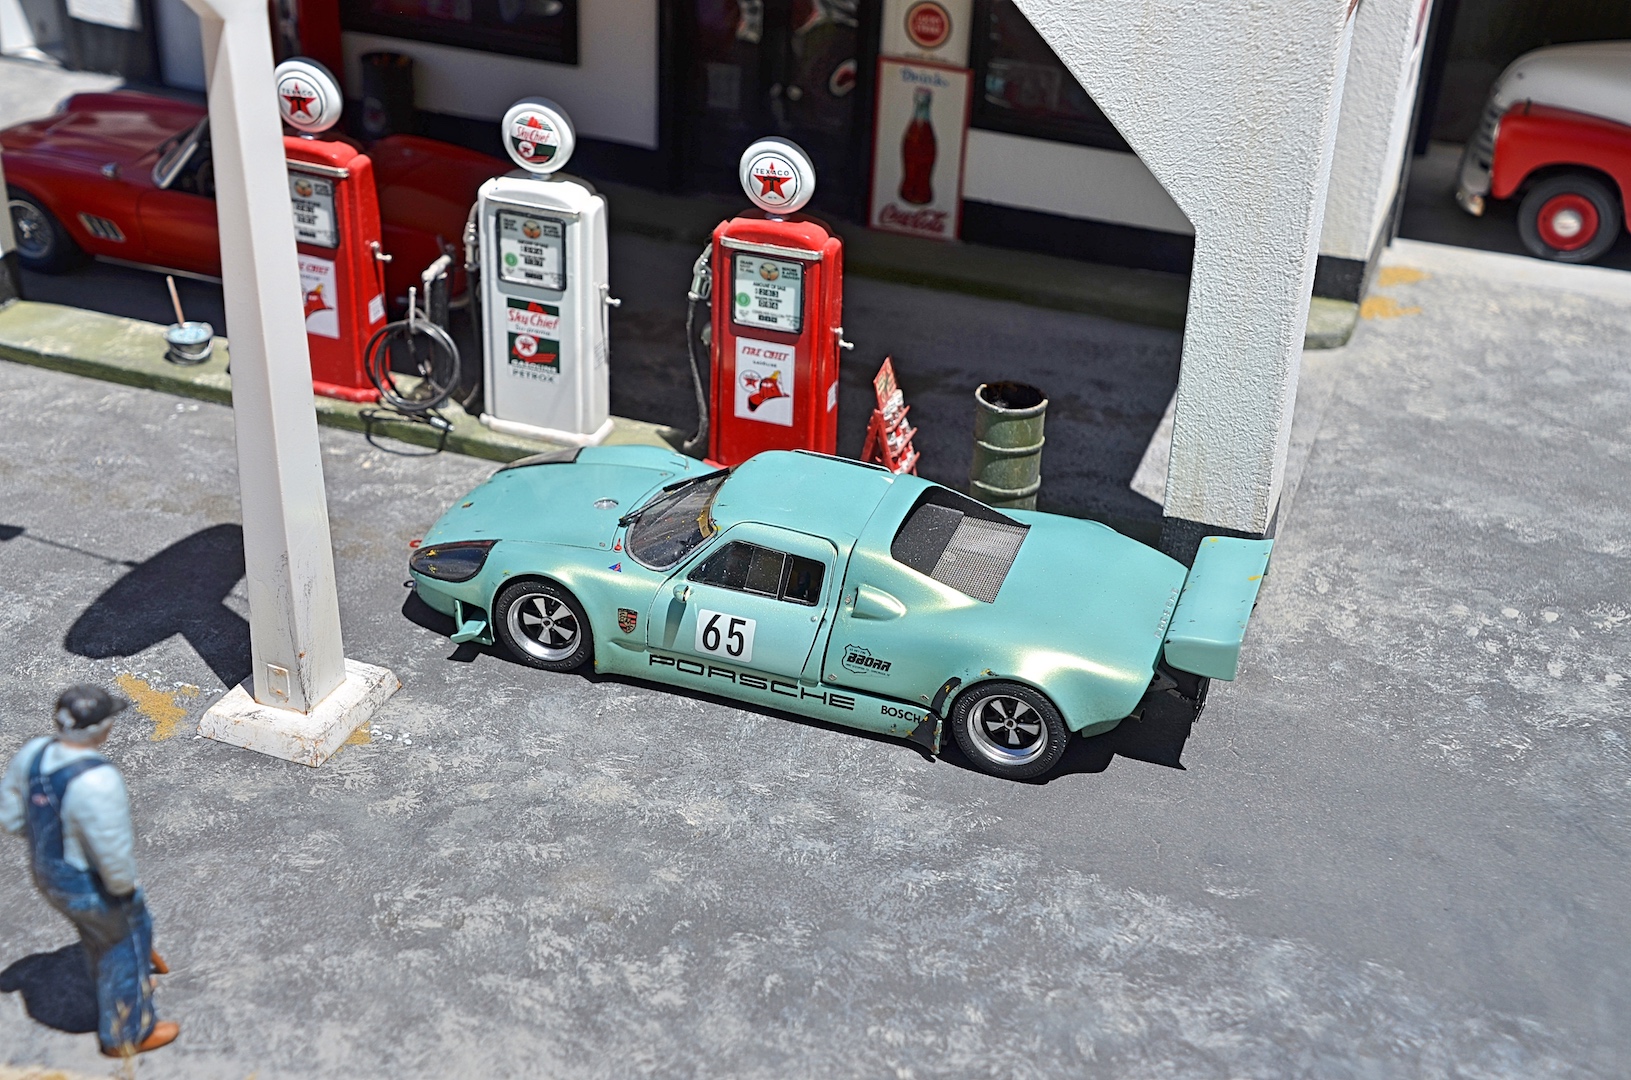
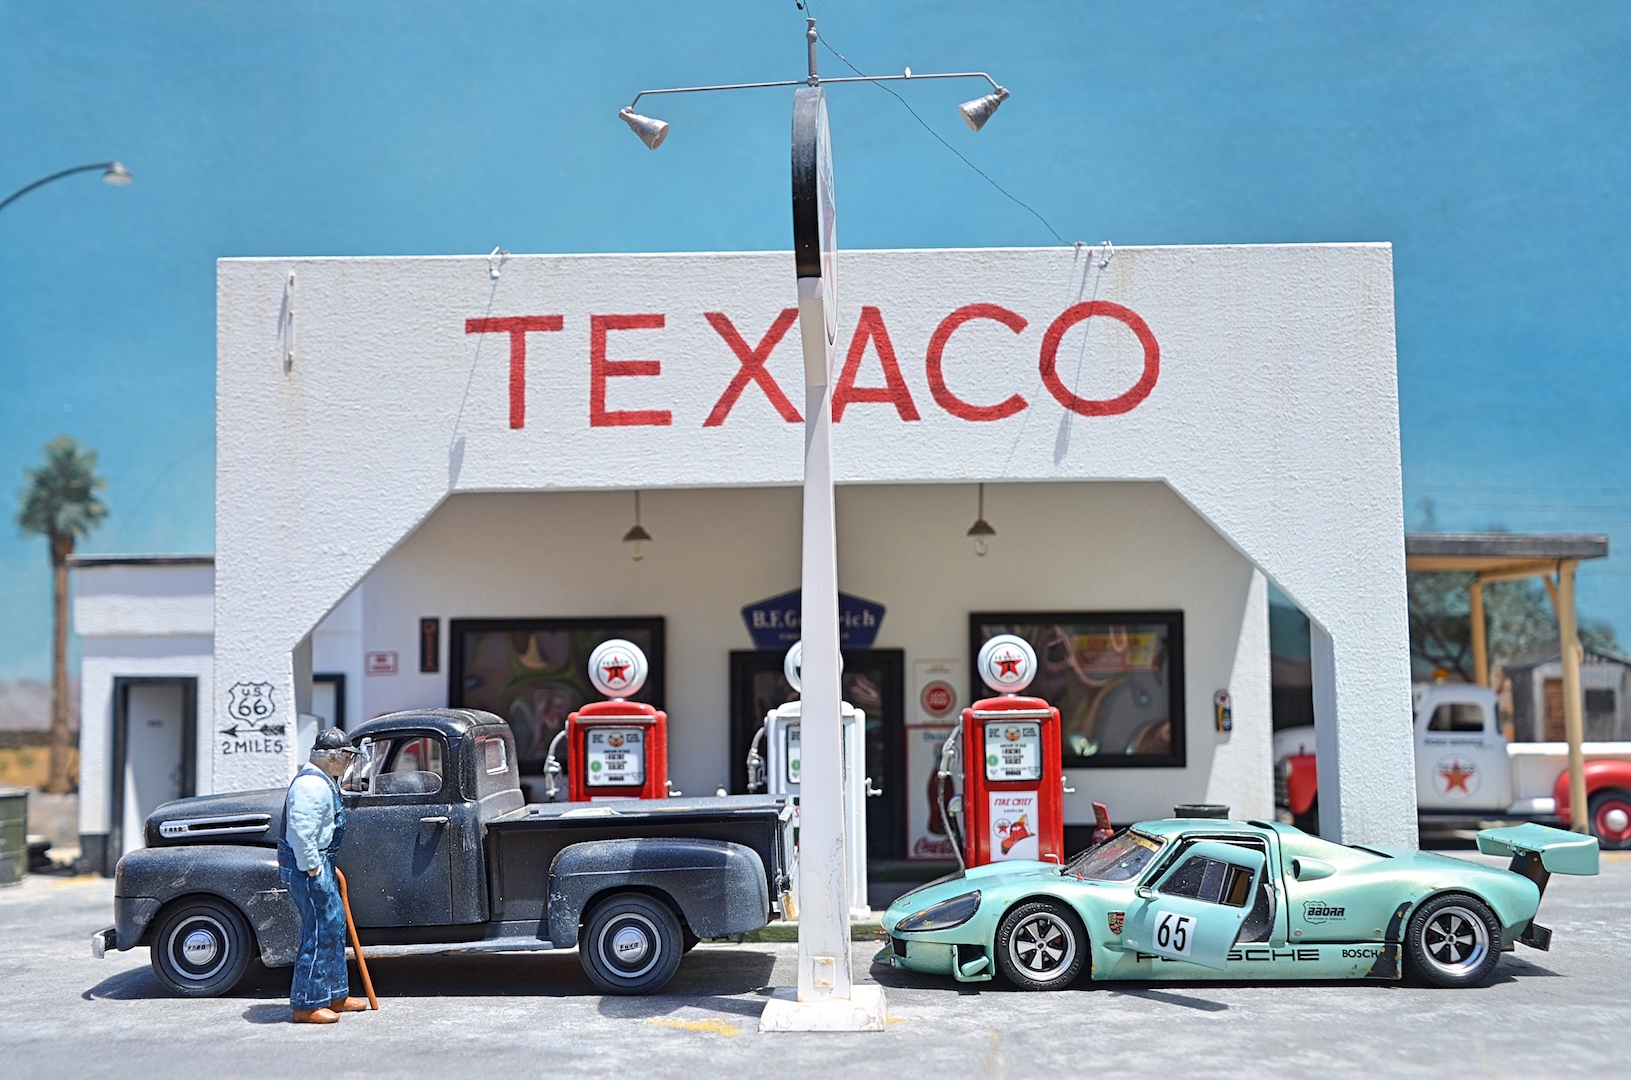
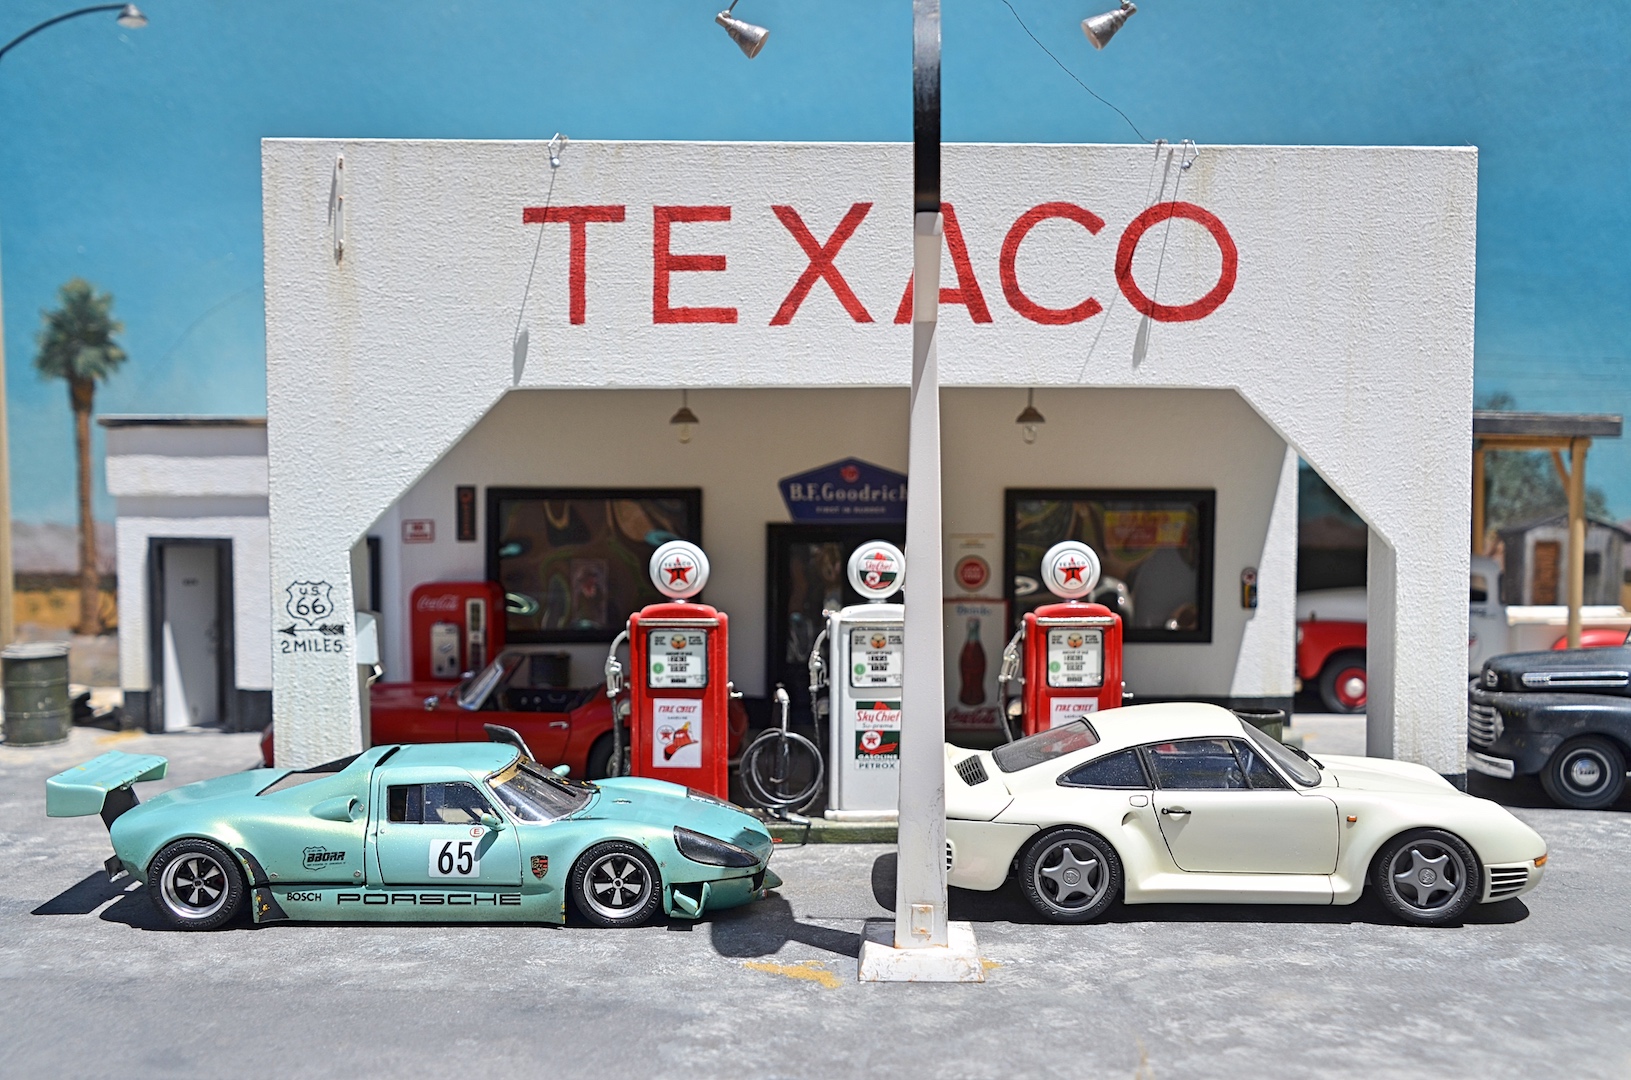
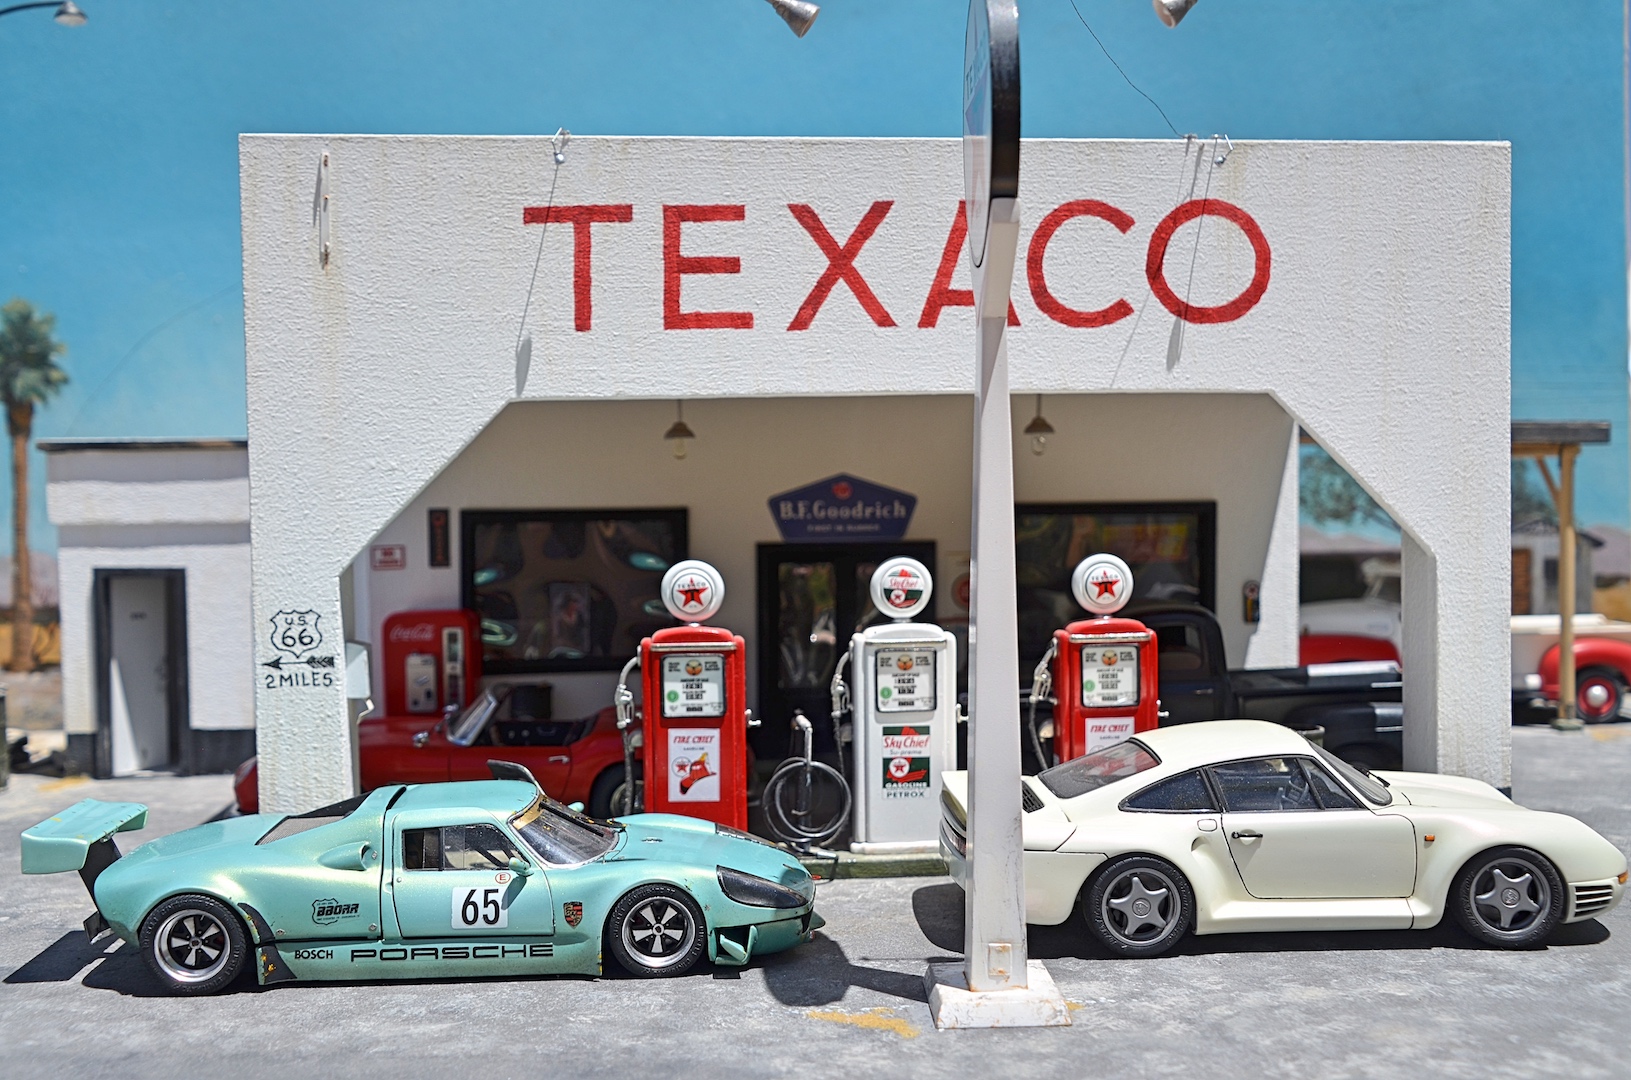
I officially have my own Outlaw!
-
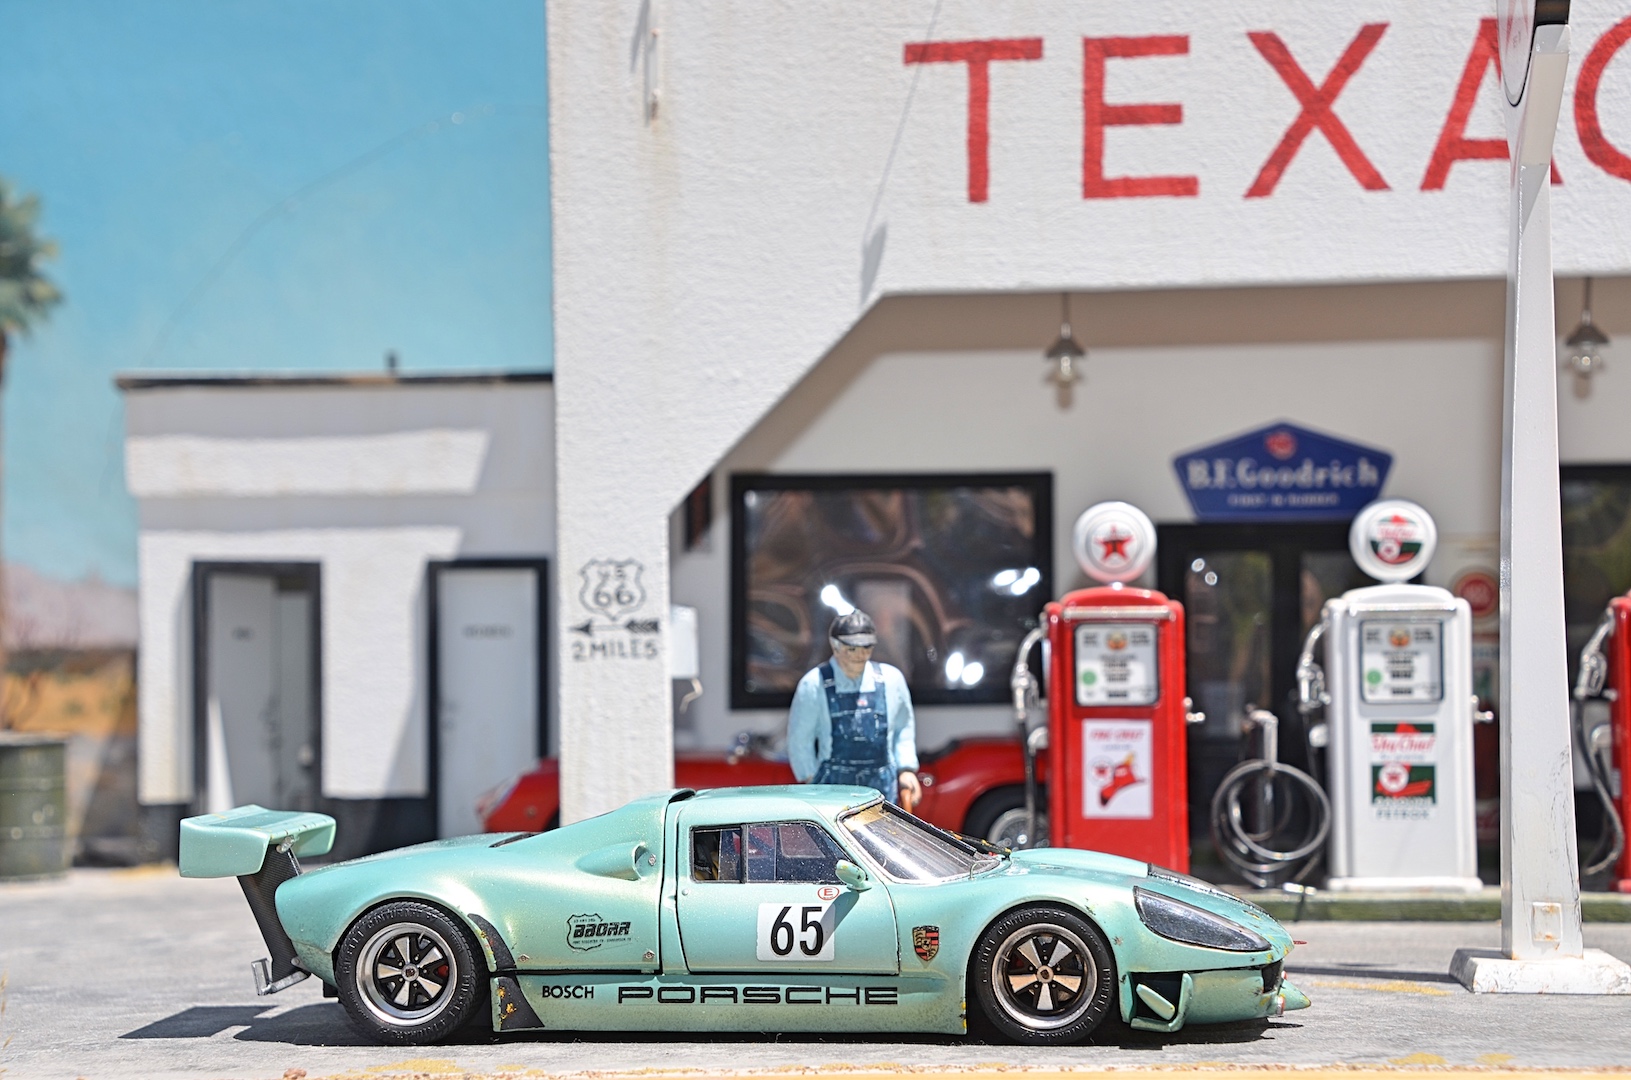
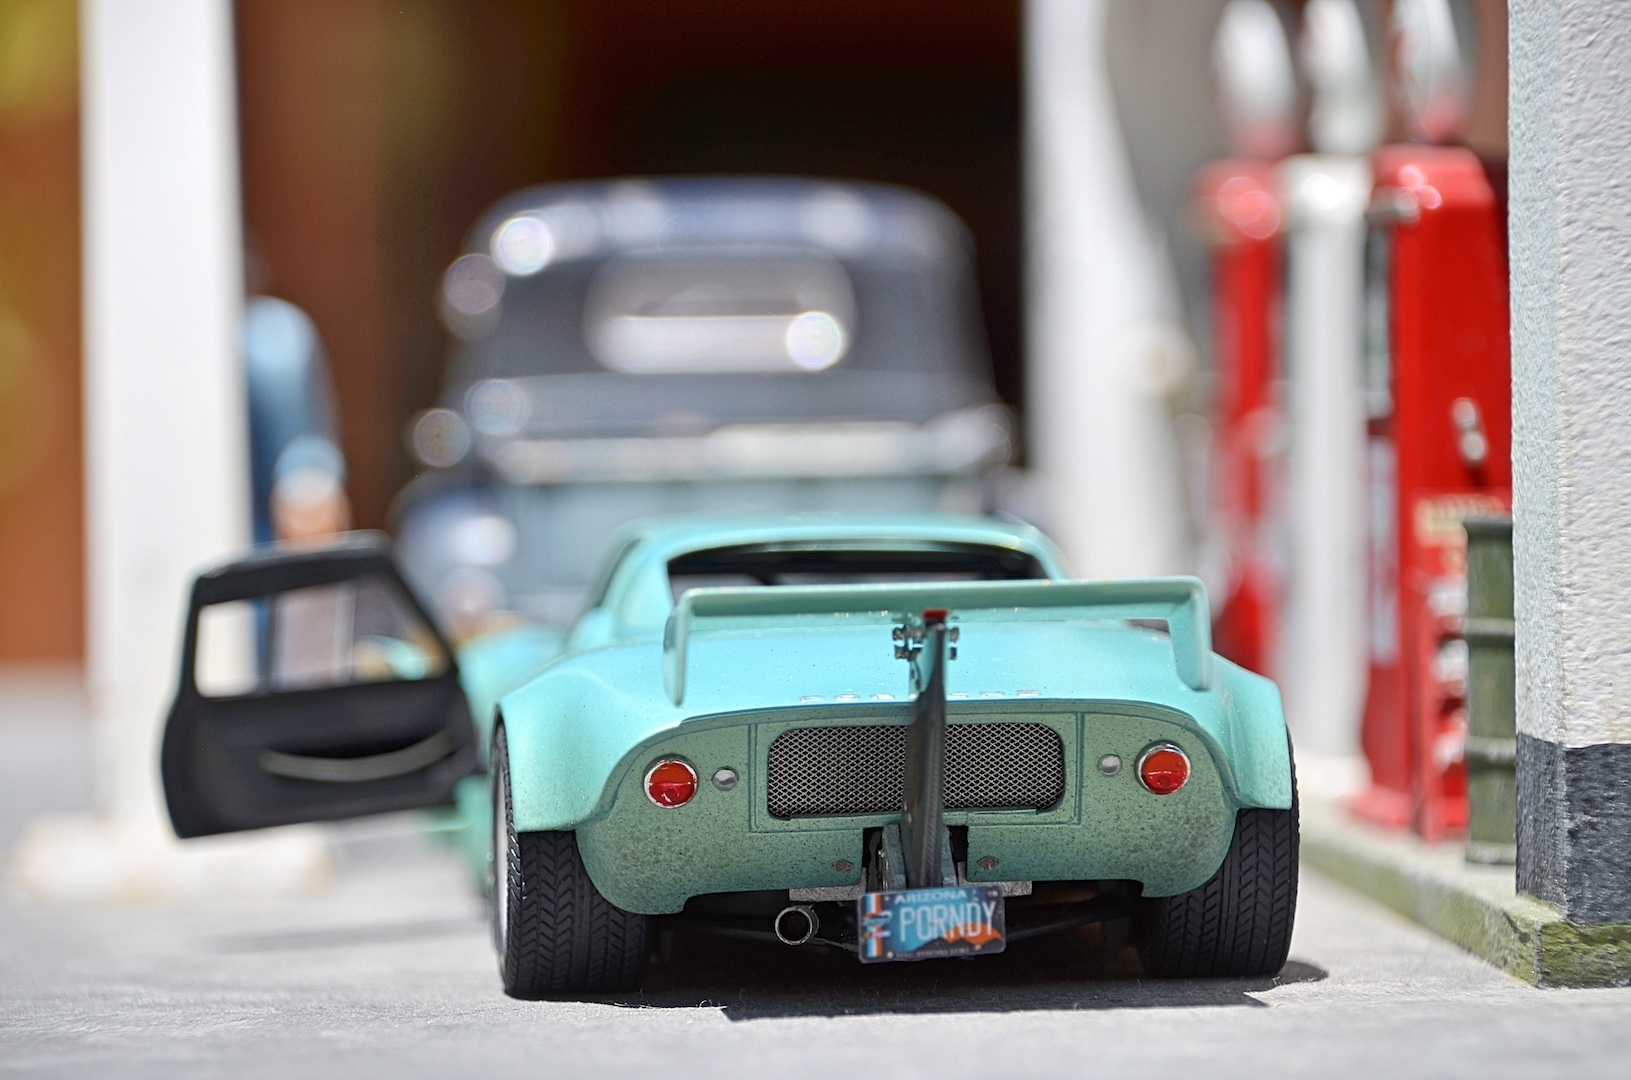
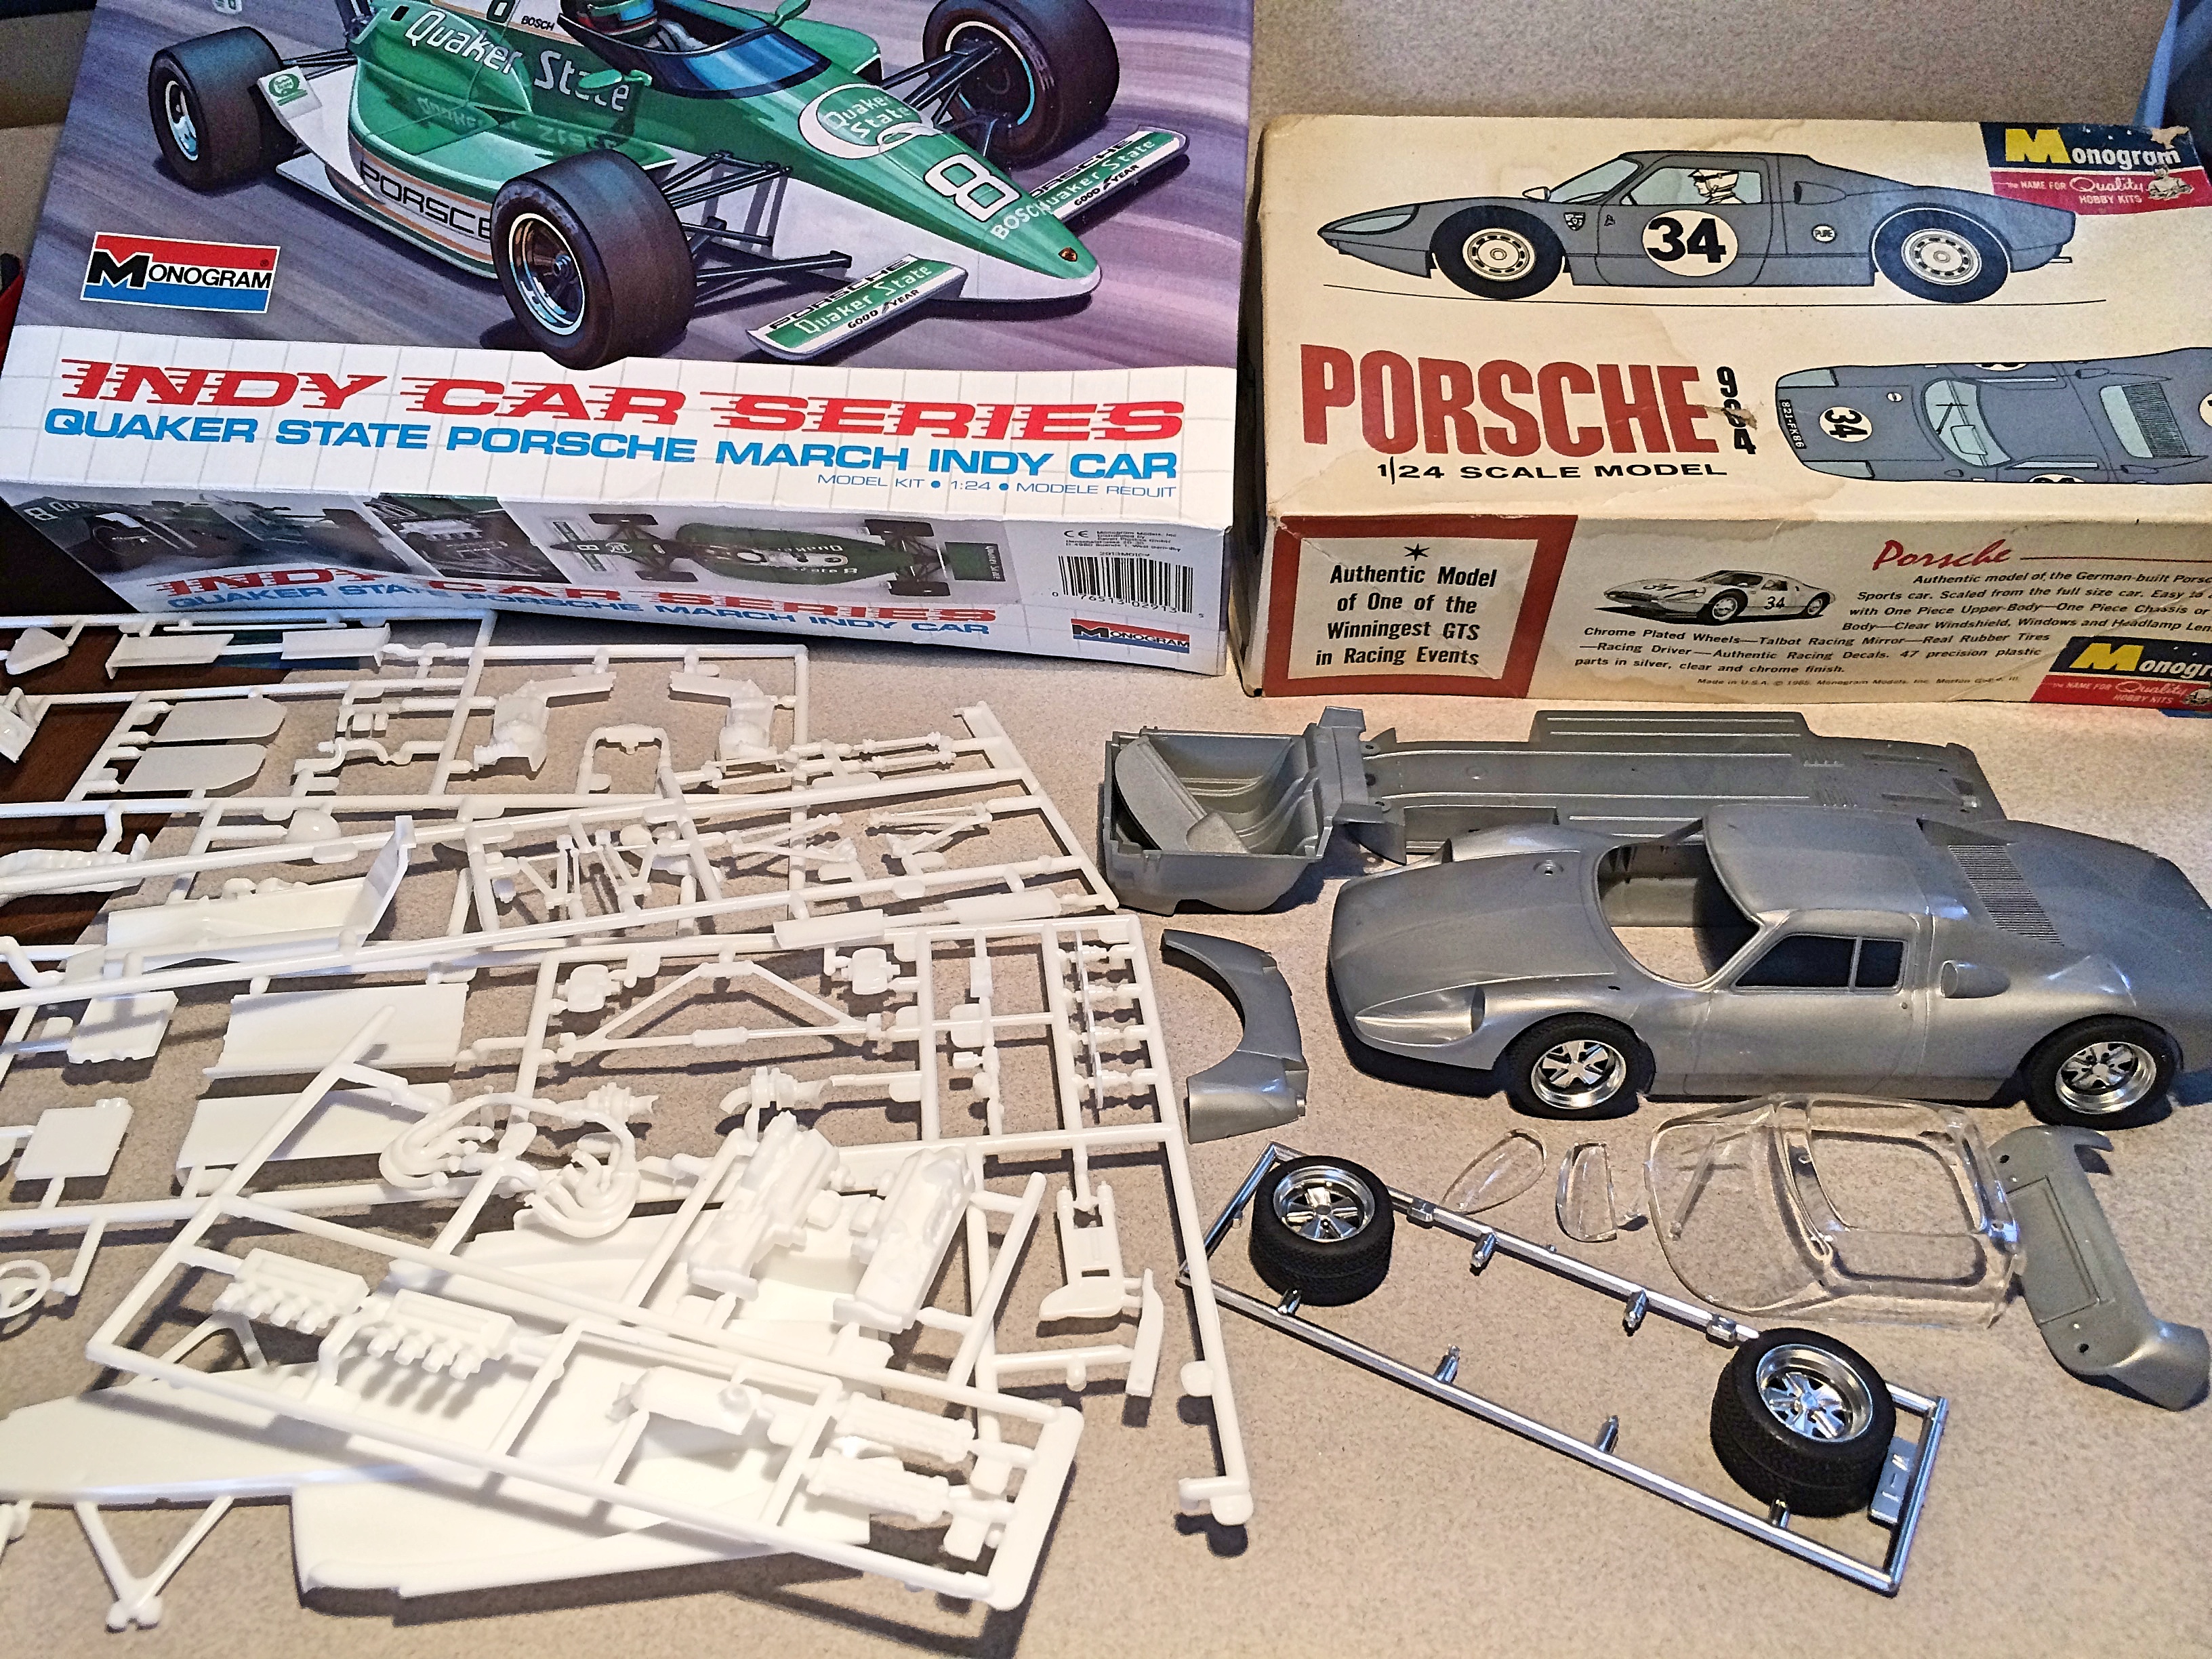
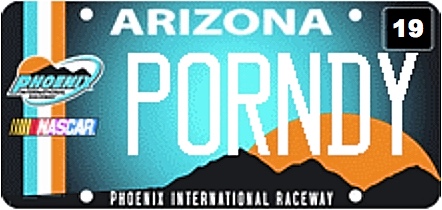
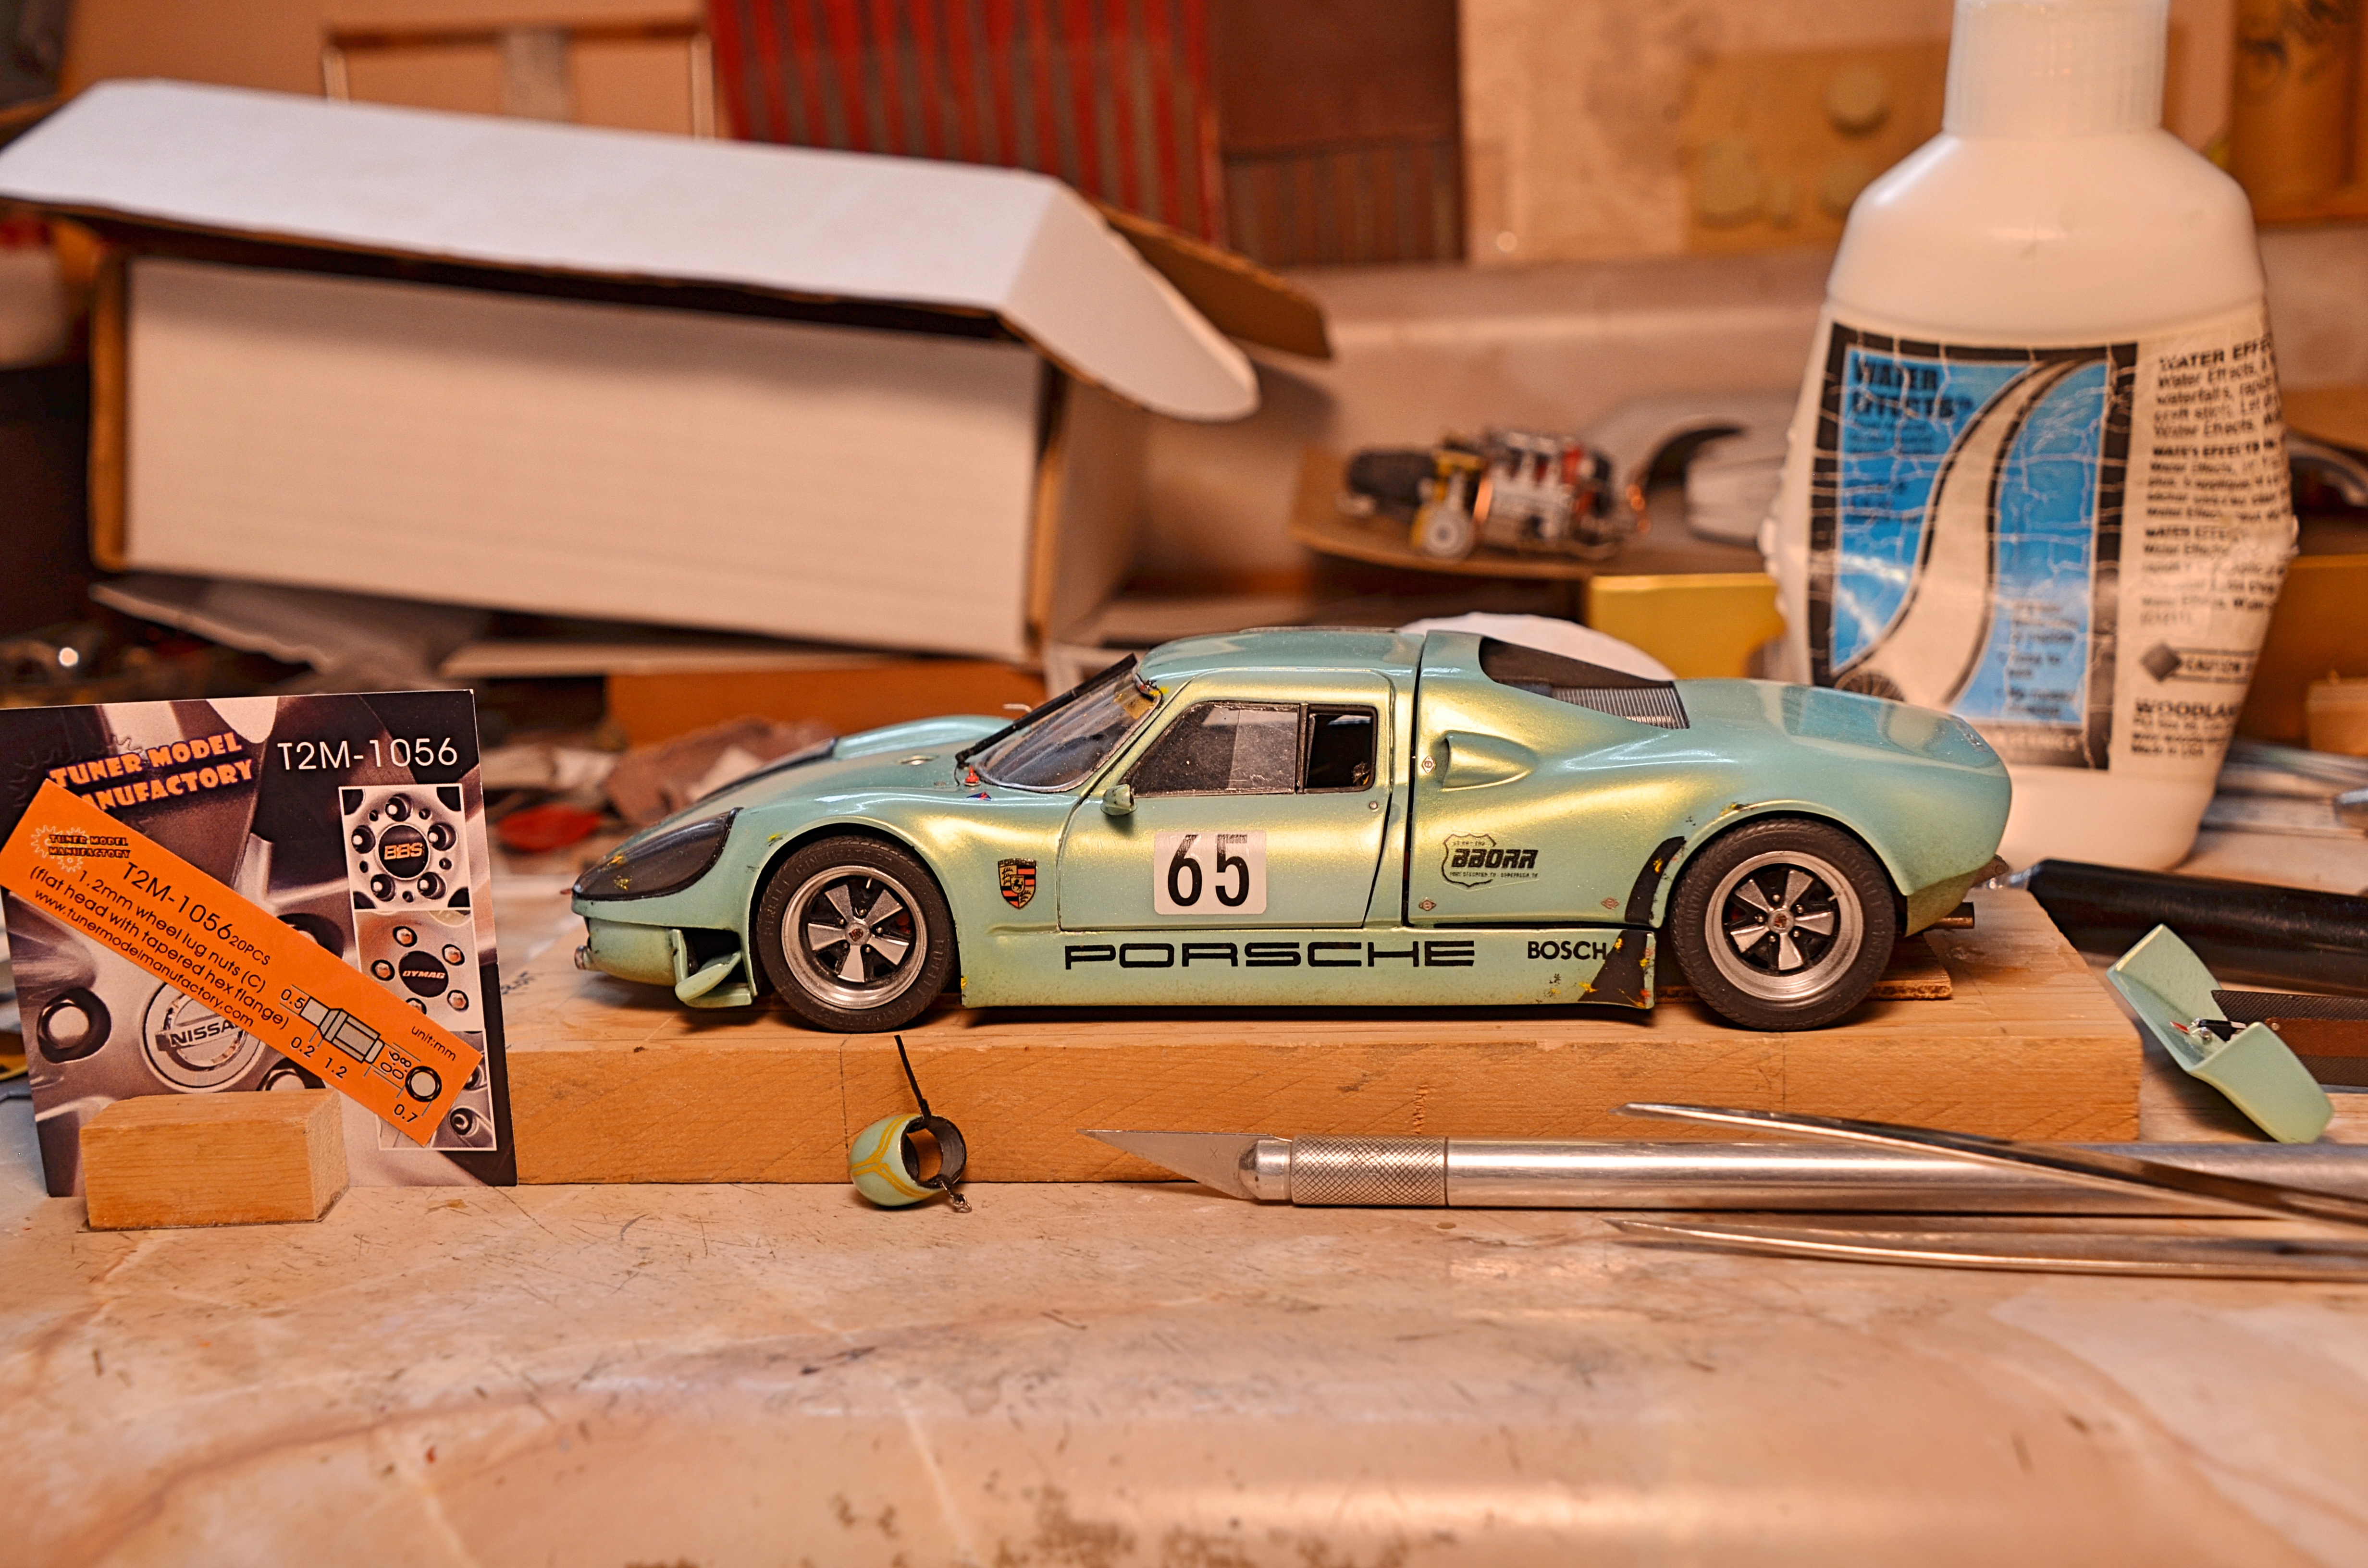
Kitbash of the classic Monogram Porsche 904 slot car kit issued 1965, with the Monogram Porsche March Indy race car from 1990. WIP build thread When the ladies at the copy shop gave me weird looks when I had the license plate reduced and printed, I tried to explain, Porsche + Indy, will bring it in to show them; it's the Phoenix International Raceway special plate. I have wanted to kitbash an Indy car, my original idea was with a '32 Ford or something. I was with friends at a model swap meet, saw "Porsche" on the box, they sold it for $5. I didn't know they ran at Indy, after reading the history, see why the car is kept hidden in their warehouse. I was at the GSL swap meet, saw the 904, offered $35, came with the Fuches wheels. The Porsche Outlaws & Hot Rods thread helped inspire me. Diorama is my California Pit Stop. Took about 180 hours to build. Paint is nail 'polish', shows really good in the sunlight. Will be interesting to see what category it will be allowed in at the Phoenix IPMS contest, since it's a fantasy and not real, much less accurate, Custom should work? Has Big Bend Open Road Race logo, the door number is for the year the kit was produced, if the numbers went up to 89, would have done that. My concept was to have the front and rear wings operate using speed and the pitot tube reads air speed, when I get around to "studio" pictures will show those in position. My guesstimate is 190MPH top speed.
-
Thank you, from Sweden!
-
Plug in solar
-
This is making me want to start a Turbo! Clean work, my only suggestion is painting flat black inside the exhaust tips.
-
Thanks for all the information! Had to ask....
-
Promise, last installment of this build! I got all 20 lug nuts installed. Since the fit of the wheels to hubs was practically non-existent, I relied on the 'Water Effects' for goober glue. I applied to the back of the wheels, pushing some into each hole, then dropped in the tiny nuts, then stuck onto the hub. I used the wood jig again. Was adjusting for awhile until I was happy with everything, then let it sit for several hours. These nuts are nice, the only criticism is they are four sides, not six. I tweaked the helmet straps. I have also added a couple wires to the battery, but not going crazy with more wiring, it's something I don't really like to do. If it's not windy, will take finished pictures in the morning with the gas station diorama.