89AKurt
-
Posts
8,426 -
Joined
-
Last visited
Content Type
Profiles
Forums
Events
Gallery
Everything posted by 89AKurt
-
WOW, love the wheels, really makes the whole thing so much better.
-
smoking burning rubber
-
One of my favorite subjects! Nice to see one built, nice job too!
-
I have another brand aftermarket detail set, with numerous sizes of prancing horse, could mail you one if you like. Used on my Mongrel project. (I'm on vacation at the moment, expect delay)
-

What did you see on the road today?
89AKurt replied to Harry P.'s topic in General Automotive Talk (Trucks and Cars)
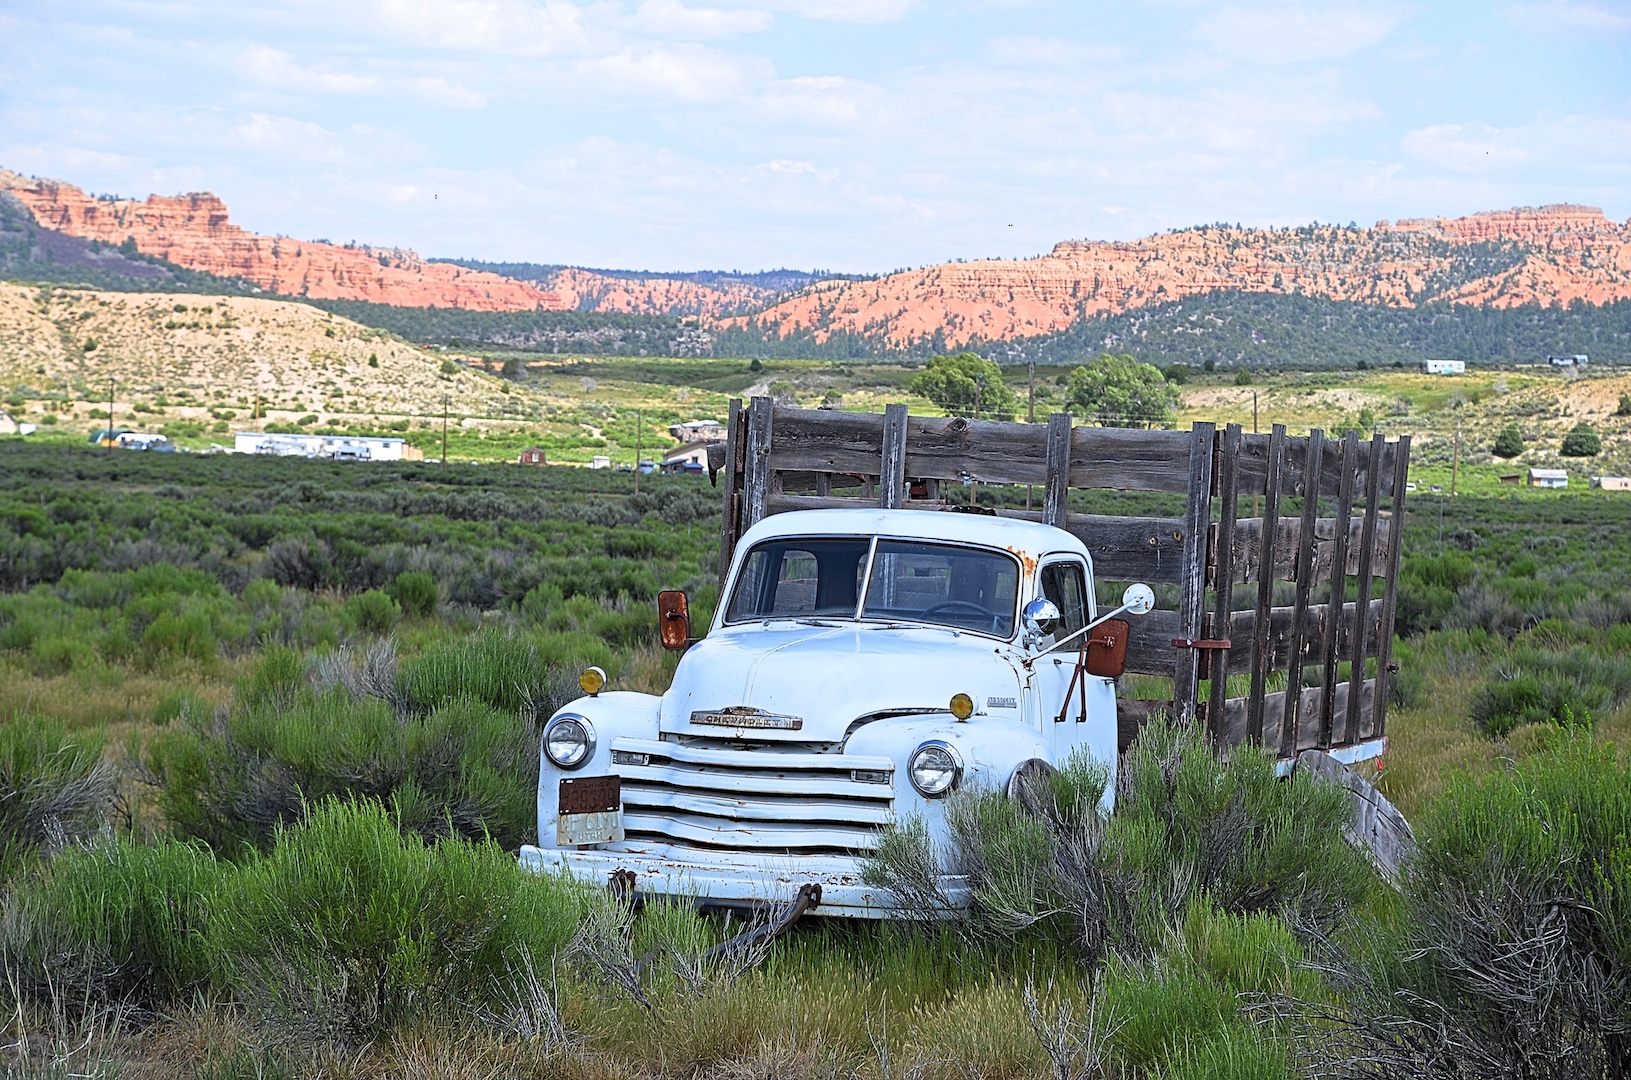
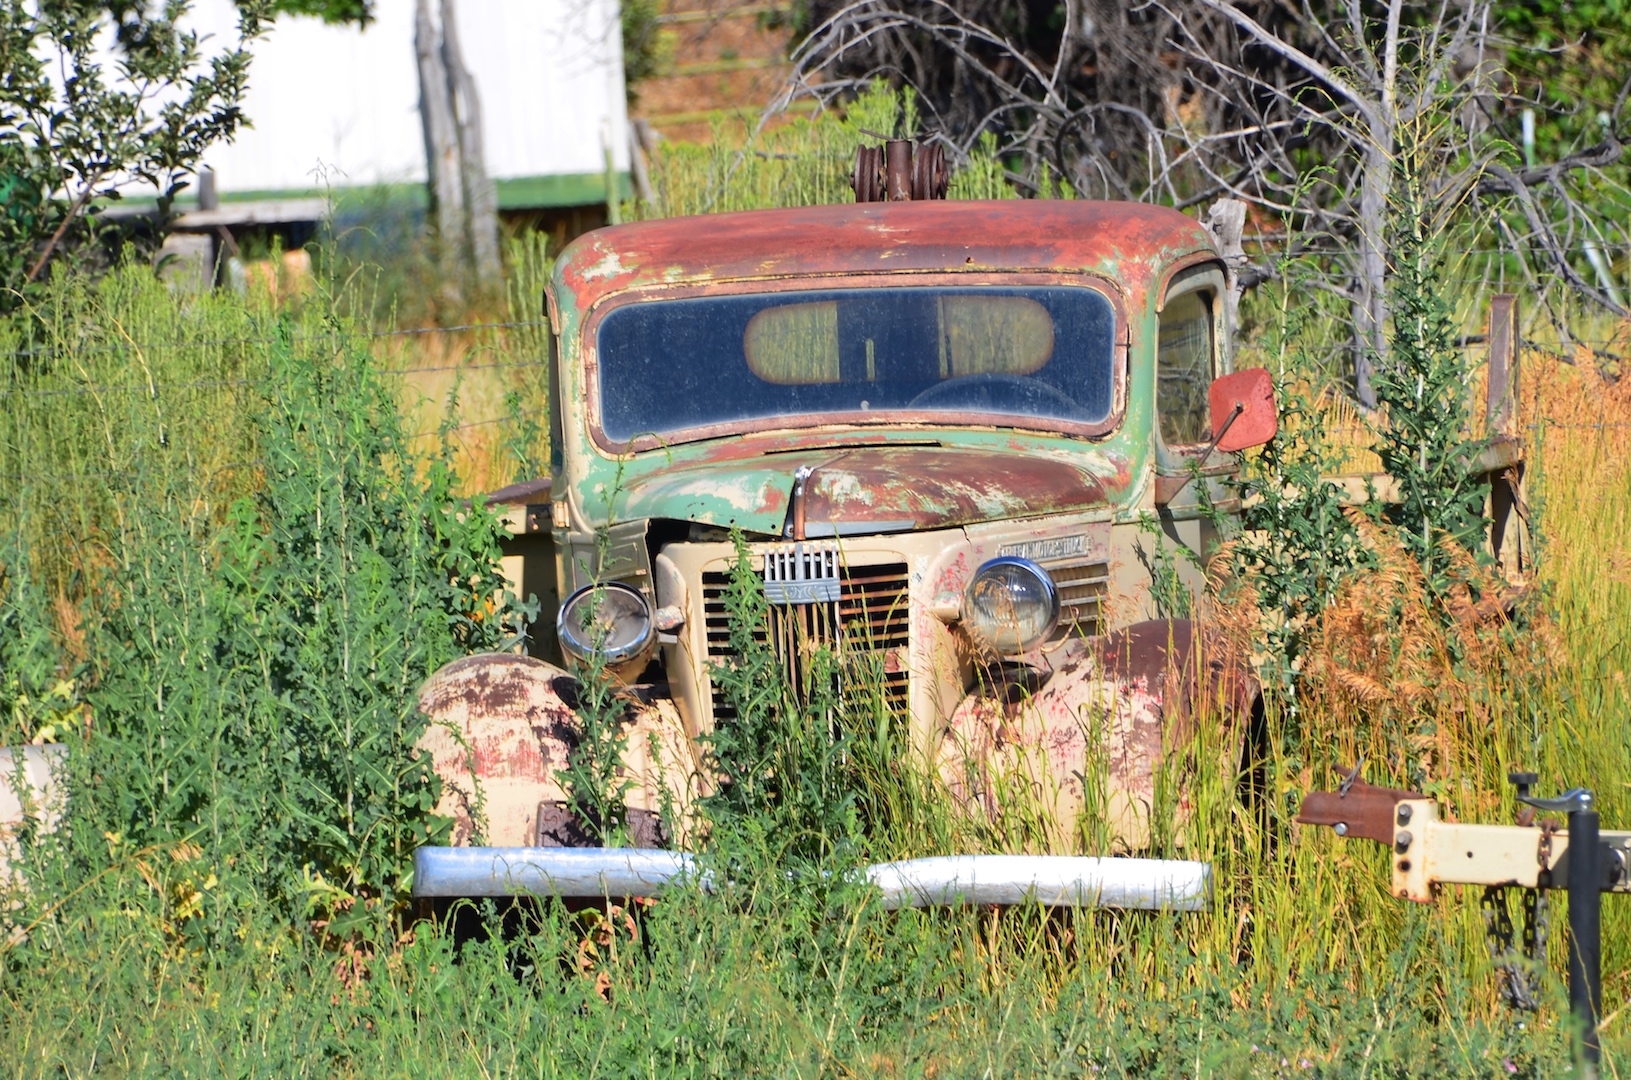
I've been on vacation this week. When I travel, I look in backyards when going through little towns. I'll slam on the brakes and u-turn to take pictures. I'll post just these two, unless someone wants to see more. West of Bryce Canyon, this truck has been sitting there for years. Glendale, Utah, this is where my 300mm lens came in handy.
-
of tasteless jokes
-
with Ghost Peppers
-
Oh boy, now there is an engine kit. Cost more than the kit. Engine in 1/24 scale manufactured by Ukrainian Scale Cars Production (ref. 24T028)
-
until it's bedtime
-
Lamborghini Bravo by Bertone
89AKurt replied to Casey's topic in General Automotive Talk (Trucks and Cars)
A favorite show car of mine! The headlights were the two first louvers that popped up. The wheels were on the Countach. Too bad no 1/24 scale kits, only smaller die cast. -
Ah technology, which will save our stupid butts, until a CME makes a direct hit.
-
administrative malaise, perpetuated
-
since no reporters
-
Seems like this is the most popular Tamiya kit recently. I like how you made it radical, and a little used too.
-
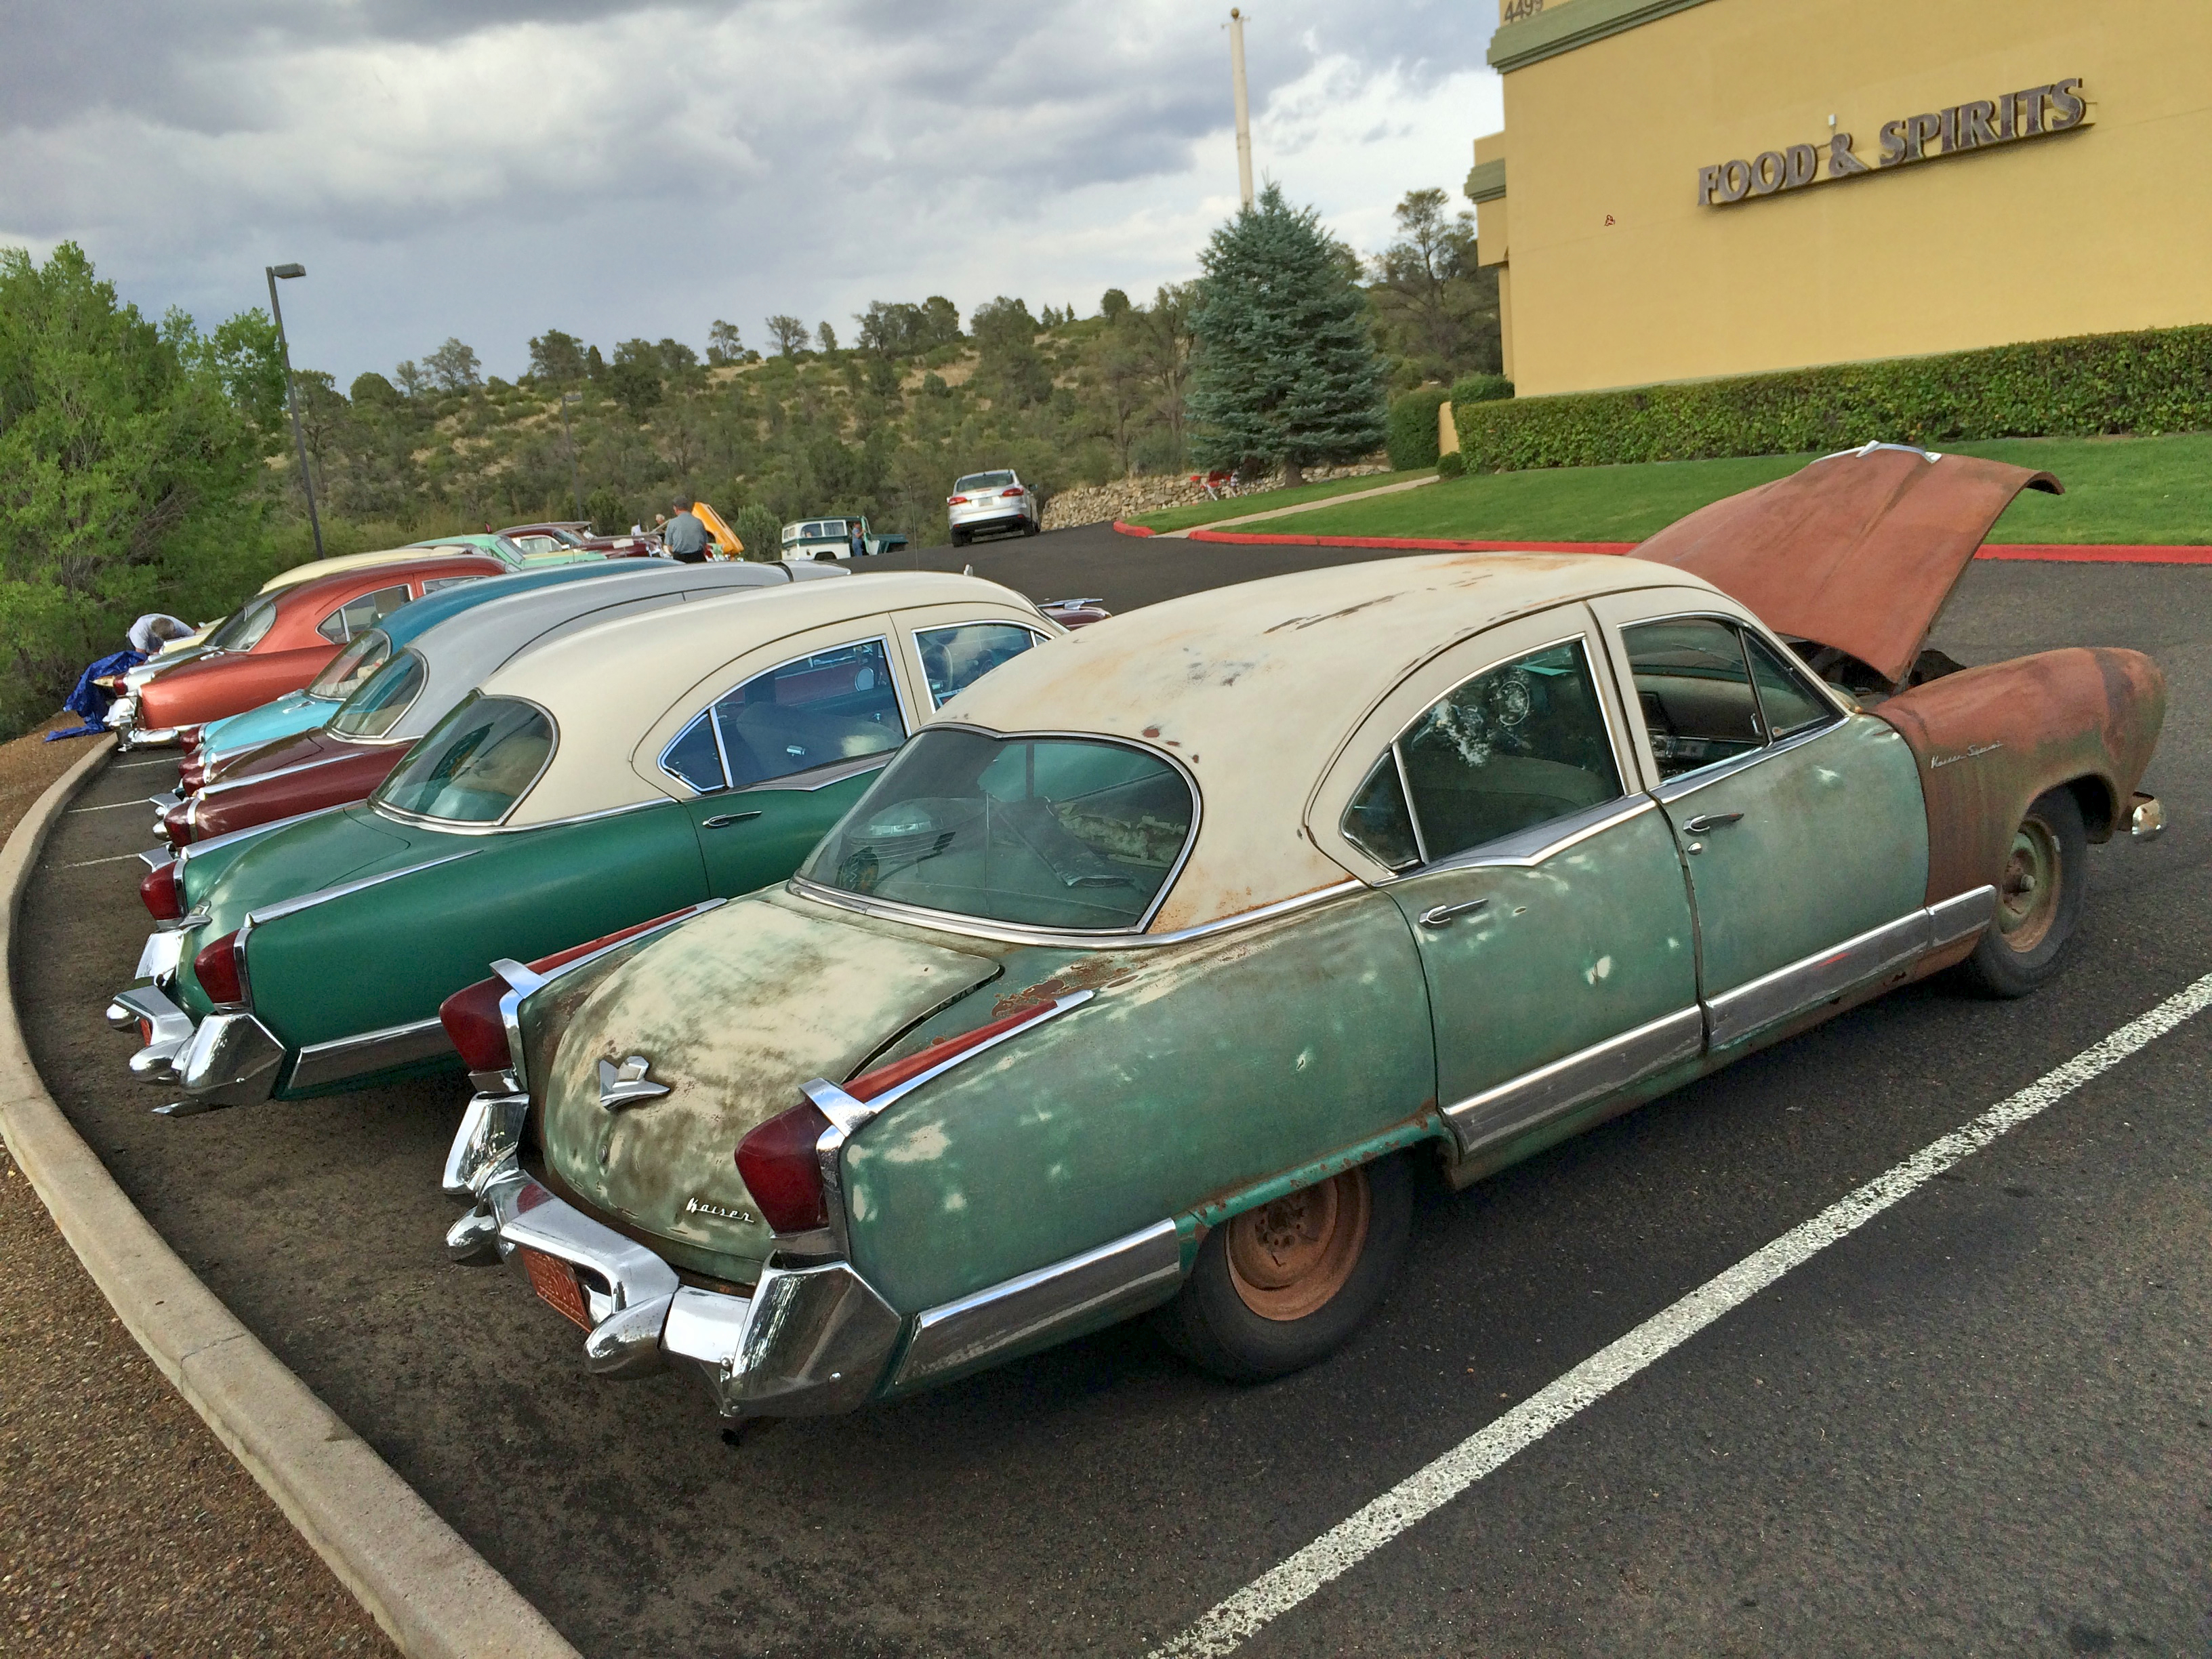
I like seeing something different! Well done. There was a National Kaiser convention almost next door to me a couple years ago.
-
on open laptops
-
I like this very much! But I sure would add an air filter!
-
made from Nomex
-
Came out GREAT! Worthy of the marque.
-
Don't know how I missed this! Thank you and Andy Barlow for doing all this work. I'm impressed how all this was coordinated with the awards ceremony.
-
hidden under that pile
-
squirted on hot
-
for counterfeit verification
-
after this ad
-
68 300V: Viper powered custom Chrysler 300C
89AKurt replied to Claude Thibodeau's topic in Model Cars
Bitchin! Love the paint.