-
Posts
8,426 -
Joined
-
Last visited
Content Type
Profiles
Forums
Events
Gallery
Everything posted by 89AKurt
-
I built two old Monogram models recently, issued 1965. I have the helmets, cute with the skull face. If that works, I'll send them to you.
-
I built what might have been the Monogram, for somebody, a long time ago. I whipped it together, painted tiger stripes on it, fun quickie.
-
armored Levis jeans
-
I tried that. the film is thick, won't curve like we are used to for decals. I've tried that. My last project, Pondy, but I did not thin it. Turned out just like any gold paint. It was their paint for Lexan bodies. Yes, that's what I saw! Note it's on a solid surface, I would have to ask them about "windows". $239 starting price, maybe not.
-
with the Coyotes
-
Thank you very much! Took it to the monthly model meeting, where I'm the only car builder, got home and found my order from BNA Model World arrived! ~happy dance icon missing~ Plan to finish tomorrow.
-
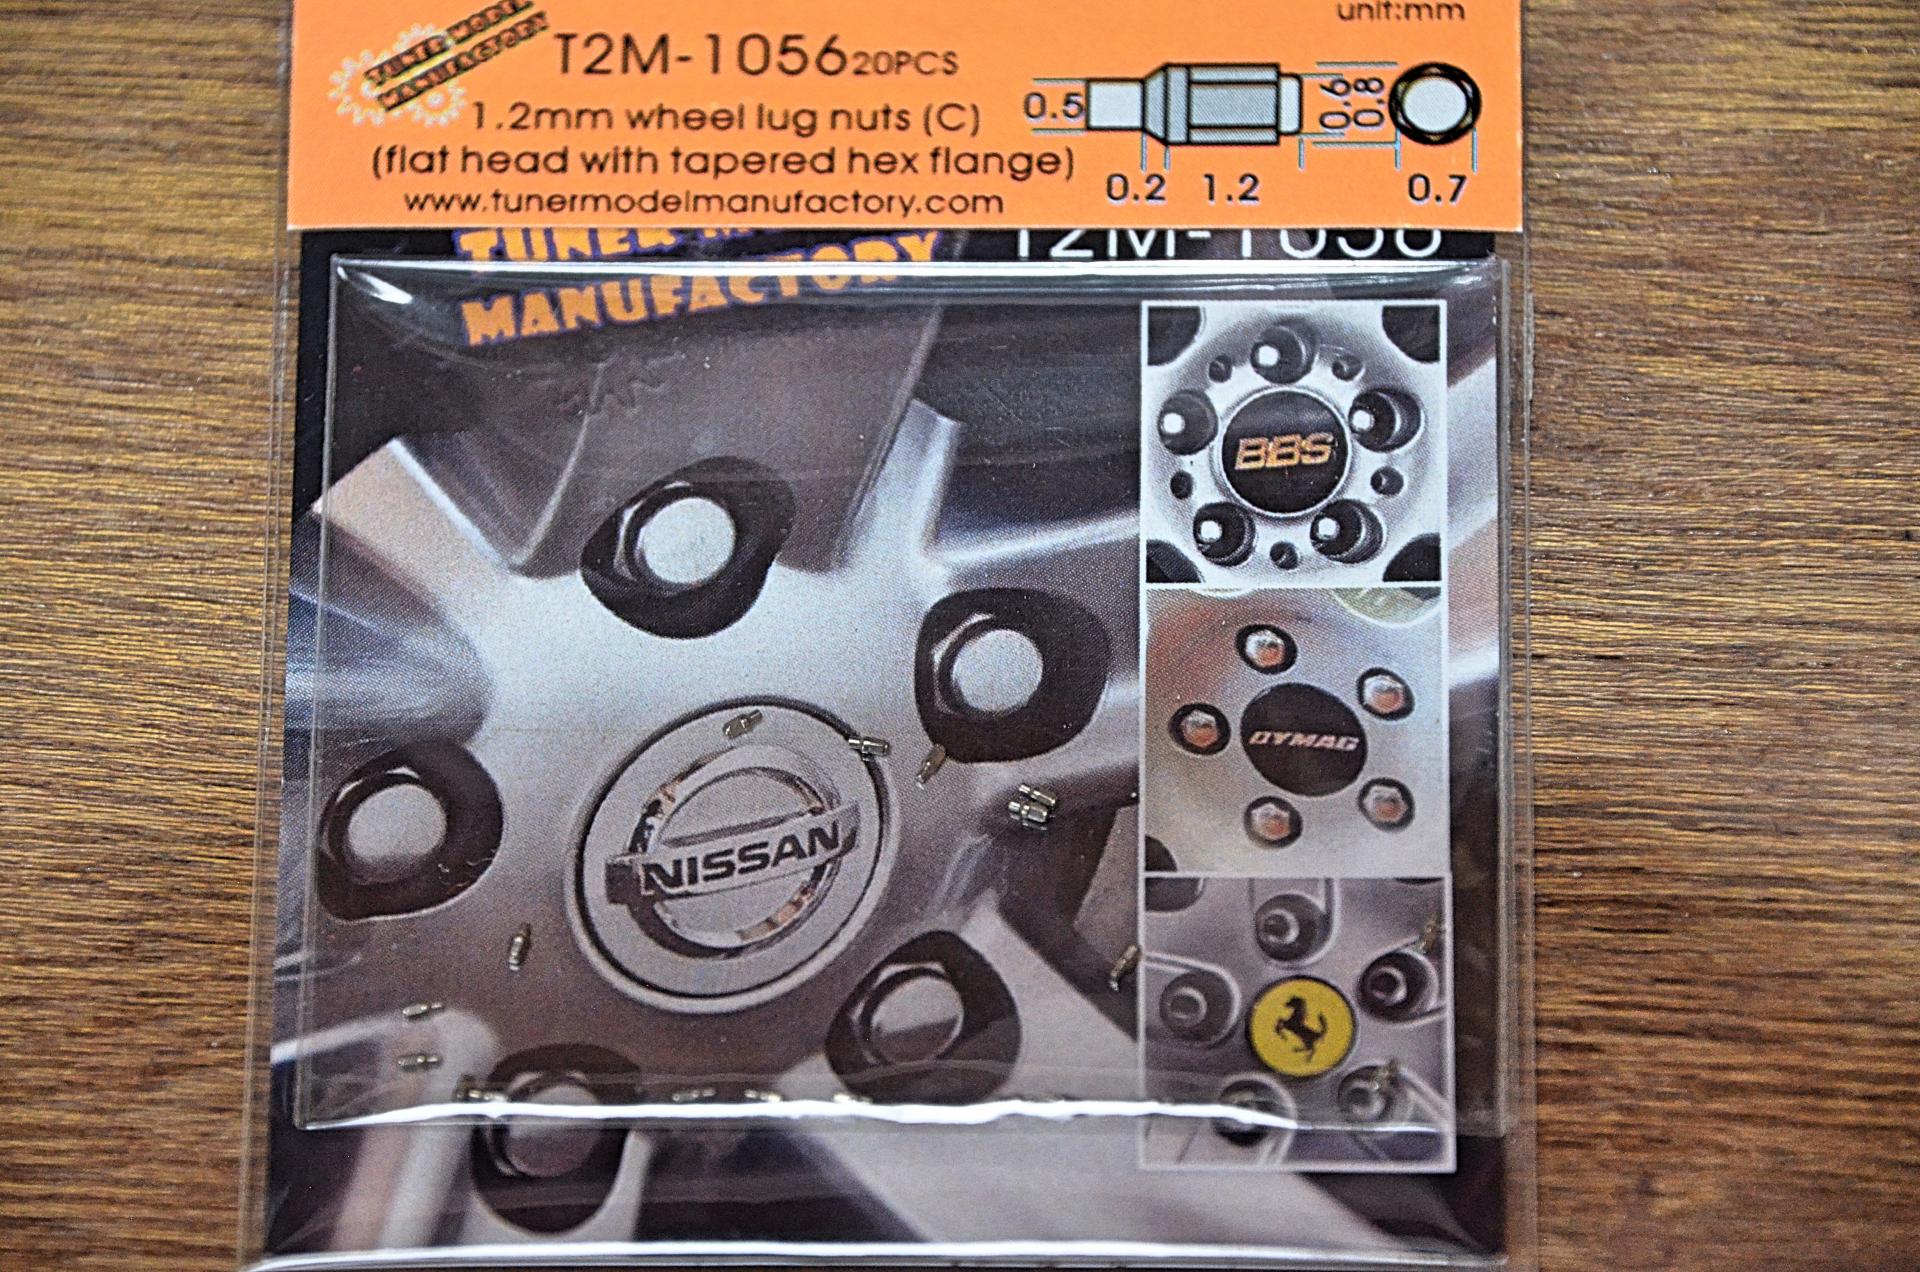
This might win for tiniest model parts of the month, lug nuts, from BNA Model World. Looking forward to putting these on Porndy, and call that done. Also got KA Models photo-etch for the Hasegawa 250TR.
- 39,135 replies
-
- johan
- glue bombs
-
(and 1 more)
Tagged with:
-
The BMW Nazca has gold-mirror glass, some other show cars have the coating. Think of space suit visor. I've seen a video of a guy brushing on a paint, that turned into a mirror finish on a motorcycle gas tank, but didn't take note of what that paint is. But that was on a solid surface, not clear for a window. Is there something that would create that look, short of asking Oakley sunglasses to put parts into their system?
-
Well done street rod! I like the license plate.
-
that's nitrate-free
-
time traveller camping
-
hold my beer,
-
Now there are Audi Quattro Sport S1 - gravel rims going to be available through Spot Model. I have also wanted to do Bobby Unser's Pikes Peak car, seen the decals are coming. That might be used on the Profil model.
-
Cost of inflation.
-
Looks great! The nice thing about controlling the obsessive compulsive anal retentive thing (I suffer too), actually finish something.
-

Continental Mark II Convertible
89AKurt replied to Perspect Scale Modelworks's topic in WIP: Model Cars
If I had a dollar, for every time I heard that sort of story, could buy me a promo! '55 Chevy Cameo for me. Refreshing to see such a classic. Yanking the seats is a huge improvement. I have never acquired a promo, didn't know about the acetate shrinking issue. Look forward to seeing this finished! -
I never knew before this topic was posted!
- 39,135 replies
-
- johan
- glue bombs
-
(and 1 more)
Tagged with:
-
True. I would eliminate the sprocket teeth under the chain.
-
shredded by chain
-
- 39,135 replies
-
- johan
- glue bombs
-
(and 1 more)
Tagged with:
-

Greetings from San Tan Valley, AZ
89AKurt replied to DonaldBrent's topic in Welcome! Introduce Yourself
Welcome! I've attended several Craig Hewitt contests. I also flew Estes rockets! The biggest is the Saturn 1B, that uses 4 engines, never launched. Have what's left of the Pershing that was converted to use Flight Systems F engines. Last launch the nose angered into the ground. That's why I prefer static models. Live north of you! -
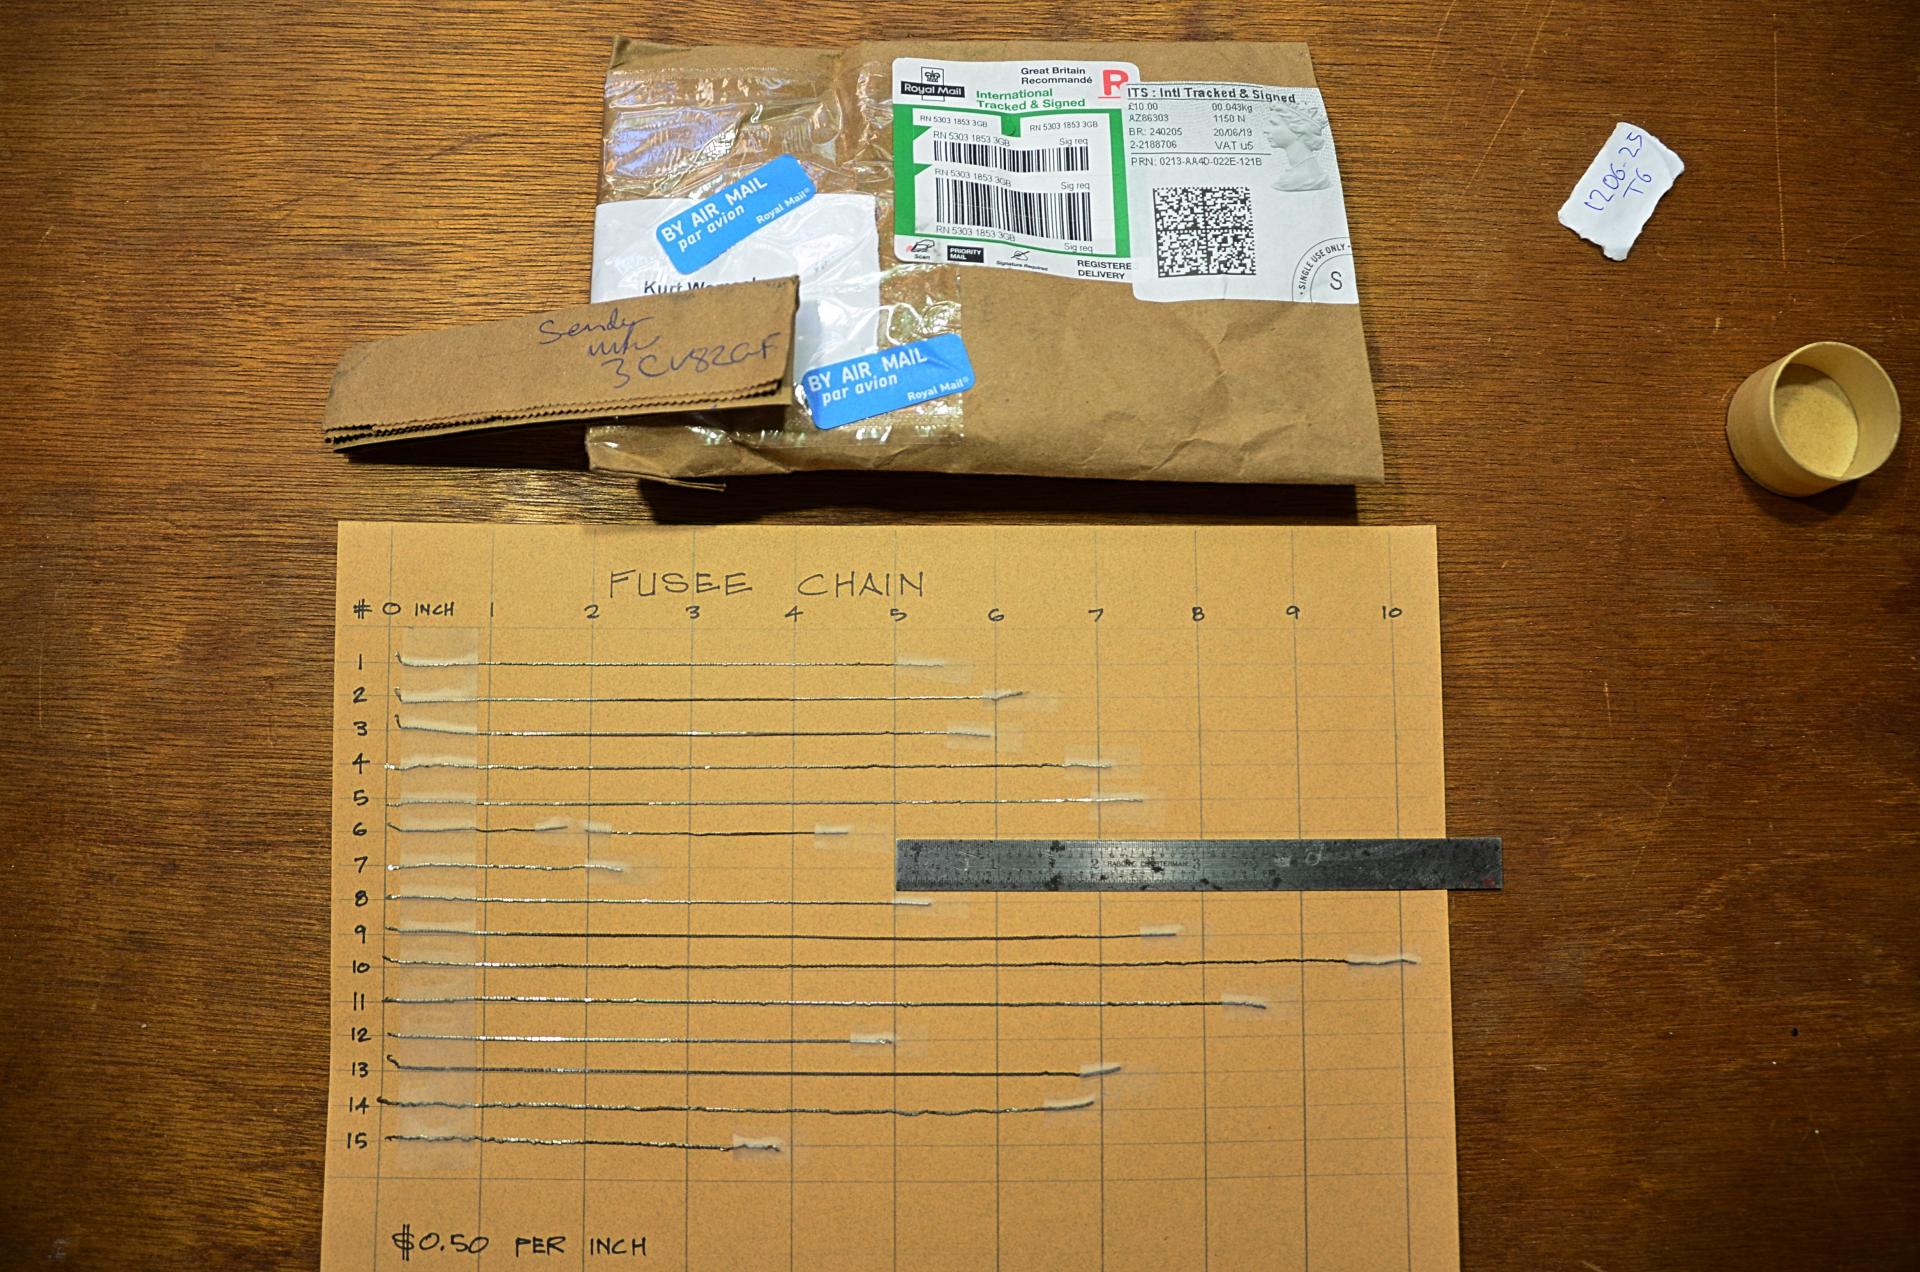
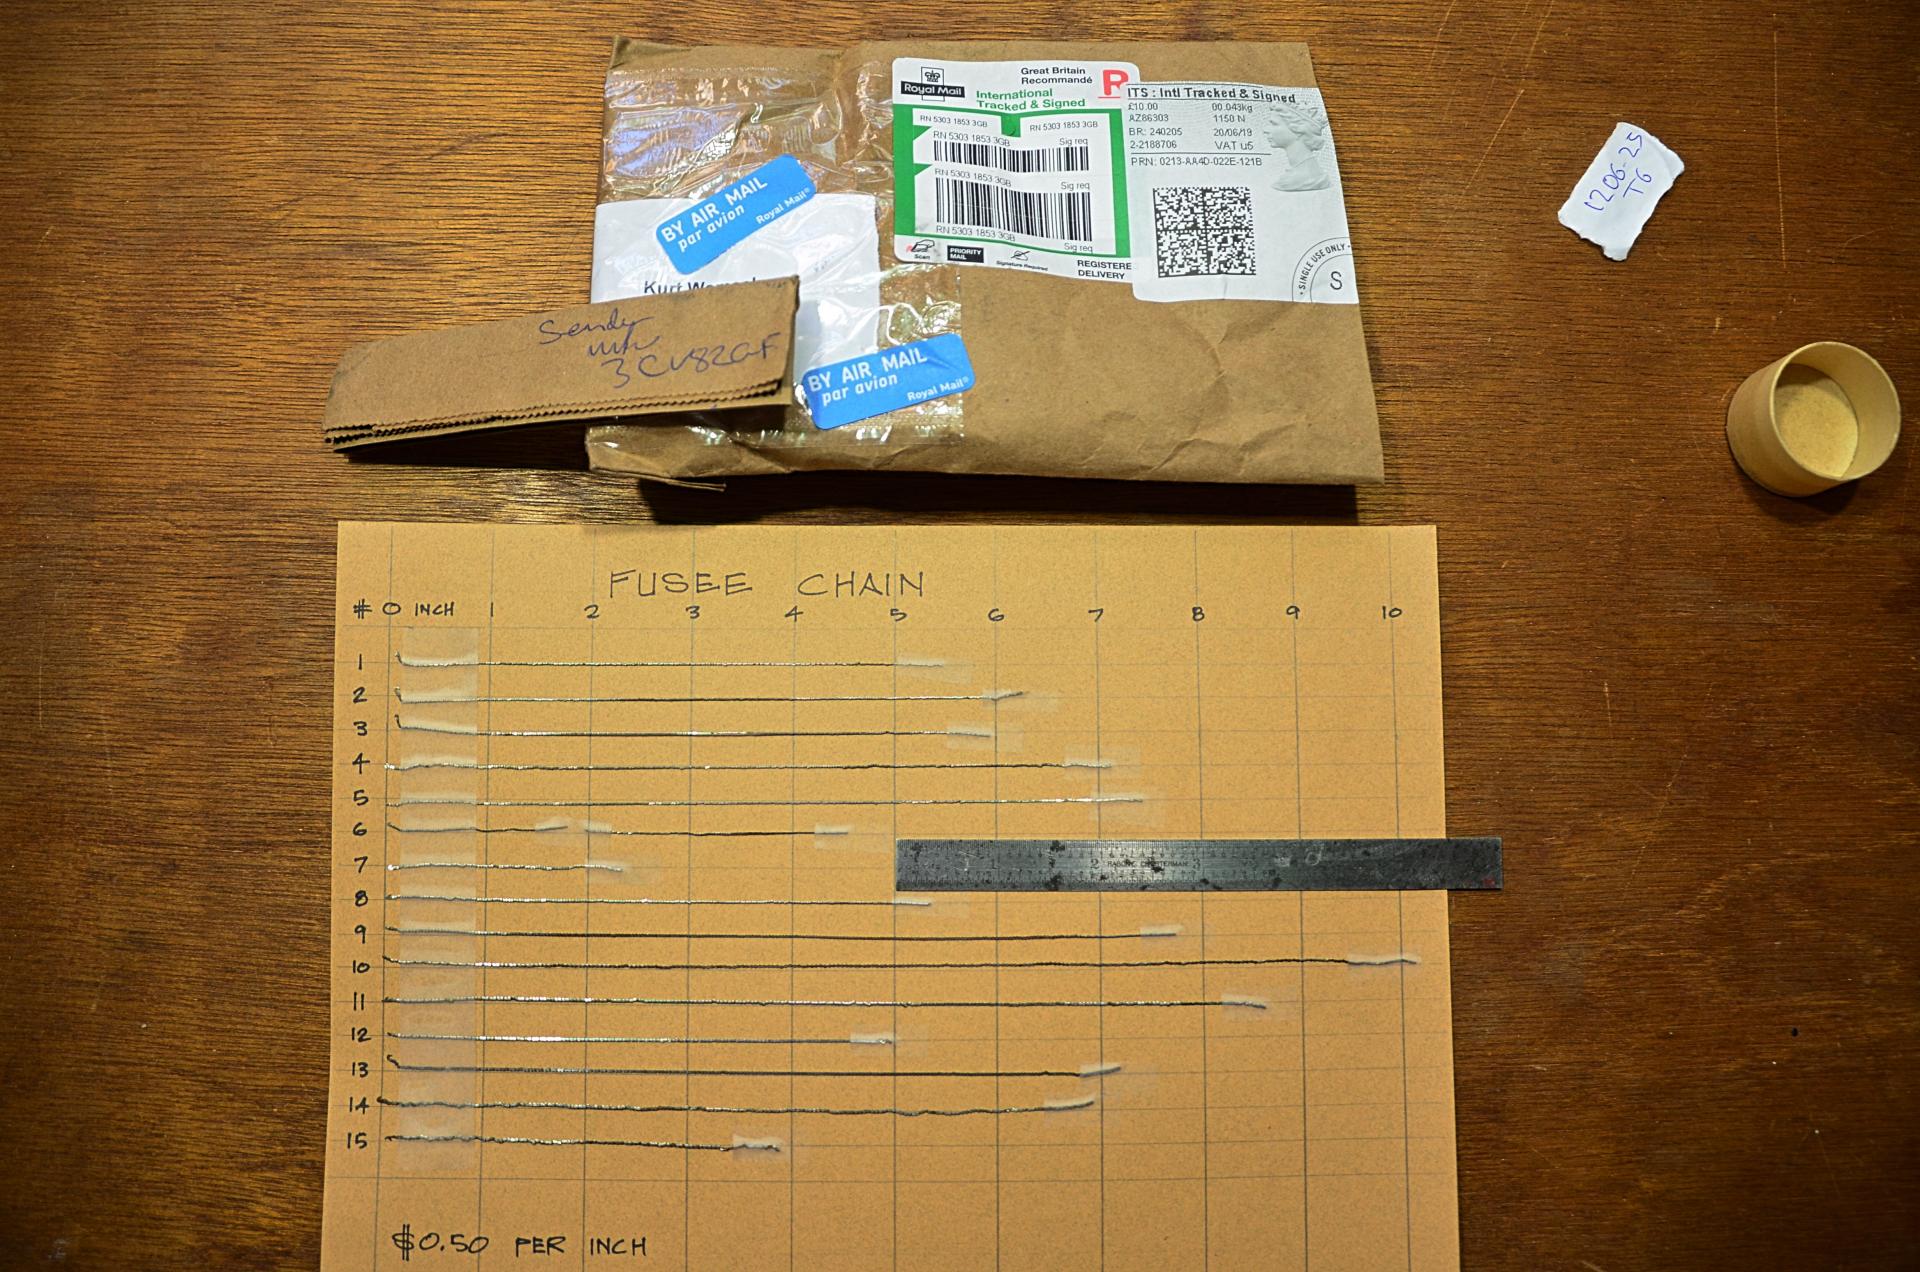
Received the eBay order today! I'm going to post on Fakebook Marketplace, thus the setup for the picture. Will also post in the Trade department. I high-graded out the tiniest chain for my bicycle project.
-
breaking windshields, shards
-
Fairy owners manual
-
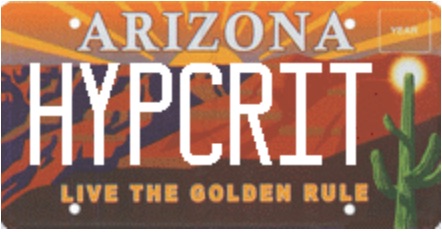
Old lady not letting me in when lanes merge, happens often in Prescott. I tailgated until she turned into Costco, when she flips me off. She had one of these plates:


