absmiami
-
Posts
4,778 -
Joined
-
Last visited
Content Type
Profiles
Forums
Events
Gallery
Everything posted by absmiami
-
 YIKES
YIKES -
That’s one nice battery…
-
What did you learn to drive in?
absmiami replied to slusher's topic in General Automotive Talk (Trucks and Cars)
How ‘bout a 1965 (ish) Checker sedan - with a column mounted stick shift ! yup … -
NNL East and Philly shows cancelled for 2022
absmiami replied to vamach1's topic in Contests and Shows
lets both try to go the NNL philly in '24 making plans to go to GSL in '23 ... and you ? -
Is the last GSL actually taking place?
absmiami replied to Bugatti Fan's topic in Contests and Shows
I just checked my phone don't worry Utah is still there - just below Idaho and Wyoming ... I check periodically ... have you ever been to Utah, by the way ?? one of my favorite states ... just wish they would drink more ... -
64 Dodge D100 Pickup Pro Street
absmiami replied to AmericanMuscleFan's topic in WIP: Drag Racing Models
I have to keep reminding myself that it’s 25th scale … -
And yes, Ranchero nailed the instrument dash ….
-
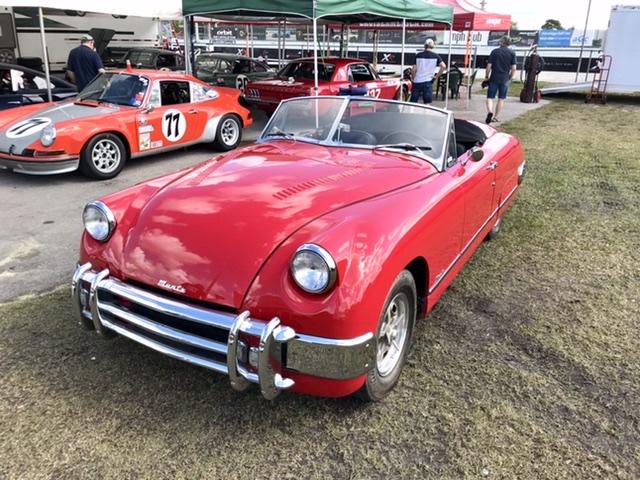
Some Muntz madness on superbowlsunday - guess what I saw yesterday ?

-
Hello Lola …
-
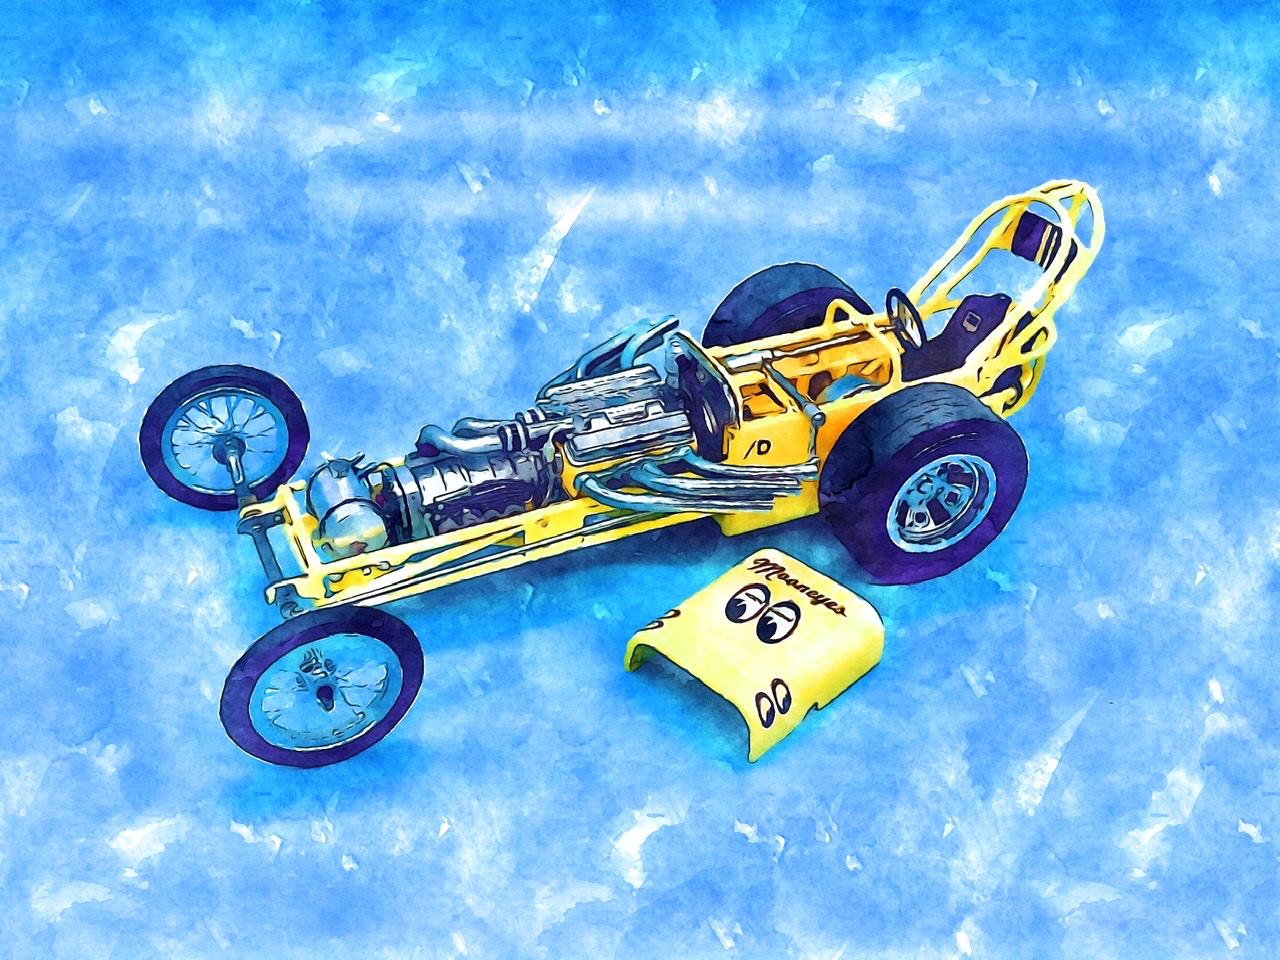
Messin around w your Moon Eyes. - hope you don’t mind …
-
Ferrari 330 GTC + 575 M Superamerica Resto-rod
absmiami replied to 89AKurt's topic in WIP: Model Cars
One of Enzo’s prettiest cars - I’ve been using the diamond bits a lot in the past few years - good stuff - tempted to pick up one of Air Trax offerings … -
64 Dodge D100 Pickup Pro Street
absmiami replied to AmericanMuscleFan's topic in WIP: Drag Racing Models
I’ve forwarded this thread to the CDC - as I am quite concerned about the issue of containment - particularly as it pertains to dragsters …. .. -
64 Dodge D100 Pickup Pro Street
absmiami replied to AmericanMuscleFan's topic in WIP: Drag Racing Models
Disease … -
My Top 12 Most Favorite Models from the 2021 NNL Motor City
absmiami replied to tim boyd's topic in Contests and Shows
Yikes Tim. I remember Moon Wind - and I remember how Hank “painted” it - I may still have the issue of Car Model - what are we going to do when we grow up ??? -
Is the last GSL actually taking place?
absmiami replied to Bugatti Fan's topic in Contests and Shows
Have no fear. See you there in 16 months - unless we mis-place Utah …. … -
64 Dodge D100 Pickup Pro Street
absmiami replied to AmericanMuscleFan's topic in WIP: Drag Racing Models
Looks like you’ve got some more winter to assemble this beast - and by the way - thanks for sharing some of your cold weather - we’re down to the forties in Florida - which of course causes a mass freak out - anyway - please post some more chassis pix before you button this up - and just for fun - how about some group shots of your parts and subassemblies - that would be cool …. and yes I do like those door handles … worth the time and effort … -
if its a Palmer kit: does it go to Model Hell ??? ??
-
model heaven ??
-
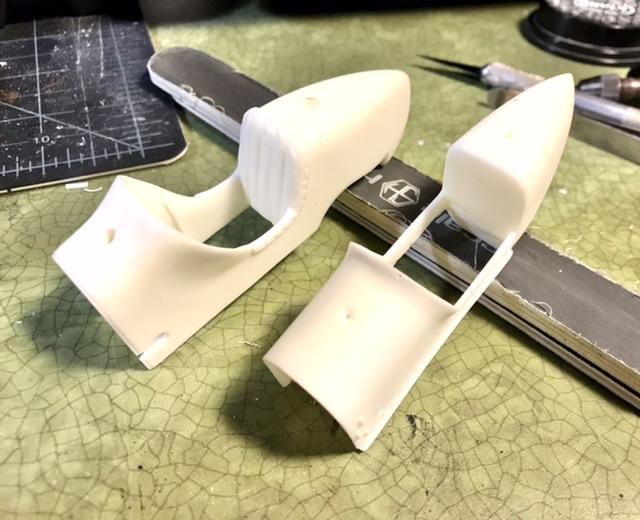
Photo 2 above - phone swallowed the text [dog ate the homework ]. Comparing my Miller 122 body to the Etzell / Bradford 91 front dr …
-
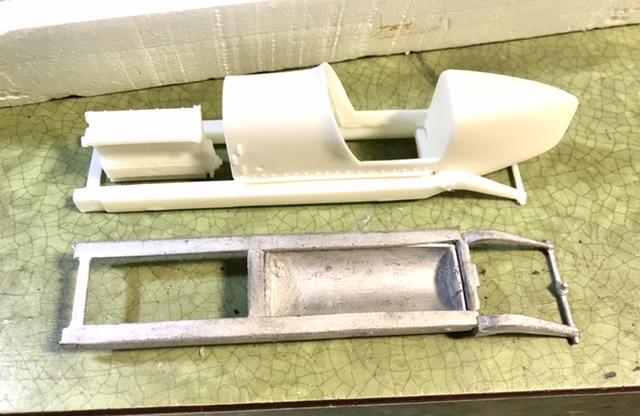
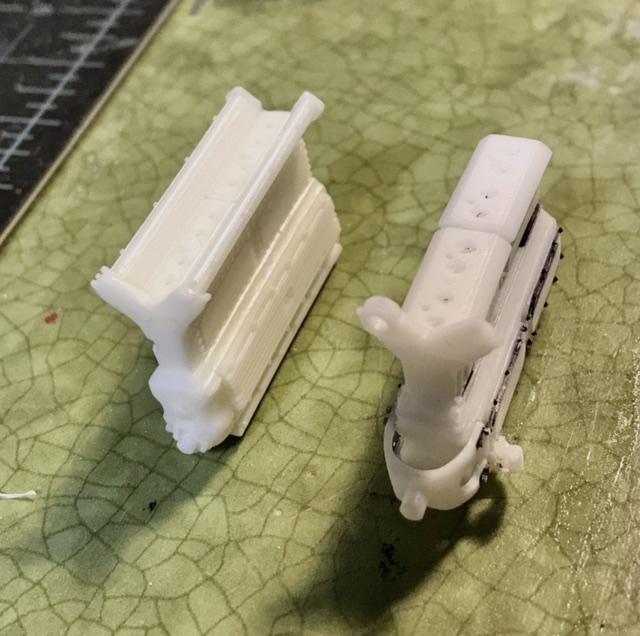
Photo 1 - the white metal Miller kit has a nice 2 Piece frame …. The resin kit behind is Harold’s 91 fr Dr Miller - if my recollection is correct - it was mastered years ago by Etzell but never kitted - Harold may have mastered the detail parts - anyway - it’s first rate …. photo 2. - the Miller 91 fr dr body compared to my 122 body / frame … photo 3. - comparison of Etzell’s great Miller 91 engine Casting with my 122 crankcase and Cyl heads - Etzell’s eng was 25th scale vs my 24th sc eng castings - not much difference … I’ve split and made two separate cyl head castings - so you can see the gap /opening - which is about 3/4 inch scale …
-
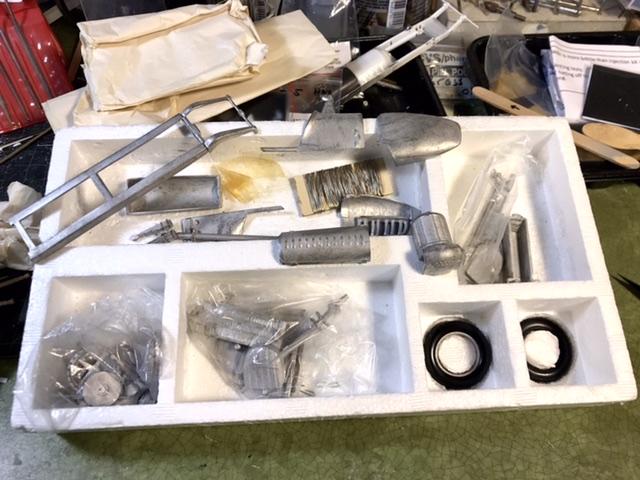
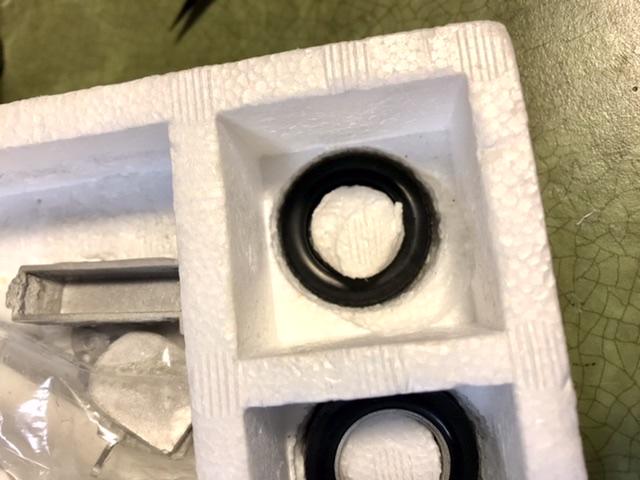
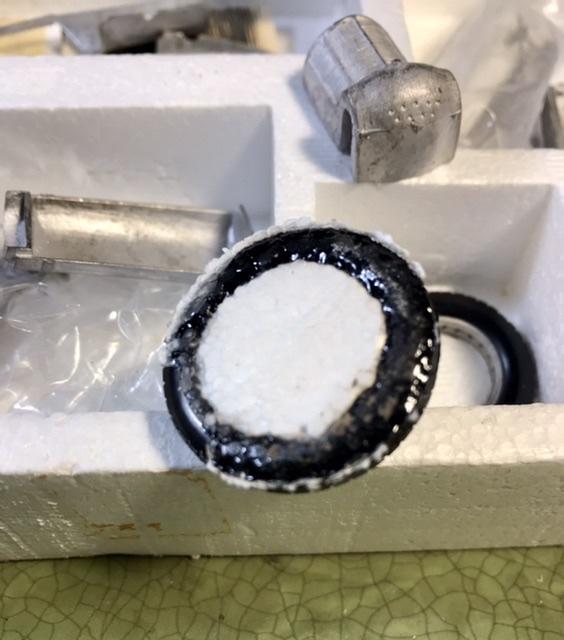
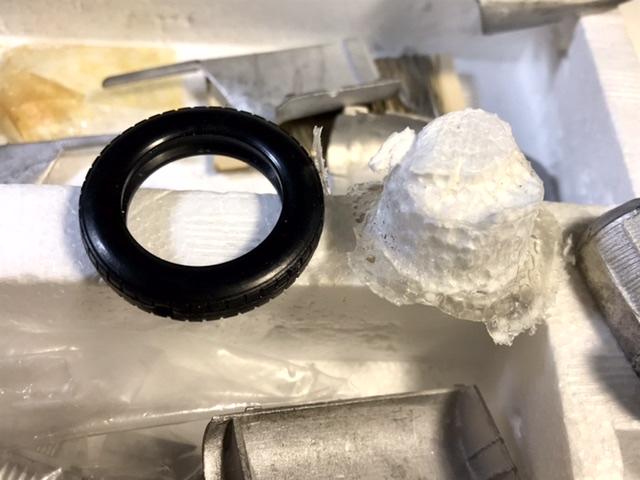
The white metal Miller 91 fr Dr kit In question …. Note the rubber Tires tried their best to eat right through the bottom Of the foam packaging - yup I’ve had it a while - but the foam peels off the tires with no damage …
-
We’ll done
-
The Miller you are referring to is the 24th scale miller 91 fr Dr produced [still] by sefinecast.co.um. curbside - but they were / are the only craft kit makers I can think of that made Indy kits in 24th scale - on this side of the pond - we’ve always had 25th scale Indy resin kits …. You might not be familiar with the late Chris Etzell’s excellent 25th scale Indy kits - produced 25 - 30 years ago …. And some others by Bill Jorgenson and later - Gary Doucette …. not to mention current EBay offerings by Pennsylvania resin castor Silvercitymodels … [also very good]. Which is why I apologized at the top of this thread for persisting in creating a 24th sc Indy Miller … hope this adequately confuses things …
-
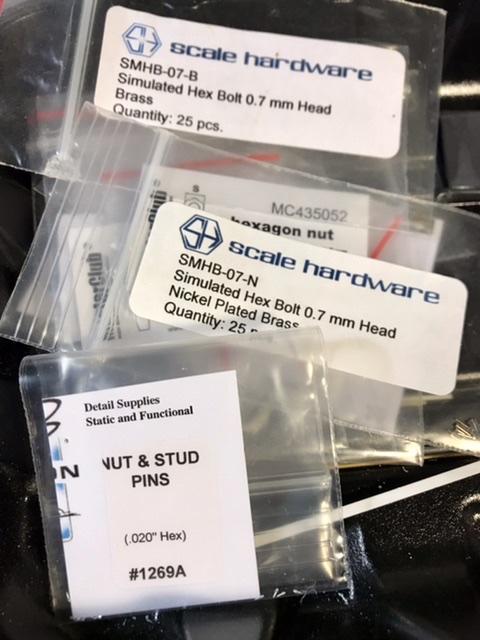
Using Scale Hardware bolts too - but I’m running low on my favorites and restocks nowhere on the Horizon - but ill reach out to the guy who created the business - but then sold it - to get his thoughts …