absmiami
-
Posts
4,788 -
Joined
-
Last visited
Content Type
Profiles
Forums
Events
Gallery
Everything posted by absmiami
-
 Yup - somewhat outside of your lane - but you know that Chapman studied the Viosin GP car closely …. Just sayin ….
- 599 replies
-
- 1
-

-
- open wheel
- jim clark
- (and 1 more)
-
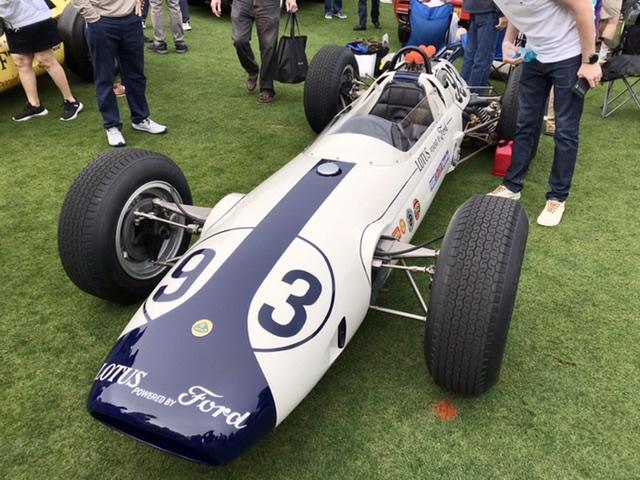
Fate smiled upon me at this year’s rainy Amelia Island Concourse - the Indy Museum brought several cars - including Gurney’s 29 - they have just completed a lengthy restoration …

-
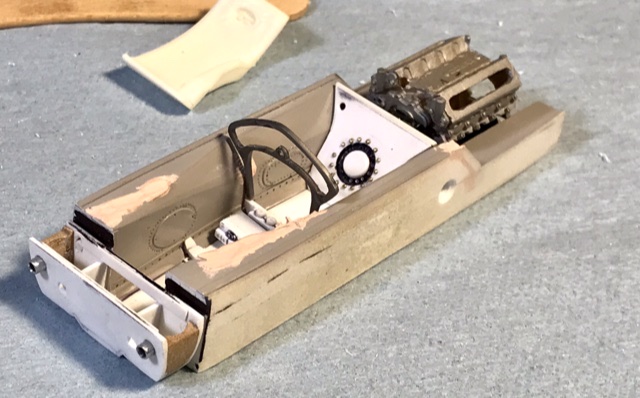
And here are the resin castings … before the hobby is over-taken by 3D design and printing - and thats not necessarily a bad thing …. Its nice to be able to resin cast parts here and there - and Norman - another member of the resin caster’s “hall of fame” - cast these up for me - i’ll now shape the bottom of the casting to the rounded profile of the monocoque - and get back to work completing the Gurney Lotus 29 in 24th scale
-
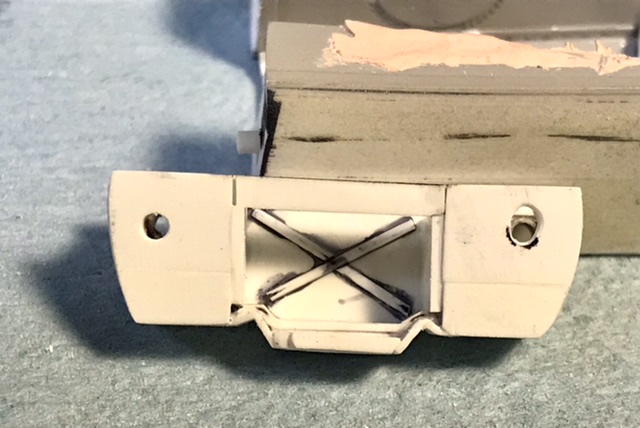
Norman Veber / Replicas and Miniatures of Maryland agreed to cast the chassis master along with footbox - here’s the pink rubber two part mold …
-
Back on pg 7 i posted these pix of the nearly completed chassis for the Lotus Indy 29 …. In case you were wondering what ever happened to this …
-
Jaguar XK120 Race Car
absmiami replied to Pierre Rivard's topic in WIP: Other Racing: Road Racing, Land Speed Racers
This is a good kit choice - the die cast metal is a pain - but the kit features an unusually well detailed chassis - and the engine - as i recall - im 100 miles away fr my w/shop - is not half bad … -
Jaguar XK120 Race Car
absmiami replied to Pierre Rivard's topic in WIP: Other Racing: Road Racing, Land Speed Racers
The 21 car - in minty green - was auctioned or for sale this yr - post me if you cant find the pix … maybe Dutton’s UK on line sales listings - or ?? Head scratching … -
Maserati A6GCS Spyder
absmiami replied to absmiami's topic in WIP: Other Racing: Road Racing, Land Speed Racers
Poly Styrene .. -
Maserati A6GCS Spyder
absmiami replied to absmiami's topic in WIP: Other Racing: Road Racing, Land Speed Racers
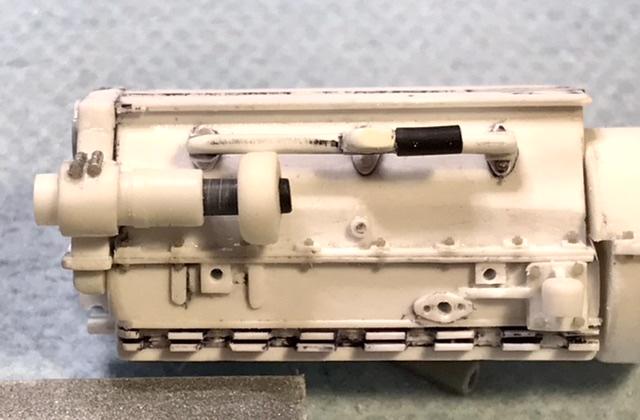
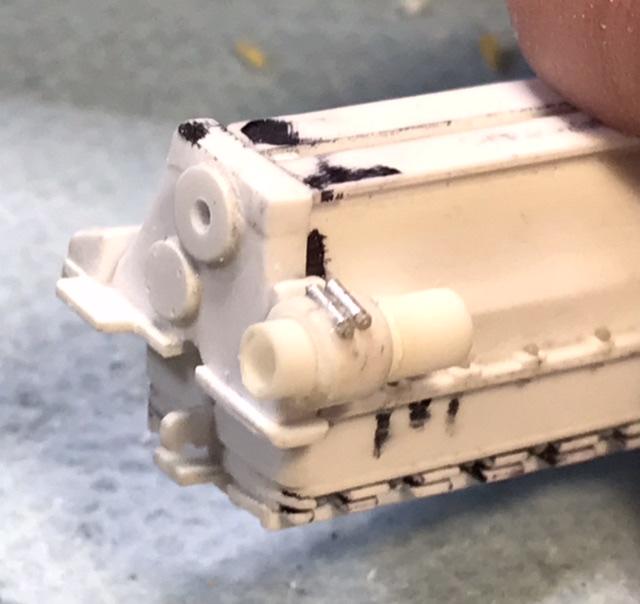
With some added bolts and a hose junction …
-
Maserati A6GCS Spyder
absmiami replied to absmiami's topic in WIP: Other Racing: Road Racing, Land Speed Racers
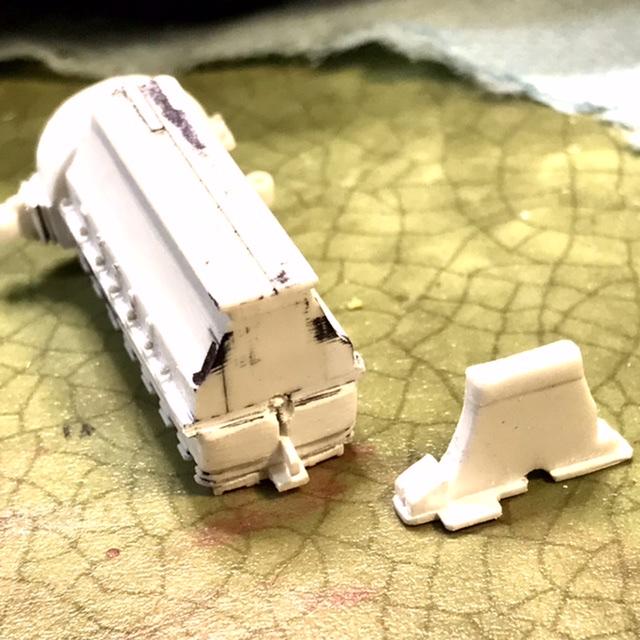
So i’ve sanded and filed some Evergreen tube on a Foredom handpeice - this is the body of the scroll shaped water pump …
-
RatFink and BigDaddy go to Indy
absmiami replied to BIGTRUCK's topic in Other Racing: Road Racing, Salt Flat Racers
Oh dear … -
yup
-
Trumpeter Ford GT40 with my twists
absmiami replied to kensar's topic in WIP: Other Racing: Road Racing, Land Speed Racers
Great seat fix - like the finish on the pumps and filters - are they painted - they appear to be annodized - -
Maserati A6GCS Spyder
absmiami replied to absmiami's topic in WIP: Other Racing: Road Racing, Land Speed Racers
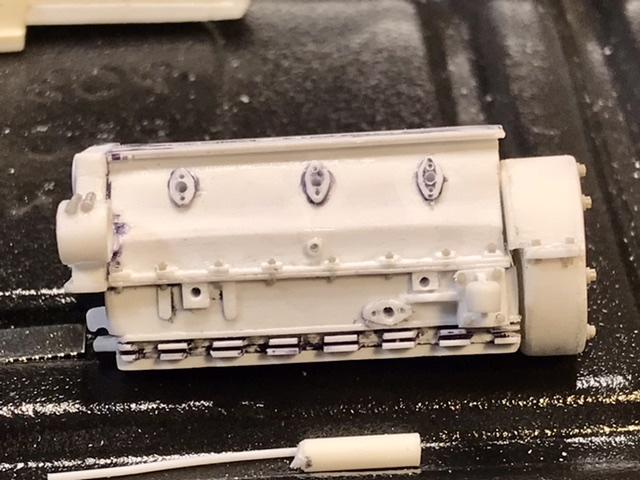
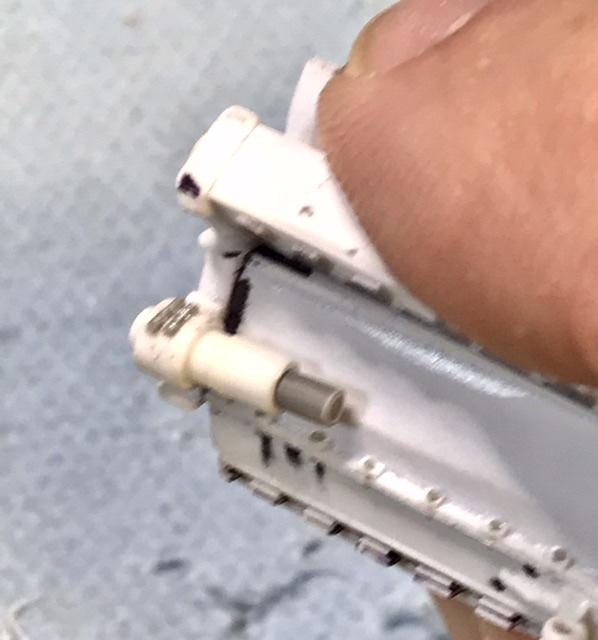
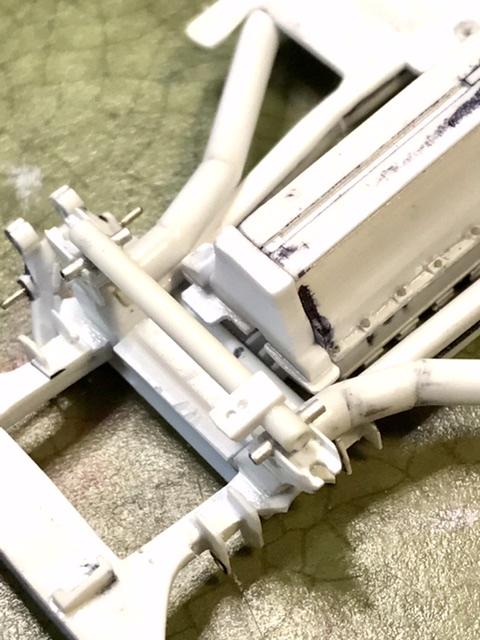
Flanges for the oil and water lines
-
Maserati A6GCS Spyder
absmiami replied to absmiami's topic in WIP: Other Racing: Road Racing, Land Speed Racers
-
Maserati A6GCS Spyder
absmiami replied to absmiami's topic in WIP: Other Racing: Road Racing, Land Speed Racers
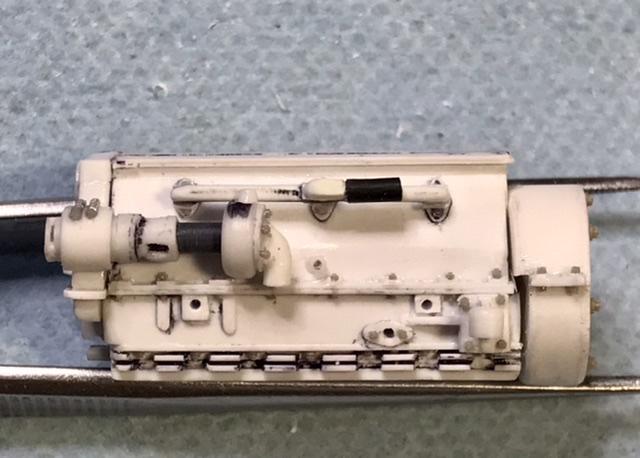
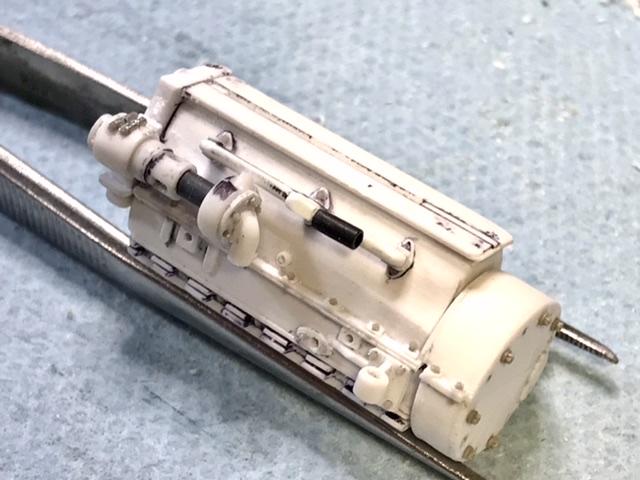
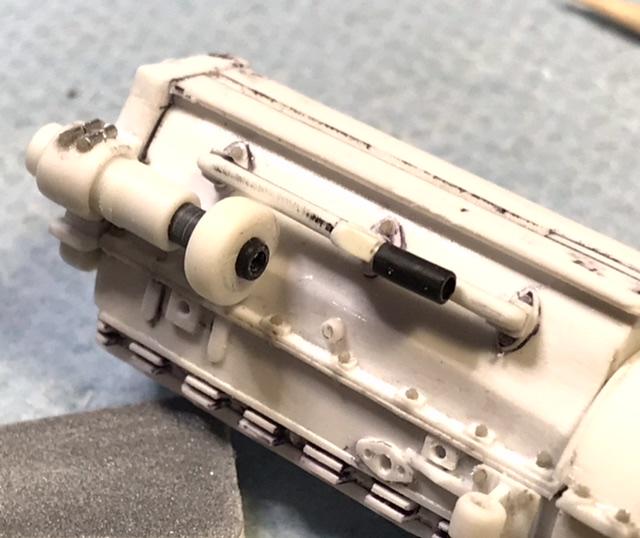
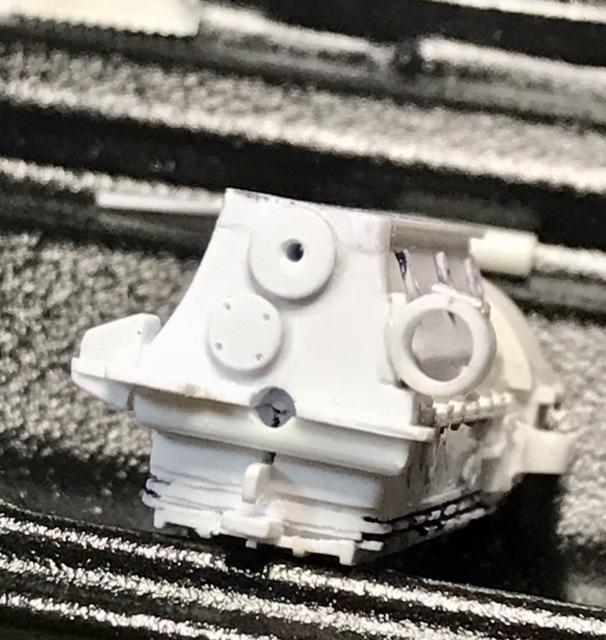
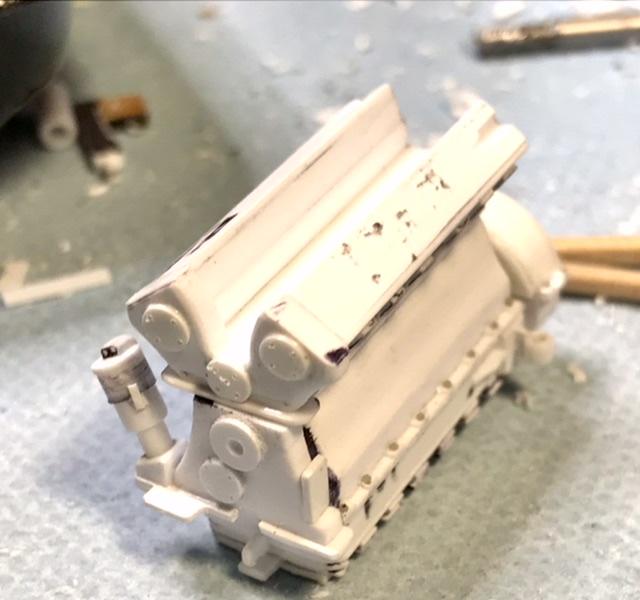
T shirts ! What a great idea ! I need more T’s !! this is the collar that holds the alternator and behind it - the water pump - there’s a good shot of this at the top of this page …
-
Maserati A6GCS Spyder
absmiami replied to absmiami's topic in WIP: Other Racing: Road Racing, Land Speed Racers
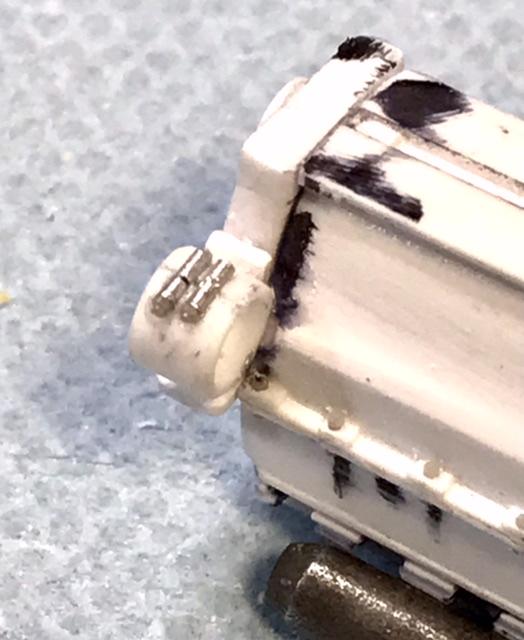
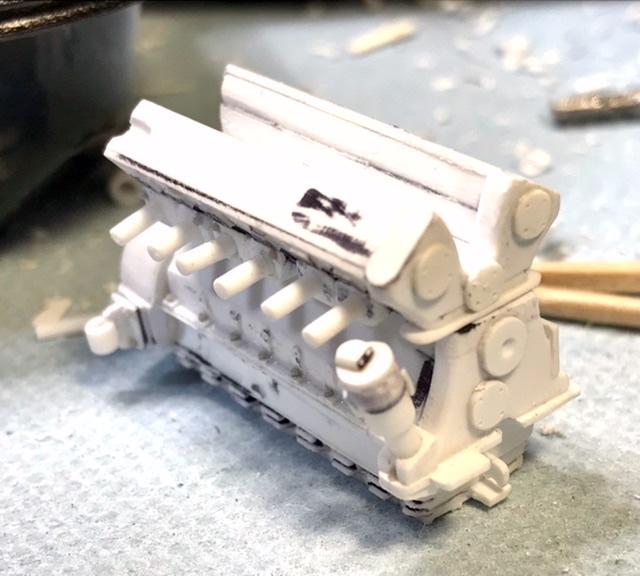
Shaped and attached the timing chain cover - more Evergreen …
-
March 17 - don’t worry - we all crashed on turn 1 …
-
just found this - you were hiding it fr me - right ?? Bravo Bra - vo ....
-
Evan - I also managed to get some 1/25th sc 3D DOHC engines - with Randy Ditton's help ... would you please re-post this in the aptly [not] named Other Racing: road Racing Section i think the thread will "pick up speed" there and I've got some following thoughts ... and/or feel free to contact me off thread if you prefer thanks / the Lotus nut ...
-
Great
-
and here's a good vid comparing the Bordinat Cobra to the Couger II - one of the differences that I found most interesting is that the Couger II is badged Ford - but the Bordinat Cobra is badged Cobra - this project is so cool ...
-
Just one Mr O - in fact - Ford built your car before they did the Couger II - i confused your car with something else that i saw at Amelia yrs ago - and i was too lazy to do any internet sleuthing before i posted -