absmiami
-
Posts
4,780 -
Joined
-
Last visited
Content Type
Profiles
Forums
Events
Gallery
Everything posted by absmiami
-
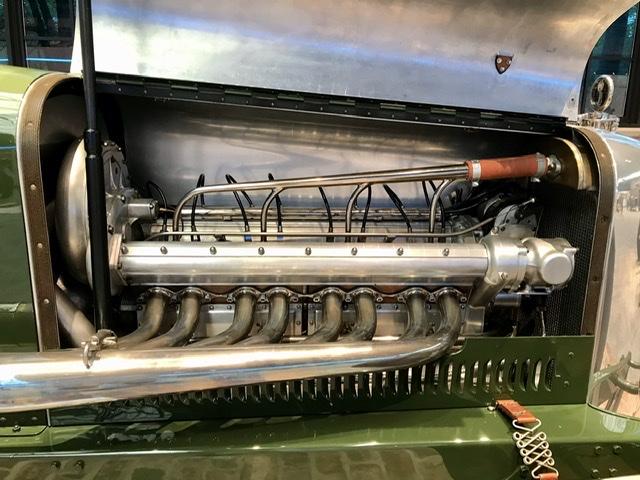
 This shot fr the Brumos sort of illustrates the relative size of the wires …
-
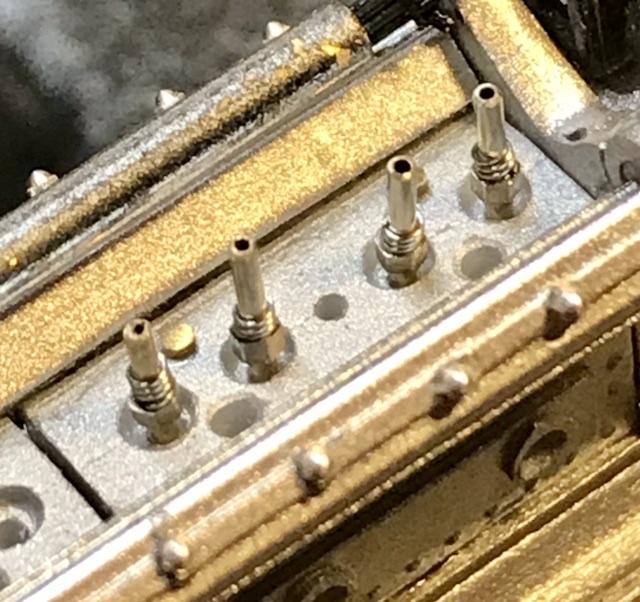
Once the plugs are in - the plug wires are next - the size is .011 - bout 5/16 in 1 to 1 - thats about right- although they look undersized - thats the scale playing tricks on us …
-
https://sportscardigest.com/classifieds-2/show-ad/490802/shadow-f1-dn3-4a/single-seat-race-cars/?utm_source=Sports+Car+Digest&utm_campaign=84d9d35f6a-EMAIL_CAMPAIGN_2022_12_21_05_20_COPY_04&utm_medium=email&utm_term=0_-f8a1f54463-[LIST_EMAIL_ID]&goal=0_d040bc0166-84d9d35f6a-365697653&mc_cid=84d9d35f6a&mc_eid=9864155ae5 apologies for silly long link - forgot how to URL this no spare tire - but here's your car ...
-
Jaguar E-Type 1962 Le Mans
absmiami replied to Pierre Rivard's topic in WIP: Other Racing: Road Racing, Land Speed Racers
Neat -
Well done
-
W tips painted white …
-
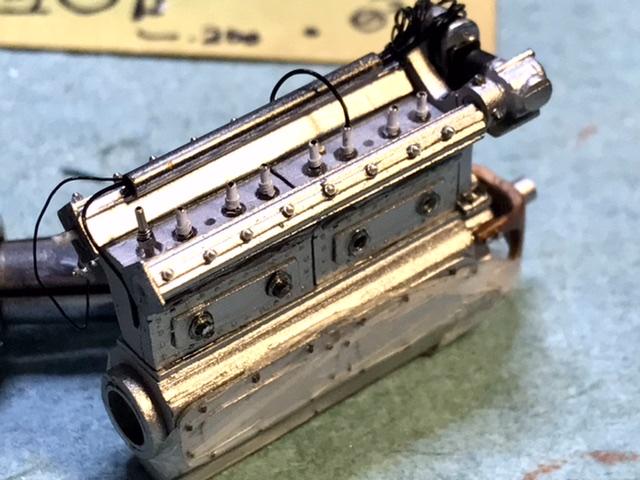
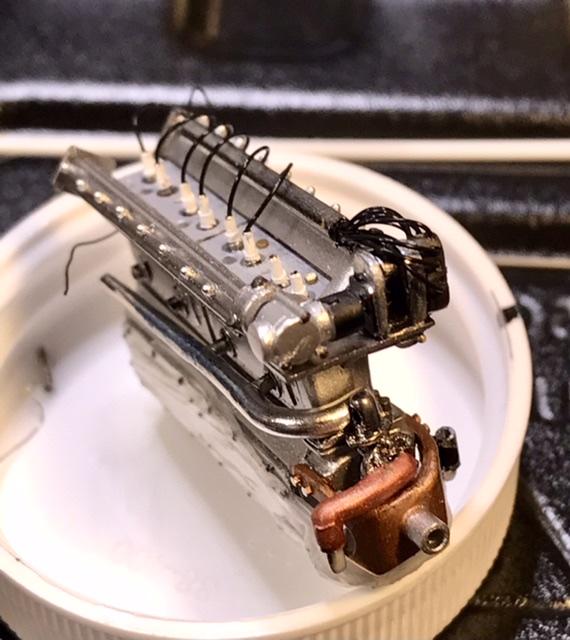
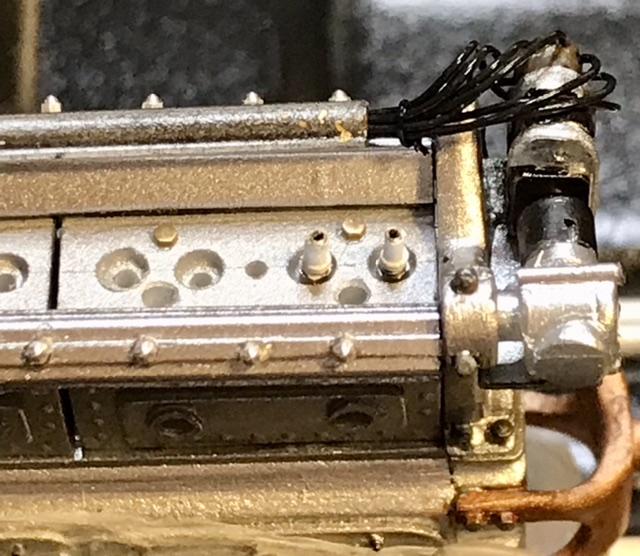
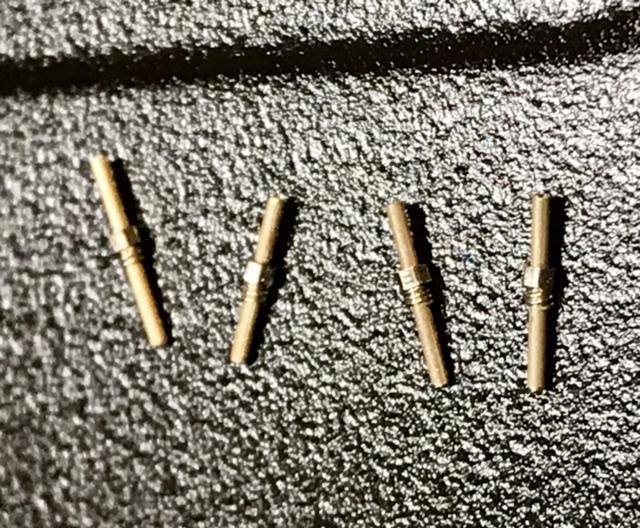
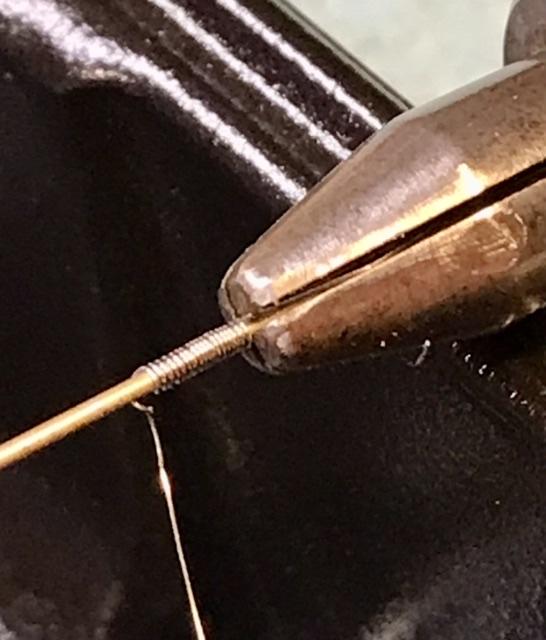
Gracias one and all -back to the engine whilst the enamel dries …. Gotta make 8 spark plugs - .06 tube + .08 nuts + a short section of steel wire wound into something that looks like insulation for the plug … optivisor all the way ….
- 406 replies
-
- 1
-

-
- harry miller
- indy
- (and 1 more)
-
Ebbro/Tamiya 1:12 1968 Matra MS11 F1
absmiami replied to Nacho Z's topic in WIP: Other Racing: Road Racing, Land Speed Racers
Yup -
or a bit of zinc chromate ??
-
Its not always appreciated how great the finishes and paint schemes of old Indy cars because we didnt have color film til a few years before i was born…
-
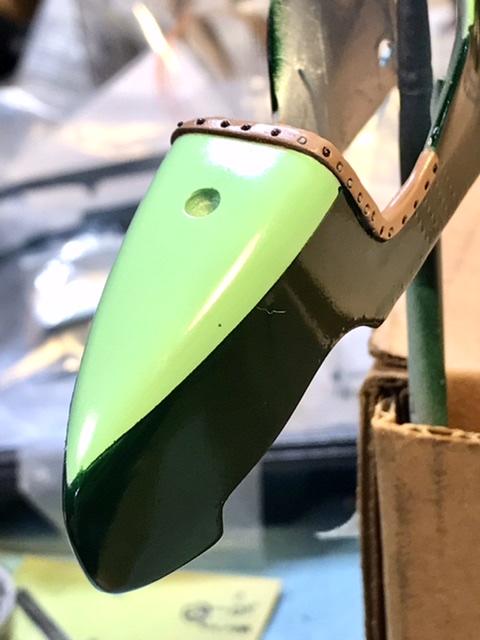
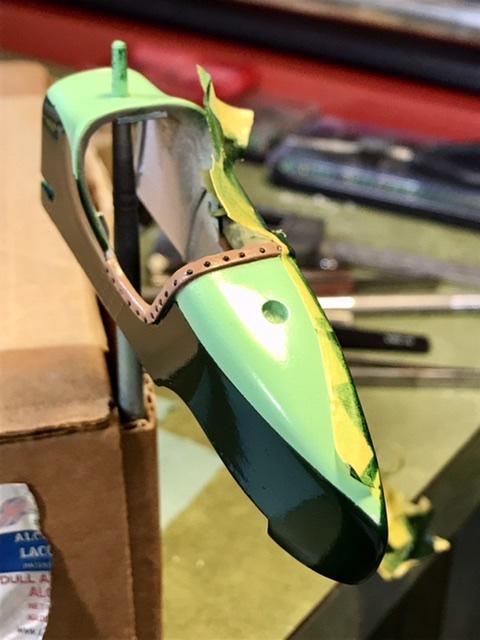
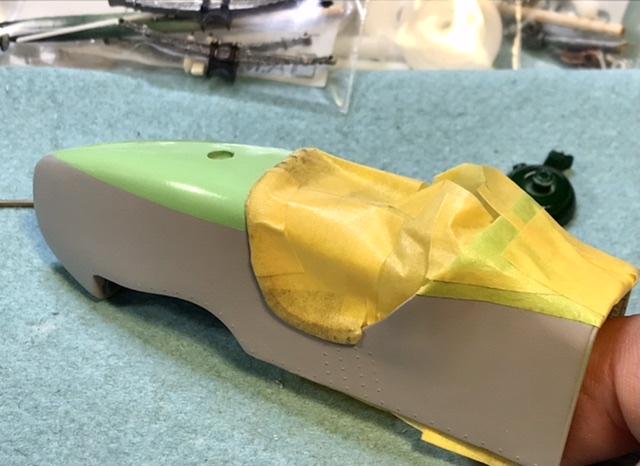
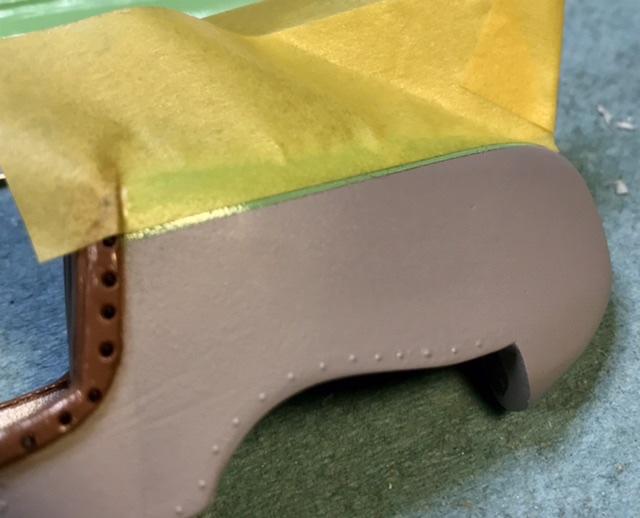
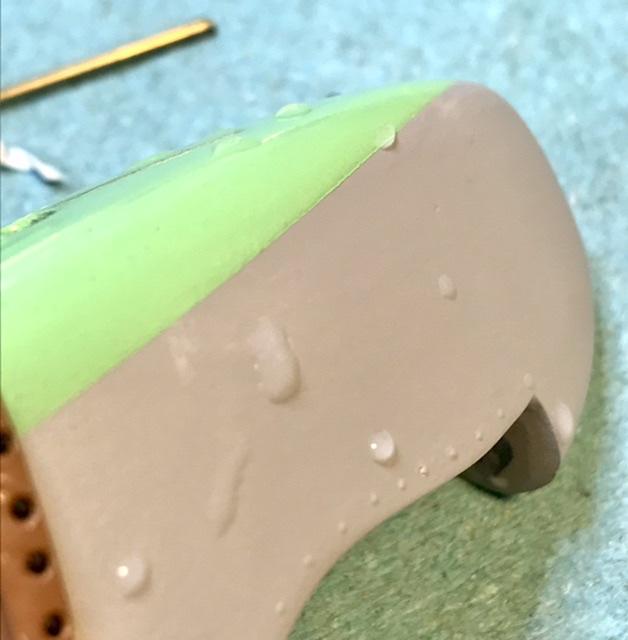
The reviews are mostly good …. Lines reasonably sharp - some bleed over - will let everything dry Ten days and ponder some corrections - touch ups will be tricky because the light green won’t cover the dark - we’ll see …
-
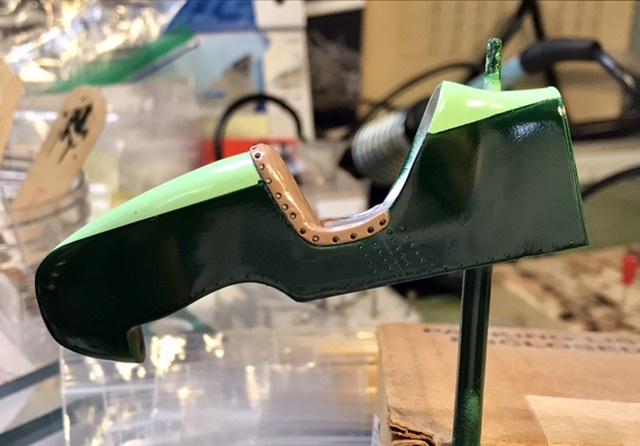
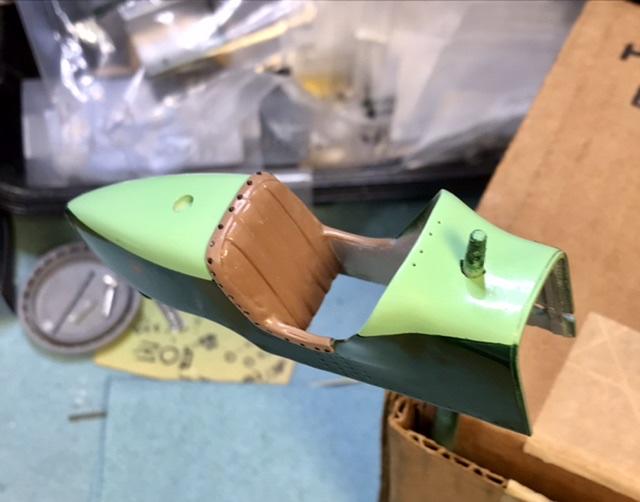
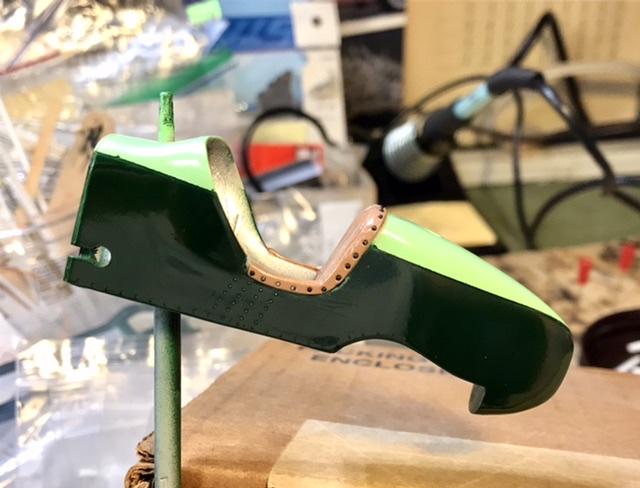
Gracias so i finally got some dark green onto the body - its the Model Master Japanese Navy Green fr some old stock - a lucky find …
-
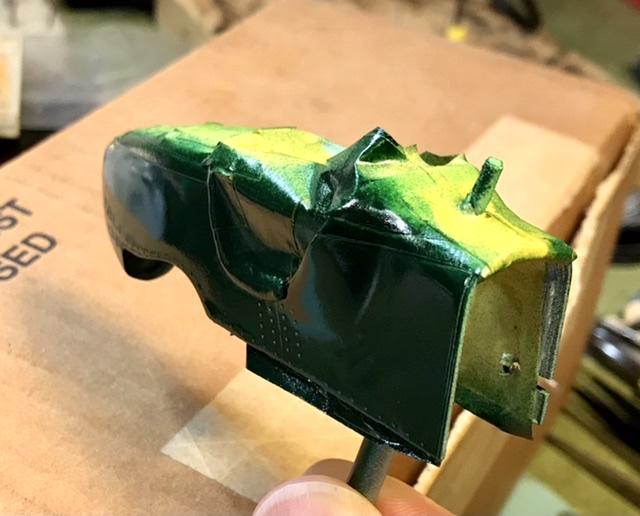
The masking is tedious - using up more than half a role of Tamiya masking tape on this project …
-
Now its time to knock off the ridges of green paint - time to add the dark green paint to the body … this was done with some fine sanding sticks - the masking tape just above the lines kept the work of the sticks to the edges of the paint -
-
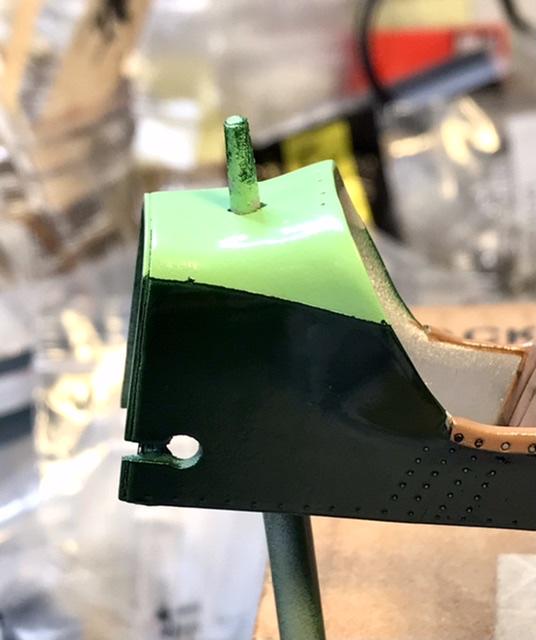
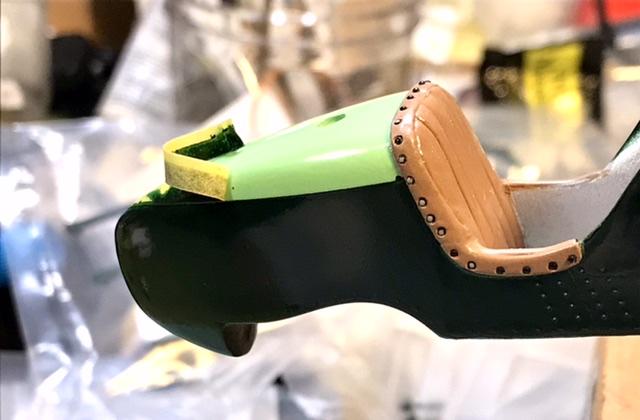
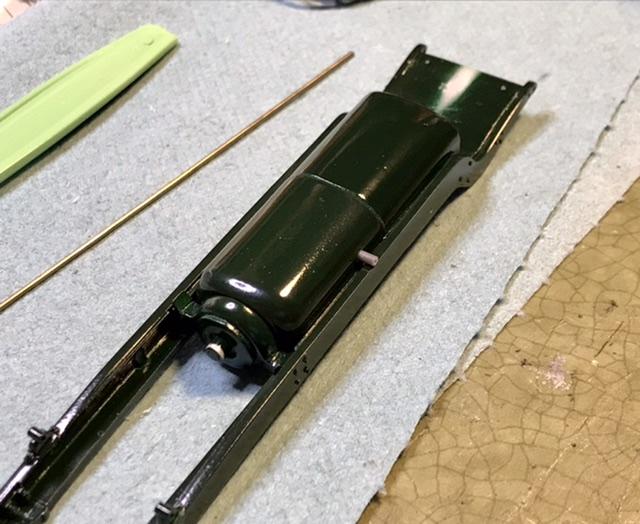
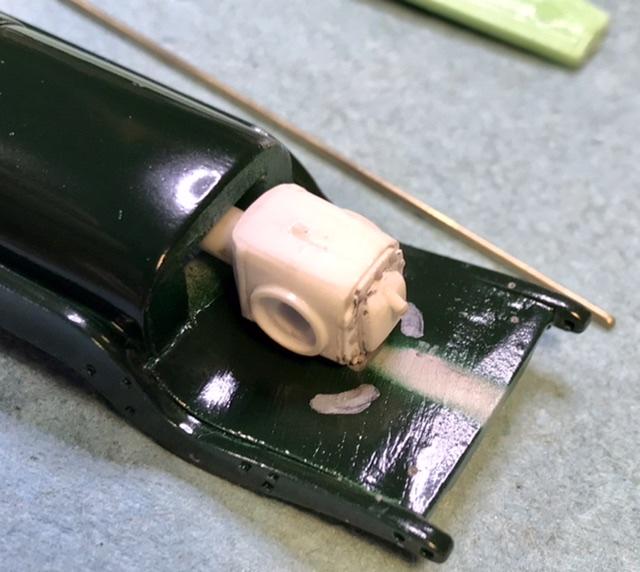
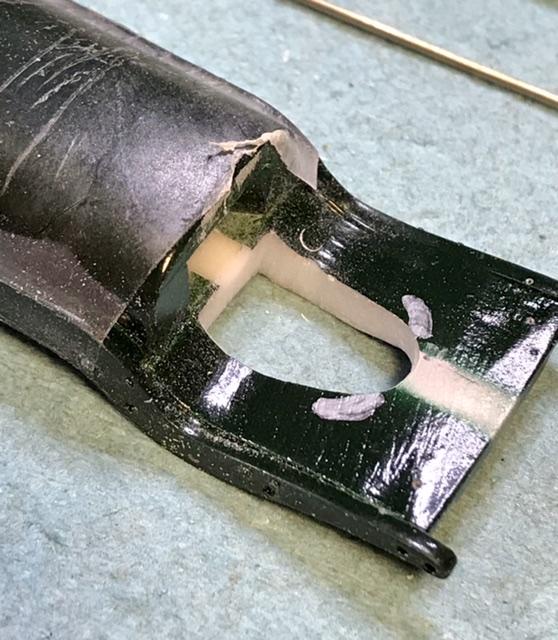
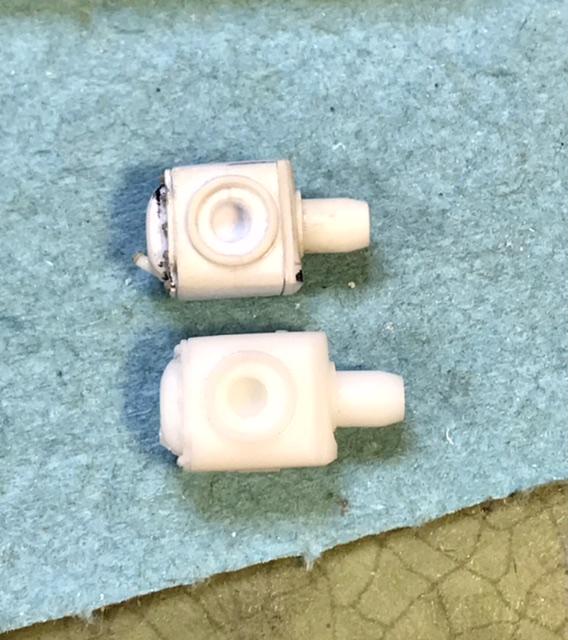
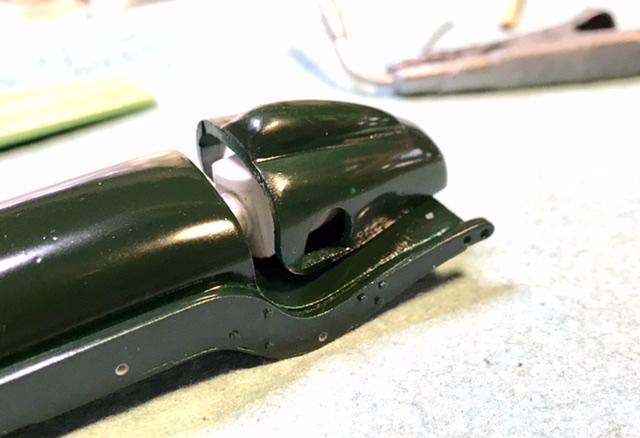
Per the last picture - The reinforcement on the rear quarter of the frame interferes with the transxle case - so i had to open a great big hole in the frame casting and modify the case - the opening is not visible once the tail is on the frame - but i was hoping not to have to make any major corrections at this point of the build - the casing has to spec so that the axles sit in the cradle of the leaf springs - or else ..
-
Yet another, the tenth!
absmiami replied to PatW's topic in Other Racing: Road Racing, Salt Flat Racers
But i kinda expected to see a Subaru - dont know why … -
Yet another, the tenth!
absmiami replied to PatW's topic in Other Racing: Road Racing, Salt Flat Racers
And a lovely choice of color …. -
Mr B - you and I - and some other forum creatures - are certified members of the scale 24 FES - flat earth society - scale 25 adherents are given junior membership … there - I’ve said it …
-
My bad - not Hasegawa -but Fujimi as part of their Enthusiast series ….
-
Hasegawa’s Porsche 356 kits nailed this engine …. And i think you can also buy a nice one fr Randy’s site …
-
Weber carbs - as on other Porsche fours - According to the on line description of this car by Rev’s - Behra sourced his own transmission fr Coletti …
-
Here’s the office - with gauges that i think are Porsche sourced …
-
Wheels look familiar ?
-
The engine installation is the same as in the 1960 Porsche FII …. Tube frame - the two cars shared many features …