absmiami
-
Posts
4,780 -
Joined
-
Last visited
Content Type
Profiles
Forums
Events
Gallery
Everything posted by absmiami
-
 Great news - post some box pix when you’re shipment arrives …
 -
1932 ford saltlake car
absmiami replied to charlie libby's topic in WIP: Other Racing: Road Racing, Land Speed Racers
Nice! Reckon you’ve got bout 5 months of nice weather to tackle this project … -
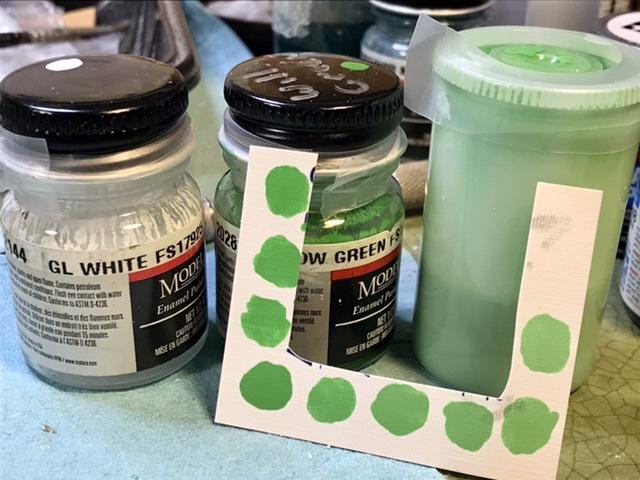
In case you’re wondering - i’m using the color in the above shot at 3 o’clock …
-
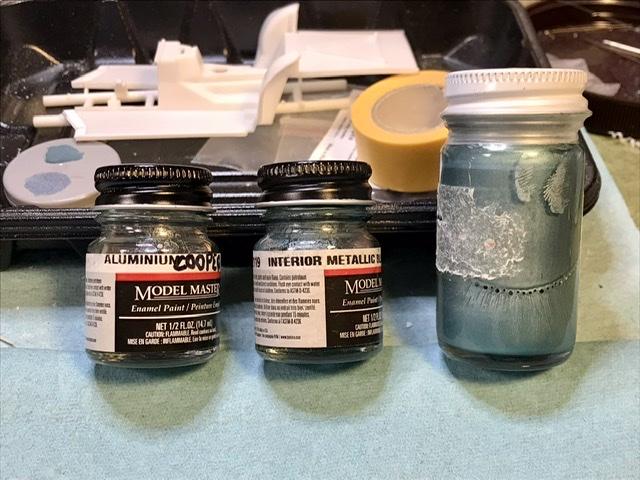
The Junior Special was painted medium and “lime” green. The restored car at the Brumos Collection is an educated guess on the color - see my photos in page 1 of the thread …. The lighter green tops the bodywork - I’m mixing this fr these two Model Master colors -

-
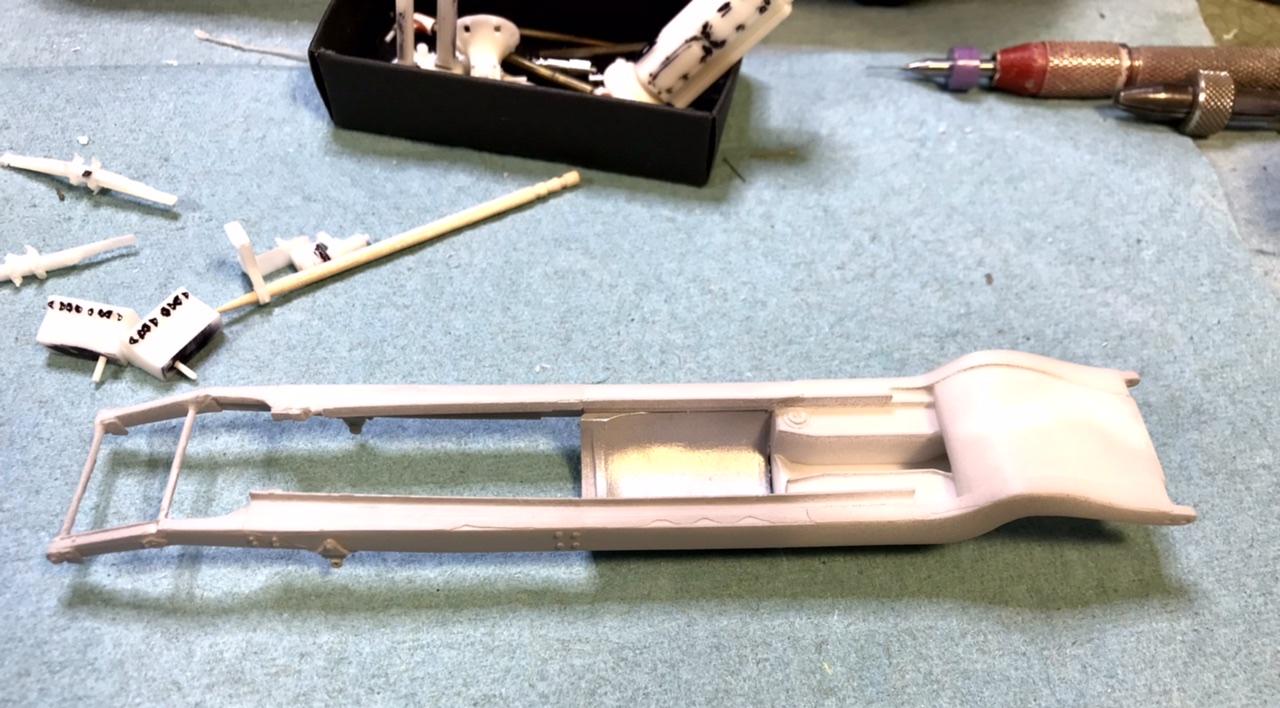
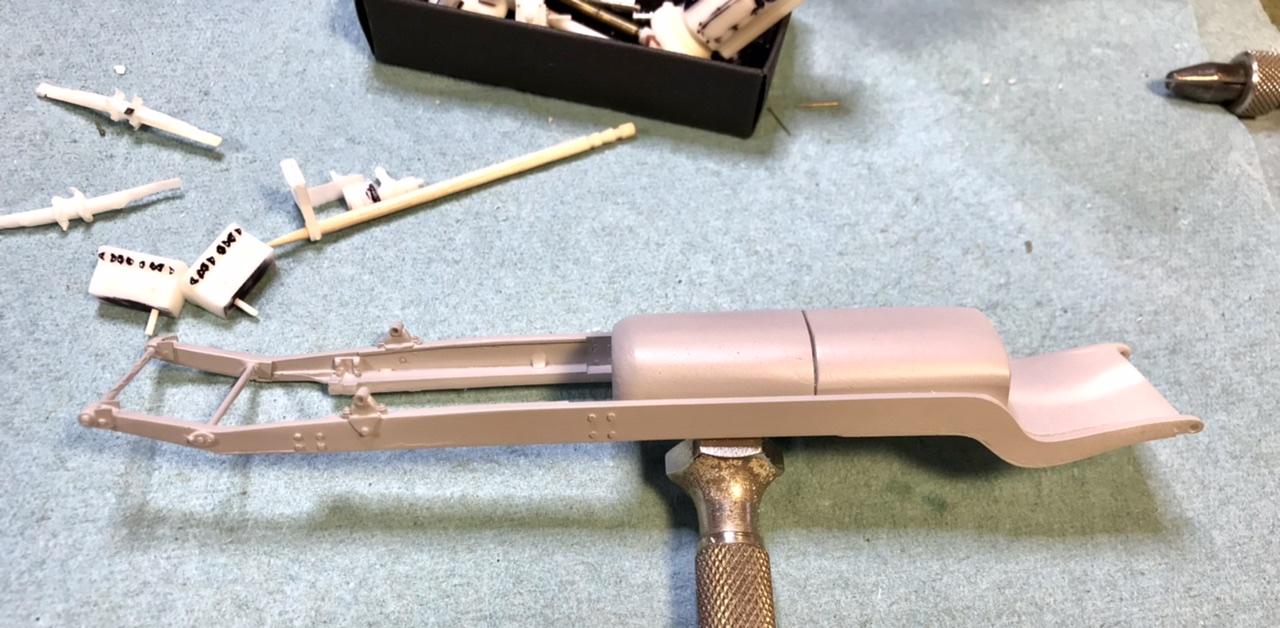
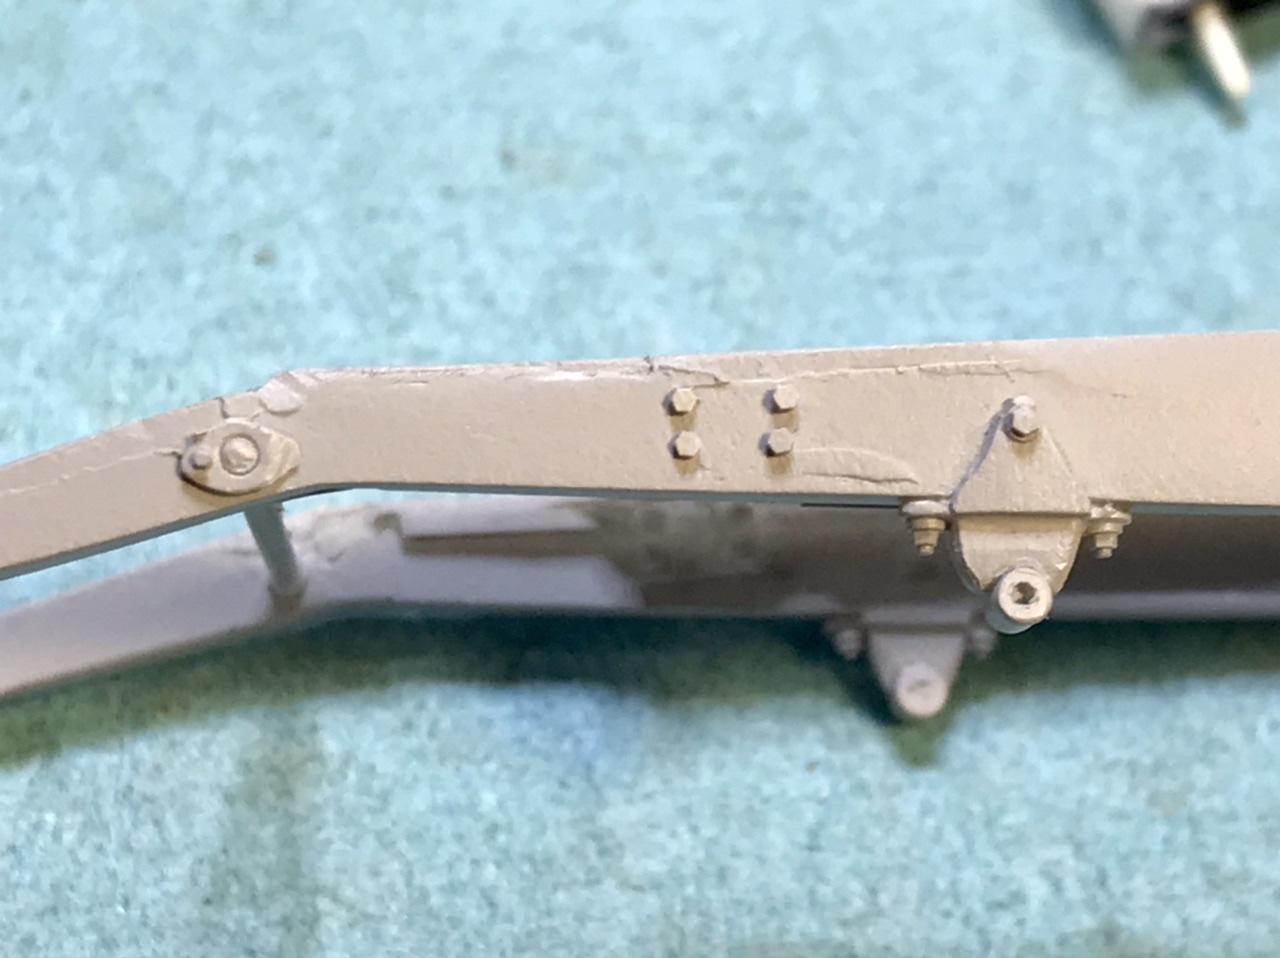
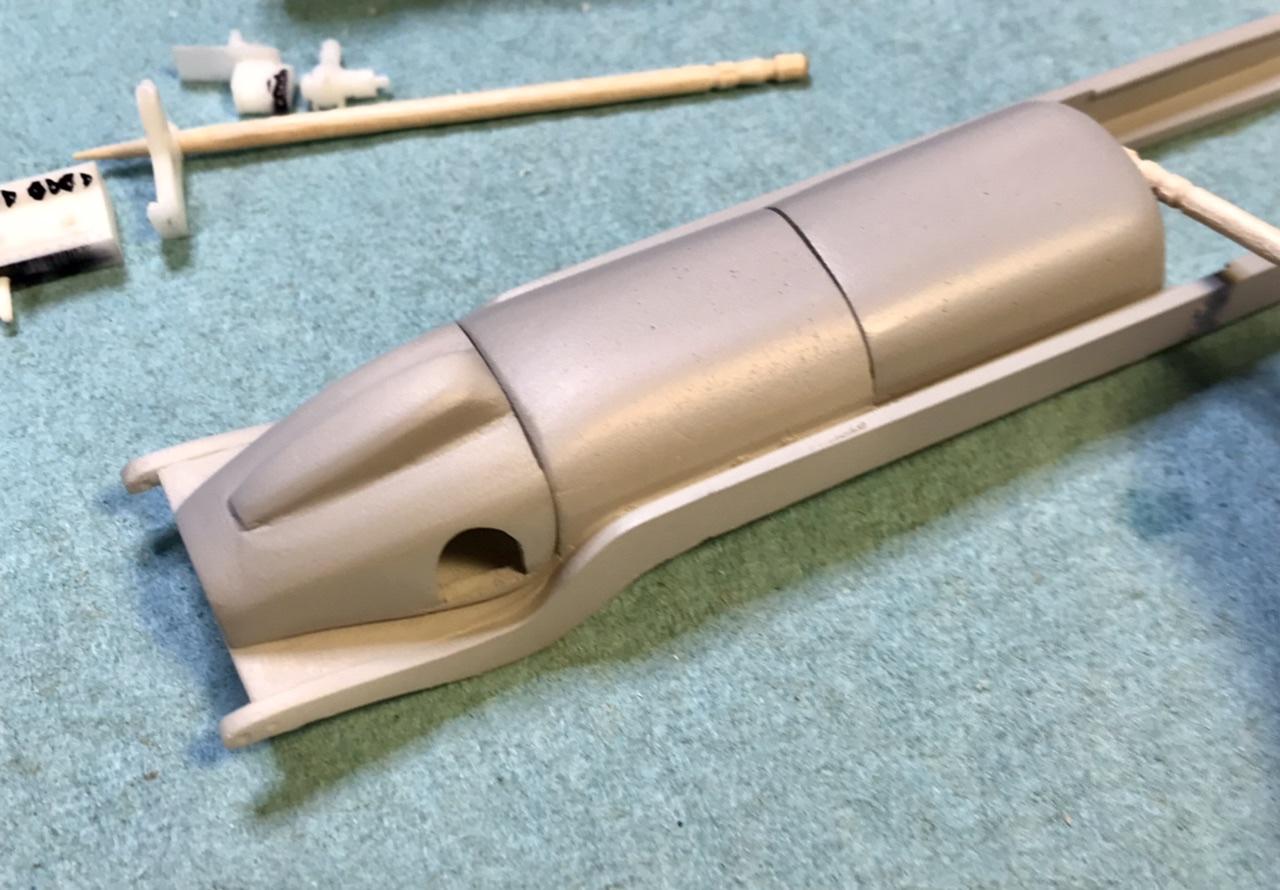
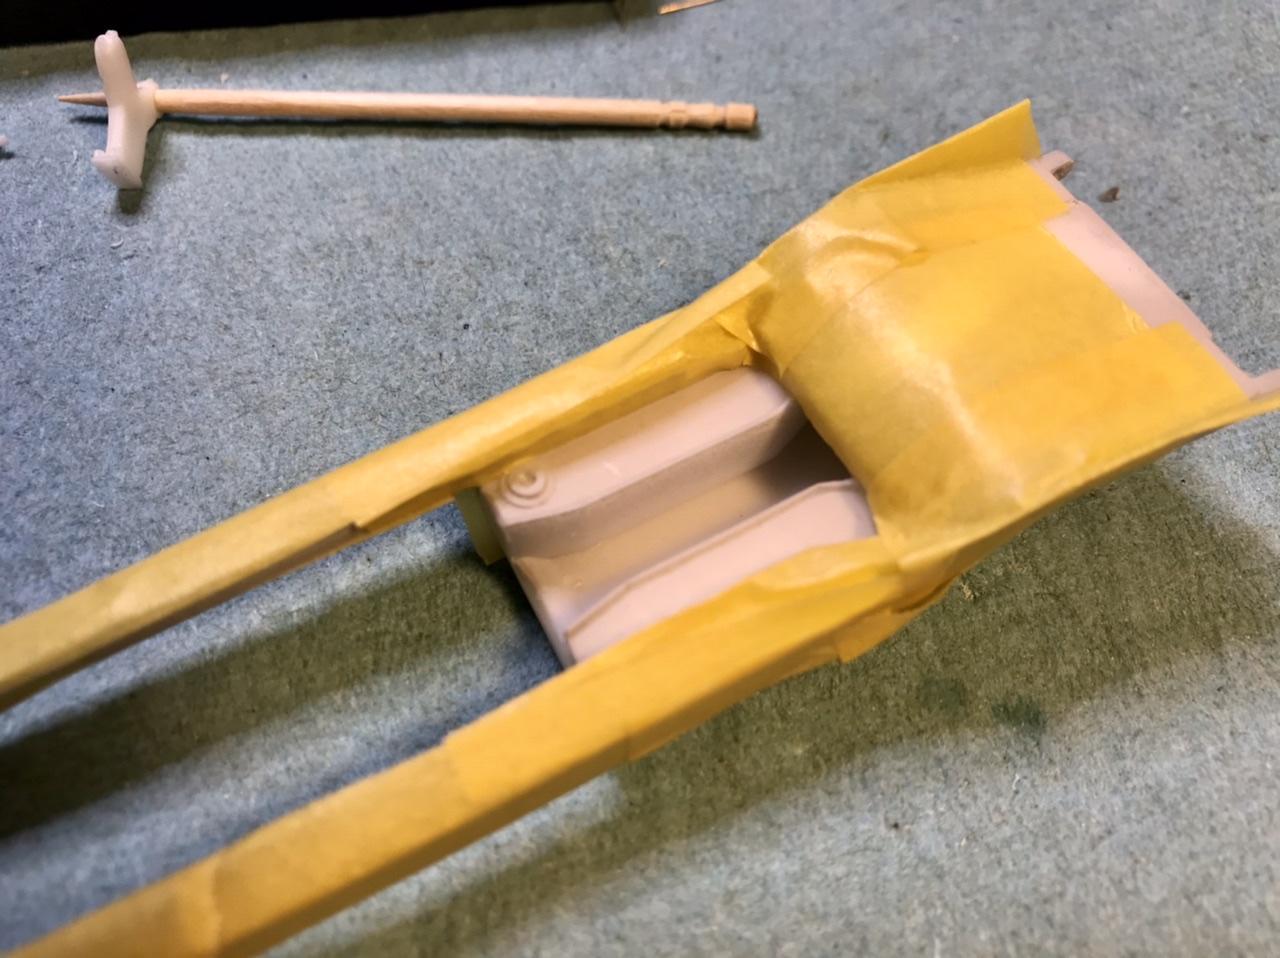
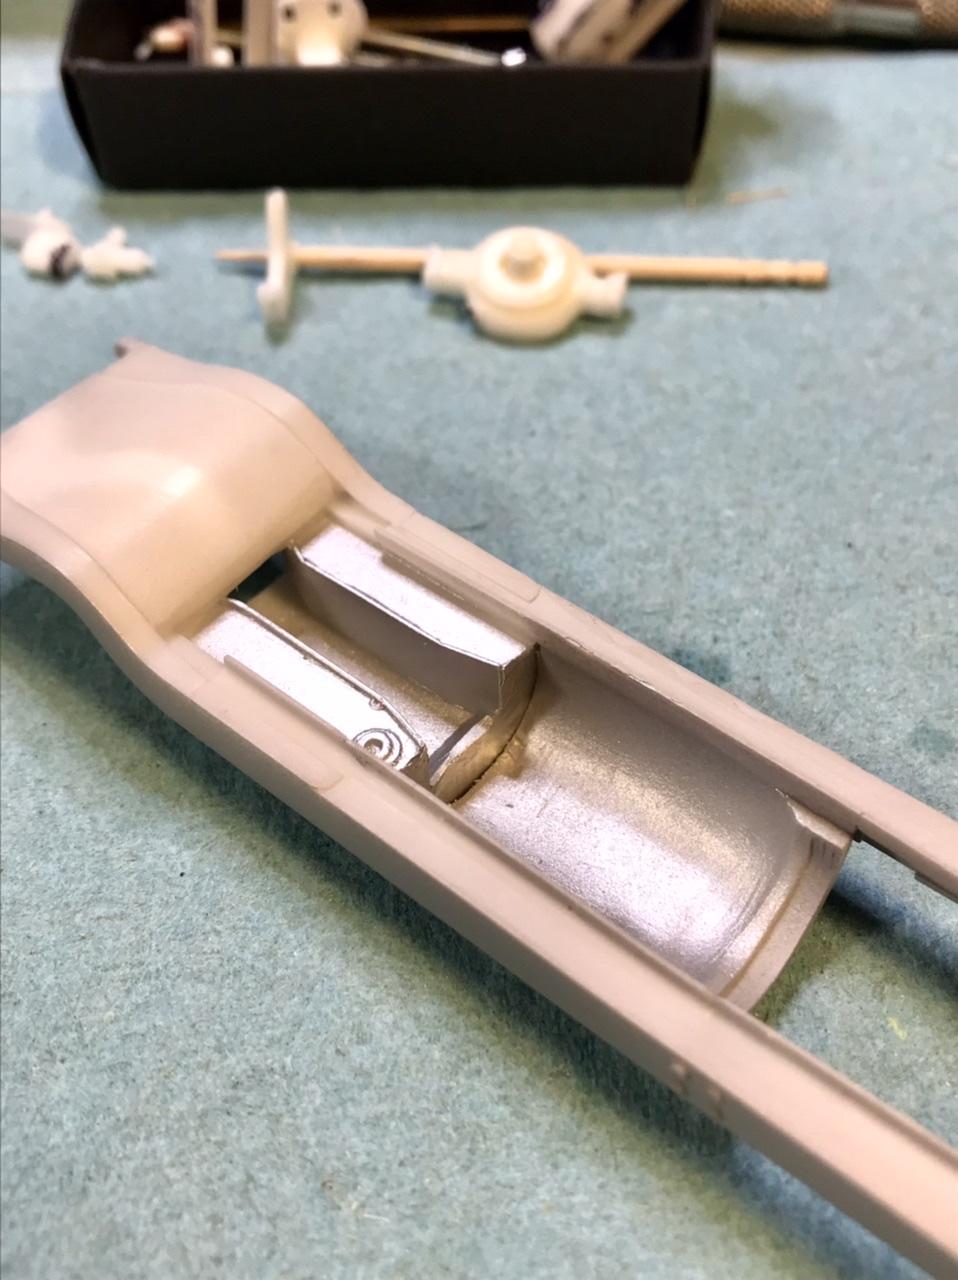
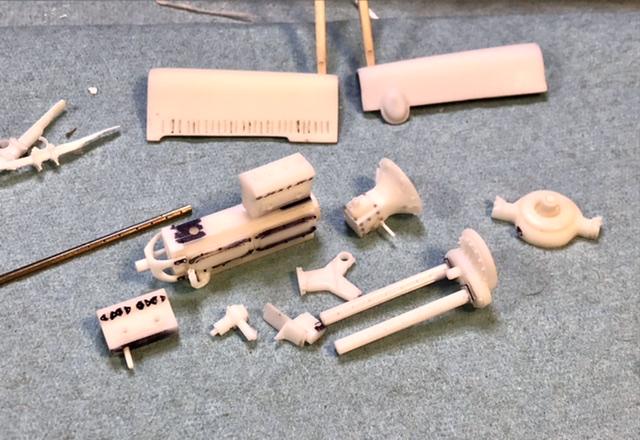
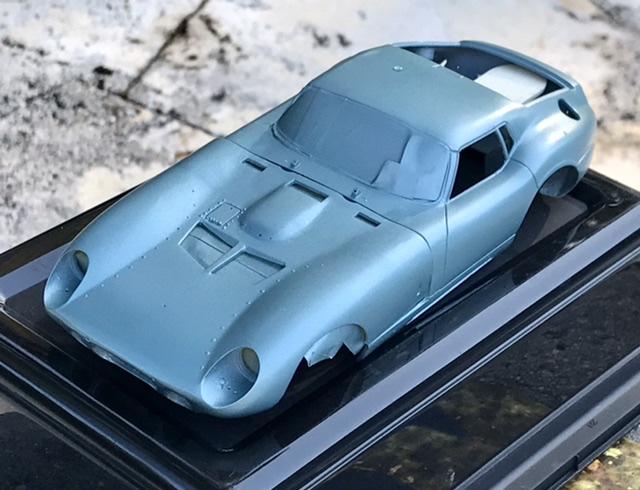
The new and improved frame casting needs some cleanup and correction - noticable after an exploratory coat of primer - but that’s mostly due to flaws on the master (my bad) - this casting is extremely complex - doing this as a 3D printed part is possible but would not be easy to print … added some aluminum high lights w the Zero alu paint that i first tried on the Daytona Coupe …. Like this stuff …
-
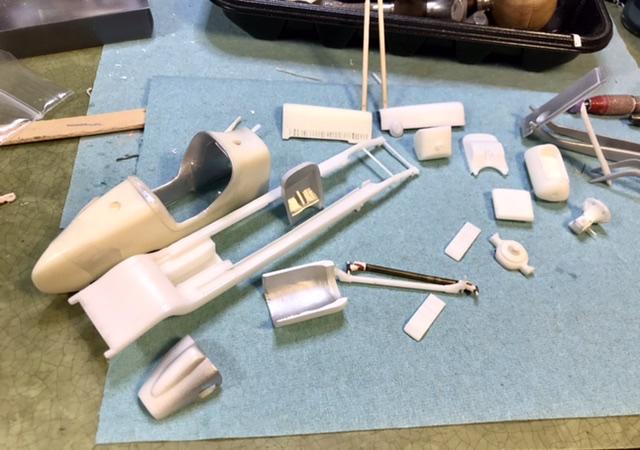
Wrangled some new castings fr Mr Bradford - so its Miller time again ….
-
Very nice- those razor saws come in handy, don’t they ?
-
Gordon Murray Automotive T50 - by Tamiya
absmiami replied to niteowl7710's topic in Car Kit News & Reviews
Engine , please !! -
Merry new year Mecum auctions Kissimmee is starting the new year off with some cool vintage racers - a Gurney Indy Eagle with a great history - a Shelby King Cobra Monaco in guardsman blue - and a Ford GT40 - Mark IV - chassis J10 - which has an interesting history - J10 did not compete at Sebring or Lemans - but had an active racing career as an open top car in Can Am - its restoration is to LeMans specs - i saw J10 years ago at a GT40 reunion at Daytona - it’s a great looking car…
-
MFH Ferrari 333SP 1/12
absmiami replied to 2whl's topic in WIP: Other Racing: Road Racing, Land Speed Racers
Wait. Im seeing double … -
Italeri Bugatti 35B 1/12
absmiami replied to maysula's topic in WIP: Other Racing: Road Racing, Land Speed Racers
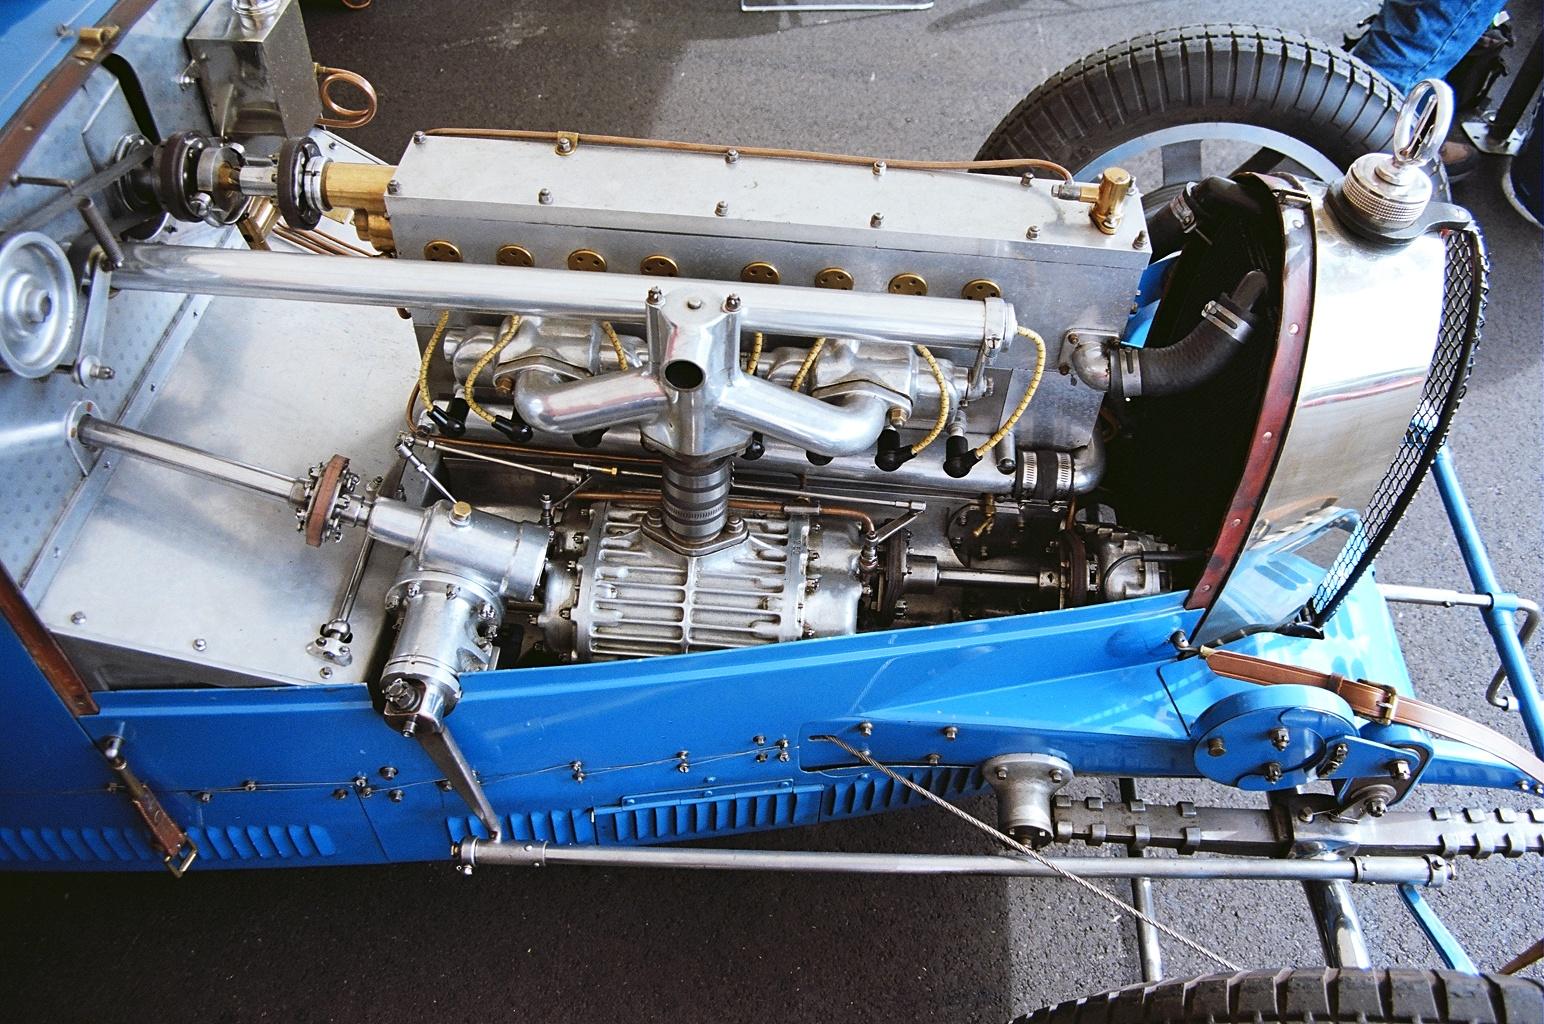
found a shot of this part on a 35 - taken at a Cavallino event 7 years ago ... this one is black leather - but same part ...
-
Italeri Bugatti 35B 1/12
absmiami replied to maysula's topic in WIP: Other Racing: Road Racing, Land Speed Racers
have a look at this Bugatti 59 ... I shot this at a wonderful Bugatti meeting at Tremblant 10 years ago ... the part that slips over the radiator cap and secures the top of the stone screen is leather its the same for the 35s ... Italeri spit the bit on this detail - the kit part appears to be photo-etched if its not too late - hope its not - see if you can correct this ...
-
Tamiya 1/12 Ferrari 312b
absmiami replied to IanH's topic in WIP: Other Racing: Road Racing, Land Speed Racers
you mite have this finished in time for - maybe - a south african grand prix ?? - first one in how many years ?? -
Italeri Bugatti 35B 1/12
absmiami replied to maysula's topic in WIP: Other Racing: Road Racing, Land Speed Racers
Well done -
Italeri Bugatti 35B 1/12
absmiami replied to maysula's topic in WIP: Other Racing: Road Racing, Land Speed Racers
Nice finish on the exhaust manifold - did you use a paint additive to acheive the heat stained finish ? -
Italeri Bugatti 35B 1/12
absmiami replied to maysula's topic in WIP: Other Racing: Road Racing, Land Speed Racers
Thanks for the thread - the kit has not - to my knowledge- made it to these shores yet …. This is the first Bugatti kit - south of MFH - to feature the brake cables in the driving compartment - very nice - did you add the fuel lines ?? -
This is the becassa photo app …
-
Nothin like a lil birdcage for the holidays …
-
Pocher’s 1/8 Lotus 72 was featured in Motor Sport’s 72 issue - just out - it is not a re-boot of this rare Lotus kit - its an all new tool - if you could snare a copy of the instruction manual it would be very helpful …. Kits will ship soon …
-
Gramps - did Shelby ever prep a GT40 in Viking Blue ? … ?? cobra cooper Cobra roadster daytona coupe GT40 ??
-
My favorite pro wrestler! watched him play college football back in the eighties - he was a defensive end on the hurricanes !
-
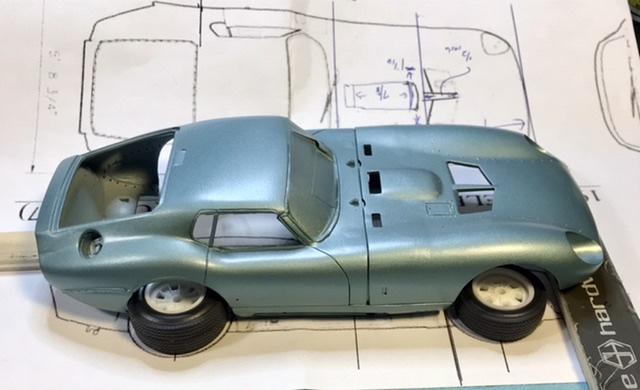
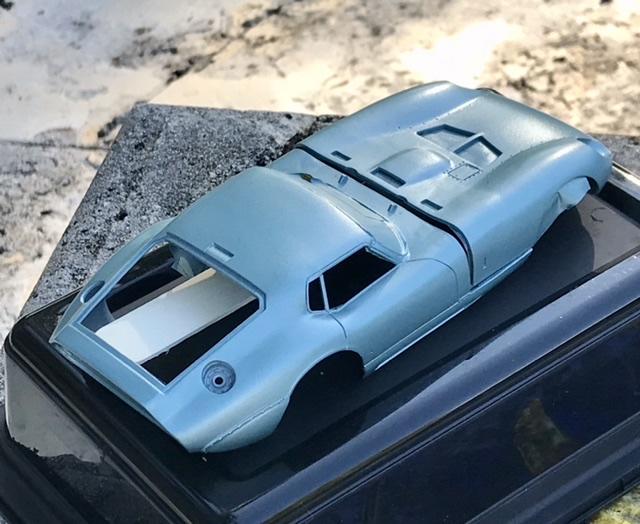
Hard to find/get now - but a small local hobby store had some left over Model Master paint stock - i mixed the interior blue metallic w some aluminum …. Didnt measure but its about 3 to 1 - the blue is close to a Mecom blue - then thinned w enamel thinner - enough to get it out of my Pasche air brush … still laughing about the roof hair - i realized that I painted about 6 hours after getting a haircut - note to abs - no haircuts on the days that you paint !!
-
https://www.stuttcars.com/porsche-718-w-rs-spyder/ link to a very good description of the unique factory Porsche entry - # 41 - the one and only '63 718 WRS spyder its sleeker than the 59-60 718 spyders - probably would have to be a scratch-build ... but what a great looking sports car ... would love to see some 3 view drawings of this car ...
-
The wh base is within an inch …