bobss396
-
Posts
3,653 -
Joined
-
Last visited
Content Type
Profiles
Forums
Events
Gallery
Everything posted by bobss396
-
 I'm digging this big time. I use a lot of brass in my work, a lot of 1/32" and 3/64" rod. I have also come across lengths of .020" brass wire. I had been using little brass nails that are .020". sometimes I use the heads. I found some that are a .050" diameter in a craft store. McMaster Carr used to carry a line of brass dowel pins, I can get stainless steel ones in 1/32" and smaller too. I need to get into soldering brass. I used to do it at work, mainly with a Prestolite torch and a hot plate.
 -
Replicas & Miniatures Co of Maryland
bobss396 replied to Claes Ericsson's topic in Model Building Questions and Answers
I don't have a new catalog of his, neglected to pick up one at the NNL East. Someone used to post one on a Fotki account. -
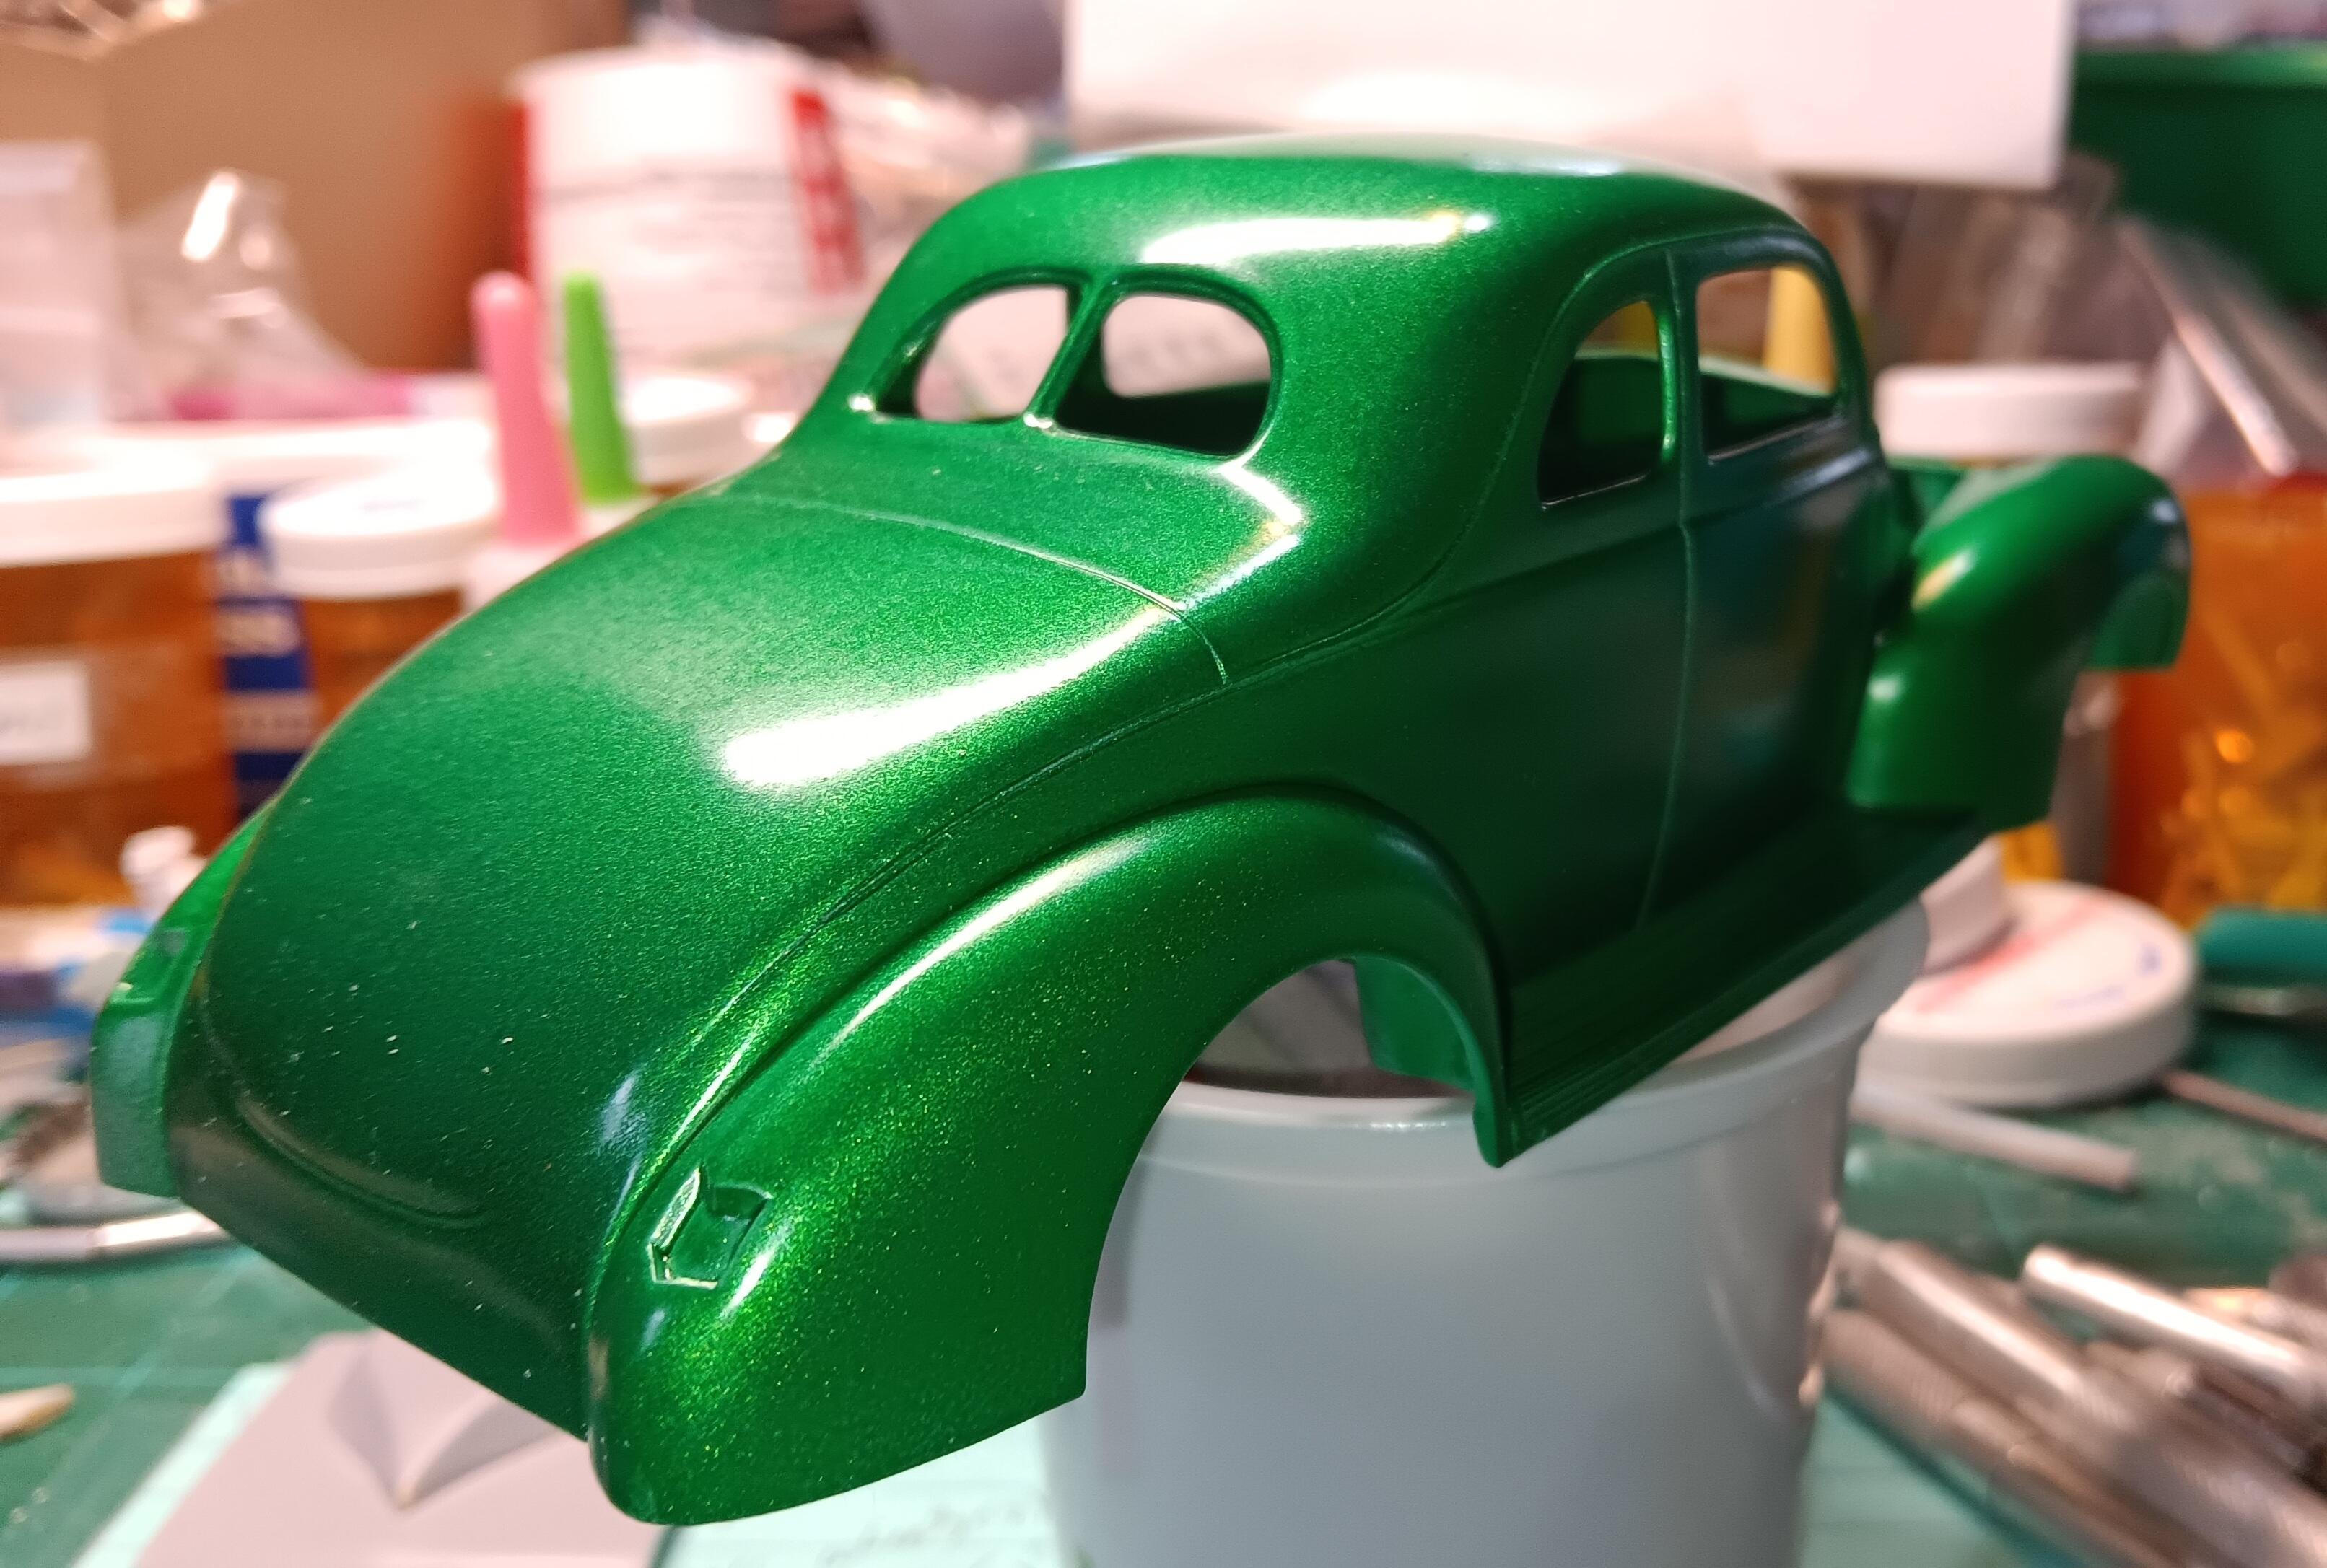
Thanks. The 2nd coat looks even better. The 1st had a few light spots in it. I'll scuff any bumps off it with #3200 grit and go with the MM clear later today. I did a similar engine swap on another '40 using a NASCAR 351, again, the trick is to use the kit transmission.
-
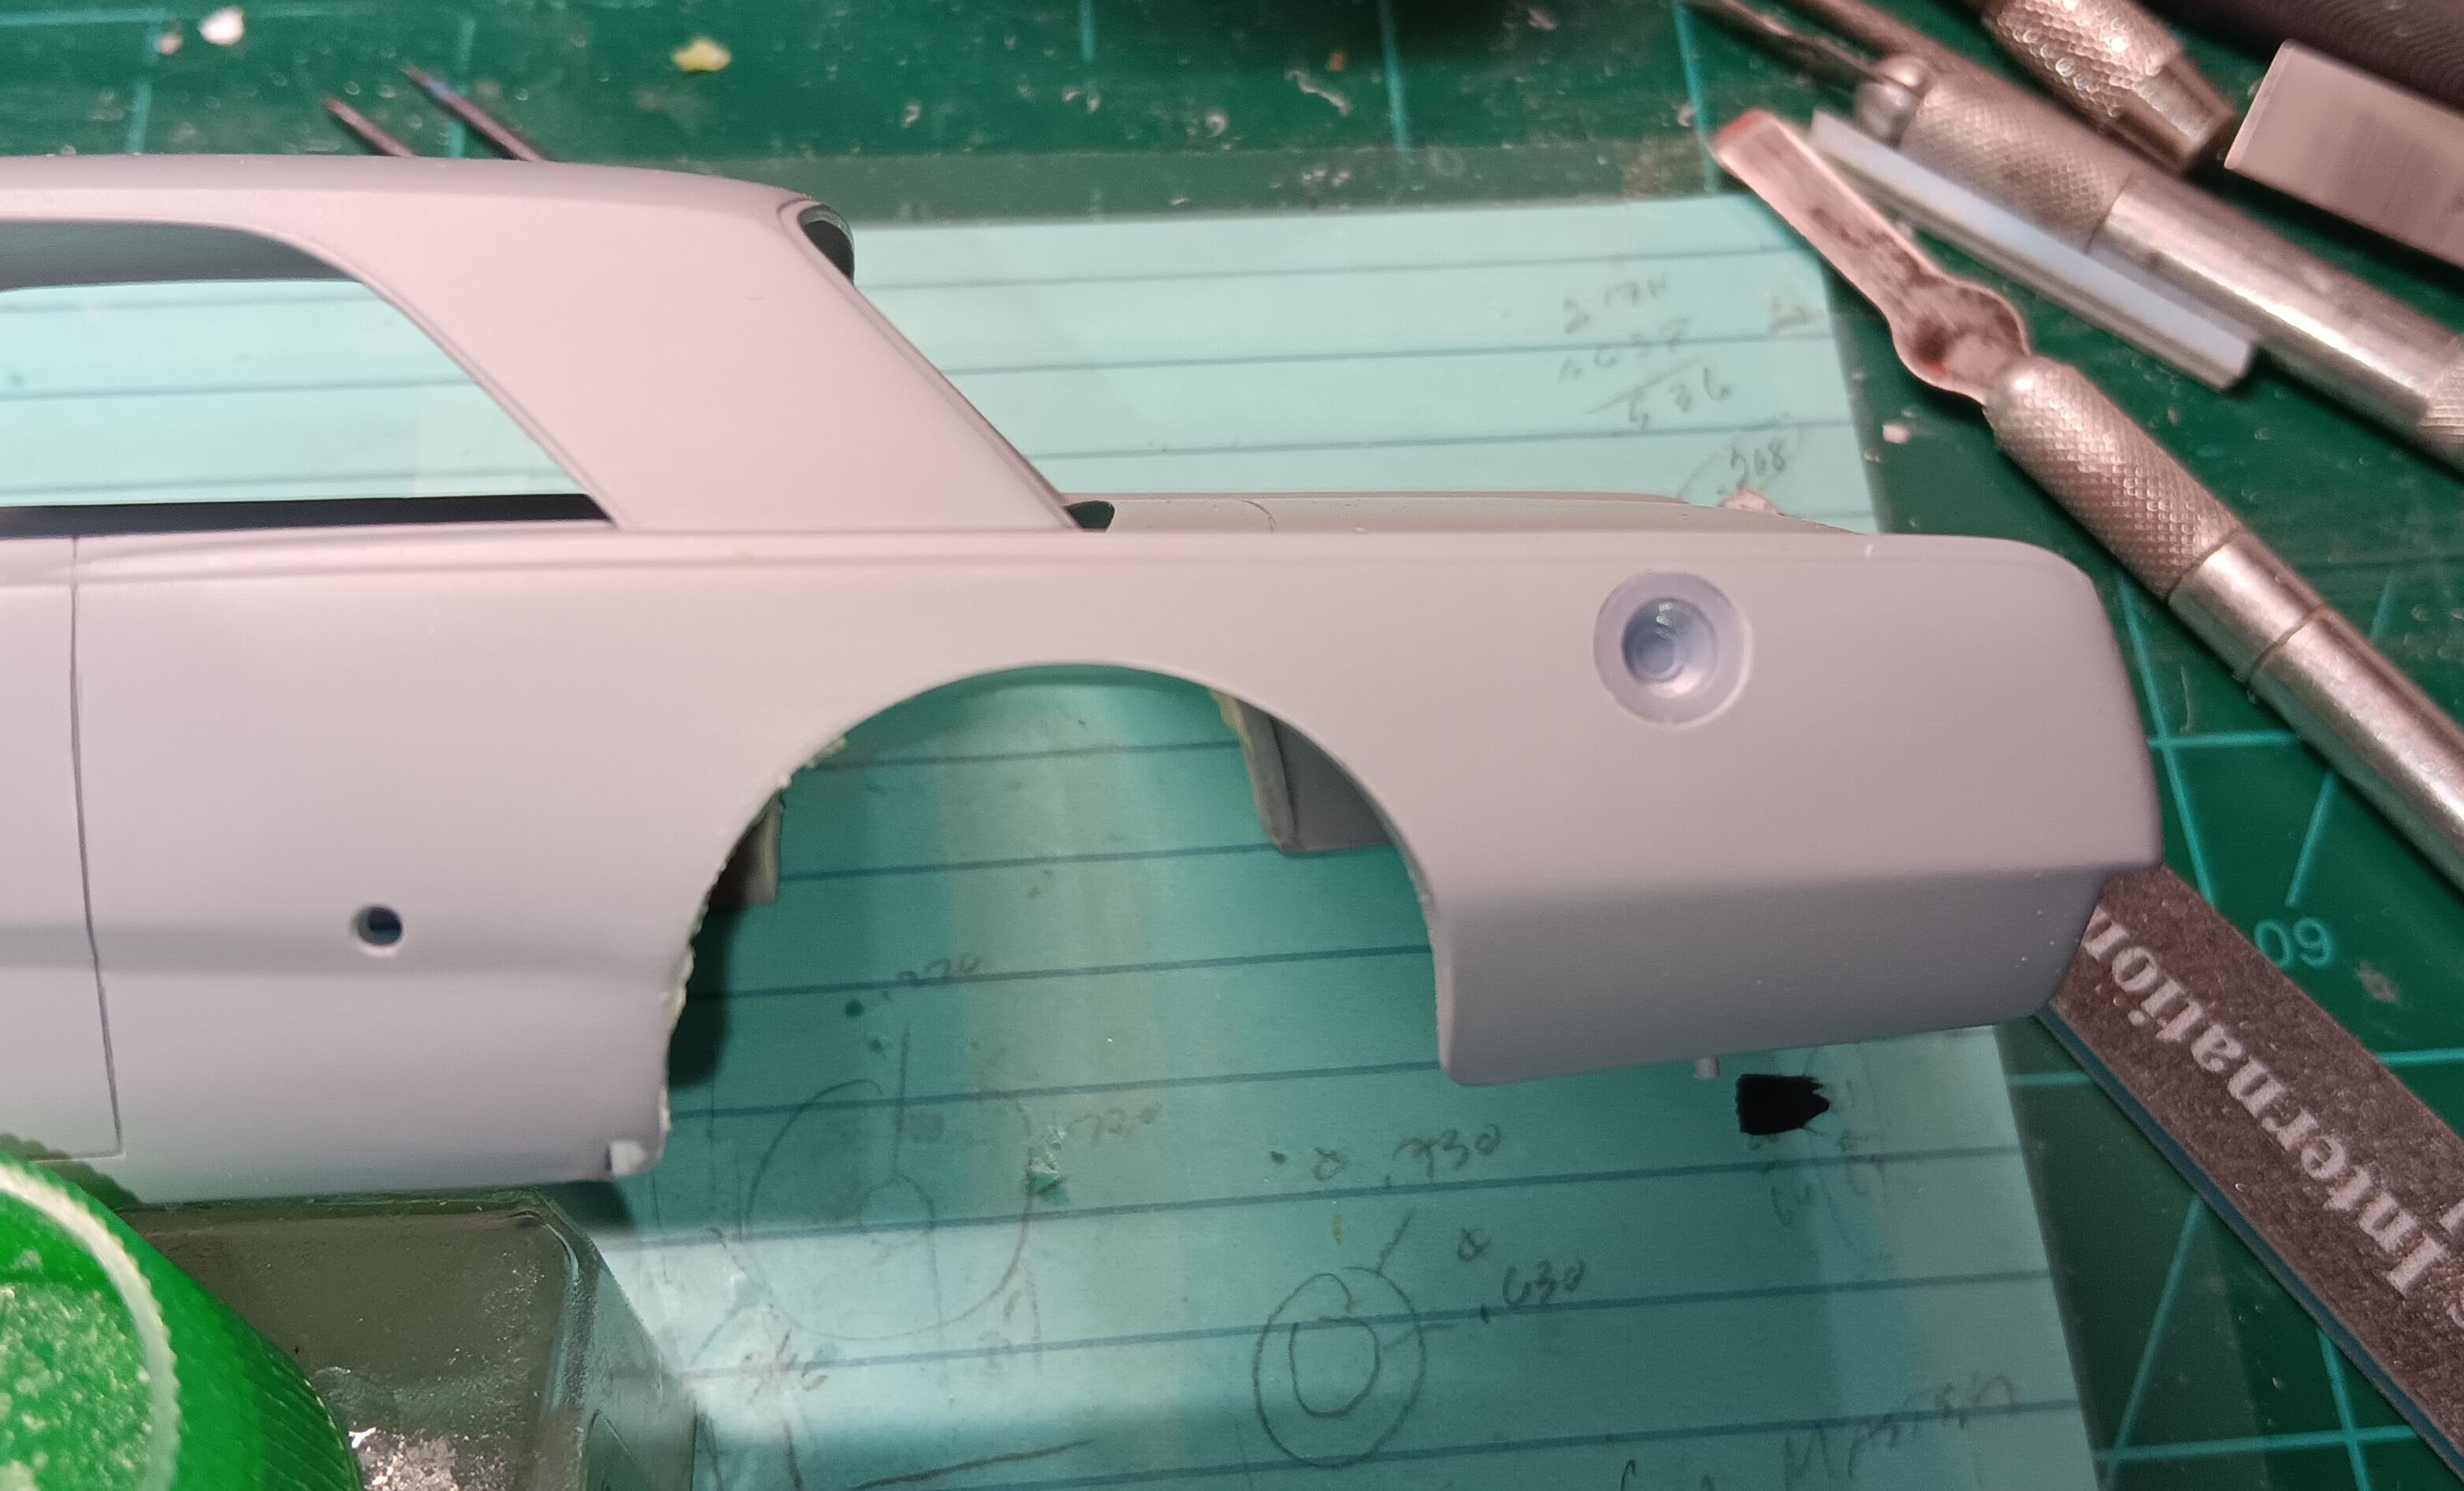
Running into little snags here and there. But working them out. I had a resin hood scoop around and the carb stuck up quite a bit. Why not use it? Also got pieces in place to locate hood pins. I'm trying to focus on just 3 builds... see how long that lasts.

-
More of the little ladies. They are 5 months old today.
-
Put some Model Master Lacquer on the '40. This is the 1st pass. Will do some color sanding and onto the next coat.
-
Sweet little cat, I can see she is full of trouble... I wouldn't have it any other way. I lost one in 2022 after 10 years, she needed to be re-homed and we took her in. I never had a talker like her before.
-
Over the years I have built about 10 of the AMT ones. I have 2 in the works now, one is in the paint stage. I really like them over the newer Revell kits. I built 2 a few years ago, a Revell and an AMT I showed together at shows.
-
I'm going to eventually want a couple as well. Pretty odd that someone or more have not come up with one yet. They are popular as bracket cars as well as stock cars.
-
What are the must-build classic kits?
bobss396 replied to OldNYJim's topic in General Automotive Talk (Trucks and Cars)
Some guy in my club just built one, as a vintage wrecker. I regret not snapping a picture of it at the last meeting. If I can find a link to it, I will post it. -
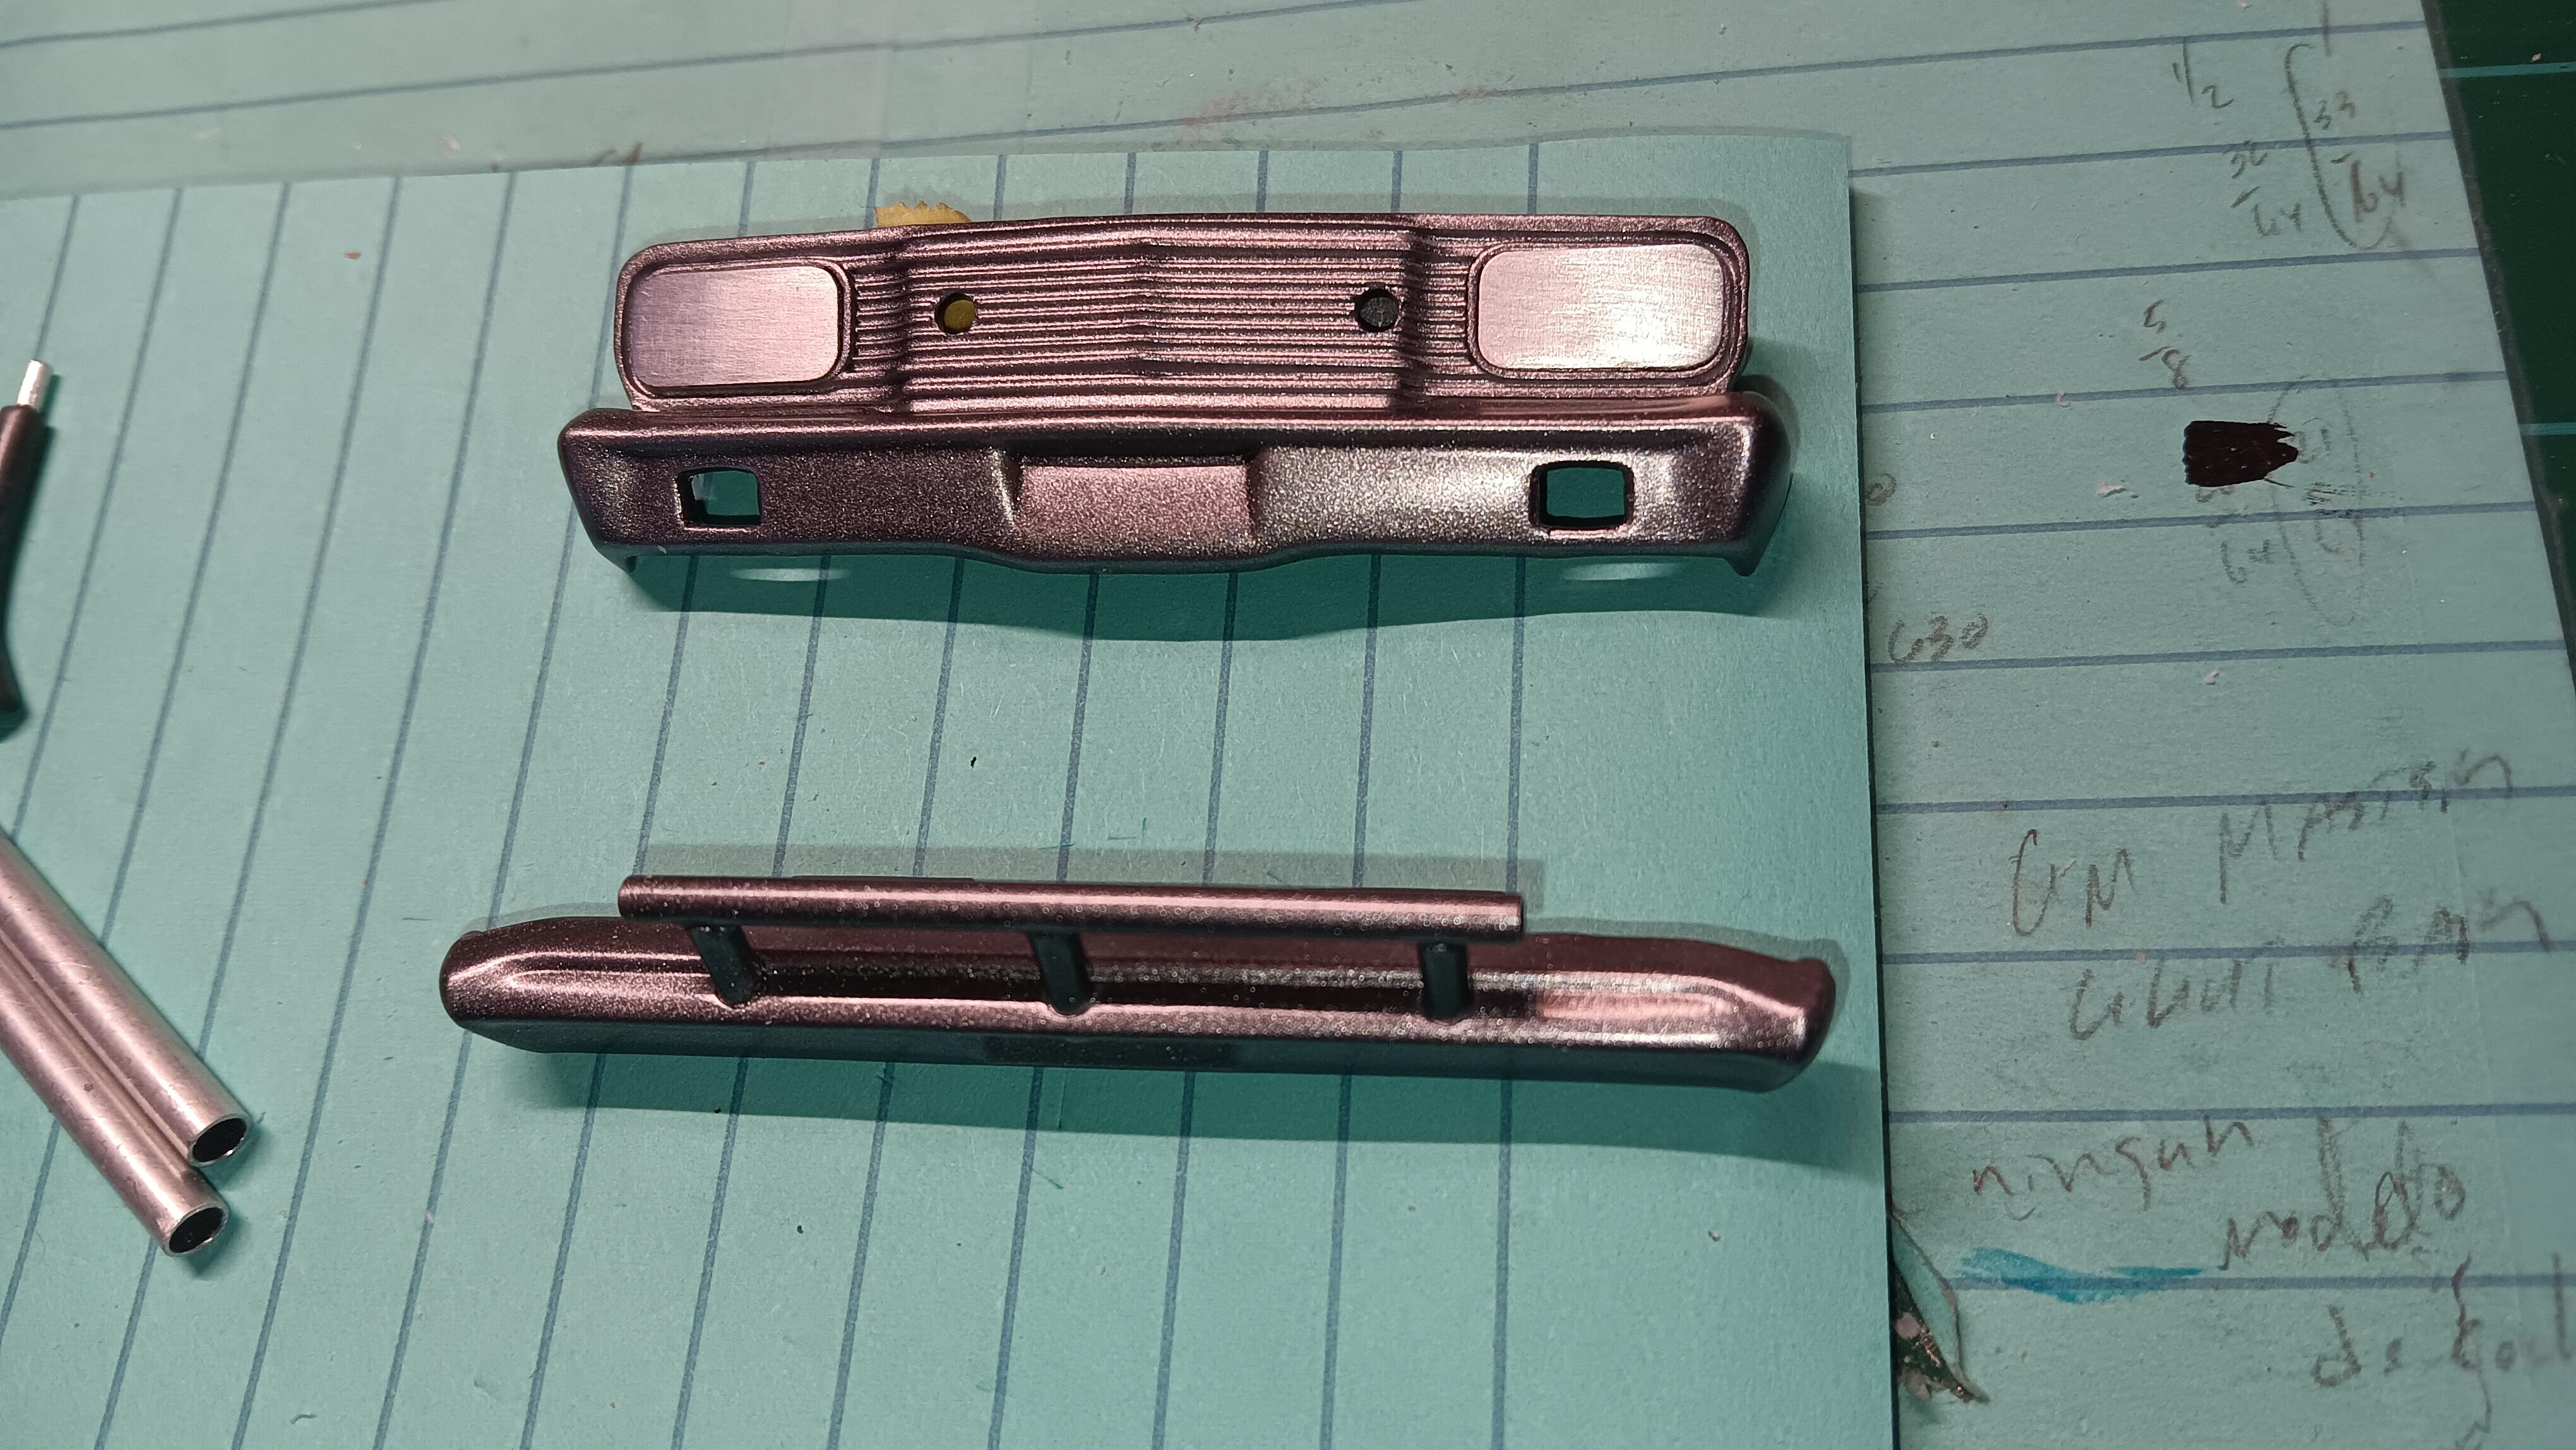
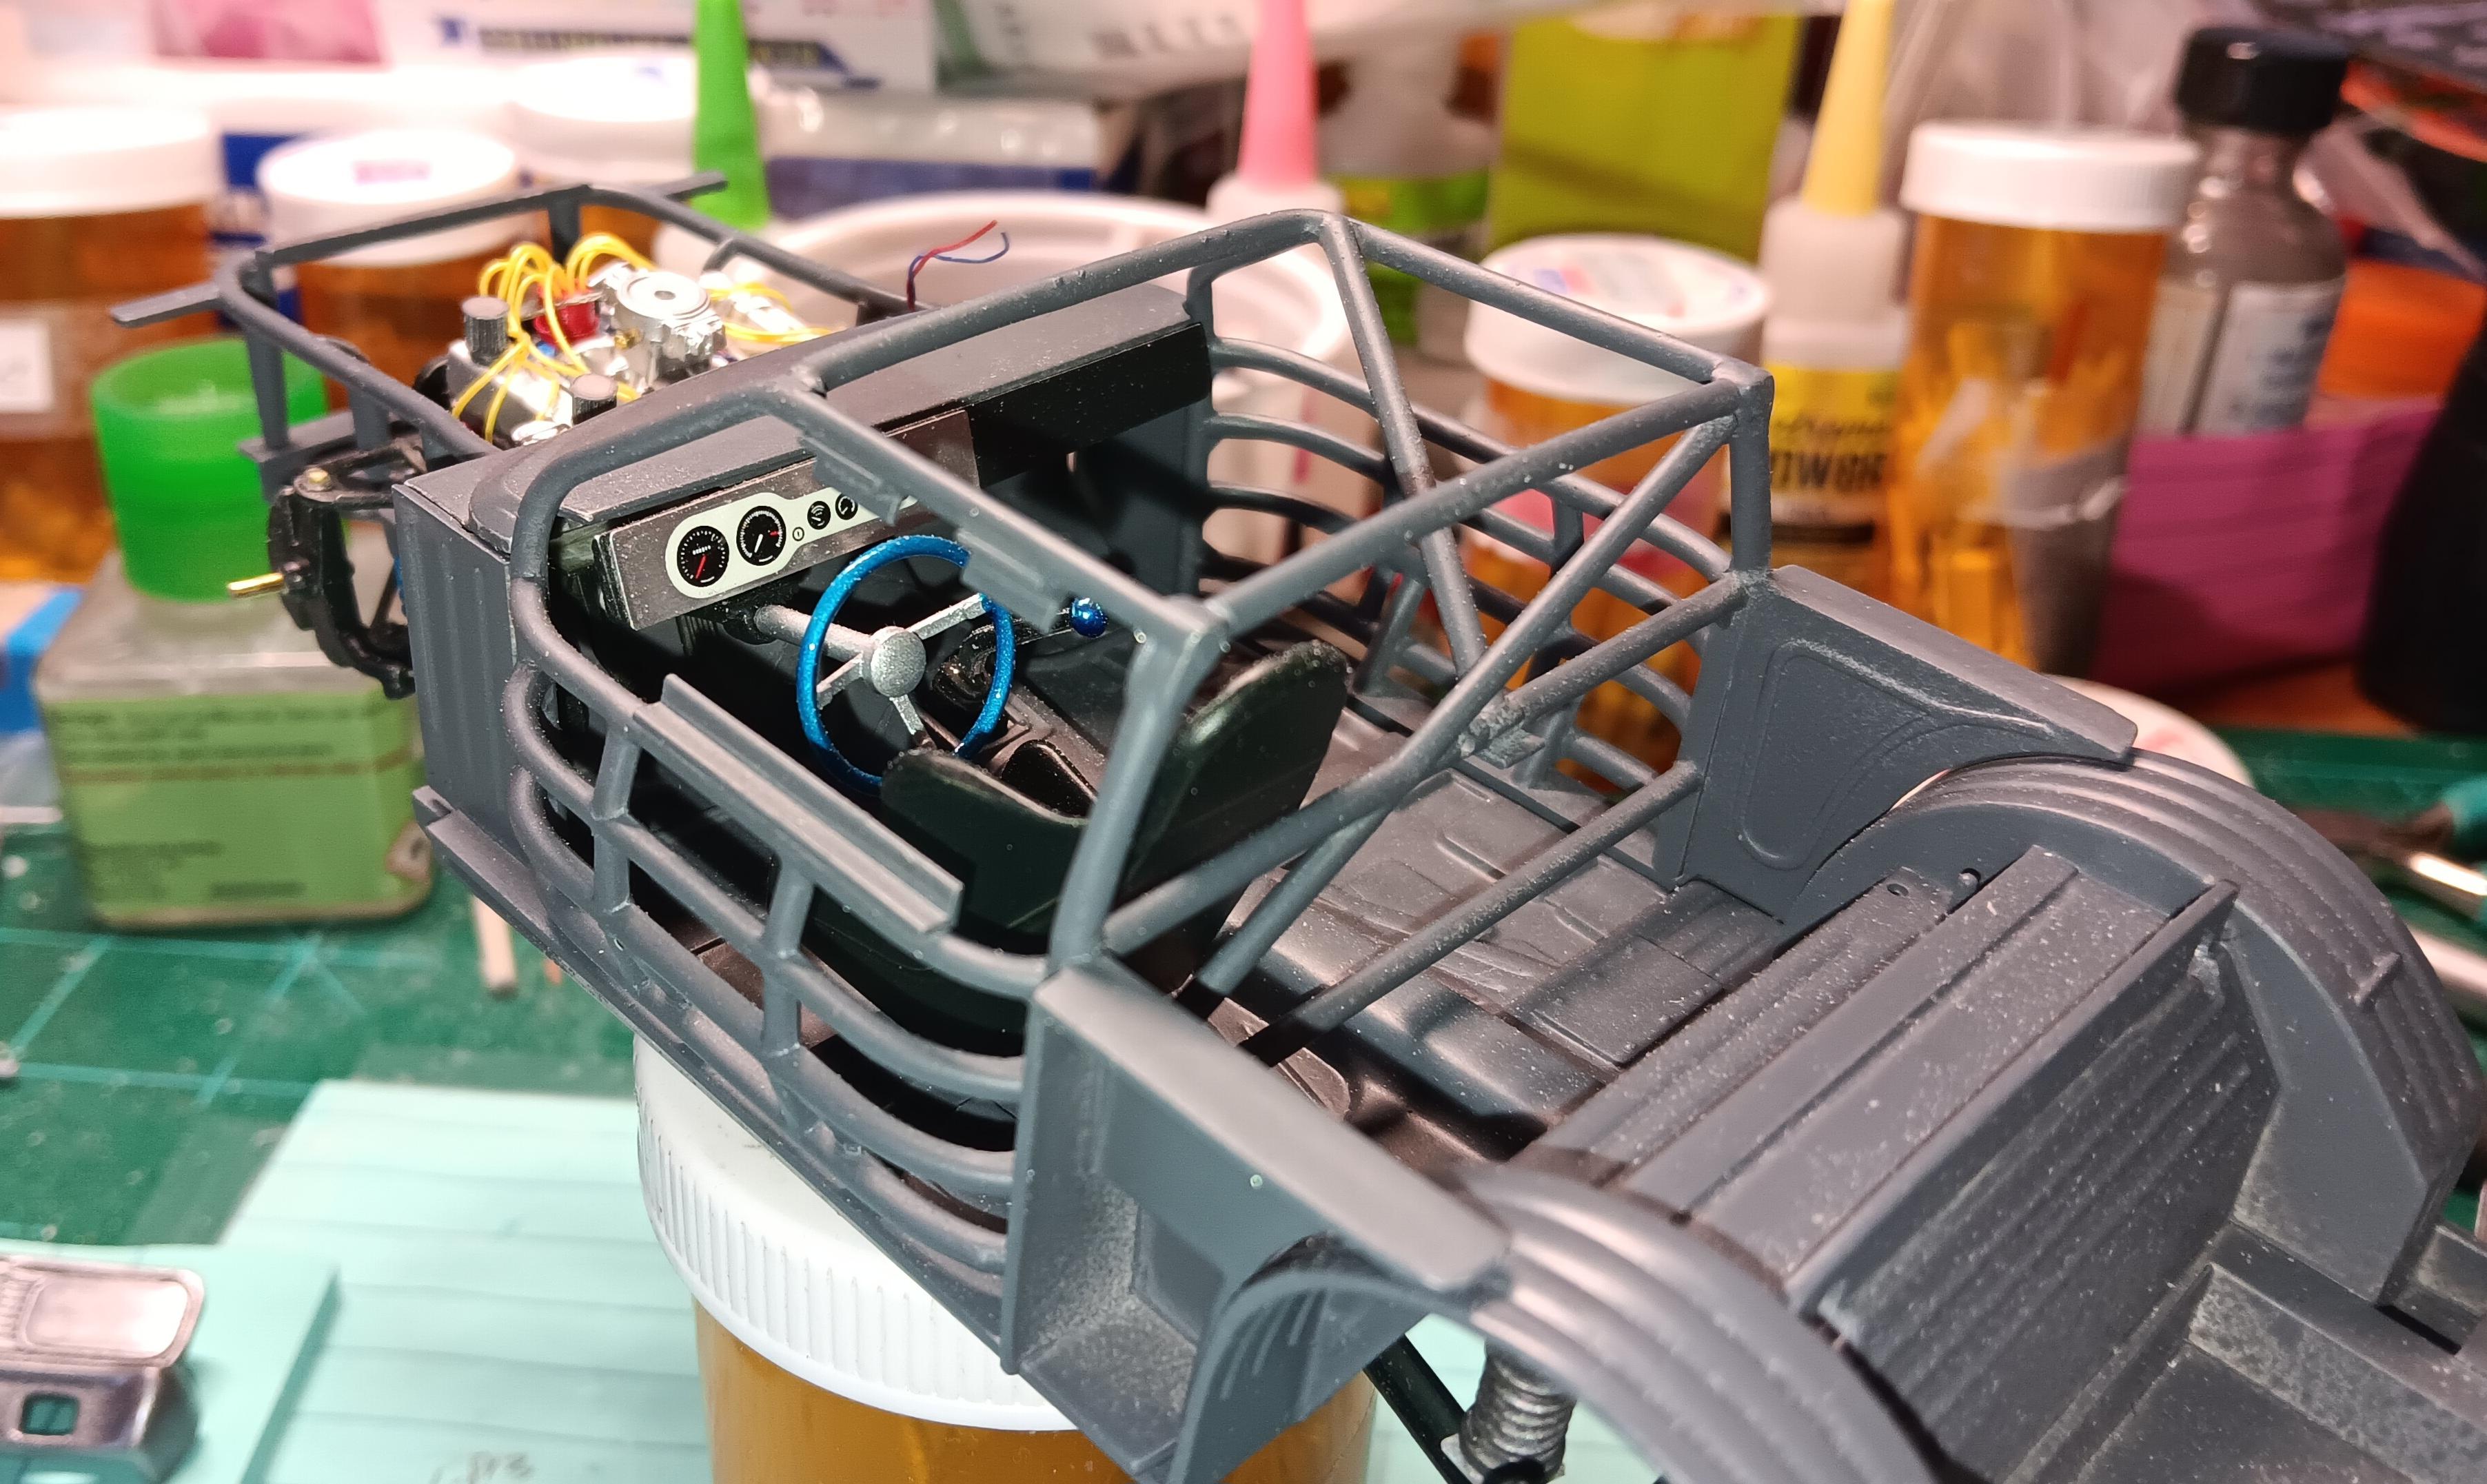
More accomplished this week. Got the bumpers painted with TS-42 light gunmetal. Made aluminum headlight covers. Exhaust is roughed out. Fuel filler is a printed Ron Coon item. Engine is installed. Cage is still loose but fits easily.
-
1970 Winnebago D27 Chieftain
bobss396 replied to Repstock's topic in WIP: Model Trucks: Pickups, Vans, SUVs, Light Commercial
This is the higher-end of insanity, really digging all the scratch building and realistic chassis weathering. -
Very cool. USAC had a great stock car series when I started watching TV again in 1983. TNT televised some of the races, most cars were '81-'82 Monte Carlos with 427 power, on dirt and pavement. They ran them at Eldora too.
-
1960 Ford F-100
bobss396 replied to Plowboy's topic in Model Trucks: Pickups, Vans, SUVs, Light Commercial
I like it a lot. Does someone make a '57 grille? Those look great on the '60. It is nice to see the '60 and '63 kits coming out again. I have an OG '62 or '63 that I have been collecting parts for. I may as well build it since it is coming out again. I found some parts from Modelhaus some years back. VCG resins makes a nice stock 332/352-ish 3D printed engine for it. I also have a GM SM420 granny gear transmission I plan to use with it. -
This is the only one I could find on eBay. Everyone seems to make a '79 however. https://www.ebay.com/itm/355474656452?itmmeta=01HQ3E8VRMP7WR59SA20DRYGCN&hash=item52c3f0ccc4:g:M2IAAOSw95Nl0nsE&itmprp=enc%3AAQAIAAAAwFogt2xQVDycL5GJ3mx5bQfK8MLxEufmaMYPybsBsWs0oZ70hbz6Obn3p%2FJFO%2Bs8W23GhOu59t%2FWRNZmMhq90eMmarQ9NcXG16LthNCmAdsnOafV2dDE3pf8Kr5UbI3HQHWJYYOqVYUDwCb3A349OkekcZUY55ZIWm7AwxCZEjUH8hf1lsLIy6pXyTWQma0V4%2F27dUlNyHsRu5ylvd9wnLue4Zmiqq7ayfypKch2EaK9EvaPz2vPvB56UrmCbaOeSg%3D%3D|tkp%3ABk9SR7S8o-64Yw
-
I pick up metric drills when I see them. The conversion to decimal is easy, take the metric size x 4 and it is a cinch. Example, 1.2 mm, just use the significant number "12". Multiply that x 4 and you have 48, which is .048". I do most of the conversions in my head.
-
What are the must-build classic kits?
bobss396 replied to OldNYJim's topic in General Automotive Talk (Trucks and Cars)
I recently bought one... it may have been boss when I was 14, but sure not cutting it with me now. Edit: I was supposed to do a '55 Chevy gasser build-off with my brother, he initially was in but bailed on me. I was going to give him some 3D printed stuff if he wanted it. We both agreed on the AMT kit. I'm going to pitch it as a group project at our next club meeting. -
Nice Stangs. I took my '20 to a show in 2022 at a Mustang show at a Ford dealer. I didn't win anything but had a good time.
-
What are the must-build classic kits?
bobss396 replied to OldNYJim's topic in General Automotive Talk (Trucks and Cars)
Yeah, I'm old. I'd revert back to the AMT Trophy Series kits. '40 Ford coupe '34 Ford pickup '36 Ford coupe '49 Ford and Mercury '53 Ford pickup '32 Ford kits I'm sure I am forgetting a few. -
1996 Chevrolet C-3500
bobss396 replied to av405's topic in WIP: Model Trucks: Pickups, Vans, SUVs, Light Commercial
I would say so. I warm it up first. I like it over duplicolor. -
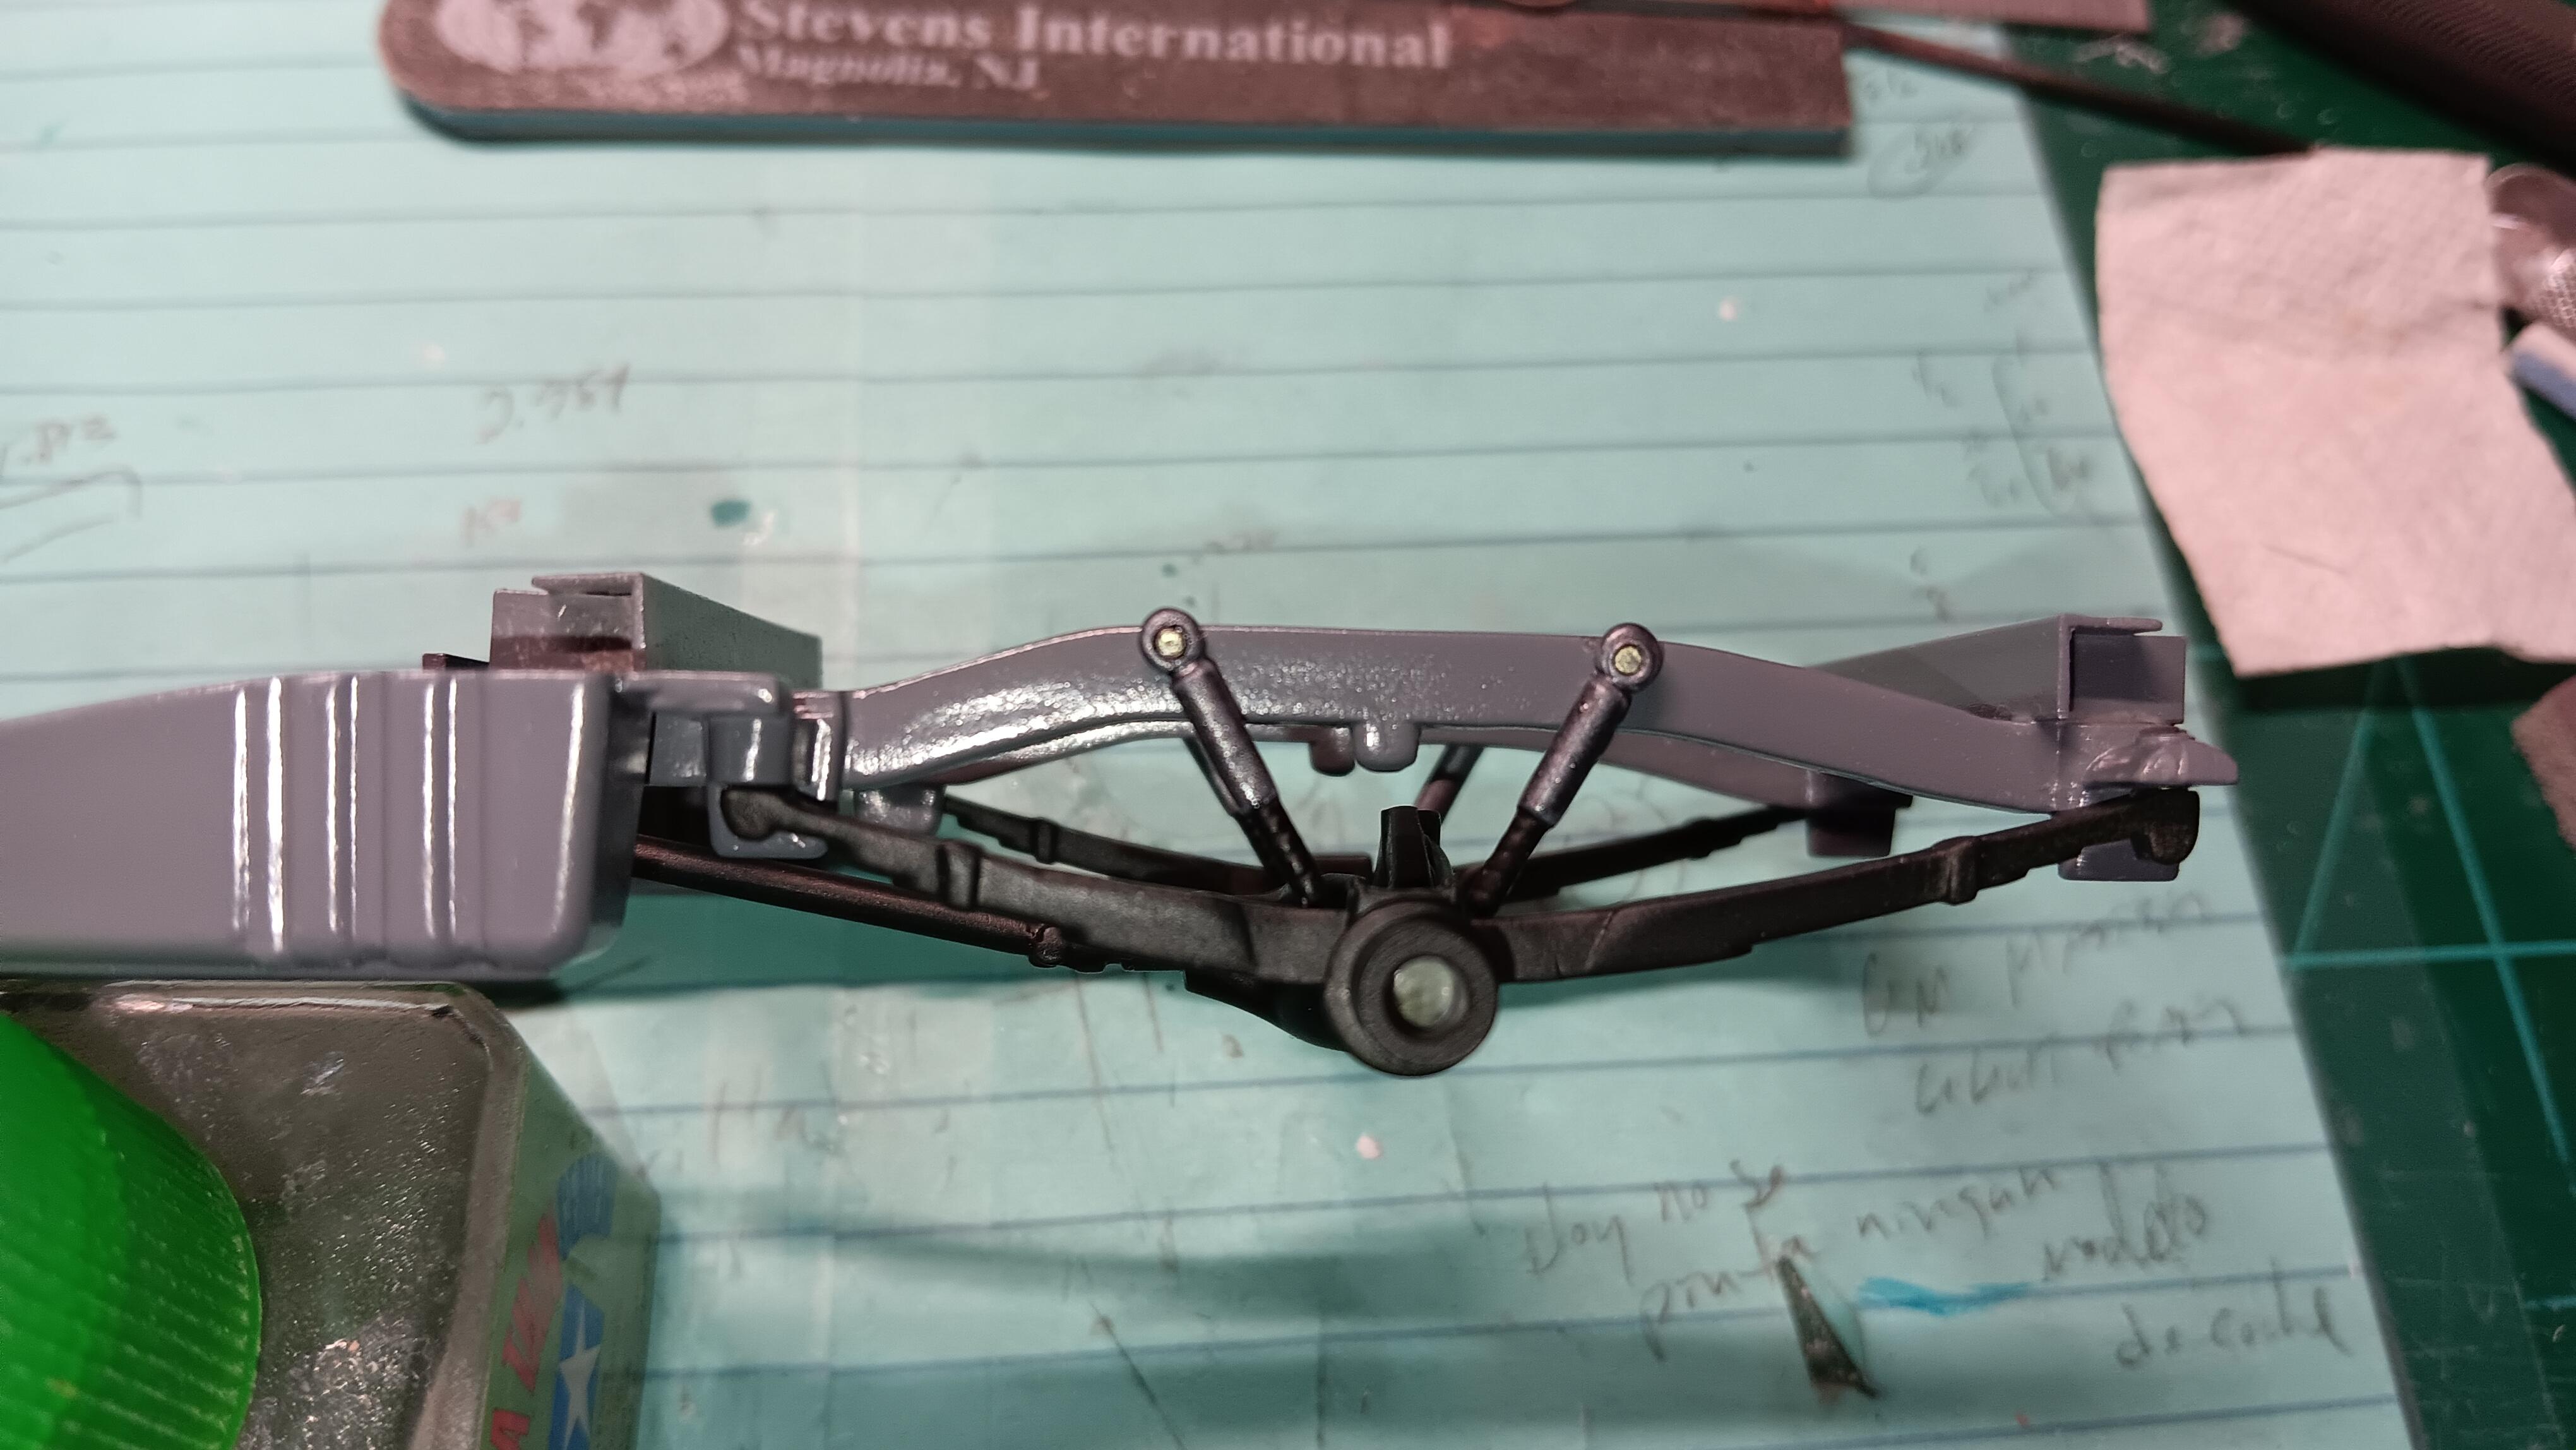
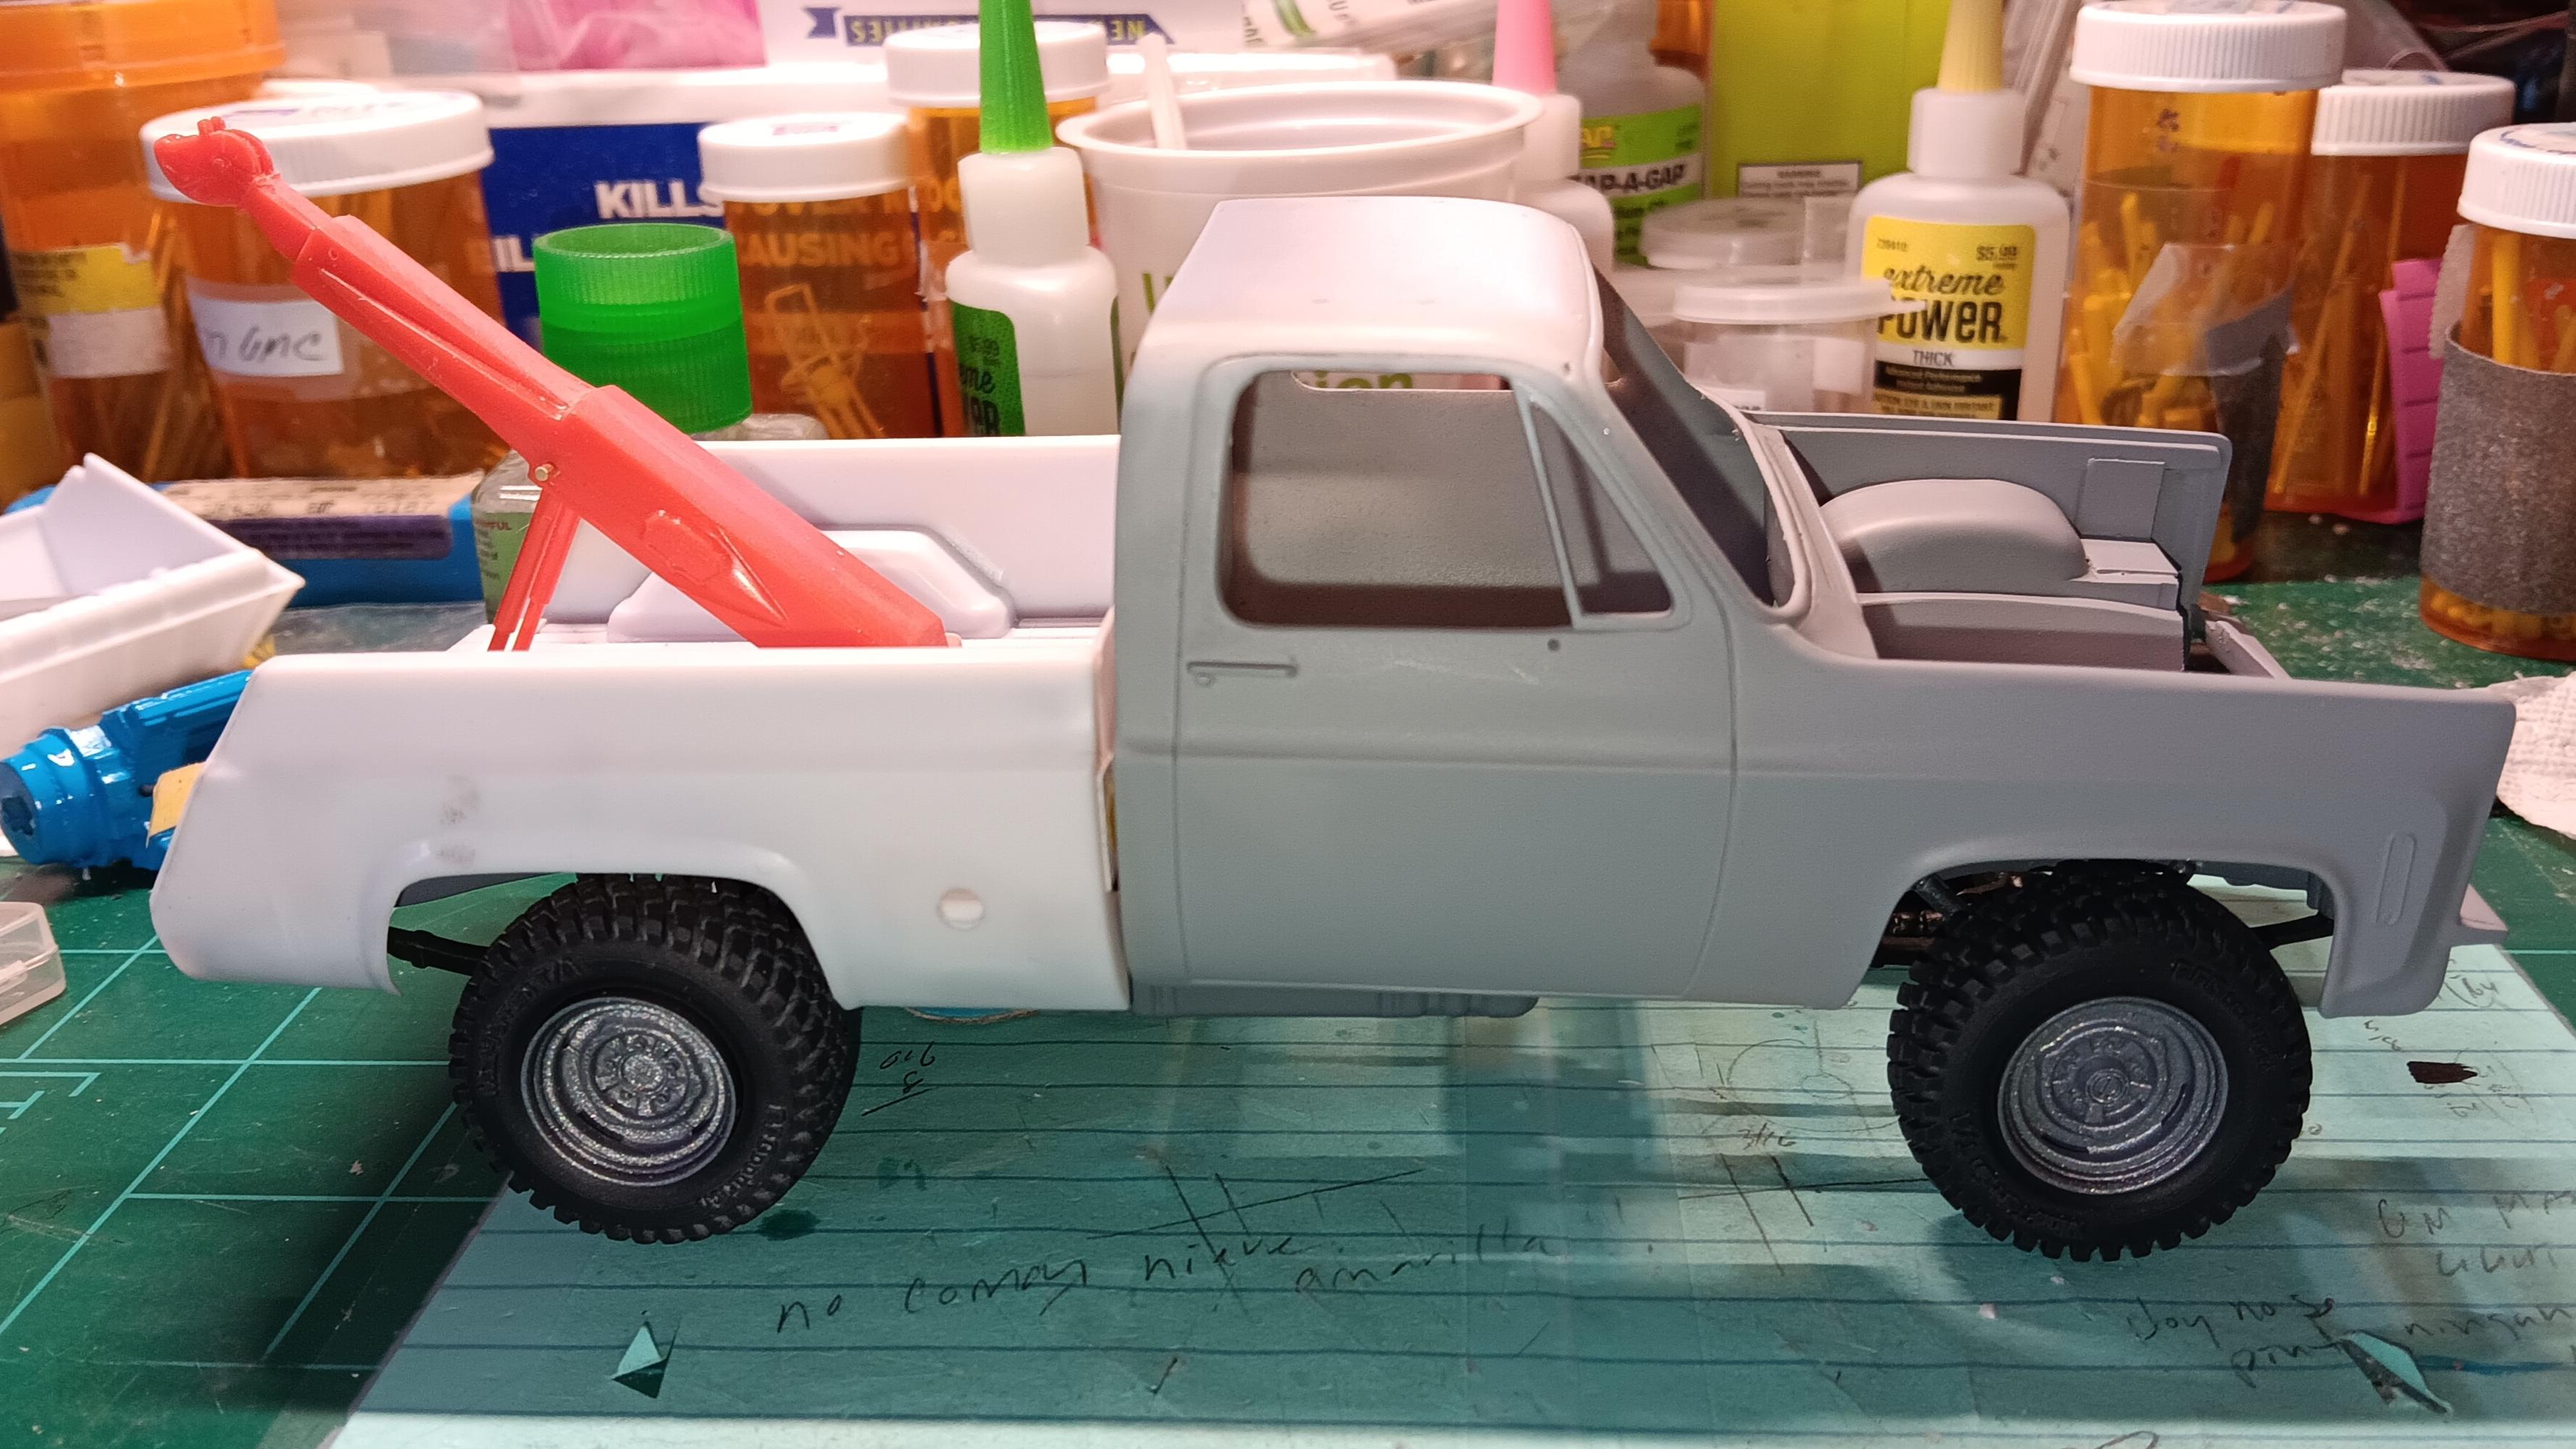
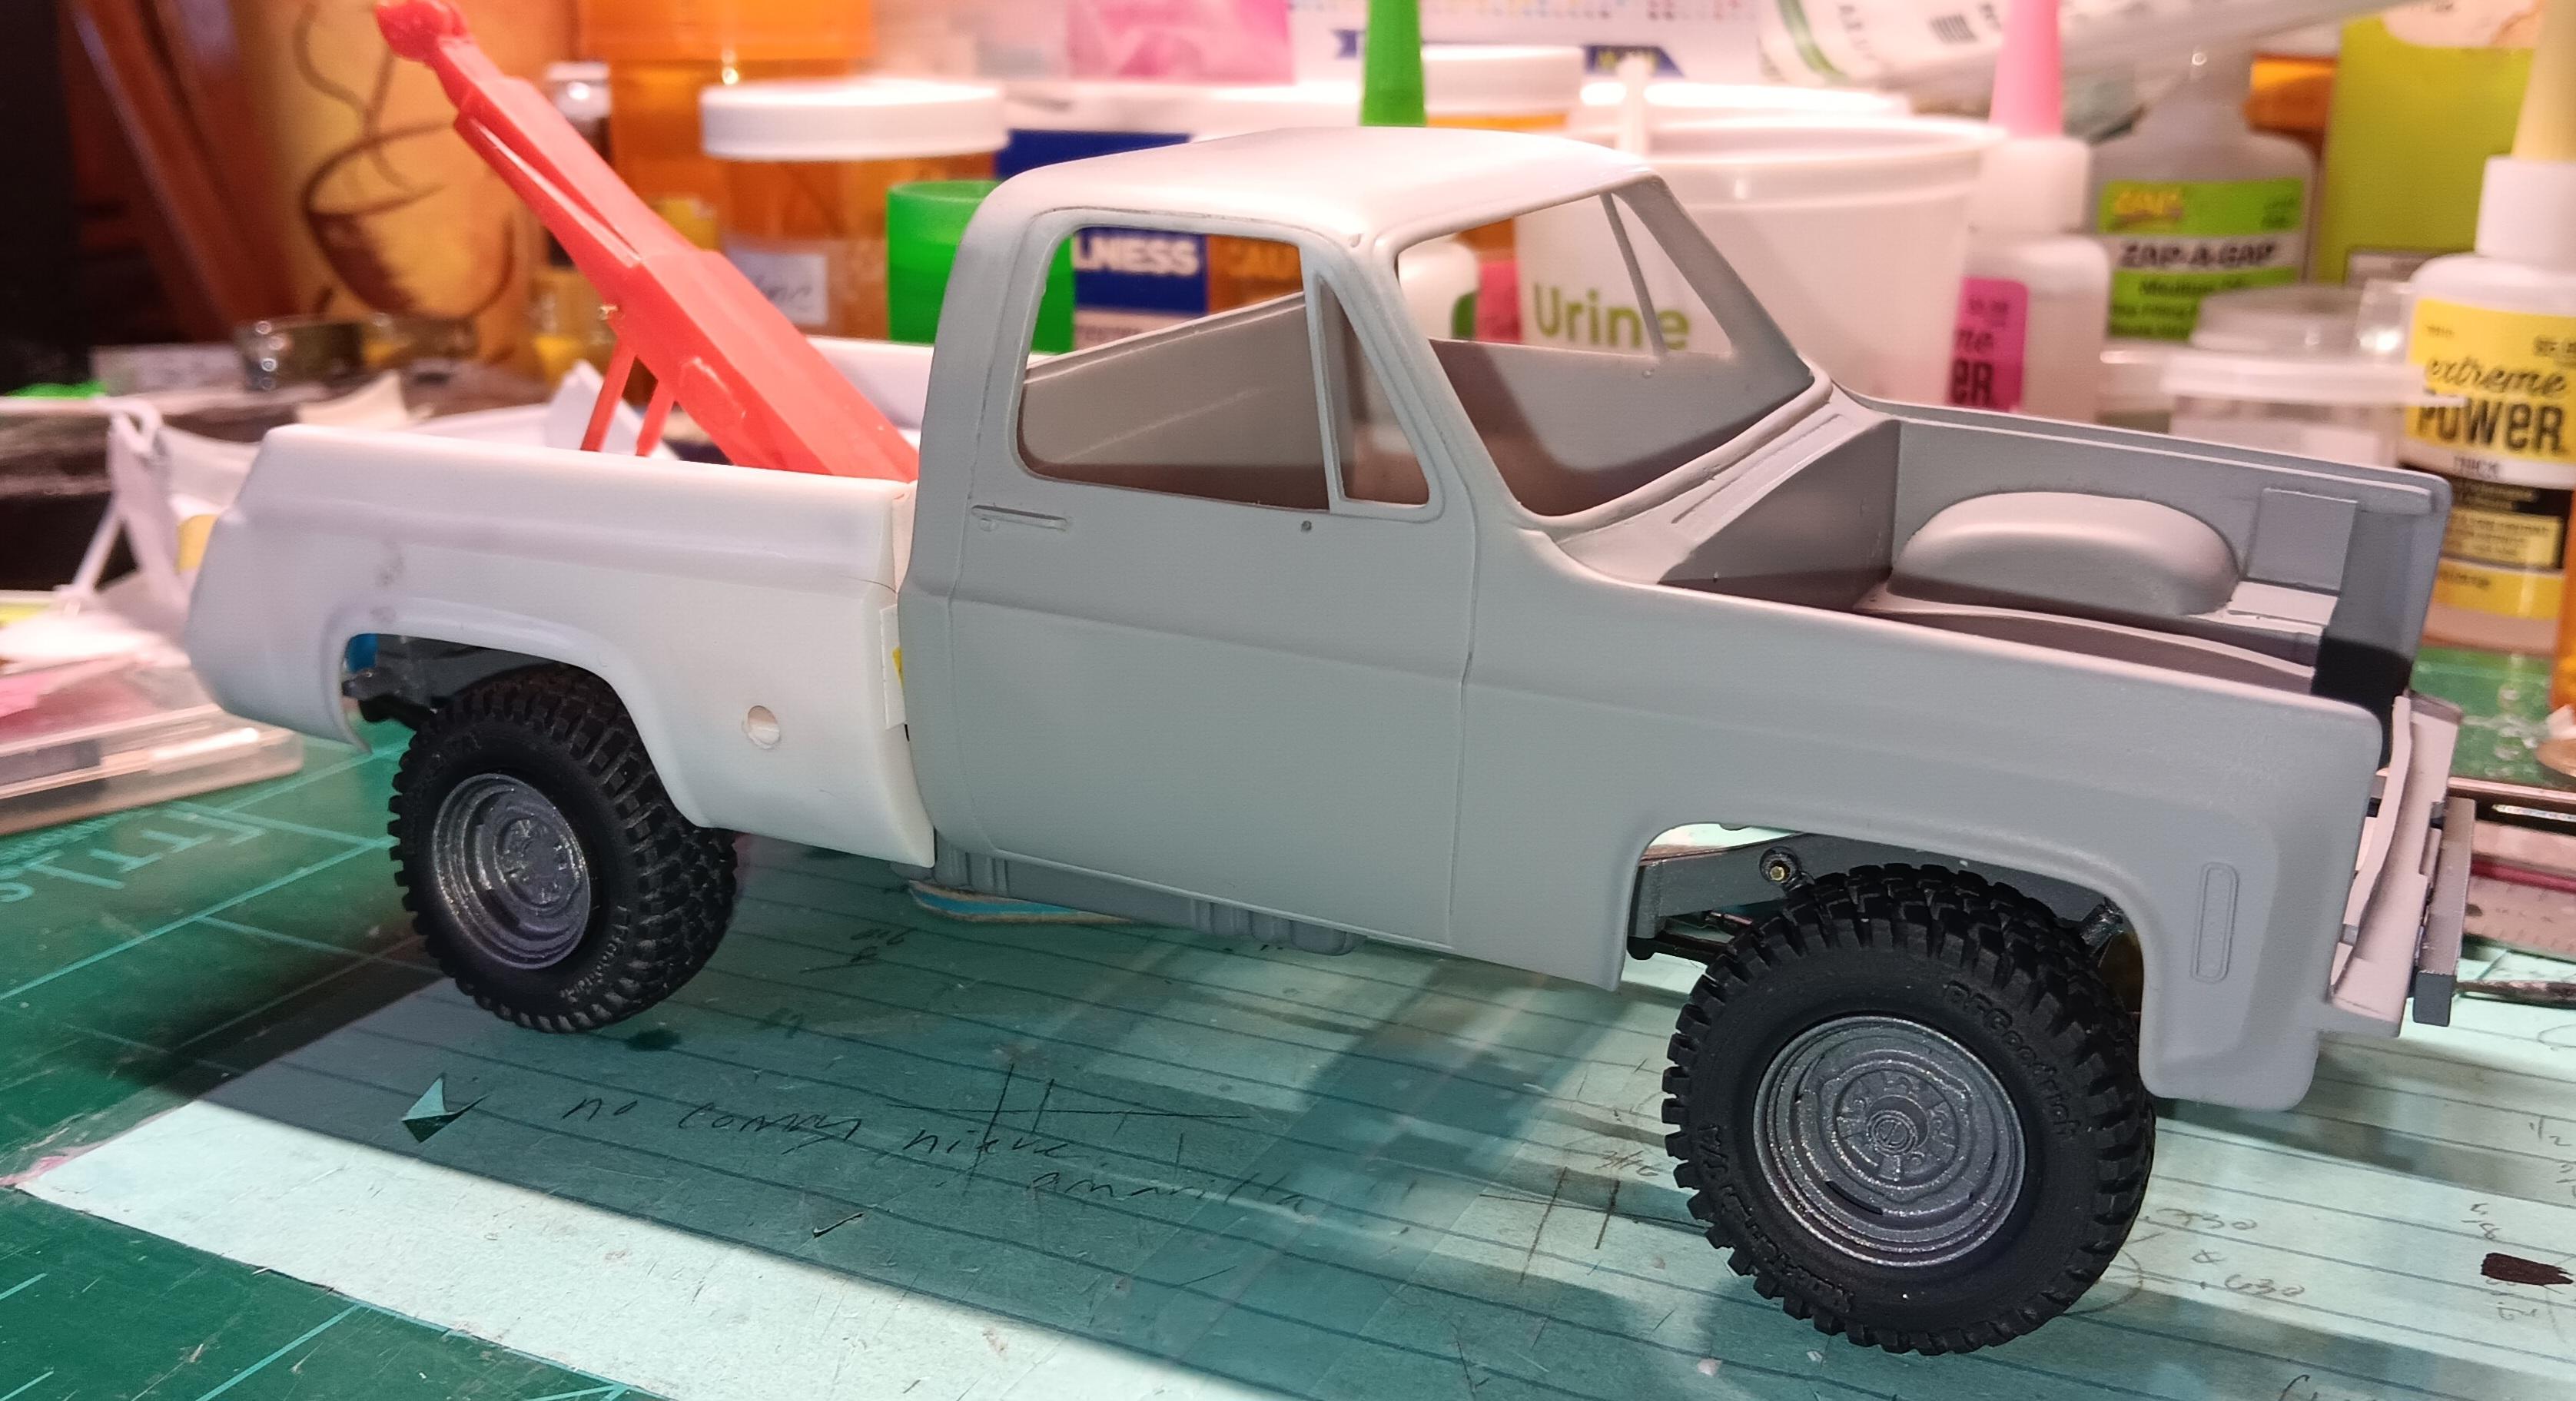
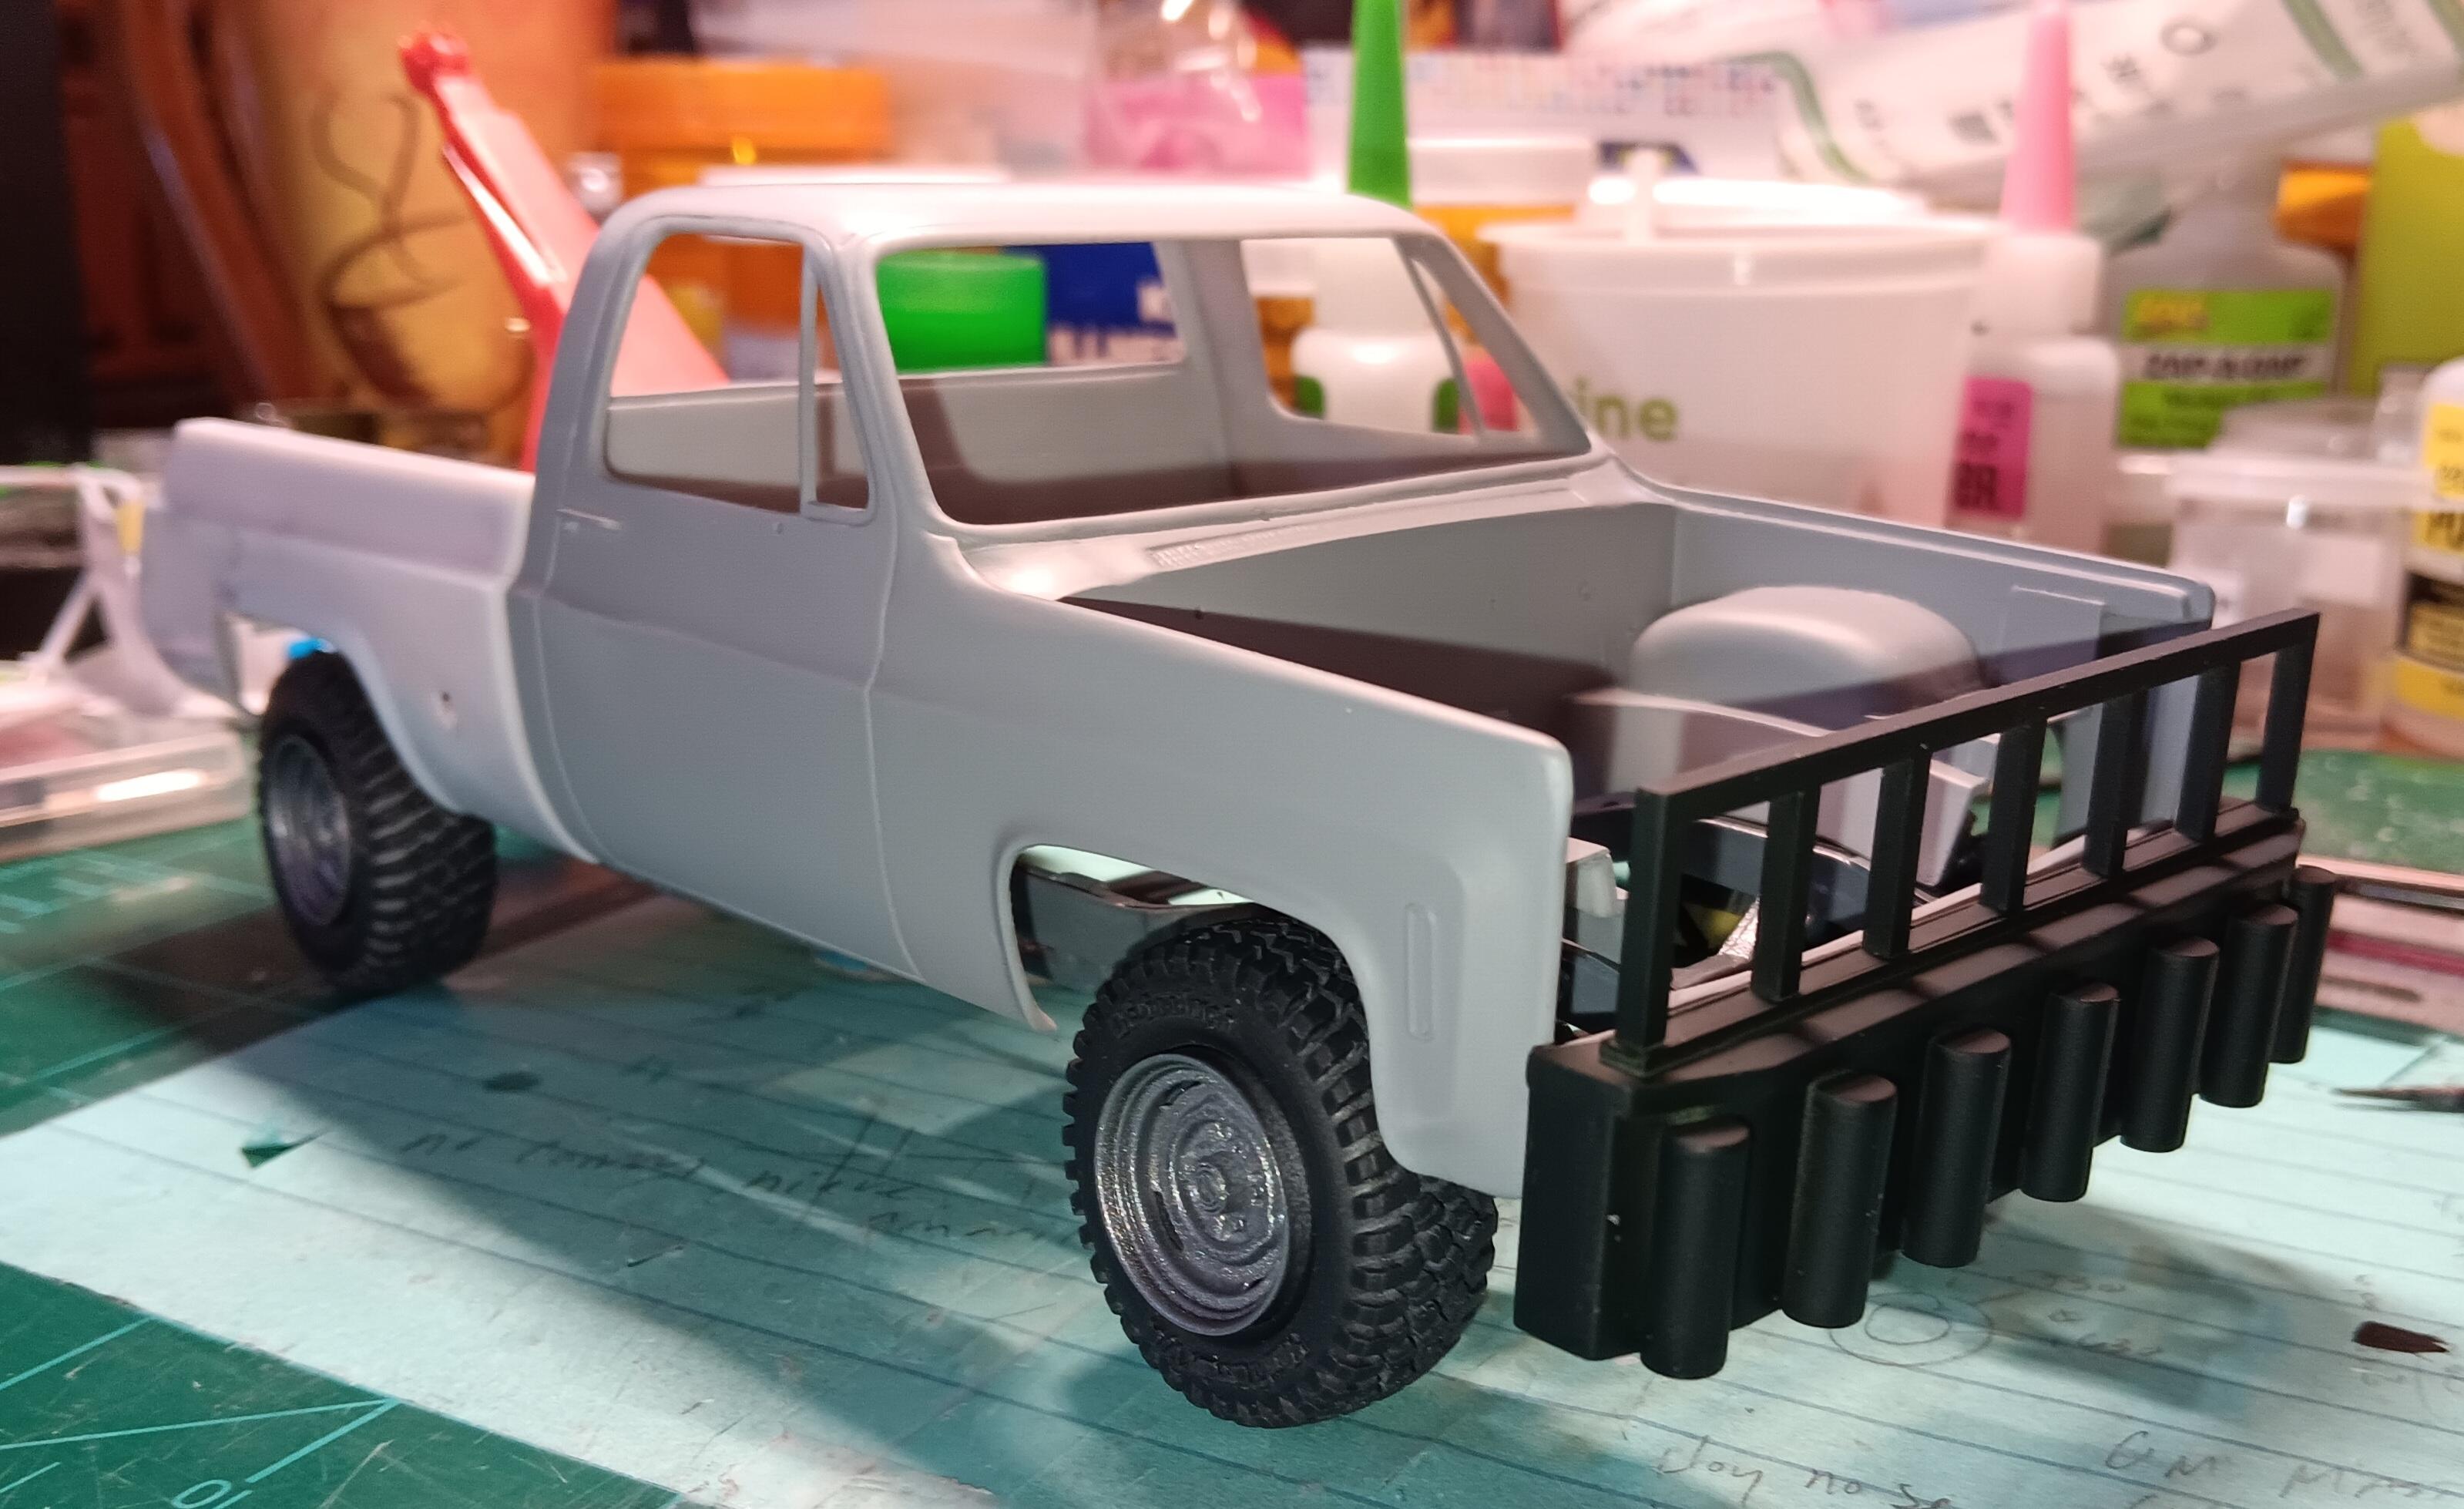
'77 GMC Wrecker
bobss396 replied to bobss396's topic in WIP: Model Trucks: Pickups, Vans, SUVs, Light Commercial
Got it mocked up with tires and wheels on. I used .047" brass rod to pin the shocks. I need to fine tune a few things before I continue with prime and paint.
-
My sister beat breast cancer, free for 5 years now. I had a skin cancer lesion removed from one ear a couple of years back. Nothing to fool around with, glad you are ok.
-
Very cool, those were so ugly that they were beautiful. Digging the color.
-
I have one of his resins in the works... I got frustrated and put it down years ago, this was for the AMT donor car. I wish someone would make a '51 Merc trans kit or a decent printed body.
-
That is an amazing look. I have NEVER done a '55 sedan before, maybe it is time. I picked up some pro-street chassis parts, I believe from Iceman.