NOBLNG
-
Posts
9,985 -
Joined
-
Last visited
Content Type
Profiles
Forums
Events
Gallery
Everything posted by NOBLNG
-

$142,000,000 Mercedes
NOBLNG replied to 89AKurt's topic in General Automotive Talk (Trucks and Cars)
They wouldn’t sell it to me cause I was just going to flip it for a quick profit.?- 40 replies
-
- 1
-

-
- mercedes benz
- w196s
- (and 2 more)
-
Nicely done! It looks great in that red!?
-
Nicely done Jens! That interior is beautiful.? I have two of these that I need to get to sometime soon.
-
Well how about that…you learn something new every day!? As said this stuff will make a very strong joint on any size of parts since it “welds” the pieces together…but they have to fit with little to no gap.

-
1954 Chevy Truck
NOBLNG replied to 408calirides's topic in WIP: Model Trucks: Pickups, Vans, SUVs, Light Commercial
The OP stated that he got it off of e-bay and he has not posted anything on here for about 4-1/2 years…so I doubt you will get an answer. -
The regular Tamiya thin has a lot stronger smell than the Quick Setting stuff. Also, once the bottle is about half empty, the brush will not pick up near as much since the reservoir stem is not submerged. I have poured two half bottles together to get a full one.
-
Wow that is bright! It is going to look fantastic when the trim is done.?
-
1939 Ford Towtruck
NOBLNG replied to Nosferatu's topic in WIP: Model Trucks: Pickups, Vans, SUVs, Light Commercial
Scenes Unlimited makes really nice stuff. I have ordered from them a couple of times. -
Cool! I have one of these so I will follow along.?
-
It has a reservoir in the stem like the panel line accent does. I make sure the parts fit nice with no huge gaps then apply the cement with the supplied brush and let it wick into the seam. For smaller joints I often touch the brush to the inside of the bottle neck so that I don’t get a huge drop of cement. I used to use it exclusively but lately have been using more and more CA.
-
Blazer Crew Chief
NOBLNG replied to NOBLNG's topic in WIP: Model Trucks: Pickups, Vans, SUVs, Light Commercial
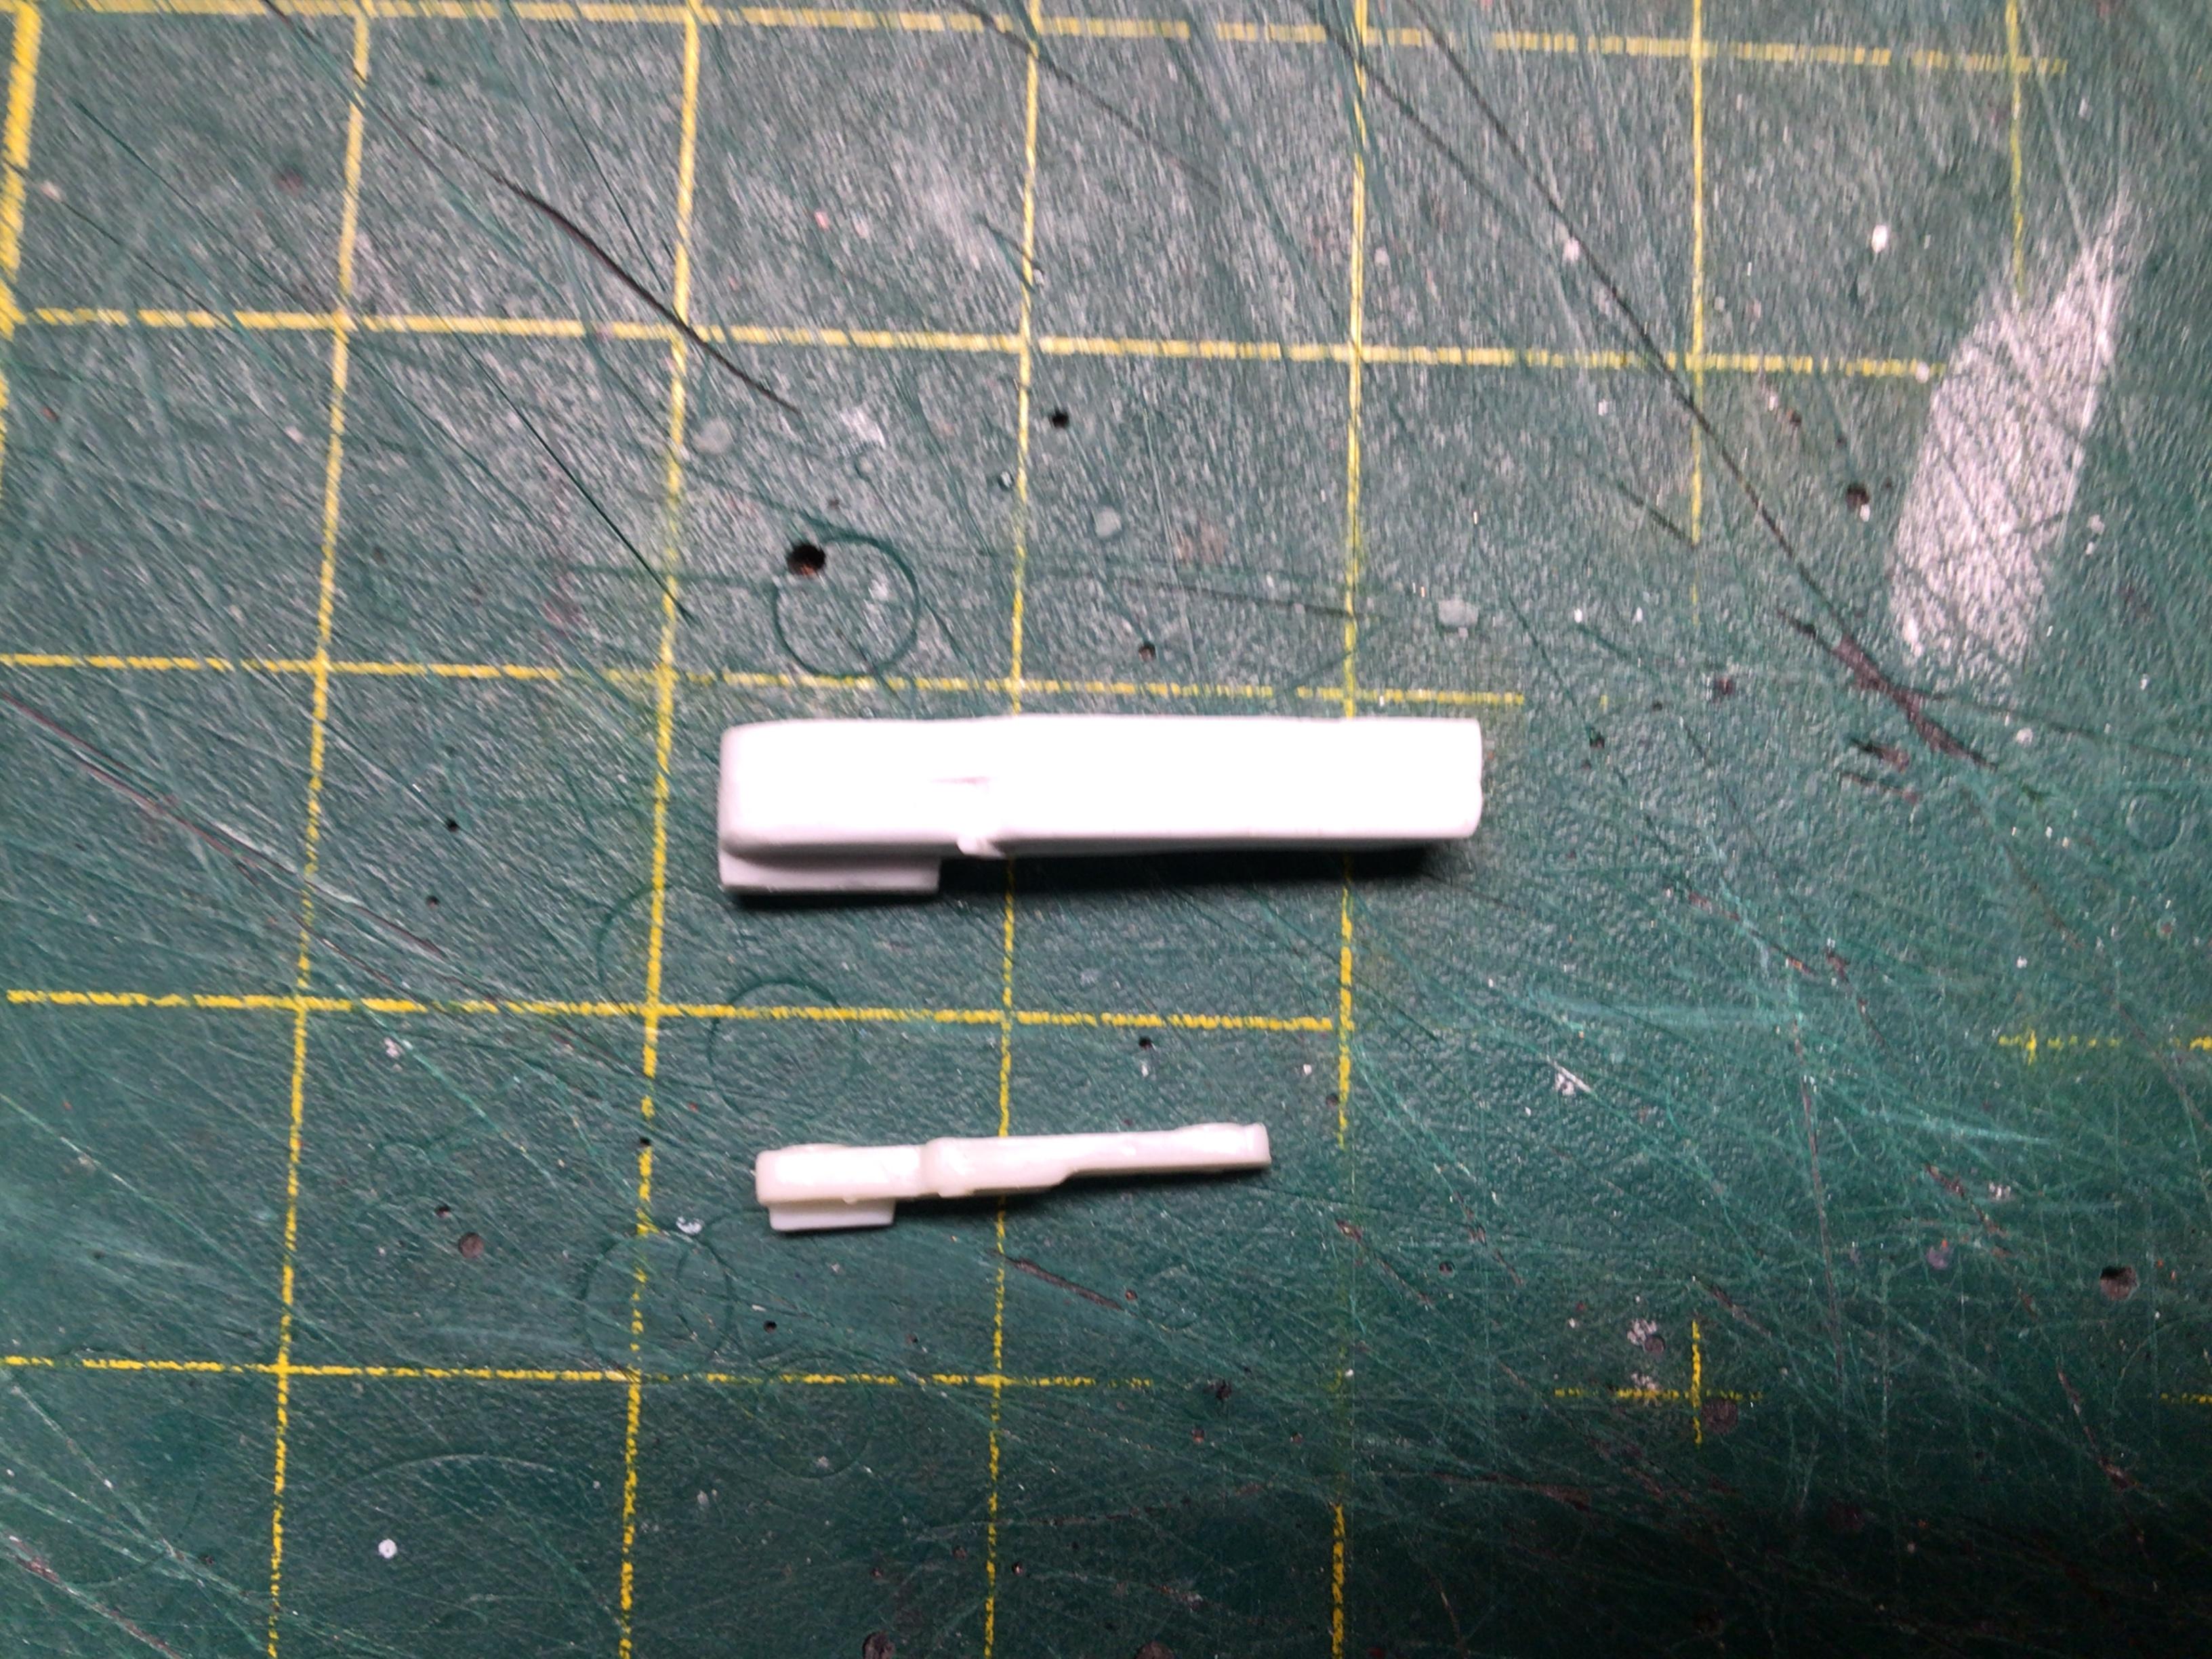
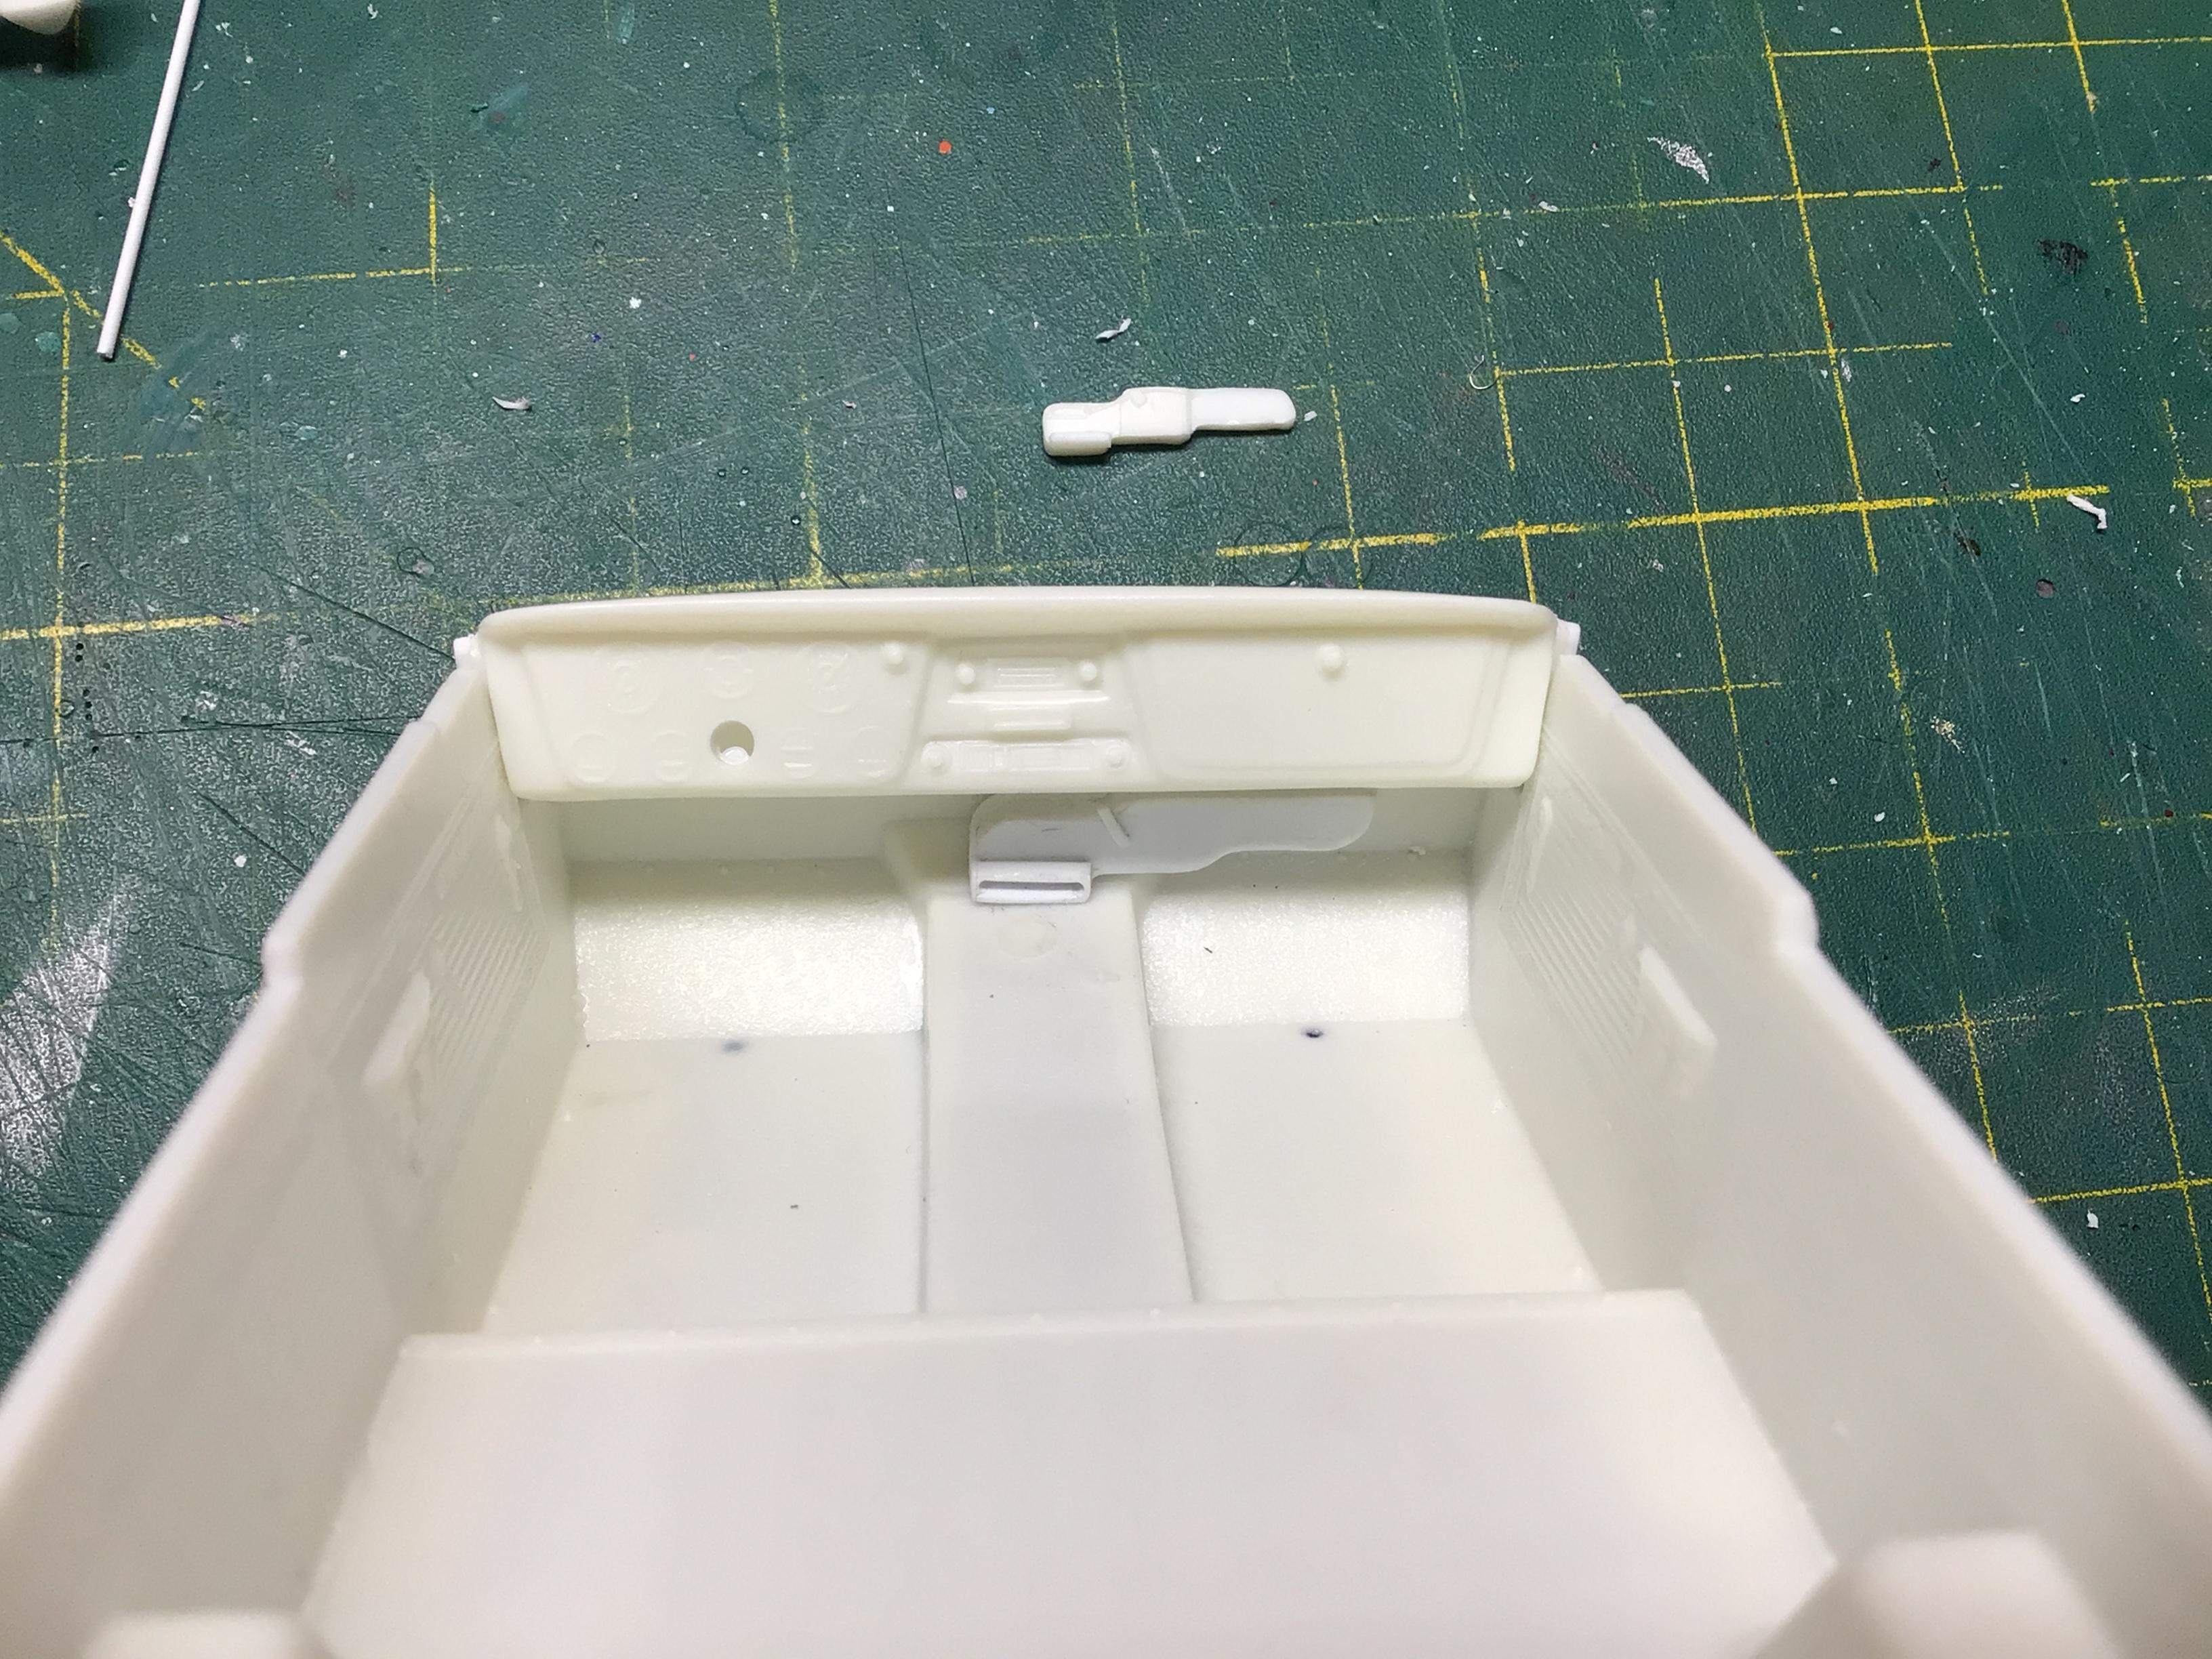
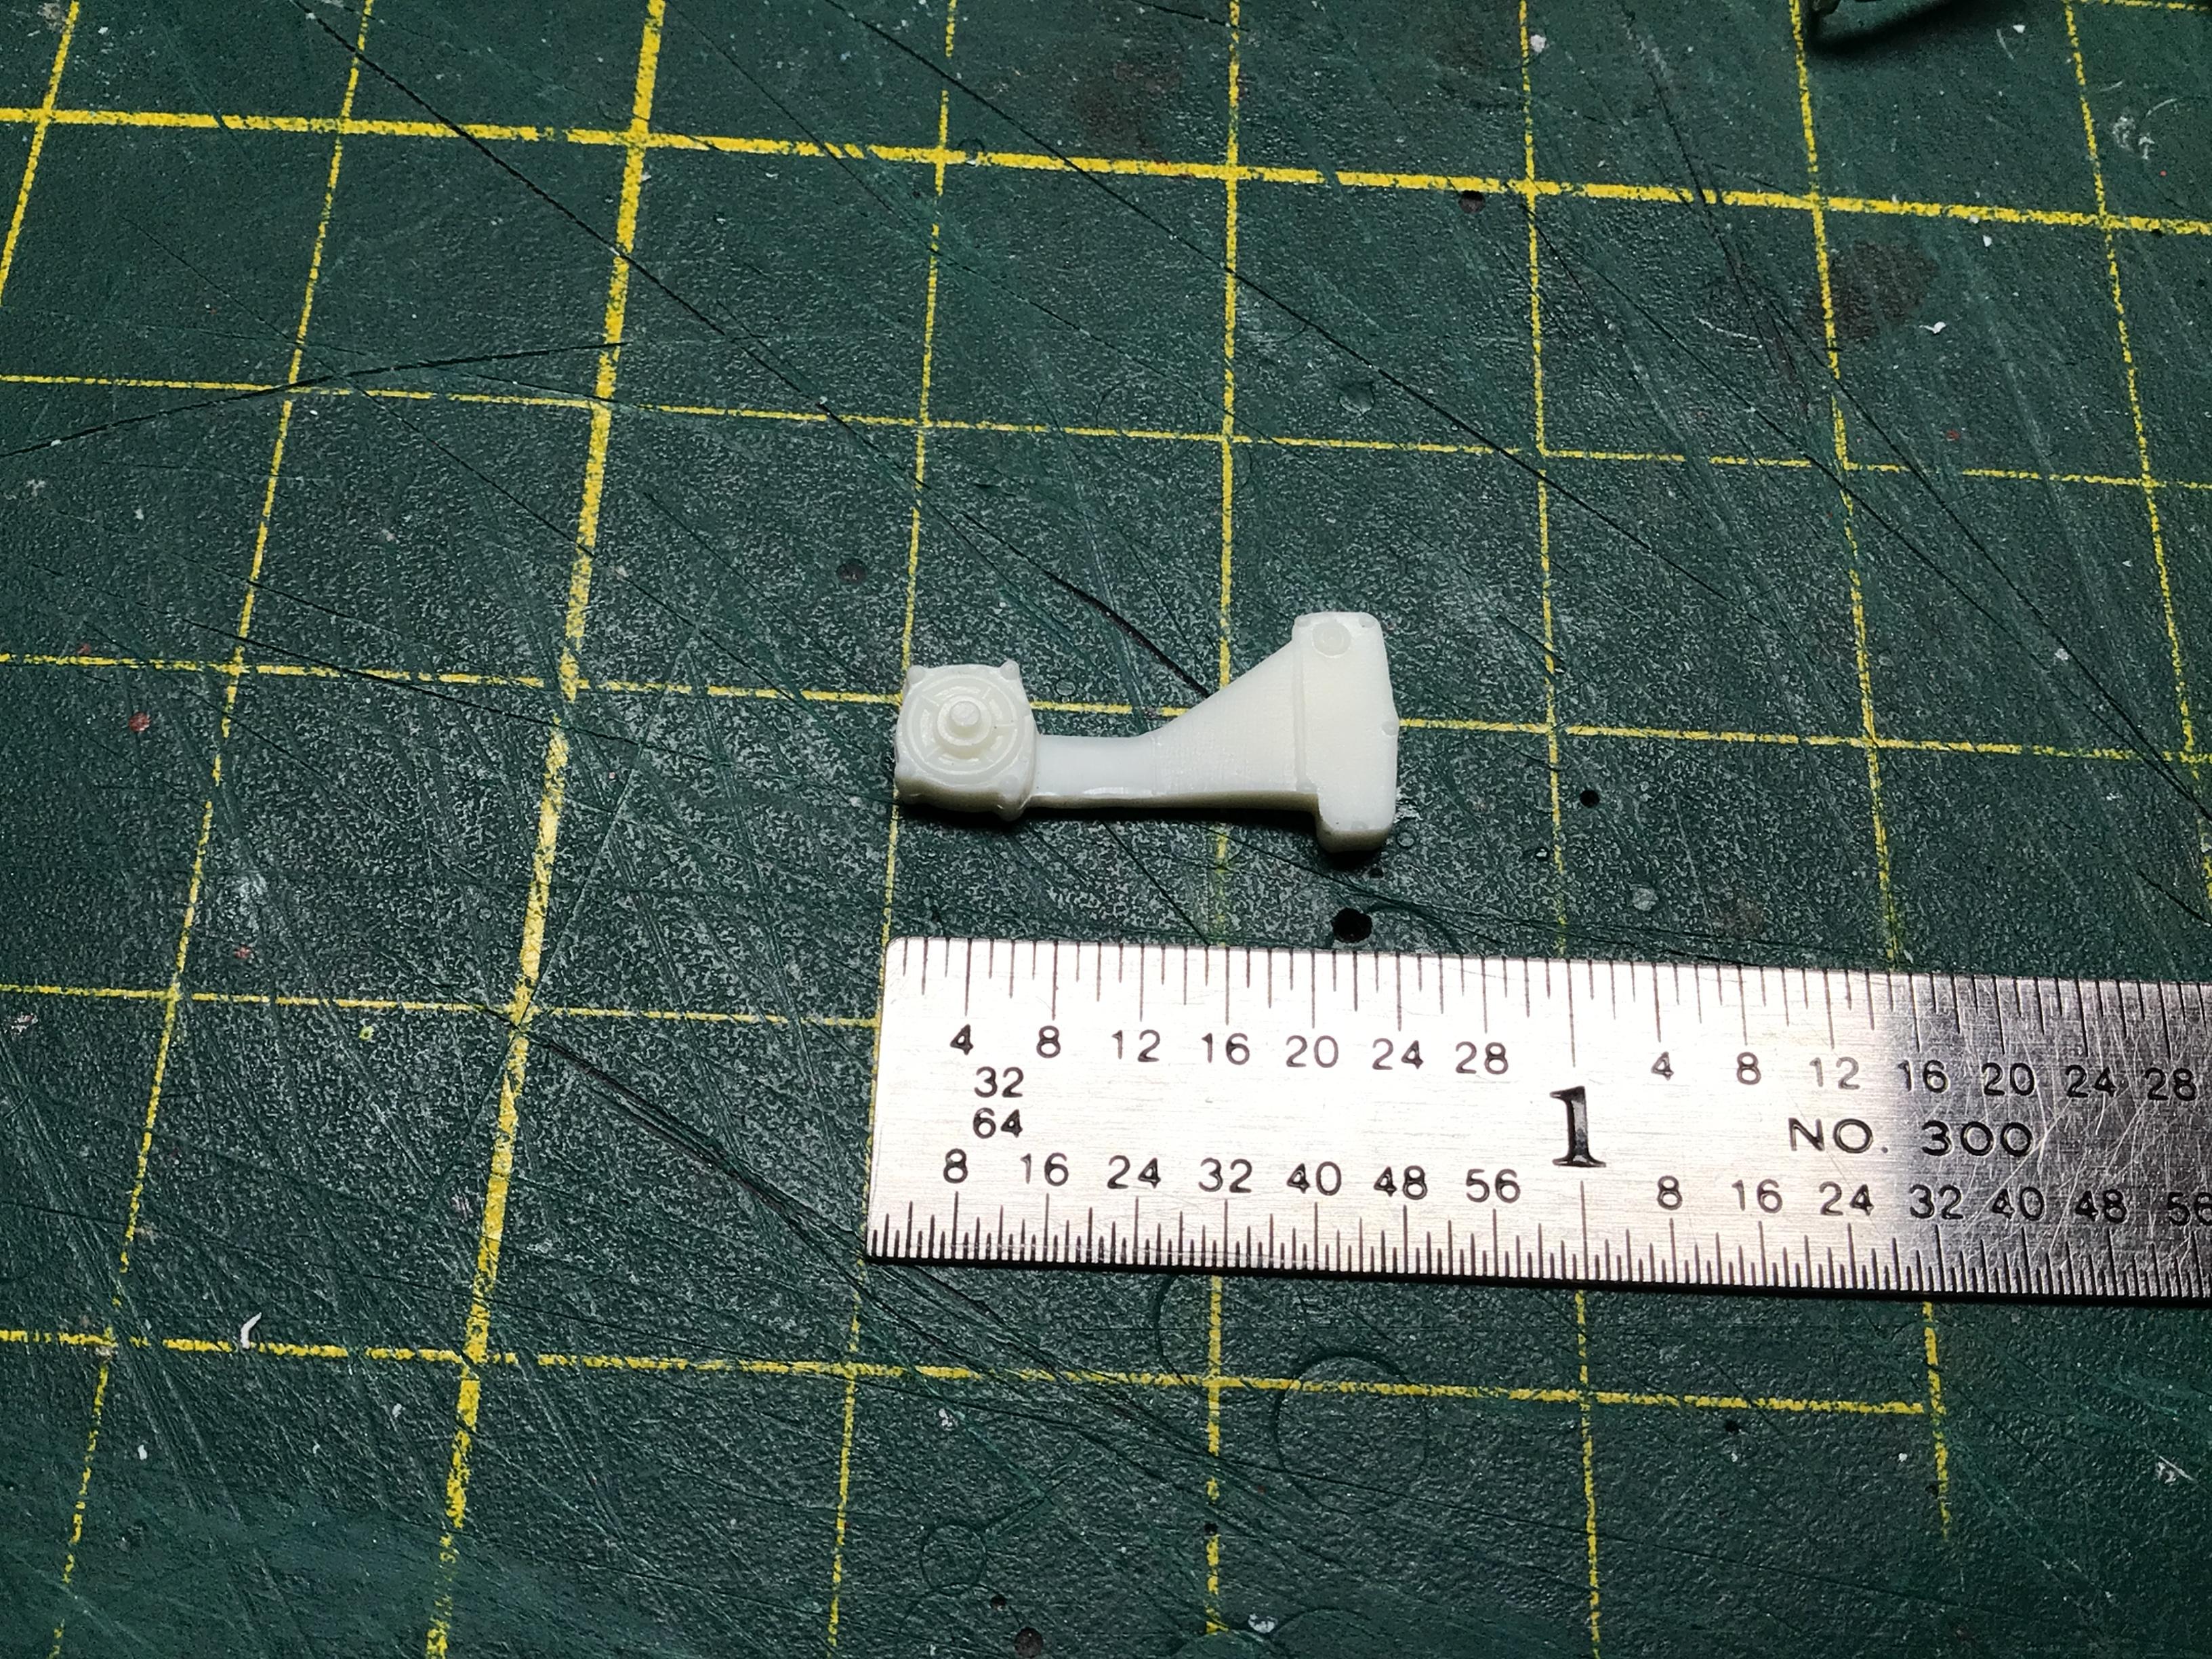
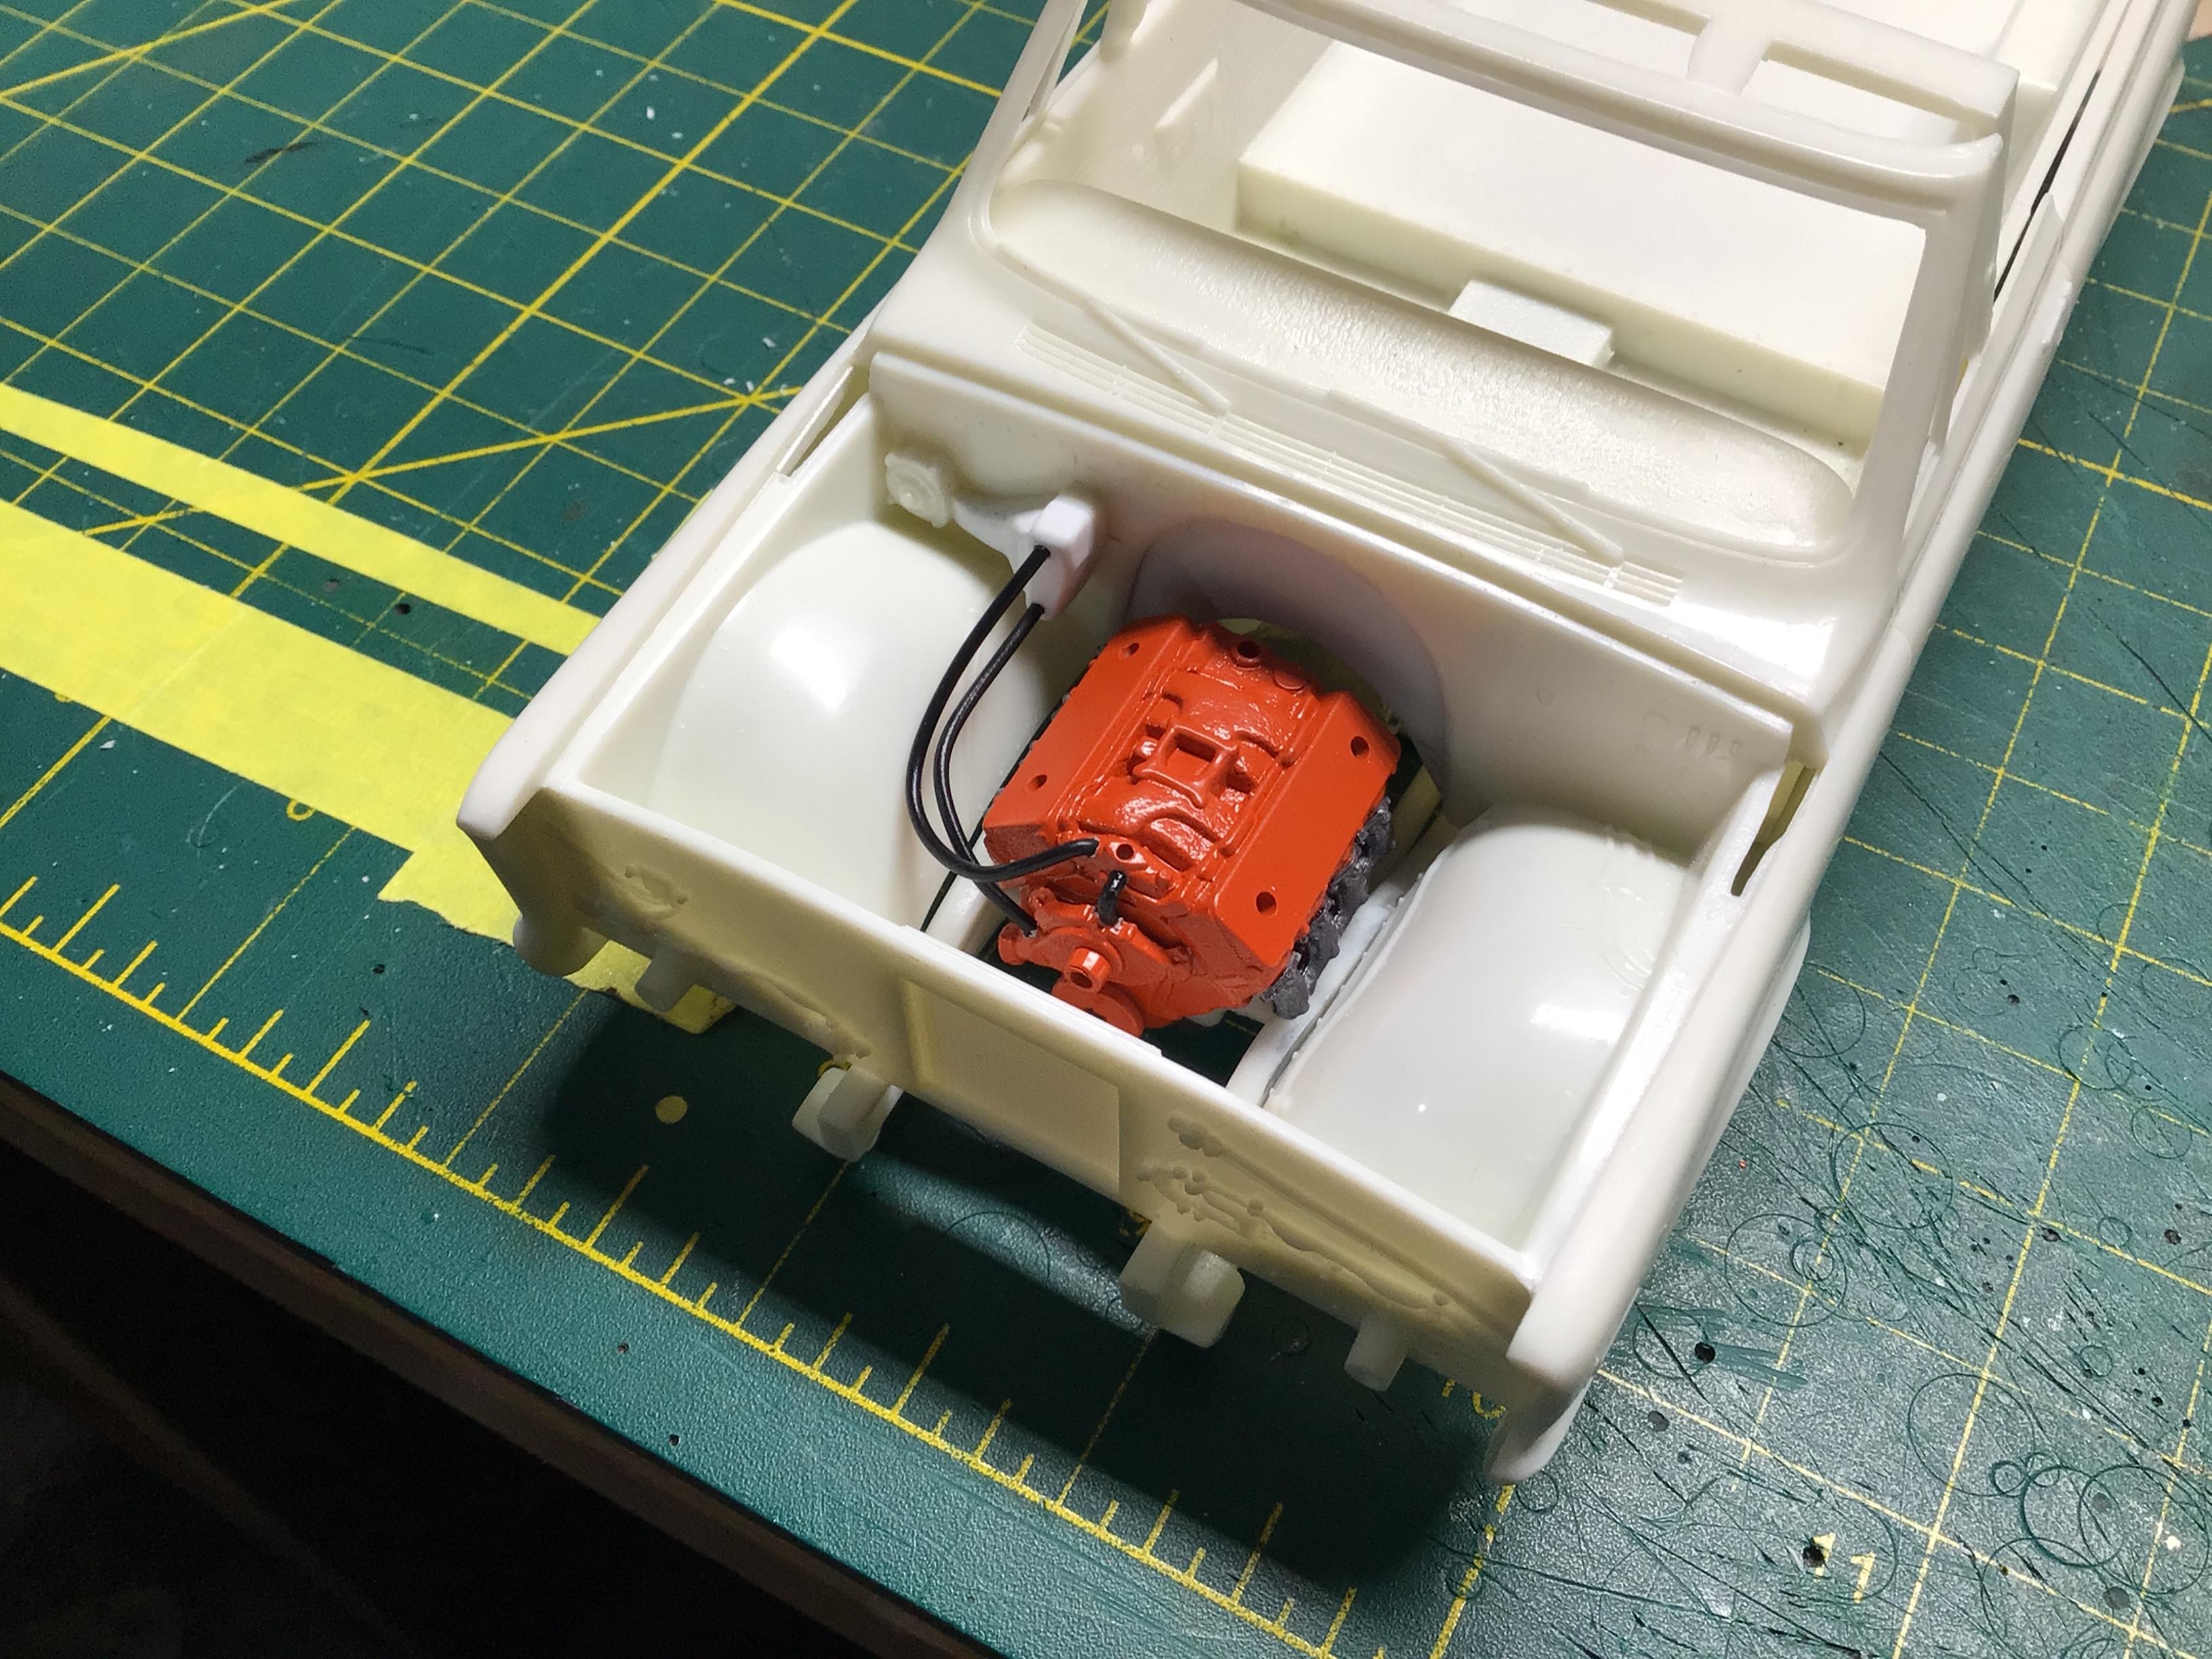
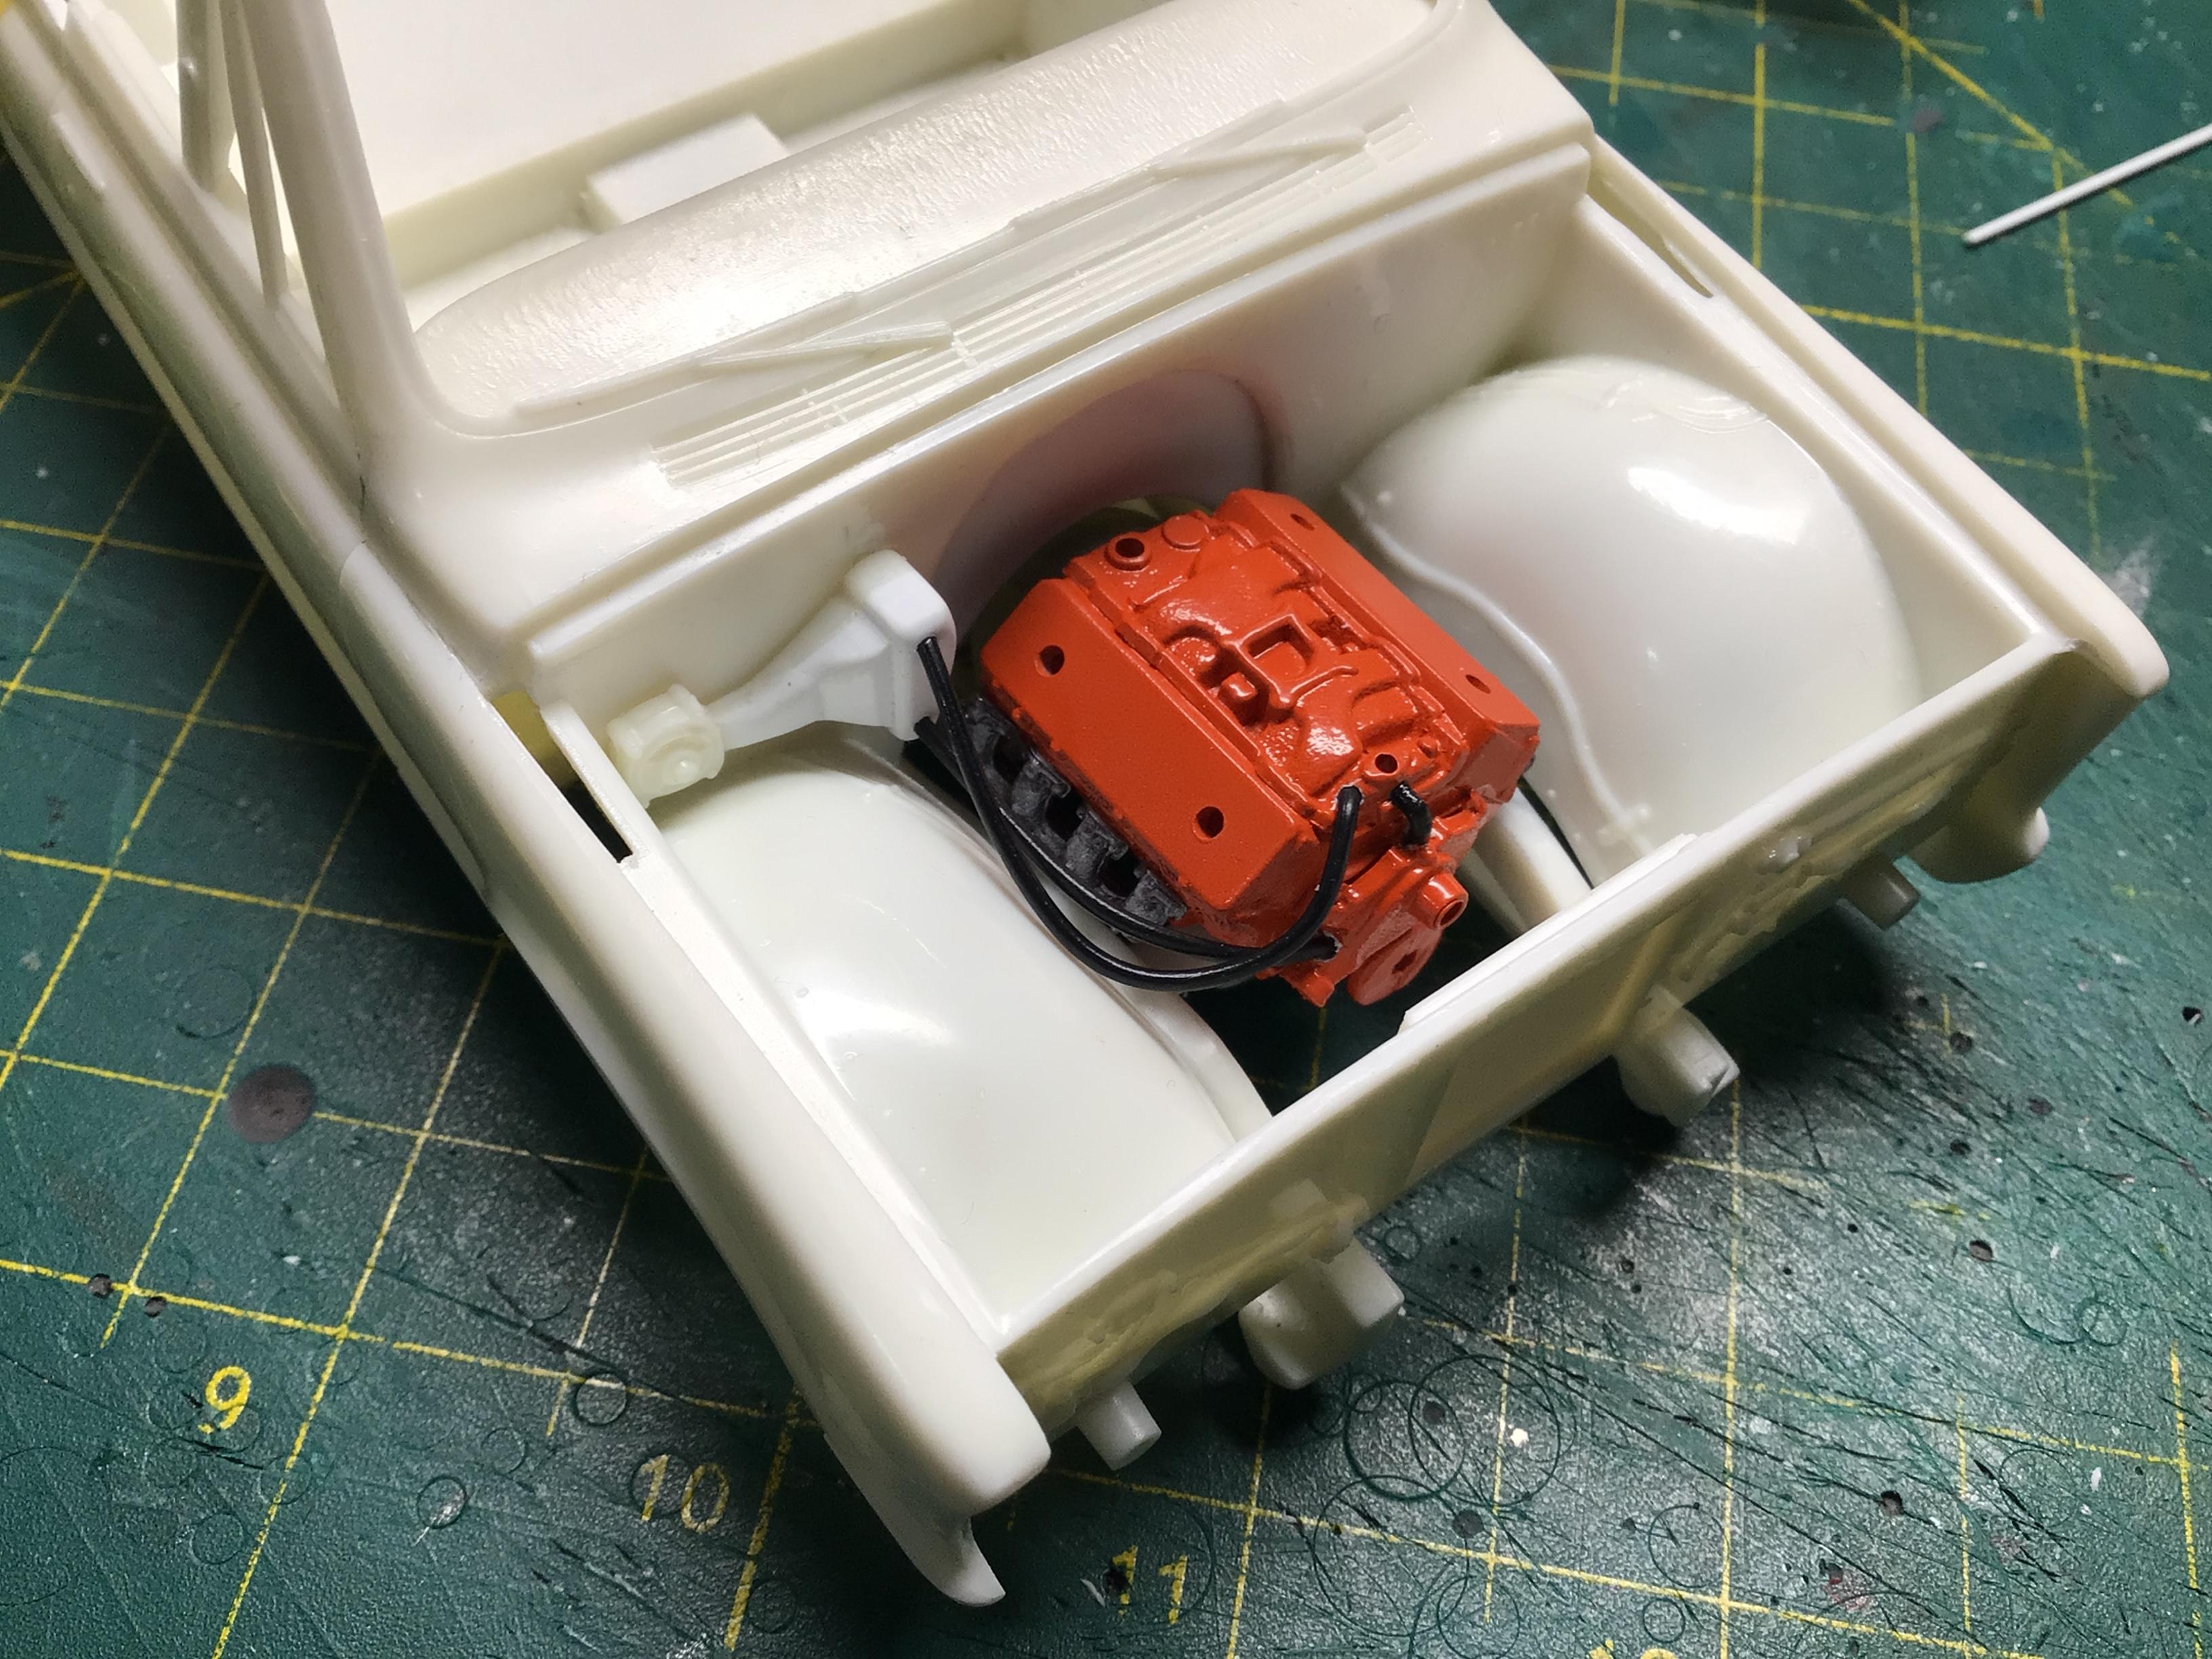
I did a little work on the heater system today. This kit definitely has some scale issues with certain parts.? So I fabbed an entirely new heater box for inside the cab. I modified the fan/coil box under the hood by adding some depth to it since the heater core is mounted in there. I also shortened the width about 1/16th to make sure I don’t hit the valve cover with it, and I drilled some holes for the heater hoses. I pulled some wire out of a usb cable which should suffice for hoses. I also filled the shifter holes in the floor since it is no longer a manual trans and I think the t/c shifter may need re-locating slightly. Thanks for lookin’.
-
Blazer Crew Chief
NOBLNG replied to NOBLNG's topic in WIP: Model Trucks: Pickups, Vans, SUVs, Light Commercial
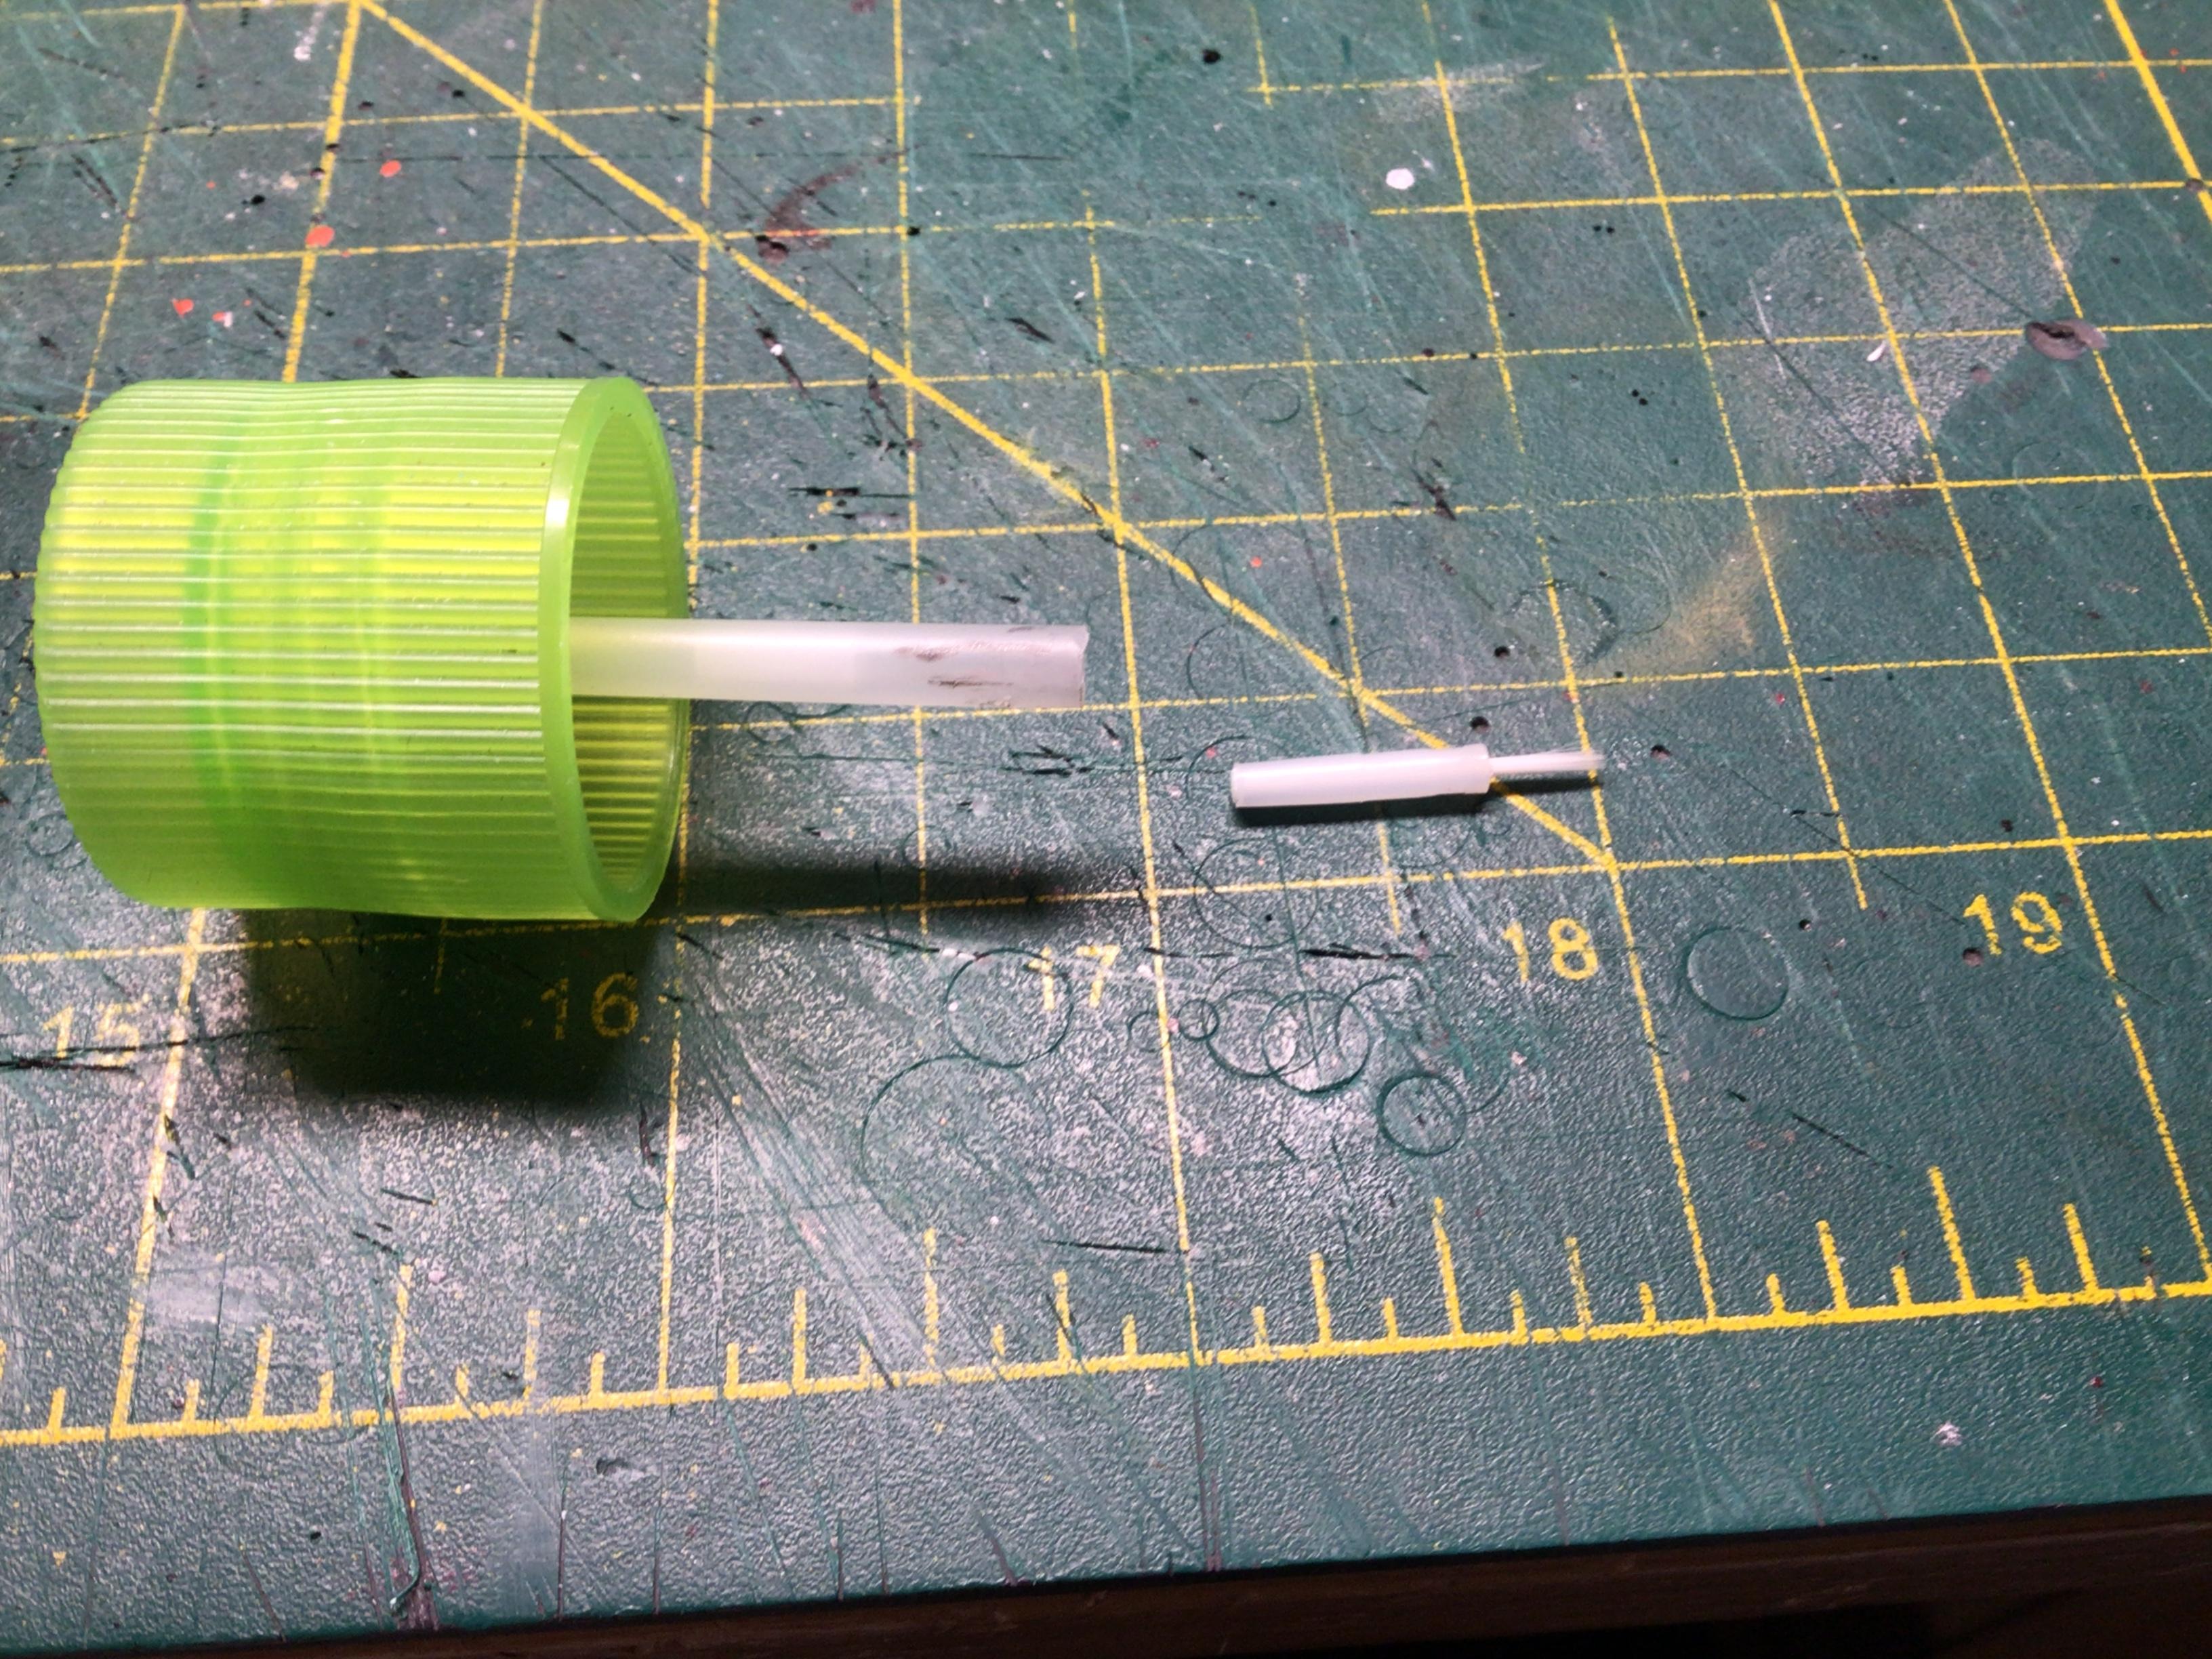
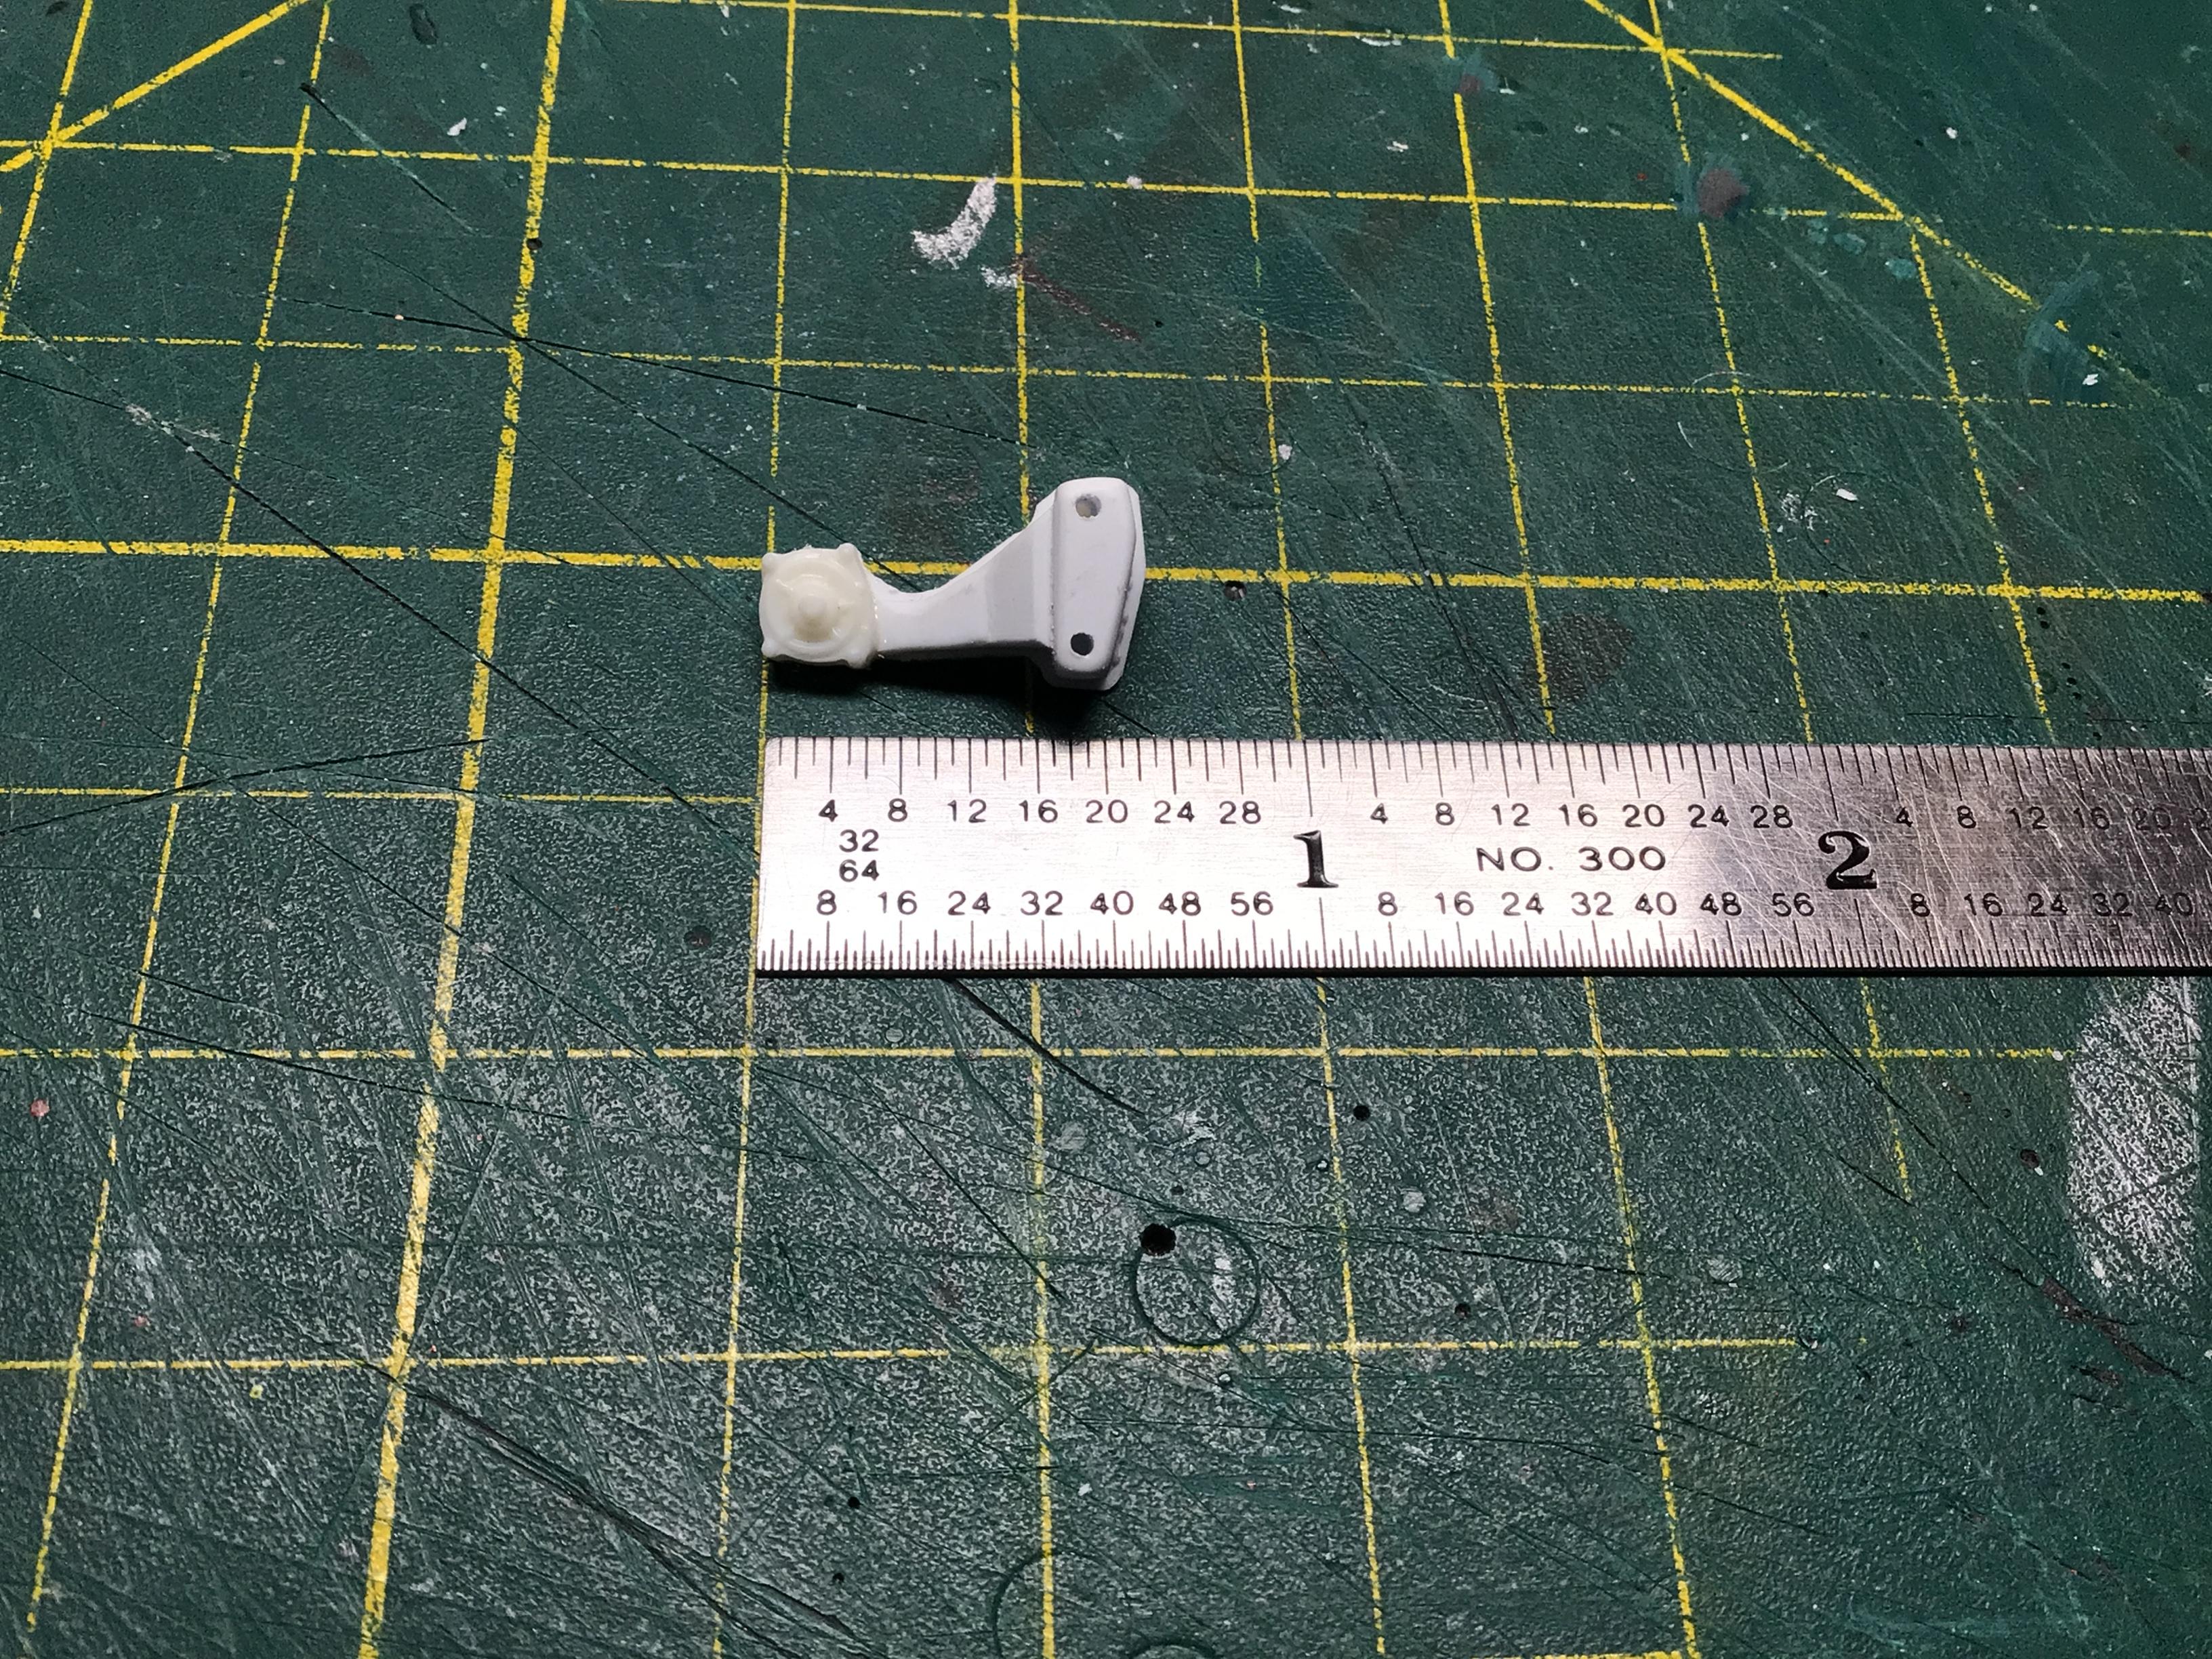
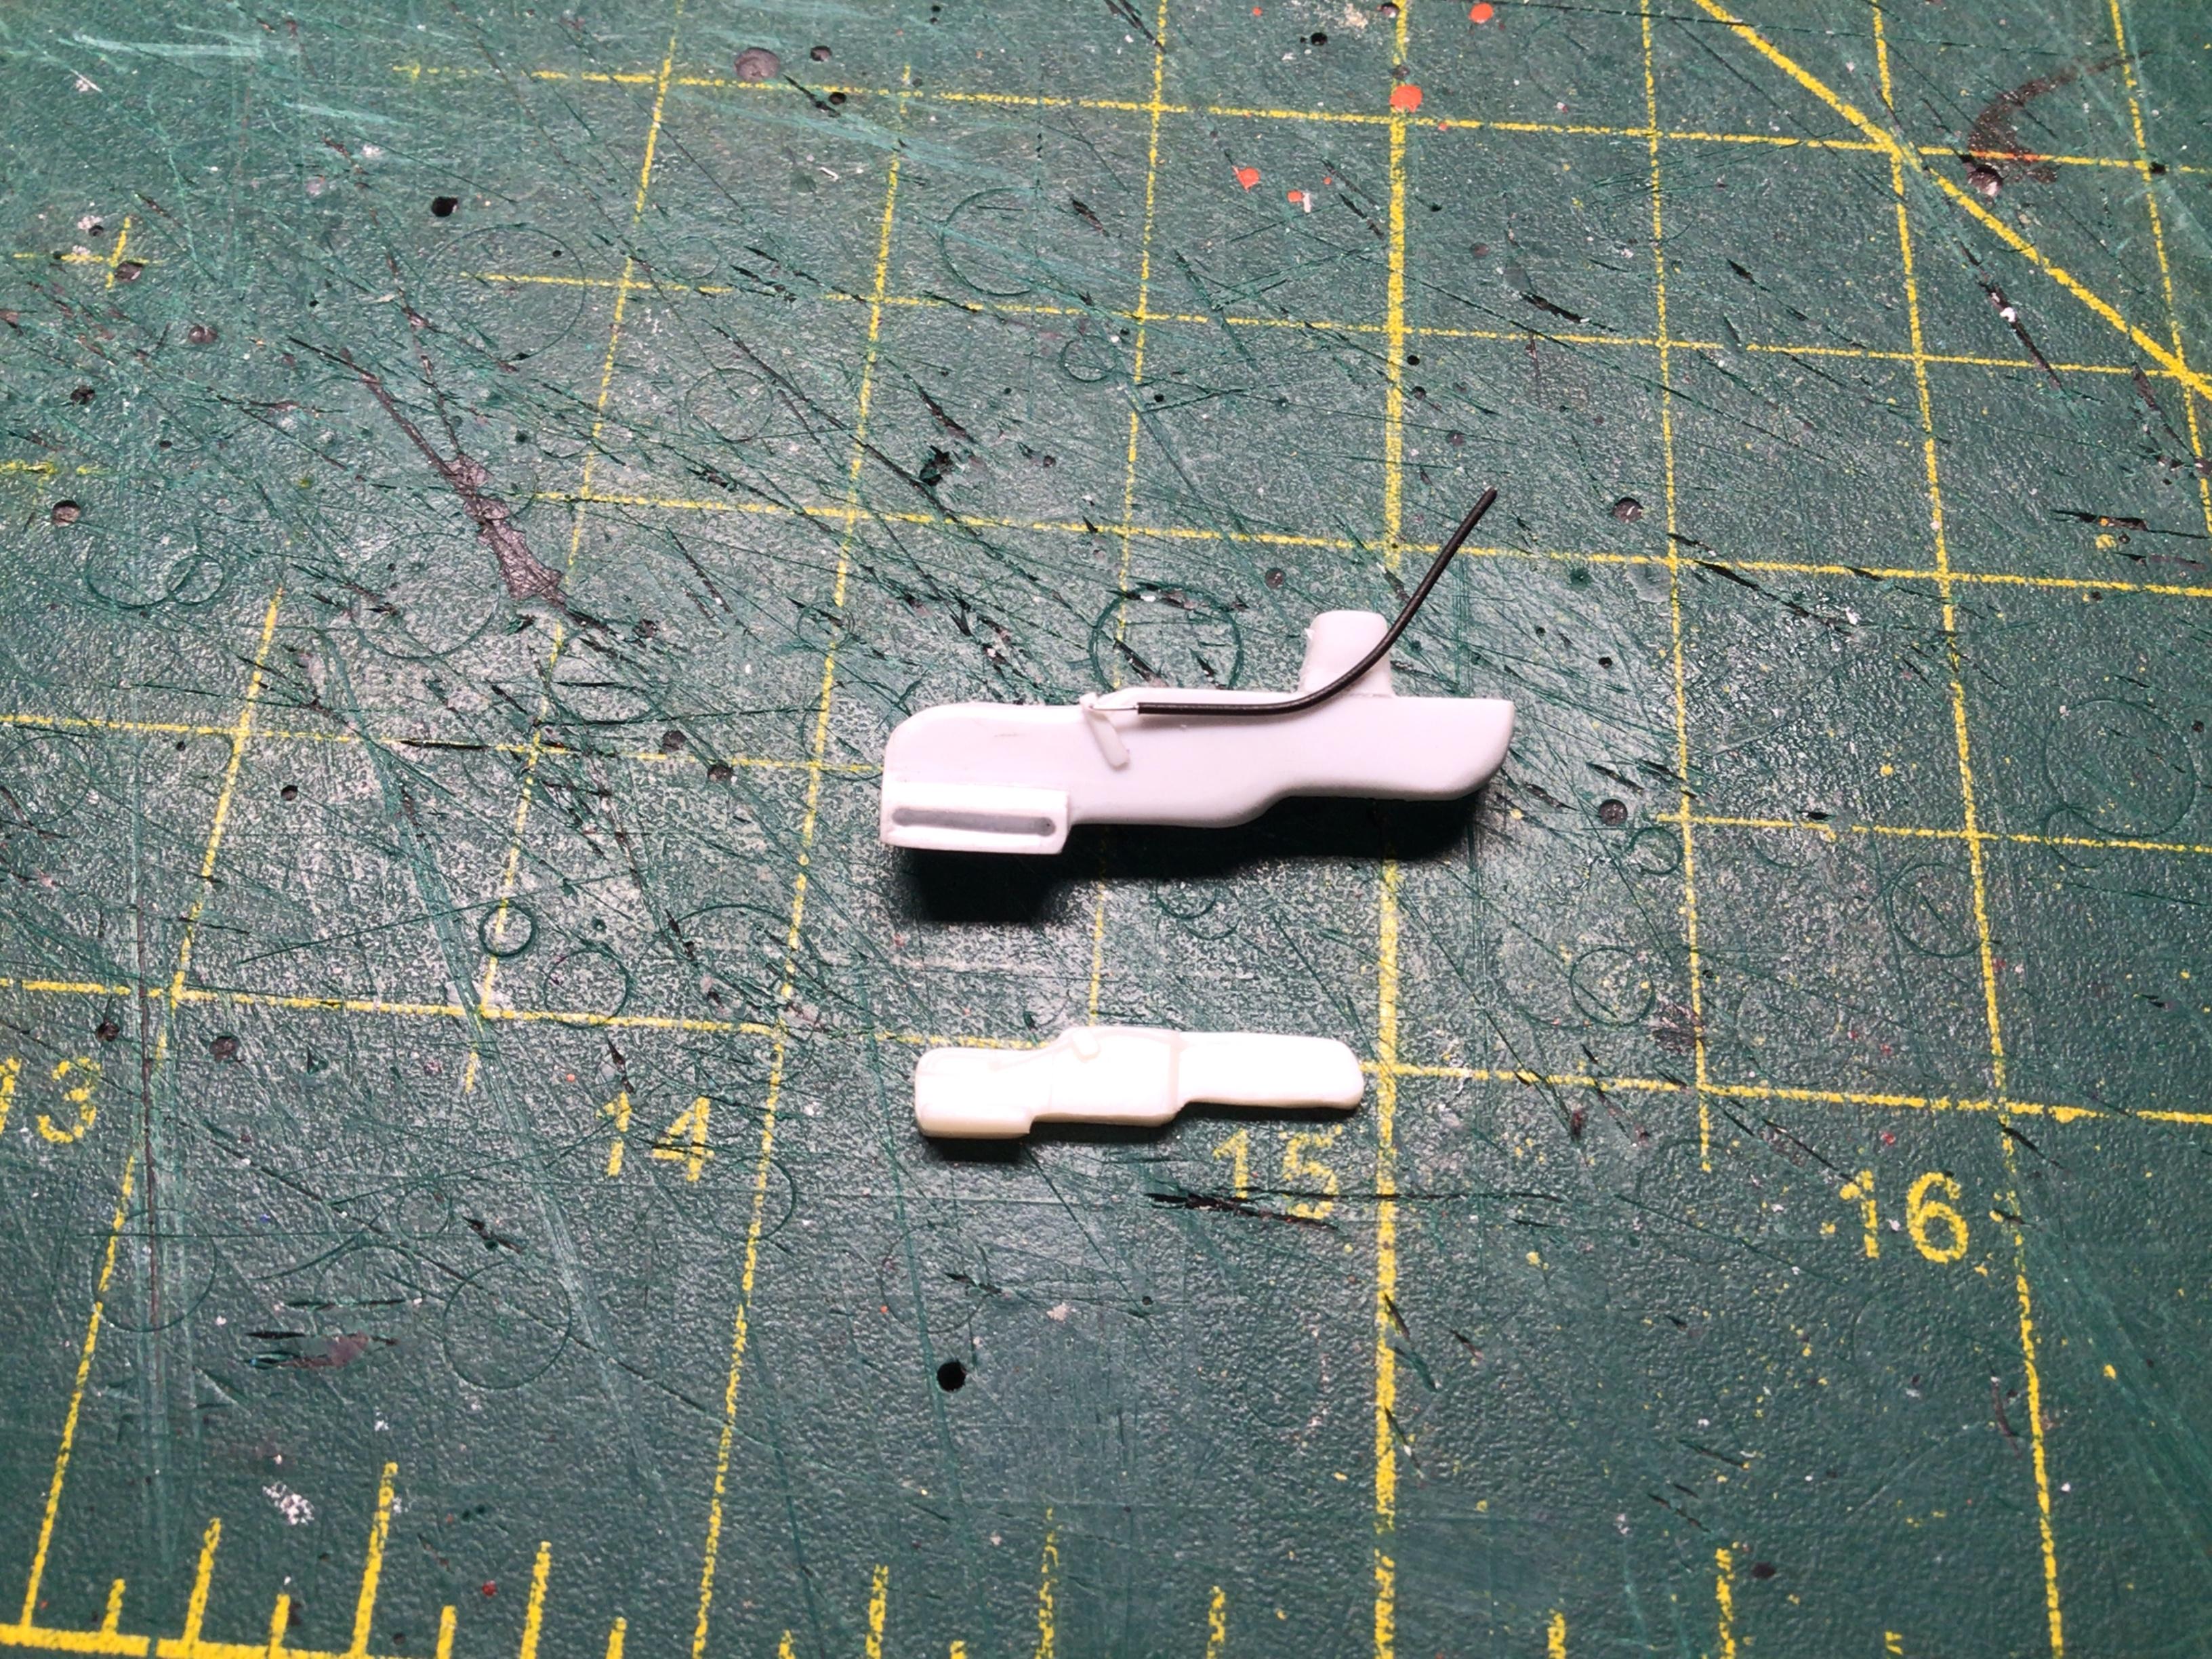
Yes. I started out using 3/32” (.093”) tubing with some soft wire shoved inside. I was getting annoyed with it so I switched to .100” solid, which would be 2-1/2” in 1:1 scale. You can see by the black soot marks on it that I was heating it with a candle, bending it and then quenching it in a bowl of ice water.? -
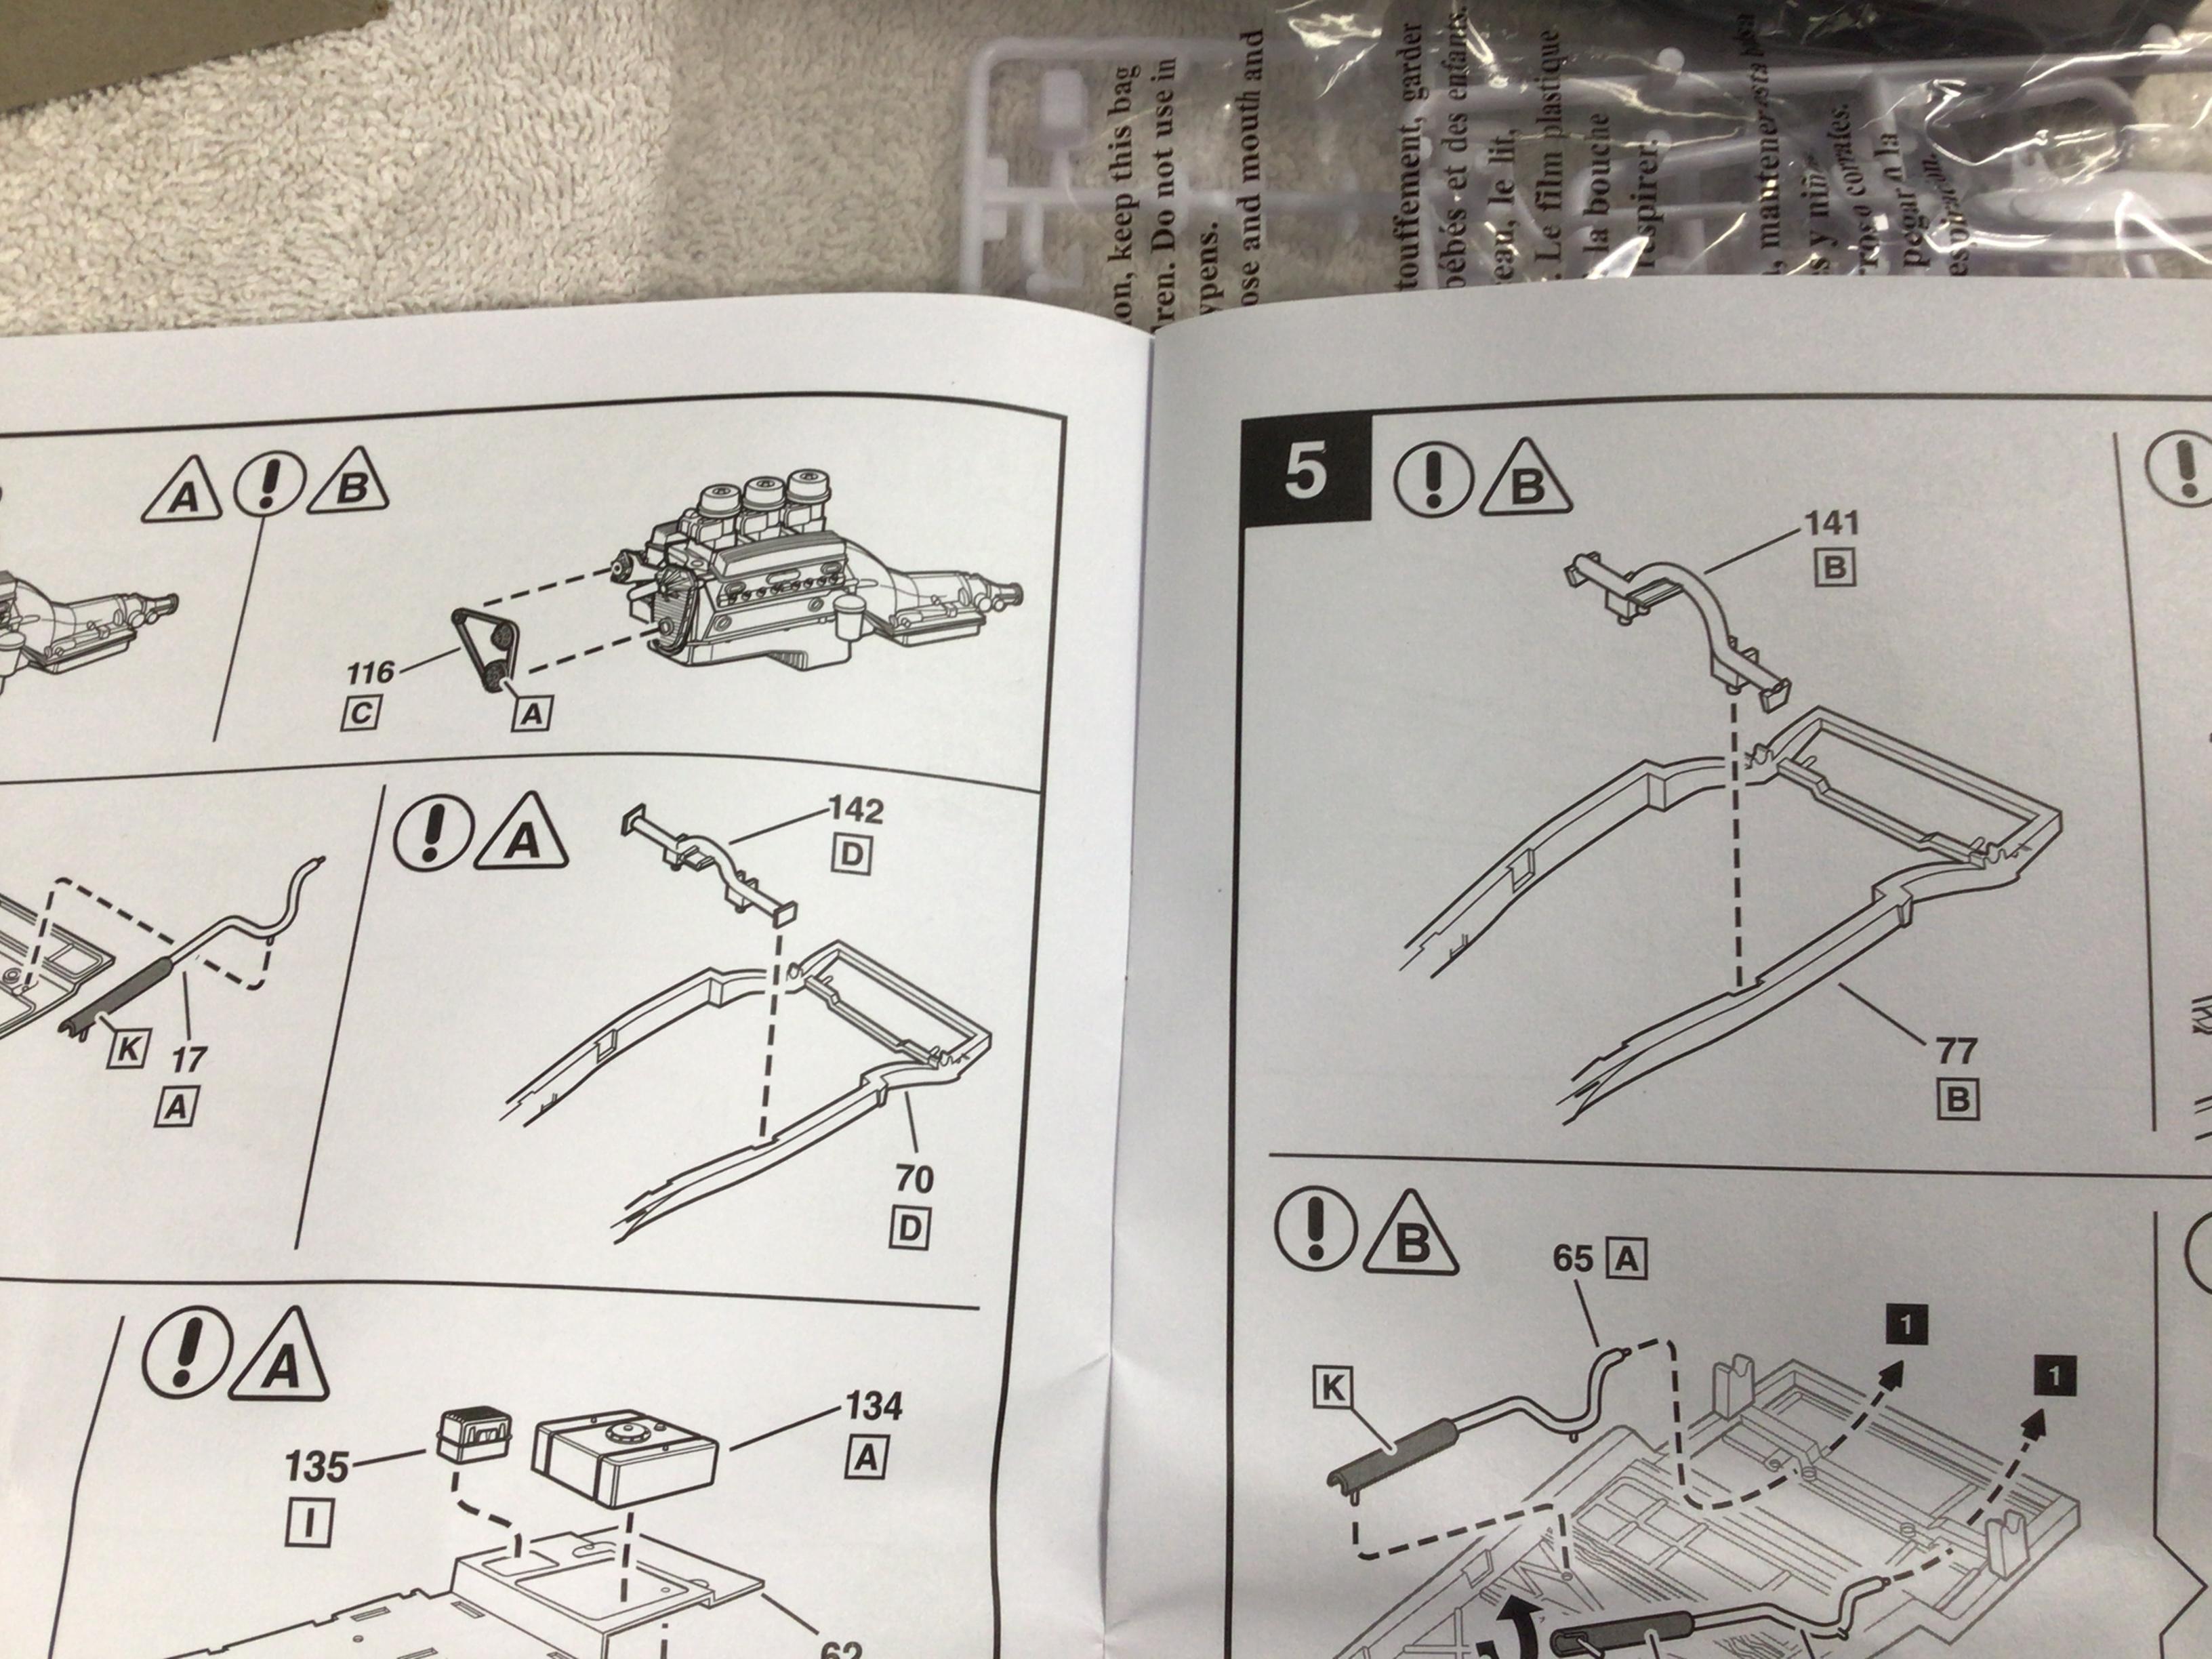
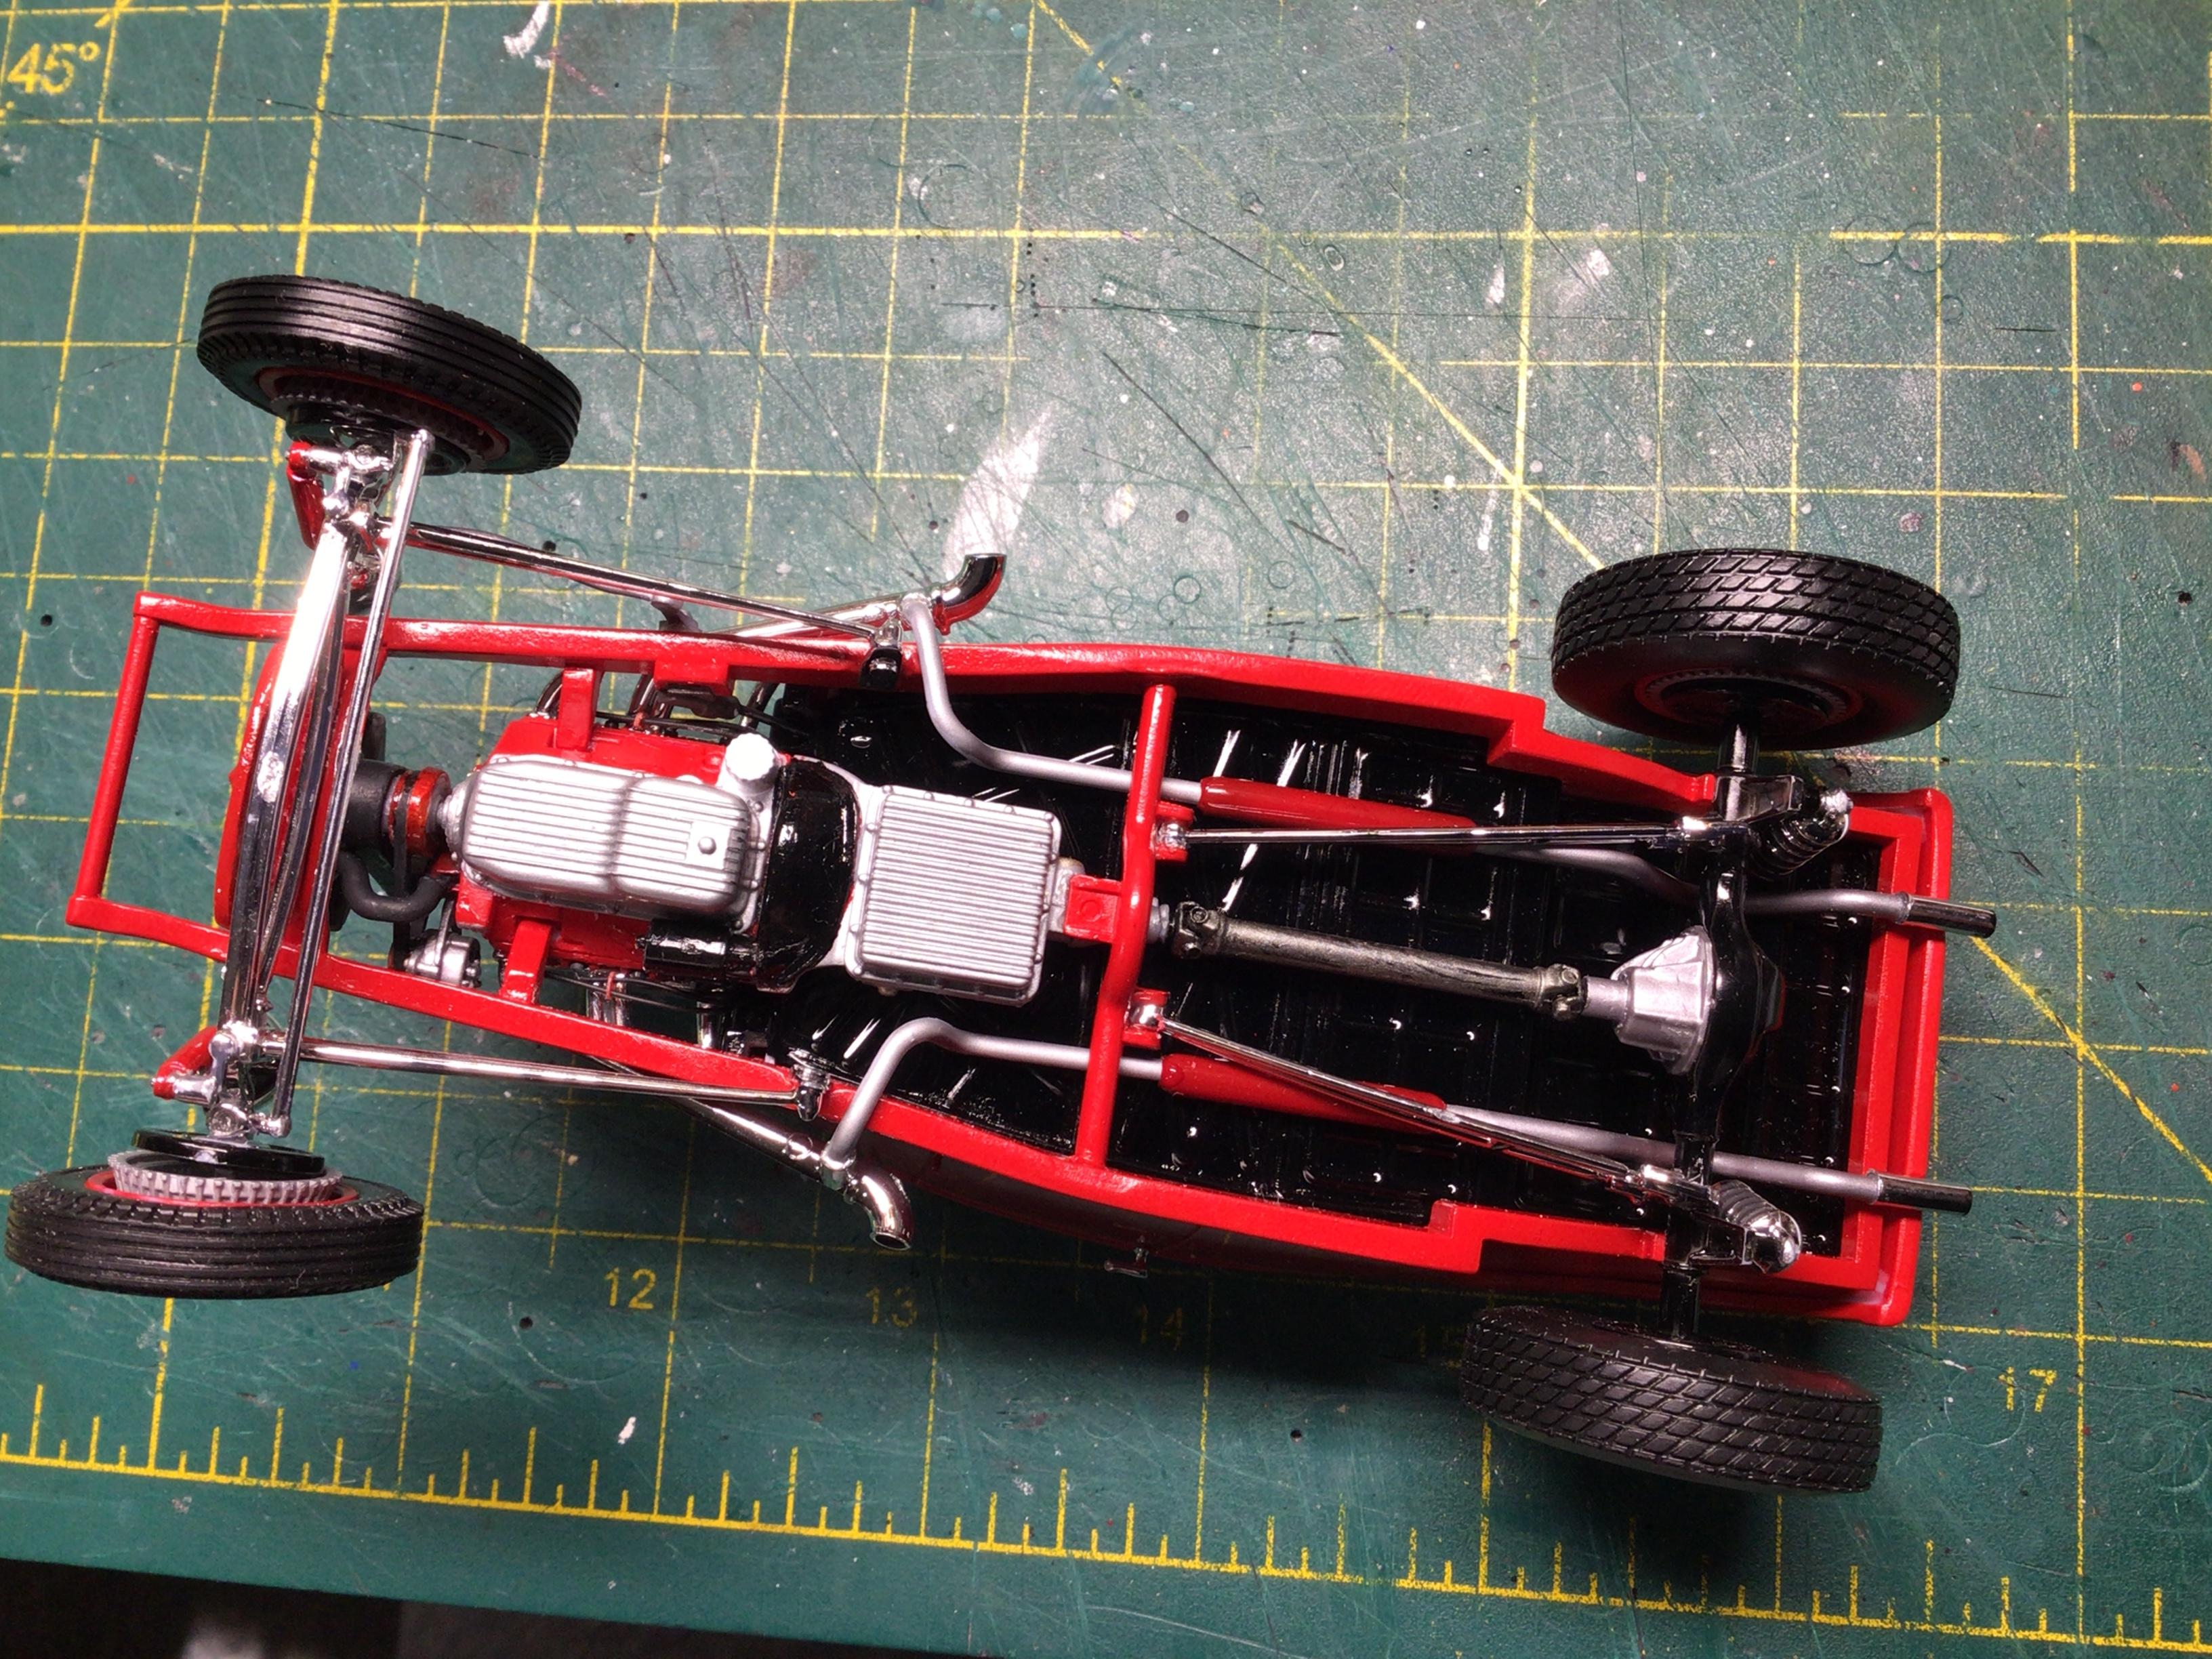
You could have possibly mixed up the crossmembers? There are two driveshafts also….will neither one fit? It would be easy to shorten the driveshaft if needed.
-
R/M 50 Ford PU the "Gray Ghost"...
NOBLNG replied to k357's topic in WIP: Model Trucks: Pickups, Vans, SUVs, Light Commercial
Nice start! I’ll watch this one.? -
1939 Ford Towtruck
NOBLNG replied to Nosferatu's topic in WIP: Model Trucks: Pickups, Vans, SUVs, Light Commercial
I LIKE IT! That will be a very cool looking wrecker.? What are the wheels and tires from? -
Not sure what’s going on there? Mine lined up OK. That said….the yellow is really bright, it will look awesome when done! I like the yellow accents between the fins on the oil and tranny pans.?
-
64 Dodge D100 Pickup Pro Street
NOBLNG replied to AmericanMuscleFan's topic in WIP: Drag Racing Models
Now THAT has got to be the understatement of the year! ? Your attention to detail is unsurpassed. Every update just blows me away. Thanks again Francis!? -
Lucky it was a rear or may have been more irked!?
-
I’ll follow along too.? I’ve built one and have another one in the queue.
-
You have quite the imagination David. And the skills to scratch build just about anything by the looks of it. Nice progress!?
-
That is a real beauty!?
-
Very interesting. Some real slicing and dicing going on here!?
-
This is coming along fabulously Jim! Paint and flames look great, leather looks pretty real to me….and all the mechanical details are exceptionally well done.?
-
2017 Ford F150 Raptor
NOBLNG replied to bogger44's topic in Model Trucks: Pickups, Vans, SUVs, Light Commercial
That is really nicely done up! Just the right amount of lift for those tires that look great on it!? -
Really nicely done! I love all the upgrades you did.?