NOBLNG
-
Posts
9,943 -
Joined
-
Last visited
Content Type
Profiles
Forums
Events
Gallery
Everything posted by NOBLNG
-
Clothes are best worn in multiple layers when the mercury drops to 30 below zero.
-
Singers are nice sewing machines I was told by a seamstress.
-

Procon Fan Tip 290 Airbrush
NOBLNG replied to TransAmMike's topic in Model Building Questions and Answers
Is your air compressor able to keep up with the demand? -
For the most part, I like hacking models apart and gluing them back together more than the finishing.
-
Procon Fan Tip 290 Airbrush
NOBLNG replied to TransAmMike's topic in Model Building Questions and Answers
I have no experience with this particular airbrush, but make sure your paint is thinned sufficiently. You could possibly add a retarder to your acrylic paints.
-
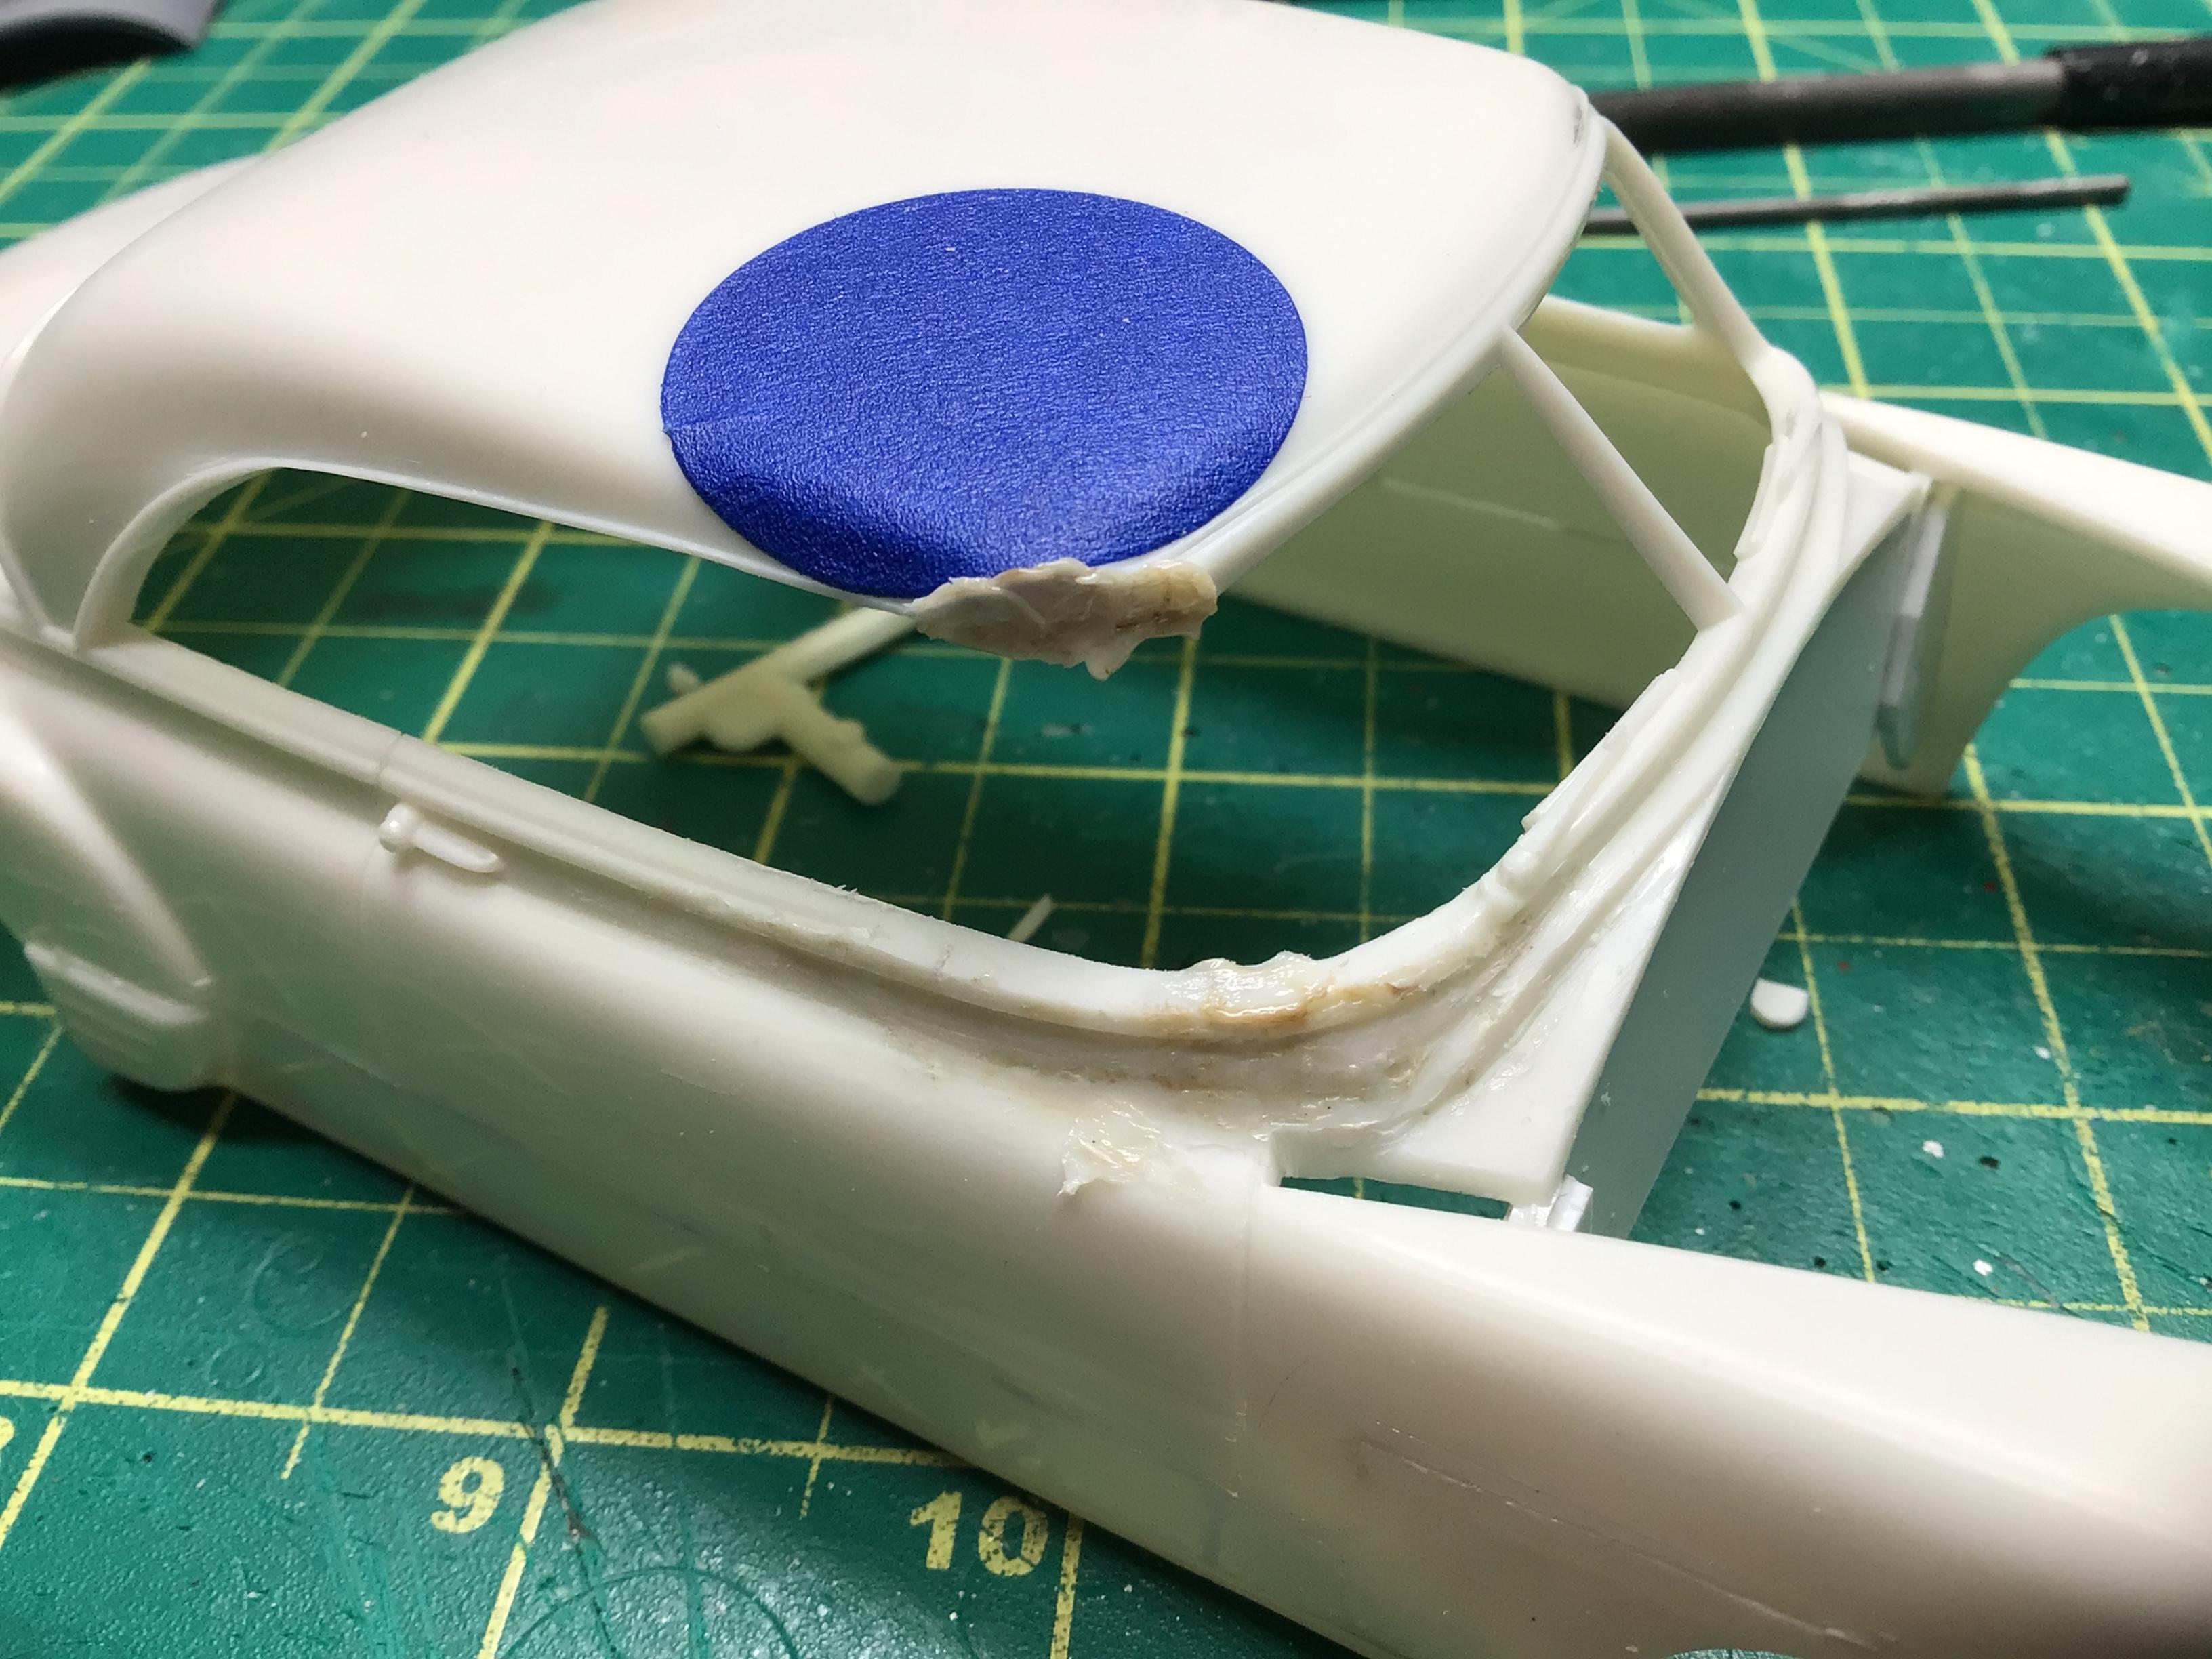
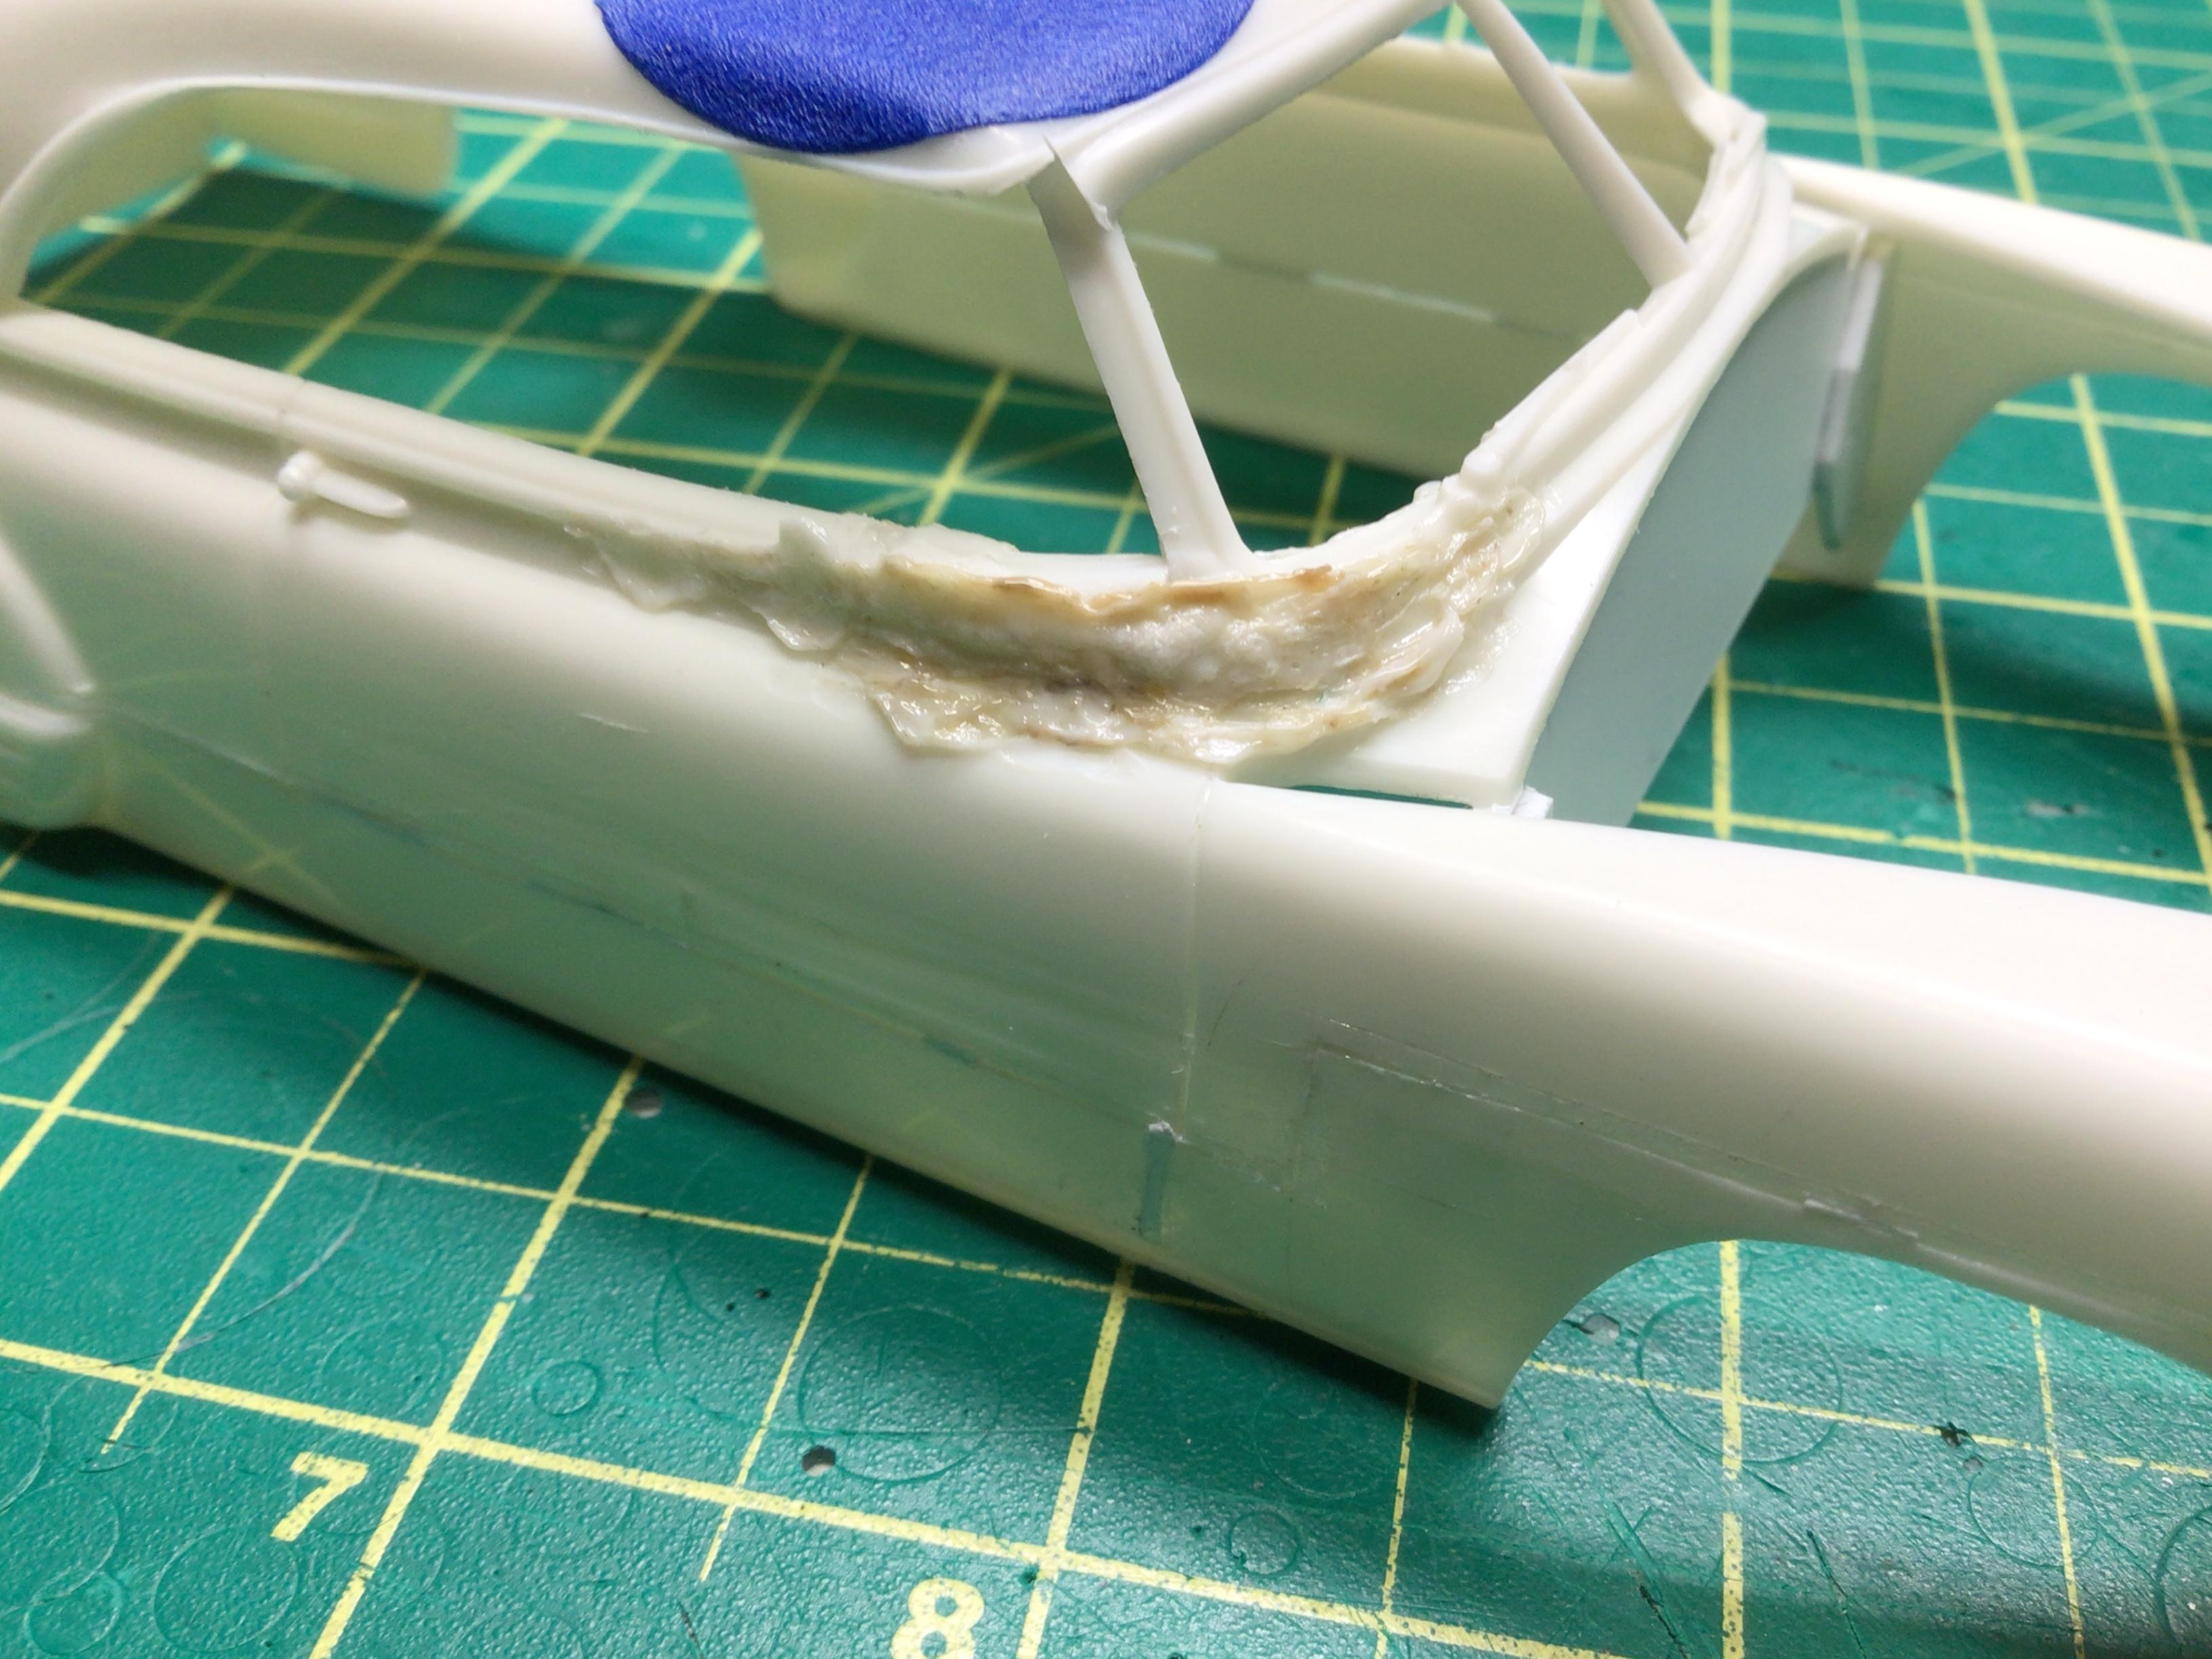
Thanks David. I made a spatula tip for the iron from an 8-32 brass machine screw. I also chopped up some of the kit sprue into little pellets for filler. I can pick up the pellets with the hot iron and after a second or two it liquifies and can be sculpted into the seam. I’ve had a bit of “cold lap” in spots where I’ve feathered the edges and when cool I just hit it with a bit of Tamiya thin to cement it solidly. All in all it seems like a useful technique.
-
“Sock it to me” reminds me of the ‘60s tv show Laugh-in.
-
Beautiful work all around Marcos, and that roof is spot on!👍
-
It’s looking awesome Steve! That is a really nice engine to use.👍 I’m sure Roger would be proud of your tribute.
-
1941 Willy's Pickup
NOBLNG replied to Zippi's topic in WIP: Model Trucks: Pickups, Vans, SUVs, Light Commercial
It’s coming along nicely. I really like that engine! -
Sister Mary Elephant fills in for sister Rosetta Stone while she takes a small “vacation”.
-
Yes, looks like a nice smooth transition!👍😎
-
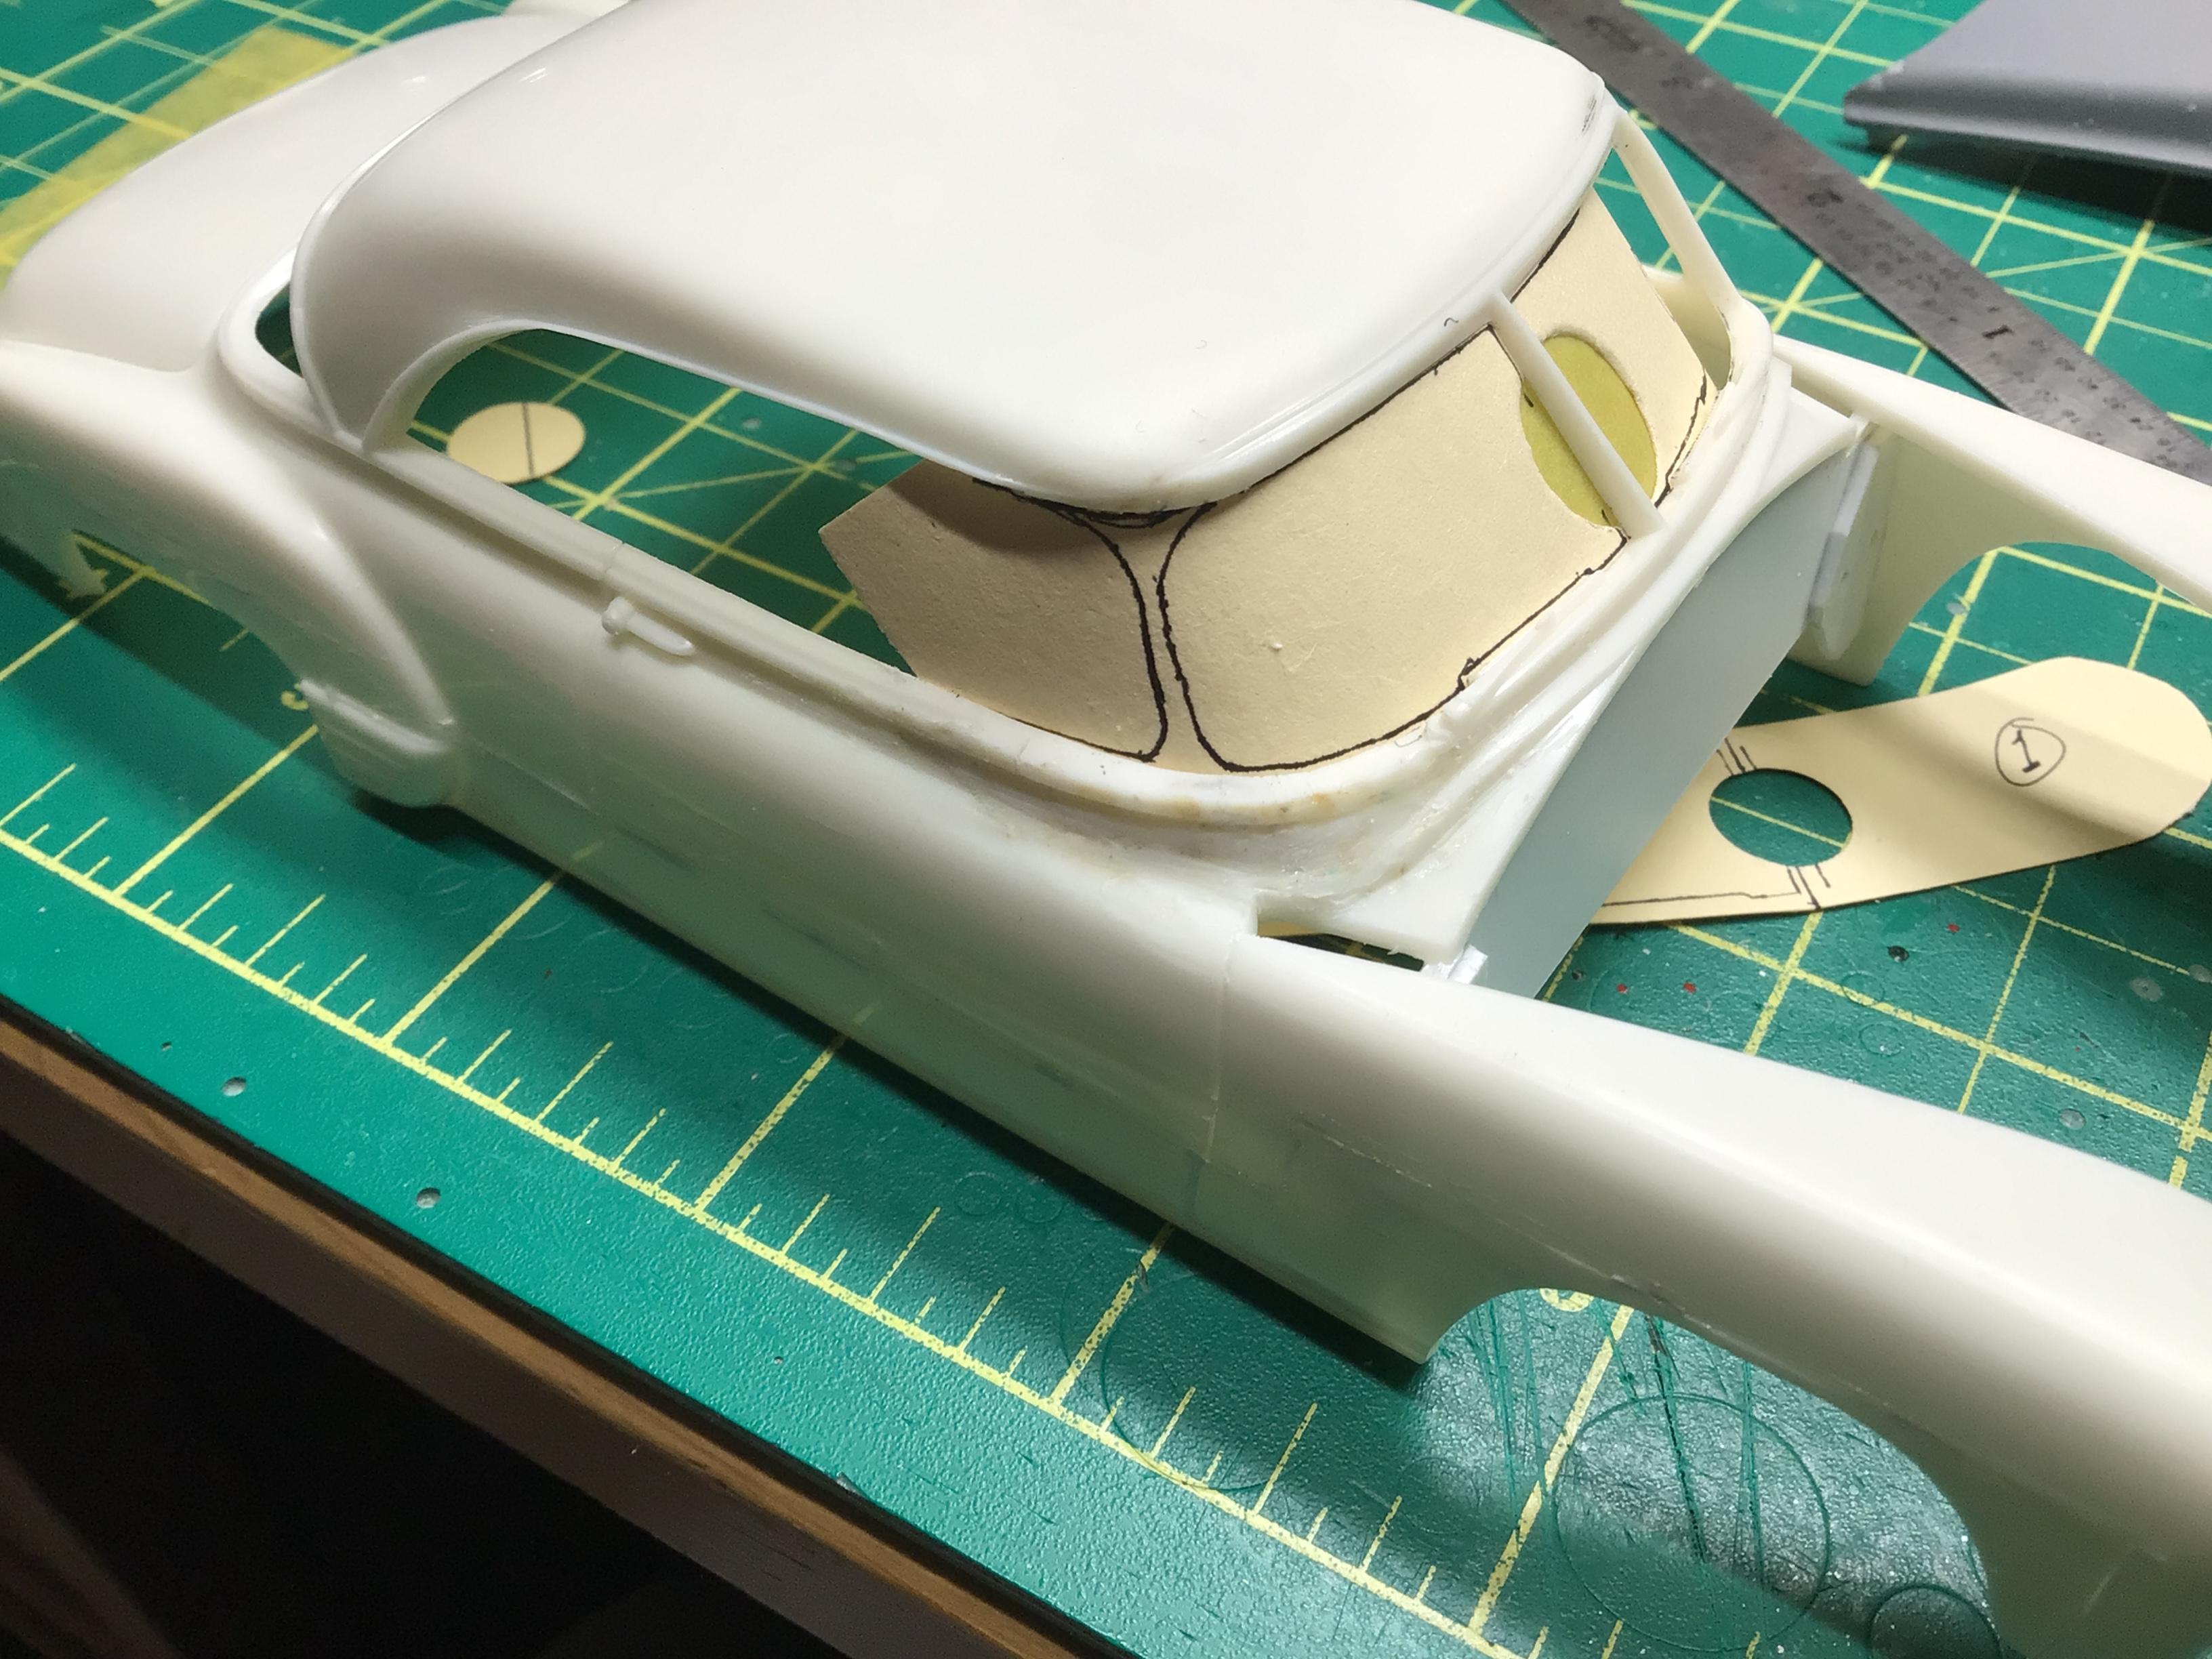
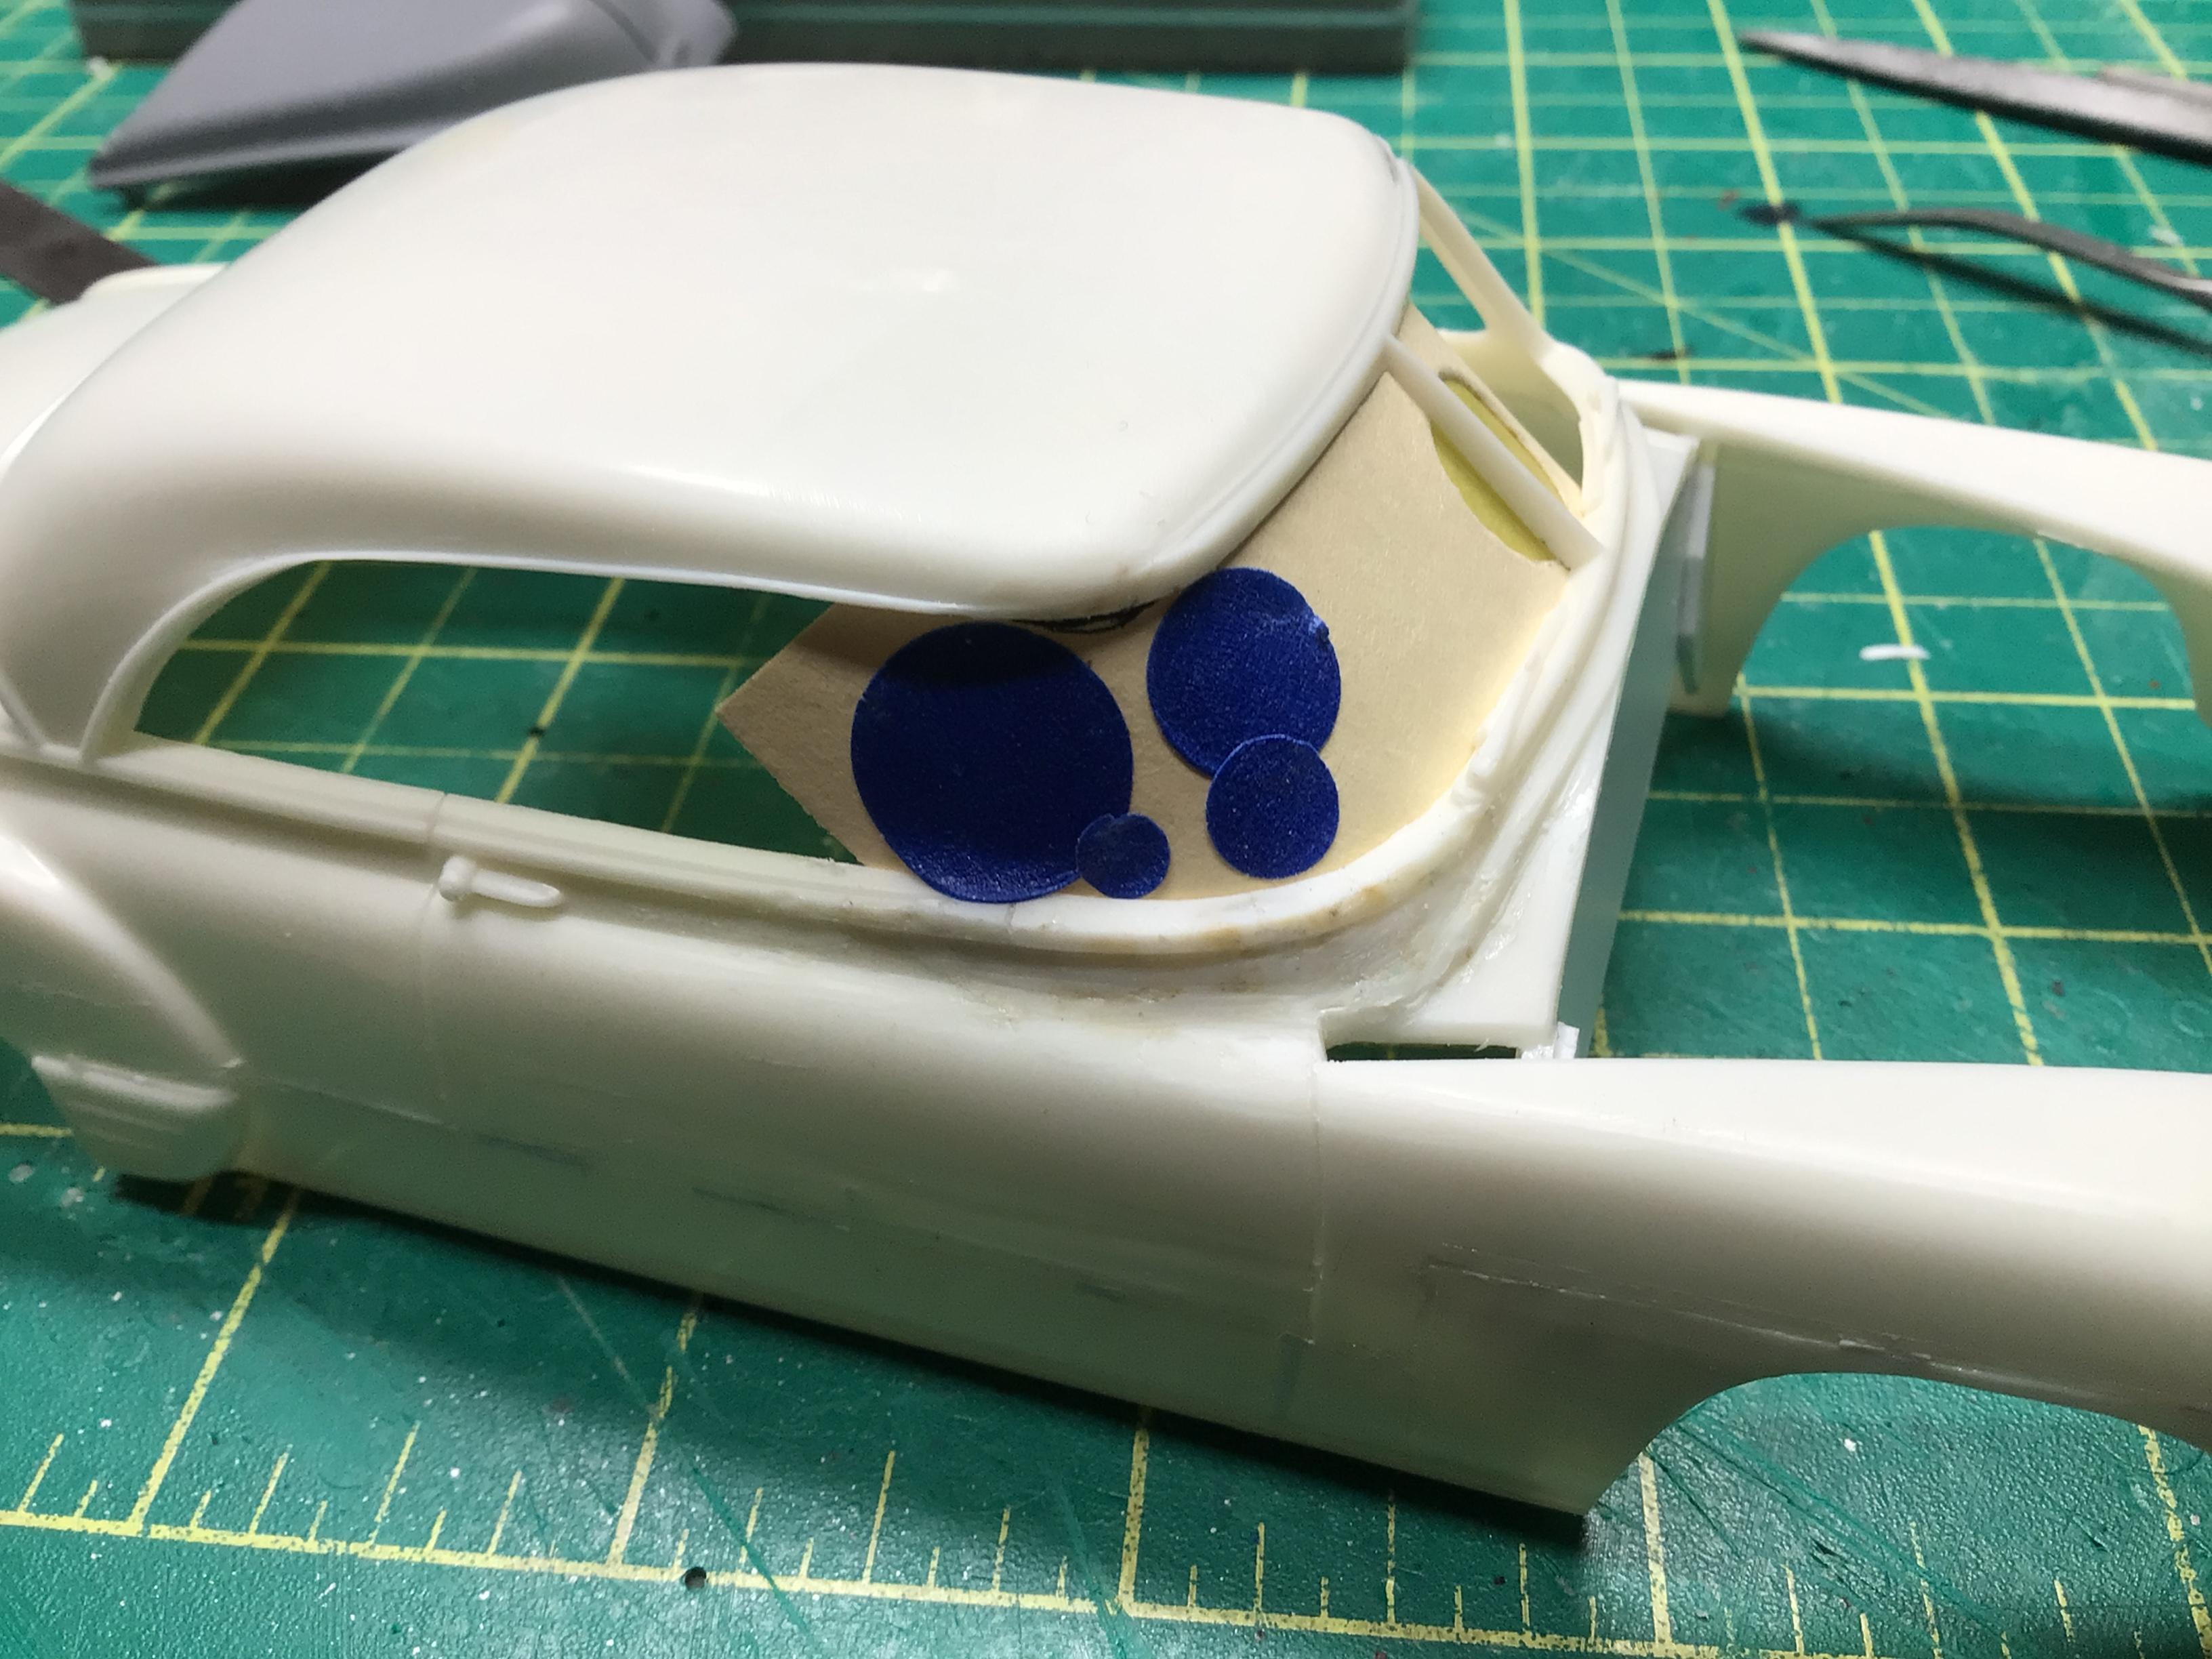
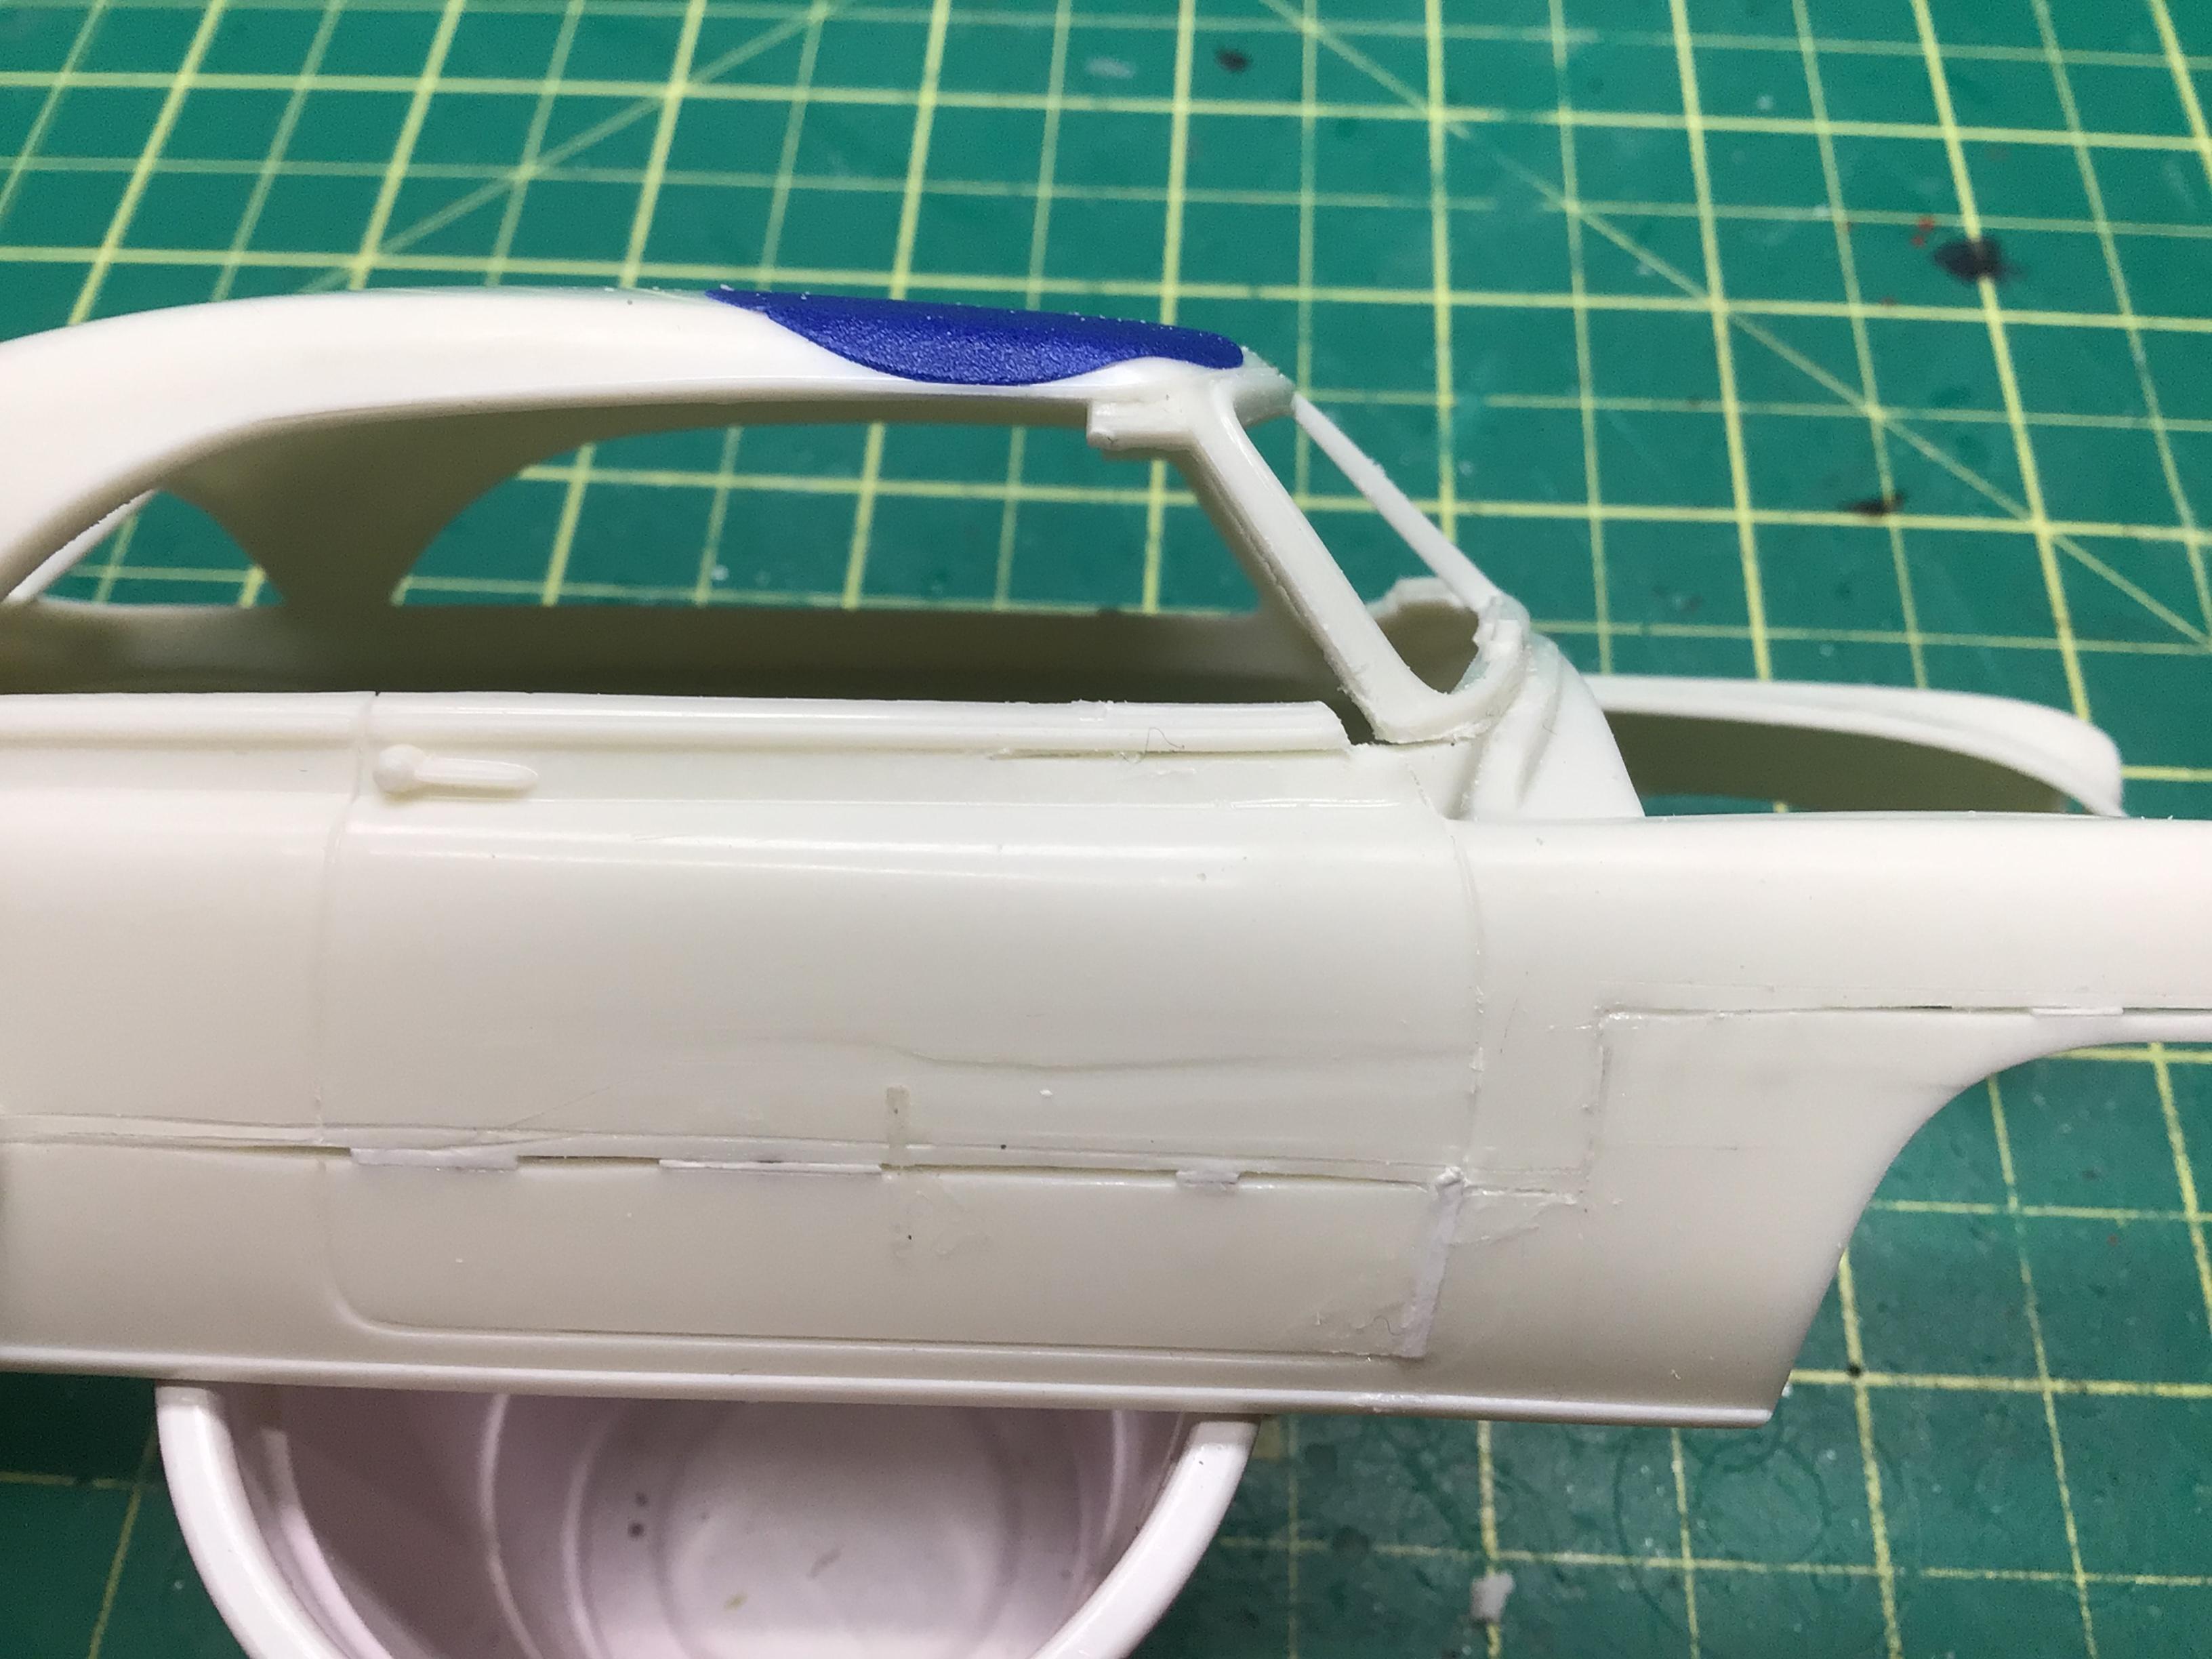
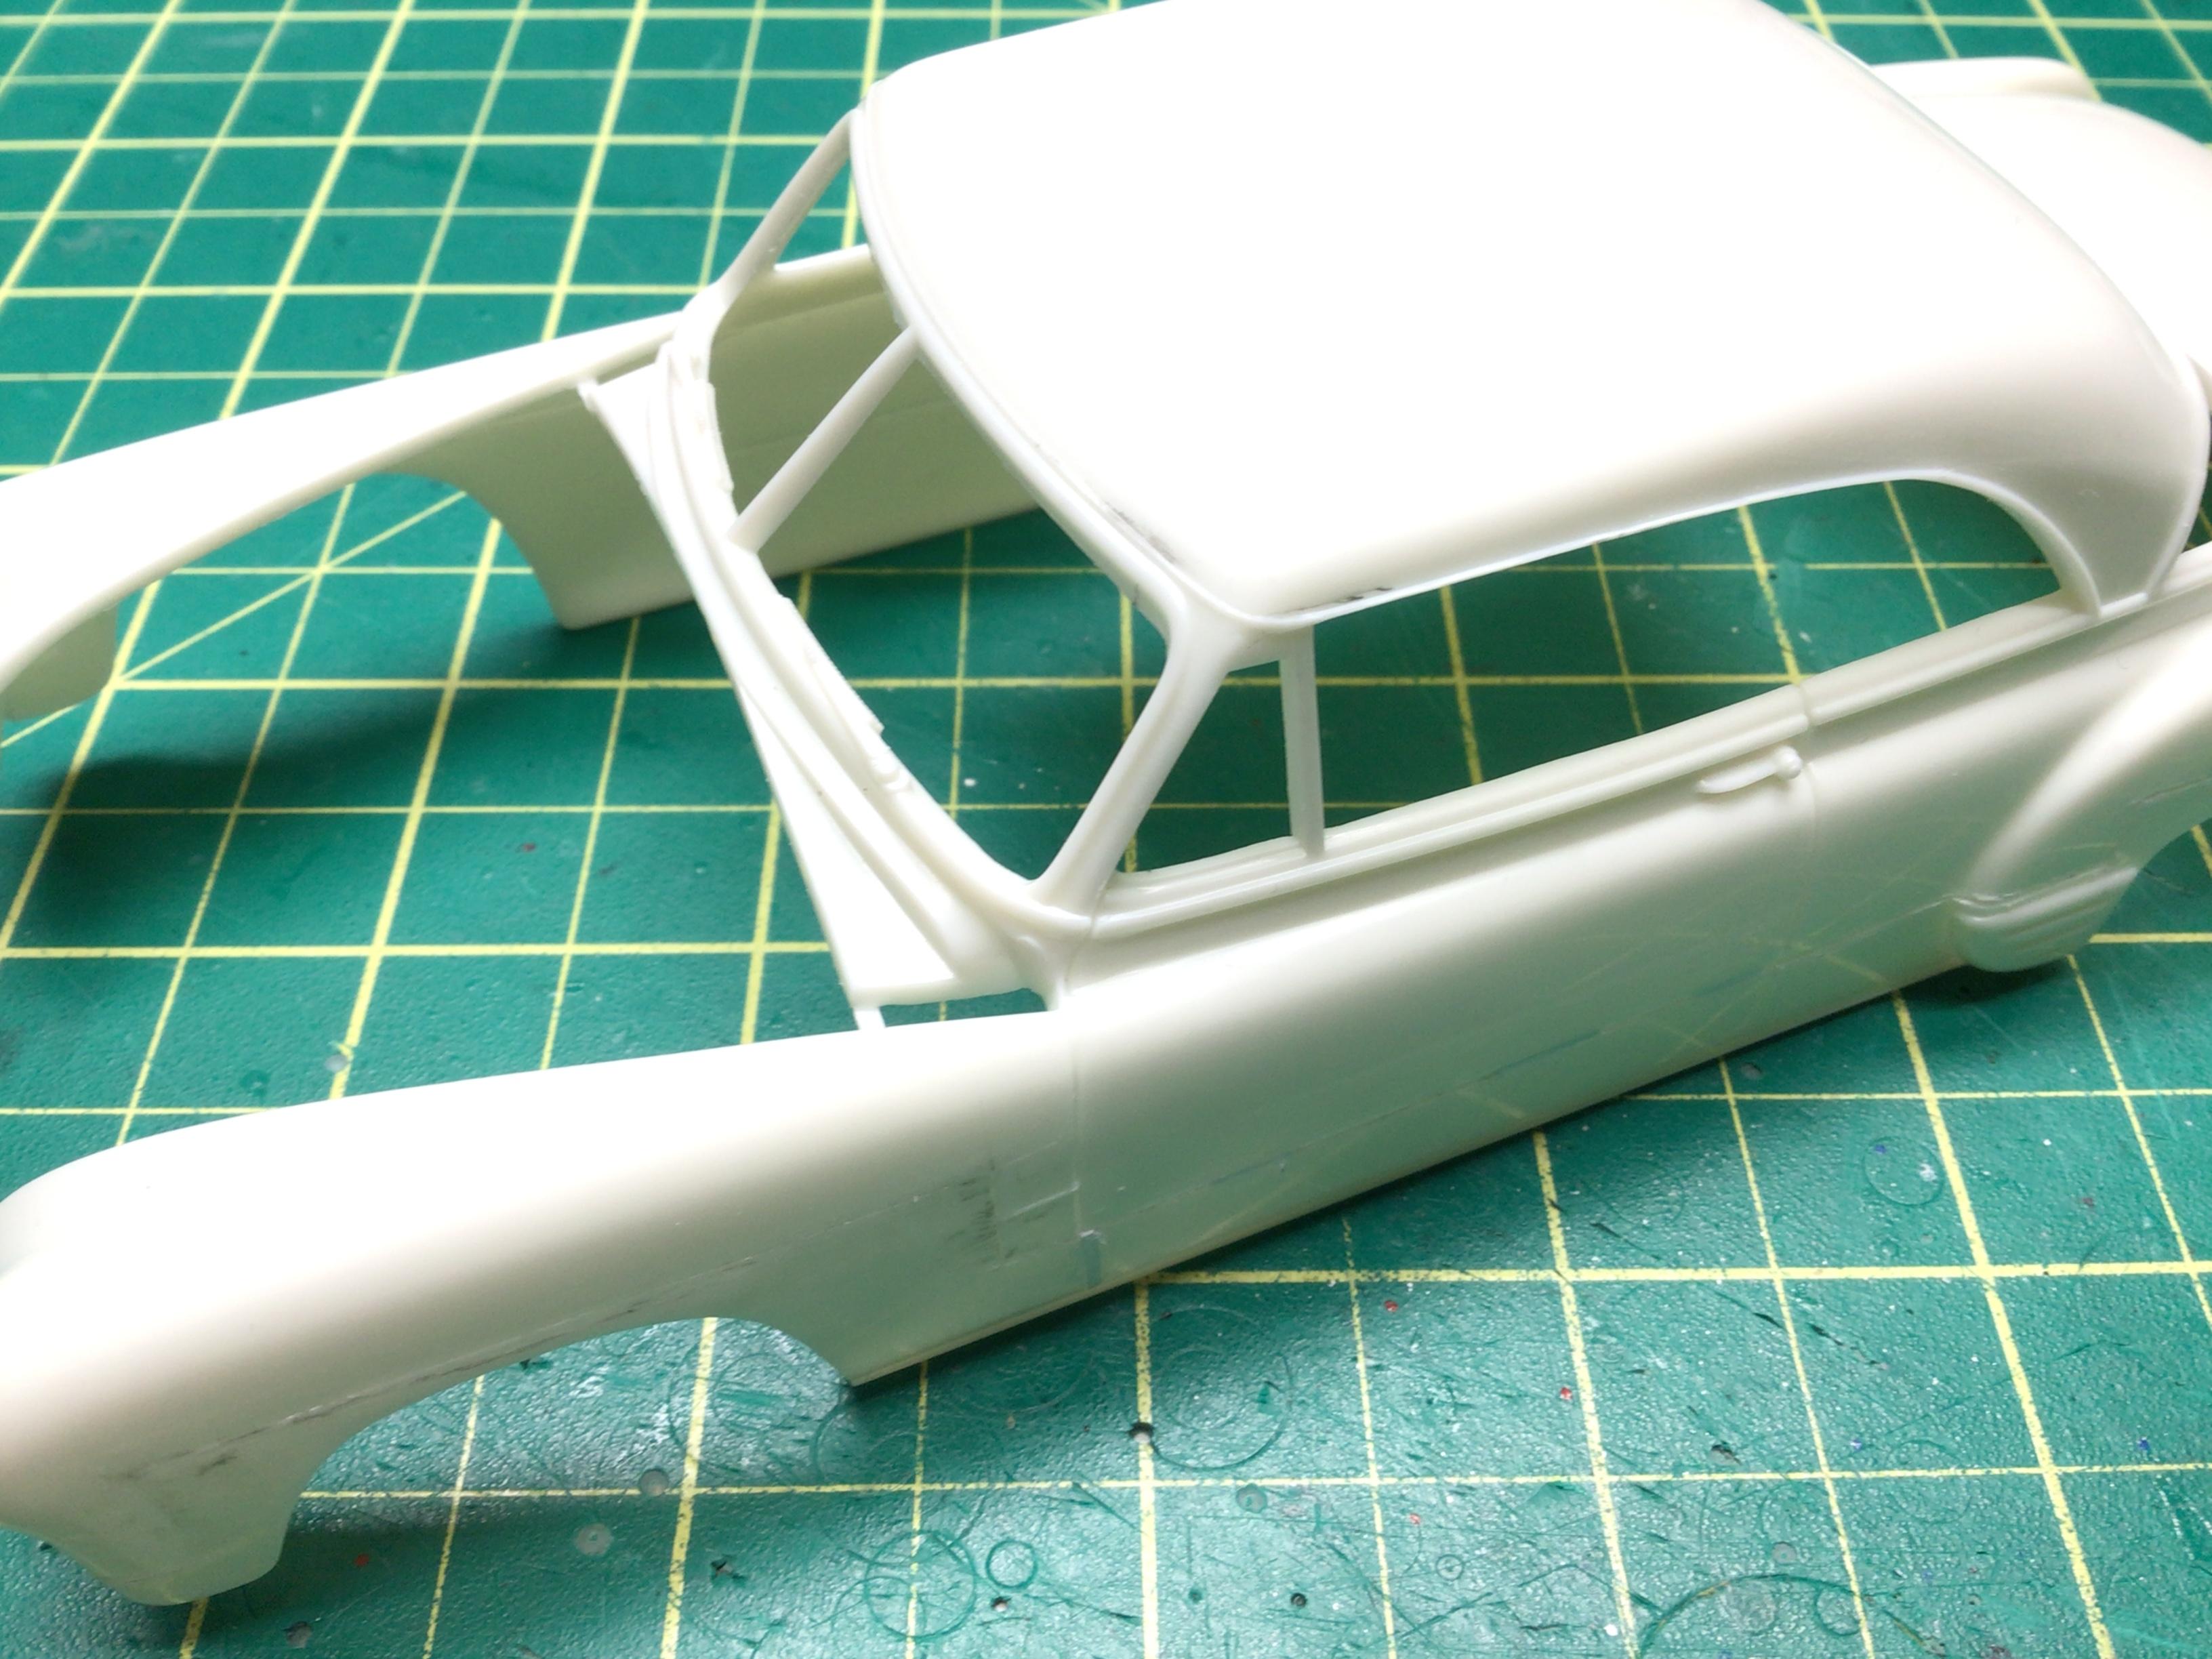
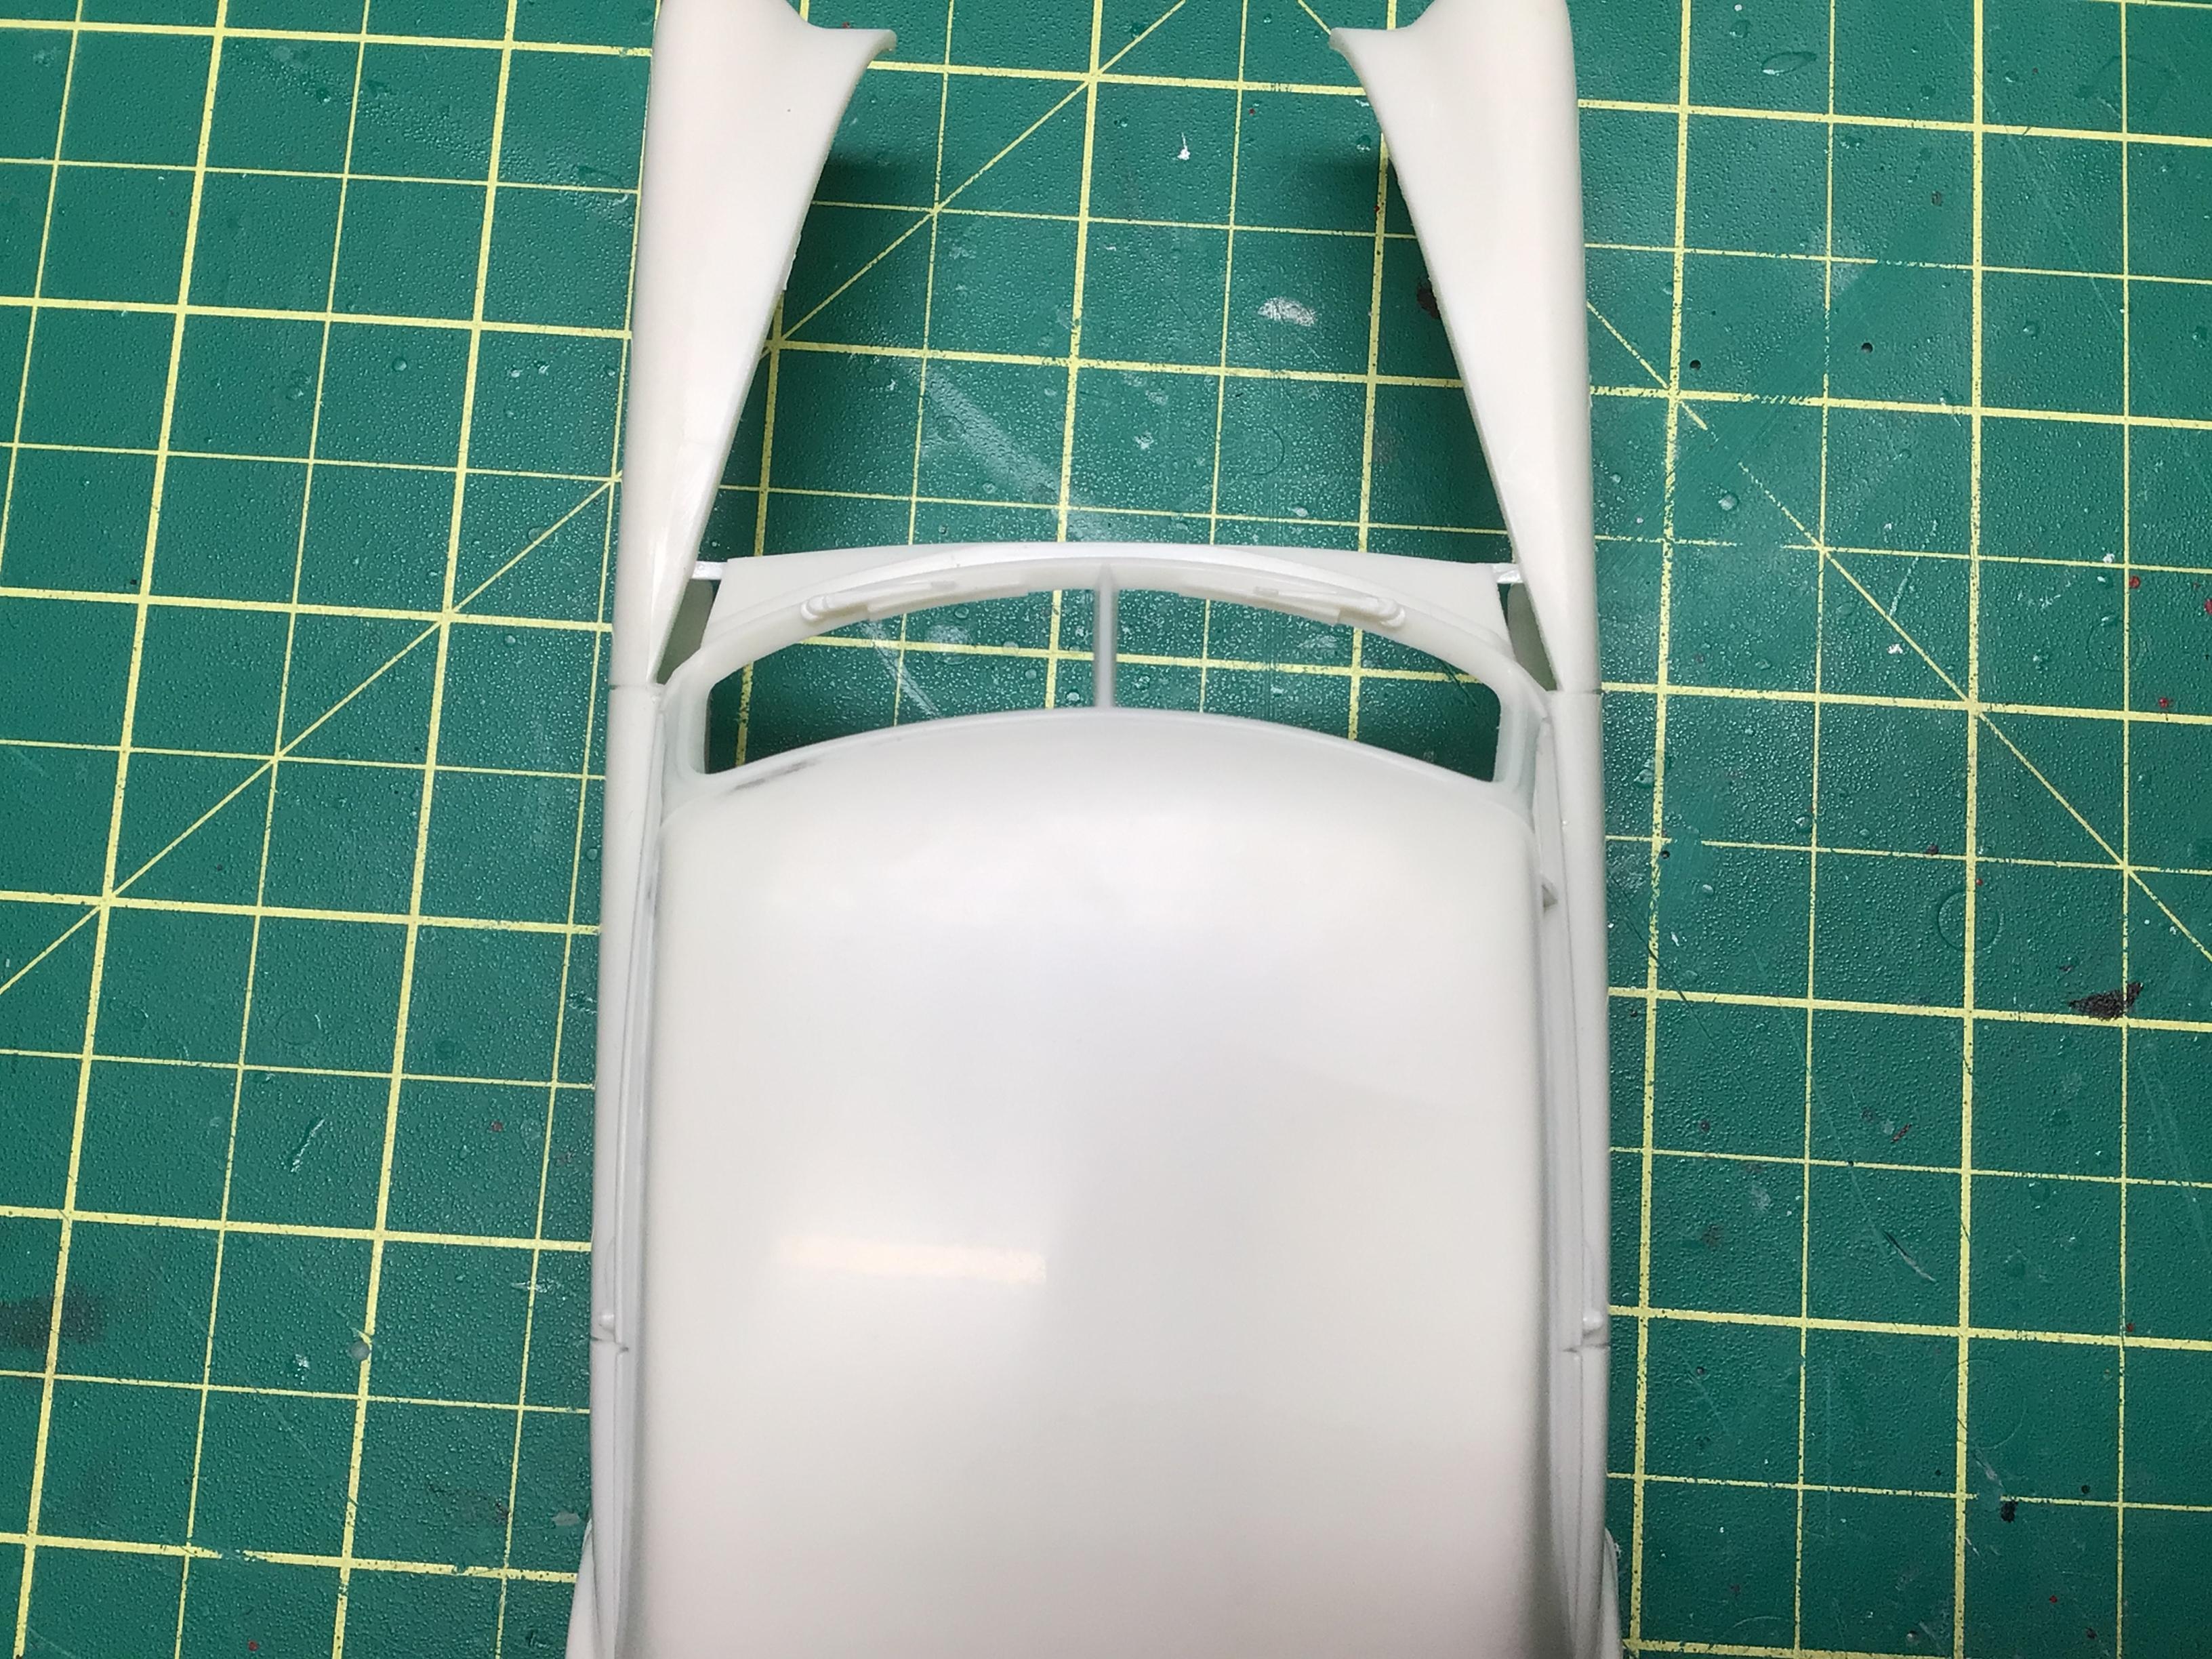
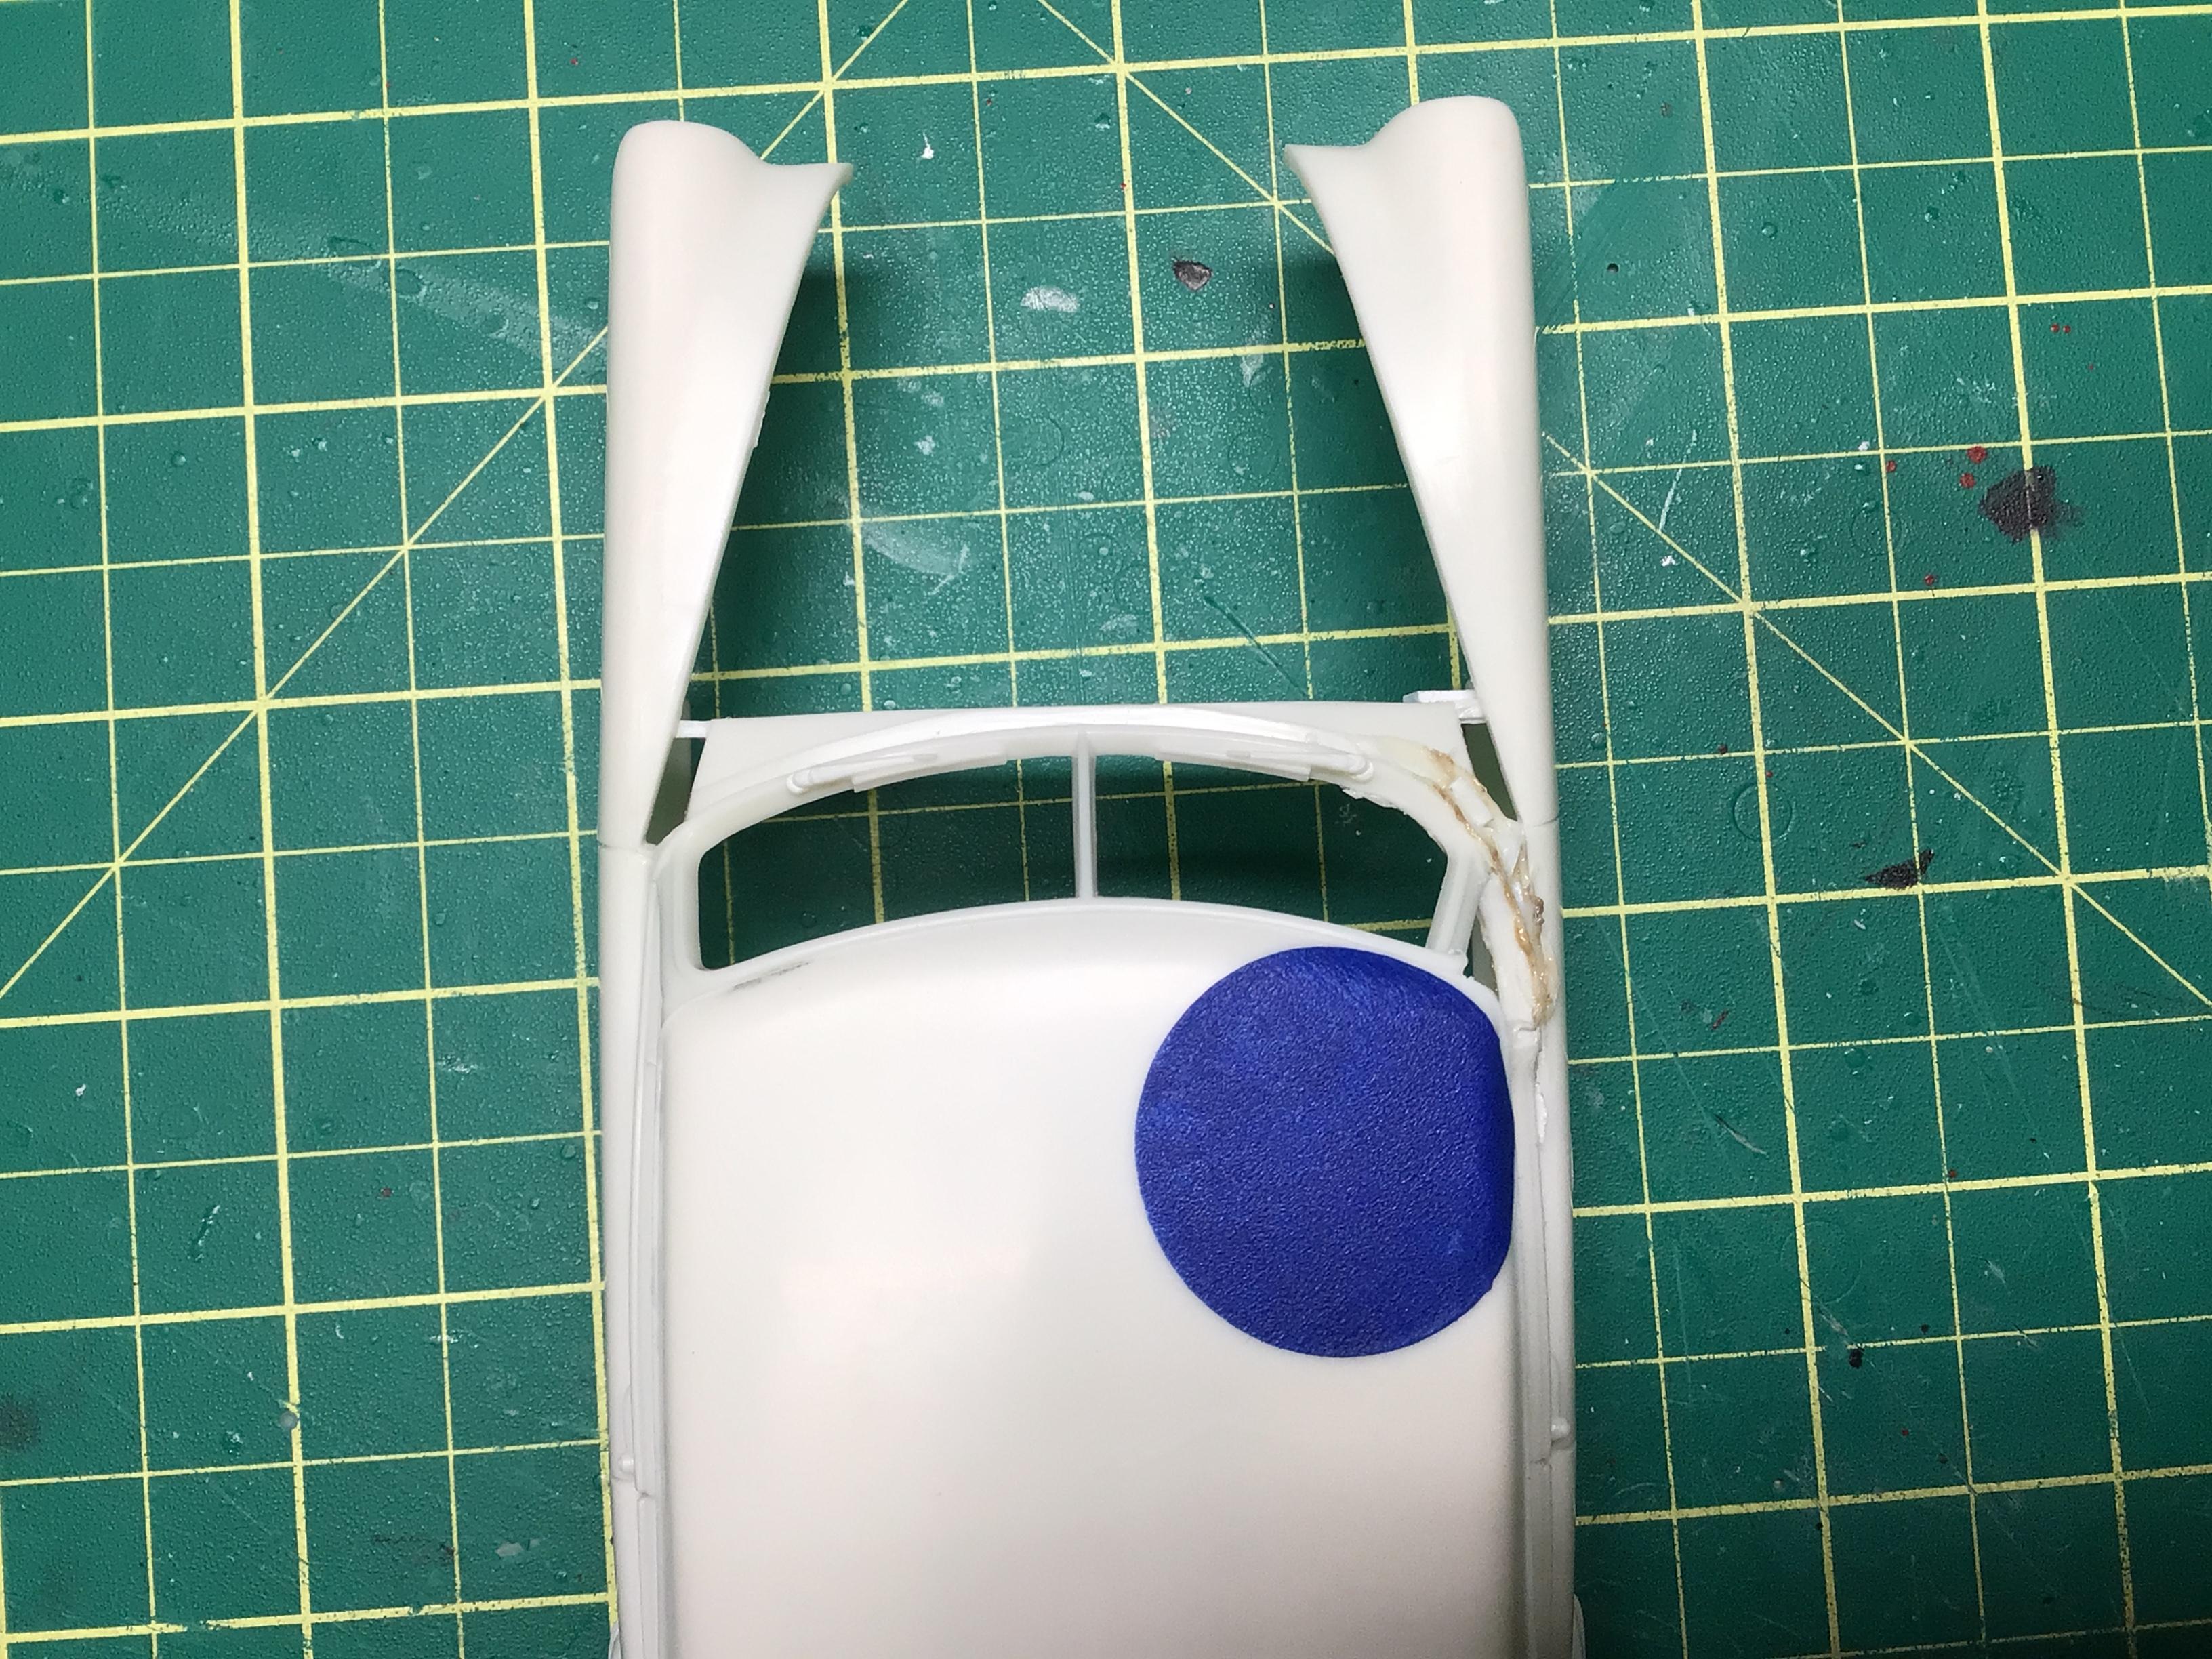
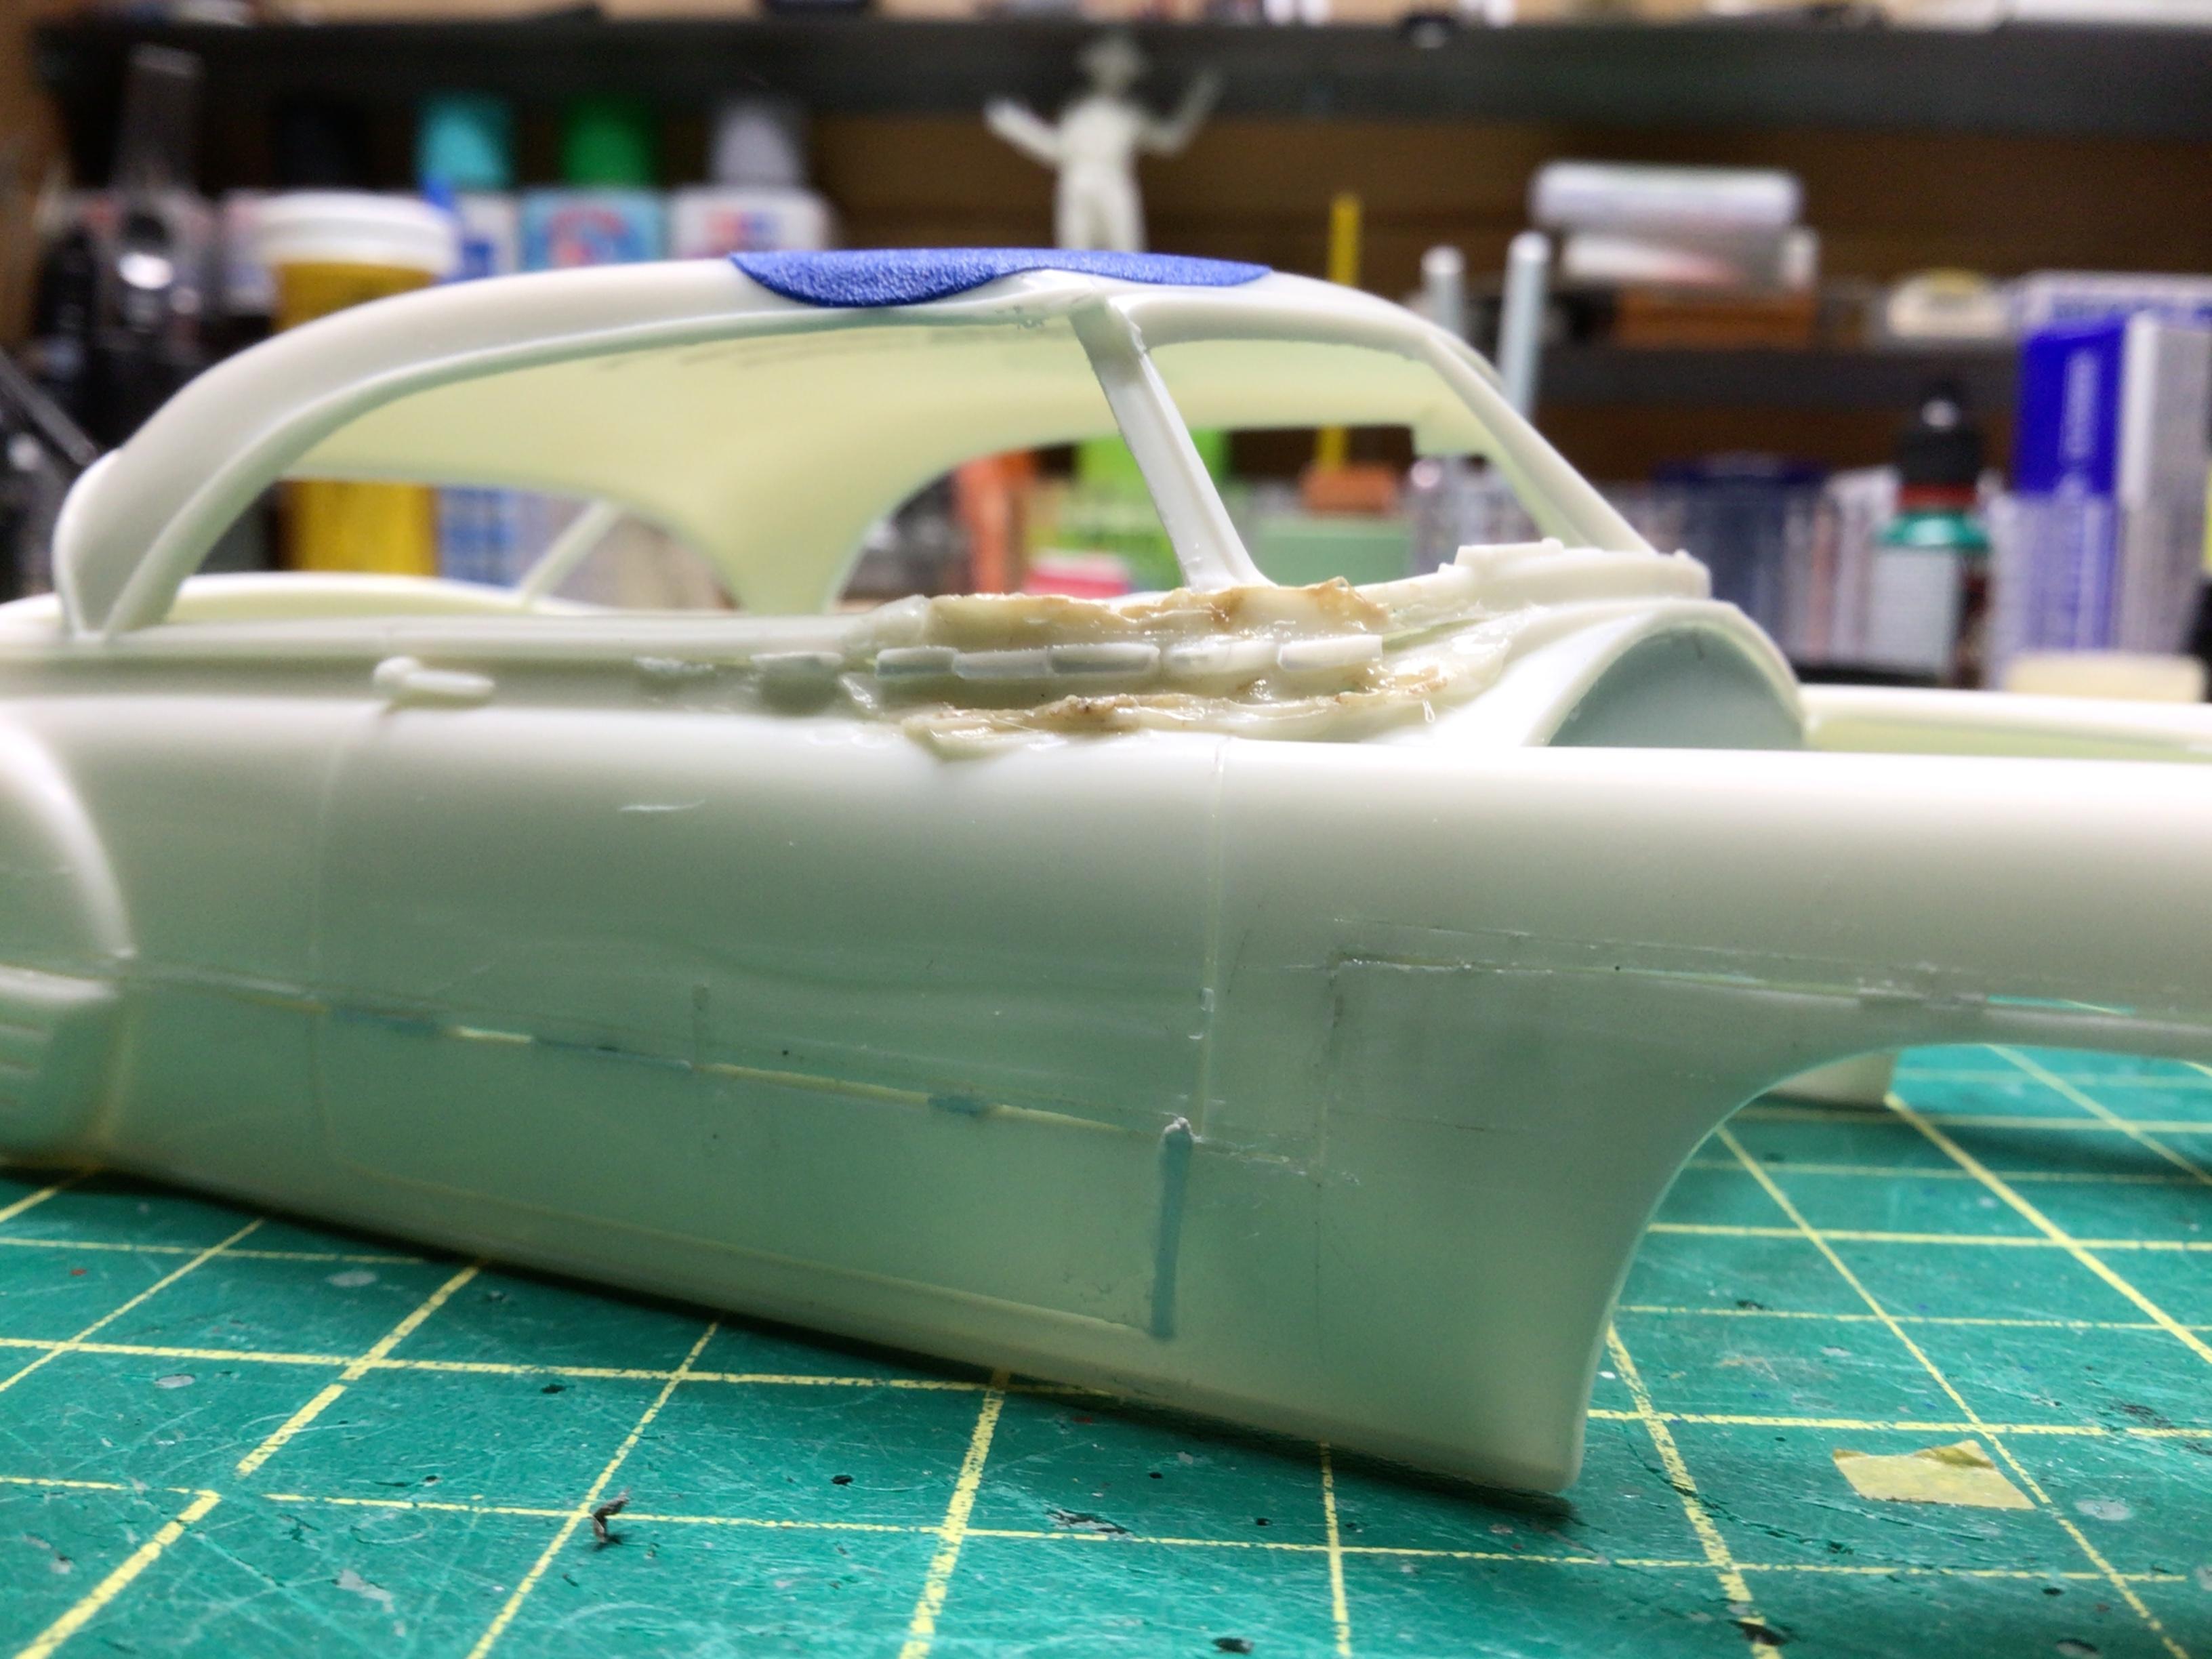
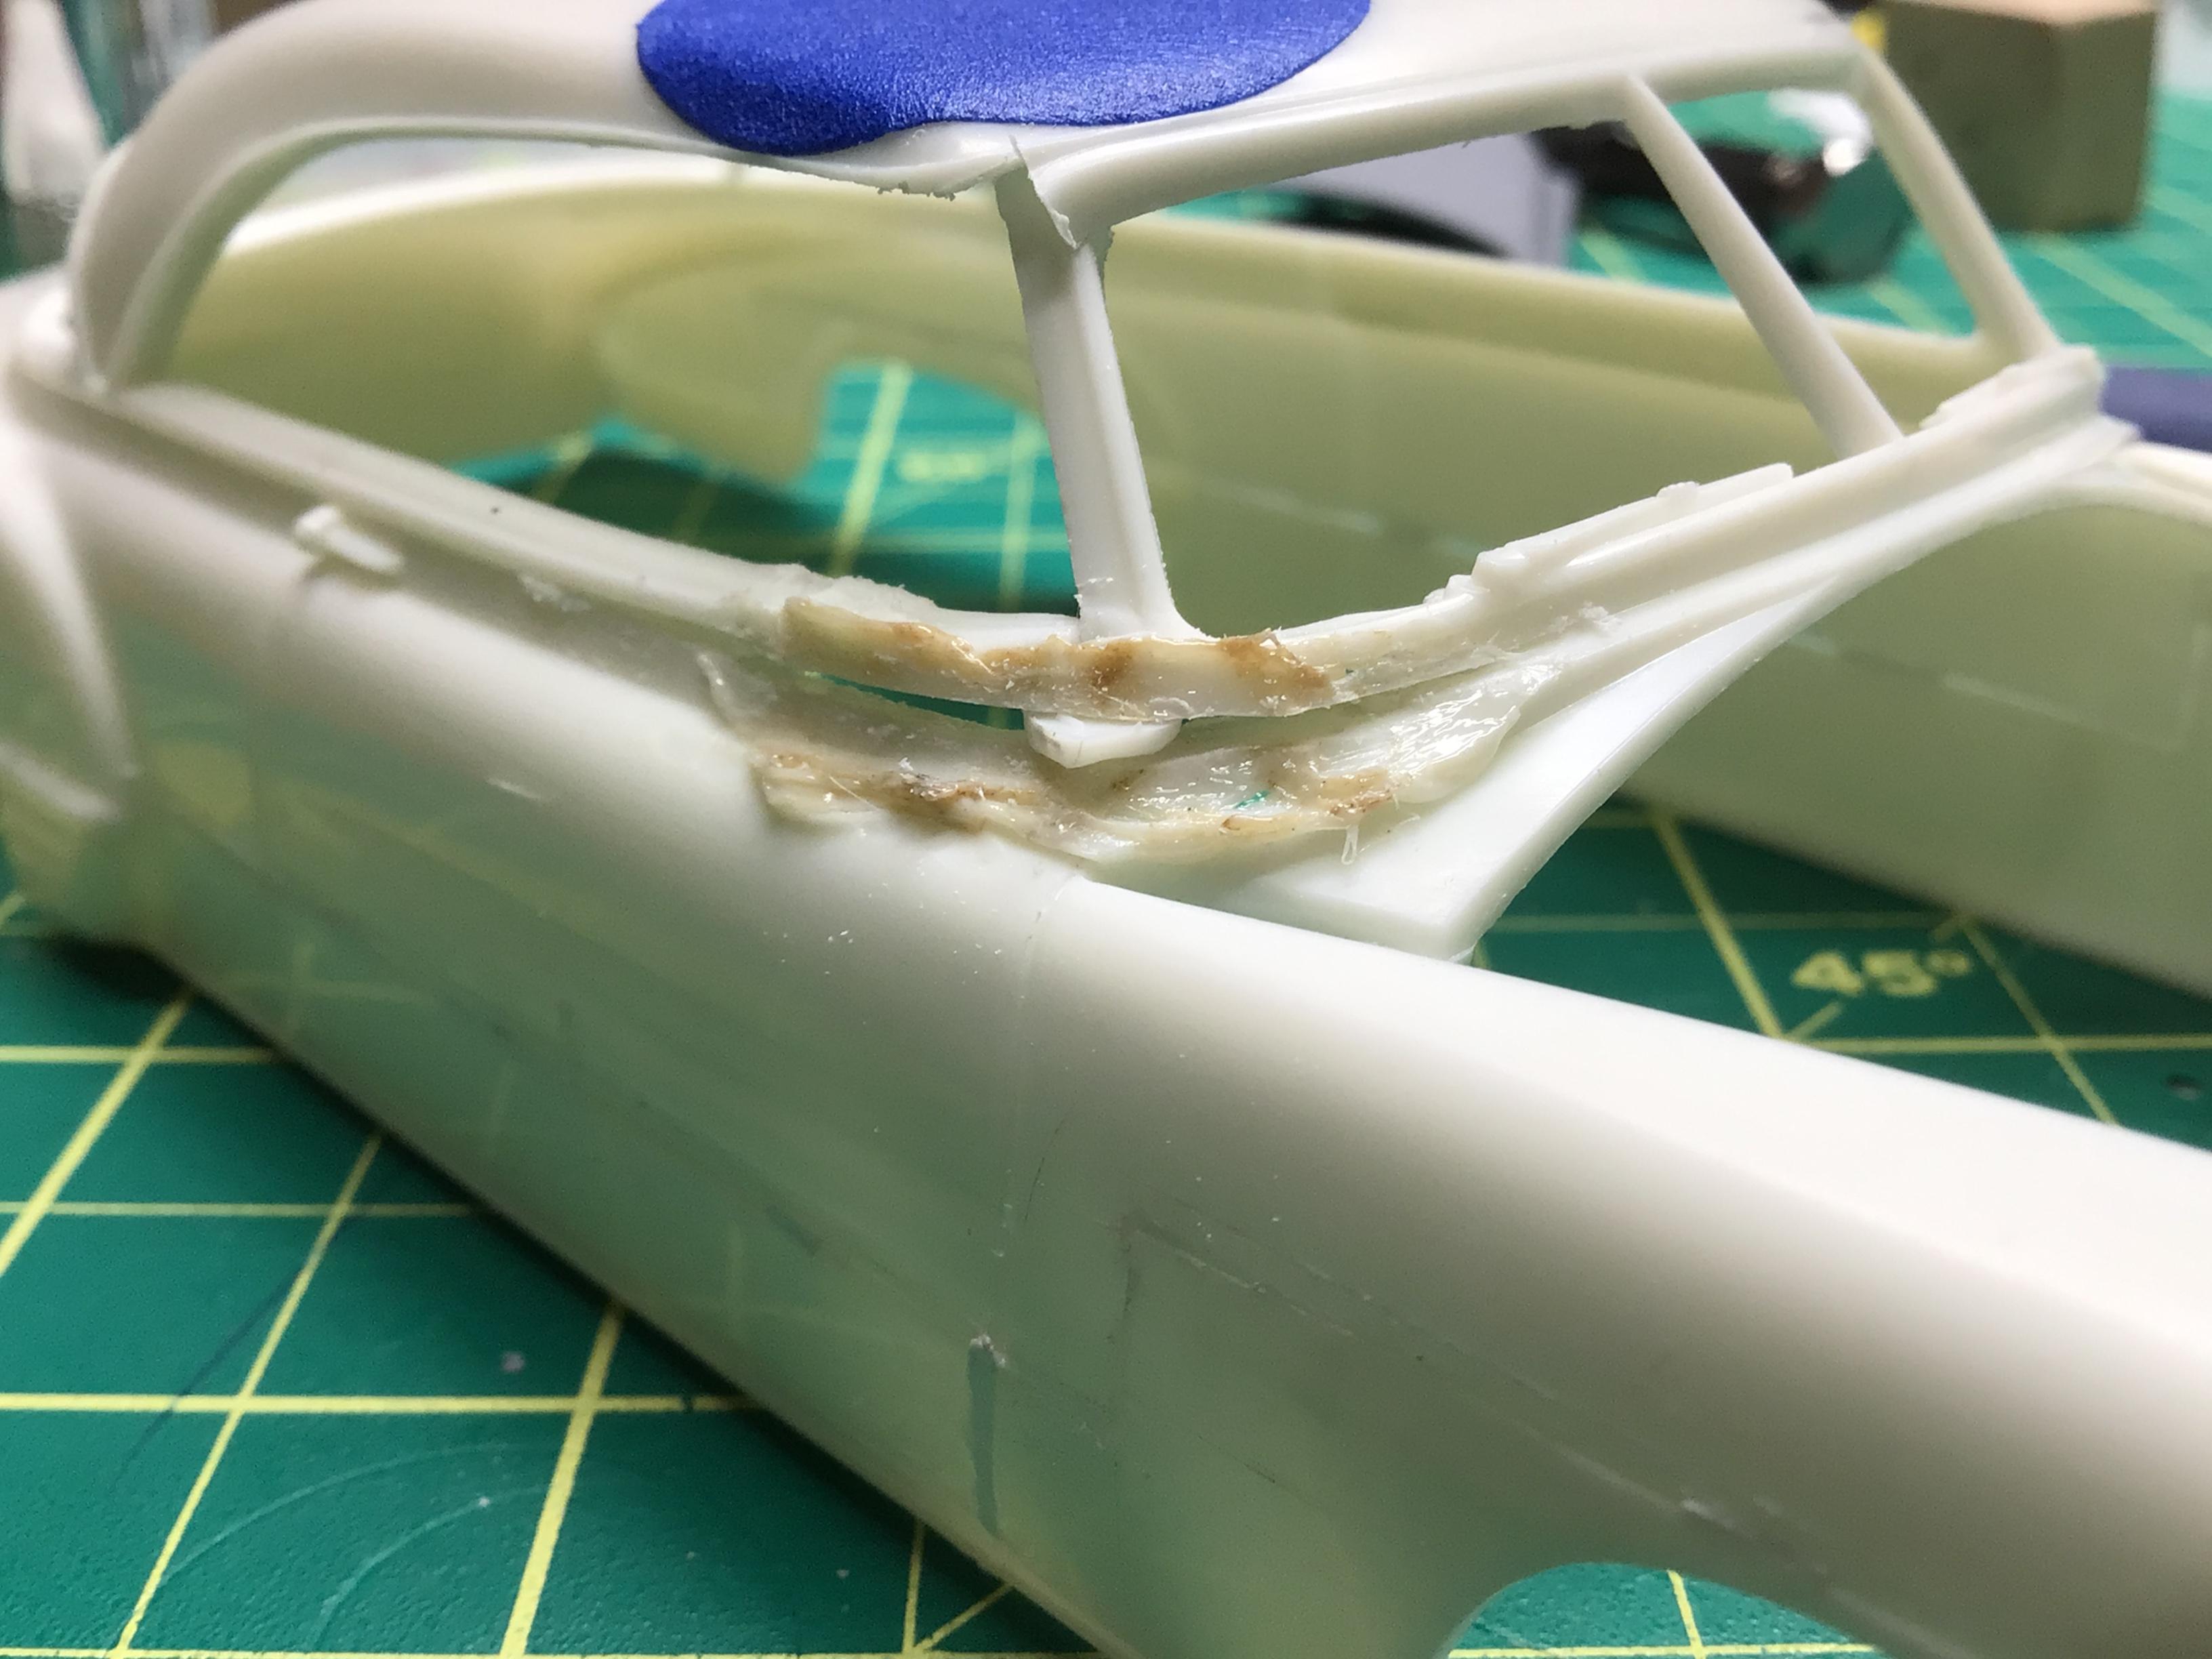
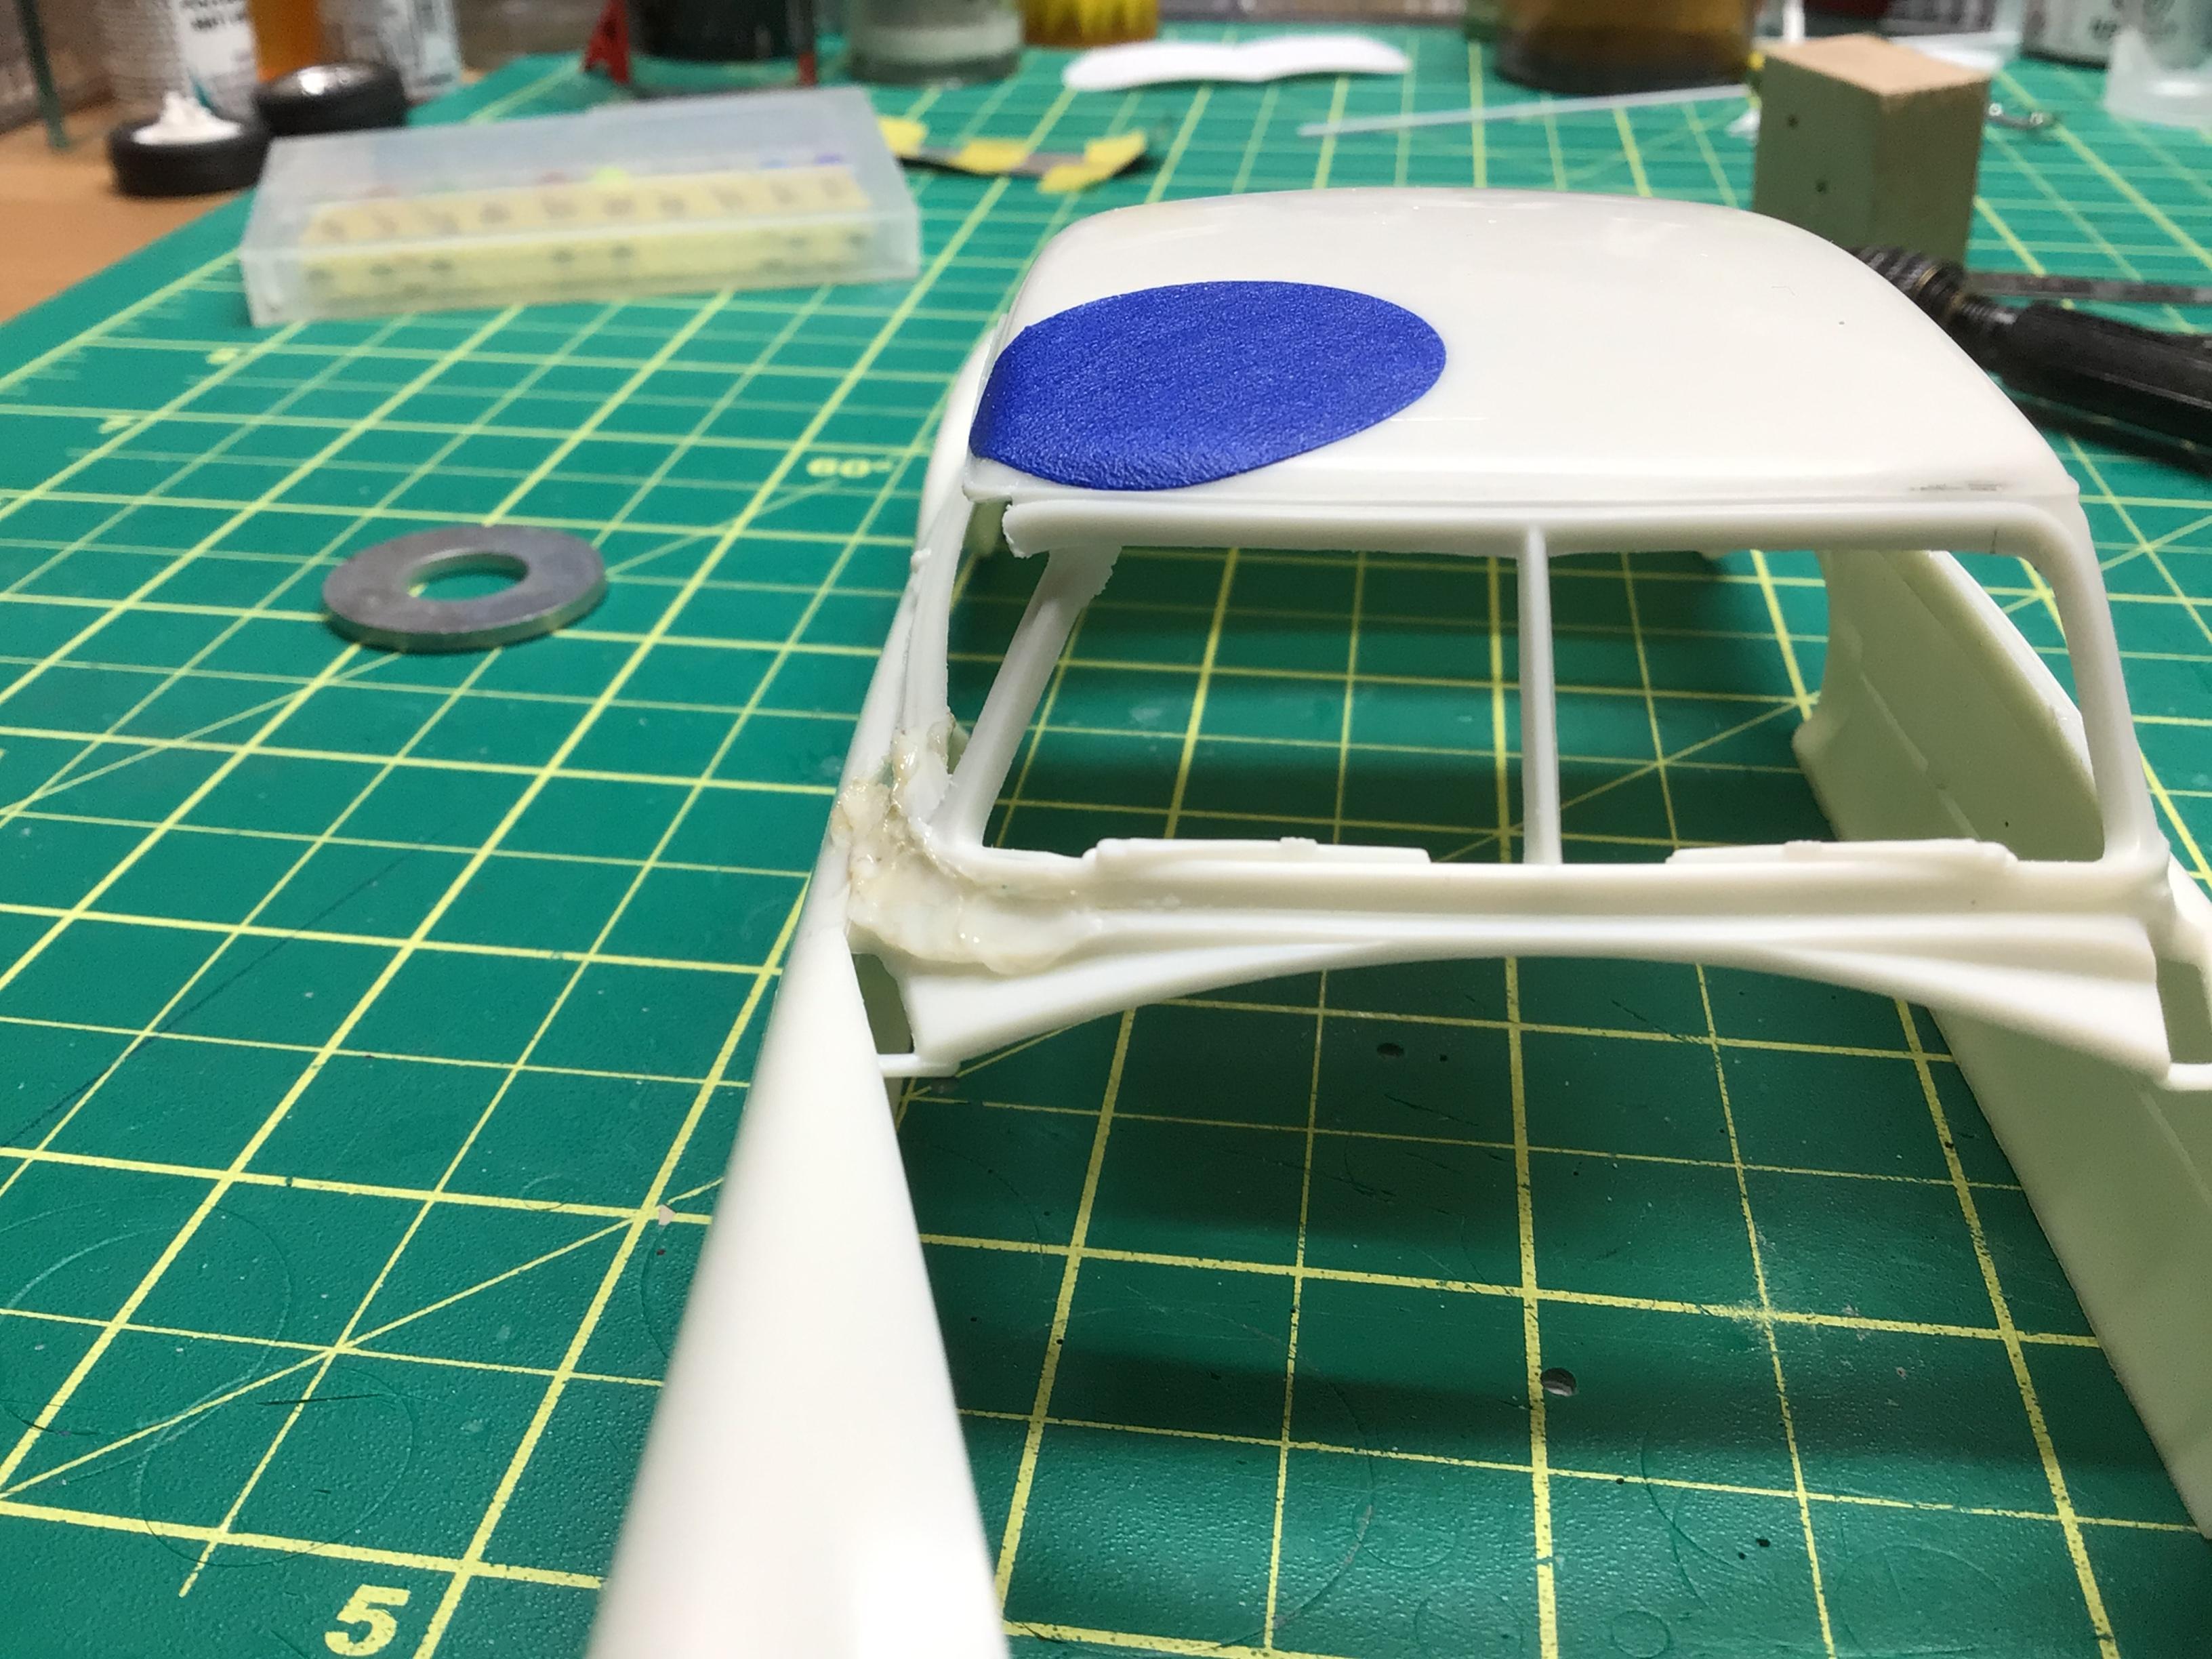
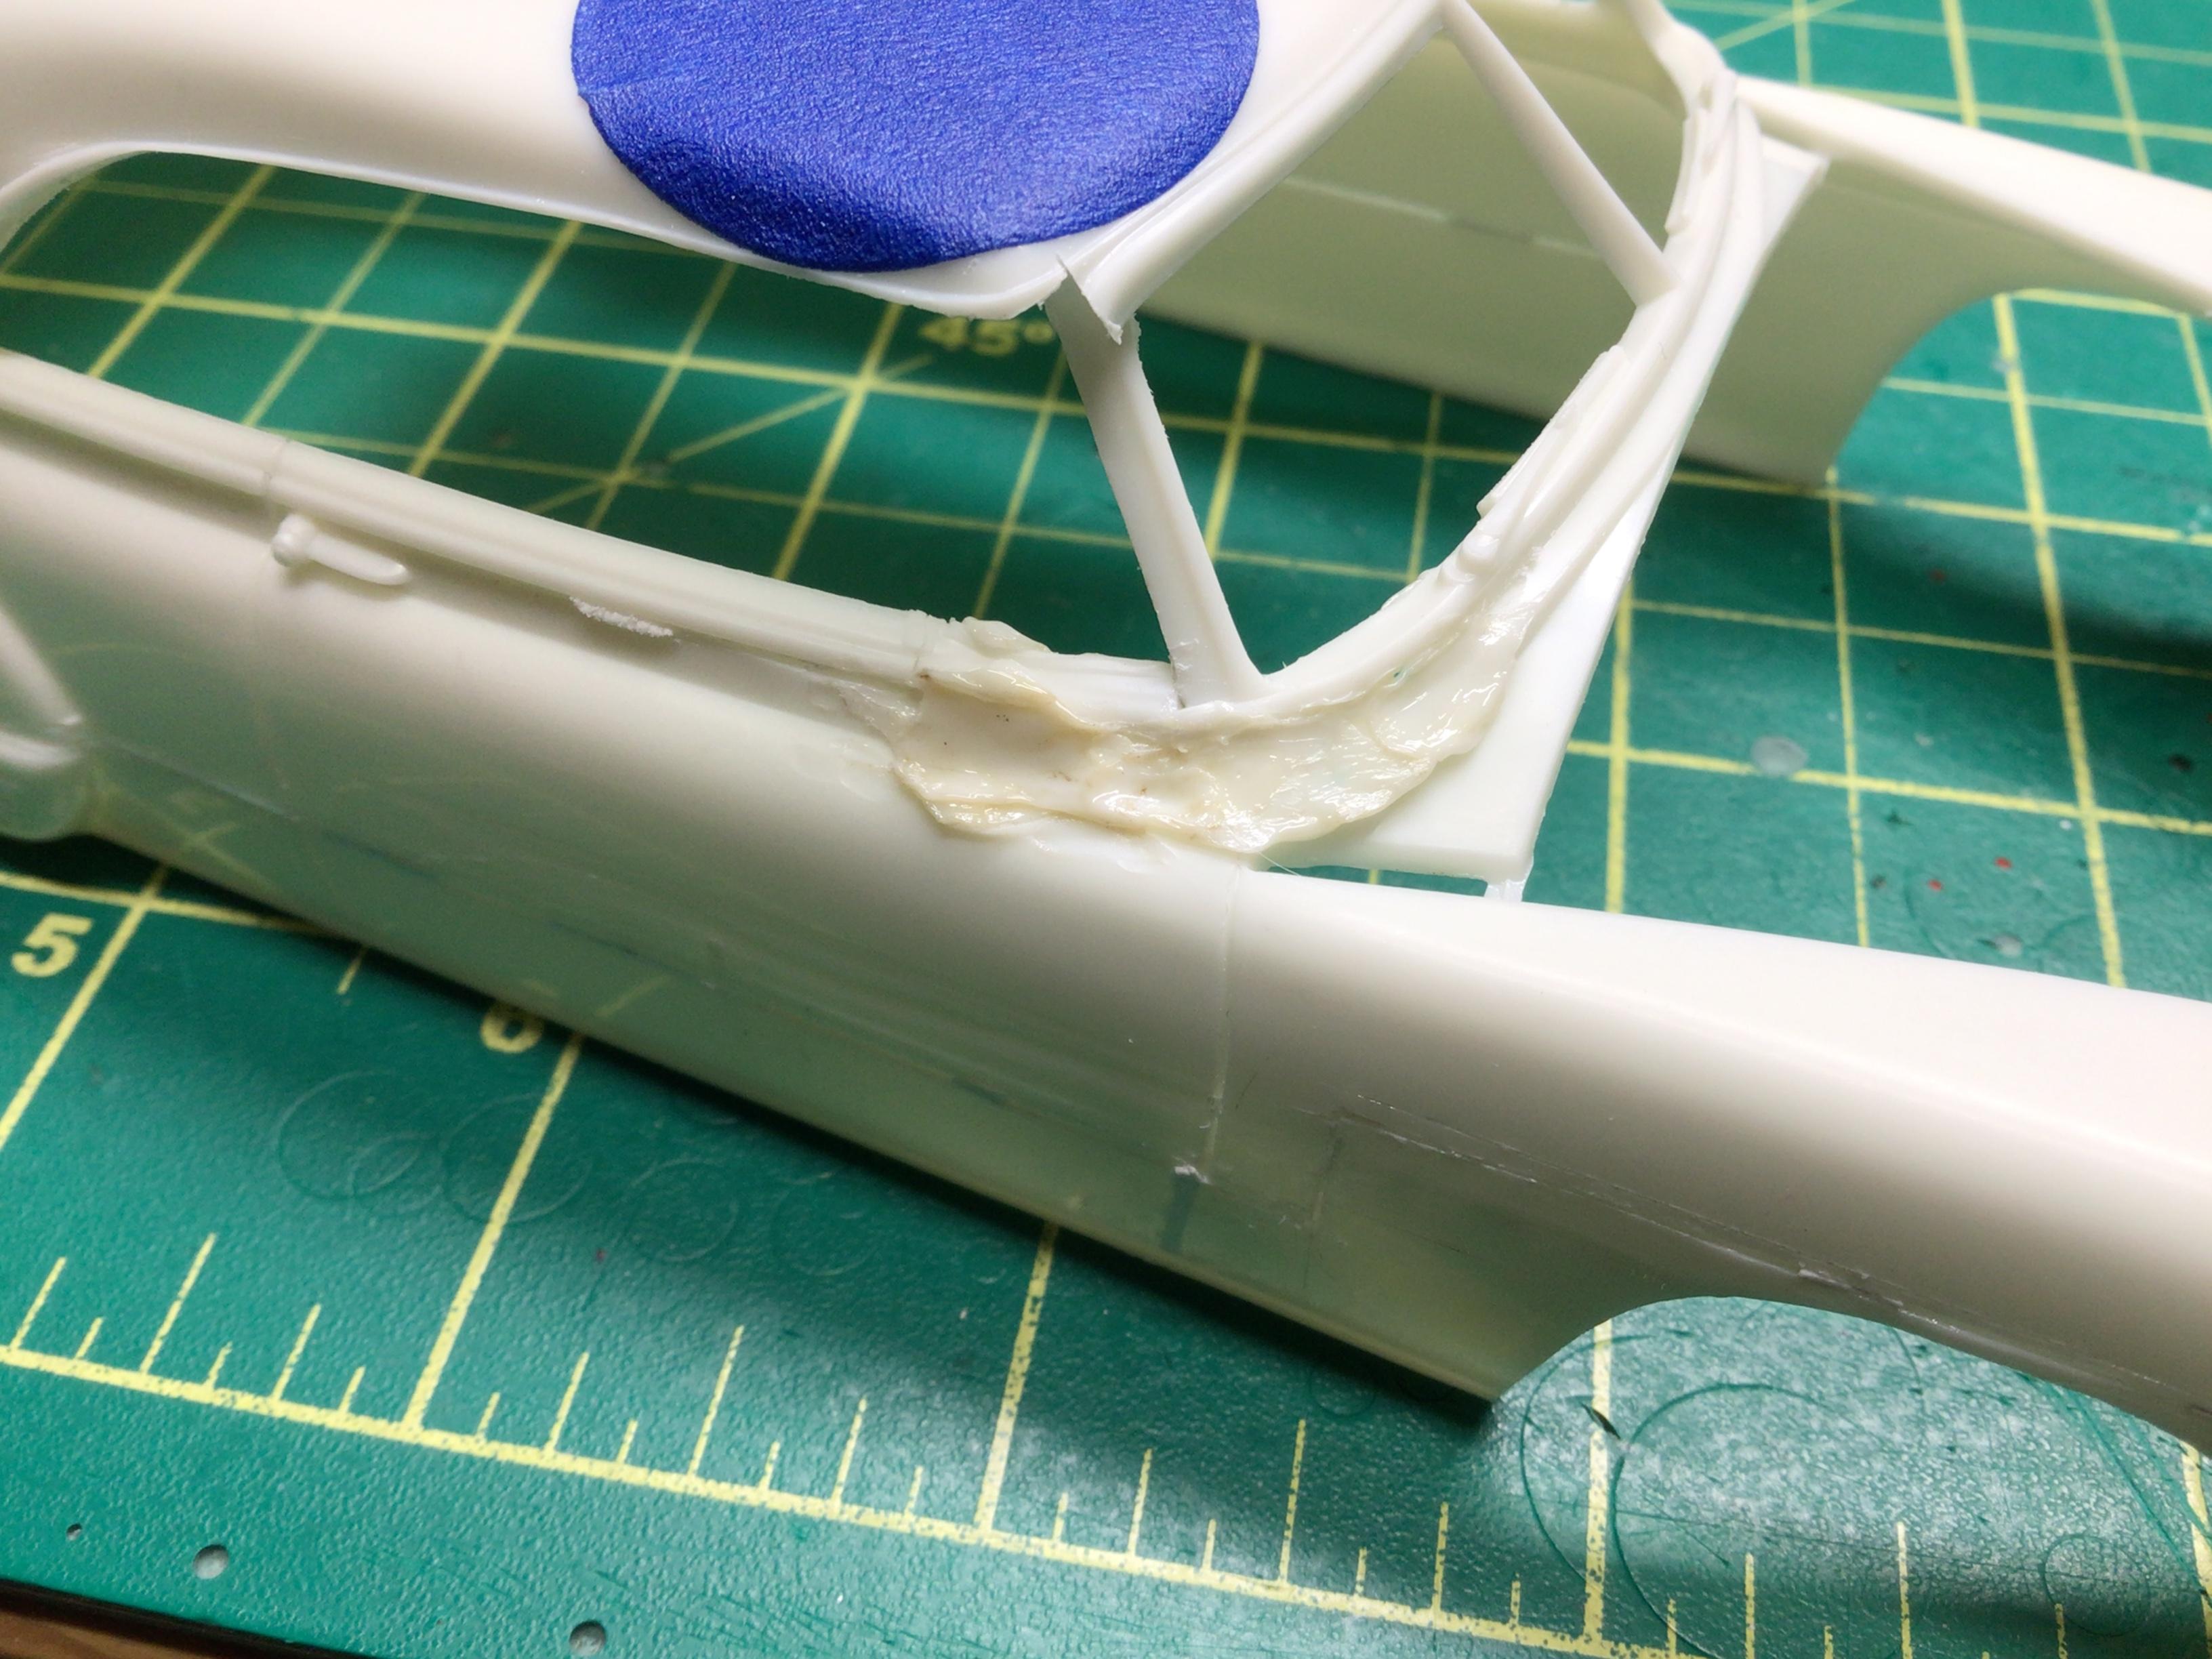
AMT made the windshield to door transition far too squared off in my opinion. It should have a more sweeping curve. I started by making a cut underneath the upper door trim and along the base of the windshield trim., then removed approximately 1/16” of the door trim. I pushed the two sections together to close the gap and glued them together with CA. I watched a video where Doug Whyte sectioned a car by melting the pieces back together with a soldering iron….so I figured I would try it. I wound up with a dip in the area and had to cut it apart and raise the trim with wedges to get a smoother transition. I think I like this plastic welding…no waiting for glue or filler to dry.😎 I got rid of the A pillar and rounded the roof corner a bit. A bit of filing and sanding and it’s looking a little better. I made a pattern from card stock and some different diameter masking tape circles to design a new A pillar. The card stock conforms nicely to the curves with no wrinkles, so I should be able to make a new windshield from clear sheet. But…before I fab the new A pillar, I want to lower the roof ever so slightly. I still have to duplicate my efforts on the drivers side yet too.
-
More expensive than a coat hanger, but Tig welding filler rods are a good source of stiff wire also. They come in 36” lengths and either 1/16 or 3/32” diameter would be suitable.
-
De-laminating windshield ideas needed
NOBLNG replied to johnyrotten's topic in Model Building Questions and Answers
What if you sprayed it with a bit of Tamiya thin cement or MEK to fog it? Do what you normally try to avoid doing? -
Fabulous!!!!
-
No….he said he could work with anything, and someone looking for any style TH-400 might come across this thread in the future. All good info.😎
-
Nice clean looking T!👍
-
34 ford
NOBLNG replied to johnyrotten's topic in WIP: Model Trucks: Pickups, Vans, SUVs, Light Commercial
Great work John! That is really looking authentic.😎 -
Once you’ve smelled the aroma of freshly cut styrene it’s almost impossible to stop the kit hacking.
-
Nice start on this one. I haven’t chopped a Merc yet but it is definitely on my to do list. I think less is more on most chops. I don’t care much for the really “hammered” look. I’m interested to see how yours turns out.😎
-
Yeah, what happened?🤓
-
Longitudinally deficient.🤷♂️🙂
-
My bad! You are correct Keith. One kit I haven’t opened and it’s been a couple of years since I opened the other one.
-
Thanks to everyone for the positive feedback! I will attempt to maintain some sort of momentum on this project, but I am seeing squirrels everywhere lately.🥴