bill-e-boy
Members-
Posts
900 -
Joined
-
Last visited
Content Type
Profiles
Forums
Events
Gallery
Everything posted by bill-e-boy
-
I appreciate the comments Steve as I know you build mostly replica stock kits. The carb colours you have shown are spot on. I too have built the occasional replica stock models and it is a challenge to get all of the different colours correct. Lots of time doing research and taking photos of real cars when the opportunity arises. One of my current builds is Revell 68 Charger being built with a theme of as a recent restoration. Lots of time spent mixing colours to get the correct sheen and/or shade for the smaller components
-
Steve - your attention to detail is phenomenal. I recently bought for my full size car an Edlybrok carb and it is all bright ally (the Holy I had was giving me lots of grief). Then I bought a BluePrint crate motor for it and it has a big rrs Holy that is all shiny ally in colour - I wonder if I have to ditch it for an Edlybrok when I get it into the car. I appreciate to effort to get original carb colours right but us (kit) Rodders like things on the blingy side of the colour spectrum
-
Airbrushing Testors enamels???
bill-e-boy replied to doorslammer68's topic in Model Building Questions and Answers
Testors jar paint fine. I have used them for years but now mostly use lacquers. In the video above he is using a big tip #2 and he can get away with 1:1 thinning. I use a Badger 200 with a finer tip and I need to thin the paint 1:1.5-2 paint to thinner ratio so that it will spray through the airbrush. I have used lacquer thinners, lighter fluid (clear spirit) and Testors - but that's a bit thin on the ground these days (pun intended) . I have also used a product called two-way thinners which can be used a a slower drying thinner for lacquers and enamel - PPG 4ltr code 0146/4L which you may not be able to get everywhere. By type: Lacquer thinners - speed up dry time and can produce a harder surface Lighter fluid - again speeds up dry time and paint flows well Testors - my go to for Testors enamels but down to last 1/2 can Turps (mineral sprits, mineral turpentine) - I avoid and used to use for clean up (I now use lacqer thinners for this) Two-way - like lacquer thinners but dry time is a little slower I have not tried any of the Tamiya or Mr products with Testors so cannot comment on them General - enamels take a long time to cure - weeks - so allow plenty of time if you want to colour sand and polish. A tip here - do the first colour sand grit and then leave the model to allow the paint to gas out some more then move onto finer grits until the last then leave for another day or two before applying polish. That is why I use lacquers these days as you do not have to wait so long between steps -
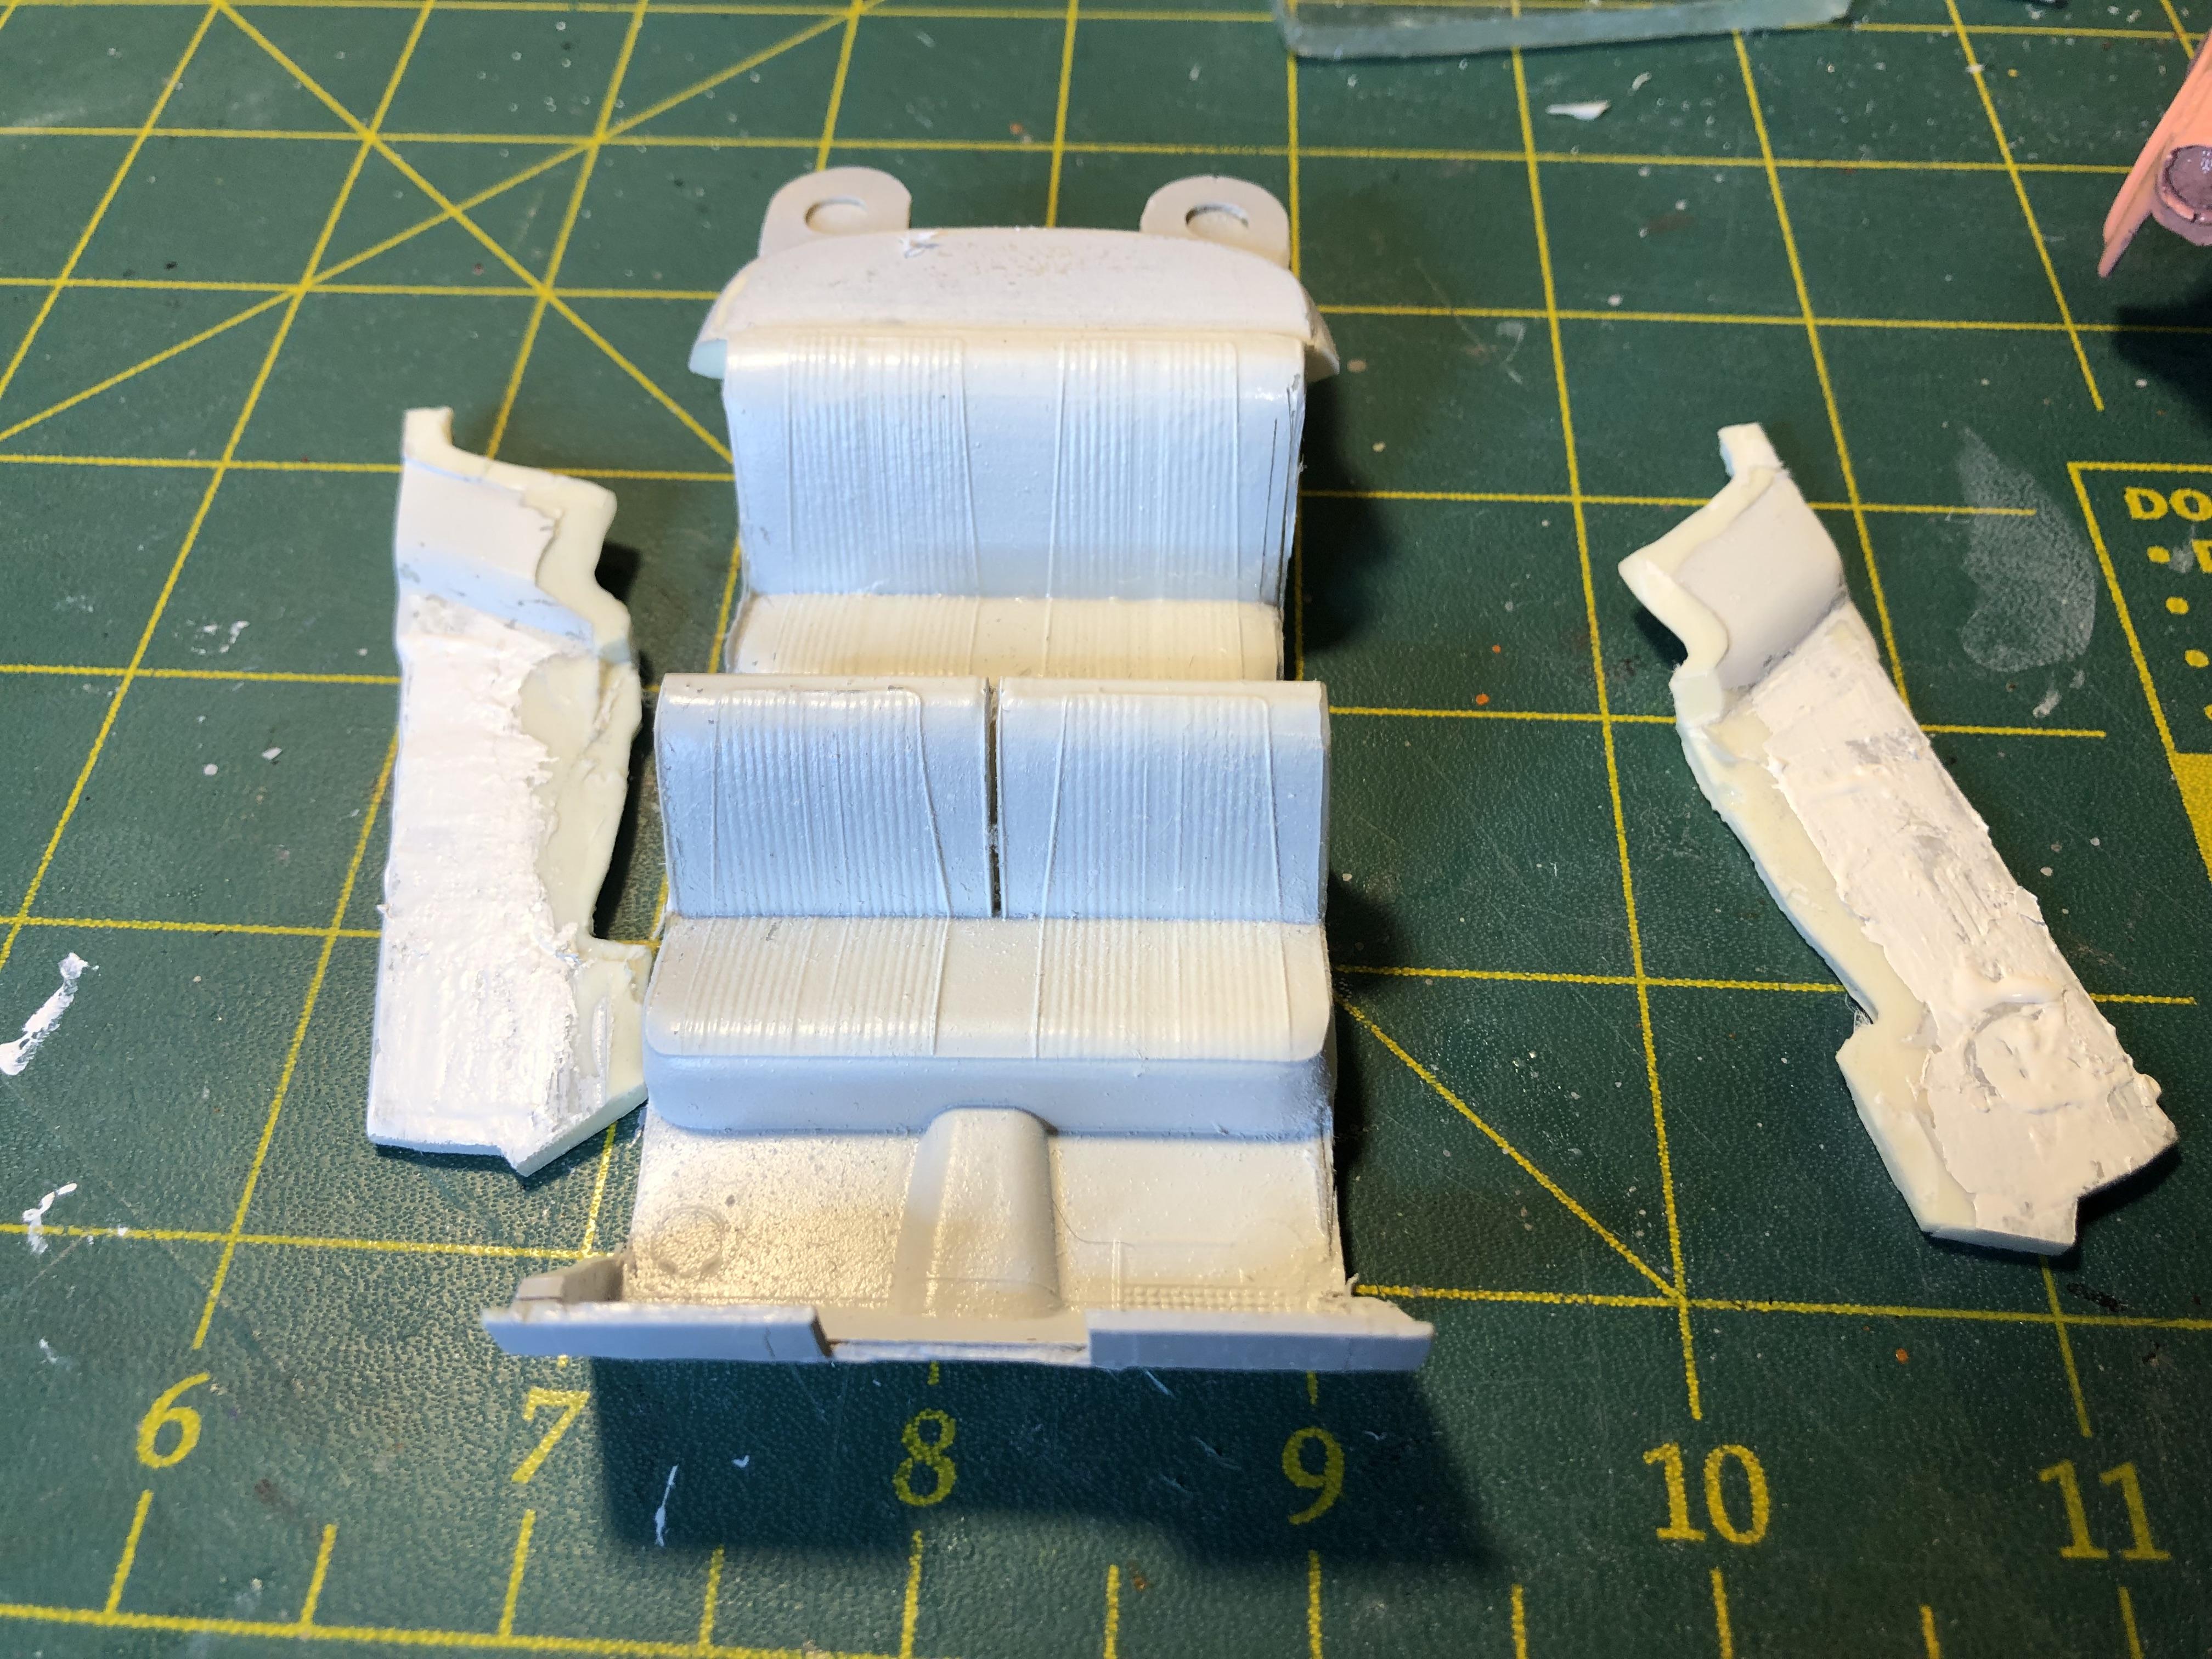
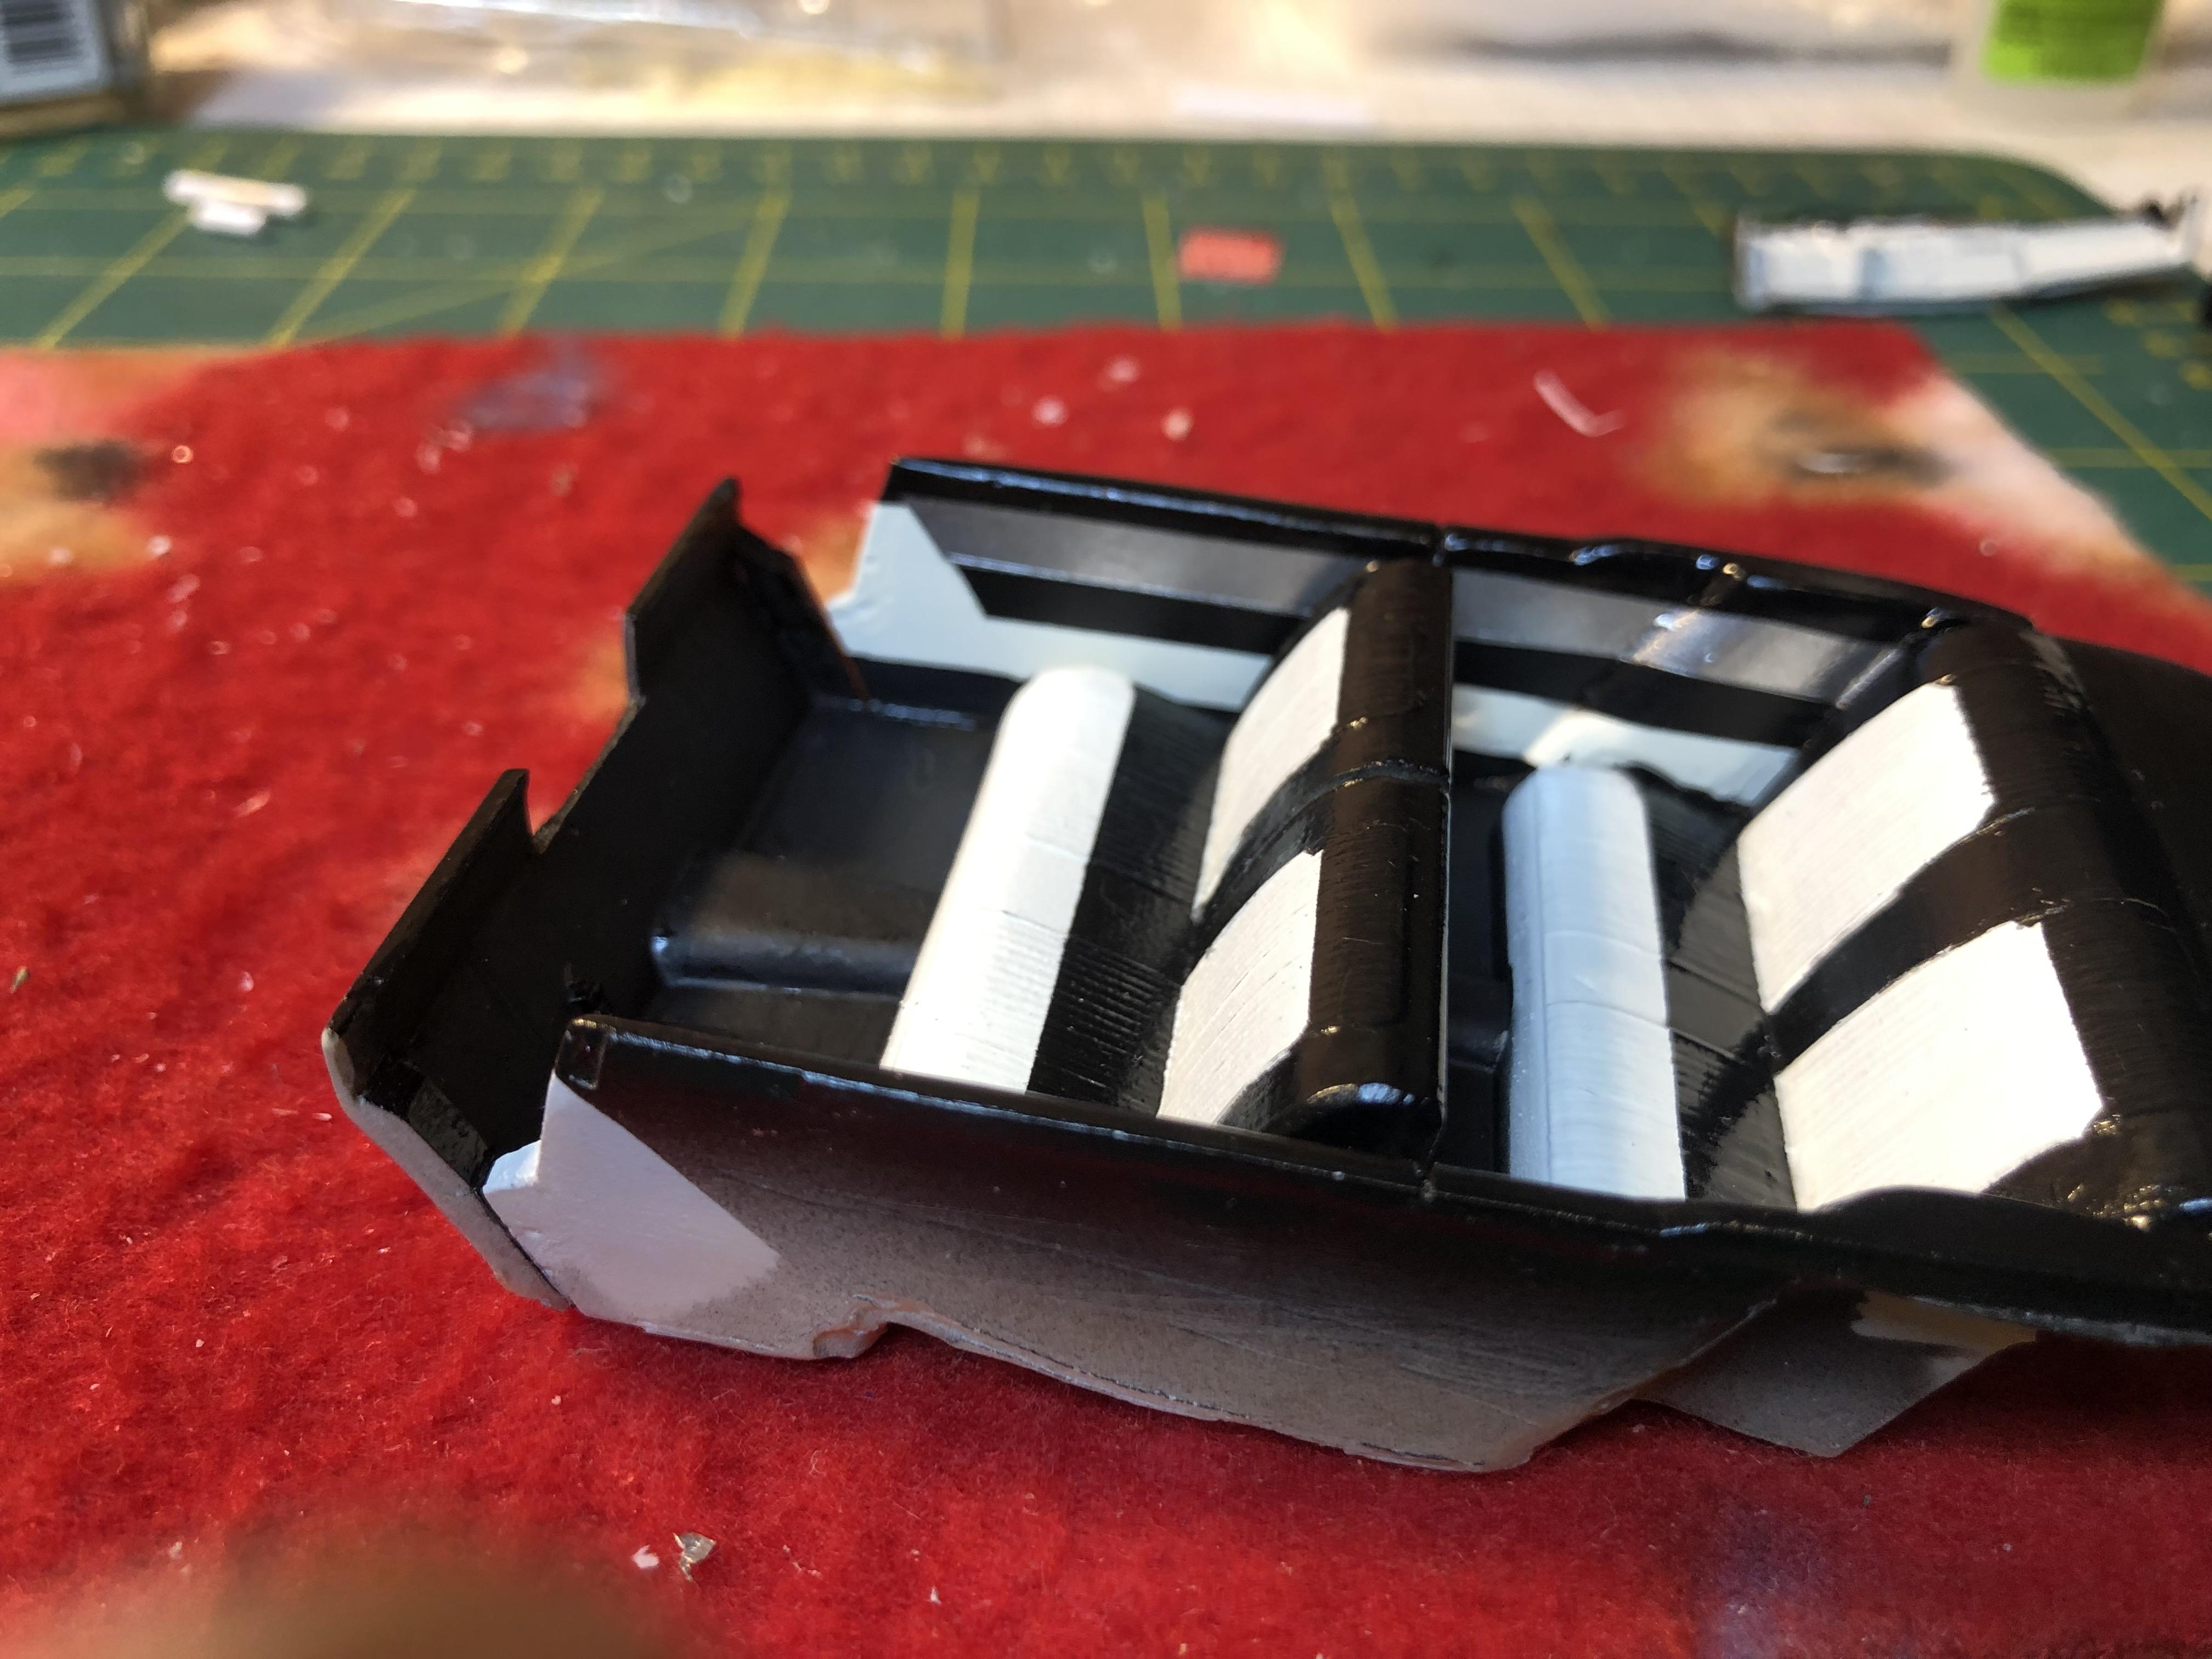
I did it on this 56 Dodge resin kit. Interior was a bit dire and so hard to mask for the three different colours on the sides esecially so cut the sides out by a combination of cutting with a razor saw and scribing And the results - not as in depth a Steve's but certainly a (naughty word removed) load better than before
-
A good start on an iconic car You could mordorise the tudor with your skills
-
Thanks Mathias
-
Thanks haps Paul. I am happy with paint at the moment so fingers crossed it works out OK when I polish it out. Choosing colours and colour combos is an agonizing process when building a model and can make or break a model. In the process of all the little things to get it across the line
-
Dont forget when you make up a Mopar starter solenoid you will need to make left handed - Mopars are on the other side of the car🤪
-
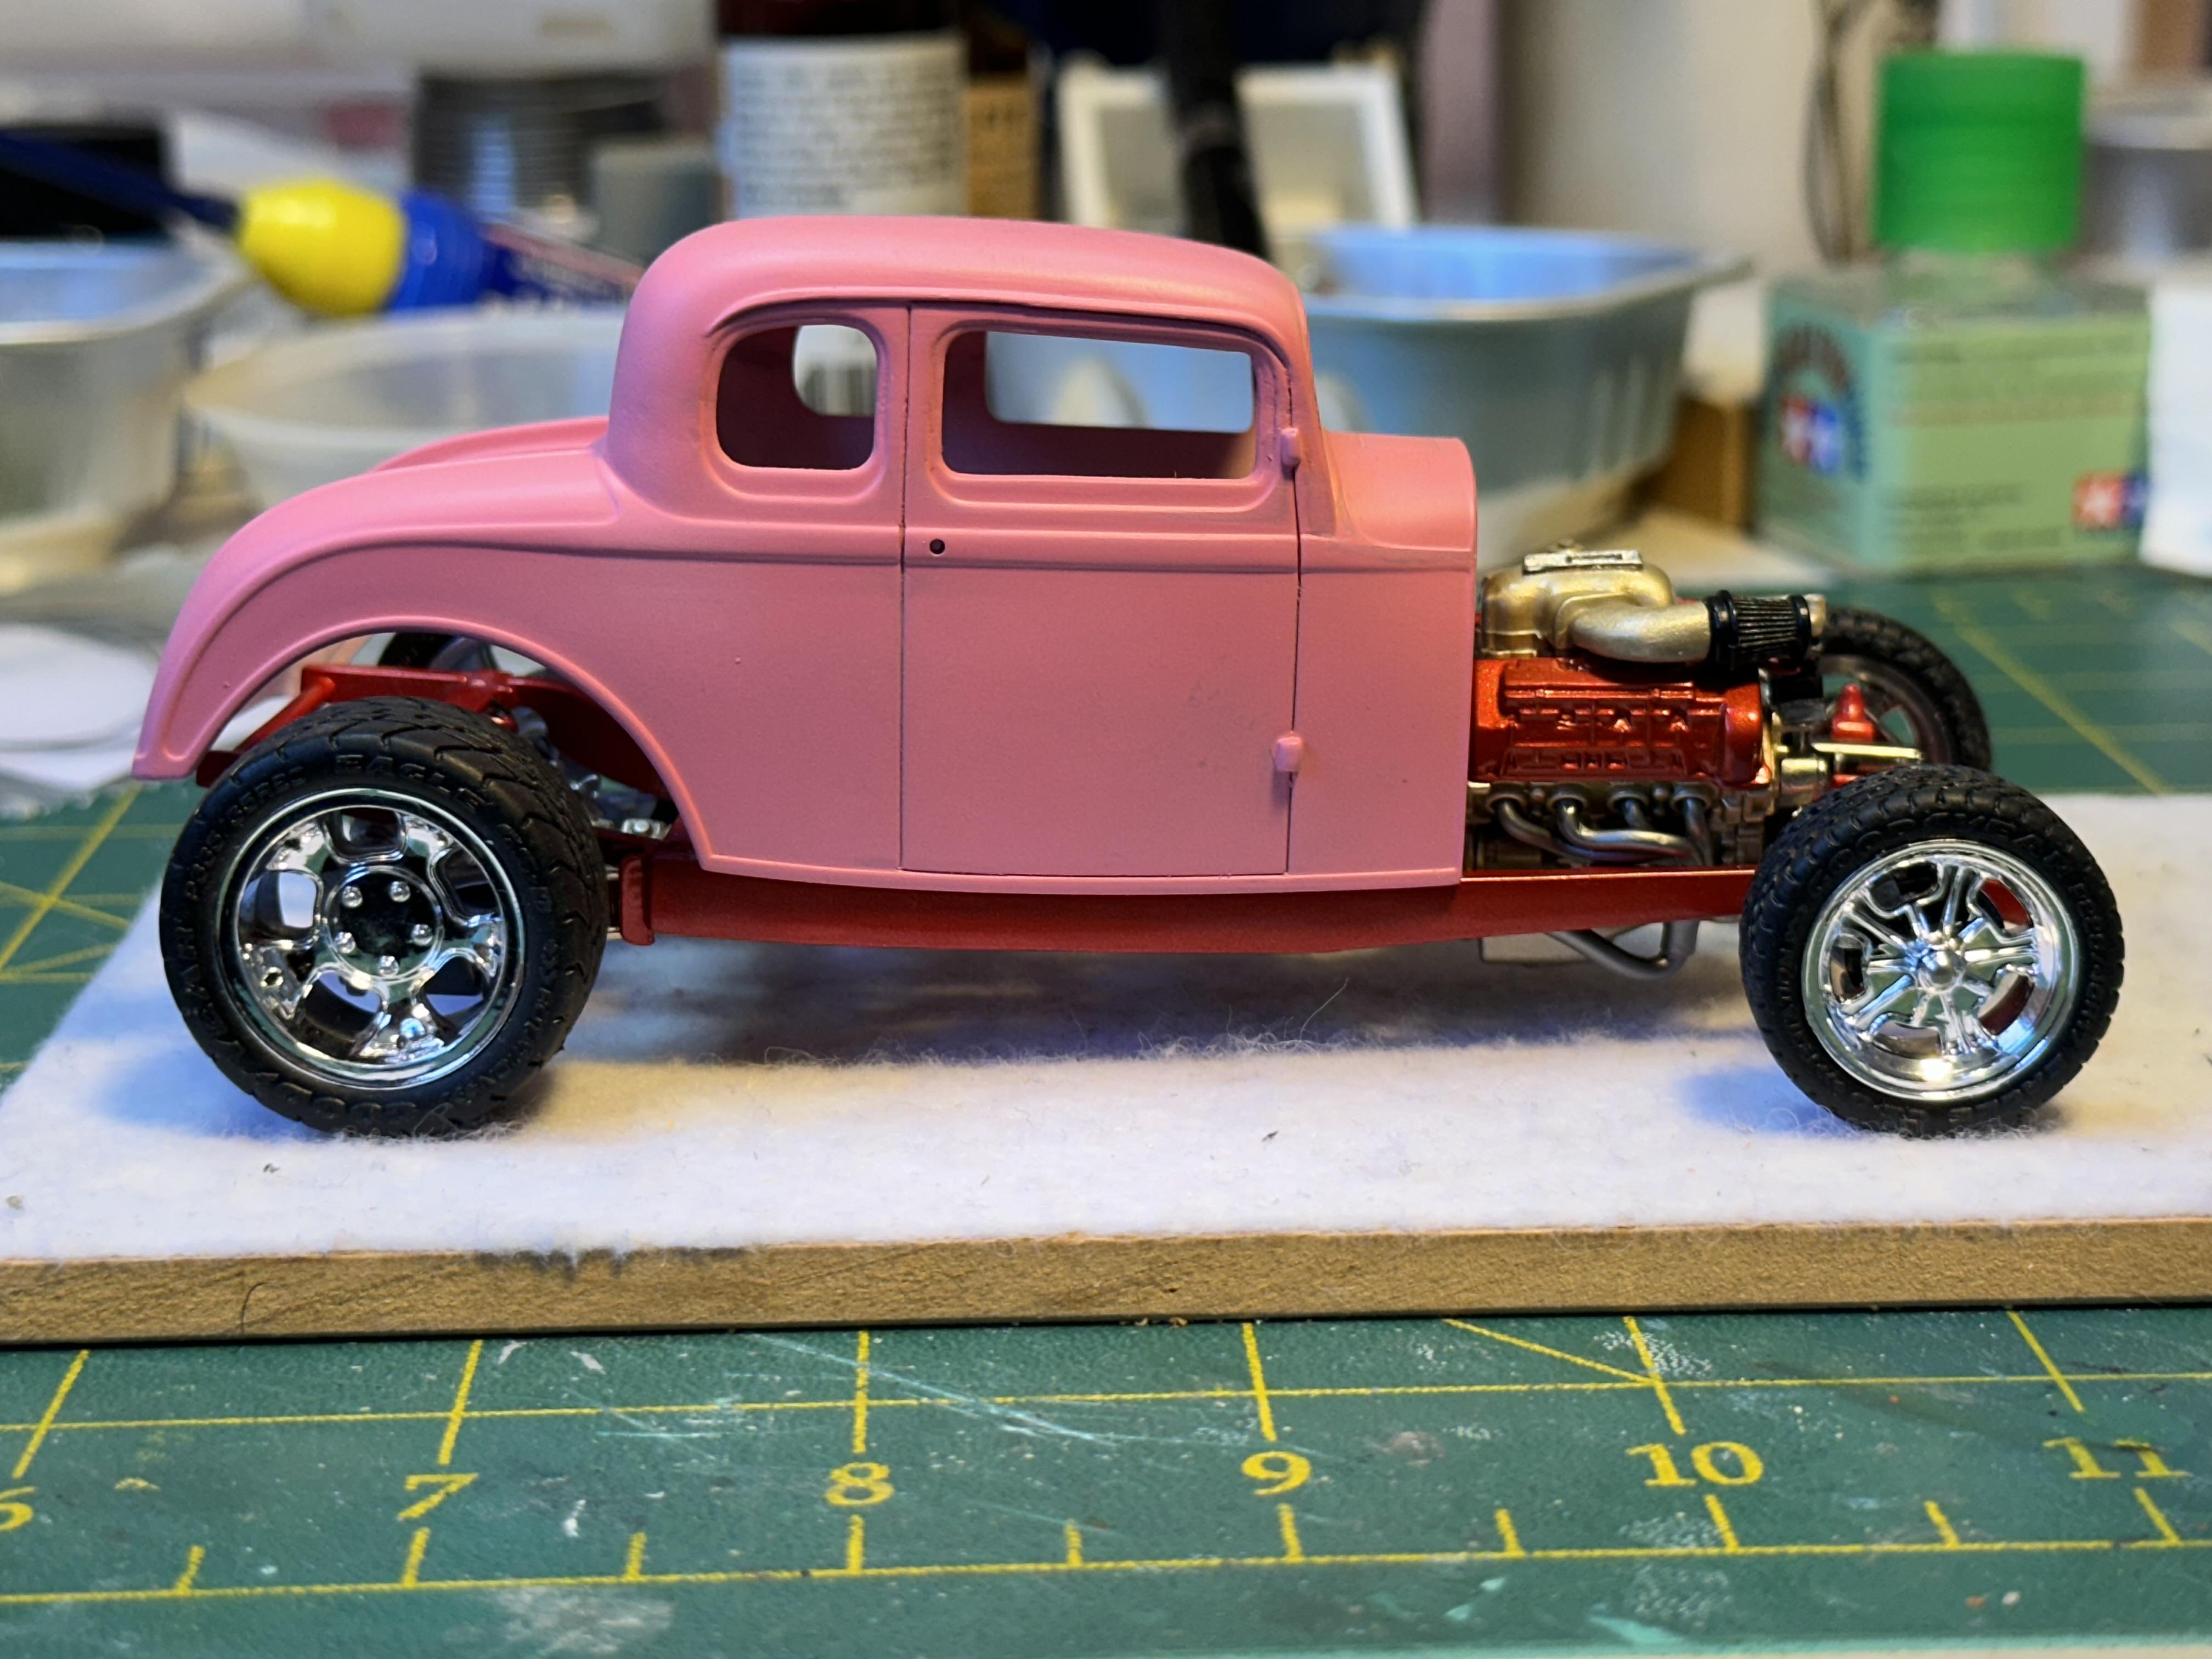
A quick mock up to take the local MPH group (Miniature Petrol Heads) meeting. When fitting the drivers side guards I had an awful lot of trouble to get them to fit - found the cause - the lower radiator hose clashes with the front guard. I will now have to alter this to fit. I am annal and made a list of things left to do - comes from being a Project Manager in a past life The next big effort is to colour sand and polish out the body. Pix are as it came from the paint shop Thanks for looking
- 730 replies
-
- 13
-

-

-
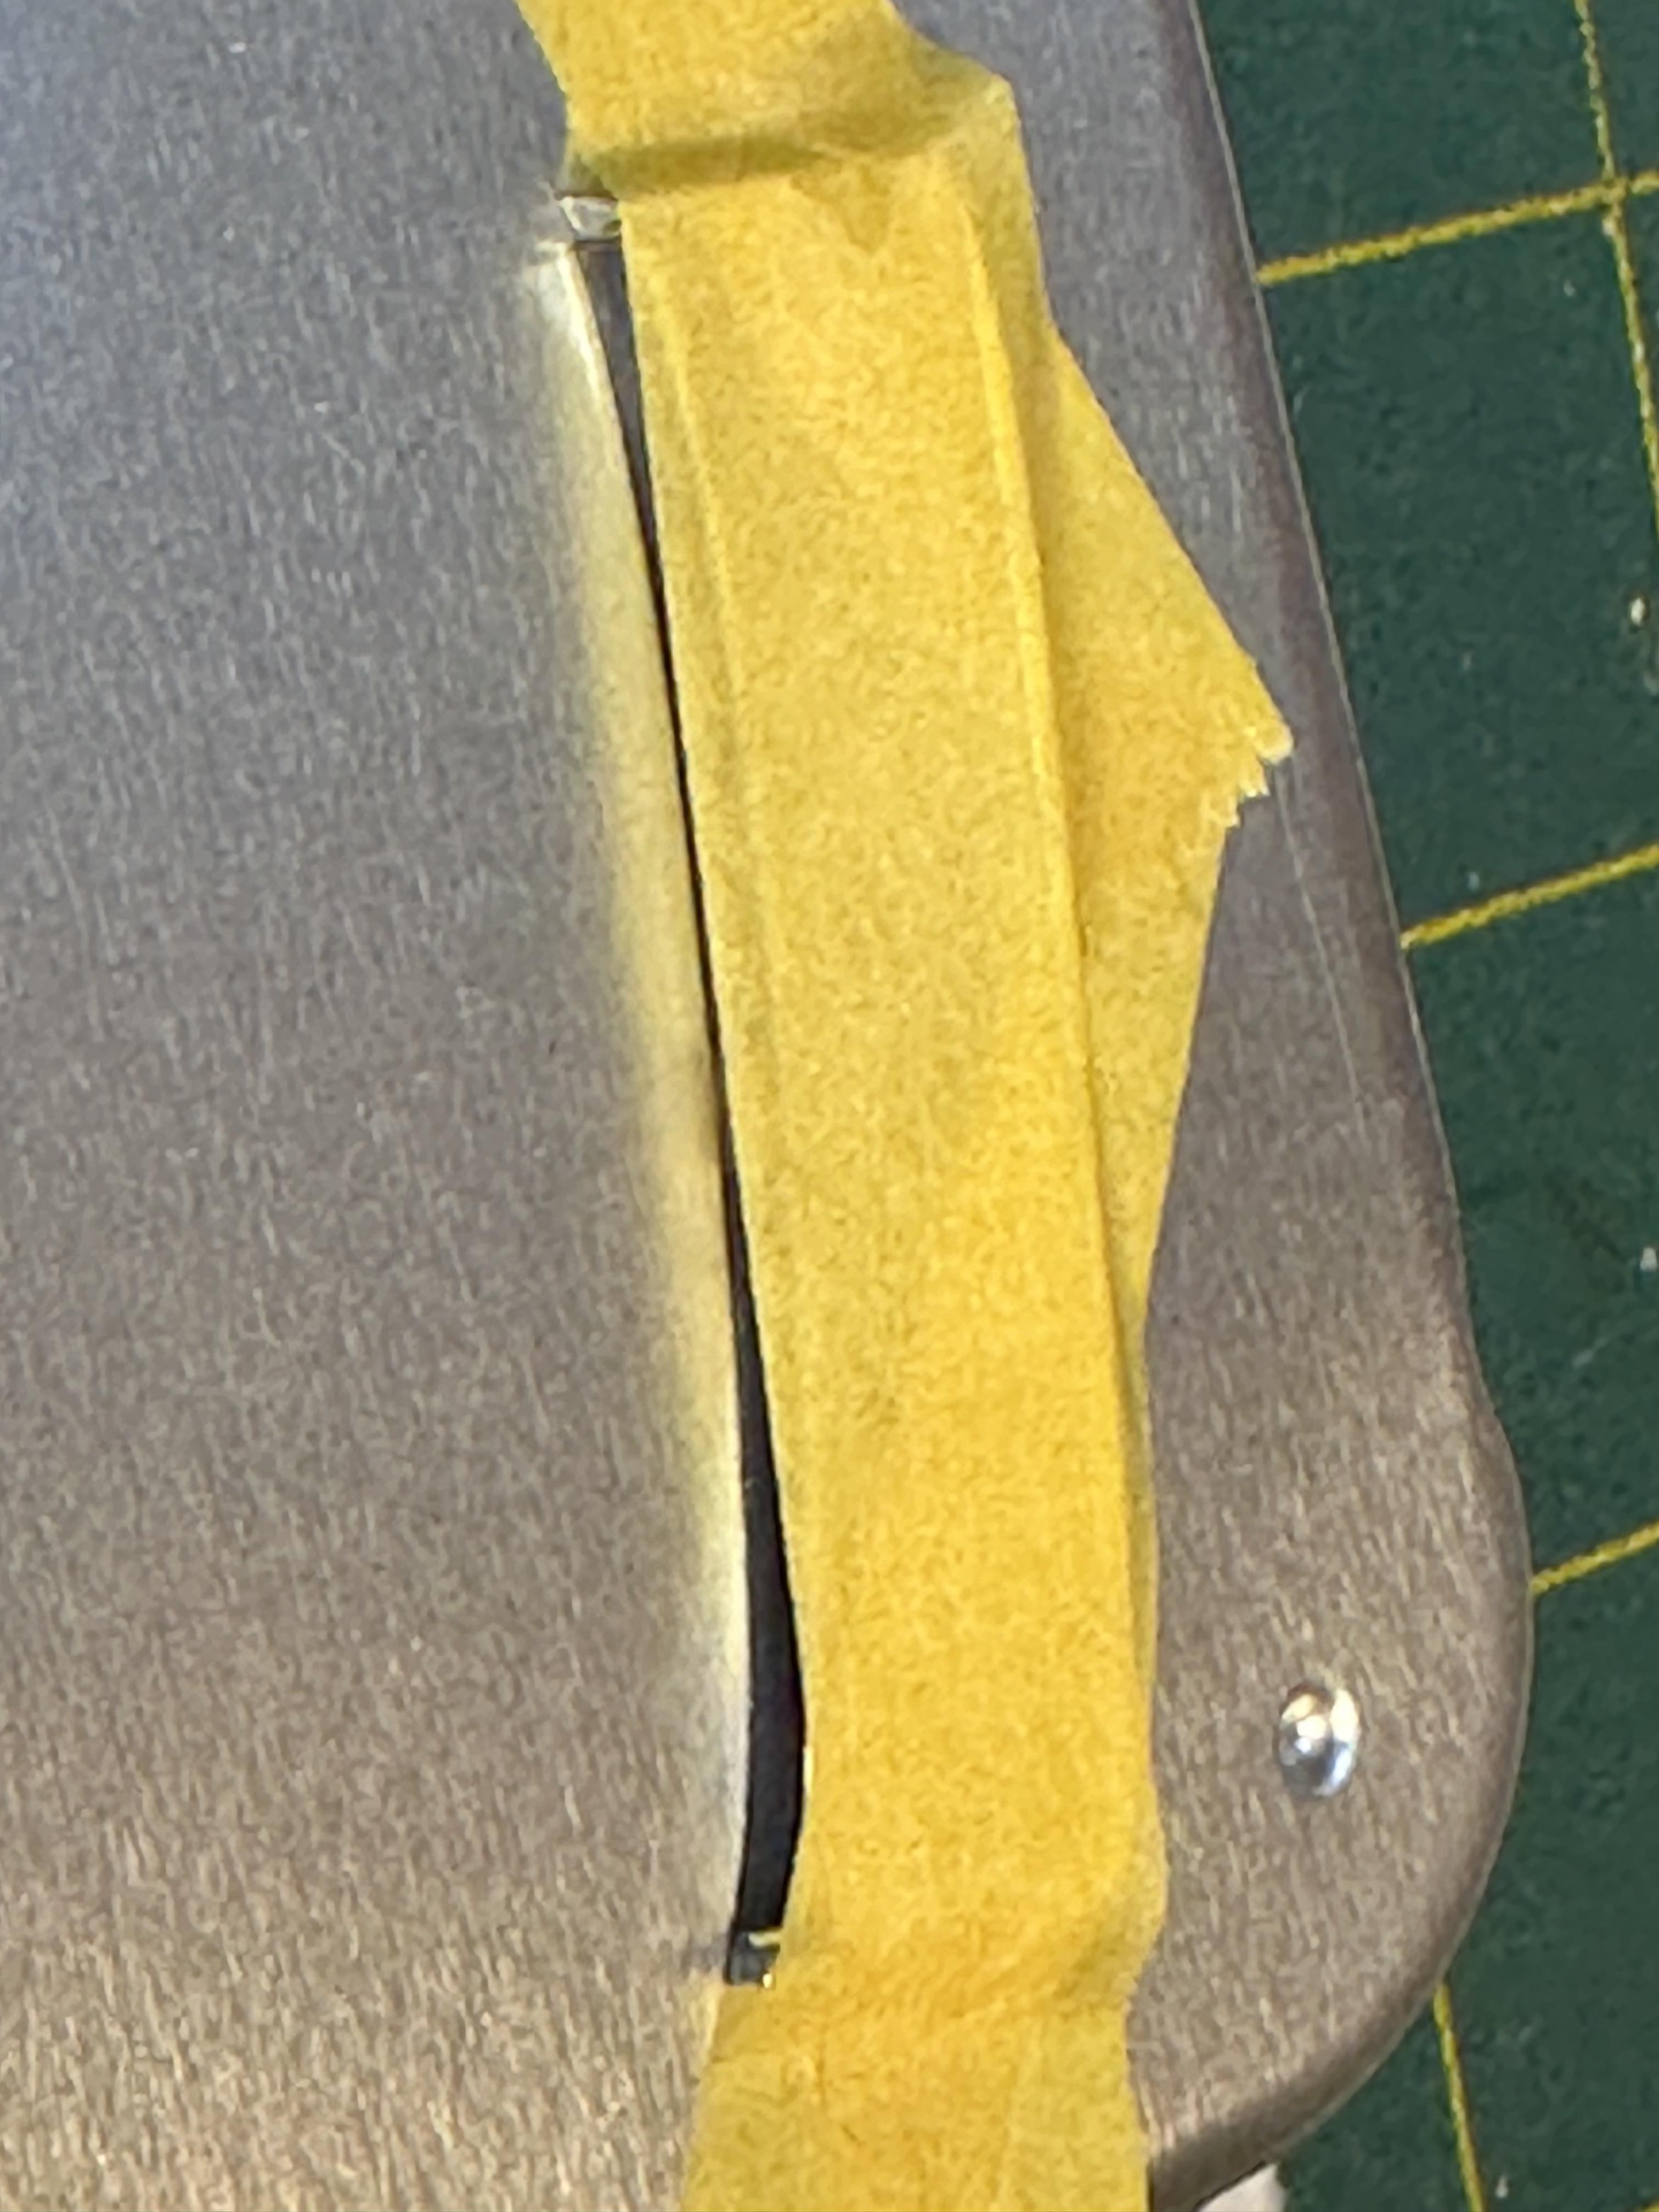
Paint sorted and has been in hot box for a while so dug body out to fit up the windscreen surround. Test fitted - what gives here? Does not even look close to fitting. Checked fit on a 5W body I have in the modelling room and nope doesn't fit that either. Then I looked at the chrome tree I cut it from - it is the same as the 3W tree without the Hemi parts. Looked again and found the correct surround on another tree and compared - the less rounded one is for the sedan...... DOH!! I cut the bottom rail out with vertical cuts along the sides and cut back the sides to suit the gap Mocked up and now looks much betterer And glued up - somewhere under the tape is a chopped windscreen surround Thanks for looking
-
If you have Time
-
Luckily we don't have those varmints down this end of the planet (NZ)
-
I particularly like the 5W in the first post with the zee'd frame. I am about to start a 5W project and you are giving me brain worms You have a few deuces to get done - no sleep for a while
-
Looking good. I know no better so was the Petty car a real race car or fictional?
-
The 32 is in the paint shop (still). Had an oops with the clear coat running and causing a dark patch on the roof. Sanded back and shot a coat of colour on the roof and now in the process of clear coating again. Below is a shot of the oops but is very hard to see but in real life it was very visible and being on the top even more so. you can see a dark smudge in the closeup pix. The top has been sanded in the pix. Onward we go, thanks for looking
-
Who doesn't love a mock-up? Let's see yours!
bill-e-boy replied to Belairconvertable's topic in WIP: Model Cars
My 32 Sedan chassis under a 32 5W coupe I chopped for a friend that has found its way back to me after he passed away last year. The chop was done about 12 years ago. -
The last time I used MM enamel I thinned with cheap lacquer thinners and the result was very bad orange peel finish. I may not have used enough thinners but not too sure of that. Anyway I sanded it down and repainted with MM thinned with Testers thinners in the red tin - and it does not smell like mineral spirits. I have about enough Testors thinners left for one model and about 40 jars of MM so I need to revisit what thinners I will use in the future. Mineral spirits works but is slow drying so I avoid it. OK for clean up but lacquer thinners is better for that. Lighter fluid works well too. I think lighter fluid is clear spirit that I have used with success. And I believe a product called Two Way thinners works too. This can be used on enamels and some lacquers. I suspect this is what Testors thinners is - the stuff I have is a PPG product and I must give them a sniff test. It is not as hot as lacquer thinners. A little confusing but I think erring on the side of caution is best when you do not have a lot of raw product avaialble. The problem is that I have mostly moved away from MM enamels to Tamiya acrylic enamels and now Tamiya (and others) lacquers. There were some cool colours in the MM range that are not readily available elsewhere.
-
We made the pilgrimage (from New Zealand) last October and the Petersen was one the highlights for me. The main display was low riders. Not quite my cup of tea but cool all the same. The Hirohata Merc must be in the current revolving display as I would not have missed if it was there. Saw the others in the pix above though. The Vault was cool - so many cars to drool over such as the Aluma Coupe, Lil' John's 26 T, the XR6 that Tx Smith built and won AMBR and other AMBR winners. Just too many cool as cars. I took a zillion pix to remember the visit by.
-
New hot rod project featuring 1936 Ford Model A "Wide Five" wheels
bill-e-boy replied to tim boyd's topic in WIP: Model Cars
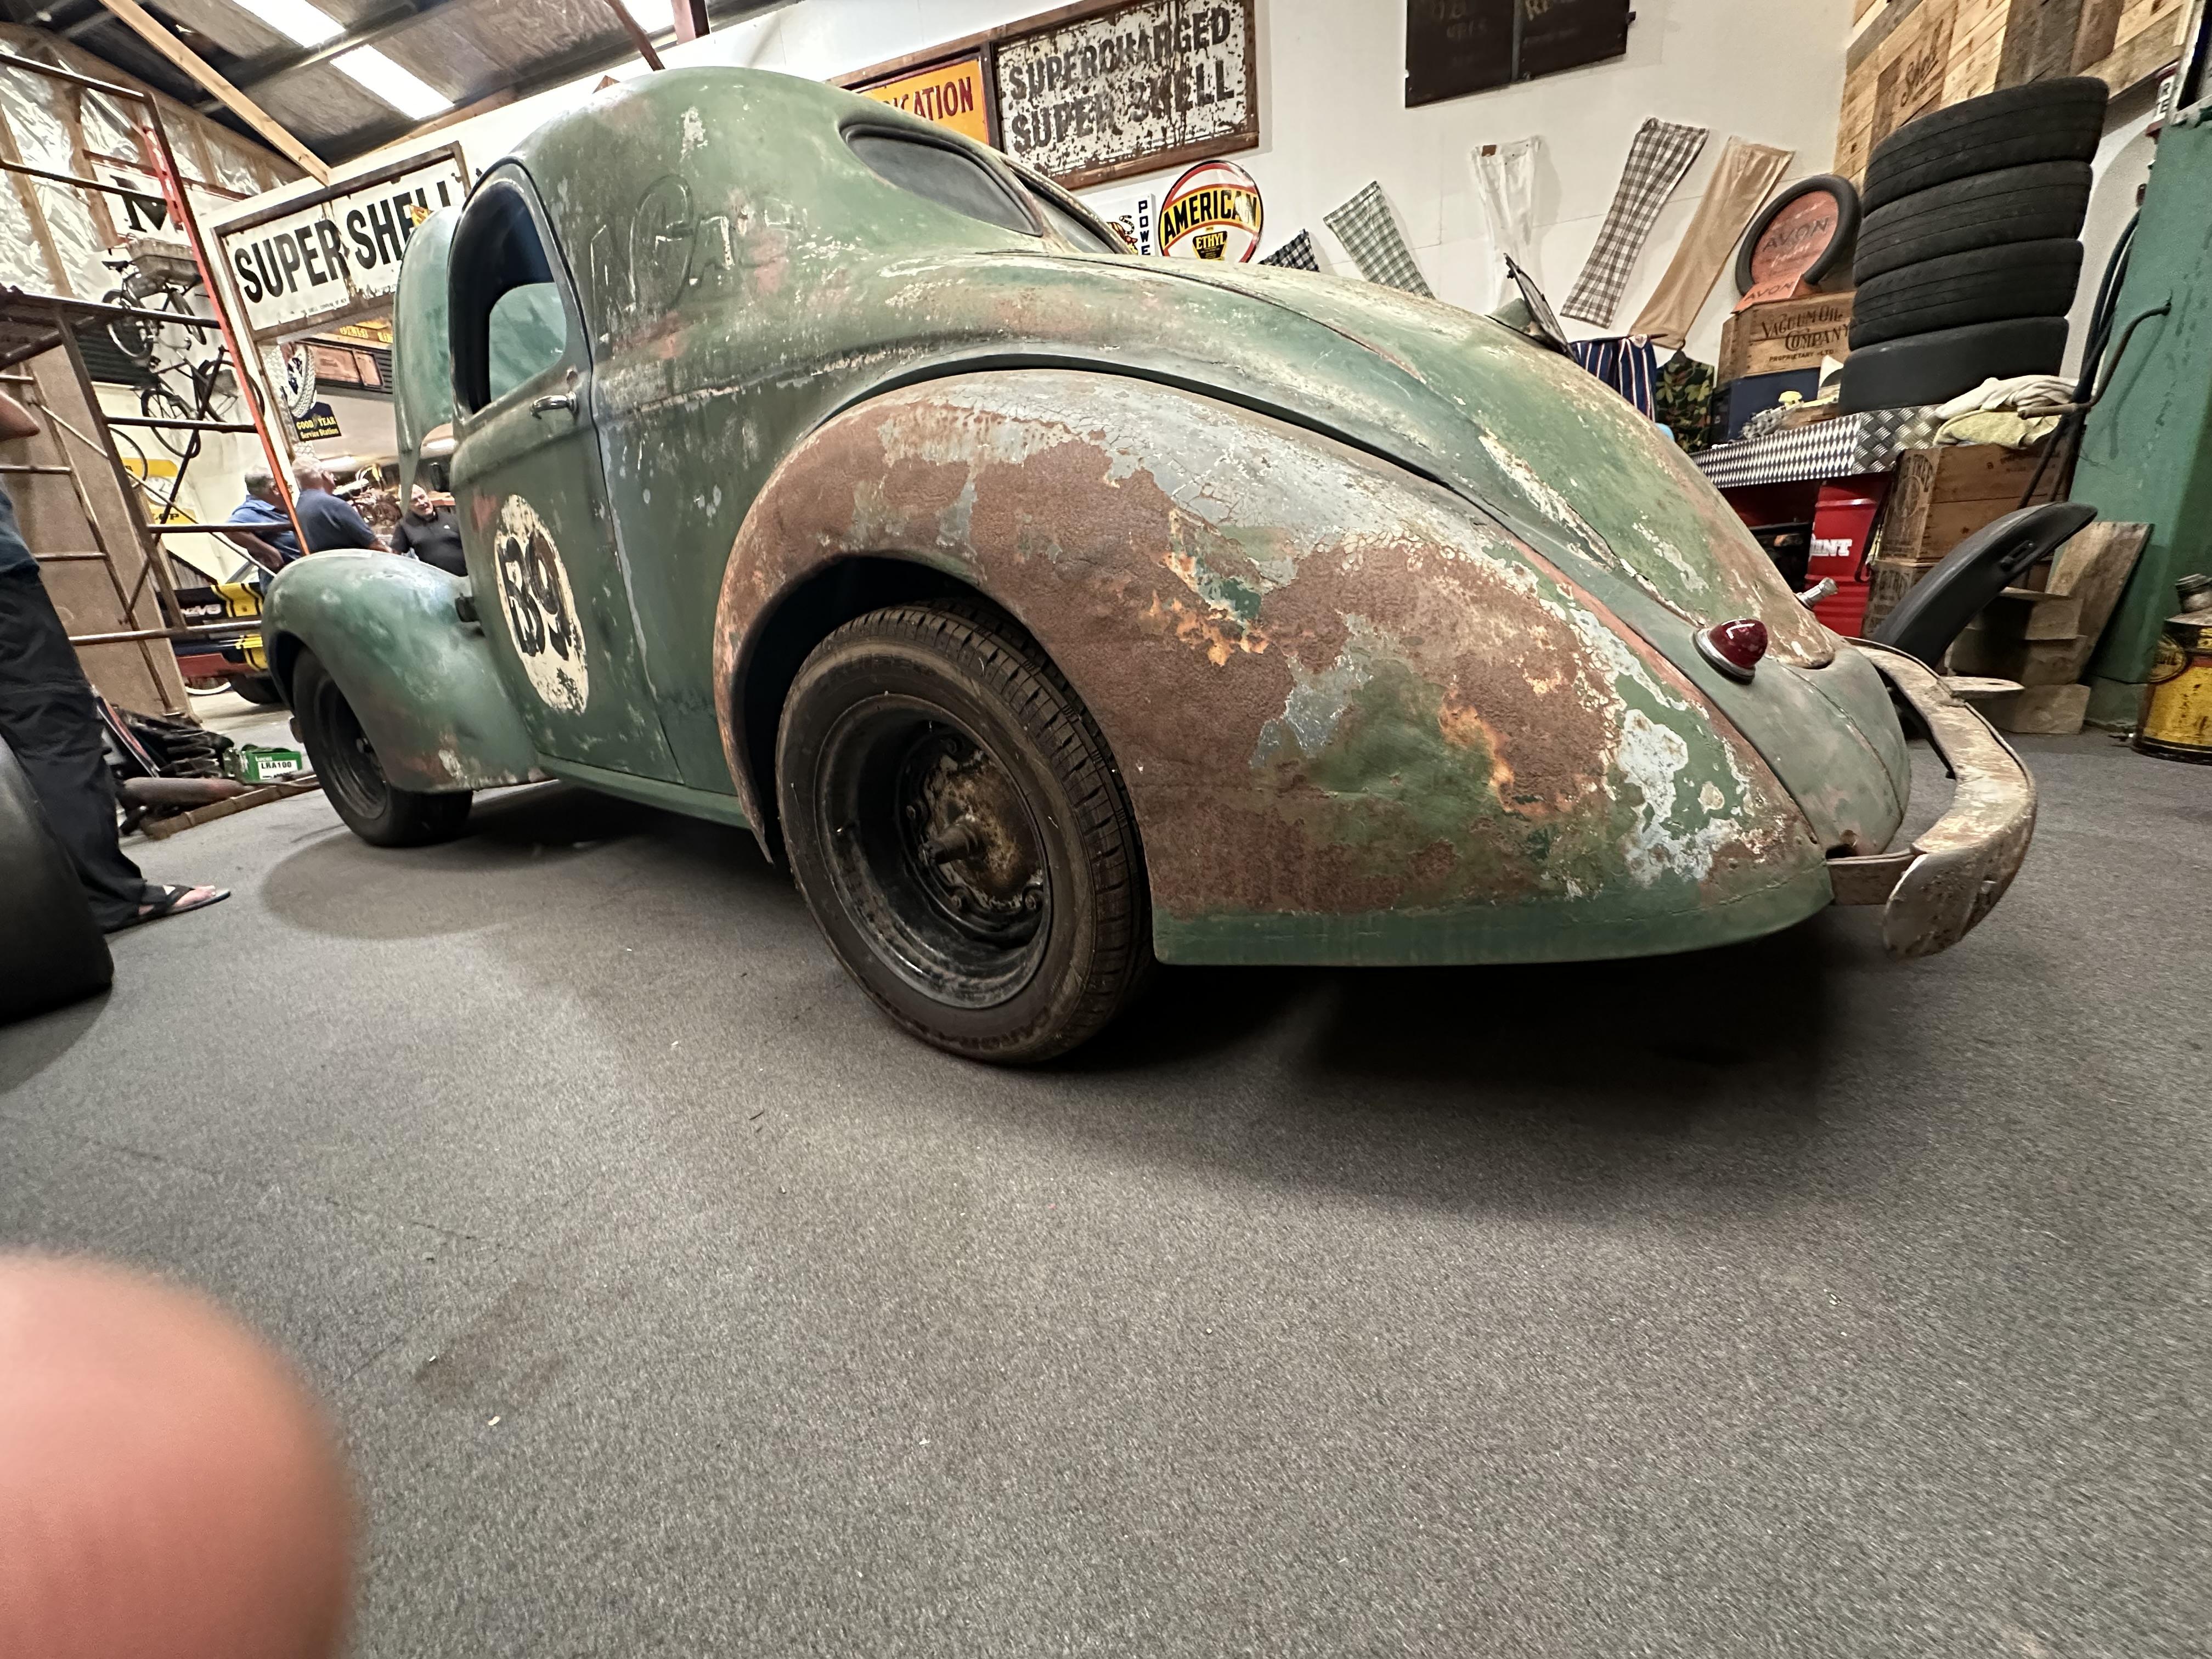
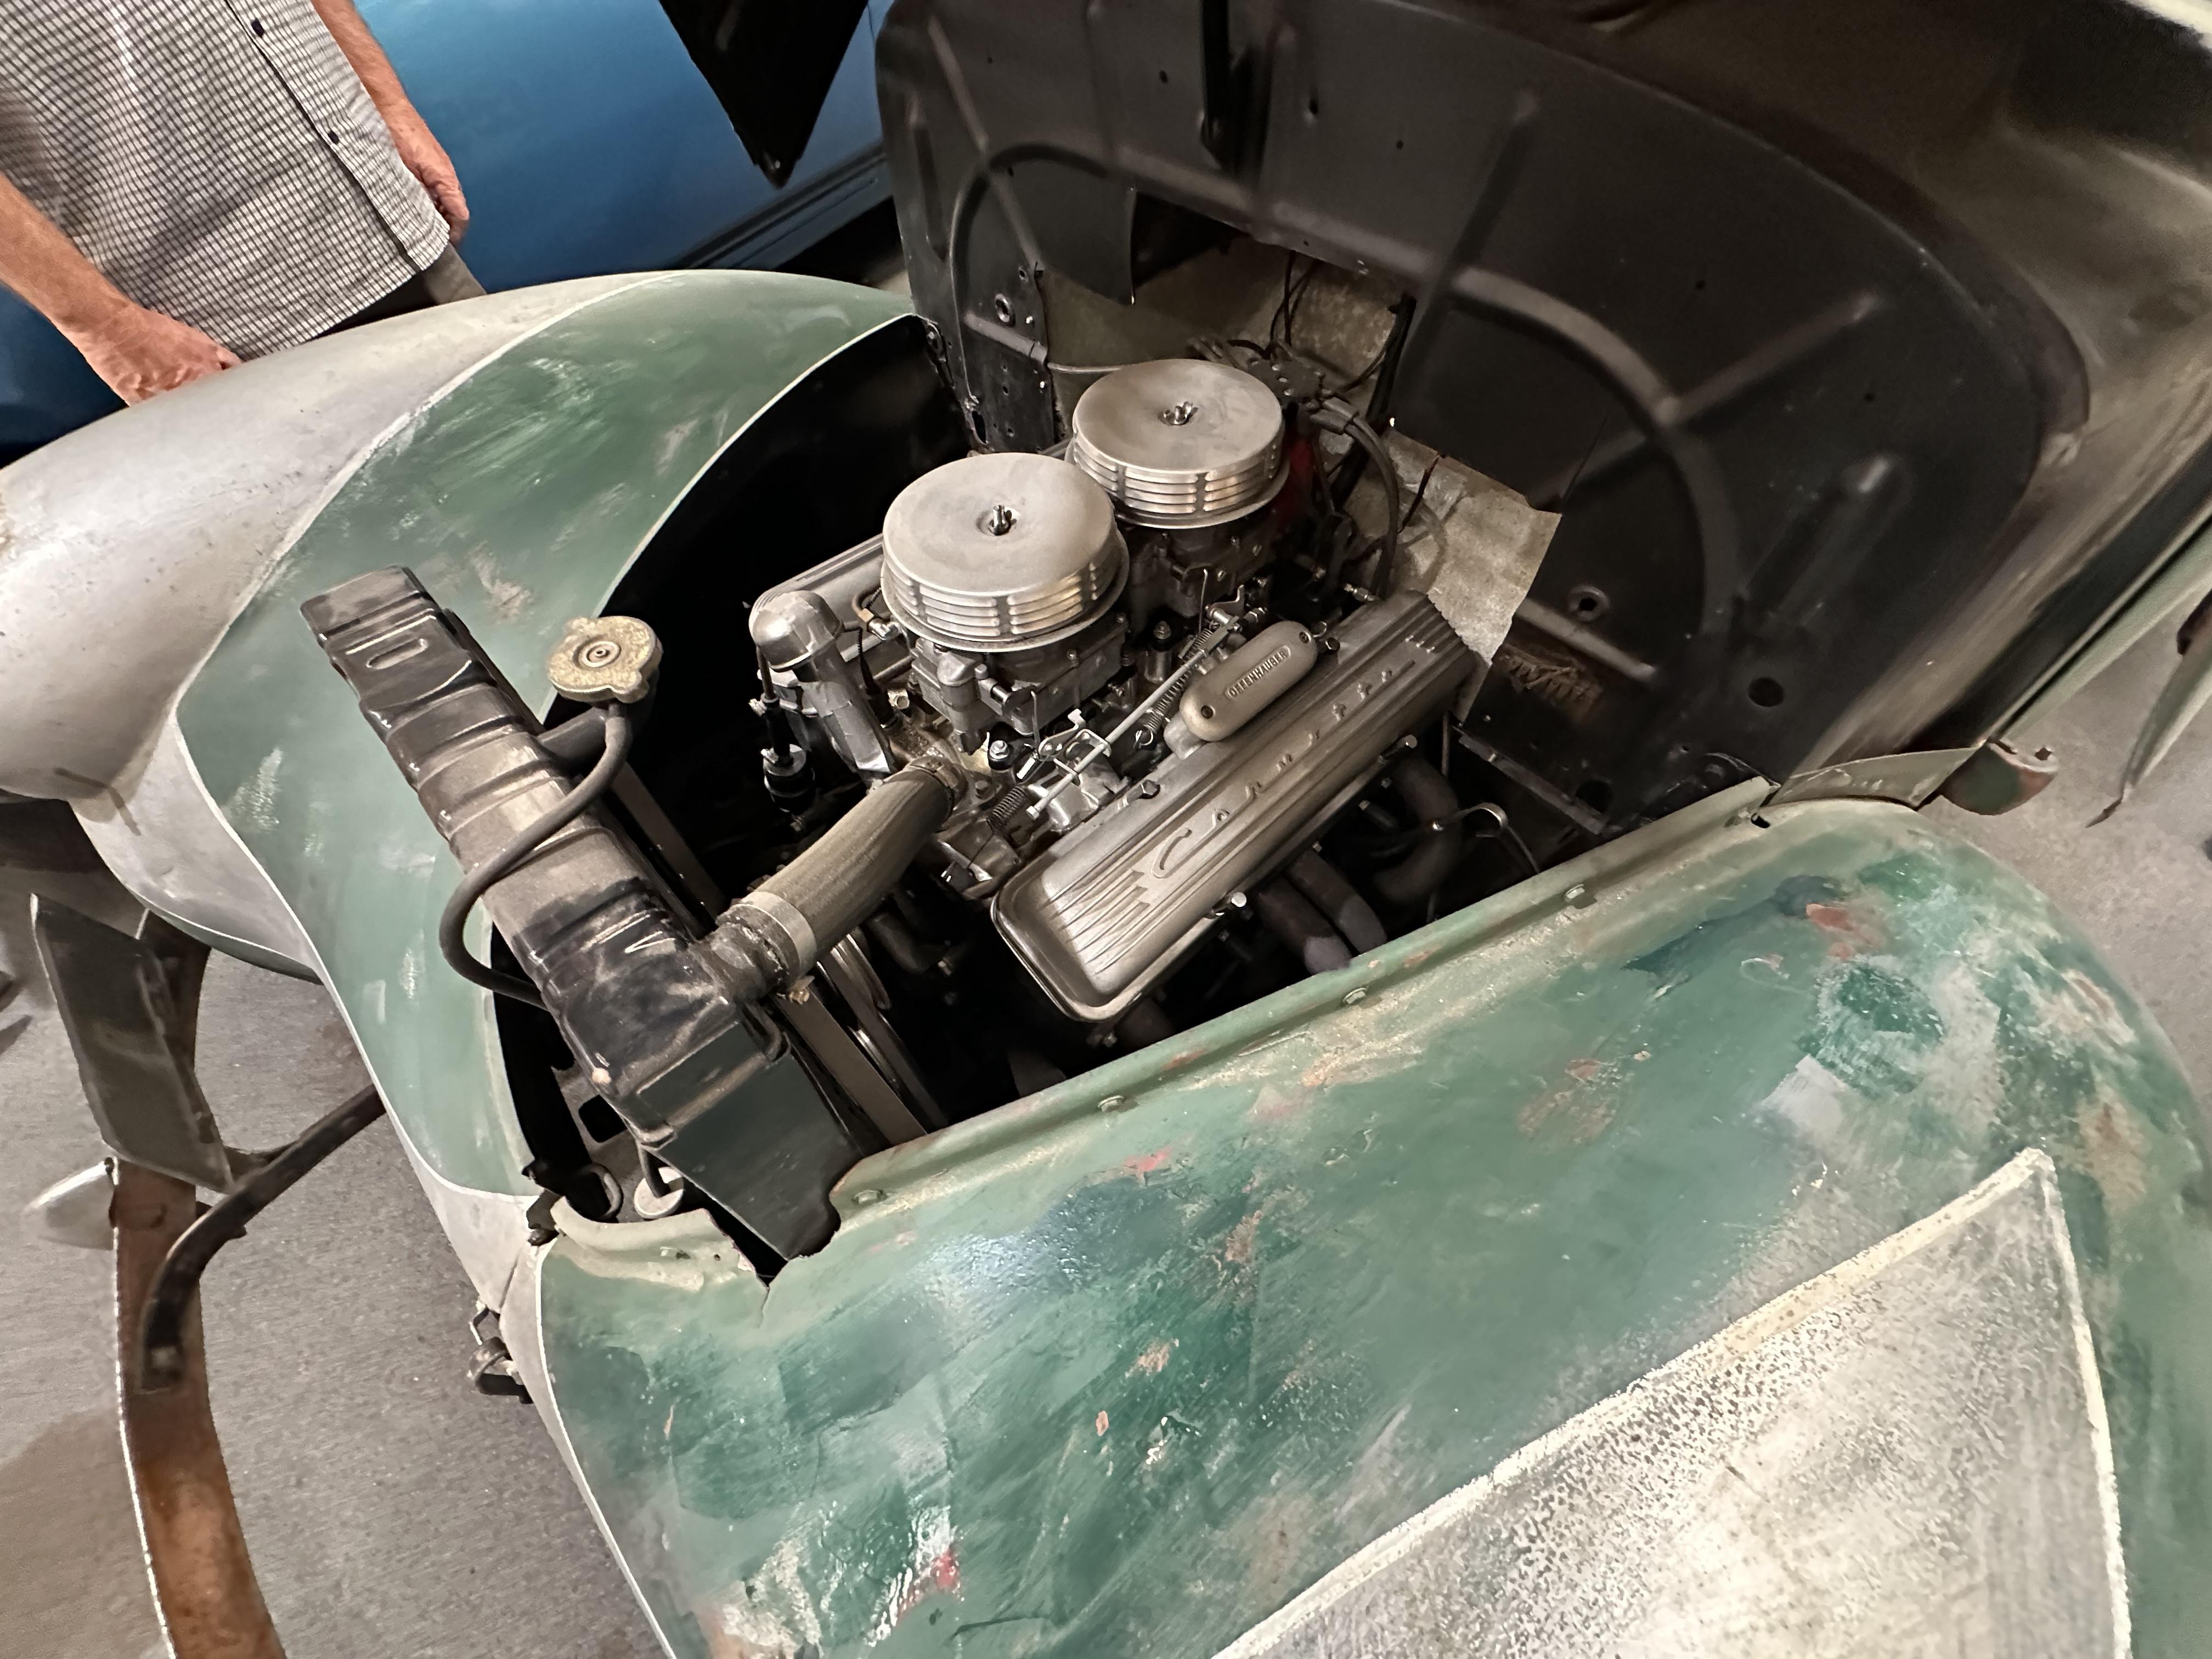
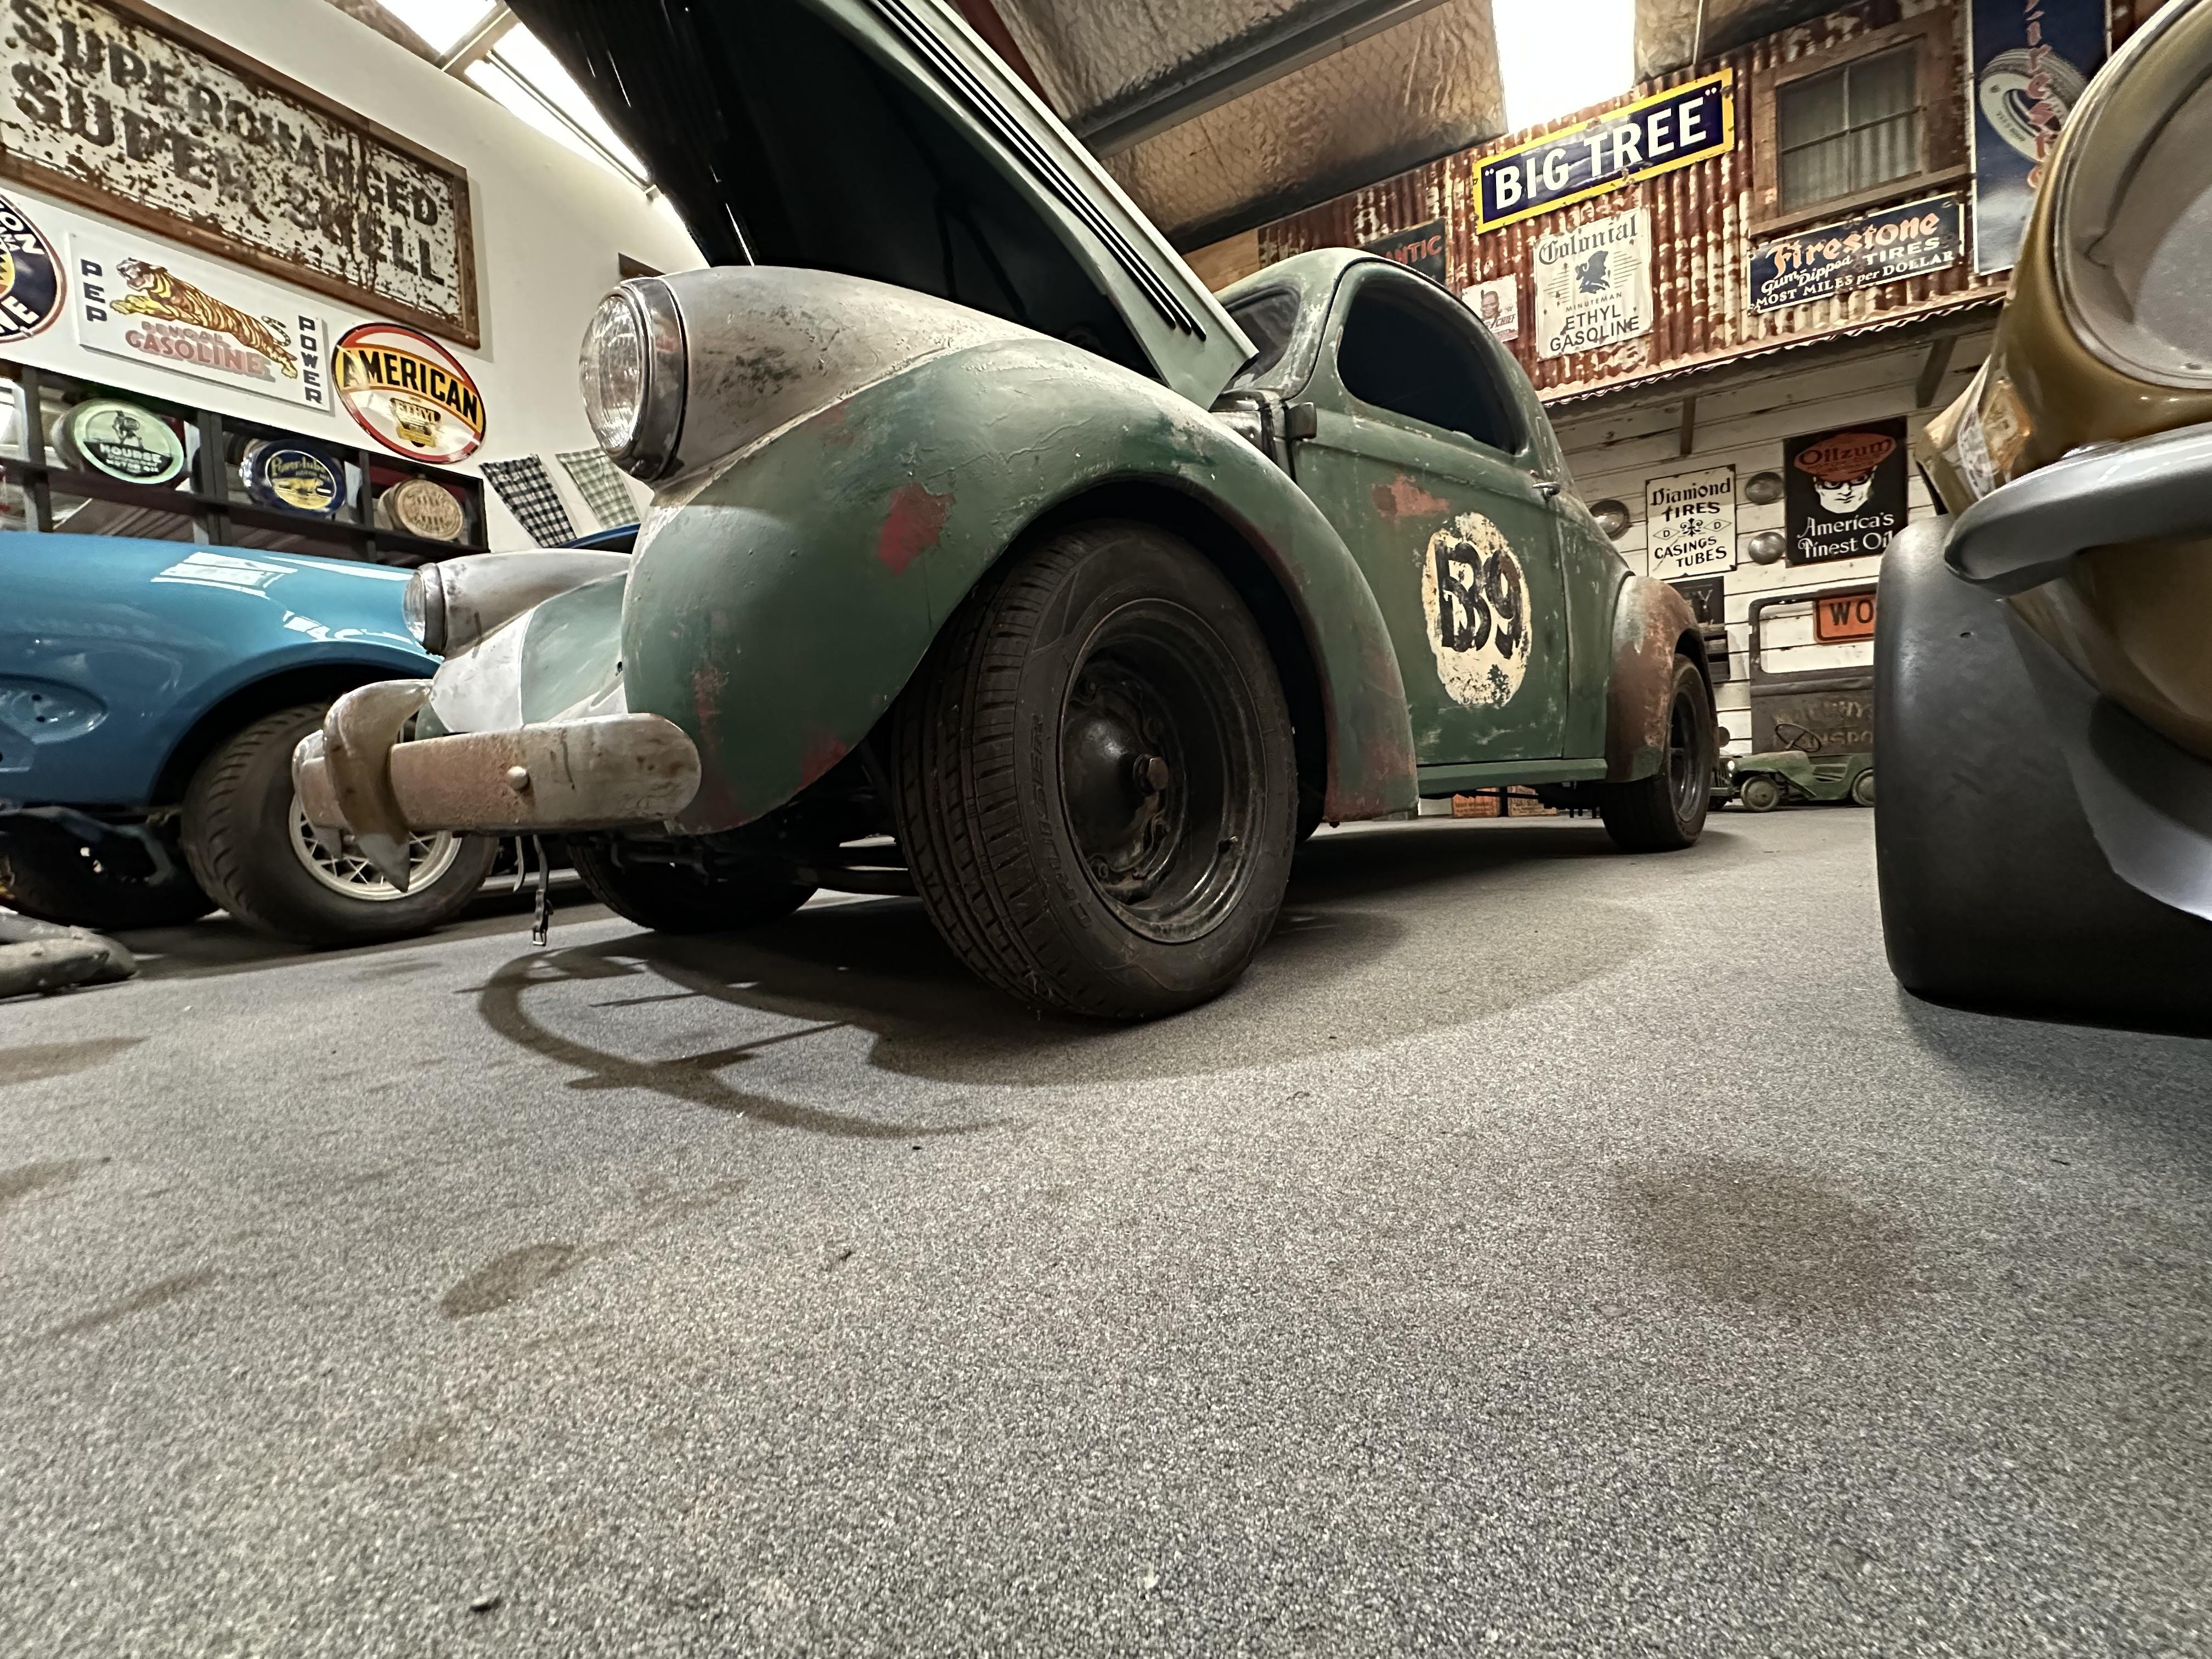
Saw this today on or monthly Gold Cruisers run. Gold Card - retiree - we get one when we turn 65 in NZ. An excellent starting point for some wide five wheels and lots of patina. The Willy's has wide fives front and back. A 327 up front with an open banjo rear. Not sure of gear box but more than likely a Muncie. The car has a history dating back to 1958 as a circuit racer by a guy by the name of Rod Coppins who was big down this way. Also in the collection is a Camaro that Rod raced. Looks like the car may have had some strip action too with remains od A/GAS lettering on the roof A cool old racer using what was to hand back in the day and may have started out race career with a flat motor using some left-over bits from other race cars. As could be expected for the day the car would have evolved over time -
Thats a bold move Paul. It's going to look cool too
-
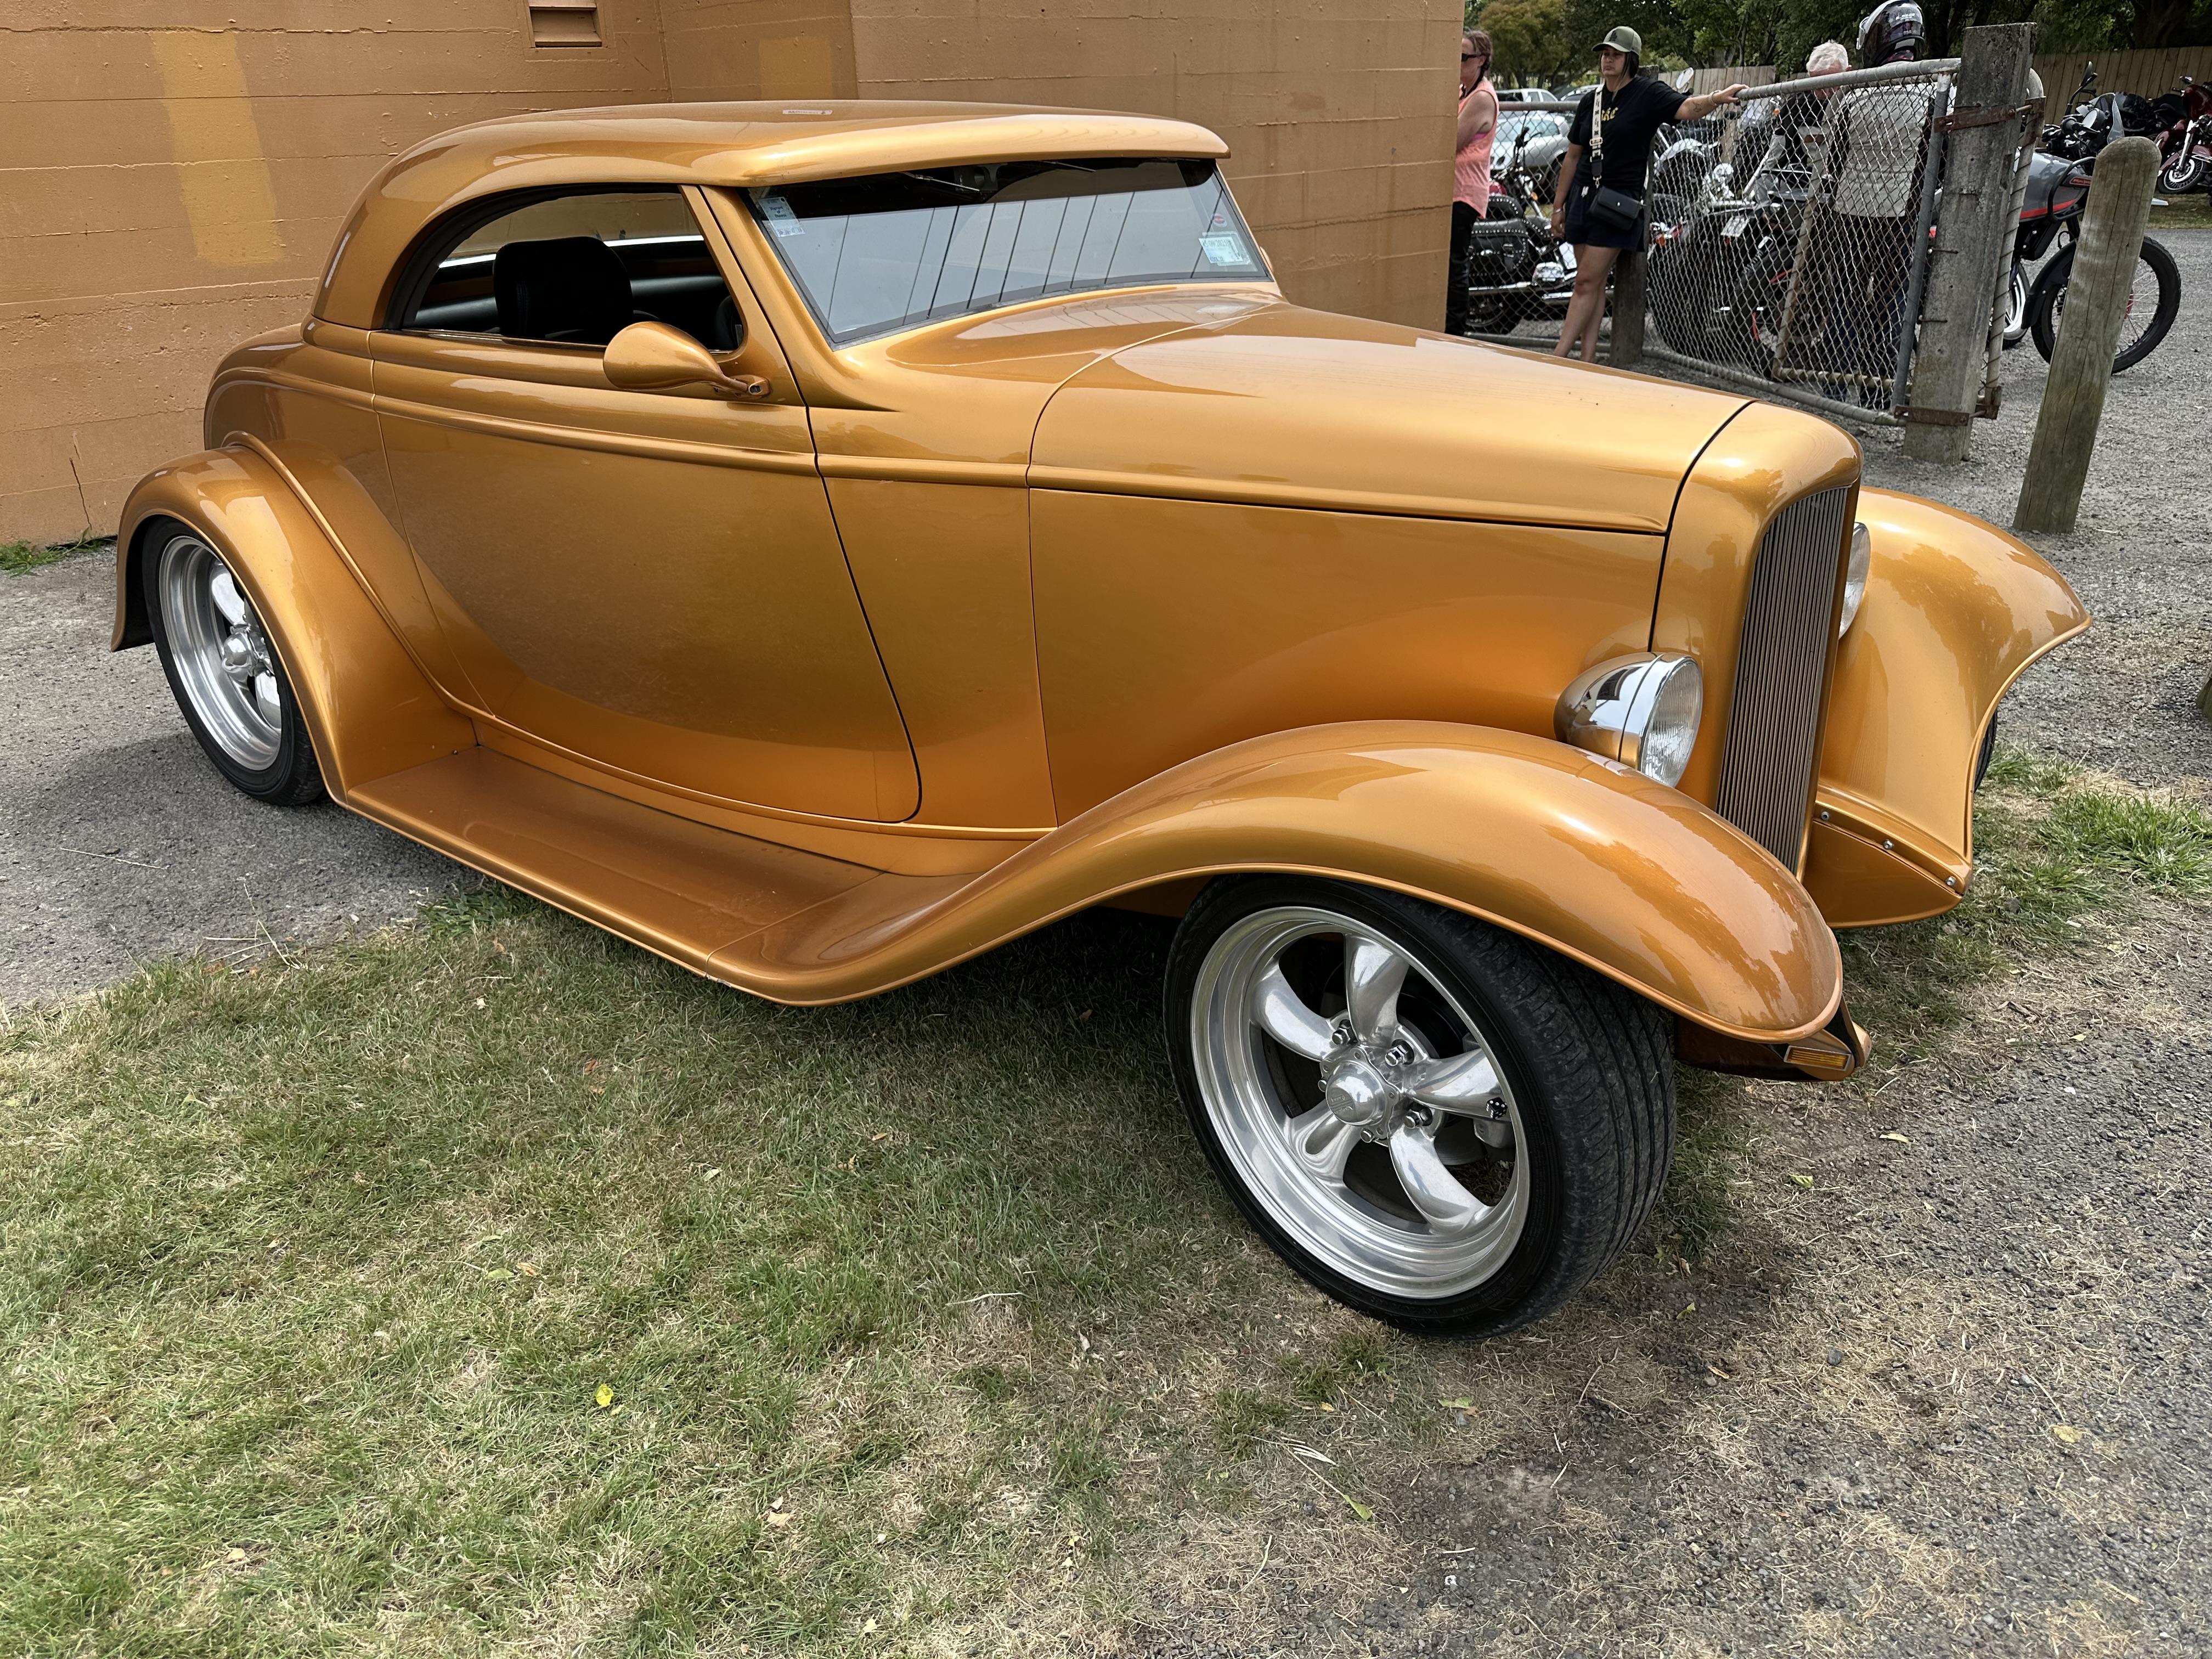
And a little off topic but relevant. Pix of a 32 Cabrolet with a similar tasteful roof line treatment that Speedpro has given to his sedan. Pix is from a car show in a little town about 30km from where I live
-
Looking good Paul. I love your attention to detail which ends up as looking like it should be there and not an obvious add on or afterthought. The example is the altered hood sides due to the body being channeled. Once painted the underlying work will disappear and will look like it came in the box that way. The ultimate deception.
-
Coming along nicely. The AMT fender sets have huge tubs in the rear so you can fit a big tyre in there. Maybe too big for a flat motor. And yup the belt line moulding is very vague on the AMT 40 series with little fading to none on the hood. Makes it a challenge to foil - or just sand it off and go de-chromed
-
Looking good Bob. I built one years ago and they do come out good. Nice start with the (very) BBC. The one I built I scraped away inside of the hood side panels and opened up the vents so you could see into the engine bay. A nice way to show off your multi-carb VBBC
-
I saw a great source for silicone tube - some re-useable silicone straws that I saw at the supermarket last week
