Rich Chernosky
-
Posts
2,104 -
Joined
-
Last visited
Content Type
Profiles
Forums
Events
Gallery
Everything posted by Rich Chernosky
-
Jaguar E-Type Fixed Head Coupe Revell
Rich Chernosky replied to The Creative Explorer's topic in Model Cars
Didn't see the tags....Its 1/8, not 1/24 -
Jaguar E-Type Fixed Head Coupe Revell
Rich Chernosky replied to The Creative Explorer's topic in Model Cars
WOW...I am completely humbled. I built this kit and posted it here, but it hardly compares to yours. The photography is over the top and I really like those wheels. The color is perfect too.......now, if we could see that steering wheel..????- 34 replies
-
- 1
-

-
- 1/8 scale
- jaguar xke
- (and 2 more)
-
Aston Martin DBR1/2 (1959)
Rich Chernosky replied to Dave B's topic in Other Racing: Road Racing, Salt Flat Racers
Really nice job, Dave, on an iconic racer. -
TWO Ferrari 599's , GTO and SA Aperta
Rich Chernosky replied to Rich Chernosky's topic in Model Cars
Thanks....just make sure the radiators are at a steep angle in the front otherwise the bodies won't fit. Would be interested to see your take on these two. Good luck on yours. -
Really like the wheels you picked. I have been thinking of changing them on my two builds of this kit. Where did you get them if I may ask ??
-
TWO Ferrari 599's , GTO and SA Aperta
Rich Chernosky replied to Rich Chernosky's topic in Model Cars
-
Applying Small Decals
Rich Chernosky replied to Miatatom's topic in Model Building Questions and Answers
Tom...just recently finished the kit you are working on. The secret is in the tweezers. The craft stores sell a pair that come to a very fine point. Not exactly cheap. They are used for small paper craft work and very sharp. . These tweezers grab all the way down to the tip and will hold the fine edge of the most delicate decals. Slide the decal to the edge of the paper til just a little bit is over the edge. Apply the decal to a spot of solvent. You can use the tip to move it into position. Everybody elses tips were spot on. I am 74 and don't have that shaky hnds but I do have ancient eyes. Comes with the territory I guess. PS...don't drop these on the floor. They ALWAYS land right on those tips and ruin them. -
TWO Ferrari 599's , GTO and SA Aperta
Rich Chernosky replied to Rich Chernosky's topic in Model Cars
-
Yep...its a beauty. Really like the interior, well thought out.
-
TWO Ferrari 599's , GTO and SA Aperta
Rich Chernosky replied to Rich Chernosky's topic in Model Cars
-
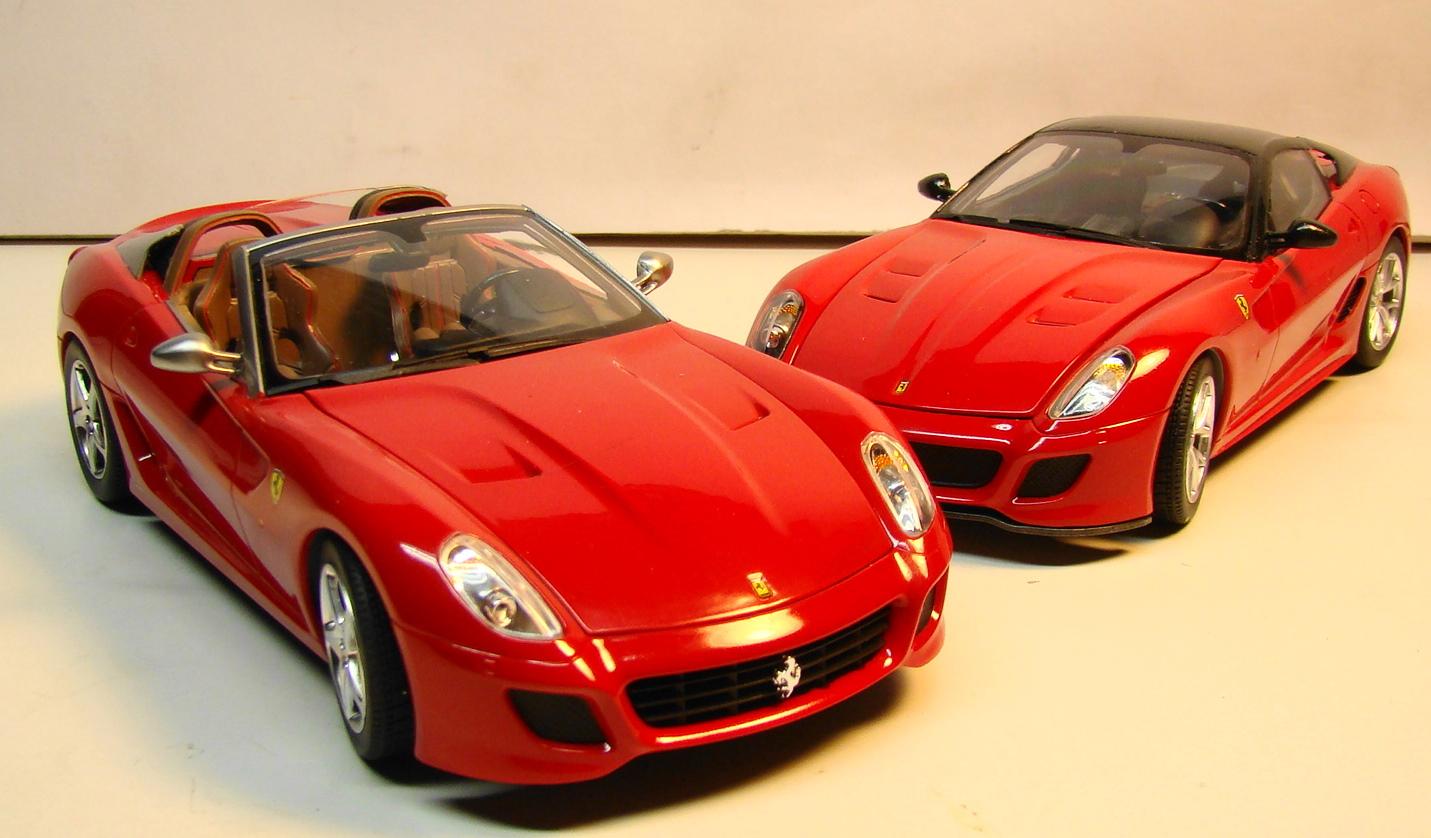
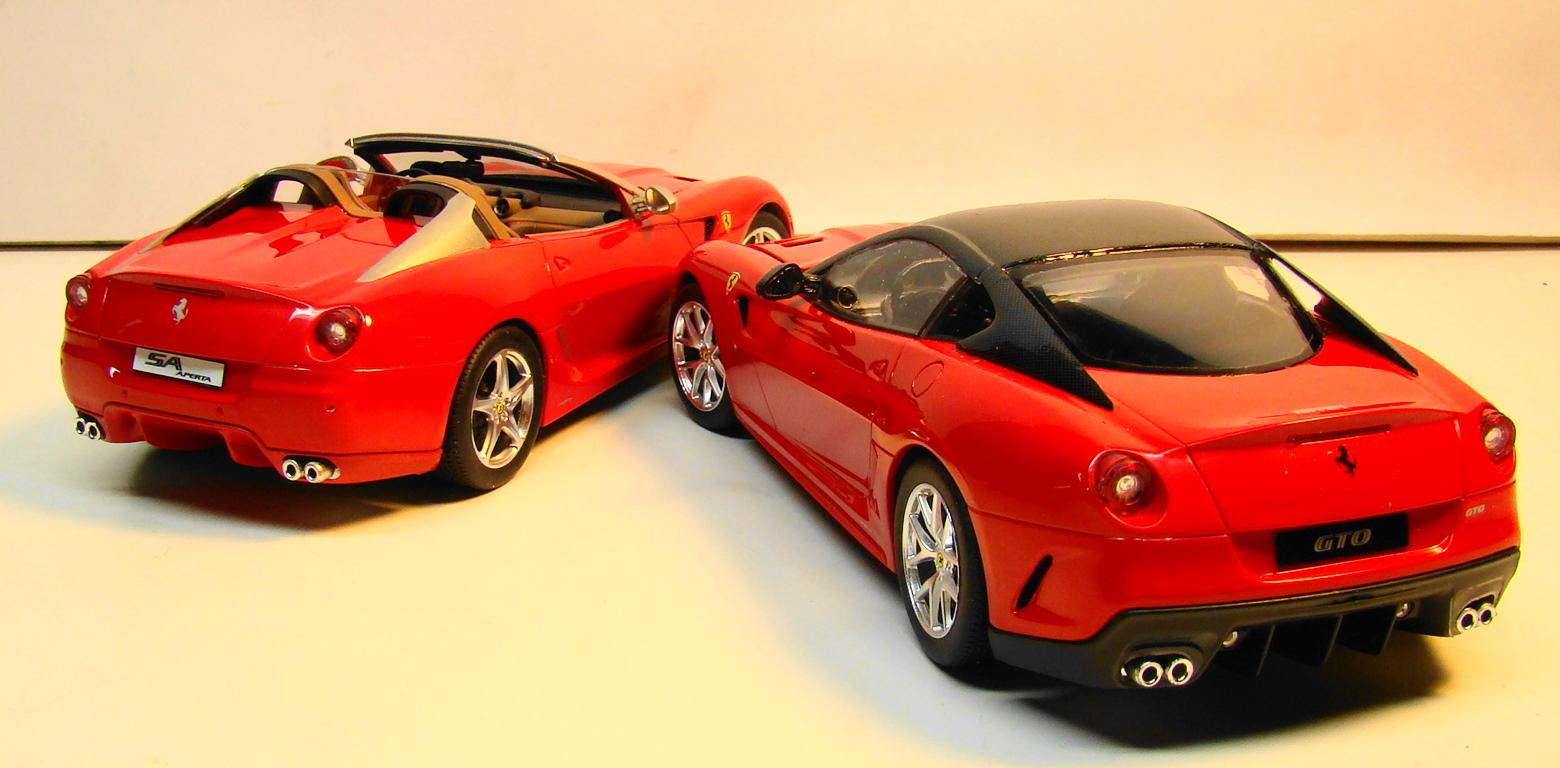
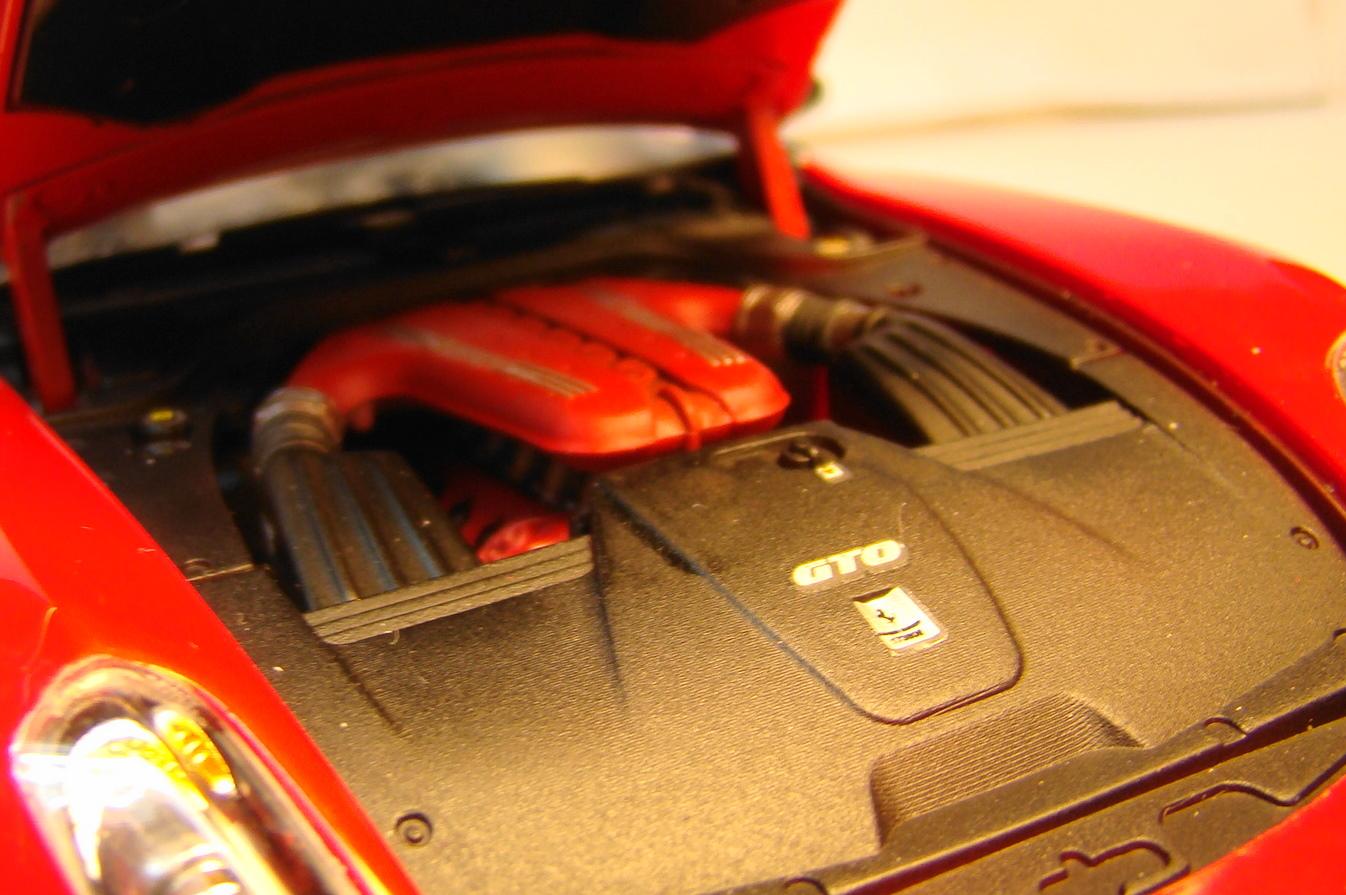
Building two kits at once is an interesting challenge. You have to be organized and pay close attention to details. But the reward is some time saved. These two kits were very similar and shared may parts. This is time saved sorting parts, sub-assemlies and painting. Color on these two was Testors 2918 Guards red with Model Master clear. These were painted and polished about 9yrs ago. Besides the bodies, there were interior differences as well and were treated seperately. The Ferrari 599 chassis is the basis for both these cars and they also share the same drivetrain but are tuned just a little differently. The GTO is only slightly faster than the SA Aperta and both were the fastest Front engine Ferrari's produced. Detail notes on the construction under the picture captions. Thanks for looking. Finished models together. The SA Aperta (open top) have slightly different hoods and front end treatment. Rear view shows different diffusers and venting The GTO has a carbon fibre roof and panels. Those mirrors took 3 pieces of CF each to do. It was fussy work. The SA Aperta with its top off. The silver trim represents stainless steel and was painted with MR Color SM204 Super Stainless 2. This is unlike any silver I have airbrushed. Very very fine grain and a silky smooth finish. The SA Aperta with its top in. Interior on the Aperta. Very sharp. The red piping was decals provide in the kit. Applying them took some serious patience and they still had to be coated with clear flat. Engine detail on both cars was identical except for the one decal. This is the GTO engine. Fit and finish on both models was very good with only a few minor problems. Bodies went on the chassis smoothly (which is a relief) but only after I removed both radiators. They can't be seen anyway but it turns out I installed them wrong and they should have have more angle.

-
Mike...I feel your pain on this kit. I have built it twice and my results are not near as good as yours. You did a great job on this one. I really wish someone would do a great 914-6. They were the poor mans Porsche.
-
Tiger Cobra Duo
Rich Chernosky replied to Pierre Rivard's topic in WIP: Other Racing: Road Racing, Land Speed Racers
Pierre it was intoxicating...and also dangerous. In the 4 months I had it, not a week went by that it wasn't over 100MPH. I went through more than a few sports cars (MG's,Triumph, Porsche) but the most fun was also the slowest...A Toyota MR2 MK1. How many of the cars you owned do you have a model of ? Here is a link to the MR2 and Porsche....http://www.modelcarsmag.com/forums/topic/160157-toyota-mr2-x-2/#comment-2377022 -
Tiger Cobra Duo
Rich Chernosky replied to Pierre Rivard's topic in WIP: Other Racing: Road Racing, Land Speed Racers
Very interesting project Pierre. I actually owned a Sunbeam Tiger and have a model of it in my collection. Got lots of pieces to a second kit if you need them. The Cobra shouldn't be a problem sourcing parts as there is plenty of it our there. The Tiger was known as the poor mans Cobra. It was very fast but didn't handle all that well. The brakes left a lot to be desired too. But boy, did it have a lot of torque. I rarely used 1rst gear. -
-
Rex...I have always had a fondness for this kit as it was one of my earliest builds in the late 60's. Even built another a few years later. This brings back memories...thanks for posting.
-
-
-
Nice job Harry, the orange suits it very well, luv the license plate.
-
Cobra 427 Competition CSX 3103
Rich Chernosky replied to Gramps46's topic in Other Racing: Road Racing, Salt Flat Racers
Good job Gary, keep up the great work. -
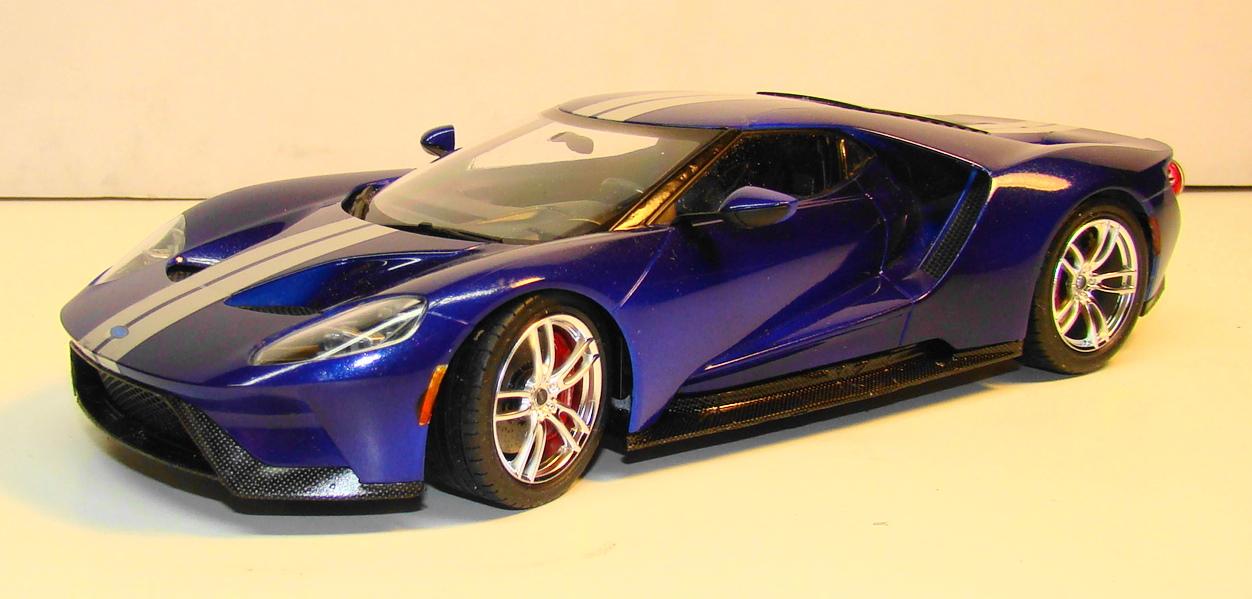
This kit was a lot more simple that i first thought. Once all the the parts were sorted into painting piles and some sub assemblies done, this kit wnety together surprisingly quick. Panit is Tamiya LP45 Racing blue with a mixture of LP49 Pearl and LP9 clear as a final coat. Kit is mostly box stock and the only major addition is some carbon fibre work on the chassis. Thanks for looking and comments welcome. This cars styling really shows its Ford GT heritage with a more modern look. Tamiya put lots of detail in the back of this kit. This veiw shows the aggressive styling a little better. That extra large windshield didn't show much of the interior which was rather sparse anyway. I like this veiw as it shows some of the extra detailing. Silver stripes were kit decals.
-
John...that engine looks way too cool...I would drop that in the back of my Matra any day of the week.
-
-
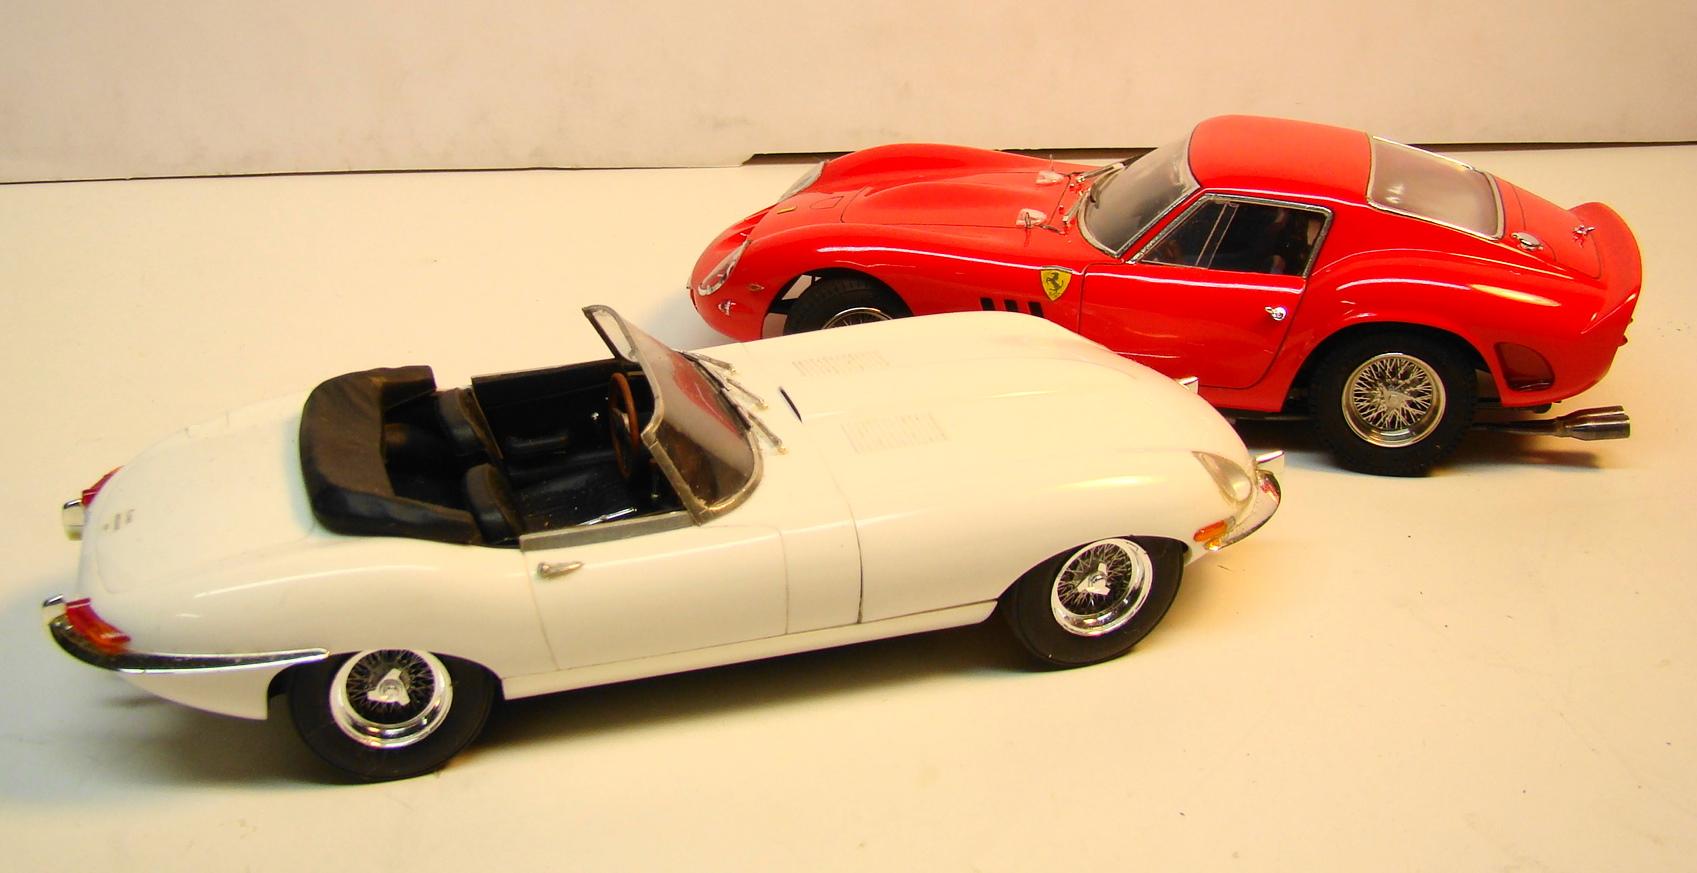
Wolf...I just happen to have both of the Gunze kits finished. Is your GTO the hi-tech kit or some other brand besides Gunze. Both of these are. These were finished quite some time ago. The Jag was always one of my favorite build although I think now I should change the wheels to something more correct. Both are great kits and if you can find the Hi-tech Jag kit it would be worth your while.
-